Skip to content
Menu
SteamAH
  • Cheat
  • Guide
  • Tips
  • Privacy Policy
  • Abuse
SteamAH

ARMORED CORE VI FIRES OF RUBICON How to Make Your Own Redguns Background

Posted on September 22, 2023

For ARMORED CORE VI FIRES OF RUBICON players who wanted to their own Redguns background but didn’t know how to get the shape right or were on a different platform and saw that no one else had made it there so I’m making this to help.


Step 1

First choose the square piece on preset page 1 and make it X 148 and Y 242 in size. Position the piece at X 3 and Y 0.

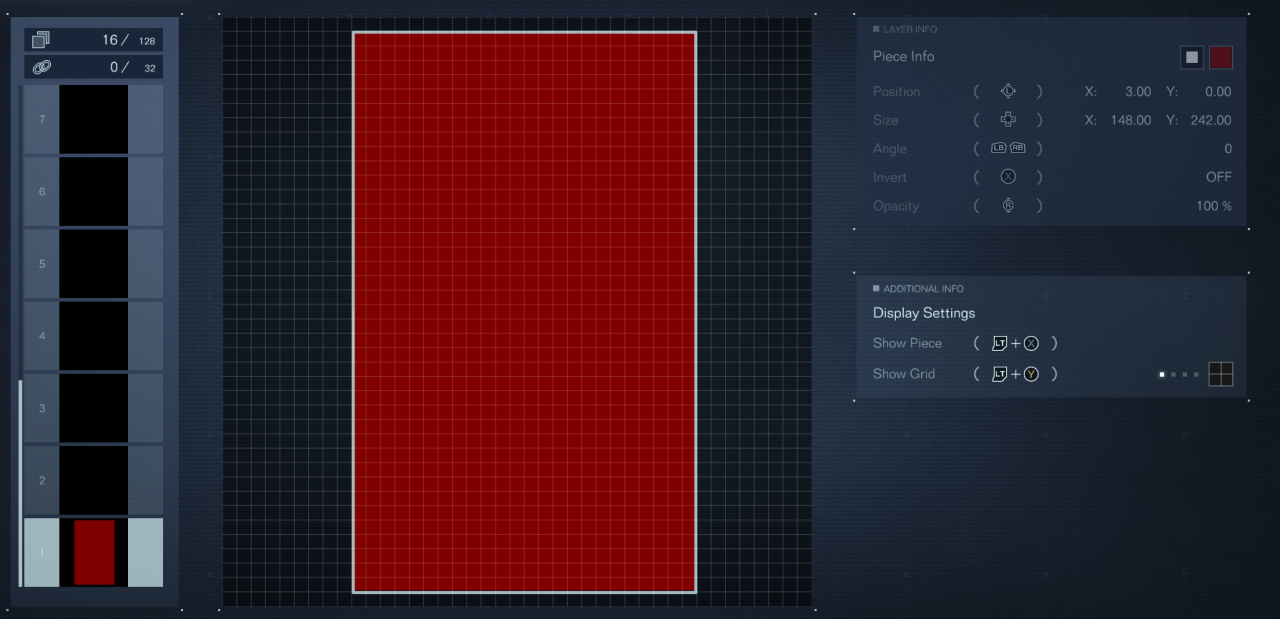
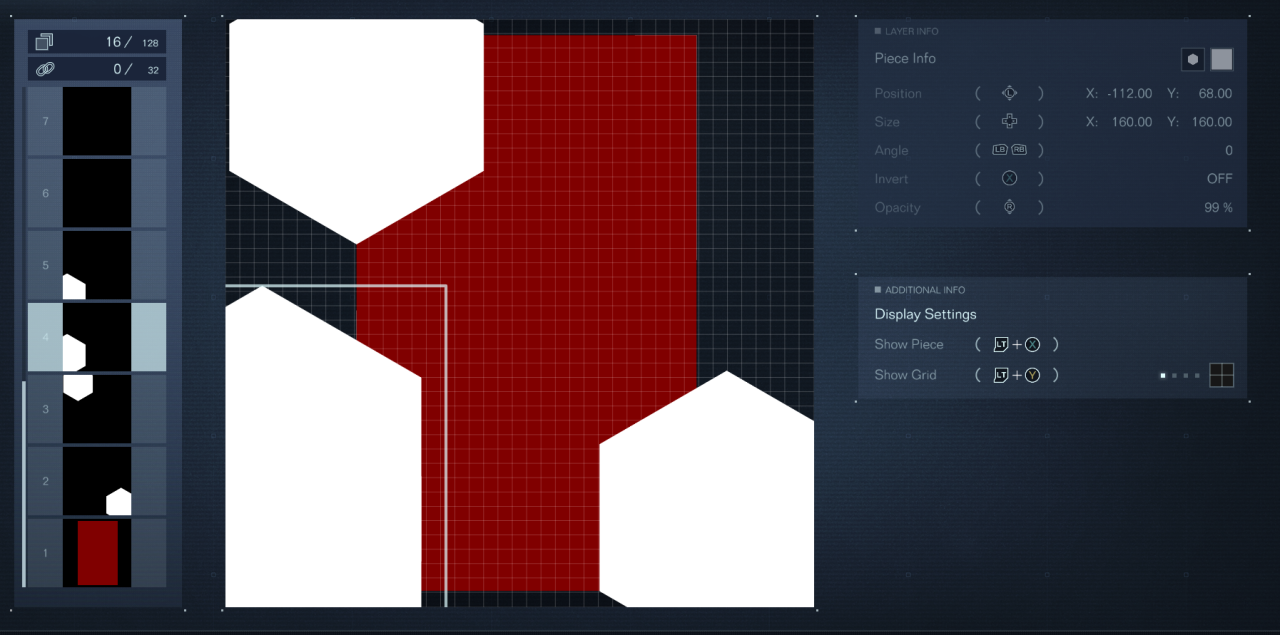
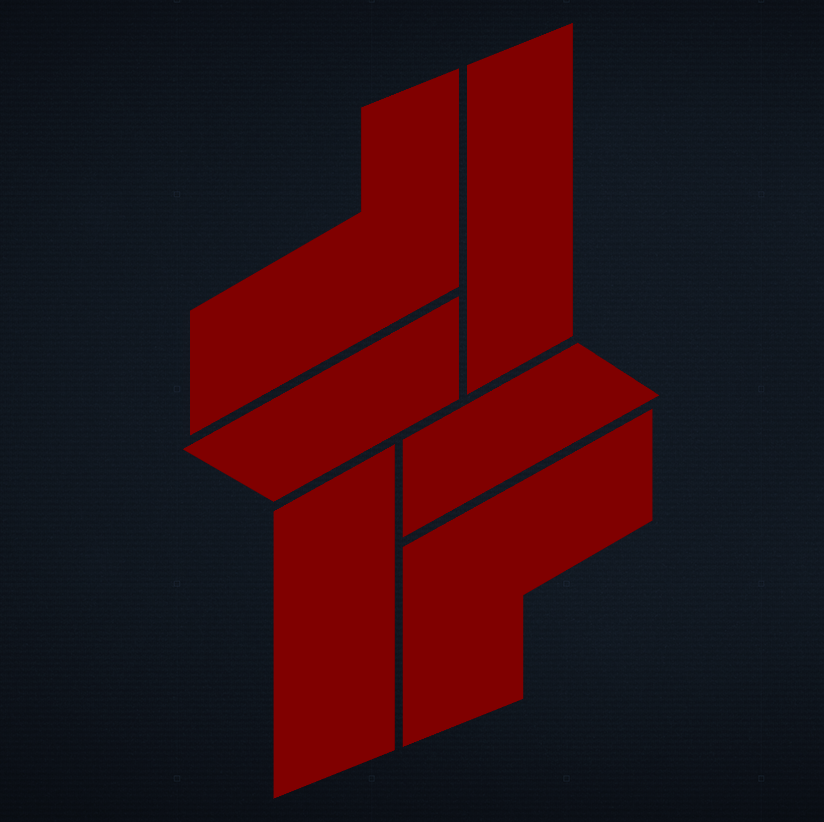
When it comes to colour I went for a Red code of R 128, G 0, B 0 however it’s your emblem so make it whatever colour you want.

Step 2

Next select a Polygon piece from preset page 1 and making sure to NOT rotate in any way increase the size to X 128, Y 128. Position the piece at X -71, Y -94. After this duplicate the piece, I’m using an xbox controller so this would be LB for me, and making sure to not rotate or change the size position the second polygon at X 90, Y 89.

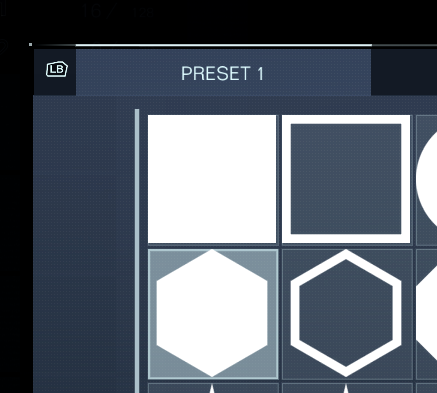
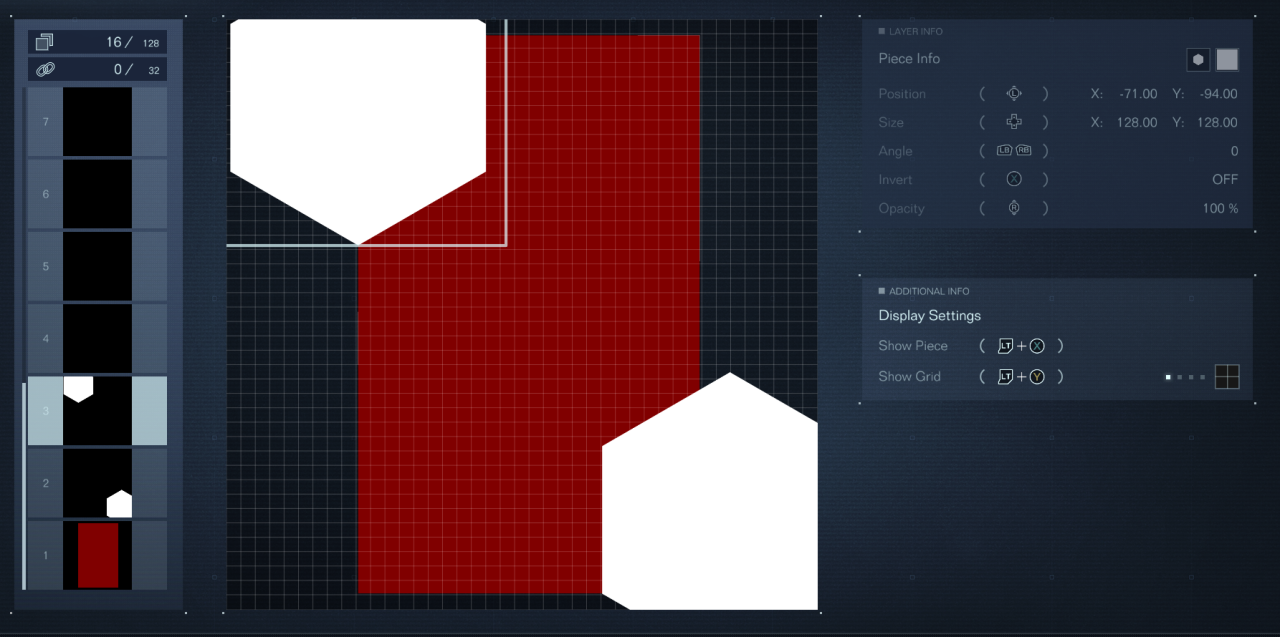
When it comes to pieces from here on out just leave them as a white colour as we will be using them as a mask later on to cut away at the square piece.
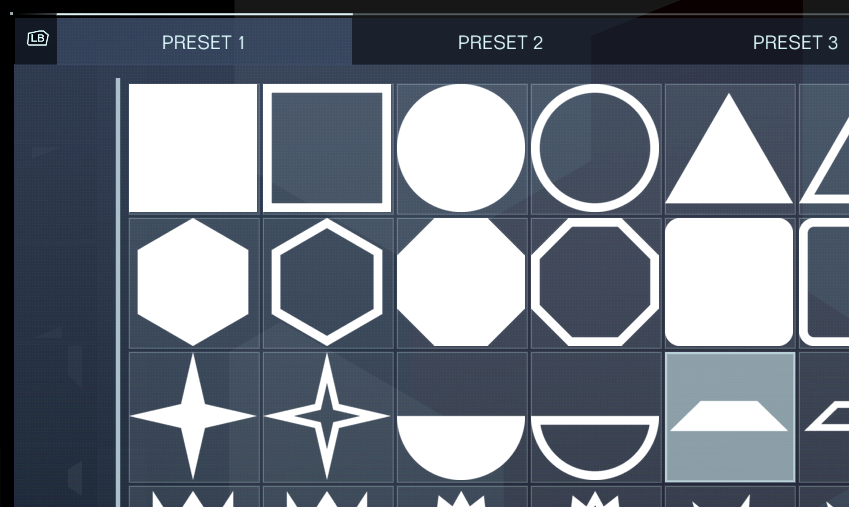

Step 3

Create or duplicate another Polygon piece, however this time the size will be X 160, Y 160. Position it at X -112, Y 68. Duplicate this piece and move it downwards until it is at X -112, Y 111. This is is just an easy way of keeping the angle needed and making sure that it continues down past the bottom of the square piece.

Step 4

Creating a new part, go to Preset Page 1 and select the Trapezoid shape. Rotate it until it is at a 270 degree angle and increase the size to X 102, Y 162. Position it at X 69 Nice, Y -53. Duplicate this same piece and increase the size to X 166, Y 162. Move this piece upwards to X 69 Nice, Y -90.

This part is used instead of the polygons used previously as the size need to get the slopes right would make it start to hit against a barrier that makes it an annoyance to get the piece in the correct place.
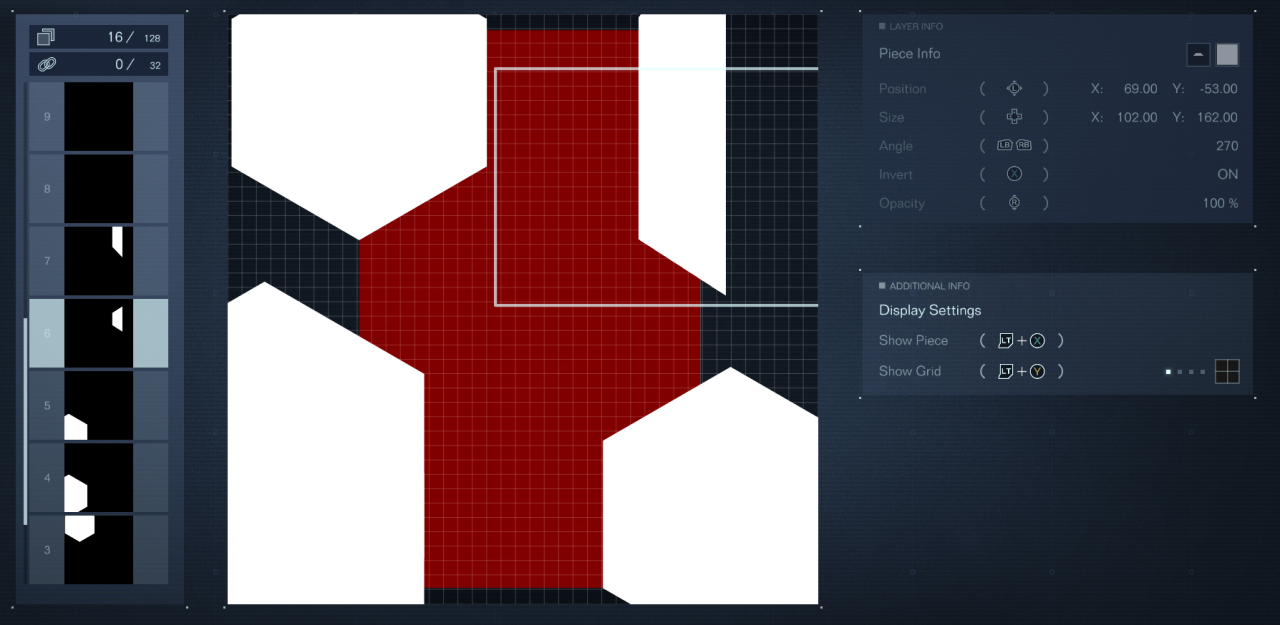

Step 5

From Preset Page 1 select the Triangle piece shown below. Rotate it until it is at a 270 degree angle and change the size of it to X 32, Y 80. Position the piece at X -5, Y 105. Duplicate this part and rotate the new triangle until it is at a 90 degrees angle. This part will then be placed at X 11, Y -105.


Step 6

This is a long one so be sure to read it carefully, particularly the last step.

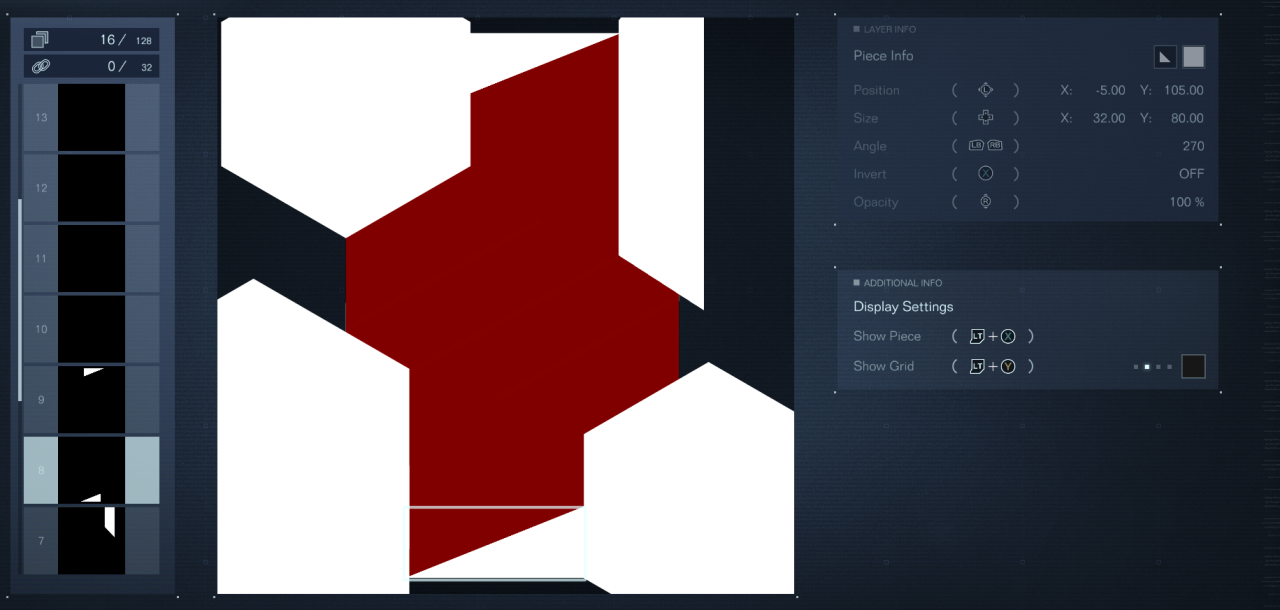
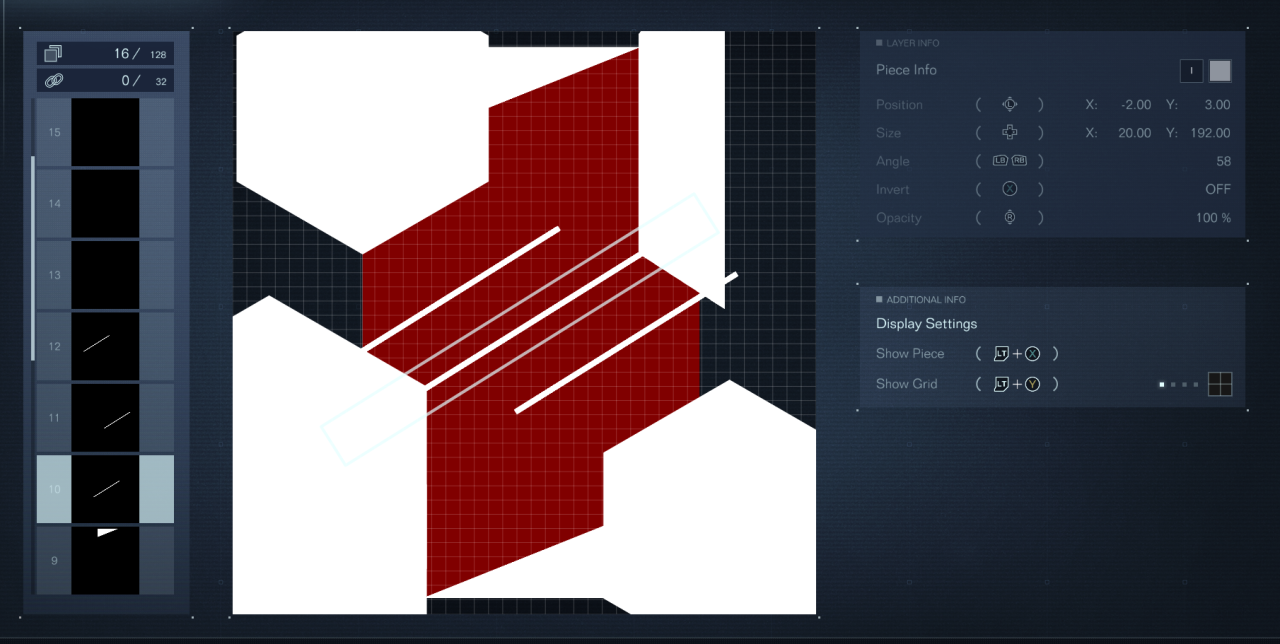
All that is left now is to cut out the invidual sections of the decal, which we will be doing using the I pieces as shown in the picture below on Preset Page 21. Change the angle to 58 degrees and the size to X 20, Y 192. The position will be X -2, Y 3. If everything has been lined up correctly then two tips of each side should connect in as straight of a line as possible.

Duplicate this piece twice and position one at coordinates X 38, Y 13 and the other at X -40, Y -7.


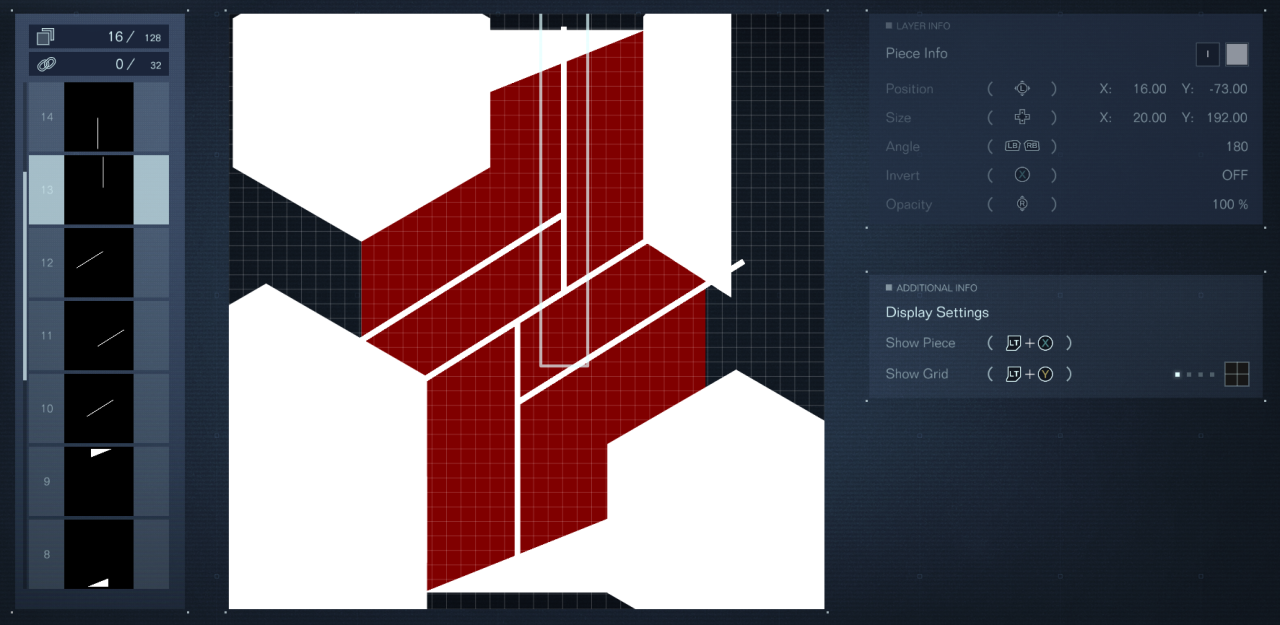
Now copy the previous piece again and change the angle to 180 and move it to X 16, Y -73. Once this is done duplicate this piece and move the new one to X -4, Y 53.

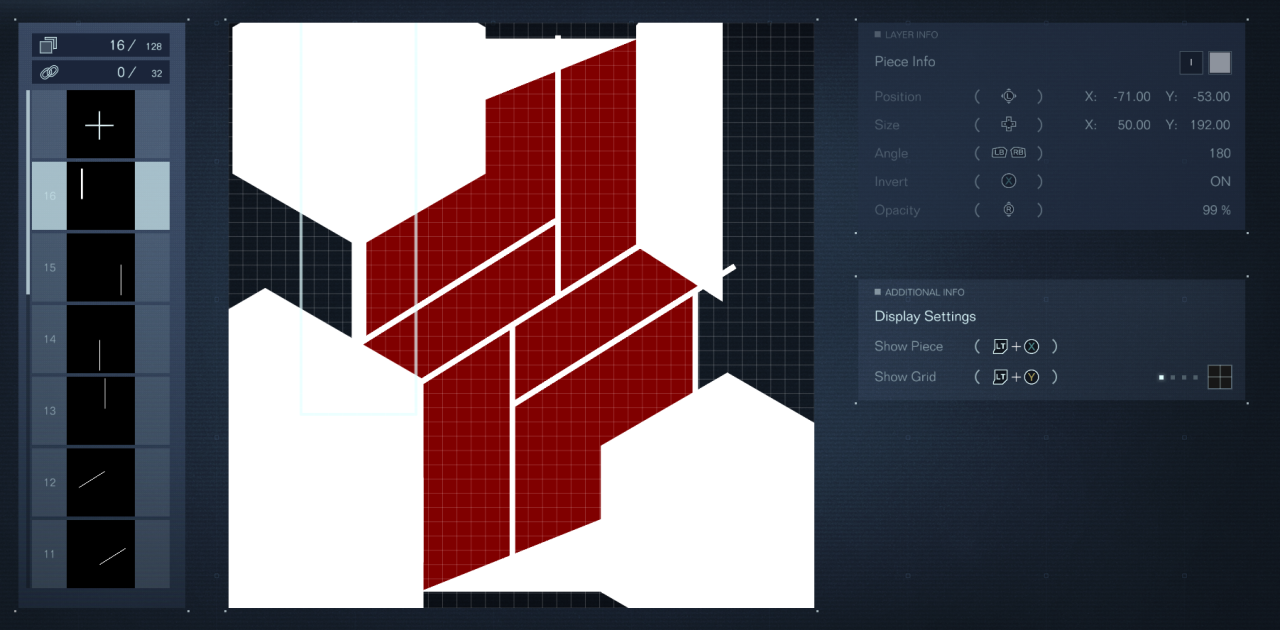
Once again again again, duplicate the last piece twice over and move one to X 76, Y 39. For the last part move it to X -71, Y -53. Once this is done increase the size of that last piece to X 50, Y 192. We need to do this to shave off a small part of the top most section to keep it as close to the original image as possible,
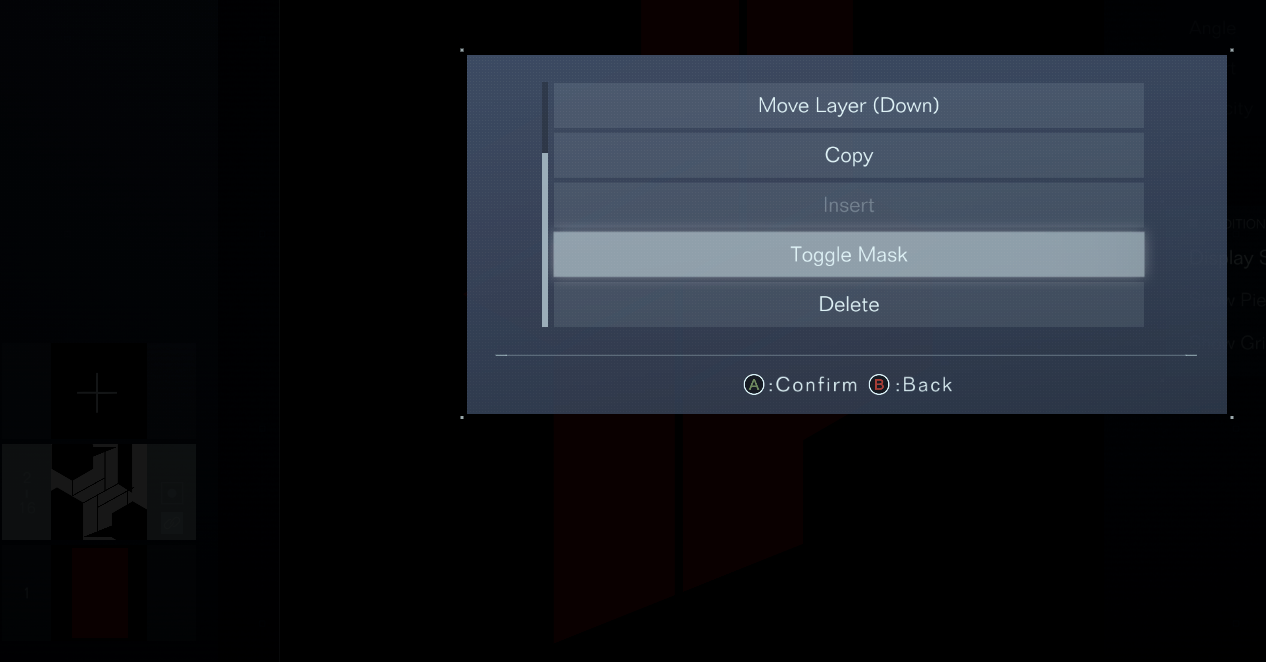
Step 7

With all that done all that is left to do now is to group everything together. For me I press RB on each layer to select it. Do this only to the white pieces for now. When you have everything selected you hit entire and select Group All.

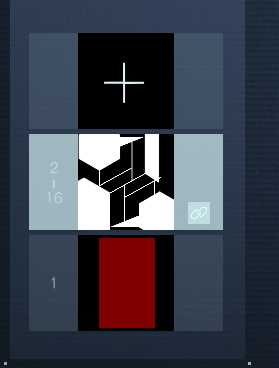
When everything is grouped open up the layer controls, Y for me, and toggle the mask option near the bottom of the list twice. Backing out of the sub menu you should see a near perfect replica of the Redguns emblem. At this point you can addition stuff under the mask layer to add textures or marks as you see fit. Once you are happy with it select the square piece and the mask layer and group them together!


That’s all we are sharing today in ARMORED CORE VI FIRES OF RUBICON How to Make Your Own Redguns Background, if you have anything to add, please feel free to leave a comment below, you can also read the original article here, all the credits goes to the original author KoopyVegeta

MORE GAME GUIDES FOR YOU

Related Posts:

  • ARMORED CORE VI FIRES OF RUBICON 100% Complete AC Body & Internal Part List
  • ARMORED CORE VI FIRES OF RUBICON All Missions & Rewards Guide
  • ARMORED CORE VI FIRES OF RUBICON How to Fix Stutter and Low FPS
  • ARMORED CORE VI FIRES OF RUBICON Controller Fix Guide
  • ARMORED CORE VI FIRES OF RUBICON Boost Kick Mechanics Guide

Leave a Reply Cancel reply

Your email address will not be published. Required fields are marked *

Disclaimer

All content cited is derived from their respective sources. If you think we have used your content without permission, Please go to the Abuse Page to contact us and we will be taking it seriously.

Recent Posts

  • MindsEye: How to Fix Crash Issues on Windows 10 & 11
  • MindsEye: How to Disable Depth of Field for Better Performance
  • Parasite Inside: Full Save + Maps [V0.3.5]
  • Car Dealer Simulator: 100% Achievement Guide
  • Sheepy: A Short Adventure – Save Files for the “SHEEPY STRONG” Achievement
©2025 SteamAH | Powered by SuperbThemes & WordPress