For The Riftbreaker players, this guide is going to show you how to solar in the desert and you can afk after finish this with no risk, let’s check out how.
Simple Solar/Synth Array
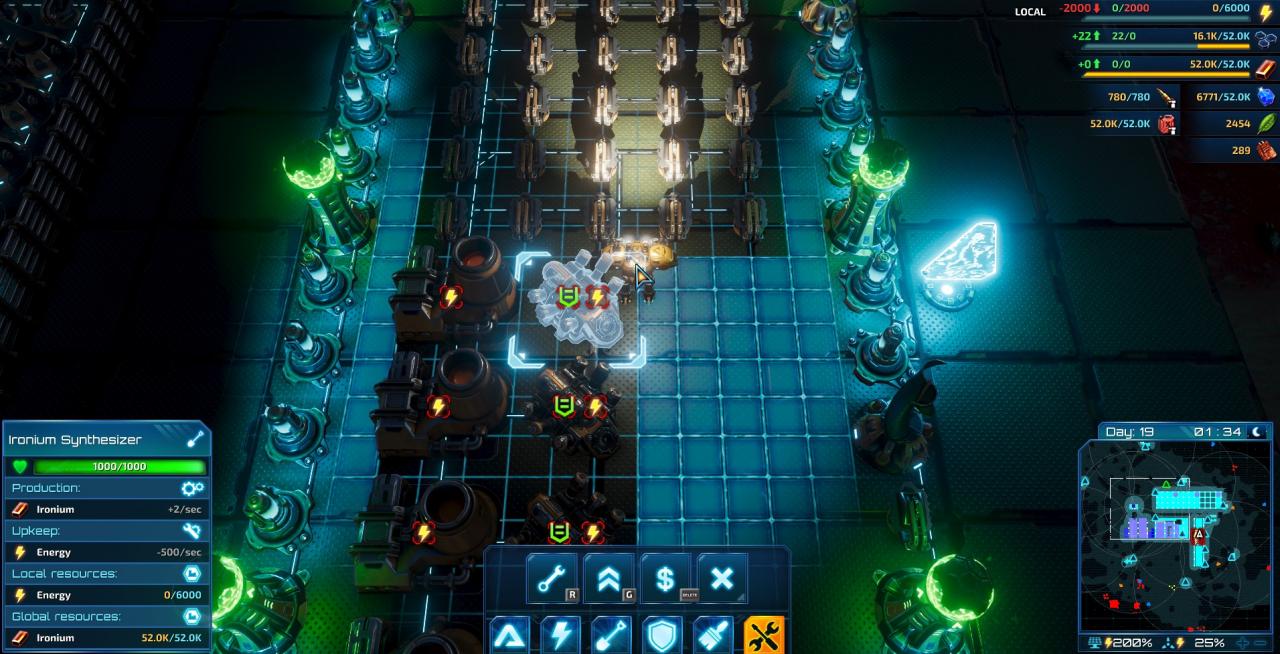
This is the design. One column of repair towers connected by storage/solar/wind, one column of solar/synthesizers, one column of repair towers on the other side. This can be easily scaled in any direction.

It is very important to keep the repair columns on a SEPARATE power grid from the solar/synths. That way, when the synths run out of power at night, the repair towers can still repair the damage from solar activity, earthquakes, and so forth. This is why the design does not use ANY power connectors.
The synthesizers don’t need energy storage, wind backup, or exact ratios. They simply turn off at night. For every 500 surplus energy during the day, you can add one T1 synthesizer. It’s that simple. It runs during the day, and shuts off at night.
Simple Radar Array
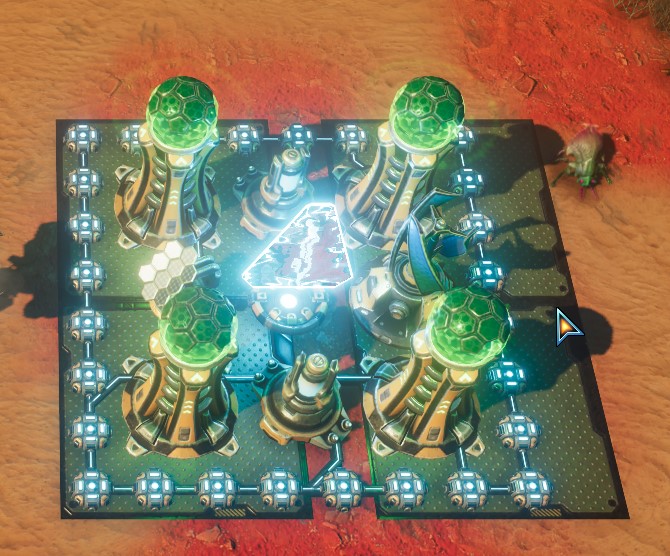
Simple radar array. This is overkill, but it is all T1, works in all biomes under all weather conditions, and costs nothing but renewable resources (carb and iron).
3 energy storage (for emergencies)
3 solar (for reliable daytime power)
3 wind (for rainstorms/duststorms)
1 repair tower (for earthquakes)
1 AI hub (if you don’t need an AI hub, you only need 2 each of energy/solar/wind)
1 radar (to prevent ambient enemy spawning)

Note that spamming radars will only stop AMBIENT enemy spawns. They will not stop enemies spawned from raids, nests, or other special events.
Pro Tip: The ‘low’ and ‘medium’ threat deserts you initially find in the campaign will NEVER spawn raids. This means you can render the map 100% enemy proof by spamming radars everywhere. You’ll still have to worry about earthquakes/solar activity/meteors, but that’s what the repair tower is for.
Simple Fort
Want to AFK, but are worried about dying to freak accidents? Simply spam redundant power supplies and repair towers next to your Outpost, and your mech and the buildings will be repaired faster than meteors can hit you.

Warning: Due to the high burst damage of meteors, fragile buildings like connectors might still be destroyed. That’s why this design does not rely on connectors.
Warning: This design does not protect against raids, tornadoes, acid, or fungal events. It is advised to only AFK in biomes that do not have these events, such as the first two ‘low threat’ deserts you are allowed to explore.
Simple Meteor Bait
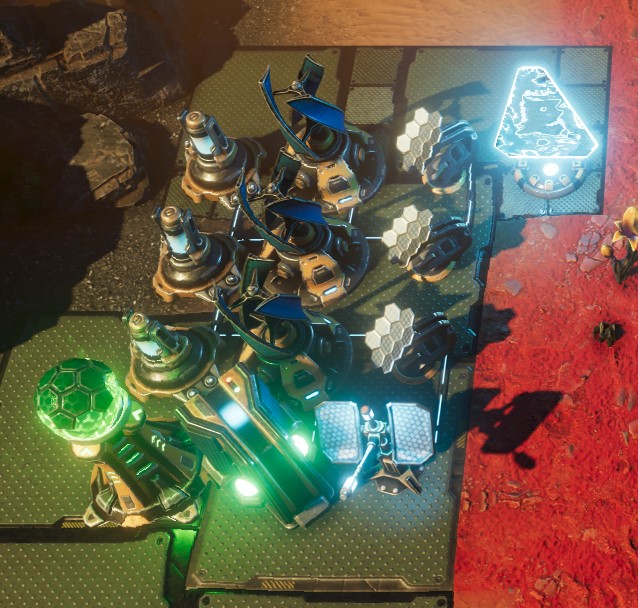
Meteors are easily the most dangerous and obnoxious events in the desert. This is my solution: As soon as you hear Riggs/Nikola mention ‘fast moving targets’ or ‘meteor swarms’, IMMEDIATELY rift jump to this ‘meteor bait’ setup.
The ‘meteor bait’ should not be near anything fragile. It should be in an overlapping area of radar coverage, but not close enough to radars for meteors to potentially destroy your all important anti-spawning radar coverage.
Repair towers only cost 1 energy upkeep each, so a single solar/wind/storage is plenty. I added a redundant energy storage and connectors just for fun. Note that meteors can and will destroy connectors no matter how many repair towers you have.

Rift Jumping
If you want your outpost to send resources to your other bases, the following must be true:
1) All synthesizers are powered, preferably by solar during the day.
2) Storage of Carb/Iron is NOT full.
If it is nighttime, the synthesizers will shut down, and the outpost won’t generate resources.
If storage is full, the synthesizers will shut down, and the outpost won’t generate resources.
The solution to 1) is to only jump OUT of the desert biome during the day.
The solution to 2) is to spend a few thousand Carb/Iron by crafting tier 2 mech weapons (even if you disassemble them afterwards, you still lose 50% of the resources, so this is a good resource sink). Alternatively, build something expensive (like a pair of Carb/Iron synths) on the sand. They will destroy themselves automatically.
After you jump back to HQ, or wherever it is you want to go, I recommend checking the rift jump / geoscanner menu to make sure the output is producing resources.
Related Posts:
- The Riftbreaker Power Source Comparison Information
- The Riftbreaker Everything You Need to Know Before Playing
- The Riftbreaker Defense Tower Guide (Range & DPS)
- The Riftbreaker Resources Drop Guide
- The Riftbreaker Useful Tips & Bug Fixes
