Photo Mode in Cyberpunk 2077 is somewhat intuitive, but some stuff are not very straightforward. Lets perfect our Instagram2077 skills to enjoy the best of Night City!
Photo Mode basics
To enter Photo Mode, simply press the N button.
- Move your camera with Left mouse button
- Rotate your camera with Right mouse button
- Set the distance from your character with Middle mouse button
- Hide or show Photo Mode HUD with TAB
- To take a picture, press SPACEBAR
Photos are stored in %UserProfile%/Pictures/Cyberpunk 2077 (usually it’s C:\Users\your PC username here\Pictures\Cyberpunk 2077)
Photo Mode options
You have five different options categories in Photo Mode:
- Camera
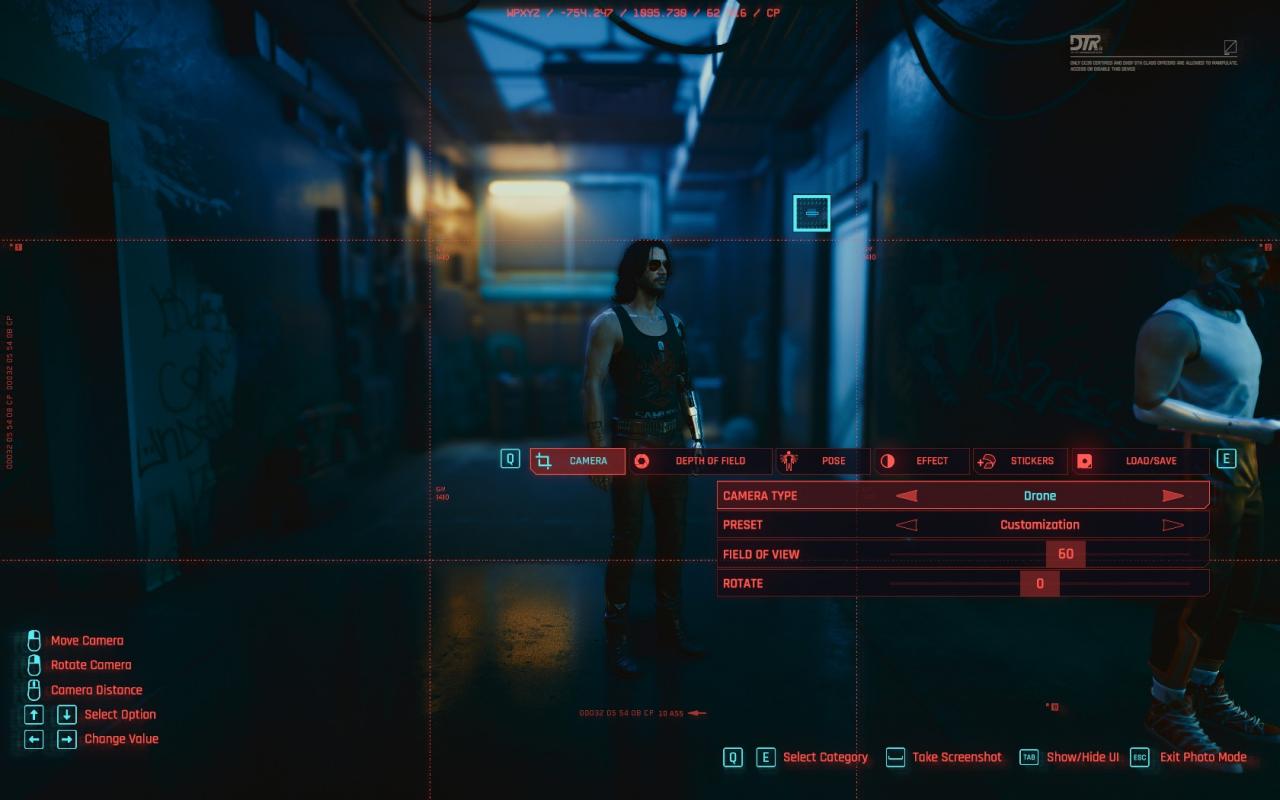
Here you can choose to take a picture in first person perspective or showing your character (“Drone” view). Drone view has 7 different angle presets, but you can also freely change it.

- Depth of Field
You can enable here DoF to automaticaly blur everything that isn’t your character or manually change Focus distance and Aperture. - Pose
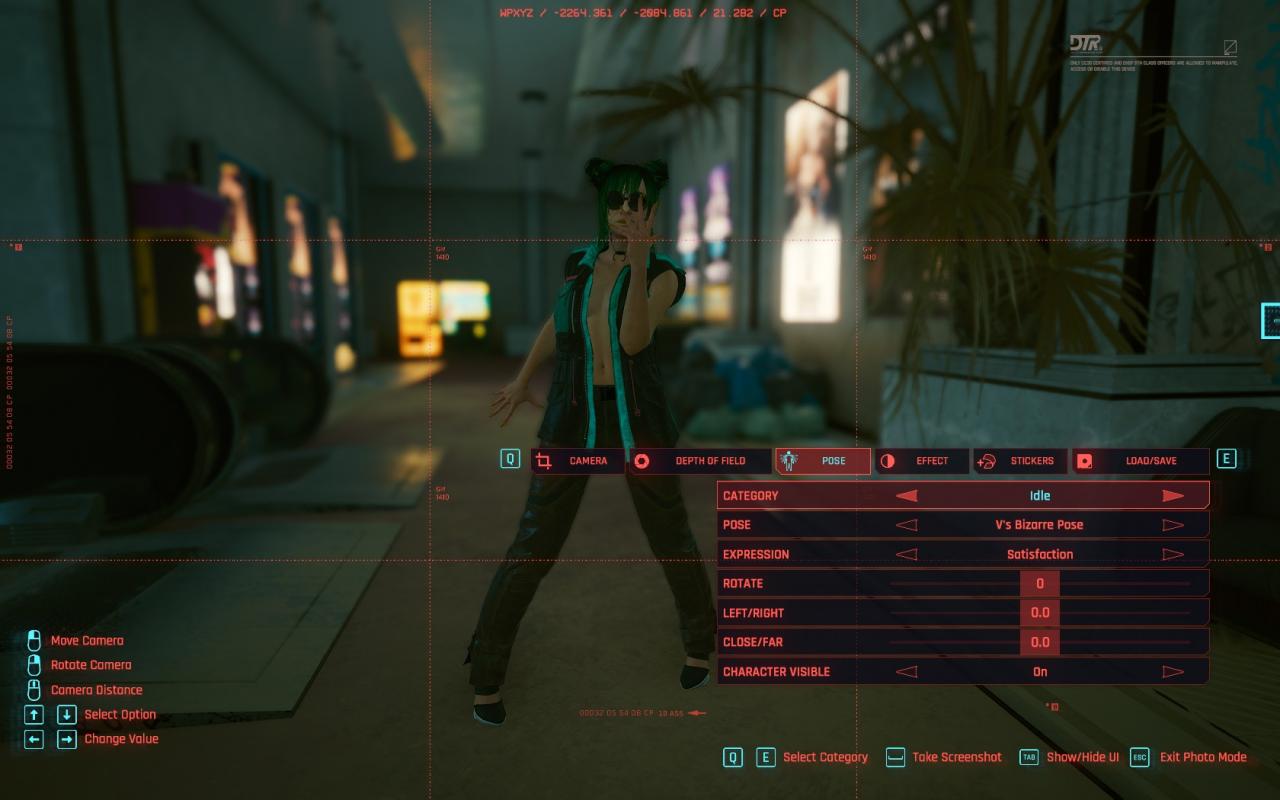
You can set a pose for your character. There are two main different categories: Action and Idle.
“Action” puts your character in a shooting pose, while in “Idle” you can choose from lots of casual poses.
You can also change your character facial expression and rotate them.

- Effect
You can change Exposure, Contrast, Highlights, add Vignette, Chromatic Aberration, grain and add one of 15 different photo effects (like Sepia, Black and White and Dark room effect). - Stickers
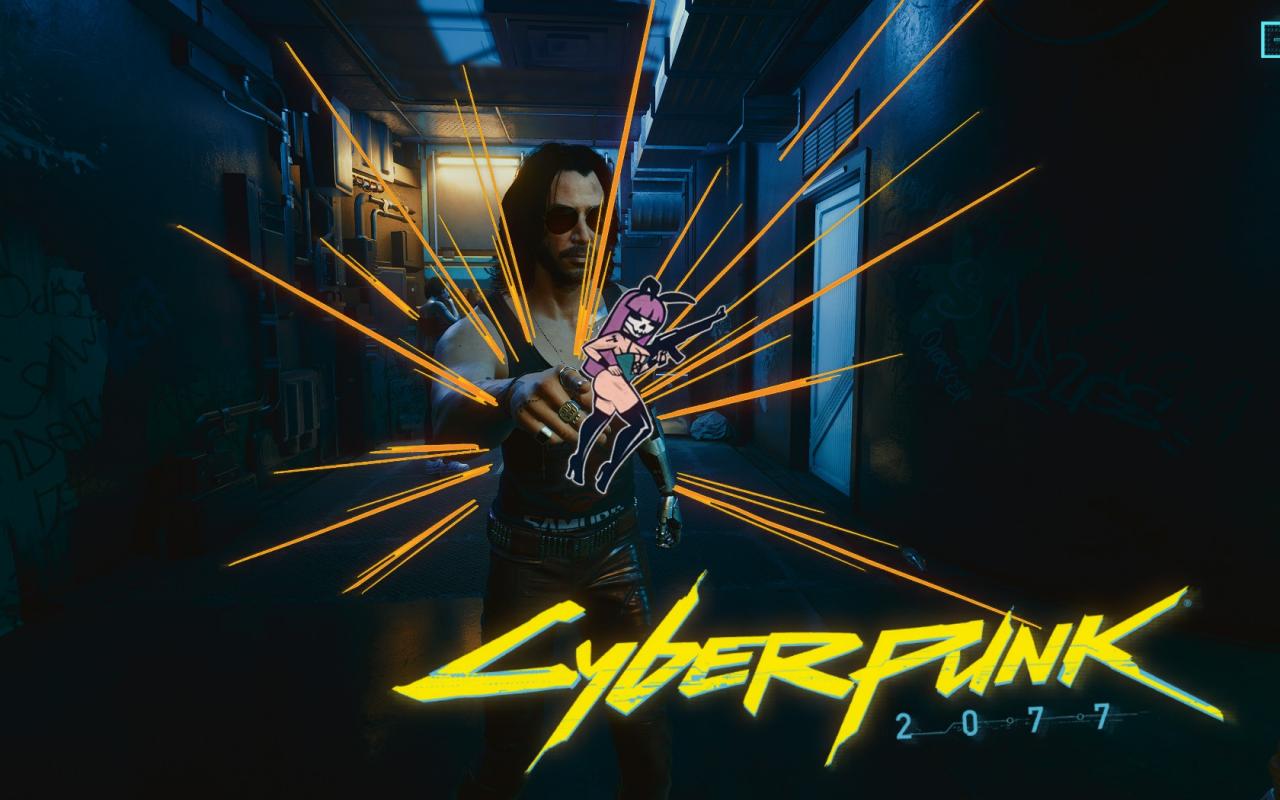
You have 220 different stickers to add some flavour to your masterpiece (from mascots, to the Cyberpunk 2077 logo, grafitti and more). You can place a maximum of 5 Stickers on your photo.
You can also add a frame (like a 21:9 or 4:3 frame) from 49 to choose and change your background to a static image.
 Lastly, you also have an option to save and load photo loadouts. Your loadout contains all information you set to take your picture (from effects, to stickers, positions and angle preset, making it easier for your next conceptual photographies).
That’s all we are sharing today in Cyberpunk 2077 Photo Mode Quick Guide, if you have anything to addm please feel free to leave a comment below, and we’ll see you soon.
Credit to jailbait
Related Posts:
- Cyberpunk 2077 How to Disable Mouse Acceleration
- Cyberpunk 2077 Mouse Sensitivity and Fov Sliders Guide
- Cyberpunk 2077 Better Alternative for “Dodging”
- Cyberpunk 2077 Disable Double-Tap and How to Keybind Dodge
- Cyberpunk 2077 Add Character Reflection to Reflective Surfaces (RTX Reflections Required)
