This is a new-modder friendly guide on how to make sticker mods! it should take you through all the necessary steps to get your sticker on the workshop.
Starting a new mod with the tools
On first startup, it should look like this ( probably without all the mods though, heh )
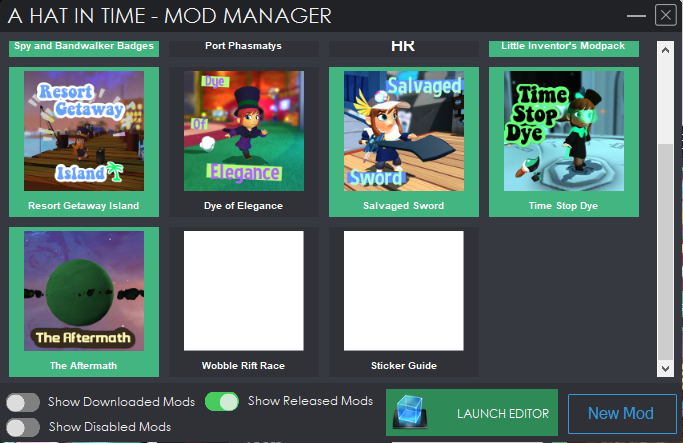
Just hit “New Mod” at the bottom right there.
You’ll end up with a window like this!
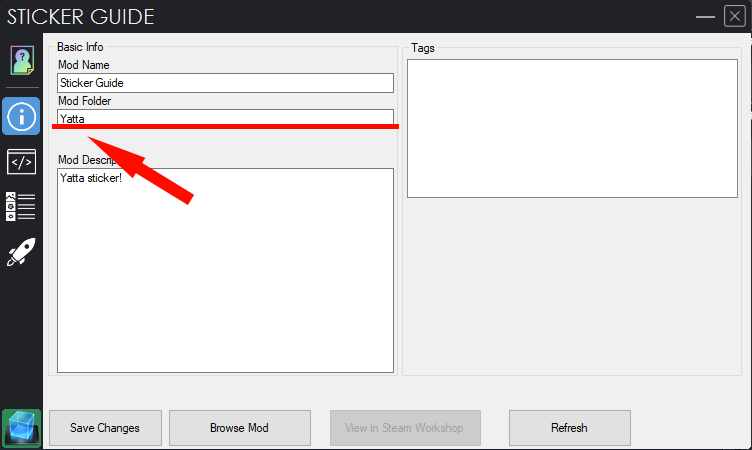
Then just fill out the relevant information in those boxes. Mod name and description are fairly self explanatory, that’s what you and other people will see on the workshop. Mod folder is different though, nobody will see it but the name is important so make sure to set it something unique. The tools wont even let you save if you don’t rename it from NewMod, so definitely make sure to change it.
Hit “Save Changes” at the bottom when you’re done, and it will have made a folder for you!
Now, to make the next steps of the guide easier, when you go to launch the editor, launch through this window, at the button here.
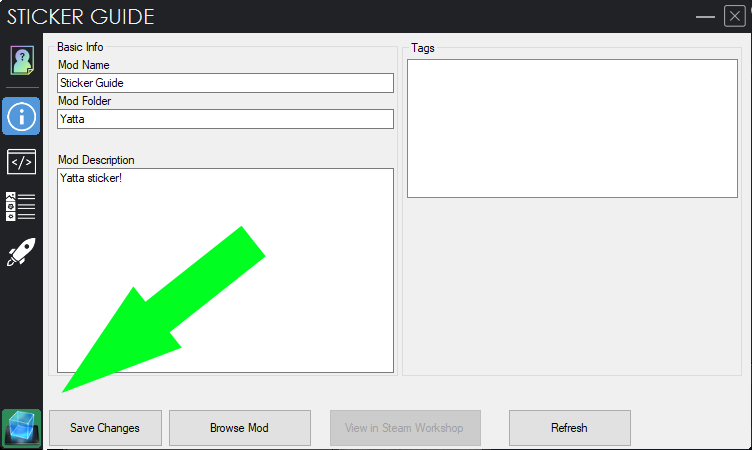
If you do that, the editor will recognize that you are working on a specific mod and place files in the right spots later, so i’d highly recommend it!
Importing your Sticker into the editor
Make sure what you are trying to import is square, and a power of two – 256×256 or 512×512 are both reliable resolutions for importing textures in.
As for what kind of image, .png and .tga are the best formats to use when importing, others might not be supported.
If you’ve got both of those requirements you should be ready to go! with the editor open, take a look at the content browser. At the very bottom of it, there is an “Import” button, next to a “New” button. hit “Import”.
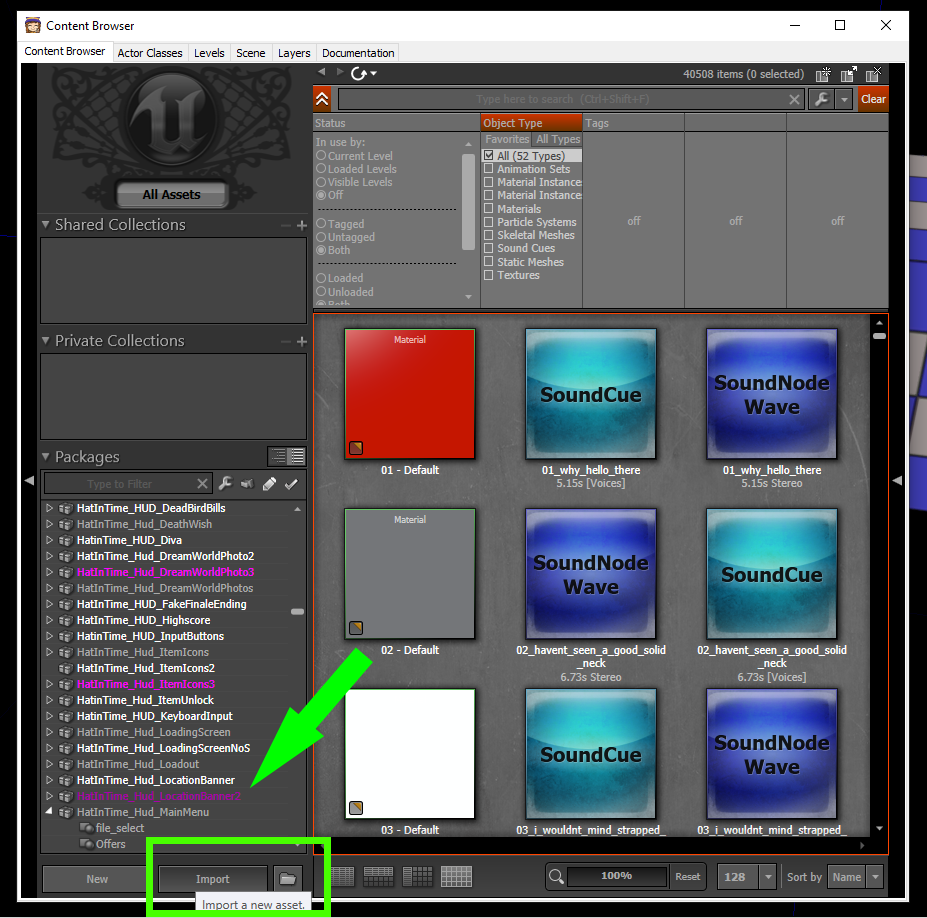
Navigate to where your image is, select it and hit open. You should have a window popup that looks like this:
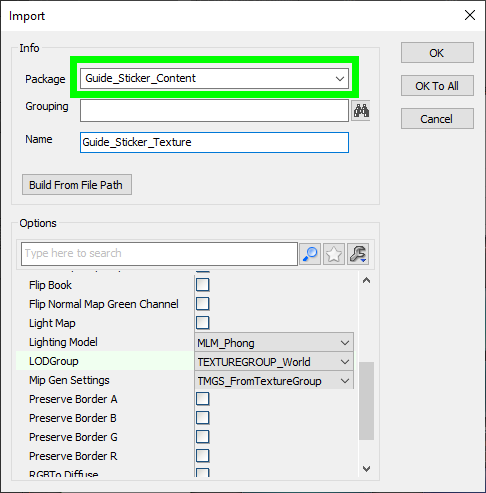
Make sure to set something unique under “Package” ( highlighted in green ) other than the default MyPackage, or it may cause conflicts with other mods and it won’t work. If thats all worked out, hit ok!
( — extra note, if during that last step the editor complained about not being in RGBA format, try using the .tga format. some programs like paint.net seem to mess this up sometimes, but .tga ends up working right. )
( — also, if the editor tells you your image *isnt* a power of 2 despite it most definitely very clearly being square and a power of two, restart the editor. sometimes it gets confused )
Once you’ve hit ok it should take a second and then you’ll be greeted back to the content browser, with your sticker in there!
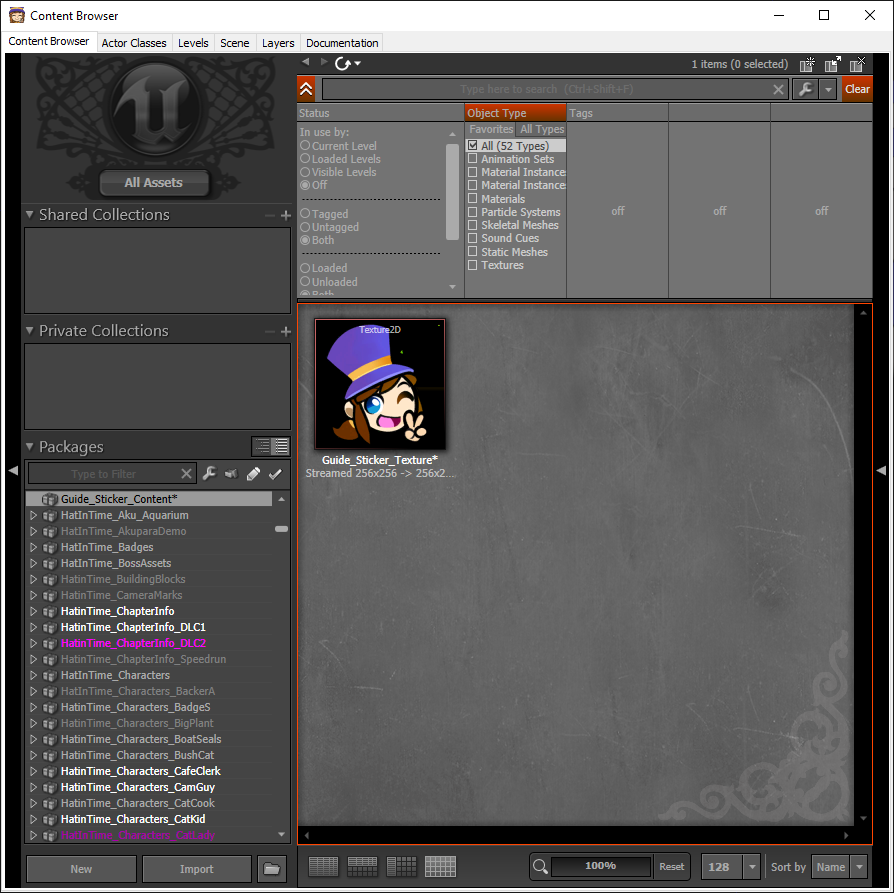
Right click your texture there, and hit Save. if you created a new mod in the earlier step and launched through that mod’s window, it will automatically make a content folder and place it in the correct location for you!
If not, it will prompt you for a save location – Save it somewhere you will remember later and when you’re done with the edtior, move it into a Content folder, inside your mod’s folder. or just navigate to your mod’s folder, create a Content folder and save it inside there, whichever is easier.
Now! your texture may have disappeared. search the name of the package you made in the left hand side of the content browser, select your package, right click and fully load it.
You’ll need to make a few changes to the sticker before it looks right ingame, so right click the texture and open it in the texture viewer.
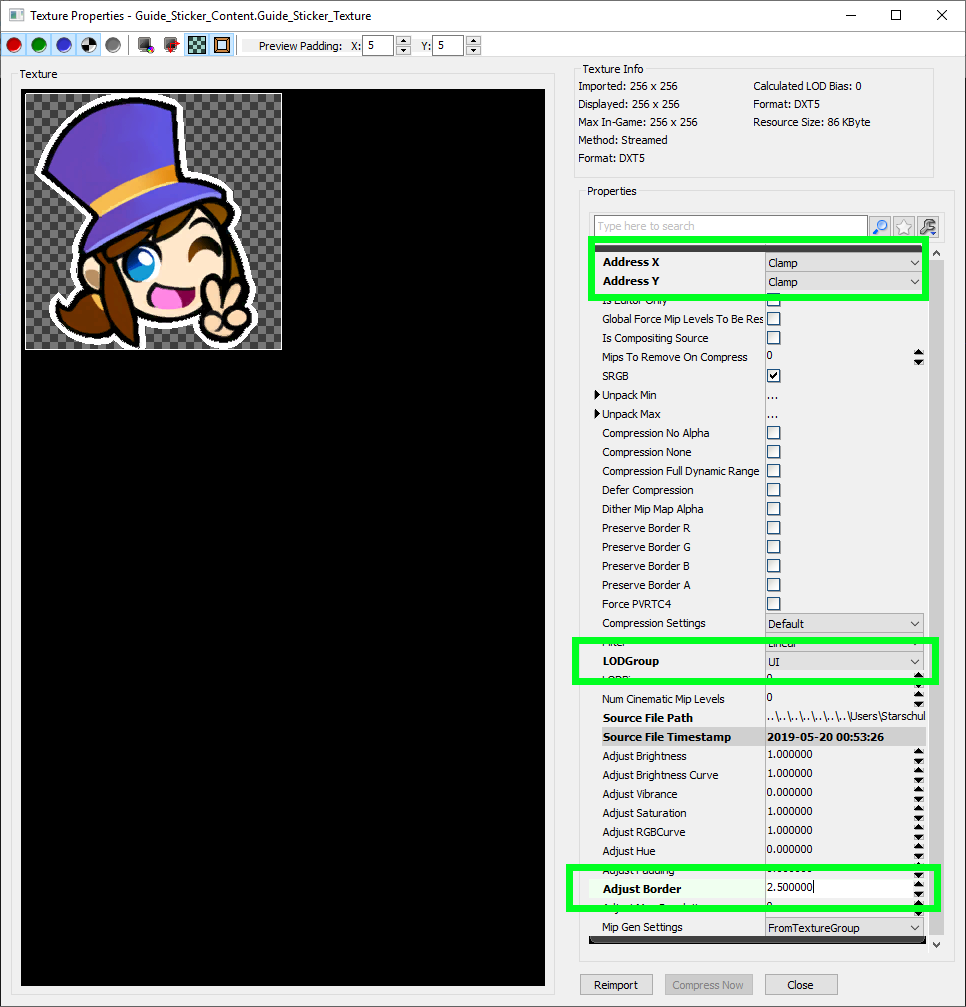
Set Address X and Y to clamp, LOD group to UI, and then you can use “Adjust Border” to add the white outline around your sticker! You can also change “Max Size” and “Padding” to adjust how the border looks. mess around with it until you like how it looks!
Once you’ve got that all right and your border where you want it it, your actual sticker is ready to go! make sure to save, and then right click it and “Copy full name to clipboard”. paste that somewhere, you’ll need it for later.
Importing custom Sounds
It will import as a SoundNodeWave, right click that and hit “create new sound cue”
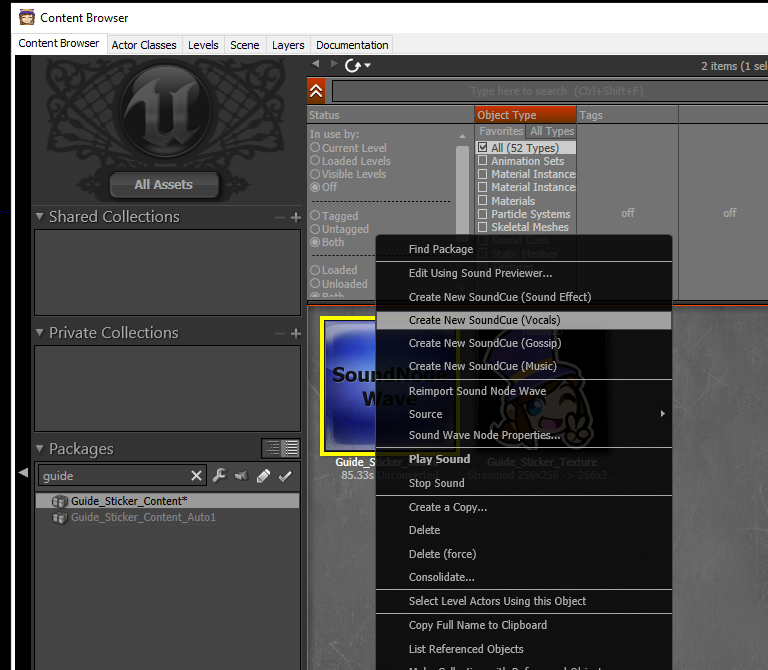
( vocals ) is the best if you have a voice line, and ( sound effect ) is different in that it will slightly randomize pitch for every time its activated. Change its name ( Or just add _Cue to the end of the name ) so it isnt the same name as the SoundNodeWave, and you should be good to go.
Once you have the SoundCue, right click it and hit save, then right click it again and copy full name to clipboard, and paste that somewhere. You should have both your sticker and your soundcue ready, so you’re done with the editor!
The Sticker Script
You can save this as a .uc file named “Star_Collectible_Sticker_Yatta” or alternatively, i have a downloadable one here to make it easier.
There are really only two things you need to change here! earlier you copied the full name of those assets to the clipboard, just paste the sticker image’s full name after StickerTexture, and your soundcue after GhostPartyEmoteVoice.
These can both be substituted for images or soundcues already in the hat tools, so if you dont have a sound feel free to use one of the ones in the editor! search through them all by checking soundcues in the content browser then searching different names. tons of stuff in there stickers could be made from.
With both of those in the right place, just place that .uc file in a “Classes” folder in your mod’s folder. your mod folder should look something like this now!

Nearly done. go to the scripting tab of your mod, and hit compile scripts. ( if for some reason you cant hit the button yet but the files are in the right spot, hit refresh )
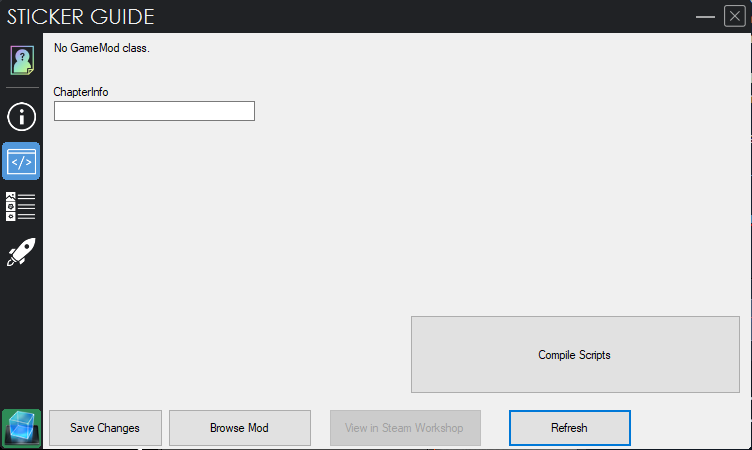
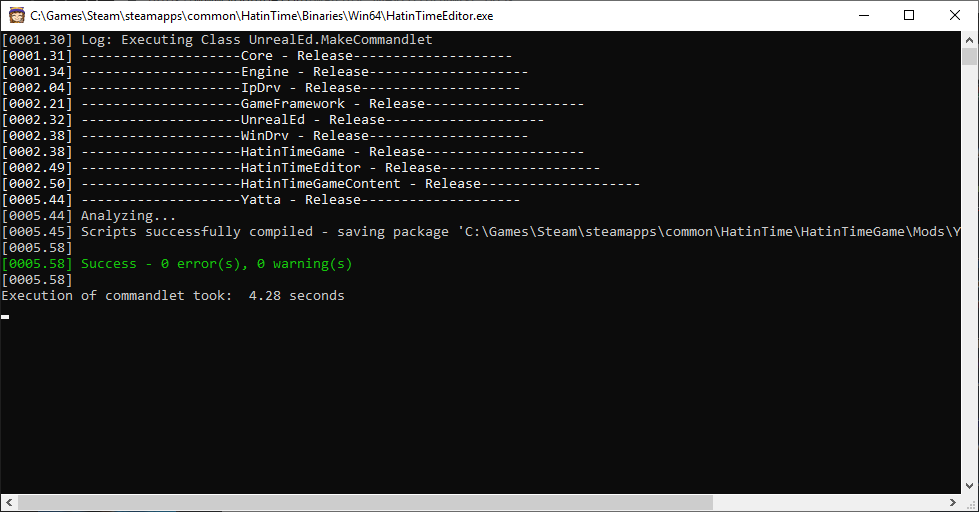
Should only take a moment, and it should look like that! go ahead and close the window.
extra bits:
– having it set as notplaceable in the script like i have it means it will automatically be added to your inventory. if you want it in a level mod, just remove the not and leave it as placeable. that will let you place it in your own mod level!
– As an extra side note, as long as the file name and the class part of the script match you can name your sticker anything! So, to not name your own scripts after my own sticker, you could name your file with something unique like “EpicGamer_Collectible_Sticker_Gamer.uc” and change the first line of your script to read
That way, you can make each sticker script unique, and have more than one in a single mod!
Publishing your sticker!
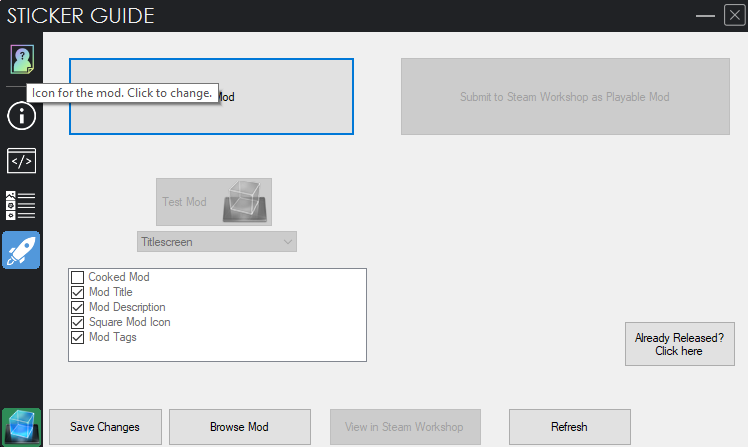
Set an icon for your mod with the top left button ( a 512×512 .jpg or .png is the best for this )
Icon needs to be square again, and not over a mb. if you go over the tools will freak out and cause a bunch of problems, so if you’re worried just use a 500×500 .jpg image as your mod icon. this is what other people on the workshop see, so make it something nice!
If thats set, hit Cook Mod. This may take a few minutes, but when you’re its done you’re just about ready to upload. If its cooked, you can actually see it ingame. so go startup your game and check your inventory to make sure its there! if you can use your amazing new sticker, go ahead and hit “Submit to Steam Workshop as Playable Mod”
After another short wait your mod will be on the workshop, congrats!!!
it will take 10-30 minutes for it to show up to everyone, so add some nice screenshots or video to the page to really show it off!
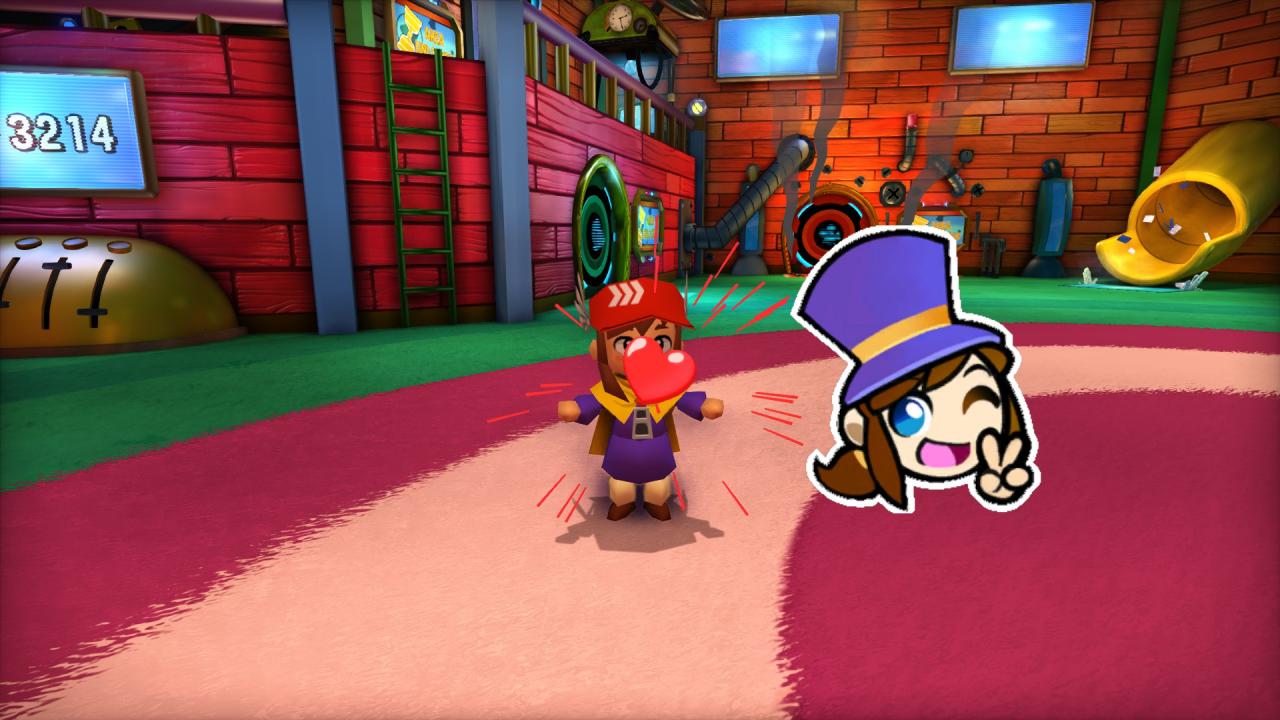
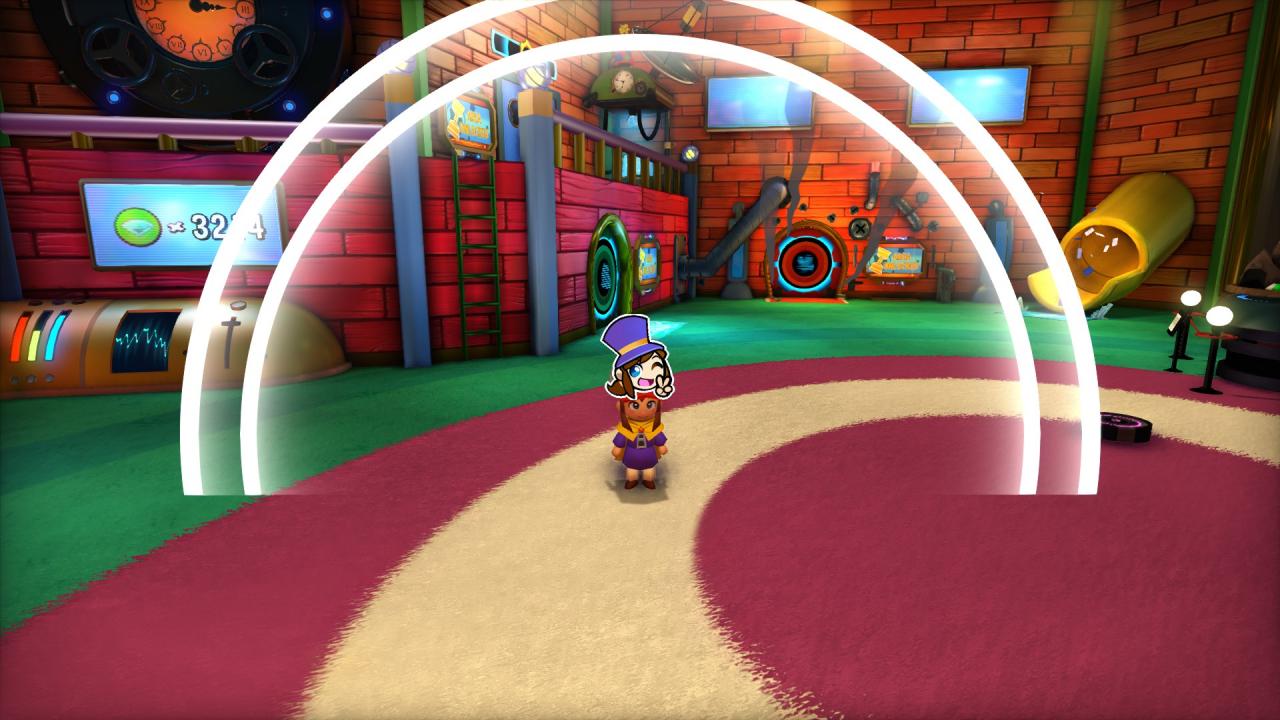
That about does it for this guide! The sticker will only appear to those who have the mod installed. I hope this guide has helped ya!
Related Posts:
- A Hat in Time: Secret Sticker Guide
- A Hat in Time: Wowza! Sticker Guide
- A Hat in Time: All Sticker Locations
- A Hat in Time: Metro Content Guide
- A Hat in Time: How to Disable Emote Wheel
