

This guide breaks down the Marketer, Realist, and Risk-Taker paths side by side, maps out what Vocals, Dance, Charm, Fame, Happiness, and Stamina actually do in practice, and shows how each of the three group concepts — Cute, Glamour, Fantasy — rewards a different stat build. If you’ve been picking manager perks blind or guessing which concept fits your roster, this is the breakdown that fixes that.
Manager Types Overview
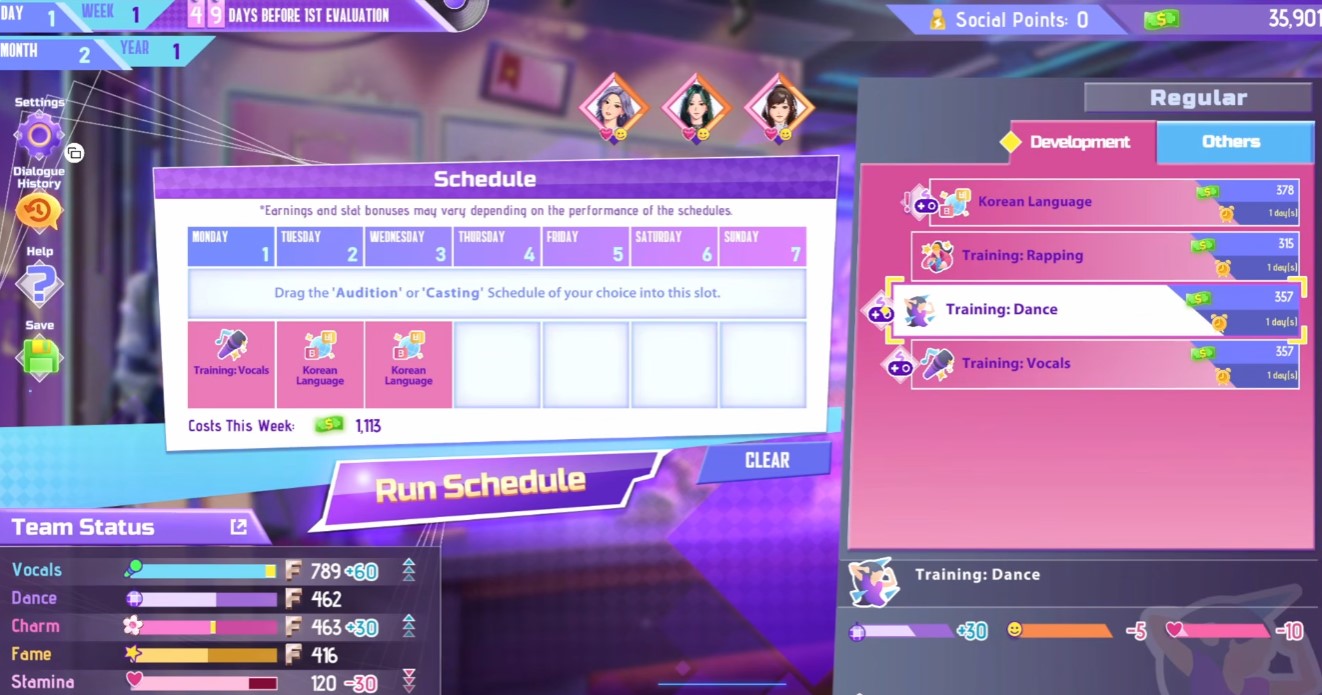
Your manager choice locks in a bonus track for the entire run, so pick based on where your trainees are already strong, not on flavor text.
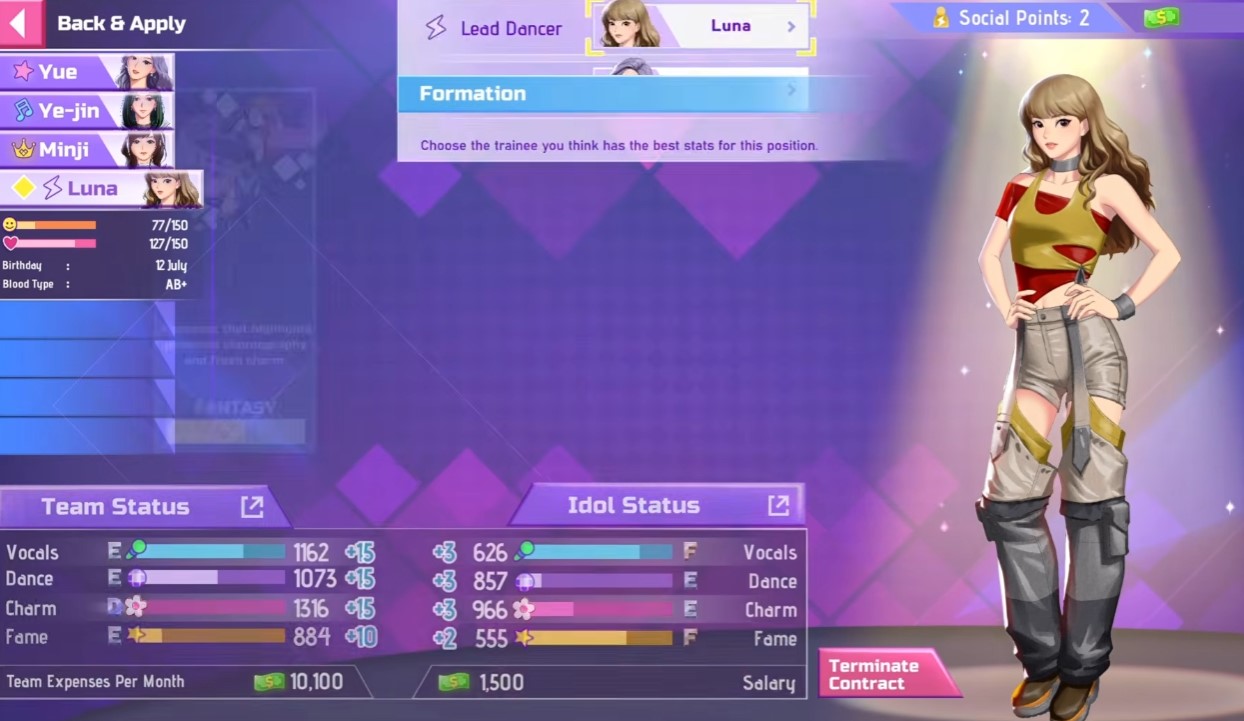
The Marketer leans into Dance, Charm, and Happiness. It’s the pick for groups building a Cute or Fantasy concept where visual polish and morale matter as much as raw skill. It eventually unlocks Luxury Brand Ambassador work, one of the better-paying gigs in the late game.
The Realist spreads bonuses across Dance, Charm, Vocals, and Stamina. This is the balanced option — good if you don’t want to commit hard to one concept early and need your trainees performing well across the board. It unlocks Backup Singer work, a steady stat-and-cash source.
The Risk-Taker pushes Dance and Vocals plus straight monetary bonuses. This is the manager for players who want cash flow to snowball early so they can buy training slots and gifts sooner. It unlocks Photoshoot for a Magazine, which pays out well once available.
None of these are strictly better — they’re built for different debut timelines. Marketer front-loads Happiness, which keeps trainees performing well in training sessions. Risk-Taker front-loads money, which buys you flexibility. Realist just keeps everything moving evenly.
Manager Bonuses Table
Here’s the exact breakdown by unlock tier, so you know what you’re working toward at each stage.
| Manager | Bonus 1 | Bonus 2 | Bonus 3 |
|---|---|---|---|
| The Marketer | Dance +20, Happiness +50% | Charm +20, +$100 | Unlocks Luxury Brand Ambassador work |
| The Realist | Dance +20%, Charm +50 | Unlocks Backup Singer work | Vocals +30%, Stamina +20 |
| The Risk-Taker | Unlocks Photoshoot for a Magazine | Dance +50, +$250 | Vocals +30%, +$600 |
A few things worth flagging. The Realist’s second bonus is a work unlock, not a stat boost — so if you’re chasing pure numbers, that tier feels like a gap compared to the Marketer or Risk-Taker. The Risk-Taker front-loads its work unlock instead, which means you get access to Photoshoot for a Magazine earlier than the Realist gets Backup Singer or the Marketer gets Luxury Brand Ambassador. If cash is tight in the early game, that ordering matters more than it looks on paper.
Trainee Attributes and Their Purposes
Six stats govern everything your trainees do, but they split into two functional groups.
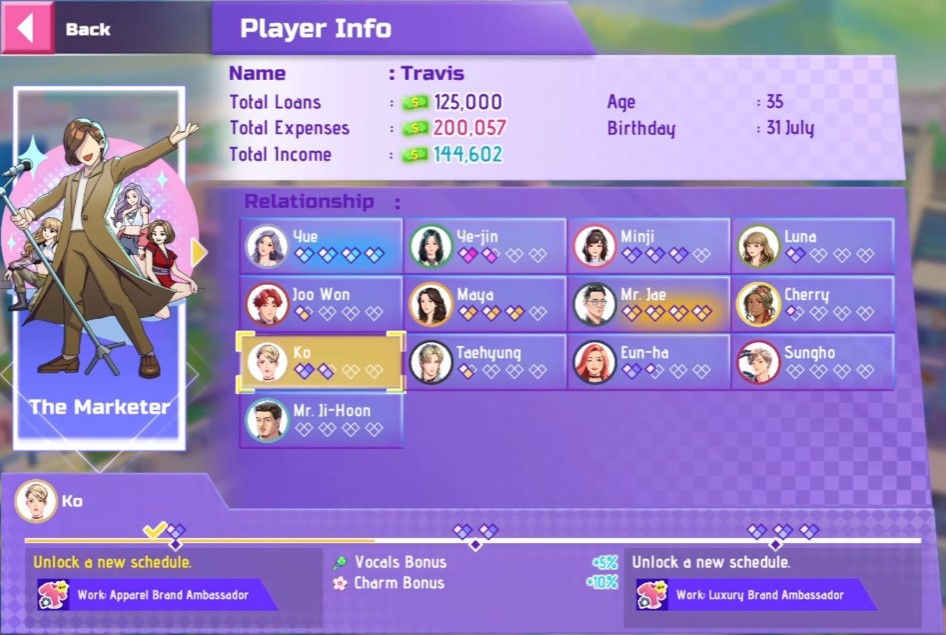
The three concept stats — Vocals, Dance, and Charm — are what your group’s concept actually scores against during evaluations. Vocals covers singing ability, Dance covers choreography execution, and Charm covers visuals and stage charisma. Every concept type (Cute, Glamour, Fantasy) weighs these three differently, which is why your manager pick and concept choice need to line up.
The support stats are Fame, Happiness, and Stamina. Fame builds through fan interaction and media coverage — it’s less about training and more about how you handle public-facing events like Koreabee posts and reporter encounters. Happiness and Stamina both affect performance quality during training and work sessions; low numbers on either will tank your output even if the underlying Vocal/Dance/Charm stats are high.
Practical takeaway: don’t grind stat-boosting schedules if Happiness or Stamina are in the red first. A trainee training at low Happiness gets worse returns per session, so it’s often more efficient to fix the mood problem before pushing more Dance or Vocal reps.
Group Concept Types
Your concept choice determines which stat combination actually scores during evaluations, so this should be decided based on your strongest trainees, not aesthetic preference.
Cute rewards powerful choreography and fresh charm — basically a Dance-and-Charm-forward build. If your roster skews toward Dance trainees like Gita, Luna, or Minji, this concept lets those stats carry the evaluation.
Glamour rewards rich vocals and emotional performance delivery. This is the concept for Vocal-heavy rosters — Ye-jin, Yuna, and Ai all feed directly into a Glamour build’s scoring.
Fantasy rewards stunning visuals and stage presence, which lines up with Charm-focused trainees like Hana and Yue.
The mistake most new managers make is picking a concept before checking their trainee spread. If you’ve got two Vocal trainees and one Dance trainee, Glamour will outperform Cute every time, regardless of how good your choreography training has been.
Trainee Categories and the Affection System
Trainees split into three specialty categories: Vocal (Ye-jin, Yuna, Ai), Dance (Gita, Luna, Minji), and Charm (Hana, Yue). Each has a fixed location where you’ll find them for chats, gifts, and dates — Ye-jin and Yue are both in the Manager’s Office, Yuna and Gita share the Cafe, Ai is Backstage, Luna and Hana are in the Shopping Area, and Minji is in the Recording Studio.
Affection hearts unlock tangible rewards, not just flavor dialogue:
| Hearts | Reward |
|---|---|
| 1 heart | New schedules or training options |
| 2 hearts | +5% stat bonus (sometimes applies to all members) |
| 3 hearts | +3% income bonus for related schedules |
Key characters — Juwon, Maya, Mr. Dae, Cherry, Go, Taehyung, Eunha, Sungho, Mr. Hoon, Mr. Woo — work differently. Their affection unlocks aren’t stat percentages but flat bonuses and schedule access, and some are significant. Maya’s second heart unlocks Runway Model, and her third unlocks Reality Show Guest. Mr. Dae’s path leads to a Movie Lead schedule plus a flat +546 funds and +250 Fame at two hearts. Cherry unlocks TV Commercial Star at three hearts alongside a 10% Fame and 15% Singing bonus at two hearts.
If you’re managing gift budget, prioritize hearts on whichever key character gates a schedule you actually need. Grinding Mr. Woo’s affection is a dead end mechanically — his unlock interface isn’t available, so gifts there are pure flavor with no schedule payoff.
Story Beats: Choices and Outcomes
A handful of recurring decision points show up across playthroughs, and the “safe” choice isn’t always the best one.
When Cherry warns you about the first evaluation being only ten weeks out, picking “Keep it up! Fighting!” nets +2 Relationship Cherry and +1 Relationship with all idols — better than the alternative, which actually costs you Relationship with Cherry even though it bumps group relationship slightly higher.
The Maya backstage encounter (agreeing to keep her secret) pays out +2 Relationship Maya and +20 Charm, plus unlocks an Acting training schedule. That’s a strong return for a single dialogue choice, and it’s easy to miss if you’re rushing through backstage scenes.
For the Leaked Photo Koreabee Post Hate event, responding anonymously to defend your trainees gives +Fame and +Happiness — better than using the official KIS account, which doesn’t carry the same Happiness payoff. When a reporter presses for details, confirming and asking her to wait gives +Fame; dodging or denying doesn’t move the needle at all.
Schedules: Events and Best Choices
Random schedule events pop up constantly, and most have one option that’s clearly stronger once you know the payout.
Medical situations are the clearest pattern in the game: whenever a trainee gets hurt — sprained ankle, allergic reaction, injury from a fight, food-related illness — calling emergency services or medical staff immediately is almost always the +Happiness option, and it’s covered by insurance if you’ve purchased it. Trying to “handle it yourself” with basic first aid or waiting it out consistently underperforms the immediate-call option.
Morale events follow a similar logic. Letting trainees join a birthday ice cream party gives +Happiness with zero downside. Anxiety from daily evaluation comparisons is best resolved with a psychiatrist consultation, which gives +Happiness and sometimes +Stamina — stronger than a general consultation from you, and much stronger than ignoring it, which costs Happiness.
A few events reward spending money over saving it. When vocal cords are strained from over-practice, buying pricier drinks from a nearby store (rather than the cheapest option) still gives +Stamina, but the framing suggests the convenience is worth the cost when your group’s morale is already fragile. Milestone celebrations are a similar case — karaoke gives a double bump to both Happiness and Stamina, outperforming banana milk drinks or just reviewing milestones together.
One event worth flagging as a trap: when a trainee suggests more dynamic dance combos mid-training, following her suggestion is the better call. Leaving the decision up to the trainer or sticking rigidly to the schedule costs you both Dance and Happiness.
Event Scenarios and Best Options
Beyond the schedule-specific events above, a broader set of scenarios recurs throughout the game with consistent best answers.
The pattern across almost every logistics event is the same: defer to the driver or call for professional help rather than trying to manage the situation yourself. The game consistently rewards delegation over improvisation in these scenarios, which runs counter to what a lot of players assume going in.