
If you are collecting achievements in Return to Grace, this is an 100% achievements guide to help you unlock them all.
Introduction

Return to Grace is an atmospherice walking simulator featuring 35 Steam achievements.
Since several achievements are mutually exclusive and there’s no manual save, it’s highly recommended to backup your save files (AppData\Local\Grace) at the following locations:
Important Note: Please read the ‘Endings’ section before reading/following the other sections.
Story
 Not all those who wander are lost
Reached Moon Surface
Hello there
Found Grace Spire
This means something
Found source of signal
they’ll never take… OUR FREEDOM!
Escaped the Trap
It’s working! It’s working!
Got Transit working
I KNOW HIM!
Uncovered Everett’s identity
Speak Friend and Enter
Became the Keeper
I’ll give her another 20 minutes, but that’s it
Witnessed Allen’s fate
⋗︎ Endings
Broke into Heaven
Don’t cross the streams
Aligned Relay
When we fix something it stays fixed
Reset Relay
It’s alive! It’s alive!
Activated Grace
 The hardest choices require the strongest wills
Returned to Grace
For this ending, you have to get inside the cavity in the Keeper’s room. It’s recommended to do this ending first while making save backups at the locations listed in the ‘Introduction’ section.
It is your destiny
Ruled with Control
For this ending, you must always listen to ‘Control’:
- In the power station room, head straight to the three generators and replace the turbine.
- Stop listening to the wish canisters as soon as ‘Control’ tells you to.
- Throw away the com device in the funicular.
- Press the beacon button in the Keeper’s room.
It’s highly recommended to do this ending last. If you have saved the game at the locations listed in the ‘Introduction’ section, you can load the second save to avoid a full second playthrough.
Missable
 Elementary, my dear Watson
Examined both Weather Stations
The first station is located in front of the first small bridge and the second one can be found shortly after falling off the last bridge (see next achievement before progressing too far):

Please send me a sign
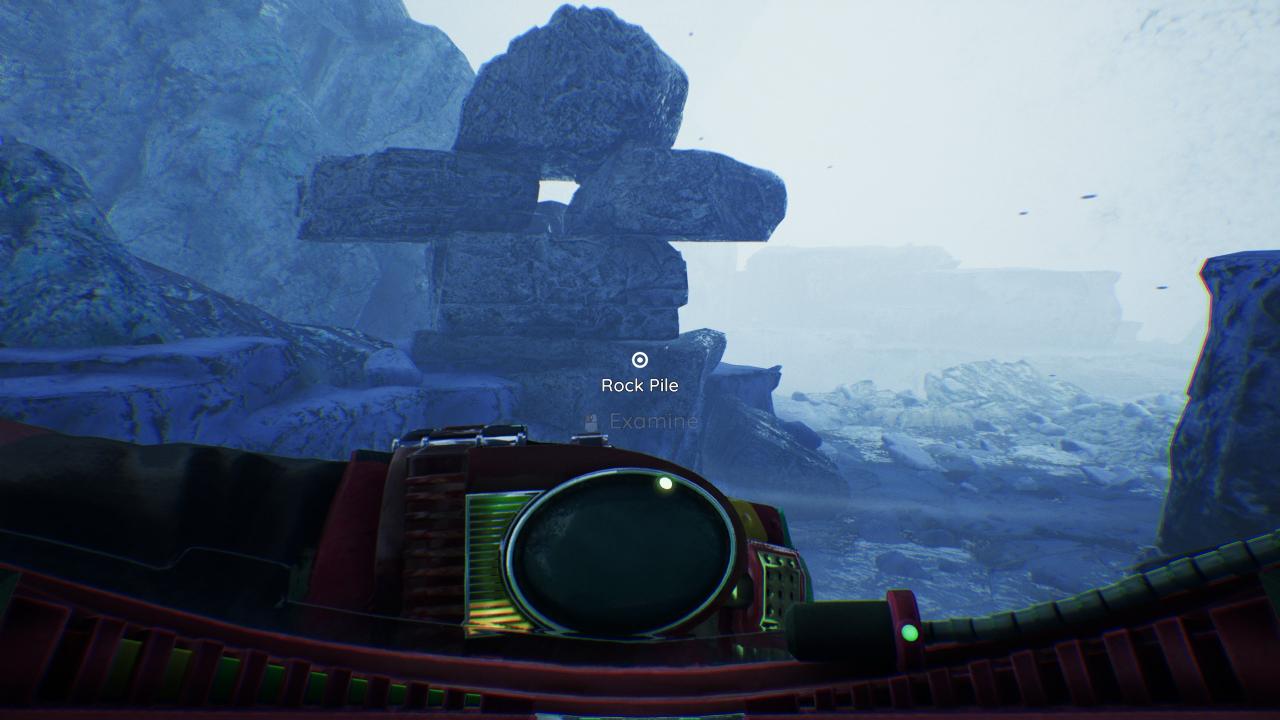
Found Stone Marker
When the path splits at the two small bridges, go to the right and interact with the rock pile:
Frankly, my dear, I don’t give a damn
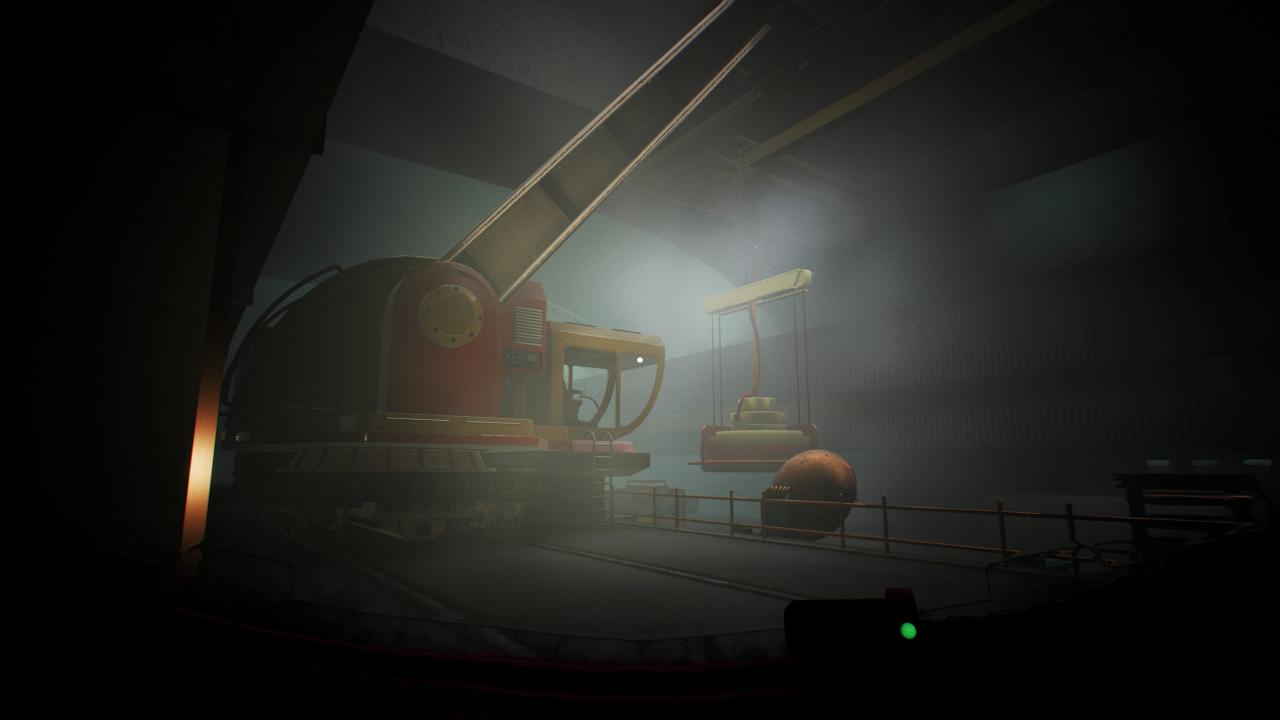
Ignored Control’s instruction
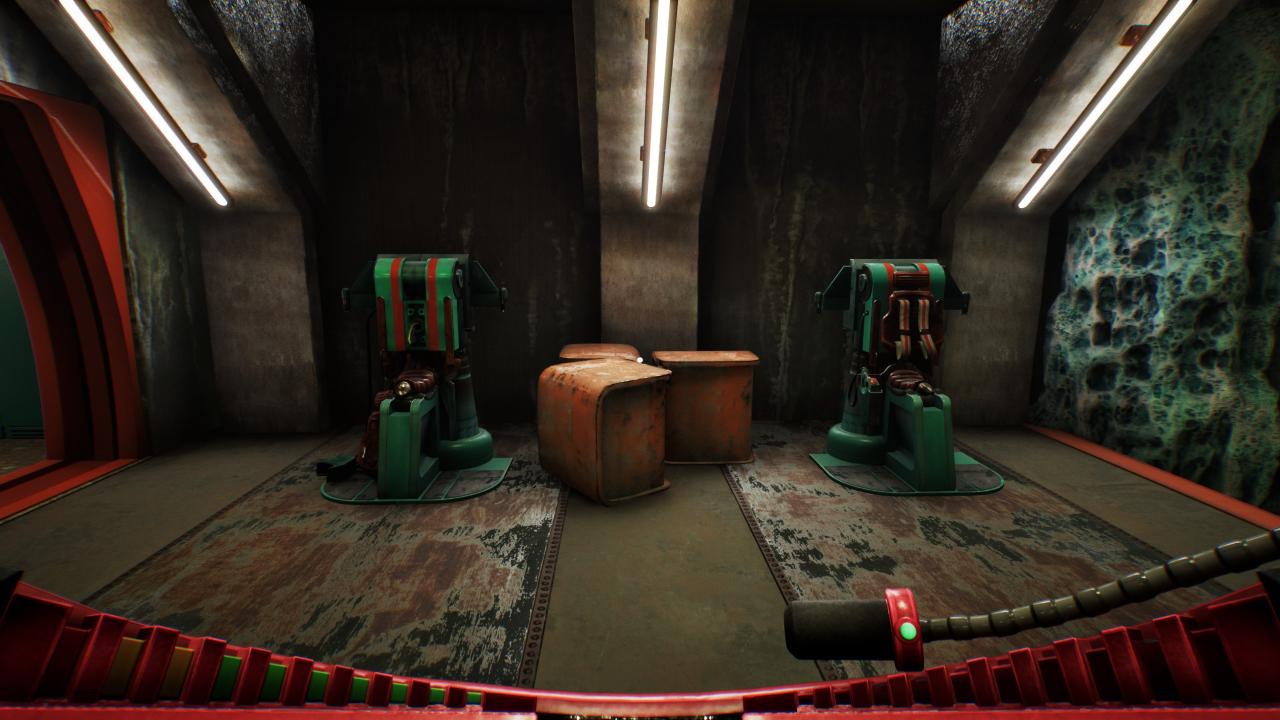
After opening the ‘Power Station Door’ and meeting ‘Control’ for the first time, examine the crane (left) and the crates (right) before interacting with the three generators:
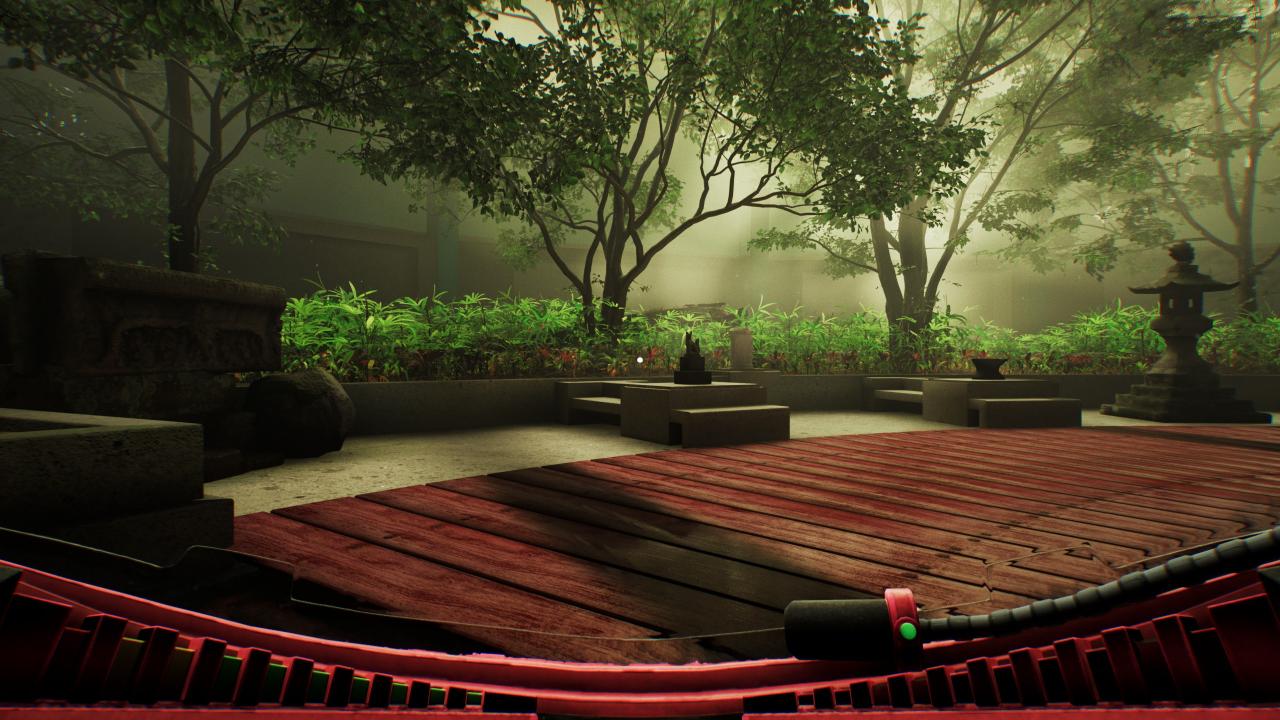
I’m curious what makes you so curious
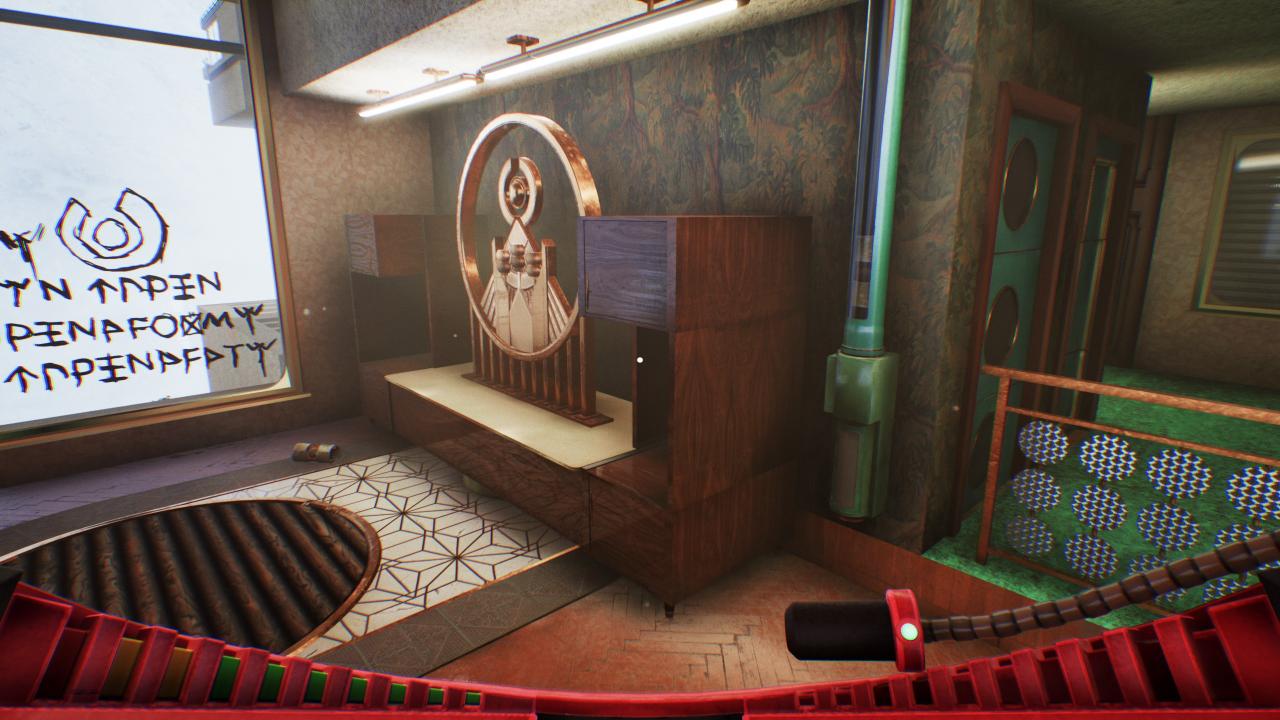
Examined all items in Zen Garden
Interact with all five objects in the garden:
- Carving
- Statue
- Plinth
- Metal Object
- Lantern
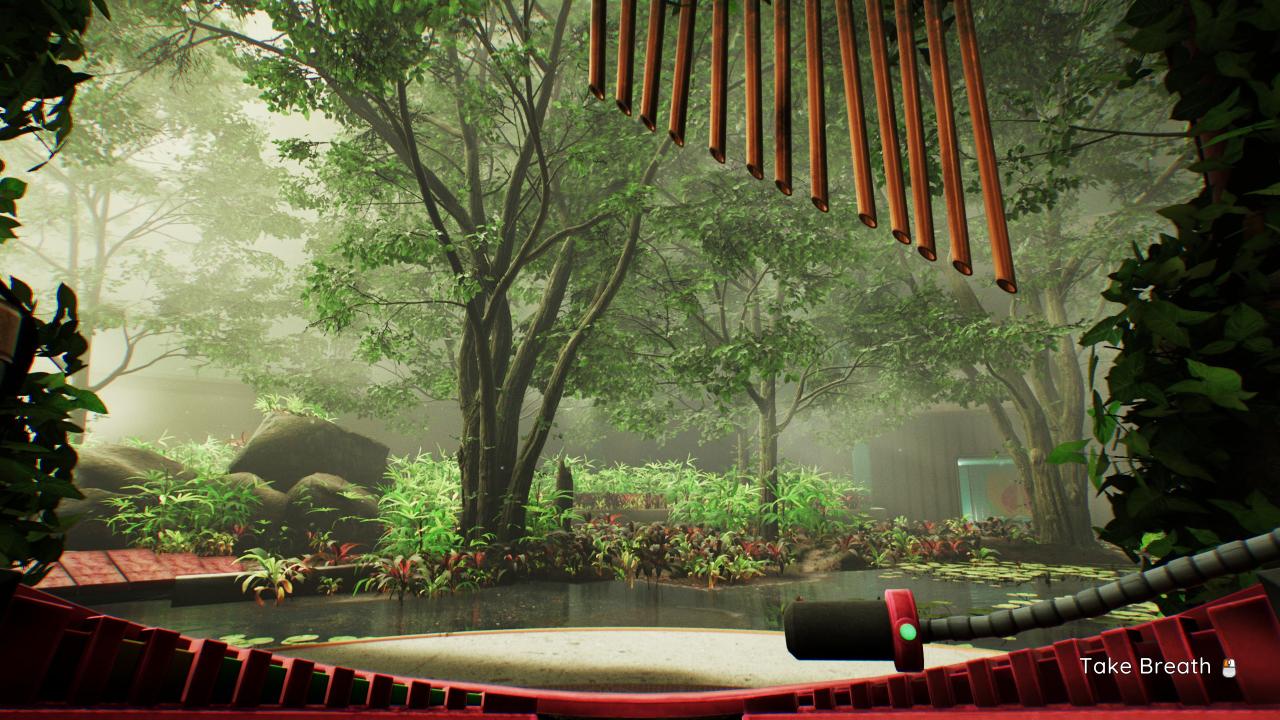
Hold your breath, make a wish, count to three
Held your breath
When ‘Empathy’ tells you to hold your breath, hold it until Adie automatically exhales:
No disassemble!
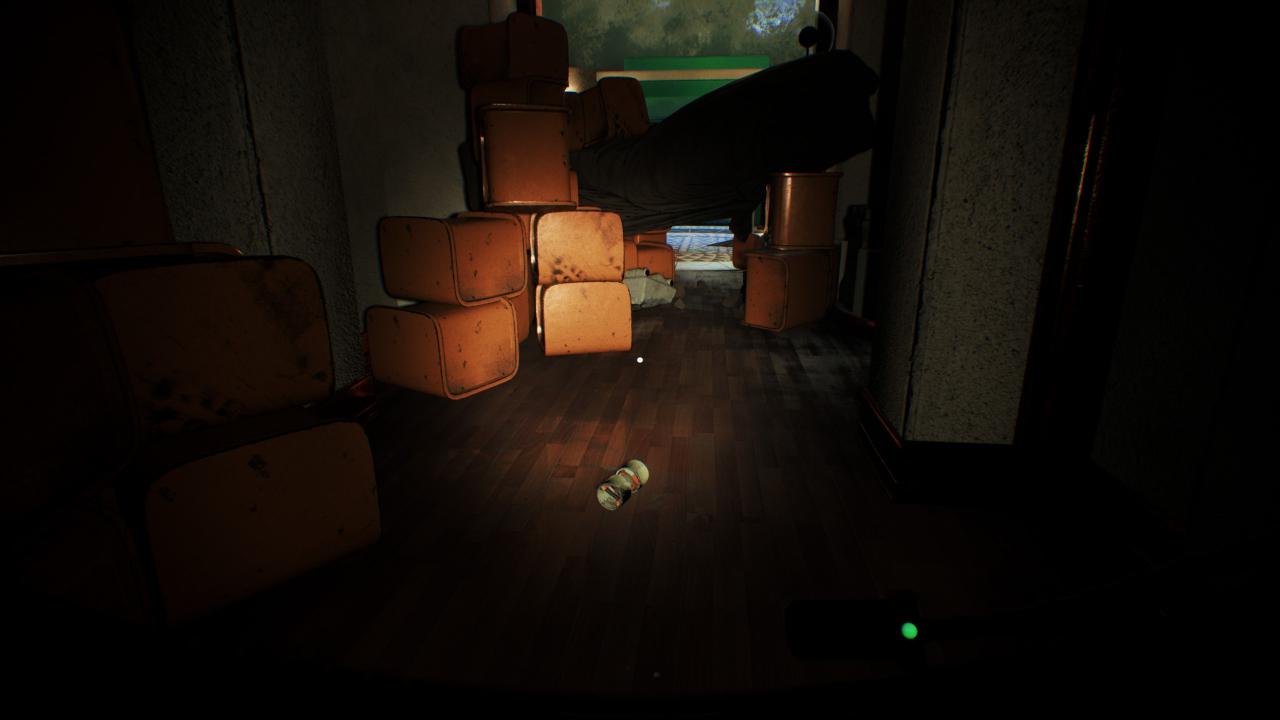
Discovered evidence of scavenging
Examine the broken equipment (left) outside the pod control room:
Clever Girl
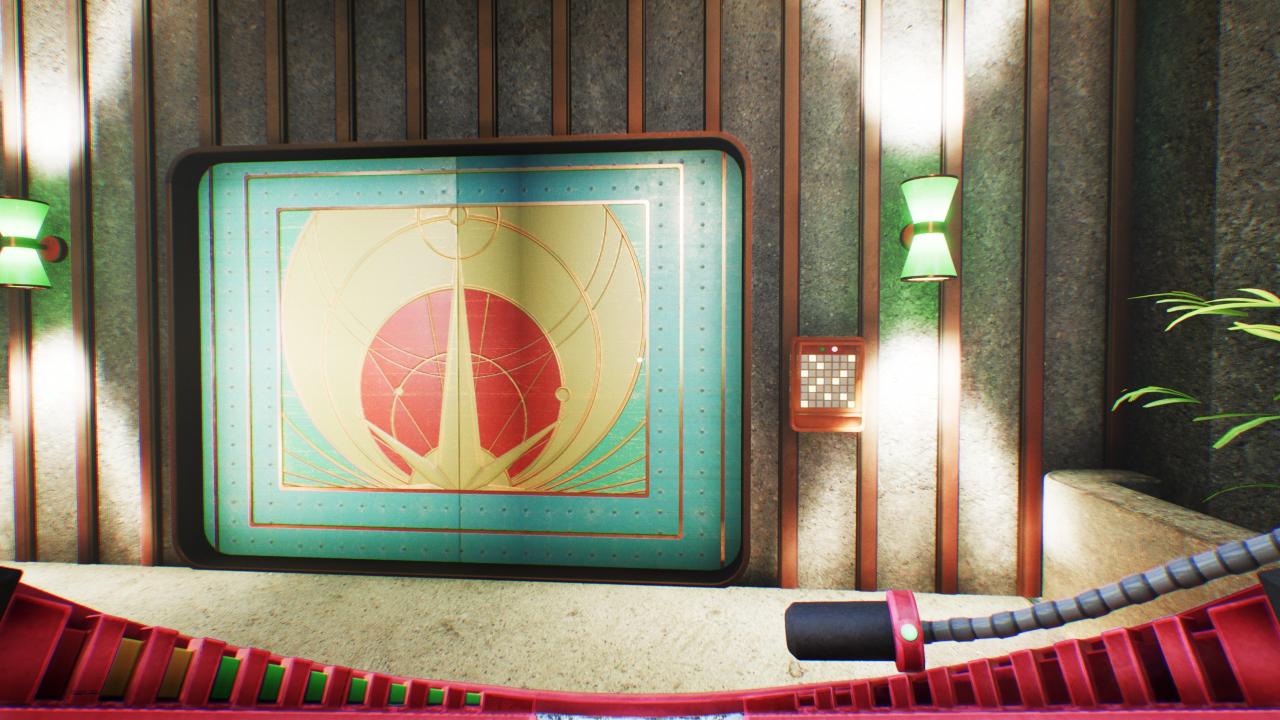
Solved Security Door with no mistakes
Open the third security door with 21 clicks (can quit to menu and reload if necessary):
He doesn’t know how to use the three seashells
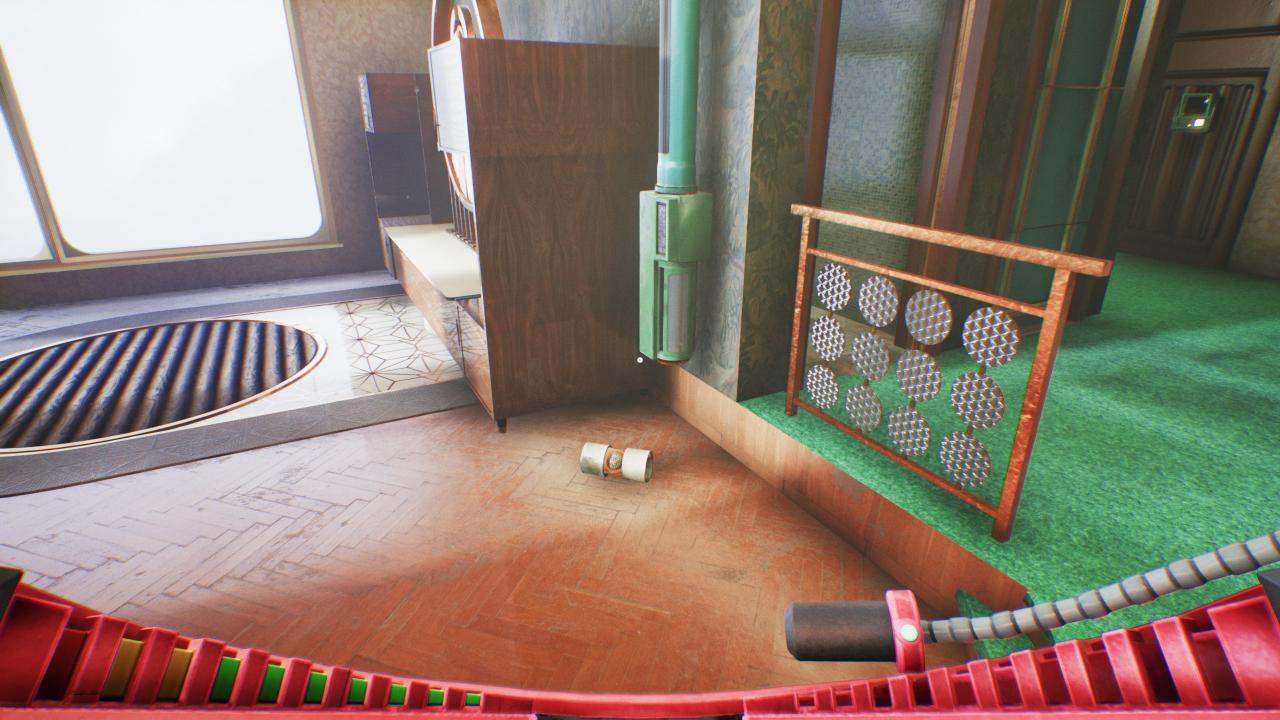
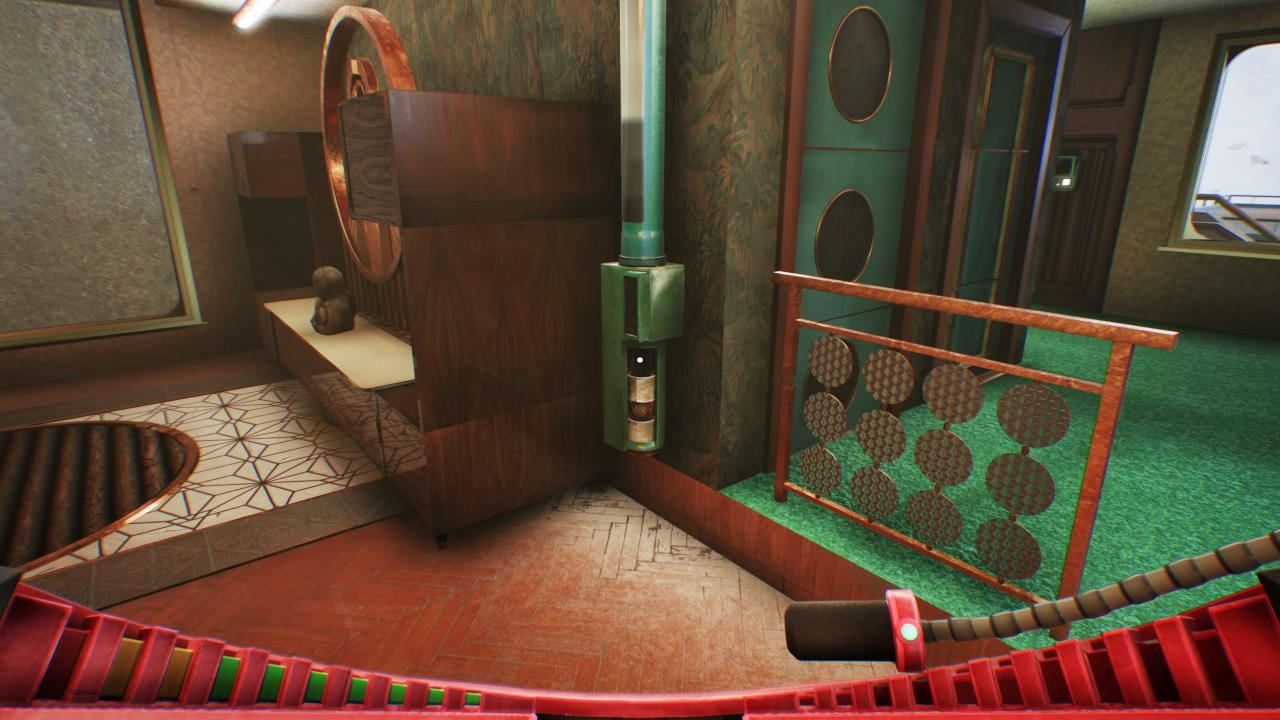
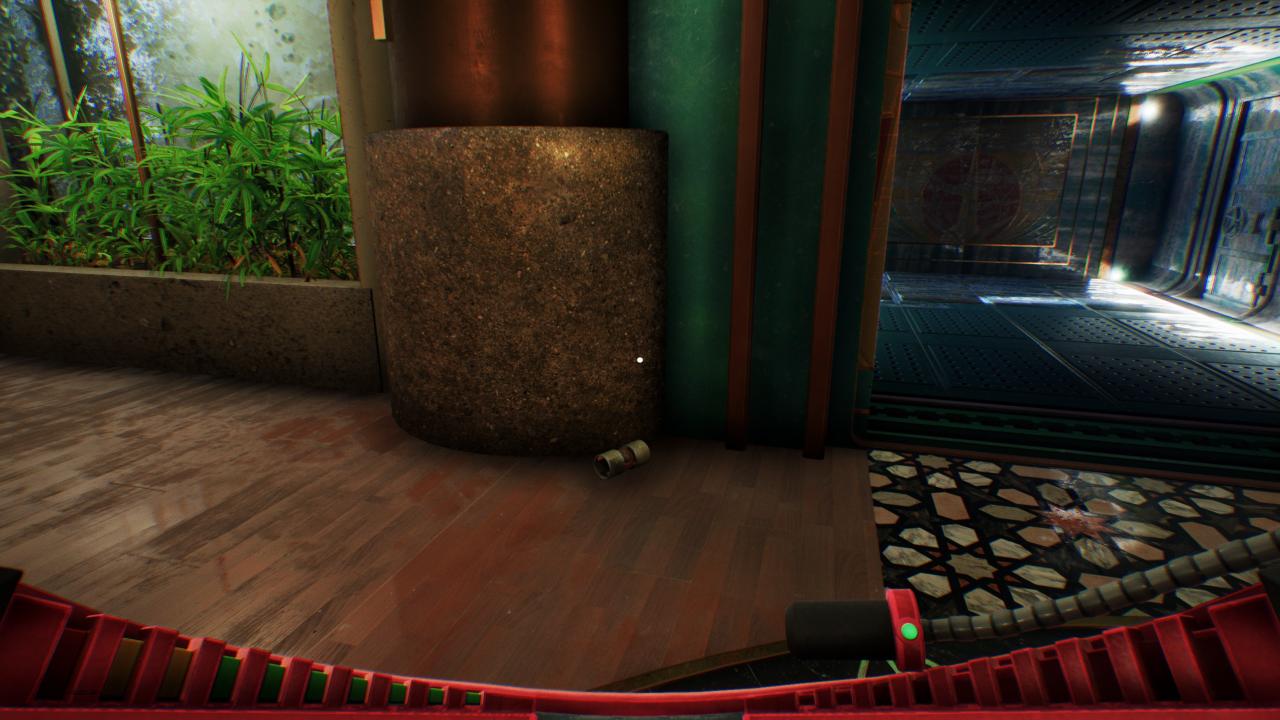
Examined Washroom
Examine the fixture in the bathroom of the first apartment:
Get busy living or get busy dying
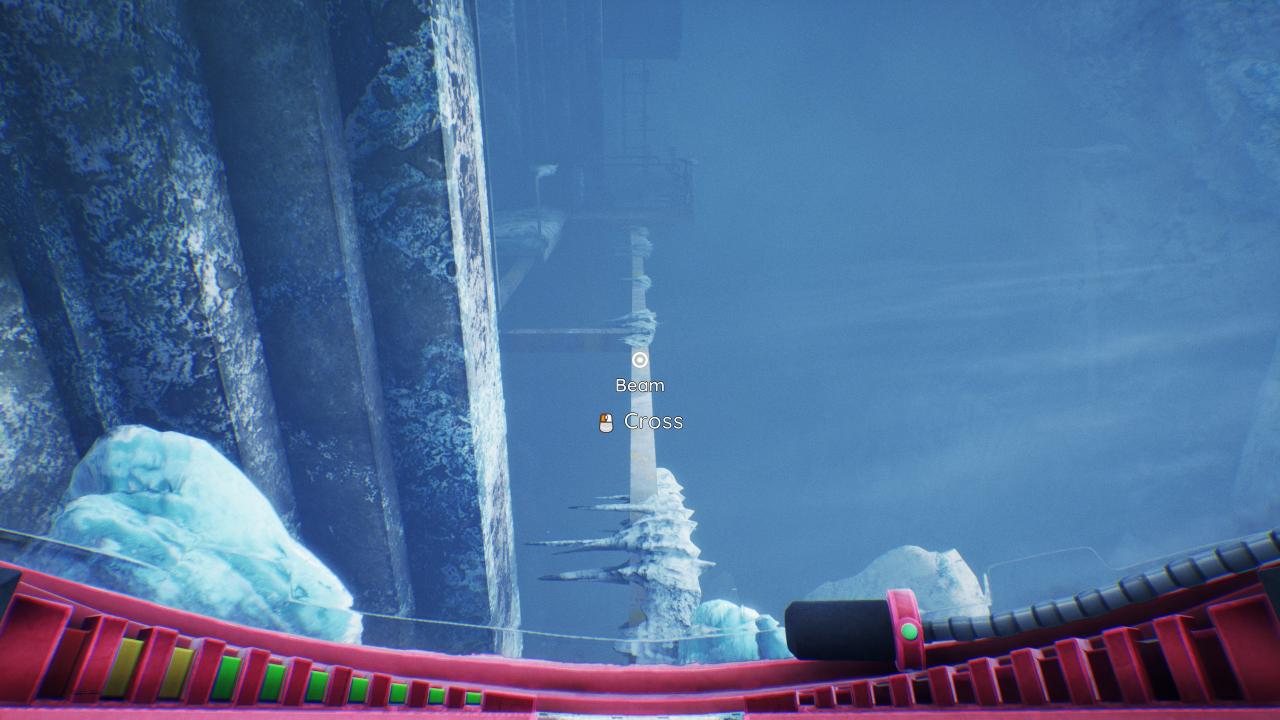
Used the Beam as a shortcut
Use the beam to reach level 3. You are not allowed to fall off the beam and use the shortcut:
Let me risk a little more light
Entered the Dark Room
Enter this apartment on level 3:
Let them come
Uncovered story of the Siege
Interact with these spots in the church area:
- Fire Pit (lower floor on the left or upper floor after squeezing through the gap)
- Wish Canister (lower floor or upper floor before squeezing through the gap)
- Boxes (upper floor before squeezing through the gap)
- Bedding/Camp (upper floor before or after squeezing through the gap)
Wilson!
Cast away Device
Throw away the com device.
… death is but the next great adventure
Crossed Track
Open the airlock hatch and cross the beam:
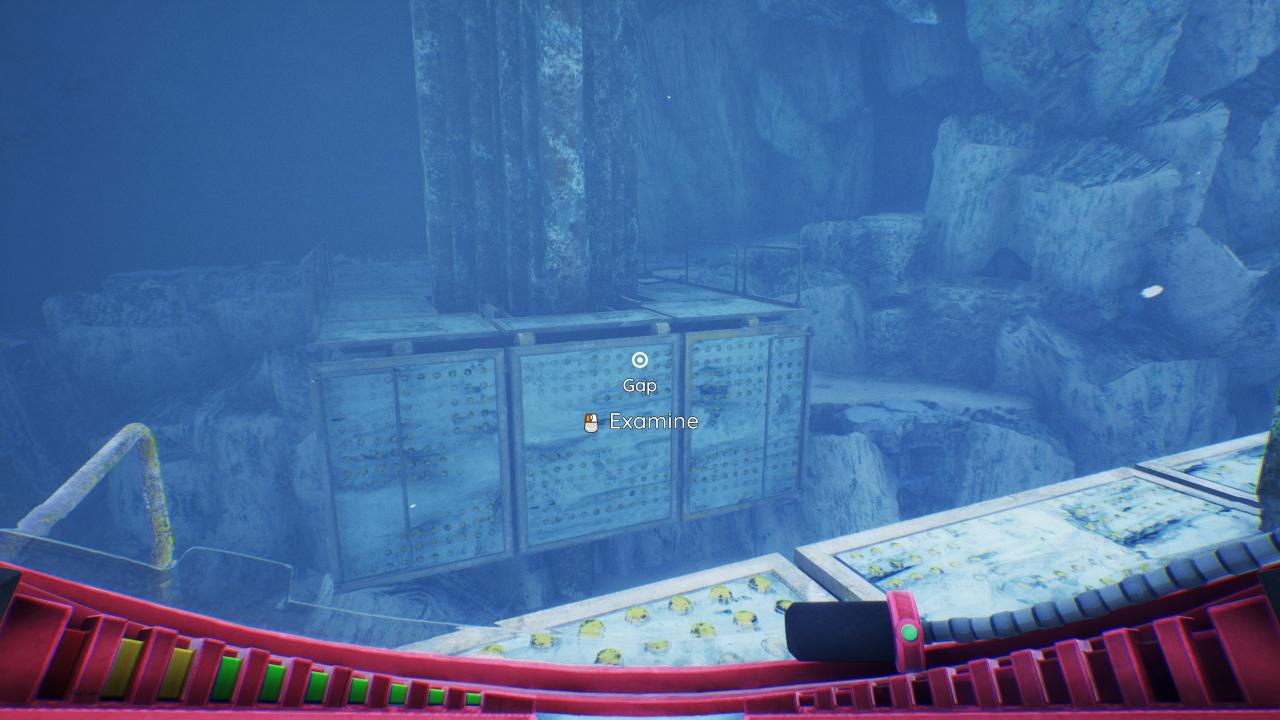
Tis but a scratch!
Attempted Jump
Open the airlock hatch, choose the path across the beam and try to jump over the gap:
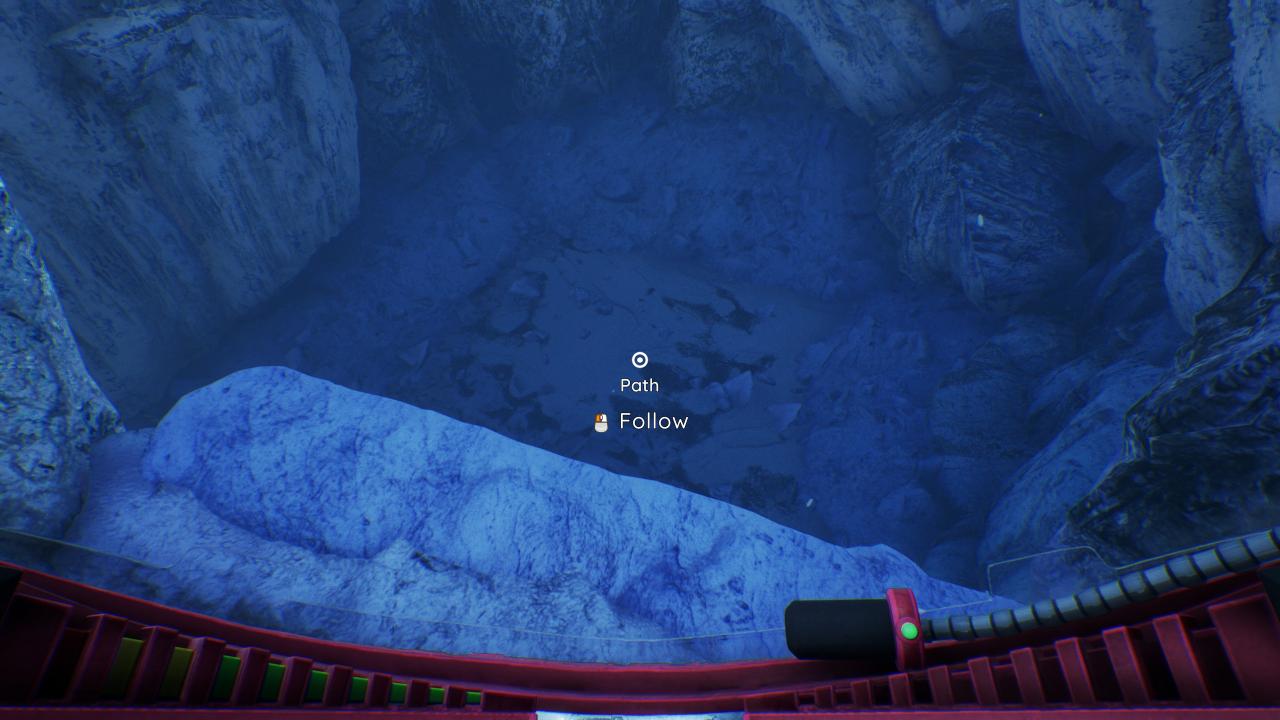
I want to tell you my secret now
Confided with Mom
Open the airlock hatch, jump off the ledge and keep following the path:
Mess with the best, die like the rest
Overrode Panel
Open the airlock hatch and use the override to lower the emergency escape ladder:
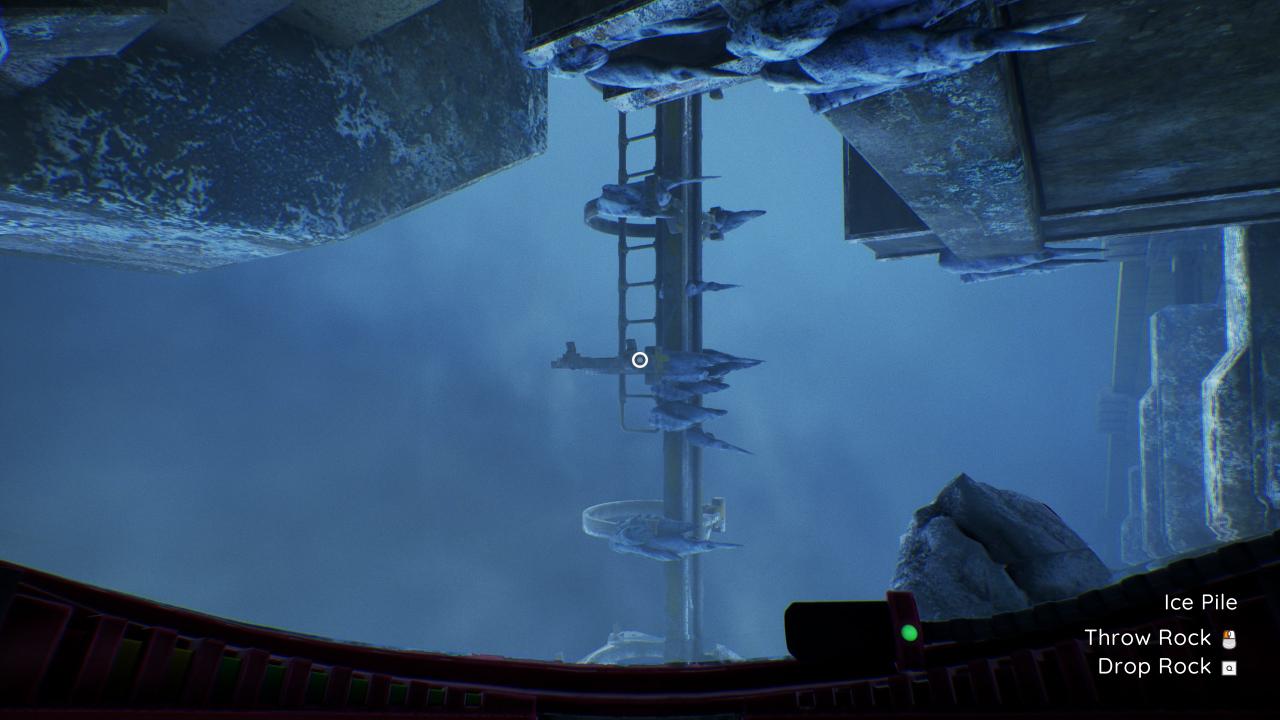
I used to bullseye womp rats in my T-16 back home
Threw Rocks
Open the airlock hatch and go past the ladder. Use some rocks to knock the latches loose:
Put it up to eleven
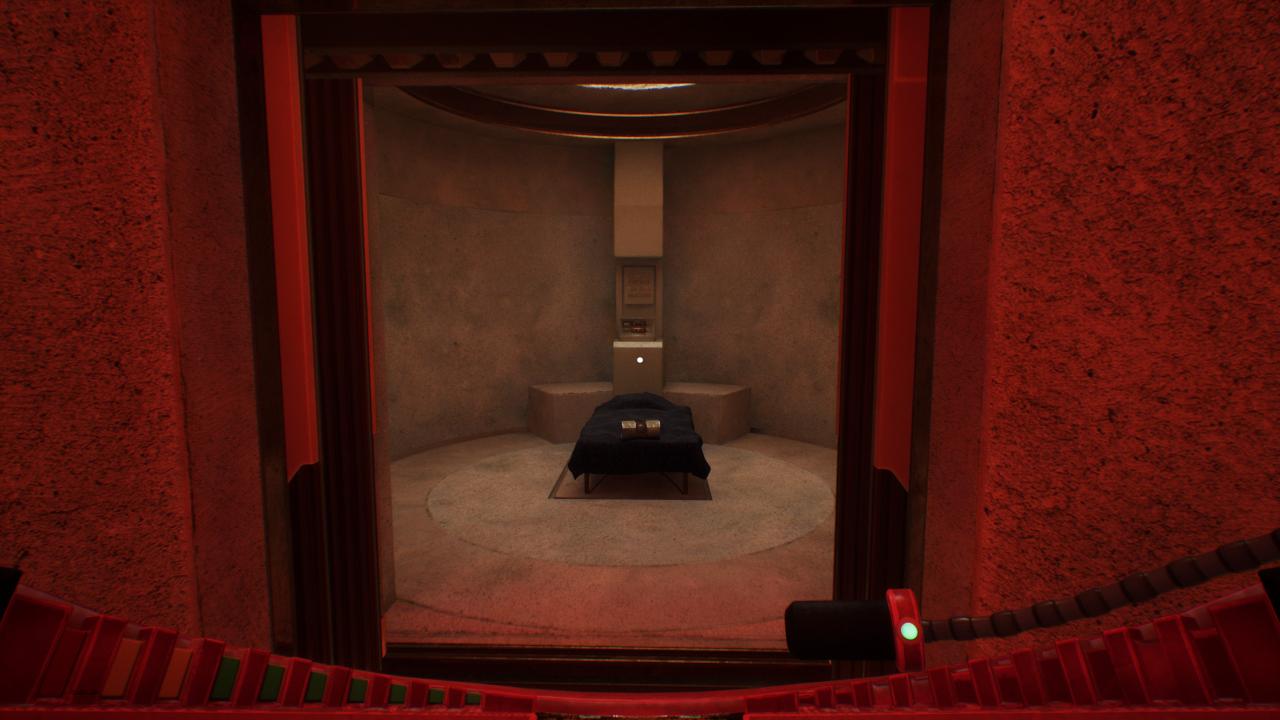
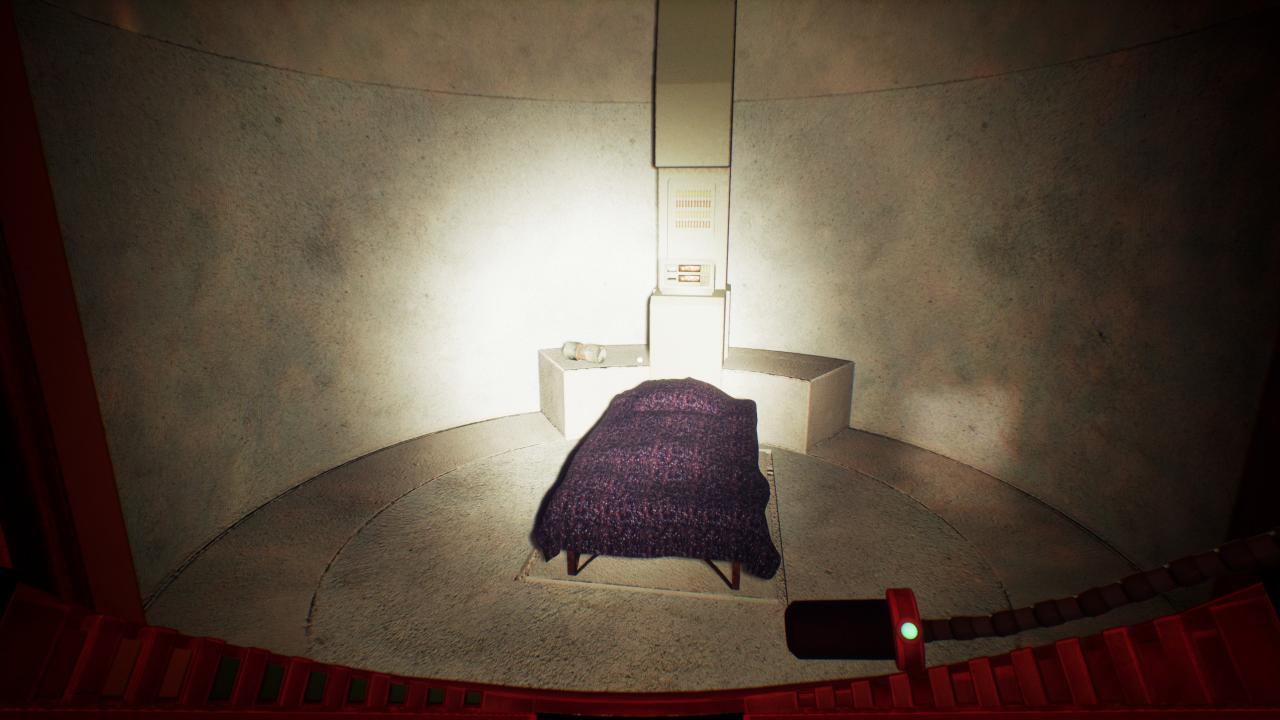
Played the Theremin
Play with the Theremin in the Keeper’s room:

⋗︎ Wish Canisters
As you wishDiscovered first Wish
You call this archaeology?
Searched all Rooms
How many wishes do I get?
Listened to all Wishes
In order to be able to hack all 17 wish canisters, you must keep the com device and the flashlight until the end. Therefore, you must go through the airlock hatch to reach the lighthouse (don’t throw the device away) and follow the long path in the canyon (don’t try to jump across the gap).
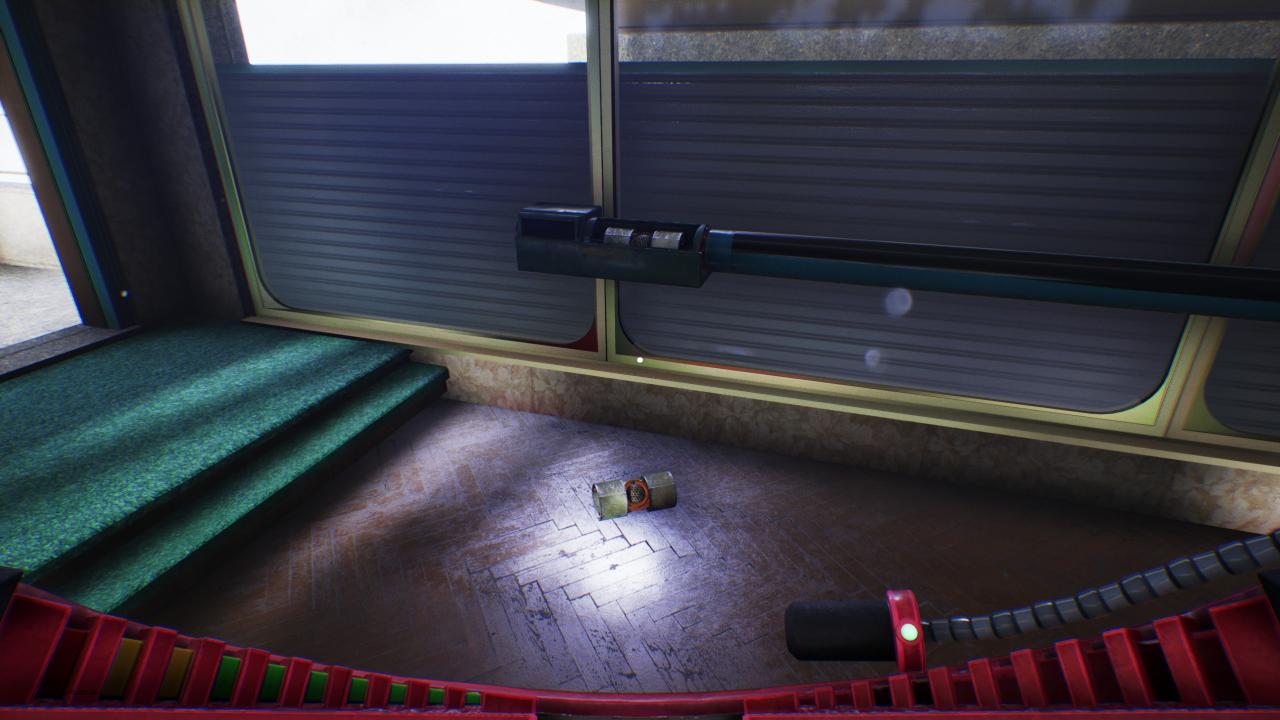
[1/17] In the fourth apartment:
[2/17] In the sixth apartment:
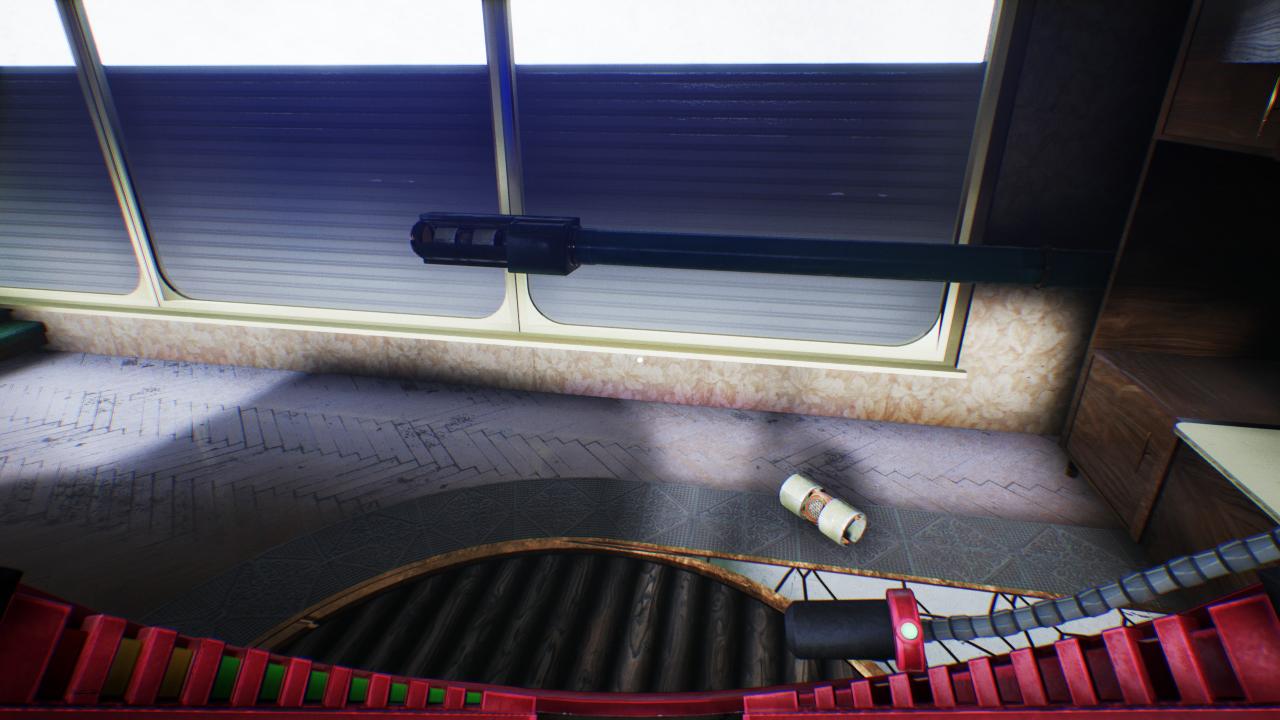
[3+4/17] In the seventh apartment:
[5+6/17] In the eighth apartment:
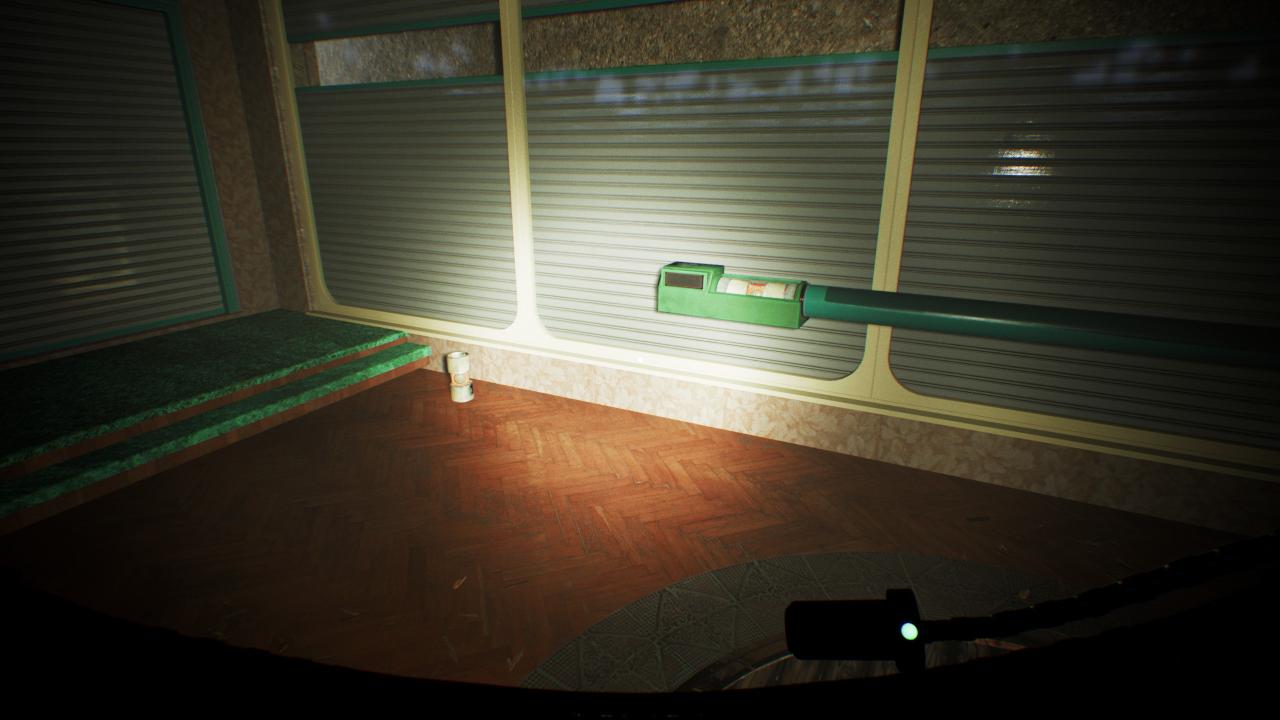
[7+8/17] In the ninth apartment:

[9+10/17] In the tenth apartment:
[11+12/17] In the eleventh apartment:
[13/17] In the church area, after squeezing through the gap:
[14/17] In the church area, after ducking under the crawl space:
[15/17] In the living quarters, second bedroom on the right (requires the com device):
[16/17] In the living quarters, last bedroom on the left (requires the flashlight + the com device):
[17/17] In the Keeper’s room, after pressing the console button (requires the com device):