For NGU INDUSTRIES players, this guide will provide you a quick primer on how beacons work and some example setups. Let’s check it out.
How do they work?
Just a quick recap for those who don’t understand the “How to Play” section of the game or want more explanation.
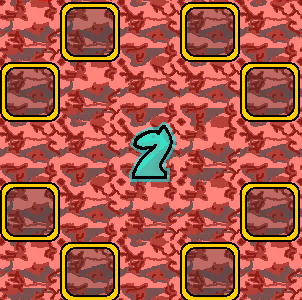
Beacons come in three basic types: Speed(Cyan/Light Blue), Production(Purple), and Efficiency(Yellow). Each beacon can spread it’s boost to up to 8 factories depending on the shape of the beacon. Box beacons spread the affect to the factories immediately next to it(Up, Down, Left, Right, Diagonals), while a Knight beacon spreads it’s boost in the shape of a chess knight(2 in one cardinal direction, then 1 in a perpendicular direction; a “L” shape).
Beacons:

If you hover over a beacon with your mouse you can see the squares that it boosts highlighted. This highlight can be changed in the settings.

Numbers and Napkin Math
A quick reference to the numbers given by beacons per factory they boost:
Box Beacons:
Speed: +40%
Production: +30%
Efficiency: +15%
Knight Beacons:
Speed: +35%
Production: +35%
Efficiency: +13%
Beacons boost tiles multiplicatively not additively. This is easiest demonstrated by efficiency beacons. A single item with 8 efficiency beacons boosting it will not be free(.15*8 = 1.2) nor will that cut it in half. The reduction will be at 27% (1-.15)^8.
Speed vs Production
As a rule of thumb if you’re trying to boost overall production you want to go with speed beacons until you’re speed capped and then switch to production. The game does round so depending on your production and speed multipliers it may be beneficial to mix and match to maximize your total output.

In this picture my Tier 2 Think Juice only needs one speed beacon to hit max speed. Thus I separate them so each is only hit by 1 speed while being hit by production otherwise. This helps me max my total output of Think Juice.
Speed and when to use them
Speed beacons are best used on any item you wish to max output on that isn’t already at maximum speed. You can tell it’s at maximum speed because the Base Speed will be in Cyan/Light Blue. For maximal efficiency you also want to make sure that speed beacons hit at least 3 tiles. Meaning that the boost it provides (120% total) is better than just putting another resource in it’s spot.
If you’re using 4 or more of an item, consider switching that to 3 items with a speed beacon boosting them.
Here’s a couple of examples of items at maximum speed. Note that 300% is only the maximum speed for these items and not for all items.

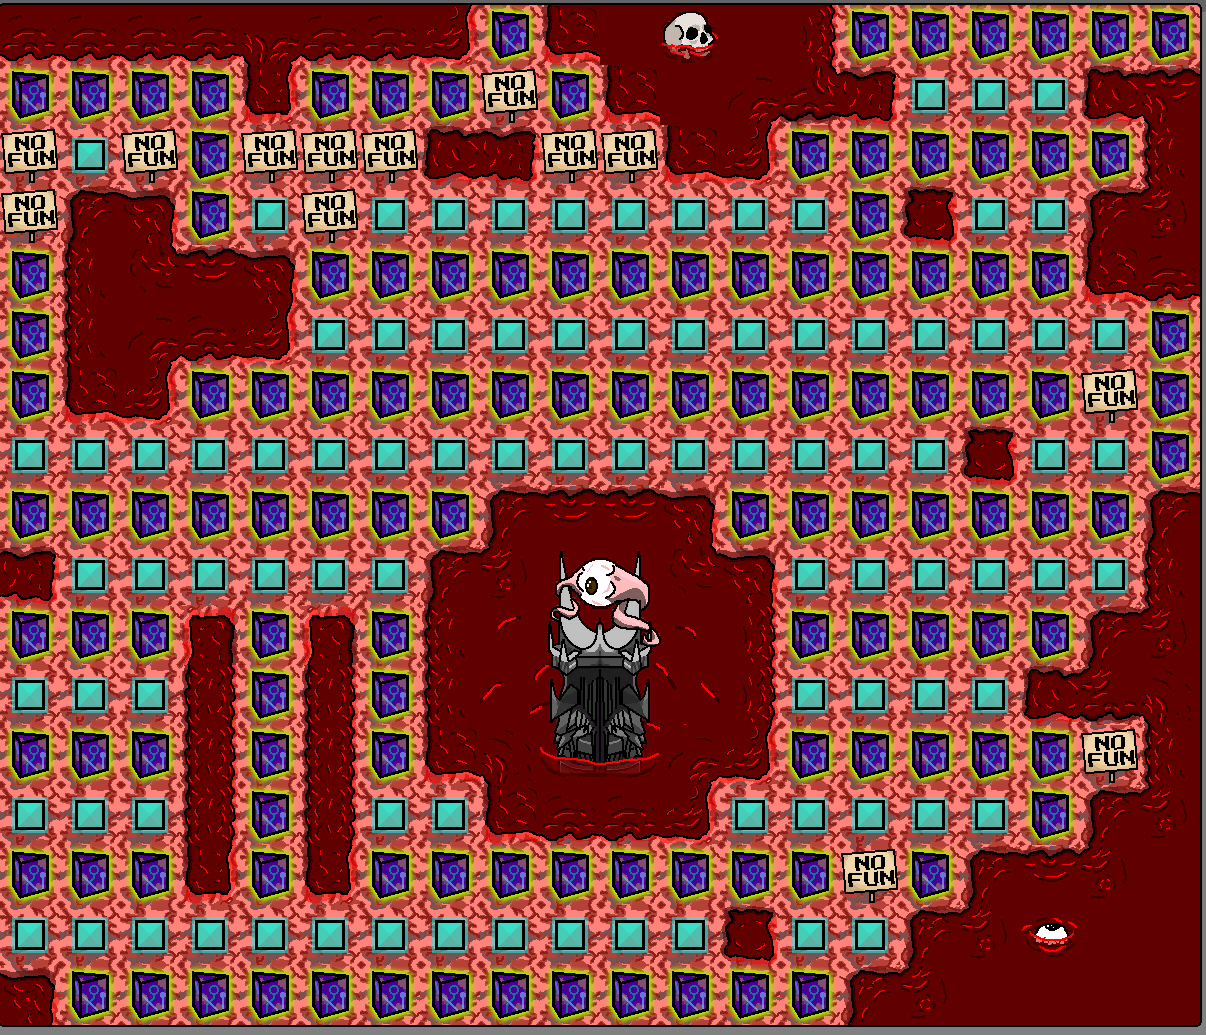
In this basic example of speed beacon layout I’m trying to build up the shown resource as much as possible. It isn’t maxed out on speed so I get the most out of placing speed beacons.
Note: Not necessarily optimal. For reference only.
Production and when to use them
Production beacons are best used on any item you wish to max output on that is already at maximum speed. This will most likely be used on base tier ores/bars that are already at max speed before beacons are even applied. For maximal efficiency you also want to make sure that production beacons hit at least 4 tiles. Meaning that the boost it provides (120% total) is better than just putting another resource in it’s spot.
If you’re using 5 or more items, considering switching that to 4 with a production beacon boosting them.
Easy(?) way to remember how many items per beacon:
Speed 3 Four Production
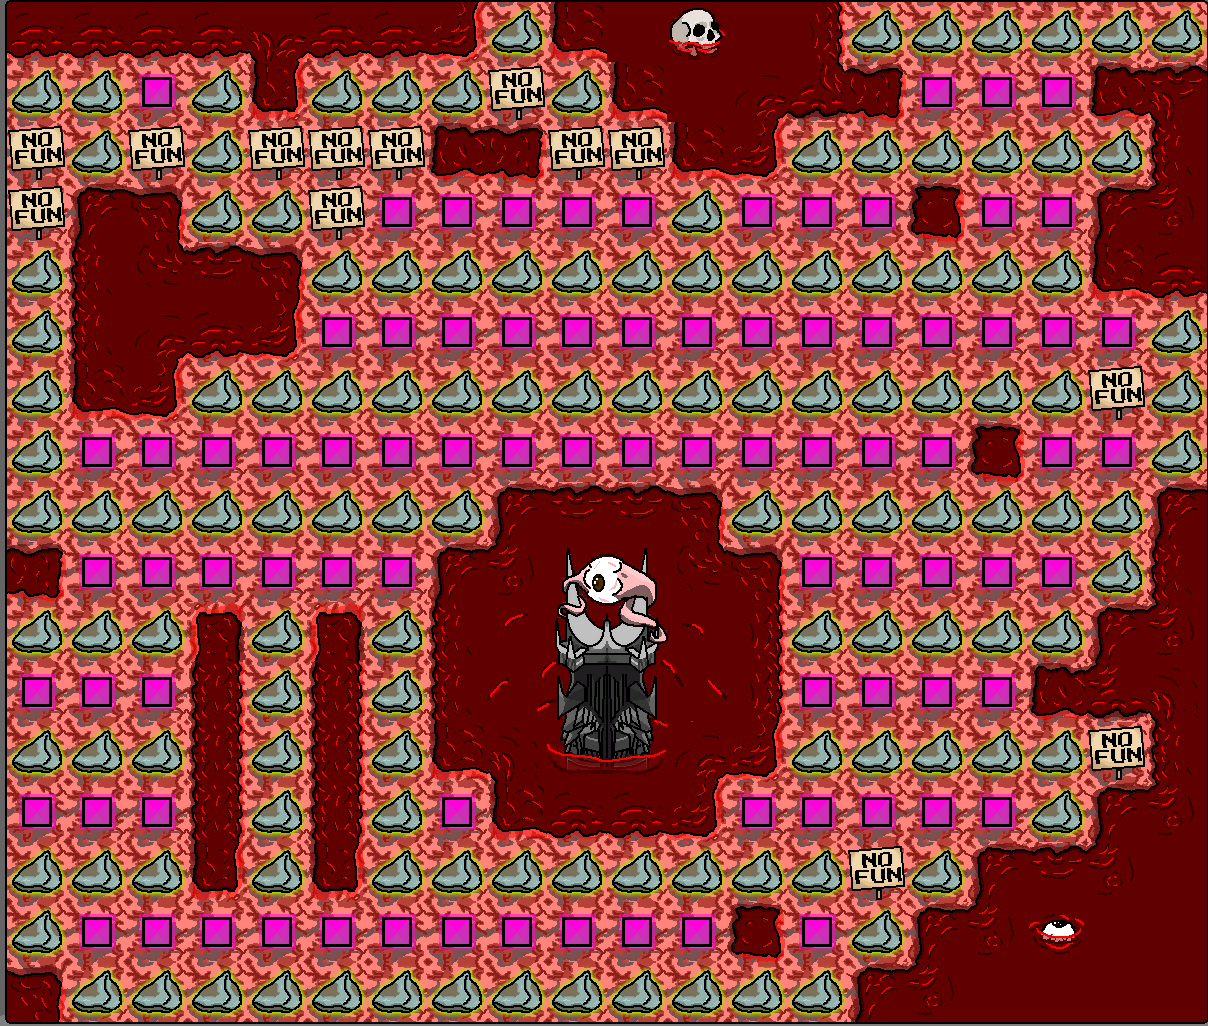
In this example I want to maximize my output of an item that is already at max speed before beacons:
Note: Not necessarily optimal. For reference only.
Efficiency and when to use them
Efficiency beacons are a little more tricky to use than speed and production. Depending on your current research they may be super helpful or not helpful at all. Typically they are used on high production factories that you place small numbers of and are able to run your production setup off of that small number. You’ll want to use efficiency beacons to reduce the total tiles needed to provide resources to this high production factory.
Note: It always takes at least 1 of an item to complete a production cycle.
Let’s take a look at an example from where I’m currently at.
My current Metal Frame production is high enough that I typically only need to place one of them and I’ll be able to run three maps with production capacity to spare. Currently it needs 2.1 Million Steel Bars and 2.1 Million Iron Bars every 2 seconds. My Steel Bar and Iron Bar production are both at 2 second intervals so I will ignore time units for the remainder of the example.
Ignoring steel for now my Iron Bar production produces 248,000 units. This means that if placing an efficiency beacon reduces the cost of the Metal Frame by at least that amount then it is worth using a beacon.
So 2.1 Million * .85 = 1.785 Million or a savings of 315,000.
Here’s an example I calculated before my iron production was boosted:
A standard metal frame needs 2.1M iron bars per 2 seconds to operate.
My iron bar produces 22,710 per 2 seconds.
Now let’s place an efficiency beacon.
Standard metal frame now needs 1.79 million to operate.
So a SINGLE efficiency beacon is worth .31 million or 310,000 Iron bars.
A single efficiency beacon just saved me over 20 tiles. 10 for bar, 10 for ore while also reducing steel needs on my metal frame.
For those wondering hitting that same metal frame with 16 beacons reduces it to 188,000 Iron bars with the last beacon going from 217k to 188k (29,000) which is STILL better than placing the corresponding iron bar/iron ore.
End Example
Maximal efficiency boost(Given it’s better to use beacon than factory tile):

Place the item you want max reduction in the very center, the edges for items with a medium amount of reduction(5 boosts), center of knights and out a bit or directly next to a knight in the same cardinal direction it’s facing for small reduction(2 boosts), corners for tiny reduction(1 boost).
You can also tile these if you have super need of efficiency.
