You can watch some story lore at the screen to the right and can try to leave the room.
Talk to the avatar and last to the scientist to proceed.
Choose a Gender (male/female) and combat abilities (protecting allies / slaying enemies / supporting allies) and last class.
Last choose the difficulty.
Classes
Gains TP by attacking and when allies are attacked.
Gains TP by Battle initiation and winning battles.
Gains Notes by attacking and singing.
Gains TP from evading and inflicting status ailments.
Poison buffs stay active until you rest at the inn or at campfires.
and 2 more
Beginnings (and General Tipps)
Items Church: Herb, 2 Gold
Task: Talk to Harold, Therese, Marsha and Lucius. Form a party and return to Mayor Hendershot.
Westvale Farm: Talk to Janet to start the first Gathering Quest “Gathering Herbs”.
Library: Talk to Therese (herbs grow at different places each visit, monsters have rare drops). Matthew will decipher texts for you.
Graveyard: Marsha tells you about hidden doors and gives you 2 Torches (light up only for 3 rooms). You can move one the the stone slaps.
Note Light Effects: by weak Graphic Cards or Performance turn them off in the Options and you won’t need to use torches to see.
In the church Lucius recommends to save often. Talk to the priest Hector for a tutorial battle. In the left room you can look at a poster, the other room is locked.
Secrets:
- Hold action key to skip cut scenes
- Dark spots indicate herbs locations or hidden doors
- Sleep at the inn after each floor for extra dreams.
- Rare monsters drop Essence Shards.
- As you progress, rare vendors will appear in town.
Items shop: Talk to Harold (healing potions/tonics and teleportation scrolls) and obtain 3 Tonics and a Teleportation Scroll.
Lab: Dr. Hilden will be enjoyed if you bring him anything of interest.
Armory: Talk to the owner.
Pub: form a party. Have a damage dealer, mage, healer etc. for a balanced party. You can even recruit one of the villagers…
You obtain the Codex.
Talk to the scrawny man to start the “Shrine of Strength” sidequest.
Return to the mayor to obtain 60 Gold and start the next main quest.
Spooky, Scary Skeletons
First get starting gear for your avatar.
Margaret the item shop owner starts the Gathering “Rolling Bones”.
At the Graveyard at night find the skeleton and obtain the Wife’ Skull. Starts the “Proper Burial” sidequest.
At the Library Ned gives you the 1st floor map for free, the next will cost 15 Gold.
Amanda near the armory needs your help for the “Lover’s Gift” sidequest. Talk to the pub owner for more details and then search for a bridge in the tower.
After you find the way out of the Crypt you can buy bombs during nights behind the pub. The first one is for free.
Show Matthew the page to start the story quest“Of God and Men” and later the Book “Darkness”.
Don’t forget to finish some quests.
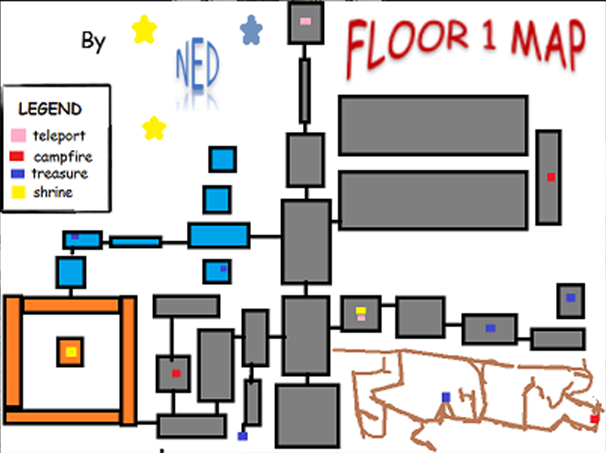
Right in the first room is a hidden door at the westwall. Further west you first need to disable the trap. Then you can gather 2 Gold x2 and a Basinet (heavy helmet).
NW you can reach 2 Gold x2, a lever (disabled the mentioned trap), a Torch to the south (further path is blocked), 5 Gold to the north, 2 Gold and Teleport Scroll.
That scrawny brown sketch leads to the Cavern with 5 Gold x3, 2 Gold x6, Potion, Torch, Teleport Scroll and many herbs. There seems to be a dead end on one map, but check it for a hidden passage!
Grey area to the east shrine: 2 Gold x3, Torch; Light up the other two torches to obtain a Tiger Claw. To open the door you need to go through the cavern. Then you find a Key Fragment but cannot reach the east shrine yet.
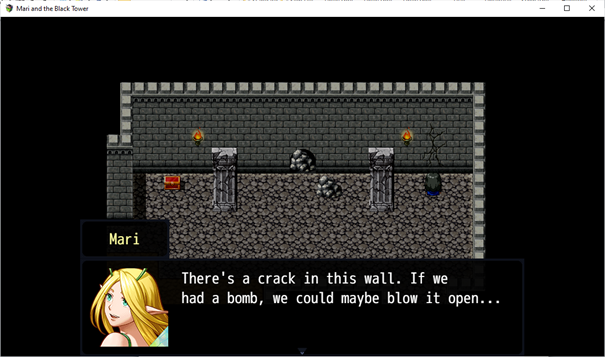 Contains 2 Gold, 10 Gold, Essence Shard and Longsword.
West Shrine area: at the middle of the southern wall is a hidden door. Choose how you will act in regard of the sidequest “Shrine of Strength” (using it for you will gain the party leader +1 Strength). Take 2 Gold x2.
Frozen Area: Slide at the correct spots to get the treasures (Key Fragment, 5 Gold).
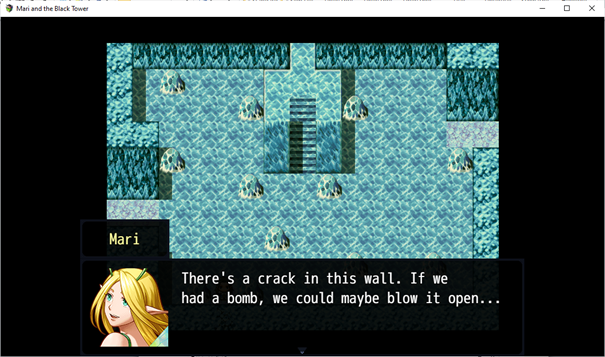 Contains 5 Gold and you need some kind of block to reach the chest…
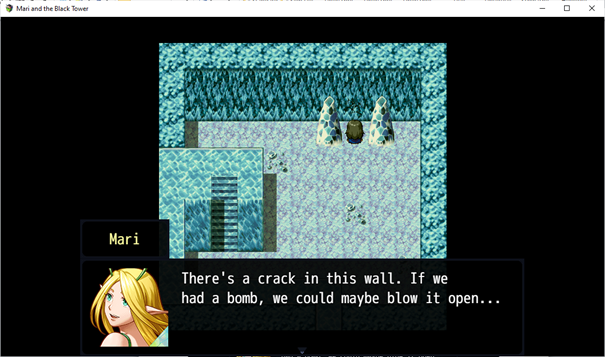 Contains a Shrine of Health.
NE prison area: You need a jail key to unlock the cells. Further east is a hidden door with a Teleport Scroll. Further north is another hidden door with more cells.
Proceed to the teleporter and drop down the bridge. Collect the 5 Gold, Herbs and then climb up the vine and step on the last skeleton.
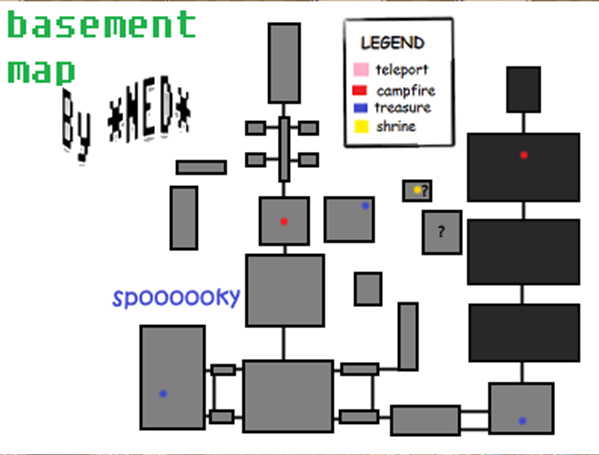
NW: 2 Gold
NE: Pull the lever
SW: Hidden door to the west. 5 Gold, 10 Gold, 2 Gold, Monster in a Box reward: Essence Key.
SE: 2 Gold x2
S: Get the Torch and use the campfire. To the east is a hidden path to a Teleportation Scroll, 10 Gold and Ear Warmers (cloth head).
S: Take the 2 Gold and herbs. To the west is a secret passage with 20 Gold.
SW: Take 2x West turns to reach 5 Gold. The other path leads to some herbs. Don’t forget to gather 2 Gold and pull the lever to create a shortcut to the entrance of the tower.
SE: Fully to the east are 2 secret passages: one to 2 Gold, an Essence Crystal (you need an Essence Flask) and the missing Chad (“Lovers Gift” sidequest). I recommend playing with his scheme. Choose if Chad should return. The other secret passage leads you to 20 Gold under a grave, some monsters, herbs. Follow the normal path now.
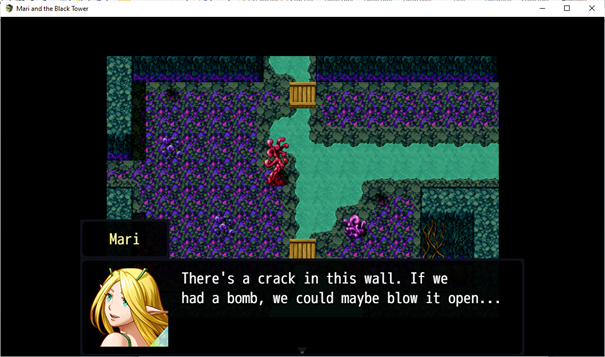 contains 40 Gold.
Try to enter the graveyard and defeat the Gargoyles. Reflect will effect Sing!
Move the graves to find monsters, a Potion, 5 Gold.
In the next room you find 10 Gold in the empty coffin.
At the cross-shaped grave you can bury the Wife’s Skull (“Proper Burial” sidequest).
Before you search for the stairs, go further north to gather a Torch.
Downstairs you find 2 Gold x2 and a path to the next destination.
The other graves still contain Herbs, Teleport Scroll, other stairs with an Agility Shrine and “Of Gods and Men – Page 1”.
Investigate the Angel Grave: Boss Skeletal Drake: AoE Healing and Regeneration is the key to defeat such a strong enemy. Get all buffs or debuffs working to make it easier. Immune to standard poison. Drops Teleport Scroll, Essence Shard and Skeletal Garb.
Use the campfire and enter the last crypt to find the Book “Darkness of the Human Soul”.
Destroy the crystal…
Boss Lich: Summons some minions. Take care of all Minions and the boss. Use a similar strategy as for the Drake. During the battle your avatar learns “Dispel Miasma”. Drops Black Robe, Lifepowder, Essence Shard.
You return to the mayor automatically.
Rest in the inn.
On Love and Friendship
Head to the mayor and then talk to Riko.
You obtain Jonar’s Wand.
Upgrade your gear at the armory.
At the pub read first the notice and then talk to Natalya to start the “Clumy Thief” sidequest.
Try to talk to Jondar in the church.
Get the Floor 2 Map from Ned in the Library.
Janet starts the next Gathering “We need more Herbs” and gives you Janet’s List.
At the Exit Pascal starts the “Monster Infection” Gathering.
Go straight north to find the kids.
Enter the prison and talk to the NPC in the northern cell.
Boss Angoma the Clumsy Thief: Poison him with standard poison and blind him. Then he shouldn’t be a problem. Drops the Heirloom.
Choose if you take him to Westvale or let him go. Let him go to obtain the Jail Key.
Pilfer the prison cells (Jail Key needed): 5 Gold x3
Angoma tells you of a secret passage in the last cell.
To the east you will find “Of Gods and Men” Page 2.
To the west you will reach the teleporter.
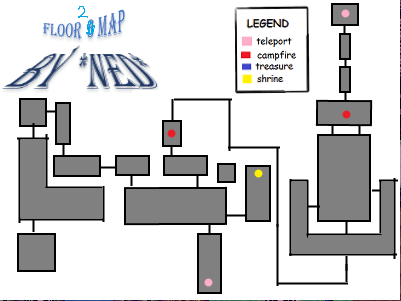
Items: 2 Gold x4, Black Robe, Torch x2, Power Brace (waterfall), “Of Gods and Men” page 3 (waterfall), 10 Gold
You notice a cave under the waterfall but don’t know how to get in there yet.
To the east the boulders to reach a Potion and a Shrine of Wisdom.
To the west and then south push the boulder through the hole (save prior to not get stuck).
If you return now to the ice cavern of floor 1 you can reach the Essence Flask.
Following the map, get full western turn of this floor.
Save before you try to reach the 3 levers. Pulling the middle will initiate a battle. The left one unlocks a door, and the right one affects the waterfall. Leave this room to the NE
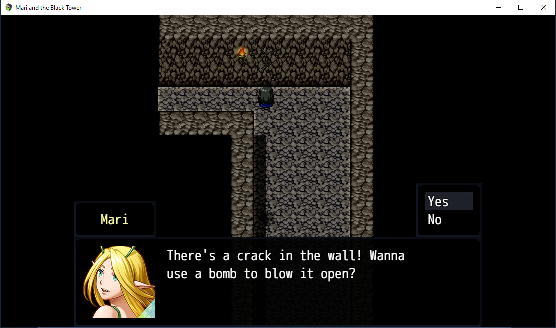 to reach the Fingerless Gloves and another lever you need to pull to lower the watertraps. From there head east, go through the door and the next one.
At the Center you will meet the kids again.
Items: 2 Gold, 5 Gold
First enter to the north and step on the switches to reach the 2 Gold.
Get out again and this time go west and find a hidden path at the north to reach the Cutlass.
Now enter the west, step on the switch and get the 2 Gold. Cross and step on the next 2 switches to gather another 2 Gold. Push the boulder and leave to the east.
Enter from the south and then gather 2 Gold x2, 5 Gold and a Teleport Scroll.
The bridge to the east is out, so go west. Cross this cave to reach the Torch.
Boss ???: Bolster your defenses and then run!
Gather the Gold on your run.
Boss Void Beast: Dispel Miasma and then cast your buffs/debuffs. You can only hit the boss when you can see it. Drops Infected Monster Sample, Lifepowder and Essence Shard.
You obtain the Book of Morgoth and return to Westvale.
Finding the Source
Finish your quests.
The armory has new stock.
When talk to the Doc you start the “Plant Infection” Gathering.
Show Matthew the new pages and books.
Talk to Ned to start he “Dank… Meme?” sidequest. In the Church you find the Picture of a Frog. Return it to Ned to obtain the Floor 3 Map, but the quest is still not finished. You won’t get a map for the next 3 floors.
At the Pub read the notice to start the “Assassination Contract” classquest.
The Bomb Vendor has bigger Bombs in stock.
Rest in the Inn to dream again.
The bridge of Floor 1 has been repaired, so head to the next teleporters.
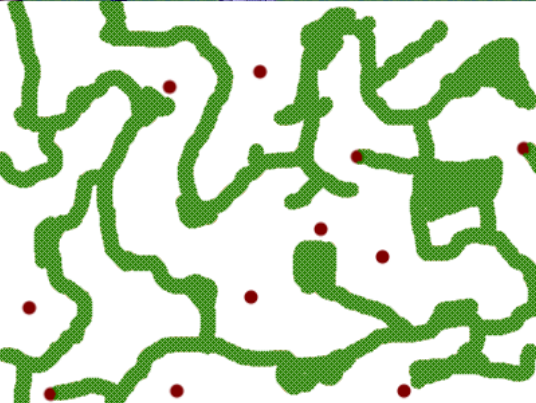 That map won’t tell you much.
After the teleporter you can either go south or north.
South: You can either go east or further south.
South: Climb down the vine
