Introduction
Button Location: Where you go to call an emergency meeting.
Cameras/Intercom: Whether there are cameras and/or intercoms on the map.
Sabotages: Which sabotages can be activated on the map.
Vents/Snoop Locations: Number of each and how they interact.
Map Hazard(s): Ways you can die on the map besides being directly killed by another player.
Important Notes: Crucial information not covered by any category above.
Other Notes: Anything else about the map that is worth mentioning.
SS Mother Goose (MS)
Button Location: Rec Room
Cameras/Intercom: Has both
Sabotages: Lights, Reactor, Doors, Communications, Life Support
Vents: 7 vents, all connected
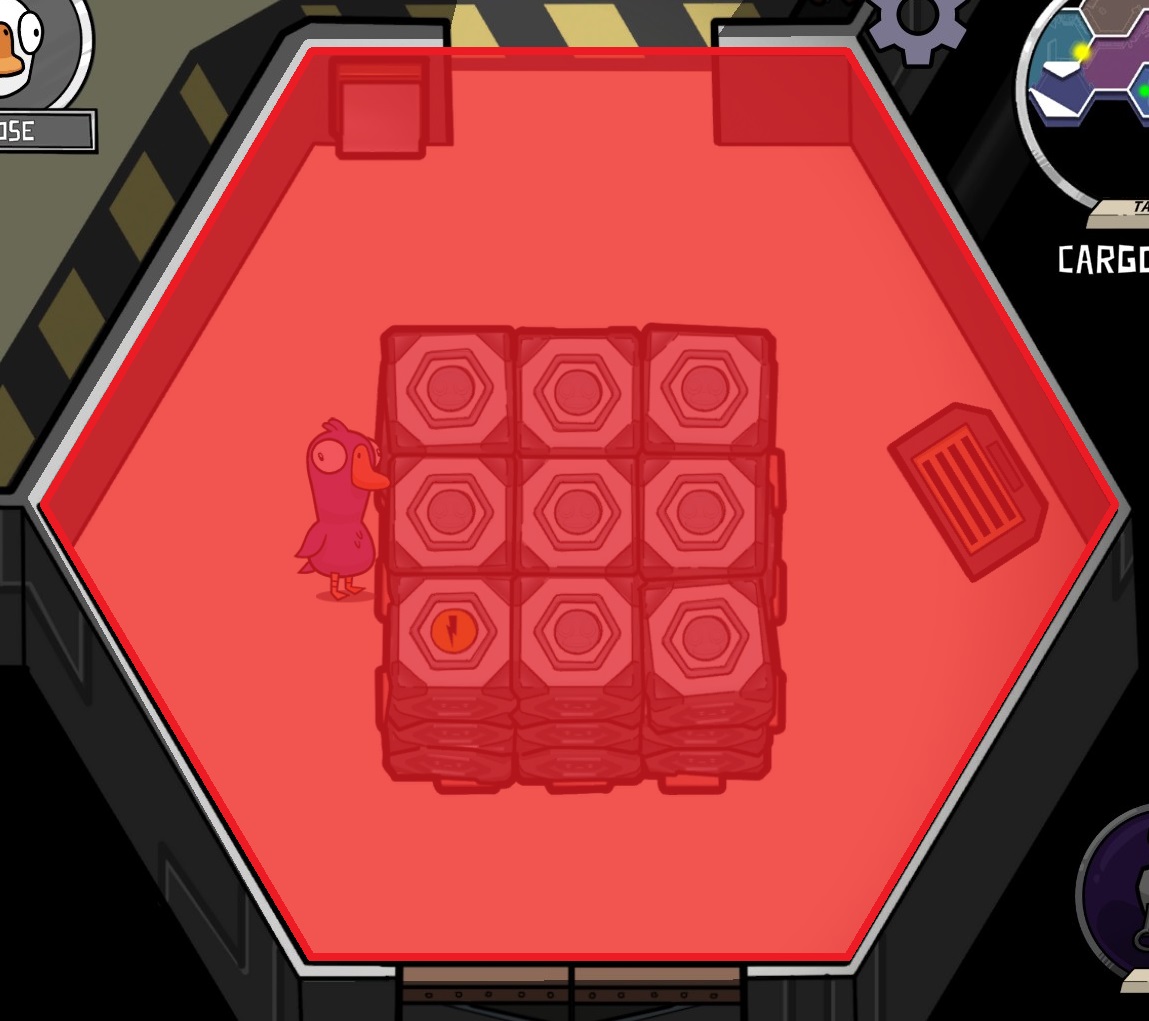
Map Hazard(s): Airlock
Other Notes: The original map, part of the Space Era.
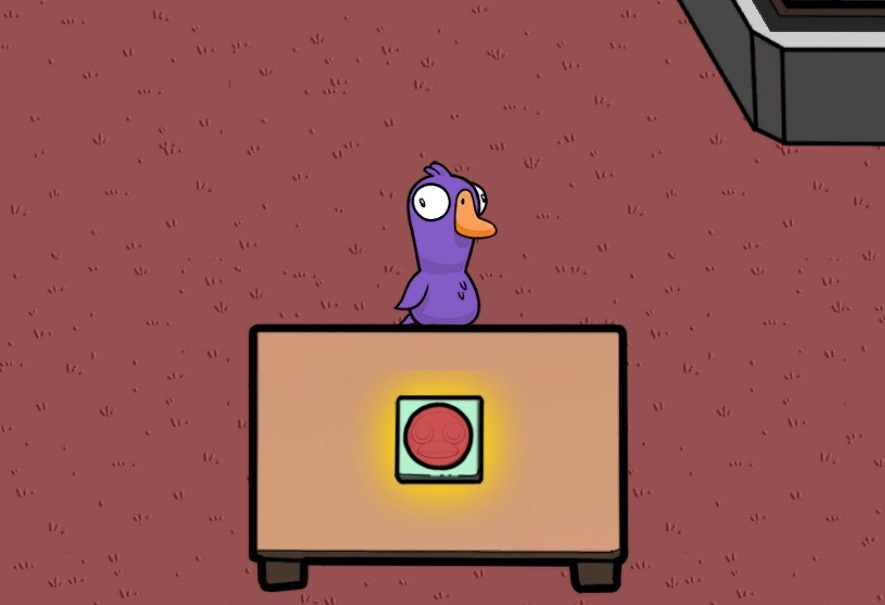
Task to activate and where they can be used (both in Security).
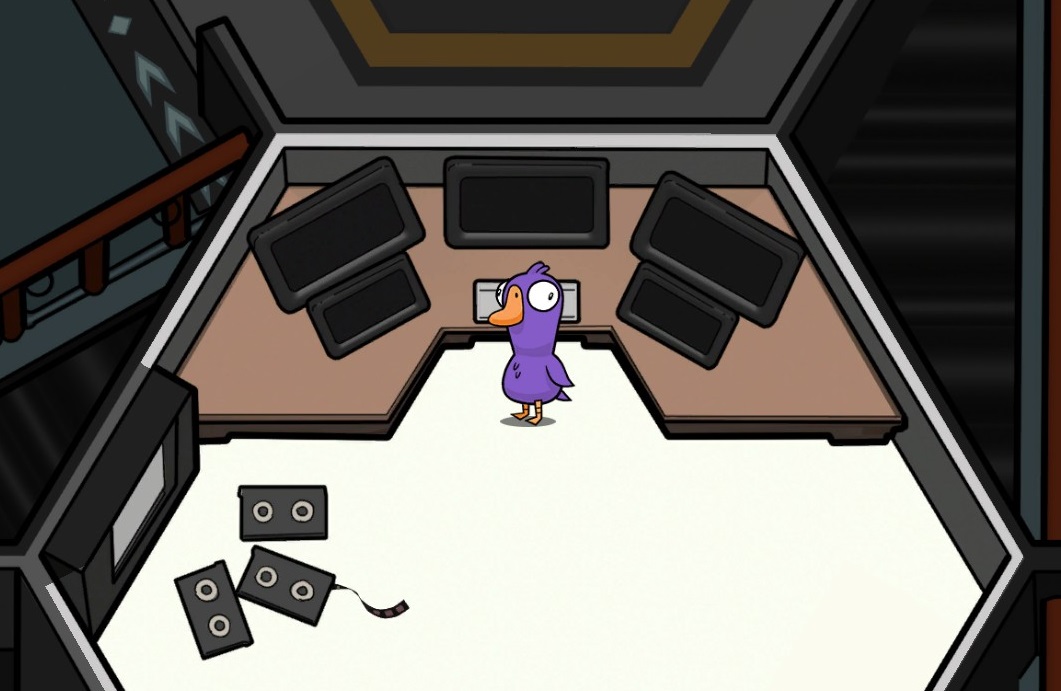
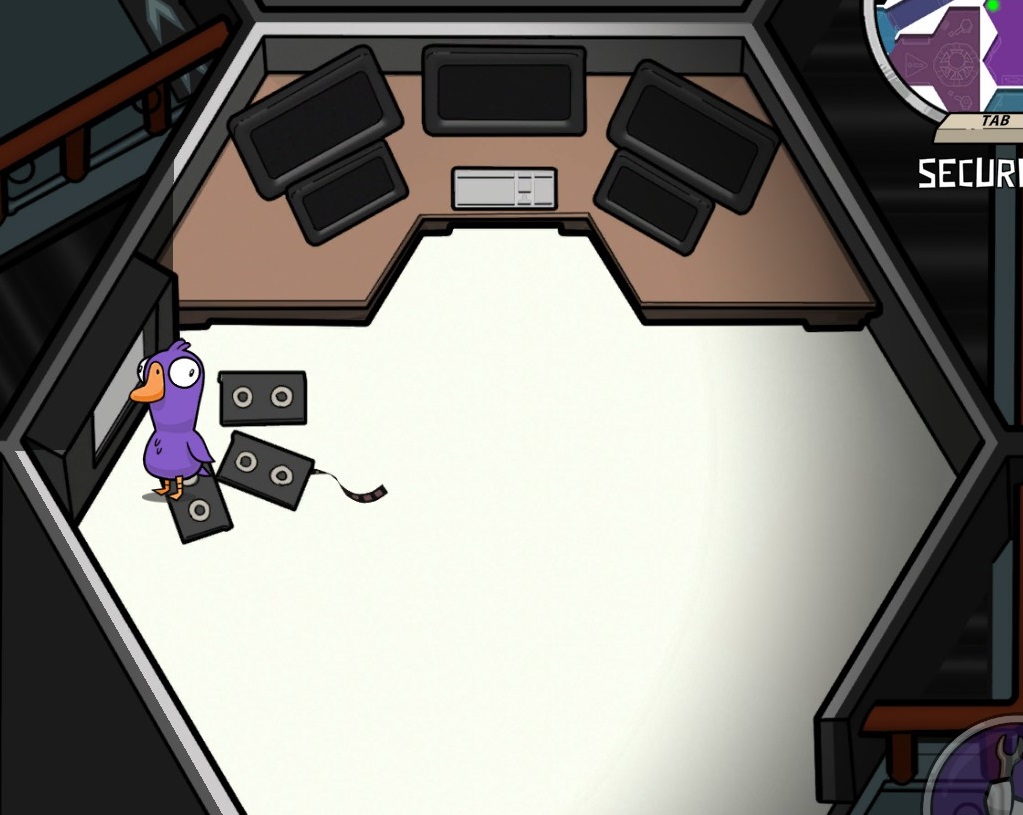
Task to activate (Bridge) and where they can be used (Security).
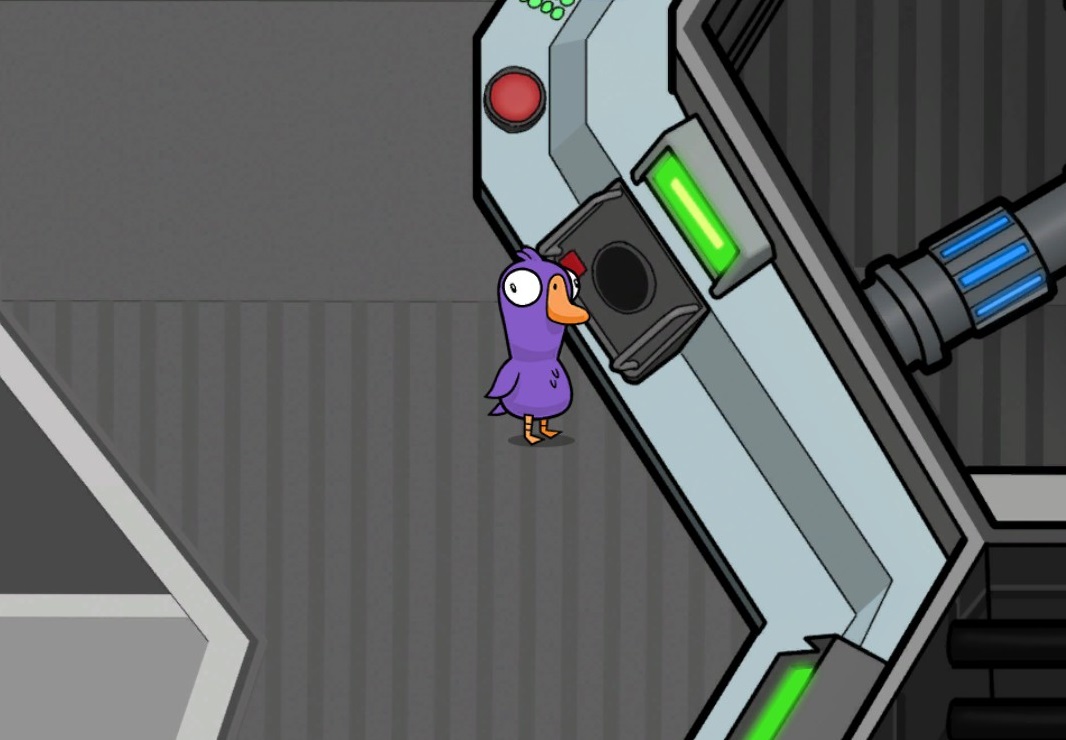
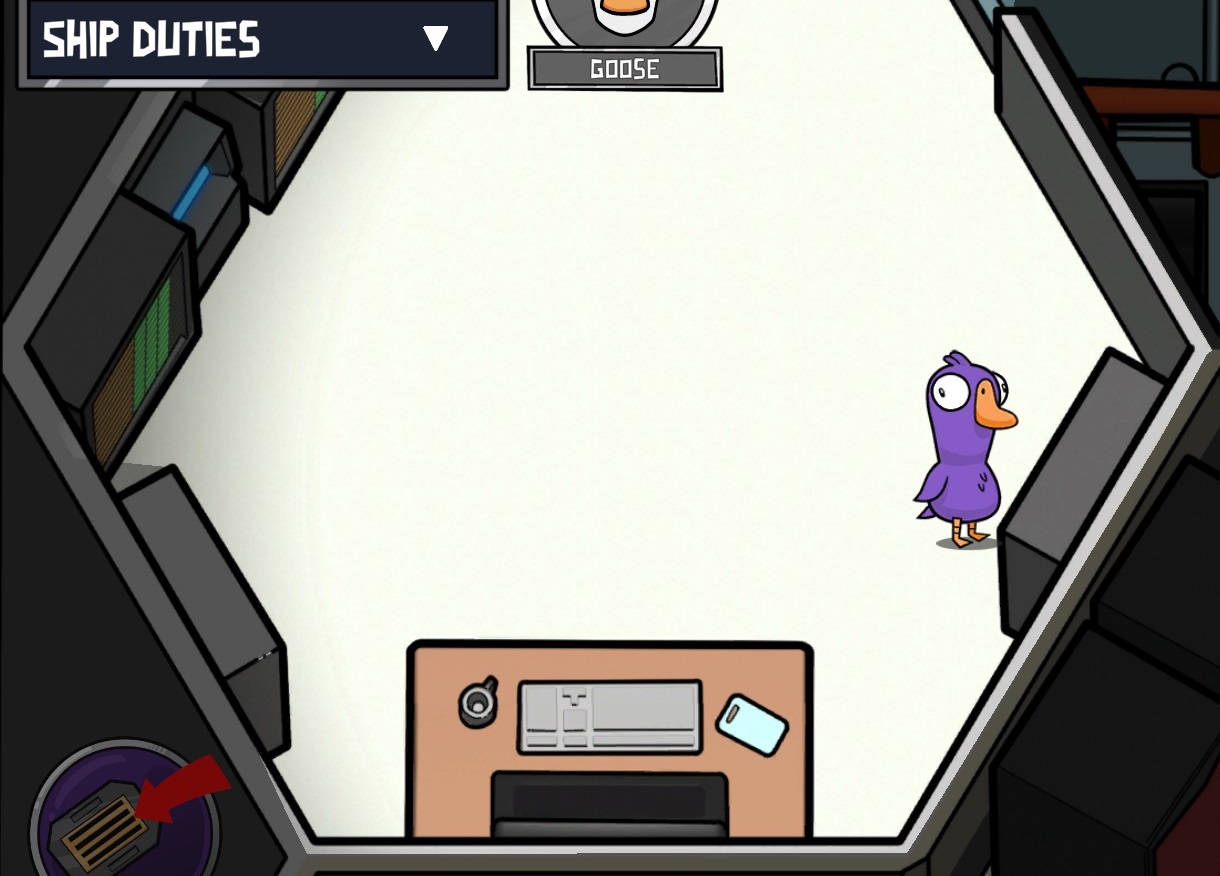
In order, Lights (Electrical), Reactor (Reactor), Doors (Security), Communications (Bridge), and Life Support (Hatchery)
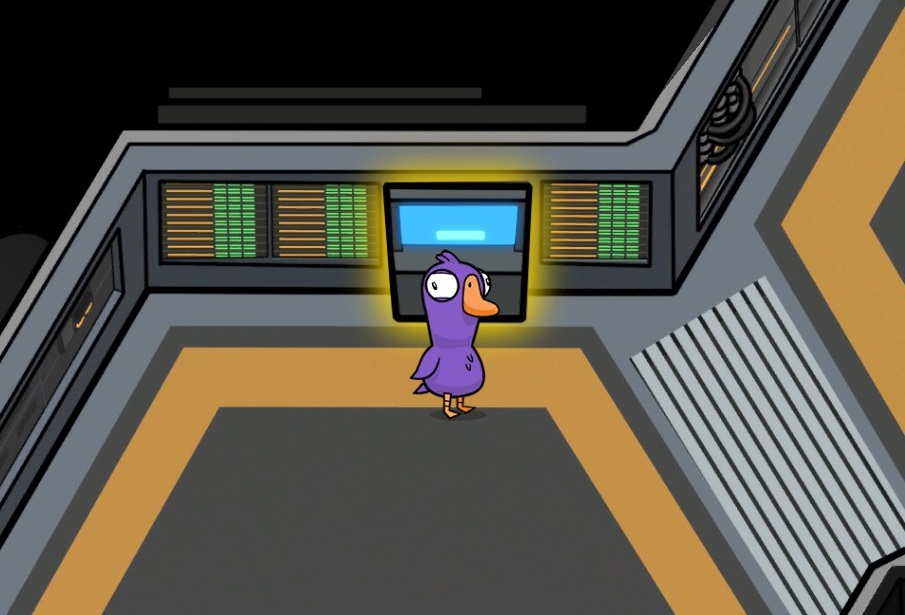
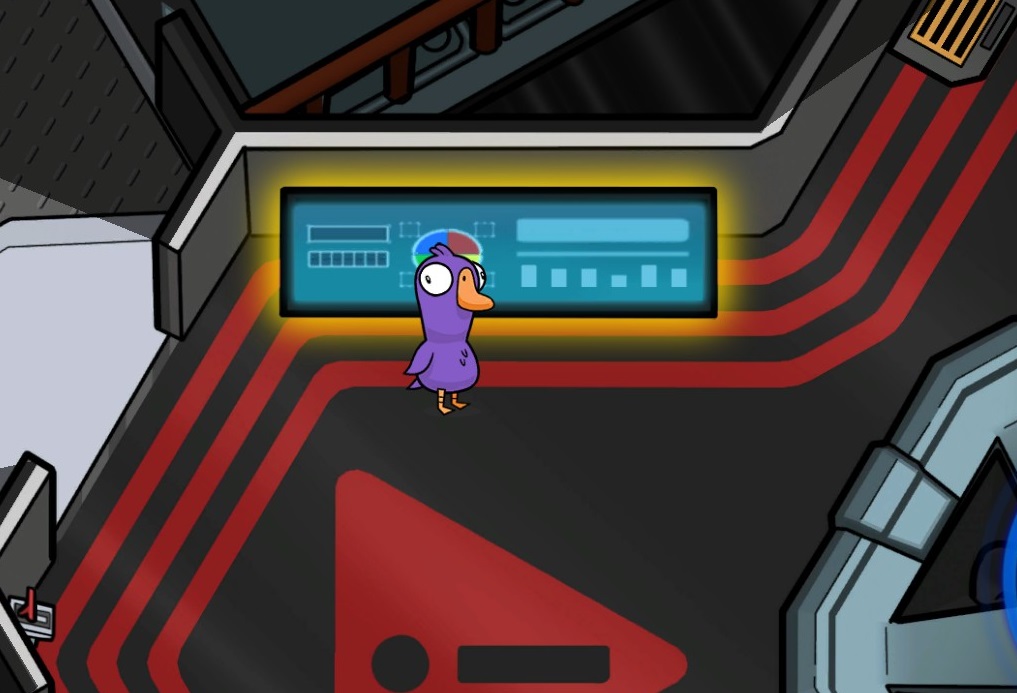
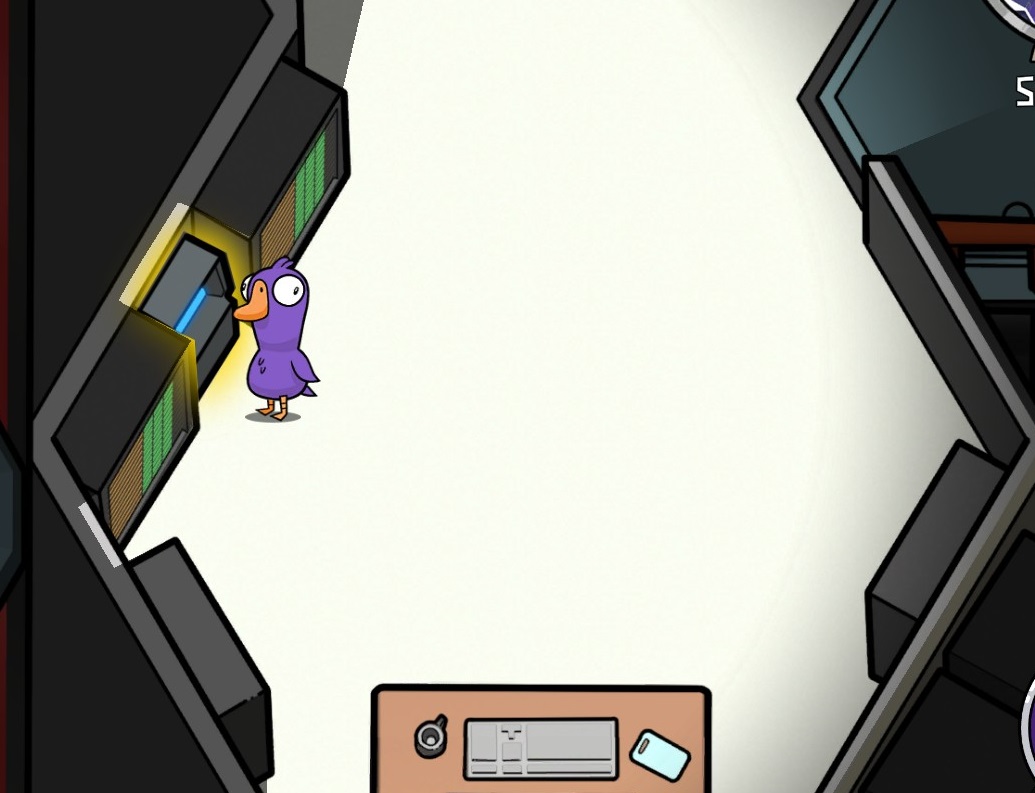

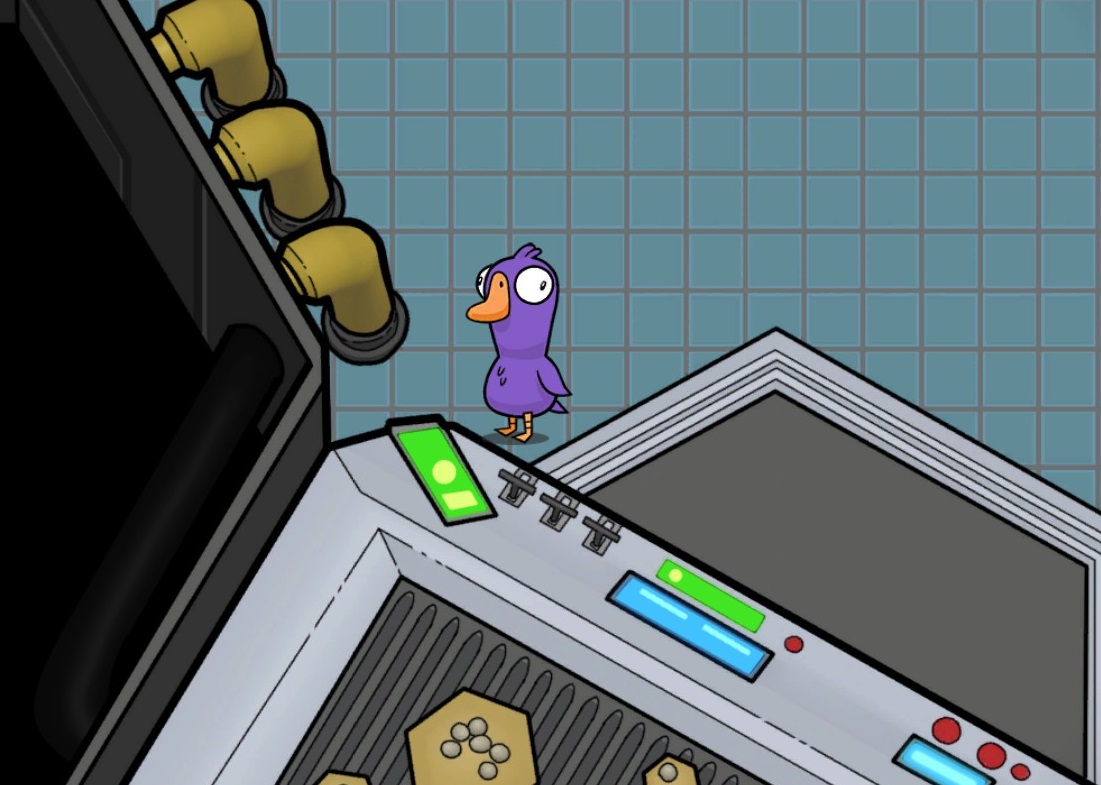
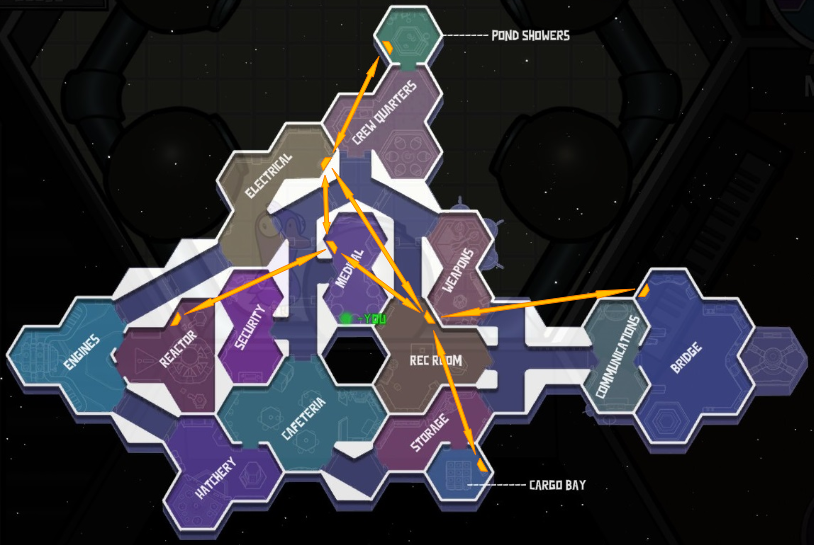
Avoid going into Cargo Bay as you could get vented out the airlock.
Black Swan (BS)
Button Location: Rec Room
Cameras/Intercom: Has both
Sabotages: Lights, Reactor, Doors, Communications, Life Support
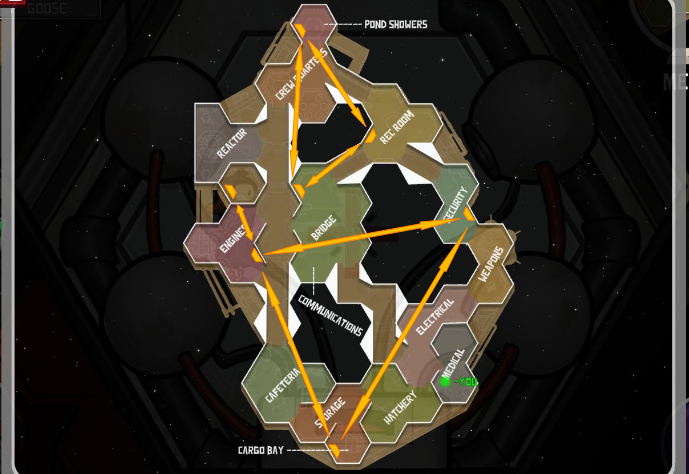
Vents: 7 vents, 2 separate groups
Map Hazard(s): Airlock
Other Notes: The second map, part of the Space Era. Has a room that can only be accessed using the vents.
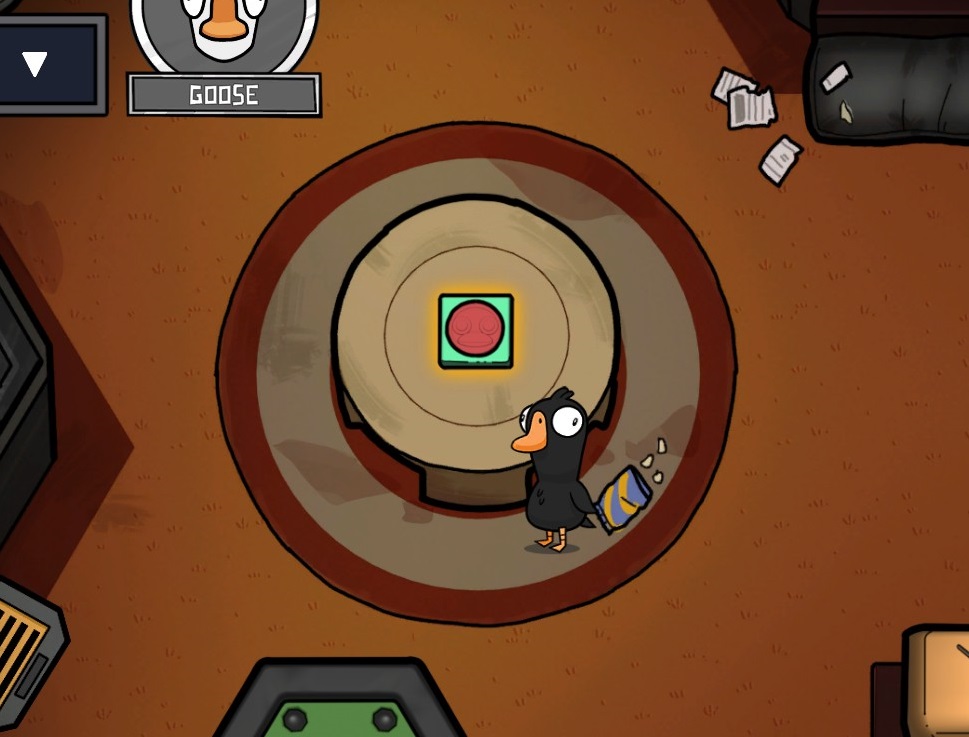
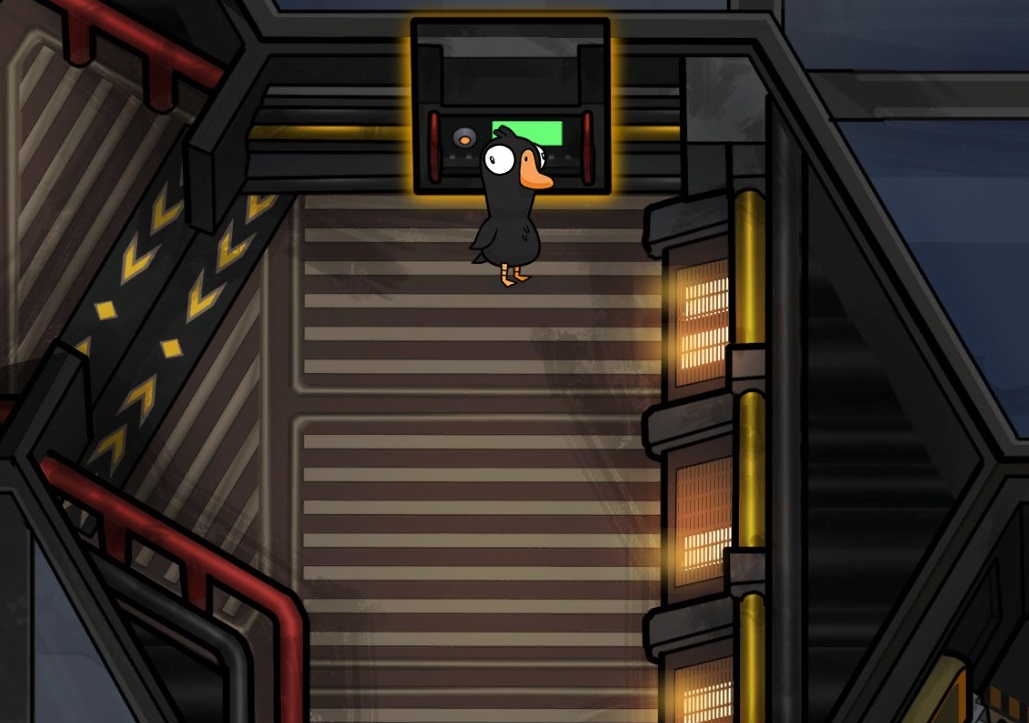
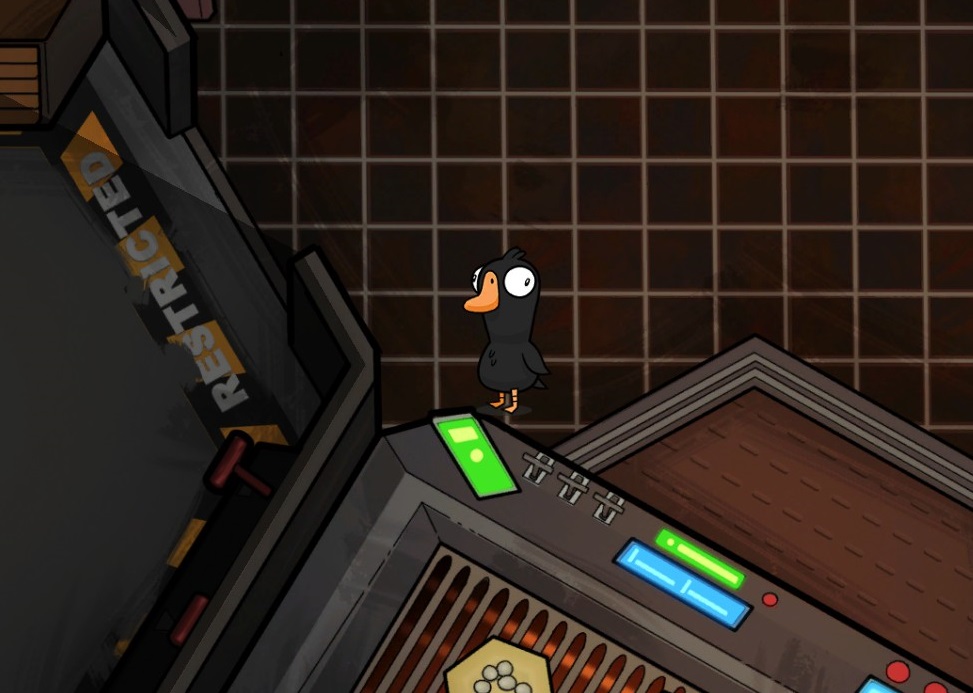
Task to activate and where they can be used (both in Security).
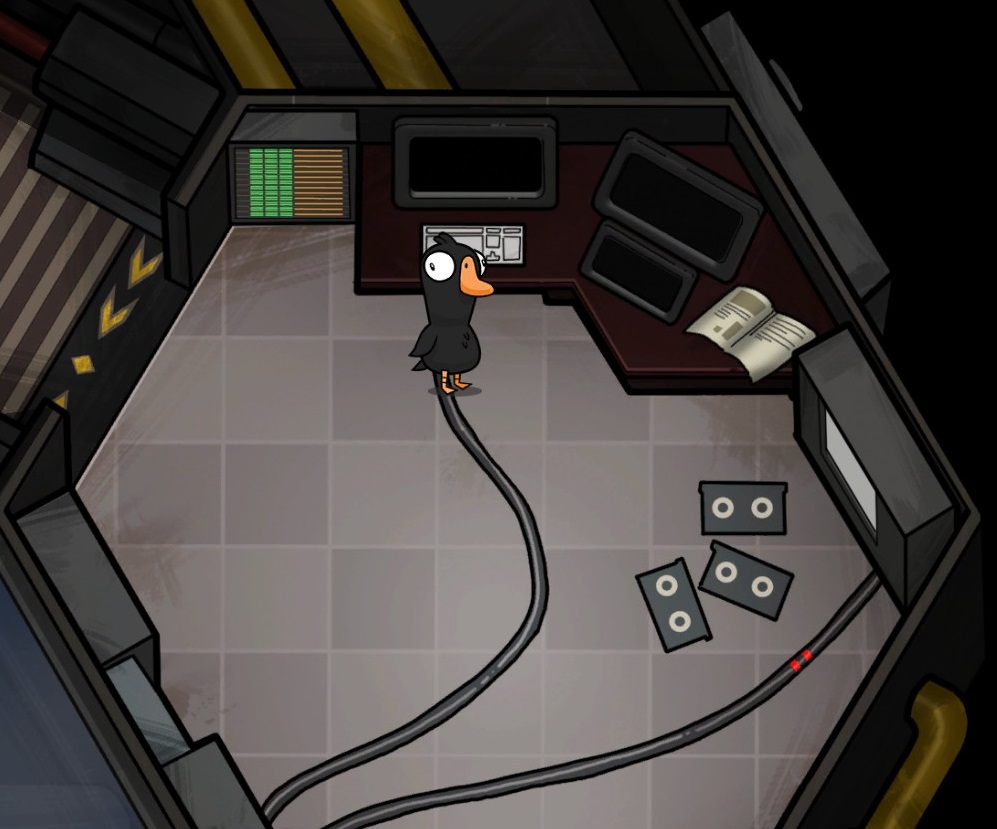
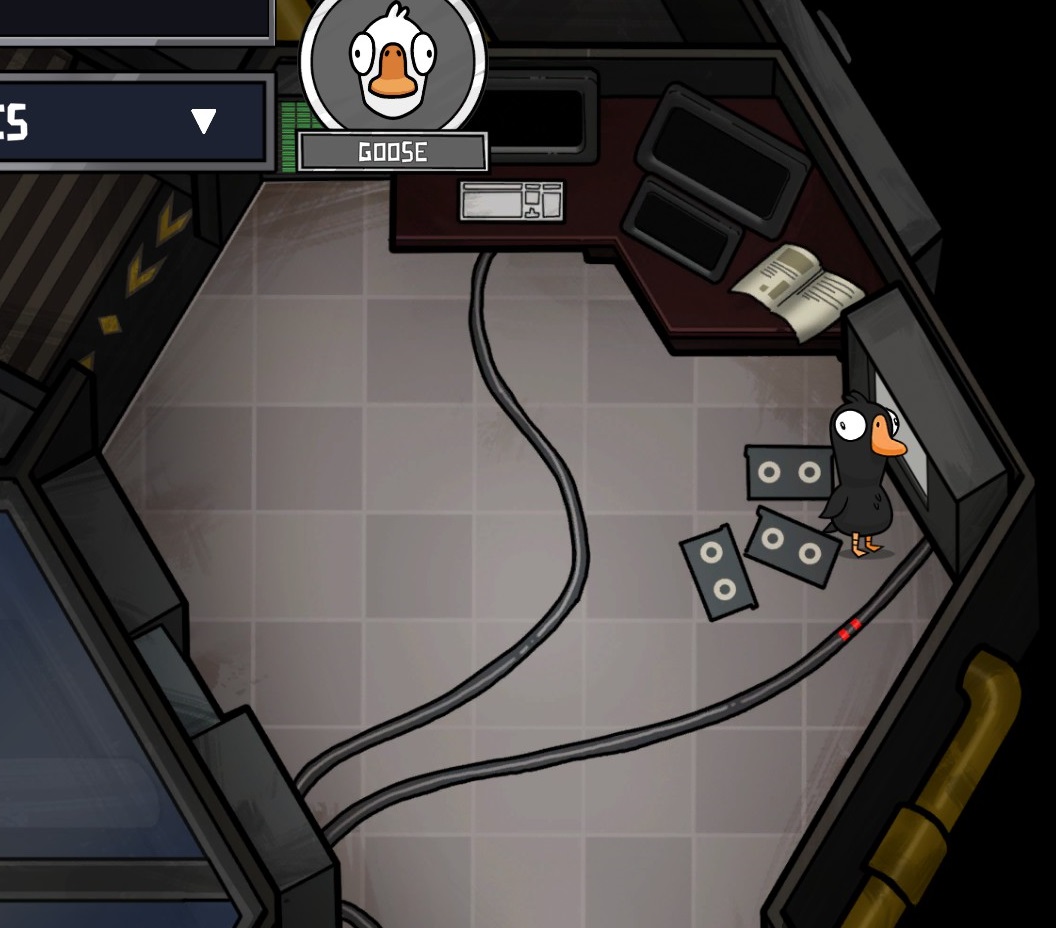
Task to activate (Bridge) and where they can be used (Security).
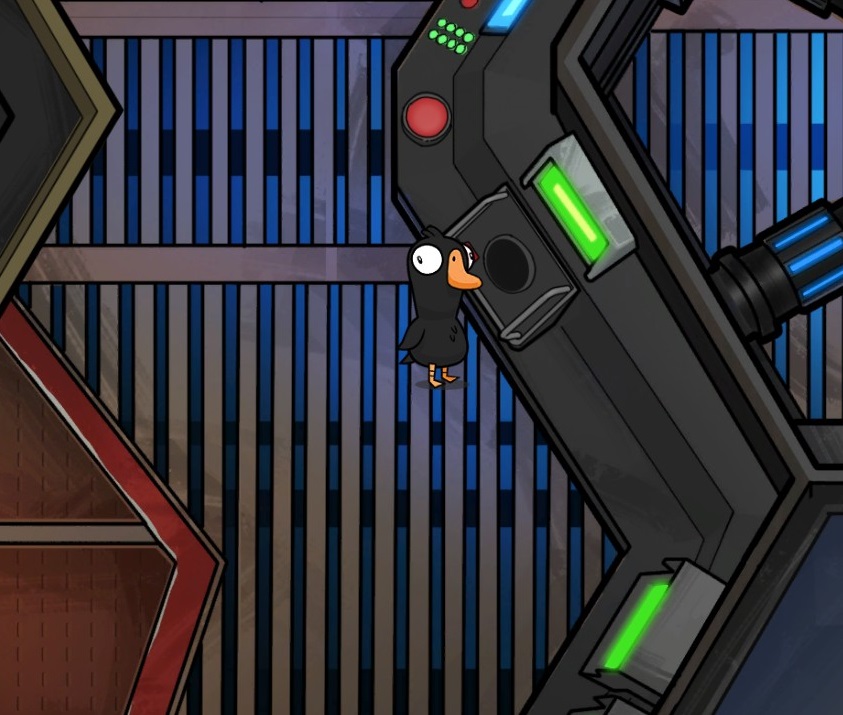
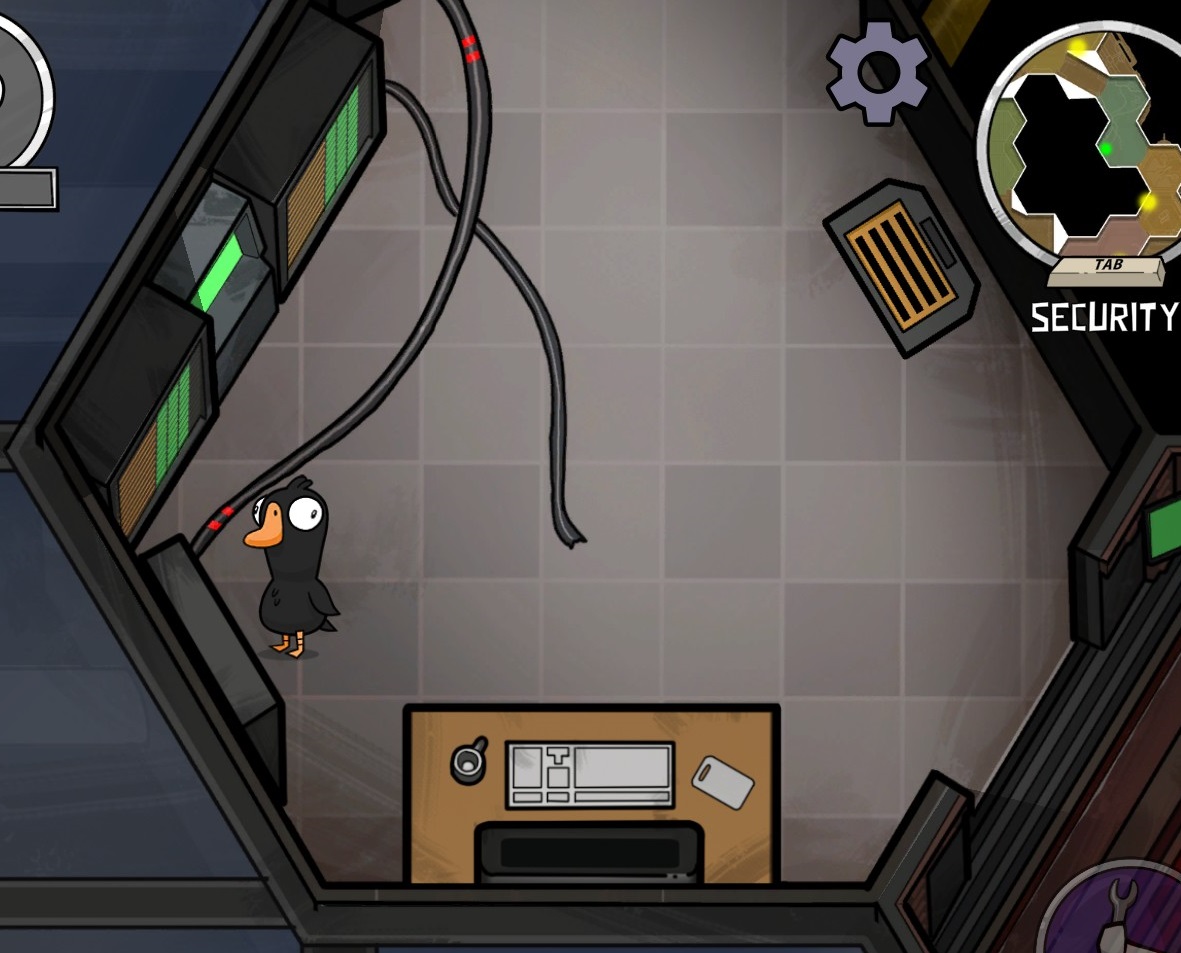
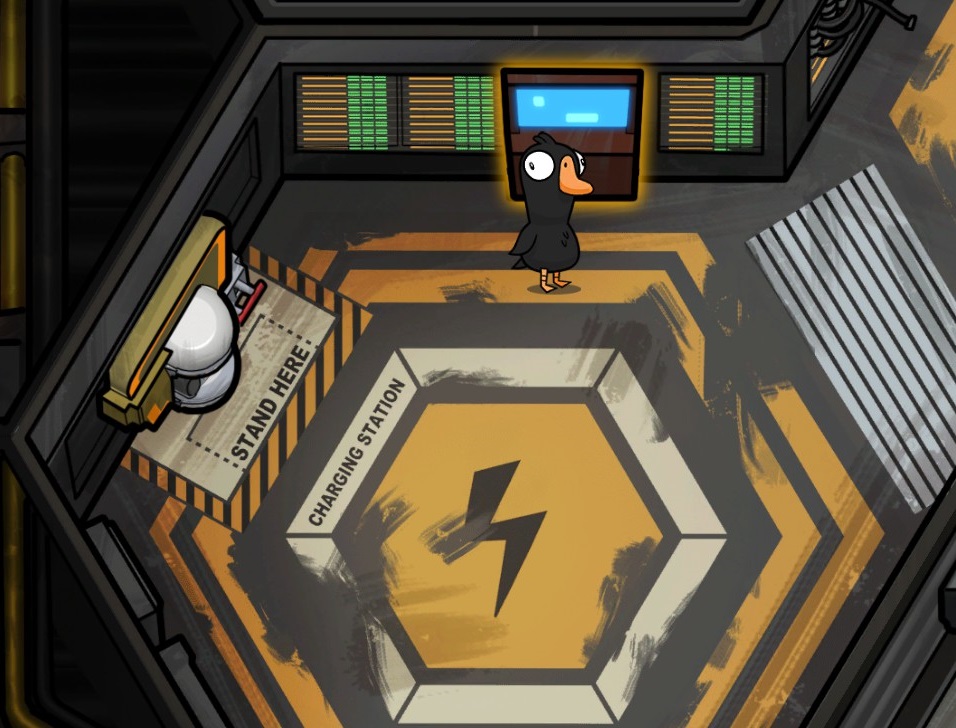
In order, Lights (Electrical), Reactor (Reactor), Doors (Hallway between Bridge and Electrical), Communications (Bridge), and Life Support (Hatchery)
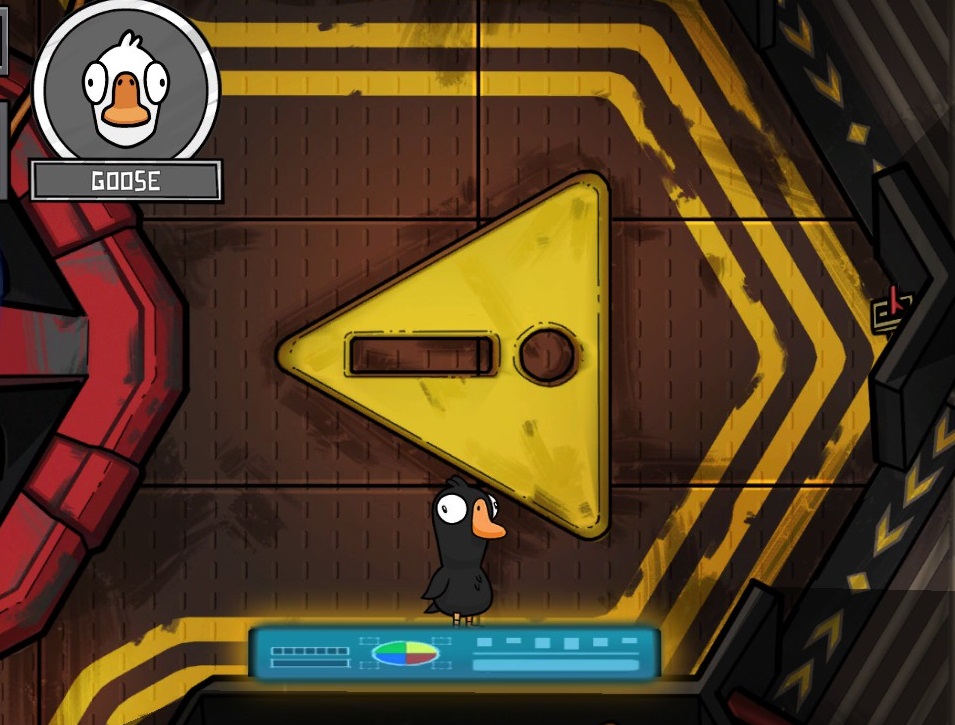

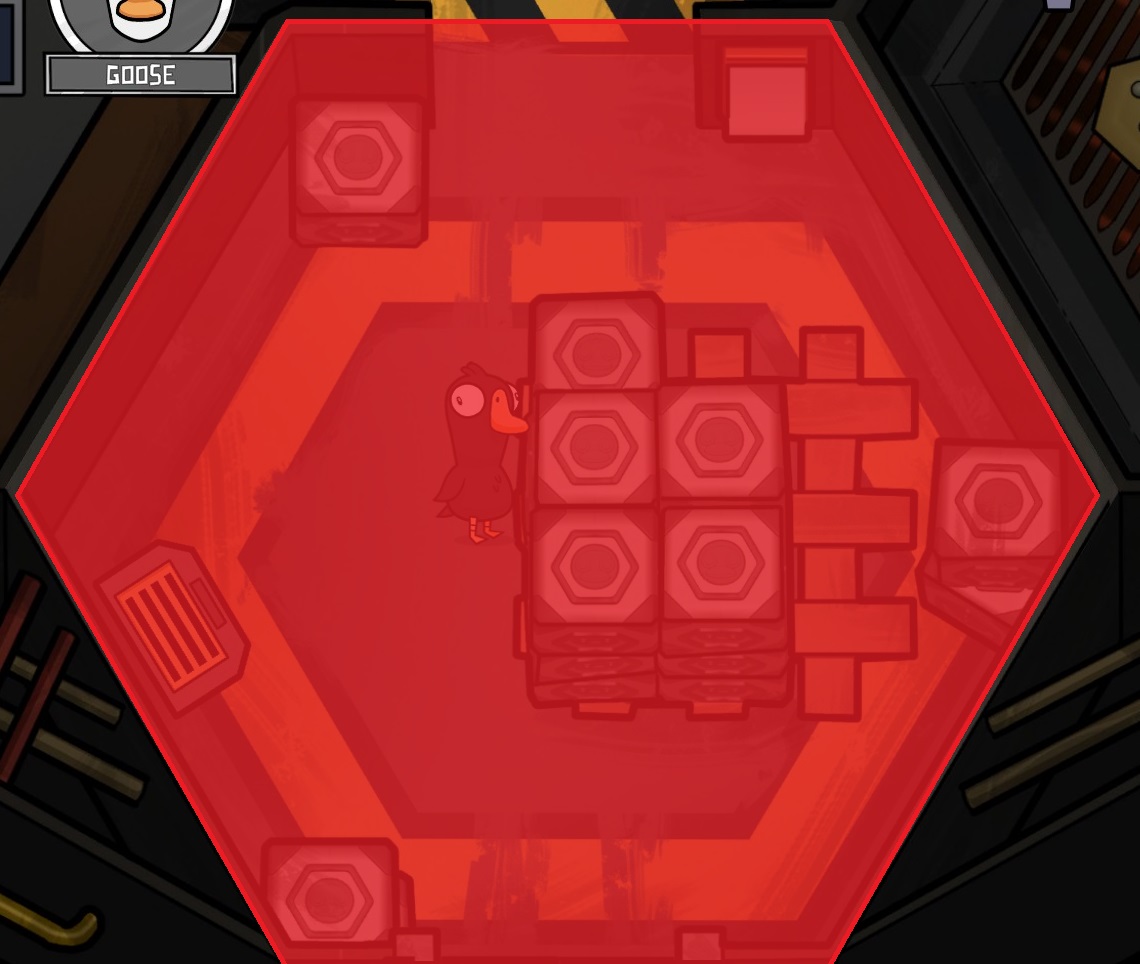
Avoid going into Cargo Bay as you could get vented out the airlock.
Nexus Colony (NC)
Button Location: Bridge
Cameras/Intercom: Has both
Sabotages: Lights, Engines, Communications, Life Support, Teleporter, Shuttle
Vents: 5 vents, 4 are connected and 1 is by itself
Map Hazard(s): Shuttle (platform), Shuttle (usage), Teleporter (usage)
Important Notes: The shuttle and teleporter must be activated via tasks that any player can complete. The teleporter only transports from the right side to the left.
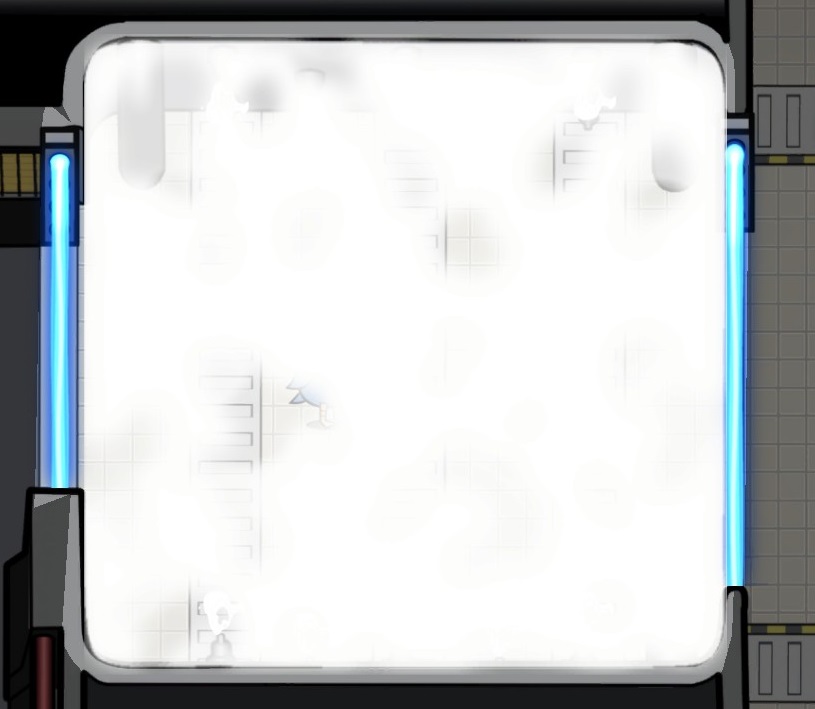
Other Notes: The third map, released on 07/13/2021 in update 0.99.3.1, part of the Space Era. The decontamination room triggers at random.
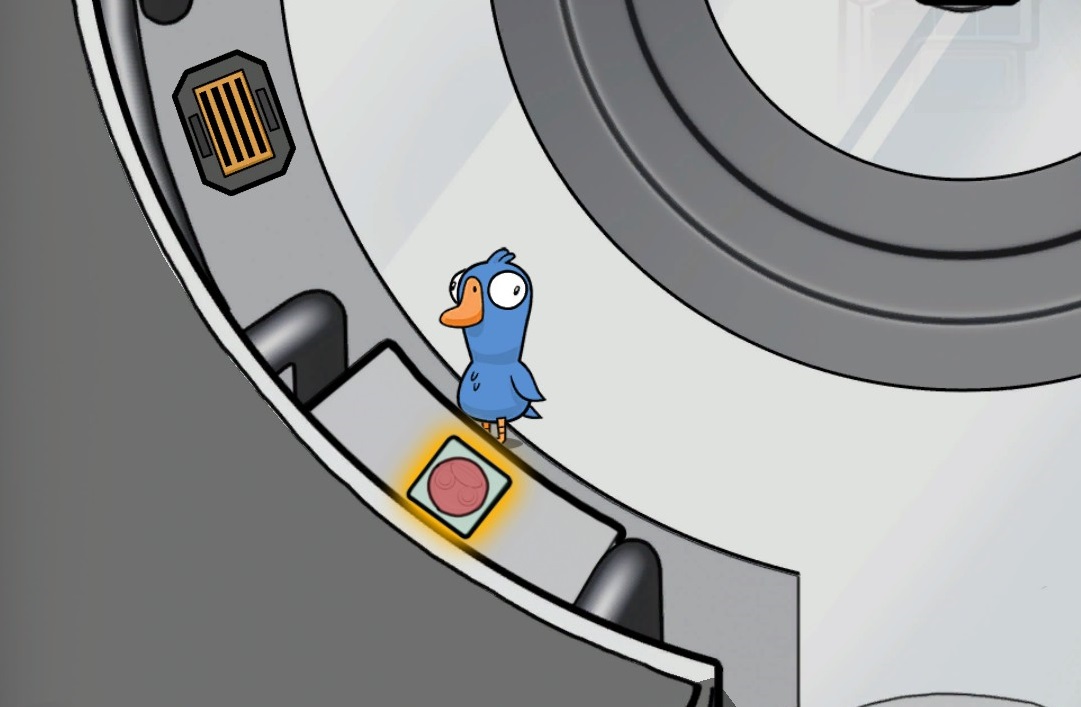
Task to activate and where they can be used (both in Security).
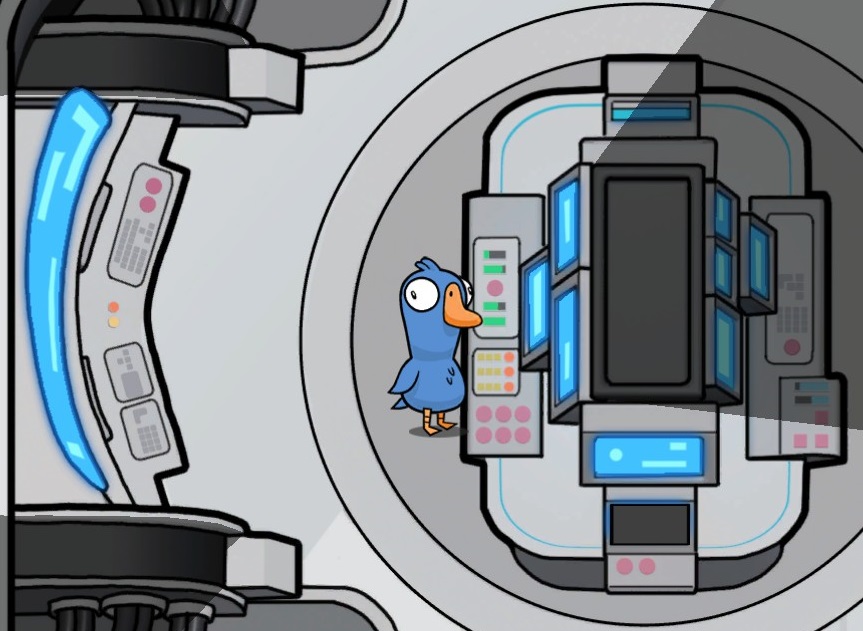
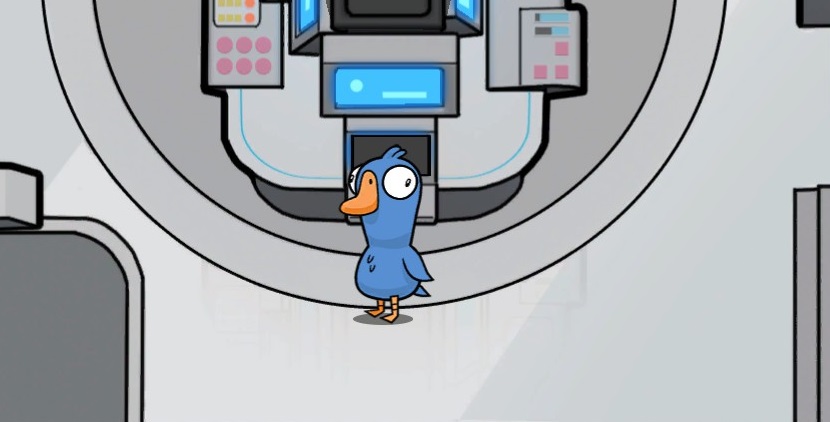
Task to activate (Bridge) and where they can be used (Security).
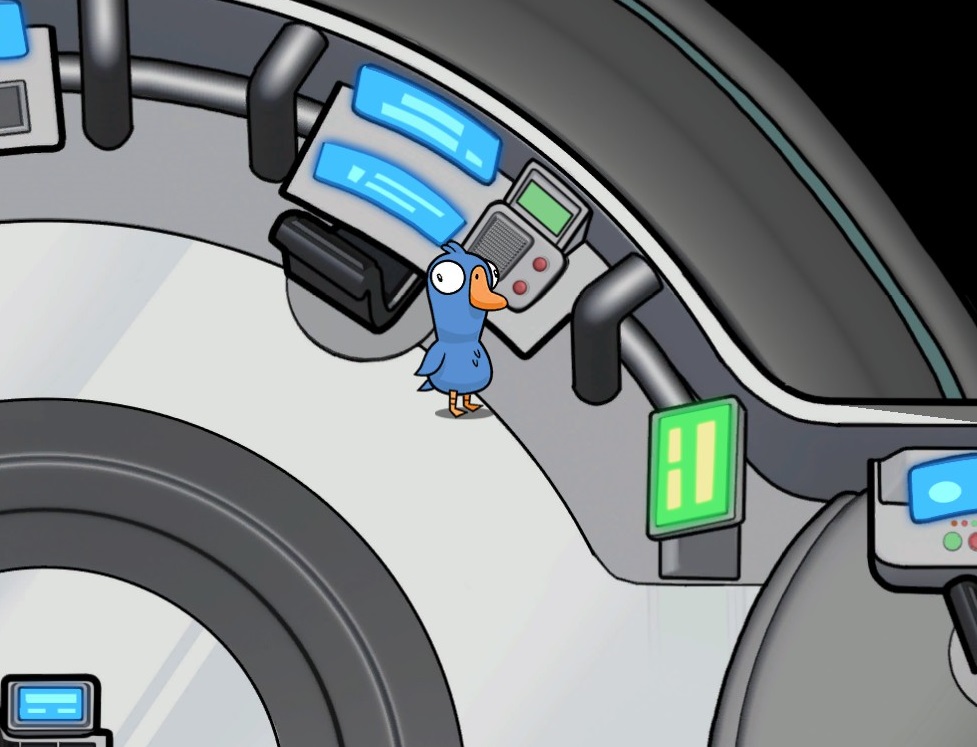
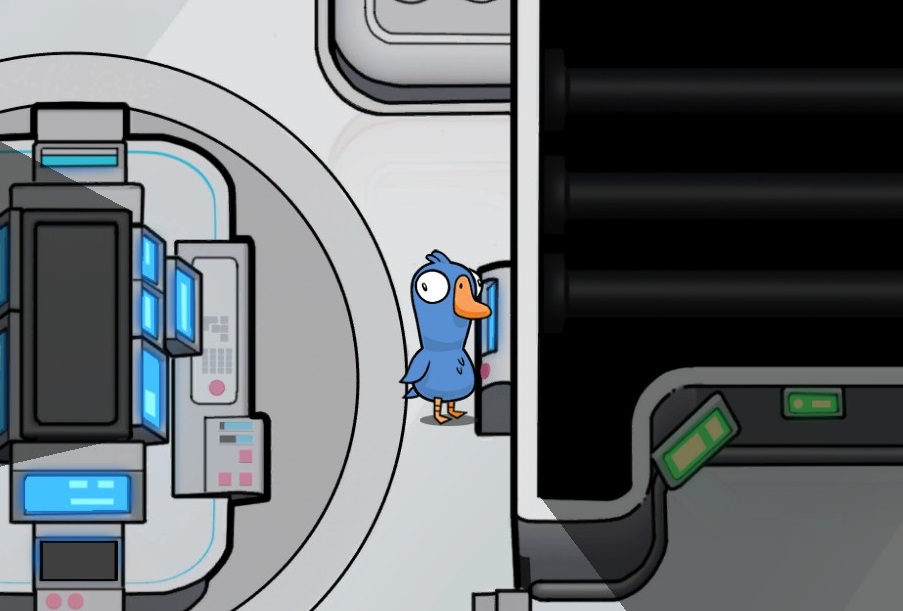
Ducks either get Shuttle or Teleporter, never both. In order, Lights (Electrical), Engines (Engines), Communications (Bridge), Life Support (Medical), Teleporter (Security), Shuttle (Departure Bay)
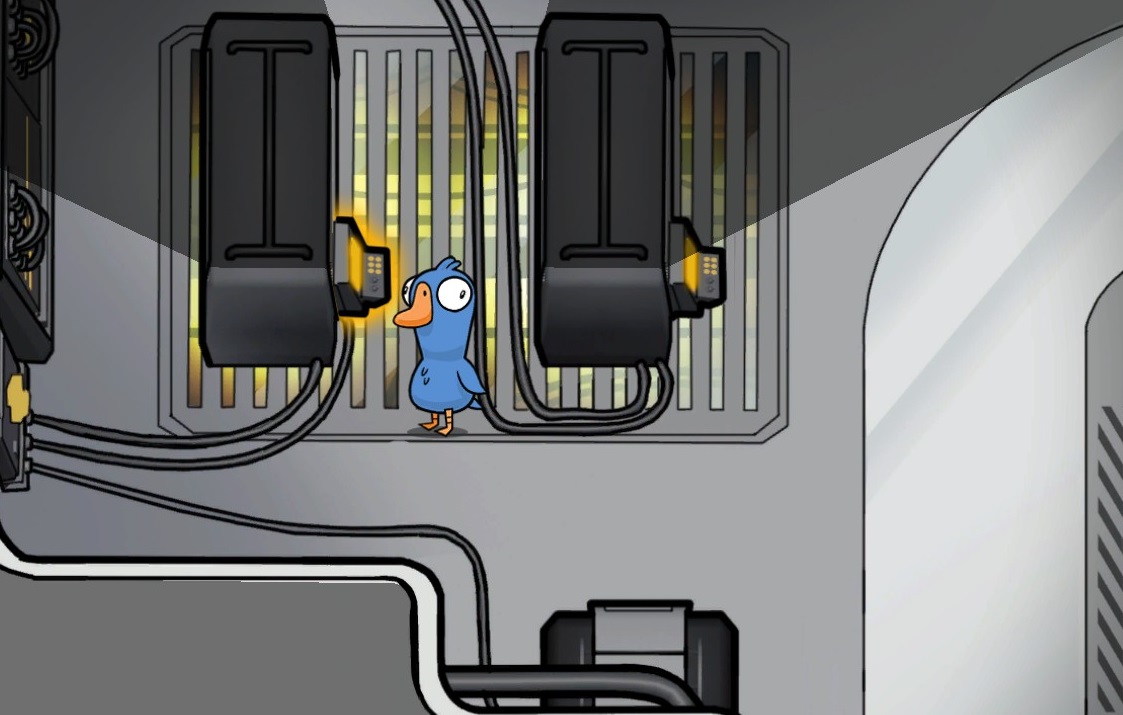
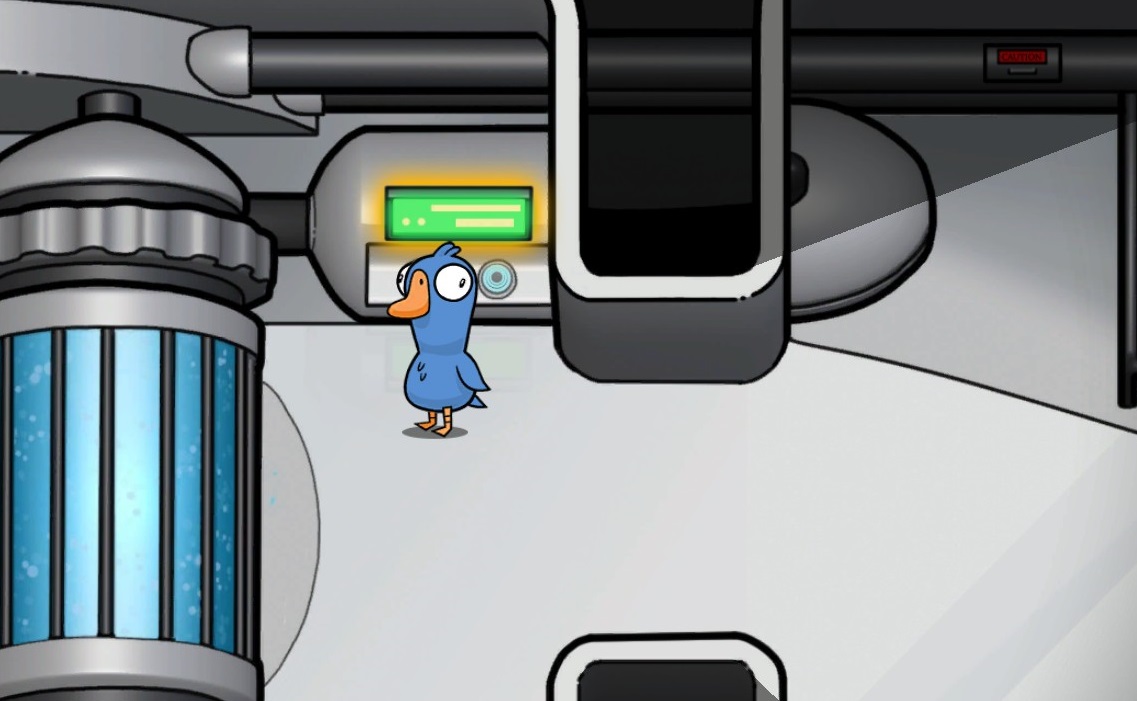

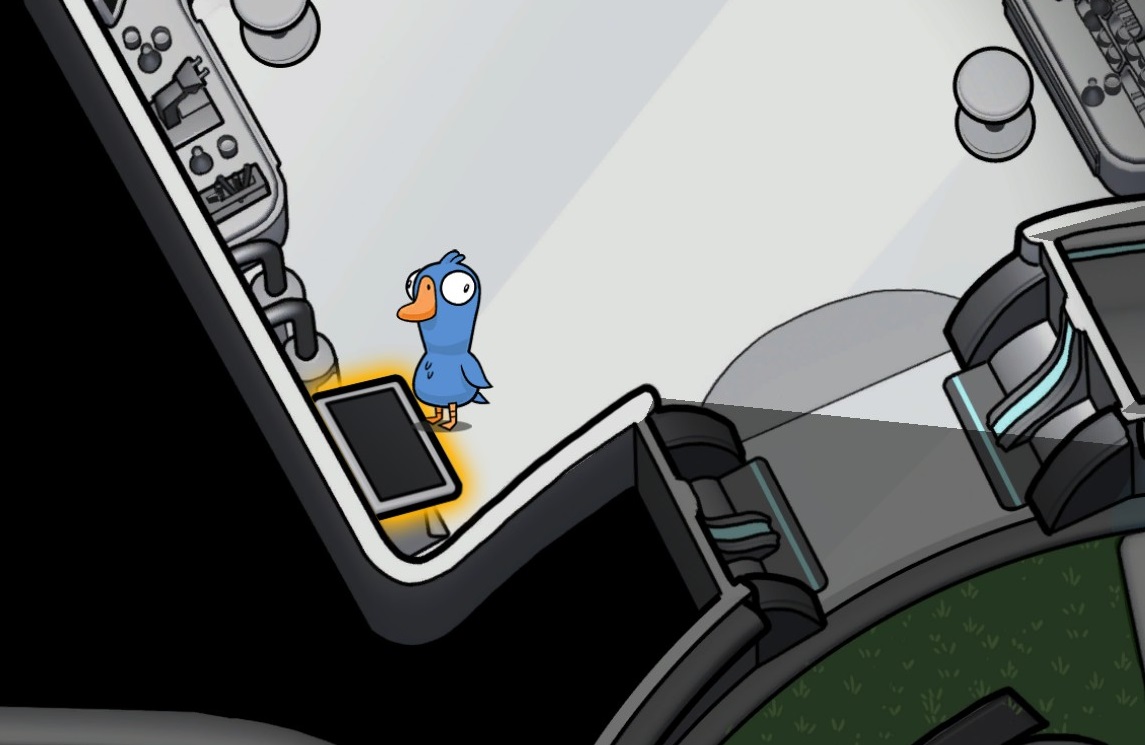
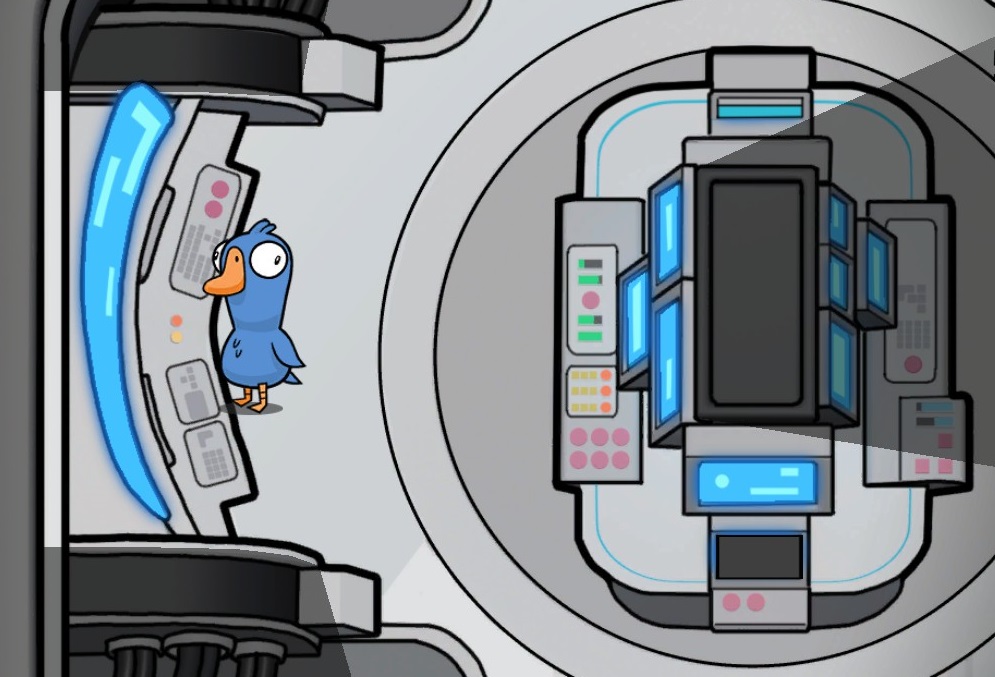
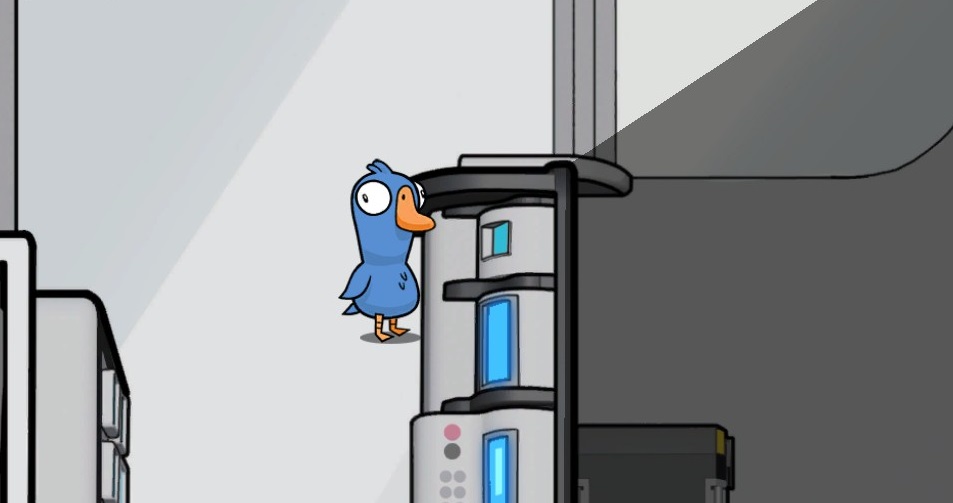
The vent on the shuttle is not connected to any other vents.
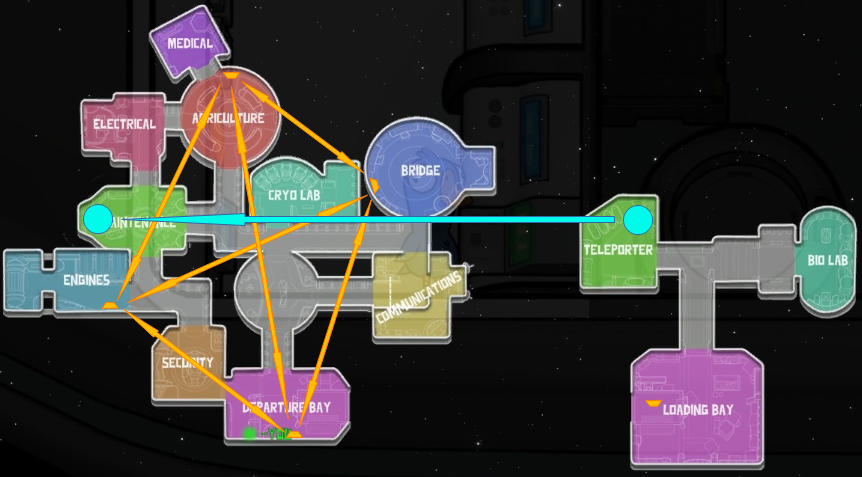
Avoid going onto either shuttle platform as you will get run over when the shuttle comes in from the other side.
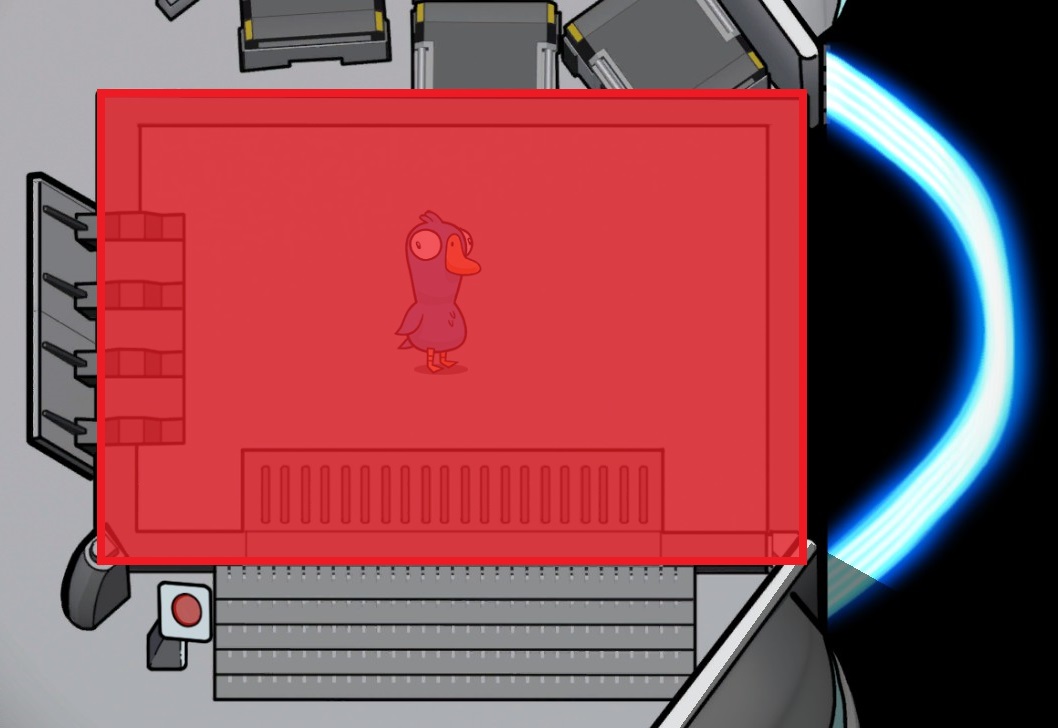
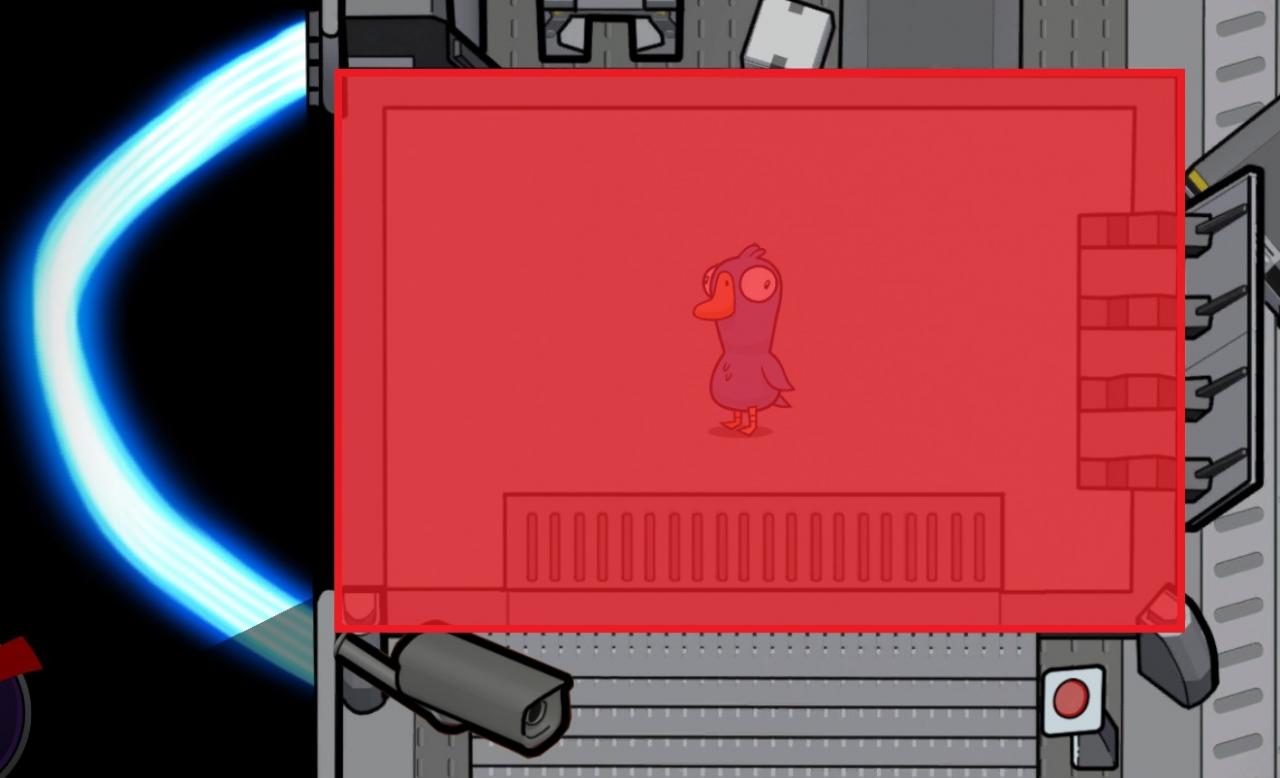
Be careful when using the shuttle as you will die if the shuttle sabotage is not fixed.
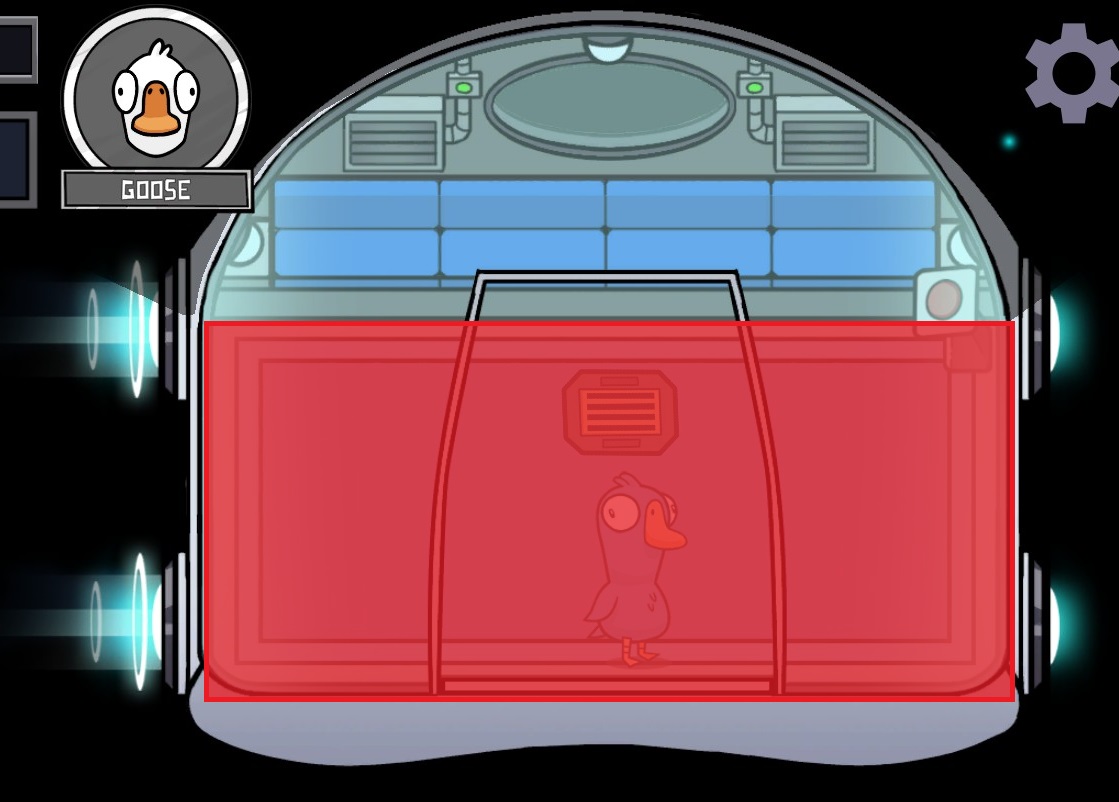
Be careful when using the teleporter as there is a variable chance you will die when it’s sabotaged. You can check the status of the teleporter from the Loading Bay.
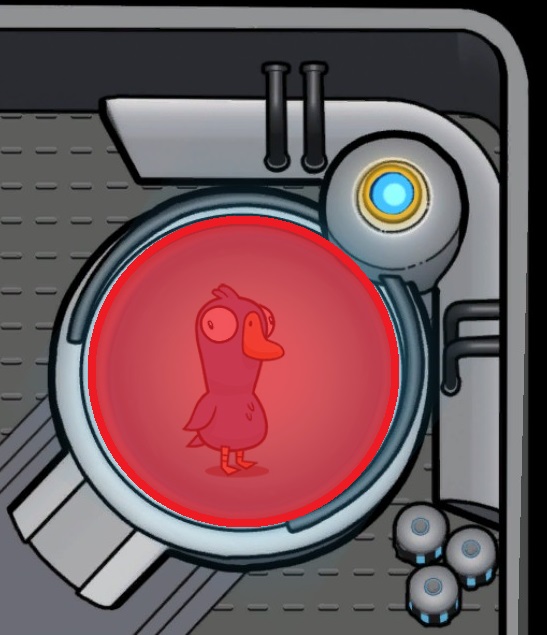
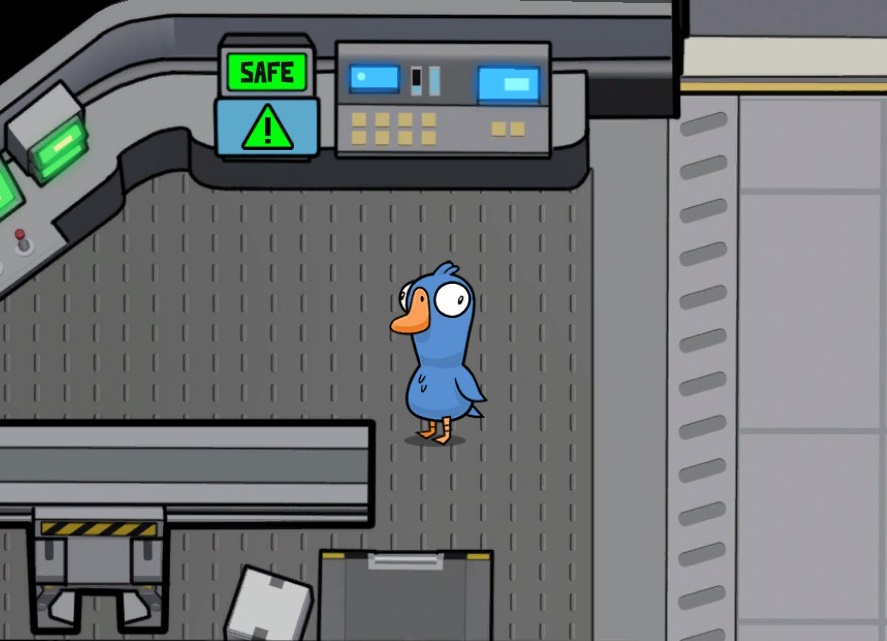
These must be activated before they can be used. The shuttle activation task is in Departure Bay, and the Teleporter activation task is in Teleporter.
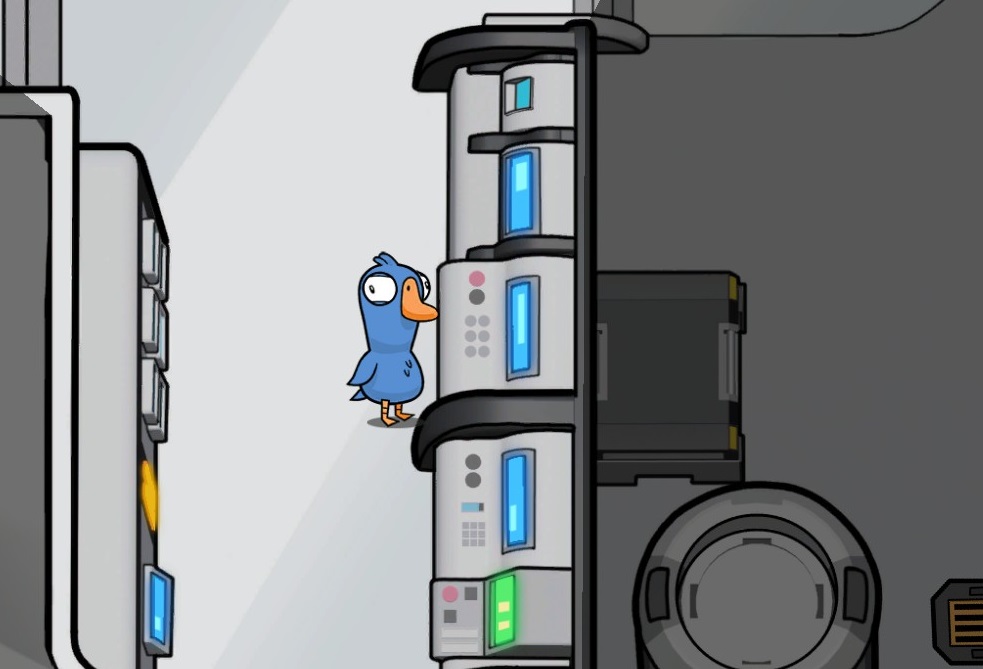
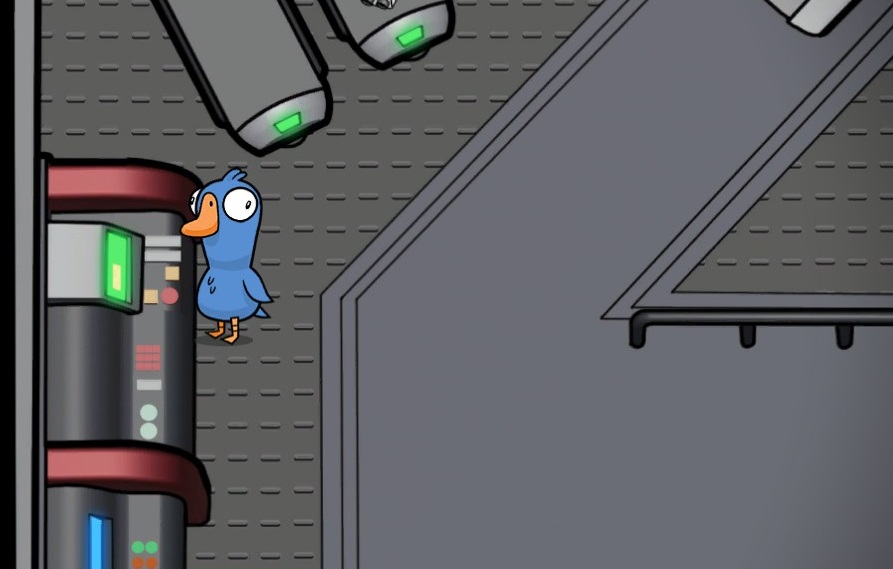
This room triggers completely at random and has nothing to do with your role and/or whether you’ve been sneezed on by the Pigeon.
Mallard Manor (MM)
Button Location: Dining Room
Cameras/Intercom: Neither
Sabotages: Lights, Doors, Fire, Poison Water Pump, Chandelier
Snoop Locations: 4
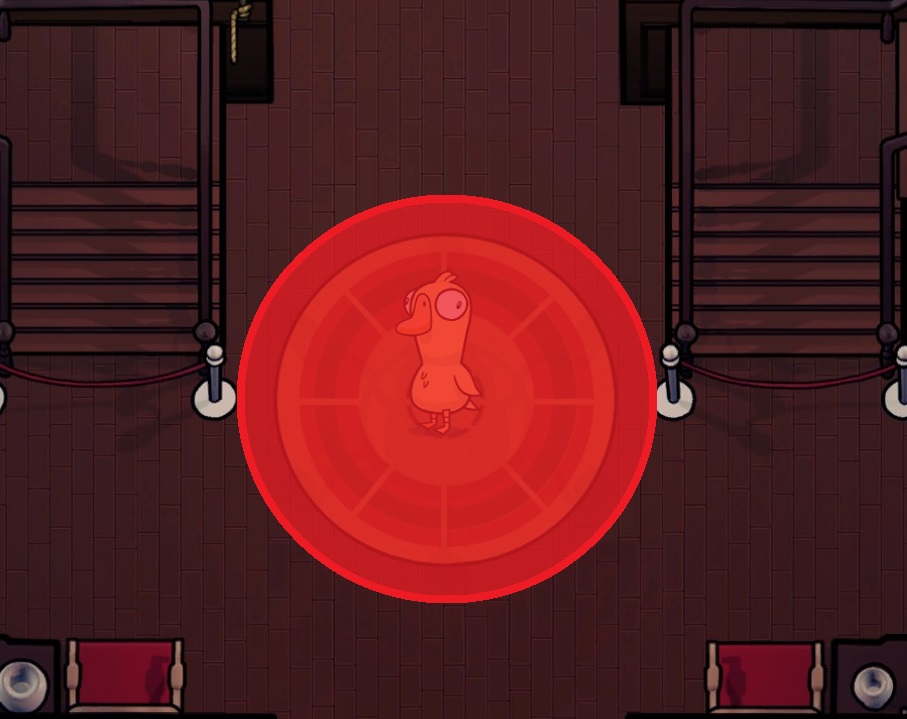
Map Hazard(s): Chandelier
Other Notes: The fourth map, released on 8/22/2021 in update 0.99.7, part of the Victorian Era.
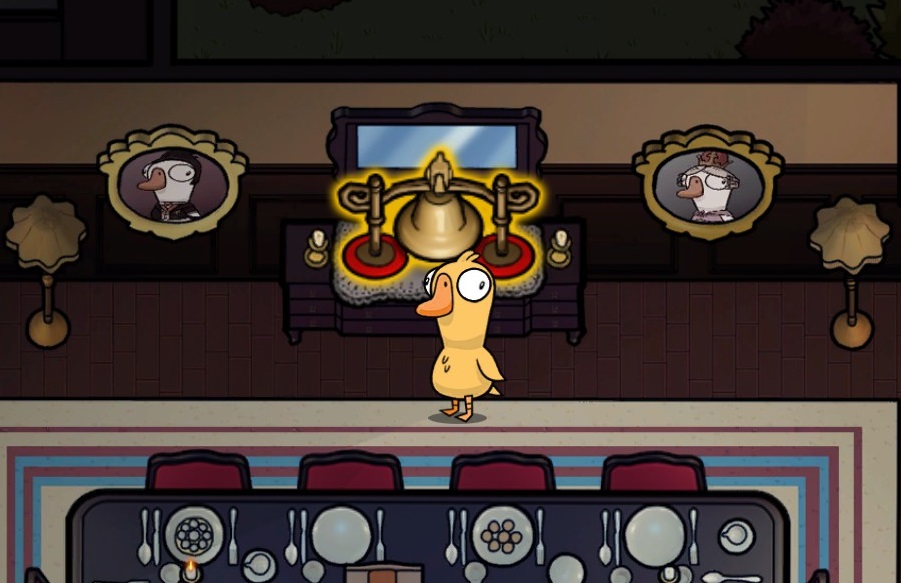
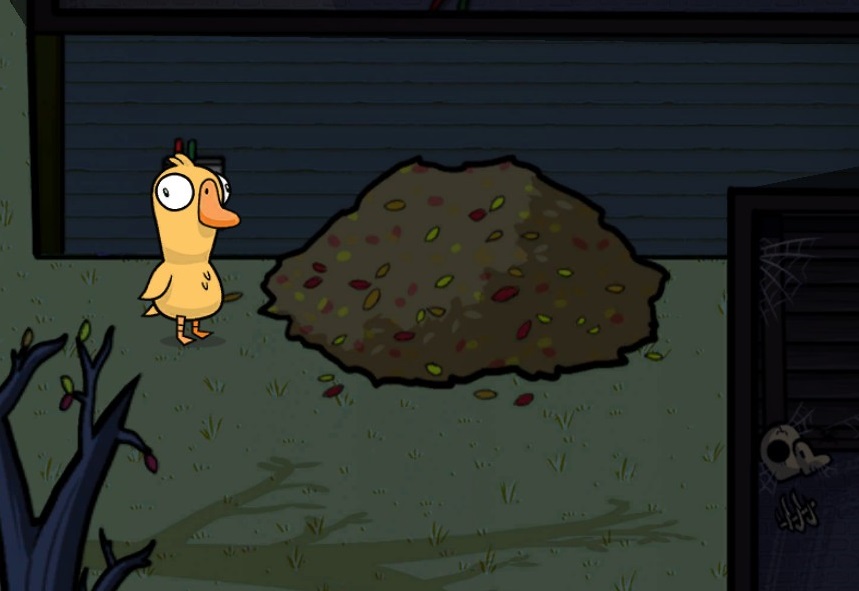
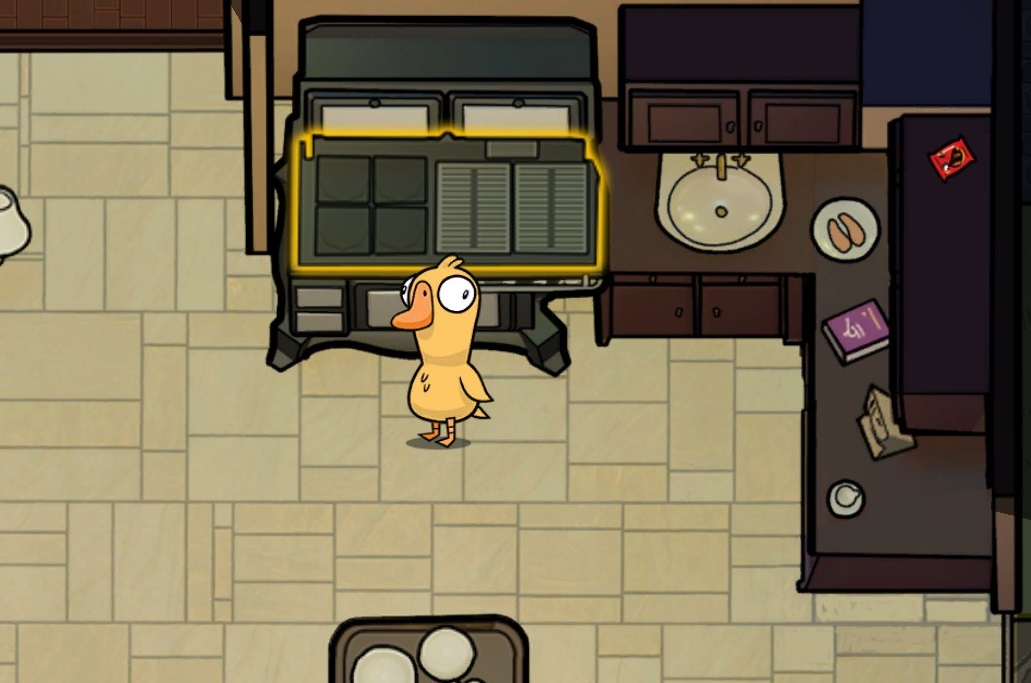
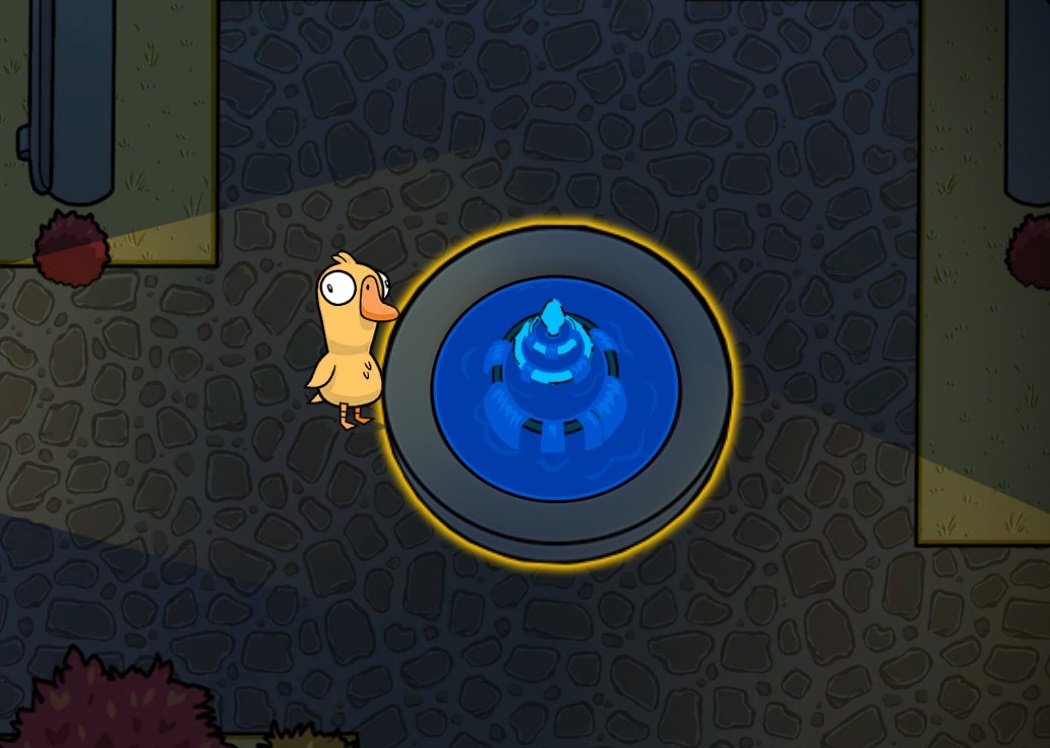
Ducks get either Chandelier or Poison Water Pump, never both. In order: Lights (The Grounds), Doors (Foyer), Fire (Kitchen), Poison Water Pump (Courtyard), Chandelier (Foyer)
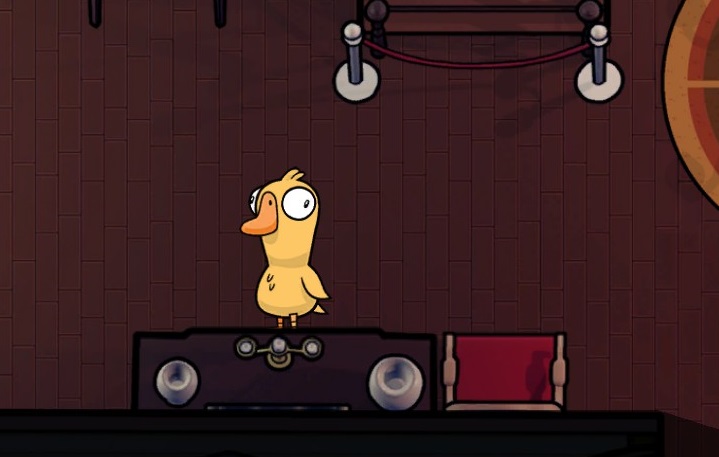
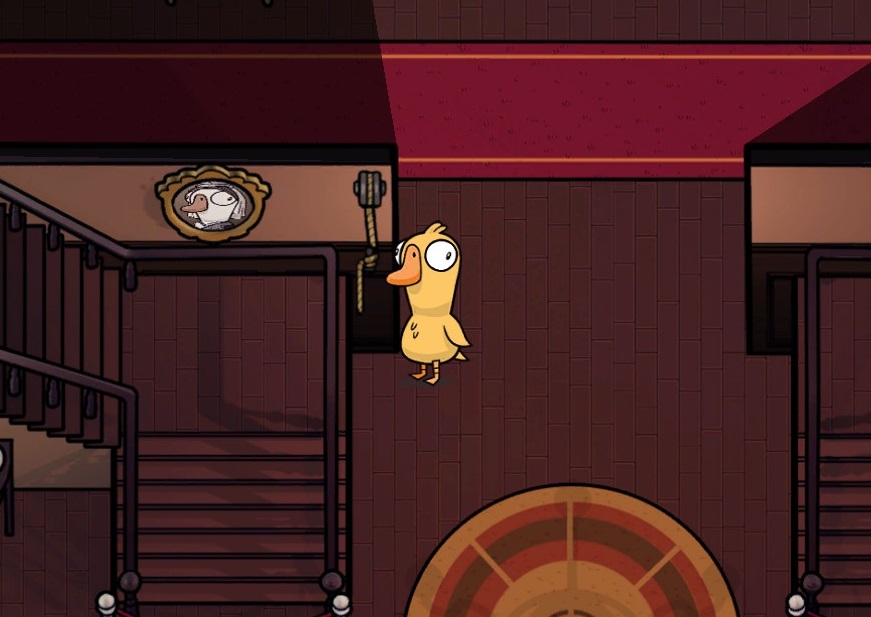
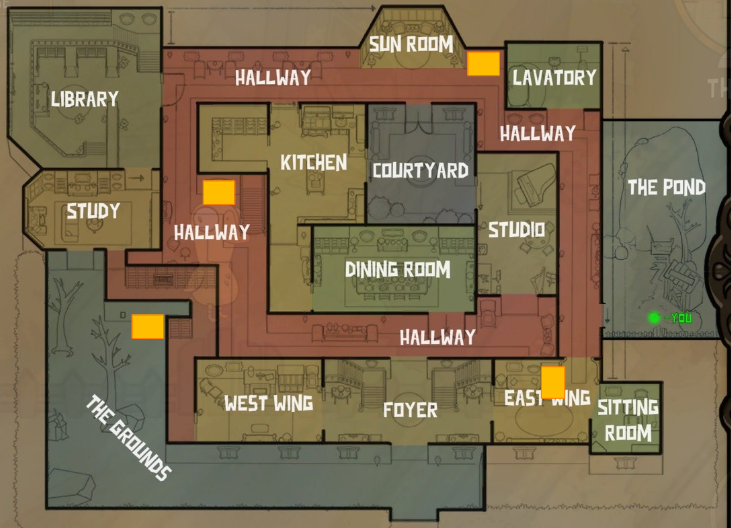
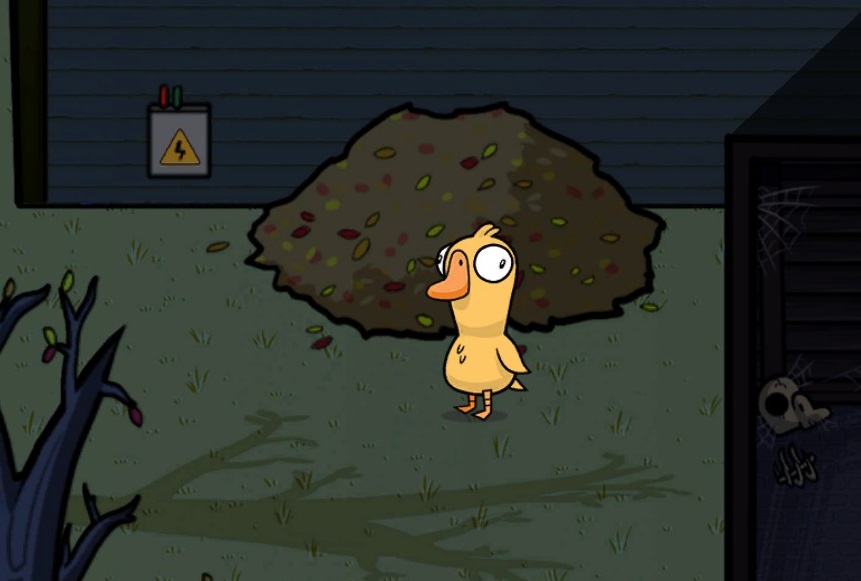
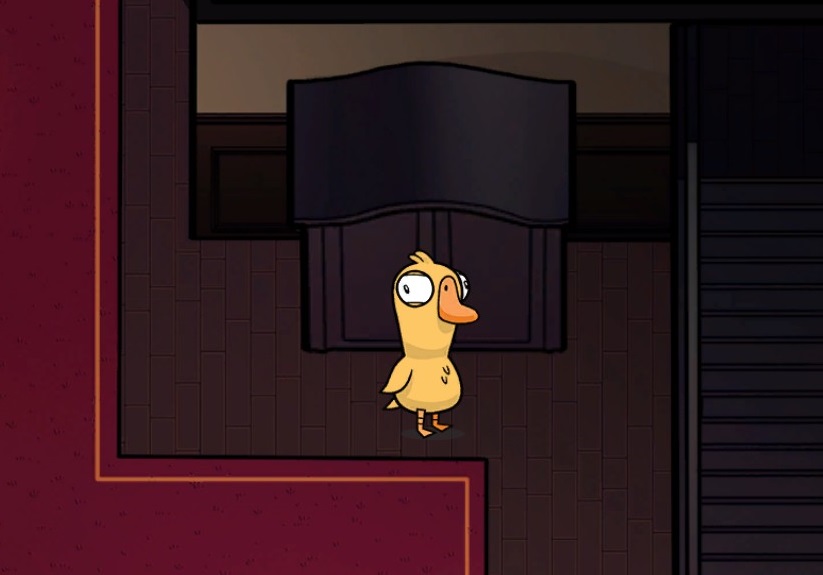
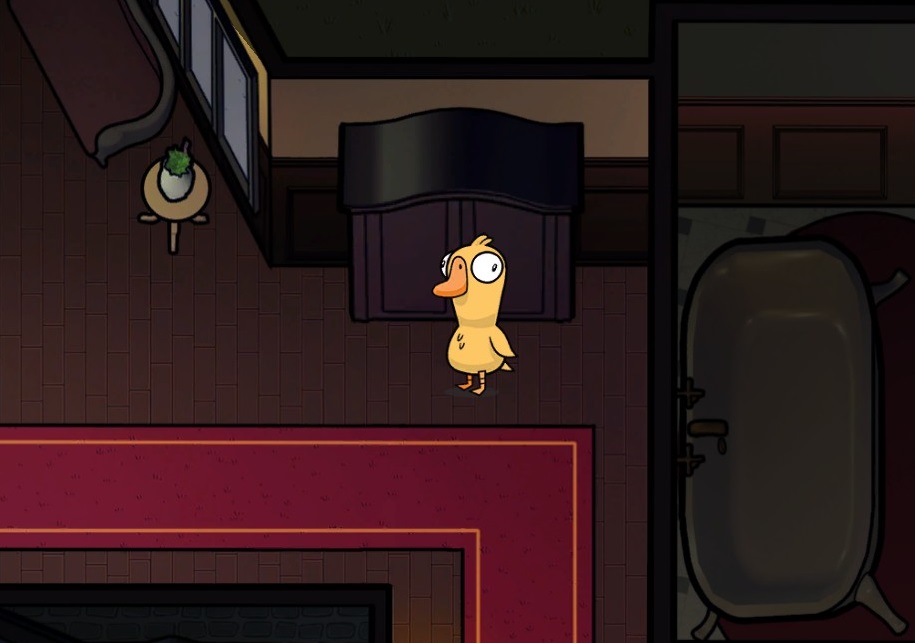
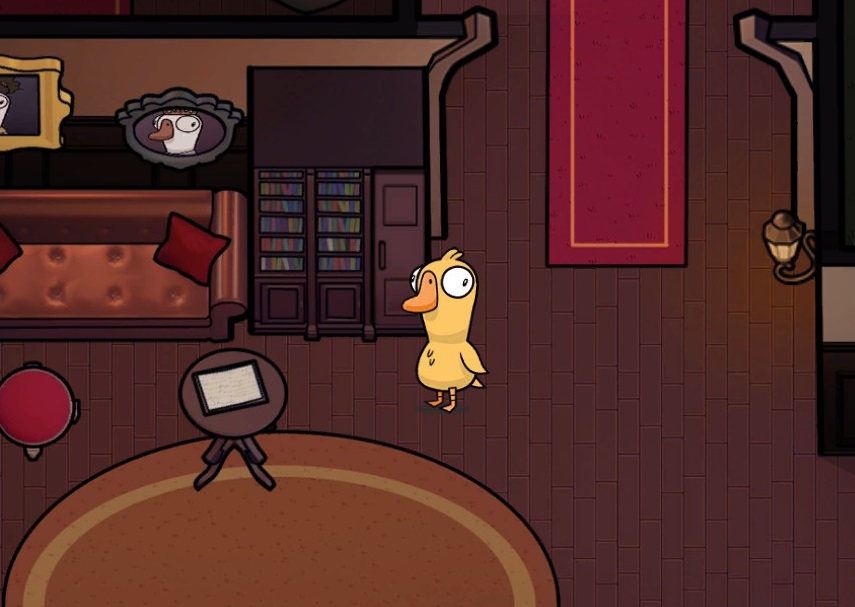
Avoid walking over the rug in Foyer as you could get crushed by the Chandelier.
