With the release of Nyakuza Metro comes many new assets and actors to mess with, so here’s a guide on how to use these in your own levels!
Train Paths and Train Meshes
Metro Trains work thanks to a series of different components, each covered in its own sub-section:
- Train Points
- Generated Meshes
- Cat Train Actors
- Cat Train Doors
Train points are used to specify the path that the train will follow. These individual points will be chained together and a path will be generated from their positions.
Creating a path from train points starts by placing down Hat_TrainPoint actors into your level. On their own, they won’t do anything, because you have to link them together to create a path. This is what the Next Point property (found in the Actor Properties menu, opened from the right-click menu and clicking “properties” or by pressing F4) is for. To link 2 Points together, select the first point, open its properties, and click the button in the top-right that shows a padlock icon. This will allow you to select a second object while still showing the properties of the originally selected object. Now, select the trainpoint you want to connect to, and click on the green arrow to the right of the Next Point property. You’ll know that they are connected as there will be a dotted line drawn between the two points.

An important thing to note is that the direction that the dotted lines move is the direction in which the train will move as well! However you can flip this direction at any time later on, and this can be done by right clicking on any train point, finding and clicking the Reverse Track button.
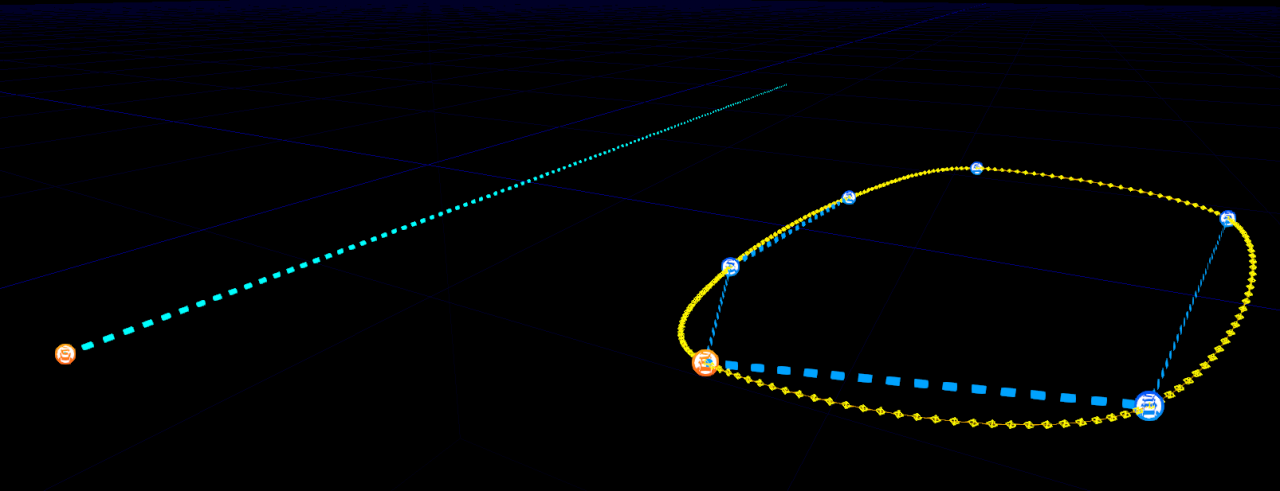
When you connect your first 2 points, you will notice a few things change. Apart from the dotted line mentioned before, one of your train points will turn orange. This orange point is the “master train point”on your train line. The dotted line will appear a cyan blue, but if you change the Train Color property in either train point actor, it will update the dotted lines to match the color chosen. This color will also be the color of the train that will run along this track.
From here, you can continue to attach more train points along your path, whether you copy and paste existing actors and then attach them, or by spawning in new actors.

When you attach a third point onto your track, you will notice a yellow line composed of small diamonds. This yellow line represents what shape the final track will look like later on, and therefore will be the path that the cat trains follow. These paths will update automatically as you add new points or move existing ones. Use them to make sure that you have the correct path you want. (although you can change your paths at any time)
You will also notice that there is a purple diamond around one of your train points, and that it draws a purple line back to the beginning of your train line. This represents a point where the train teleports from the end to the start of the track.
If you ever want to split up a track, whether to have more points to better control pathing, or to add a whole new segment of track, you can do so by selecting the train point you want to split, right-clicking on it, finding and selecting the Split Track button.
Sometimes, it can be tricky to get the track you want, especially if you have a point that needs to be really straight following or preceeding a turn. It’s best that you mess with train points yourself to get the tracks you want to the best degree possible. However, a couple notes must be made regarding track design. For one, it is not good to put train points super close to each other, as it may result in unwanted loops or unusually sharp turns in your trains. In addition, it is not good to have a train the player is intended to ride that goes up or down a slope not be too steep, as the player will get stuck in a constant slipping animation that prevents them from sticking to the train. Trains also don’t like to go up or down extreme verticals.
Knowing this information, you can make pretty versatile and flexible train lines that suit your purpose well.
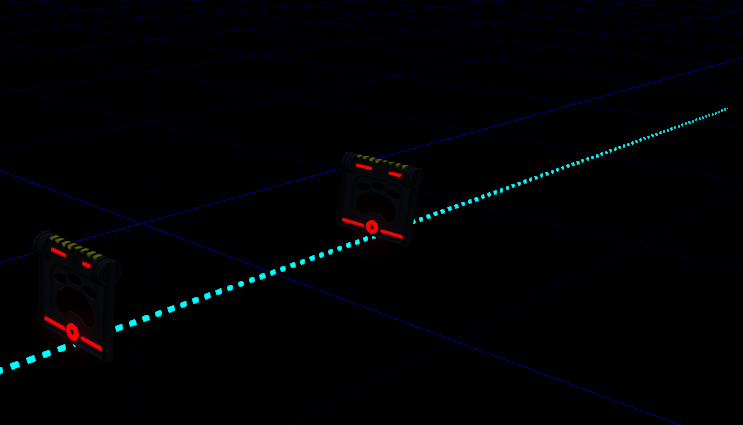
A short note to keep regarding track design is that if you are planning to have a train exit through a train door in a wall (train doors being covered later on), you may notice that the second the train reaches the end of the track, the player teleports with the train back to the start position. For this reason, you may want to remember to have your track extend beyond the door so that your train will be completely through it and out of the playable area before teleporting to the start.
In some cases, you may want 2 trains to meet up alongside each other or remain near each other so that the player may jump between them. Normally, this would mean carefully adjusting speed and track lengths to try to get trains to meet up how you want them to repeatedly. However, train point actors have a feature that allow you to sync train meetups without any further input.
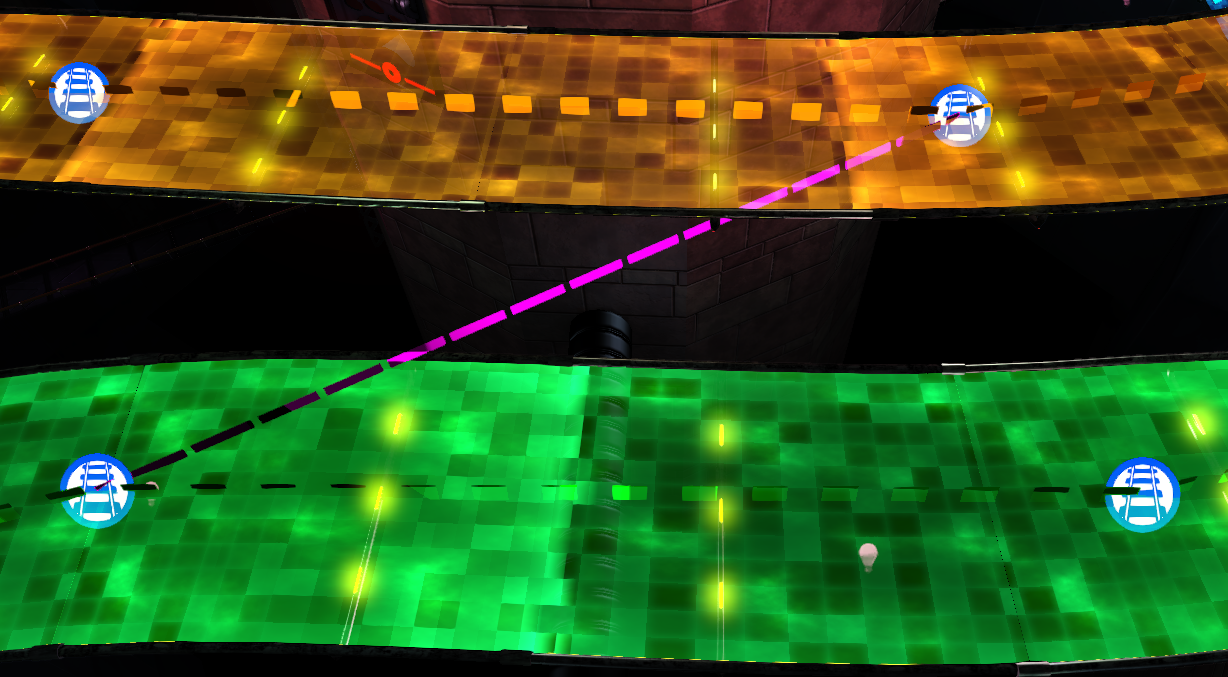
A train sync will try to adjust the speed of trains so that when one train reaches a point, the other train will be at the point linked to it. To set one up, all you have to do is set one train point’s Sync Track Points property, found under the Hat Train Pointtab, to be one or several points in which you want the trains on each track to be at the same exact time. The speed adjustments and all are handled by the game automatically. Do keep in mind that having duplicate trains on the track (covered later on) will change the speed of trains linked with sync points, as it will try to have every train instance meet up at a given point, whether it has an equal, less or more trains on one track than the other.
The tracks that trains run on are auto-generated based on the positioning of your train points. A modular mesh is automatically positioned to fit the track without any effort from the user. If you right-click on any train point on your track, in the right click menu, there will be a section of new options available.
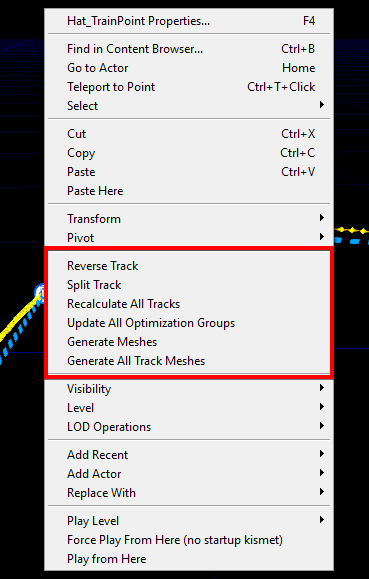
For Generating Meshes, you will want to click on either the Generate Meshes button OR the Generate All Track Meshes button. The difference is that the former will generate meshes only for the selected track, and All Track Meshes will generate every track on the map. When you do this, the editor will automatically generate a train track mesh that contours to your train point path.
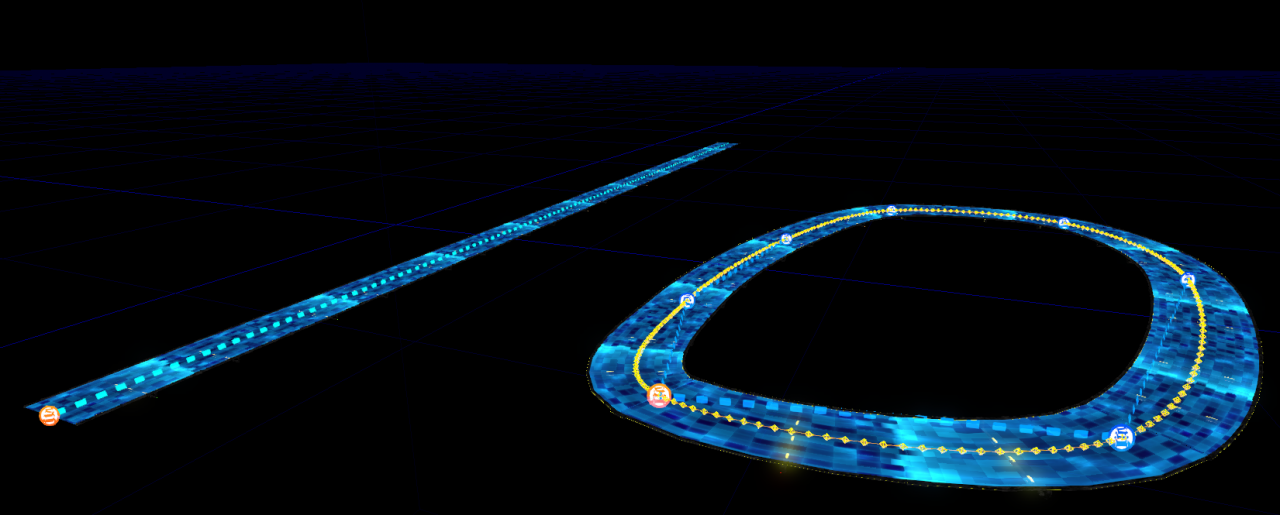
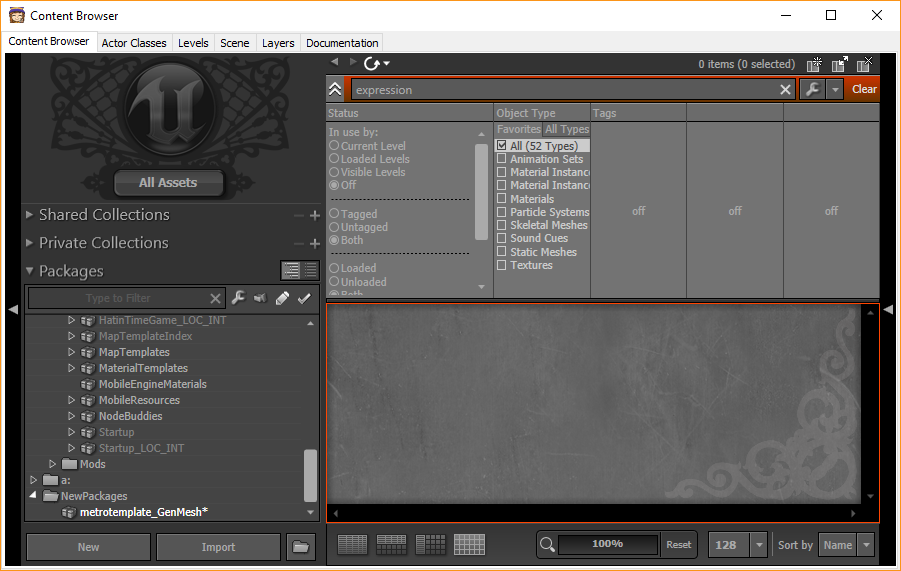
When you generate any train mesh, if you go into the content browser, you will find that a new package is created. You will want to save this into a folder named Content in your mod folder, or else if you re-load your level the track meshes will be missing and will have to be re-generated, as well as not showing up in a cooked version of your map.
When you have your track mesh generated, and if you move the master trainpoint around, the track mesh will move with it. However this will not move the other train points with it. If you change the positions of your train point paths, your track mesh won’t update with it, so you’ll have to re-generate the mesh to update it.
Cat Trains and Train Doors
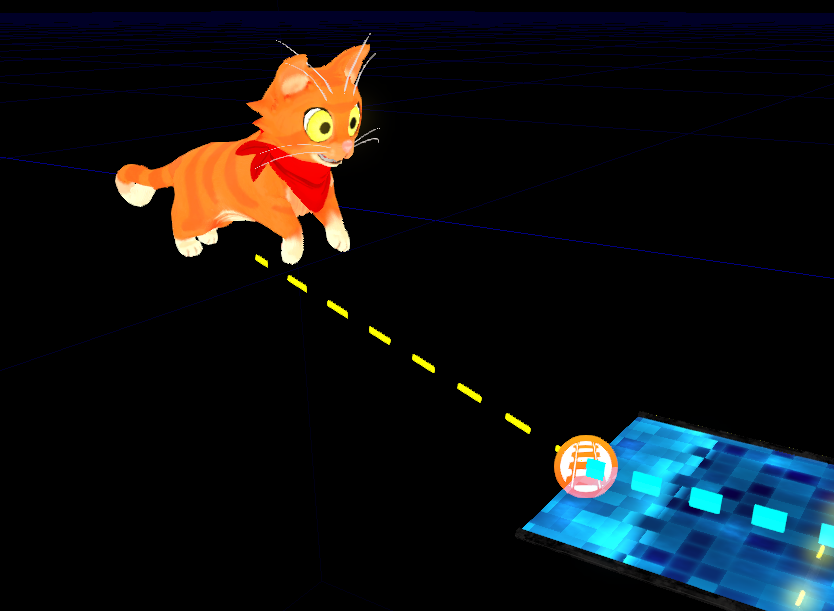
Cat train actors are the actual trains that move along your train path. There are three different actors for these trains: Hat_Hazard_Train, Hat_Hazard_CatTrain and Hat_Hazard_CatTrain_Short. Each of these actors have their own unique components:
Hat_Hazard_Train is a food cart object that can be attacked to train lines. It doesn’t seem to do much other than that, as it has no collision of any sort. Likely for testing purposes.
Hat_Hazard_CatTrain is the normal train actor that you can freely ride and all.
Hat_Hazard_CatTrain_Short is a small cat train, but it has no collision on top, and only harm you if you are hit by the front. These are likely used in the segments of metro with a tunnel where you move side to side to dodge trains coming towards you. However, if you turn off the Optimize Train Collisionproperty under the Cat Train tab, and toggle on the Can Be Stood On property under the Collision tab, within the Collision Component, you will be able to stand on these short trains, which you can then use in your levels.
To connect a train to a track, under the Train Front tab, set the Start Point property to be any Train Point on the path.
In addition, if you want to have several trains on the same track, that doesn’t mean to put several cat train actors on the same track. Instead, under the Cat Train tab, change the number in the Spawn Duplicates property to how many additional trains you want on the track. Each additional train will be spaced equally apart from each other, so you don’t have to worry about positioning.
At first, you may find that your trains are desyncing or not moving while offscreen. This is because by default, cat train actors use View-Based Optimization, which hides the actor when it is outside of the player’s view. This is normally for optimizaiton purposes, but it can also give you strange and unwanted results when you have several duplicate on the track. To prevent this, assuming you have built and saved your Generated track meshes, right click on a Train Point actor and select the Update All Optimization Groups option. This will group together any trains to the track so that they will only be hidden and culled out of view when the entire track and every train on it is out of view.
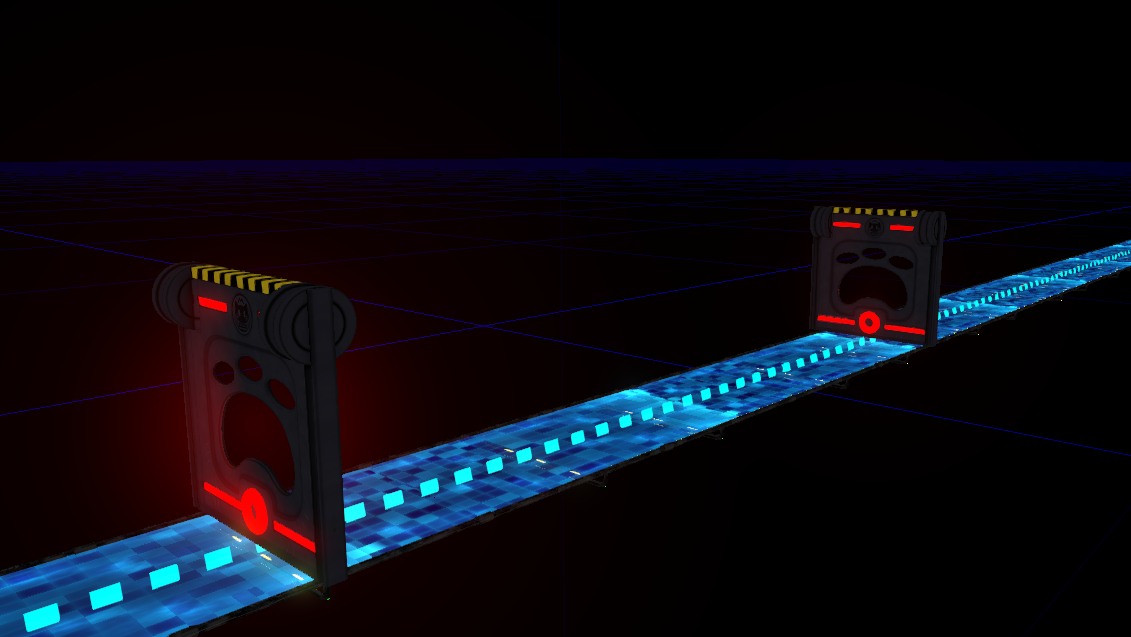
The doors that Cat Trains enter and exit from are known as Hat_CatDoor actors. Not much setup is needed at all to get the doors to work. All you need to do is place a catdoor near the track and it will automatically open when a cat train passes through it. However, it may open in the wrong direction, so you may have to flip or rotate it around to open in the correct direction. The cat doors also have a few different settings you can adjust. You can hover over the name of each property for a brief description of each.
Cat Vacuums
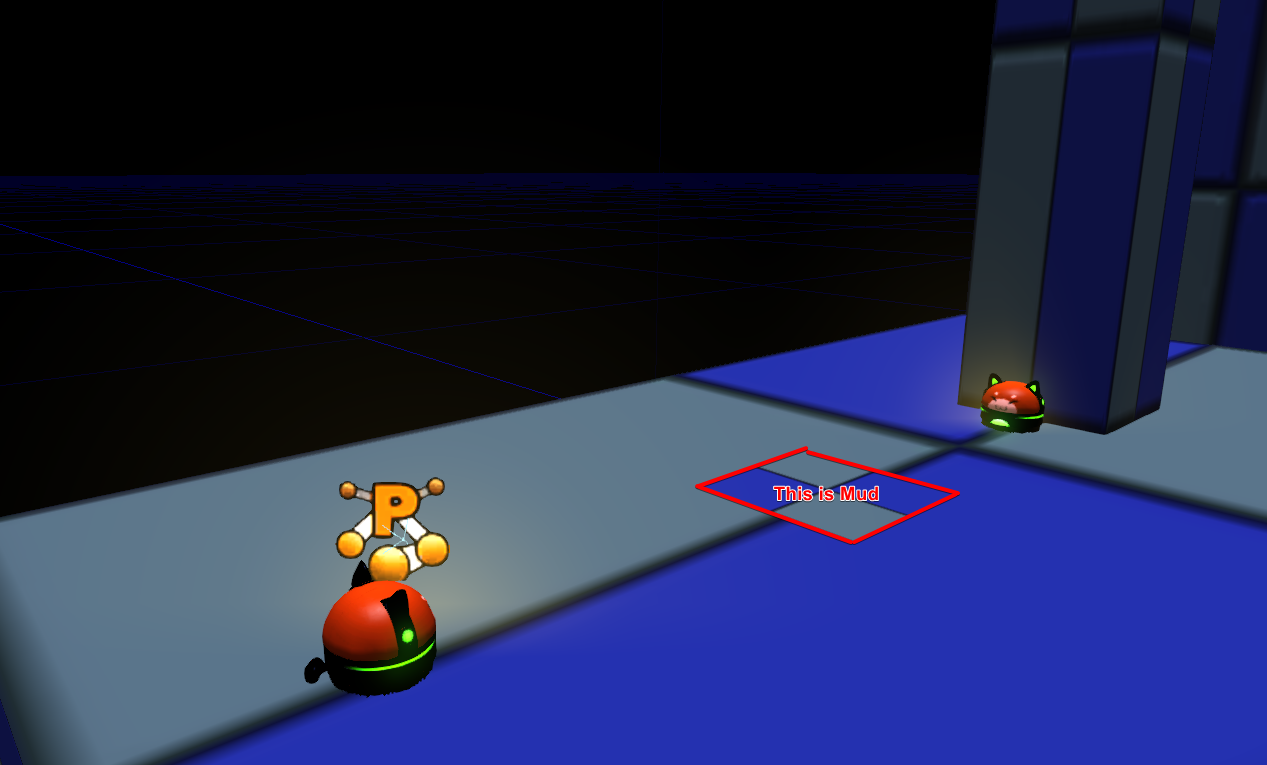 Movable floor vacuums are able to patrol an area when given a route to follow (See the segment on Routes in the How Tos guide). However, if the player falls in a Hat_MudPuddle actor, the floor vacuum will immediately track down the muddy player and attempt to bounce them upwards.
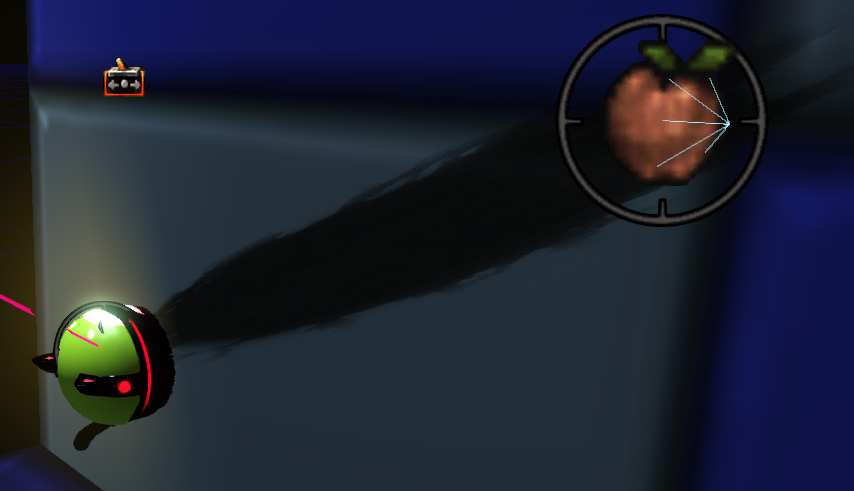
Movable Wall Vacuums won’t track the player when they’re muddy, but you can still have them patrol along the wall. Wall routes are set up similar to floor routes, but you typically do not have to worry about adding a pylon, as no pylon is needed for a fixed path. If you are having a vacuum move back and forth, you want to keep in mind the Player Interact Node Index property. This property will have the vacuum stop and stay at a point longer than the other one. by default, -1 means that it will move between the two points at an equal rate, whereas 0 would stay at the first point longer, 1 at the second point longer, etc depending on which ID is set to each point in the Route actor.
To Generate the decal between a vacuum’s movement points, right click on the actor, and select
Generate Wall Movement Decal. This will automatically place a decal spanning between the two points showing the direction of the Wall Vacuum’s movement.
By default, wall springs will bounce you upwards and a bit outwards. However, you may be looking to chain springs together and have the player bounce from spring to spring as is done in some parts of the Metro. This is done through the Auto-Aim Targets property. Simply select an object, whether it’s another spring, a target point, or anything, and the player will be bounced toward that point in an arc.
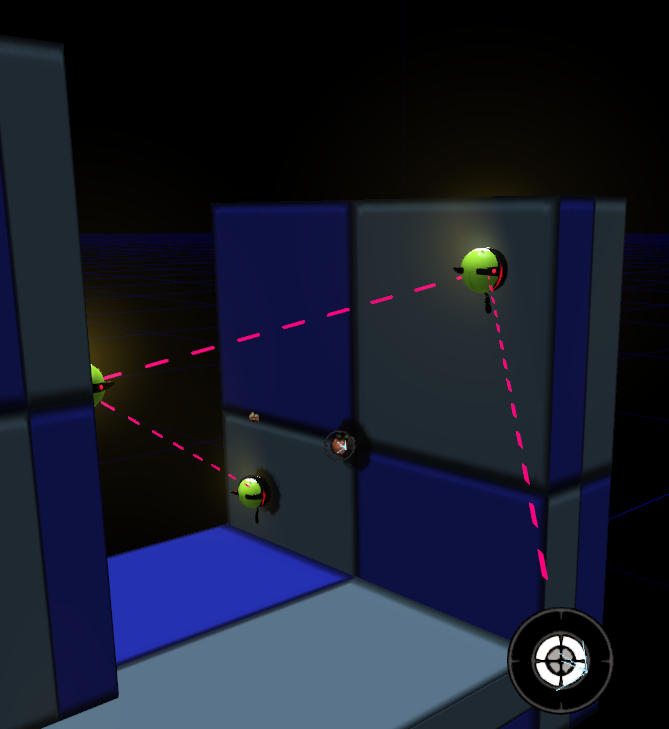
Sometimes by default, however, the spring may sometimes bounce you in a different direction, or off-target. To prevent this, all you have to do is toggle on Auto-Aim Breaks Laws of Physics, which will force the spring to always bounce you to the target no matter what.
Manholes
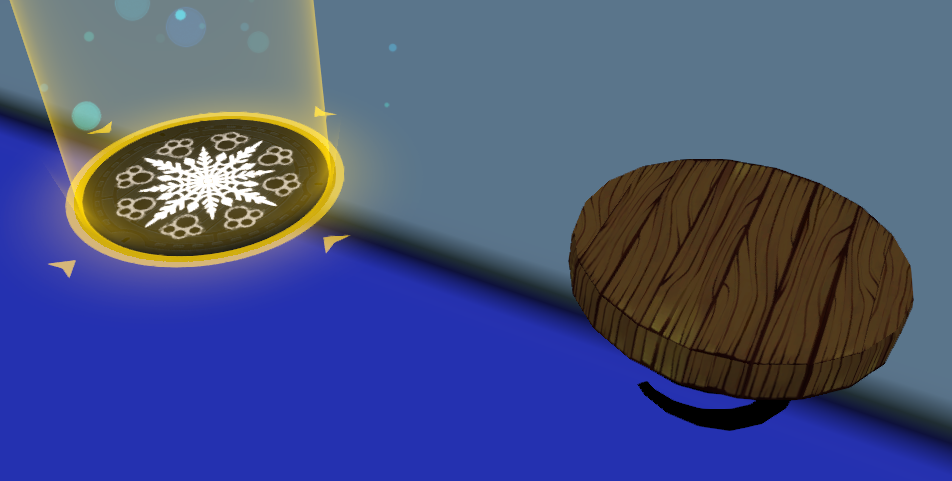
Manholes can be found in the Actor Classes menu as the Hat_ChallengeRoomManhole actor. Within the actor, you can set where it takes you when you enter the manhole by setting the Exit Pointproperty to a target actor.
To create a way to exit the manhole, you will need a Hat_SpringBased_Teleport actor. Then, all you need to do is set the Teleport Target property to be the Manhole you want that spring to take you to, and when you use the spring, it will teleport you as if you jumped out of the manhole!
Empress
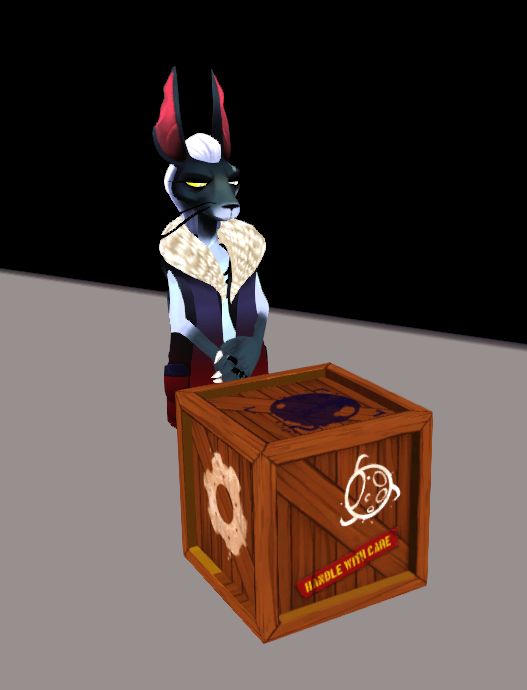
The empress NPC works like any other NPC, but one difference to note is that unlike other NPCs, under the Hat NPC Metro Empress tab, you will find the ability to toggle Empress’ ability to attack the player in response to the player attacking her, which will be an instant kill.
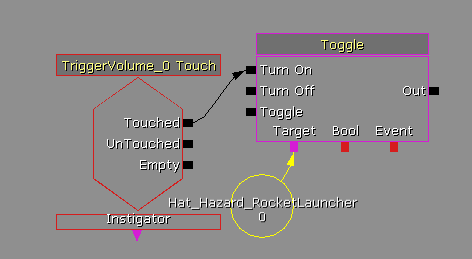
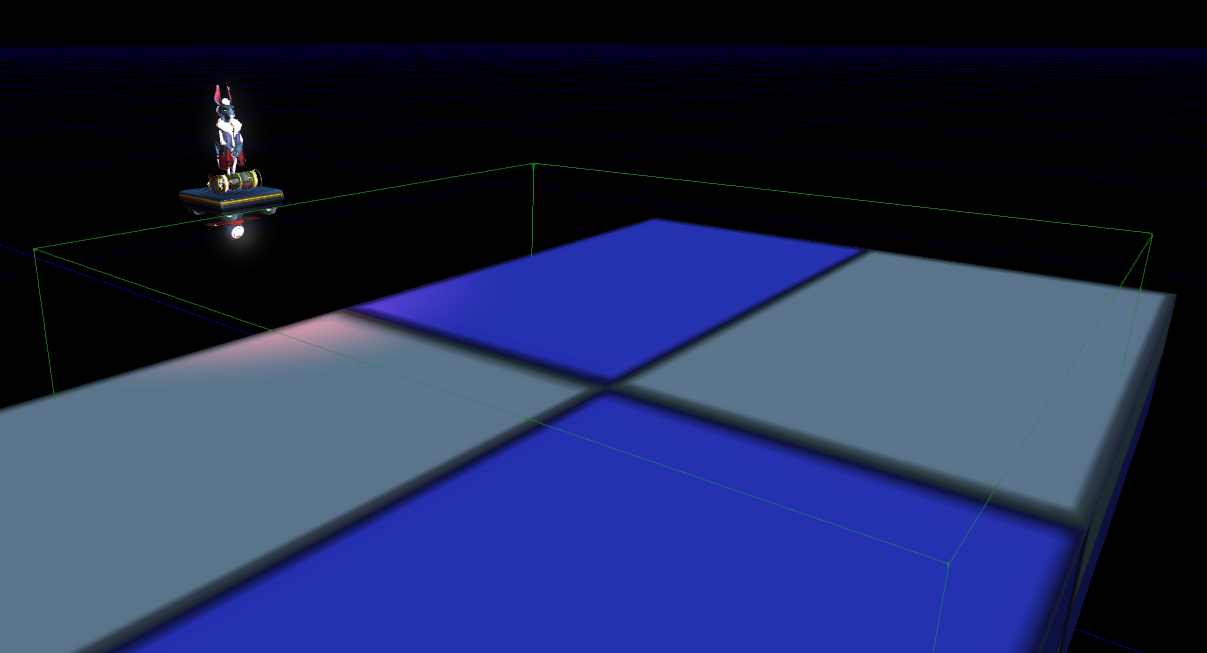
The empress found in the metro’s finale, Rush Hour, can be found as the actor Hat_Hazard_RocketLauncher. This actor by default is disabled and won’t appear in the level. However, if enabled through Kismet, whether through a trigger volume or any other event as you wish, it will play her appearance animation and she will begin firing rockets at the player autonomously. Keep in mind that the empress only fires when the player is not in the air, which is programmed into her AI.
By default, you can only have one Empress active at any time, and activating another rocket launcher actor at any time will disable the previous one while enabling the new one. However, if you toggle off the Disable When Other Rocket Launchers Enable found under the Hat Hazard Rocket Launchertab, you can have several different empress actors running at once.
Power Pons
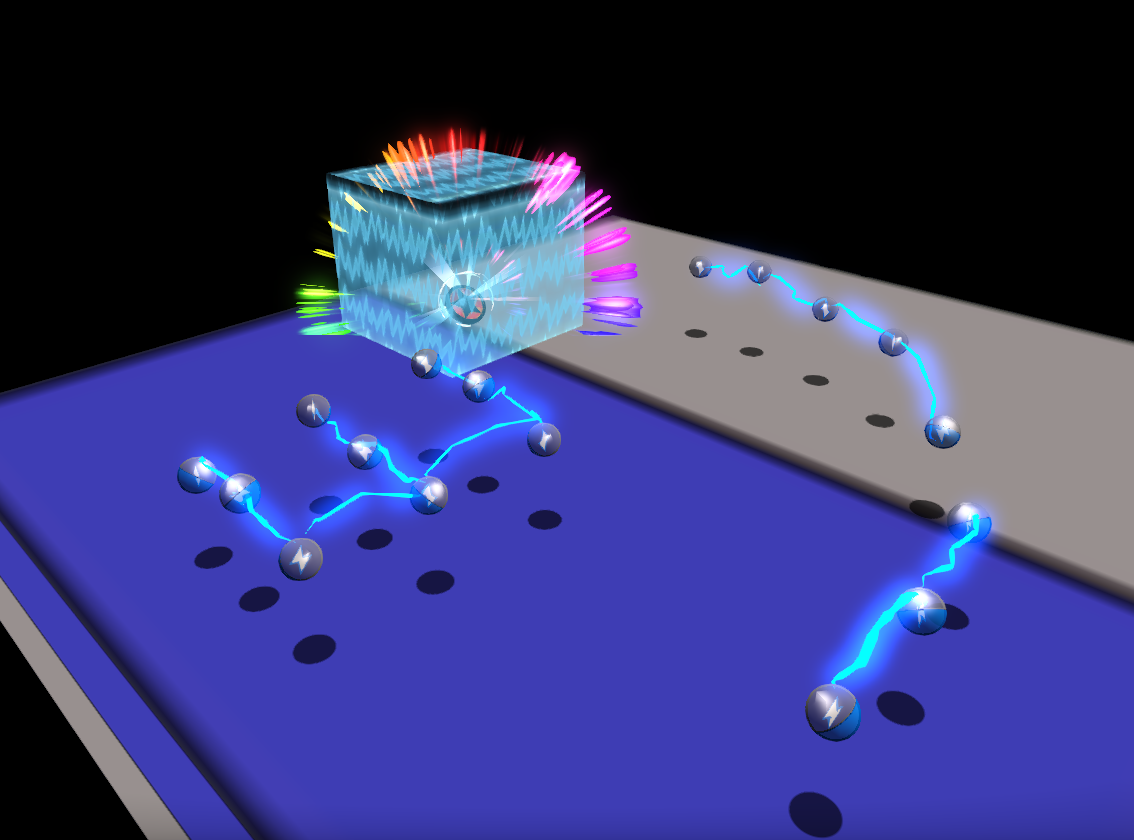
Collect-A-Thon missions using electrical pons, known as Hat_Collectible_PowerBit, can be used to create levels and challenges consisting of the player collecting a set amount to dissipate a barrier blocking a prize, oftentimes a time piece or progression, using a Hat_PowerPonField actor. Setting up one of these is rather simple, as there is no kismet or any other exterior setups.

The Power Pon Field has settings within its properties that let you set how many pons are needed to unlock it, what camera it will use to show it being unlocked, other Power Pon Fields that must be achieved to progress to the current one (prerequisite Fields), and more.
The Power Bits can be places like normal pons, and these will contribute to any active Power Pon Fields. However, one unique property of these pons is that they will automatically create tethers, which are the arcs of lighting that link together small chains of pons. Although you can set your own tethers with each pon’s settings, they tend to be finicky with how they are automatically generated, so it may take many tries to get the tethers to link up how you want them to. You can also set it up to not automatically tether at all to anything nearby, by unticking the Tether To Nearby Pons property, which will prevent automatically generating tether connections.
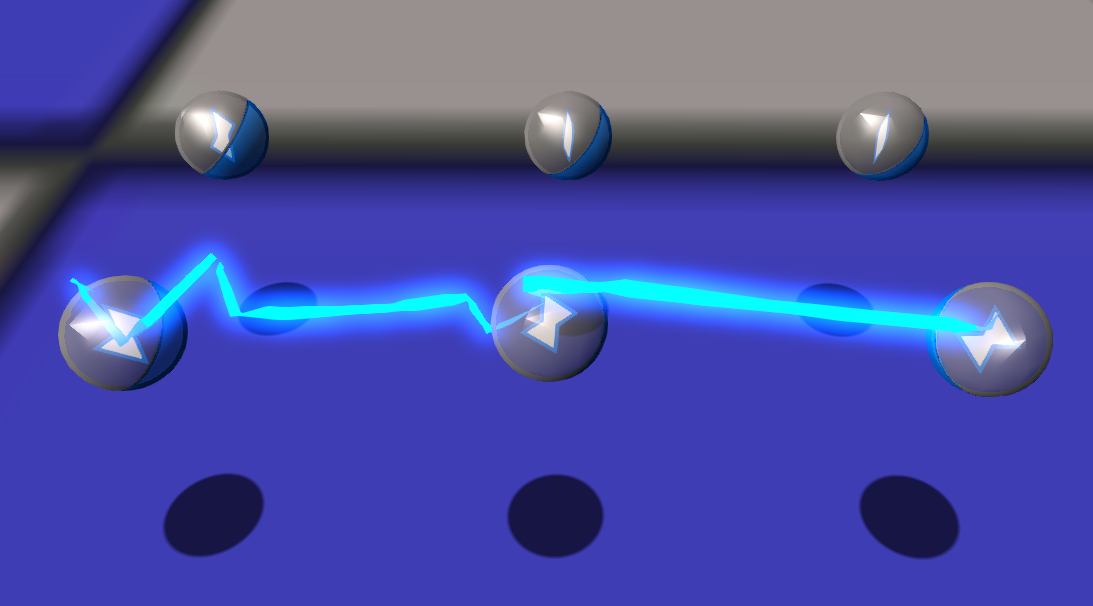
However, because tethers tend to link 2-ways, if you are trying to untether an already tethered pon, this can also be a bit tricky to get right. Moving the pons will update their tethers, and if that doesn’t give you the results you want, you can always delete the pon and place another, whether far away until you adjust their settings, or place it nearby and try either if the auto-generated tethers will generate the way you want, or untick tethering so that you can either manually link up tethers the way you want it or so they don’t tether at all.
Related Posts:
- A Hat in Time: Wowza! Sticker Guide
- A Hat in Time: All Sticker Locations
- A Hat in Time: Death Wish – Subcon Forest Guide
- A Hat in Time – Death Wish: Alpine Skyline Guide
- A Hat in Time – Death Wish: Battle of the Birds Guide
