For Wounded – The Beginning players, this is a guide of all the achievements in the game, you can unlock 100% achievement following this guide.
Wounded – The Beginning is a first person horror walking simulator with a few enemy encounters and some “item puzzles” if you can call them that way. It’s really just “find item x and use it on location y”. It’s rather short with a playtime of 2-4 hours for a first time playthrough and about 60-90 minutes for a speedrun. The game has 3 different endings which means you will have to at least play through it thrice to get 100%.
I recommend to play through the game first as a blind playthrough or by only getting all collectibles (using this guide) and getting any ending. (As you will have to play through it at least thrice for all endings you won’t loose any time by doing a blind playthrough!)
Then get all collectibles once if you didn’t do that already and get the remaining endings while maybe also practicing the enemy encounters a bit. Then the last thing to do will be to finish the game without beeing detected by enemies. This is also by far the hardest achievement.
I will have a part in this guide where I talk about every enemy encounter, to make this one easier.
story related achievements
- Just a Dream
Complete the prologue

- Lights On
Let there be light

- Lights Off
Afraid of the dark?

- Downfall
Successfully survive the chase and enter the market

- Just another dream
Complete the Nightmare

miscellaneous achievements
- Feed him to survive
Find all the notes and successfully feed one of the skinned people
 Like the description says, you need to find all notes to be able to get it.
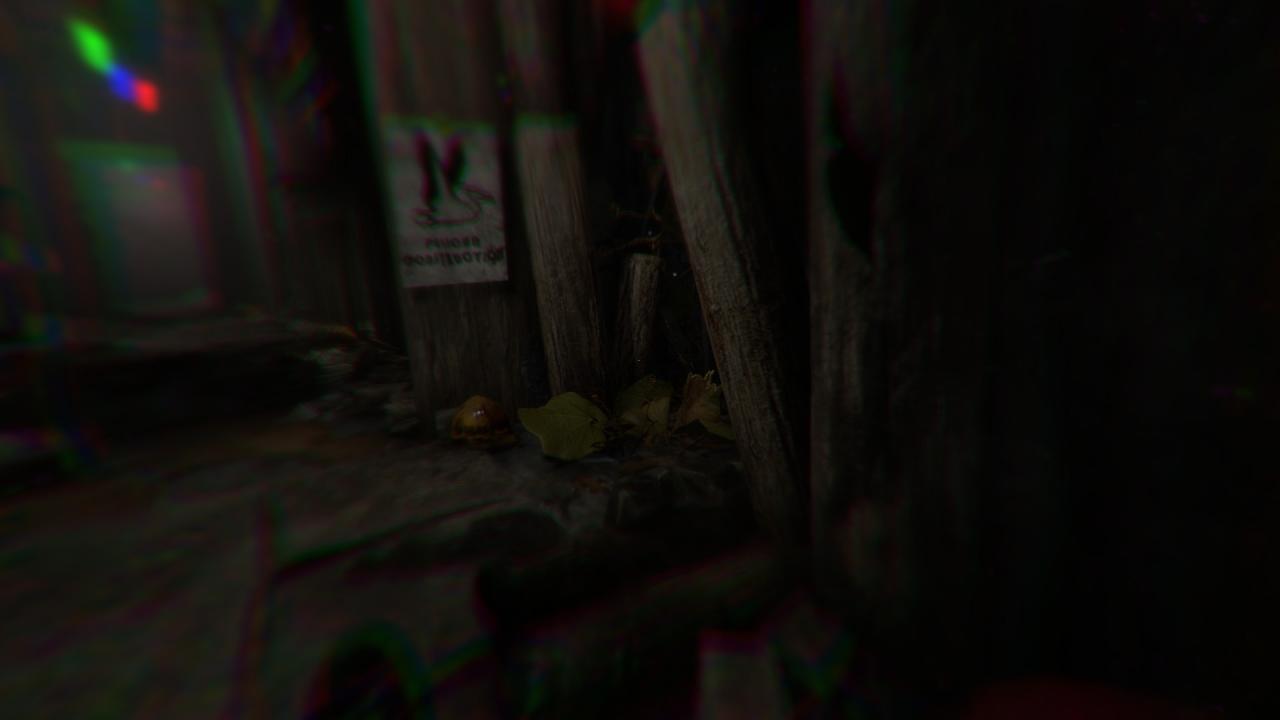
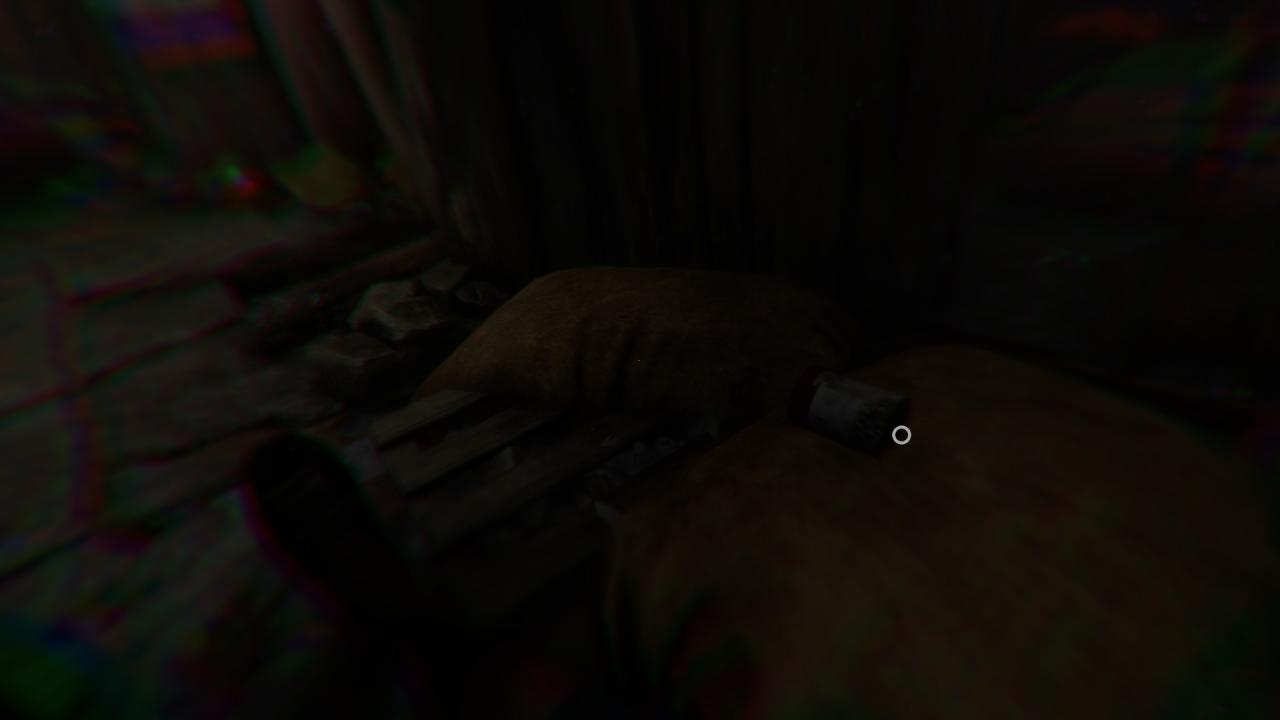
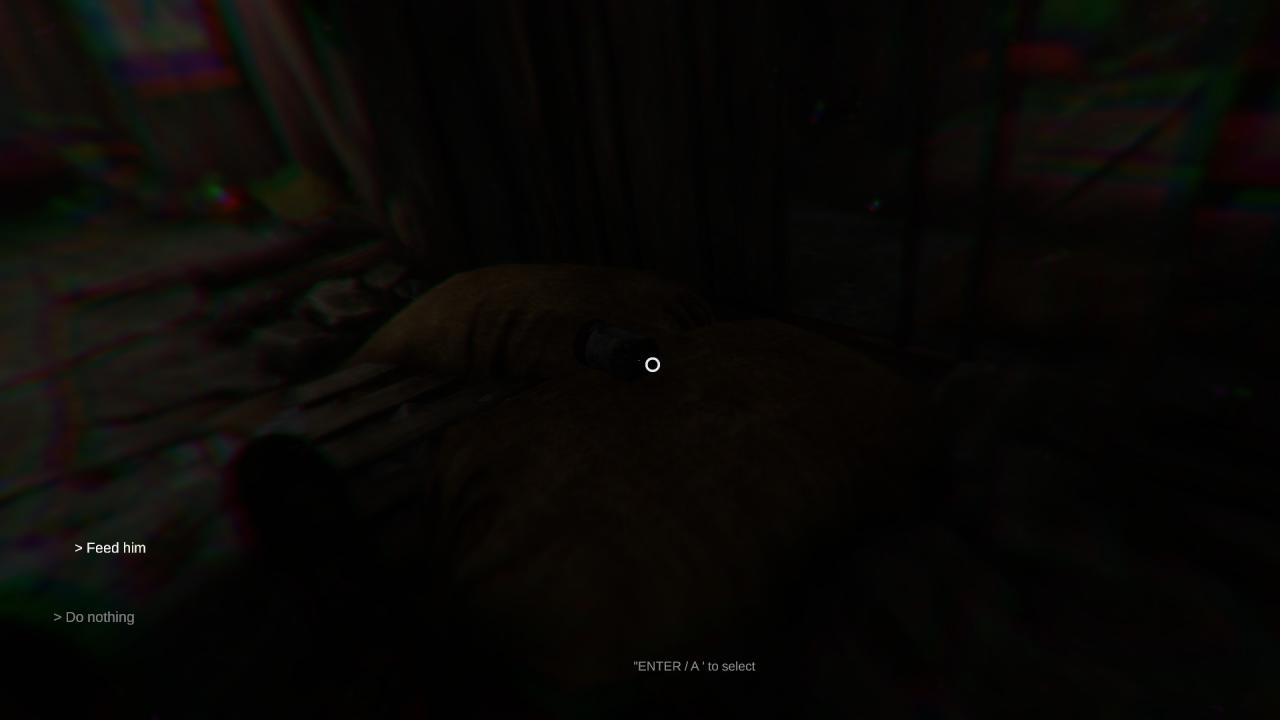
Then in the sequence where you are beeing dragged by the Skinner, after you see a white sign on the right, the can is on top of a pillow on the right side. The Skinner will also hold there for a moment to open a door. So you have plenty of time to interact with the can. After interacting you have to click “Feed him”.
Apart from giving you the achievement, this will also have the effect that the Skinner won’t kill Lazlo later, so you don’t have to hide under the bed.
- First Blood
Die for the first time
 I am sure you know how to do this.
 - Immortal
Complete the game without a single death
 Sounds hard but it’s really not. You can also use a trick for this one: if you are about to die (because a skinned guy noticed you), you can reload your save by going back to the menu and clicking continue. Now you can try again and the achievement will still pop at the end if you didn’t die.
BUT I haven’t tried this method AFTER dying, so I don’t know if this also works. I actually believe it does not work. Check the enemy encounter section for this achievement.
It doesn’t matter for which ending you go here, but to make it easier ignore collectibles. - Sneaky man
Complete the game without being noticed by any of the skinned people
 By far the hardest achievement in the game and probably the last one you will get. I’ll also advise you to get it last. I tested it and the trick I used for the achievement above does not work for this one unfortunately. So you have to do it in one run, if you are beeing detected, you have to start a new game and try again. I am also not sure if the encounter with the Skinner at the end counts for this or not, so just better stay undected there too, it’s also not very hard. The only really hard part is the market. Check the enemy encounter section for this achievement.
It doesn’t matter for which ending you go here, but to make it easier ignore collectibles.
If you manage to get through the game undetected, you normally will also have not died, you can quite easily get the Immortal achievement in the same run. These two achievements pop at the same time when the ending achievements would pop.
ending related achievements
There are a few things which can affect your ending, namely
- Sending signal with both radios or ignoring them both (or sending signal with just one, don’t know if it makes a difference to ignoring both). (There is actually a third radio, but I am pretty sure that it doesn’t count as you can’t send a signal there, but I’ll show it to you anyway.)
If you want to use them, you have to click on “Attempt sending signal” after interacting. Those are:
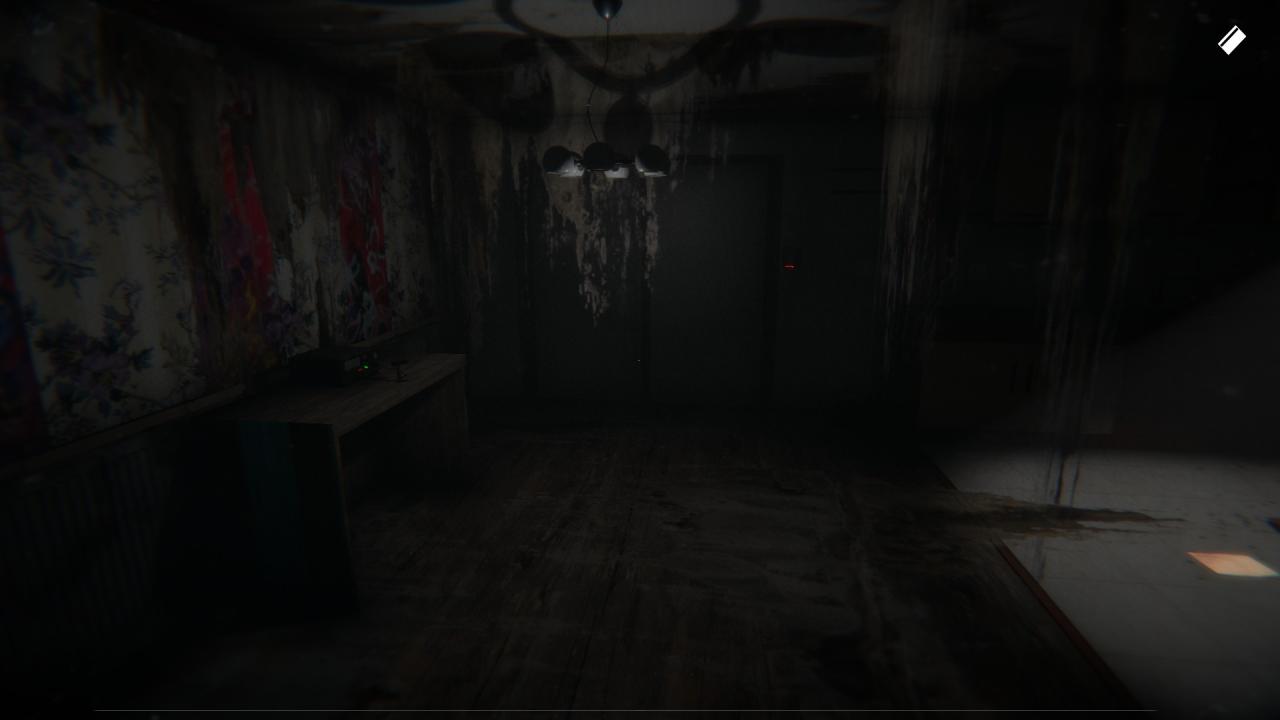
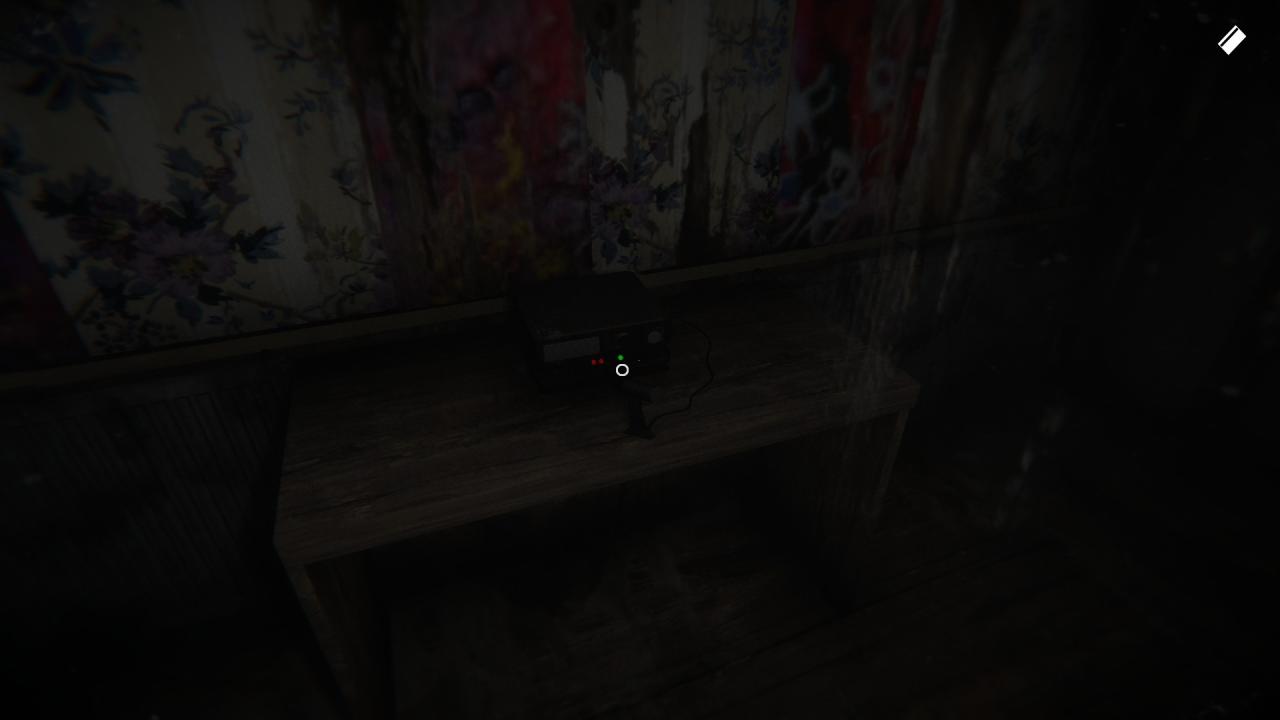
early on in the game where you have to open a door with a crowbar and pick up a key inside, the first radio is behind the table
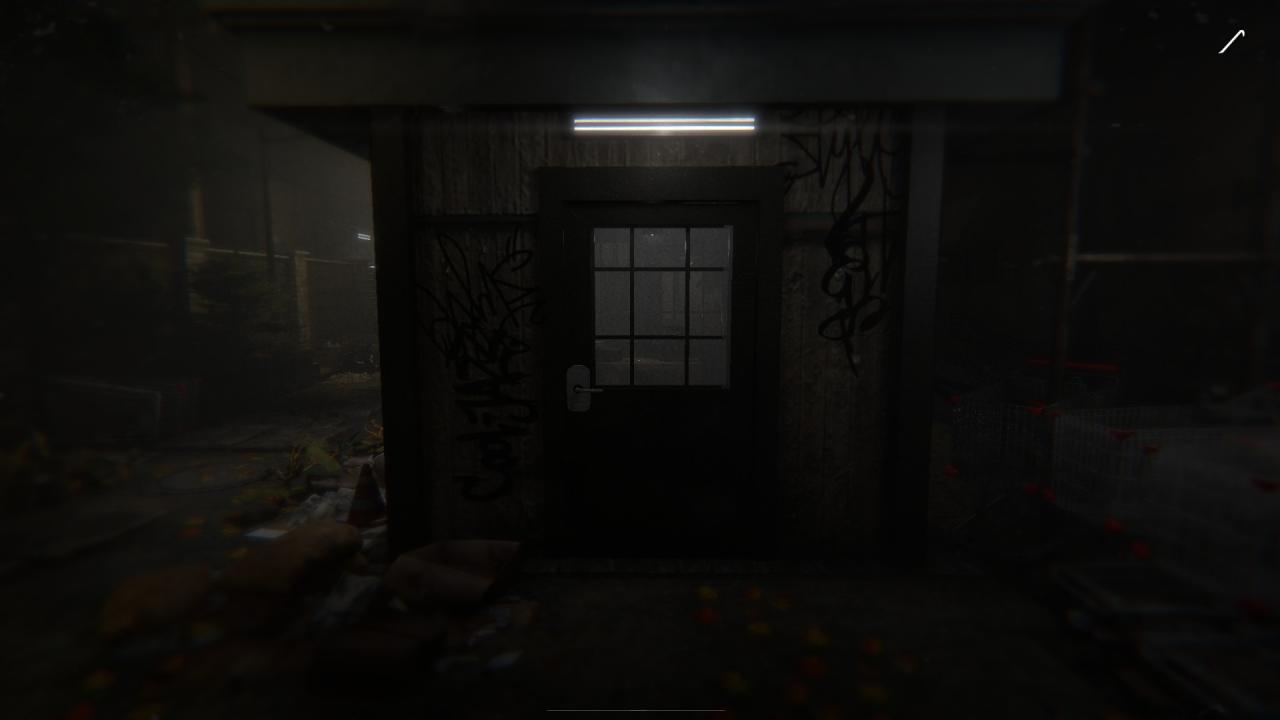
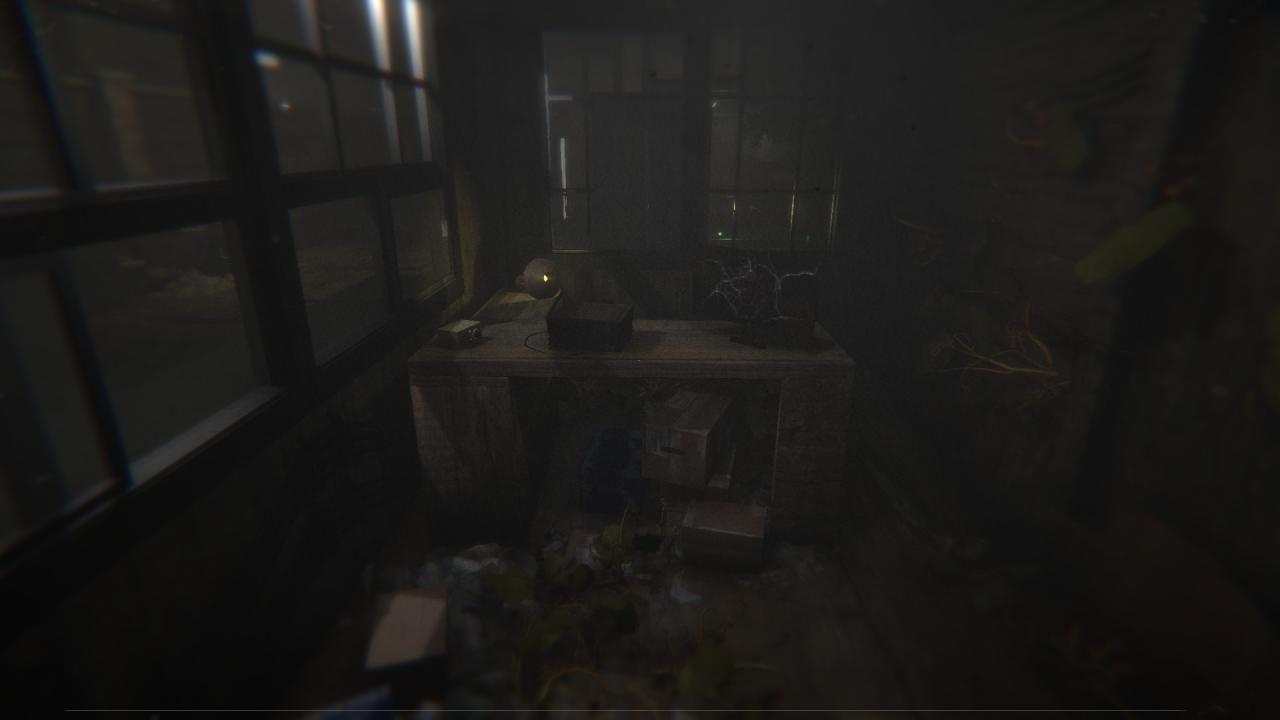
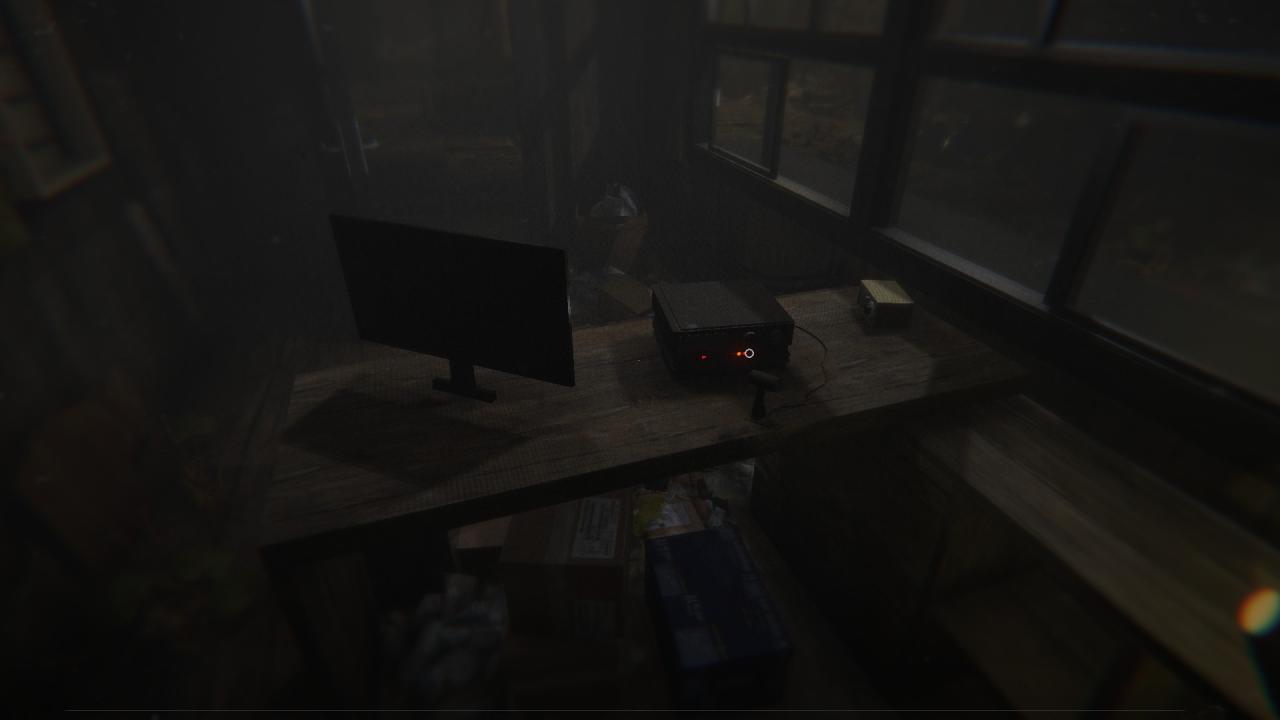
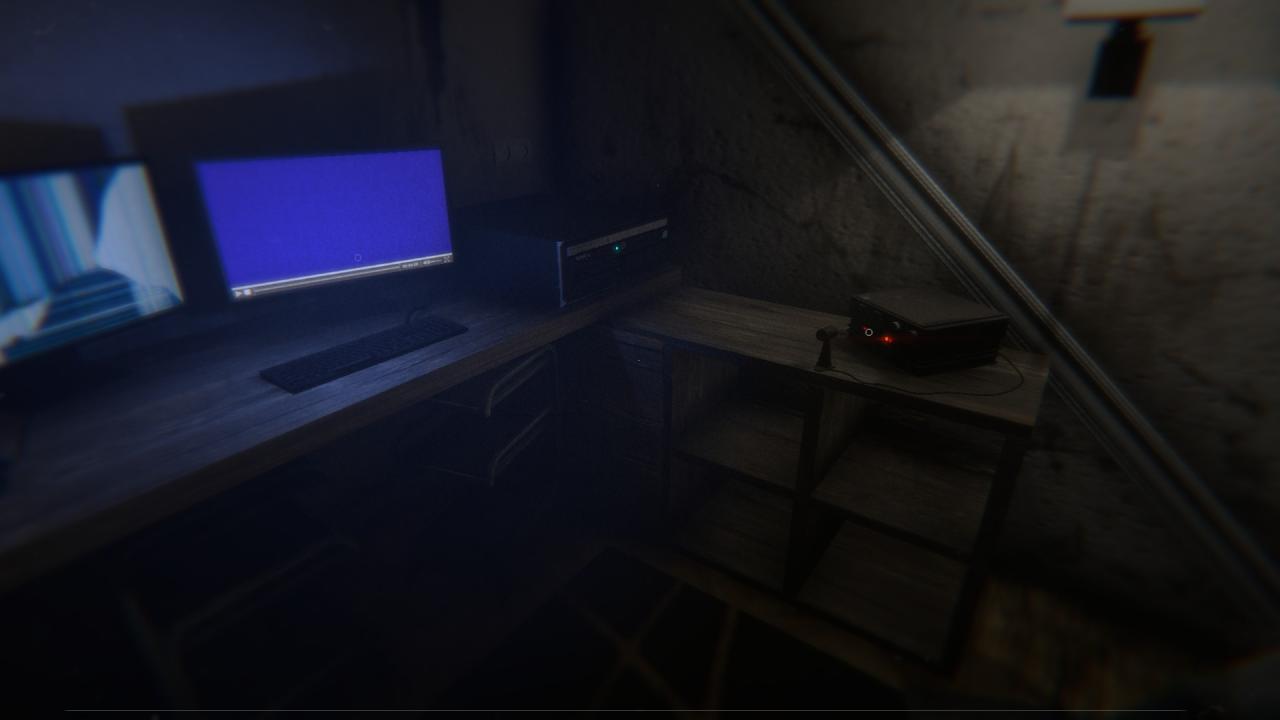
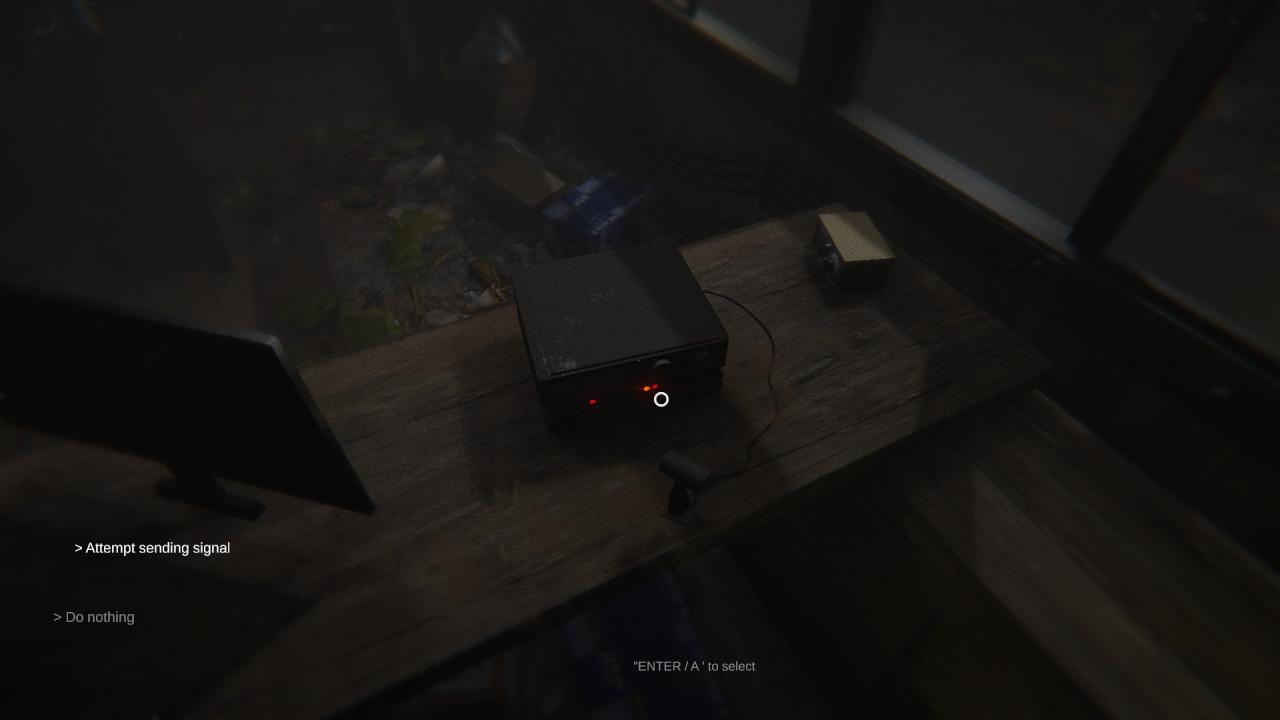 right next to the PC where you have to check the securtiy camera for the first time is the second radio
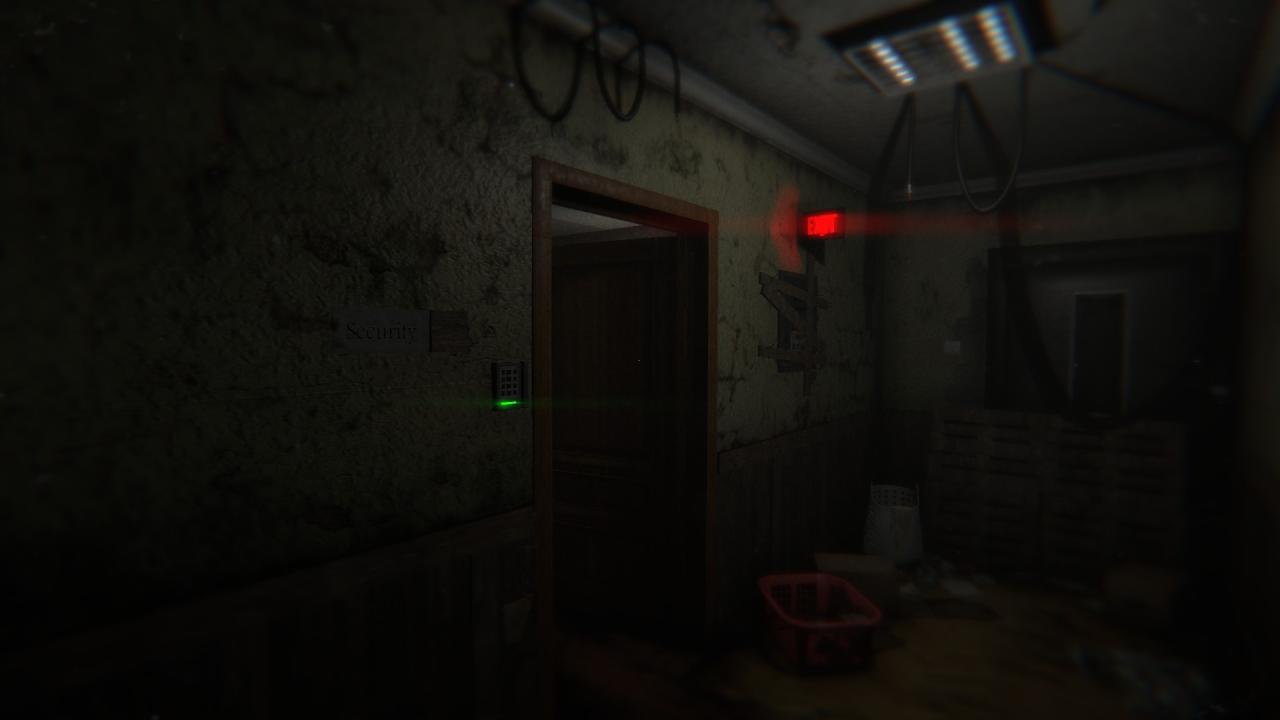
 The one probably not counting: during the nightmare sequence, before opening the door with the keycard, on the left of the door.
- collecting all notes or none (or collecting just a few, don’t know if it makes a difference to not collecting any)
(check the collectible section of this guide for all locations for those) - feeding the skinned people or not (check Feed him to survive achievement)
- I don’t think documents or tapes do affect the ending, nor does dying do
Though I am not entirely sure what you have to do for each ending, I will tell you my decisions which lead me to those. And even though I don’t think documents or tapes matter for the ending, I will still tell you if I collected them or not.
- Ready, Aim, Fire!
Get killed by your wife and the SWAT team
 I got this while using all radios, collecting all notes, documents and tapes and not feeding the skinned people.
Another way to get this: use all radios, ignore all notes, documents and tapes (except the mandatory ones.) - I’ve had enough of this!
Kill Lazlo and escape with your daughter, Lisa
 I got this while ignoring all radios, collecting all notes, ignoring all documents and tapes (except the mandatory ones) and feeding the skinned people.
In the Skinners hideout it will then result in a scene where Lazlo will go out of the area and you won’t have to hide under the bed. (If you pick another ending and get the scene where you have to hide under the bed you still can’t die in this part.) - Betrayal
Get killed by your own daughter, Lisa
 I got this while ignoring all radios and ignoring all notes, documents and tapes (except the mandatory ones).
collectible achievements
- Let’s play some music, oh… never mind
Find and listen to all of the cassettes.
 Just find all tapes/cassettes and listen to them all once using the Tape Rekorder which you will collect in the market section. I will also tell you the location of it even though it is mandatory.
Though this achievement does not pop up as soon as you listened to the last tape. Instead it pops up almost at the end of the game, namely after the encounter with the Skinner (where you have to collect backpacks again), during the vent. I believe shortly before or after the loading screen in the vent. - I did not sign up for this!
Find all the documents, listen to all of the tapes about the construction workers and discover their fate!
 This is similar to the achievement above, but for this one you additionally need to collect all documents. So you will automatically get Let’s play some music, oh… never mind by doing this one. This one pops up during the same time when the above achievement would pop up.
There are three different kinds of collectibles: Notes (4), Tapes (5) and Documents (4). (Number in bracket means how many there are of each kind.)
I will call Notes N, Tapes T and Documents D to keep it shorter.
-Keep in mind that the Notes, NOT the Tapes or Documents affect the ending you get. (At least I highly believe so.)
-And I also want to mention there are far more papers to find but all the other ones do not count towards any achievement, they are only for the story and for codes and such things. (These stay in the game world after you read them.)
-If you die after collecting a collectible, you don’t have to pick it up again.
-By pressing TAB you can check which collectibles you have and which one you don’t. If you collected the Tape Rekorder, just click on a tape to listen to it.
-You might have to crouch to be able to pick up some collectibles.
-The location of the collectibles I give you are in the order you can collect them.
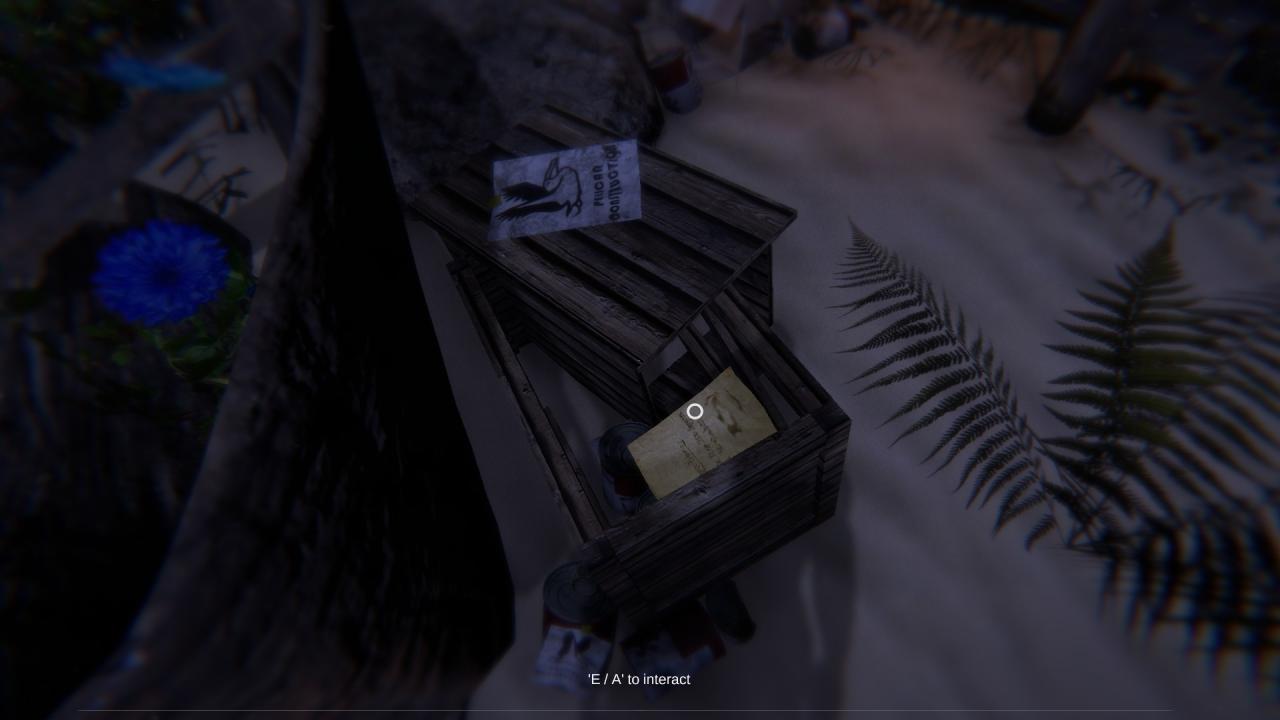
- N1: Right after the prologue ends and you wake up on the beach, go right, behind the boat, it’s in a box.

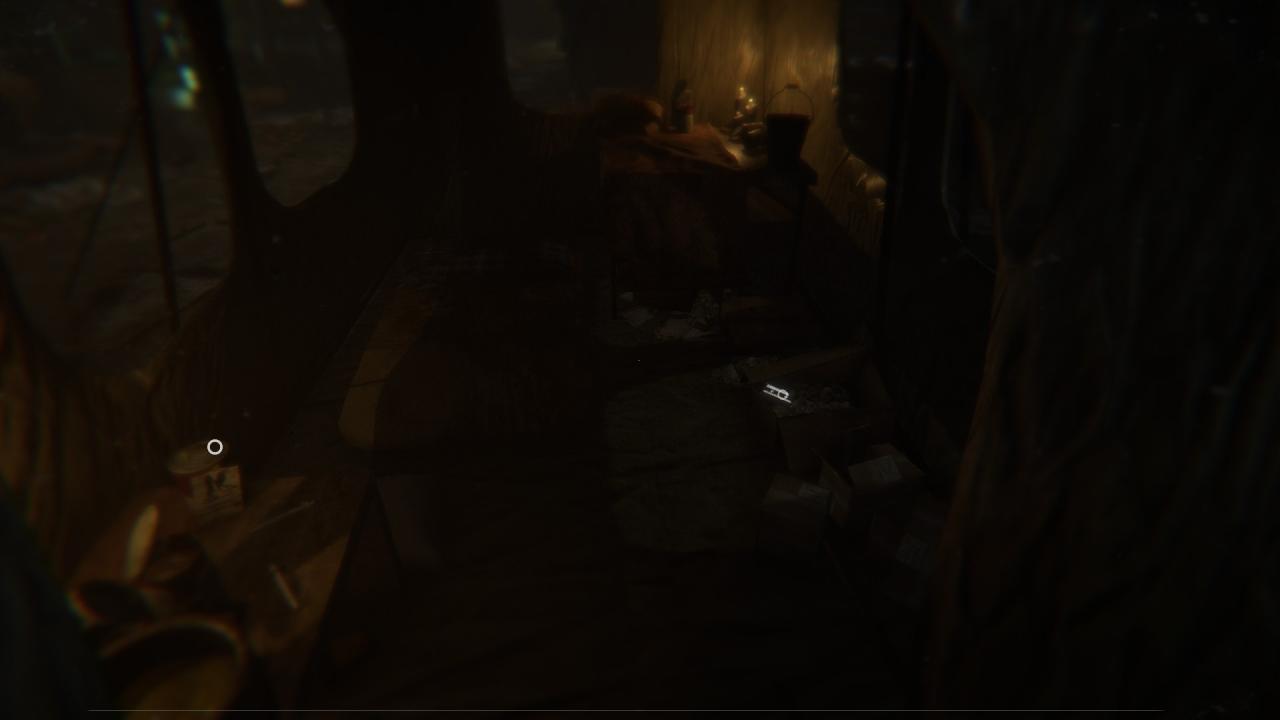
- T1: After activating the lights, go straight and into the tent, it’s in a box to the right.
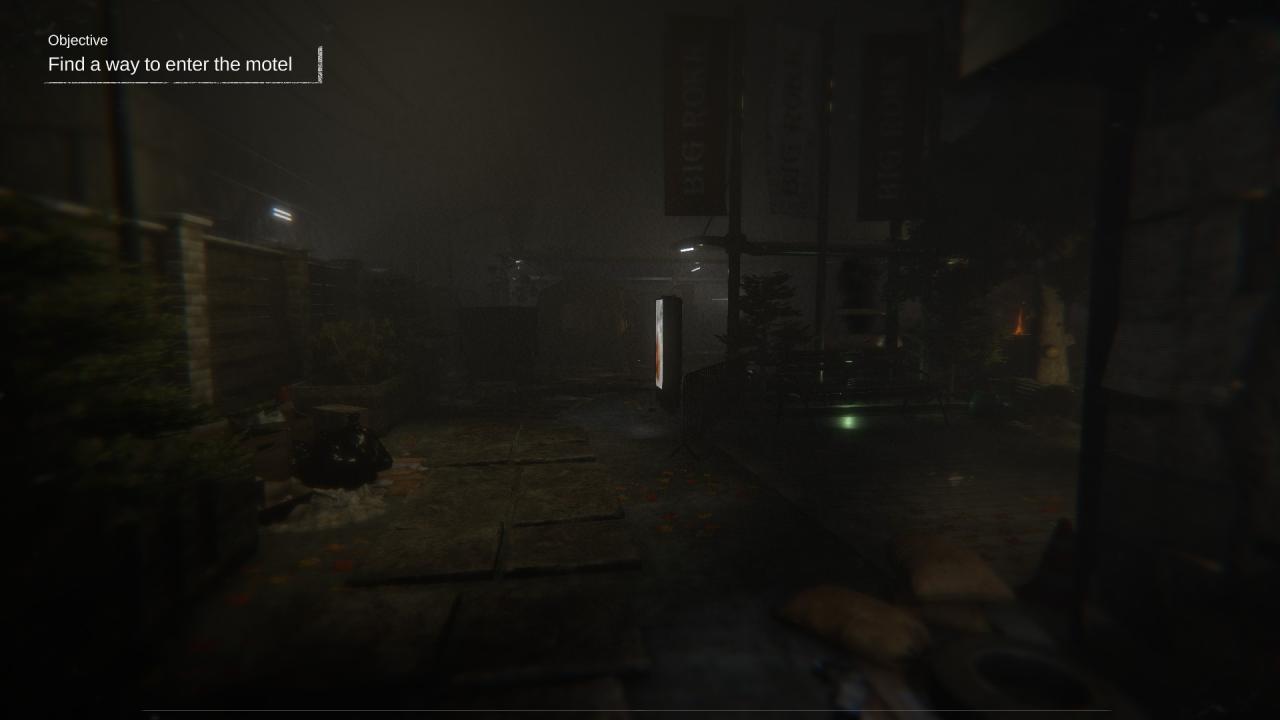
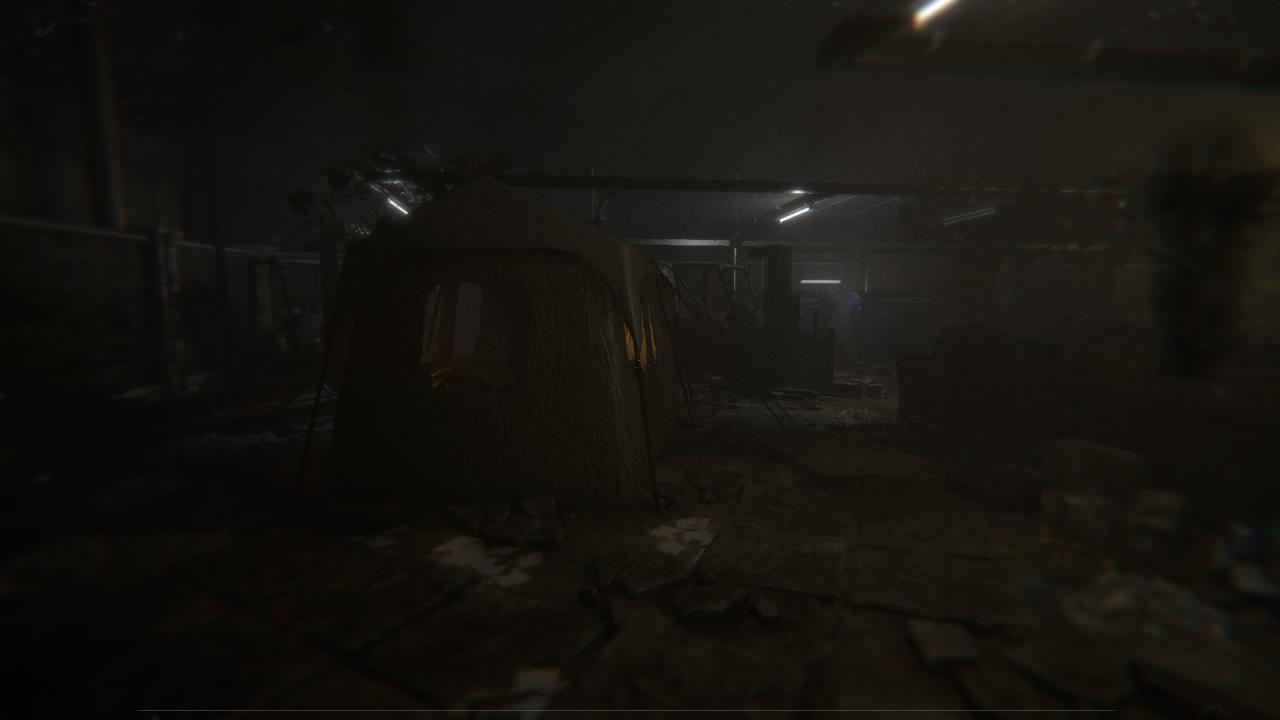
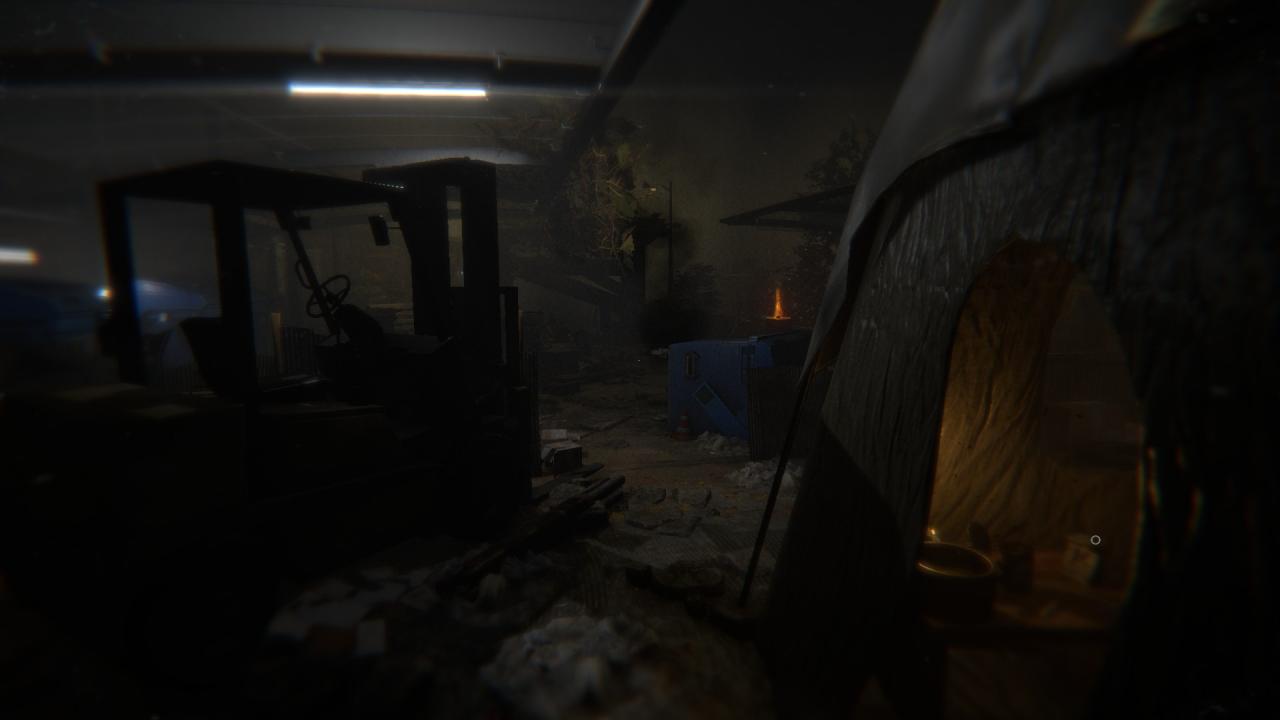
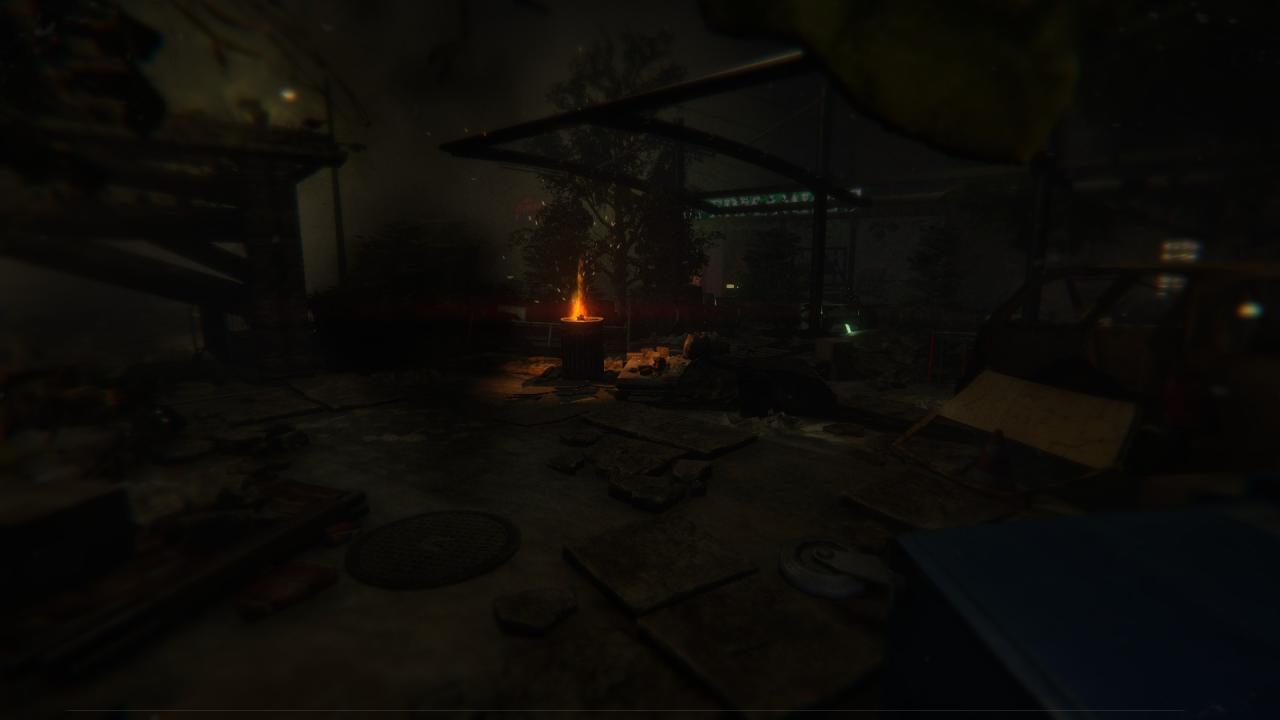
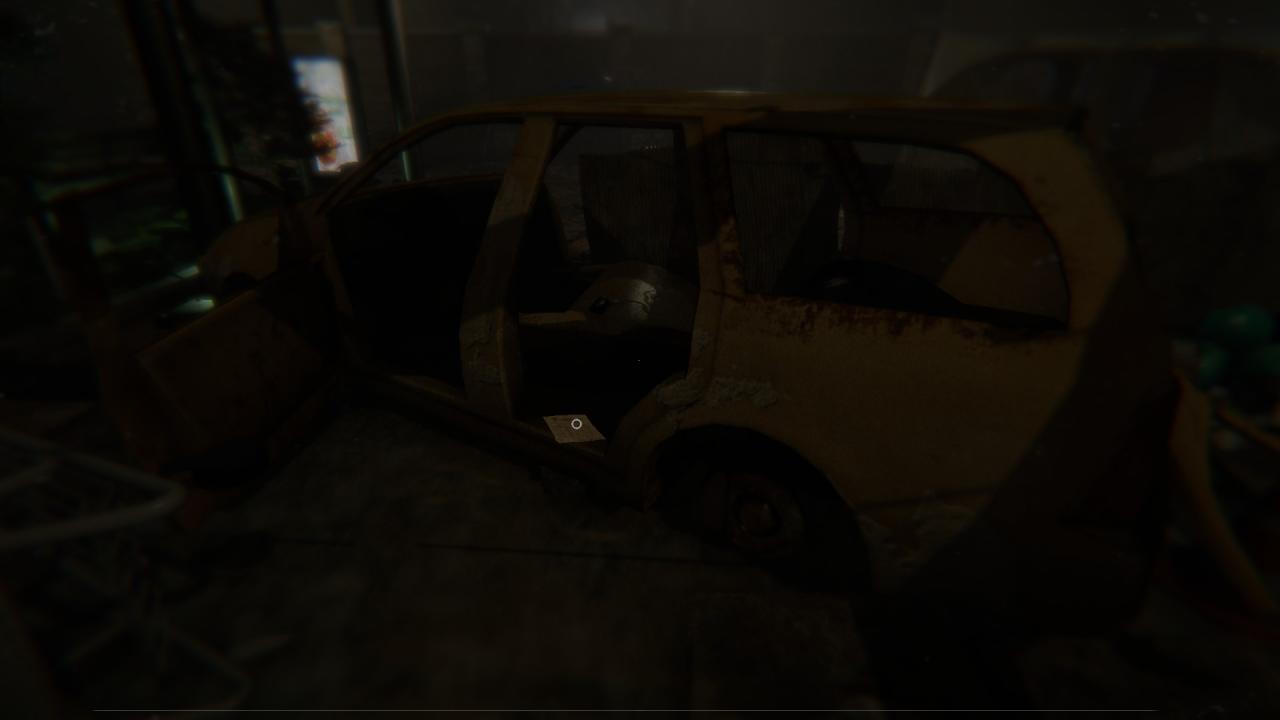
- D1: After going out of the tent, turn around the corner and go straight a little bit, then turn right and look into the car wrack on the seat.
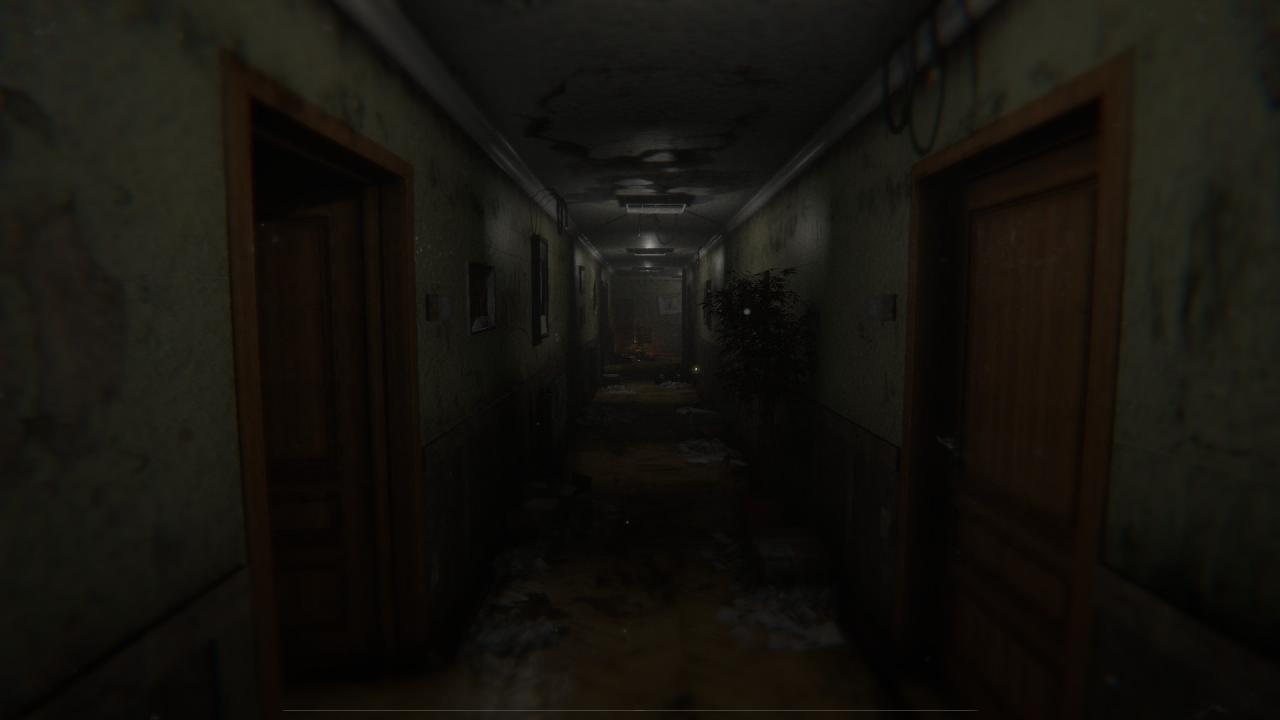
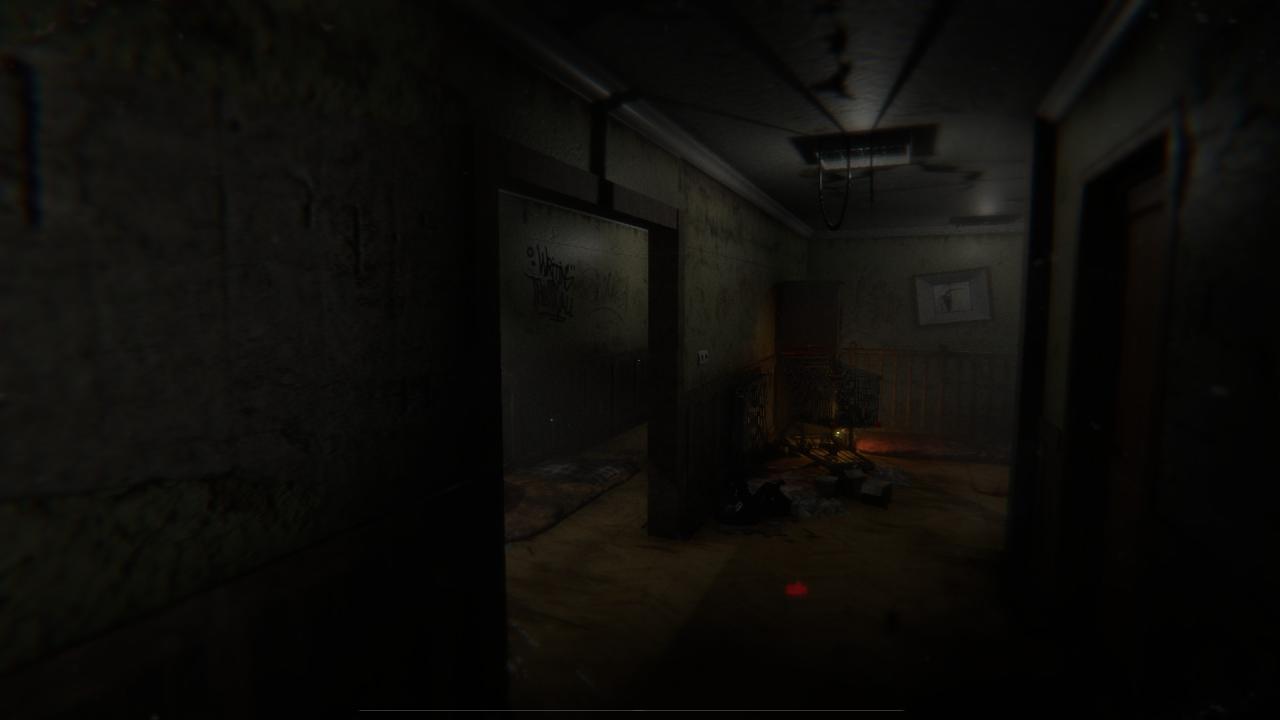
- D2: After going into the motel, take the second opening on the left and go left again into a bedroom. It’s in the drawer to the left of the bed.
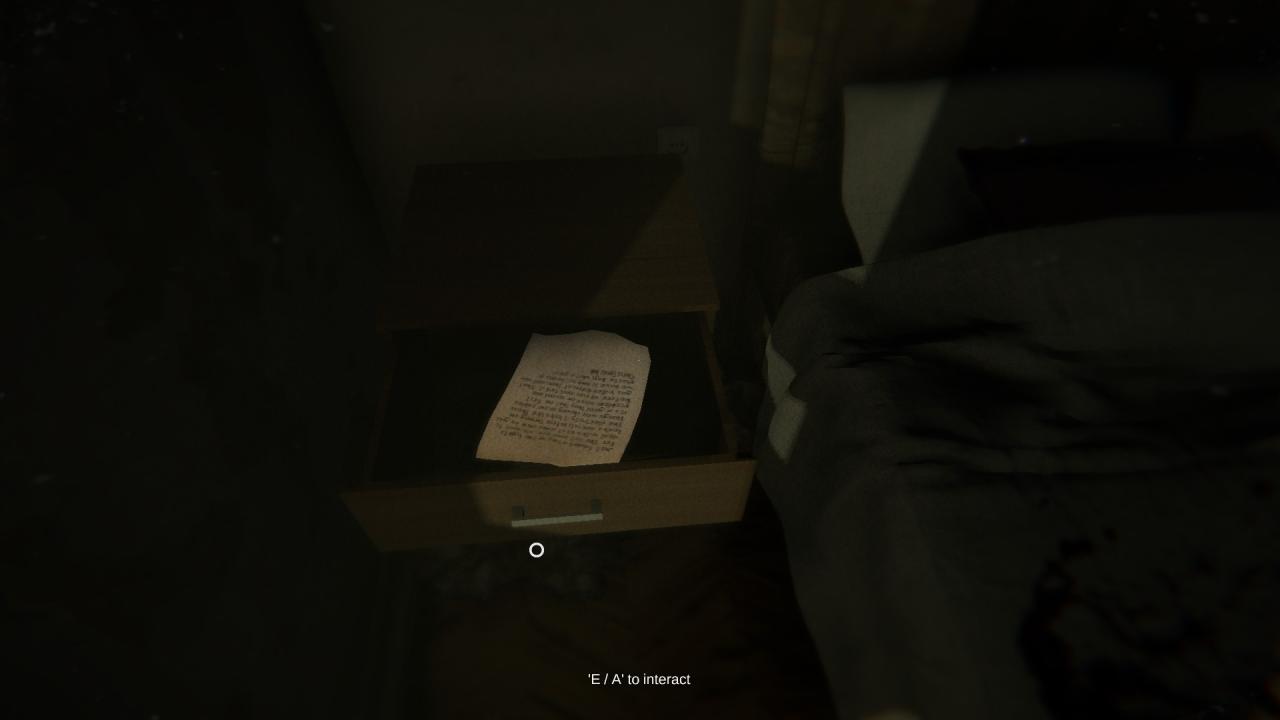
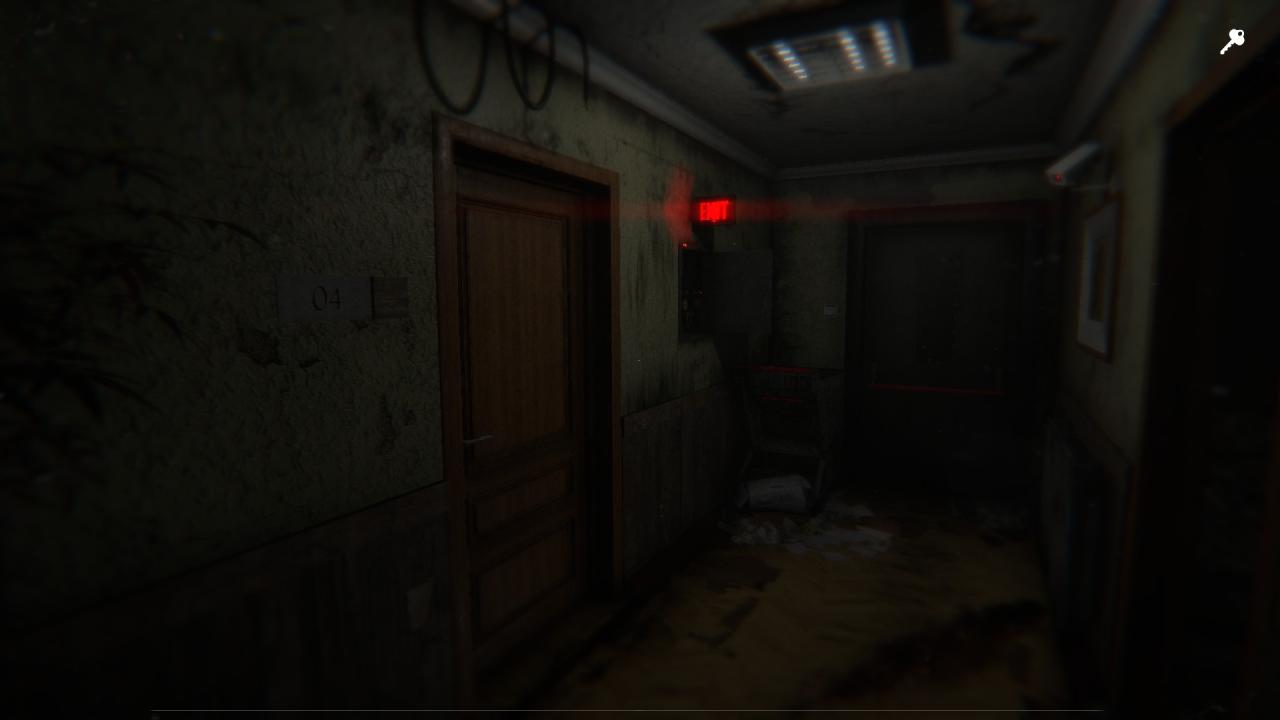
- T2: Same building: After opening the door with the key next to the fuse box. It’s in the drawer next to the bed.
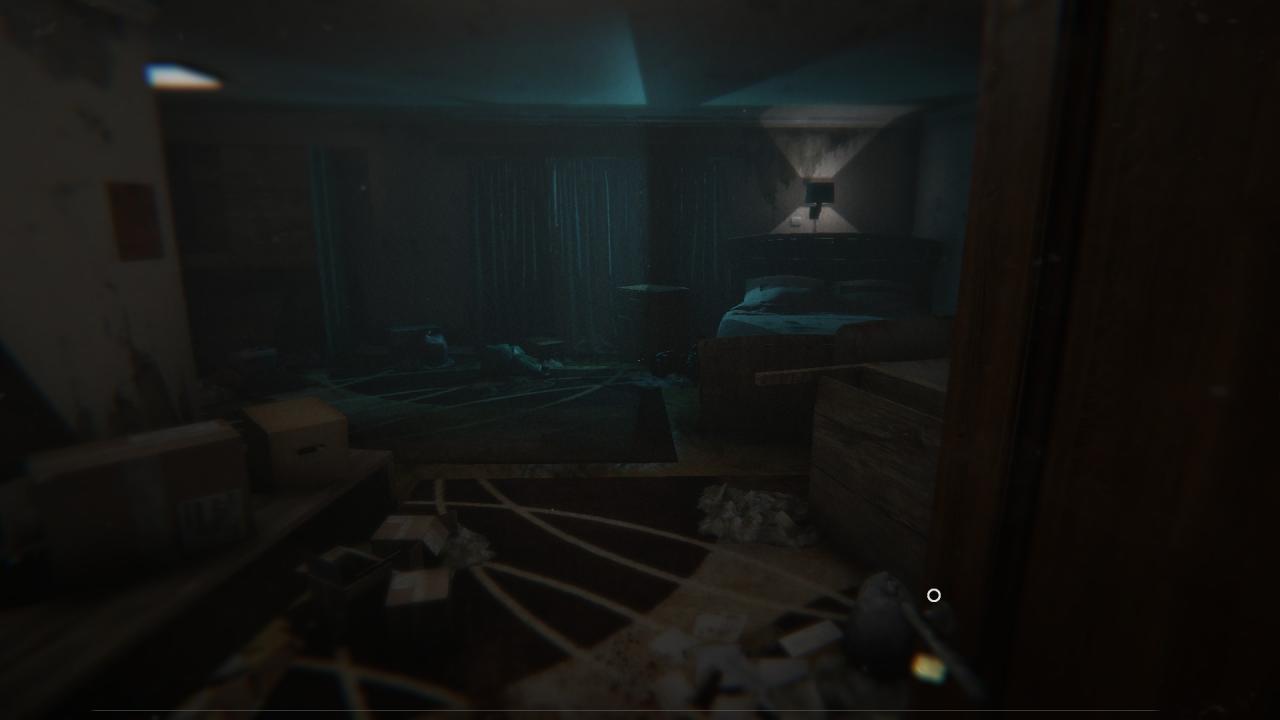
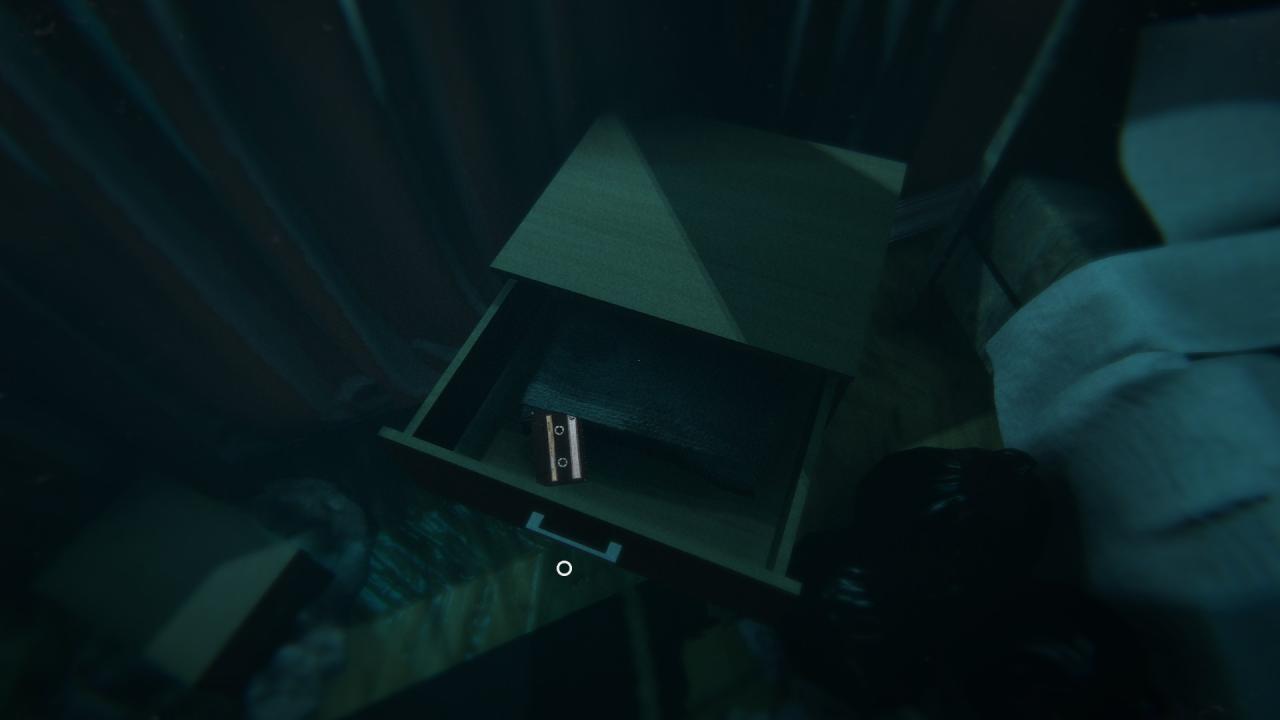
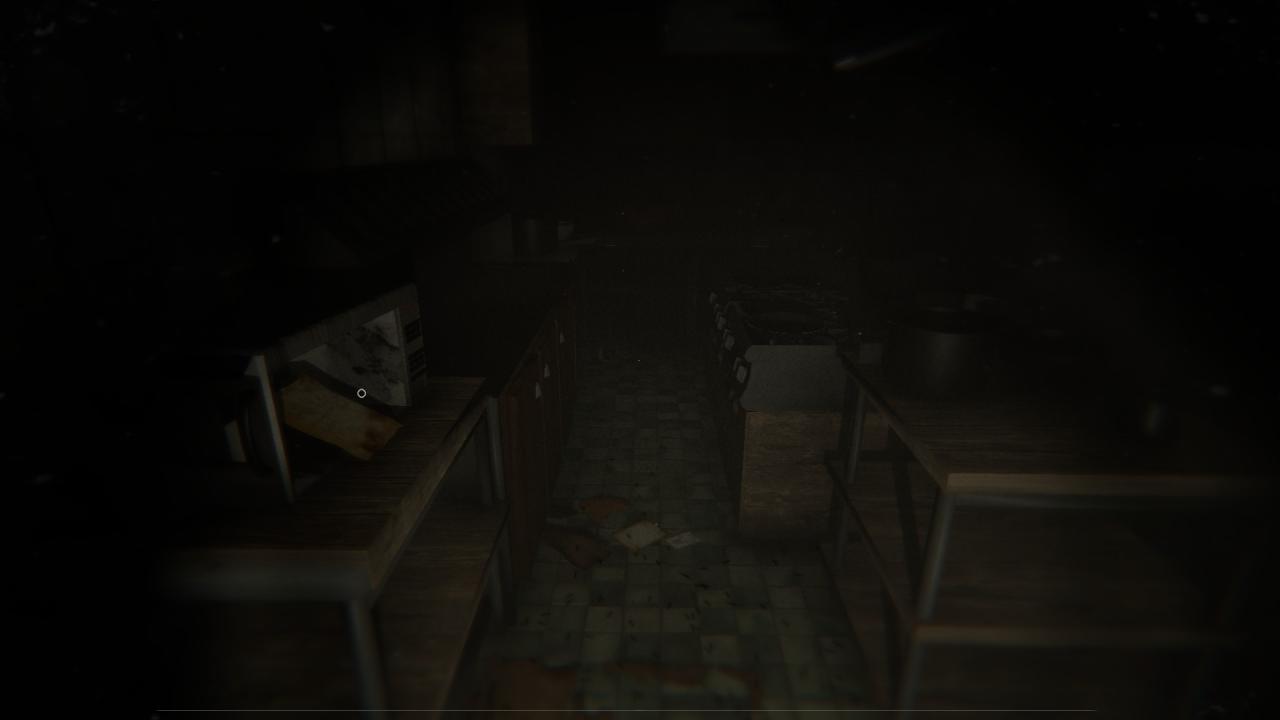
- N2: During the second enemy encounter, at the end you will come into a kitchen. It’s to the left in the microwave.
- T3 (mandatory): After droping down from the vent, and waking up from the cutscene, check the “dead” body in front of you.
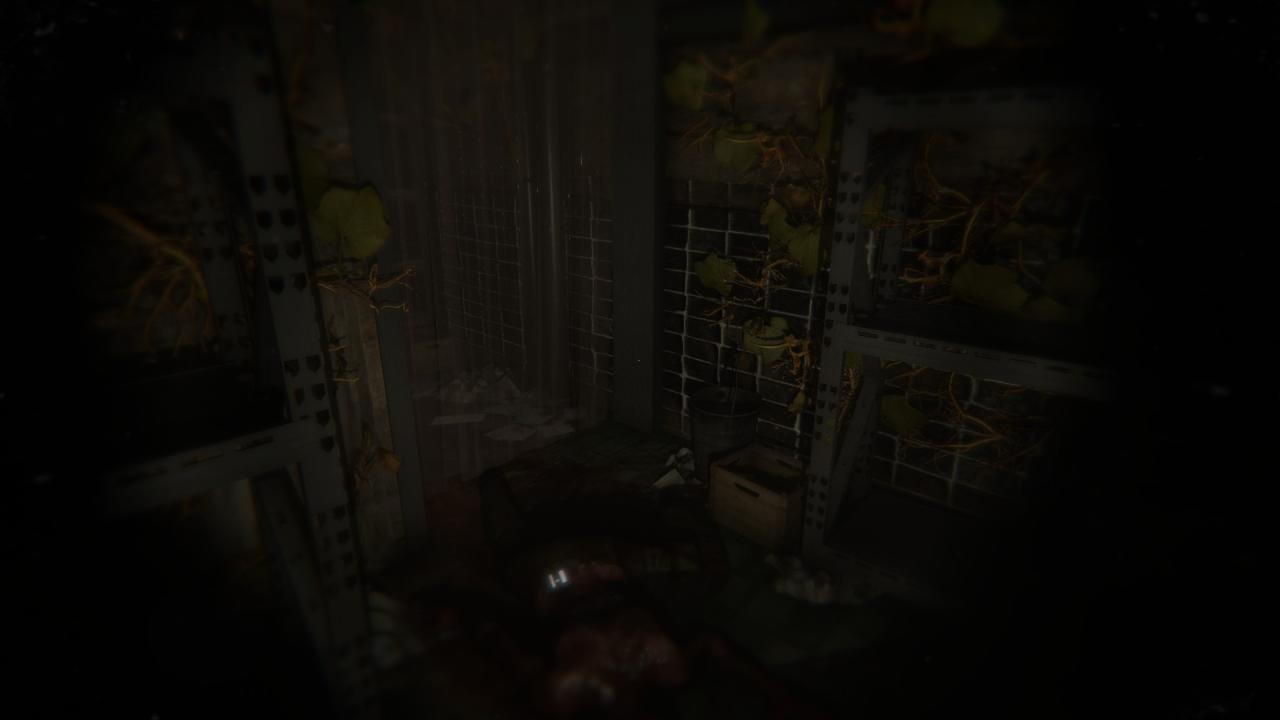
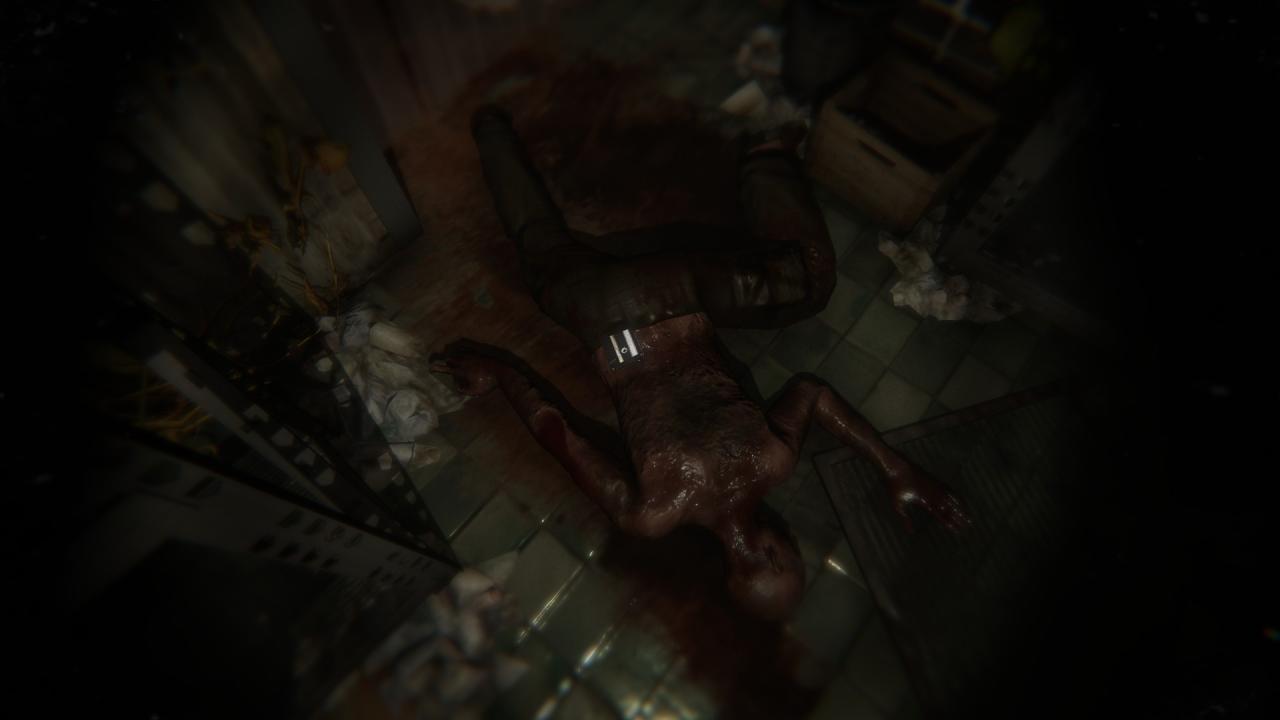
- Tape Rekorder (mandatory): Shortly after, in the market on the left on a shelf.
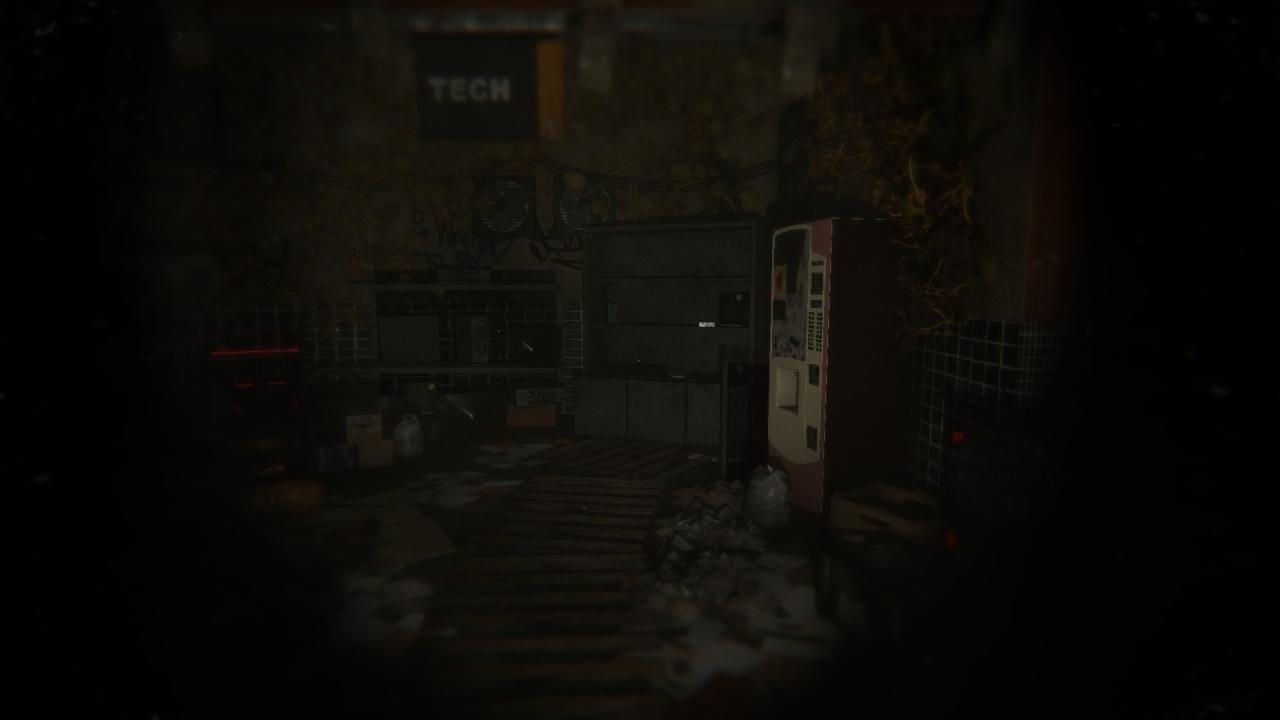
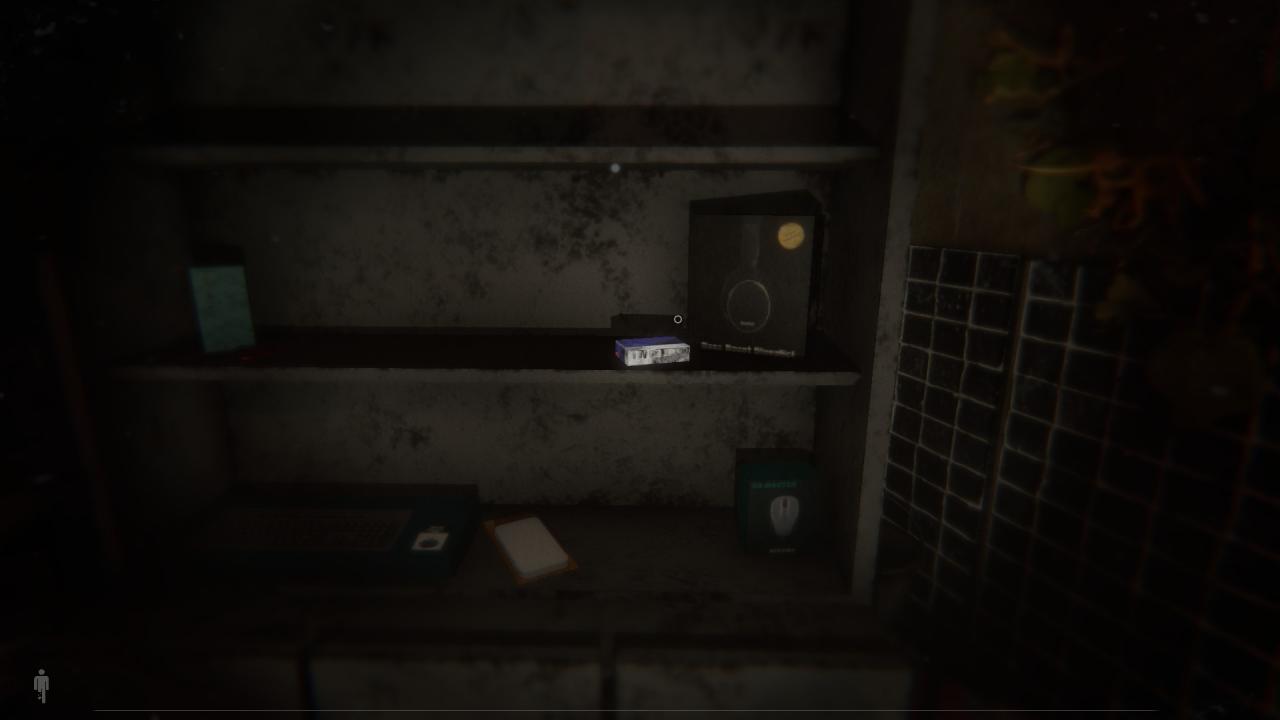
- N3: After picking up the Tape Rekorder, the “dead” body will rise again and come into the market. Sneak back into that room you woked up and there will be a note now on the floor.
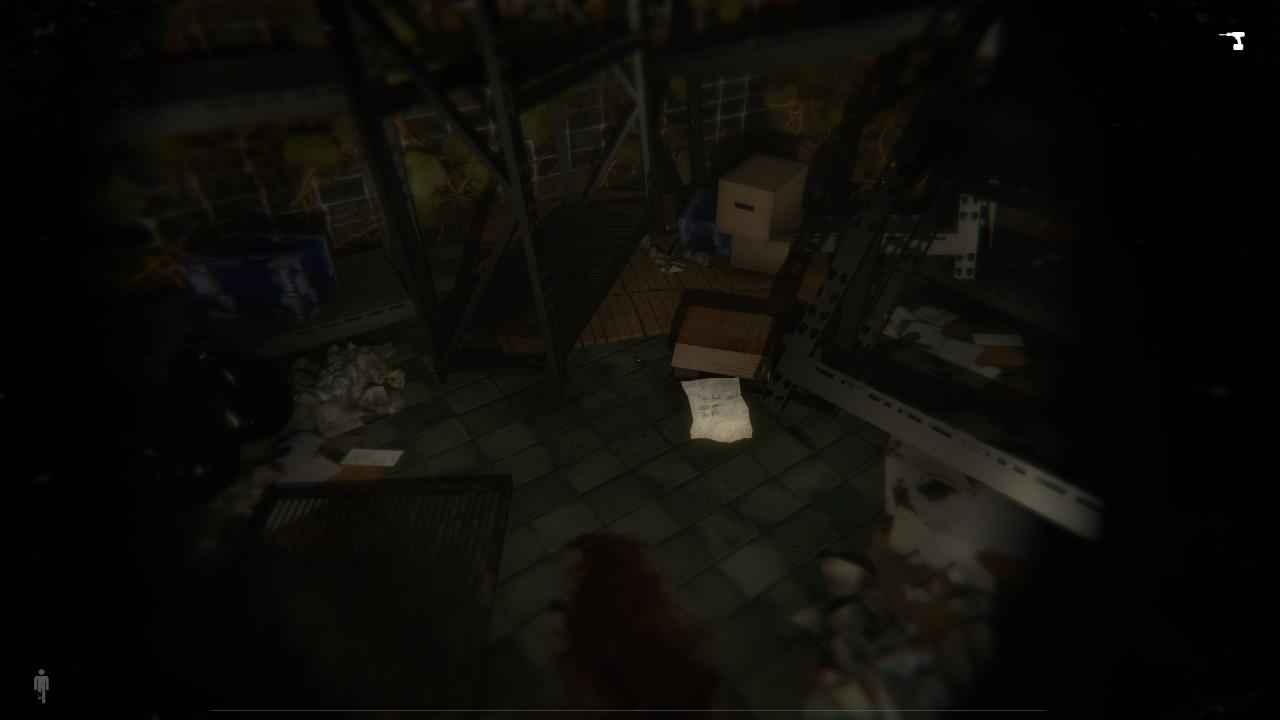
- D3: In the room on the right after the first backpack puzzle. It’s on the floor on the left.
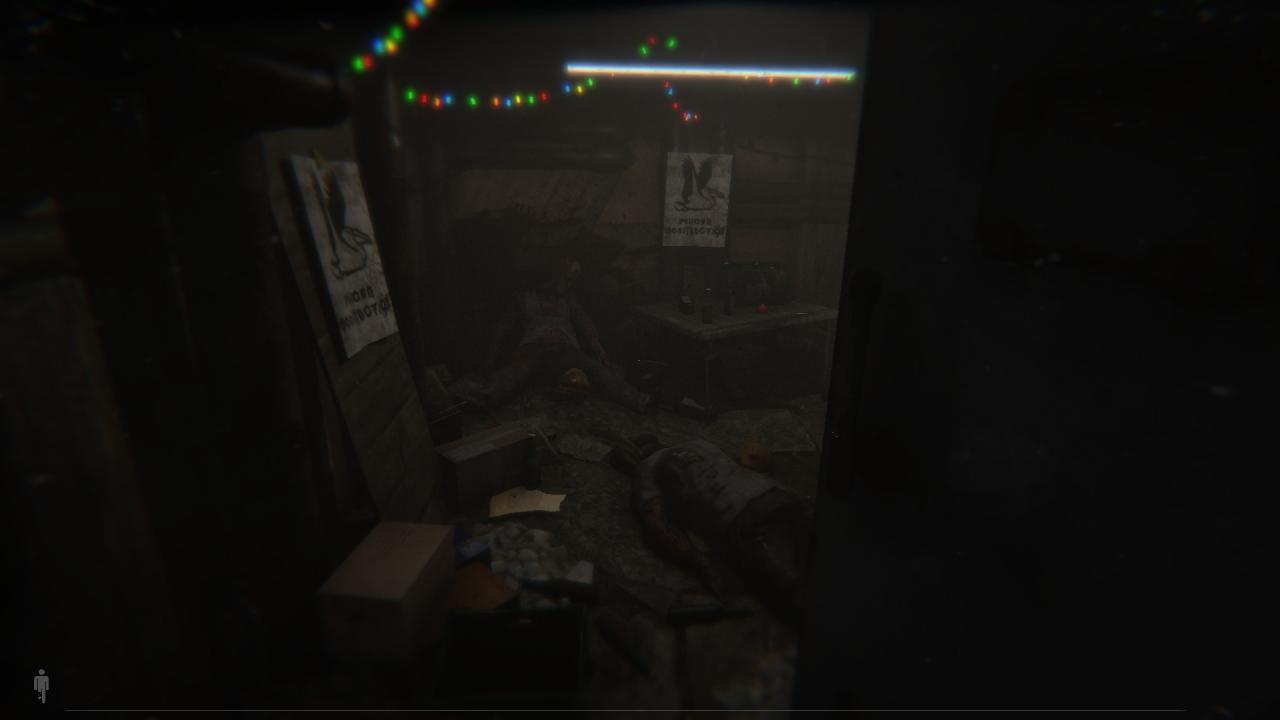
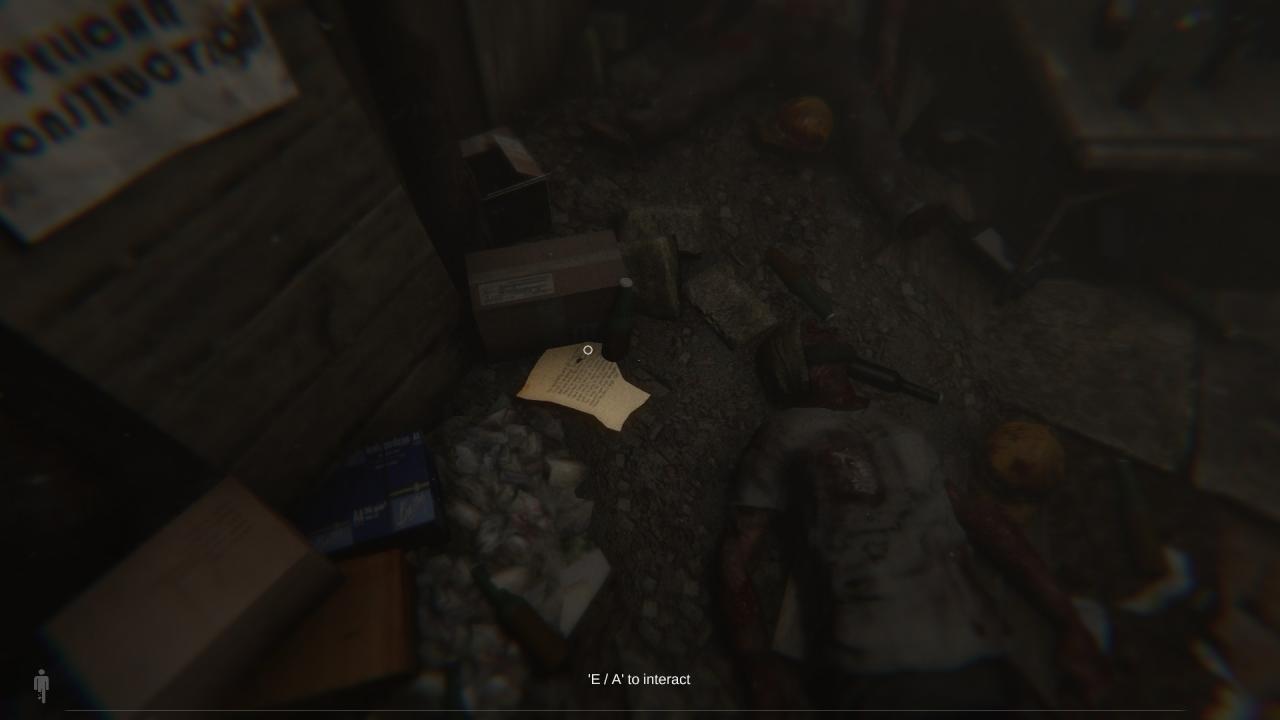
- T4: Same room. It’s on the right on a table.
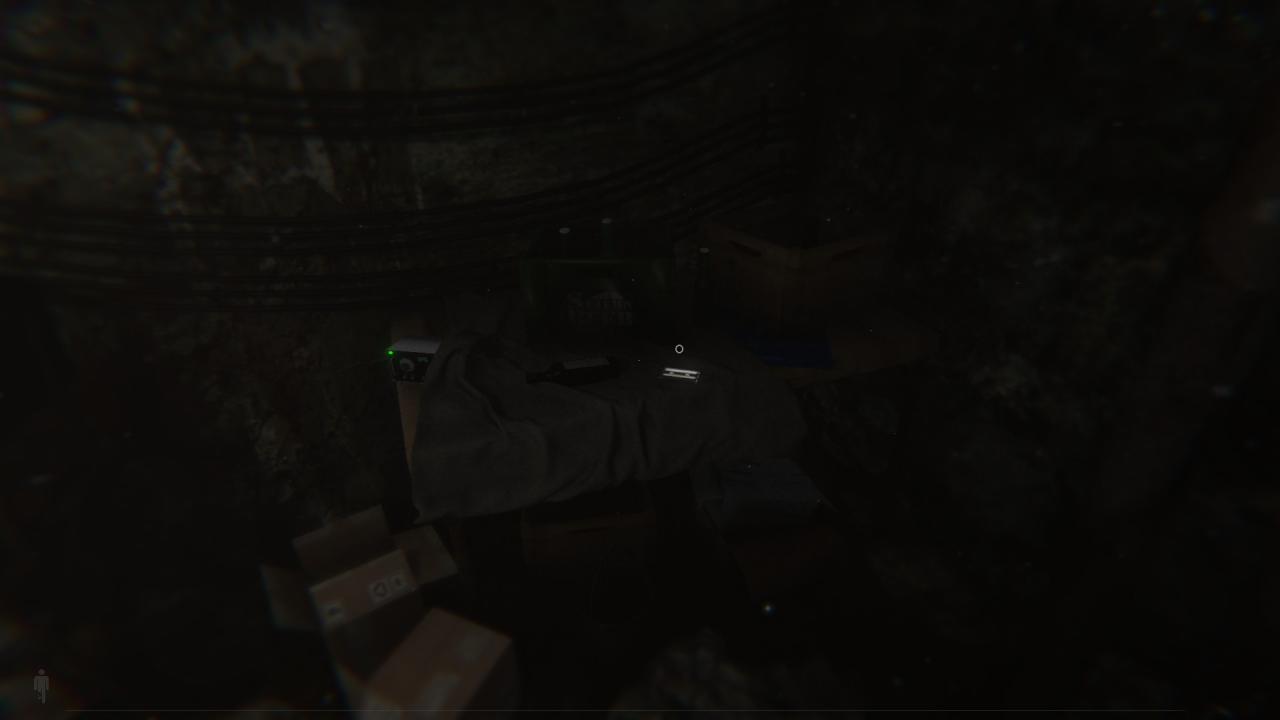
- N4: After the second scene where you play as Lazlo in the past, drop down and look on the left on the floor
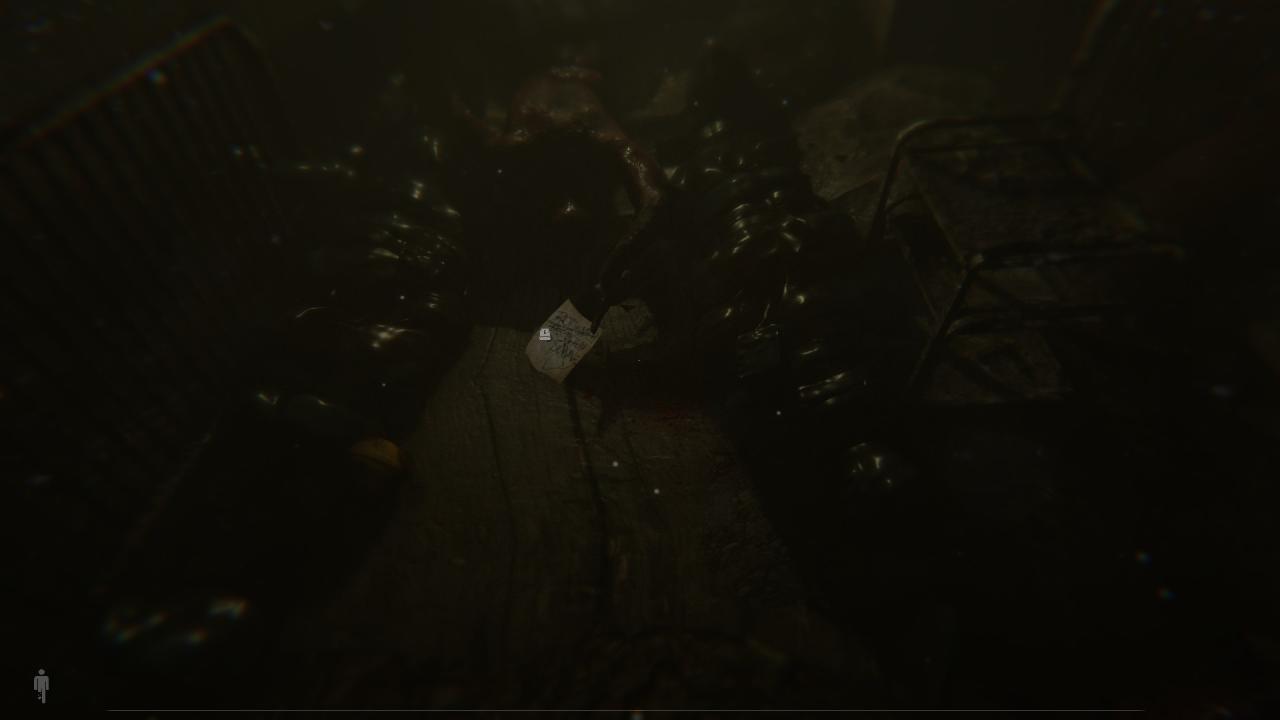
- T5 (mandatory): Shortly after the previous one, after using the valve, go past where the gas was and into the next small room, it’s on the table.
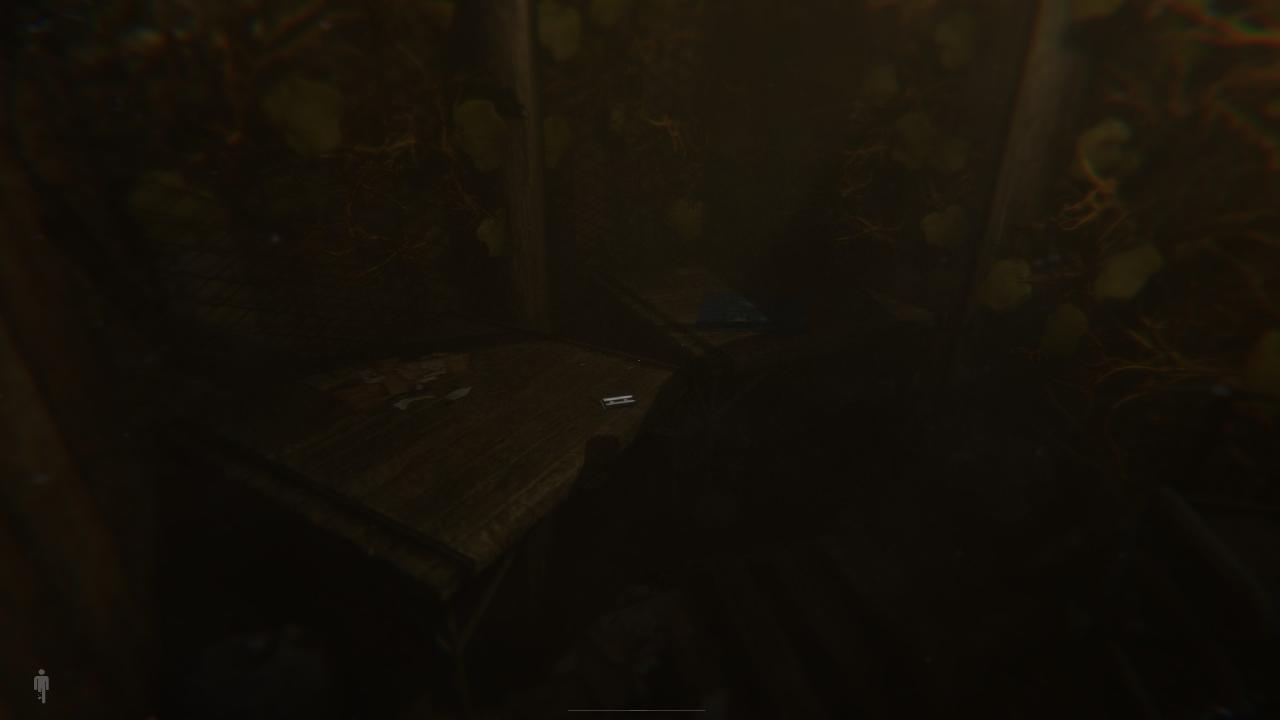
- D4: After opening the door using the fuses in the Skinners hideout, on the floor to the right.
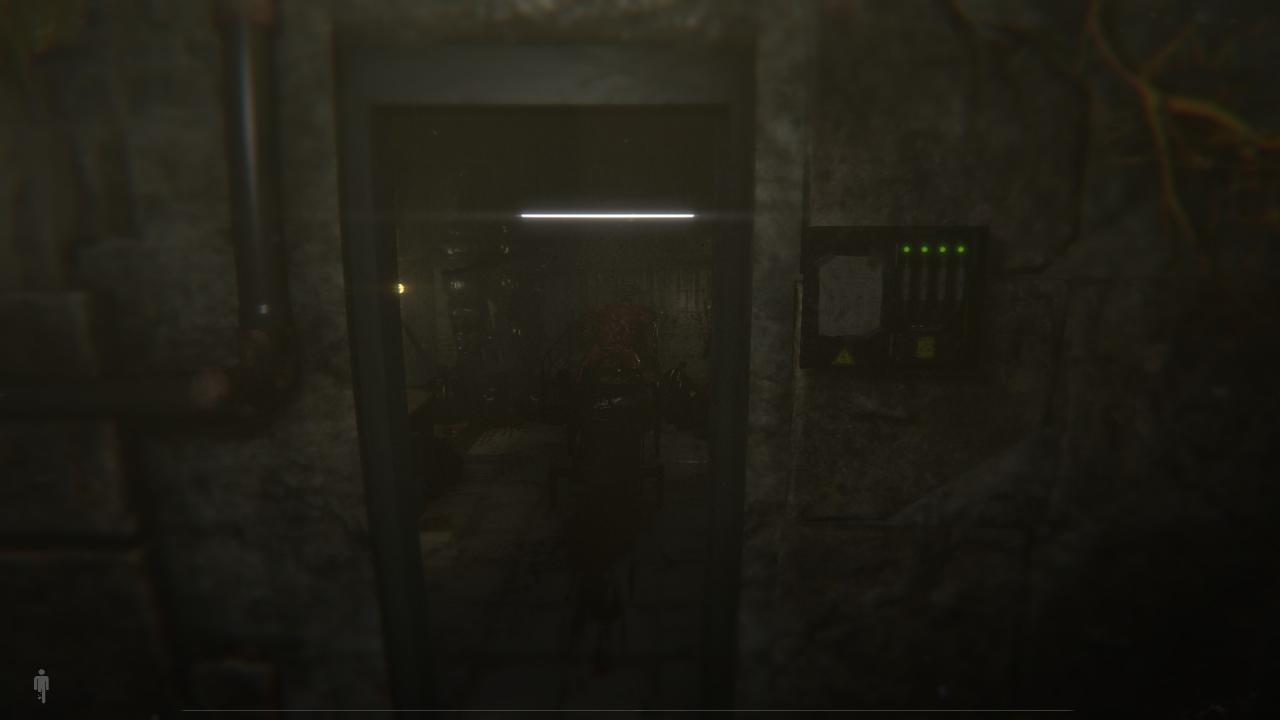
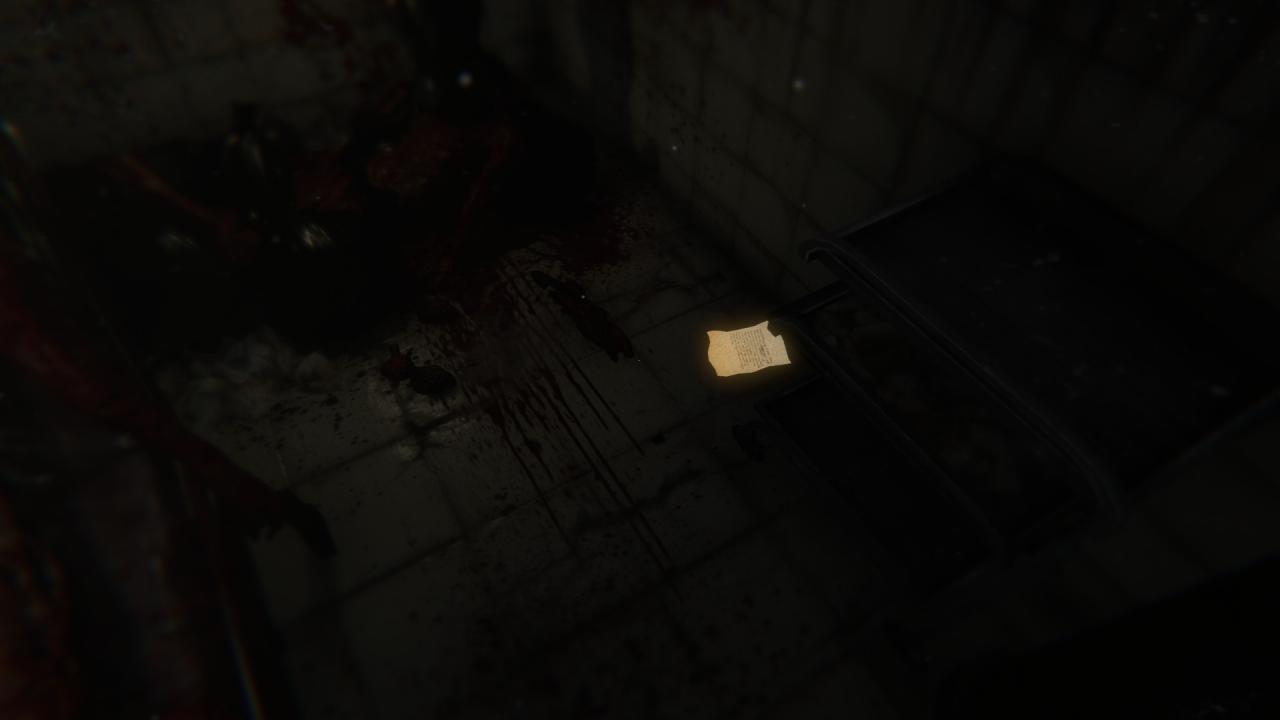
all enemy encounters and strategy part 1
And I give you both codes:
Here I’ll tell you about every enemy encounter and every area of the game where you can die to help you with the Immortal and the Sneaky man achievements.
Like I previously said there is really just one hard part in the game (the market) if you know where the enemies patrol and know the good strategies. I will tell you mine. I am not saying they are the best ones, but they are the best I found and they worked well (except in the market unfortunately.) There you might have to improvise a bit.
Some tipps:
-like I said usually enemies have fixed routes they patrol, know them
-even though you can’t peek behind corners, by just hearing the enemy you can usually know if he is close, if he comes in your direction or if he is going away
-it’s very hard to tell if you should crouch near an enemy, or when to walk or when to run, you will probably need to experience that by yourself
-you can hide in some closets but I don’t think this is of much use, in fact for none of my strategies I do that
-you never have more than one enemy at the same time to deal with
-you can zoom in a bit by right clicking
- In the motel: This encounter is very easy, especially with that strategy.
After picking up the keycard, when you go back and step on the corridor a few steps an enemy will come from that direction, namely from the room which is the last door on your right befoe the stairs. So, best is to crouch slowly on to the corridor till you can see the enemy, then crouch back into the room and hide behind the corner. Don’t worry, the enemy shouldn’t have seen you yet. He will patrol this corridor just before the door you are hiding behind and the room where you found the screwdriver (room second opening to the left, right door). So, after you hear him go back, slowly get out from your hideout and then quickly look to your left and change the fuses again. Then go through the corridor and take the last opening on the right (the room he came from) and go through another door while the enemy is still in the other room. Here you can take your time as the enemy won’t come here if he didn’t noticed you. Go on top of the ladder, take the duct tape and use it on the wires to the right of the bed where you see some sparks. Now the enemy will be gone for good and you can continue. - In the motel: This encounter is rather easy IF you follow that strategy. It took me a lot of time though to find that strategy and I think it is quite hard if you don’t know it. Though you have to perform the steps quite well or you risk failing. Maybe you will need some attempts here.
After checking the security cameras, take the head lamp, go out of the room, to the right and experience a jumpscare. Now you have to turn left. This is kind off a circular area with one enemy patrolling around, though it seems his route changes depending where you are.
My strategy: Quickly go into this area till you can see the back of the enemy. Now follow him with a decent distance. Before the room with the chair, stop and go back behind that wall where you just came. Now face the way you came so the light of your head lamp won’t shine in the room with the chair and go a few steps in that direction. And wait till the enemy comes back. Again use the noises he makes: after the noises get louder and then getting softer again, crouch your way into the room with the chair. As soon as you are in that room, run, because he will rather quickly come back into that room. Run the only way possible. You will come into a kitchen. Now you have two options: As the enemy will come back into the kitchen you can either just continue running into the vent on the left back of the kitchen and crouch through or if you don’t feel so comfortable you can first hide behind the table on the right back of the kitchen, wait till the enemy comes into the ktichen and goes back, and then you go into the vent. I usually took the first option, you will have enough time if you do it correctly. - In the vent shortly after: This encounter is super easy, you have to force it if you wanna die here. And this is the only enemy in the game who detects you right away as soon as he spawns. But he will not count for the Sneaky Man achievement.
After the jumpscare, go straight and turn right. Continue your way and drop down on the right at the end. During that an enemy will come from behind, he detects you right away and will slowly chase you. But you just have to continue your way, don’t stop or turn around and you are fine. As soon as you drop down you are safe. - In the market shortly after: Like I said, this is by far the hardest part in the game (and also the only hard one) because in my experience the enemy here will react quite randomly. He will often change his path and go back, will quickly see you. Unfortunately I don’t have a strict strategy here but I think this would also be impossible because he acts so randomly. You will have to improvise a bit. I can thell you the general approach though and some tips.
Right at the start of the market area, take the tape from that “dead” guy. Go out of the room and turn around the corner. Now straight ahead will be a barricaded door you have to get through.
Pick up the (mandatory) Tape Rekorder on a shelf to the left of that door, press ESC and at the same time an enemy will come out of the room you woke up in the market. (Yes, it’s that guy you saw in the cutscene “dying” who also had that tape with him.) Now run for the following stuff and quickly take the boring machine from the counter opposite from where you are now. Then turn around again and take the batteries on the shelf to the left. Then quickly run back to the counter and then crouch behind it and stay crouched! You have to collect the items in that order, it’s not possible otherwise.
So far so easy, but now comes the part where I can’t help much. I’ll tell you what I know.
The enemy will patrol the middle shelf, sometimes doing a full round around it, sometimes just turning around after he reached one end of the shelf, sometimes going into the area of the room where you picked up the Tape Rekorder. He seems to be quite unpredictable and random. It also seems that he will often be attracted by your light. You won’t always be detected if that happens, but at least he will then go in your direction. The only areas where you are safe is behind the counter while crouched and in the room you woke up.
So what you have to do is at some point go out from your cover and turn right, very near should be another battery on a shelf that you need. Now your boring machine is working. You have to use it on the four screws holding the door barricaded. (You have to interact with each of them for a few seconds.) Then open the door, go through and go left onto that wood…
The hard part is getting to that barricaded door. The only advices I can give you here is stay patient. Wait as long as you want behind the counter, try to study the paths the enemy is taking and wait for the right moment. While behind the counter you can actually see if the enemy is right infront of it by looking through the gaps. Same with if he is walking to the right of it. Though I found it quite hard to use his noises in this area to know where he is or where he is going. If you want to go out of your hideout, go slowly. Try to peek around the corner as best as you can. (Even though that mechanic does not exist in this game but I am sure you know what I mean.)
Seriously take your time here. In my successful attempt I needed someting like 5 minutes for it. But you will probably fail a lot of times here as I did. Another tip: it seems you can easily run here without him hearing you. So it seems he will only detect you here if he sees you.
all enemy encounters and strategy part 2
- After going out of a pipe, finding the torch, go straight and you find your daughter:
This area is really easy as there isn’t even an enemy there but you can die from gas at some points so I still put this here.
So in the middle you have to put five backpacks in to be able to get out of the room. There are a lot of tunnels you can go from that middle area, including the one where you came from. At some of those tunnels will be a backpack but a lot of those will also be filled with gas. So you have to first throw a lit torch into each tunnel so the gas burns away. (You will definitly see if the gas burns away.) You can also take the bird cage from the middle area. The bird will warn you if there is gas in a tunnel. But you don’t really need him, as he warns quite late and you can just throw a torch into every tunnel, way easier than to rely on a frickin bird. After freeing a tunnel from the gas, go into it, take the torch back, go to the end and check for a backpack and take it with you if there is one. Go back, lit your torch at a burning barrel again and throw the backpack in the middle. Then repeat with every tunnel till you got all five backpacks. (Btw. if you loose your torch, no problem, there are a lot of them in the middle area.) Then go through the pipe which will have open up. It’s located under the spot where your daughter was. - After going out of the elevator, Skinner encounter: quite easy if you follow this strategy, otherwise it could be hard to not beeing seen, but definitly not hard to not die as the Skinner is very slow and if you just want to go for Immortal achievement you can simply go through a gas area where he can’t follow you.
So I will first explain you the area: you are on the lower floor, in the middle you have to put five backpacks (yes, again). On both sides of the room you have stairs leading to the upper floor. On the lower floor are also two rooms, but you can see that they are full of gas. The Skinner will never be able to get through there, but you can if you get the gas mask and use it by pressing the button “G”.
The gas mask is located to the left of the elevator, on the wall to the right to the opening of one of the gas rooms.
The backpacks are located as following: one on the lower floor, very near where you have to put it (I call that the middle), then one in each of both gas areas and two more on the upper floor, one each after you went up a stairs, to the right of it in the dead end. Remember that you can’t sprint holding a backpack and you can only carry one at a time.
When all five backpacks are where they belong, go back to the upper floor. From one of the stairs, go directly left and crouch through a newly open grate and then through the vent.
My strategy:
First pick up the gas mask, only use it when you want to go in the gas areas, because your vision is very bad with it. But don’t forget to use it for the gas as you will instantly die otherwise.
Then take the backpack on the lower floor, near the middle. Then it doesn’t really matter if you first wanna go for the backpacks in the gas areas or the ones on the upper floor first. The strategy is the same: bascially keep track where the Skinner is and just follow him with a decent distance. He is slow and has a strict patrol. He won’t turn around if he doesn’t notice you as he walks in circles. He walks through the lower floor, takes one stairs up, walks through the upper floor, takes the other stairs down and repeat. By following him, you will know where he is and you won’t walk into him by accident as it’s otherwise hard to tell from which direction he will come. The area is also very dark.
At least you can follow this strategy very well if you wanna go for the backpacks on the upper floor. For the ones in the gas area, do the following:
of course put on your gas mask before going into the gas room, then look for the backpack there. (You are safe in this rooms with the gas mask. The Skinner can’t get there.)
After finding and taking the backpack, find you way back out of the gas area, but don’t go out yet. Wait pretty much in the doorway and go back a few steps if you can. But you wanna have some vision in the middle and for the upper floor (you can see a bit through the floor of the upper floor because the floor is made of grates). Wait till you see the Skinner and wait till he passess. I know it’s hard to see there, especially with the gas mask, but it’s possible. You do wanna wait for him because otherwise you don’t know where he is and you could run into him. So after he passess, you are fine, go out, put the backpack in the middle, go in the other gas room and repeat. After that is done too and you have all backpacks in the middle, wait one last time for the Skinner to pass and take the exit I described a bit earlier.
