The basics of what you need for a starter home in Valheim, no excessive materials, and no smoke filling your home from a campfire placed indoors when it should be outside.
Foundation
This is done by placing a single 1m Wood Pole in the ground, then using the 2m Wood Beam to space it out on top to the next pole location.
You’ll want a pole in each corner for structural integrity.
This will be the floor space of your house, if you want a larger one, then extend this beyond what I’ve done.
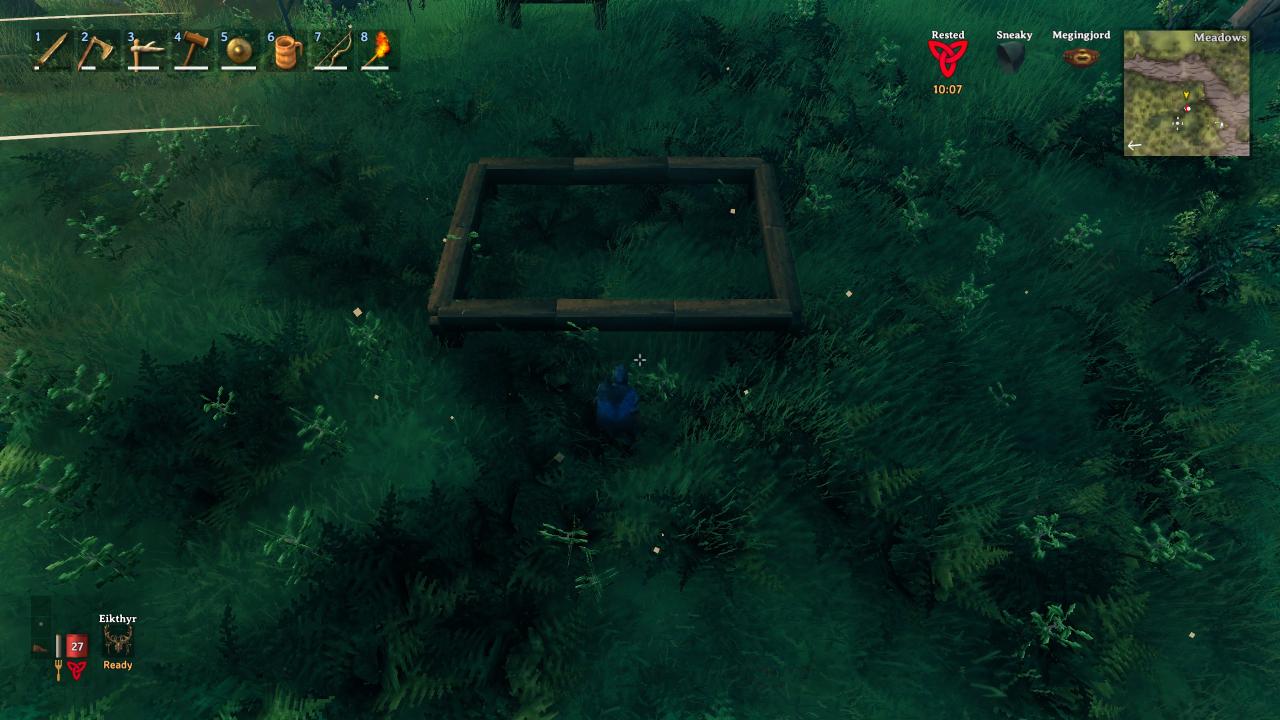
This is a simple 2 by 3, enough for a bed, chest, workbench and a torch.
The campfire will be placed outside and cover the entire home.
Campfire & Floor.
The better your shelter is (comfort level), the longer this buff will last.
However, you do not need to place the campfire inside your house, and if you’ve tried this you’ve certainly noticed that it gets smoke filled rather quickly and you’ll start taking damage.
To avoid this, simply place it outside with some roof above it pointing up instead of down, with a wall on each side to protect it from stormy weather. As long as the roof is pointed up instead of down, it will direct the smoke away from the building.
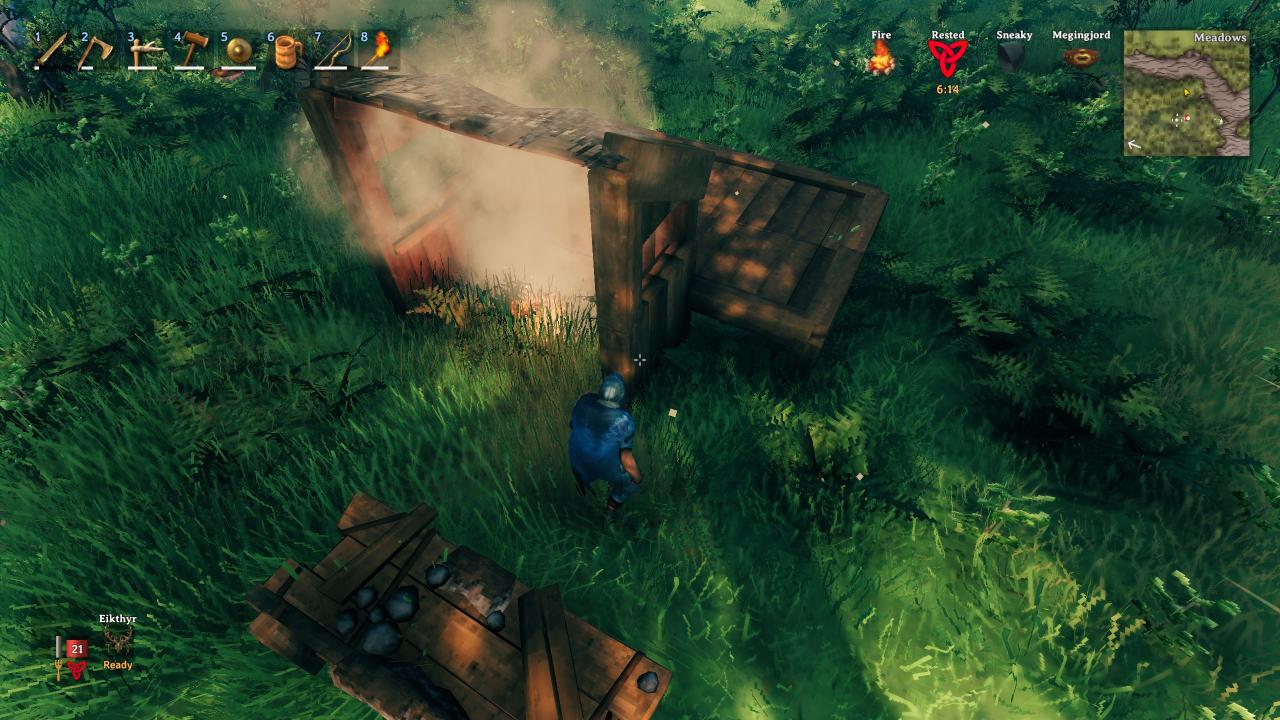 Pretty much a shed for your campfire.
This will cover the entire building because of it’s smaller size.
While you’re at it, fill that foundation in with Wood Floor 2×2, you’ll need 6 in total.
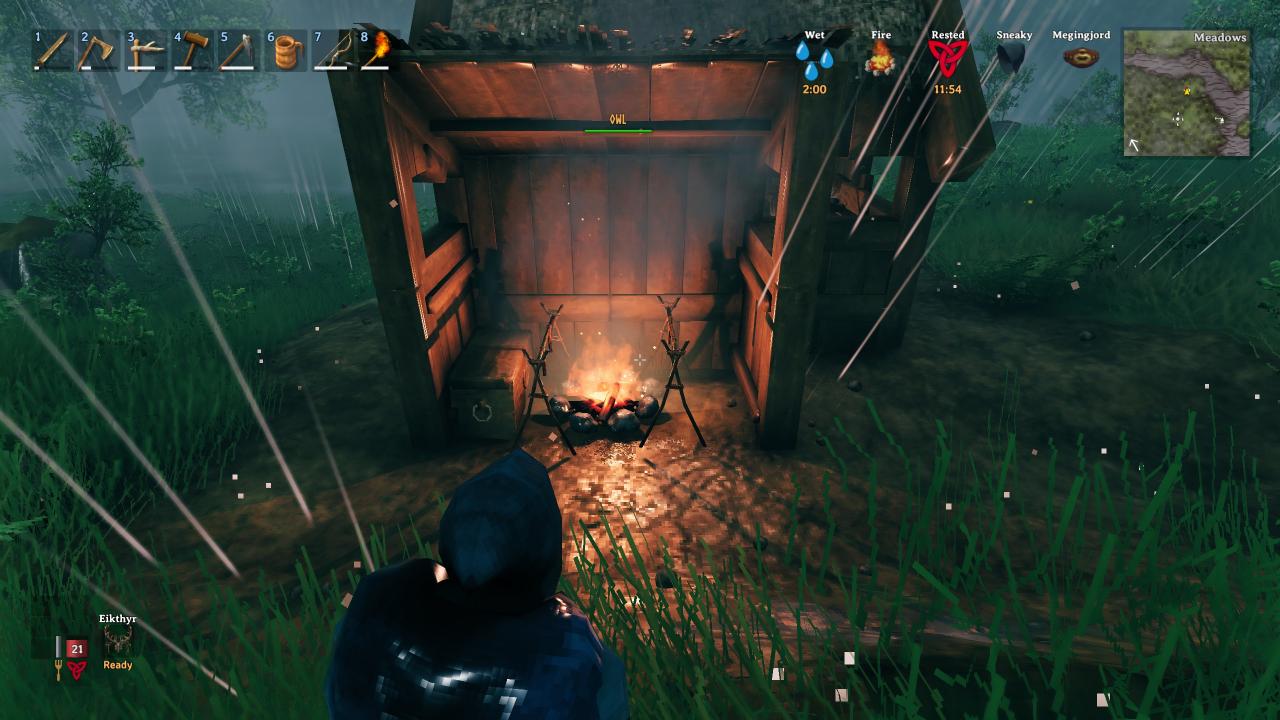 Just a picture to show that the campfire survives the weather just fine, and also showing how the shed was built around it.
Walls & Door!
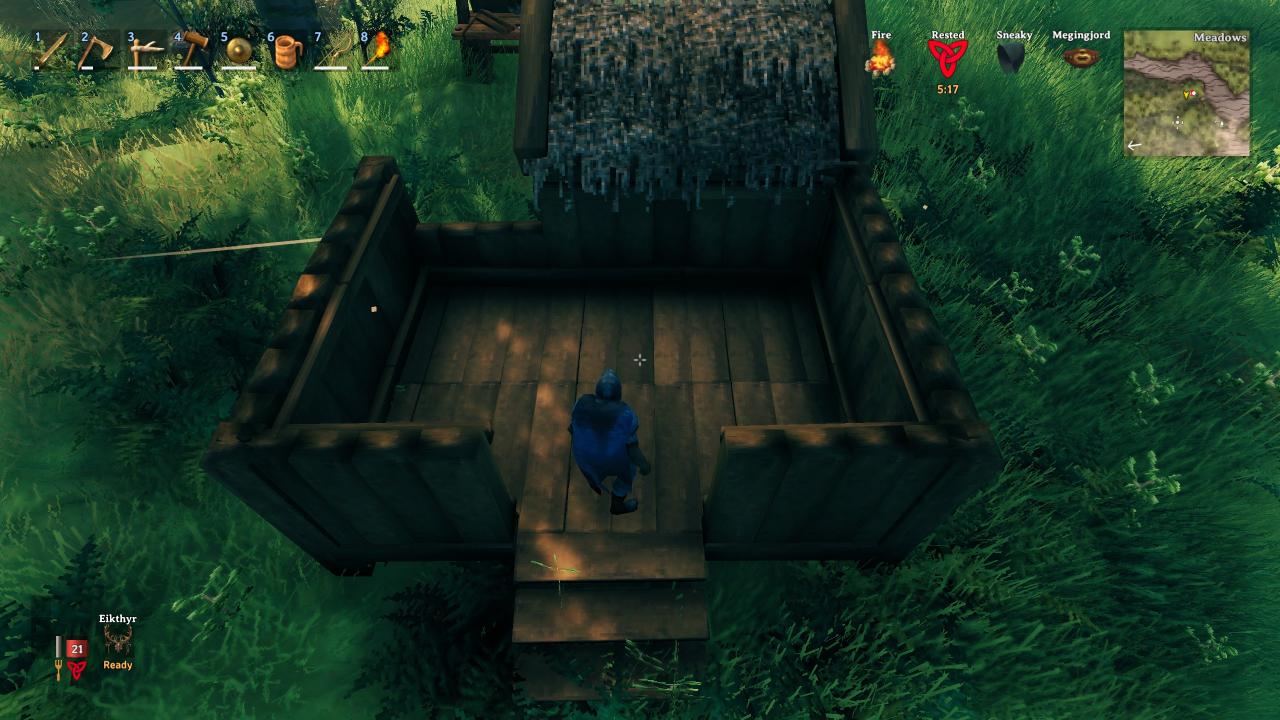 Begin by adding a 2m Wood Pole in each corner on top of the foundation, then fill in the empty space with Wood Wall. Put “Wood Wall Half” where you’d like windows. Also put down a set of Wood Stairs to your entrance as the building is placed on a foundation off the ground.
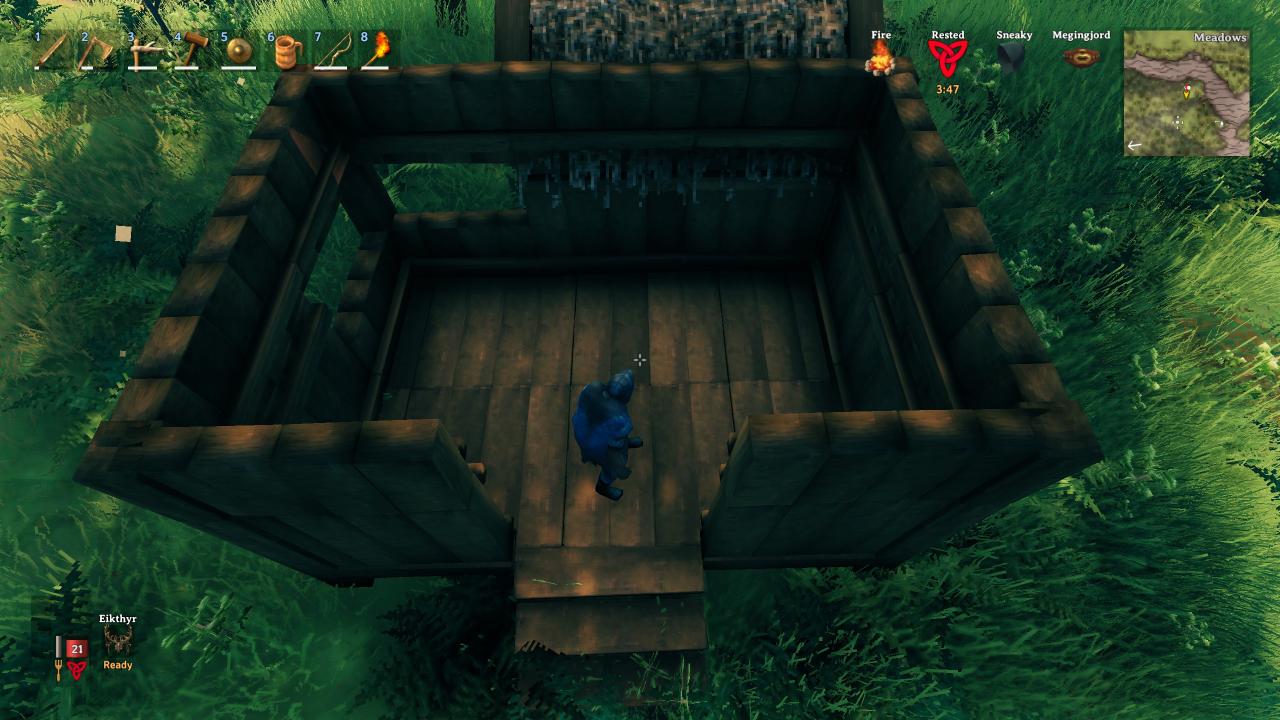 Finish off the walls by adding another layer of “Wood Wall Half” on top of the walls.
If you want larger windows then don’t put anything above those, if you want smaller windows, do as I did.
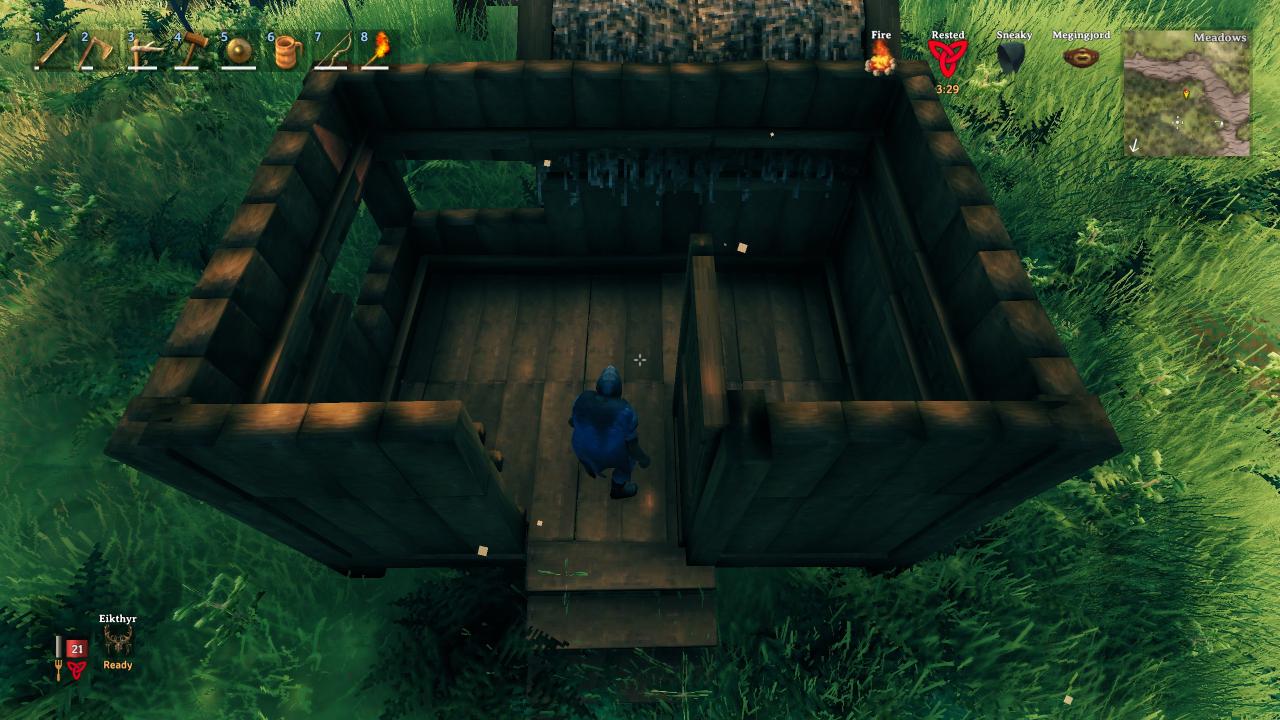 Lastly, don’t add a Wood Door, it’s well worth it to go for the slightly more expensive Wood Gate.
It looks better and is more comfortable to enter your home.
Furniture & Roof.
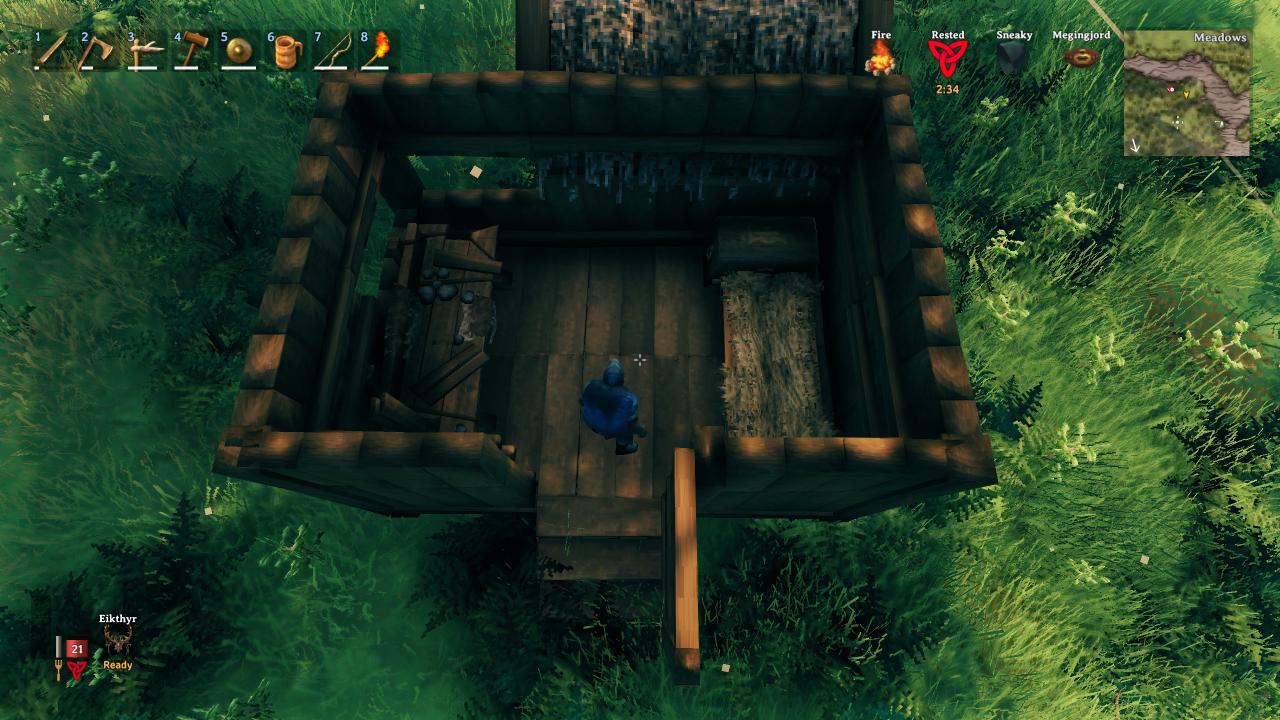
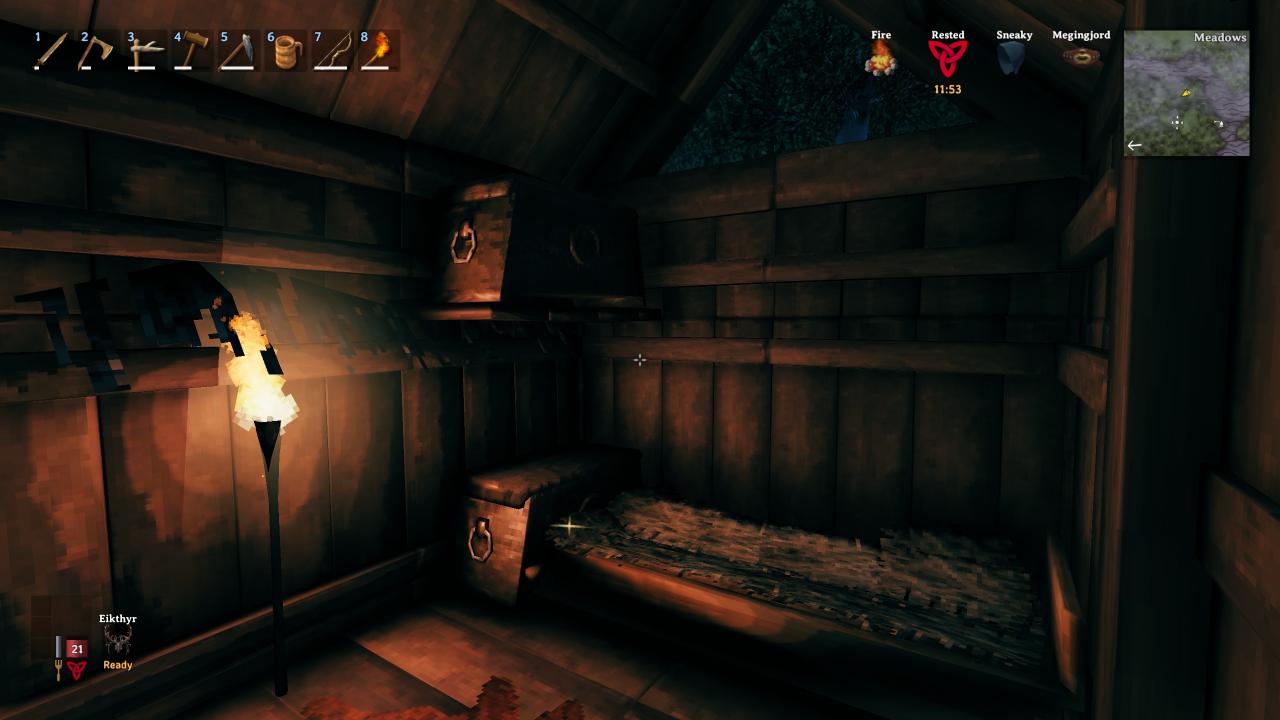 Optionally you can also place another chest on a shelf above the first chest, by utilizing two 1×1 Wood Floor.
Roof!
Having a roof above your workbench also provides additional crafting options.
Whether you use the 26 degree Tatch Roof or the 45 degree Tatch Roof is entirely up to you.
Personally I went with the 45 degree to give myself a bit more headroom.
For a wider building it would be wise to go with 26 degree to avoid the roof getting too tall.
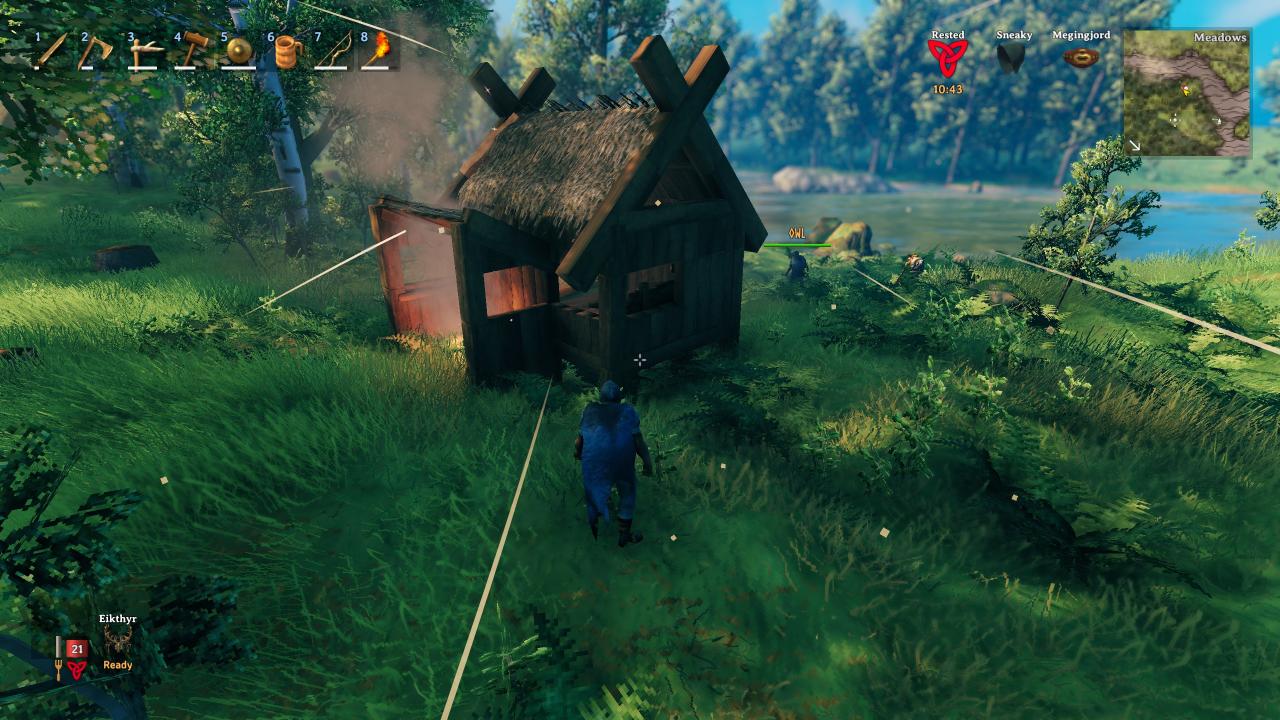 Generally you want to place the roofing so that it bridges the smallest gap as seen in this picture.
I decided to finish my roof off with the Wood Roof Cross as well as some 45 degree Wood Beams.
Completely optional, but looks great!
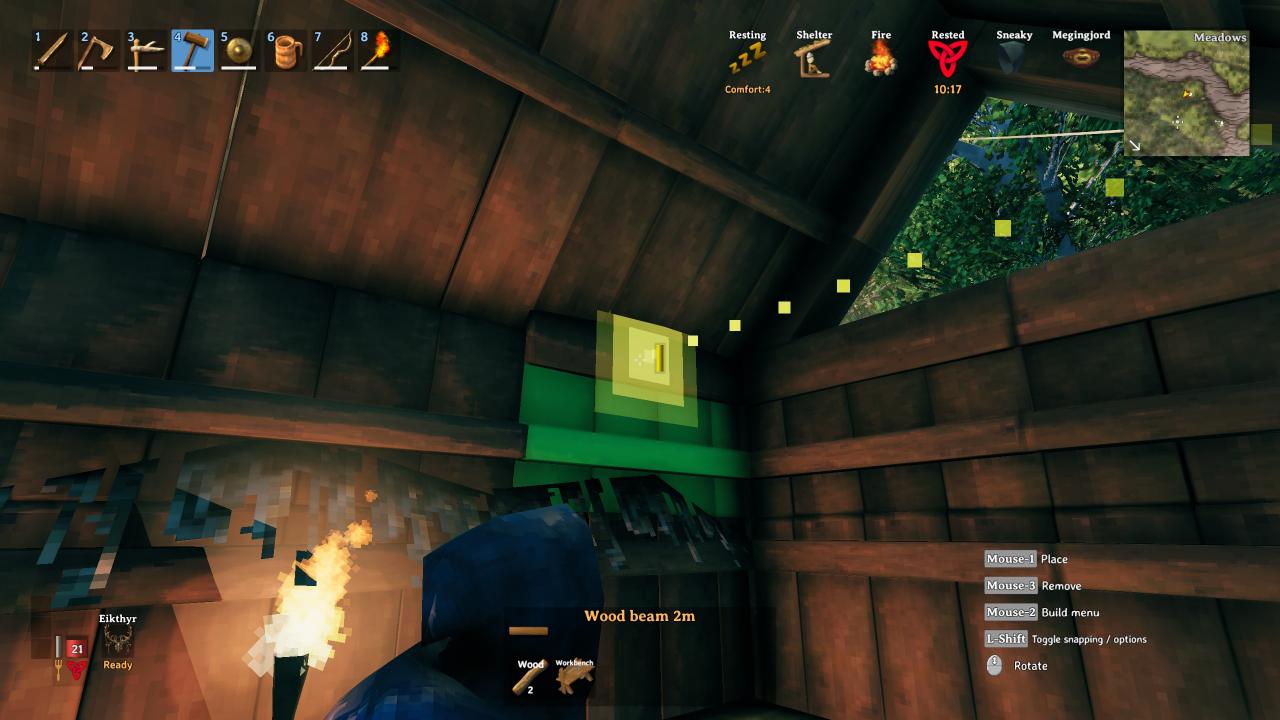
Green = Good, Red = About to break.
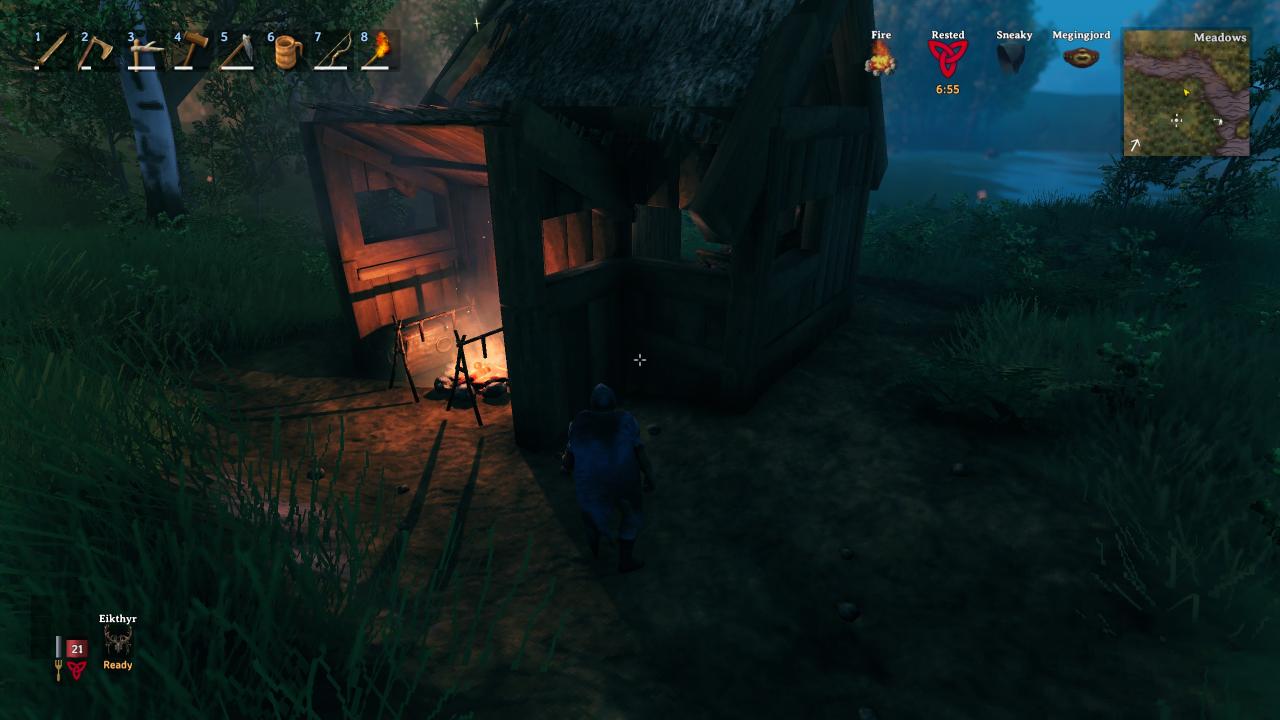 Go to your workbench and craft yourself a Hoe! It’s a mans best friend, and can be used to clear out that nasty grass around your building with the “pathen” option to bring out the campfire and just make it all look more visually pleasing.
Protip: Build two cooking stations on your campfire. Can cook meat twice as fast. <3
Might as well place a chest near that campfire to hold your food as well, it’ll be safe there.
Now that you’re a pro-builder, you can easily expand on your house when the time arises.
Related Posts:
- Valheim Starter Home with a Fire Pit that Doesn’t Suffocate You
- Valheim Indepth Building System Guide
- Valheim How to Farming Wood Fast and Easy
- Valheim Building a Aestetic Warehouse Guide
- Valheim Wood Chopping Tricks for Viking Lumberjacks
