For The Redress of Mira players who are collecting achievements, this is an 100% achievement guide for you to collect them all, let’s check it out.
To start with, if you’re at all having trouble with any section where you can die, or you want to experience this in a way more similar to Tonguç Bodur’s other games, then you can turn on “God Mode”. You can still get achievements with god mode turned on.
Pack of Crows # 1 – 7
Fun fact: All of these achievements are named after games from Tonguç Bodur.
Shoo away the 1st pack of crows.
The first pack of crows is unmissable.
Shoo away the 2nd pack of crows.
The second pack of crows is unmissable.
Shoo away the 3rd pack of crows.
The third pack of crows is unmissable.
Shoo away the 4th pack of crows.
The fourth pack of crows is unmissable.
Shoo away the 5th pack of crows.
The fifth pack of crows is unmissable.
Shoo away the 6th pack of crows.
The sixth pack of crows is unmissable
Shoo away the 7th pack of crows.
The seventh pack of crows is unmissable.
Pack of Crows # 8 – 14
Fun fact: All of these achievements are named after games from Tonguç Bodur.
Shoo away the 8th pack of crows.
And so we finally come to our first missable pack of crows.
While making your way through the story, you will find this green wall:
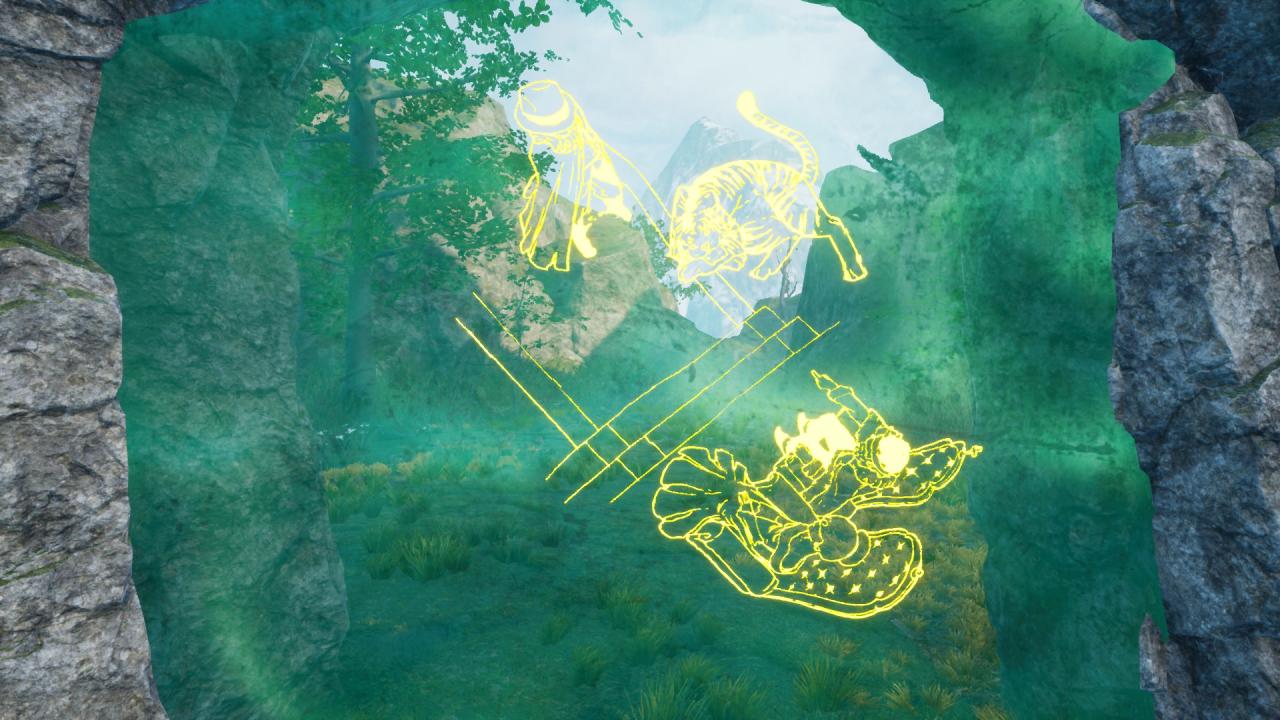
After this wall, and after the dream sequence that comes after it, you will go down a slide. After going down the slide, there will be a left path and a right path that you can take. Take the left path.
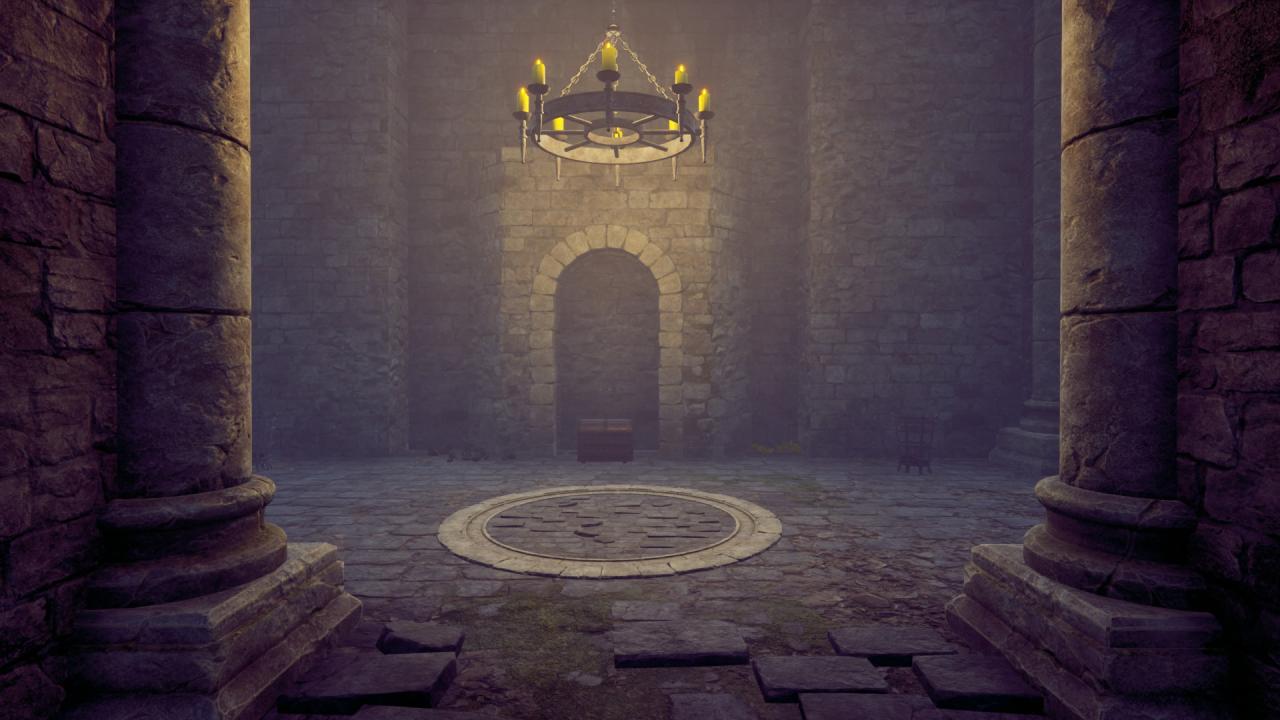
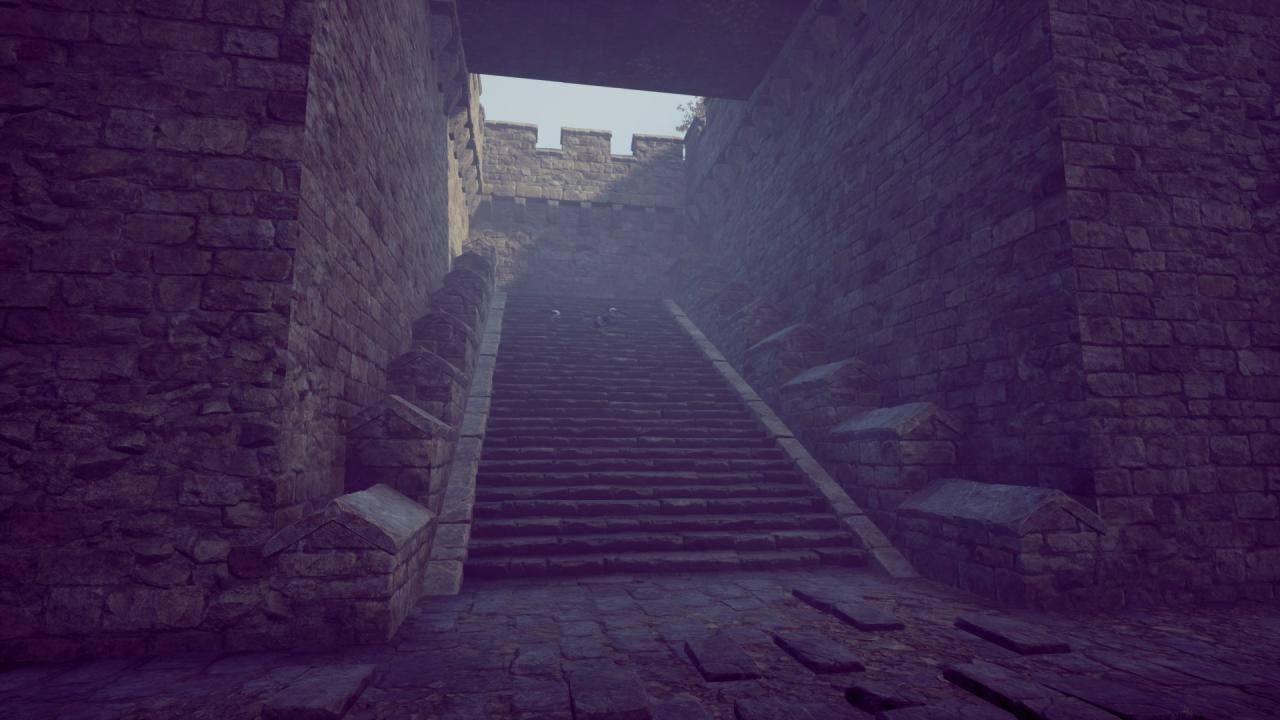
Once you’ve reached the end, you will see the eighth pack of crows on a staircase.
Shoo away the 9th pack of crows.
This is another missable pack of crows.
Not longer after shooing the eighth pack of crows, you will come to a wall looking like this.
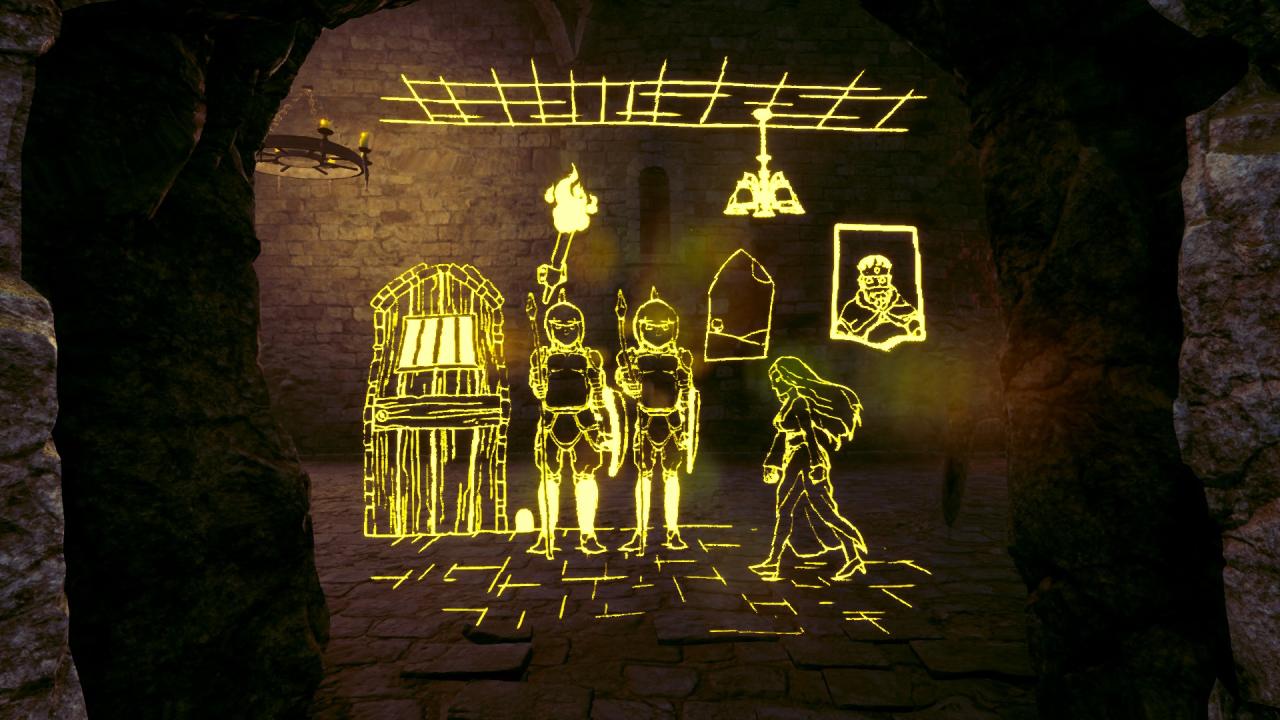
Shortly after breaking that wall, you will push over a pillar. Directly after climbing the pillar, you will be able to go left or right, go left to find the ninth pack of crows.
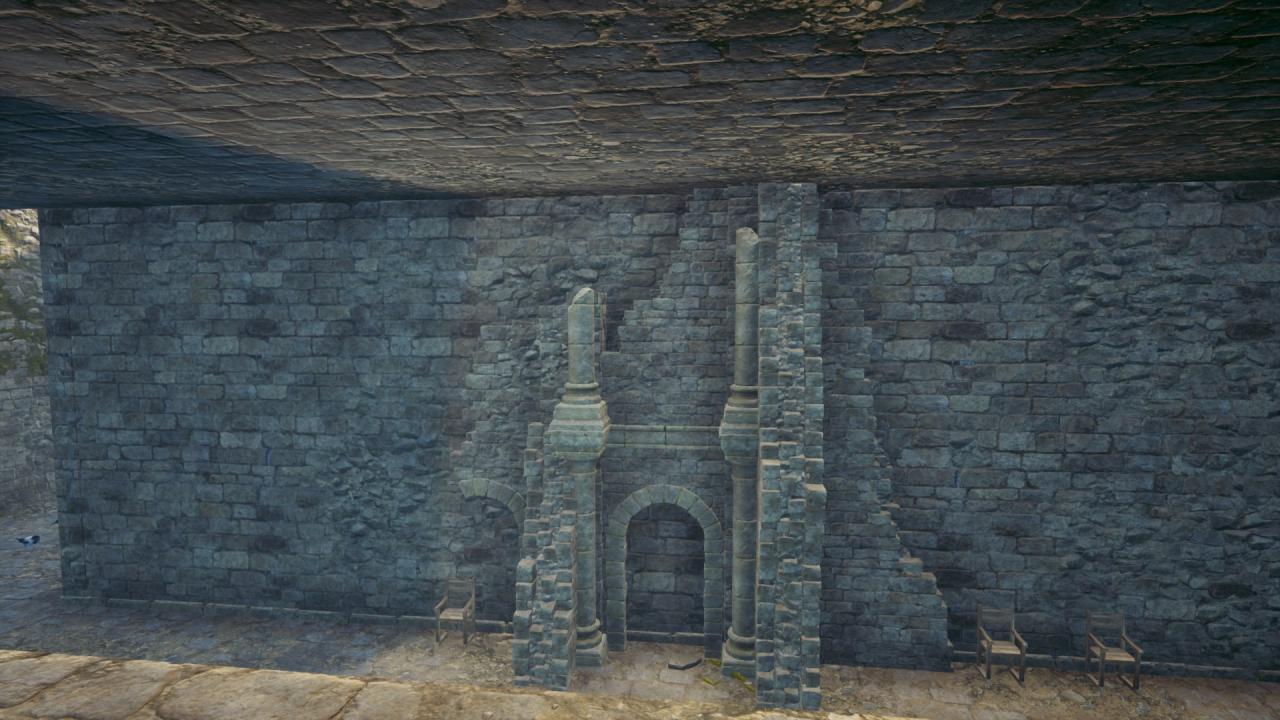
Shoo away the 10th pack of crows.
The tenth pack of crows is unmissable.
Shoo away the 11th pack of crows.
This is the third missable pack of crows.
After reaching this wall:
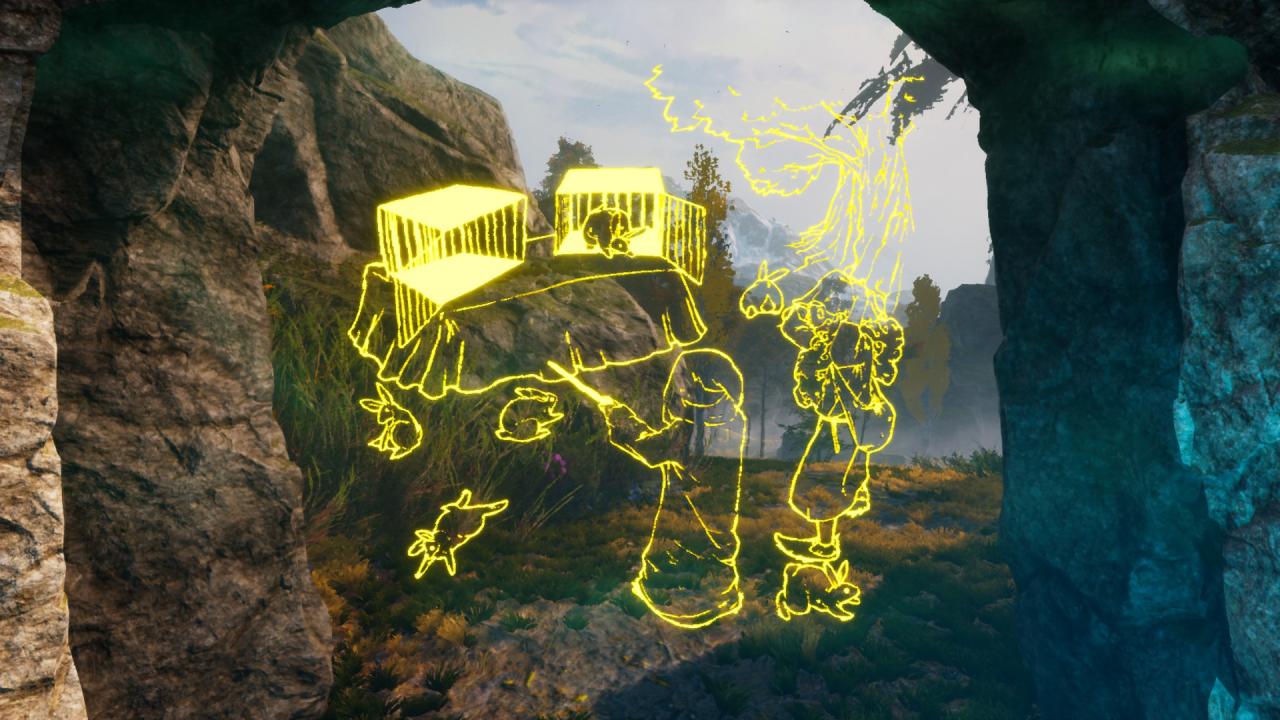
You will eventually come to an area looking like this:
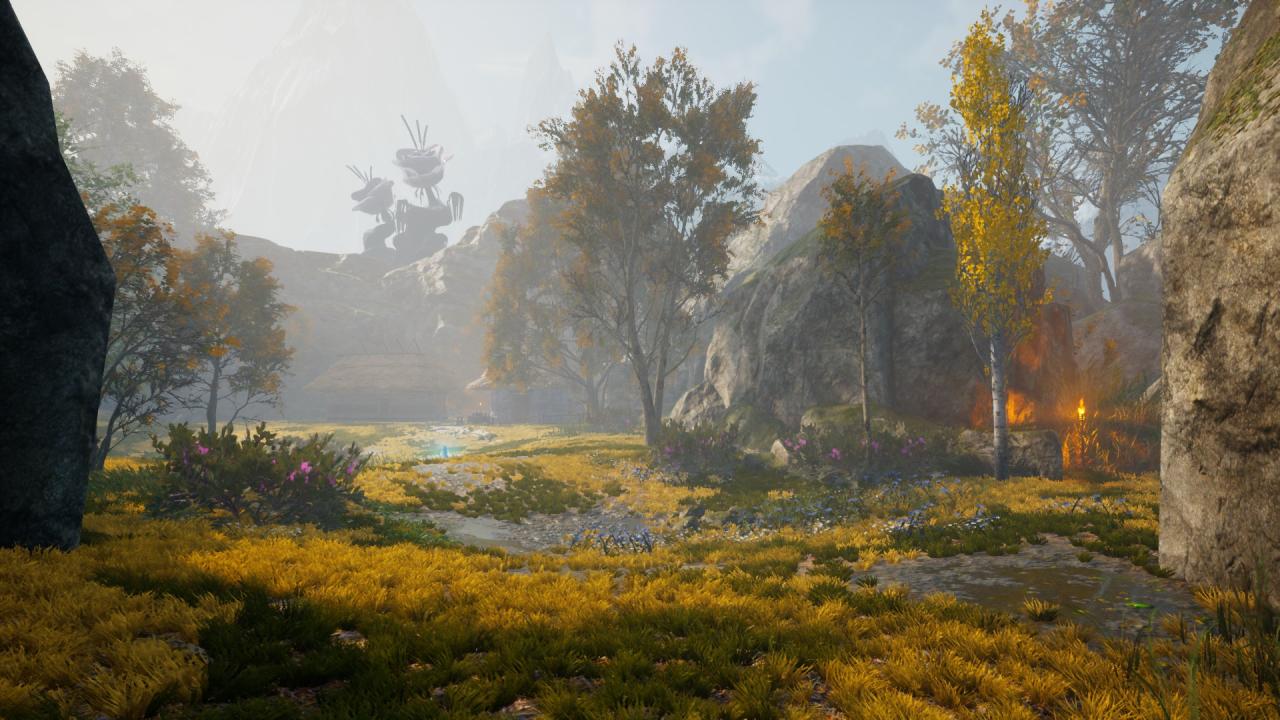
The pack of crows will be on the small path to the right.
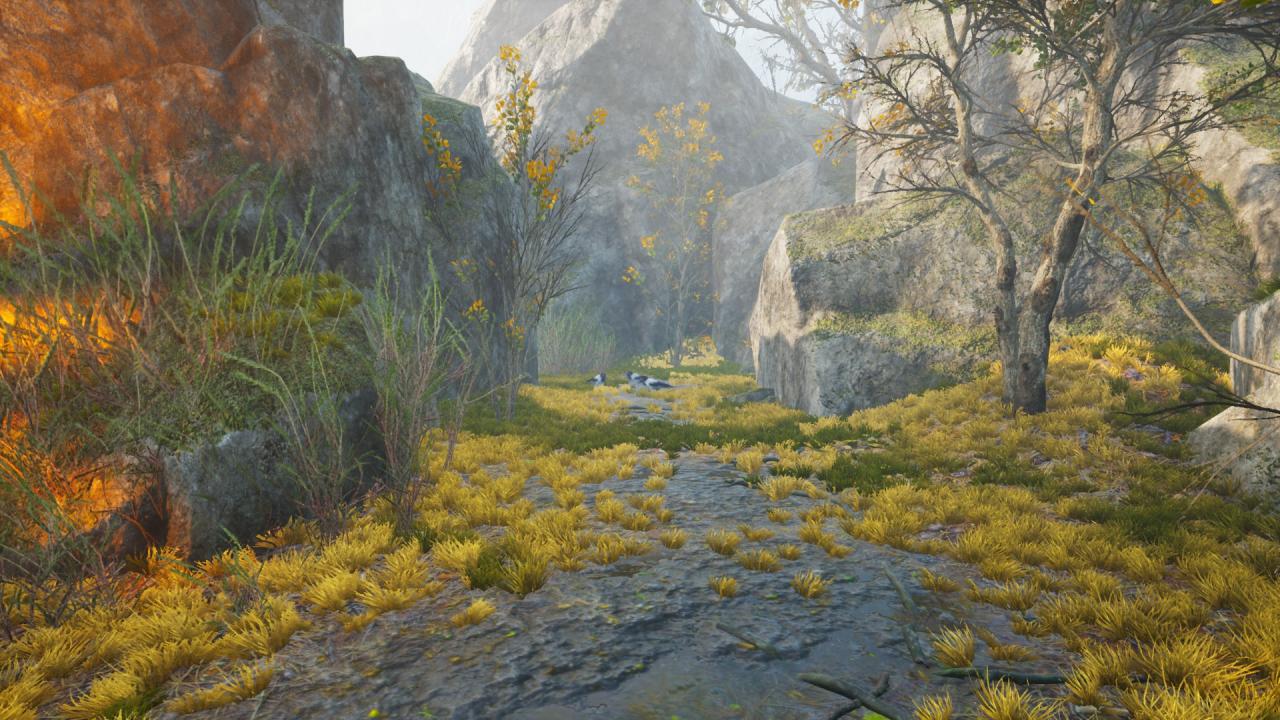
Shoo away the 12th pack of crows.
The twelfth pack of crows is also missable.
After this wall, and the bossfight after it:
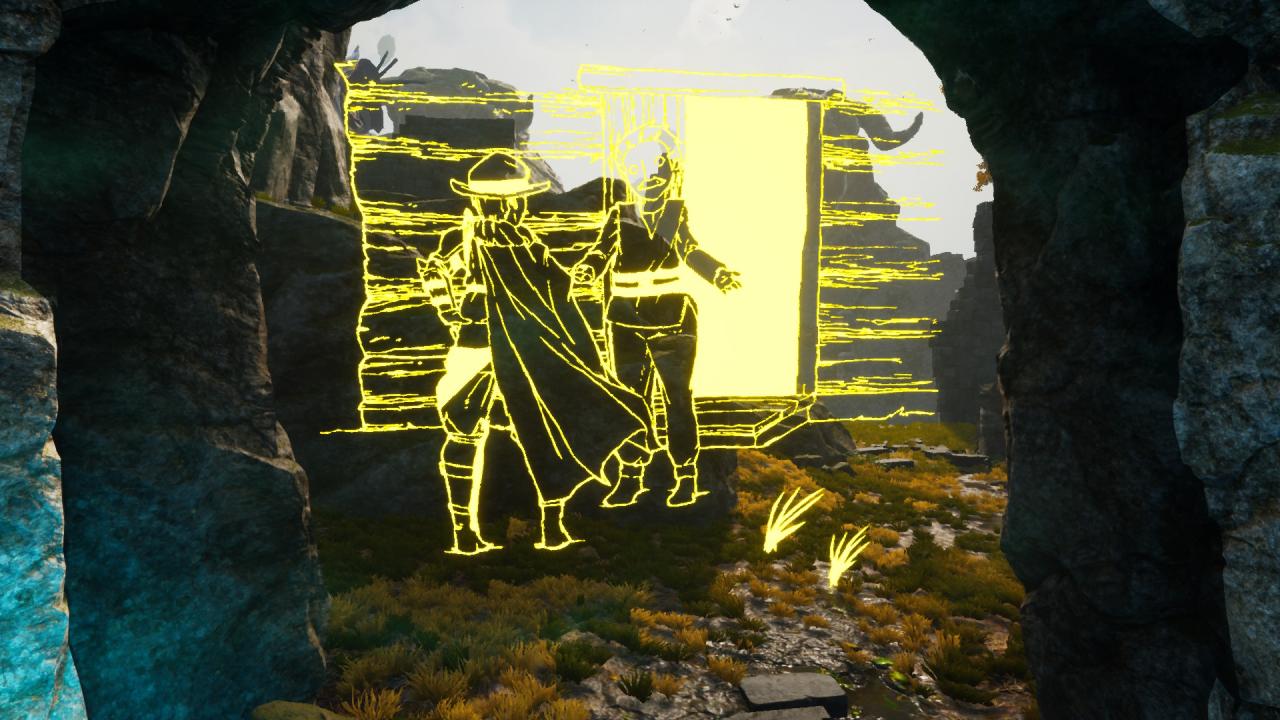
You will come to a split path looking like this:
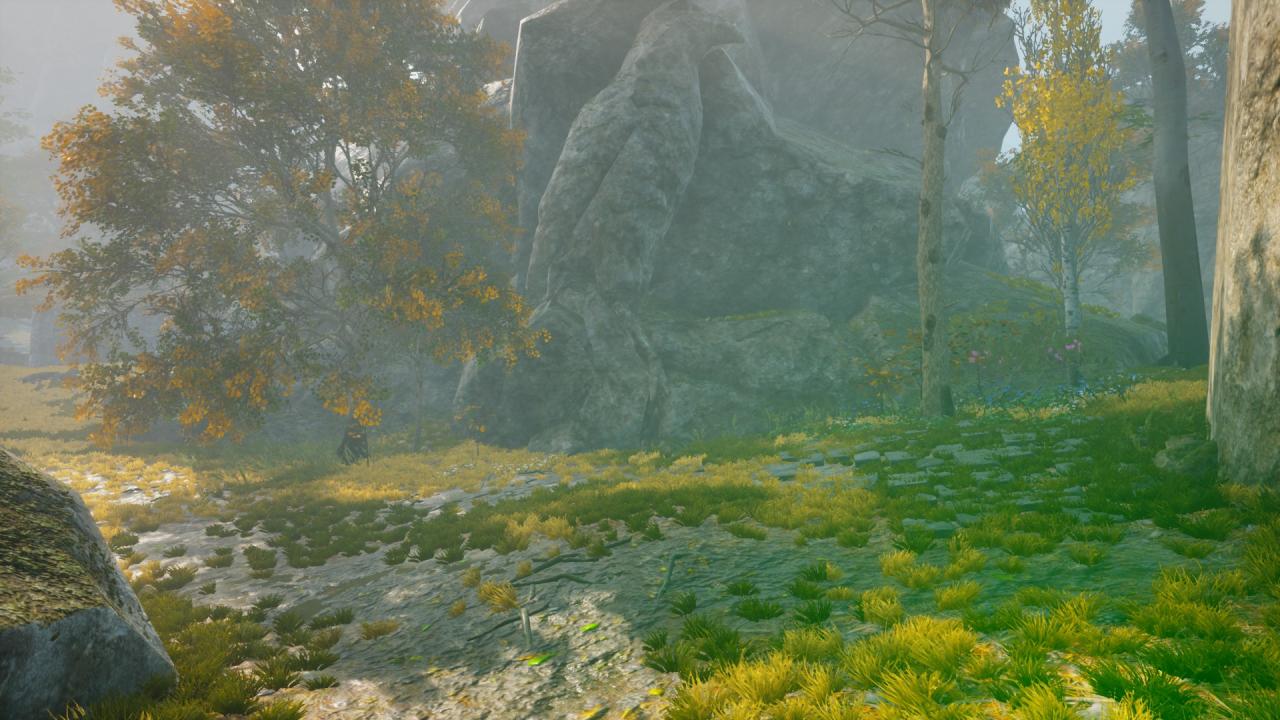
You can choose to go whichever way. You will come to a stone building:
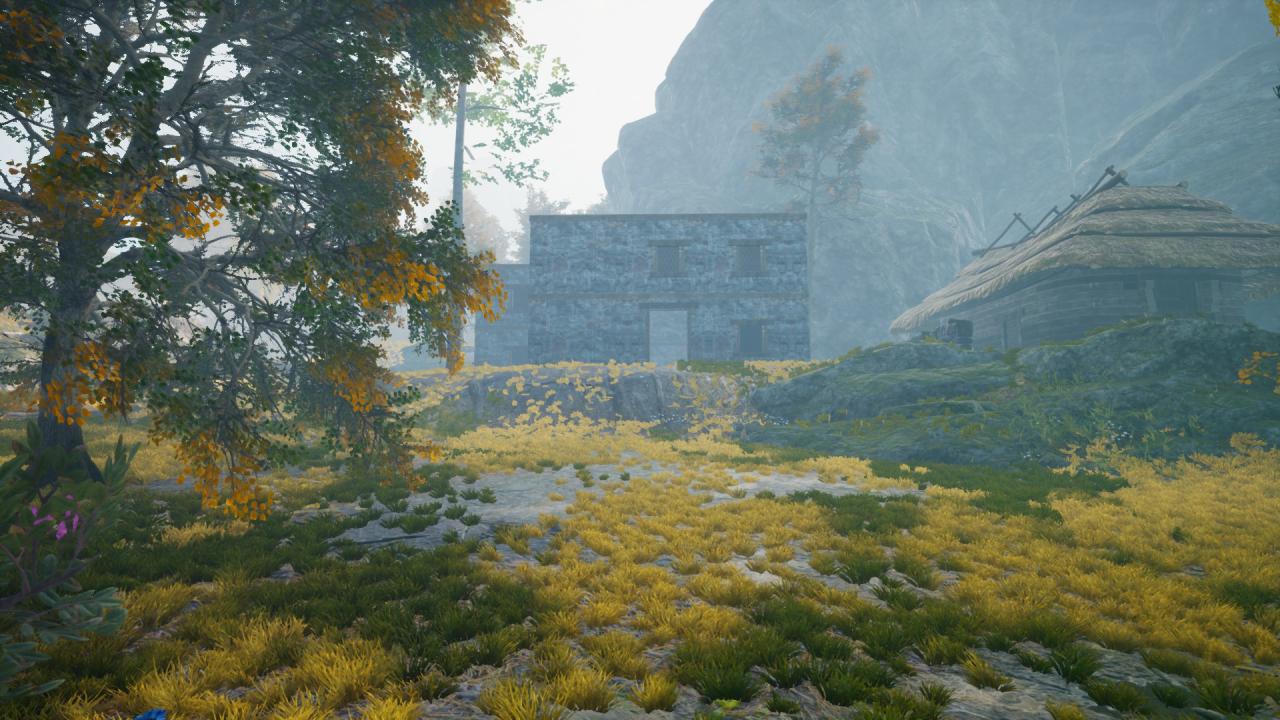
The pack of crows will be in that stone building.
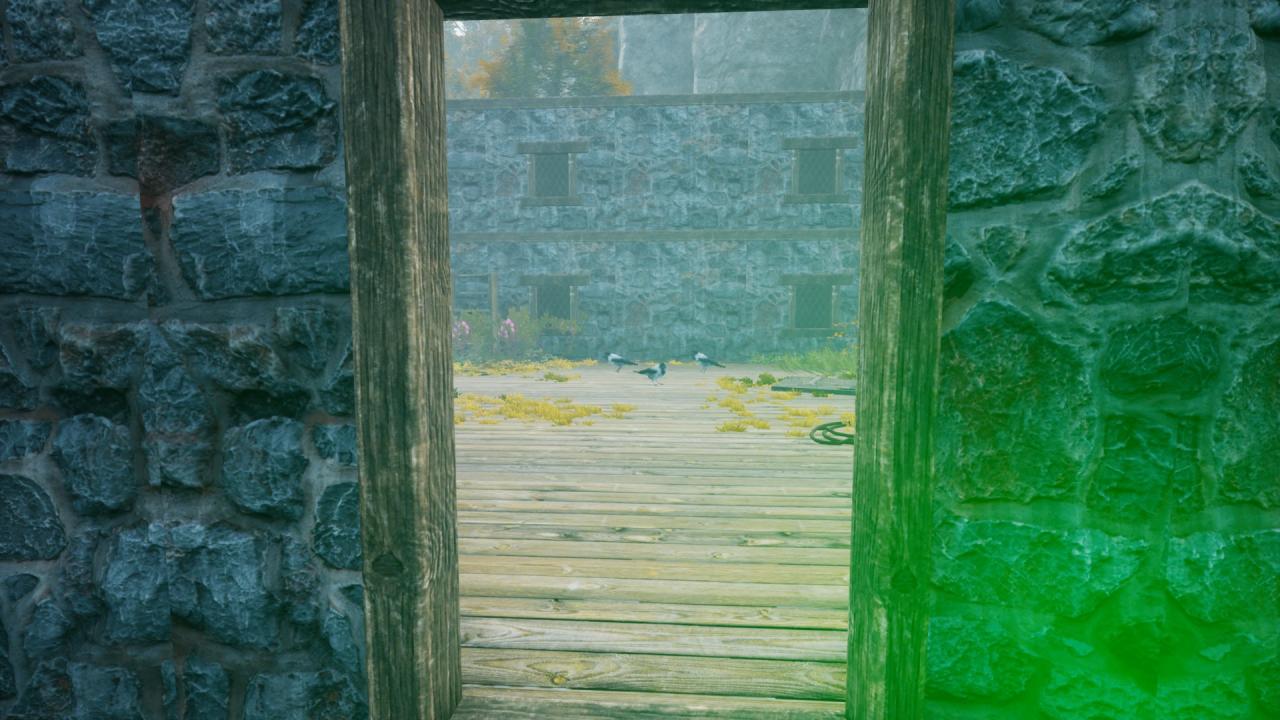
Shoo away the 13th pack of crows.
The thirteenth pack of crows is missable.
After a little walking past this wall:
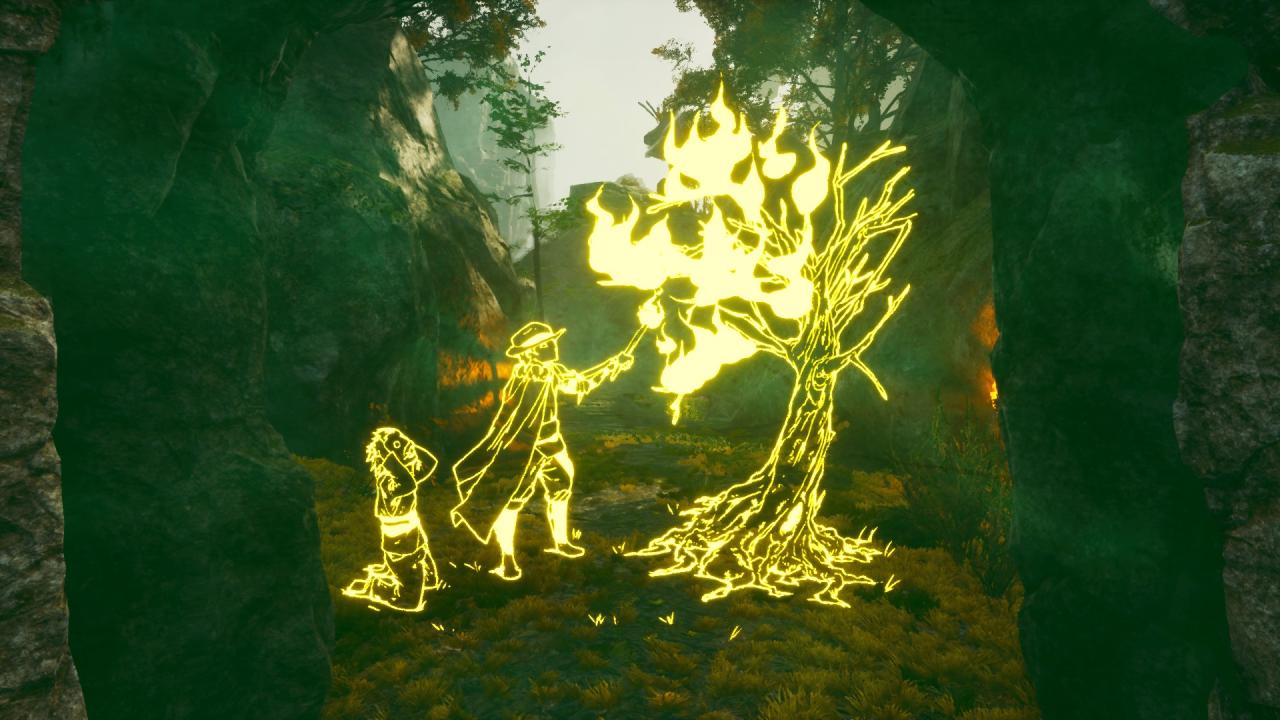
You will find an area that looks like this:
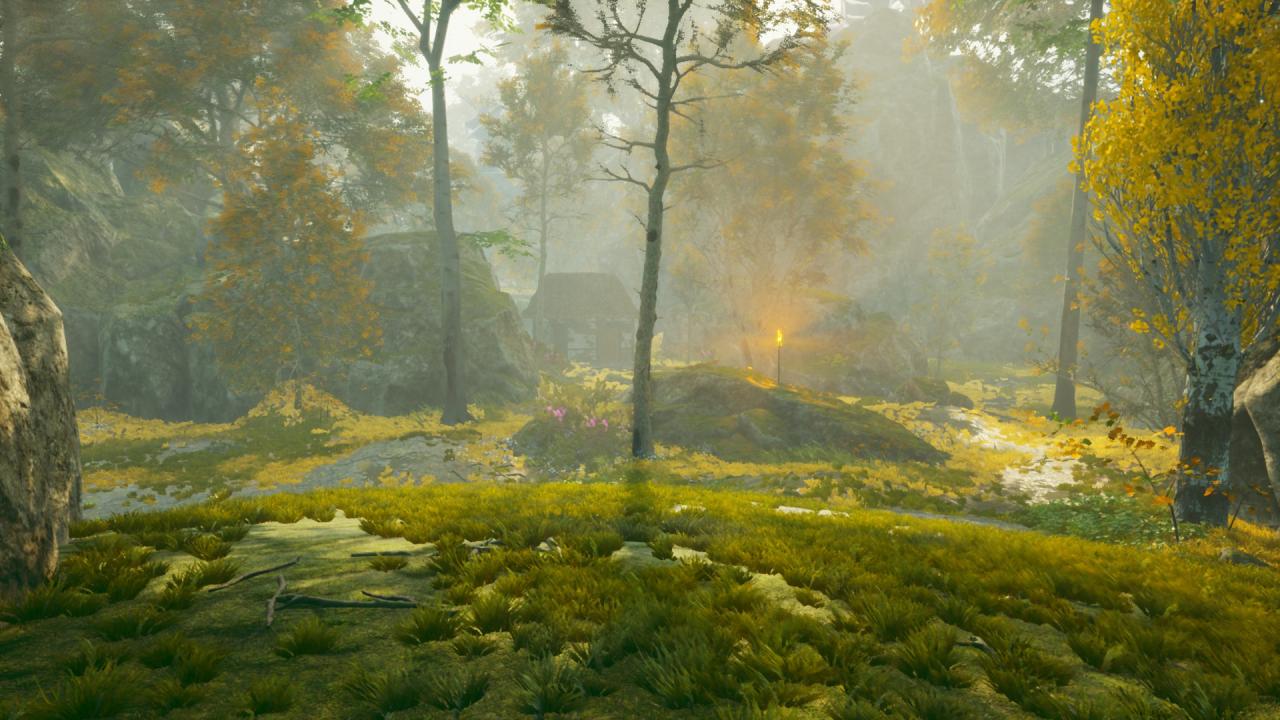
The thirteenth pack of crows will be found on the farthest right path here.
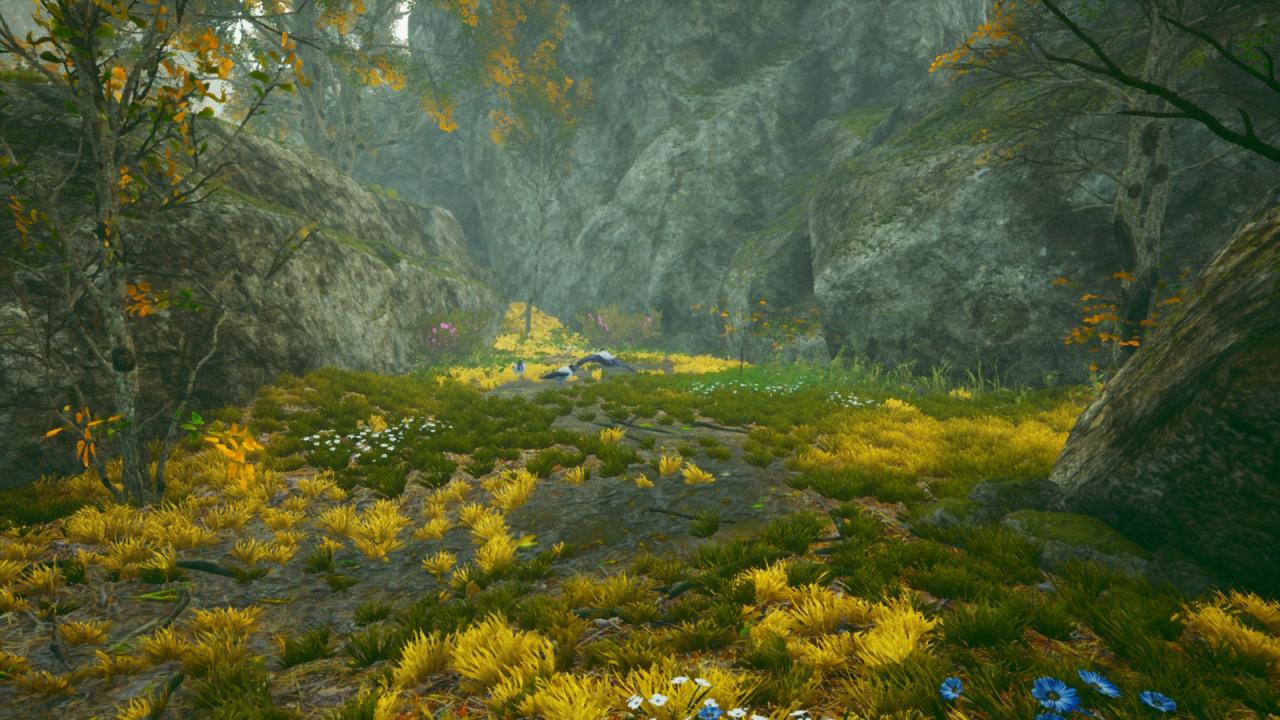
Shoo away the 14th pack of crows.
Almost directly after getting the missable thirteenth pack of crows, you will come across the missable fourteenth pack of crows.
This wall will be found very shortly after finding the thirteenth pack of crows:
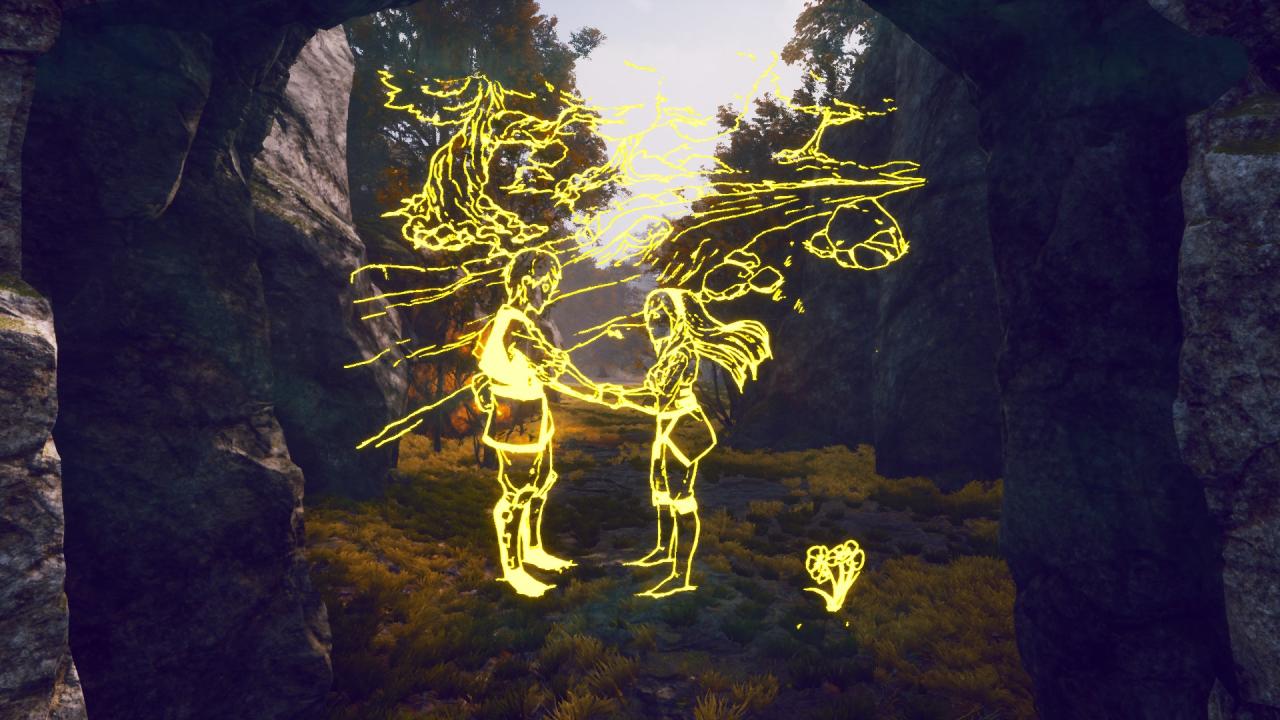
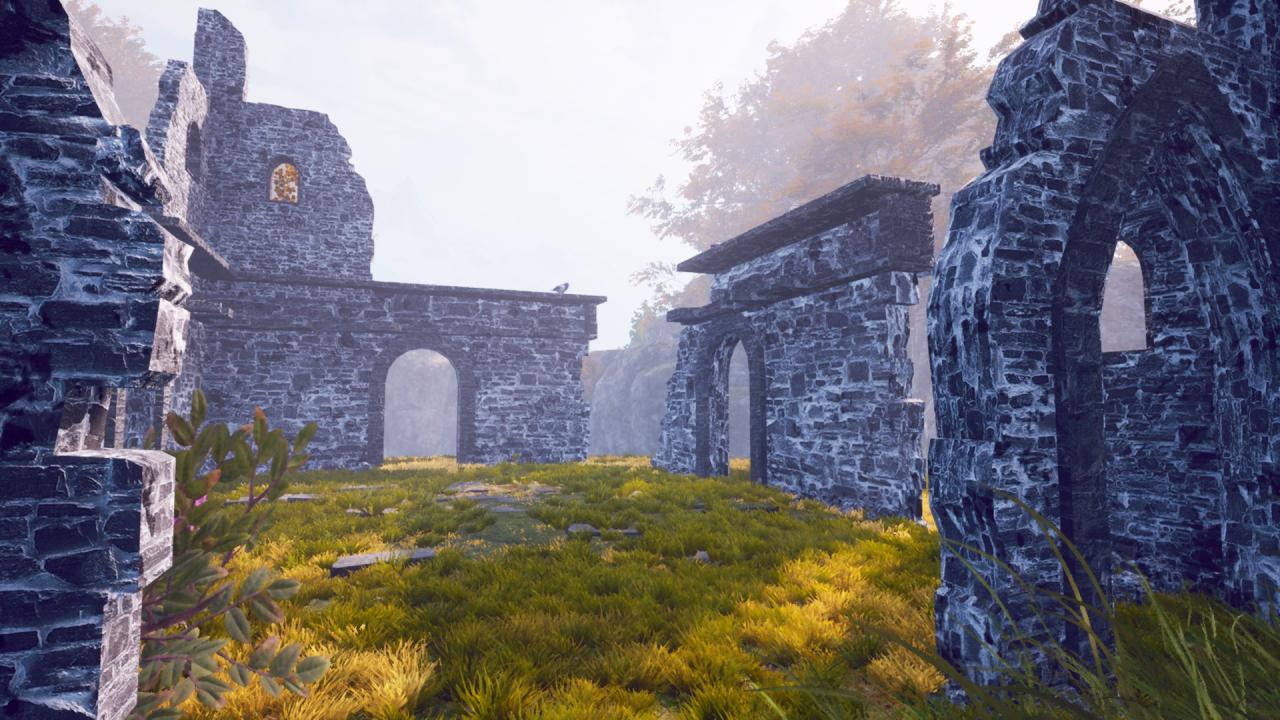
You will want to continue walking forward after this wall until you come to the stone building. The fourteenth pack of crows will be on top of the stone building.
Pack of Crows # 15 – 21
Fun fact: All but the last of these achievements are named after games from Tonguç Bodur.
Shoo away the 15th pack of crows.
You will encounter the missable fifteenth pack of crows after a dream sequence.
This wall will be followed by a dream sequence:
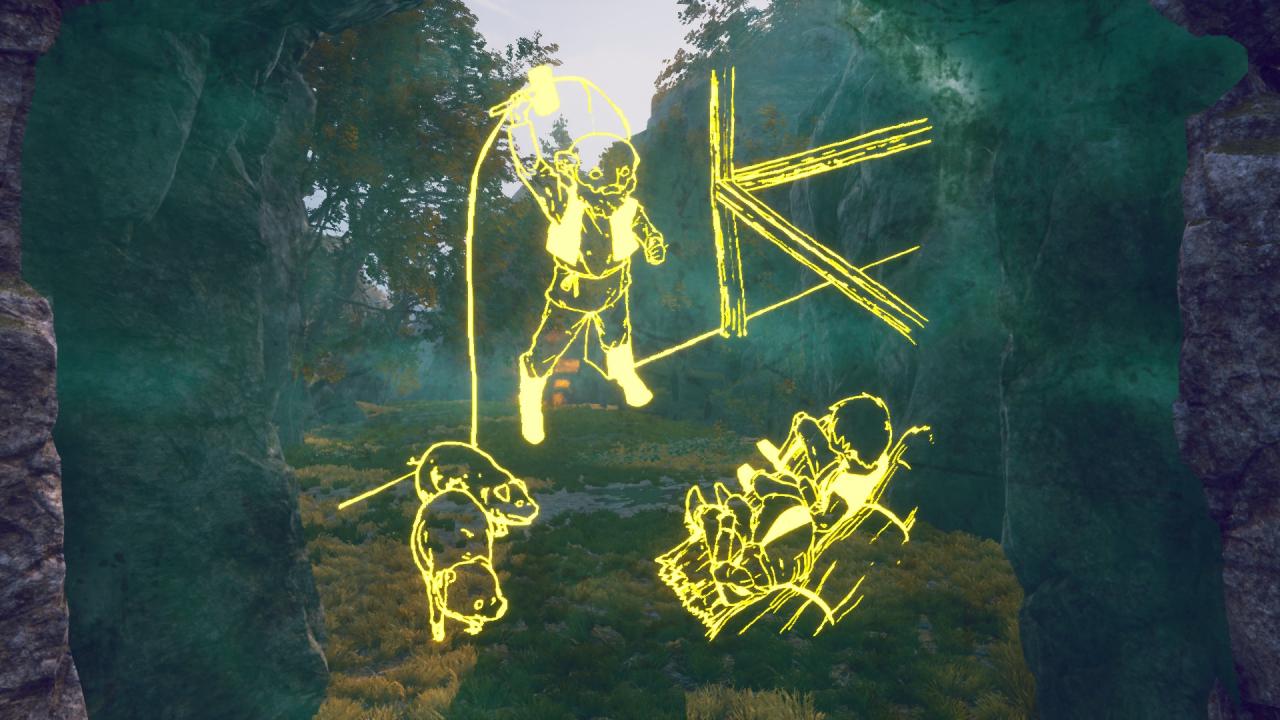
After the dream sequence and a little bit of walking, you come to an area looking like this:
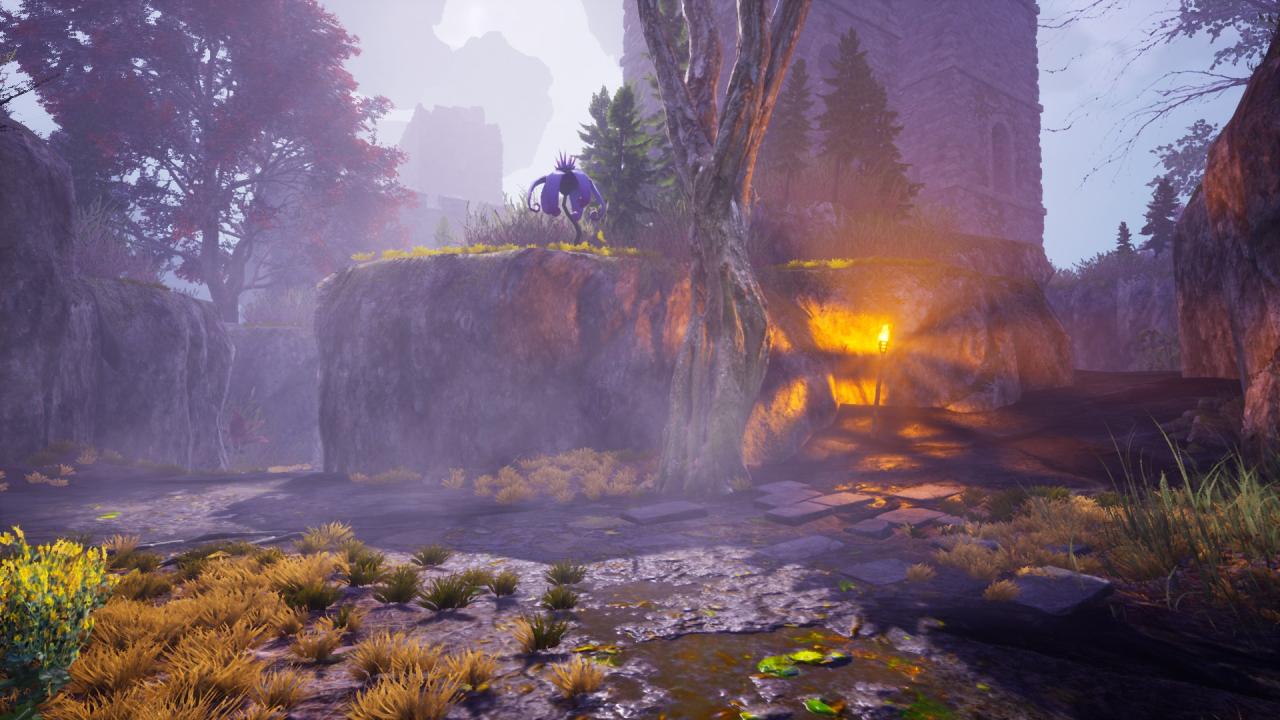
The fifteenth pack of crows will be on the left path.
Shoo away the 16th pack of crows.
The sixteenth pack of crows is unmissable.
Shoo away the 17th pack of crows.
The seventeenth pack of crows is unmissable.
Shoo away the 18th pack of crows.
The eighteenth pack of crows is unmissable.
Shoo away the 19th pack of crows.
The nineteenth pack of crows can be found while looking for parts for your raft.
After finding this wall, you will be tasked with building a raft:
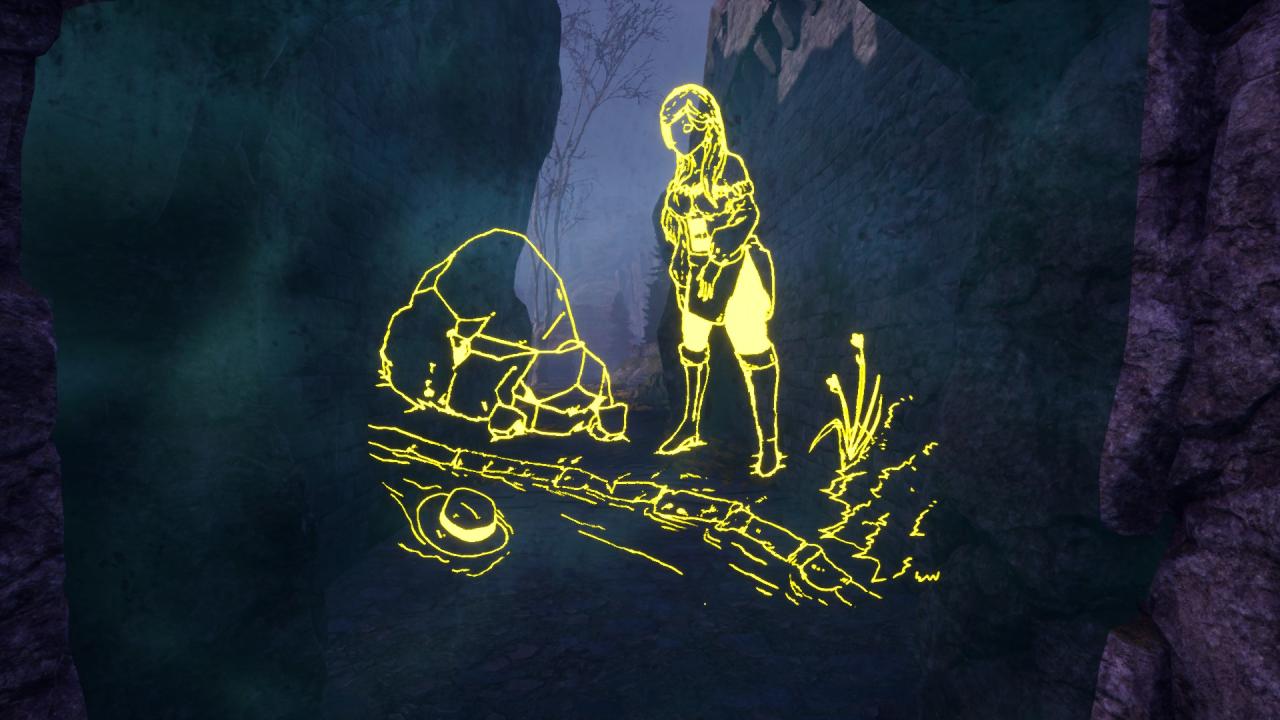
After being given that task, continue straight forward from the wall to the opposite end of the area and you will find the nineteenth pack of crows.
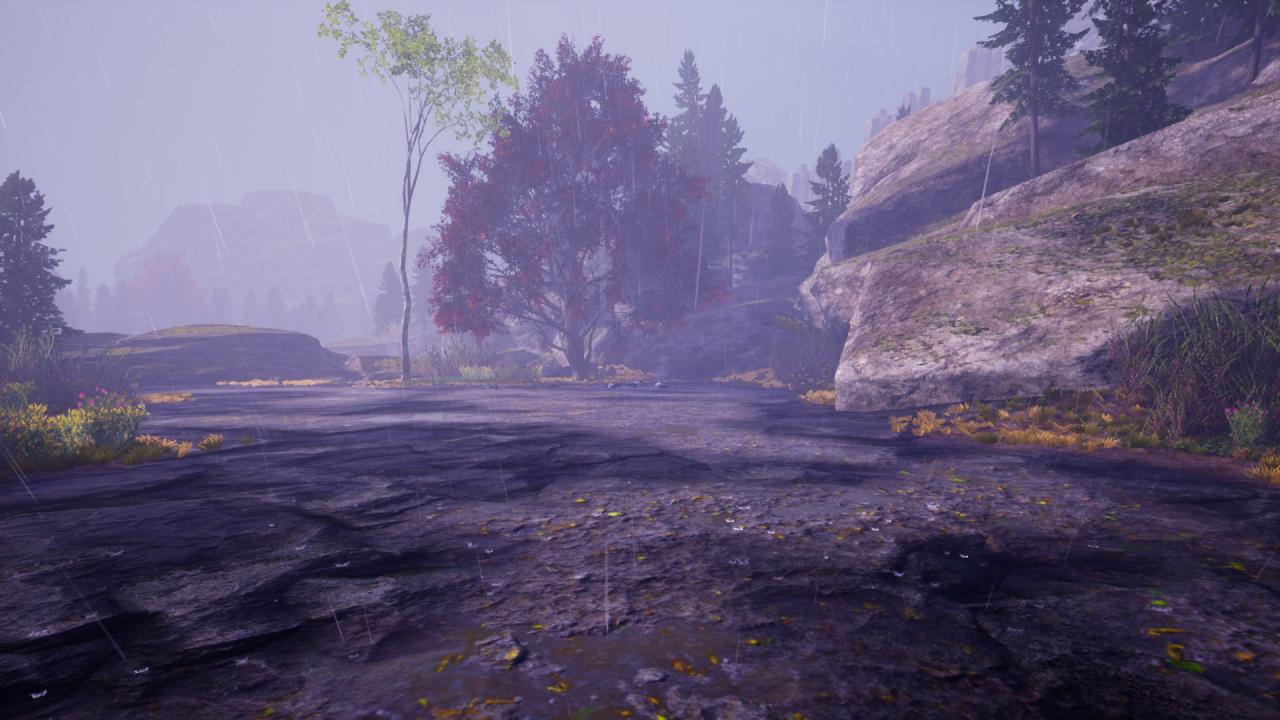
Shoo away the 20th pack of crows.
The missable twentieth pack of crows is found after getting back on land, after the raft section.
After this wall:
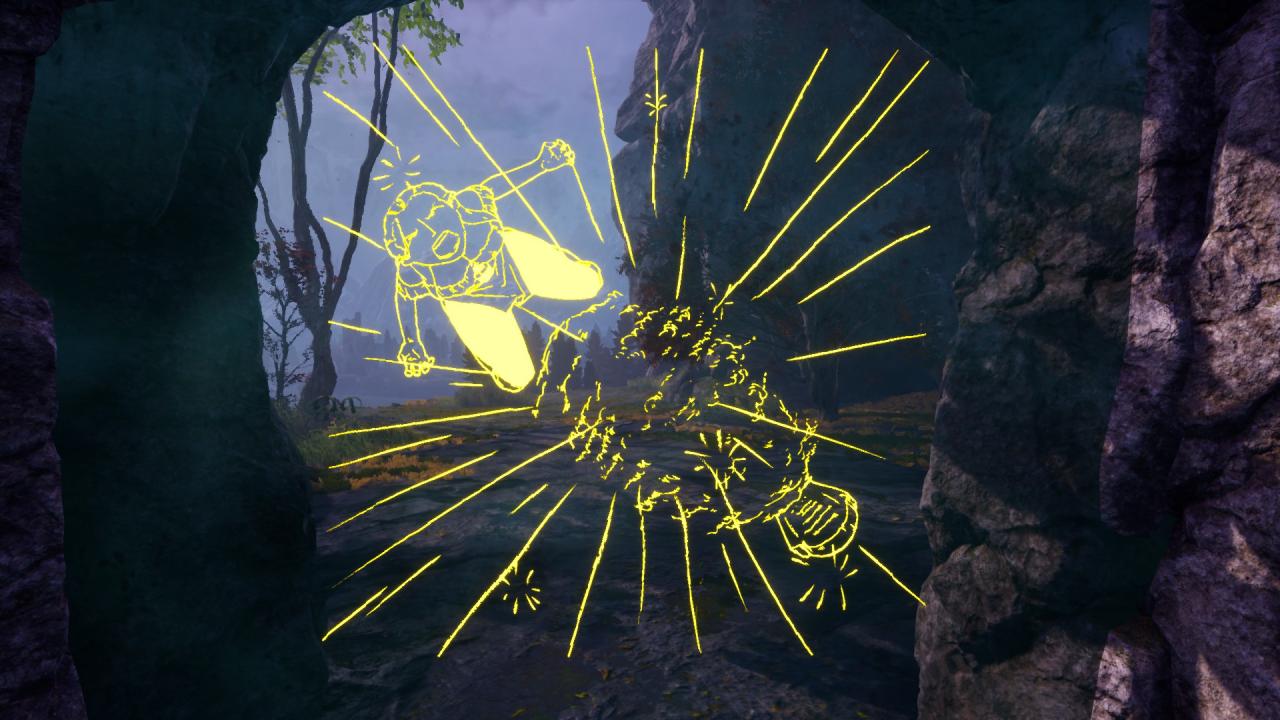
You will come to this area:
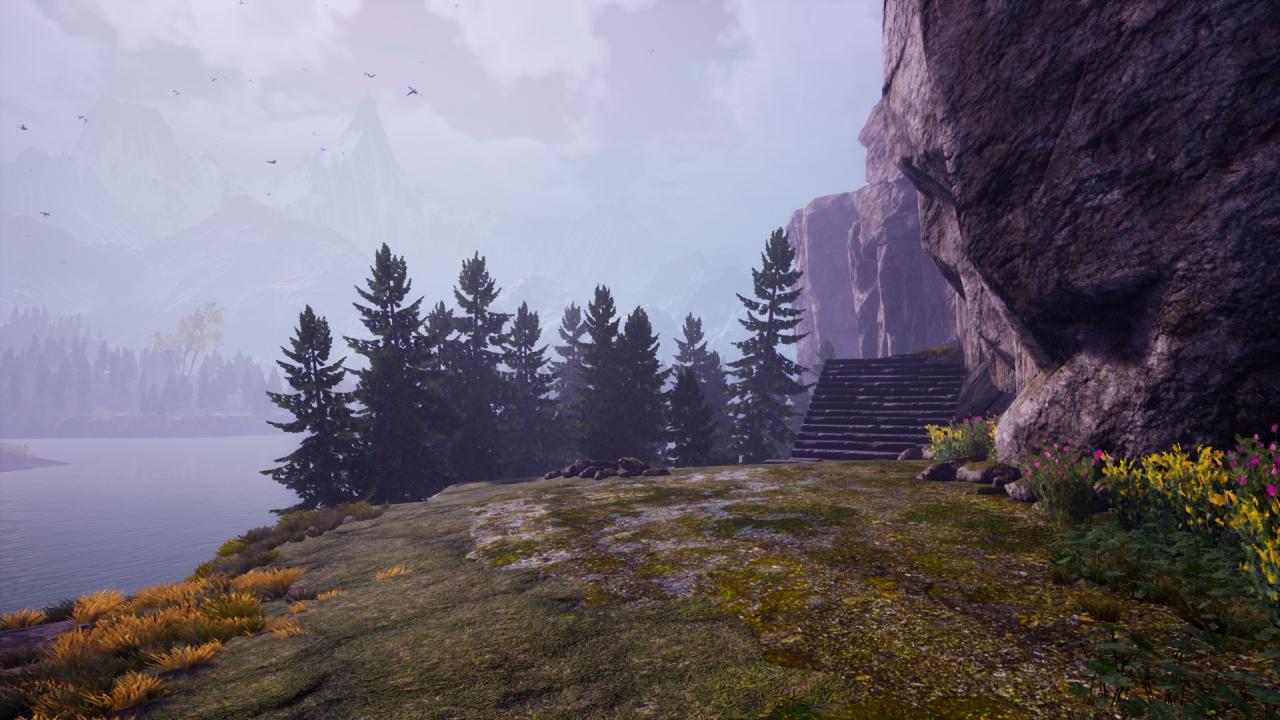
Instead of going up the stairs, go to the left and the pack of crows will be at the end, behind the trees.
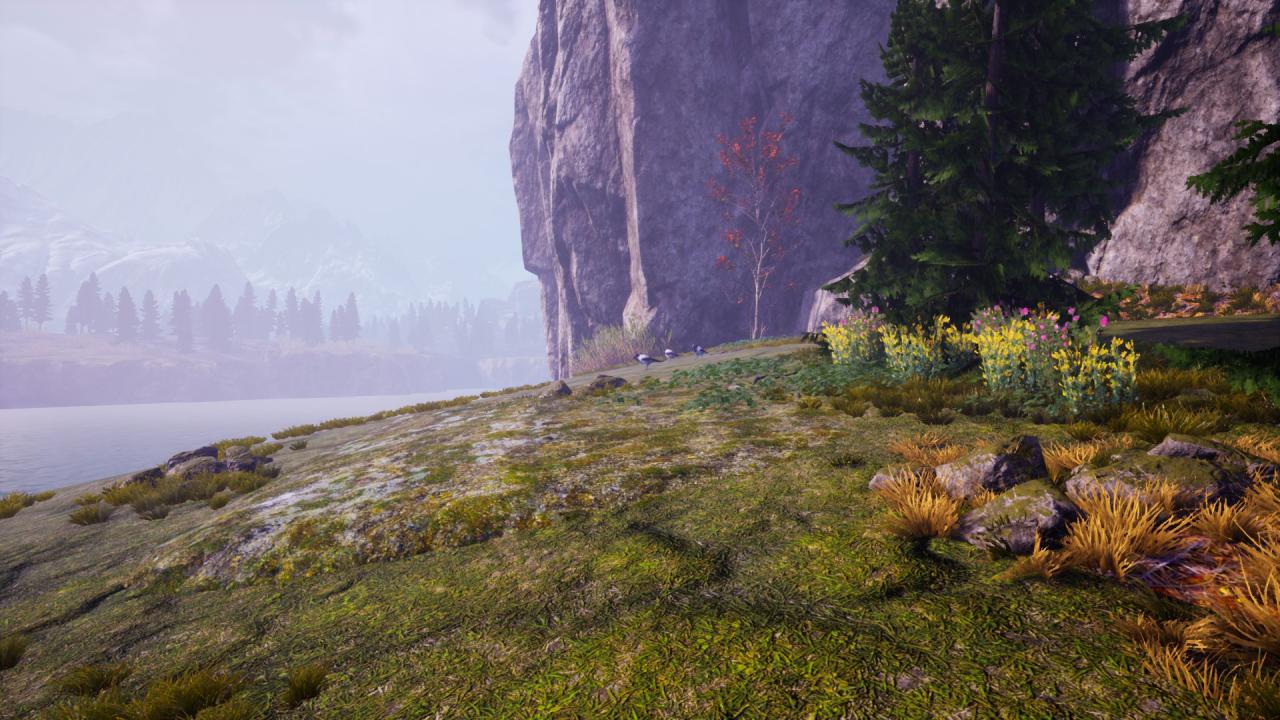
Shoo away the 21st pack of crows.
The twenty-first pack of crows is unmissable.
Endings
See the happy ending.
At the end of the game, you are given a choice at which ending you want. After the credits roll, and you are back on the main menu, click continue and you be brought back to right before the choice was given and you can choose the other choice.
See the unhappy ending.
Refer to Happy Ending
