Dealing with Spies

In pubs, Spies are usually easy to spot and therefore, easy to kill. When Spy manages to kill an
Engineer and sap his nest, he often has the similar mindset and movement like other Spy players. Learning this mindset (and Spy’s behaviour) is important when playing Engineer.
For example, there are a few things you should look out for when there’s a Spy creepin’ around here.
- A teammate who’s focused or following around other teammates
- A teammate who’s aren’t firing their weapons or have unnessessary their melee weapon out
- A teammate who’s trying to avoid being walked into
- A teammate with missing body parts
- A teammate holding incorrect weapon for their class
- A teammate reacts to being shot by you or another teammate
- A teammate who’s in the area which they shouldn’t be in (Scout behind Snipers etc.)
- A teammate who’s behaving strangely in any way
If any of those are true, chances are that it’s a Spy. Shoot him with your Shotgun or Pistol or better with Pomson 6000 to take away their ability to cloak and get away.
Not only you, but everyone on your team should spycheck. If you are not aware enough, the unfortunate backstab will remind you the Spy’s presence. Keep an eye during a rollout or while hauling one of your buildings because that’s the Spy’s favourite time for a cheeky kill.
Look out for mysteriously opening doors and inexplicable dissappearing health packs because that means the invisible Spy is around, waiting for you to drop guard.

When upgrading or building, try to move randomly around your building, look at all directions and keep an eye on your teammates. If a Sniper is walking towards your nest, there’s a pretty damn chance he’s a Spy.
If you move your buildings to the front, take an unusual routes, jump on fences and weird obstacles, costantly check your back
If you’ve been attacked by a Spy before, chances are, he’ll strike again and you must prepare for him. Take some distance from your Sentry, load all your guns and keep an eye on the smelly frenchman. Don’t be afraid to ask your teammates for help in the “team-chat”.
I was talking how important it is to learn Spy’s mindset before. Let me show your when you can use it on the battlefield.
A good Spy won’t run towards your nest expecting to sap it. He will wait cloaked and sap your nest (mostly your Sentry gun) when the enemy team is pushing. You can’t repair or wrangle your gun while it’s sapped so it will go down during an enemy push.
You must prepare for this, use your gamesense to predict the enemy push and Spy’s attack. Gun him down before he places a sapper on your buildings.

Now you know how to avoid and check for Spies, however it may happen that you stun upon a duel between you and the Spy. The duel usually happens when the Spy saps your Sentry gun and therefore, reveals himself to you. Grab your shotgun and read this section very carefully because there are multiple outcomes of what usually happens.
You need to kill the Spy here and now to prevent the second attack. The Spy usually cloaks when escaping, to find his location, fire a few shells from your Shotgun and spread your damage.
Hit will reveal his location for a bit, that’s enough to determinate his direction.
However if the Spy refuse to cloak and start to shoot with his Revolver, you can easily outdamage with your Shotgun. Be wary if he has an Ambassador equipped. If he has, try to dodge his shots and land a point-blank with your Shotgun. The Spy might attempt to bait you into the trickstab.
Try to avoid being baited into stairs or around corners, an experienced Spy can easily assassinate you and sap your nest. If it’s possible, keep the distance.
The average pub Spy will keep sapping your Sentry until it goes down and therefore, keeping the Engineer busy removing the sapper. Winning this situation as an Engineer will require to multitask when you have a building to save and the Spy to murder. Follow these steps in order to successfully get rid of the threat that is the Spy.
- When a Spy saps your Sentry gun, hit the sapper once with your Wrench
- The Spy isn’t able to spam the sapper because there’s already a damaged sapper on the building
- Switch to your Shotgun and attack the Spy
- After you’ve successfully killed the Spy, hit the sapper for the second time and destroy it.
Dead Ringer technique
If the Spy wasn’t cloaked before and you killed him or died to a minimum damage, chances are he has a Dead Ringer.

With this tool, Spy can feign death and absorb certain amout of damage. There are a few things an Engineer can do to see if a spy has for sure died. It can get pretty annoying when a Spy keeps coming back to sap your buidlings. Here are a few tips for identifying Dead Ringer spies in particular:
He’s dead, get back to work
- Corpse drops the Spy’s weapon
- Corpse drops an ammo pack that gives you ammo
- The scoreboard shows that the Spy is dead for more than 5 seconds (check it on top of your HUD)
- If he was killed by your Sentry, the kill was added to the total Sentry kill count on your HUD
He’s not dead, prepare for second attack
- Corpse does not drop the Spy’s weapon
- Corpse’s ammo pack is fake and doesn’t give you ammo when grabbed
- The scoreboard (or your HUD) shows him alive in next 5 seconds
- He’s killed by your Sentry but the kill isn’t added in the total Sentry kill cound on your HUD
It may be advisable to run after him until he dies if you have an anti-spy weapon (Pomson or Southern Hospitality) or if you have no buildings worth maintaining up. But watch out for trickstabs as they can fool even the player who’s expecting them.
Quickbuild Sentry
I guess you know that feeling when you manage to move your level 3 Sentry but suddenly a Pyro ambushes you! You’ll drop your Sentry and start to back away or die (and your Sentry too).
Well not anymore with the Quickbuild Sentry.
Basically you need to setup your Sentry in front of spawn doors and upgrade it to level 2
Then go back to ressuply cabinet and hit your Sentry gun 7 times so it has the 175 / 200 upgrading progress (1 more swing to upgrade left).
After that, you should move that Sentry to the aggressive lines. When enemy sees a Sentry going up, they often expect the level 3 which takes longer to build and therefore, it’s easier to be destroyed. But when the Sentry stops building itself on level 2, it can now defend itself with a decent fire power and kill attacking enemies.
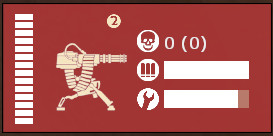 It is always good to carry a 200 metal in your pocket for your Sentry to repair AND upgrade it to level 3 with your final swing.
Whenever playing with a big sentry on offense, try out this tactic. It will improve your efficiency and self-defense remarkably.
Advanced Mobility
Some of you may tried it before. It’s like rocket jumping with with your level 3 Sentry gun when using Wrangler.

This one tool can grant Engineer more mobility and therefore, creating new Sentry / Teleport spots.
Sadly, Engineer has only 125 total health and after jumping with rockets from Sentry, you got only about 50 health + fall damage = ~25 HP which is very low. It’s decent with the overheal though.
My point is that there’s no useful jumping at the moment but we still have left button on our mouses.
I mean it is no secret but what I’m trying to say is that you can still bullet jump. Mini sentry is a great option for this. Bullet jumping is slightly less viable and it can take a lot of heath but after practice, it’s more consistant.
Quick Guide:Build a Mini sentry, then hop on it (you can crouch), switch to the Wrangler and aim to the air trough your body. Jump and immediately start firing, doing so you’ll launch yourself to the air or to the chosen direction.
The rocket jumping with Wrangler may take a lot of health but with sacrifice comes reward in a good position and spot! Take advantage of your surrounding but remember, rockets fires from your Sentry, not from your Wrangler so it may take longer to reach to you if you’re away from your gun.
Shortly, jumping with Wrangler is risky but rewarding.
It can be done with Sentry or Dispenser. The idea is to boost yourself and jump “higher” with your building.
Basically hop on your building. You need to jump again in the direction but you must face the building. So jump and crouch at the same time + pick up the building in the air. It takes a lot of practice but trust me, if you learn this, you won’t even think about the process.
Blast Hauling is the long-forgotten technique of taking your sentry with you during a rocket-based sentry jump. This can be done without the Rescue Ranger. You’ll still need the wrangler, of course. However, it is extremely challenging to execute correctly, even with a script, as it requires the pressing of multiple keys in rapid succession.
To successfully do the Blast Jumping, follow this tutorial:
- Wrangle your Sentry under your feet
- Face the Sentry and jump with forward momentum in the direction you want to go
(the next four steps need to be done in less than half a second) - Right click at your feet, and hold right click
- Switch to Wrench (IMPORTANT)
- You should pick up the building if you have been holding right click
- Airstrafe to a safe, desirable location to build
Ever since the Mecha Update, this tactic has become almost completely obsolete, because the Rescue Ranger allows you to take your sentry with you after you land safely, rather than with you while you attempt to land safely. While the traditional Rockethaul lets you do this without the weapon, giving you more self-defense with your Shotgun and additional 100 metal can be useful sometimes.
Map knowledge
Let’s take a look at this nest on Mossrock
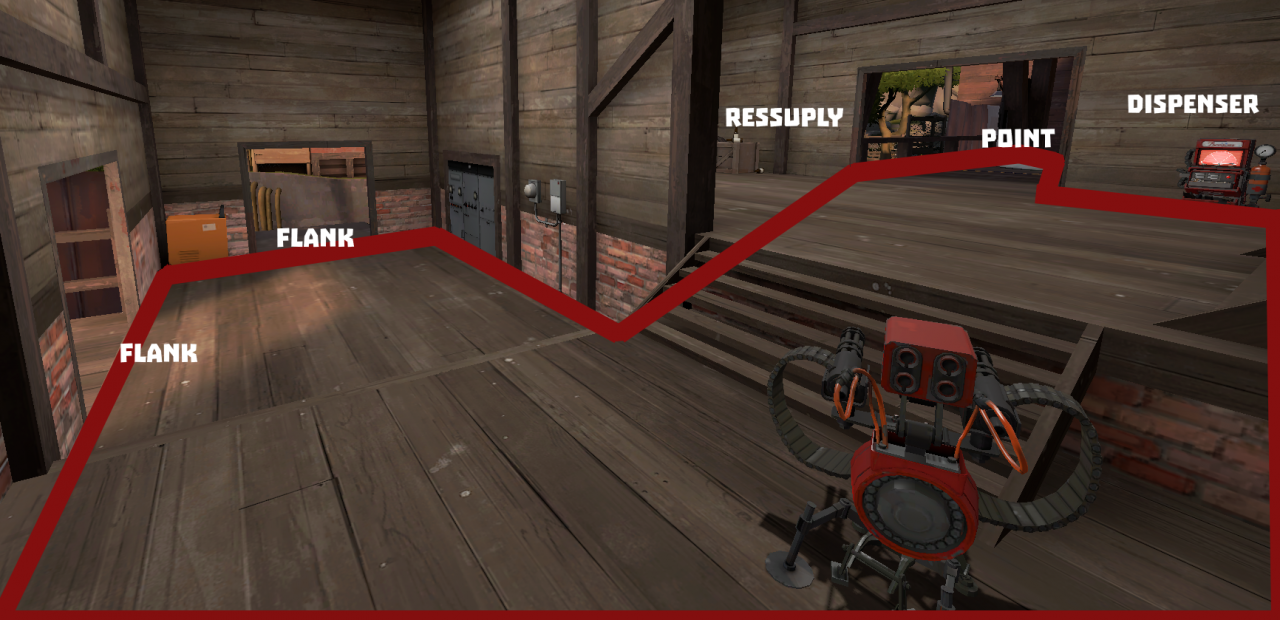
By only looking at this nest, it might not look awesome but when your teammates are around, this can be pretty powerful spot. The Sentry gun is watching the objective and the two flanks. The dispenser is near the action for your team and the Teleporter (which isn’t in the picture) is located in the calm spot with no enemies. The nest has a few escape routes which will come in handy later.
The map knowledge comes into play not only for setting up the nest, but mainly for location of health / ammo packs and quick communication with your team. An example of map knowledge is to name a specific parts of the maps. That doesn’t applies only to Engineer, this skill is used by everyone in the competitive enviroment.
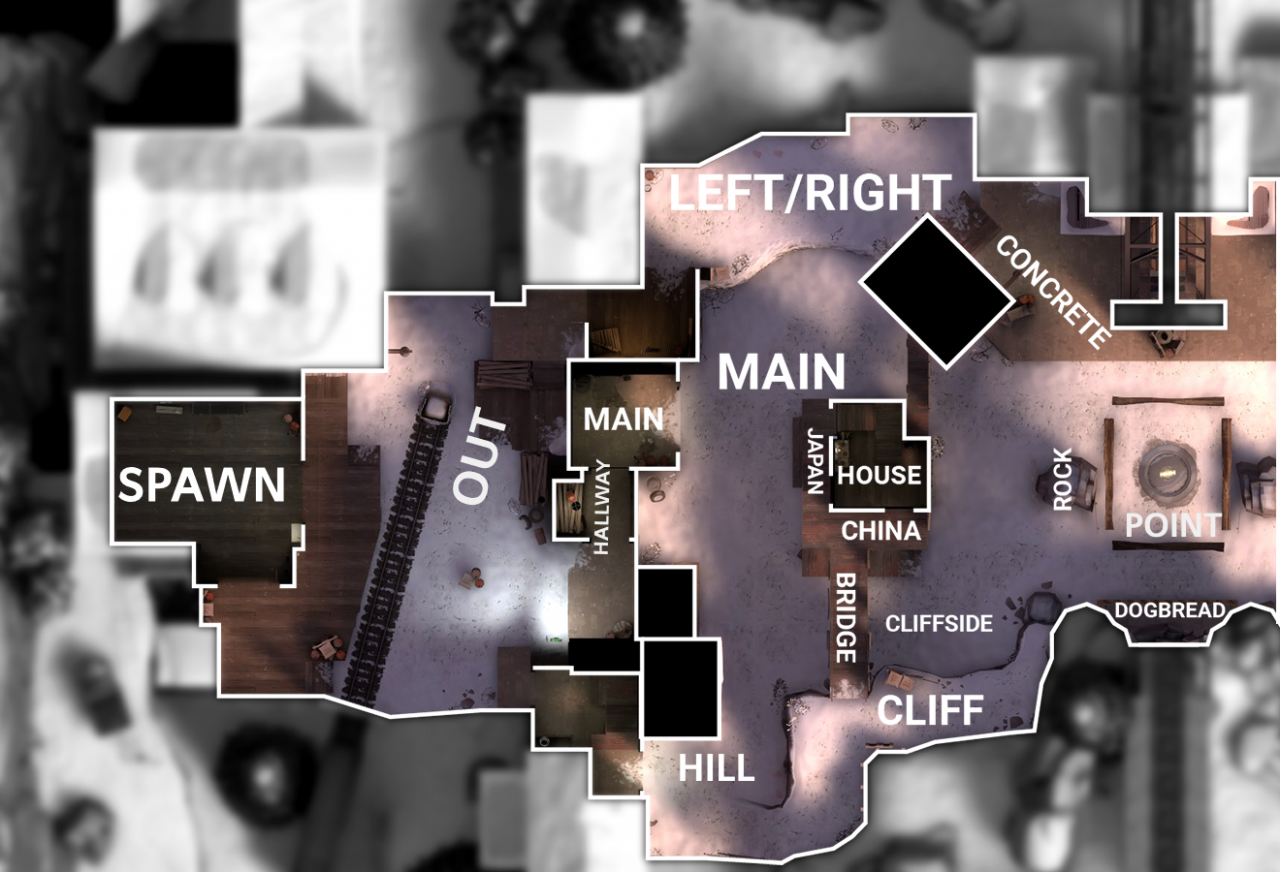 Viaduct is an example here, if you want to get competitive, I highly recommend to learn those.
Recharge Skipping
As you might know, each level has an individual recharge time. Level one recharges in 10 seconds, level two recharges in 5 seconds and level three recharges in three seconds.
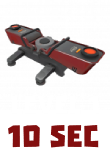
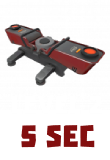
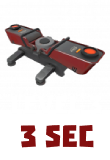
The Teleporter recharges instantly when upgraded so if there are multiple people, you can time your last upgrade hit to successfully skip the recharge.
Short Circuit energy-ball management

The right click fires a special energy ball that consumes any projectile in it’s range. Ball costs 65 metal which is a lot and it can deal damage.
By ball management I mean that every ball should be useful as possible.
- Ball should remove most projectiles that you know, they’re gonna do a lot of damage.
- Ball should also deal a little bit of damage
- Ball should save lives of your teammates and your buildings
- Ball should delete spam
The ball can also penetrate enemies and if they’re backing up, they can get pretty messed up with the total damage of the ball 90 damage!
Double Metal from Dispensers
For instance, let’s say you have Widowmaker equipped and due to your terrible aim, you have 0 metal left. But on the bright side, your level 3 dispenser has full ammo capacity and you know that Dispenser will give you 60 metal per 1 second. But you need that metal quickest as possible.
Solution? Hop on your Dispenser, that way, it’ll give you 120 metal instead of 60 metal.
It’s good to know this trick but teammates won’t kick you for not knowing it.
Related Posts:
- Team Fortress 2: All Unusual & Australium Weapons
- Team Fortress 2: All Edgy Cosmetic Lists
- Team Fortress 2: How to Play Sniper
- Team Fortress 2: Engineer Cosmetics Guide
- Team Fortress 2: Best Mods Guide
