
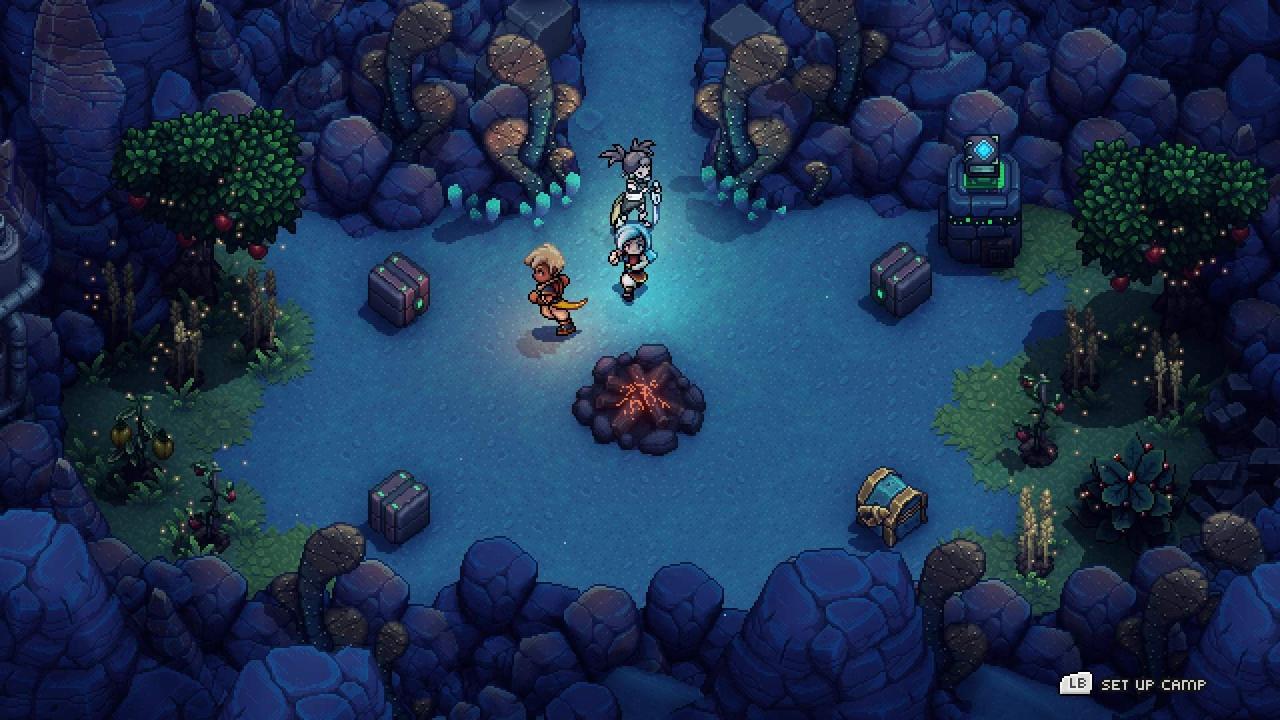
For Sea of Stars players, this guide is for those who don’t want to misse some of the treasure chest in game, let’s check it out.
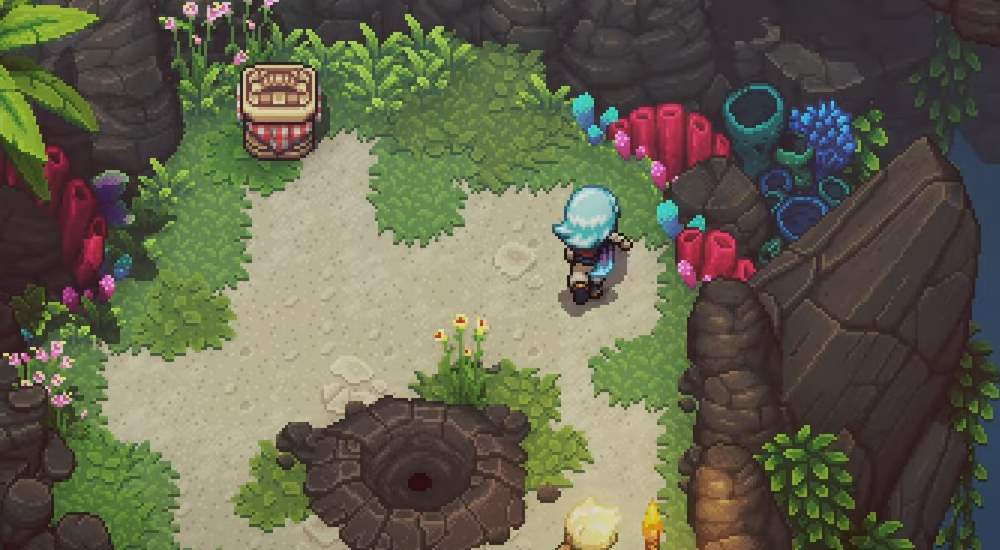
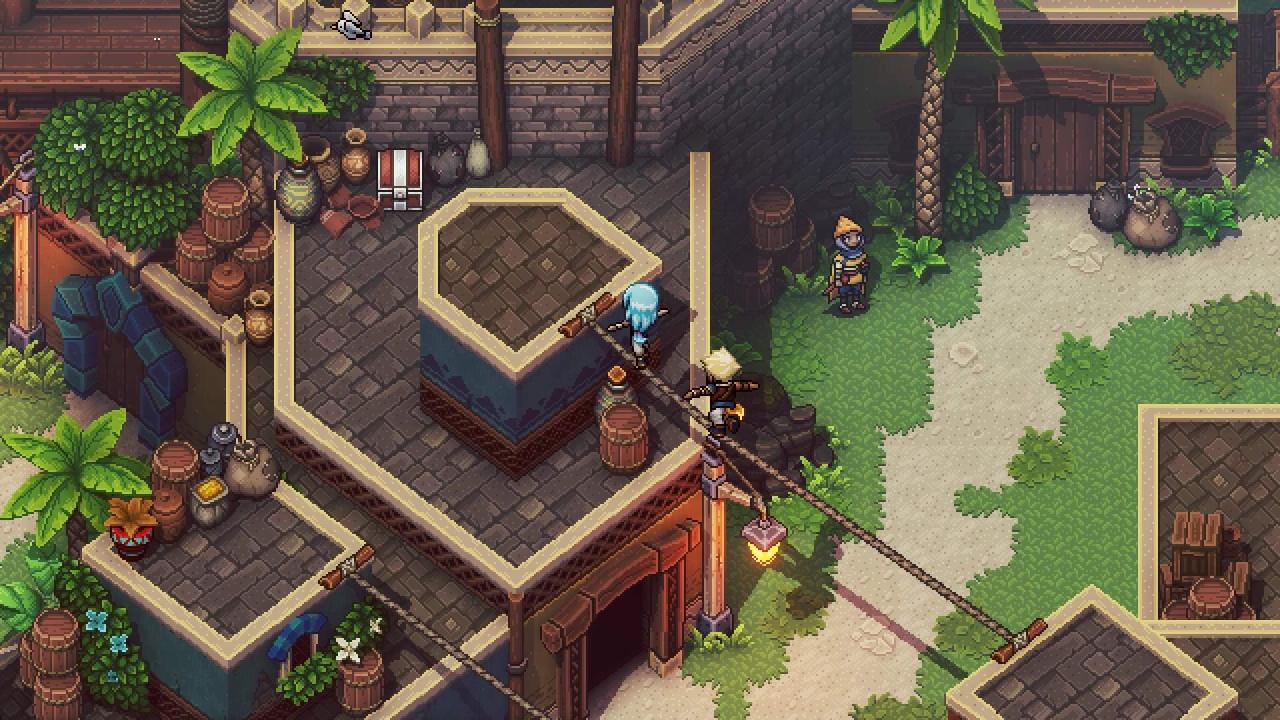
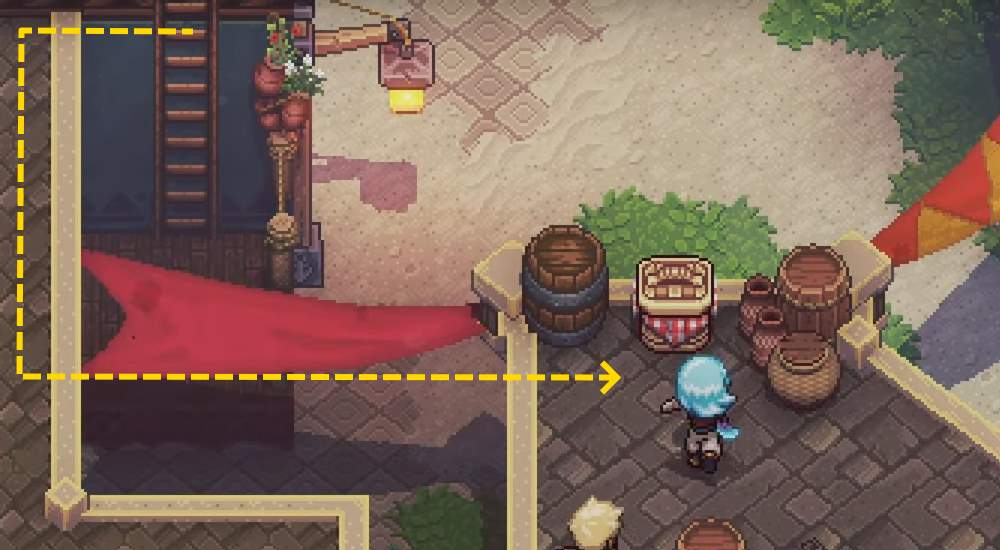
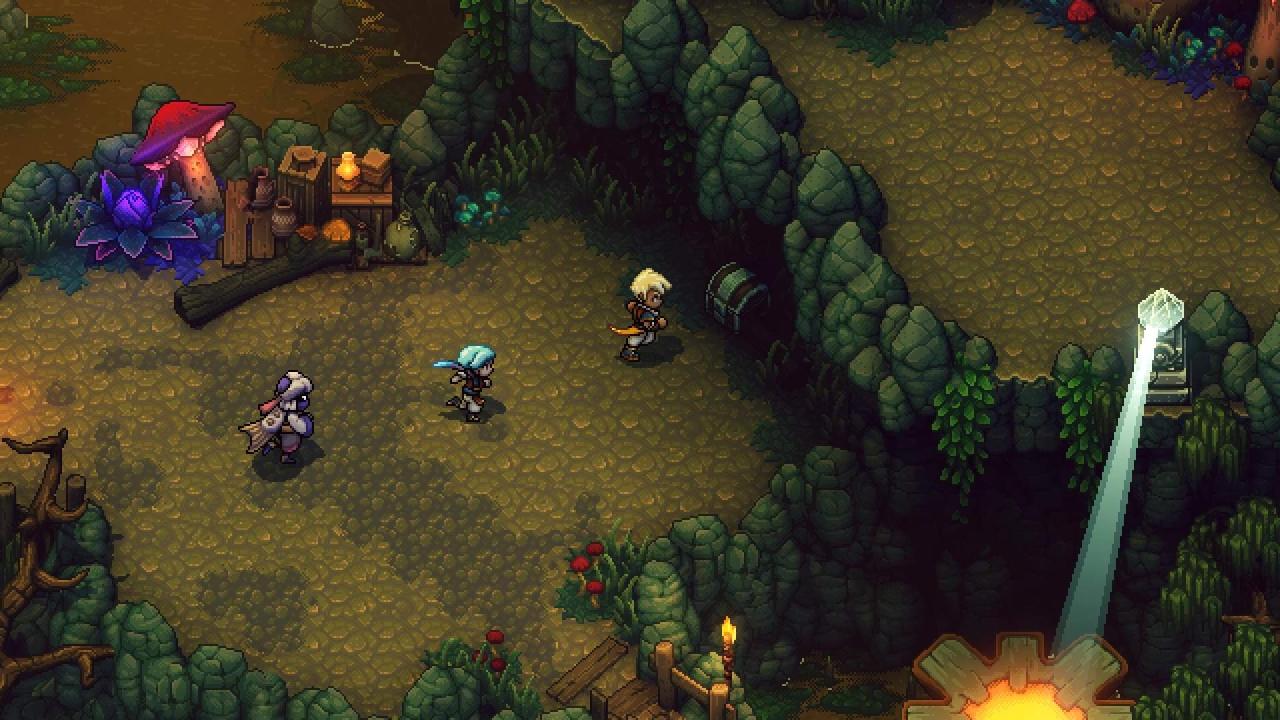
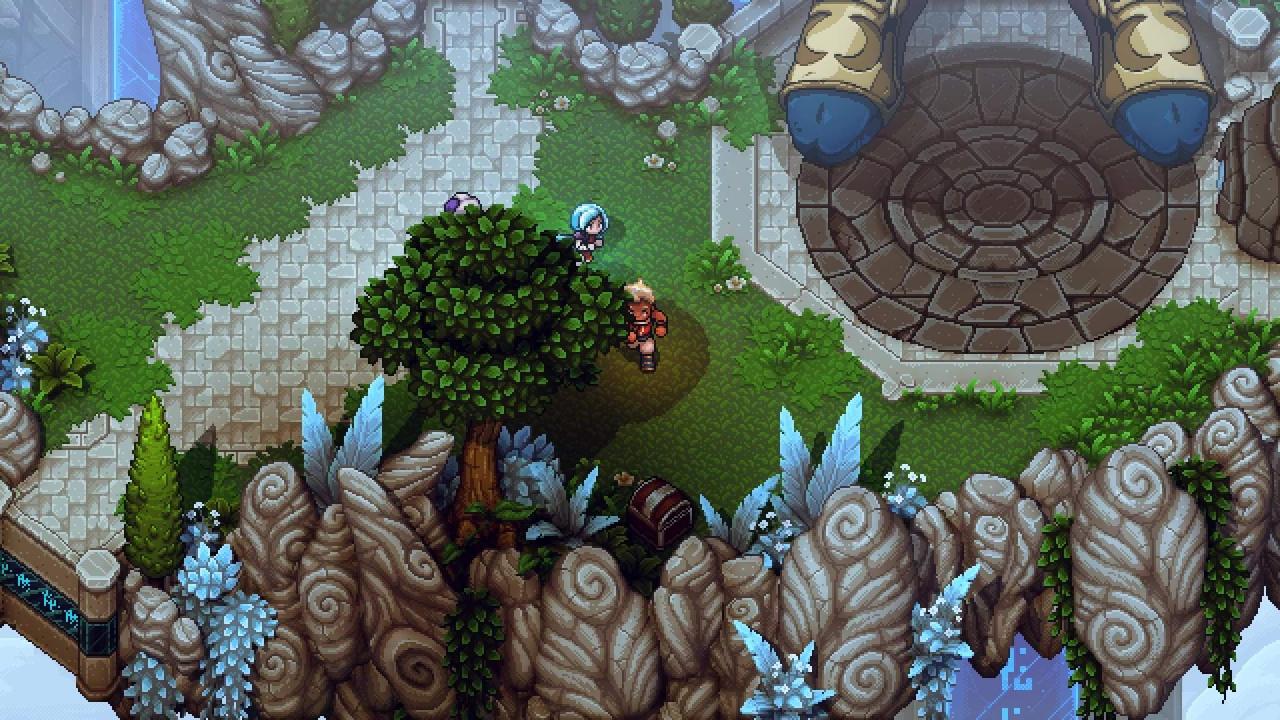
Mooncradle Village
pending
- 1 on the ledge left of the Northern exit
- Both chests are party of the story and are therefore unmissable.
- 2x Ornate Stone
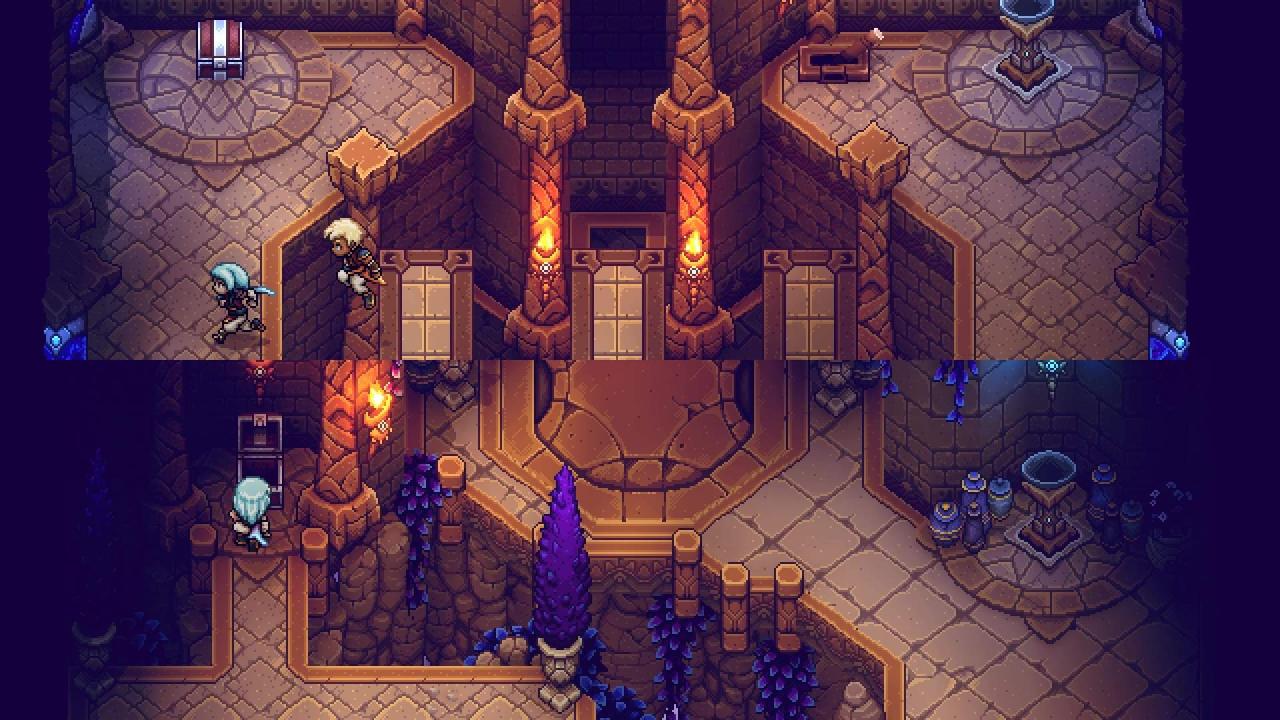
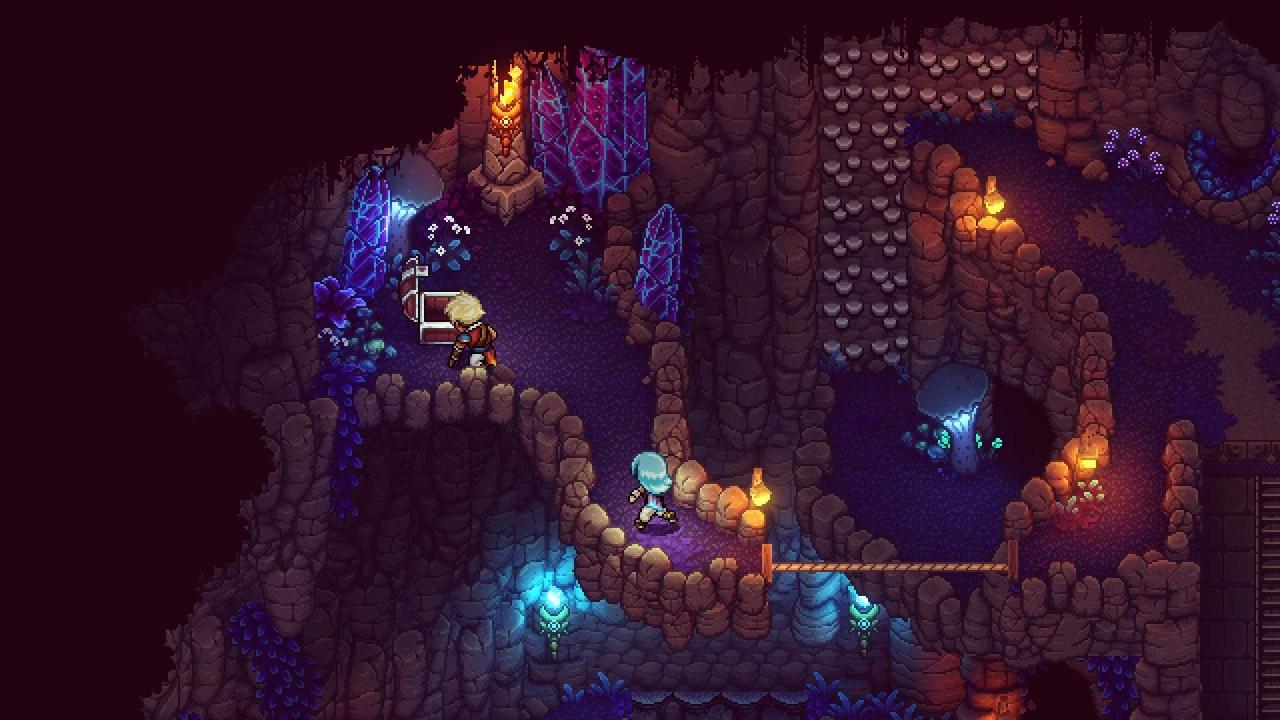
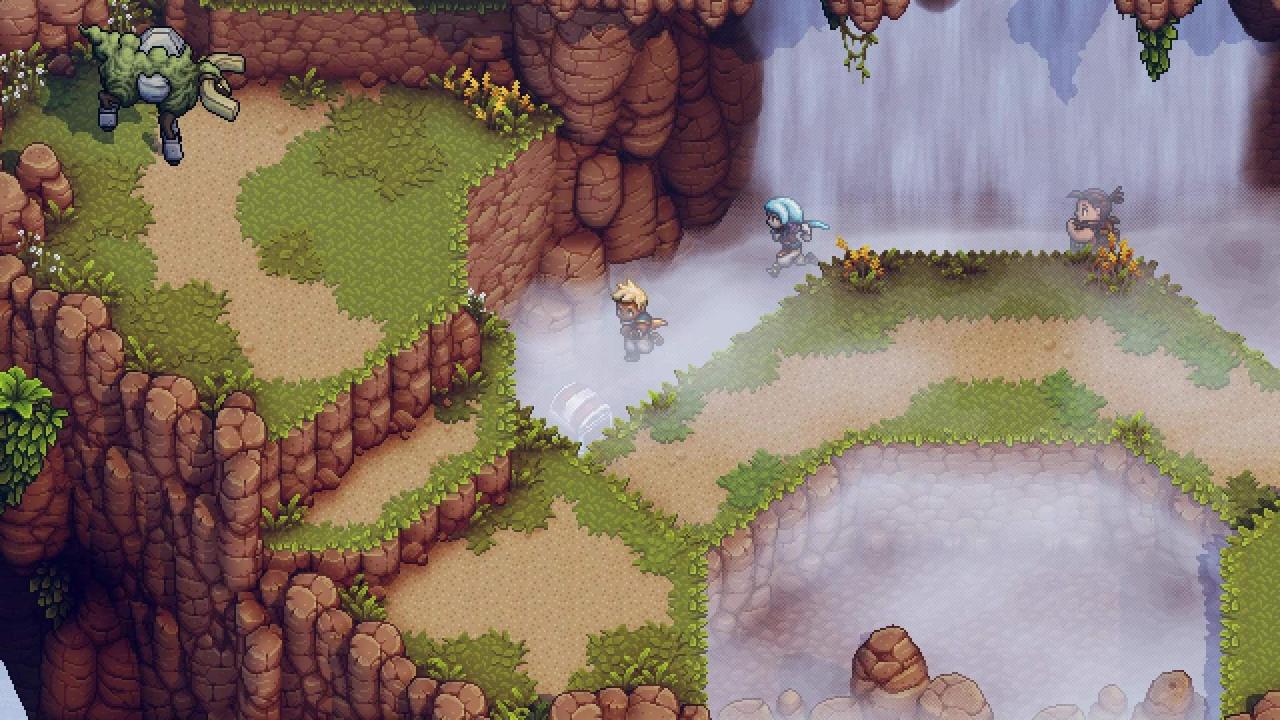
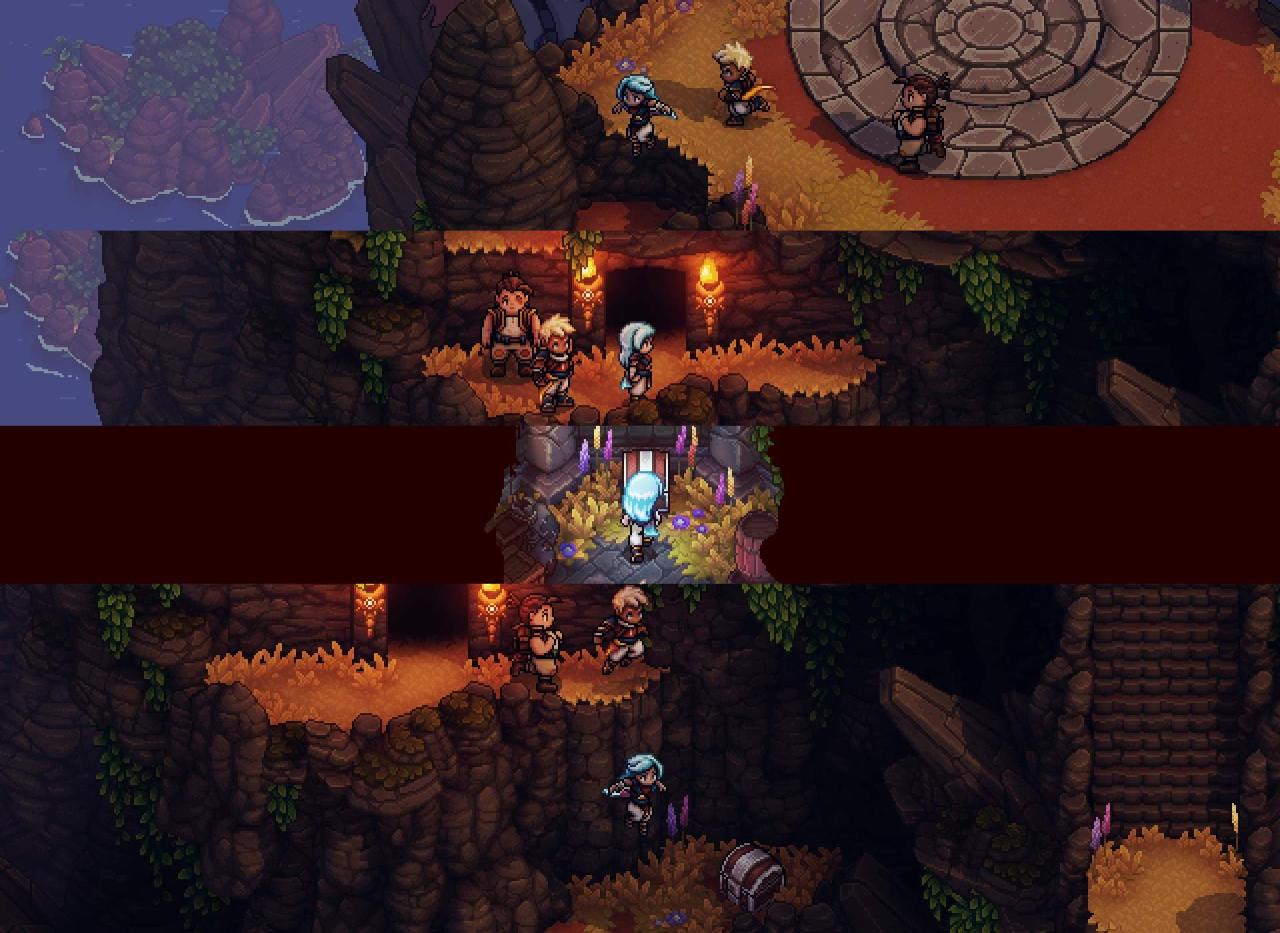
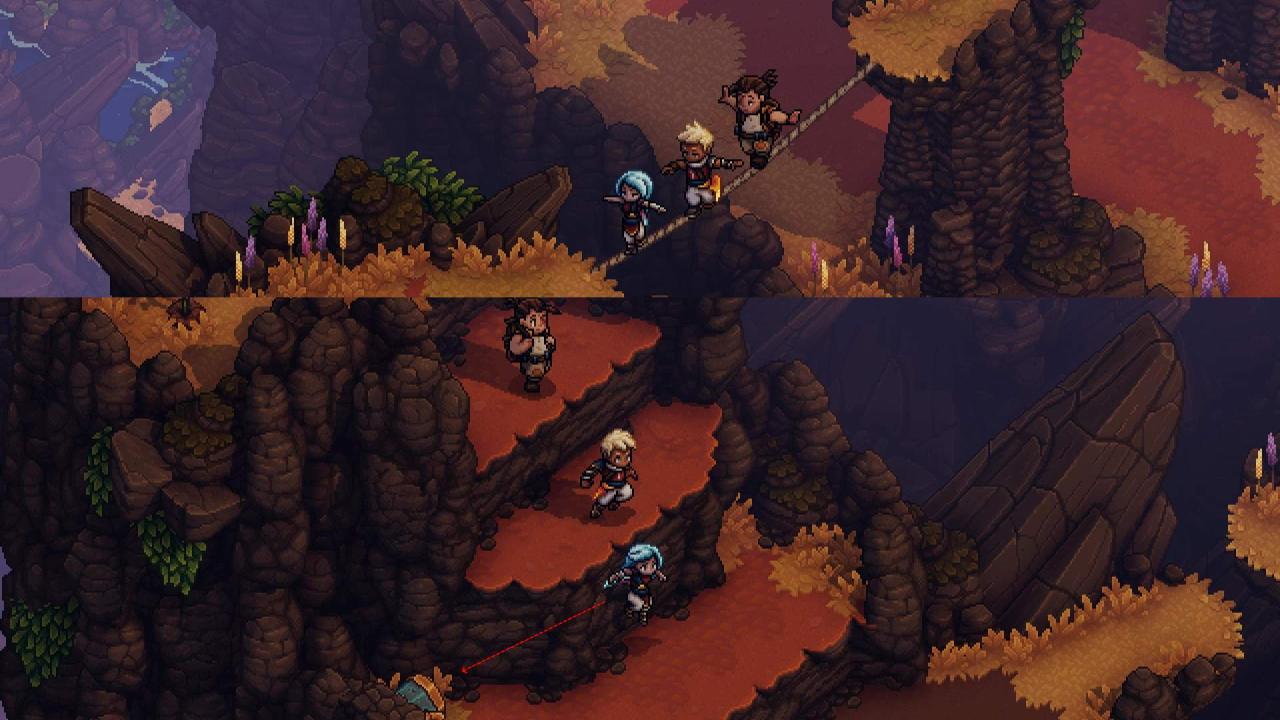
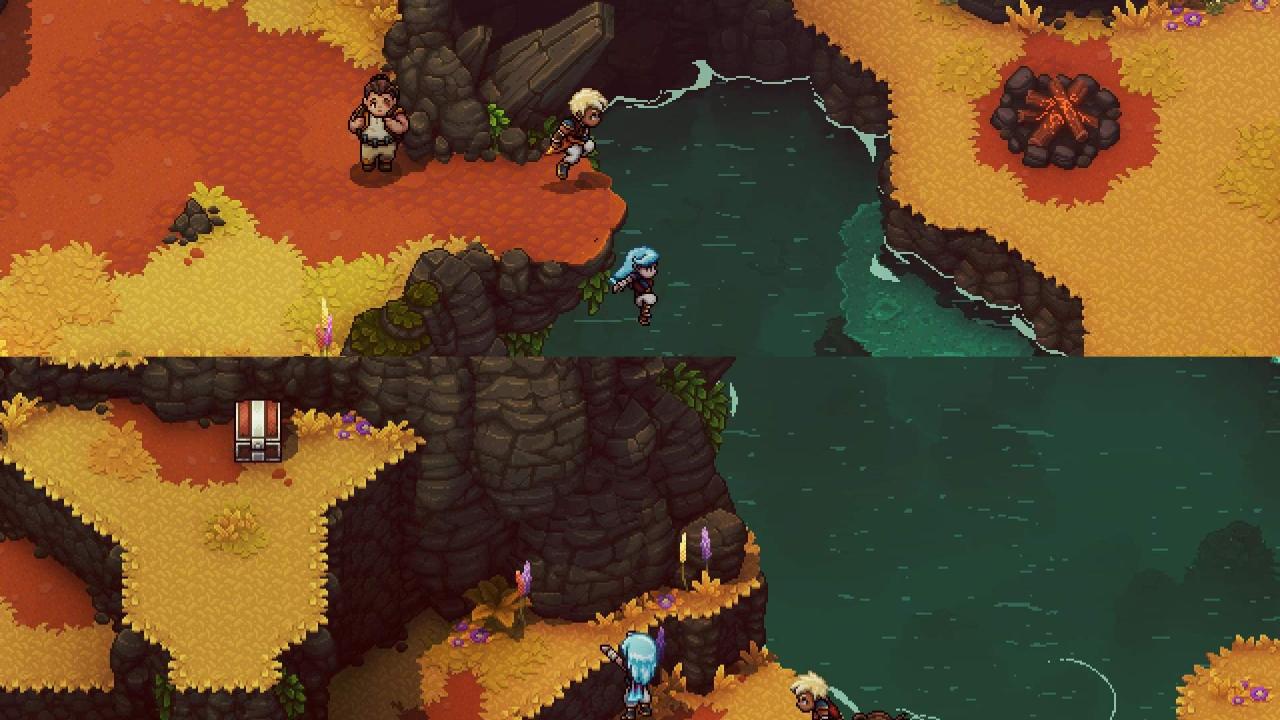
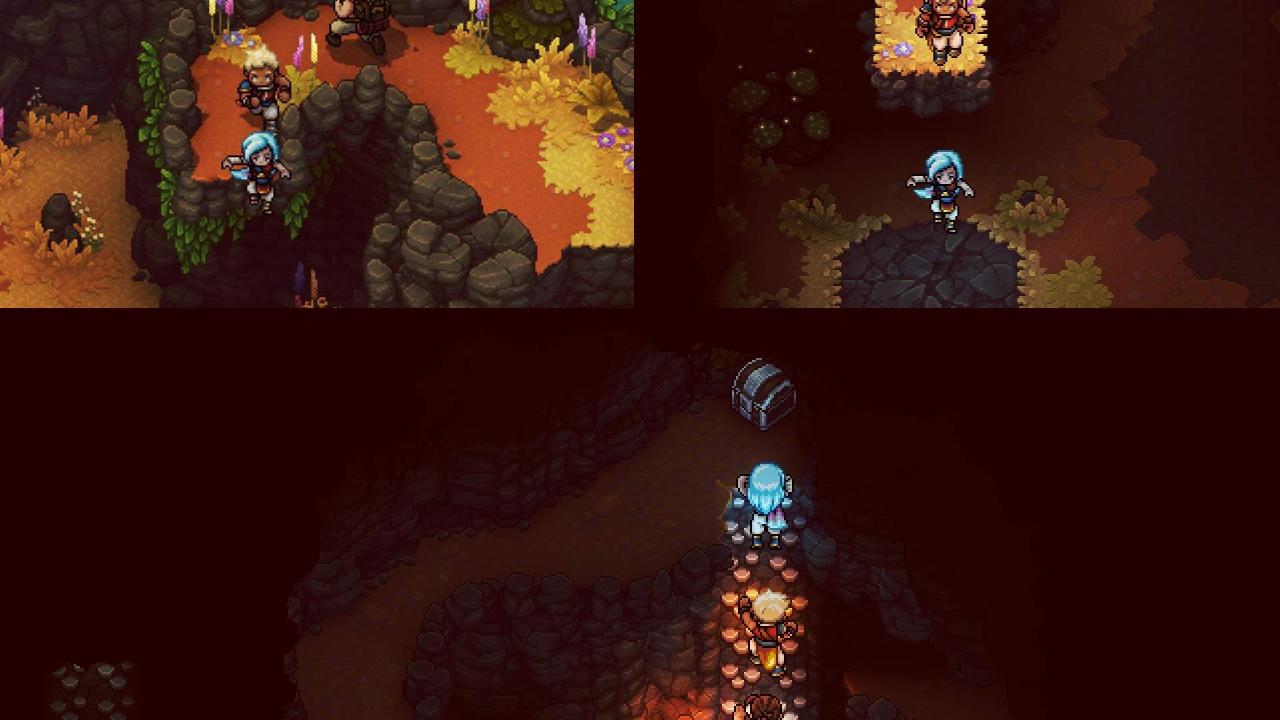
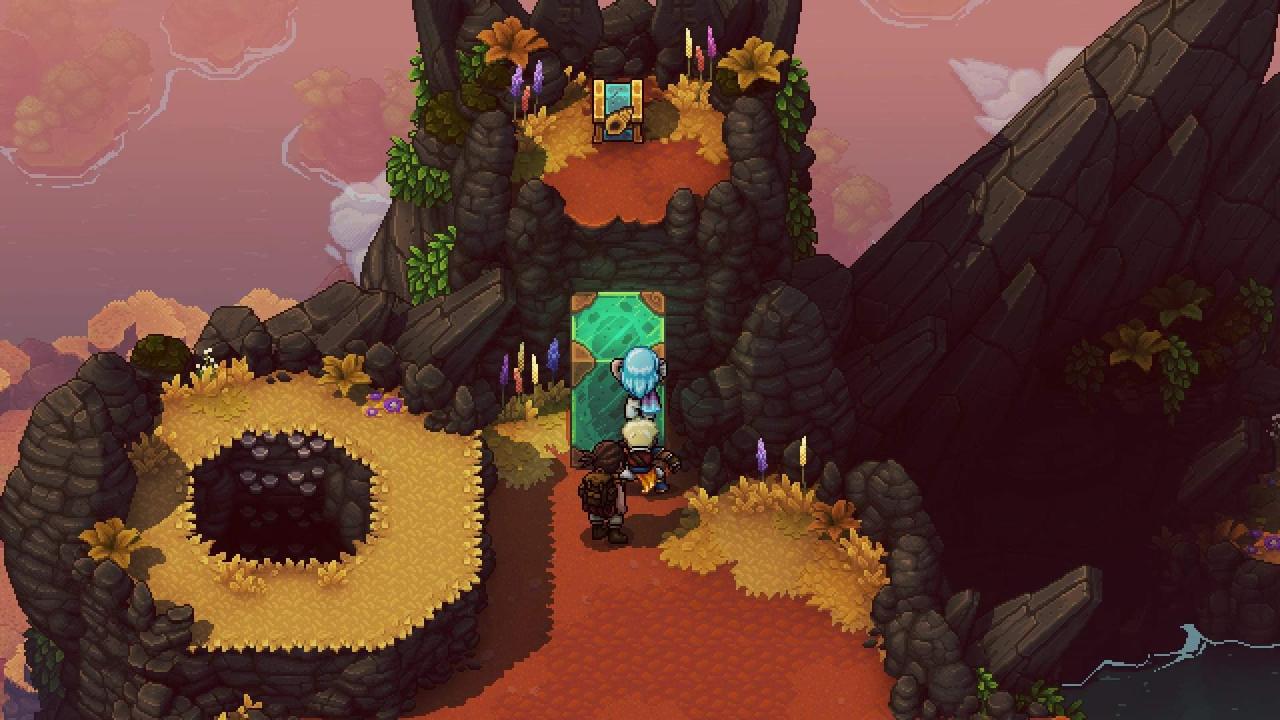
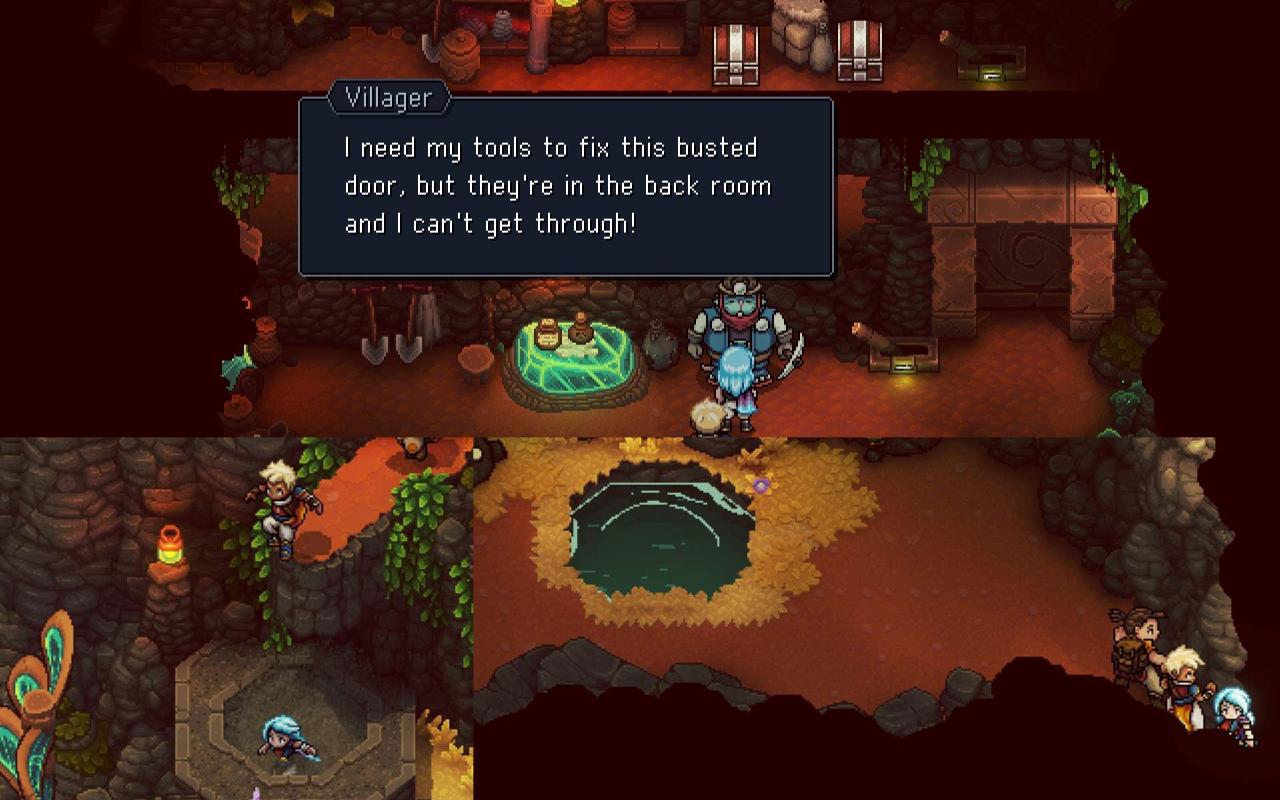
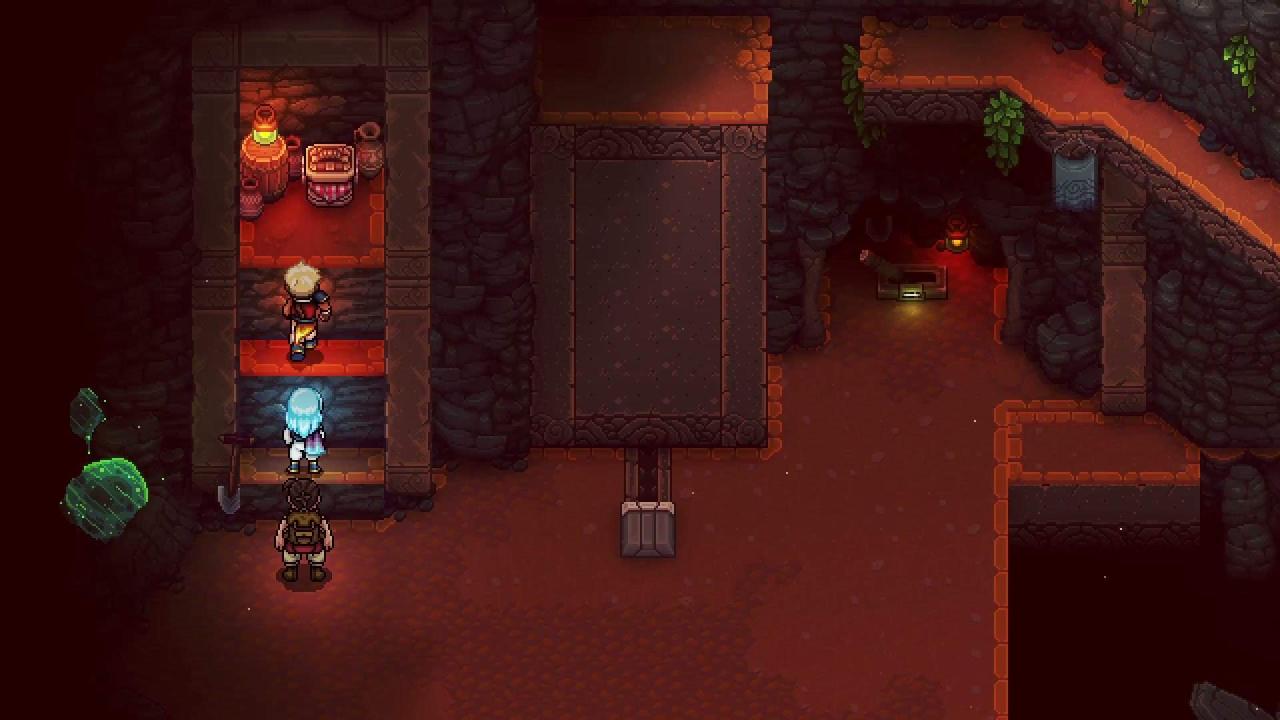
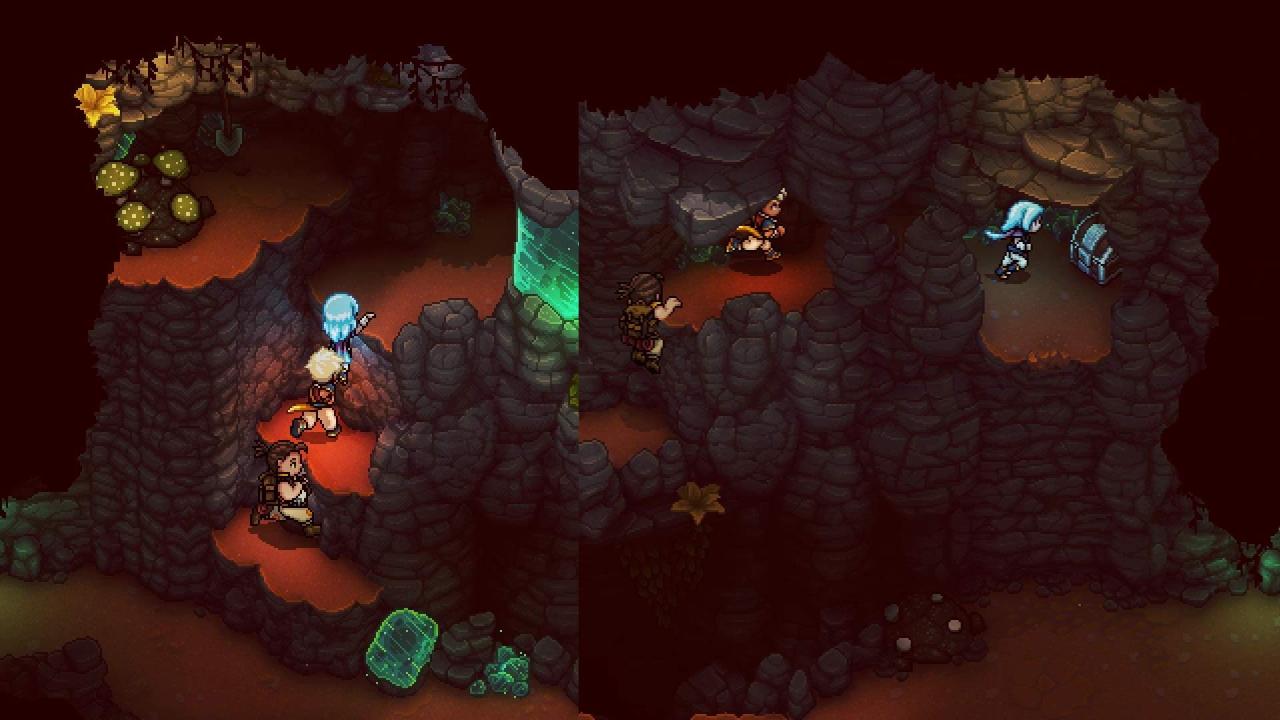
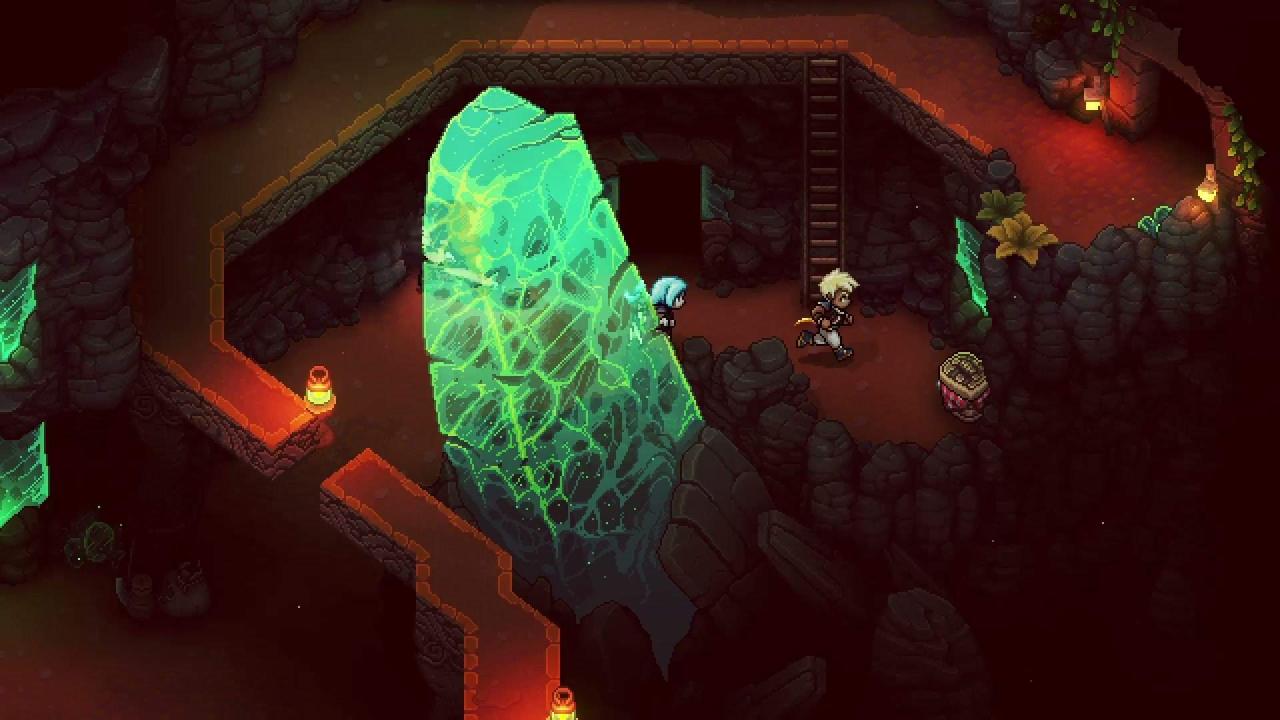
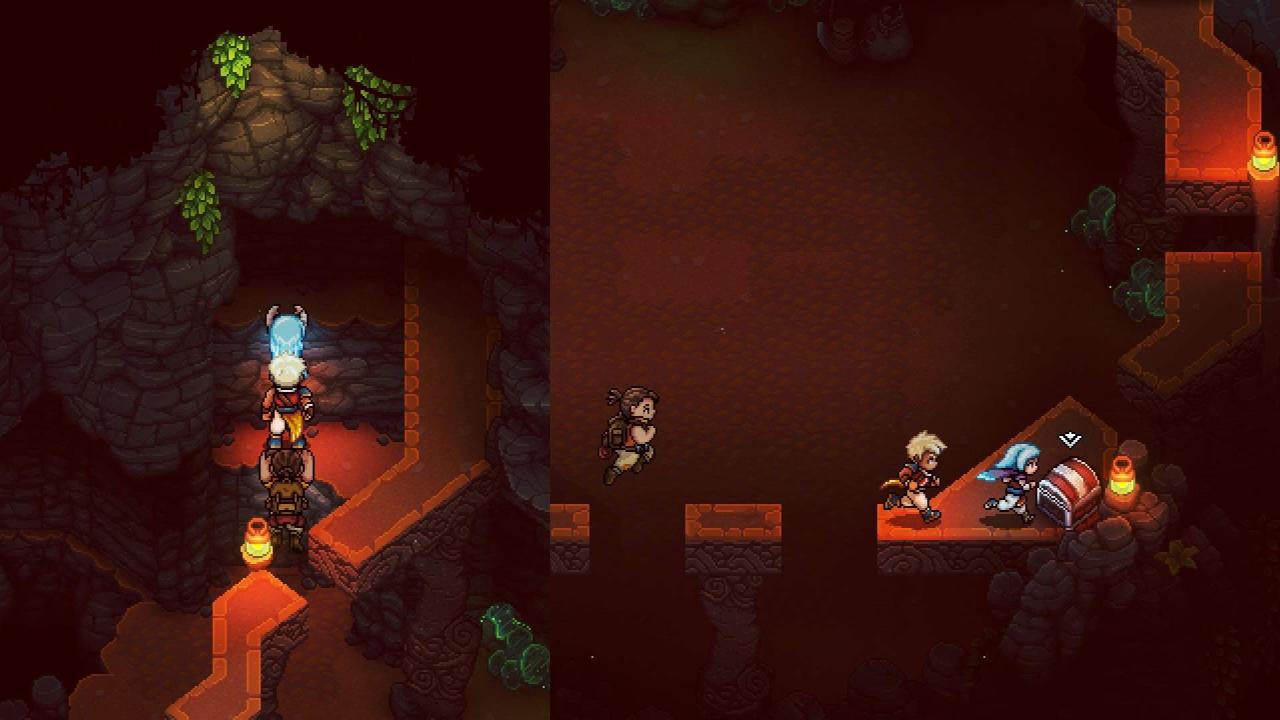
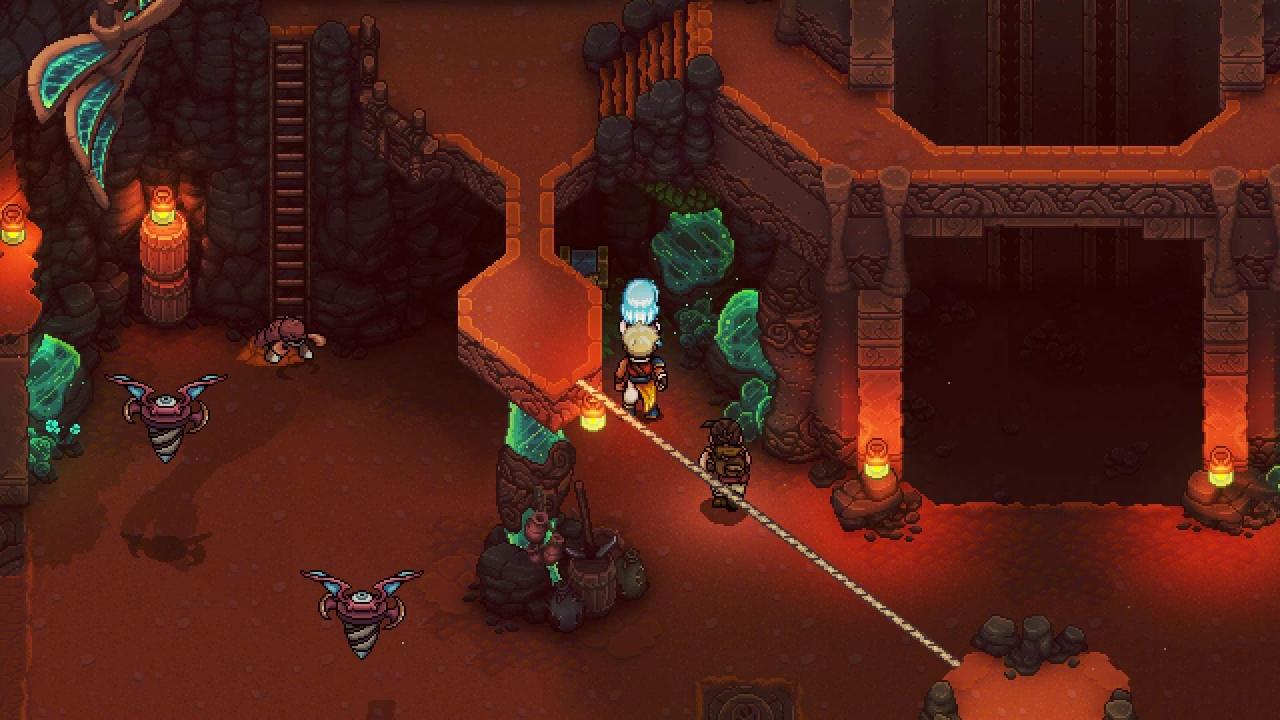
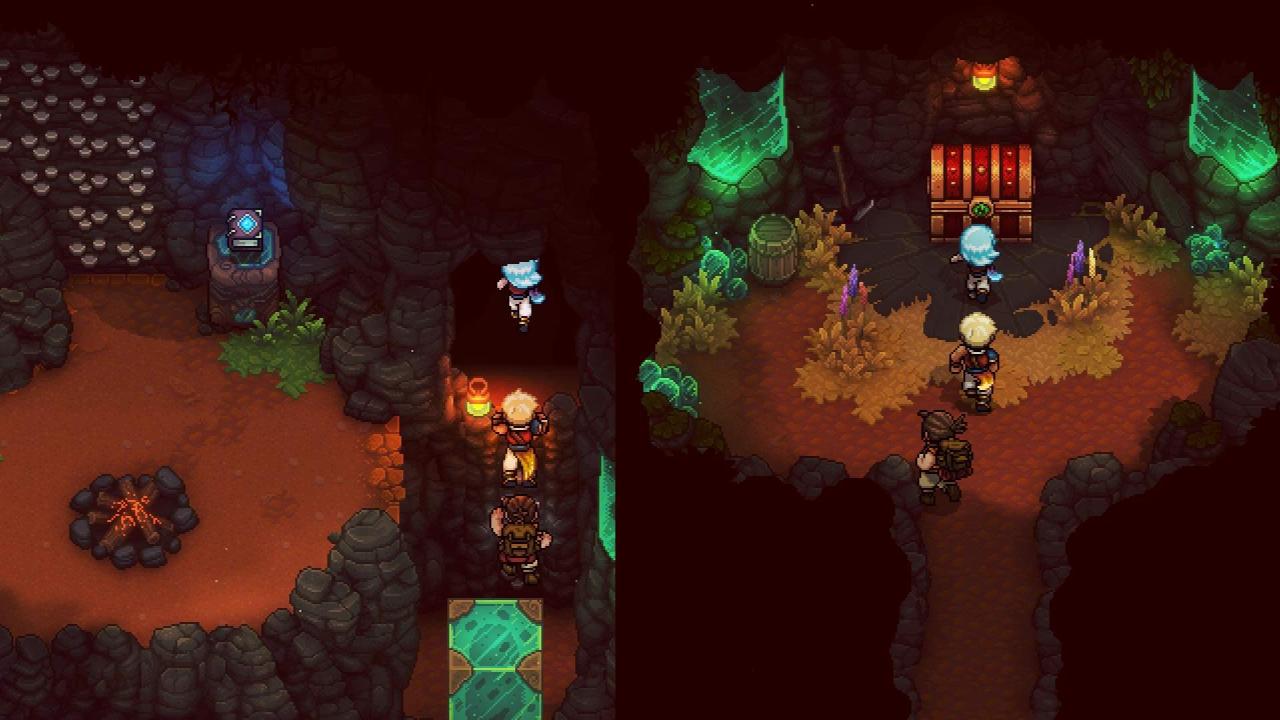
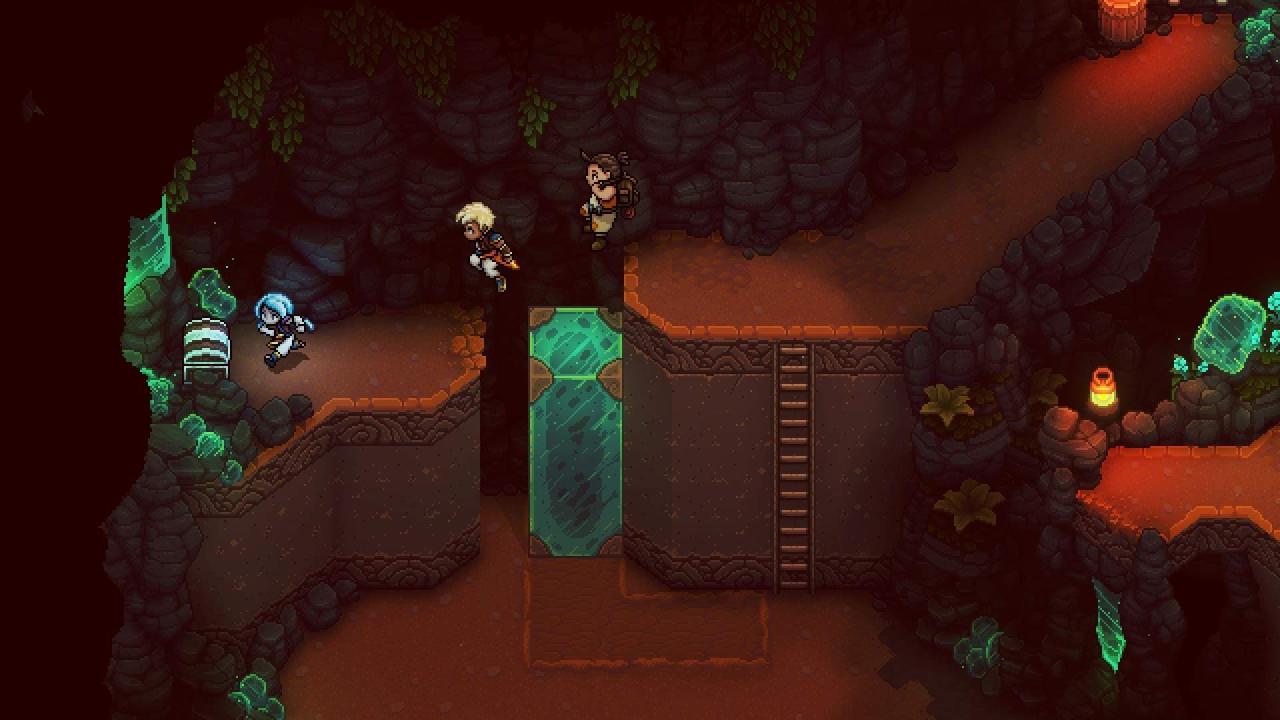
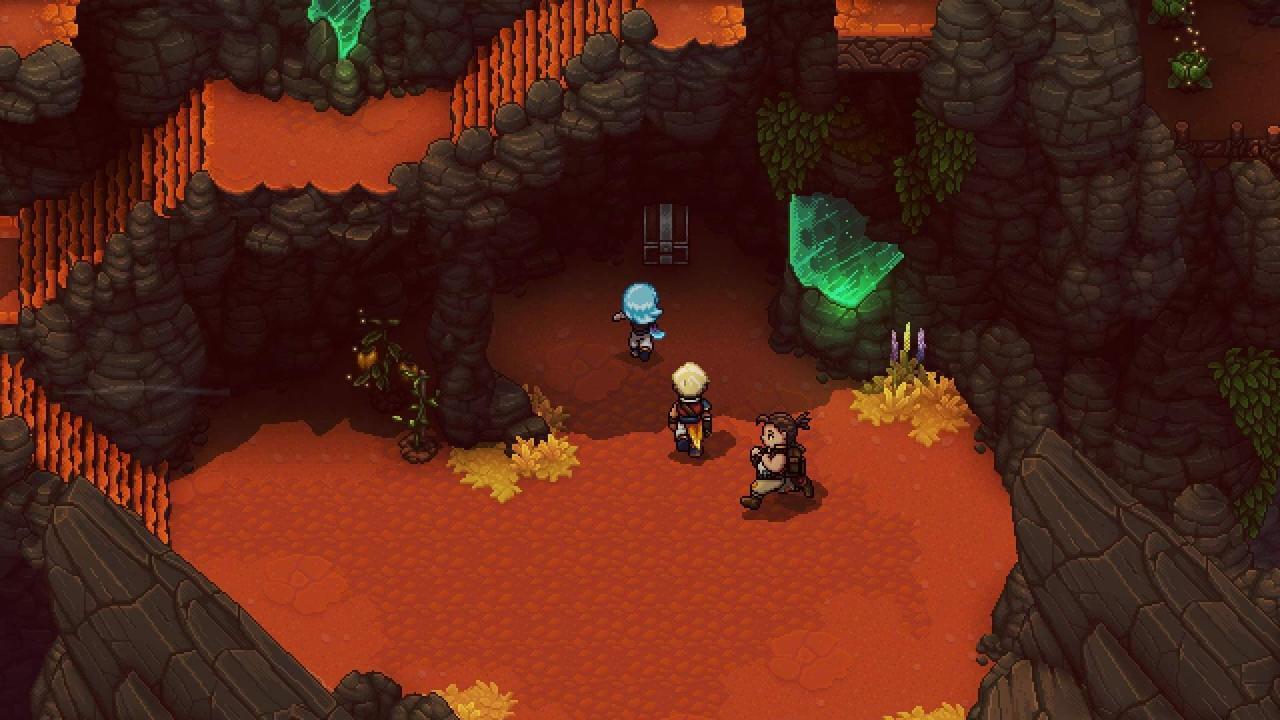
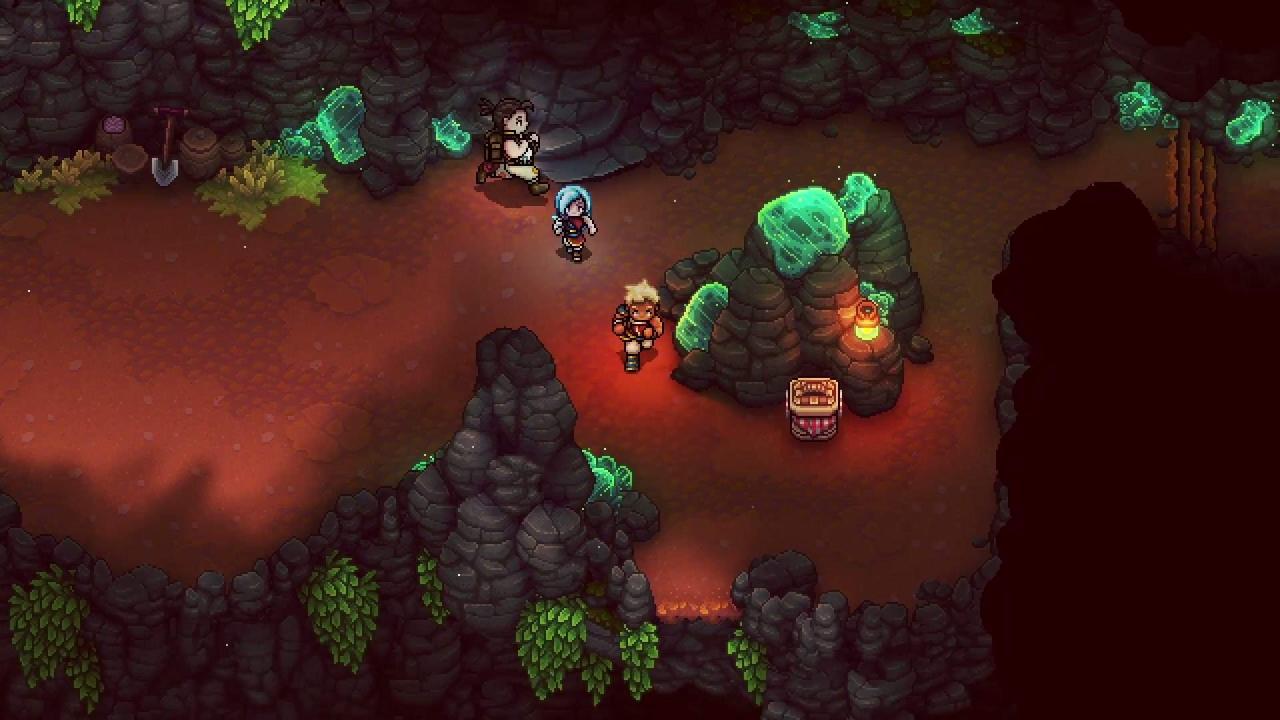
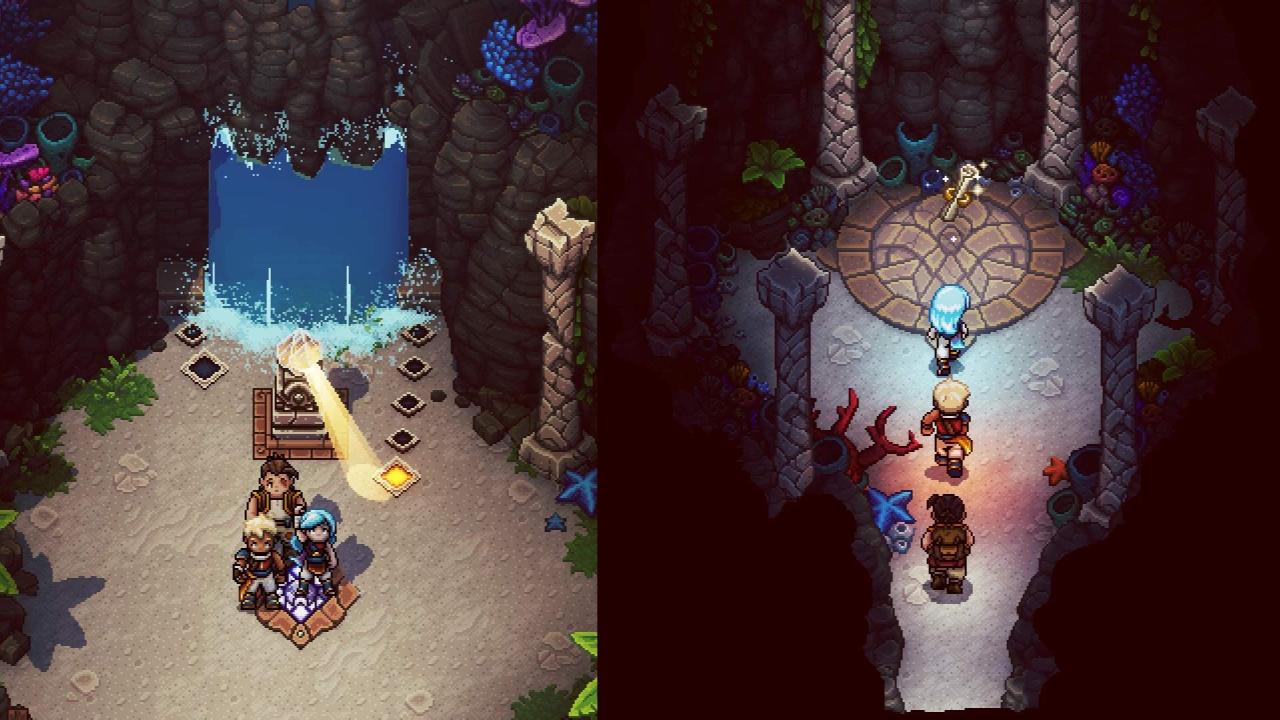
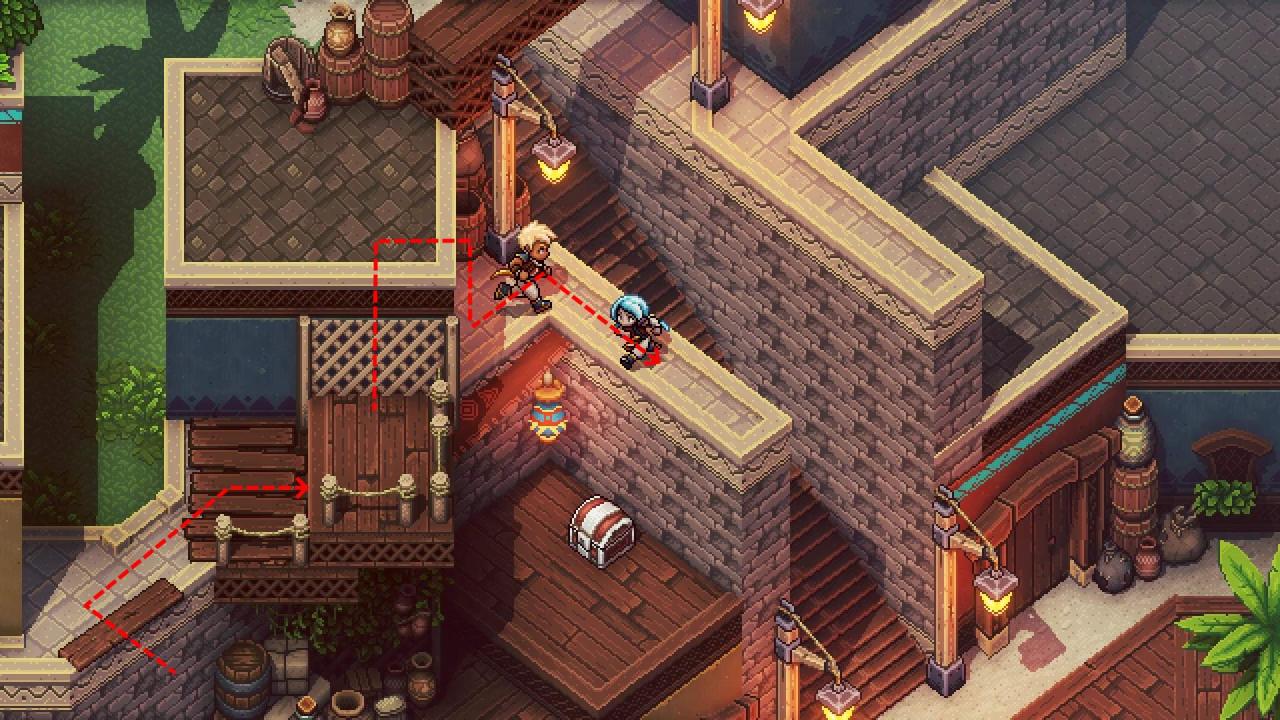
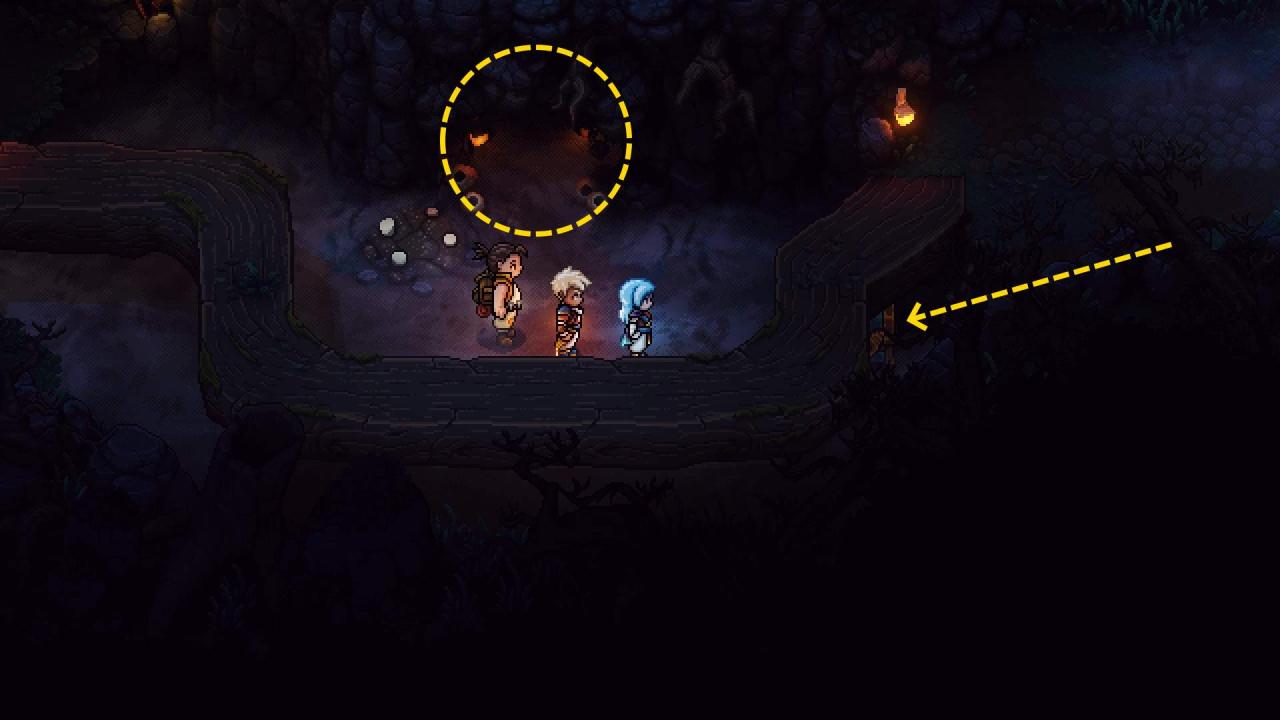
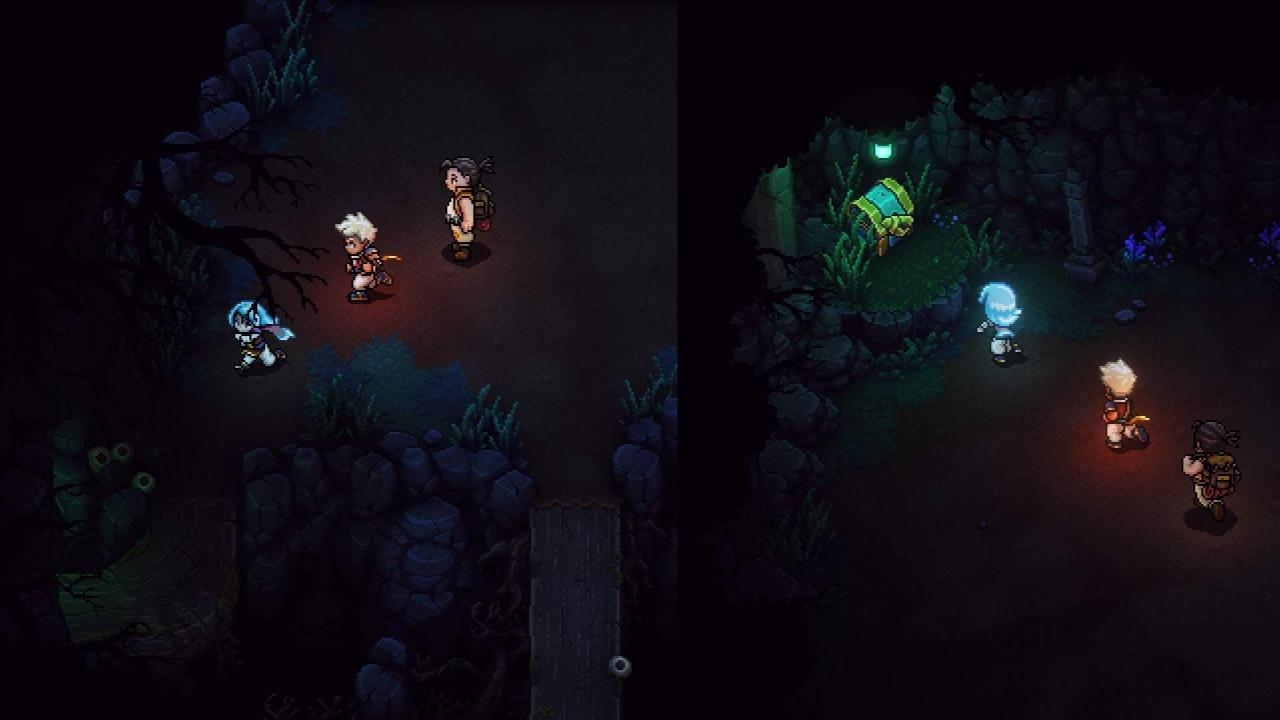
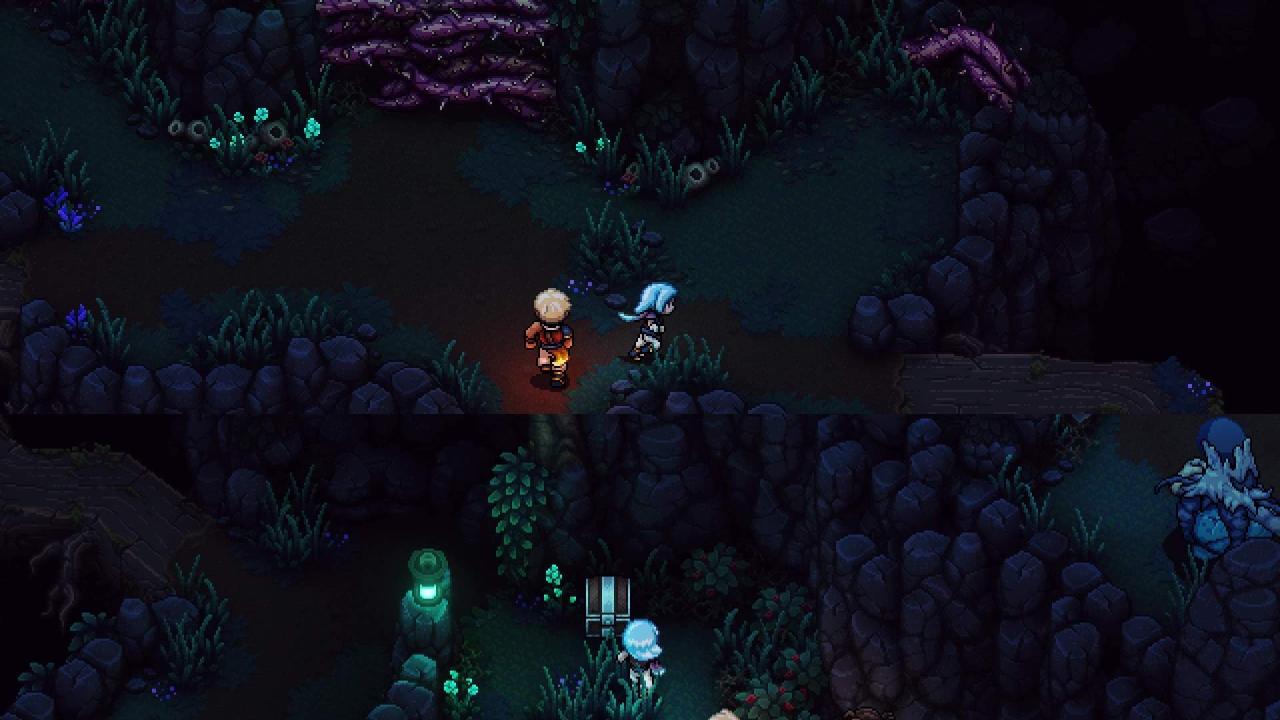
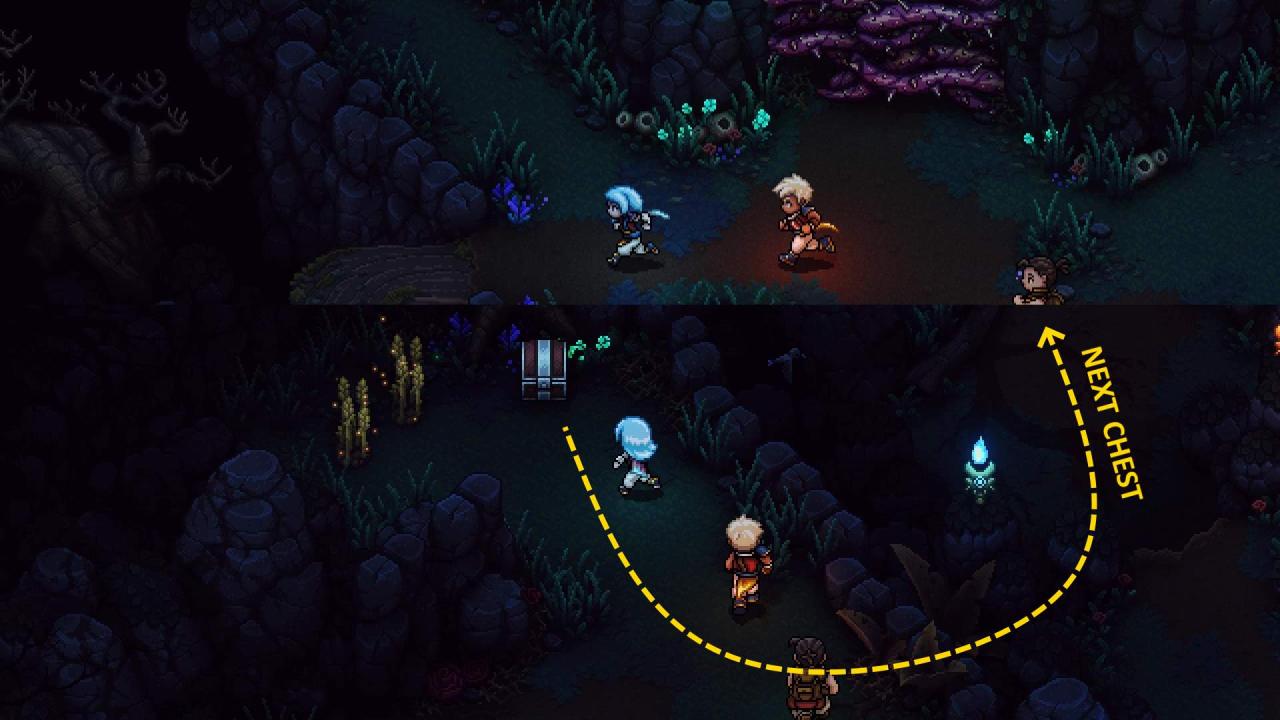
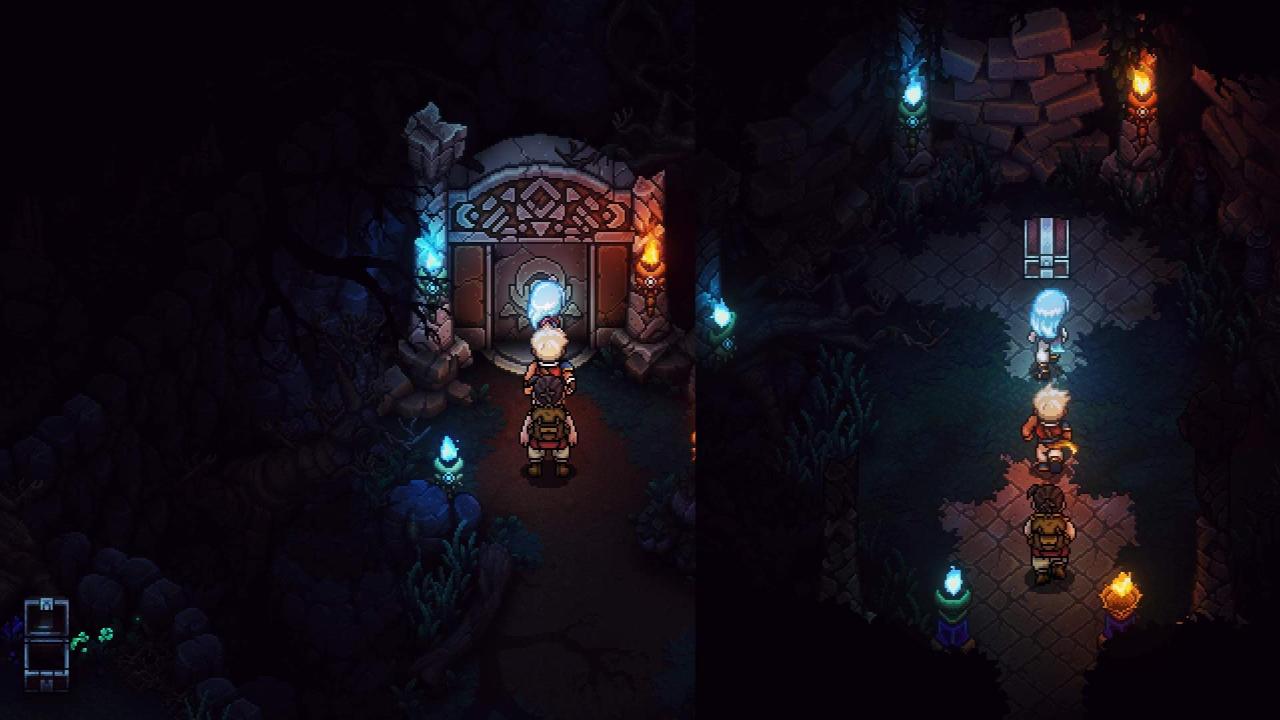
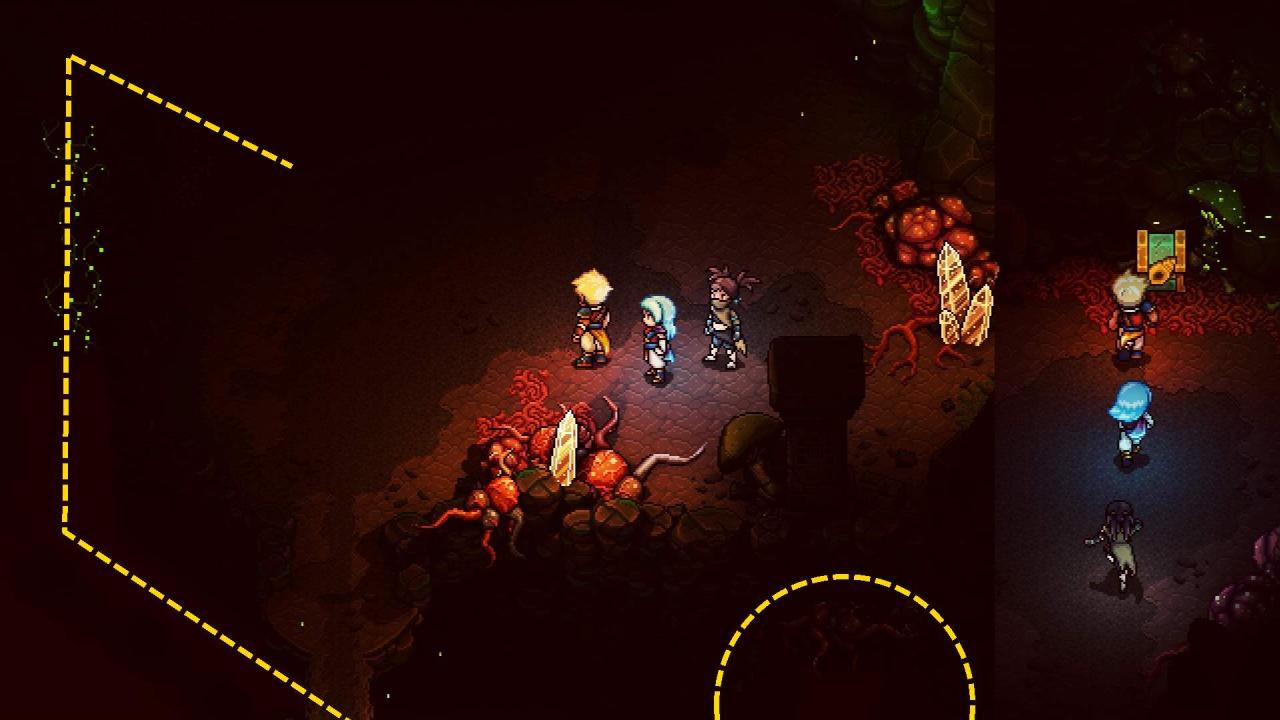
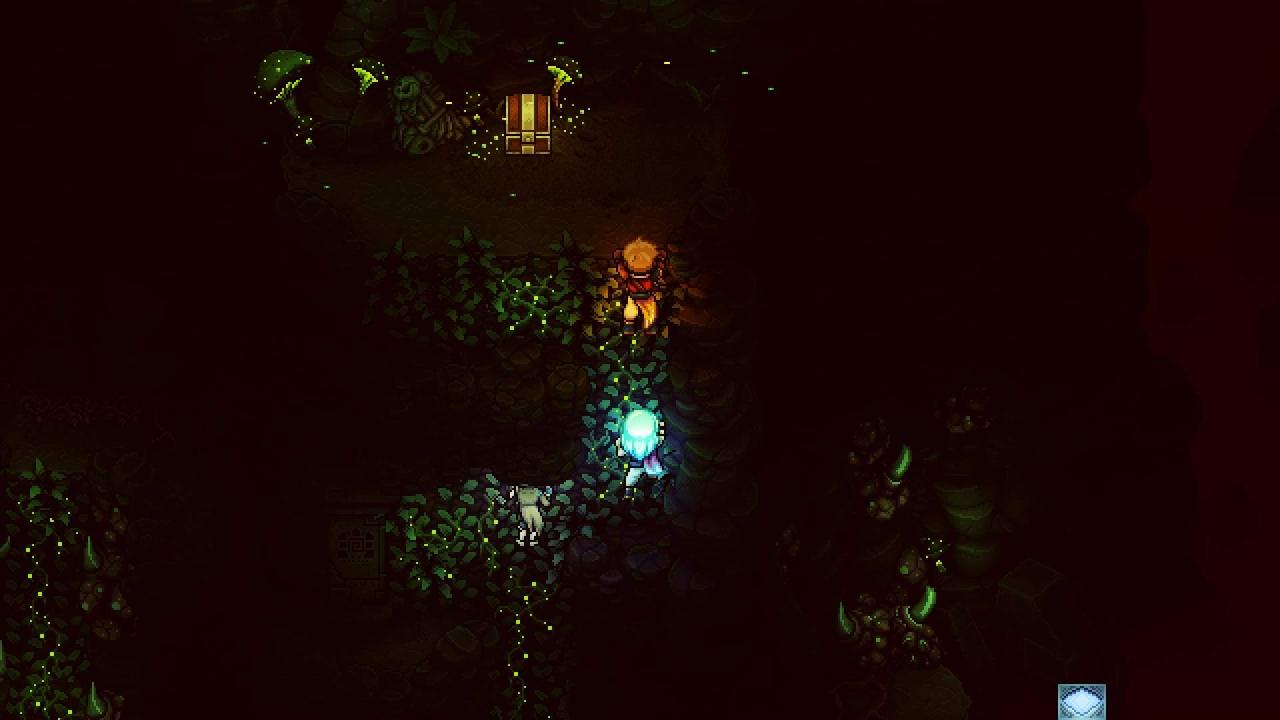
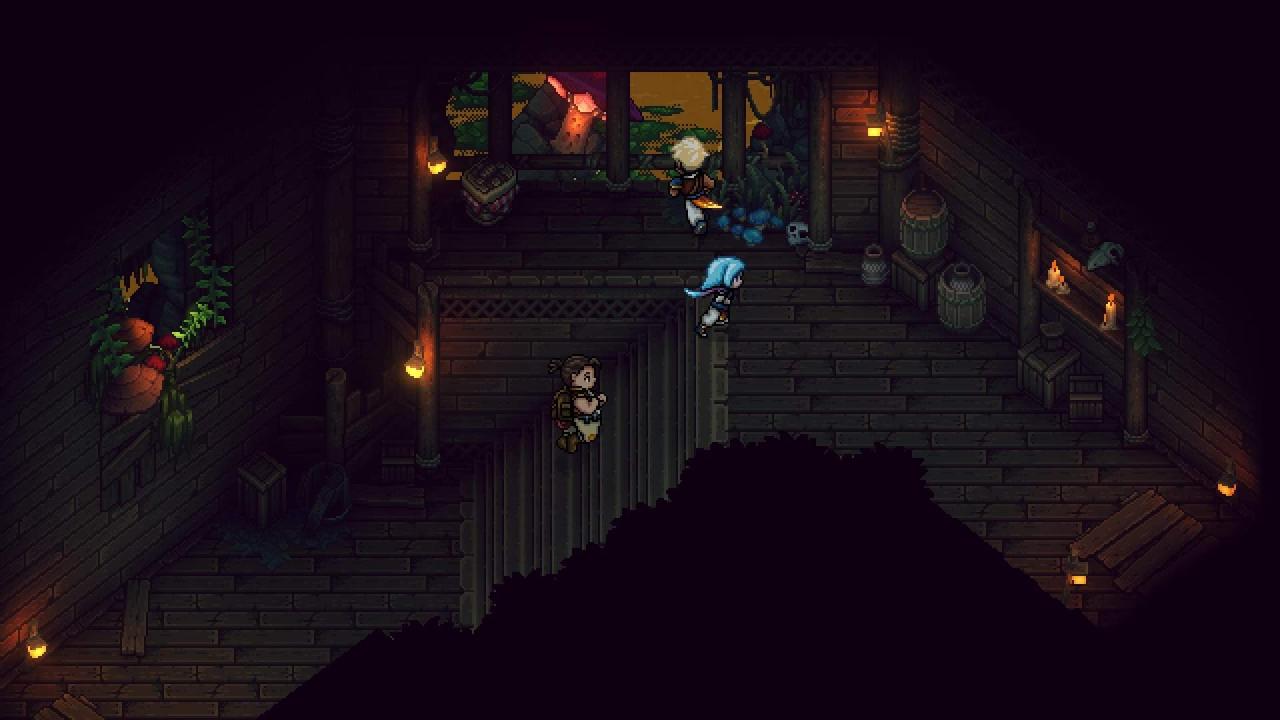
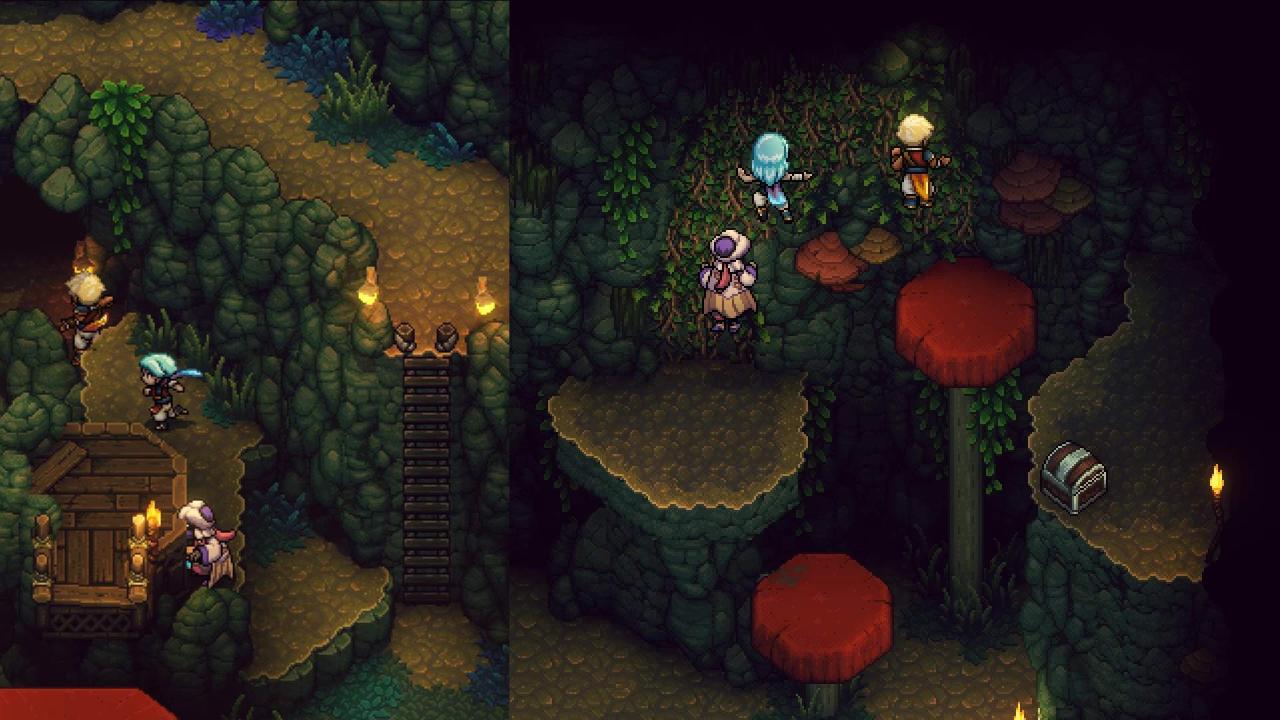
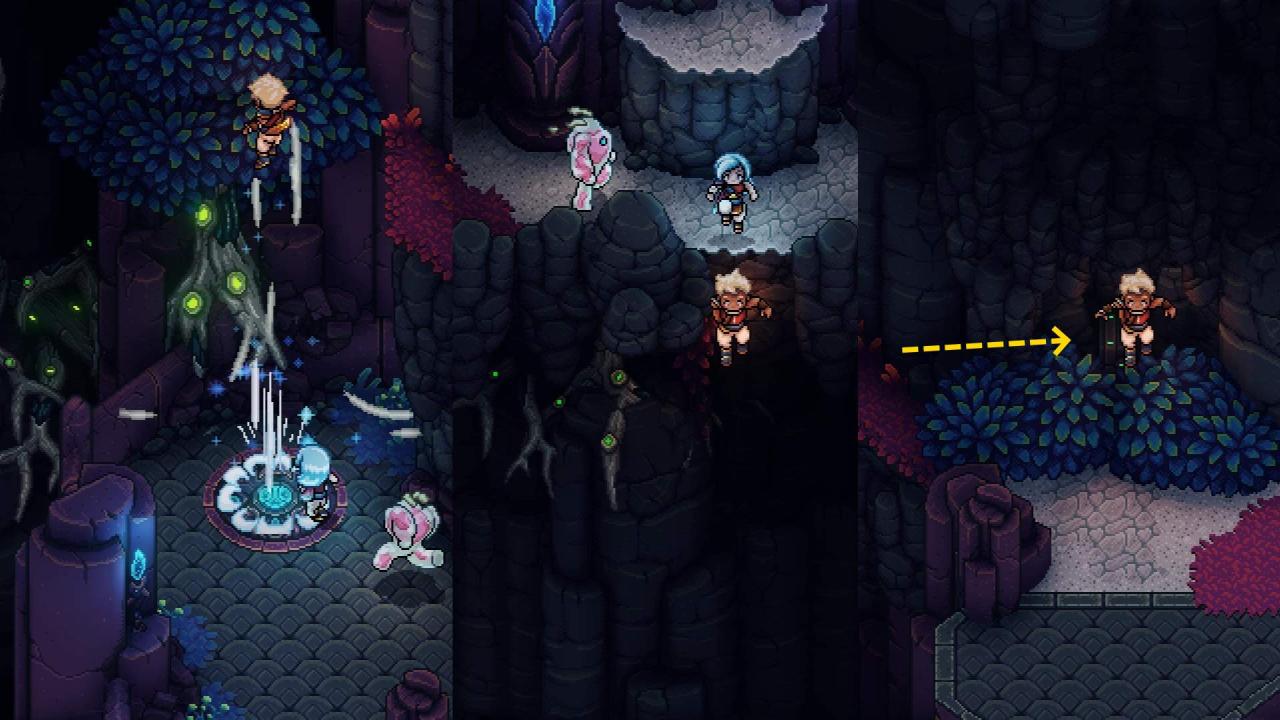
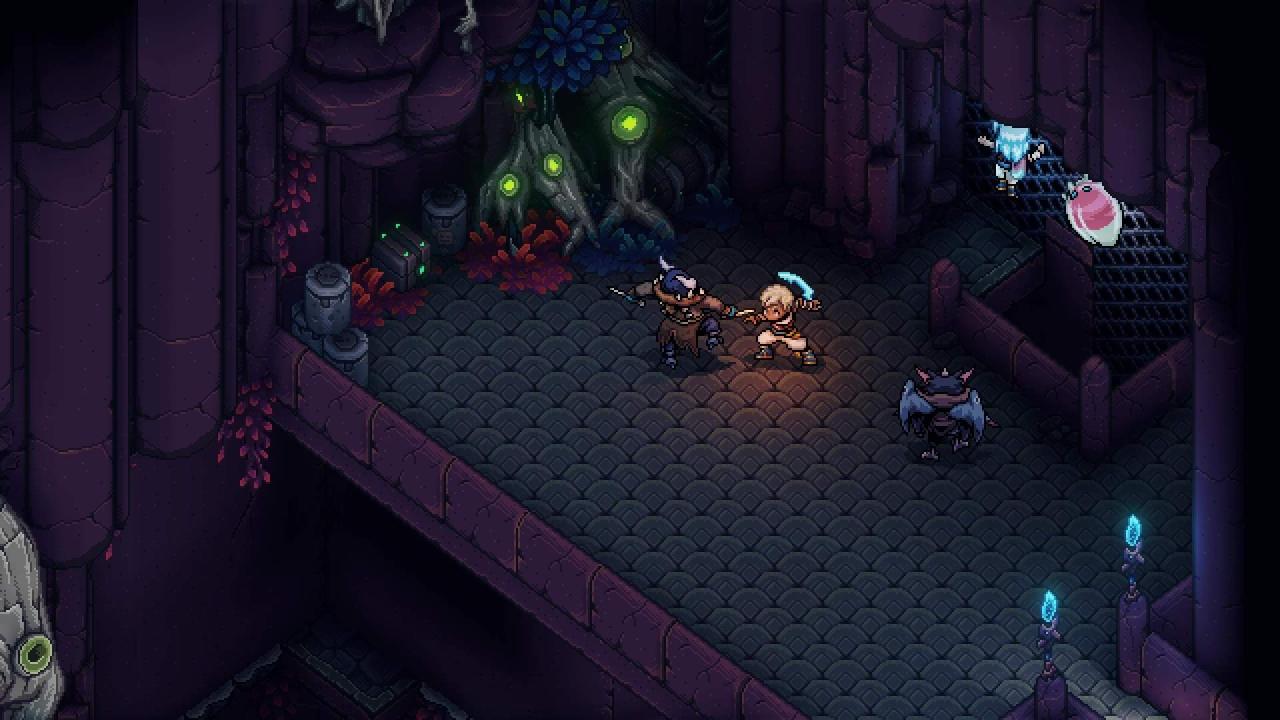
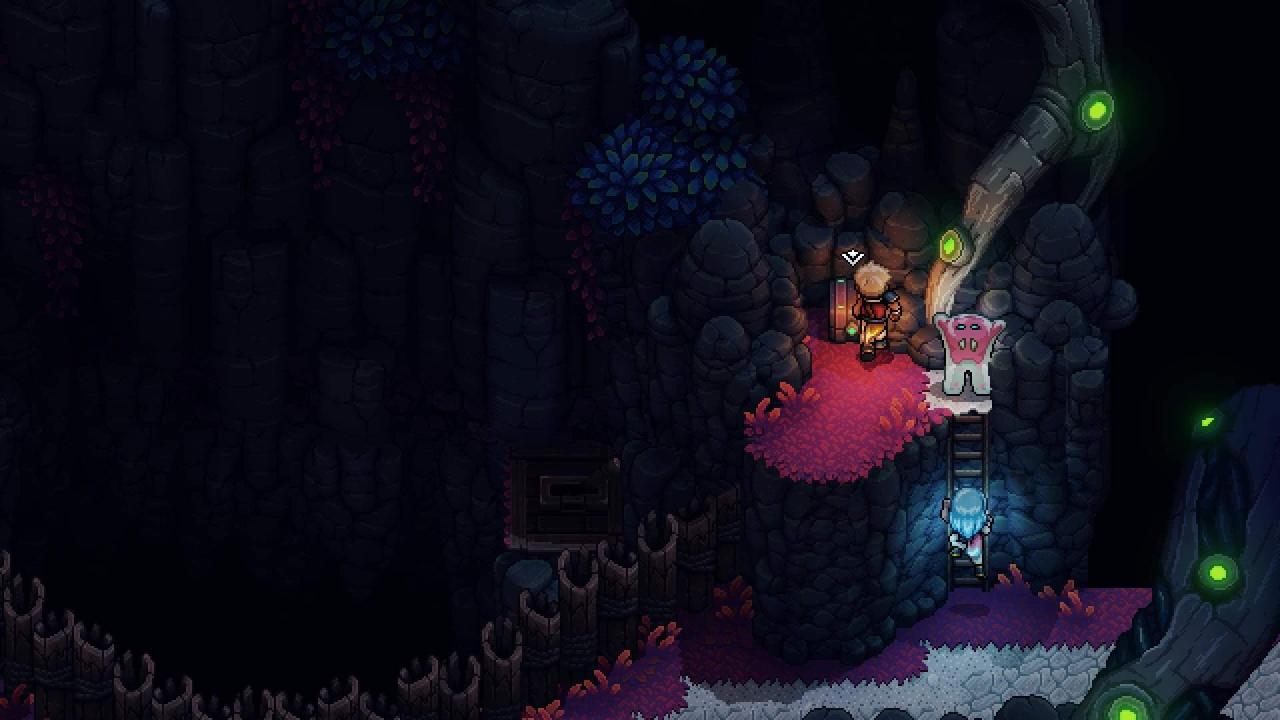
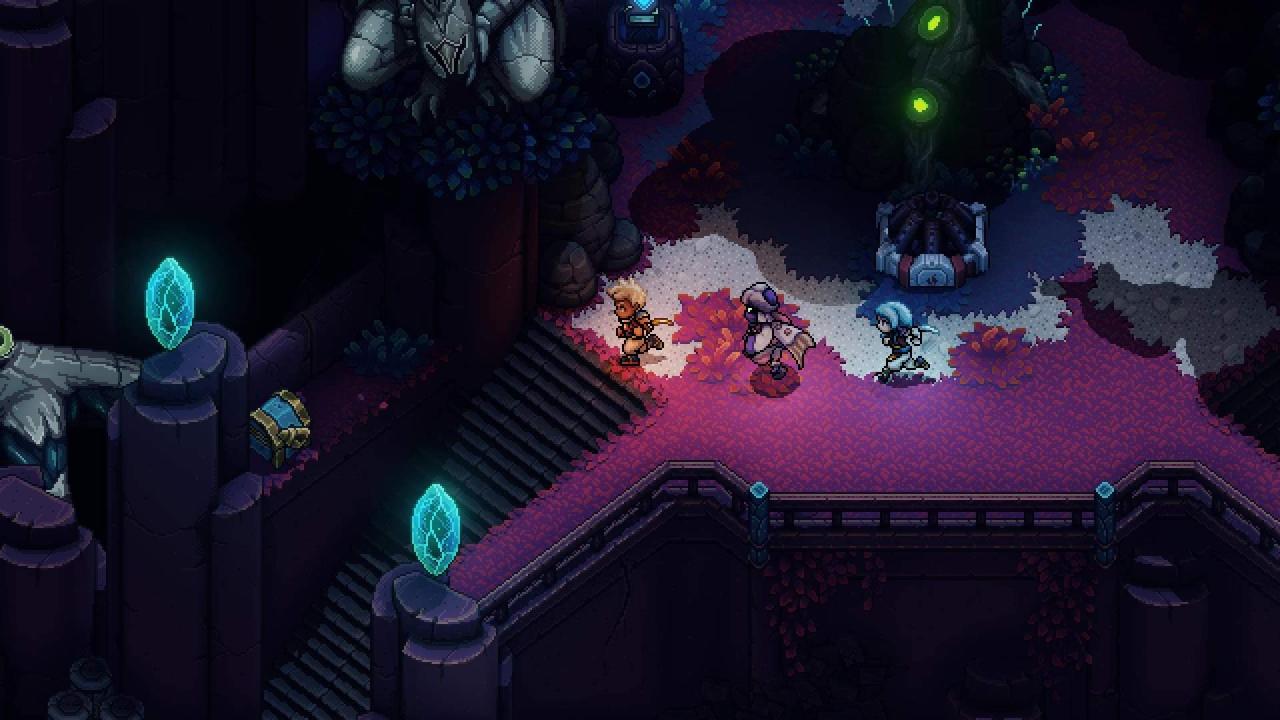
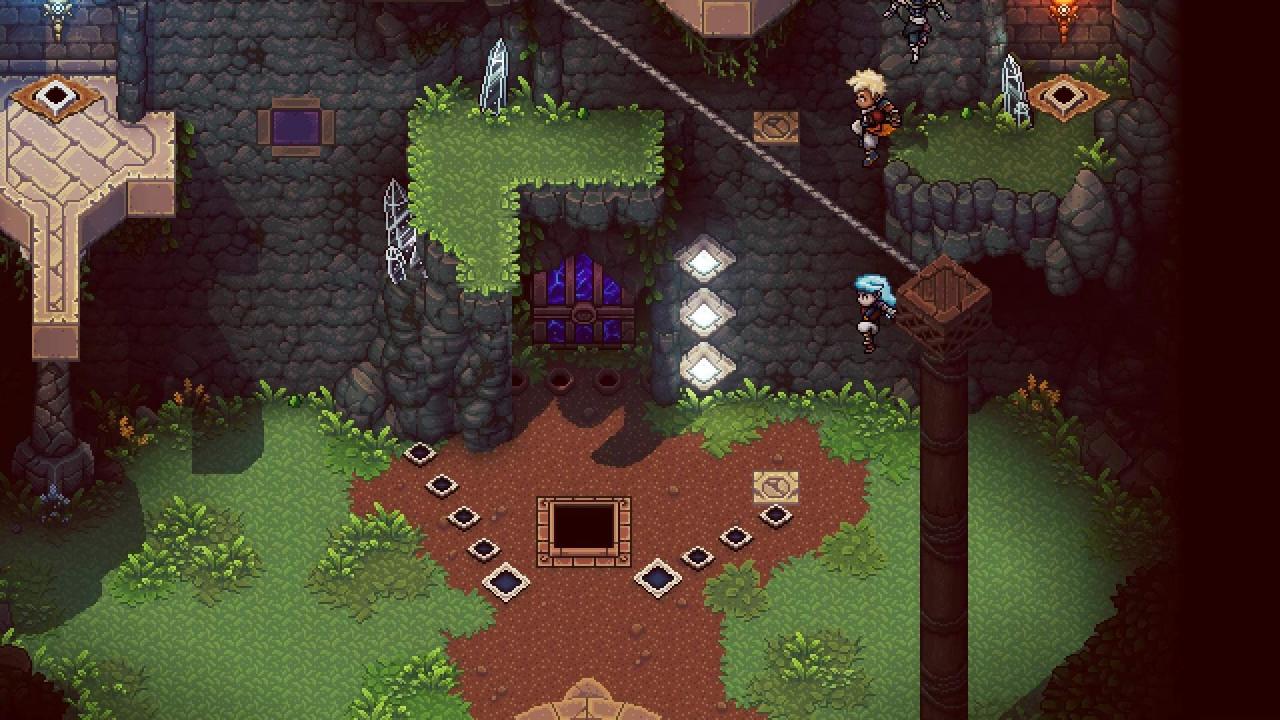
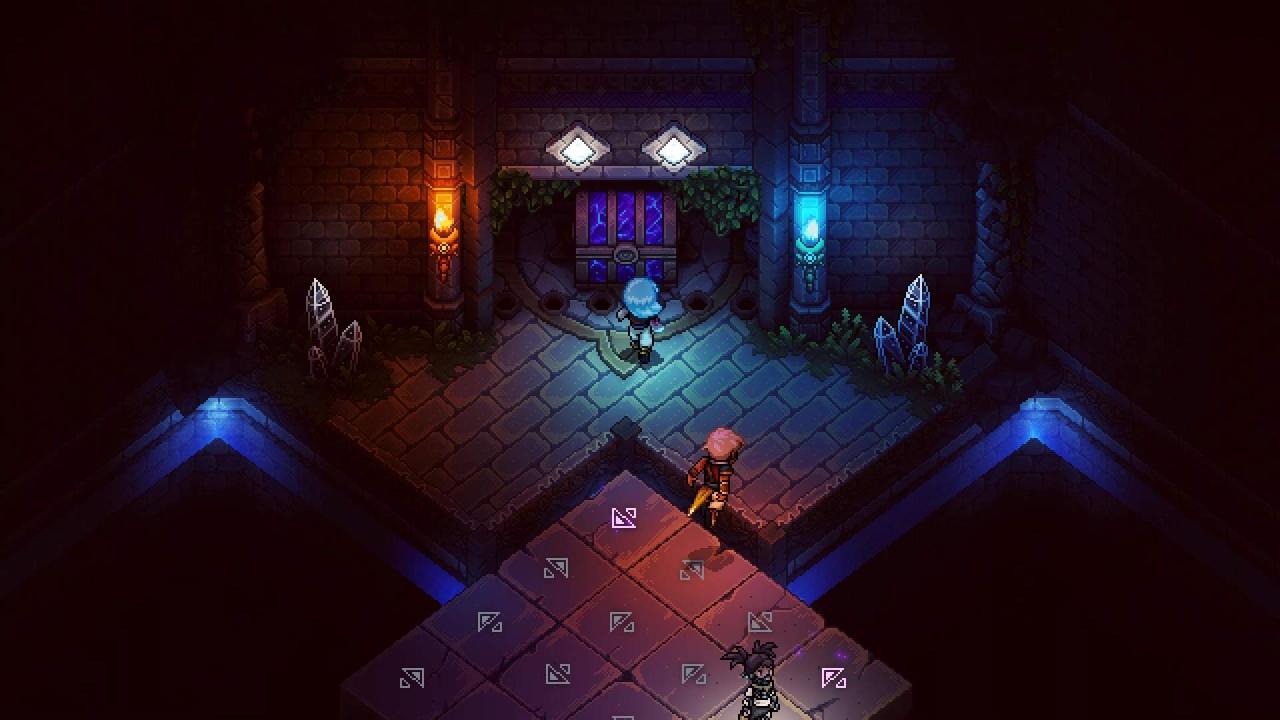
The Forbidden Cavern
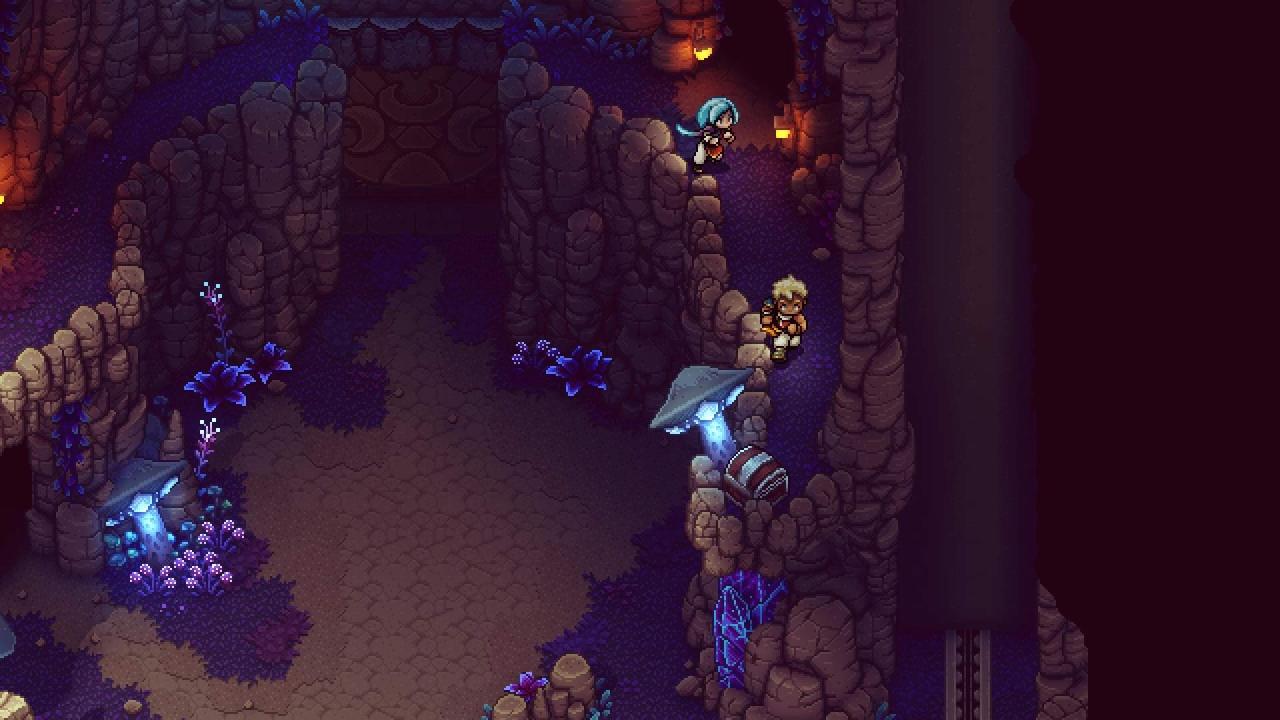
- Adventurer’s Vest
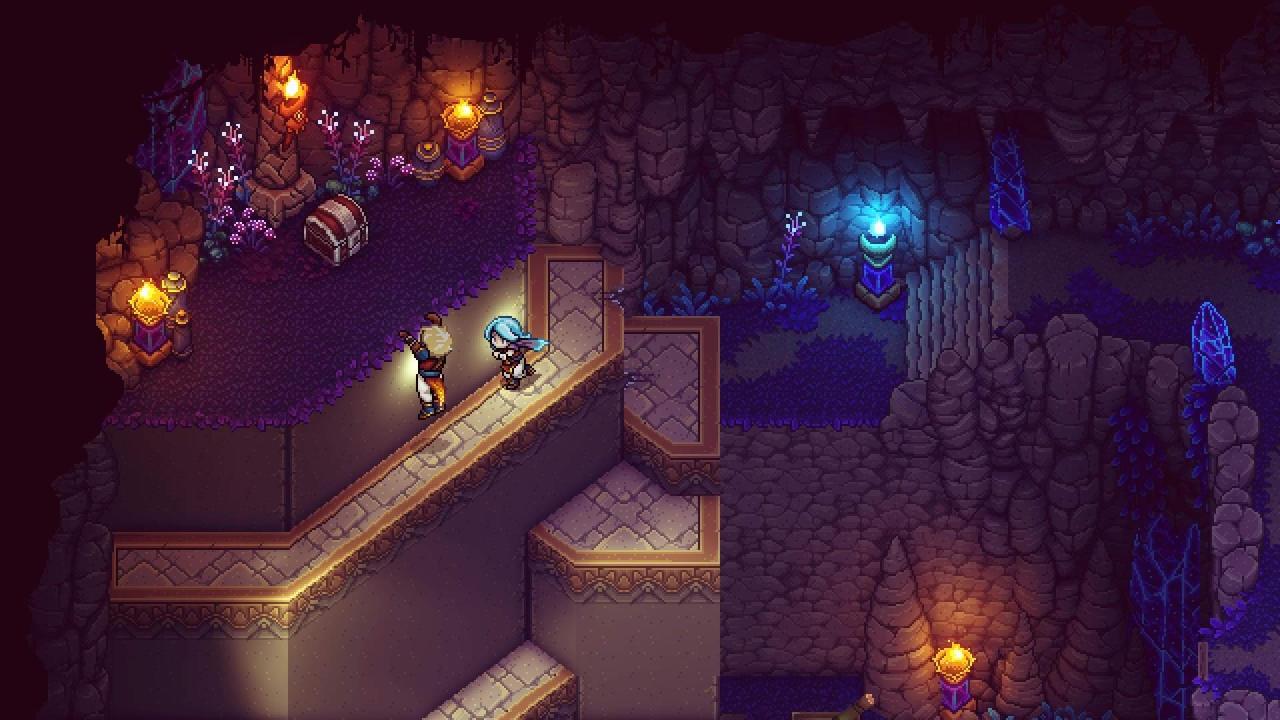
- Forbidden Cavern Key (required)
- Shiny Pearl
- Leeching Thorn
- 60 Gold
- Adventurer’s Vest
NOTE: Don’t forget to unlock the bridge from the Northern side before you head out of the cave. The mechanism to activate it works from that end.
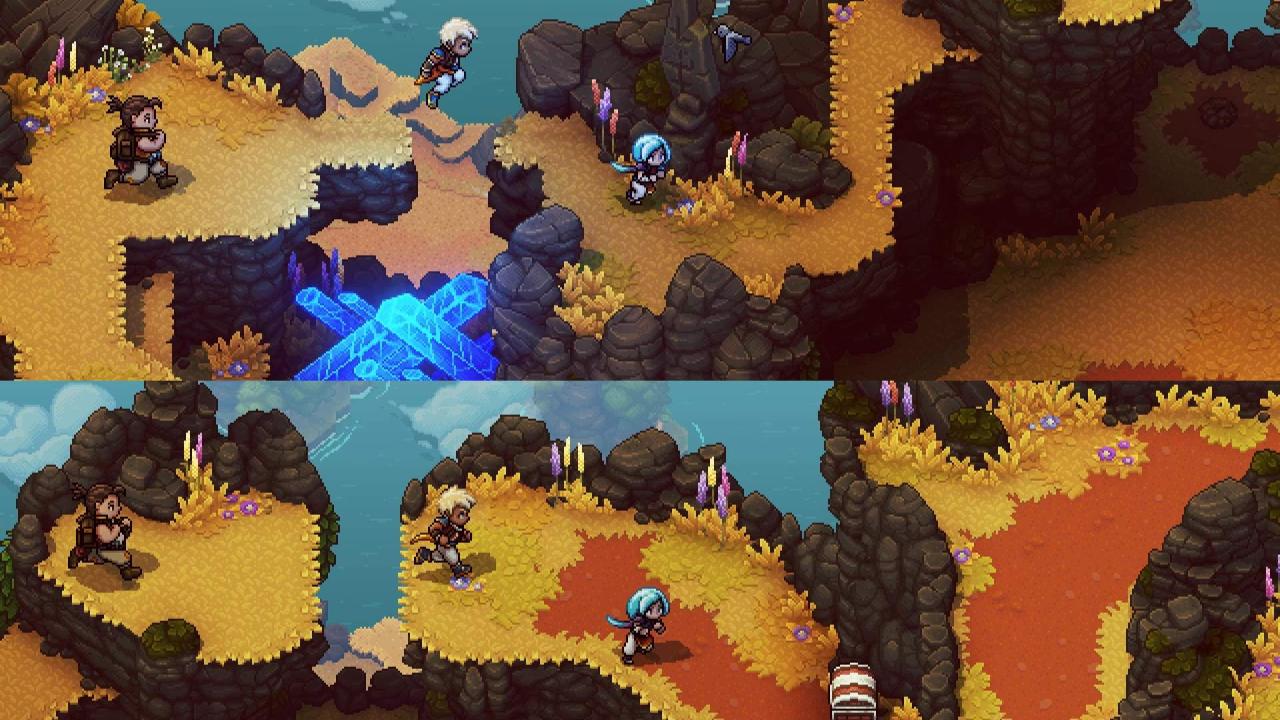
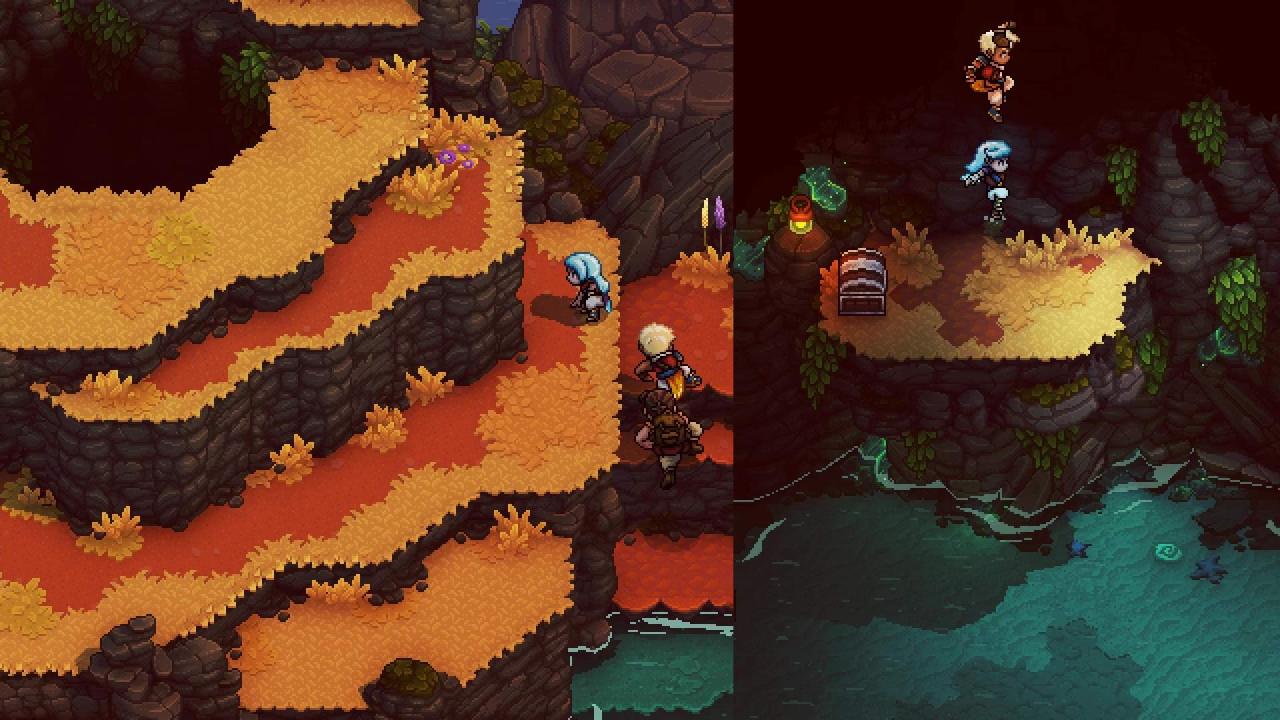
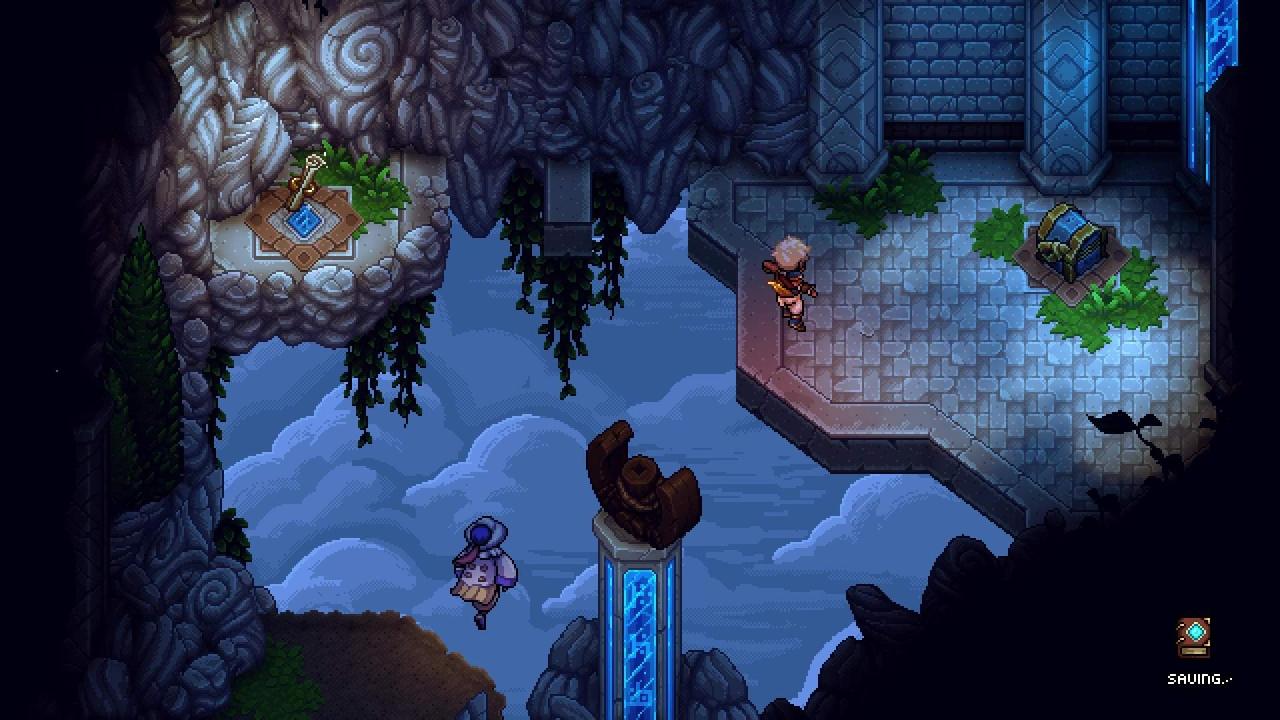
Mountain Trail
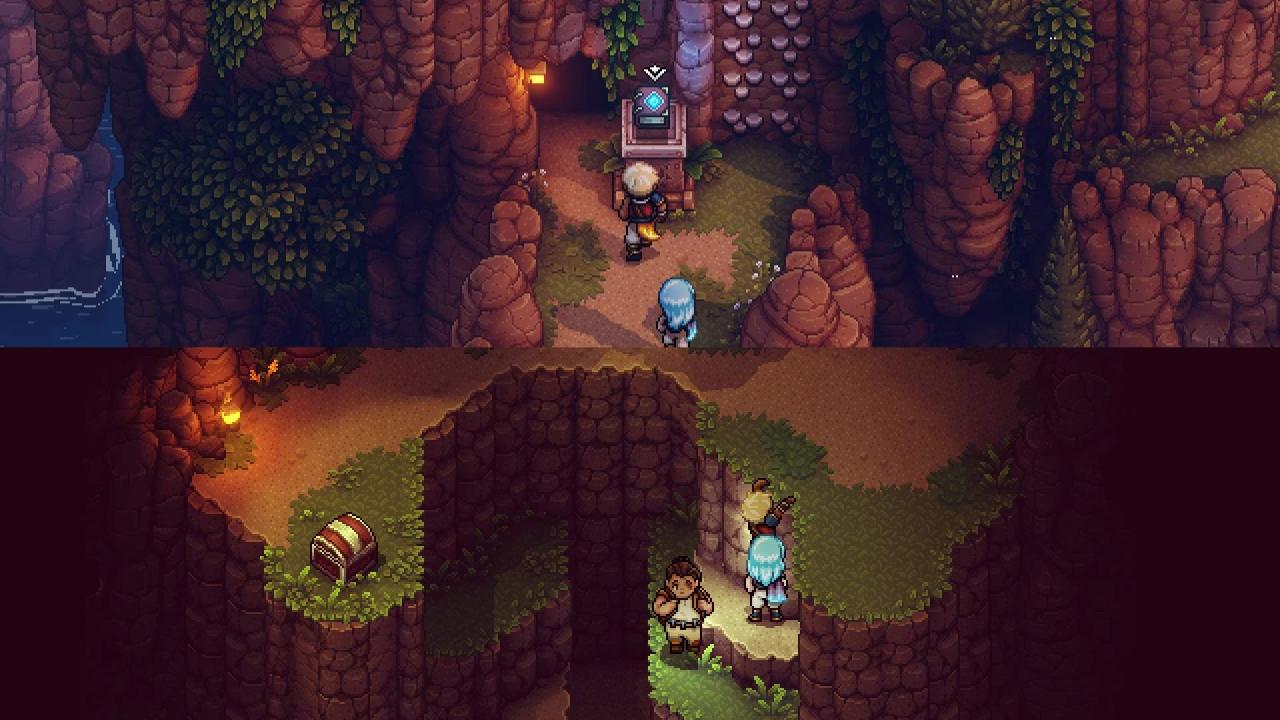
- Abacus
- Basic Armor

- 2x Shiny Pearl
- Recipe: Chaudrée
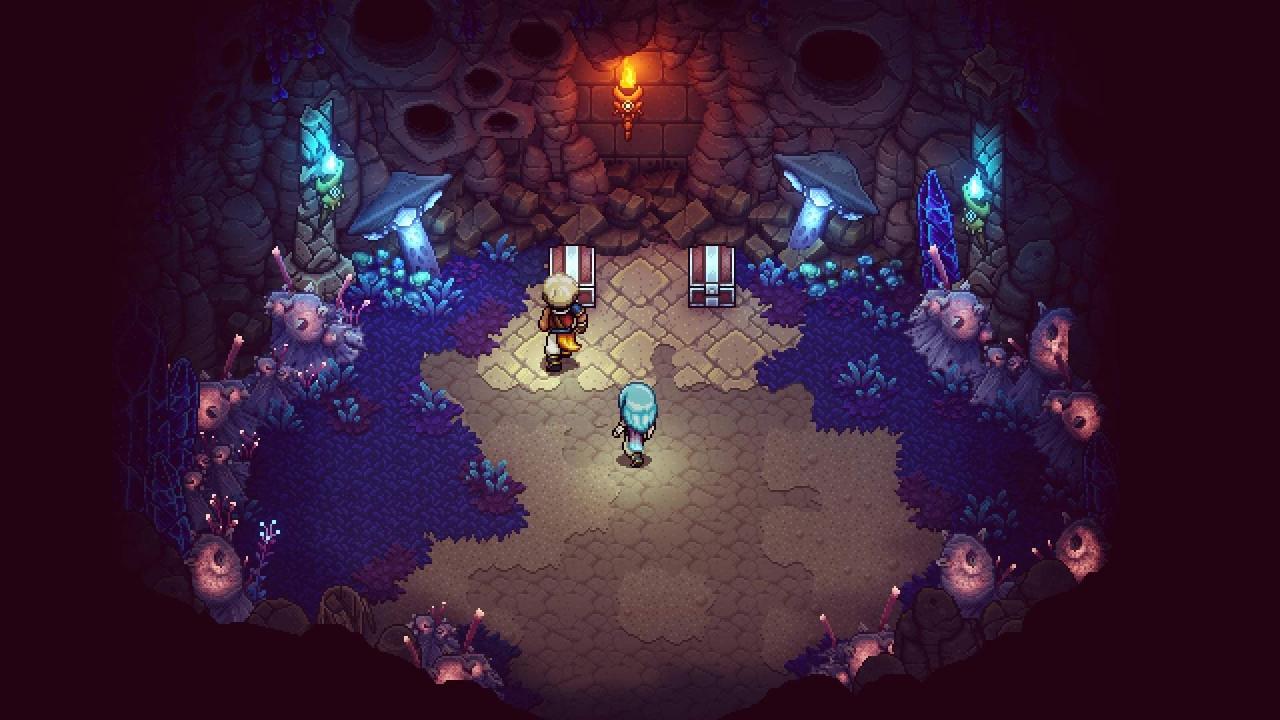
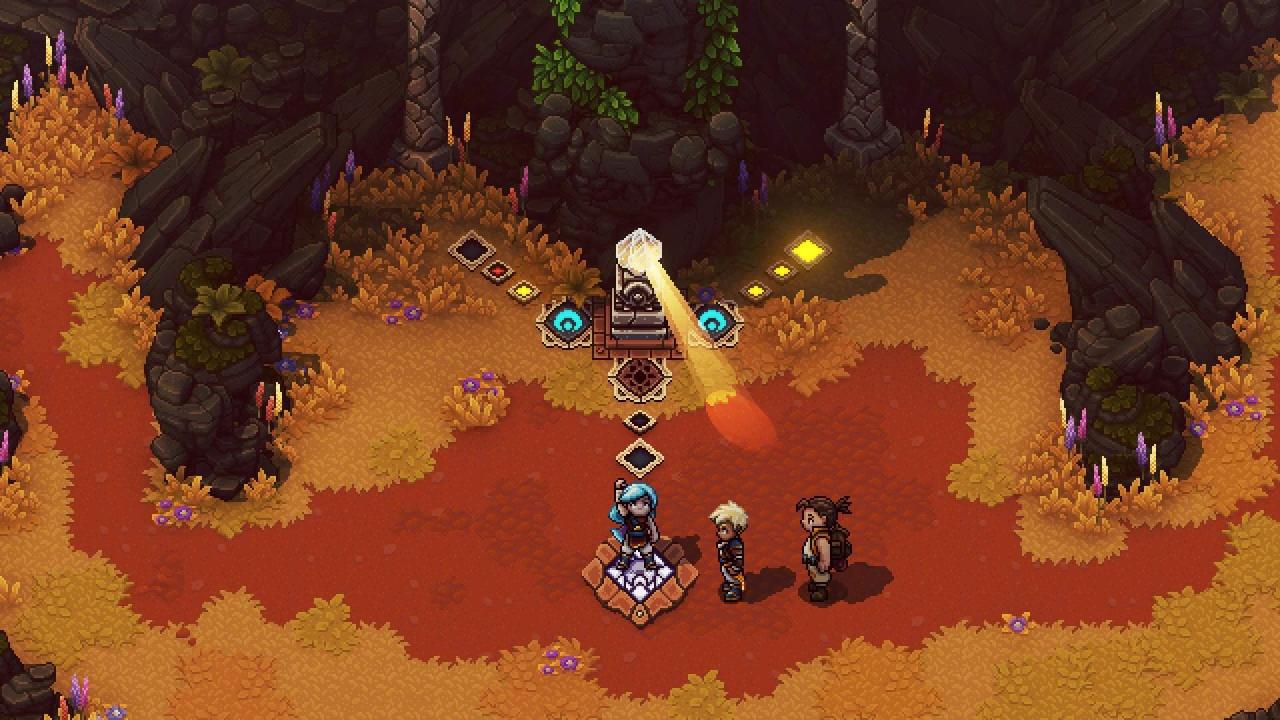
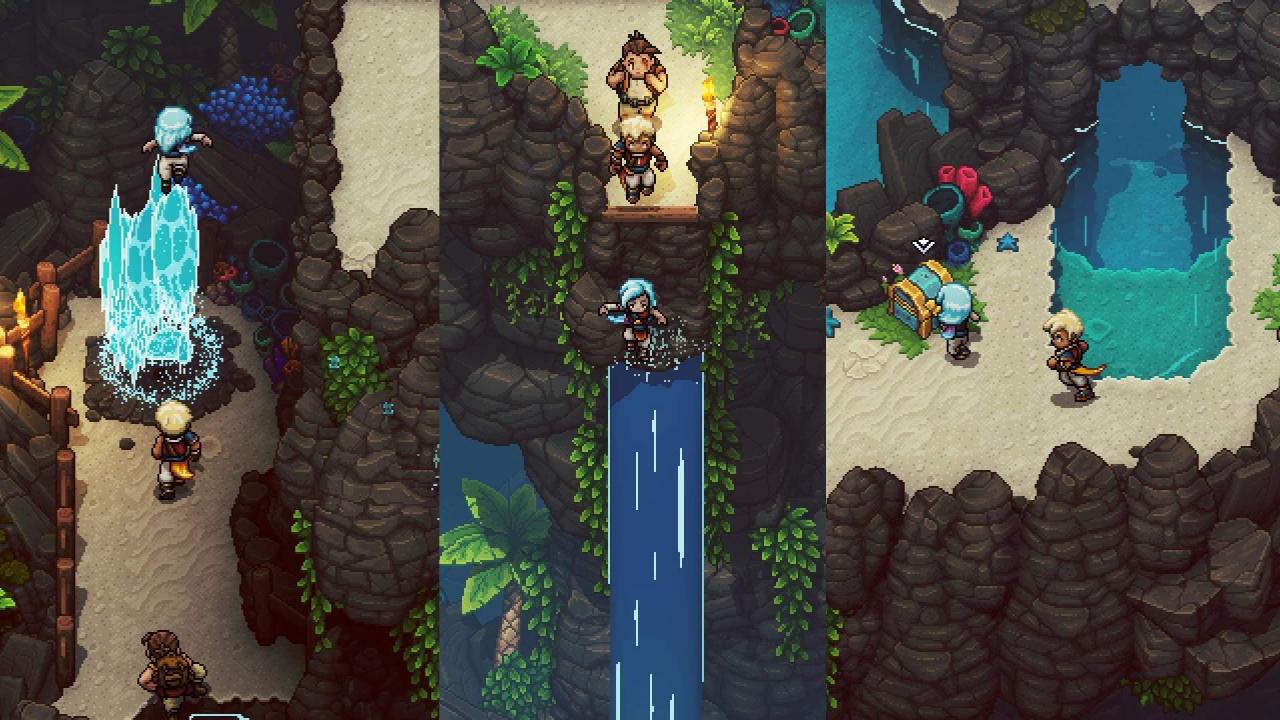
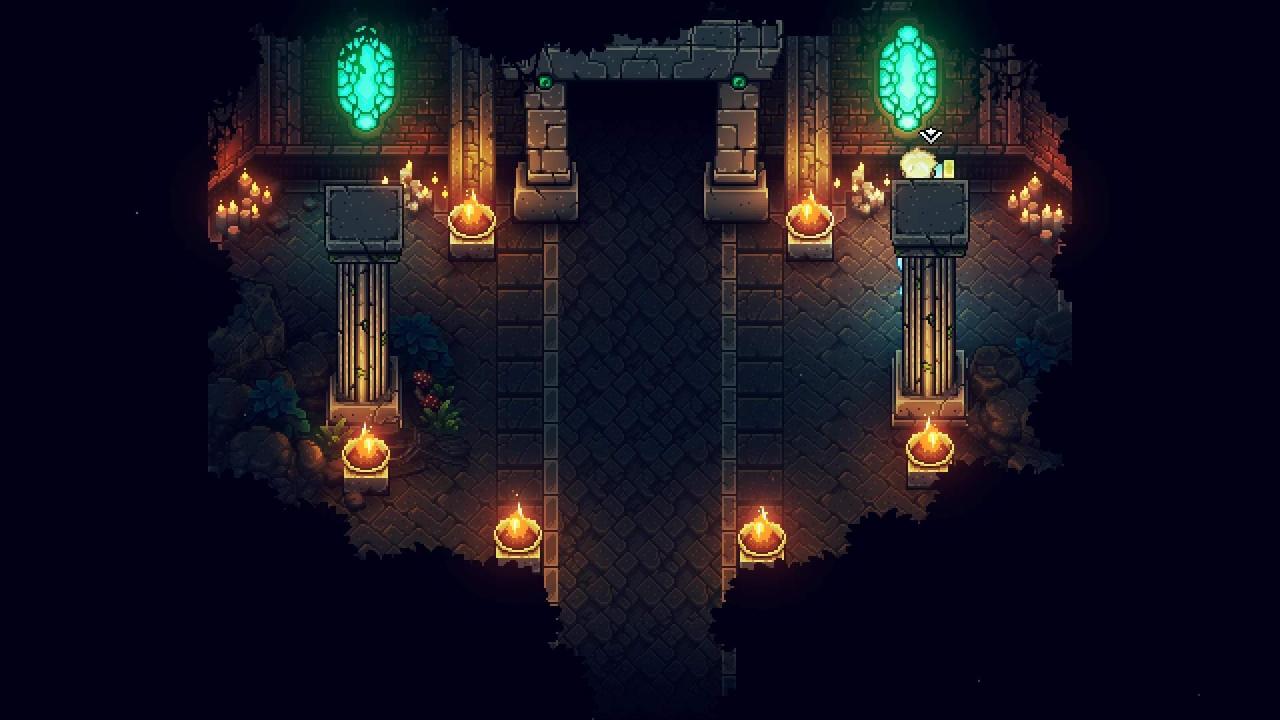
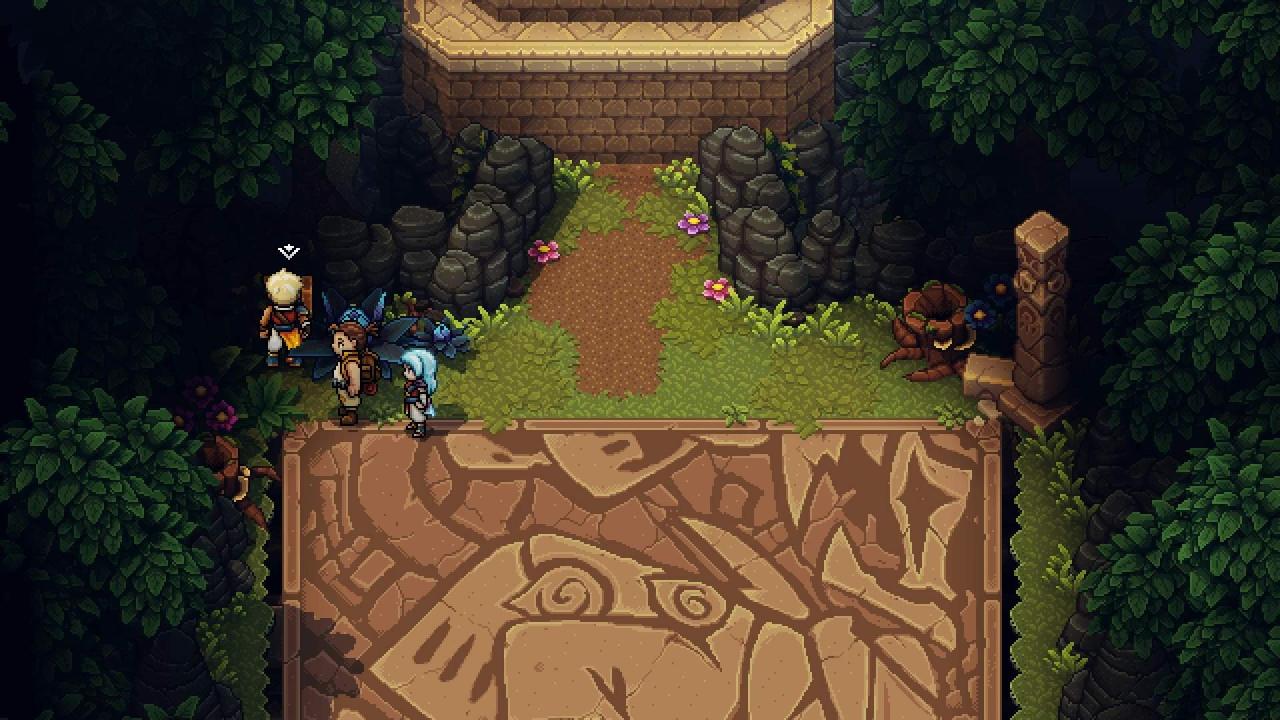
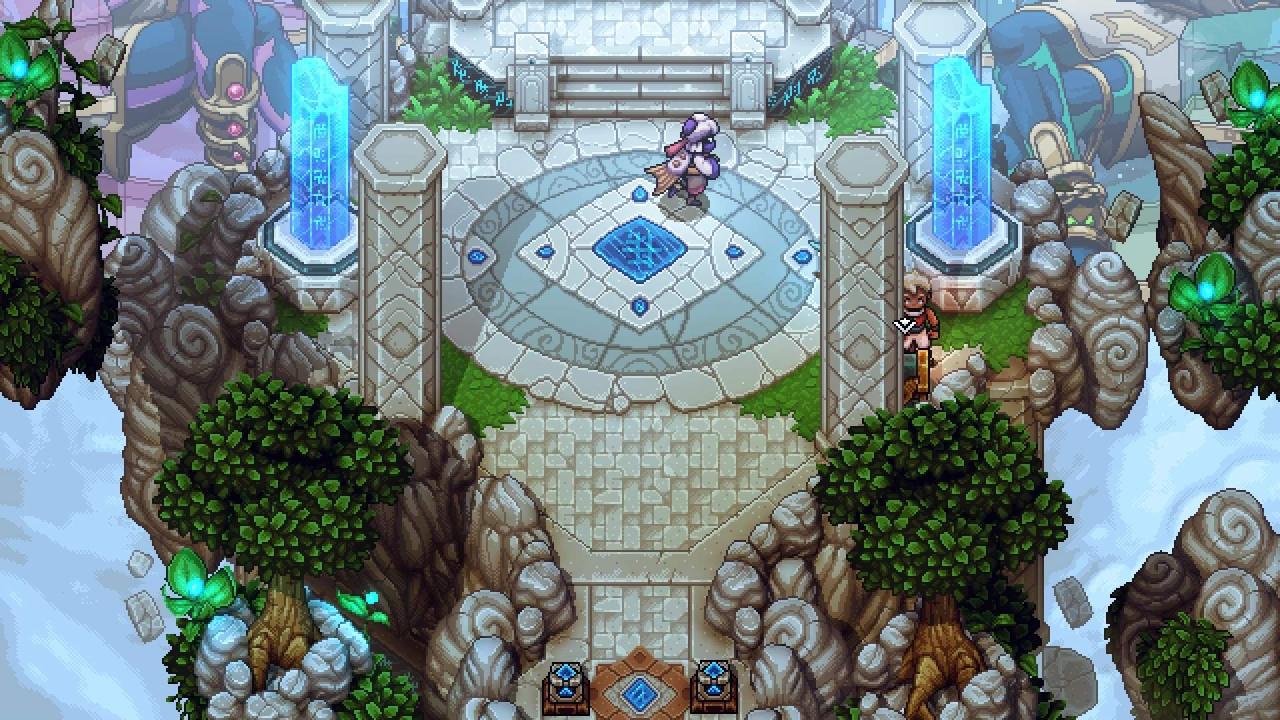
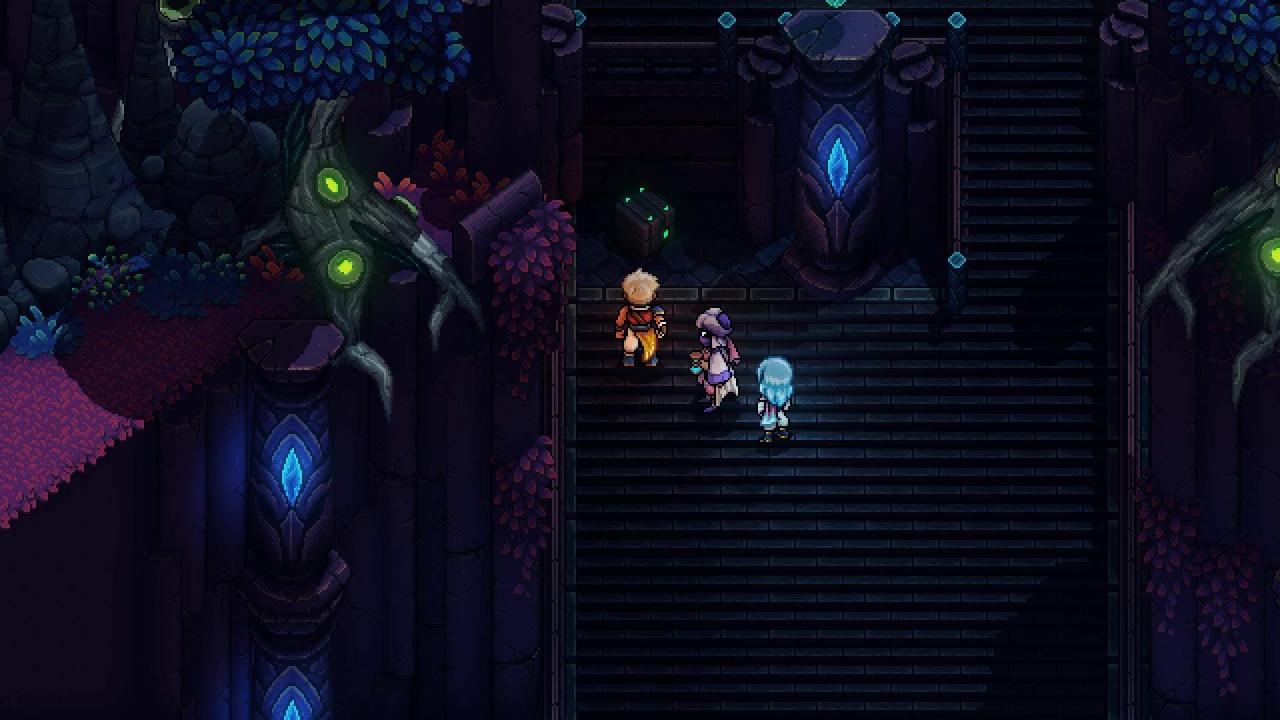
Elder Mist Trials
- There are 3 paths you can take. Each has a single treasure chest up for grabs.
From right-to-left:

- Shiny Pearl
- Recipe: Mushroom Scramble
- Basic Armor
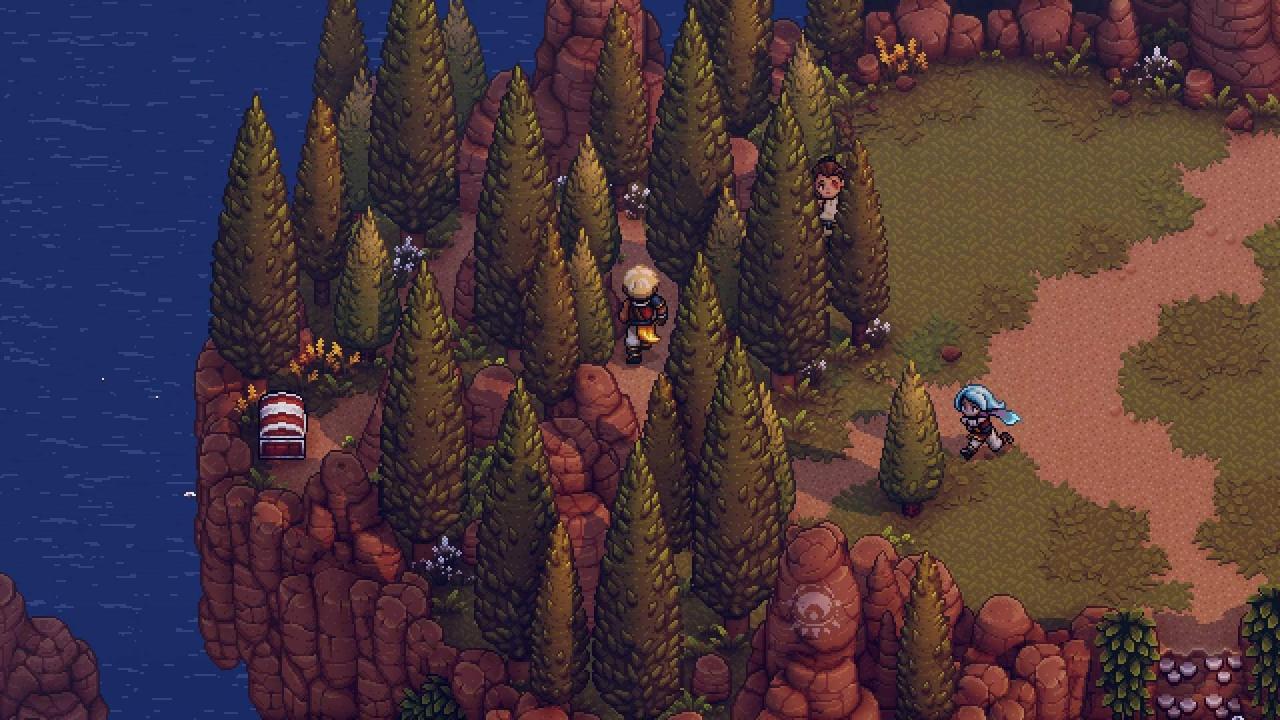
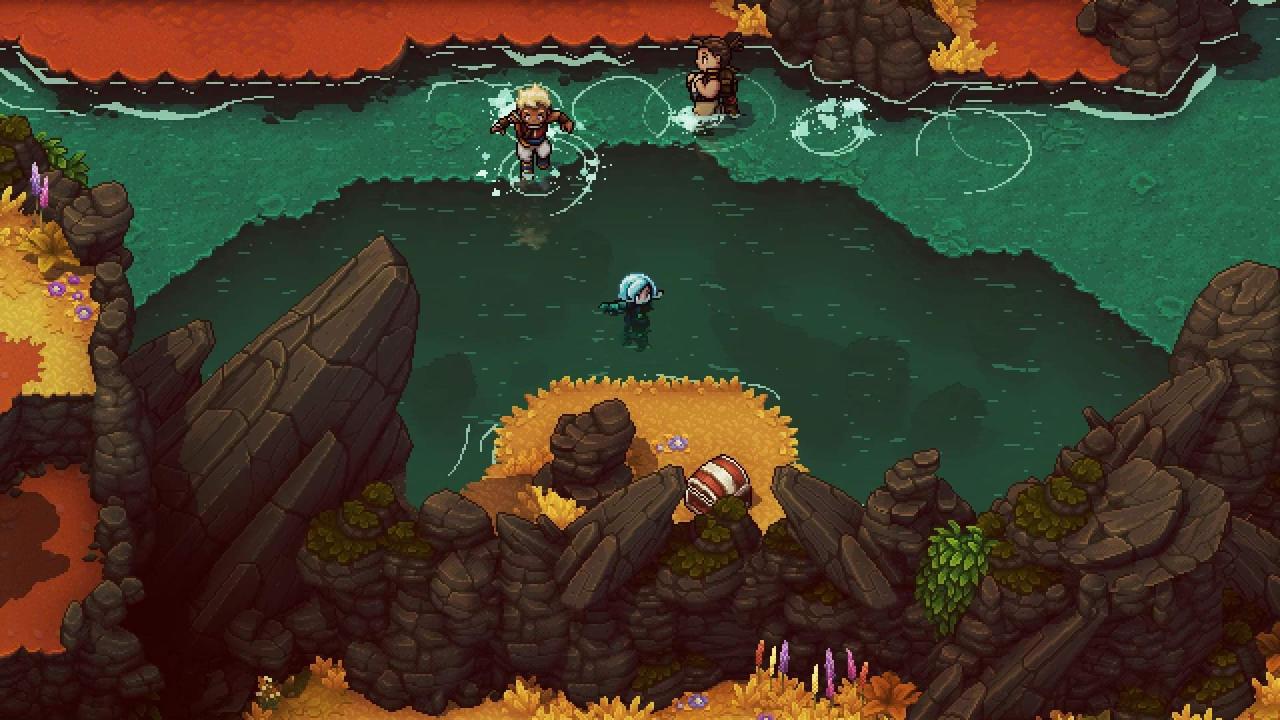
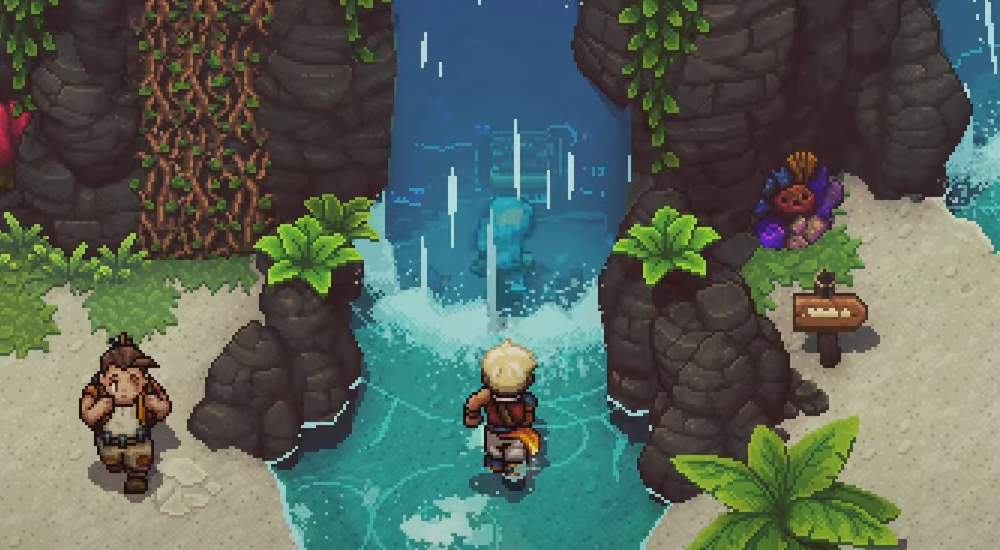
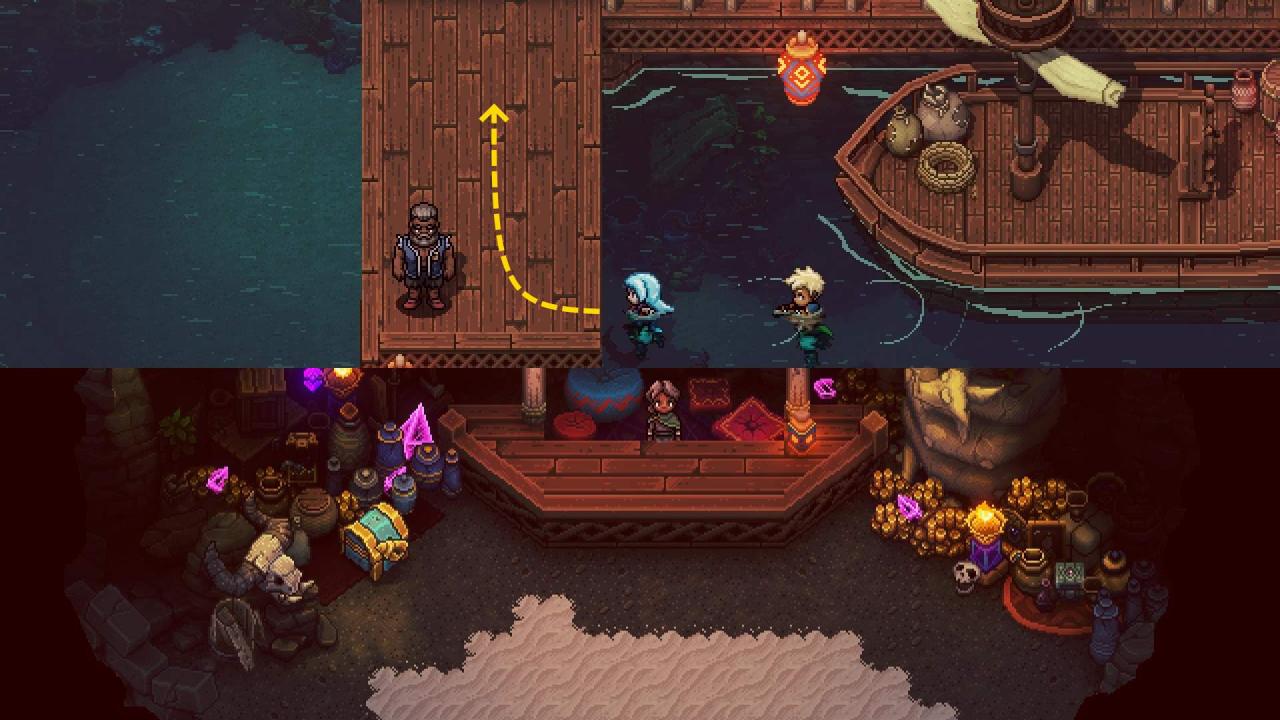
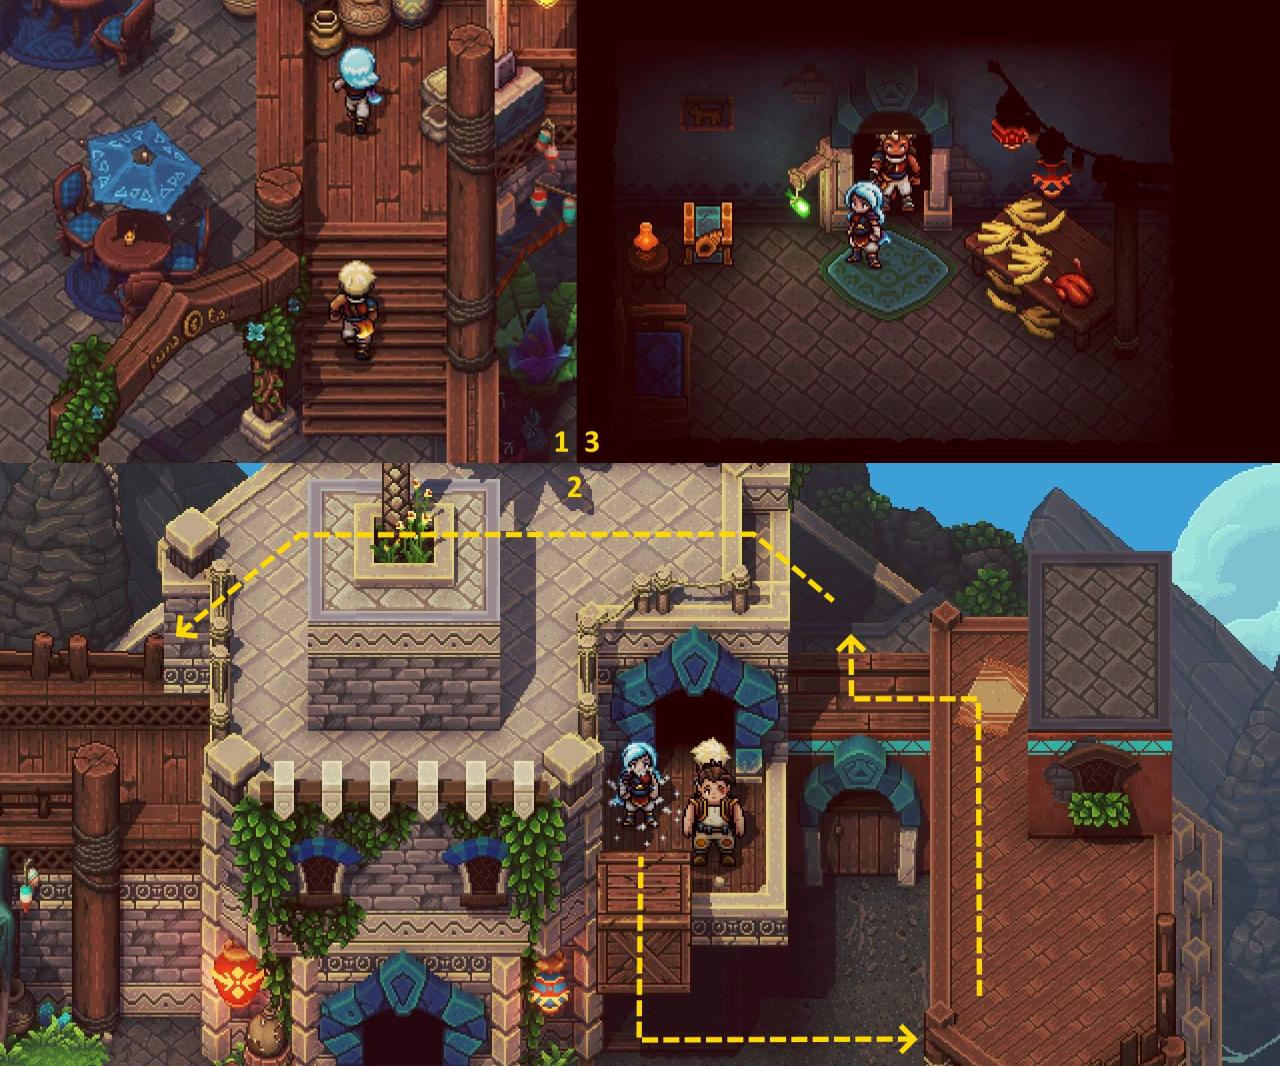
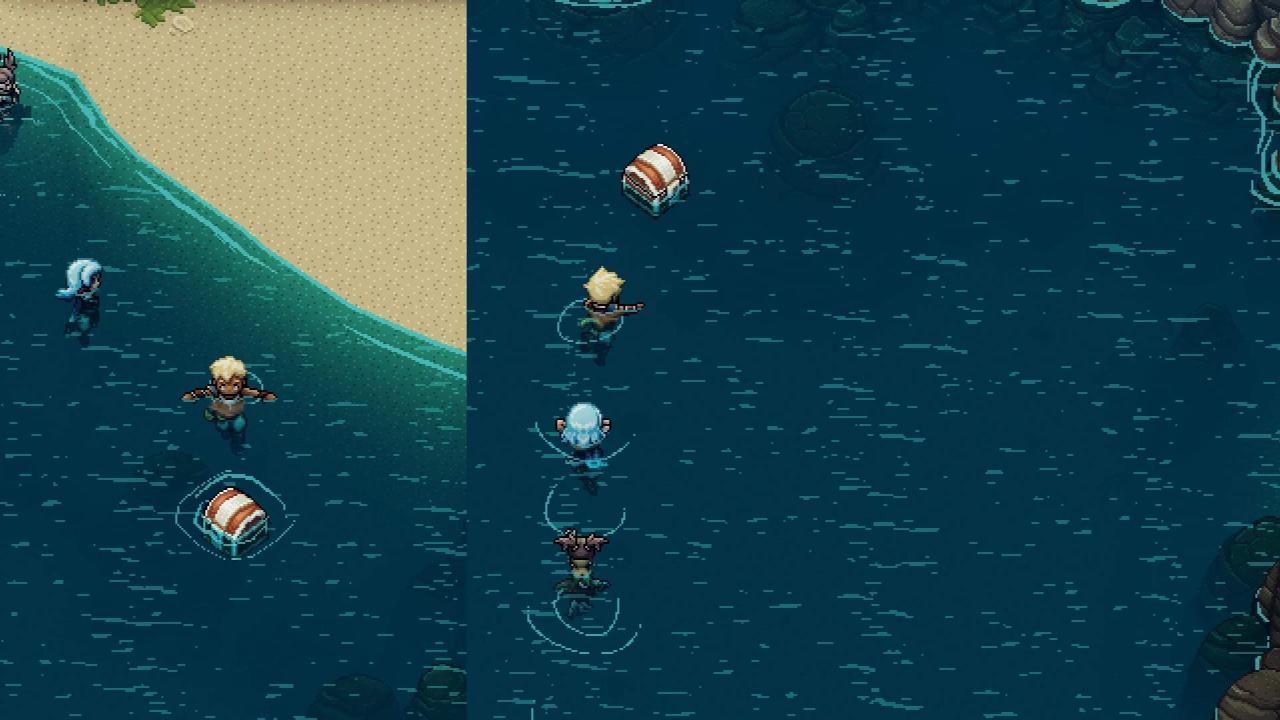
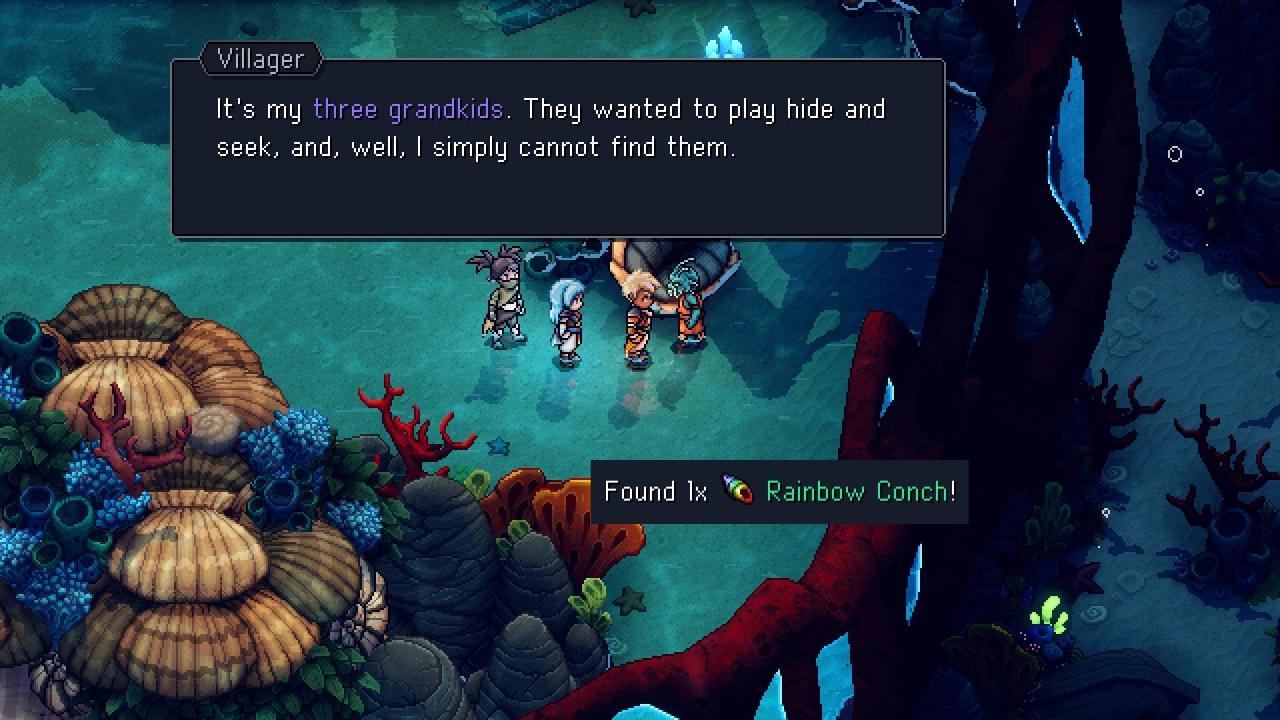
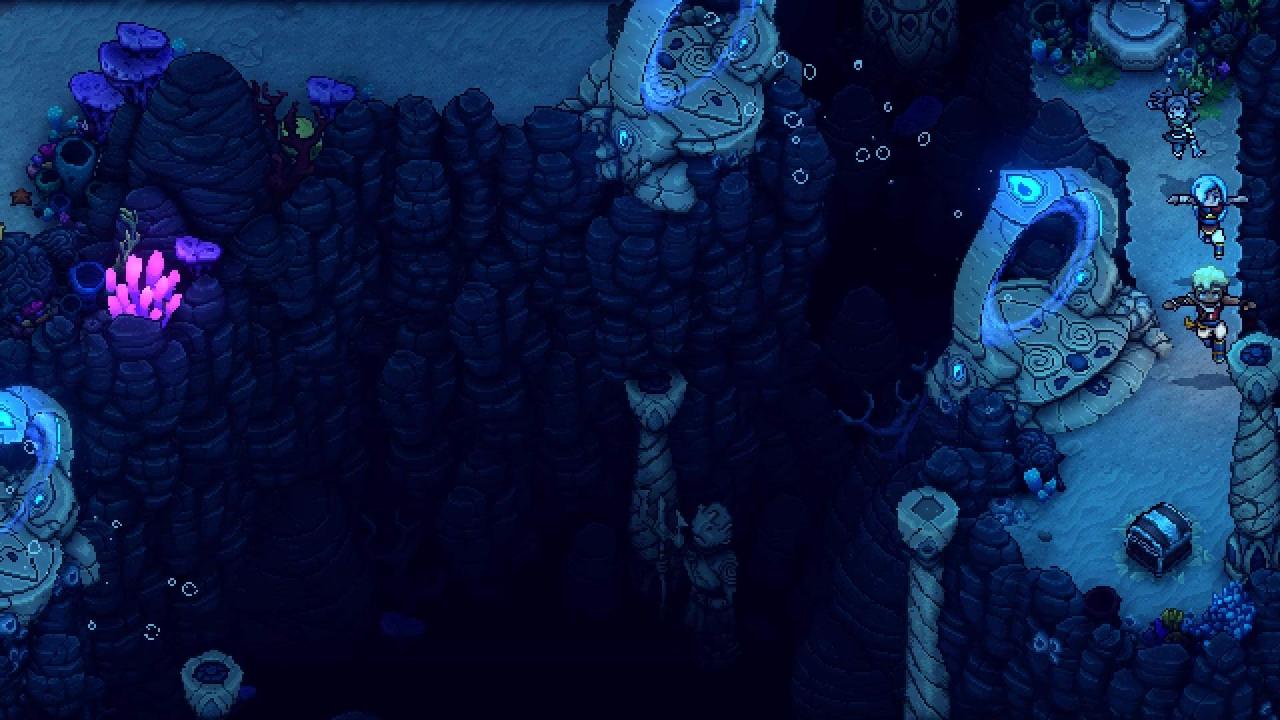
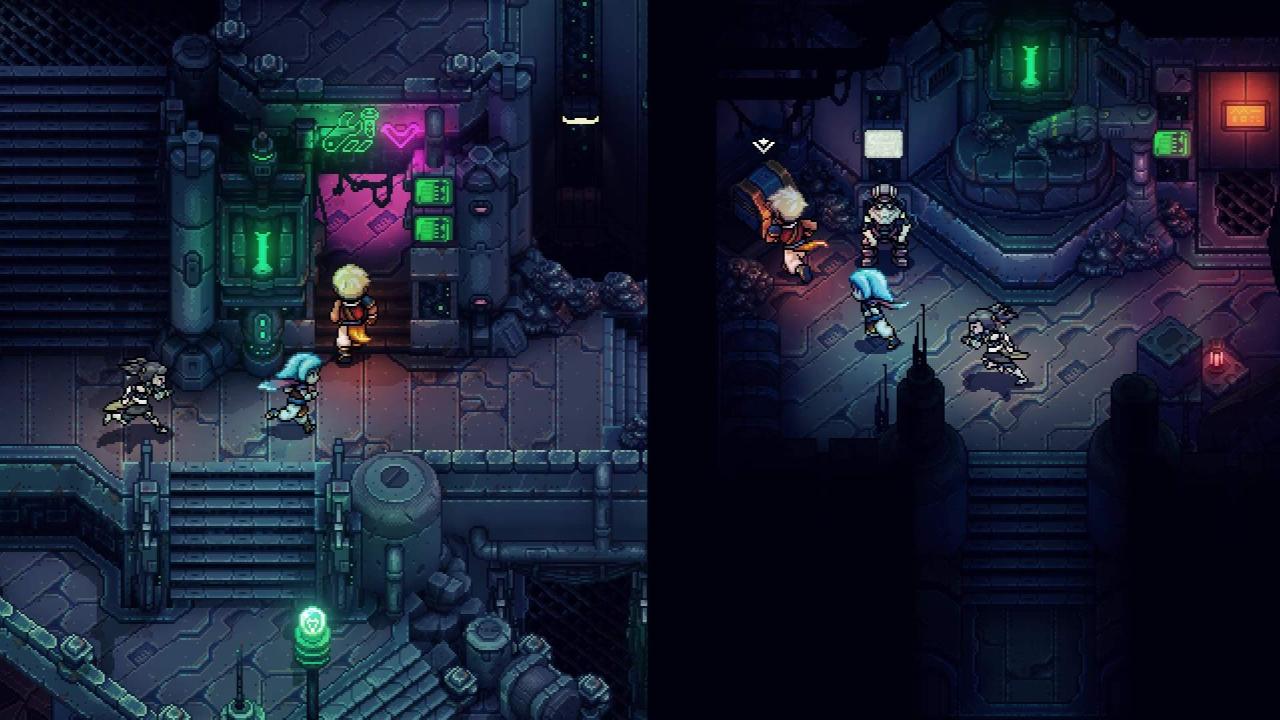
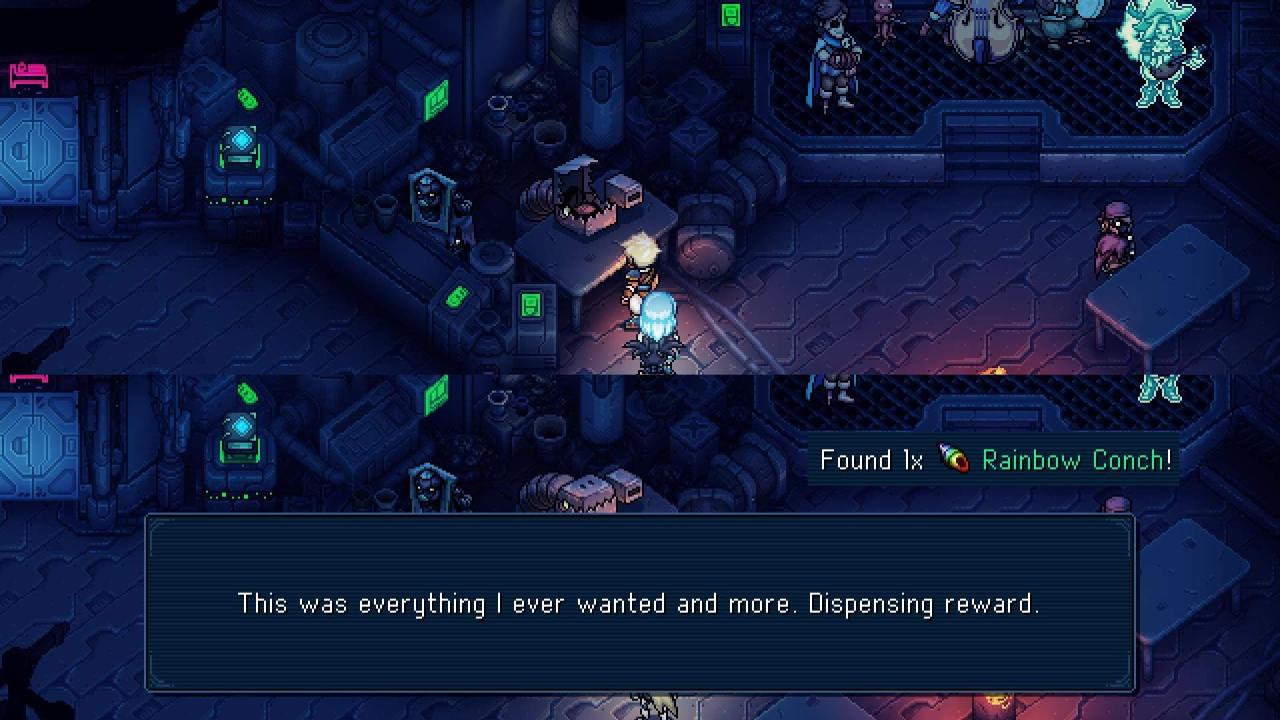
Xtol’s Landing / Sleeper Island
- Solstice Mage Ring
- 90 Gold
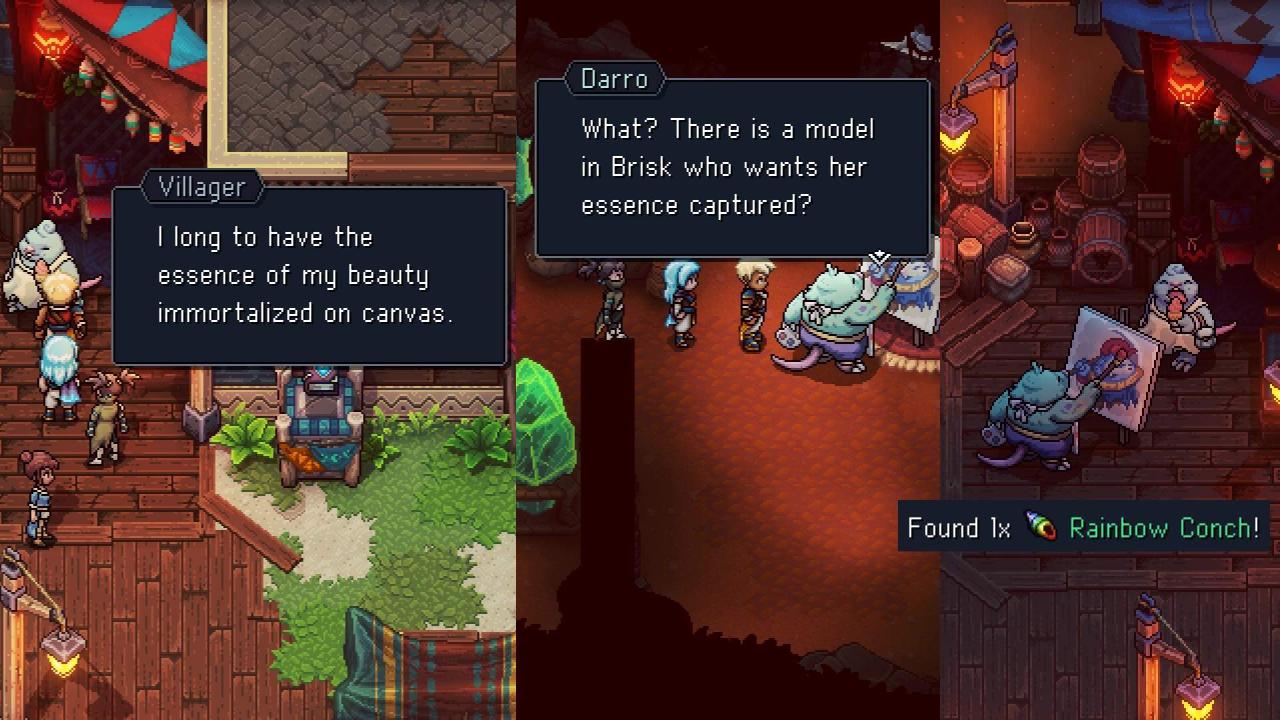
- Rainbow Conch
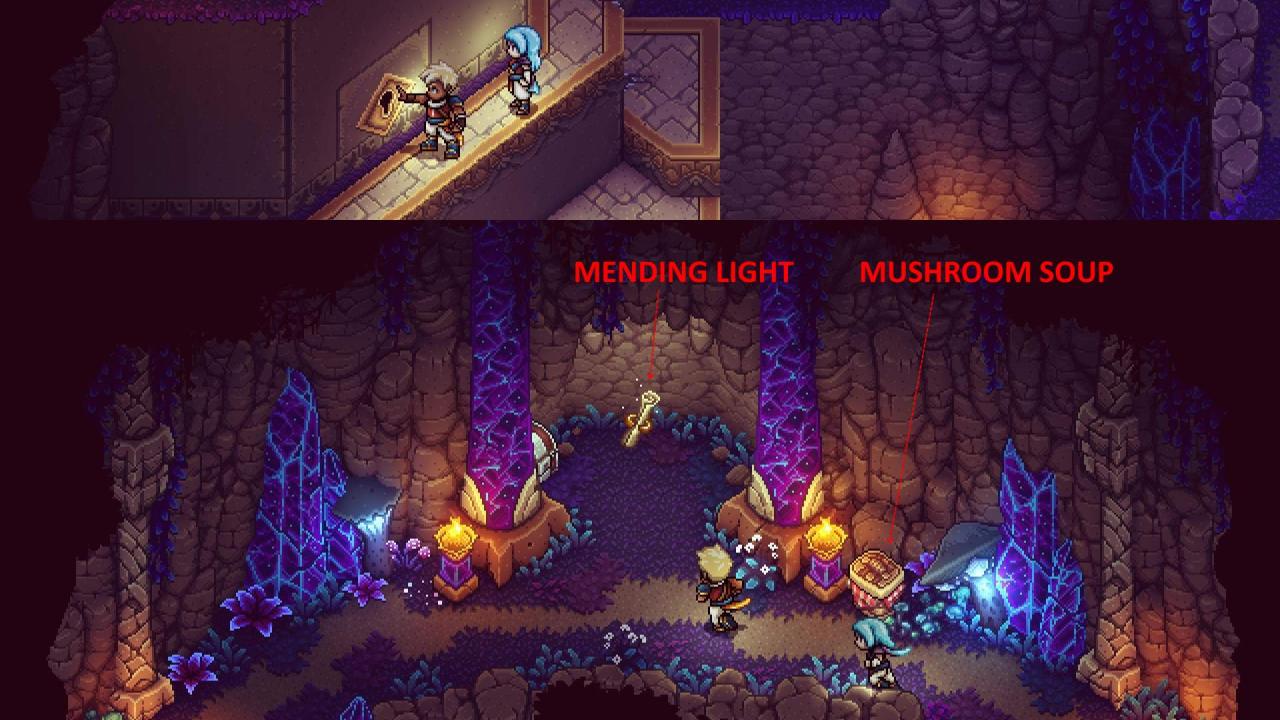
Moorlands
- Note to self: Backtrack to Blue Crystal and Conch Chest
- Power Belt
- 4x Teal Amber Ore
- Silver Sword
- Rock Lid
- Recipe: Mushroom Soup
- Can be reached after obtaining the Mistral Bracelet.
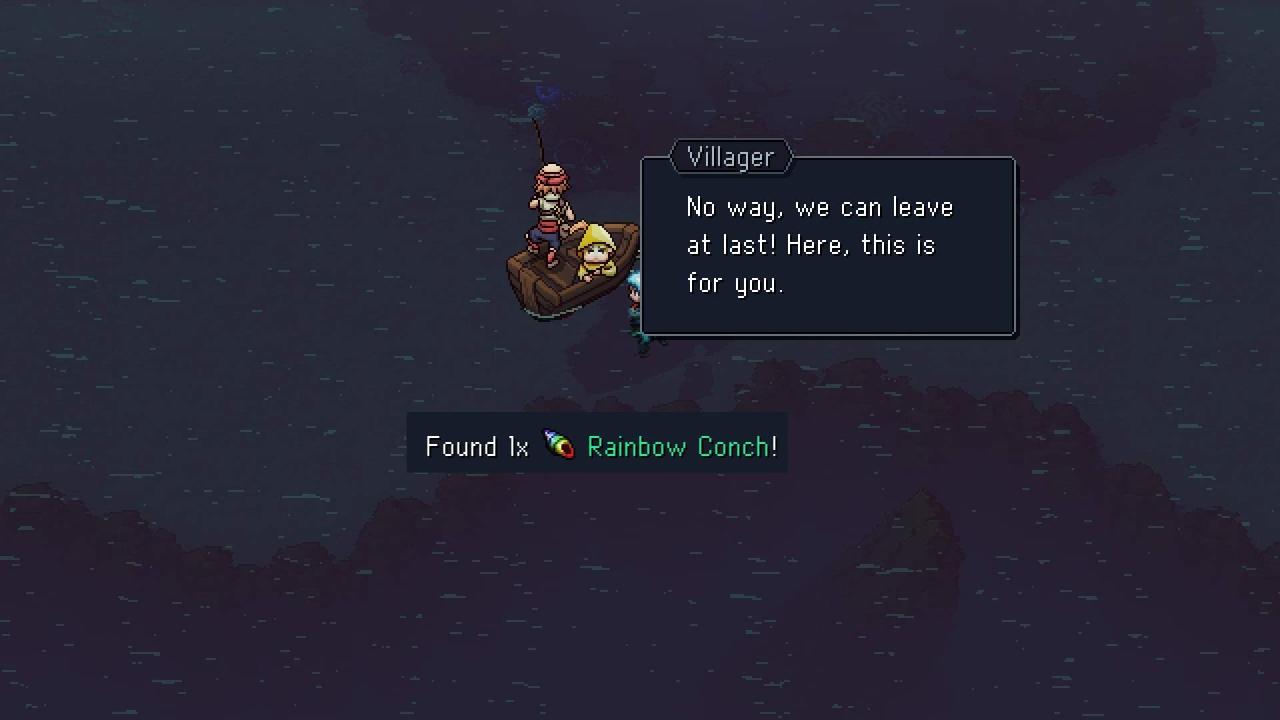
- Rainbow Conch
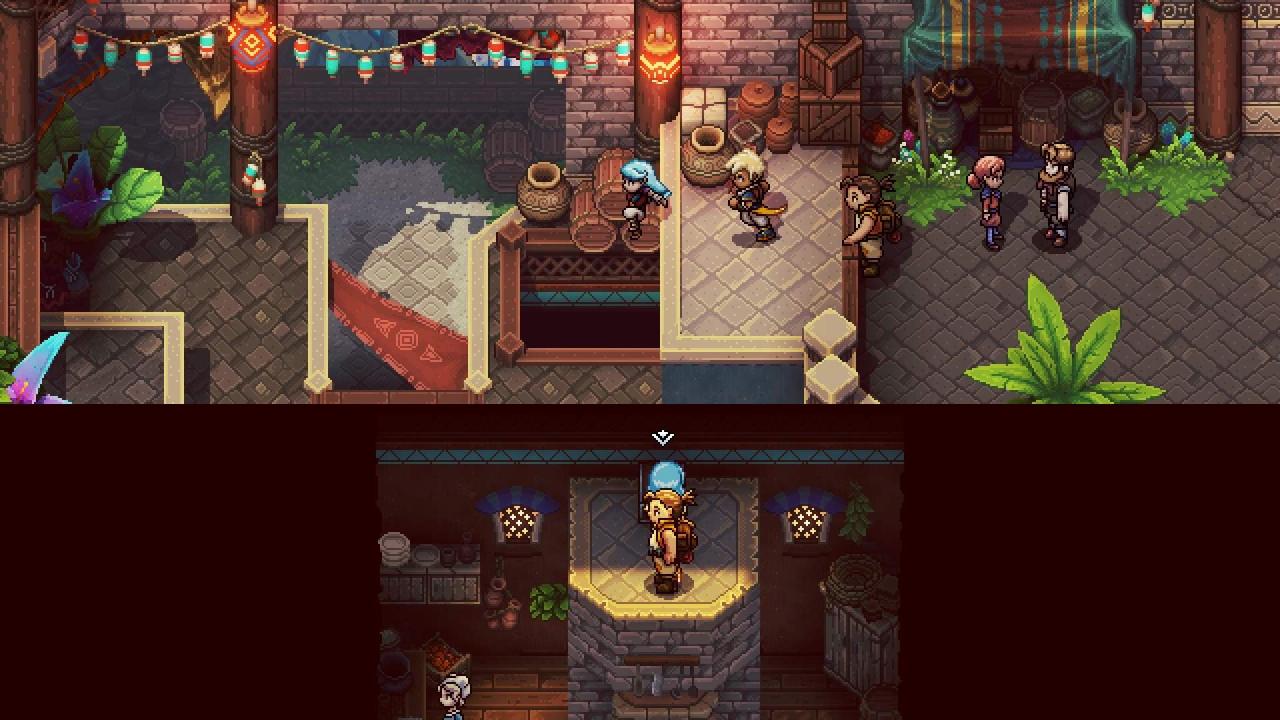
Keep talking to this NPC to get Mushroom Soup:
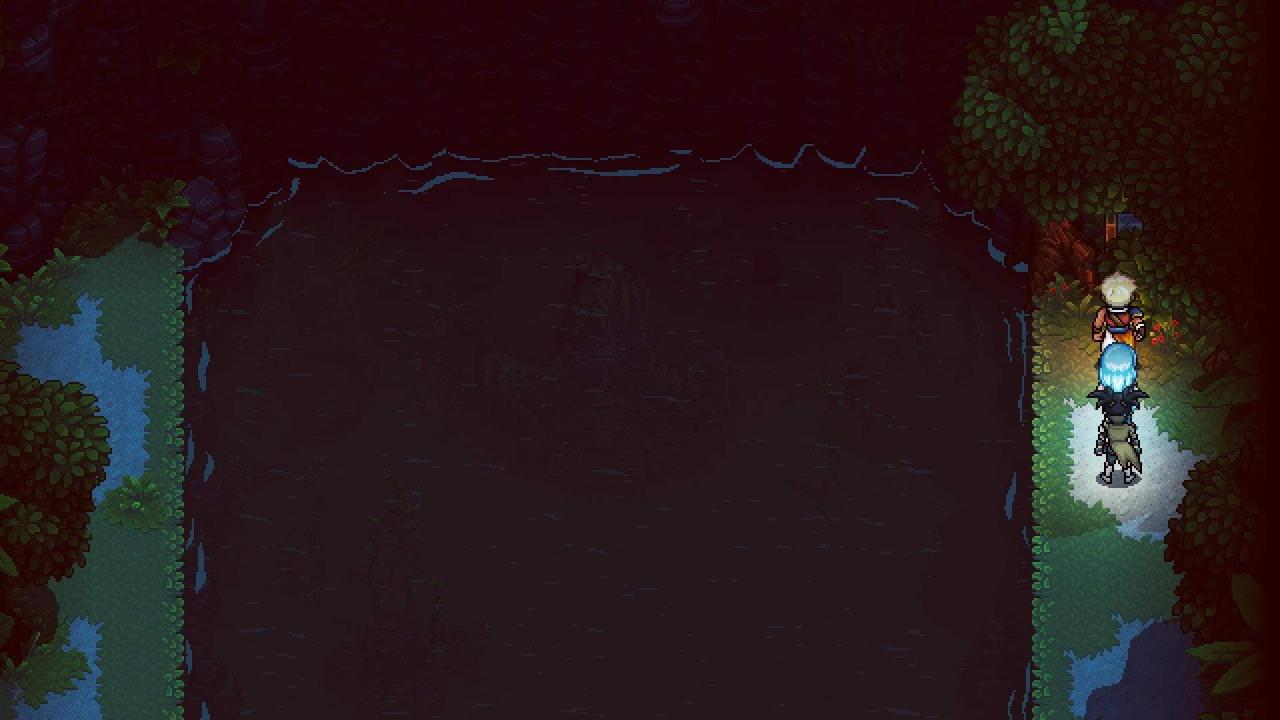
Exit Southwest in Moorlands to reach this area.
- Grass Haddock
- Hardshell
- Lunar Trout (repeat)
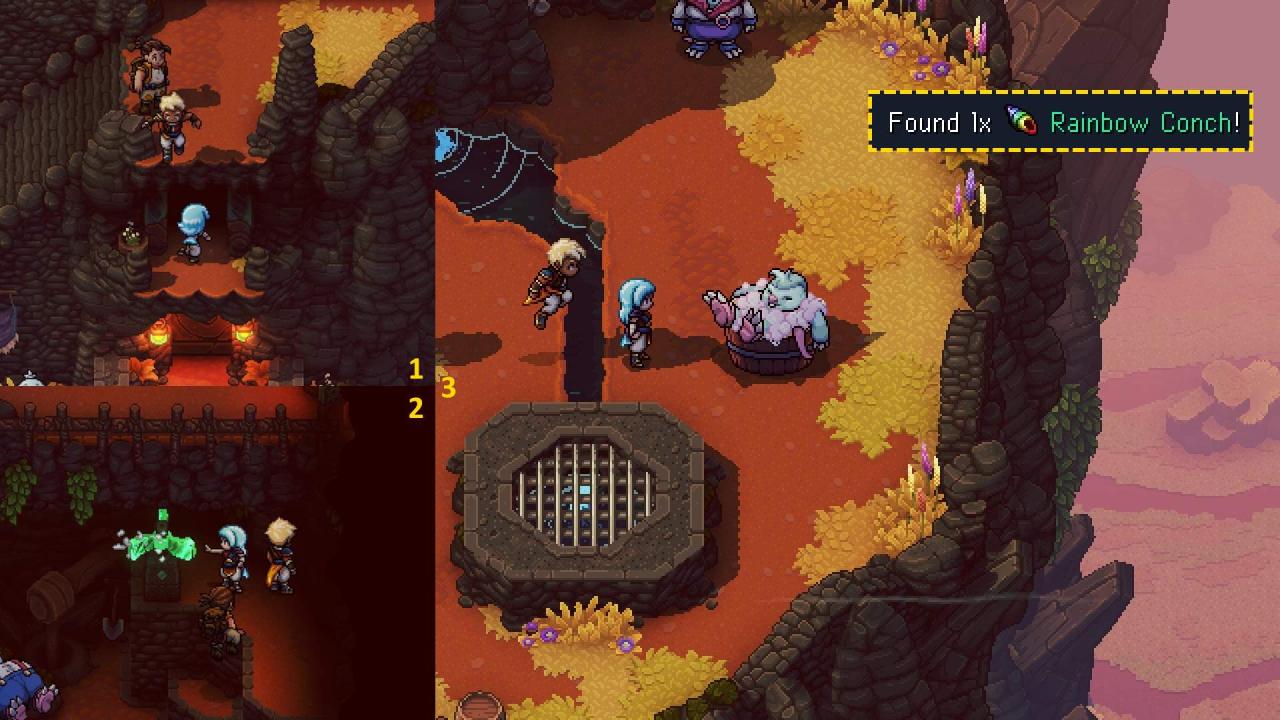
Stonemasons Outpost
- Ancient Molekin Cloak
- Teal Amber Ore
- Shiny Pearl
- Can be reached after obtaining the Mistral Bracelet.
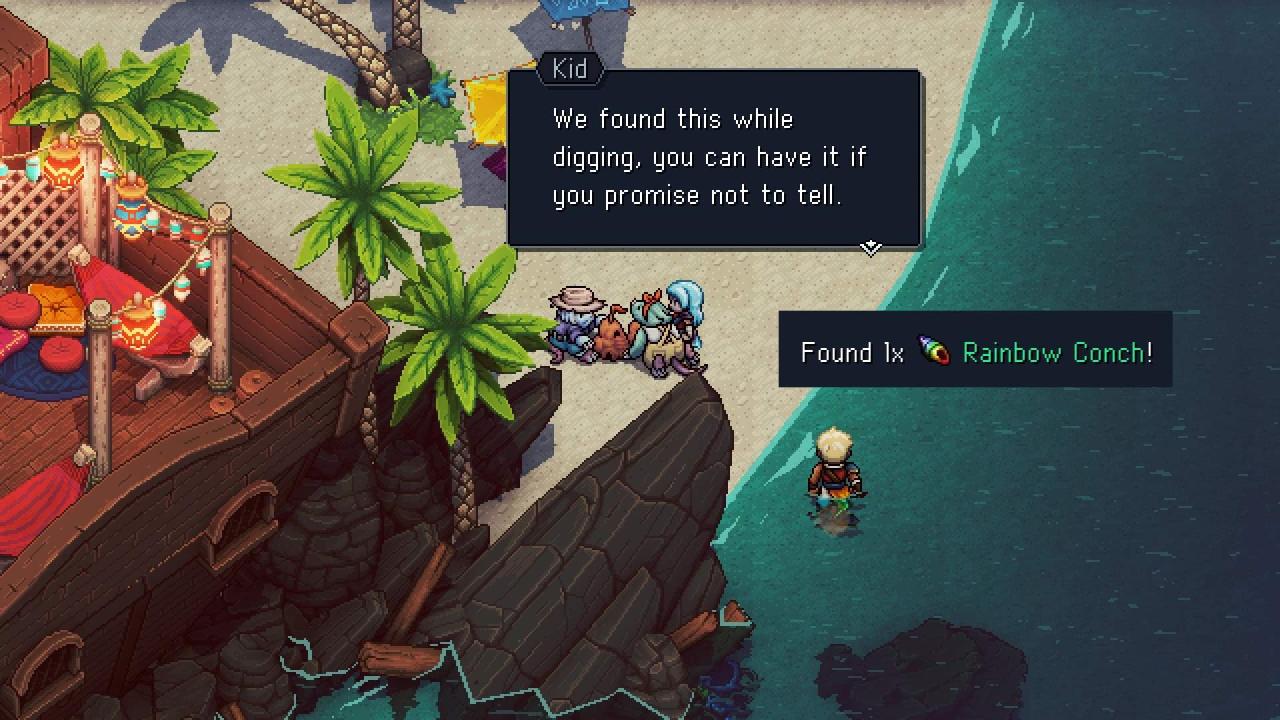
- Rainbow Conch
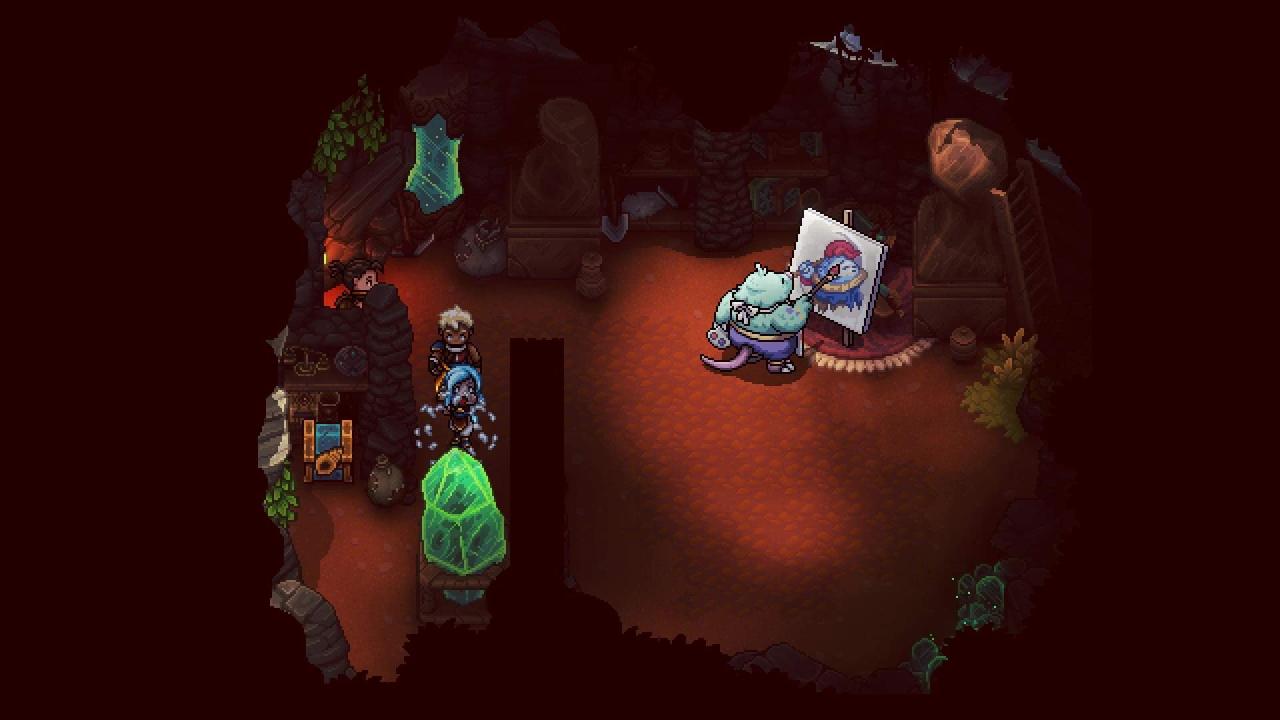
Head back to the Painter’s house after the events in Brisk Tavern.
After acquiring the Vespertine and establishing Mirth:
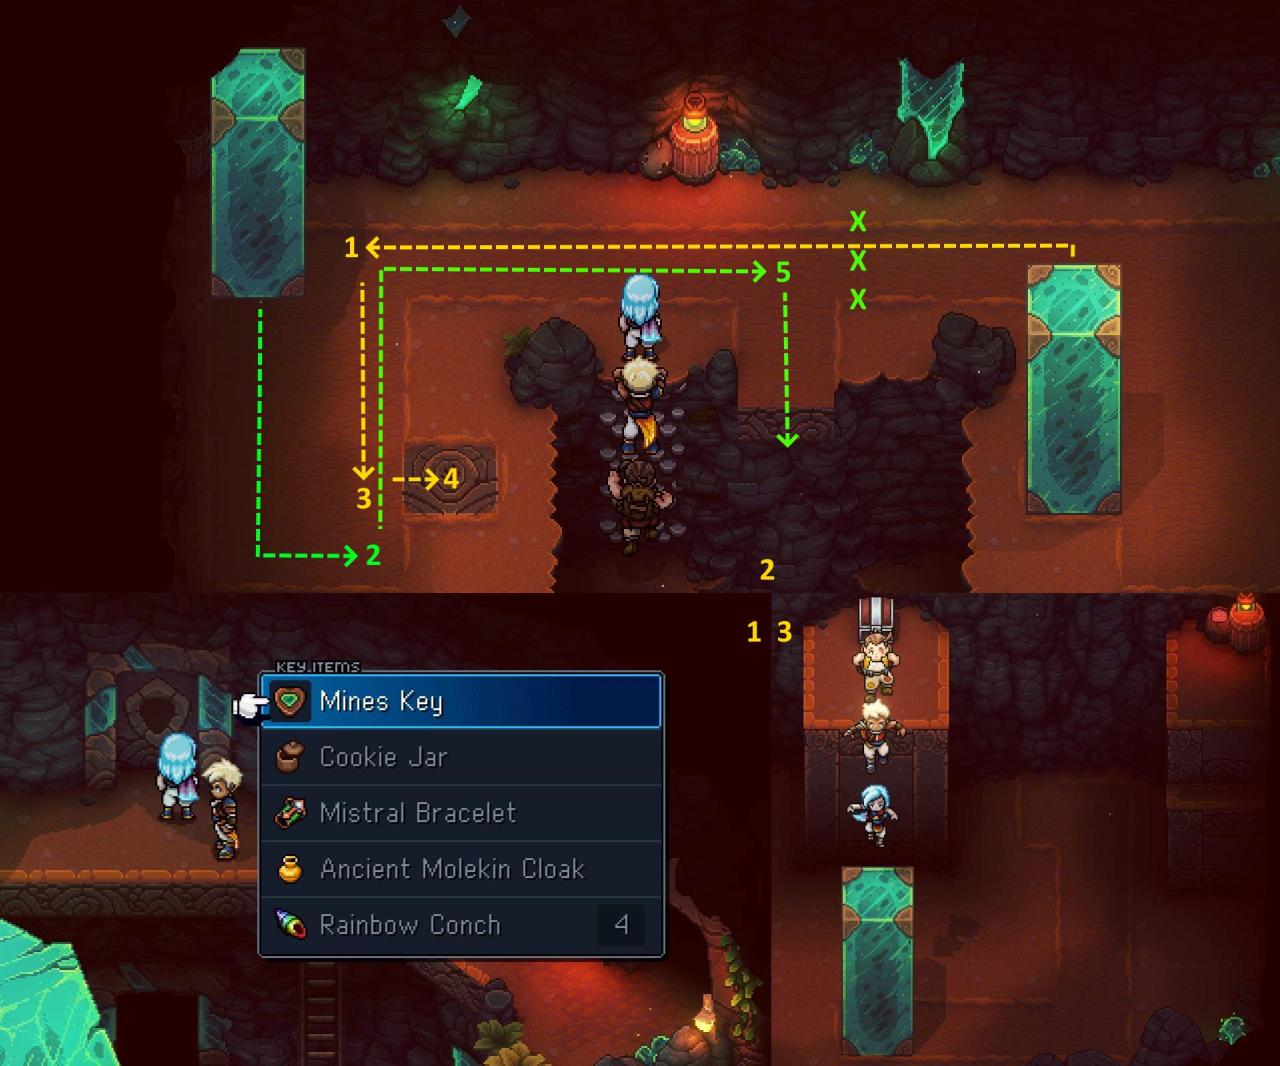
Wind Tunnel Mines
- 3x Egg
- Green Leaf
- 3x Dairy
- Teal Amber Ore
- Rainbow Conch
- Mistral Bracelet
- Mines Key
- Teal Amber Ore
- Mushroom Soup
- Trader’s Signet
↪ Backtracking: Mistral Bracelet
Now that you have the Mistral Bracelet, you can push certain blocks related to treasures/puzzles. Don’t forget to backtrack to Moorlands to get that Rainbow Conch.
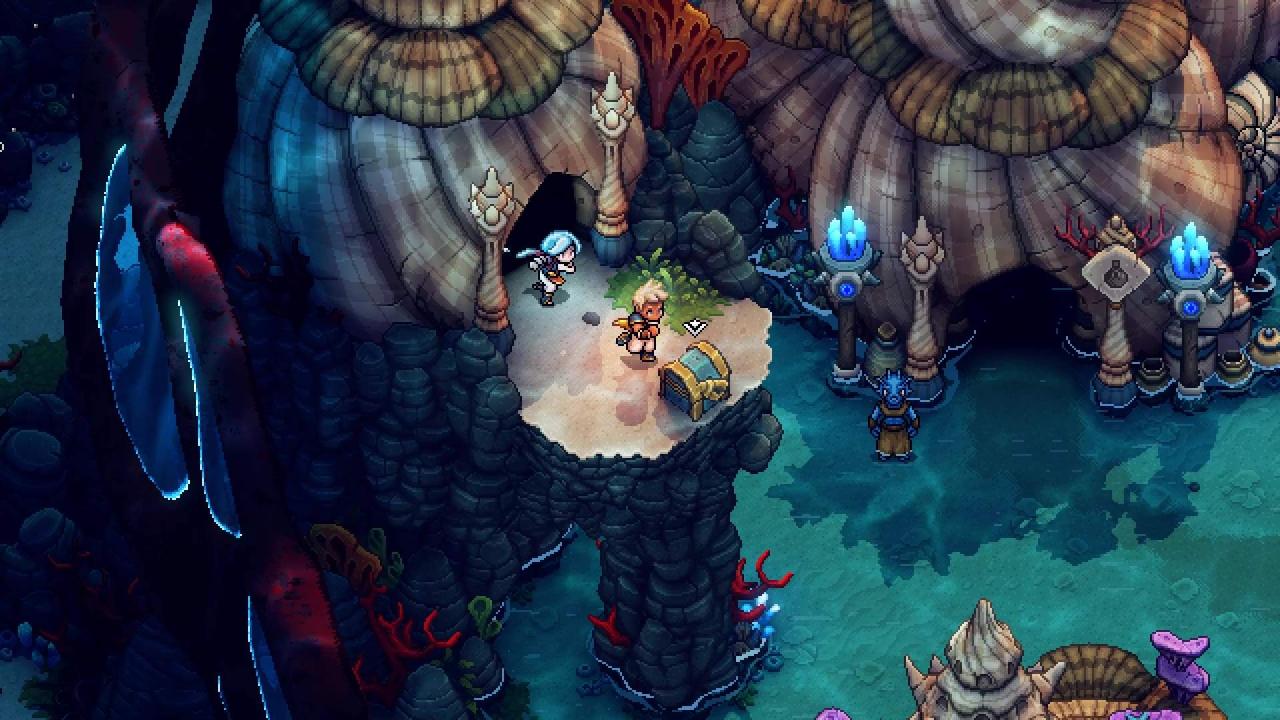
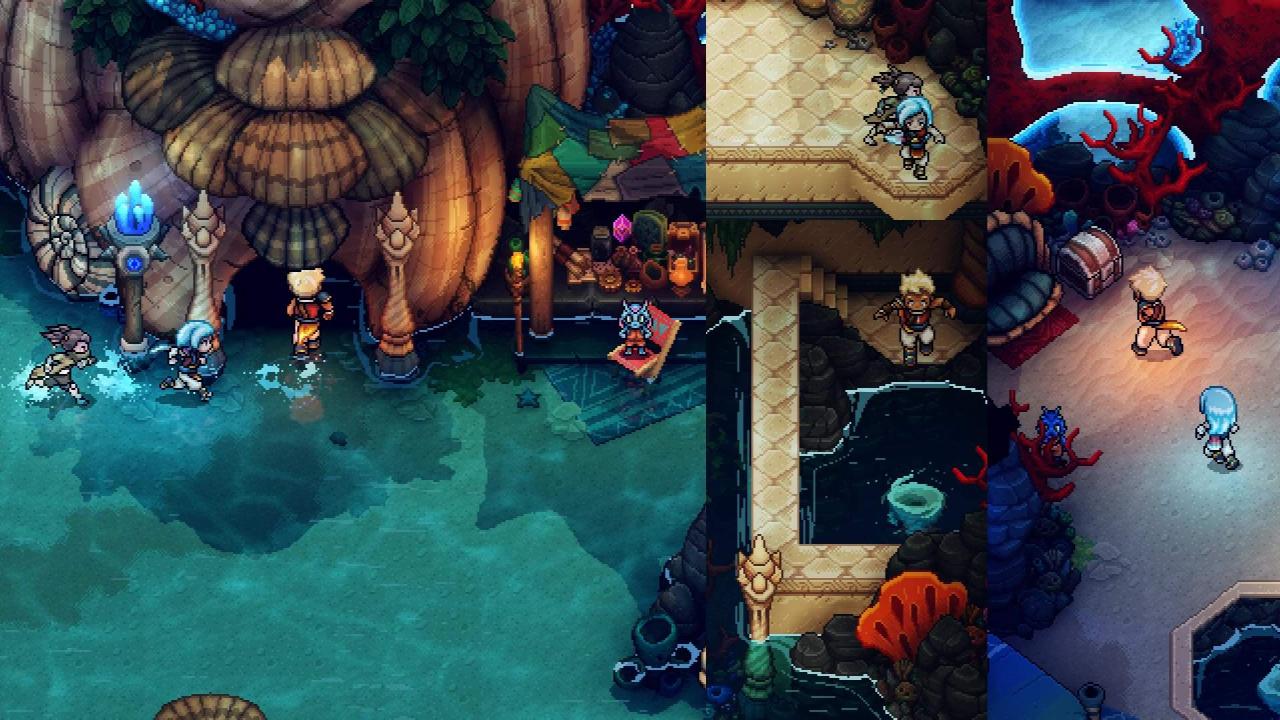
Coral Cascades
- Pirate Garb
- Rainbow Conch
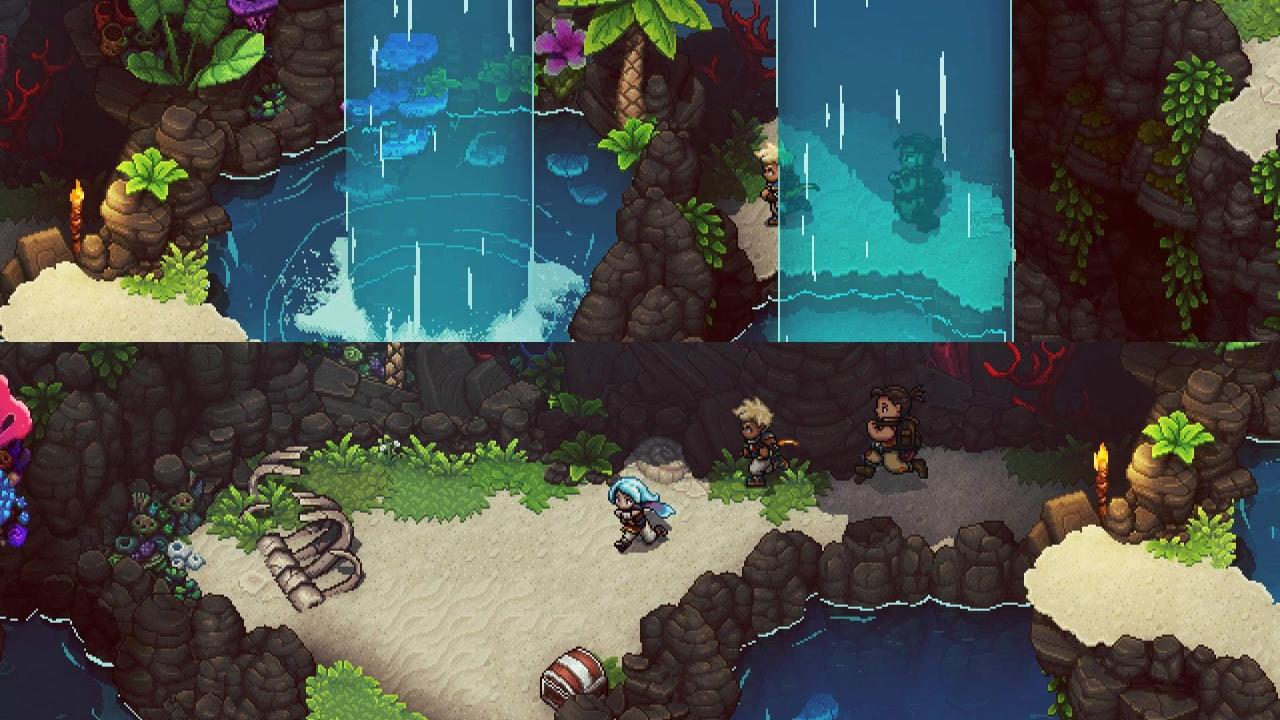
- 50 Gold
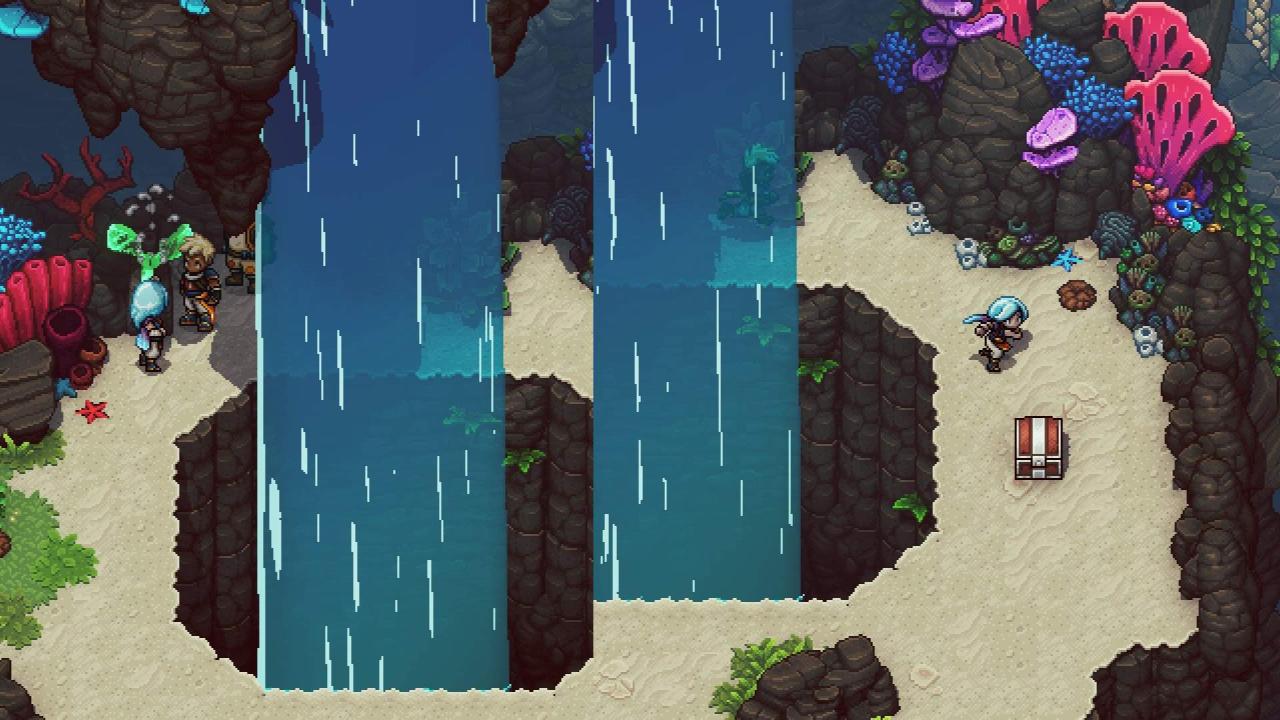
- 2x Obsidian Ore
- Rainbow Conch
Food (Picnic Baskets):
- Mooncradle Fish Pie
- Chaudrée
Port Town of Brisk

- Rainbow Conch

- Pirate Garb
- Shiny Pearl
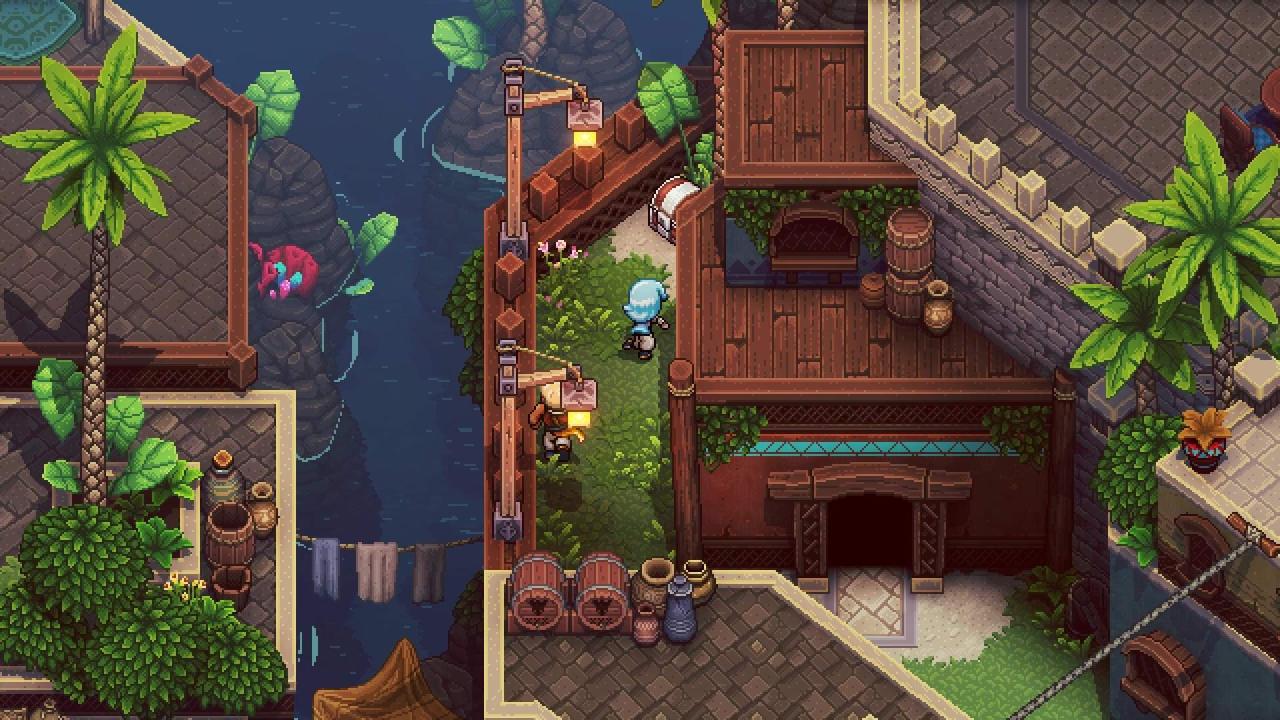
- 50 Gold
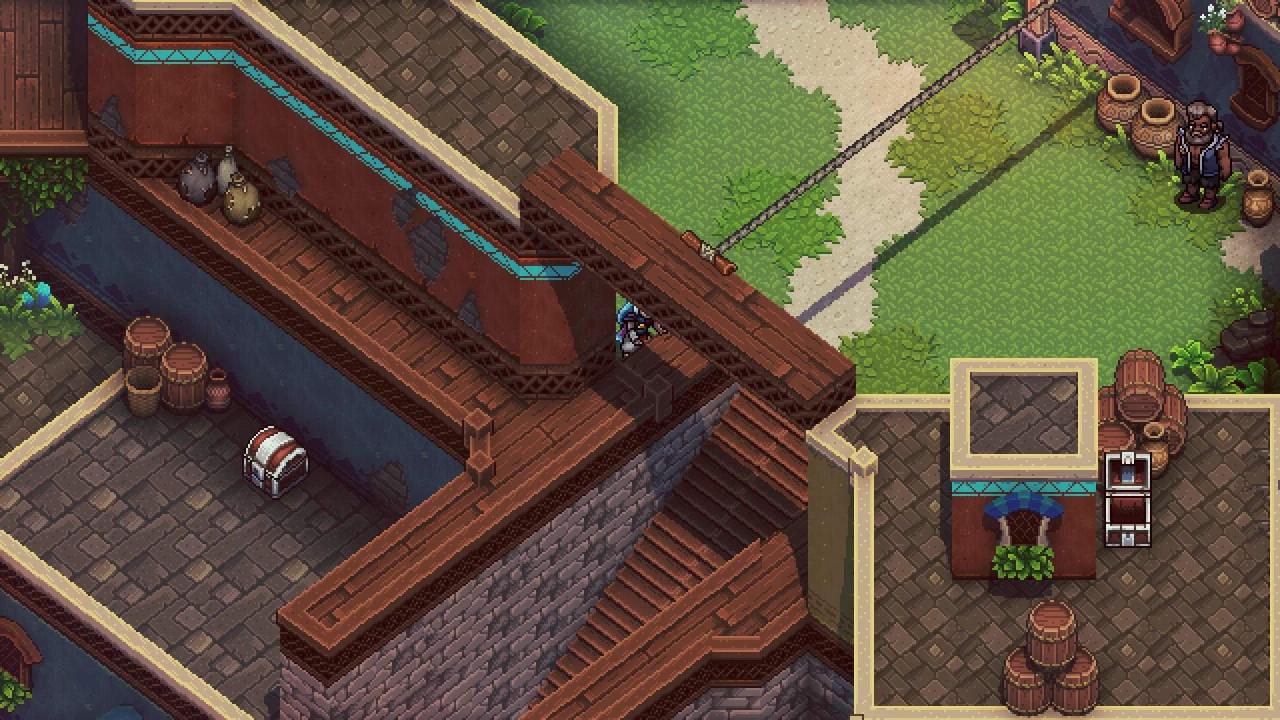
- 30 Gold
- Power Belt
- Arcane Amulet
- Rainbow Conch
- Rainbow Conch
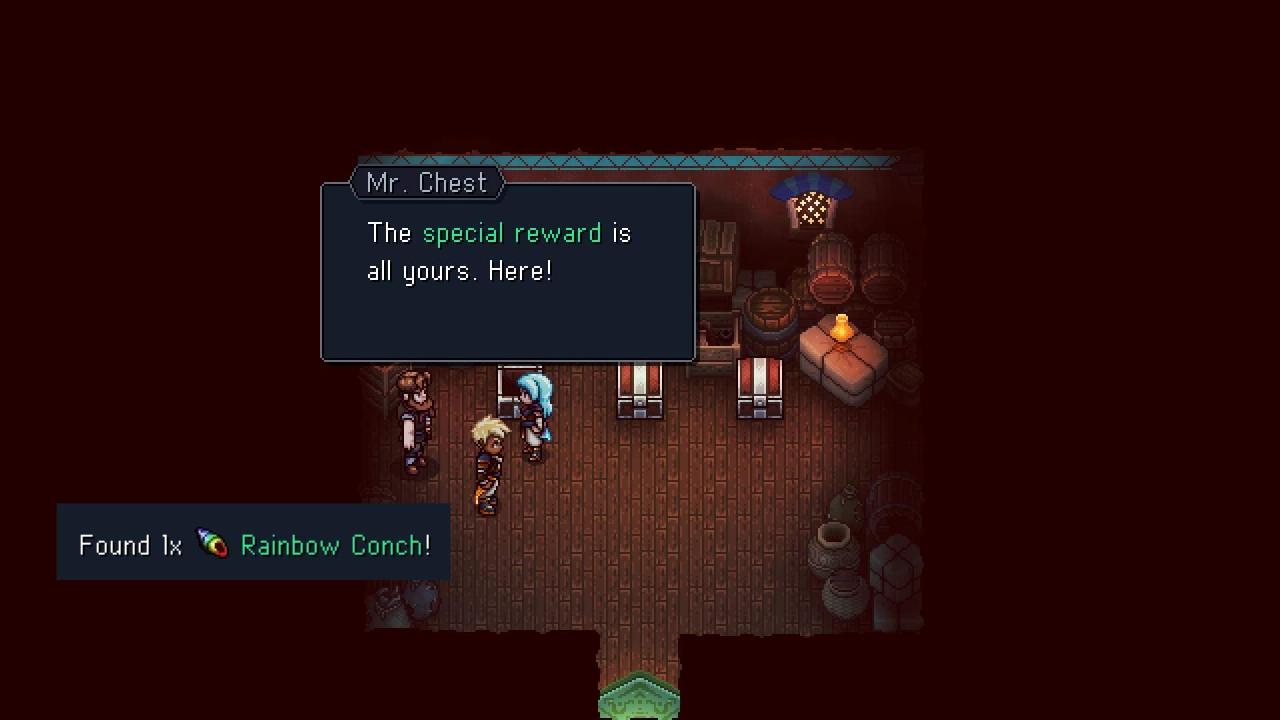
Get the 10g prize 5 times for a Rainbow Conch.
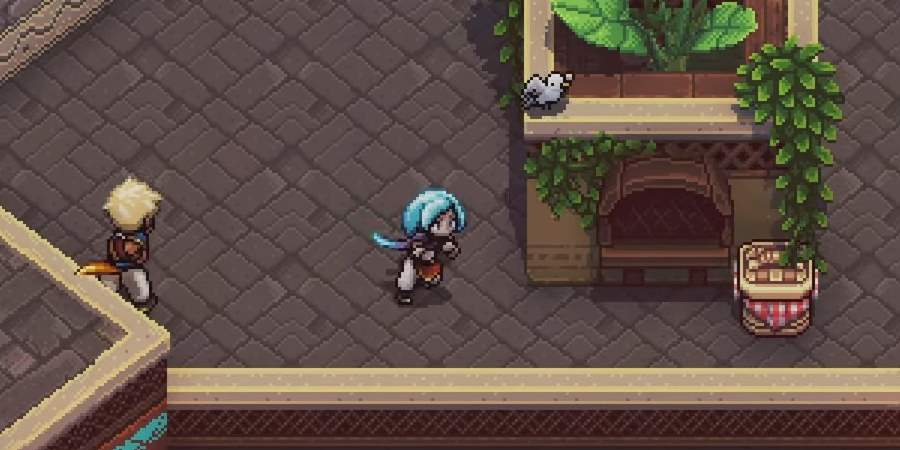
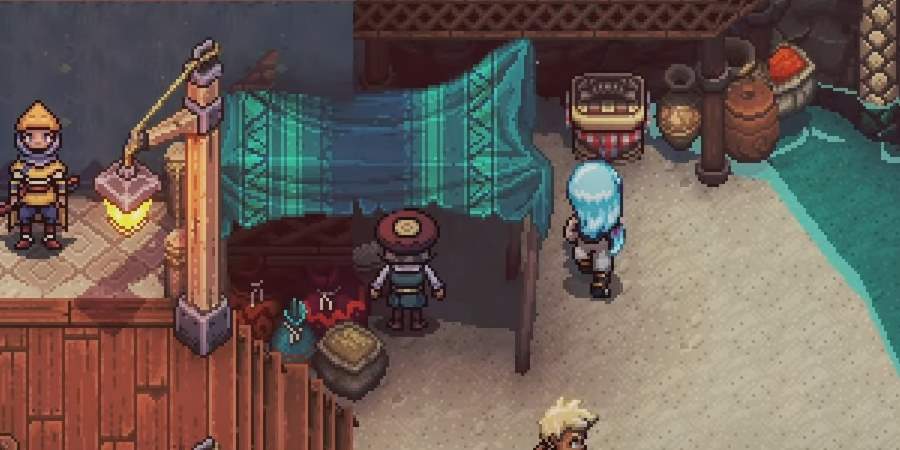
Bring 40 Fish Fillets to the NPC in the screenshot. You can farm Fillets near the exit of Coral Cascades (battles) or at the nearest Fishing Spot on this island. Don’t wait too long to complete this since the NPCs get displaced and I’m not sure if/where they resurface.
You have to lose first before the NPC outside of the minigame building appears. Pay 90G to get the winning number and get the prize.
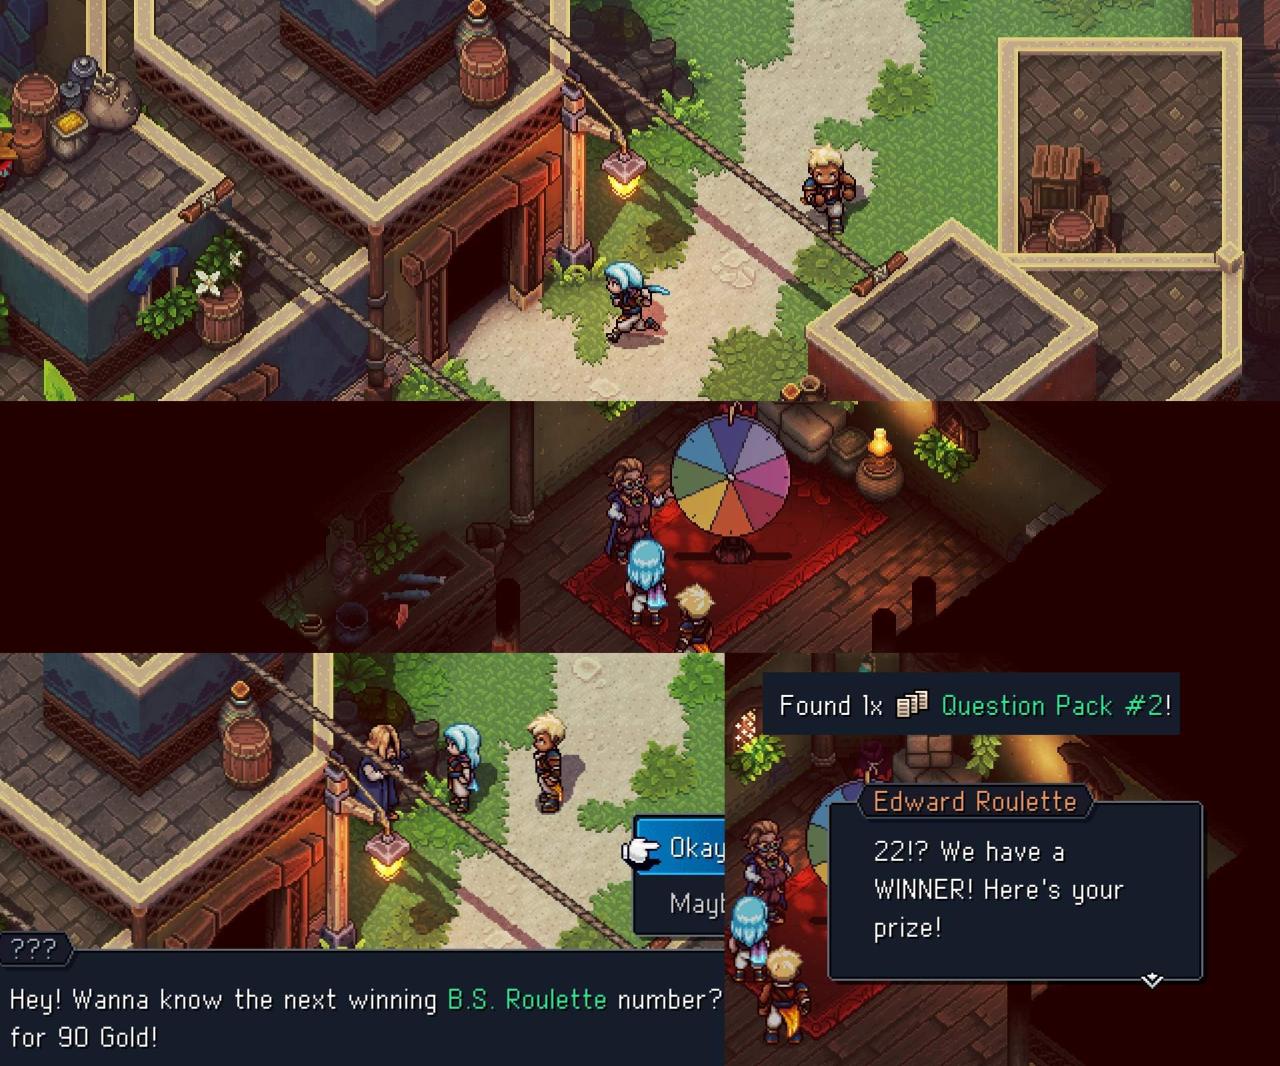
You’ll get your starter set to play Wheels as you try to leave following the events in the Brisk Tavern. NOTE: Wheels Champion game rewards depend on the number of Champion games won. I listed the number beside the wheels player to indicate the order in which I fought them so you can match the reward (if you want).
After acquiring the Vespertine and establishing Mirth:
Talk to Darro once they are are both in Brisk for your reward.
Food (Picnic Baskets):
- 9x Grain
- 6x Seafood
- Mushroom Scramble
- Hardshell (repeat)
- Man o’ War (repeat)
- Grass Haddock (repeat)
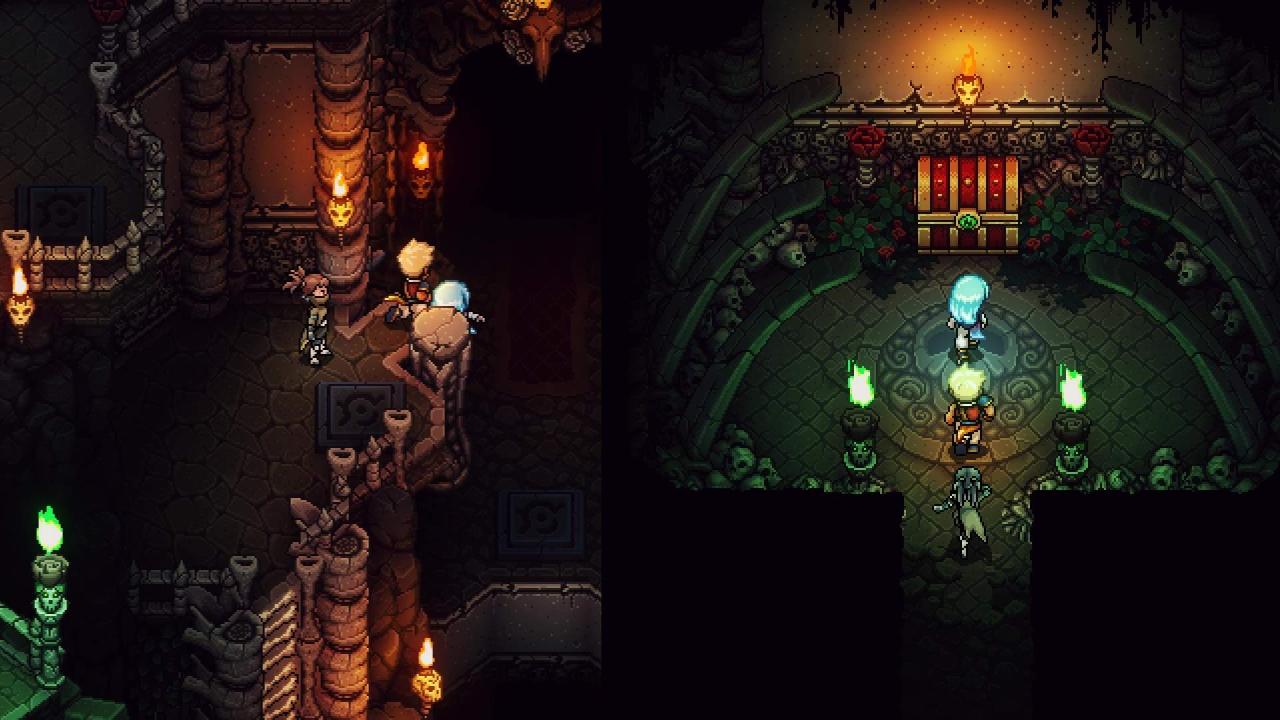
All the treasure chest timestamps are also in the video description. The order of the last 3 rewards will depend on which room you clear first (not tied to a color: 3rd crystal slot → Mage-Knight’s Armor → Rainbow Conch). Treasure Checklist:
- Green Crystal
- Blue Crystal
- Rainbow Conch
- Red Crystal
- Mage-Knight’s Armor
- Rainbow Conch
00:00 Chest #1 – Green Crystal 00:20 Green Room 00:55 Chest #2 – Blue Crystal 00:12 Blue Room 03:03 2nd Crystal Slot Unlocks 03:29 Cyan Room (Green + Blue) 03:39 Chest #3 – Rainbow Conch 04:29 Chest #4 – Red Crystal The next 3 rewards/chests will remain the same, just in a different order, depending on which rooms you clear first. 05:04 Yellow Room (Green + Red) 05:46 3rd Crystal Slot Unlocks 06:20 Yellow Room (Blue + Red) 07:07 Golden Watch 07:26 Chest #5 – Mage-Knight’s Armor 07:40 Red Room 08:49 Chest #6 Rainbow Conch
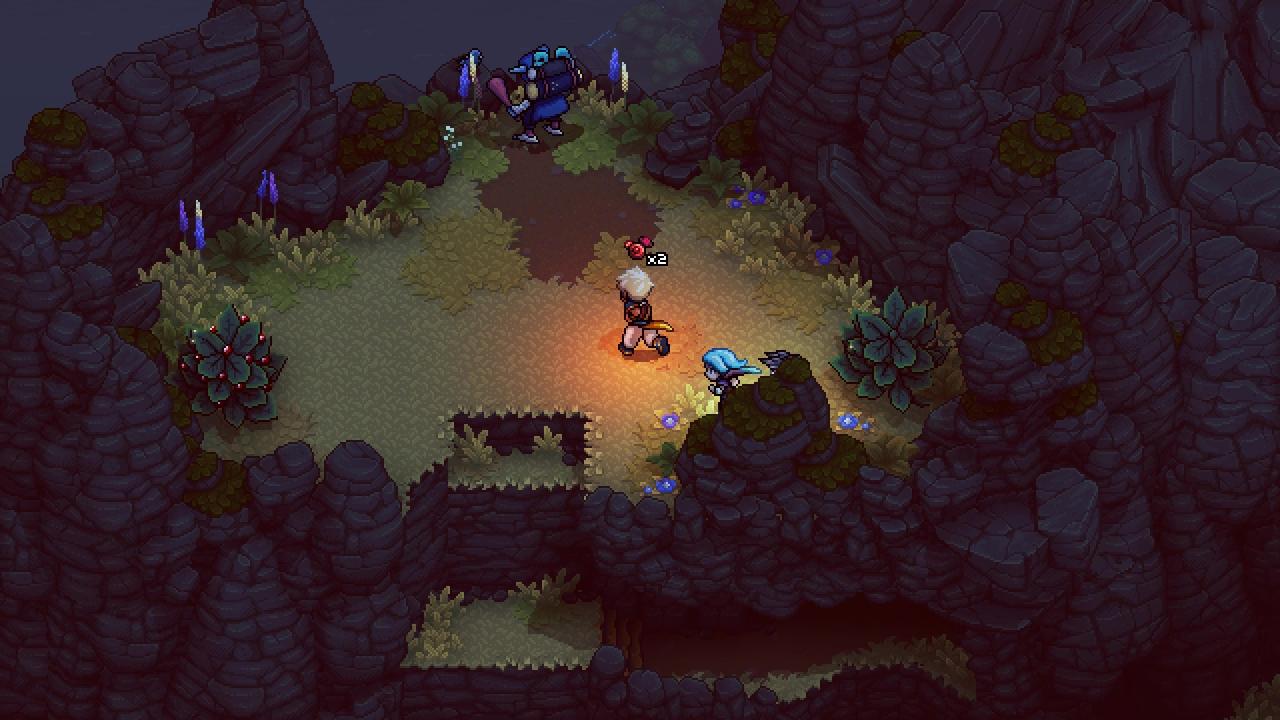
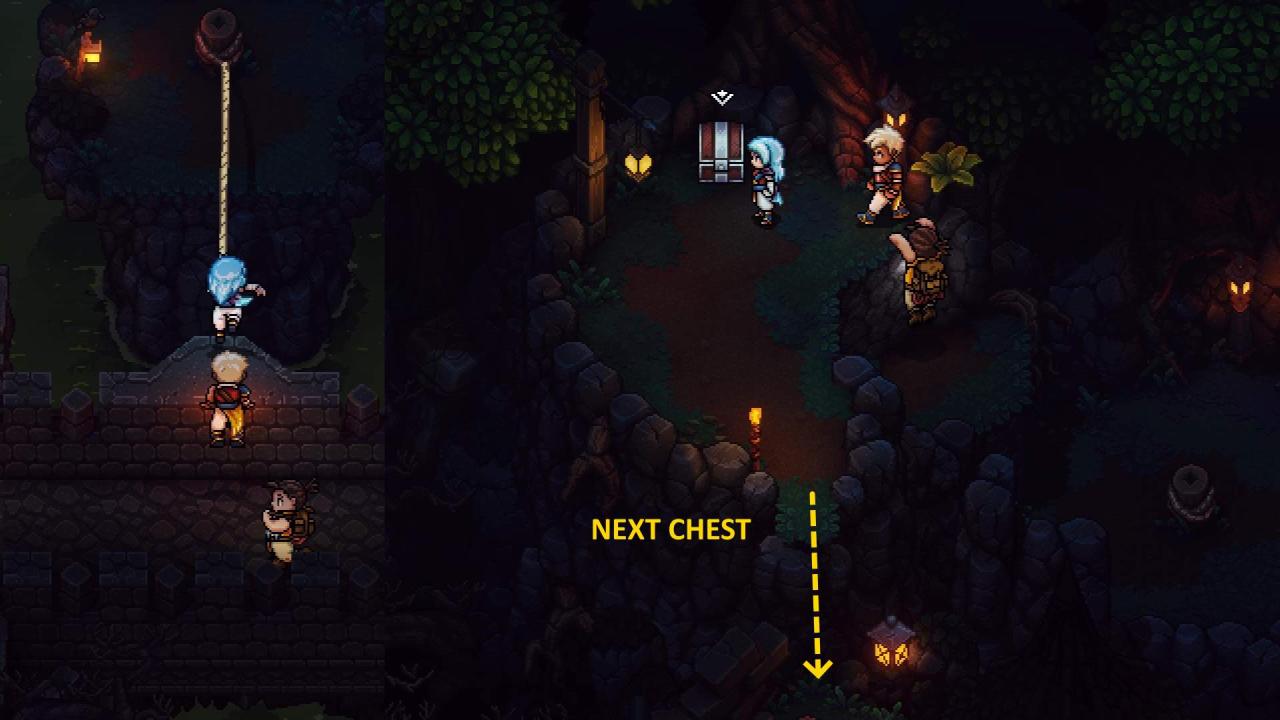
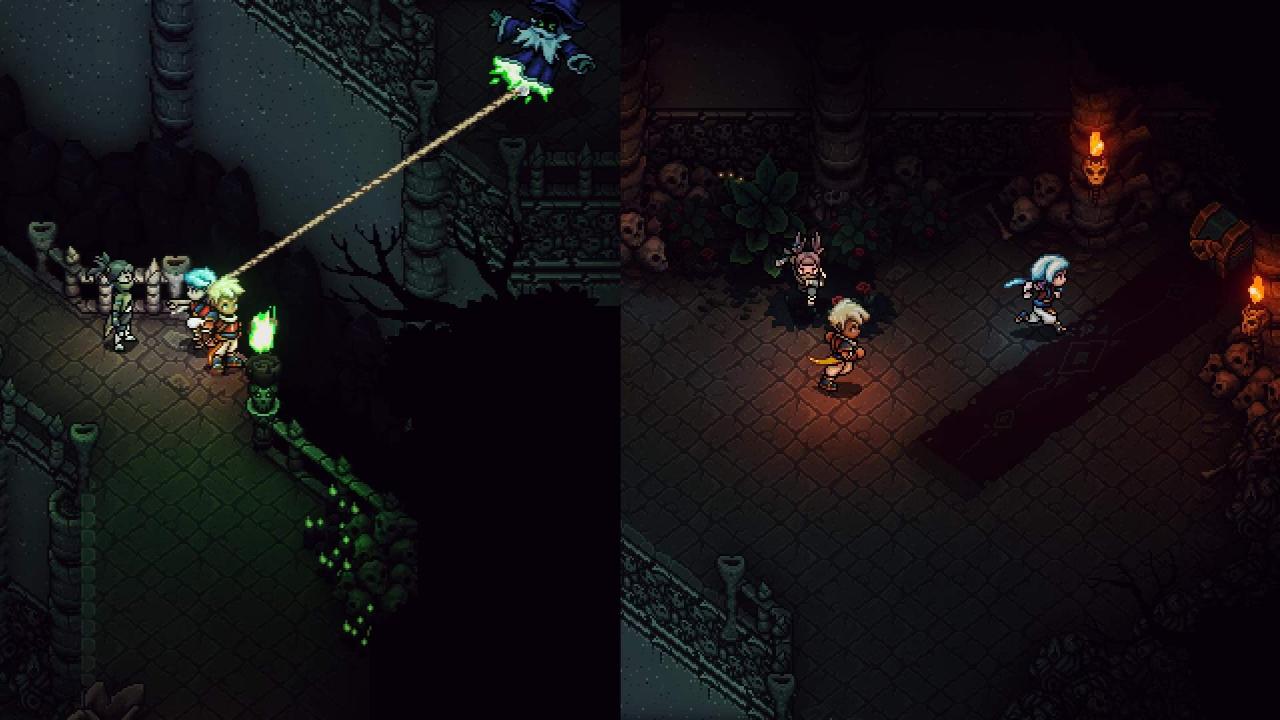
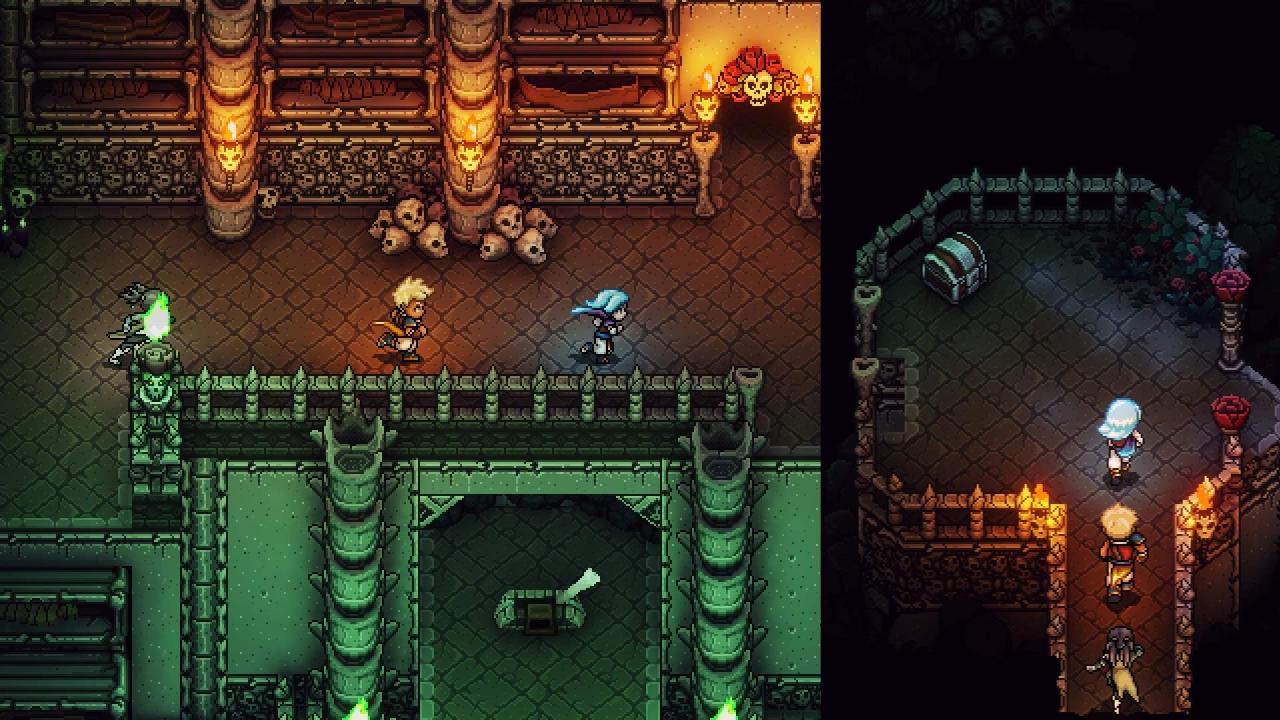
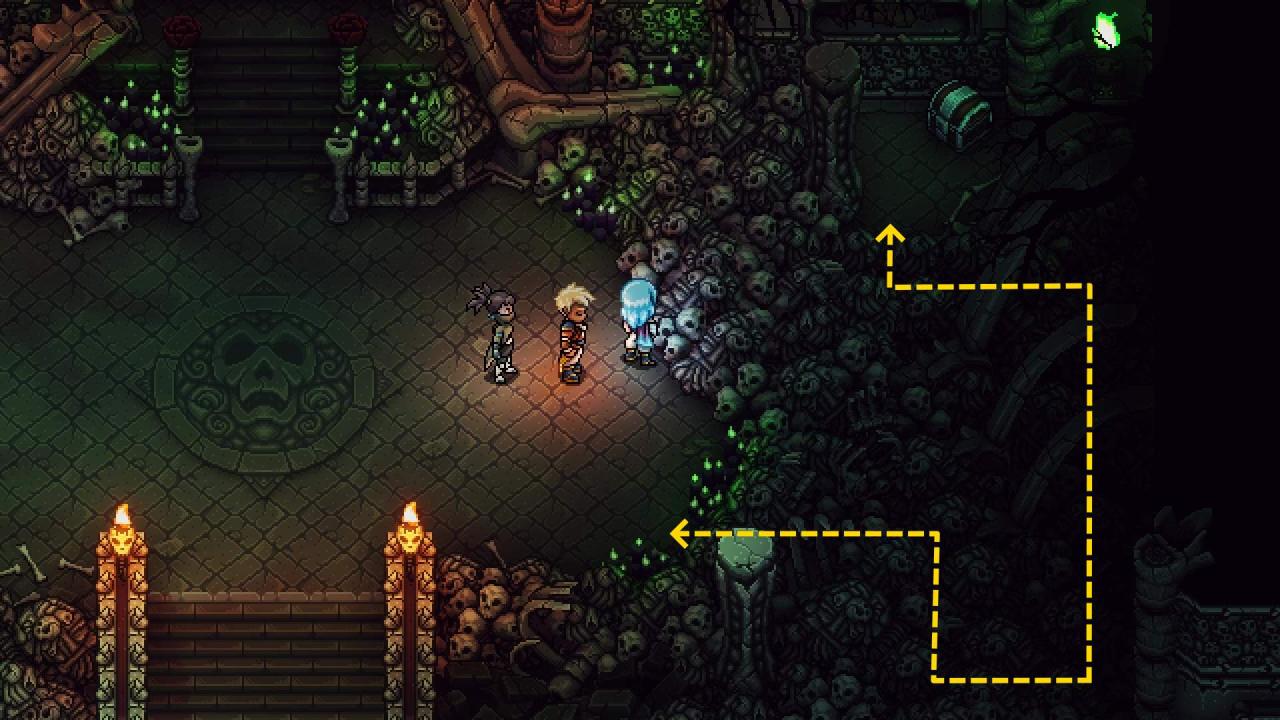
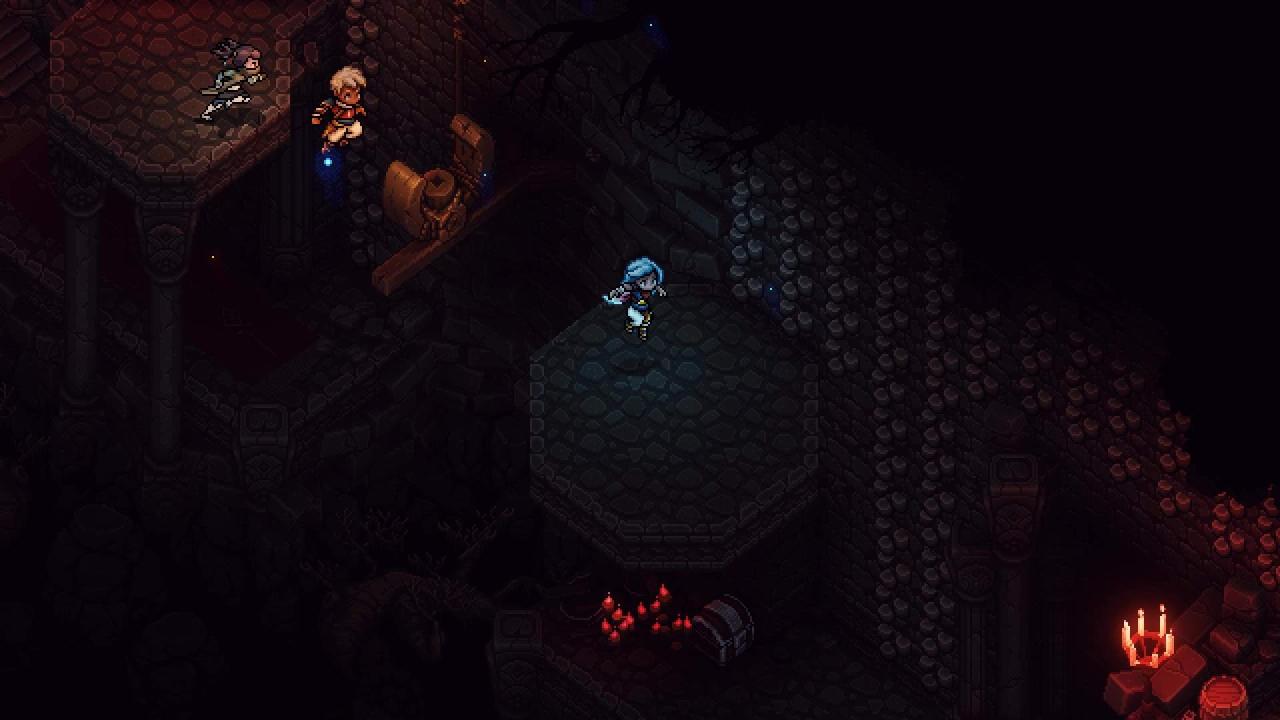
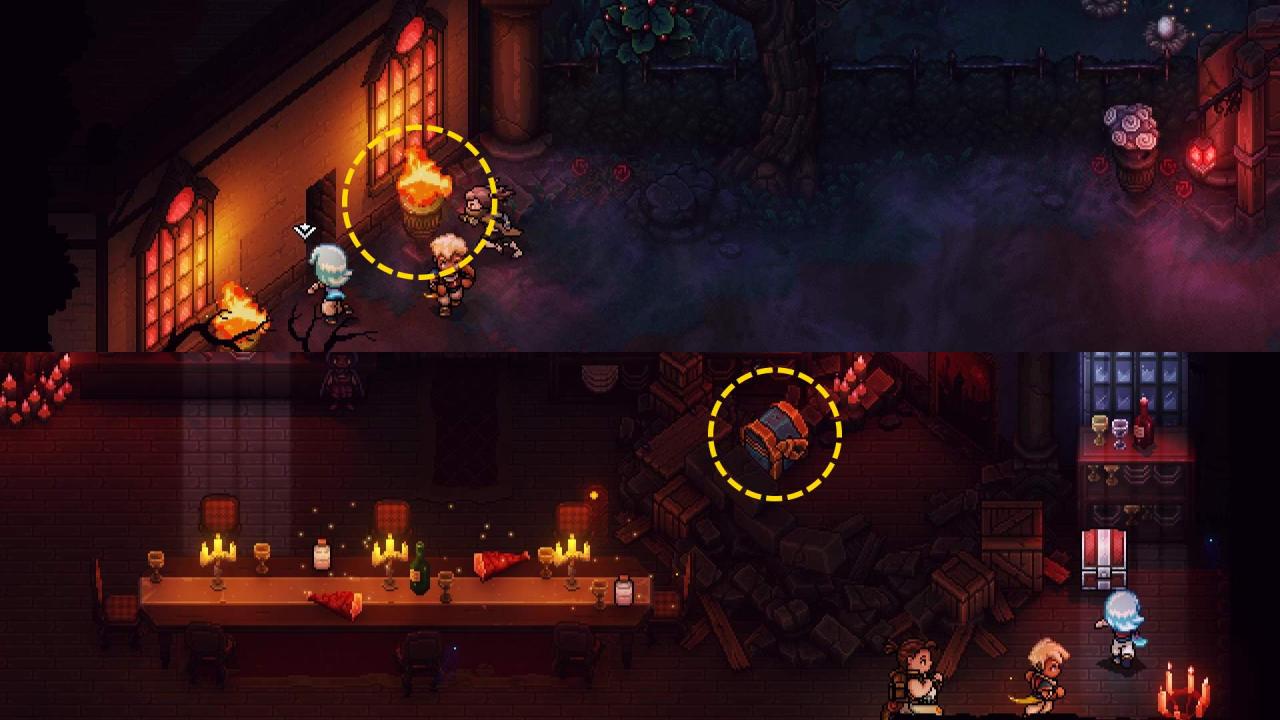
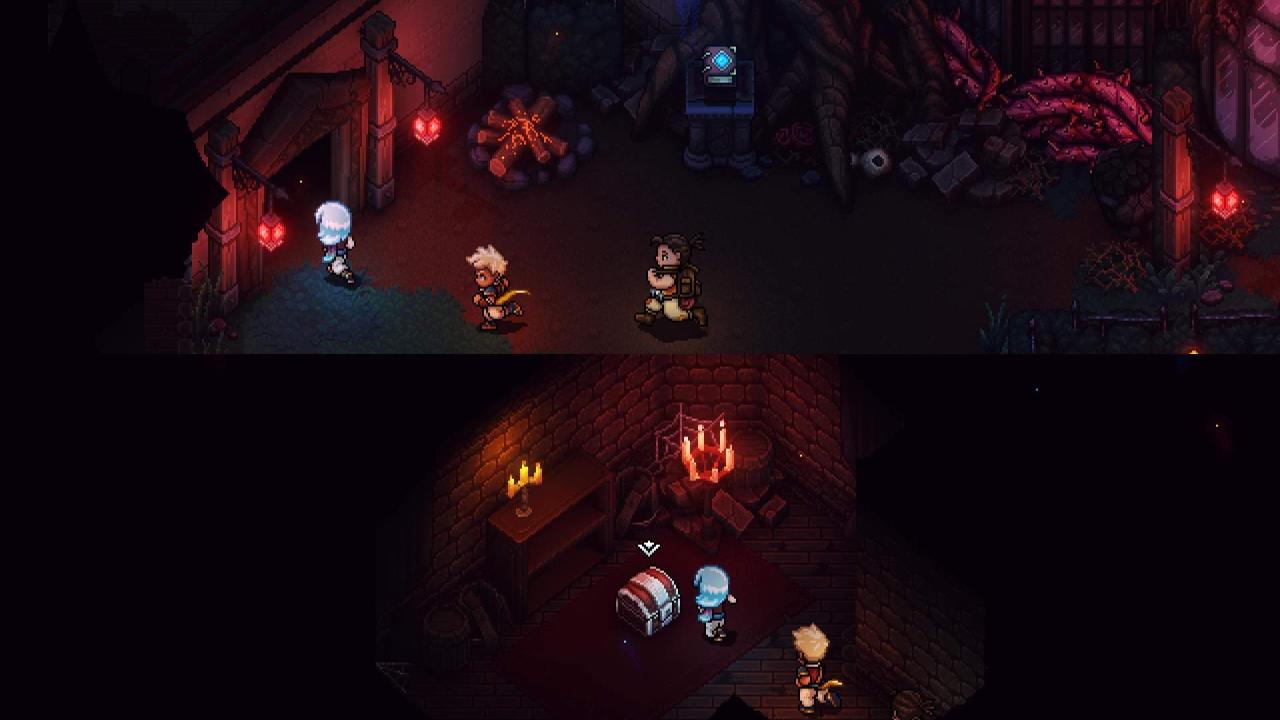
Wraith Island Docks
- Rainbow Conch
Head up from Chest #1 into the cave. You’ll get ambushed after interacting with the chest inside, but it will reappears once you finish the battle.

- Calcite Lid
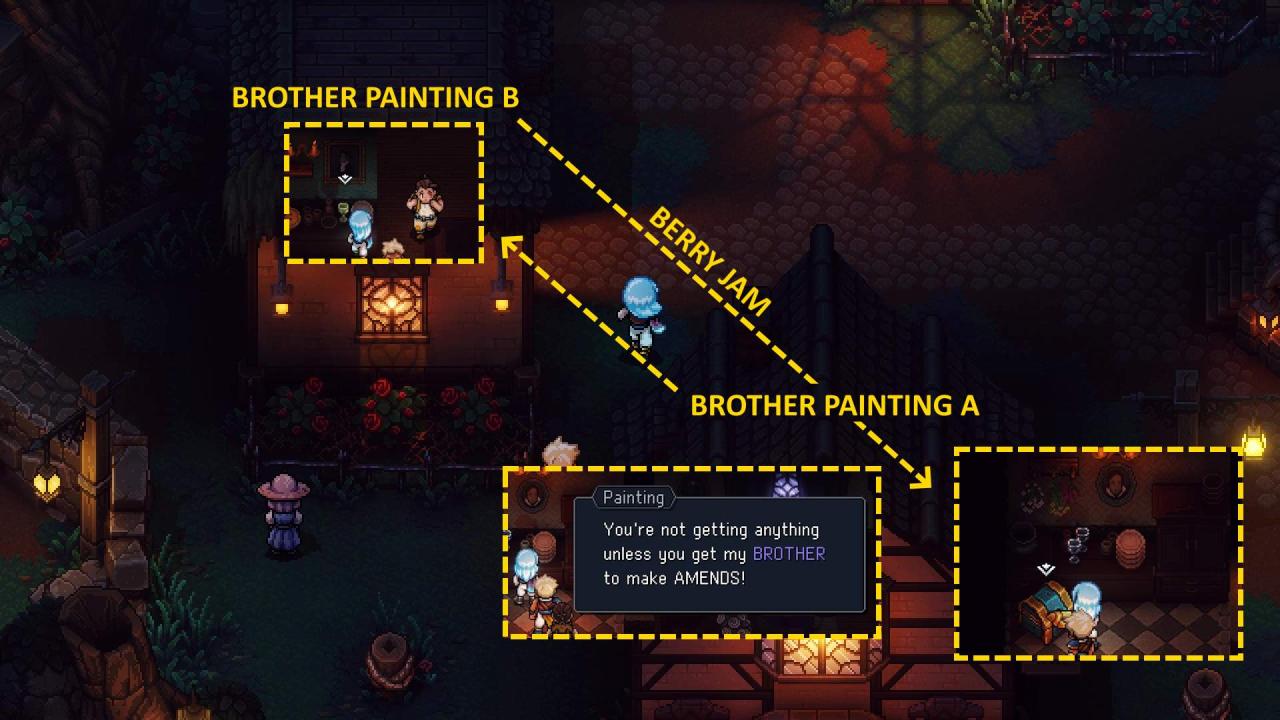
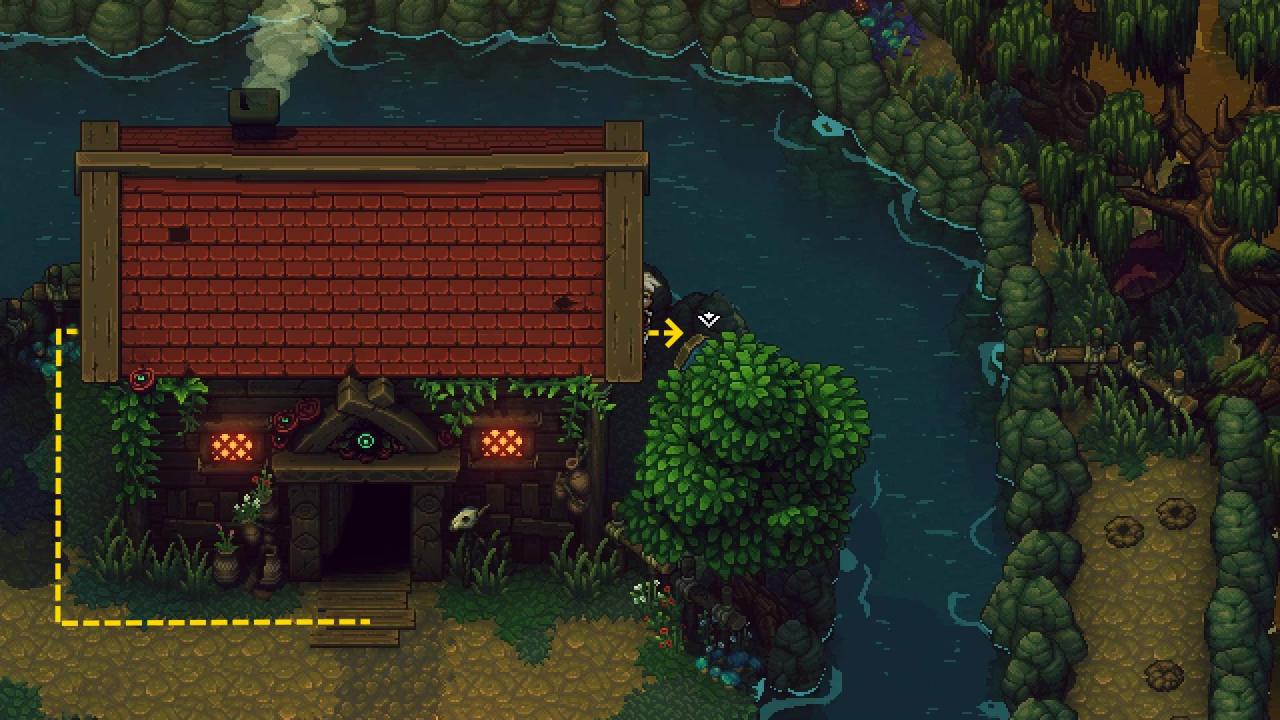
Town of Lucent
Brother Painting A is mad at Brother Painting B. To appease Brother A after talking to B, bring a Berry Jam to Brother A. Either cook one at a campfire or buy one. The item shop on the Northwest corner of Lucent sells them. Once that’s done, the chest previously taken away by Brother Painting A will re-appear.
- Rainbow Conch
Northeast corner of Lucent.

- Rainbow Conch
After obtaining the Graplou from the Necromancer’s Lair:
- Obsidian Ore
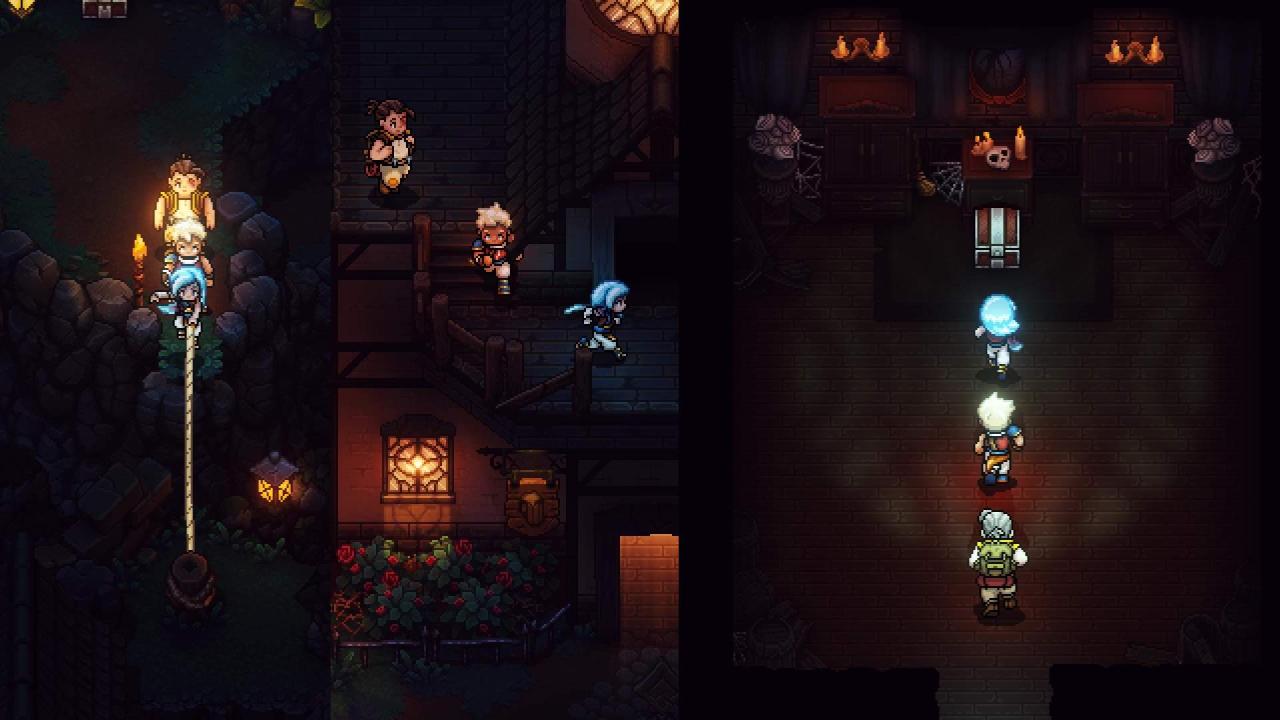
- Turbo Cookie
Now that you have the Turbo Cookie, head to the Northwest corner of Lucent and give it to the wandering NPC (you’ll enter into a battle). Defeat it and you’ll get the location of the next item—the Shed Key.
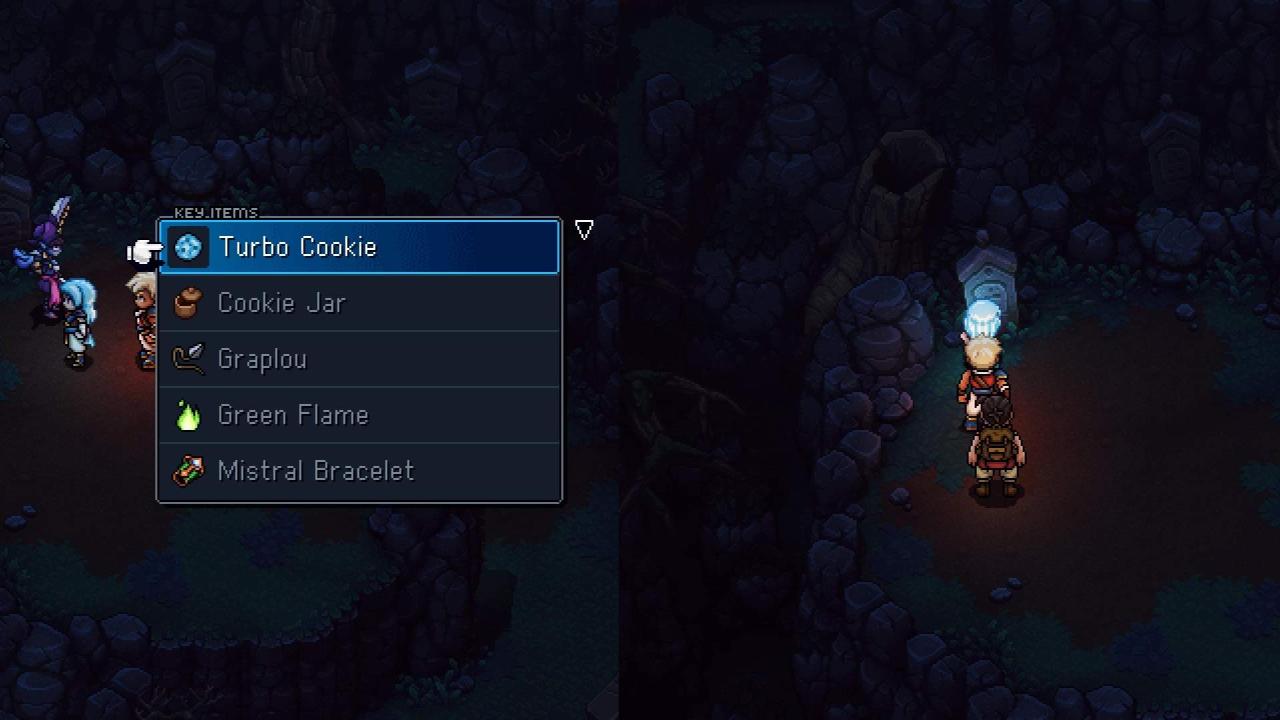
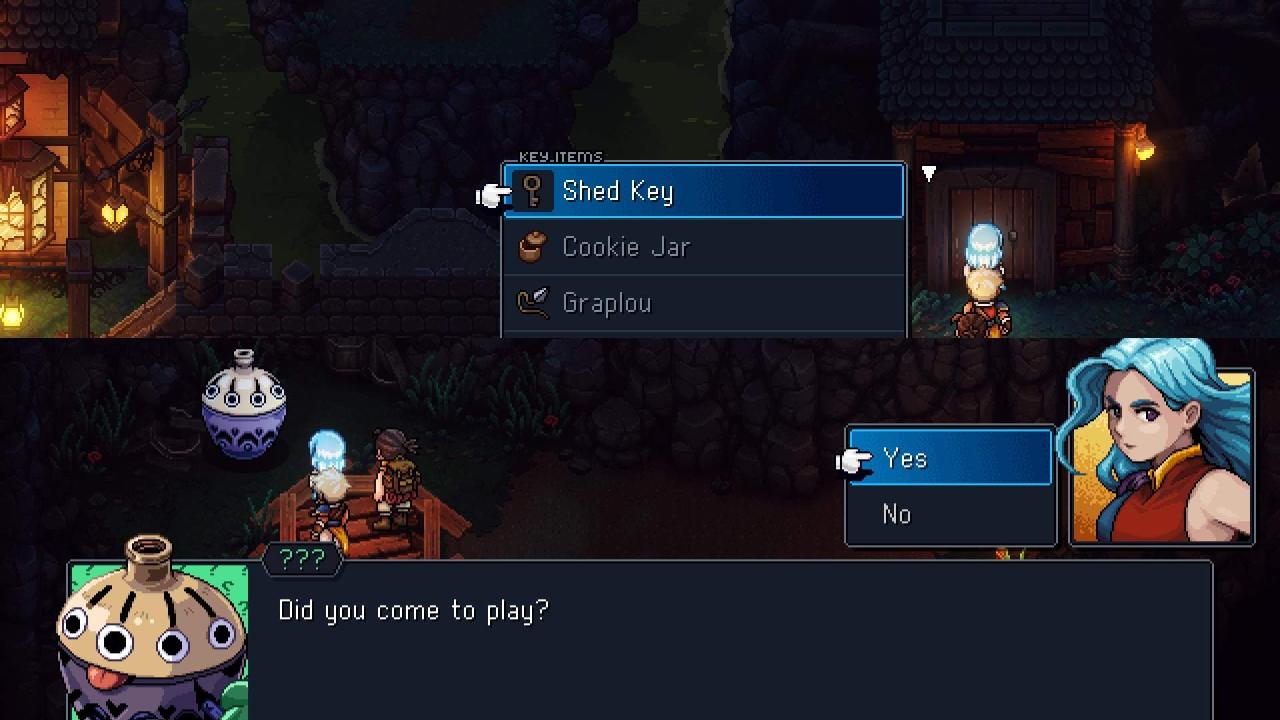
- Shed Key
With the Shed Key in your possession, head East past the bridge and use the Shed Key on the locked door. Answer yes to the Jar NPC in the underground area inside.
For future reference, completing this quiz will complete the Casual level of Question Pack #1.
Timestamps are included in the video description. Answers: Wyrd, Mooncradle, Solstice Strike, FALSE, FALSE, 3 (MP)
After acquiring the Vespertine and establishing Mirth:
Fishing Spot: Haunted Creek
- Spectral Eel
- Ghosturgeon
- Bone Pike
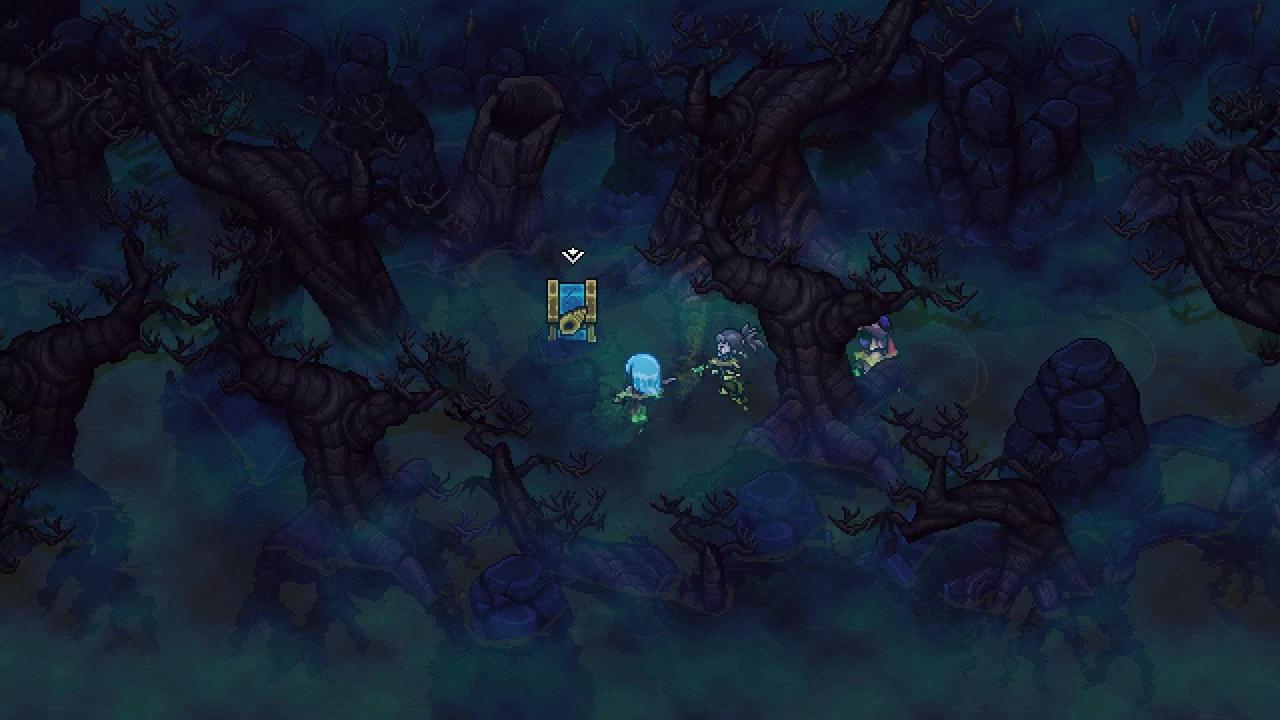
Cursed Woods
- Rainbow Conch
- Obsidian Ore
- Bone Armor
- Shimmering Shard
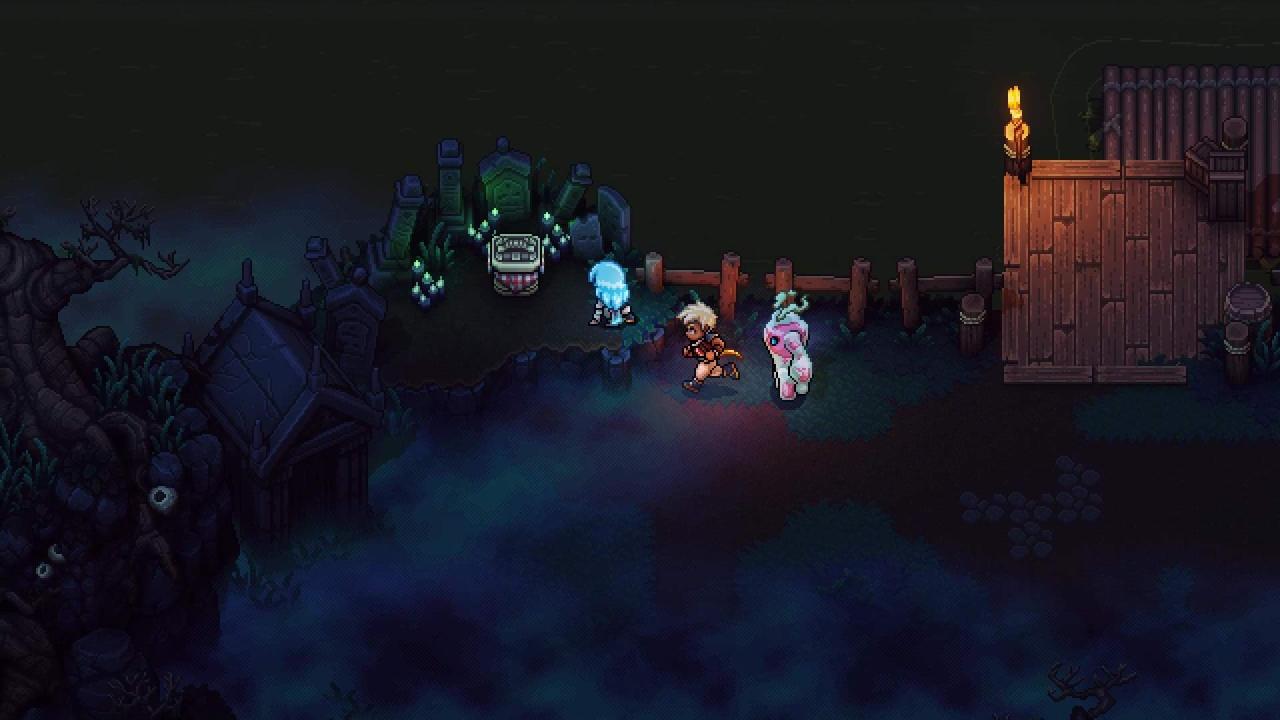
Flooded Graveyard
Note to self: Backtrack to that locked gate.
- Shimmering Daggers
- Obsidian Ore
- Recipe: Hearty Stew
- Rainbow Conch
After obtaining the Graplou from the Necromancer’s Lair:
- Enchanted Scarf
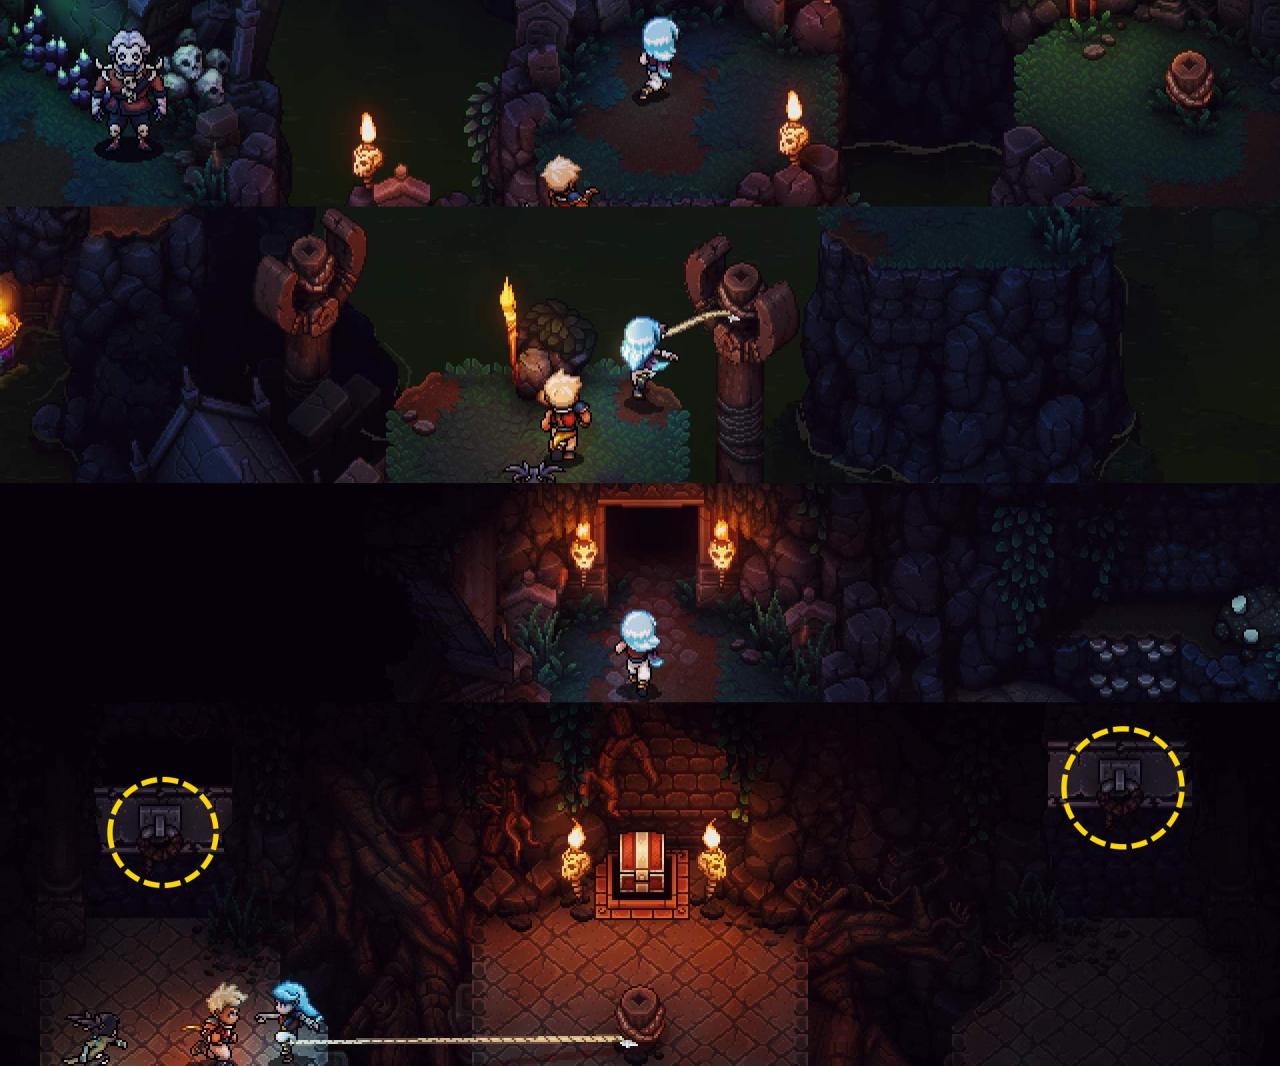
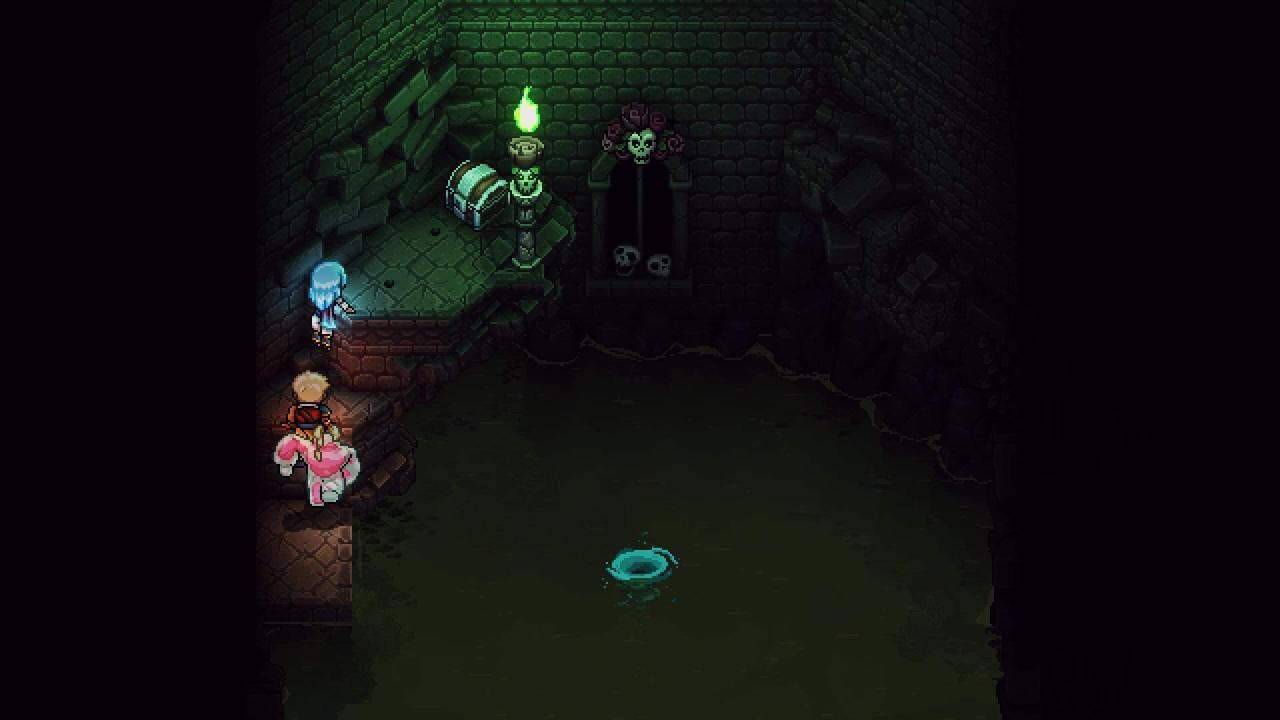
Necromancer’s Lair
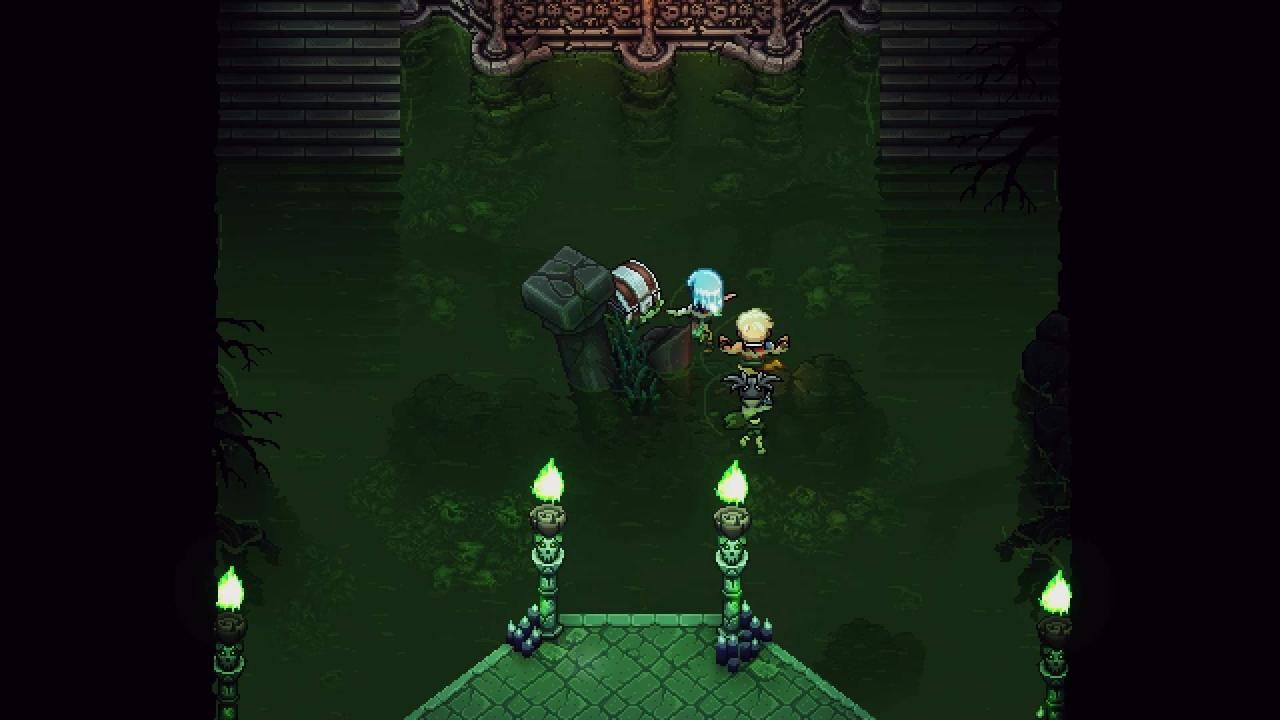
- Romaya’s Hairpin
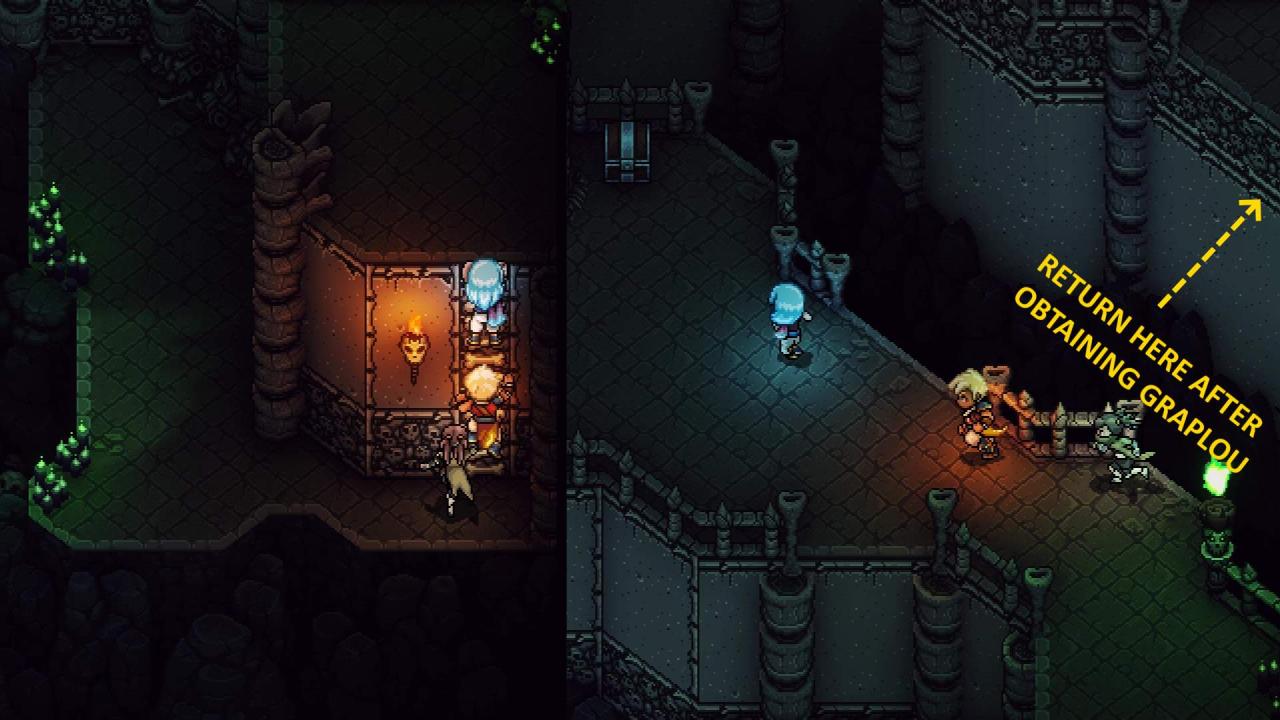
- Spectral Cape
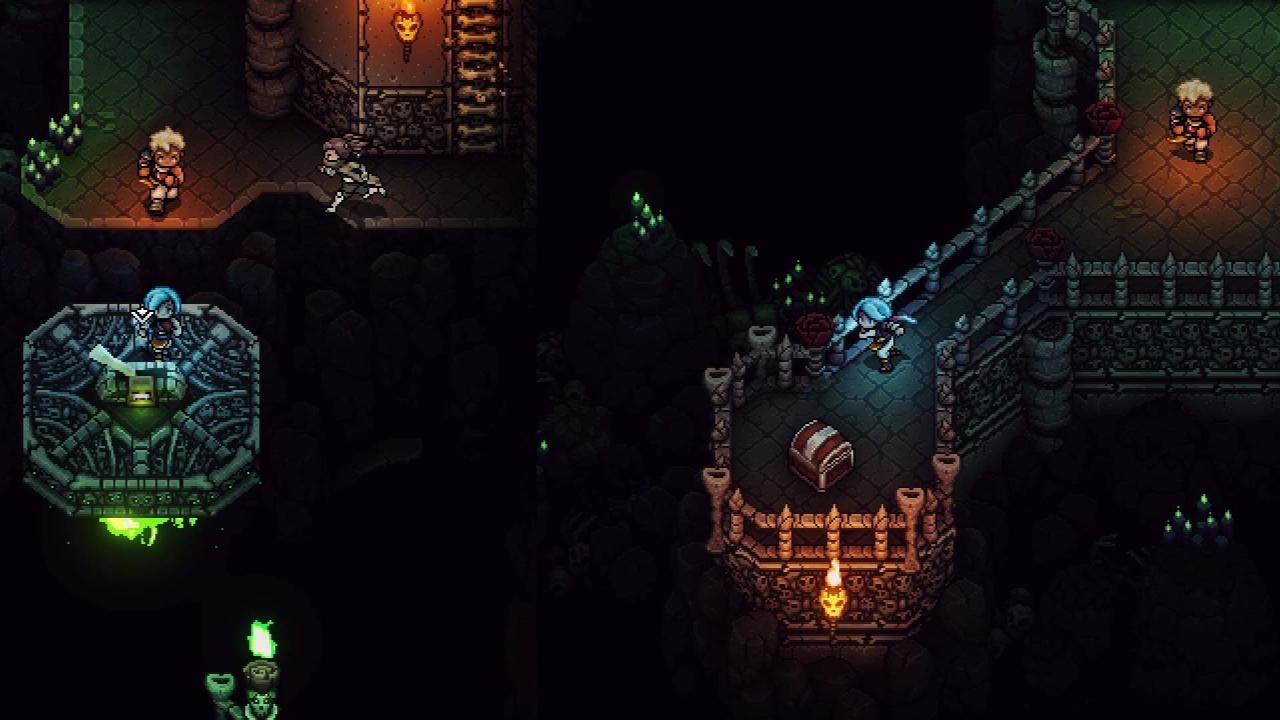
- Obsidian Ore
- Graplou
- Rainbow Conch
- Osseous Staff
- Mooncradle Fish Pie (West of the Osseous Staff)
- Revenant Armor
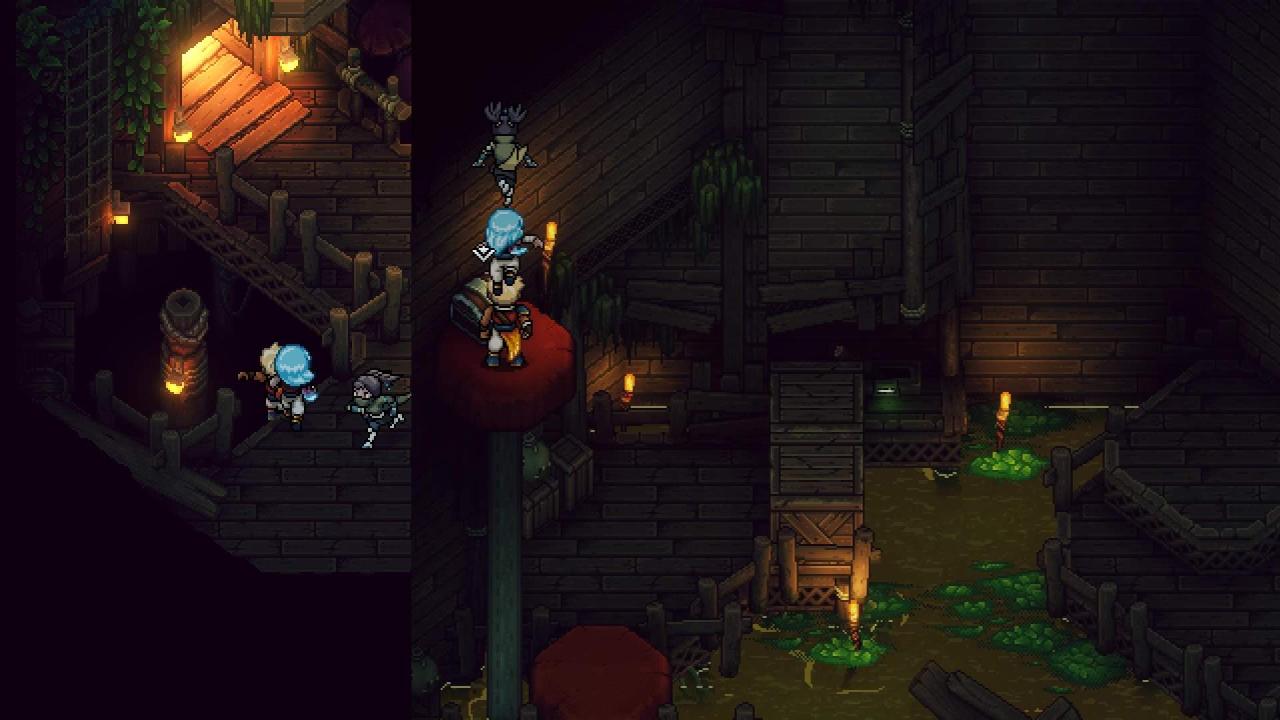
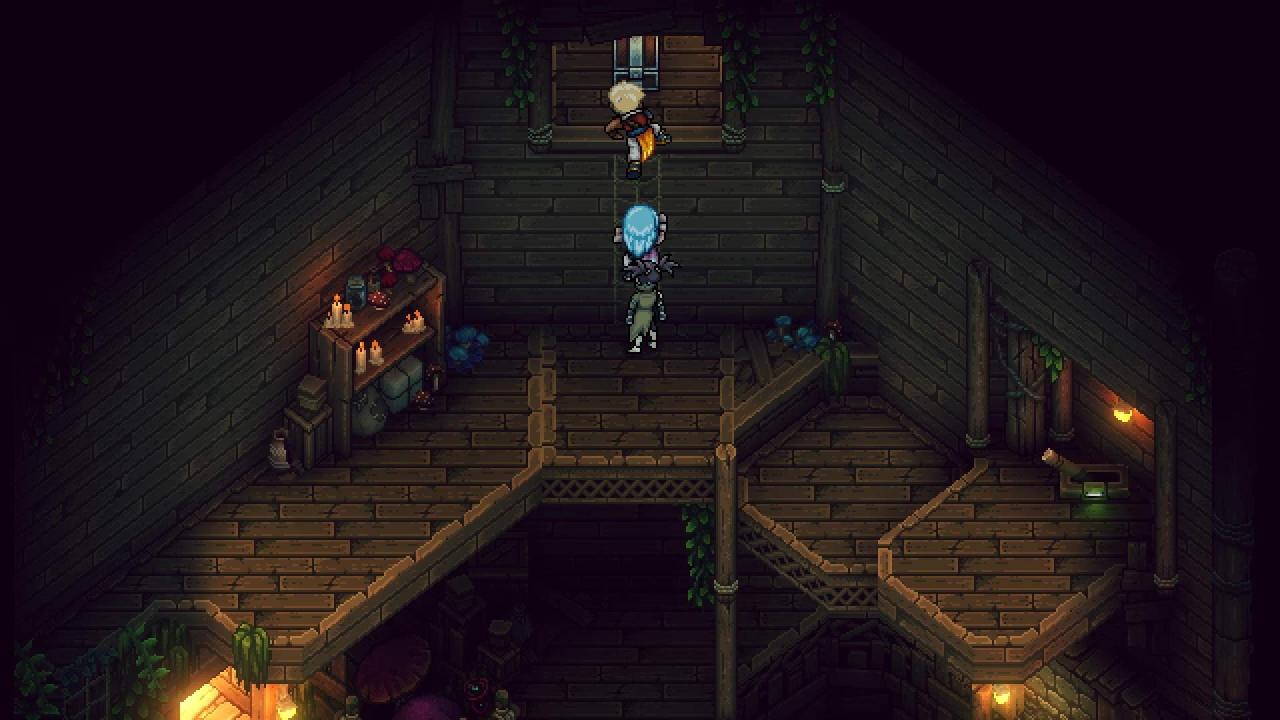
↪ Backtracking: Graplou
Now that you have the Graplou, you can traverse through wooden poles/stumps (the ones with ropes) related to treasures/puzzles. Don’t forget to backtrack to the Flooded Graveyard and the Town of Lucent to get some treasure and unlock a quiz mini-game. See Quiz Master note in the relevant sections above.
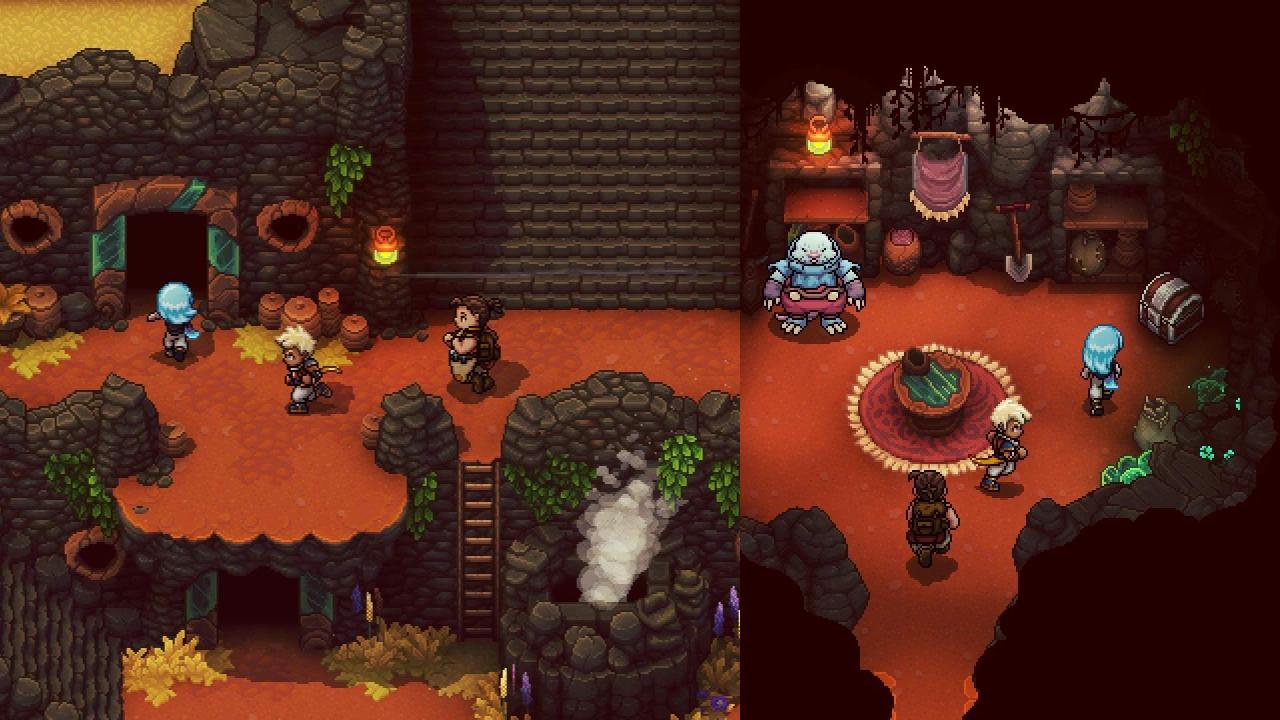
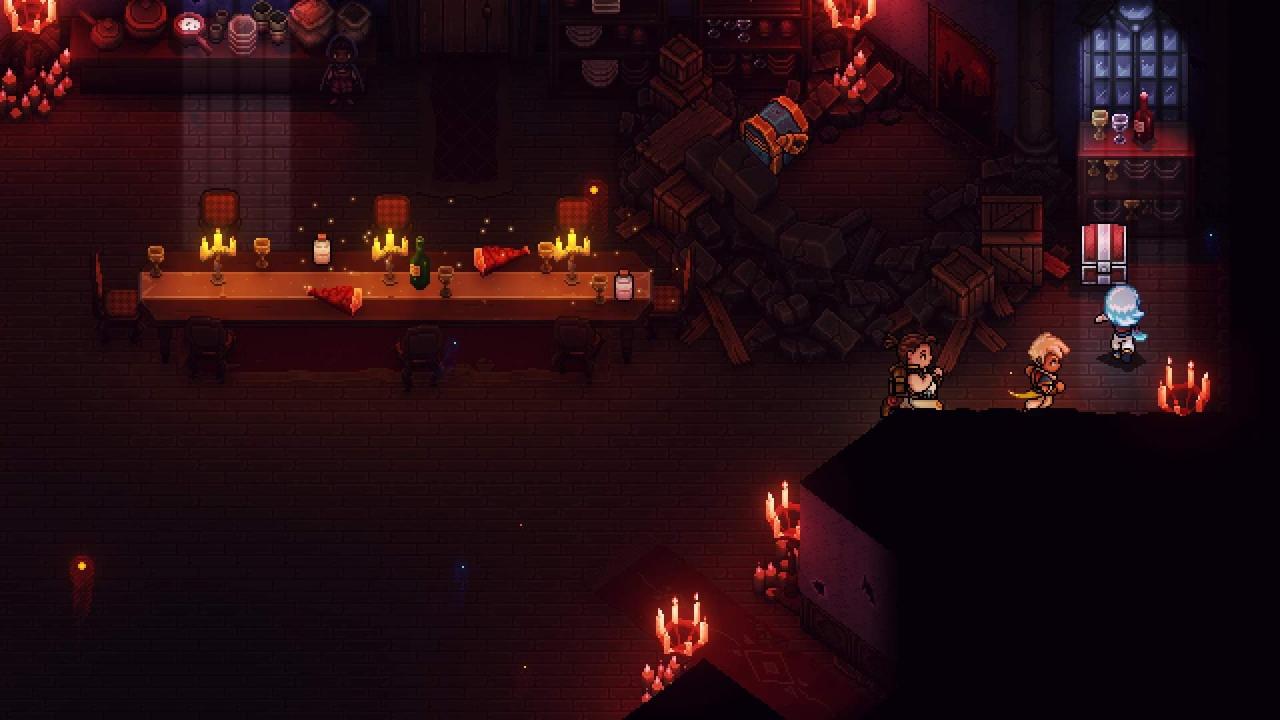
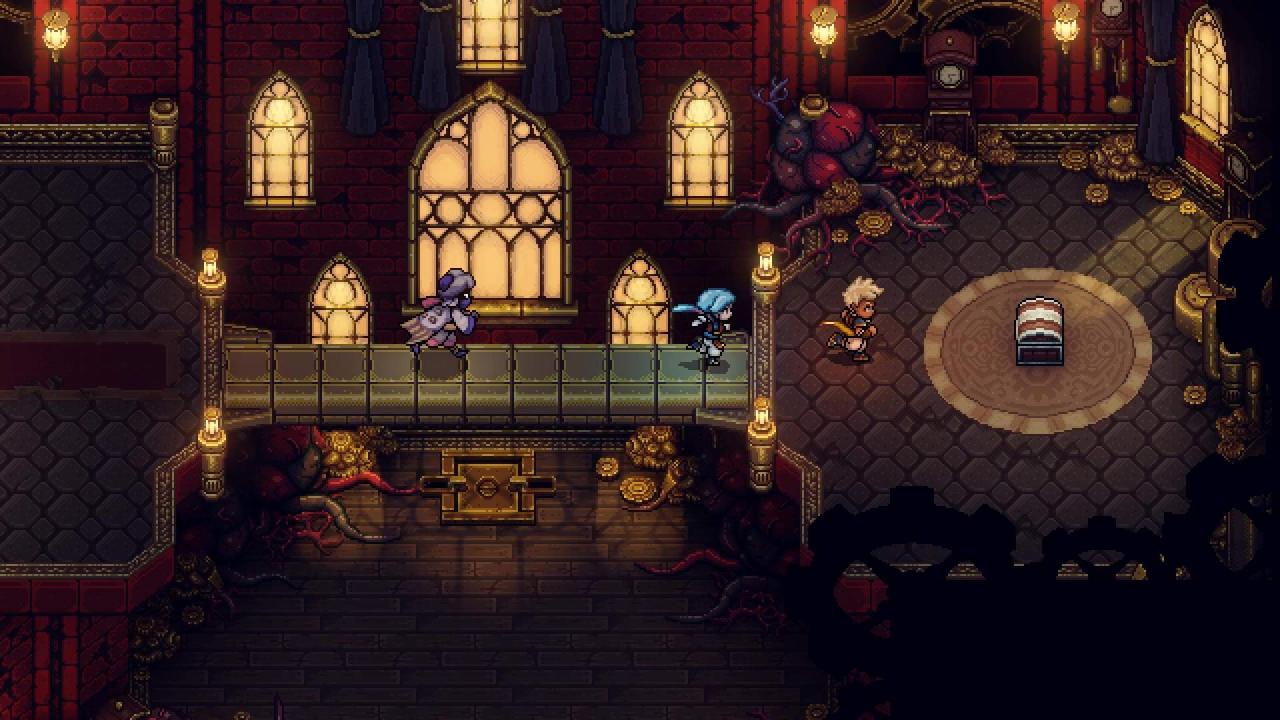
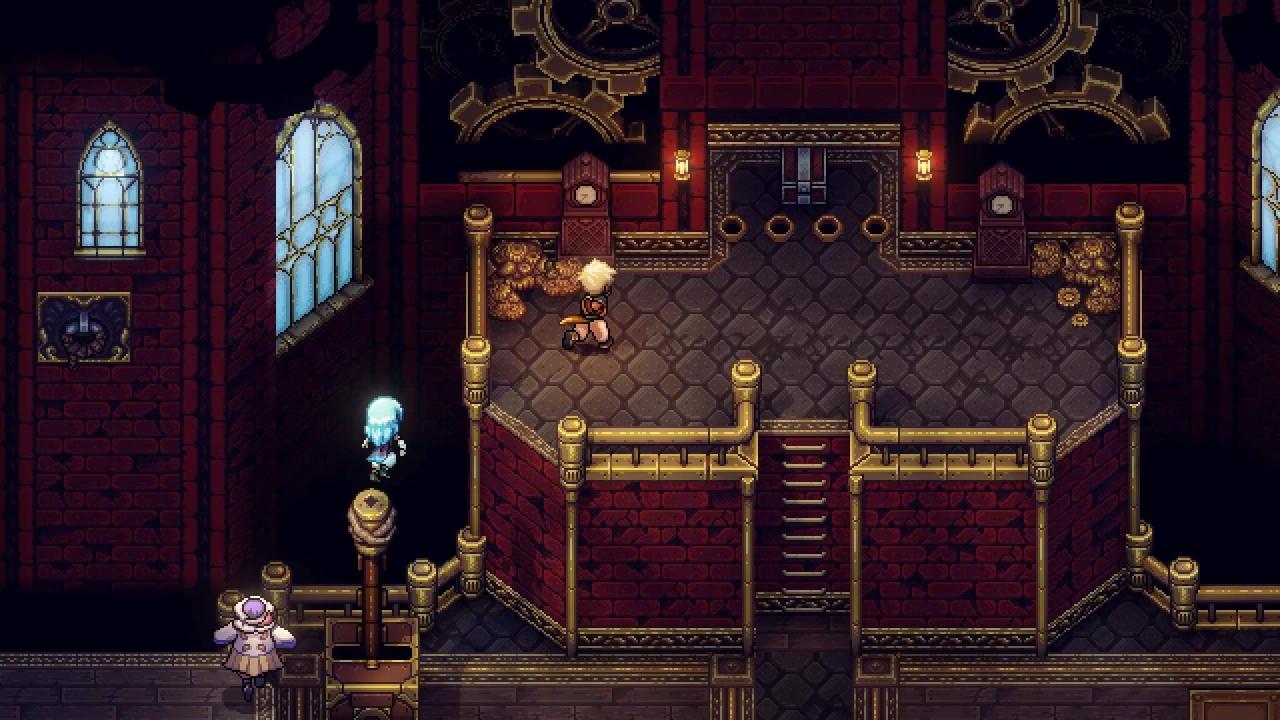
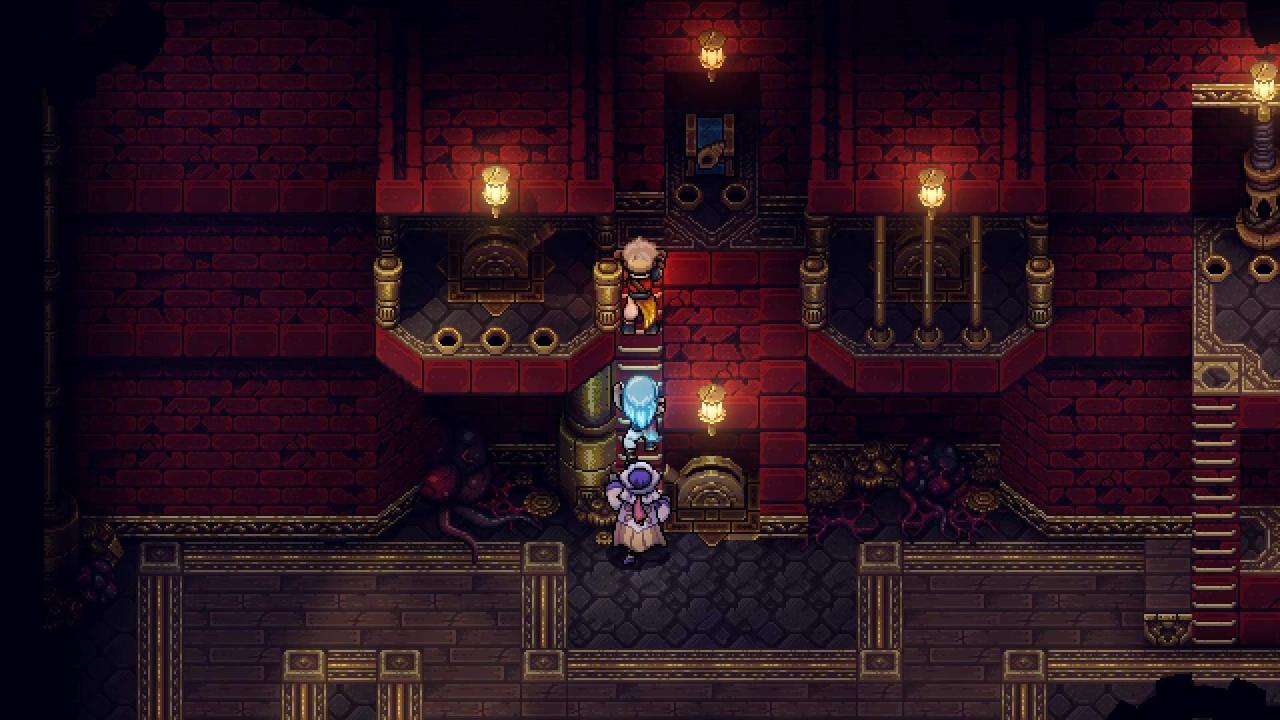
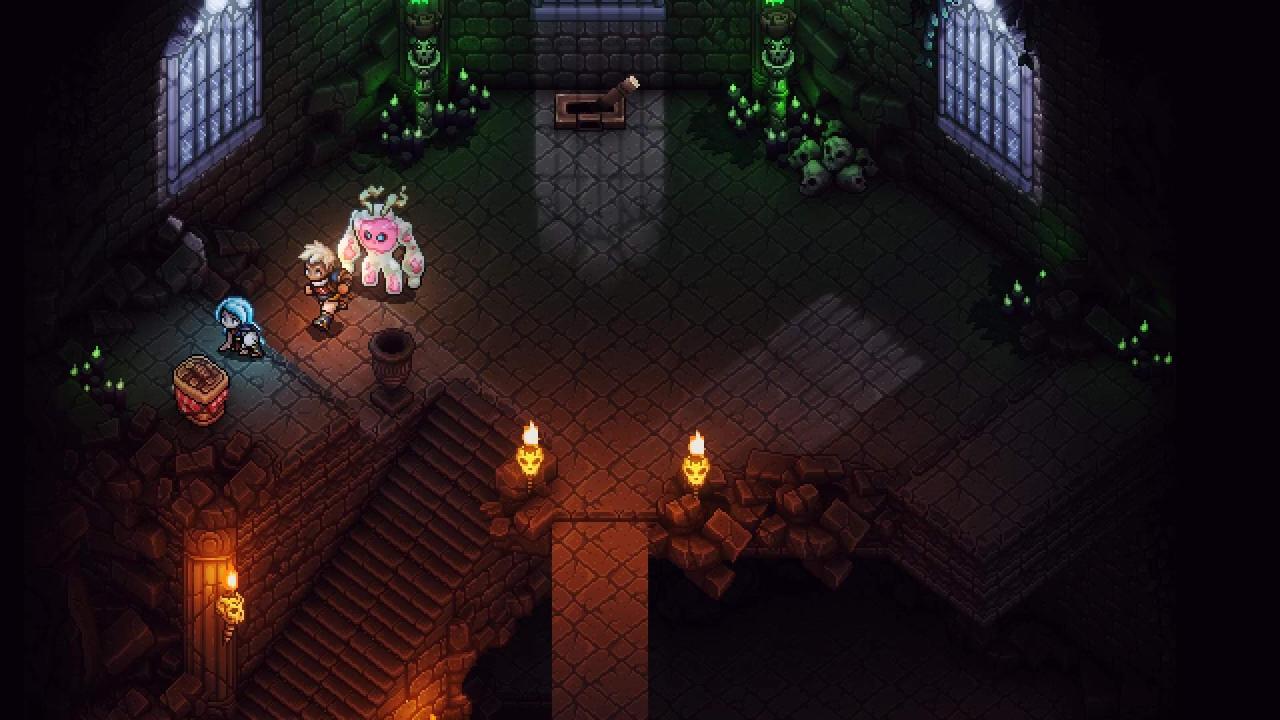
Haunted Mansion
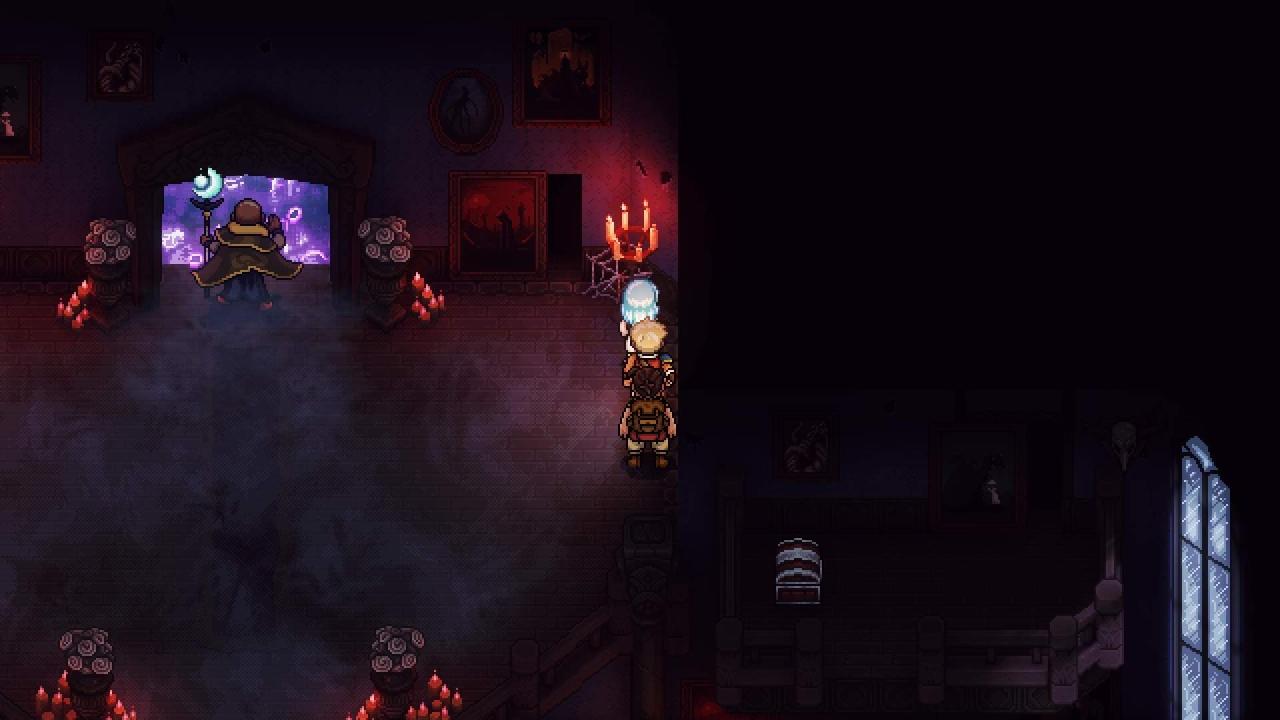
- Obsidian Ingot
- Recipe: Mooncradle Fish Pie
The ghost shown below will ask for a a weird sandwich with some specificities. If you follow the exact recipe, you’ll get a Master Ghost Sandwich. Give it to the ghost and you’ll receive 100 Gold. Recipe:
- Hepar – 2 Parts
- Sugar – 3 Parts
- Dust – 4 Parts
- Rust – 1 Part
- Dreadbread – 2 Slices
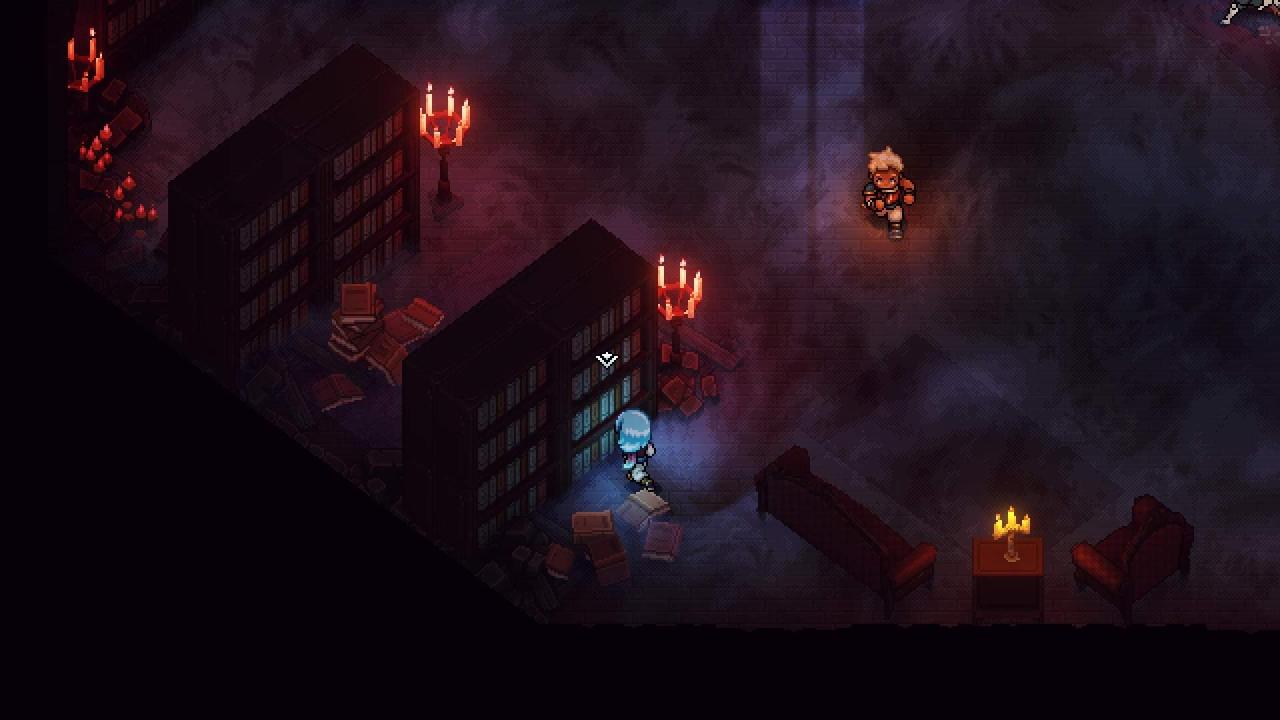
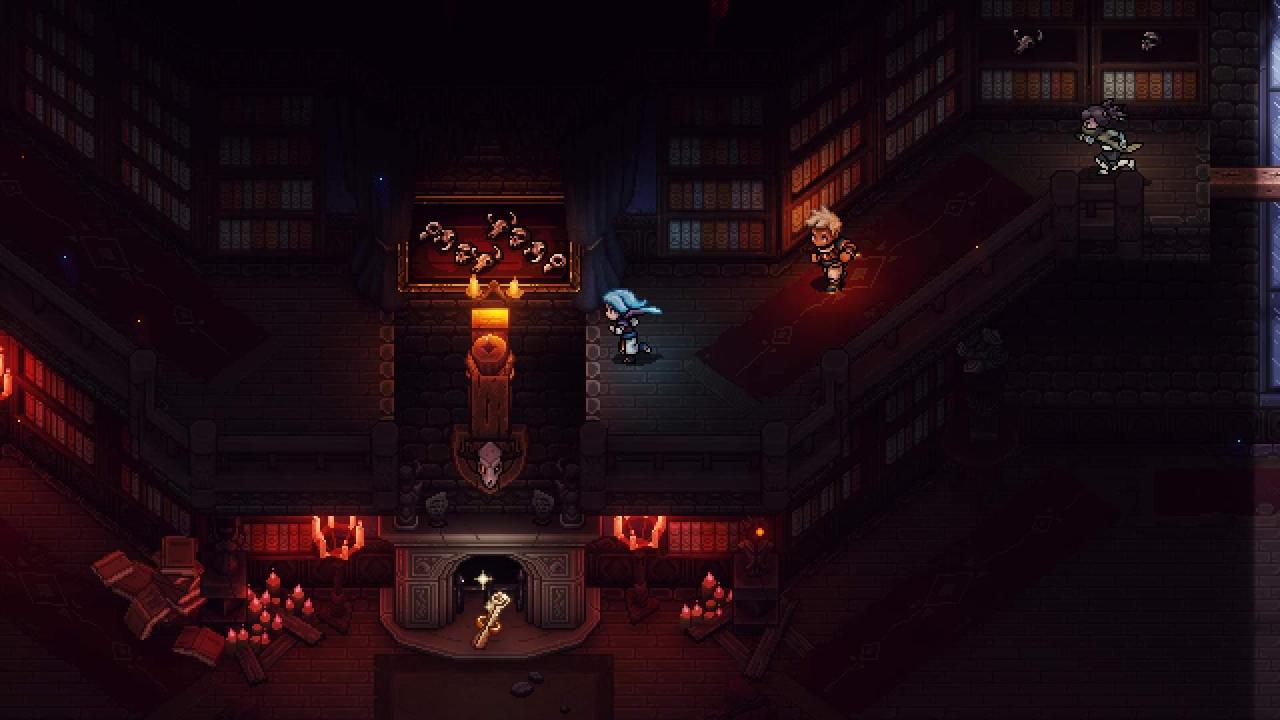
Match the left and right arrangements with the arrangements in the middle. It will reveal a Combo scroll on the ground floor.
- [LEFT] Bird, Ant, Skull, Horns || Horns, Skull, Ant, Bird [RIGHT]
- Spectral Cape
- Rainbow Conch
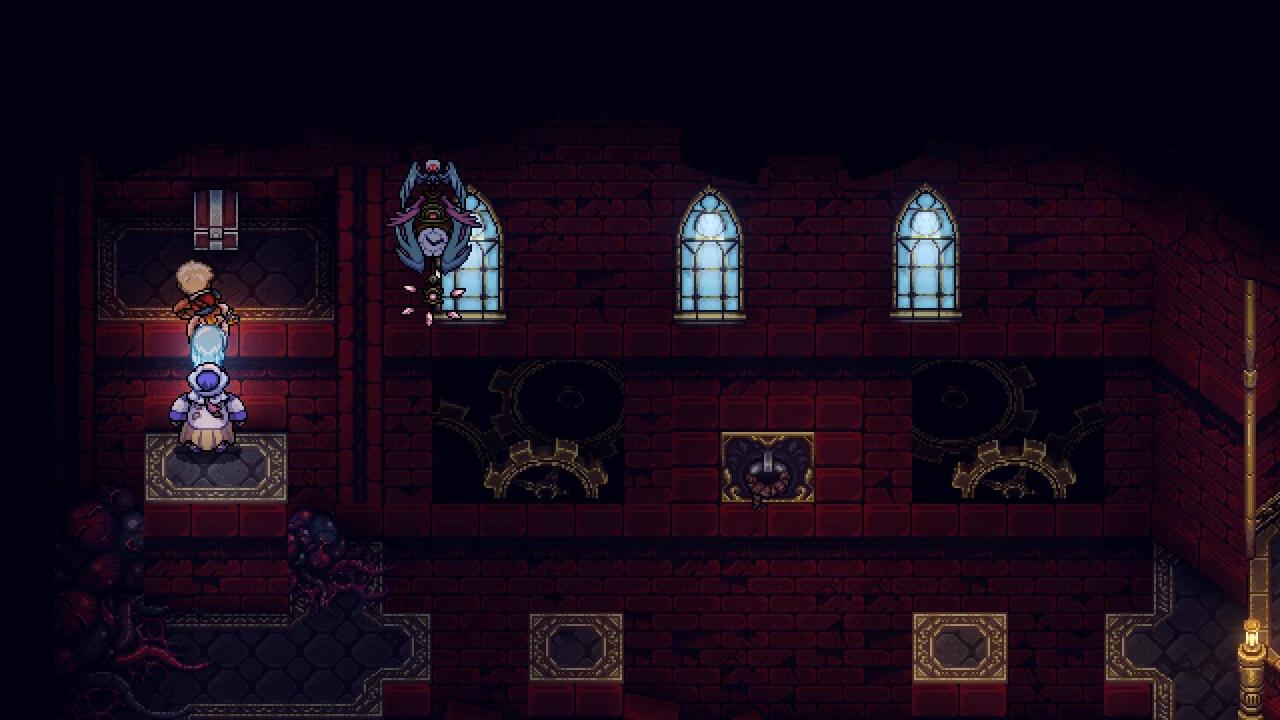
The following chest becomes available after defeating the Botanical Horror
- Music Sheet #2
Port Town of Brisk – Revisited
I don’t believe the following rewards are tied to collectibles, but in case they’re a one-time reward (for the playthrough at least), I decided to list them anyway:
Talk to this guy first just in case:
- Basic Salad
- Tomato Club
- Mushroom Soup
NOTE: Talk to Yolande to revisit Wraith Island and get a few things done before moving on.
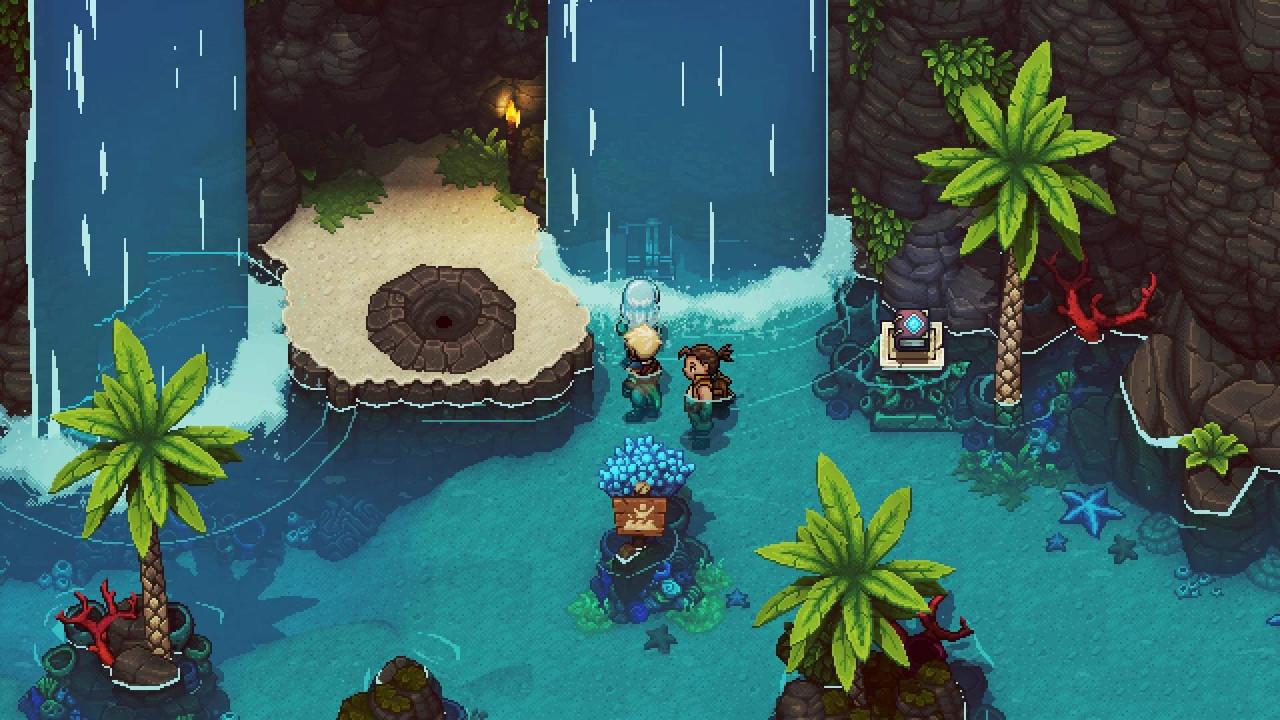
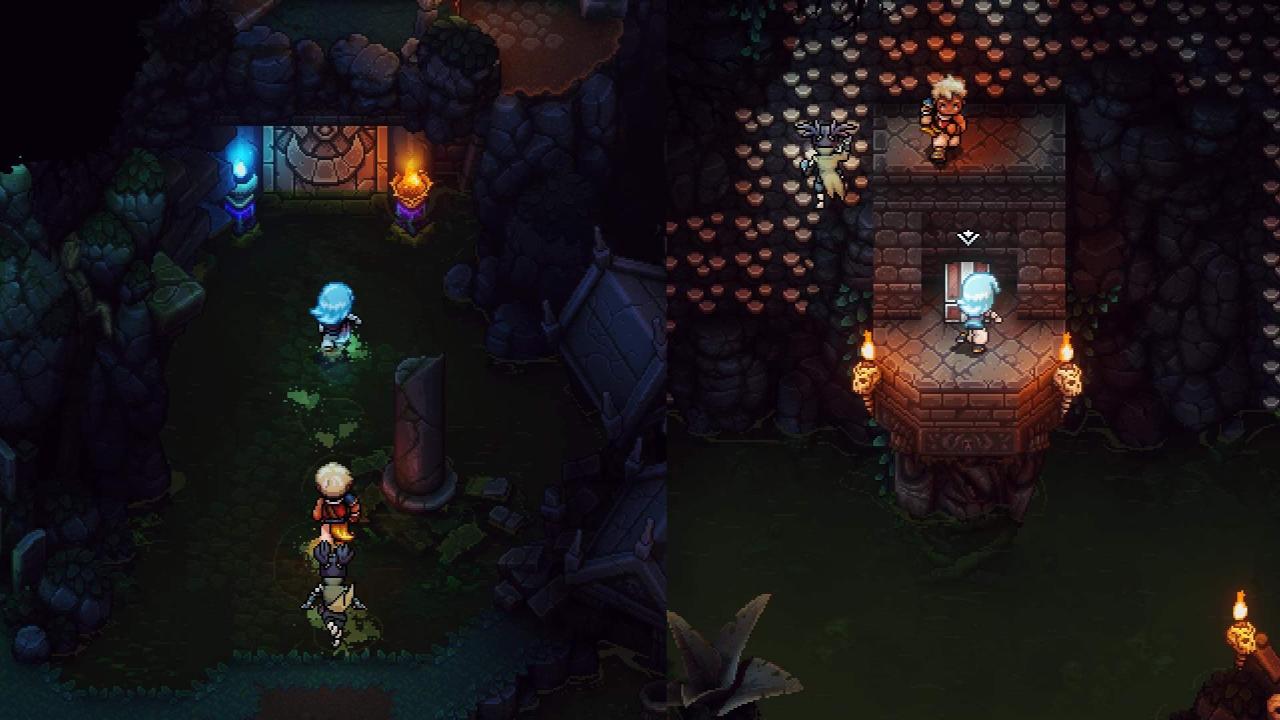
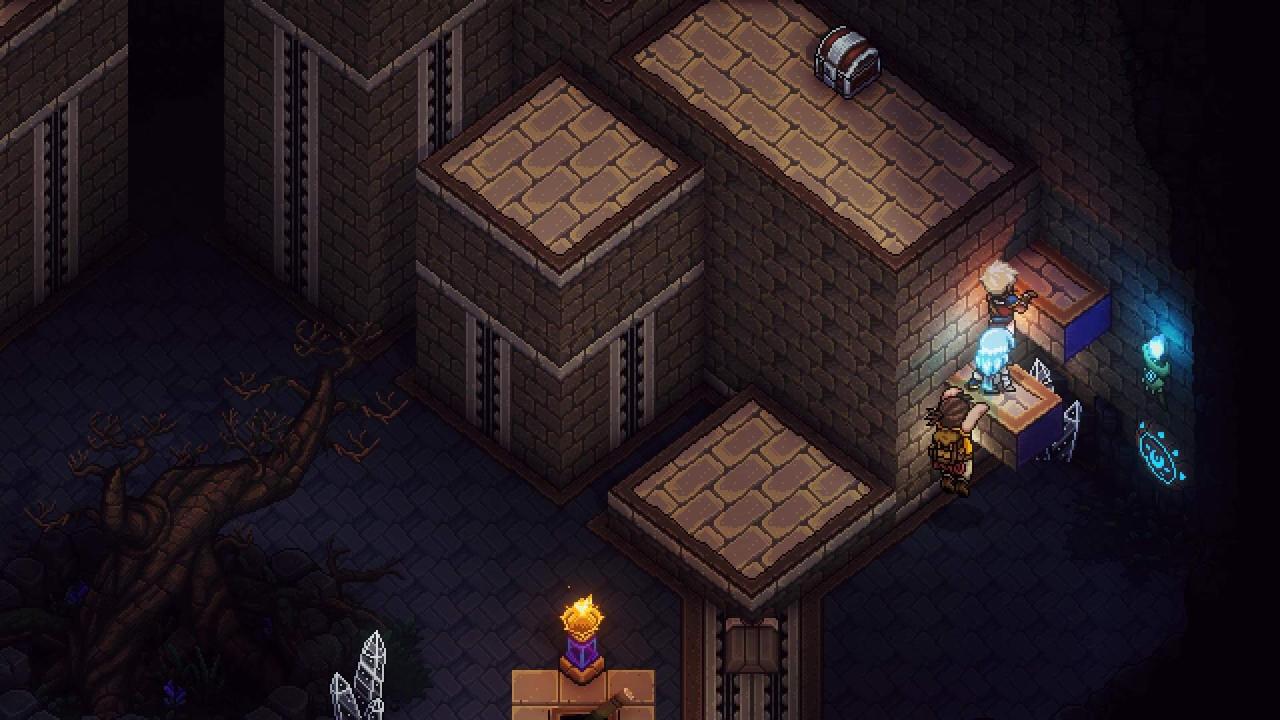
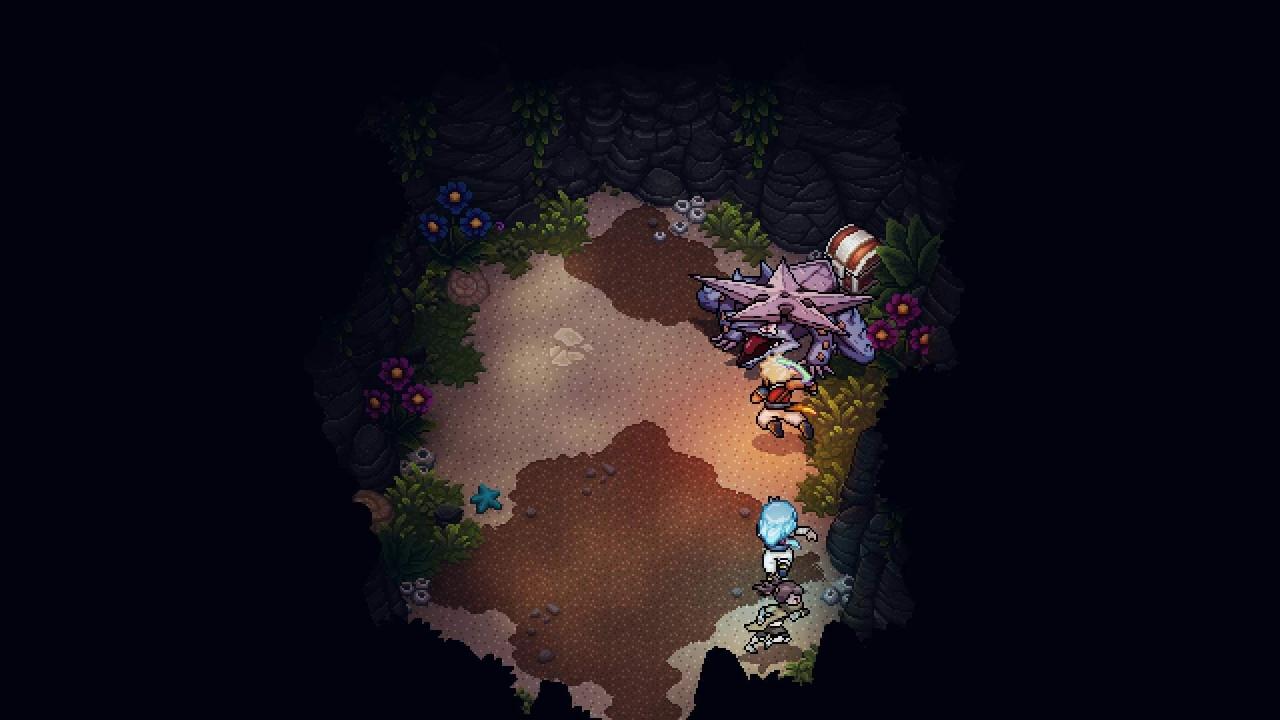
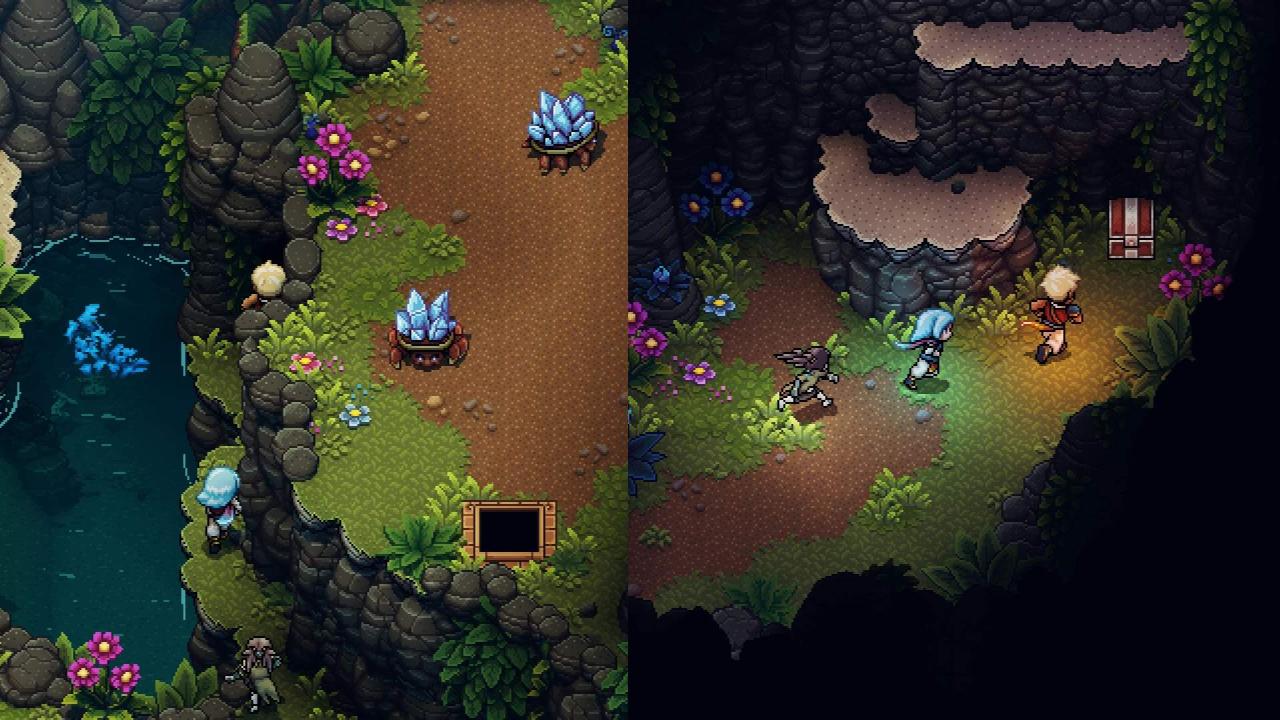
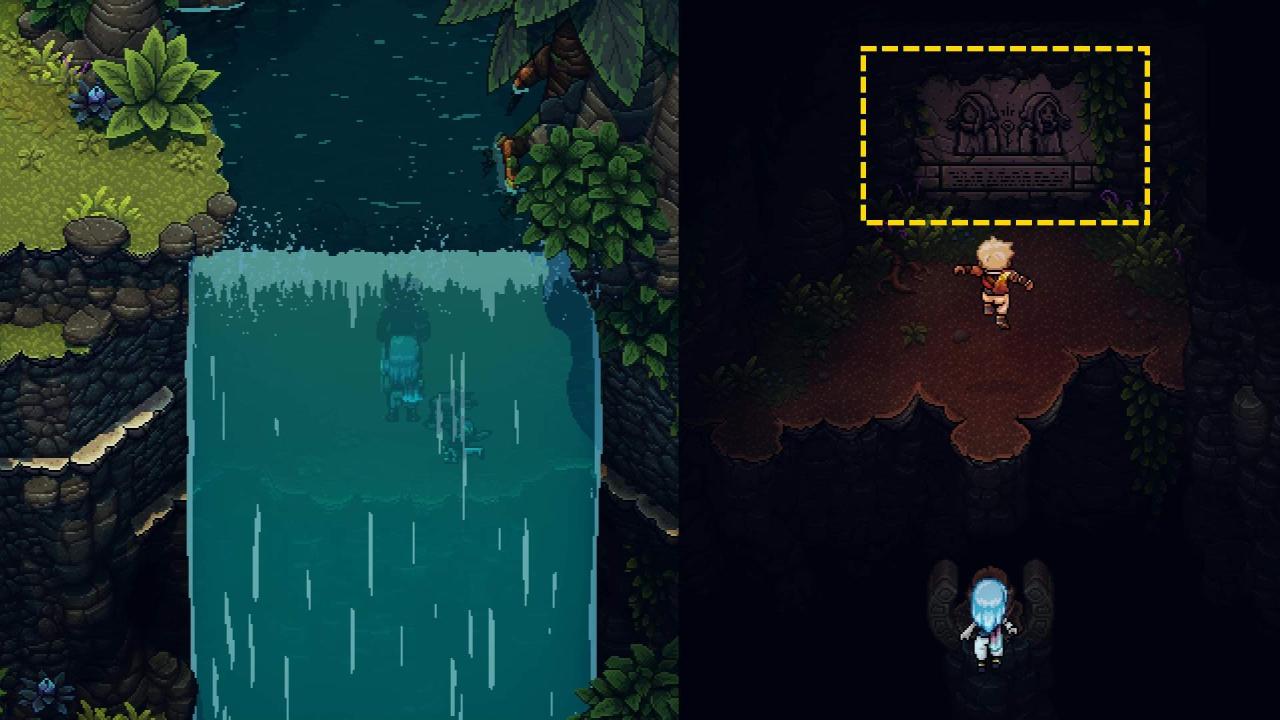
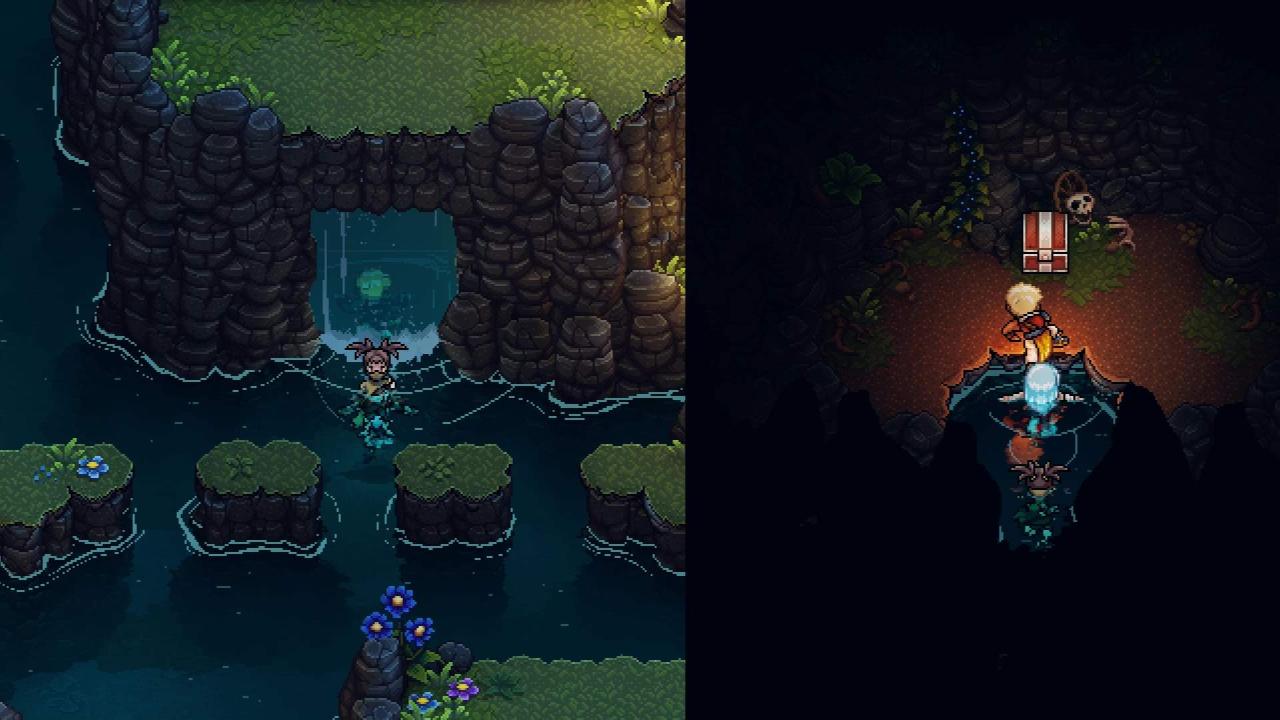
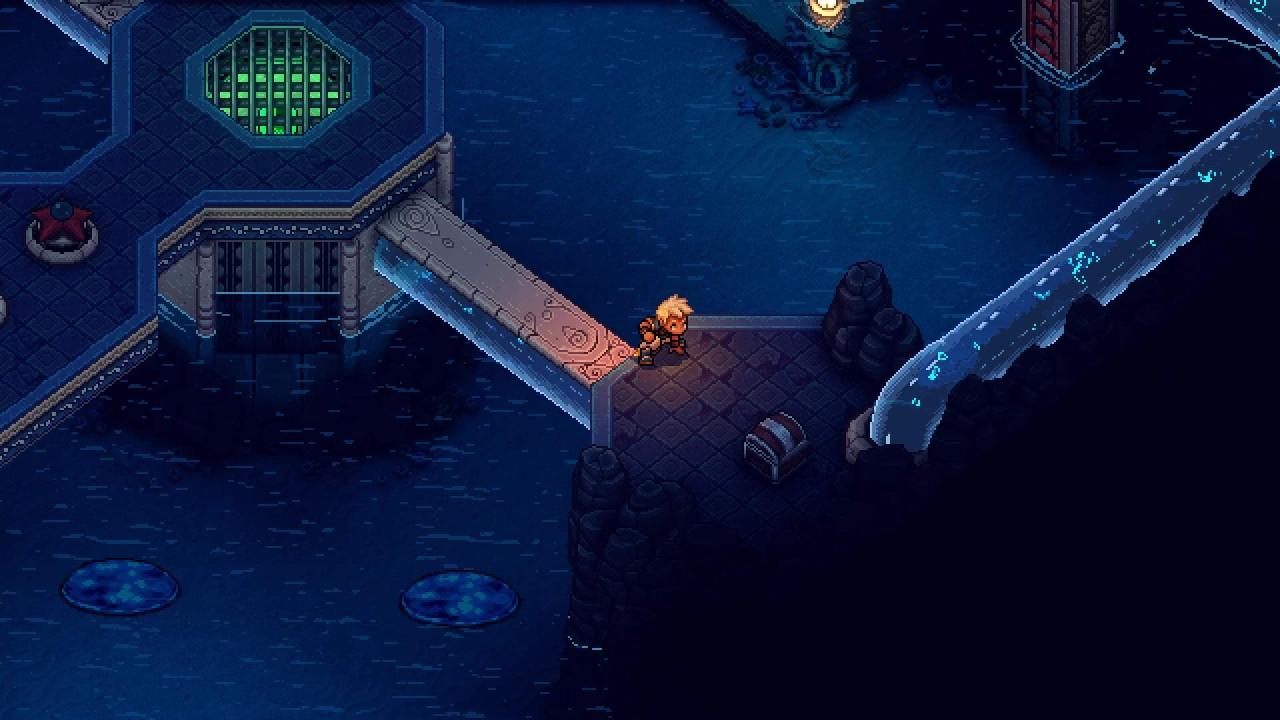
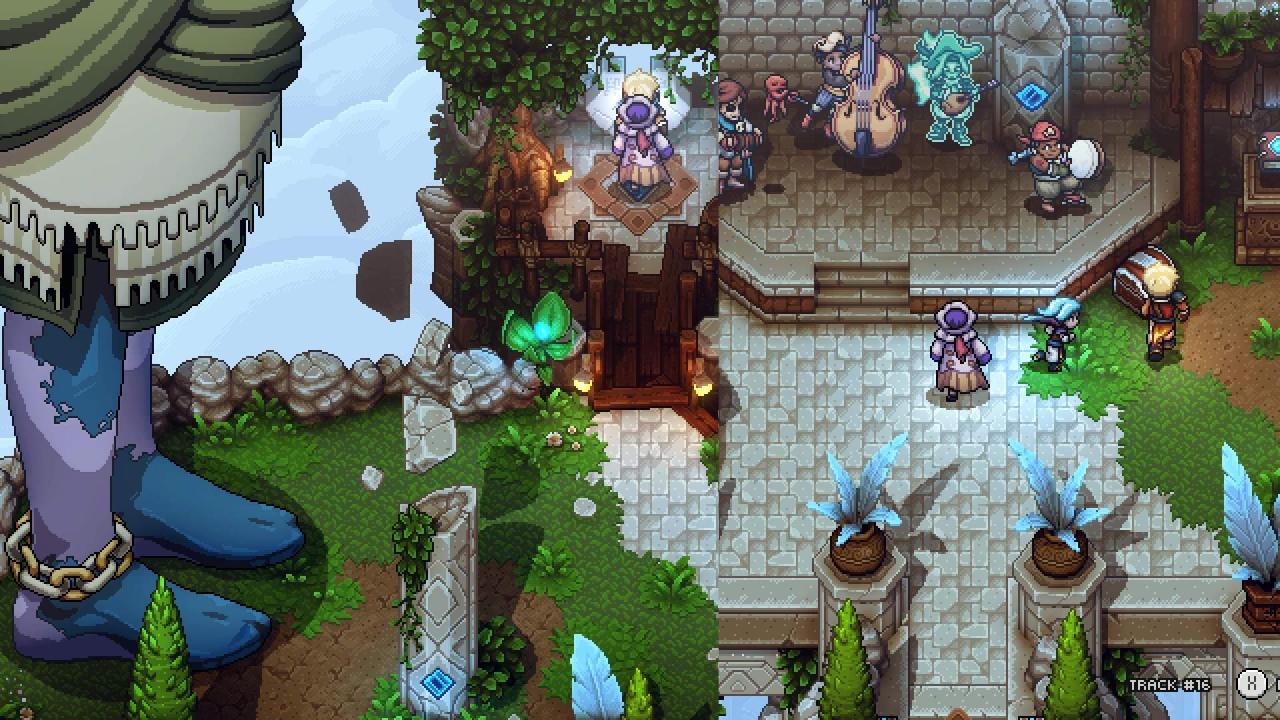
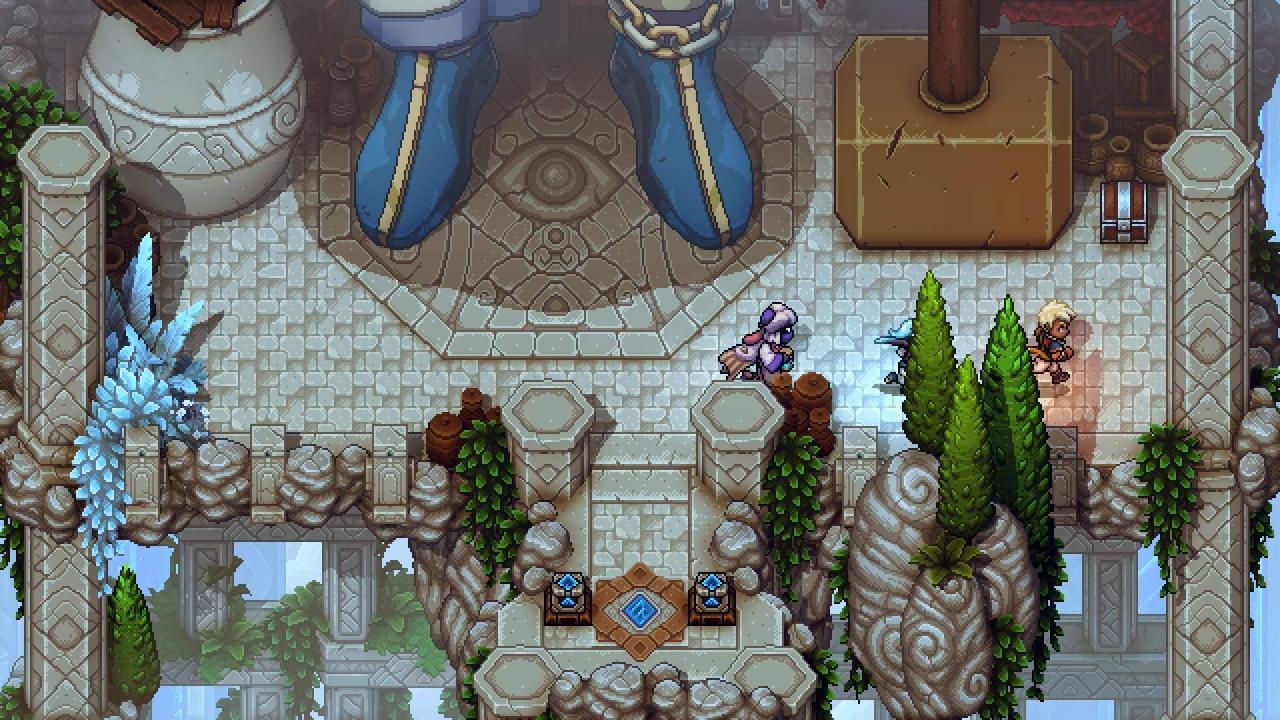
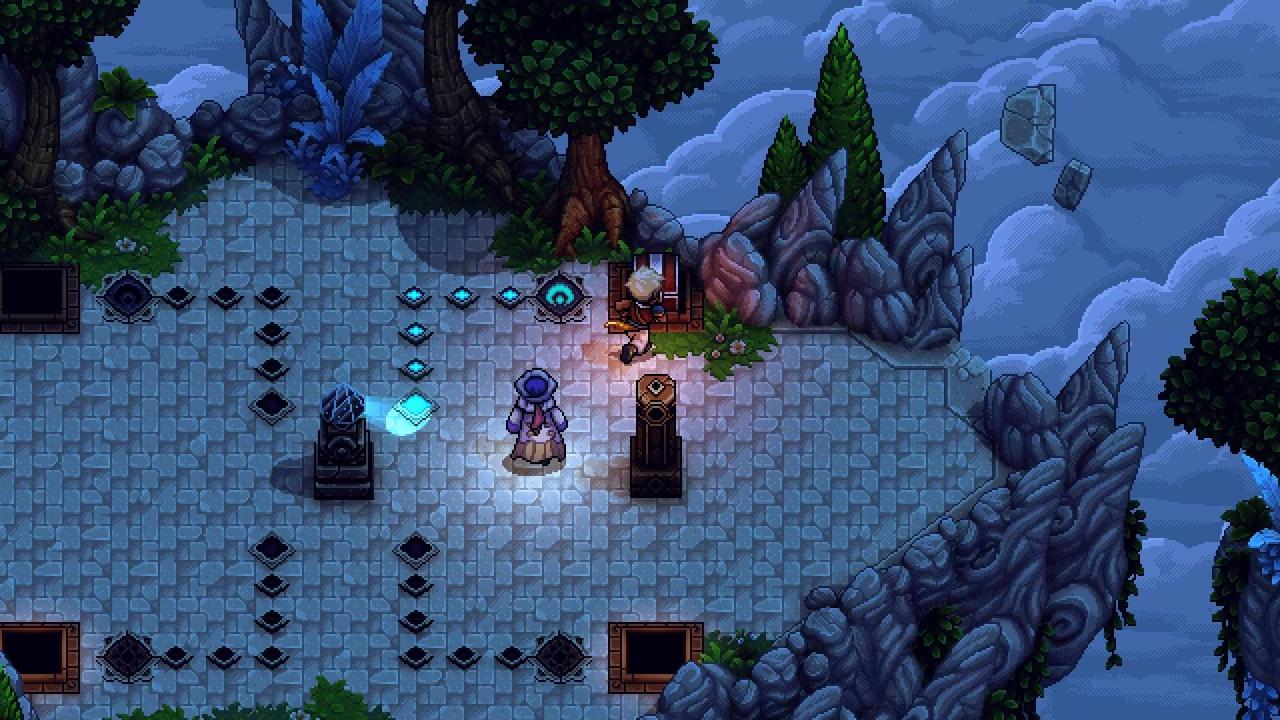
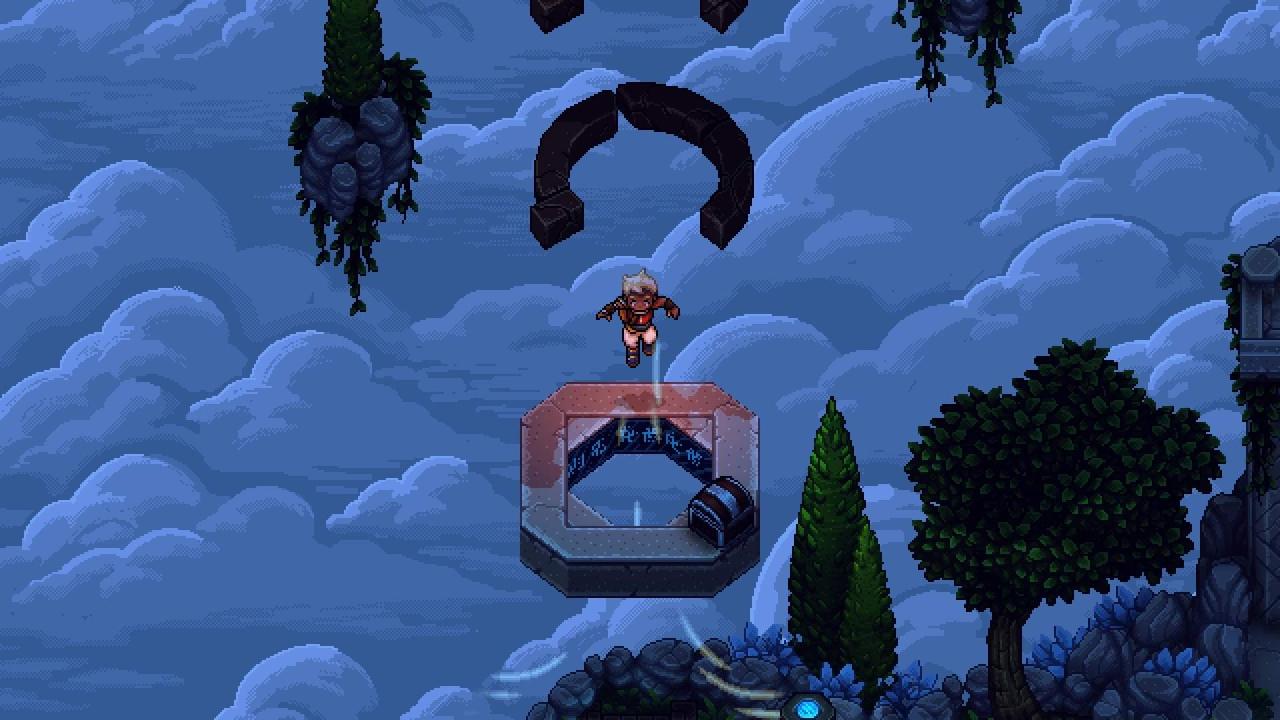
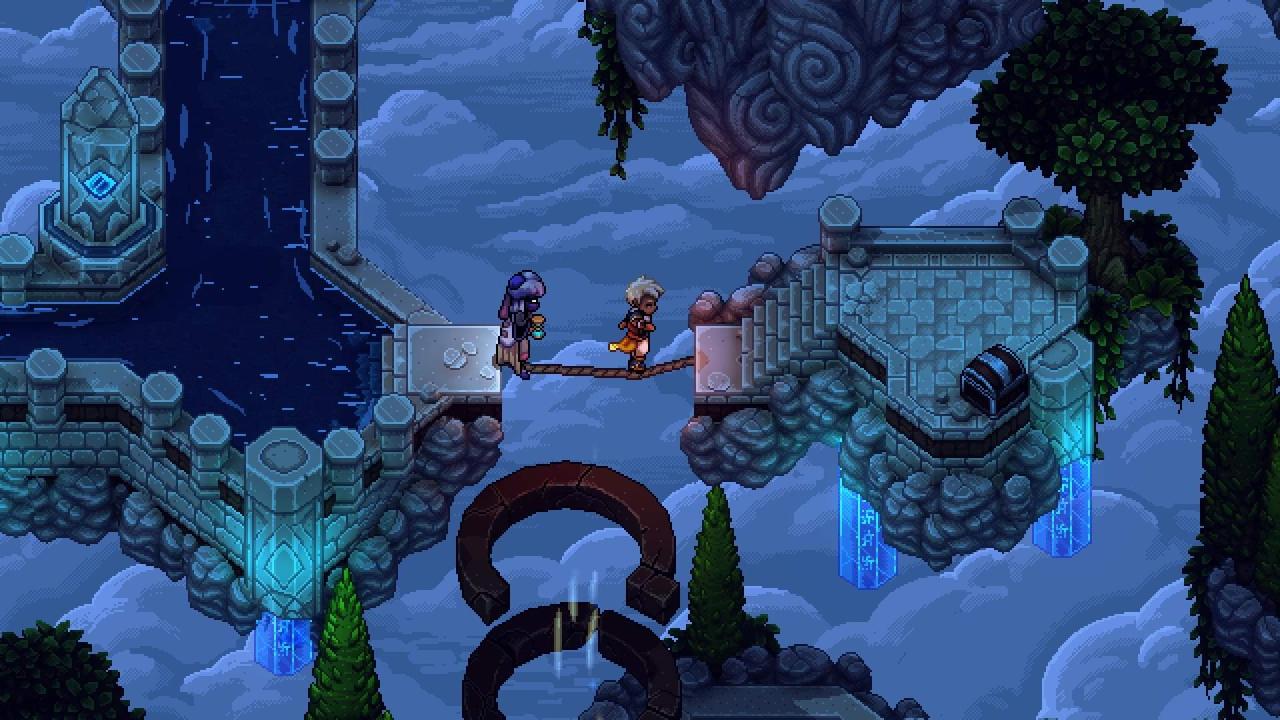
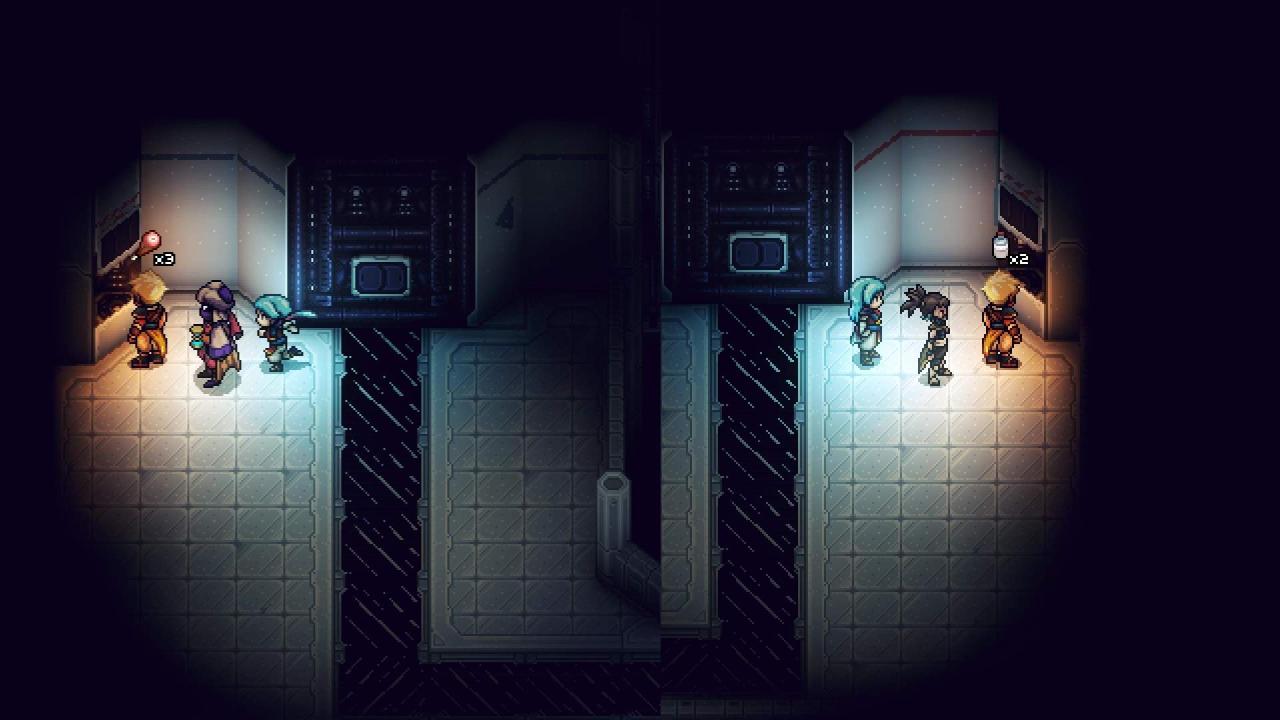
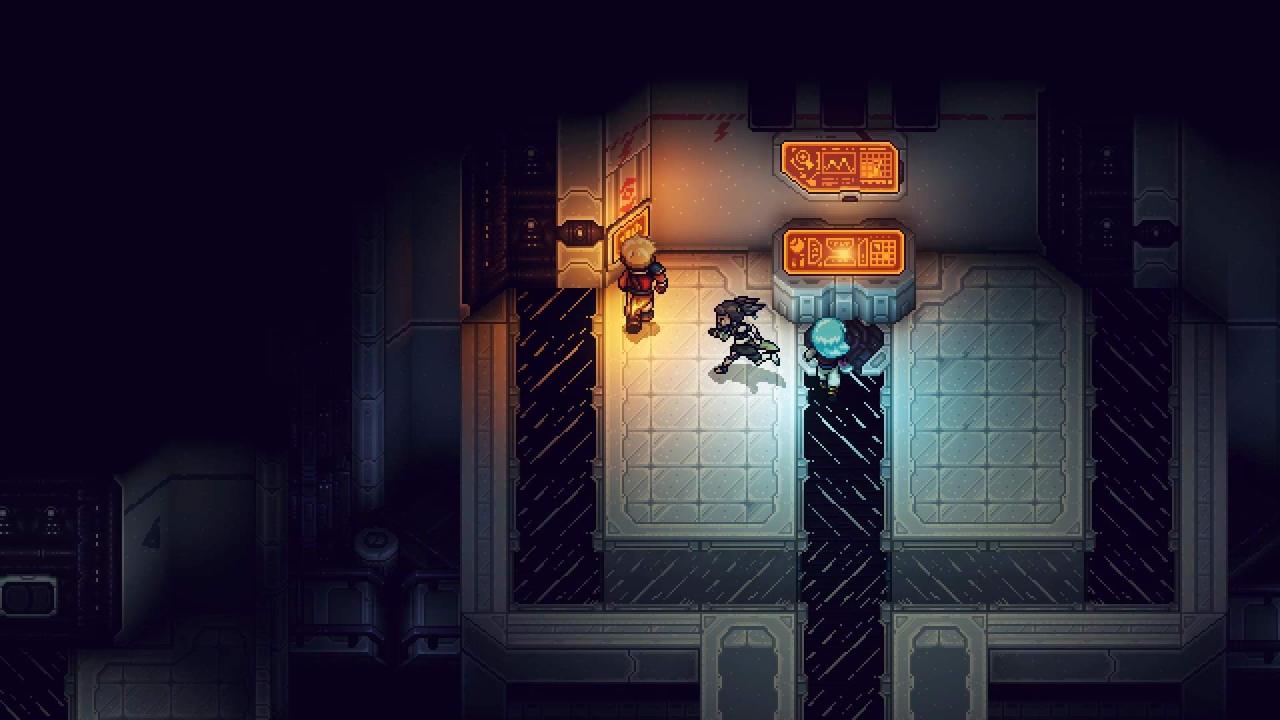
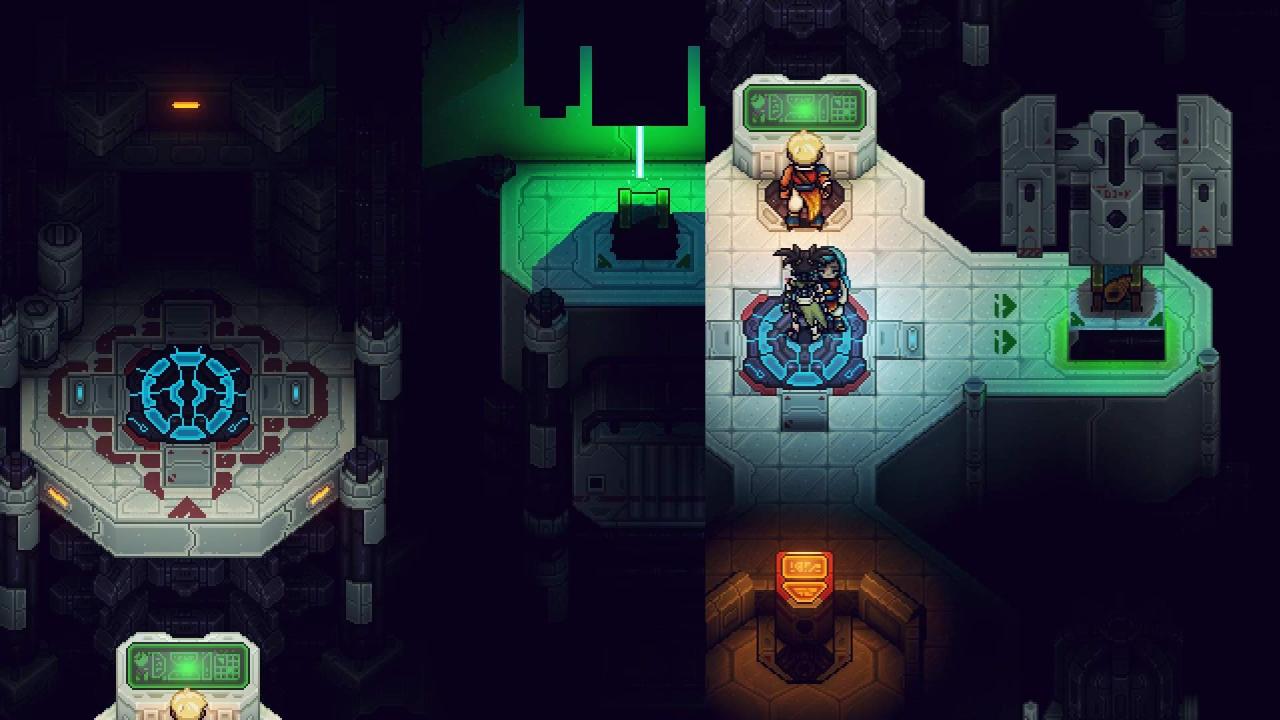
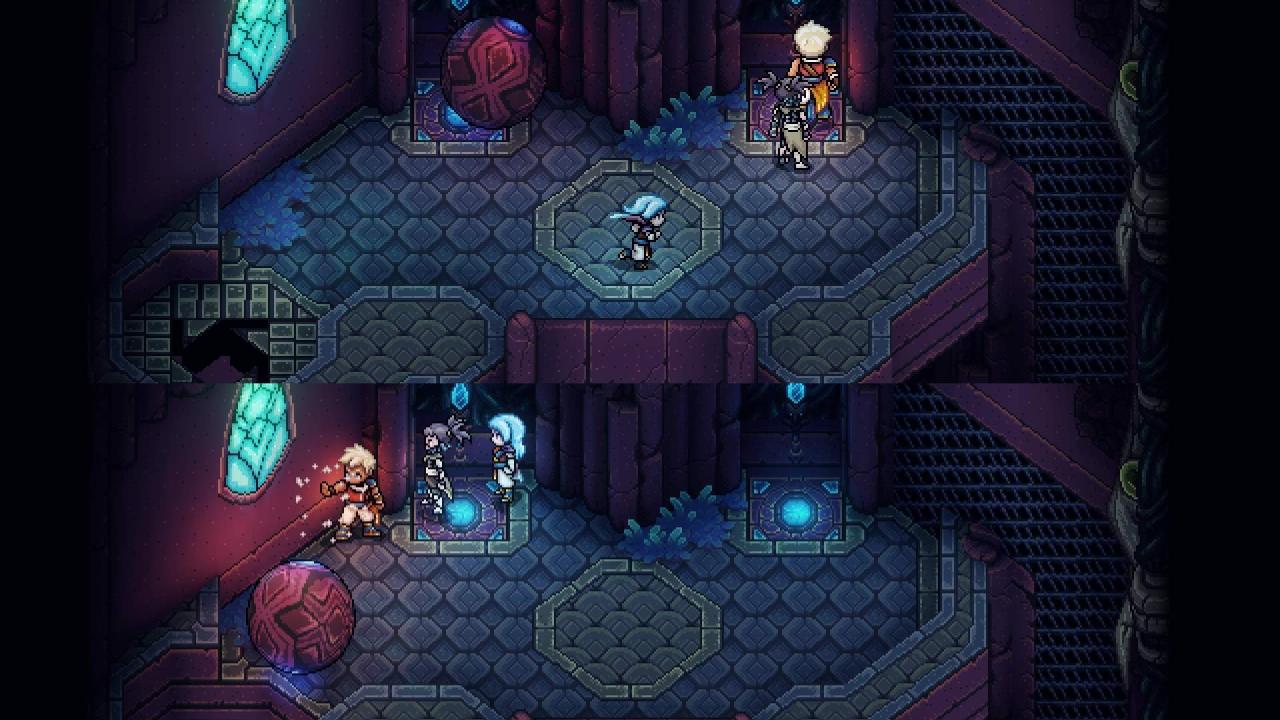
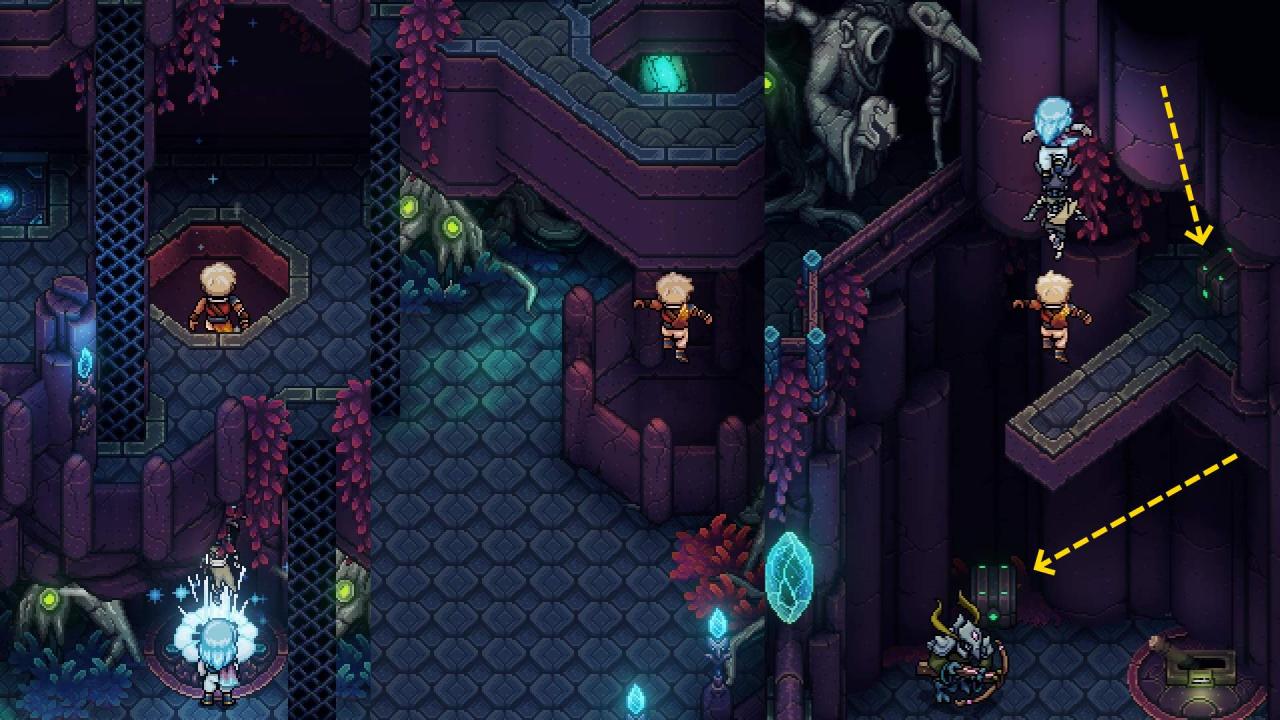
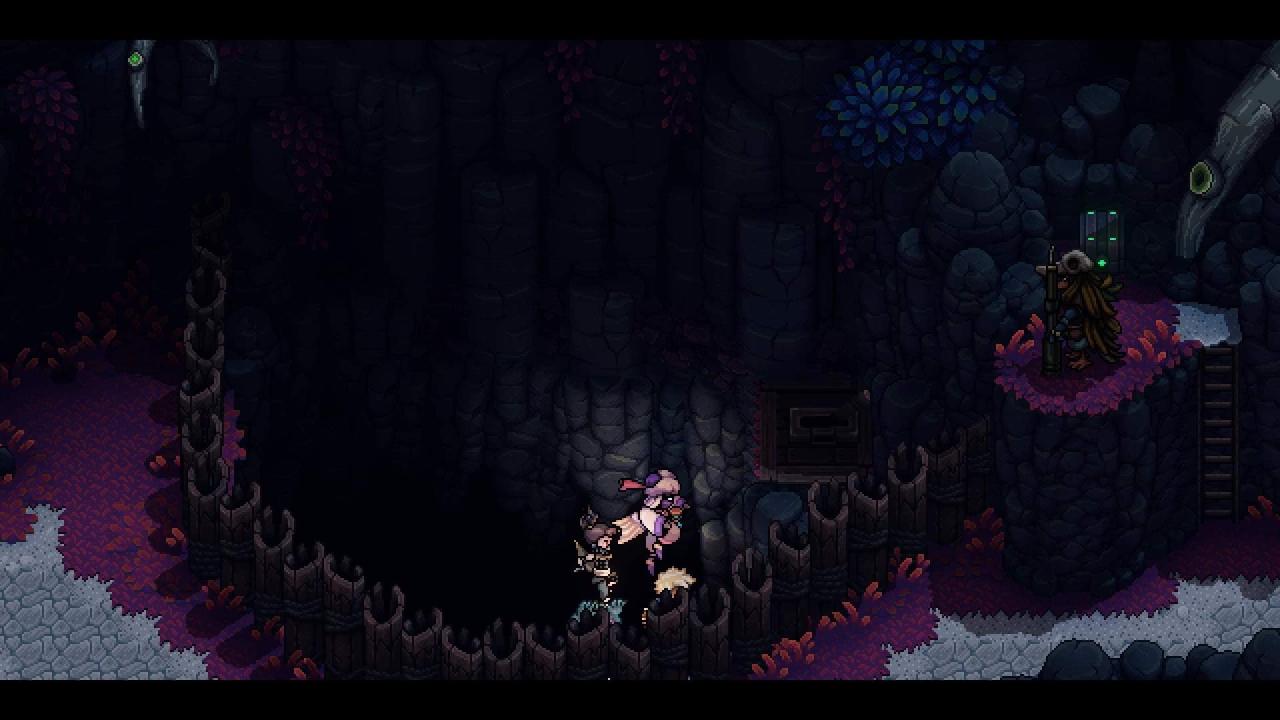
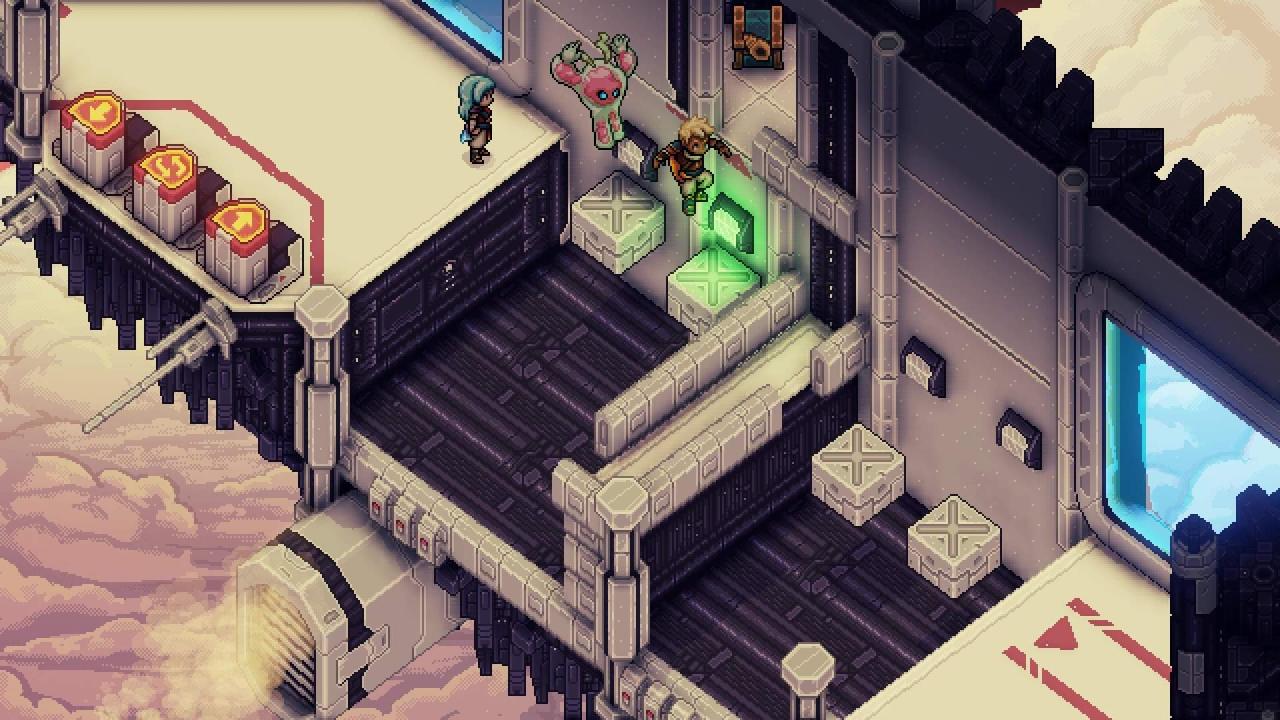
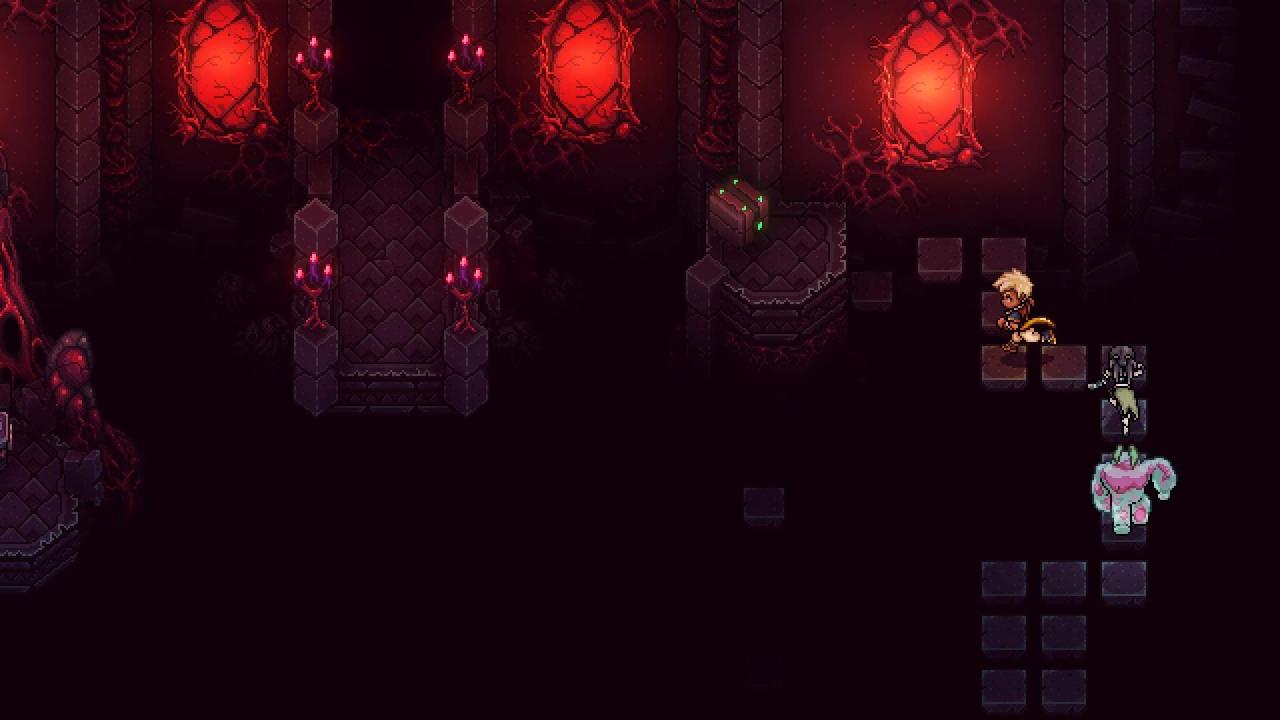
Wraith Island – Solstice Shrine
Image References:
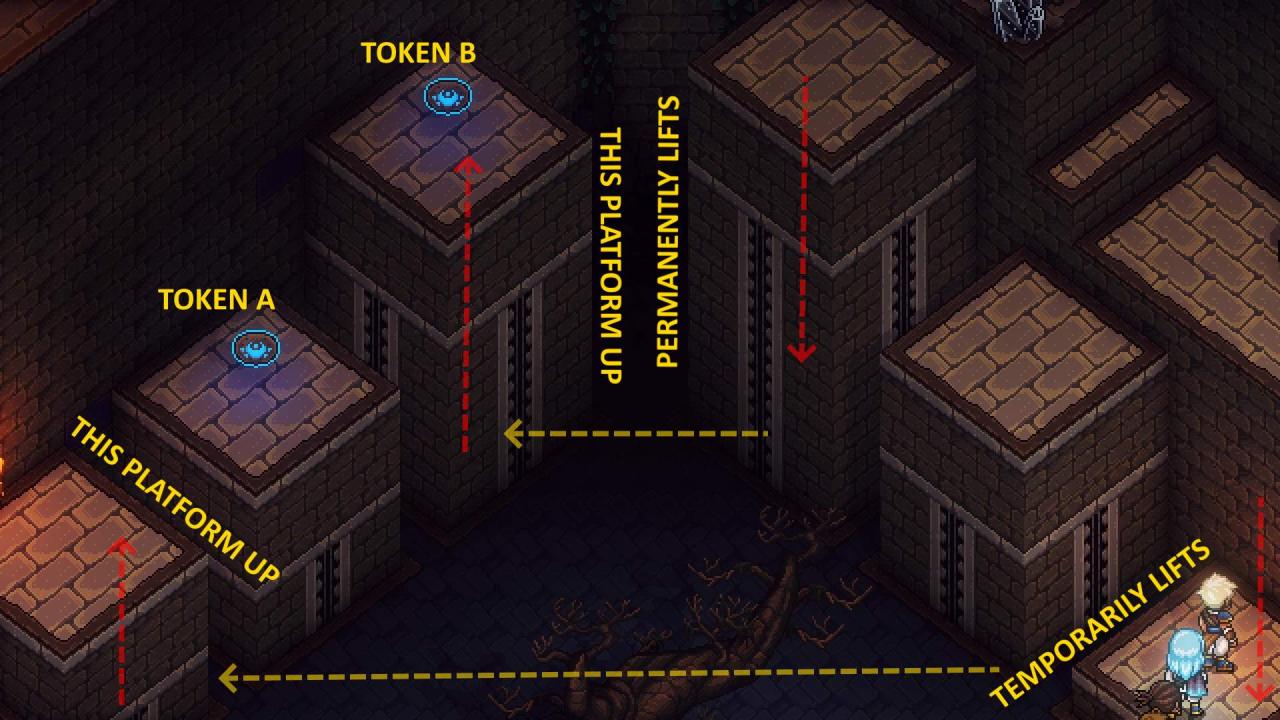
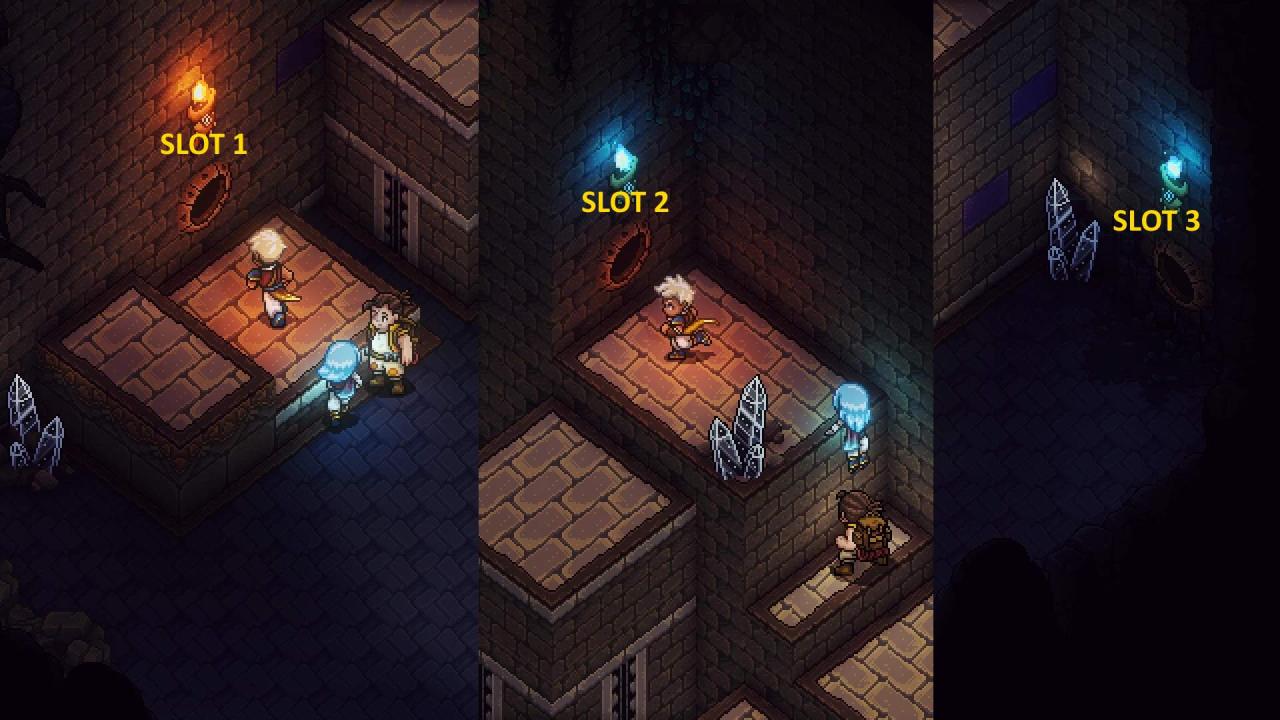
Puzzle Simplification:
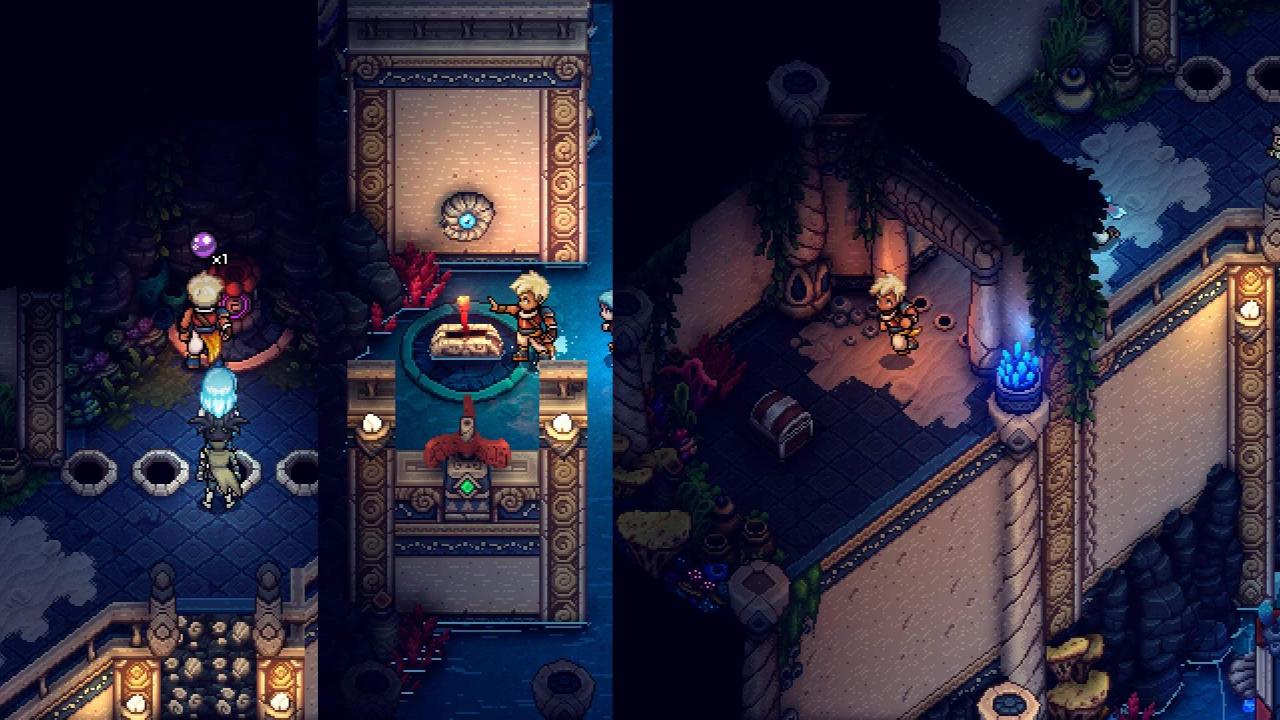
- Tokens A and B can be inserted into Slots 1/2/3 to reveal various platforms to help you collect the 3 chests in this Solstice Shrine.
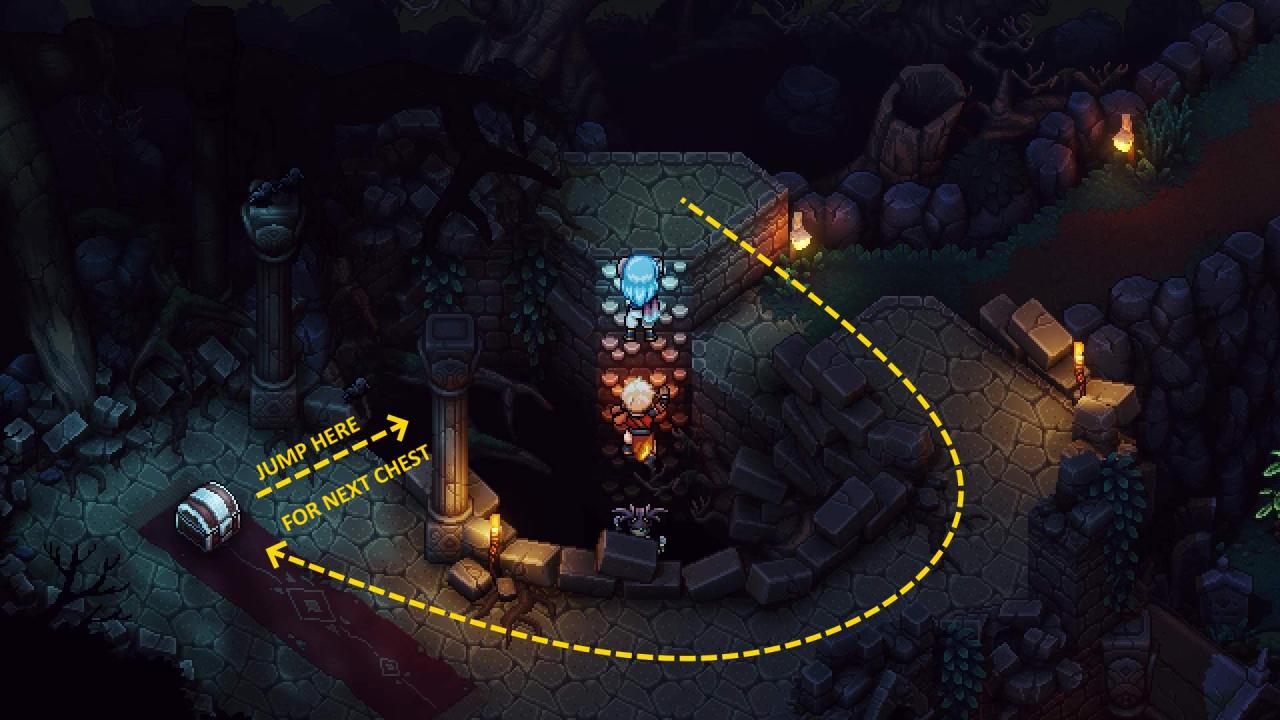
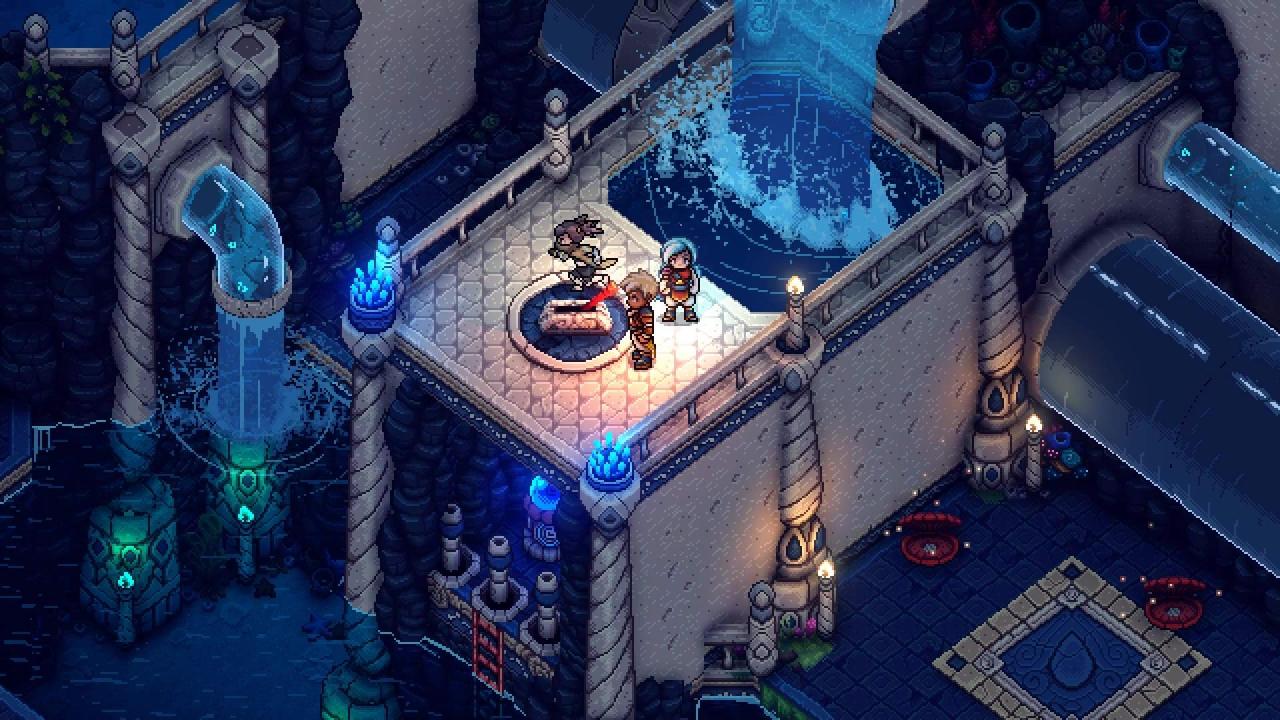
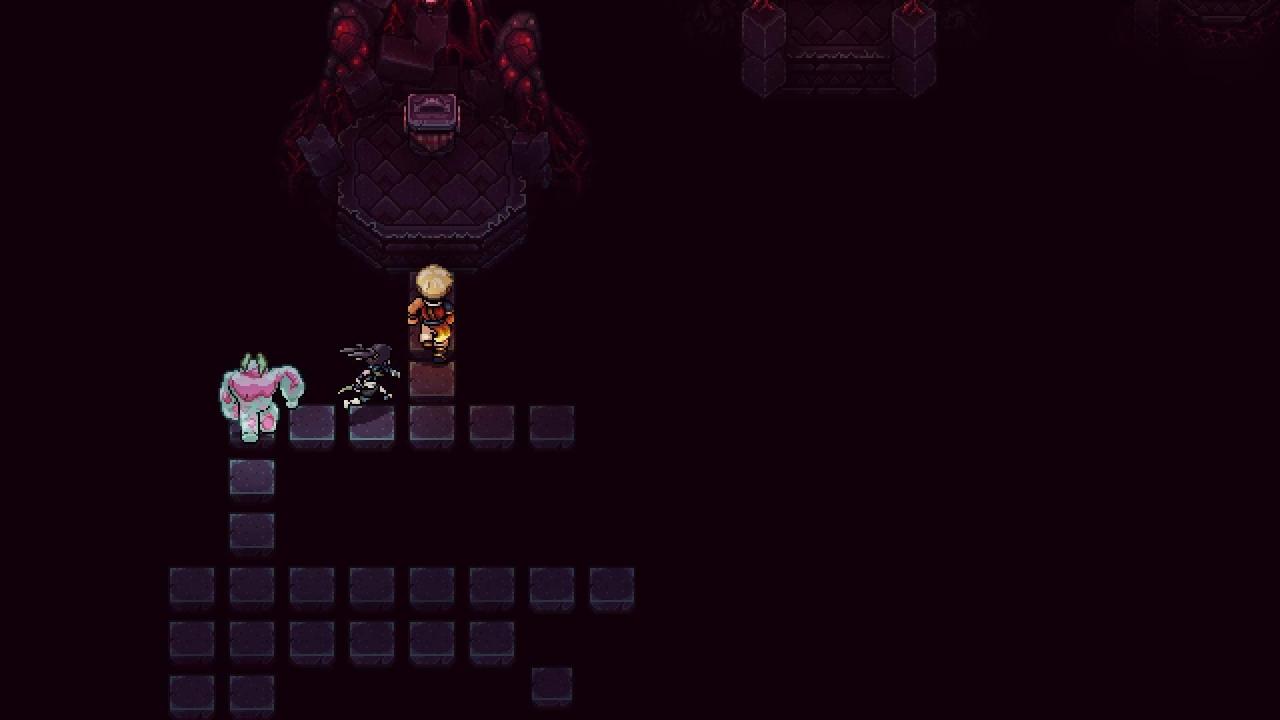
- Raise the temporary platform (see image above) to get Token A.
- The switch resets the platforms. Reset them to insert Token A into Slot 1.
- With the token insert, raise the platform again to get Token B.
- Insert Token B into Slot 3 to get Chest #1 – Shimmering Staff.
- Move toward Slot 2 and jump on the nearby platform to permanently raise its counterpart.
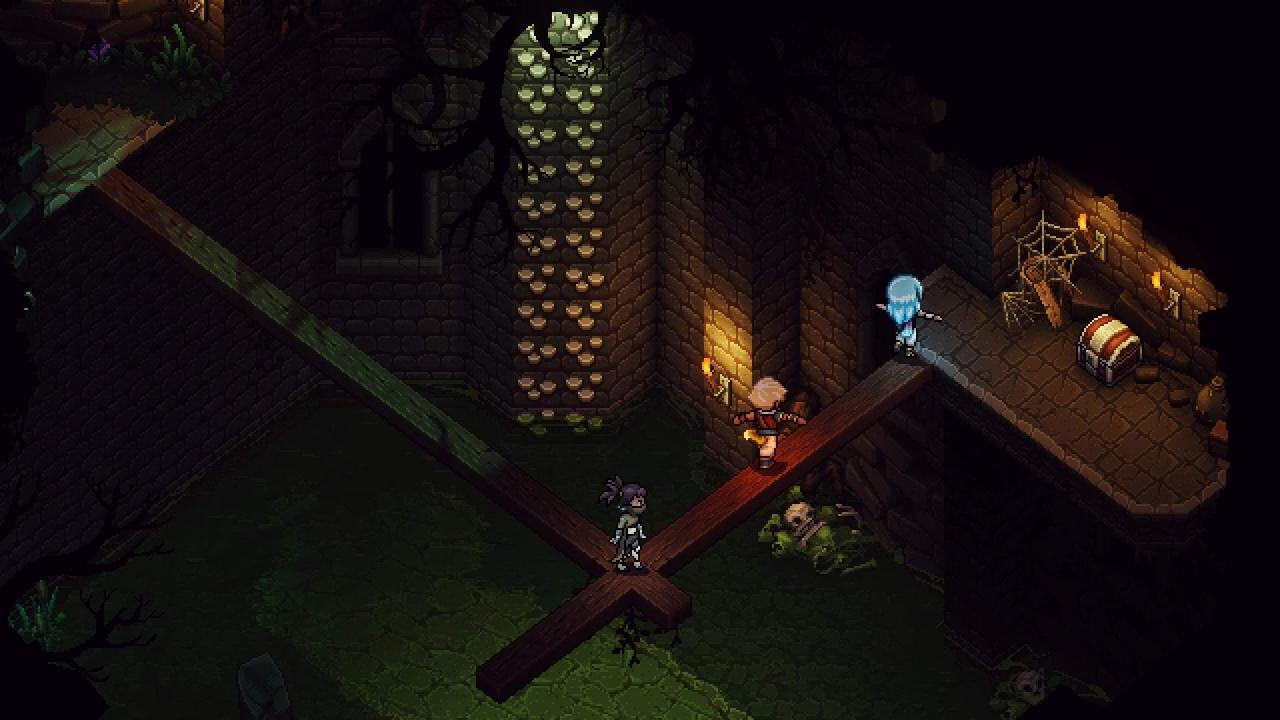
- Reset the temporary platform, then take Token A from Slot 1.
- Insert Token A into Slot 2, then take Token B from Slot 3 and insert it into Slot 1.
- Now you can access the last 2 Treasure Chests (Shimmering Sword and Solstice Sash)
- Shimmering Staff
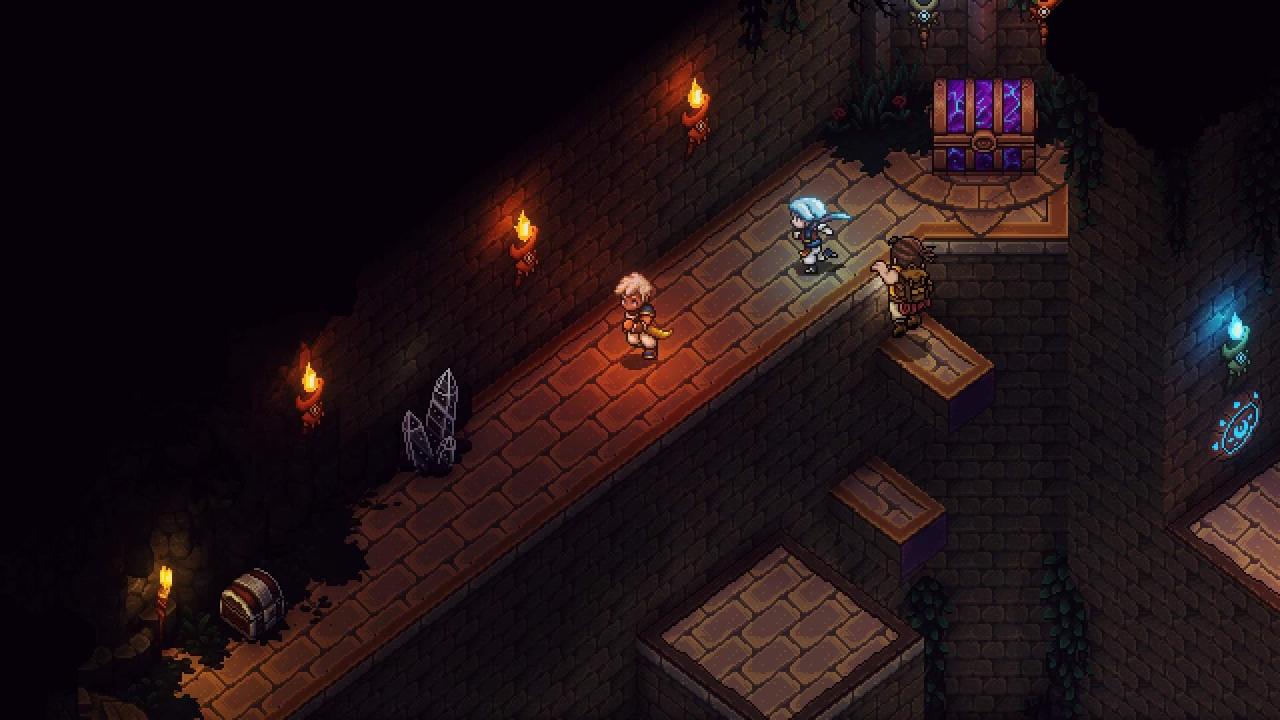
- Shimmering Sword
- Solstice Sash
Quiz Master Cleanup #1
While we’re still in Wraith Island, let’s get those Question Packs we got earlier out of the way! Head back to the Quiz Master in Lucent via the water canal entrance.
By now you should have Question Packs #1-3. I believe you get Question Pack #1 automatically as part of meeting the Quiz Master. Casual and Expert modes share a pool of questions within the same Question Pack. The only difference is that Expert mode has more questions and terminates the round as soon as you answer any question incorrectly. Let’s finish up all the casual and Expert modes of the 3 Question Packs! If I missed any questions below, feel free to let me know and I’ll paste it into the relevant guide section.
- You are facing an enemy with two blunt locks and two sword locks. Which combo move can get you out of this situation? Answer: Solstice Strike
- Without any equipment, how much MP does Zale’s Sunball cost? Answer: 8
- To “use magic without using magic” is to do what, exactly? Answer: Use live mana to boost
- To “use magic without using magic” is to do what, exactly? Answer: Use live mana to boost
- When is Valere’s birthday? Answer: Winter Solstice
- On Evermist Island is a secluded village where Children of the Solstice are delivered. What is the name of that Village? Answer: Mooncradle
- What is the name of the spiritual being found at the top of Mountain Trail? Answer: Elder Mist
- True or False: Boosting regenerates MP. Answer: FALSE
- What is the name of Zenith Academy’s training golem? Answer: Wyrd
- What is the name of the enchanted currency that can control the undead? Answer: Coin of Undeath Accord
- True or False: Those traveling by yeet ball land on Sleeper Island after being caught by X’tol. Answer: TRUE
- What name did Malkomud give his pet salamander? Answer: Rockie
- True or False: The Molekin from Stonemasons Outpost are descended from a long line of elemental mages. Answer: TRUE
- Yolande, Valtraid and Keenathan are part of a pirate crew led by whom? Answer: Captain Klee’shaë
- Of these establishments, which one is NOT found on Sleeper Island? Answer: The First Stage of Grief
- What is the name of the raft the pirate crew used to sail across the Shallowmire? Answer: The Oakum Skiff
- Of these enemies, which one is NOT present in the Moorlands? Answer: Drillbat
- In the Stonemasons Outpost, the Molekin are taking care of the wind tunnels so that they keep on fulfilling which function? Answer: Play music
- Without any equipment, which of these skills costs Seraï 9 MP? Answer: Phase Shiv
- True of False: Duke Aventry was resurrected from his ashes by the necromancer Romaya. Answer: TRUE
- When properly timing Garl’s Nourish, what is the apple replaced by? Answer: Half a sandwich
- How is the tool allowing one to propel themselves to stakes and climbable surfaces called? Answer: Graplou
- If one were to buy a Scrimshawed Sword, how much gold would they need? Answer: 80
- When a Gulgul escapes battle, what does it do? Answer: Strike a pose in a puff of smoke
- Wraith Island was named after a Dweller appeared in the Haunted Mansion. What is that Dweller’s name? Answer: Dweller of Woe
- True or False: The First Stage of Grief was so named because the people of Lucent like to gather in mindful acceptance of their situation. Answer: FALSE
- What is the name of the sorcerer-type enemies that can be found in the Necromancer’s Lair? Answer: Mermofwizqard
- In the Cursed Woods, what is the name of the enemy that had to be destroyed to get rid of the vines? Answer: Boulbe
The Vespertine
During your first visit:
- Chaudrée
- Hearty Stew
- Mooncradle Fish Pie
- Mooncradle Fish Pie
- Hearty Stew
- Map
Available after the events in the Maelstrom Point and once you freely set sail and enter your ship.
Sea of Nightmares
No collectibles here. Everything inside, Maelstrom Point included, is related to story progression.
Fishing Spot: Settler’s Rest
- Crimson Bass
- Hardshell (repeat)
- Seakjaw
- Grass Haddock (repeat)
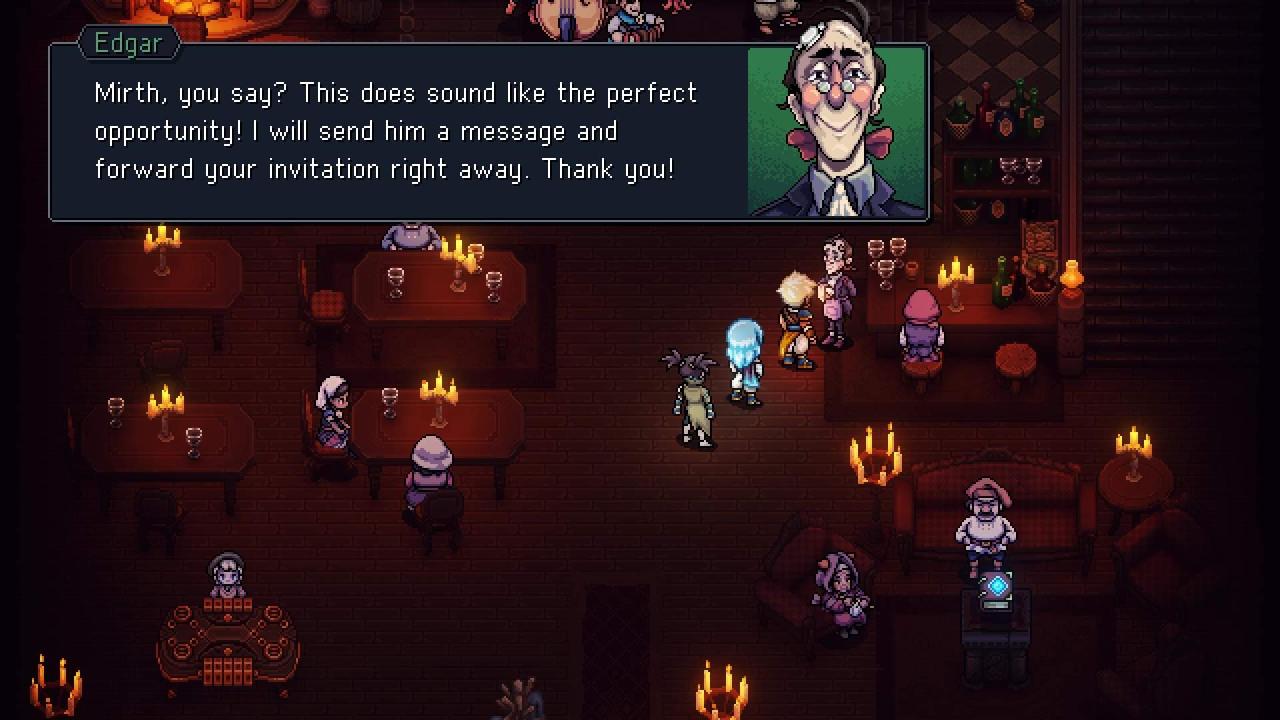
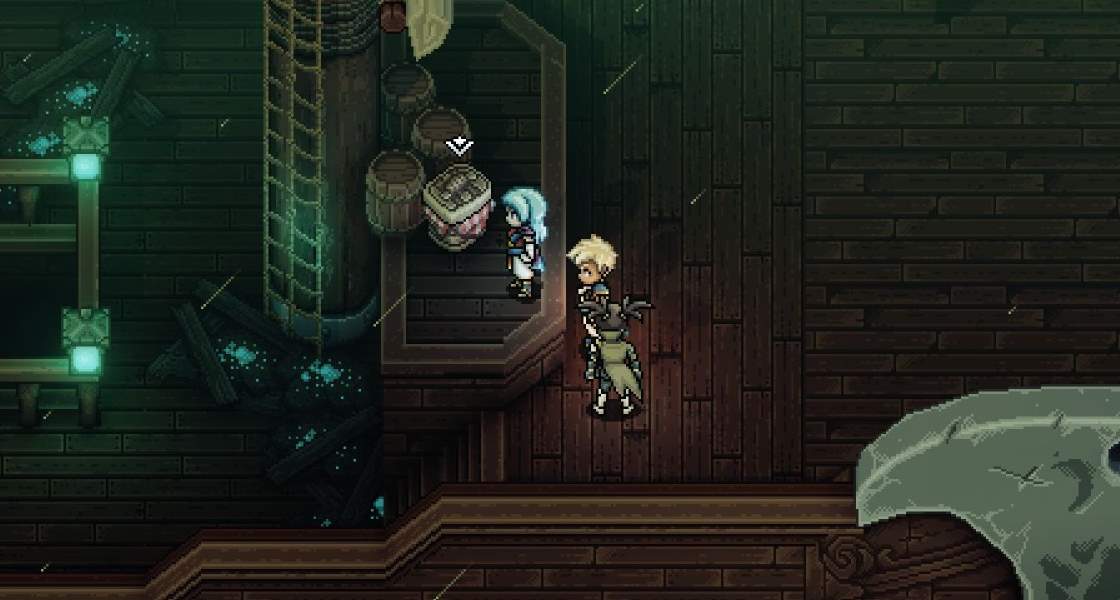
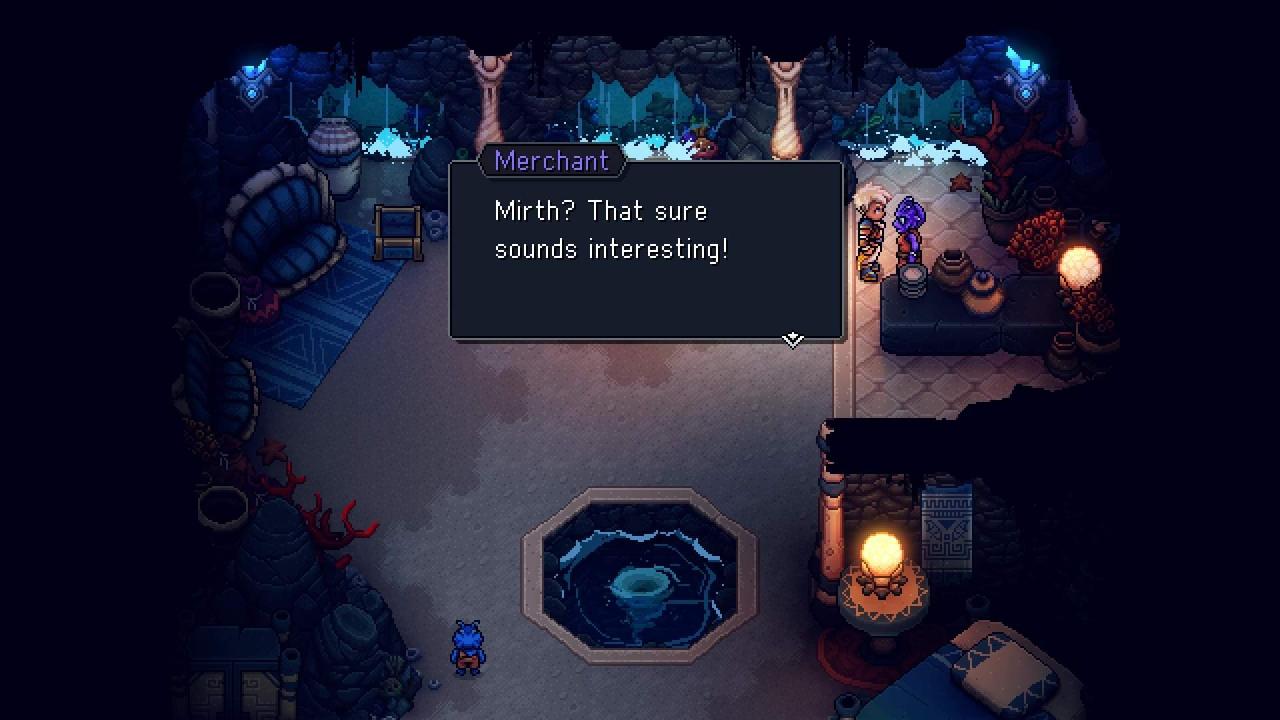
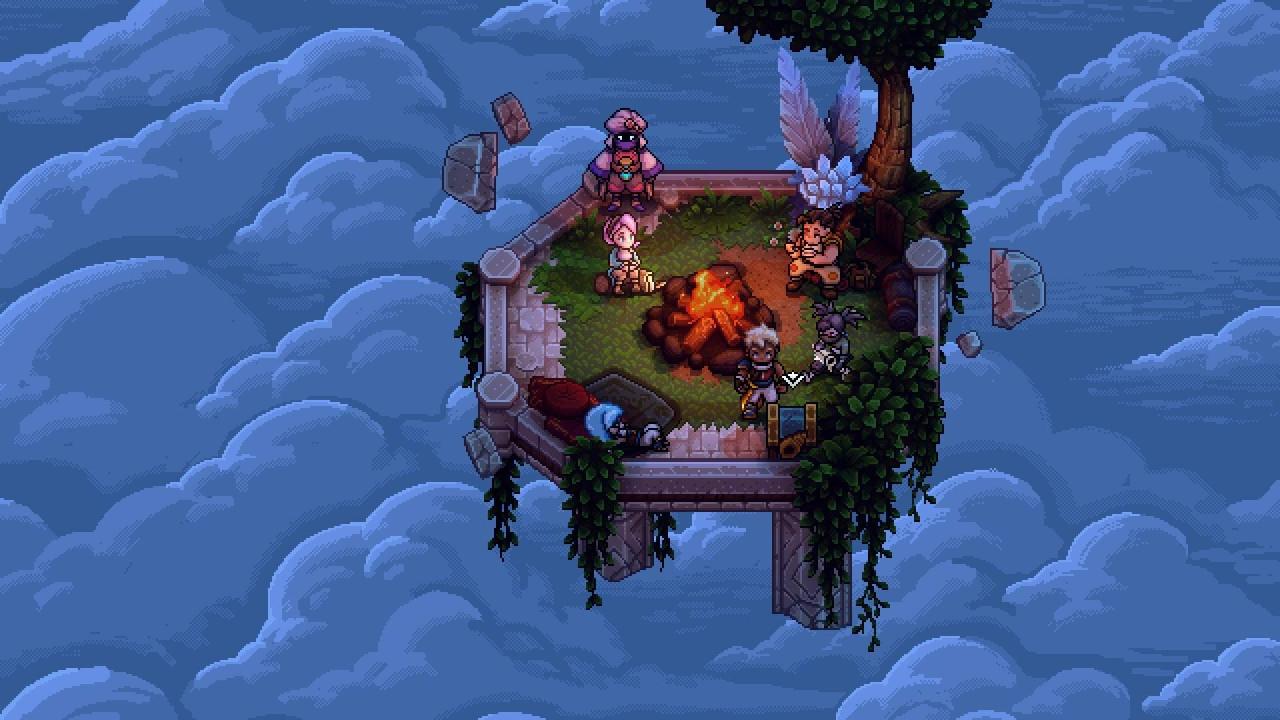
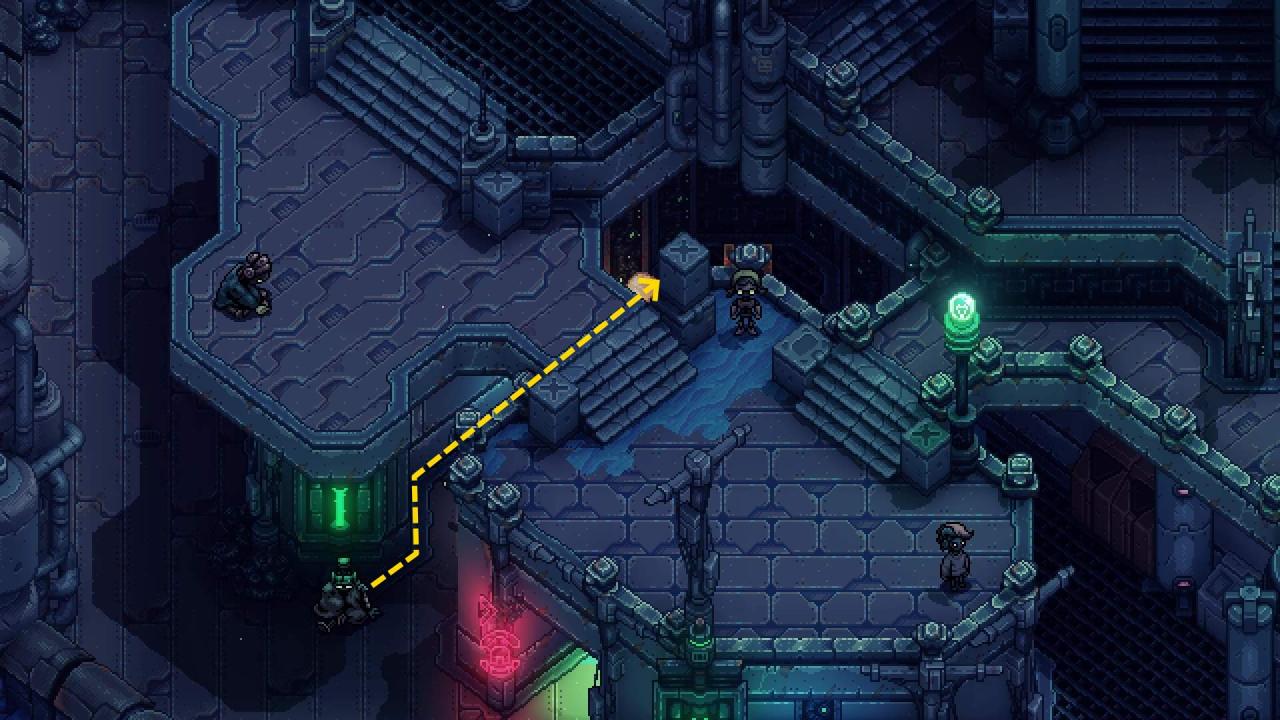
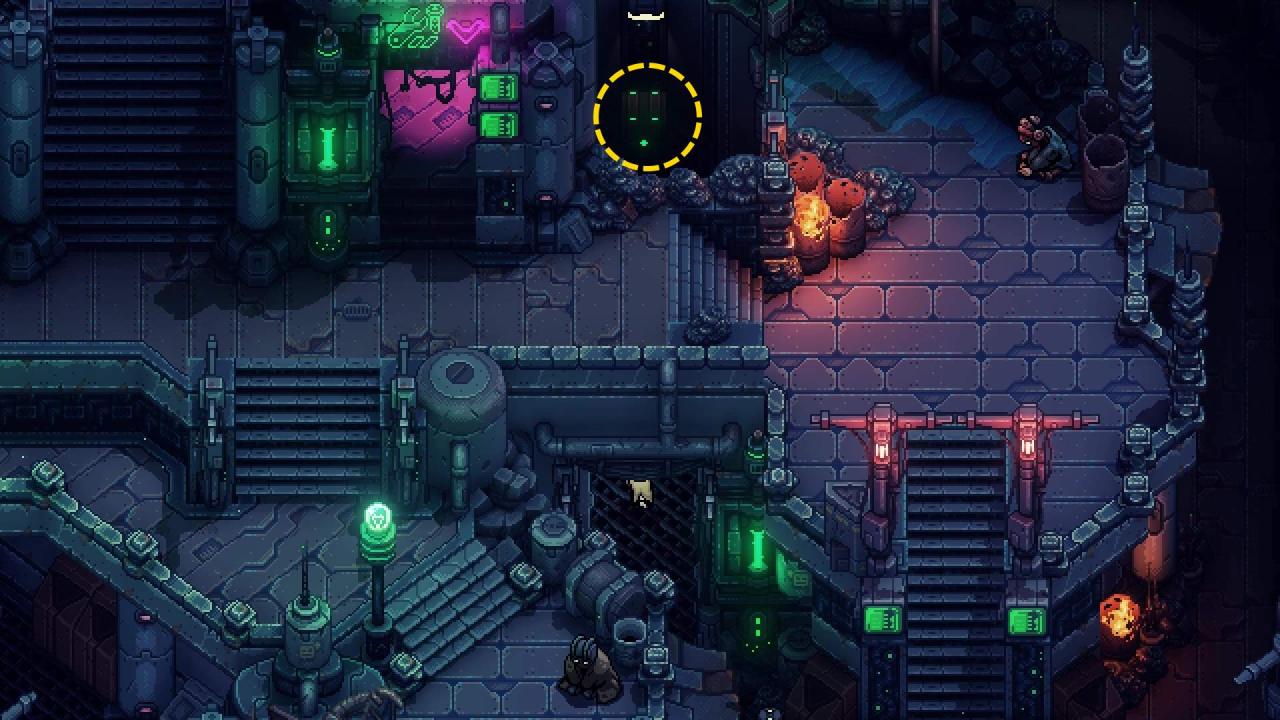
Mirth
- 00:10 Rainbow Conch
- 00:19 Rainbow Conch (requires Fishing Hut to be built)
- 00:40 Moraine’s Office Key (after Elder’s house has been built)
- 01:02 Where to use the key (Mooncradle’s Zenith Academy)
- Rainbow Conch
┌ Sea Exploration #1: Vespertine
Since Morraine gave us something to access the Solstice Shrine close to home, let’s get that out of the way to obtain a powerful Combo Skill: Soonrang! Note a few other things you can do right now:
- Darro’s Muse (CTRL+F)
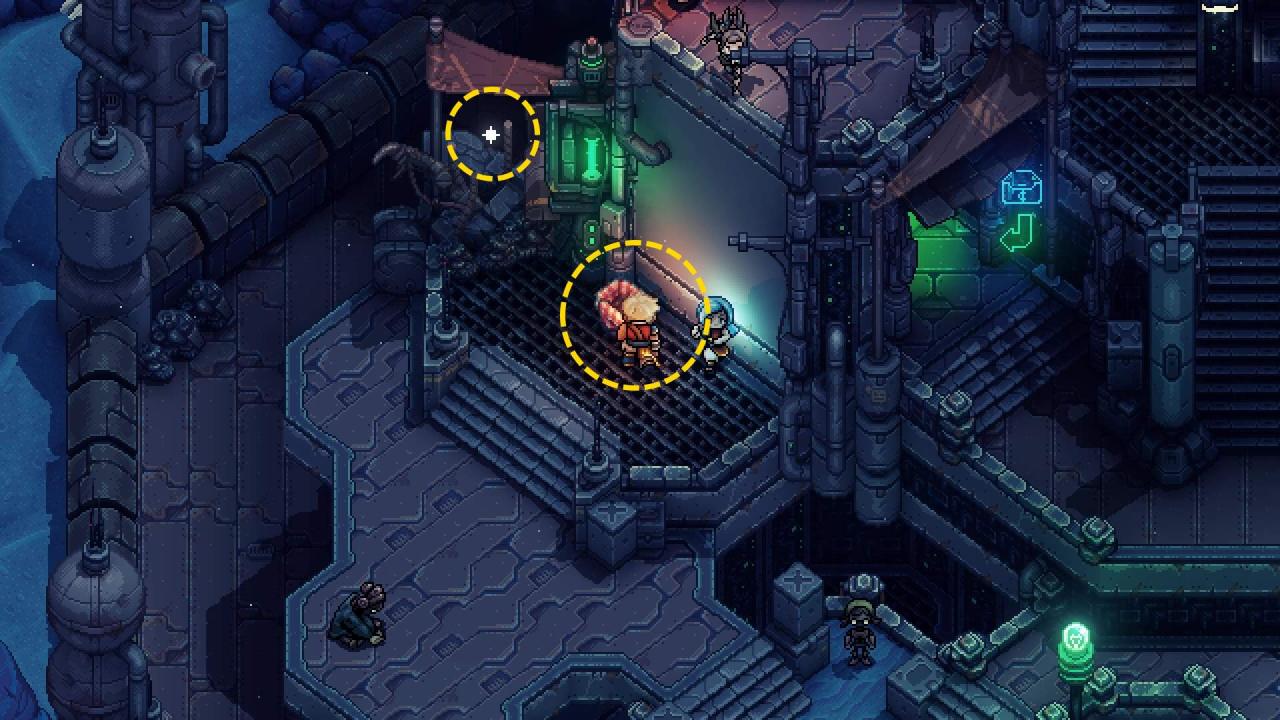
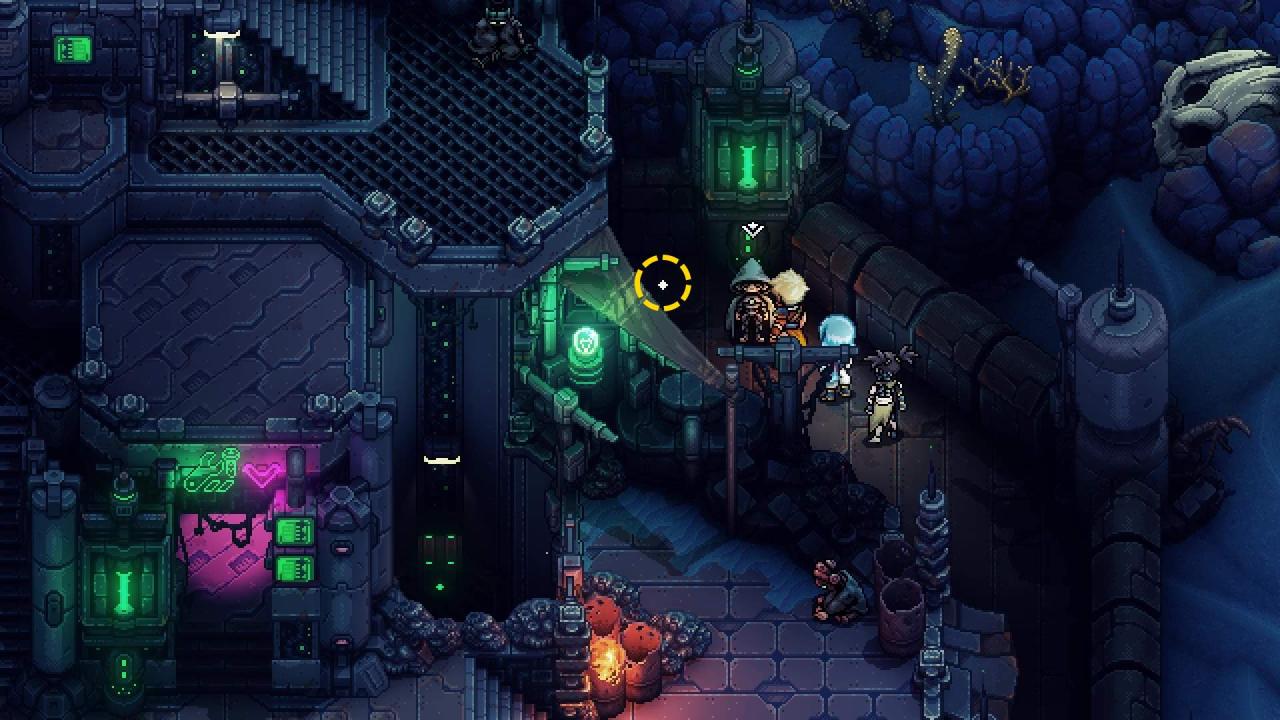
- Talk to the Lucent Innkeeper to recruit an Innkeeper for Mirth
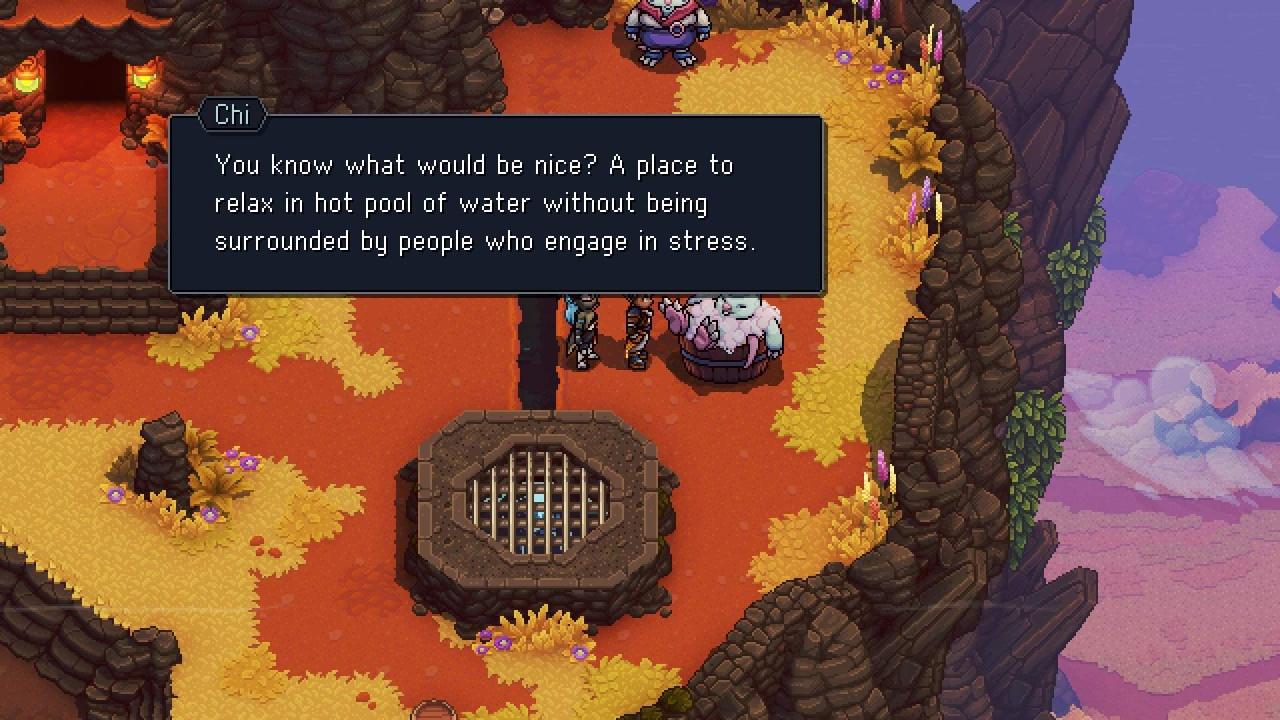
- Talk to the NPC that’s bathing on the East side of Stonemasons Outpost (the one that rewards you with a Rainbow Conch) to recruit Chi for your Hot Springs back in Mirth.
- Get to the Rainbow Conch chest via grapple point in the Mountain Trail
- Small wind puzzles in Mooncradle and a Block you can also push in the Forbidden Cavern.
- Recruit Master Fisherman in Mooncradle Tavern.
- Defeat a Wheels player in Mooncradle Tavern.
- Complete the Solstice Shrine. This also unlocks a dock close to Mooncradle so the long trek from Brisk to Mooncradle is worth it.
- Push another Block in the Elder Mist Trial
- Open a Rainbow Conch chest in Stillpond Island.
├ Evermist Solstice Shrine
Abridged Solution:
├ Fishing Spot: Sulfuric Basin
- Rock Shrimp
- Lava Koi
└ Stillpond Island
- Rainbow Conch
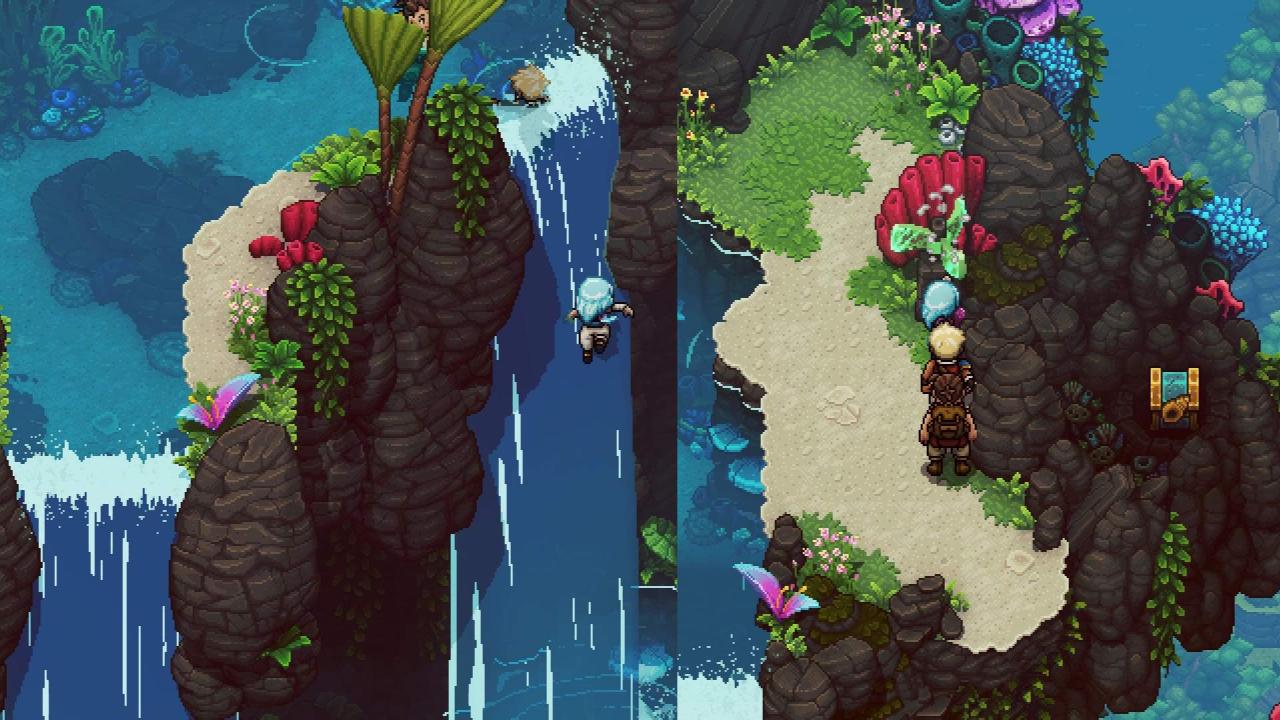
Jungle Path
Note: backtrack to the light puzzle for the conch chest
- Southwest of the save point – Sapphire Ore
- Northwest of the save point – Question Pack #4
- Docarri Armor
- Peach Strudel
- Sapphire Ore
- Stone Tablet Piece
After obtaining the Solstice Amulet:
Timestamps also included in the video description:
- 00:57 Lucent Crystal
- 01:08 Rainbow Conch
Watcher’s Pond
- Fluorescent Piranha
- Crimson Bass (repeat)
- Sun Carp
- Viridian Lobster
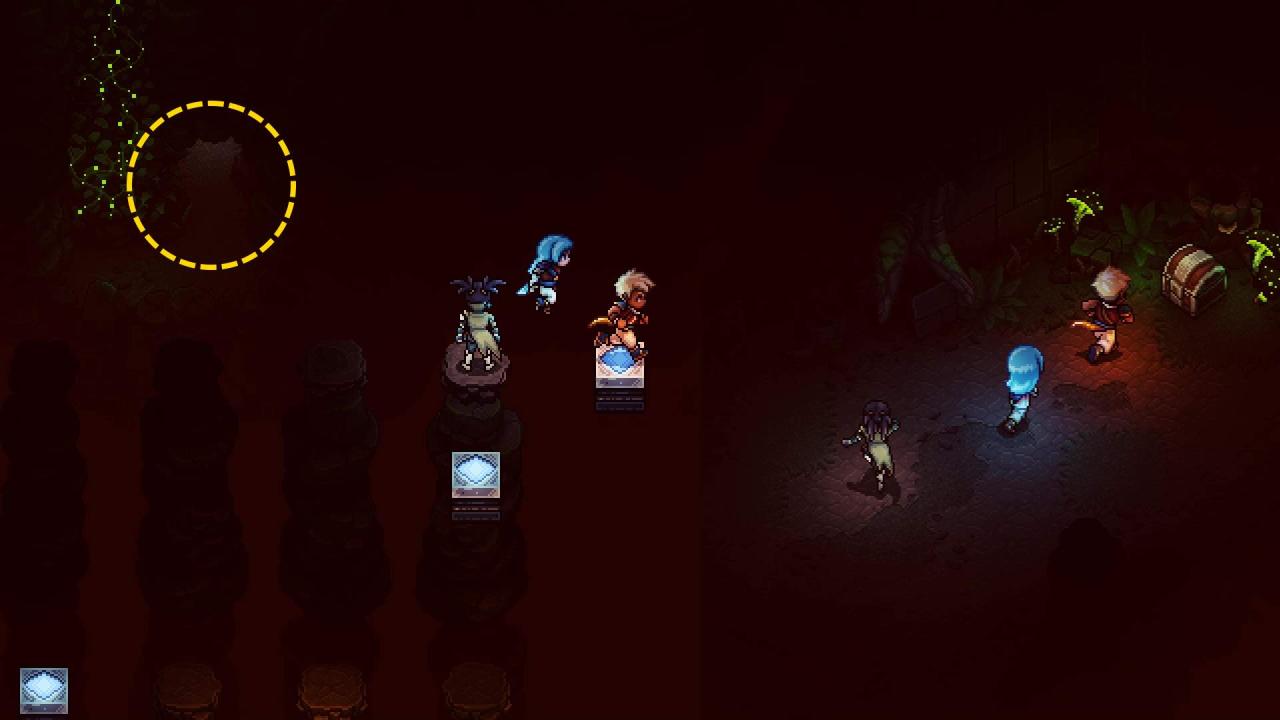
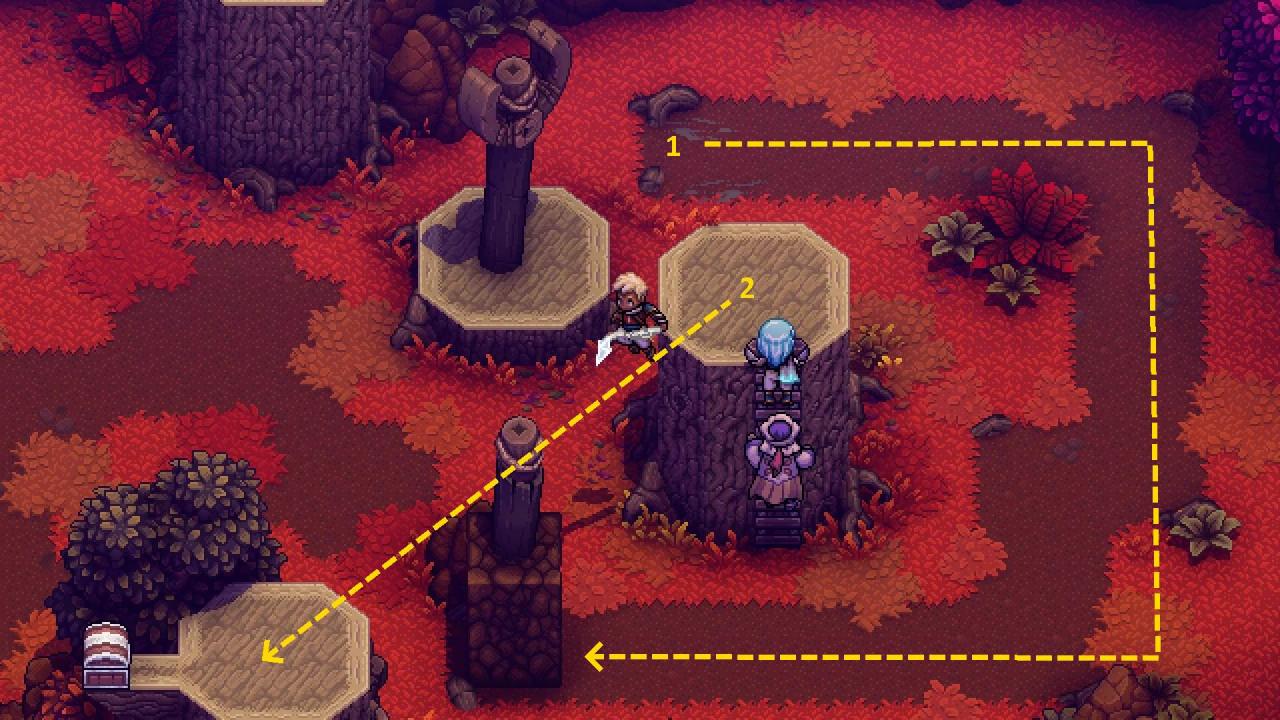
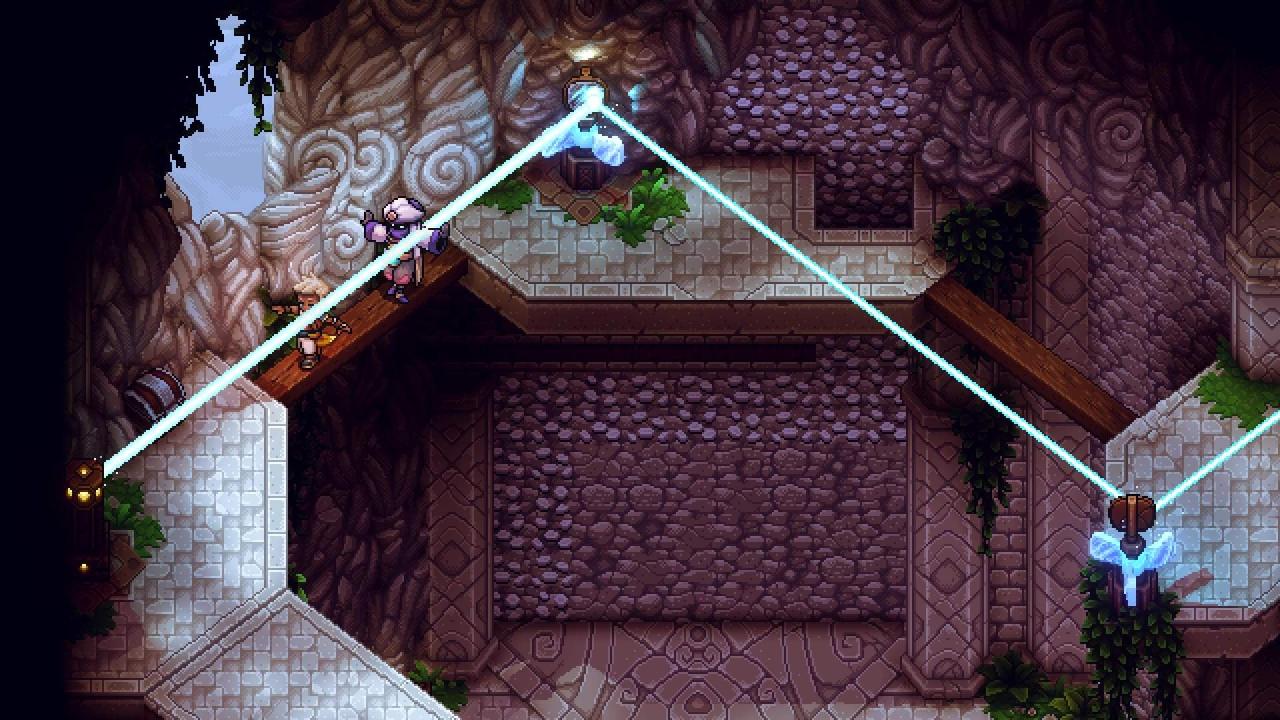
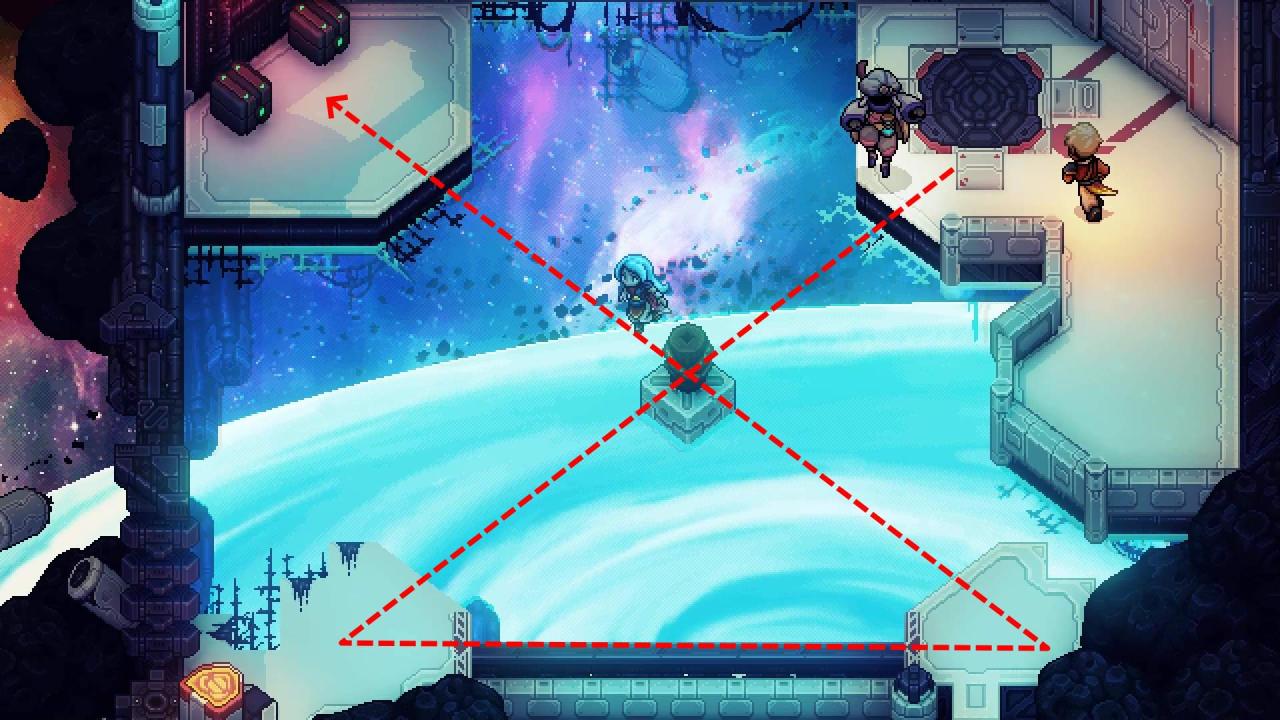
Sacred Grove
- Coral Dagger
- First, aim the light on the Northeast diamond.
- Enter the cave that contained the previous chest.
- Exit the cave and rush the pillar in the direction the light is facing.
- Climb it before it gets elevated.
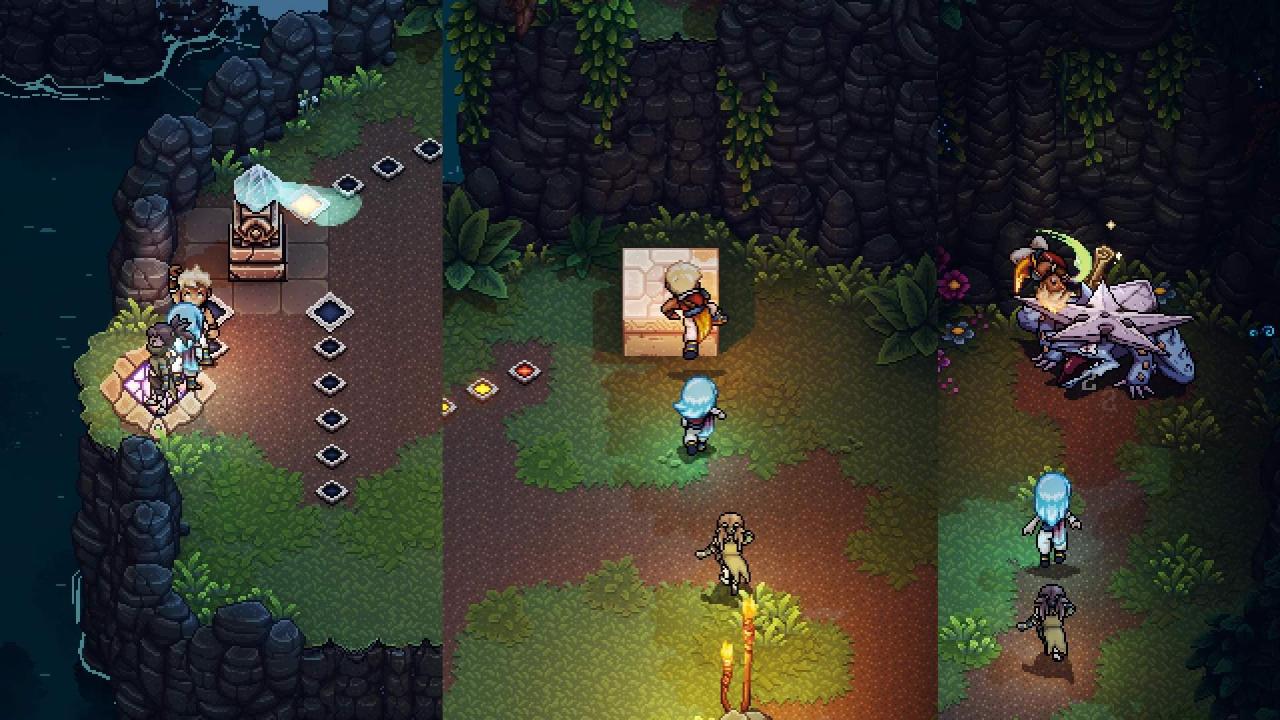
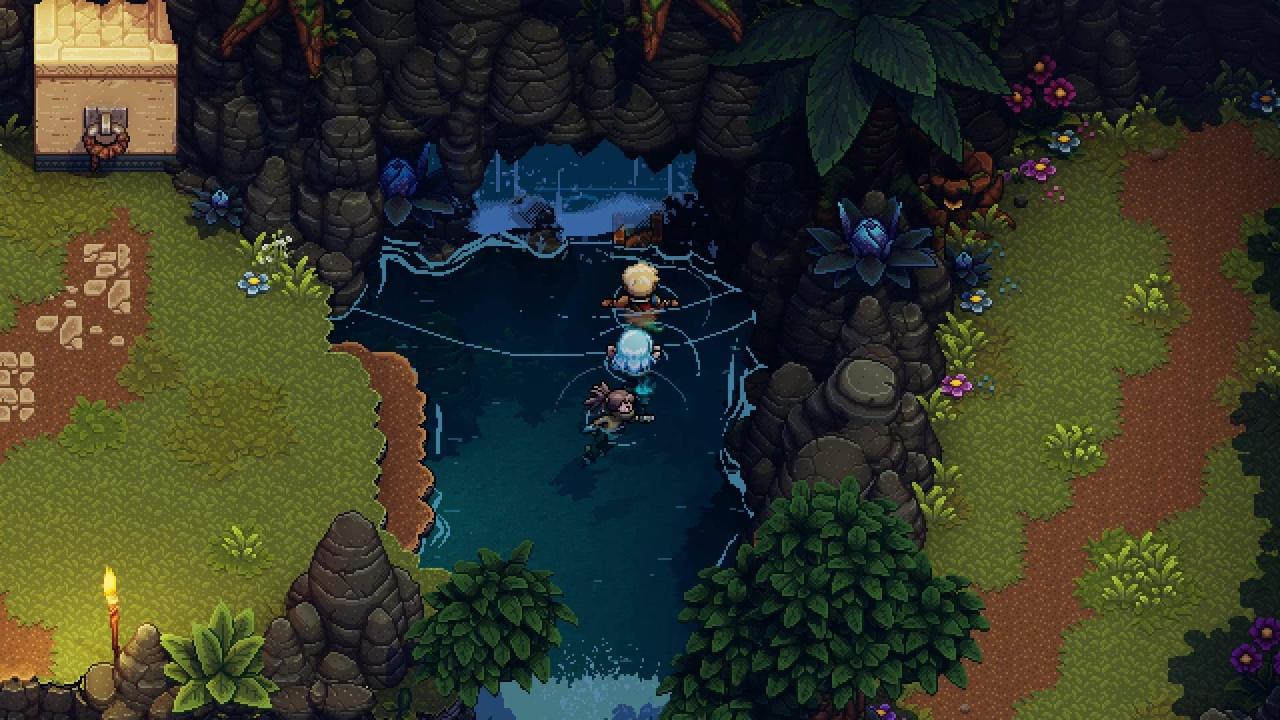
- Rainbow Conch
- Sapphire Ore
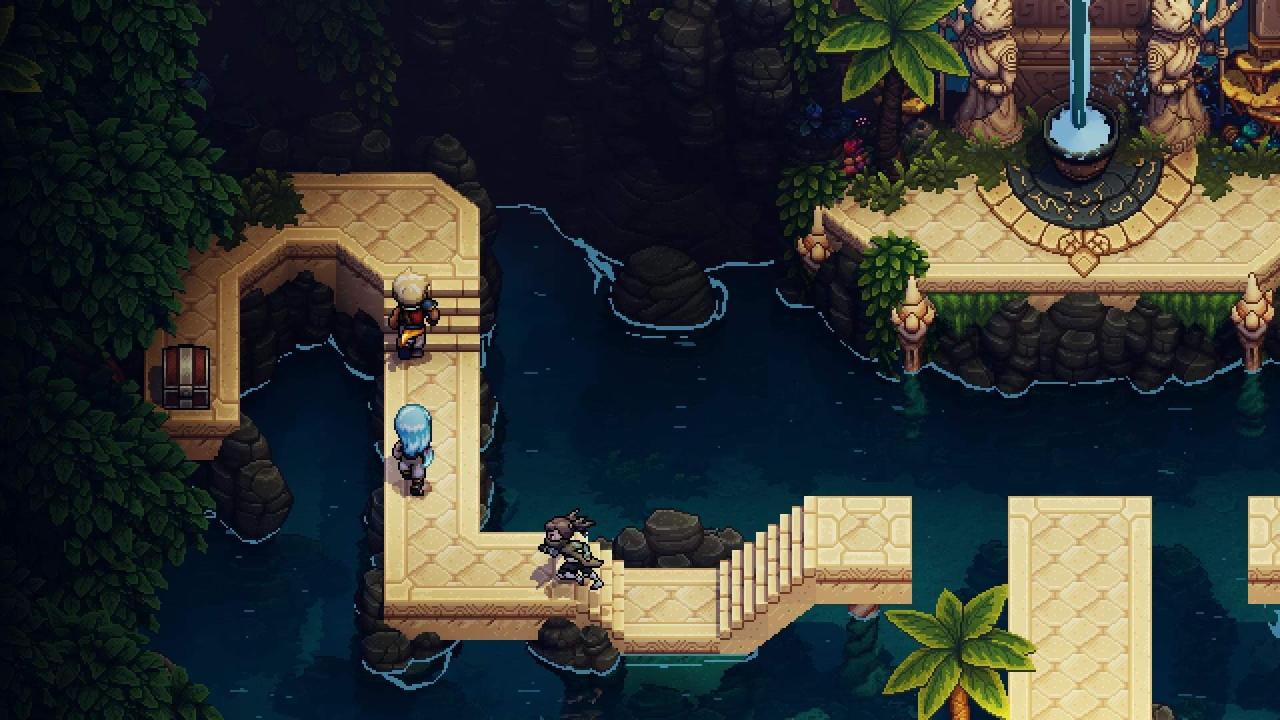
Docarri Village
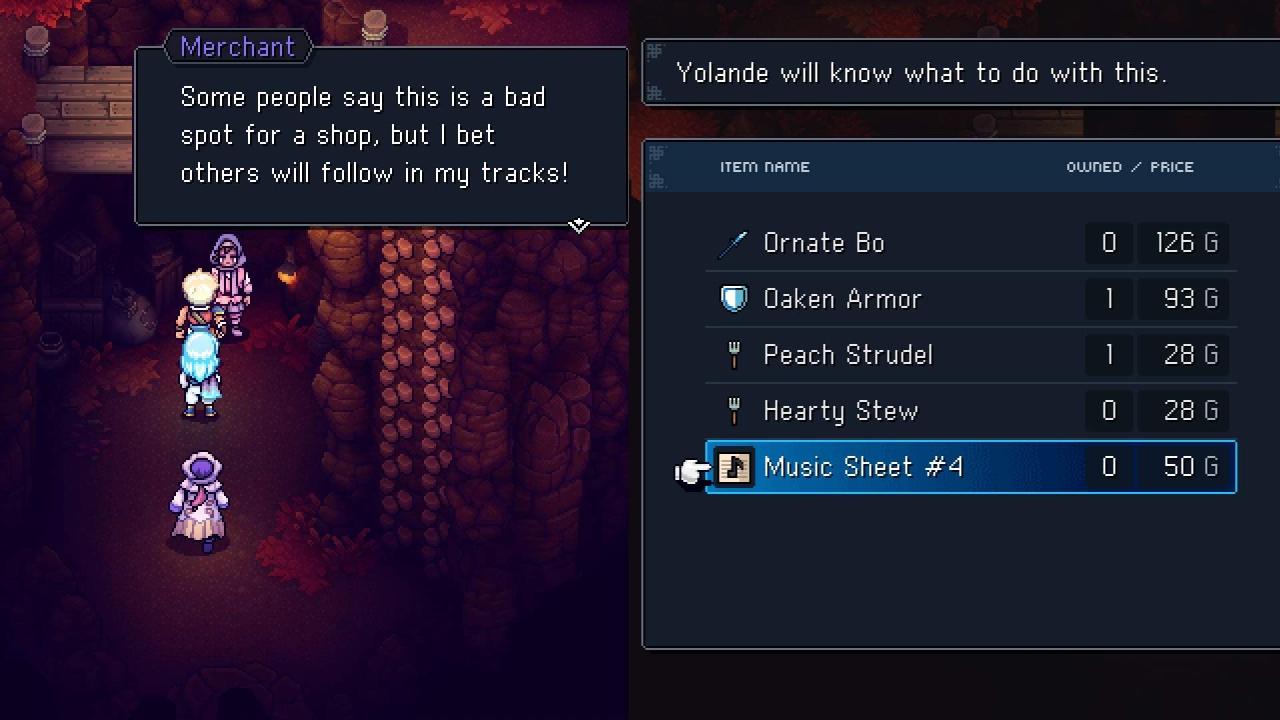
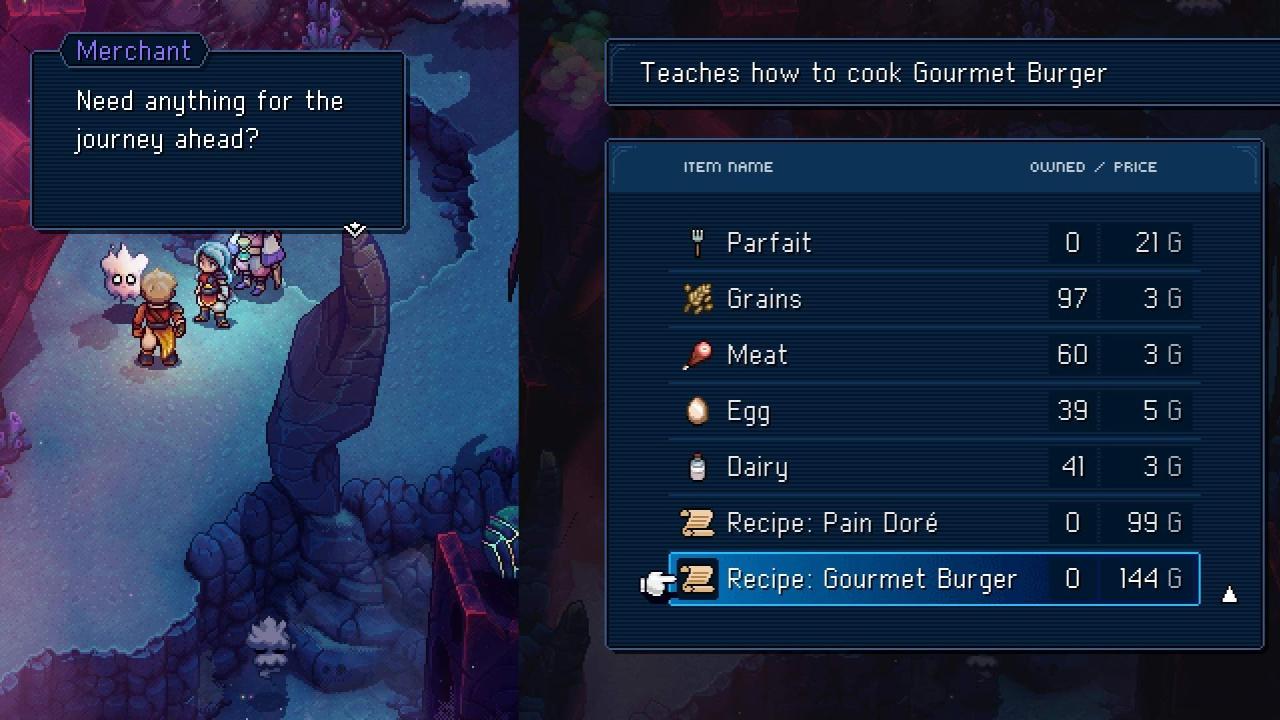
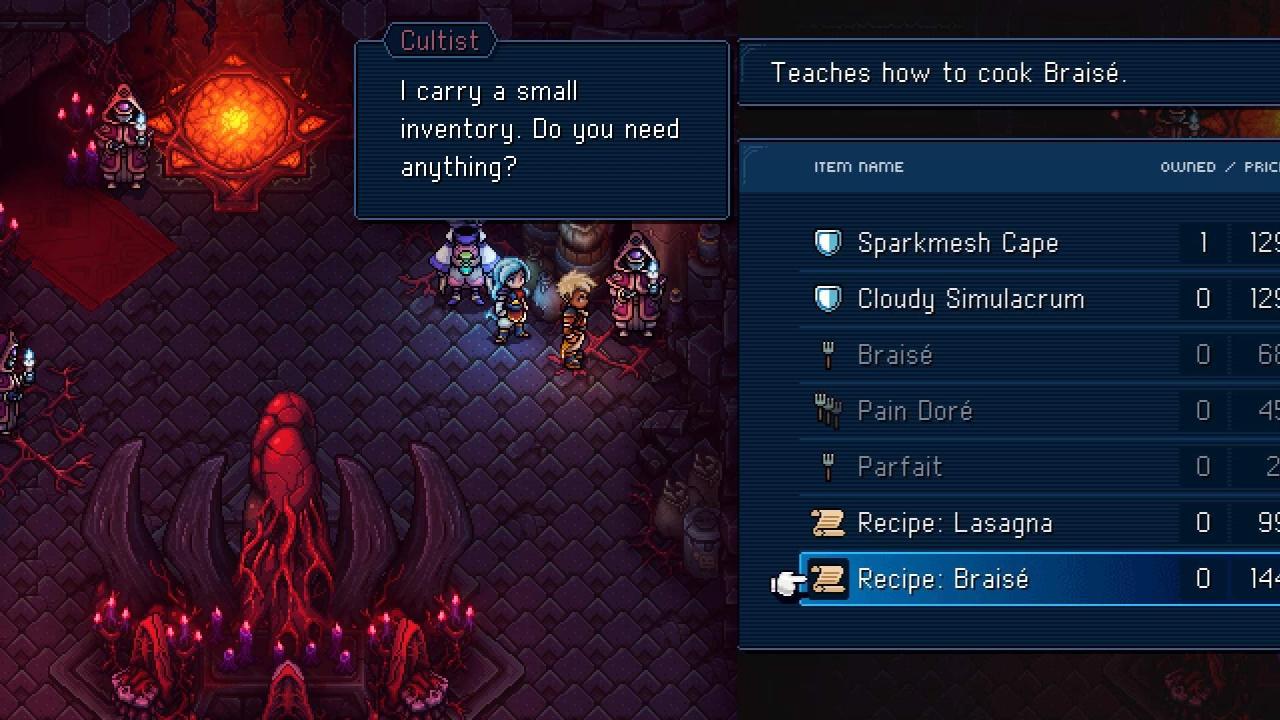
Purchase from the Item Shop for 144 Gold.
- Old Coral Vase
- Rainbow Conch
House Southeast of Docarri Village
- Rainbow Conch
Talk to the NPC in the same room as the chest above.
Take the inner chamber whirlpool in the building near Mirna.
- Sapphire Ore
 Take the inner chamber whirlpool in the building near Mirna.
 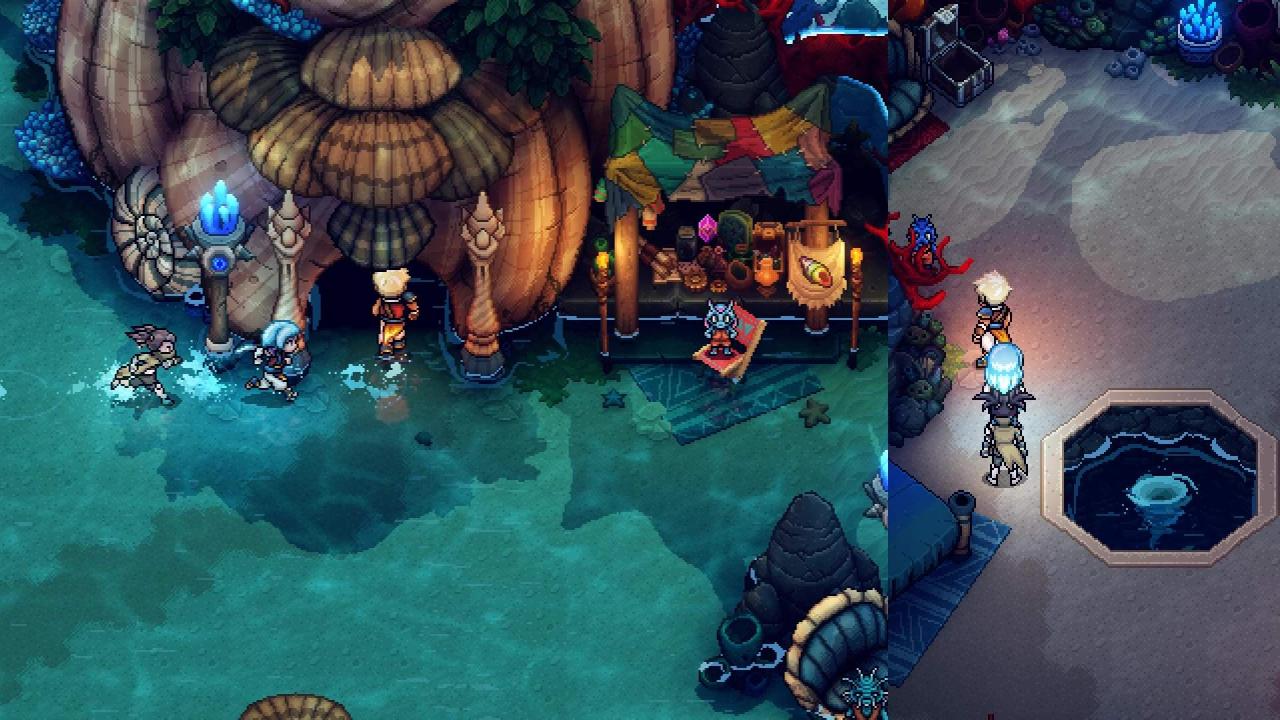 Take the 2 inner chamber whirlpools in the back of the Item Shop.
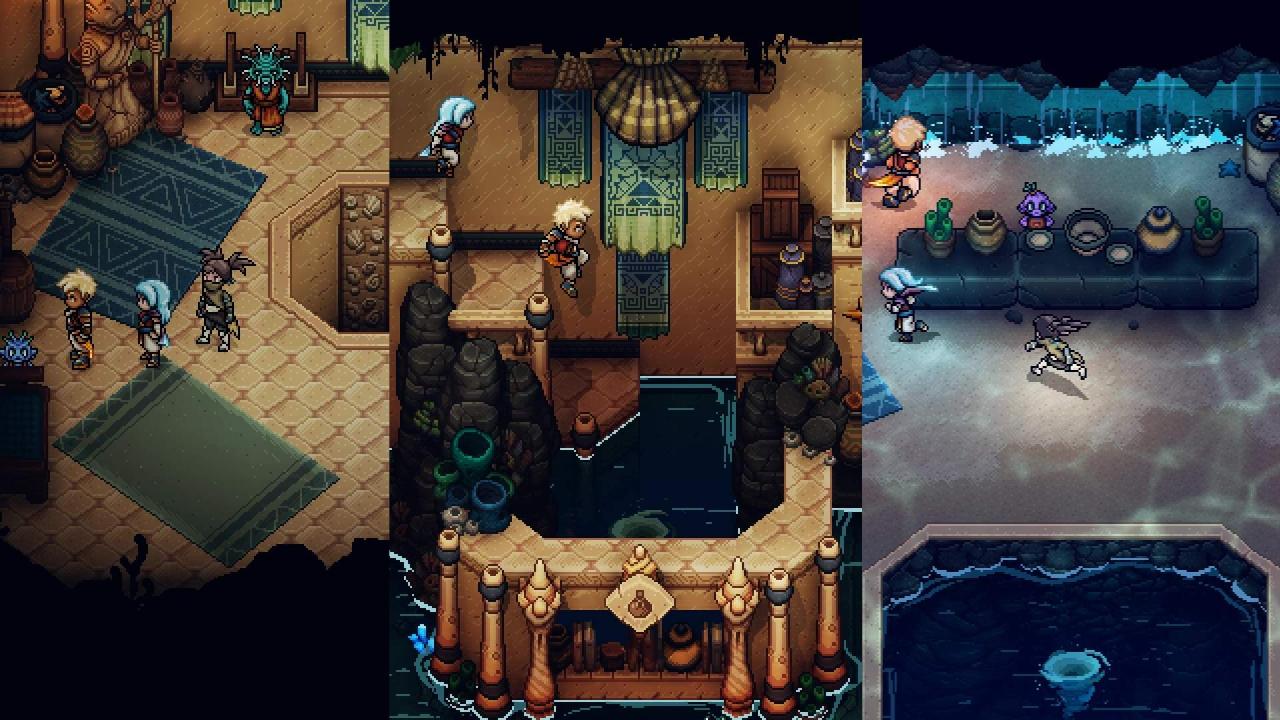
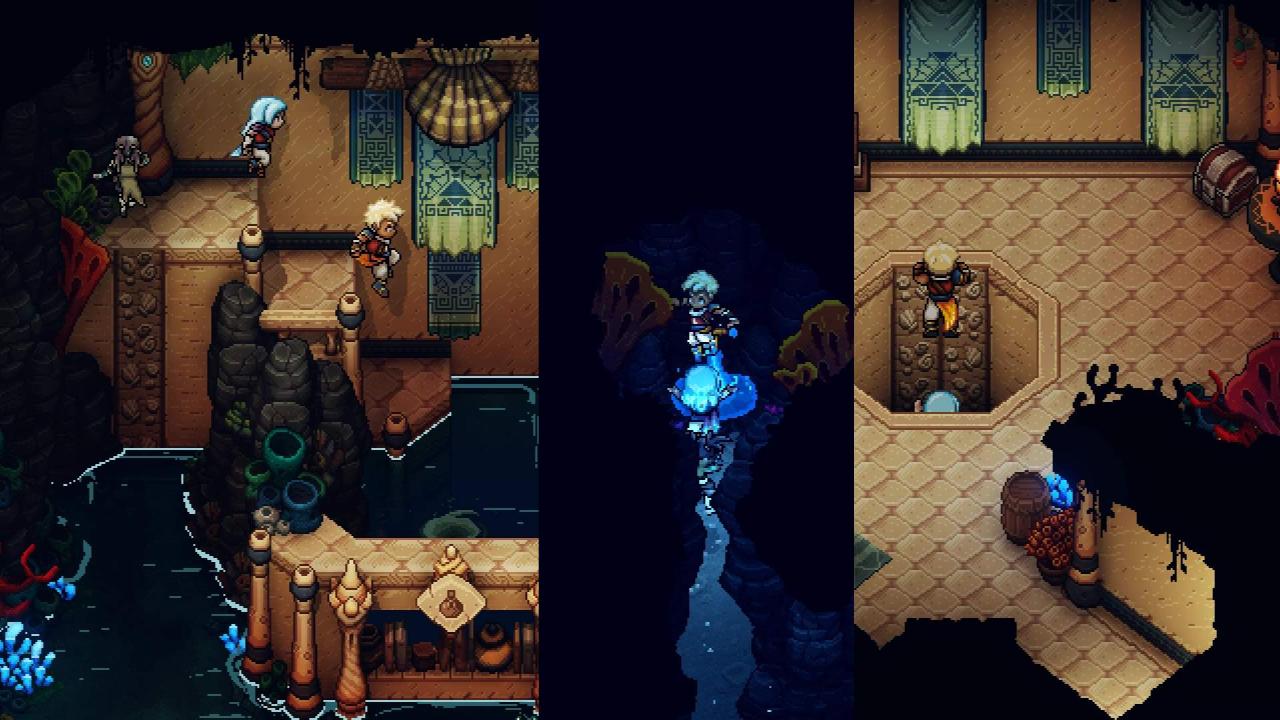
Antsudlo
- Sapphire Ore
- Thalassic Cloak
- Phosphorite Lid
 Return to the valve room. Insert the 2nd valve and activate both so you can get to the top (highest) layer. Activate the nearby lever to open the ground exit West of this room.
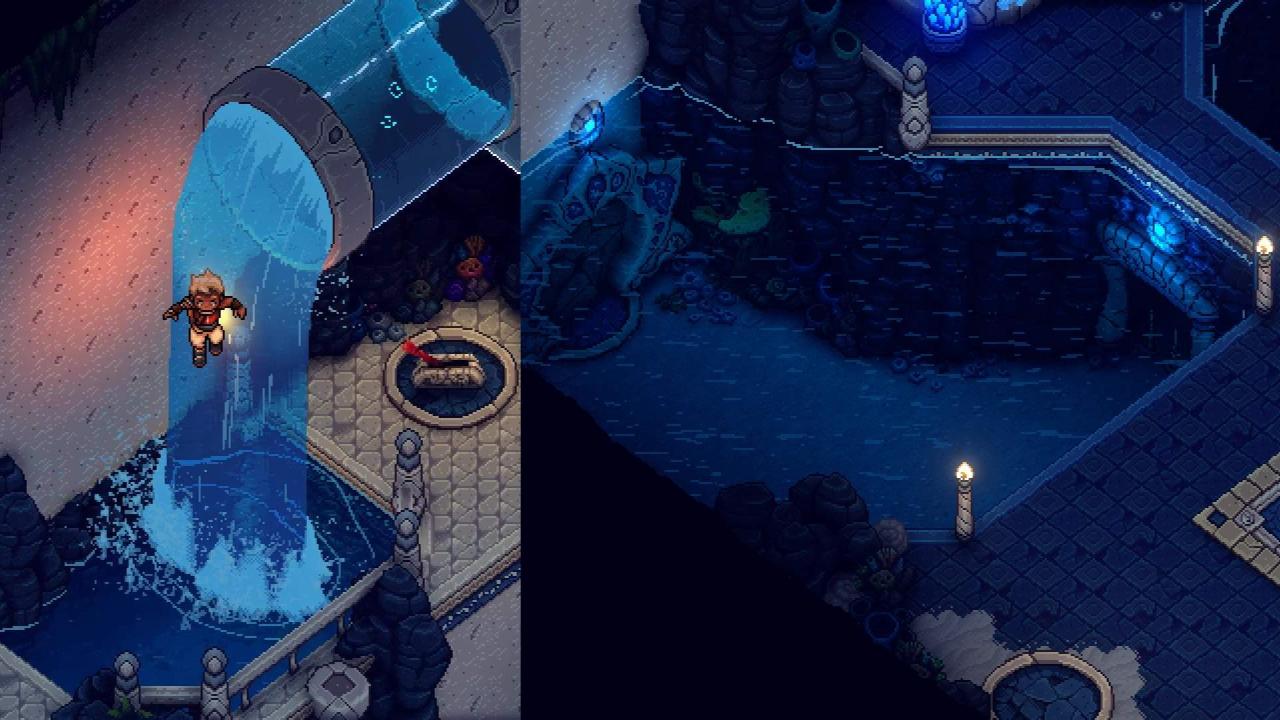 Grab the Blue Pearl to lower the water level and then exit West.
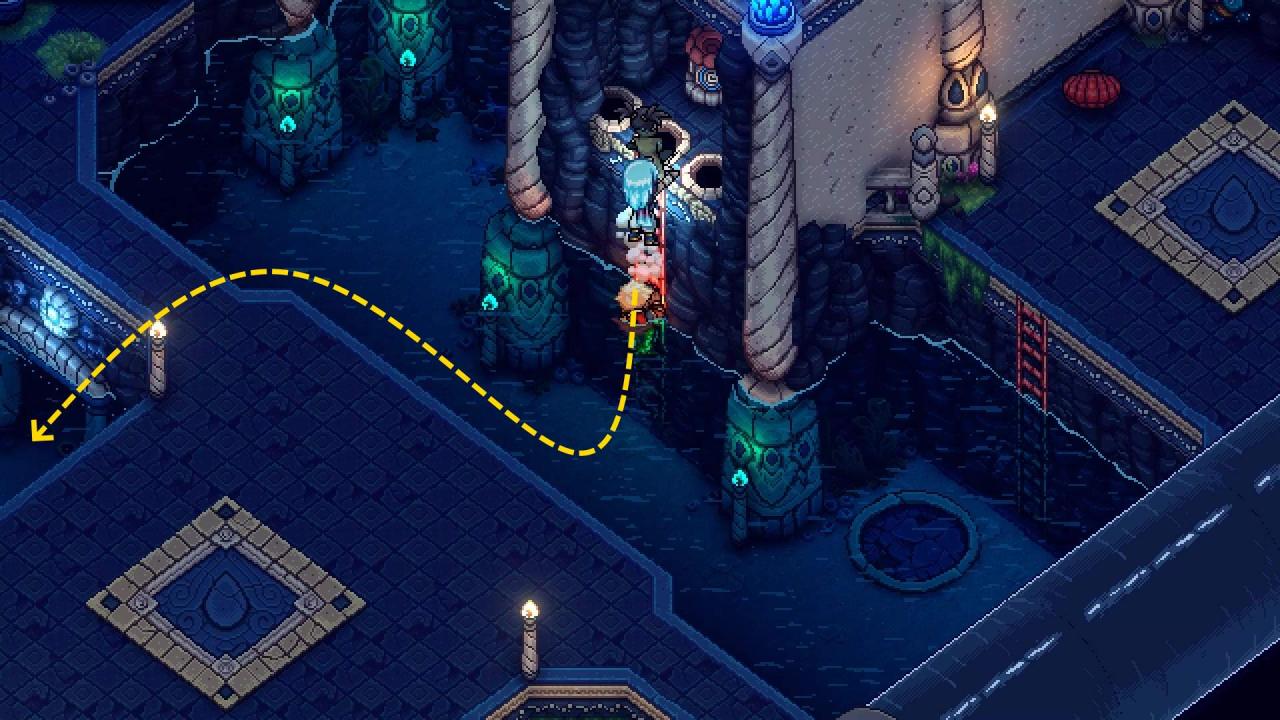 Deactivate both valves and enter the tube to get thrown into the Rainbow Conch chest area.
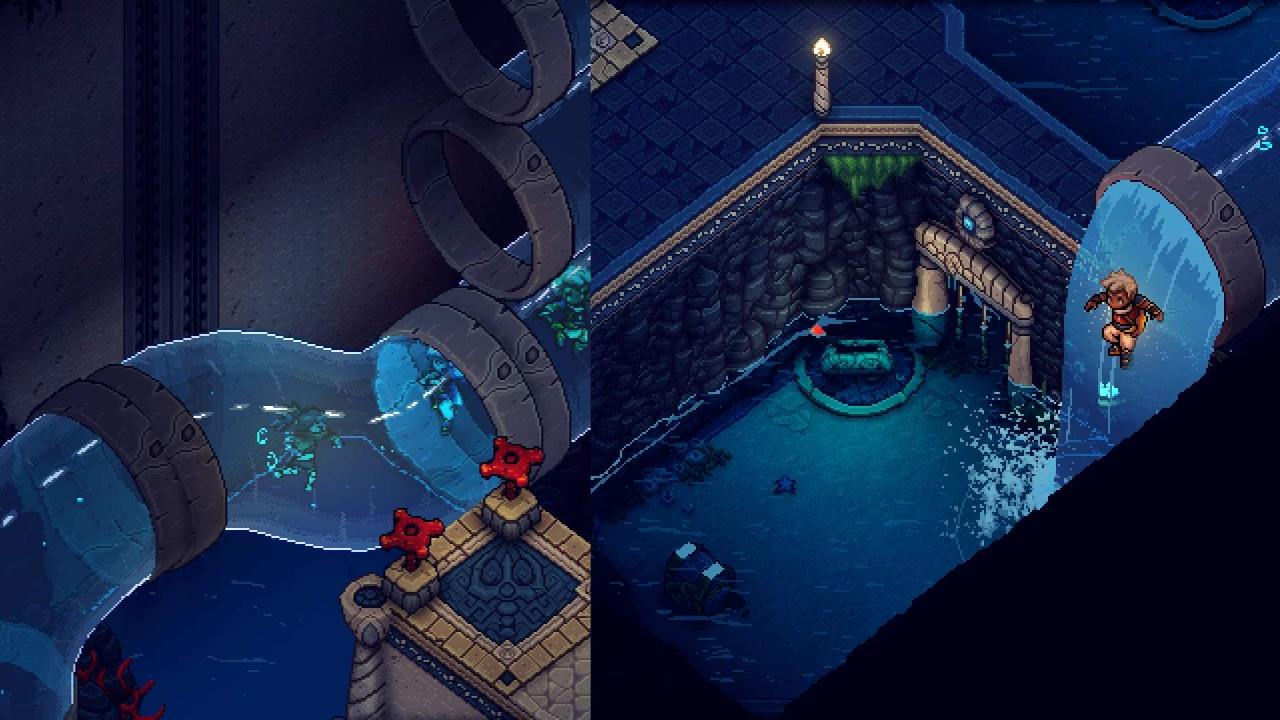
- Rainbow Conch
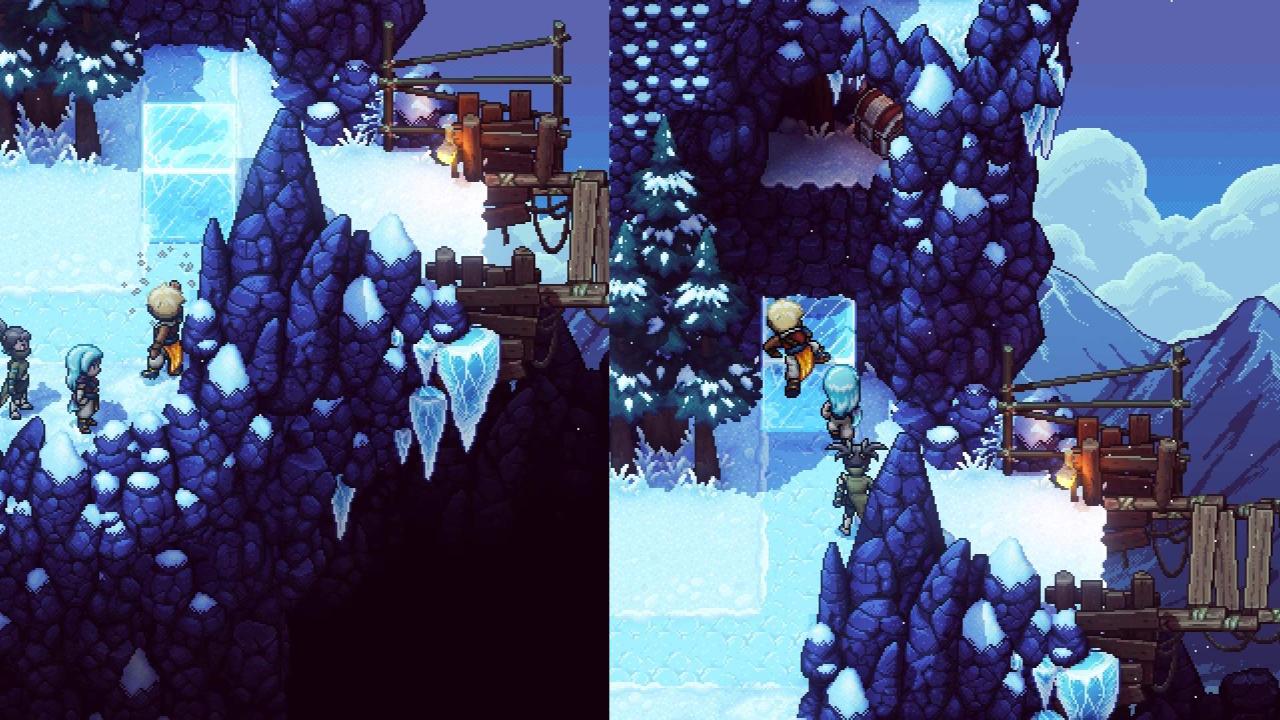
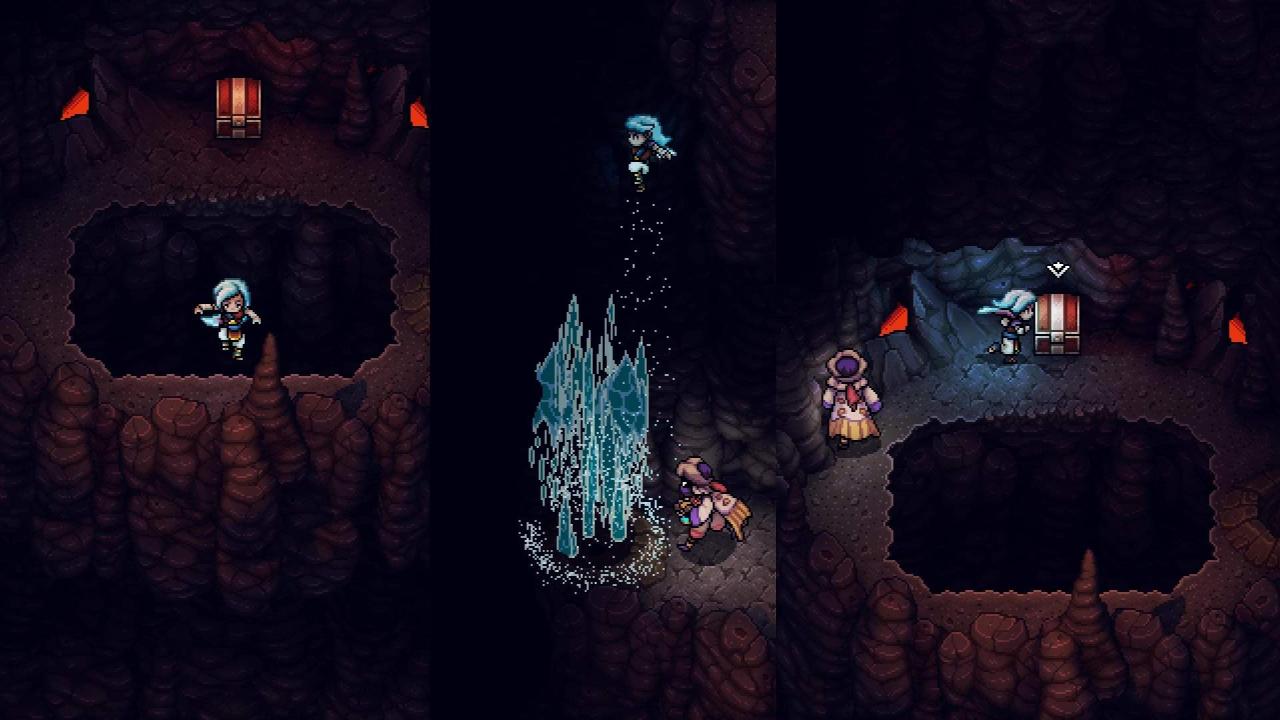
Glacial Peak
- Music Sheet #5
After obtaining the Solstice Amulet:
Timestamps also included in the video description:
- 00:28 Signet of Clarity
- 00:39 Releasing the Light Crystal
- 01:03 Sapphire Ore
- 01:54 Melting the ice blocking the path to the Rainbow Conch
- 02:04 Combo Skill: Item Roulette
- 02:24 Rainbow Conch
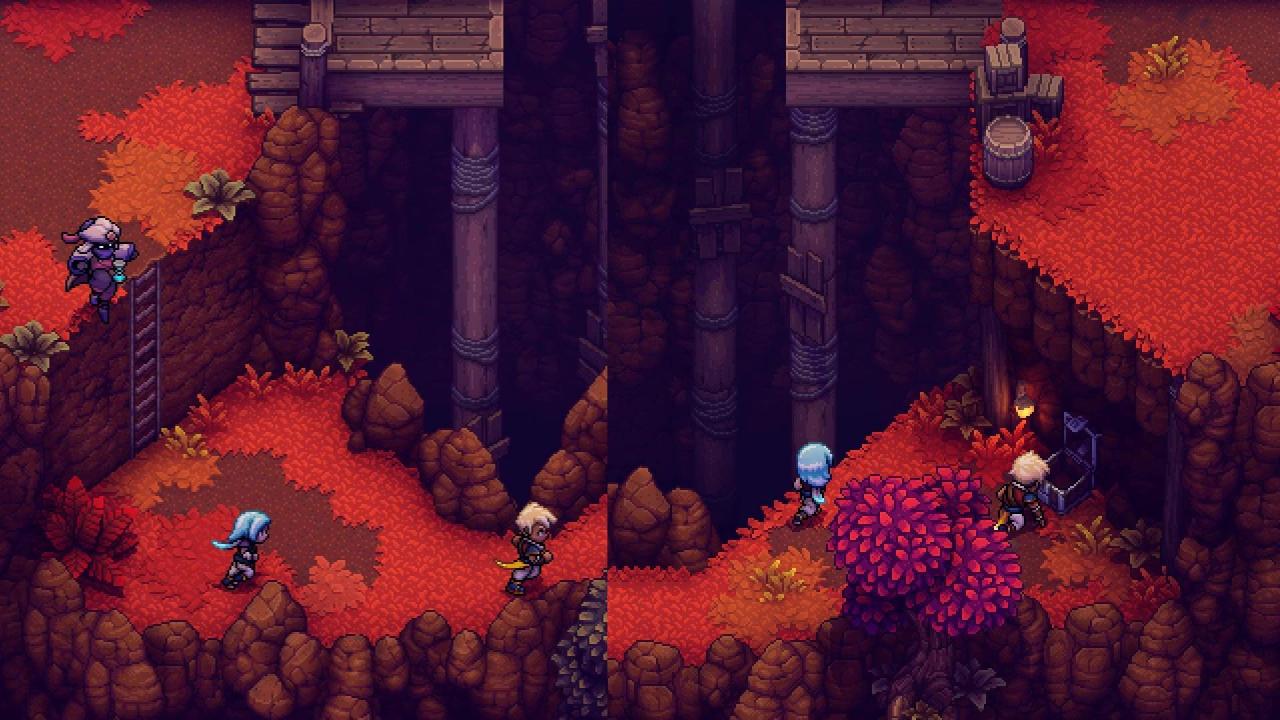
Torment Peak
- Phantom Daggers
- Rainbow Conch
- Green Leaf
Mossy Cache
- Rainbow Conch
Autumun Hill
- Oaken Armor

- Maple Cork
- Maple Cork
- Rainbow Conch

- Recipe: Parfait
Fishing Spot: Lake Turquoise
- Clockwork Crab
- Fluorescent Piranha (repeat)
- Swordfish
- Ninja Starfish
Bamboo Creek

- Bamboo Slicer
- Rainbow Conch
Songshroom Marsh
- Leaf cape
- 6x Maple Syrup
- Spirit of Ninja
- 3x Obsidian Ore
- Rainbow Conch
- Question Pack #5
- Shroomy Shivs

You can unlock a shortcut to the dock just before the next destination.

Clockwork Castle
- Cog Prototype
- Sturdy Cog
- Garden Key
- Evergreen Leaf
- Rainbow Conch
- Blue Leaf
- Sky Urchin
- Cloud Skate
- Ninja Starfish (repeat)
Cloud Kingdom
Head to the inn.
- Question Pack #6
Rest at the inn.
- Rainbow Conch
In the Cloud Kingdom’s Tavern.
At the item shop.
- Truesilver Daggers
Southwest of the NPC with winged feet.
- Cloudy Shard
In the council chamber.
- Rainbow Conch
Air Elemental Skyland
- Rainbow Conch
- Cypress Cork
- Assassin’s Pin
- Sky Armor
- Azure Cape
Kiln Mountain
- Igneous Staff

- Rainbow Conch
- Volcano Armor
- Magic Pocket
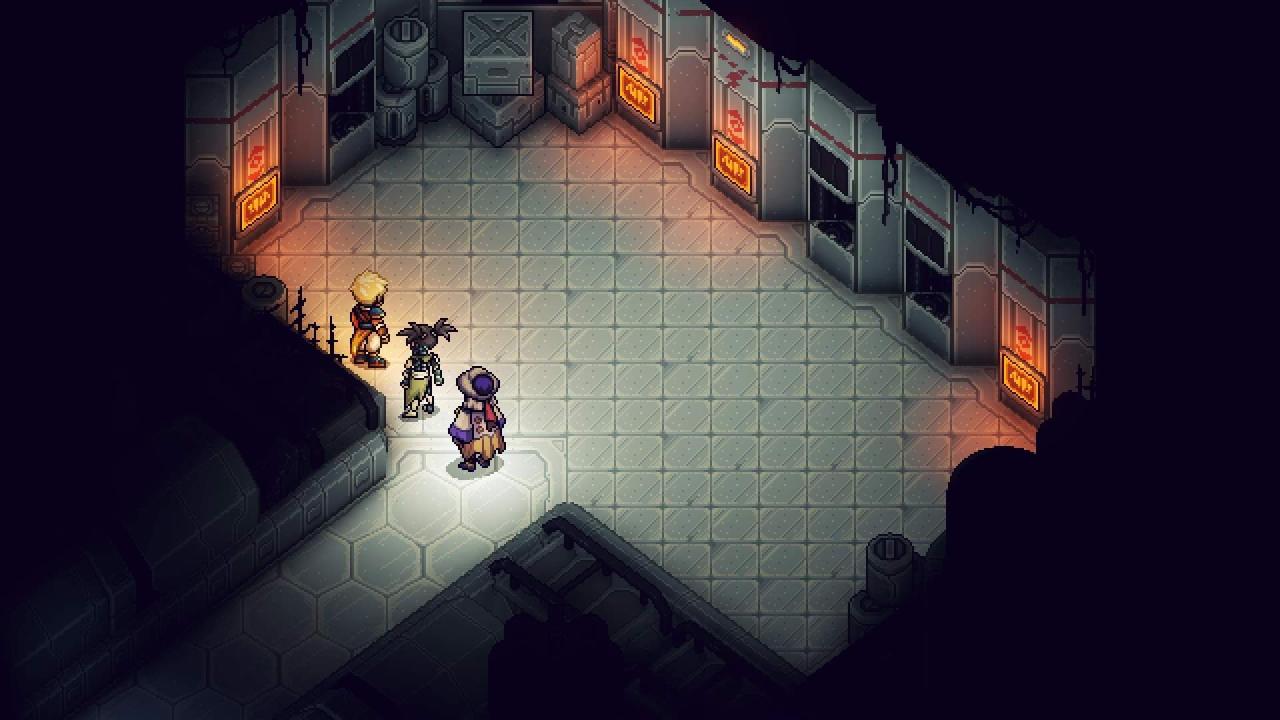
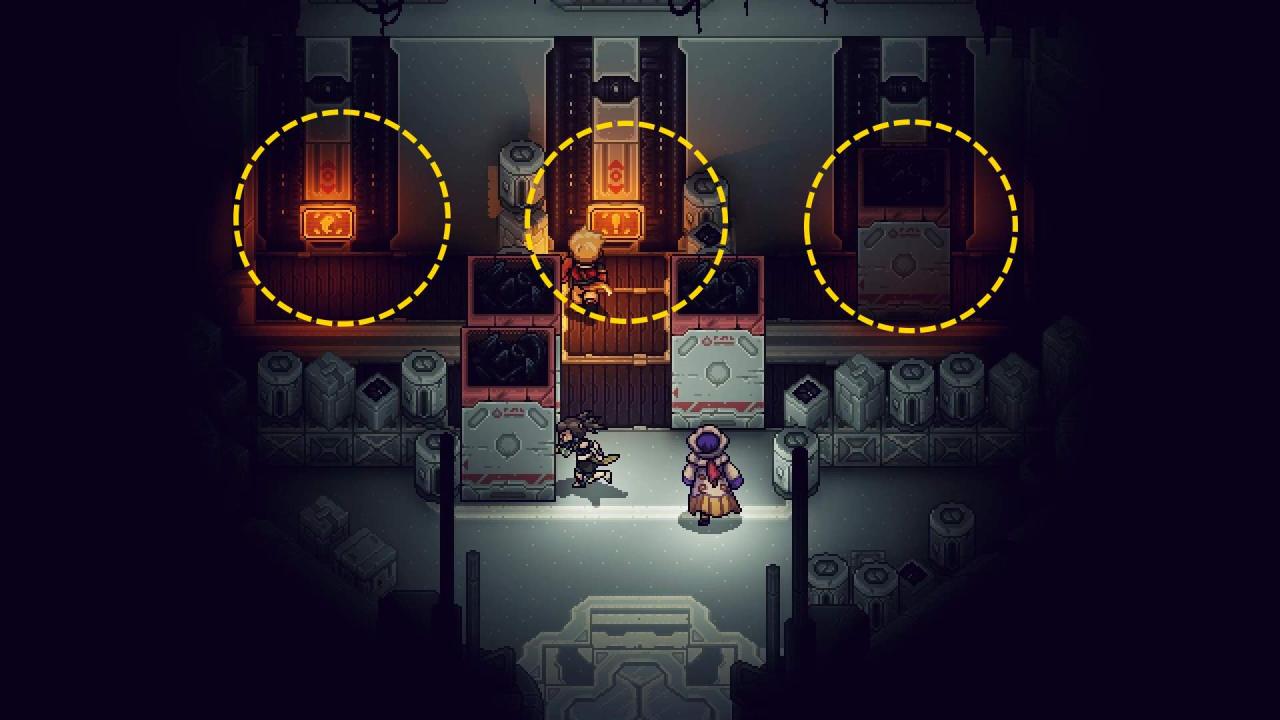
Derelict Factory
I’m not sure if any of the wall panels count as treasure (like the baskets) so I will just add them all here to be extra safe.
- Recipe: Sashimi
- Wireplate Armor
- Wall Panel Loot (Left): 3x Meat
- Wall Panel Loot (Right): 2x Milk
- Crane Operator ID Card
- Rainbow Conch
- Onion
Wall Panel Loot (From Left to Right)
- 3x Gold
- Sashimi
- Blueprint Dis
- 3x Egg
Wall Panel Loot (From Left to Right)
- Kybersteel Daggers
- Wireplate Sheet
- Adamantite Ore
Fishing Spot: Cerulean Reservoir
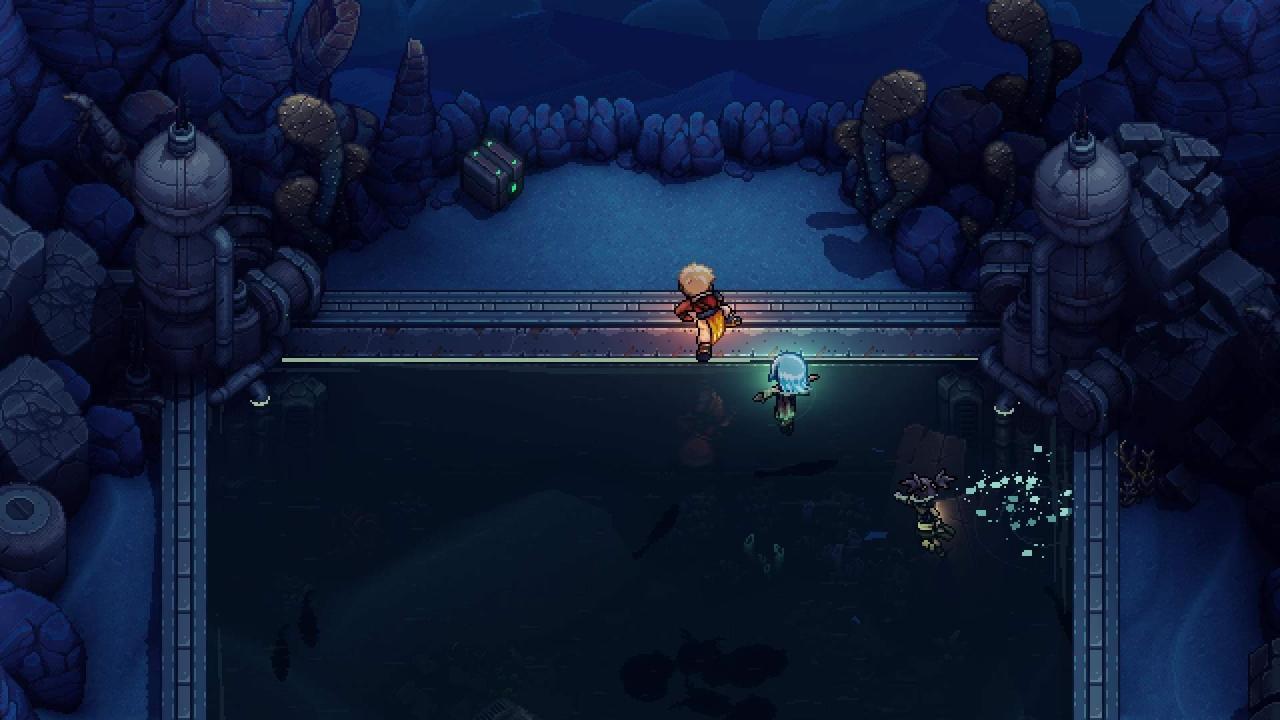
- Data Strip
- Laser Burbot
- Coil Flounder
- Cybernardl Hermite
- Silicum Sponge
Congrats! You should now have all the fish required for the Master Angler achievement!
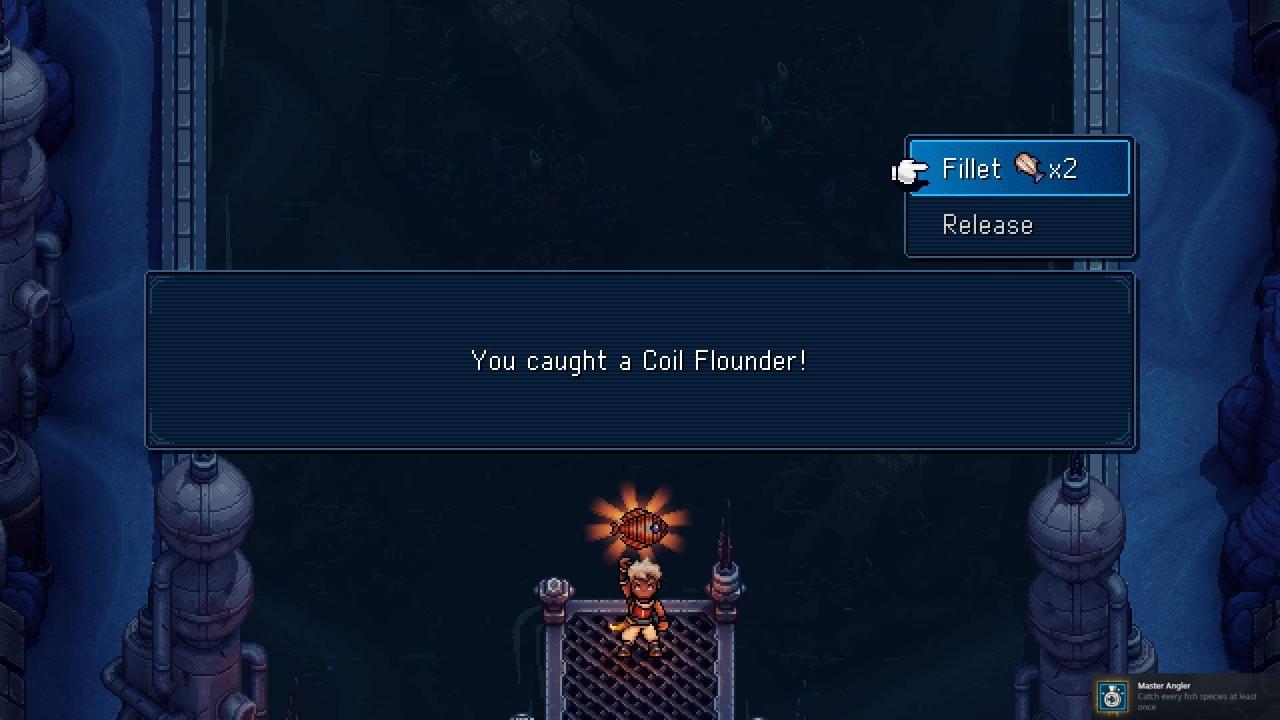
Please note that the Coil Flounder’s silhouette in the water did not match its shape on the board/when it was caught. Let me know if the same happened to you.
Repine
- Rainbow Conch
- Data Strip
- Pudding Chômeur
- Floor Loot: Adamantite Ore
- Floor Loot: 4x Tomato
- Rainbow Conch
At the item shop.
Feed the robot 5 times depending on what it asks for.
- Something SWEET – Parfait, Peach Strudel
- Something WARMING – Mushroom Soup, Hearty Stew
- Something MEATY – Roast Sandwich
- Something LIGHT – Mushroom Scramble, Basic Salad
- Something FROM THE WATER – Sashimi
I completed this and Mirth’s Wheels players last because the story will take you to Mirth and Clockwork Castle so you can pick up the item needed to challenge this player.
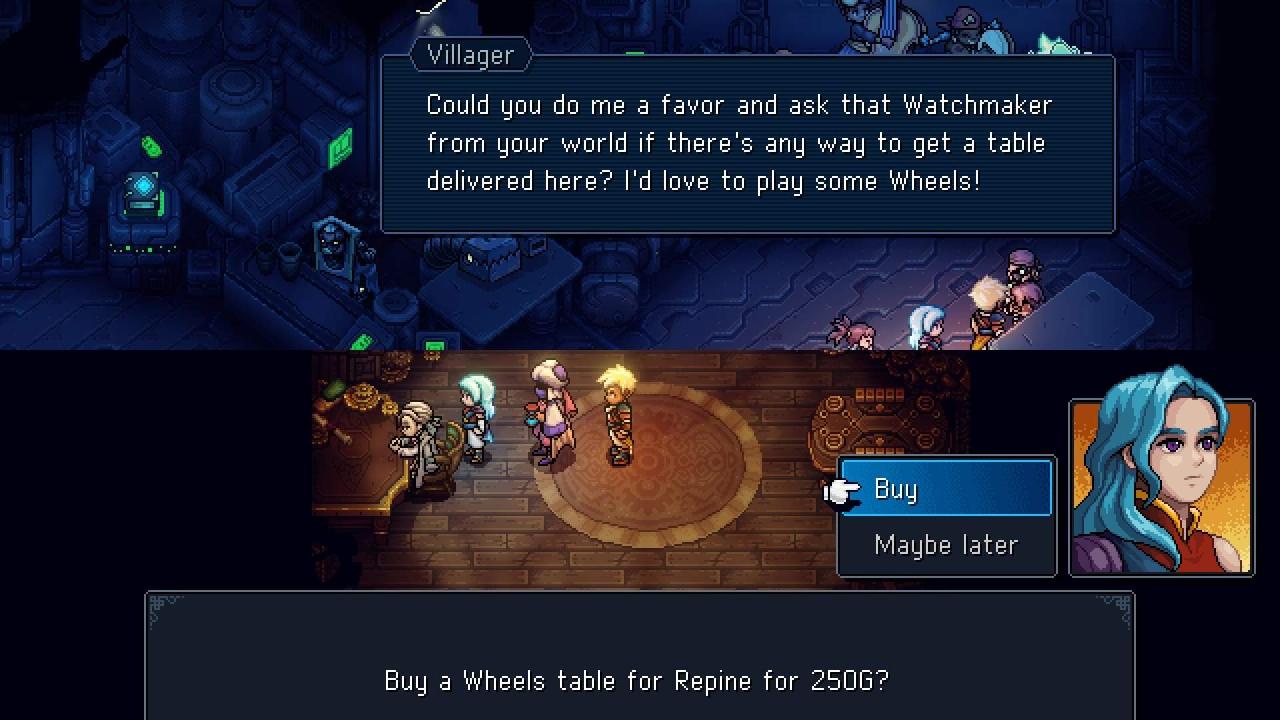
An NPC at the Repine Inn will talk about wanting to play a game. Once you’ve triggered the dialogue below, you can head back and buy a table from the Watchmaker. for 250 Gold. Bring the table back to the NPC in Repine and you’ll be able to issue a challenge.
Cerulean Expanse
After you exit East once into the large expanse (we’ll call it A1), go S, SW, SE, S to reach the loot.
From top left to bottom right:
- Obsidian Ingot
- Question Pack #7
- Adamantite Ore
- Rainbow Conch
Exit North from the campsite and back to A1. Head East into A2.

- Chest – Wireplate Armor (SW Corner – Dig with Probe)
- Some Meat and Bones (Roughly Center – Dig with Probe)
Head Northeast into A3. There will be enemies if you dig Southeast of this area.
Head Southeast into A4.
- Chest – 25 Gold (SE corner)
- Potatoes (North)
Head North into A5. There will be enemies if you dig NW and SE of this area.
- Chest – Croustade (Northeast closer to the center)
- Onions (Roughly NNE from the chest)
Head Northwest into A6. There are enemies if you dig NE of this area (close to the center).
Head Southwest into A7. There will be enemies if you dig NW and the center of this area.
- Meat (NE corner)
- Grains (East South East)
Head South into A8.
- Meat, Onions, Potatoes, Bones, and Grains (all in the center)
Head East into the exit—The Lost Ones Hamlet.
Lost Ones Hamlet
Talk to the NPC on the left to shop.
- Walnut Cork
- Sapphire Ore (before the B’st cutscene inside on your left)
- Sapphire Ore (behind the curtains after B’st joins your party)
Speedball Network Station
On the way to Sacrosant Spires, make a pit stop at this location (near the vortex):
- Data Strip
Sacrosanct Spires
This area has 2 parts. The other part comes after traversing through the Hunting Grounds.
Part 1

- Sapphire Ore
Part 2 – After traversing the Hunting Grounds
 Step 2:
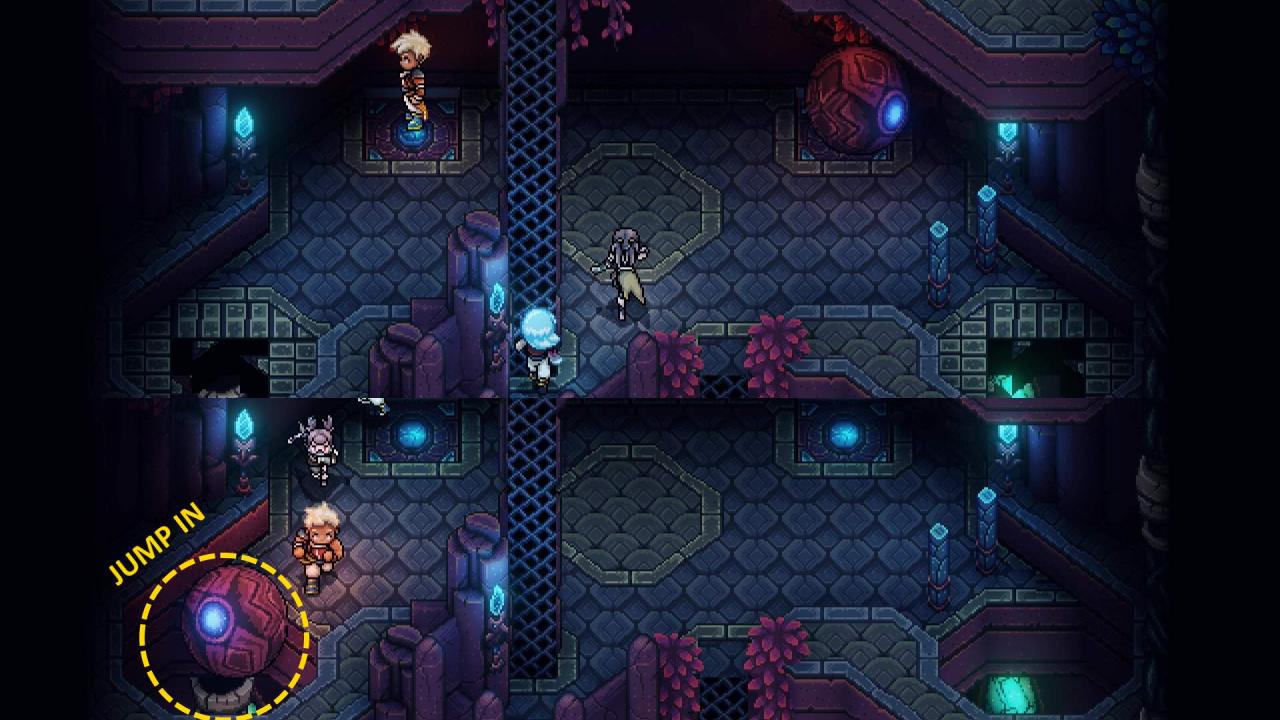

- Crystal Egg
Place the Crystal Egg on the pedestal NE of the previous chest then jump back in the other hole.
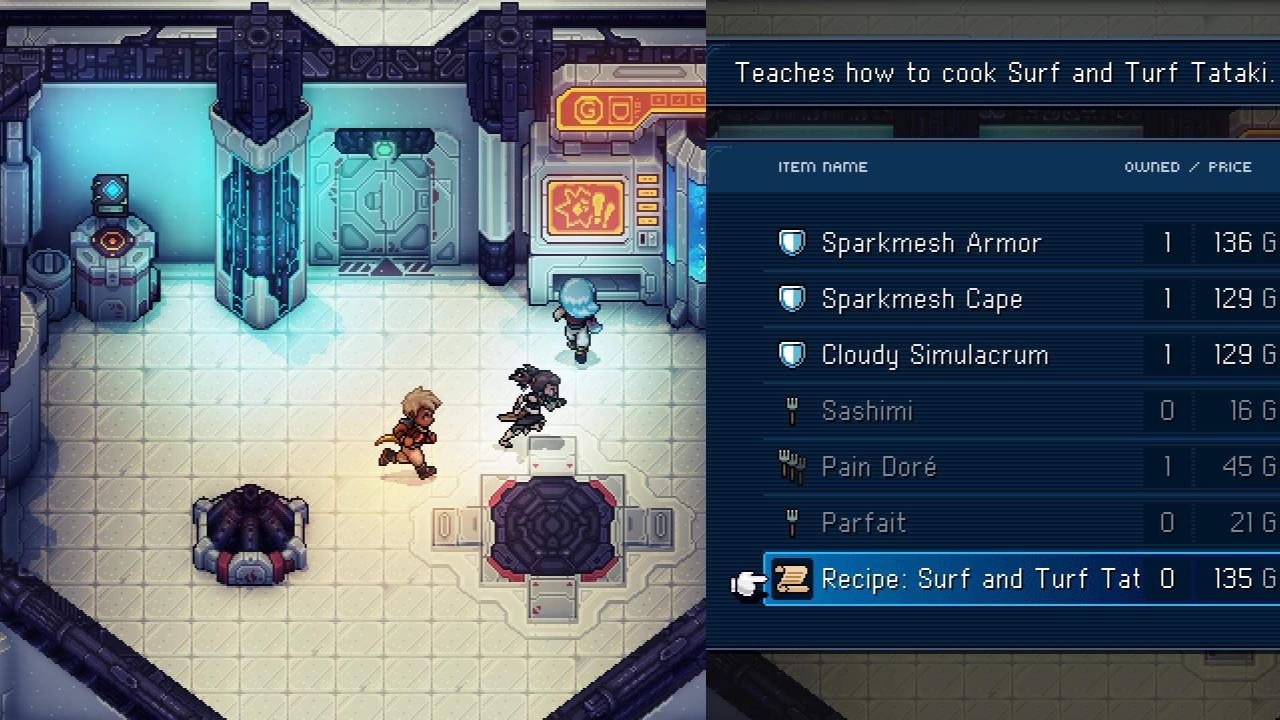
- Sparkmesh Armor
- Recipe: Champion’s Omelette
Hunting Grounds
Remember to backtrack to this area after you reach the Sky Base:
After saving Verlot.
- Sapphire Ingot
Inside the structure and guarded by enemies:
- Plasma Blade
If you want, you can backtrack to this chest as soon as you re-activate the Speedball Network. From the Sky Base Speedball, you can fast-travel back to Repine and sail back to the Sacrosanct Spires to trek all the way to where you first got trapped in the Hunting Grounds.
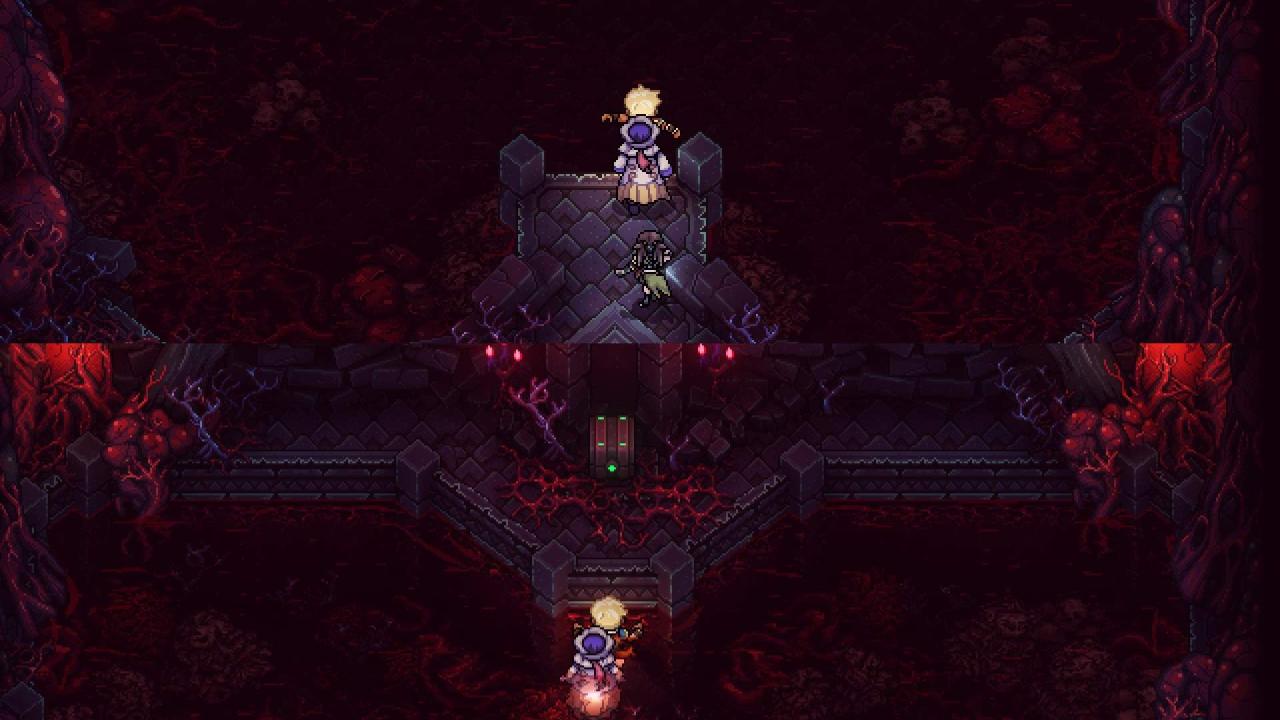
- Cloudy Simulacrum
- Rainbow Conch
- Neobsidian Staff
- Broken Handle
Sky Base
- Rainbow Conch
- Rosewood Cork
- Sparkmesh Cape
After the block puzzle.
- Music Sheet #7
- Question Pack #8
- Plasma Daggers
Sky Exploration: Cleaning up!
After some events and a boss battle beyond the Sky Base chapter, you’ll gain the ability to fly thanks to your awakened powers. This means we can now clean up some achievements! You’ll need to do this anyway for 100% completion as these upcoming loot and quest areas are necessary for the True Ending.
- At this point, you should have 57/60 Rainbow Conches if you acquired everything that did not require the ability to fly to reach. The last 3 are at:
- Duke Aventry’s Quest (Half-Sunken Tower)
- Sealed Docarri Ruins (after the boss)
- Throne of The Queen That Was (before the boss)
Artful Gambit Relic & Throne of The Queen That Was
- 03:02 Chest #1 – Artful Gambit
Flight-Accessed Solstice Shrines
Northeast Solstice Shrine:
- Heliacal Earrings
Southwest Solstice Shrine:
- Eclipse Armor
Southwest Solstice Shrine (Seraï’s World):
- Celestial Ray
Obtained for defeating the Elder Mist a second time:
- Moon Bo
- Sun Blade
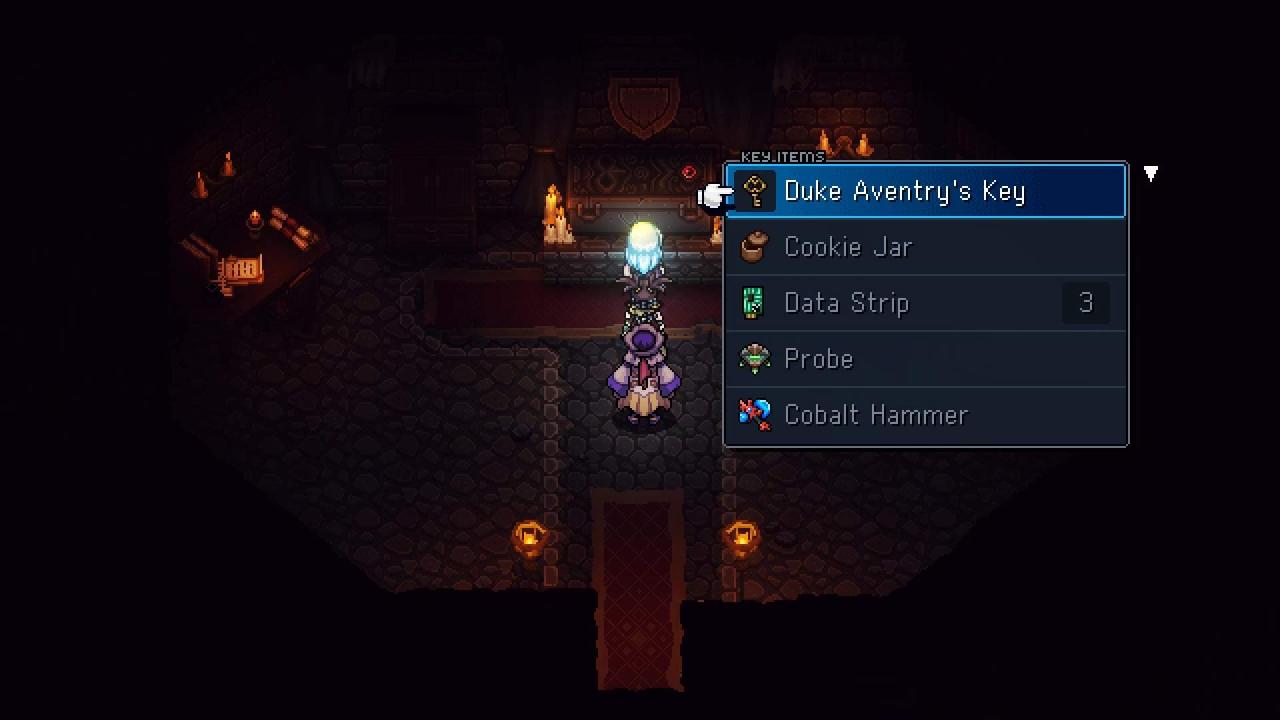
Duke Aventry Quest (and Romaya’s Secret Passage)
Refer to the video below if you want a rough idea of where to go for these screenshot locations:
- Romaya’s Journal (see video below for puzzle timestamp to open the locked gate)
- 4x Maple Syrup
- Rainbow Conch
- 6x Peach
- 2x Obsidian Ore
Coffin Loot
- Eclipse Armor
- Aventry Crest
Sealed Docarri Ruins
- 04:00 Chest #1 – Sapphire Ingot
- 23:54 Chest #2 – Rainbow Conch
Dweller’s Fall Arena
- Bronze: Sapphire Ore
- Silver: Sapphire Ingot
- Gold: Reaper’s Mercy
- Special: Vitric Simulacrum
Final Checkpoint
If you’ve done all of the collectibles above, you should have 176/187 Treasures (11 to go) according to the tracker on the Vespertine. The only islands with no exclamation mark (which indicates 100% of the area) should be Repine and Stillpond Island. Answering the Question Packs, which will be noted below, don’t factor into Island Completion. The final treasures can be found at:
- 8 at the Fleshmancer’s Lair
- 2 behind the Cypher Door in Repine
- and the last 1 in Stillpond Island
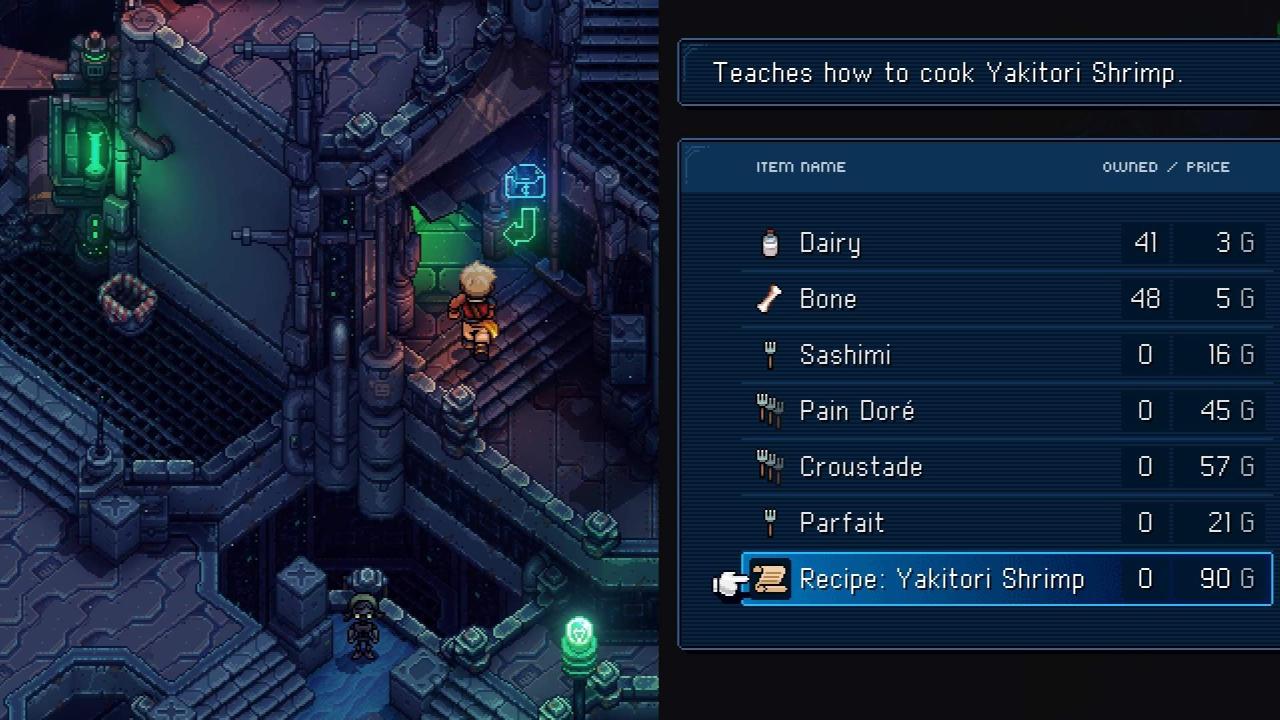
Fleshmancer’s Lair

- Data Strip
- Salix Cork
- Yakitori Shrimp

- Apogee Daggers
- Earthshine Staff
- Firmament’s Edge
- Legendary Feast
- Question Pack #10
Post-game Cleanup
When you activate the Chronophage and get Garl back. Talk to him multiple times during the campfire session until you get the Hook of Time and he points you to Stillpond Island. This will allow you to complete the events required for the True Ending.
Repine: Cypher Door
- Cerulean Reservoir
- Repine
- Speedball Network Station
- Fleshmancer’s Lair
Once obtained create the Cypher key at Seraï’s place to unlock it:
- Cosmic Cape
- Question Pack #9
Stillpond Island
- Fishing Dungeon Key
Golden Pelican
- Recipe: Legendary Feast
- Question Pack #11
With these 2 items, we can now complete these achievements:
- Gustative Completion
- Living Encyclopedia
Quiz Master Cleanup #2
- Of the following species, which one can NOT be fished on Sleeper Island? Answer: Ghosturgeon
- When playing Wheels, how many heroes is each player allowed? Answer: 2
- Without any equipment, how much MP does Valere’s Lunar Shield cost? Answer: 11
- True or False: The previous caption of The Vespertine was named Stormcaller. Answer: True
- True or False: Captain Klee’shae acquired The Vespertine by spending a coin of Undeath Accord. Answer: False
- How many potatoes are required to make one portion of Hearty Stew? Answer: 3
- What is the name of the spirit who inhabits the Crypt? Answer: Cryptwalker
- When Garl gave the new town its name, which of these did he pick? Answer: Mirth
- Hortence the Ghost Navigator is famous for her skill with which instrument? Answer: Octave Mandolin
- What is the title of the Hydralion, the sea monster summoned by Stormcaller for his ultimate attack? Answer: Ruler of Tides
- In Docarri Village, what is the little girl collecting in exchange for items? Answer: Rainbow Conches
- In exchange for his help, Resh’an asked Zale and Valere to retrieve something for him. What was this “something”? Answer: The Vial of Time
- What is the name of the big frog enemy with a throwing star on its back? Answer: Garnooy
- Who built the giant statue that gave Watcher Island its name? Answer: The Fleshmancer
- True or False: Without any equipment, Serai’s Venom Flurry and Valere’s Moonerang have the same MP cost. Answer: False
- When undergoing the welcoming ritual to visit Docarri Village, where must one go to bathe their seashell? Sacred Grove
- Which of these does appear in the Jungle Path? Answer: Prapra
- Torment Peak was visited long ago by another generation of Solstice Warriors. What did they do as they left? Sealed it twice
- True or False: The Oracle of Tides’ duty is to control the flow of water throughout the world. Answer: False
- In the legendary feat of acrobatics, Serai was able to bring the light from the eclipse into the depths of Torment Peak. What caused the eclipse in the first place? Answer: The Solstice Amulet
- True or False: Of the Three Sisters, Yomara is the evil one. Answer: False
- What is the name of the relic that increases the party’s Max HP? Answer: Amulet of Storytelling
- If presented with a lock sequence of Poison, Sword, Sword, and Arcane, which pair could remove them all by each performing a potentially boosted regular attack? Resh’an and Zale
- Of the following skills, which is the one that can cause enemy displacement? Answer: Abeyance
- When playing Wheels, how much energy is generated by matching five squares? Answer: 3
- True or False: Glacial peak is on Mesa Island. Answer: True
- What is the name of Resh’an’s healing potion? Answer: Petrichor
- Of the following species, which one can not be found on Mesa Island? Answer: Fluorescent Piranha
- Complete the following: “When the moon shines bright on autumn sheaves, comes forth the abomination of-“ Answer: Roots and leaves
- Who taught Zale to use the combat skill Dash strike? Duke Aventry
- True or False: The only two enemies present in the Air Elemental Skyland are the Sling Rabbit and the Braidzard. Answer: True
- To gain 10% bonus damage versus undead targets, which of these trinkets should one equip? Answer: Shimmering Shard
- What was the name of the lava monster guarding what is now known as Klin Mountain? Answer: Toadcano
- How is Big Buggy’s special attack called? Answer: Tectonics
- True or False: The Cloud Kingdom is ruled by a king and a queen. Answer: False
- Of these ingredients, which one is NOT part of the recipe to make a Parfait? Answer: Peach
- Excluding Puntie and The Council, how many Sky Giants are there in Cloud Kingdom? Answer: 5
- What name did Garl give the Sky Serpent formerly known as The Sleeper? Answer: Wentworth
- What is the name of the haute cuisine restaurant found in the Port Town of Brisk? Answer: The Golden Pelican
- In our home world, which entity is in charge of granting access to the Sea of Stars? Answer: The Sky Giants Council
- True or False: The monstrosity found in The Fleshmancer’s Workshop had more than four tentacles. Answer: False
- Who invented the famous board game Wheels? Answer: The Watchmaker
- How many units of fish are required to make one portion of Sashimi? Answer: 9
- Of the following skills, which one costs the LEAST amount of MP? Answer: Disorient
- True or False: Serai’s computer companion is named Cedrick. Answer: False
- Which of these enemies does NOT appear in the Derelict Factory? Answer: Ronin Cowboy
- What is the name of Serai and Resh’an’s combo attack? Answer: Arcane Barrage
- What is Serai’s village called? Answer: Repine
- Of the following species, which one can NOT be fished on Cerulean Island? Answer: Rock Shrimp
- Of these three names, which one was NOT a member of the Triumvirate of Eminence Answer: Retrachter
- What type of object was hidden in plain sight on Es’tristae, the giant statue at the center of the Sacrosanct Spires? Answer: A gravity-based battery
- At a minimum, how many Combo Points must be spent to fill the ultimate bar? Answer: 10
- During his introduction speech, which of the following did The Artificer NOT describe himself as? Answer: The smartest there’s ever been
- True or False: The Dweller living at the bottom of the Infinite Abyss was called the Dweller of Dead. Answer: False
- What is the name of the Dweller of Dread’s ultimate attack? Answer: Dreadstare
- Why did Serai leave her home world? Answer: To find Solstice Warriors
- True or False: Serai and her people were turned into cyborgs by a machine called The Catalyst. Answer: True
- In Sky Base’s final rest area before The Catalyst’s room, which of these elements was NOT present? Answer: A window
- Of these items, which one is NOT for sale in Sky Base’s vending machine? Answer: Wireplate Armor
Quiz Master Cleanup #3
- What is the name of the Phase Reaper’s ultimate attack? Answer: Flourishing Death
- During the vision of the Humble Boast in the Fleshmancer’s Lair, what was the name of the employee the innkeeper was looking for? Answer: Dubreux
- What did Serai tell the Soul Curator had just occurred as he died? Answer: Comeuppance
- True or False: There is a hidden oasis with treasure chests in the Cerulean Expanse. Answer: True
- What is the meaning behind the enemy with “OAF” as a name? Answer: Oops All Feet
- What was LeJugg’s transition when he went from his first to his second form? Answer: From blue to red
- True or False: The Fleshmancer’s Lair is to the east of the Sacrosanct Spires. Answer: True
- Of these combo moves, which one costs the least amount of Combo Points? Answer: X-Strike
- How much HP is recovered from eating a Gourmet Burger? Answer: 175
- What was the name given to Erlina along with her new form? Answer: Elysan’darëlle
- Which of these areas appeared first in Zale and Valere’s adventure? Answer: Glacial Peak
- Across all fishing lakes, how many unique species are there to be caught? Answer: 23
- What number is obtained by putting together the base MP costs of Moonerang and Dash Strike, then subtracting the MP cost of Petrichor? Answer: 2
- During the ancient battle between the Molekin mages and the Kunus’nuku zealots, what is the name used to refer to the moment when the Sky Serpent appeared? Answer: The Great Summoning
- When playing Wheels, which of these units deals the most damage to the enemy’s bulwark (wall)? Answer: Level 2 Warrior
- Which of the Fleshmancer’s Acolytes gave Duke Aventry the magic shard that would summon the Night Shroud? Answer: Two
- After focusing Aephroul on a diversion, Resh’an placed an anchor in time linked to a magic device he would later place in the Moorlands. What is the device called? Answer: The Chronophage
- What were the names of the three people in charge of the Cerulean Expedition that found the clues which led to The Queen That Was? Answer: Joce, Brochu and Elbi
- In his pursuit to achieve the great alchemical feat known as Living Glass, what was the one ingredient Resh’an had always been missing in his subject? Answer: Unbreakable will
- What was the name of the one in charge of the team that built Es’tristae? Answer: T’kor
- When fighting the Gun Goddess, how many bullets would be fired by “Fan the hammer” if two had previously been destroyed? Answer: 4
- Here in the Town of Lucent, which item had to be given to a ghost in order to obtain the key that unlocked the shed? Answer: Turbo Cookie
NOTE: Flimsy Hammers
- Finishing the True Ending (rewarded right before you save the cleared file)
- Talking to the Master Fisherman after catching all 23 fish species.
That’s all we are sharing today in Sea of Stars Treasure Chest Checklist Guide, if you have anything to add, please feel free to leave a comment below, you can also read the original article here, all the credits goes to the original author Jedo and freezeman42
Related Posts:
- Sea of Stars True Ending Guide
- Sea of Stars Stone Tablet & Rune Language Glossary Guide
- Sea of Stars How to Fix Ultrawide Screen