For Satisfactory players, this guide will show you how to stack three personal storage boxes with custom signs for each one.
Before you start…
Make sure you have the AWESOME Shop unlocked and built at Tier 2 – “Resource Sink Bonus Program”, as we will need the Painted Beam or Metal Beam from the “Structural Beam Pack” to make it work.
The pack costs 4 FICSIT Coupons which can be earned by building an AMAZING Sink and feeding it with the spare parts or Alien DNA. Beams are great for snapping other objects to them without obscuring the view like foundations do.
- Steel Beam – 2
- Iron Plate – 24
- Iron Rod – 19
- Quartz Crystal – 5
- Concrete – 1
1. Top Personal Storage Box
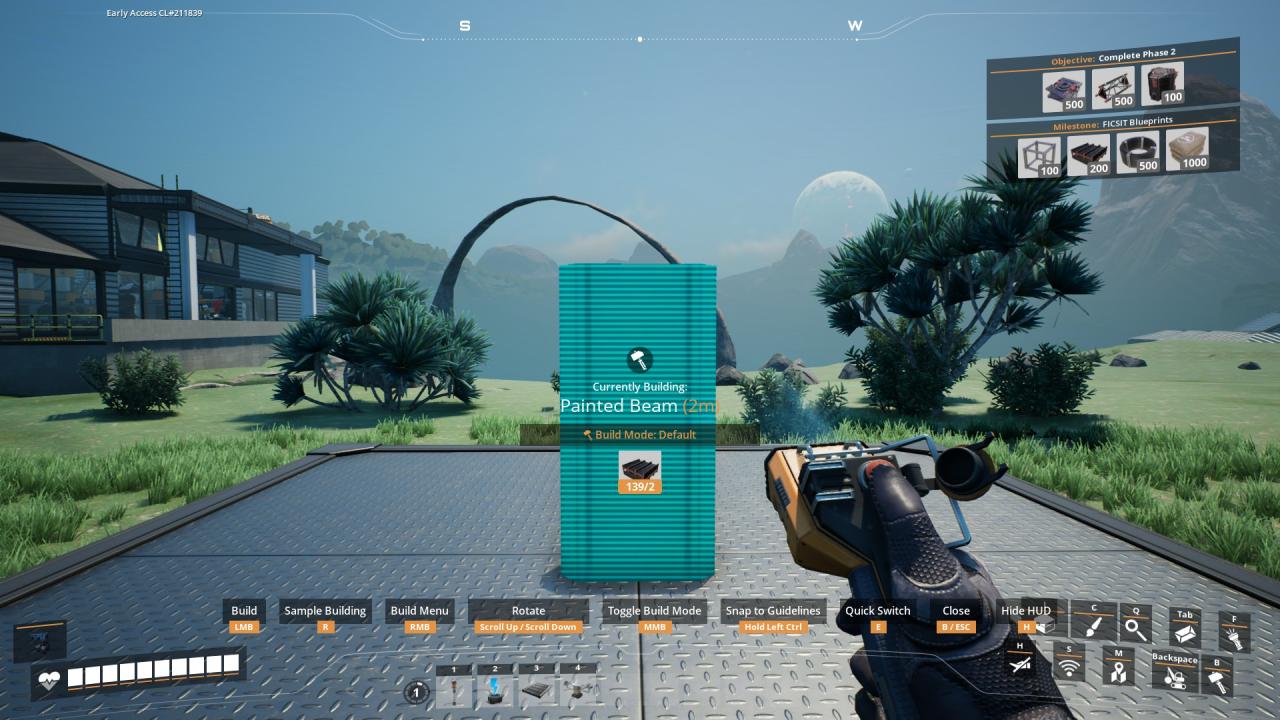 Build the Painted Beam or Metal Beam, 2 meters up.
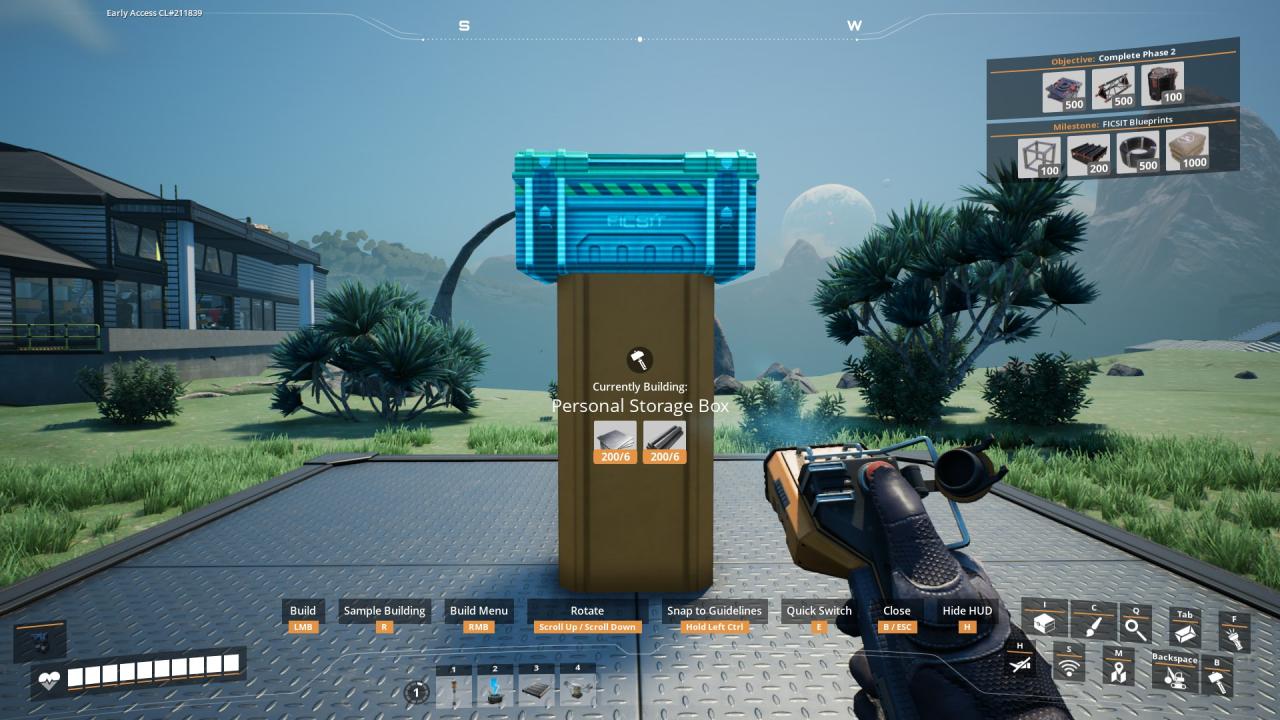 Place a Personal Storage Box on top of the beam.
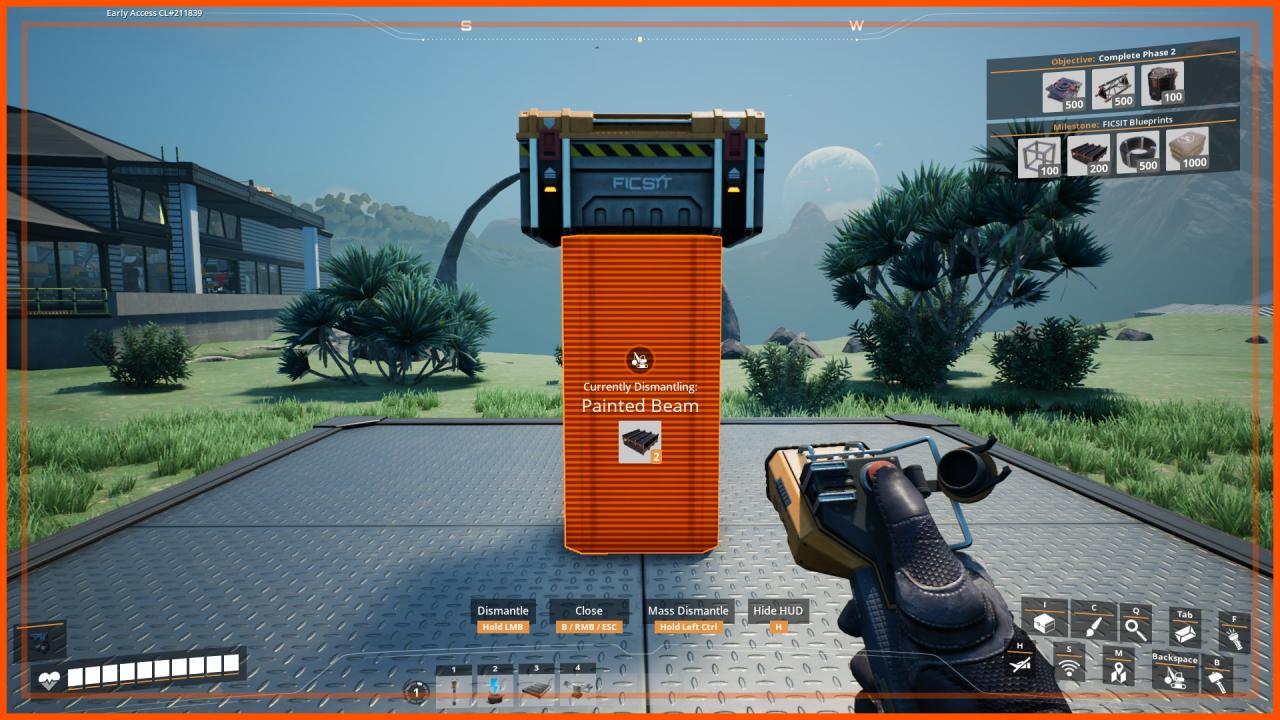 Dismantle the beam.
2. Middle Personal Storage Box
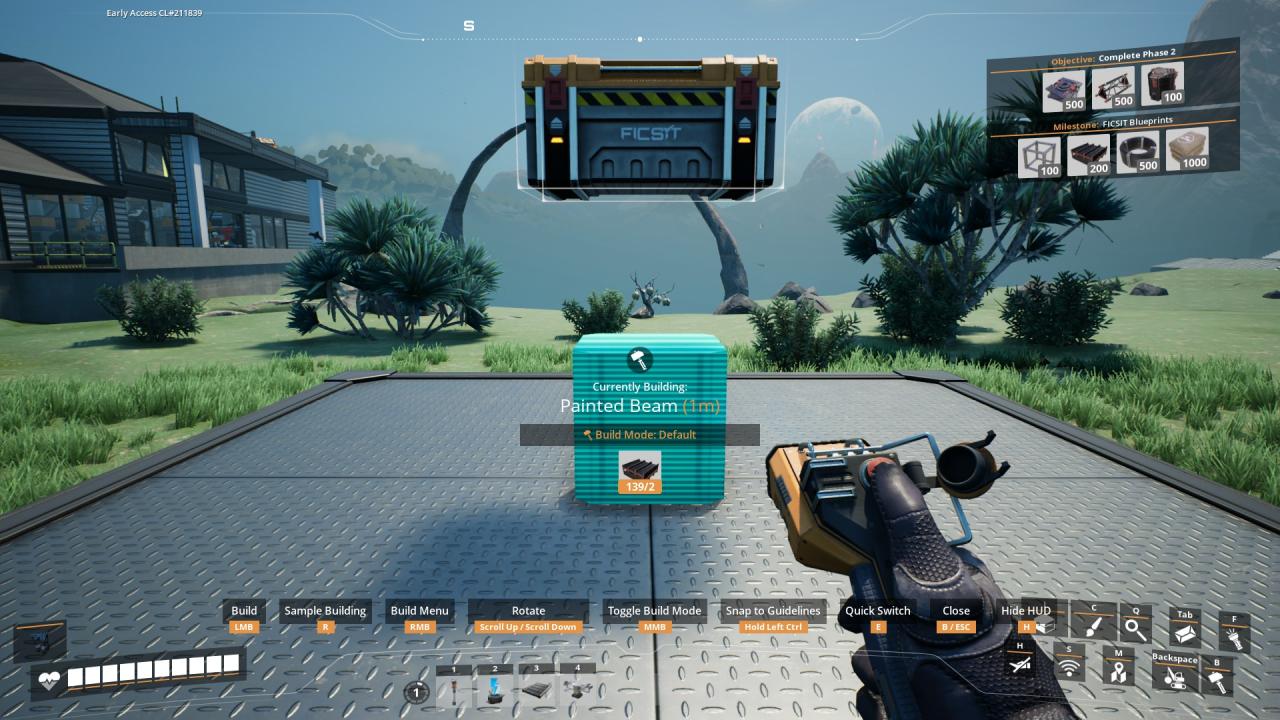 Build the Painted Beam or Metal Beam, 1 meter up.
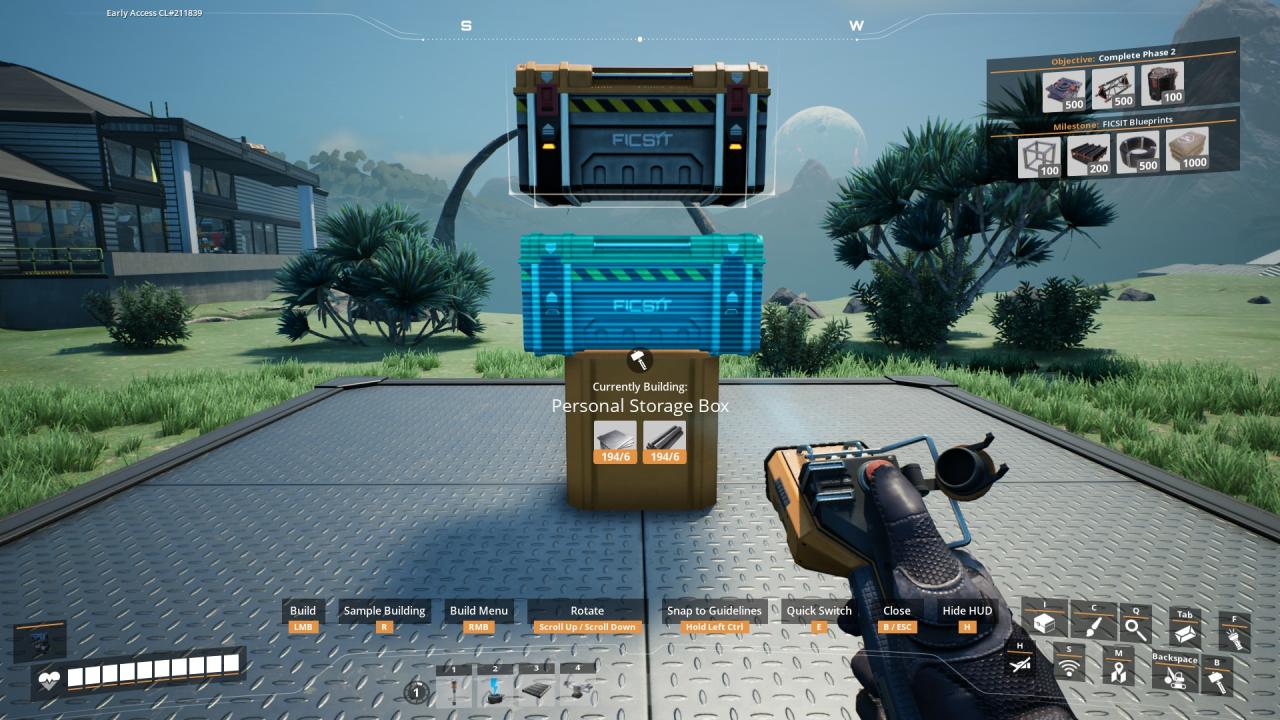 Place a Personal Storage Box on top of the beam.
3. Square Signs
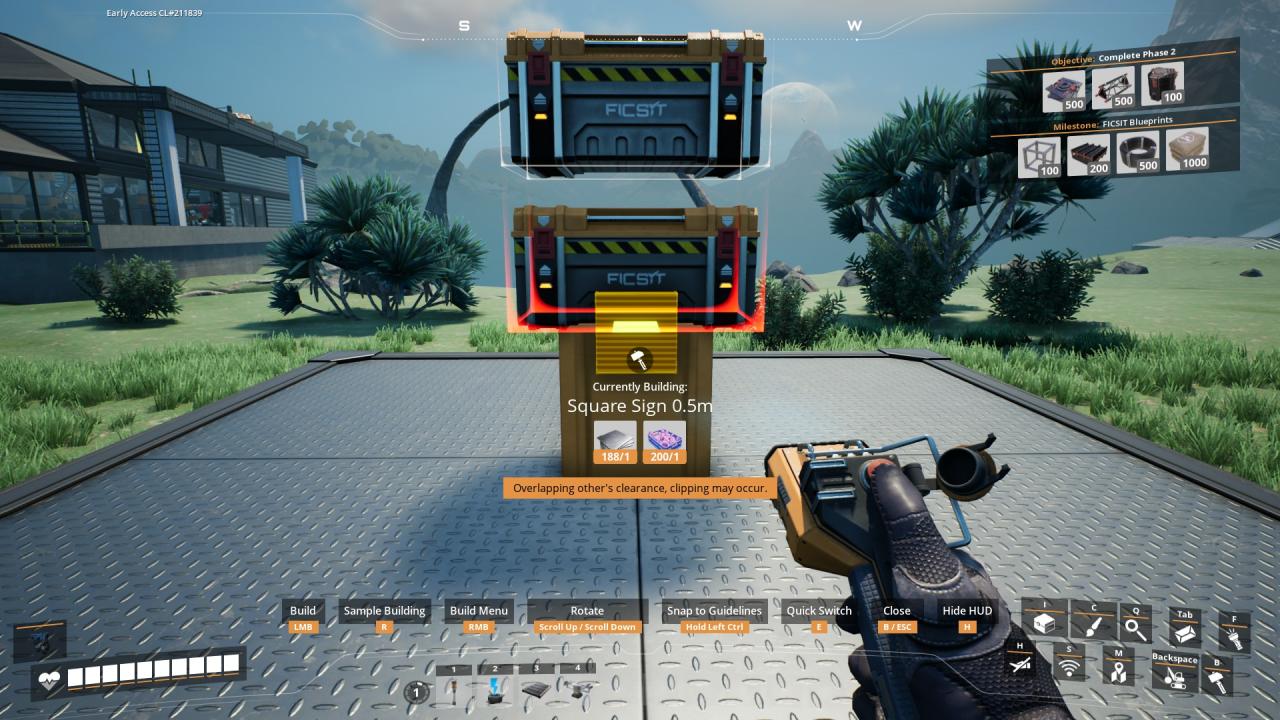 Put a Square Sign 0.5m on the front face of the beam, where its top half intersects with the box.
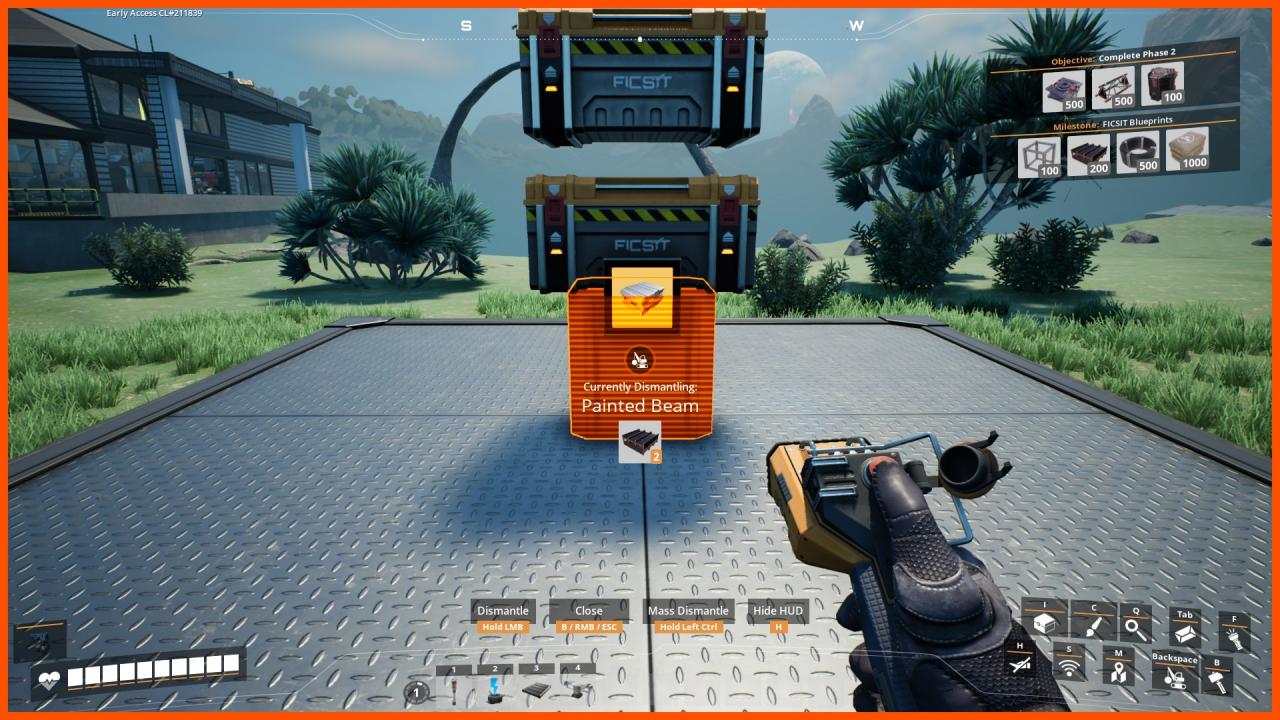 Dismantle the beam.
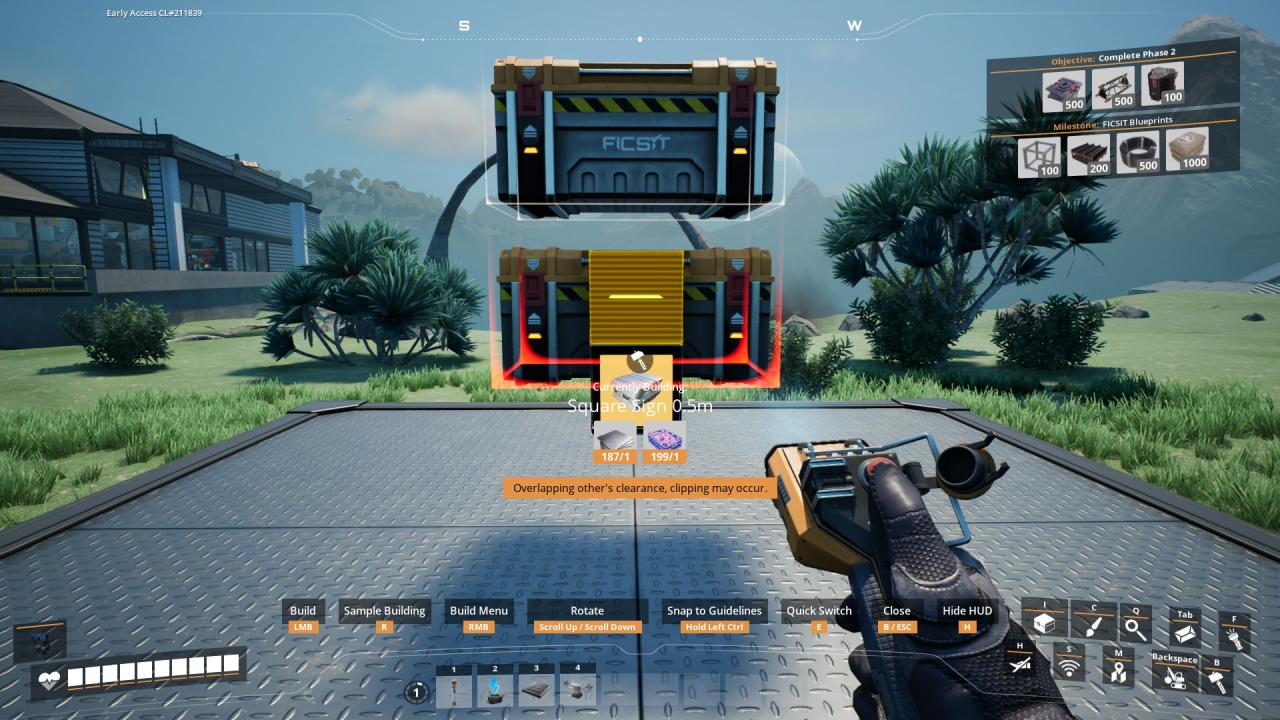 Place another sign on top of the one you just created, snapping it at the top.
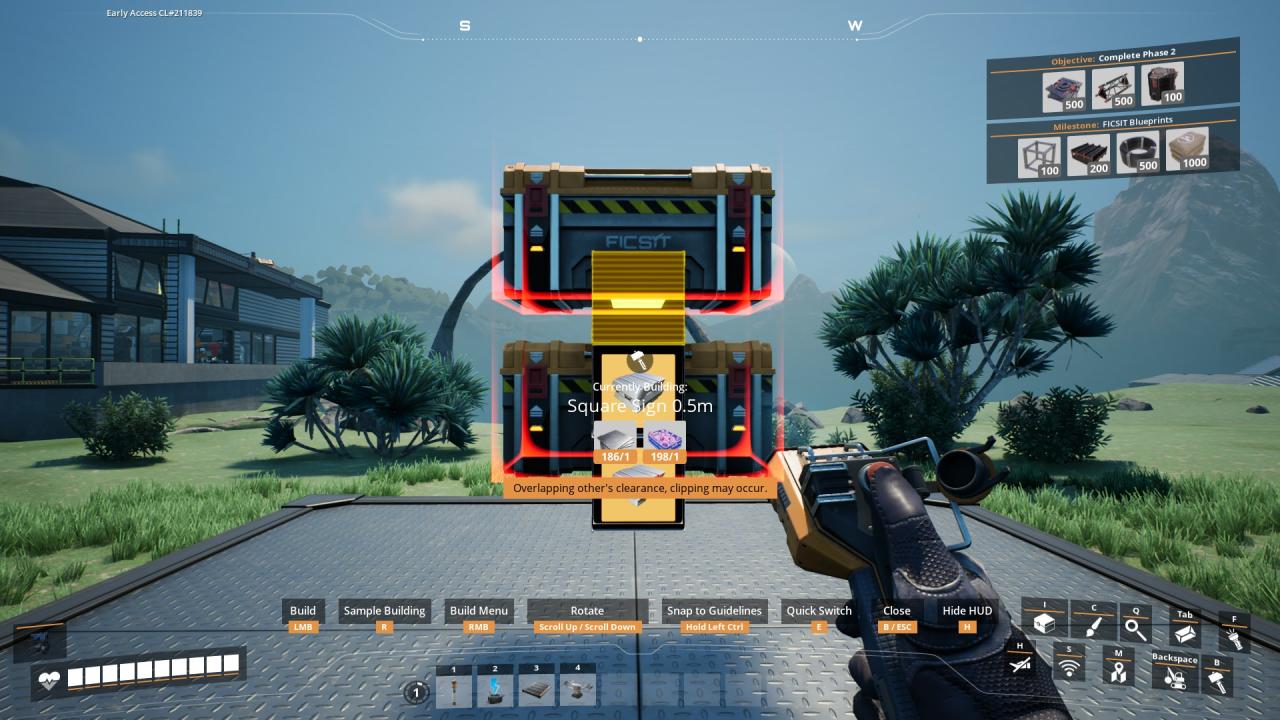 Repeat with another…
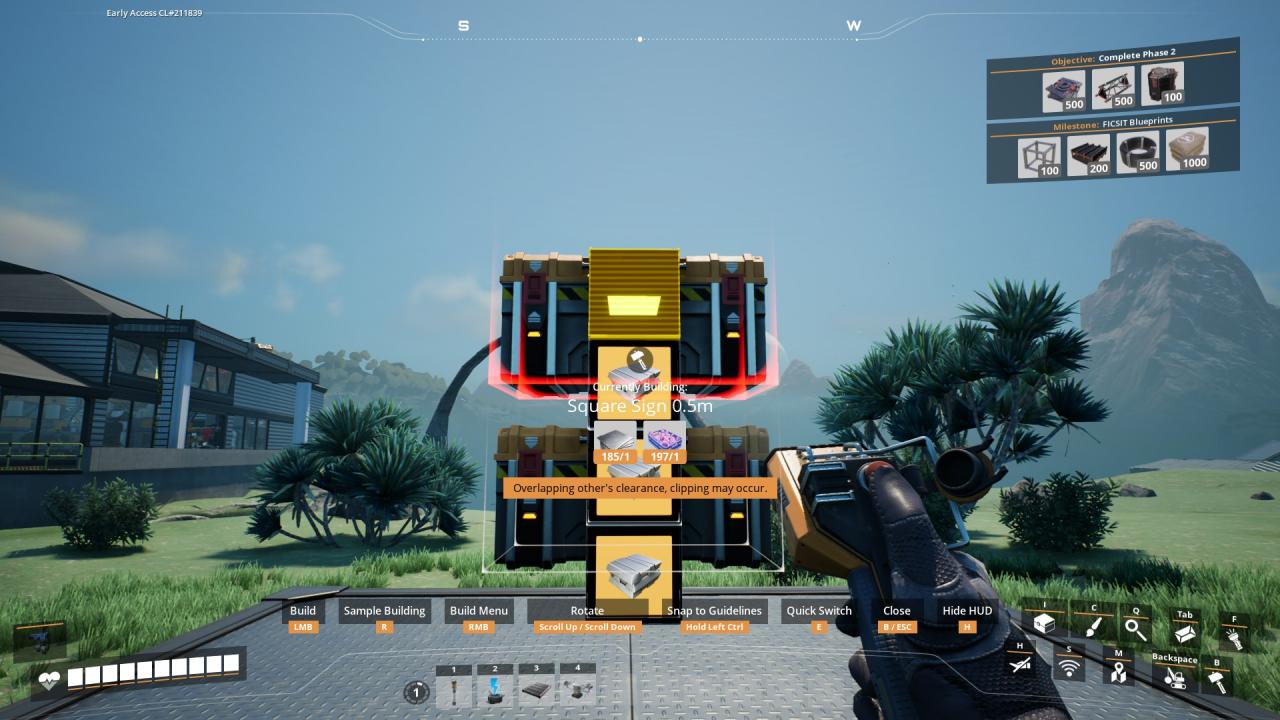
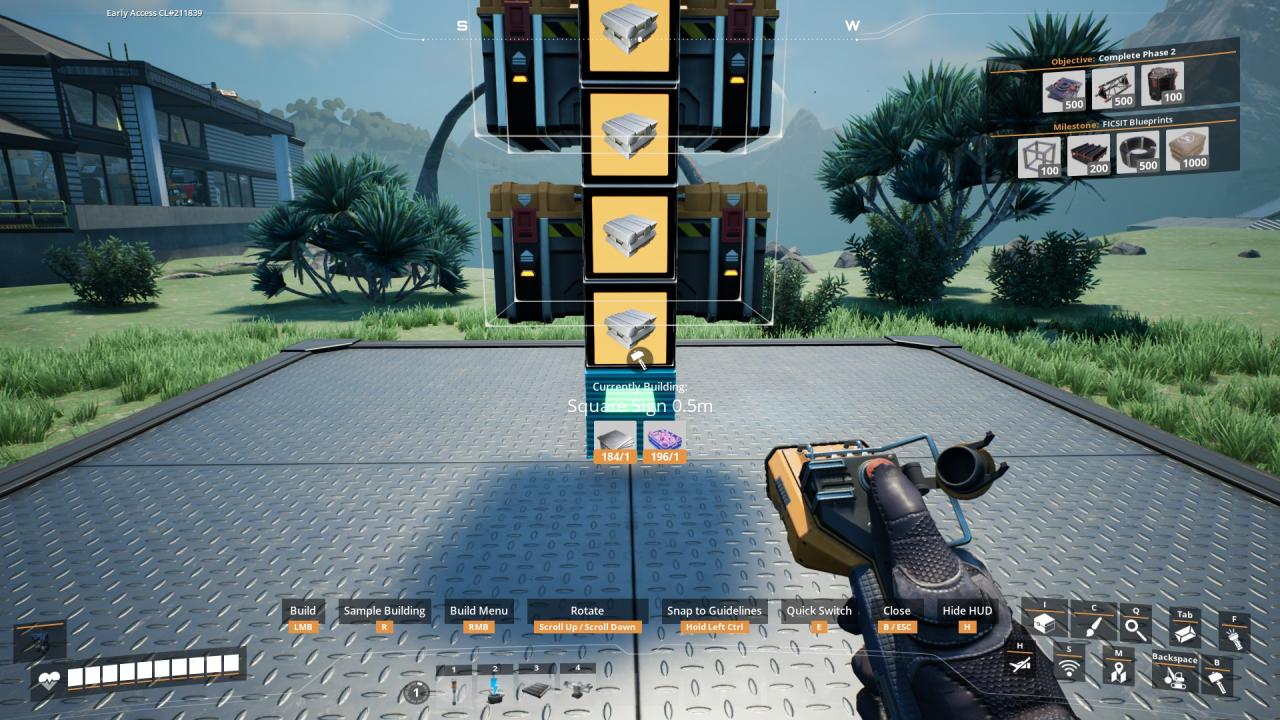 Now place the last sign by snapping it to the bottom of the first one you created.
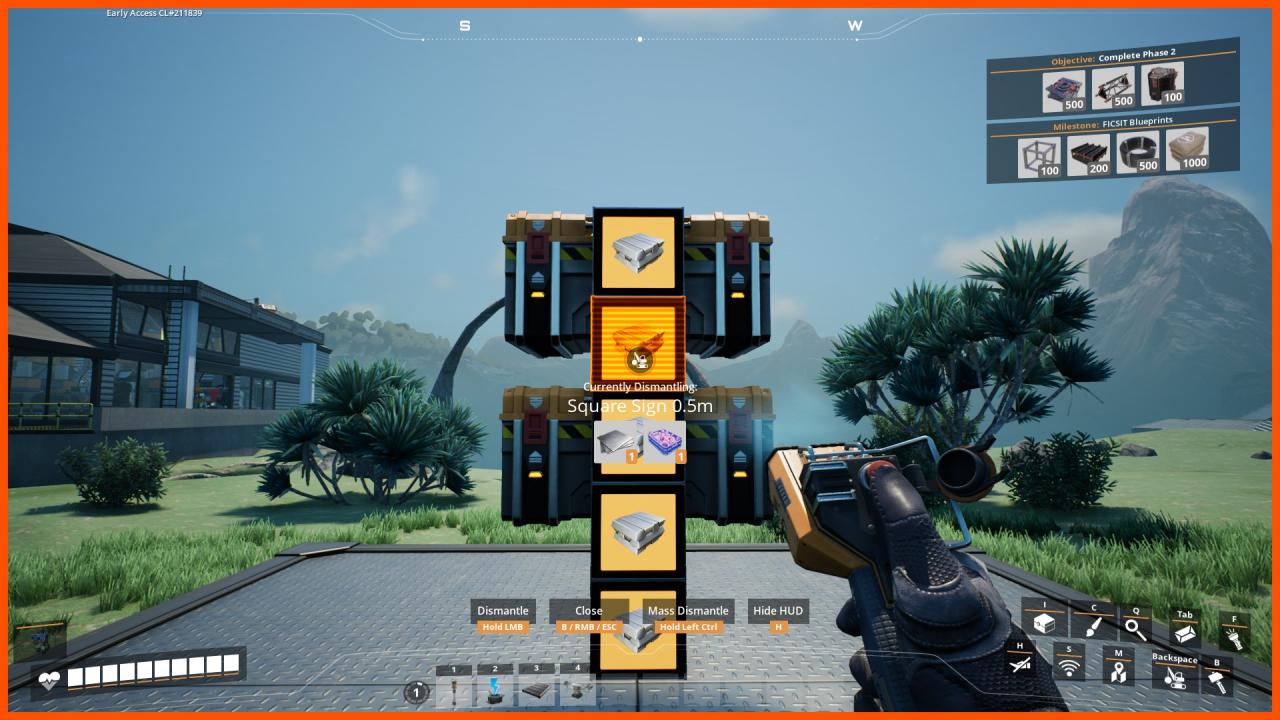 Dismantle the second sign from the top.
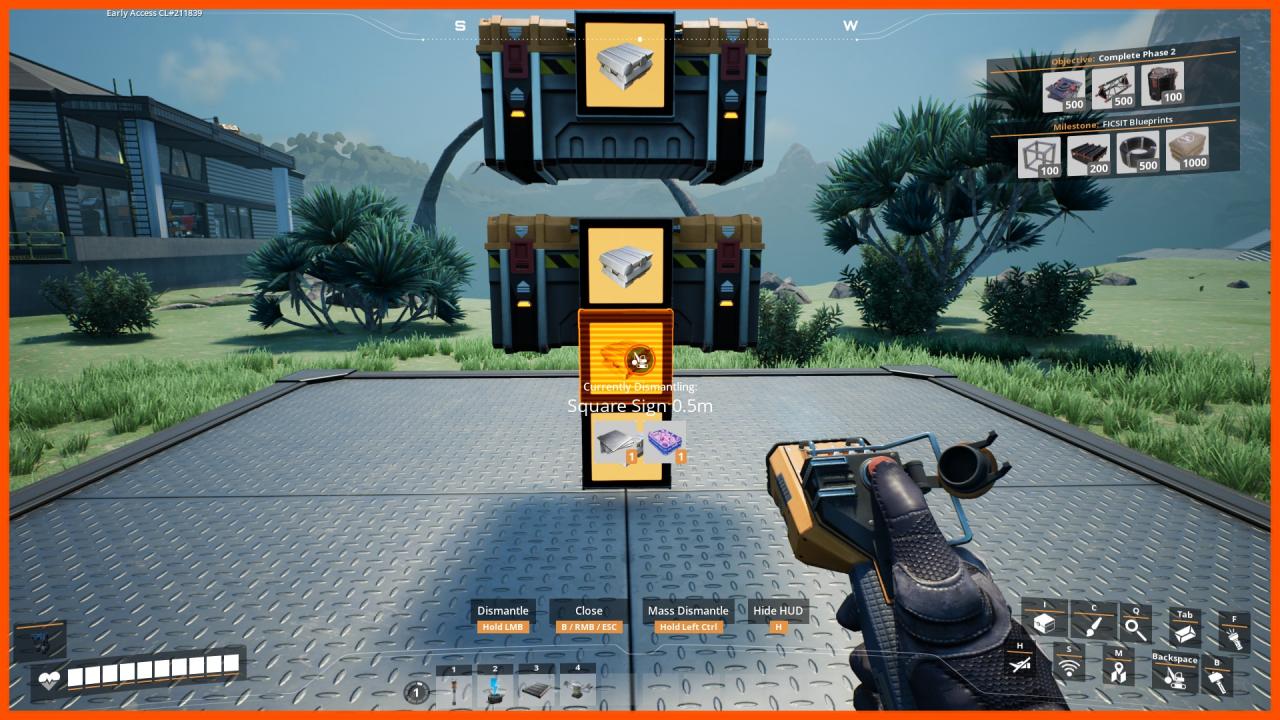 Skip the next sign and dismantle one below it (fourth sign, incl. the one you just removed).
4. Conveyor Pole
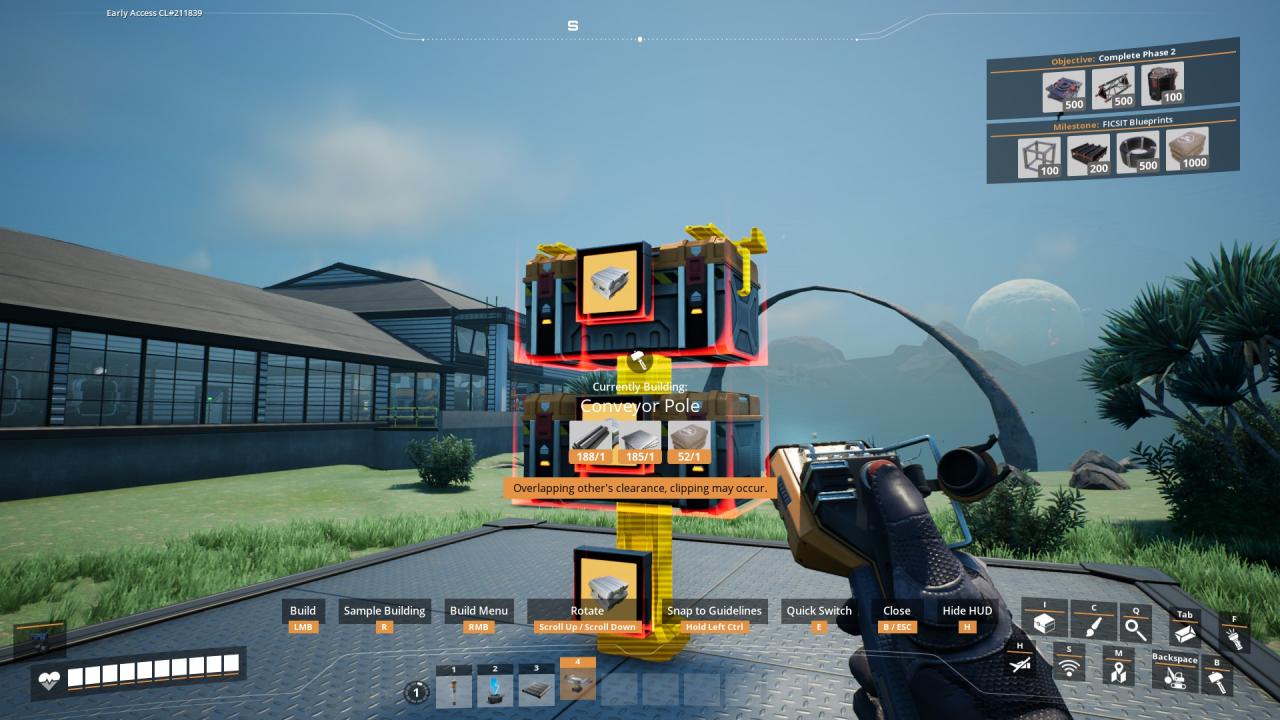 Rotate and build the Conveyor Pole to the height of the top box…
– so that its supports spread out to the sides.
5. Bottom Personal Storage Box
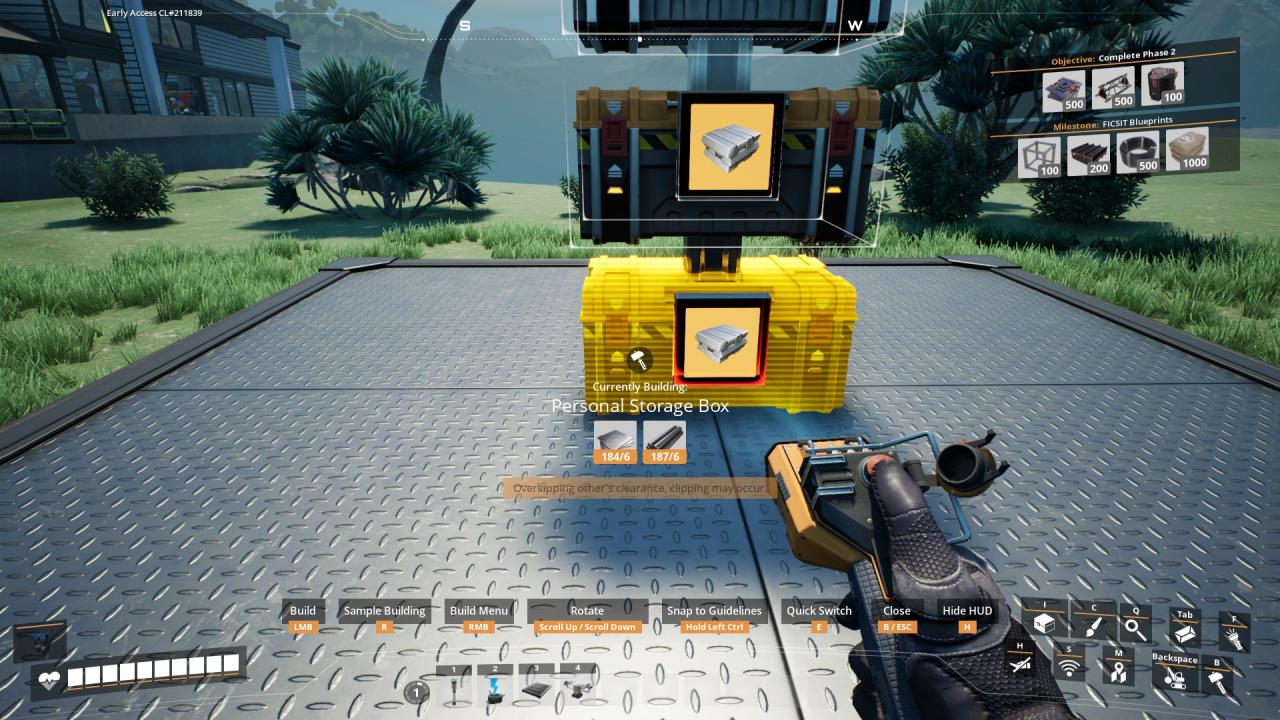 Place a Personal Storage Box on the foundation floor in the same space as the Conveyor Pole.
6. Congratulations, you made it!
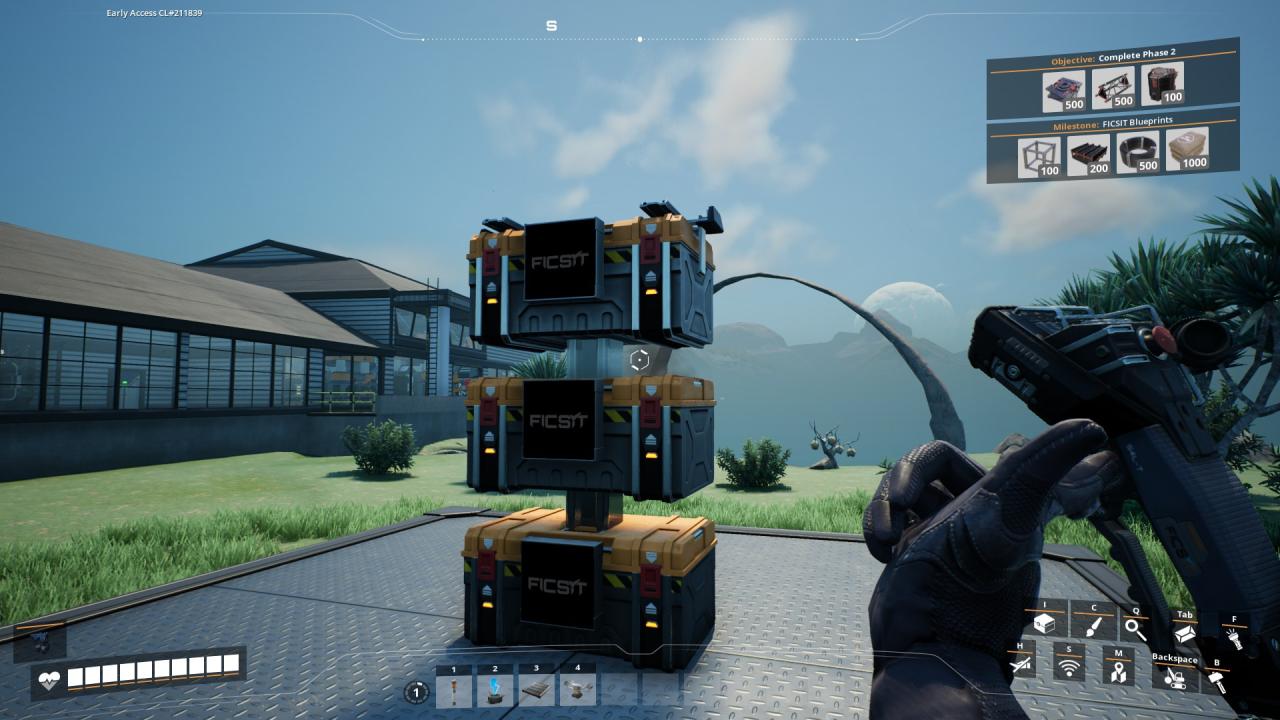 Now you can fine-tune the signs as you see fit and then twirl the build tool.
Related Posts:
- Satisfactory Tips and Tricks For Beginner and Veteran
- Satisfactory How to Fix Unable to Find Any Session with That ID
- Satisfactory How to Play on the Experimental Branch (Test Server)
- Satisfactory How to Fix Crashing on Startup
- Satisfactory How to Pause the Game (Access the Command Line)
