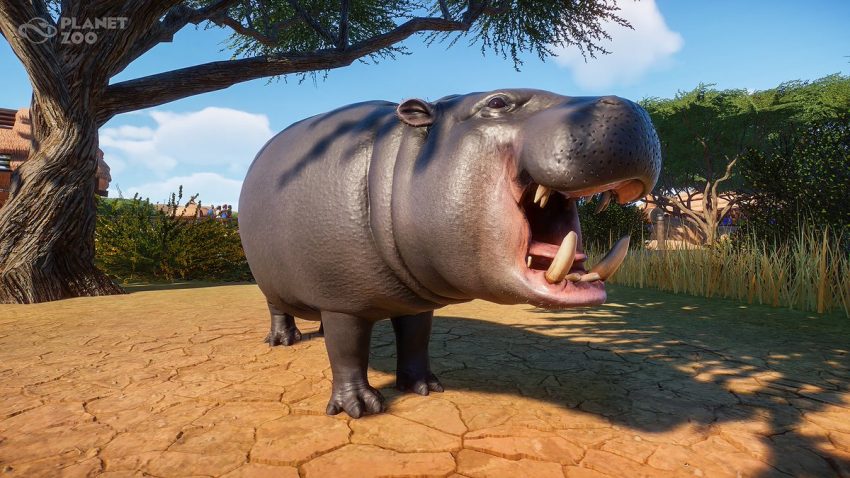
A comprehensive guide for learning about how to start a new Zoo and make it profitable. This tutorial will give you all the information you will need to start small, set up the first habitats, make animals in them happy, amaze guests and earn cash from donation boxes and other guest entertainment.
Long story of a good start
When you load up a new map in Planet Zoo all you see there is an already built entrance and a small 10m wide path. This might not be much but if you know where to look you will find these two objects very helpful.
What you don’t see but it is there also, is power. Because if you turn on the power overview, or heatmap for power, as it is called here, you will see a large blue area emanating from the entrance to your zoo. That is the area that has power indefinitely and it’s totally free. Since you need power for your staff buildings, habitat gates and other buildings it is a good idea to start building inside this powered area.
The second thing that gives very useful information is the path and its size. 10 meters is the widest available path. This tells you that a place with a high volume of foot traffic from guests should be made with the maximum sized paths to allow for optimal guest movement. Especially places where guests come and go, like the entrance/exit, because you have foot traffic in two directions, doubling the size requirement of the path.
A video guide:
Basic rules for Zoo design
With these two nuggets of information you can plan out the starting size and position of your zoo as well as the necessary size for guest paths. The thing that you need to always keep in mind is that the design of your zoo has to follow these basic rules:
1. Guest paths must pass next to, around, above and beyond each animal habitat or exhibit so they can view the animals and be amassed, resulting in donations left in the donation boxes
2. Staff paths should not be intersecting with guest paths because then guests get in the way of staffs work and staff get in the way of guest’s sightseeing
3. Staff and zoo facilities should always be hidden from guests view as they are an unwelcome sight, reducing guest’s happiness
4. Guests can be “guided“ through the zoo by the guest paths but should be given lot’s of options with branching paths to allow free, independent movement, as their individual needs and wants will differ
Building your new zoo in this design
For good foot traffic flow to continue inside your zoo, extent the starting path using the widest setting at 10 meters. Then branch off to your left and right, adding a small plaza if you want to, with or without gaps, for later facilities or beatification, as you see fit. Use wide paths, minimum 5m, but I would advise even wider than that. If the path tool is giving you a hard time use the option for grid path building. This will let you build straight paths at 90 degree angles section by section.
Now build an empty habitat (will we get to the animal later on), as simple as possible, just the cheapest fences, in a long but narrow shape with the larger side facing the guest paths. Make it spacious. This is your “intro” for the zoo, sort to speak, the first thing that guests see as they enter your zoo. This will help you get the guests into a good mood as soon as they step into your zoo.
Take note to raise the fences to about 3m regardless of the animal species you later place here, too make sure that the high staff buildings and facilities are not visible behind and above the habitat. You can also dig them down a bit with the terrain terafforming tools to achieve the same result but that is a lot more expensive and takes up more space. But it is a totally great idea later on, as you can then dig tunnels below guest paths and connect isolated staff and zoo facilities with each other, without the guests seeing a thing.
As I mentioned, your habitats support buildings, like the Keeper hut, Trade center, Quarantine, Research Centre and Veterinary Surgery can now be placed behind the habitat, away from guest’s eyes and in the perfect position for easy and fast access to the animal’s habitat. For that to work you need a habitat gate on the back of it and staff paths leading from the gate to the newly built staff facilities.
Short description of staff jobs
Short description of their jobs, courtesy of a developer journal:
“Caretakers – They sweep rubbish from paths and picnic benches, empty bins, clean toilets and help transport animals between facilities and habitats.
Keepers – They’re essential for an animal’s well-being, preparing food and feeding the animals, refilling water containers and cleaning their living areas.
Mechanics – They are vital in keeping the zoo running by repairing any breaks that can occur as a result of dilapidation, breakdowns or vandalism, as well as performing research for the zoo that unlocks new facilities and objects to place.
Veterinarians – Vets have multiple roles in looking after an animal’s welfare, from treating illness and injuries, to capturing escaped animals and researching species present in the zoo, which gives the zoo a greater understanding of them. This leads to more effective treatments, breeding programs, enrichment items and guest education.”
Adding animals to the Zoo
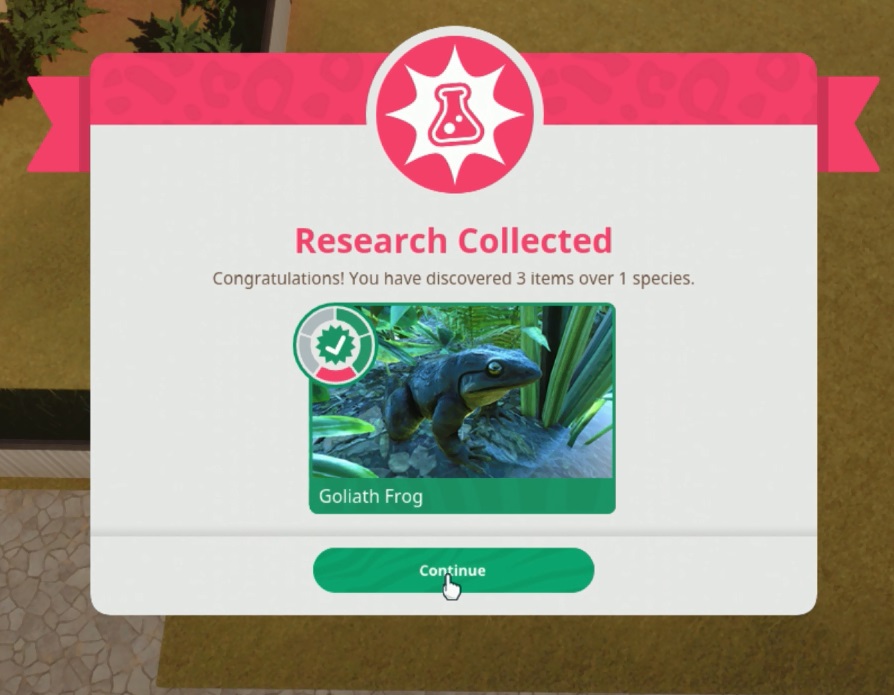
Now that you have a keeper to transfer the animal from the trade center, a caretakers to clean it’s habitat, and a veterinarian to take care of it, and research new items, you can head over to the animal market and get your first animal.
I would advise simple, slow, peaceful animals, that don’t have a tendency to fight each other, and live in small groups or pairs. For example: Baird’s Tapir, Common Ostrich and Galapagos Giant Tortoise. Don’t forget that conservation points are much harder to come by then regular money, cash, so use the filter in the market to first see what animals can be bought for cash instead of valuable CS points.
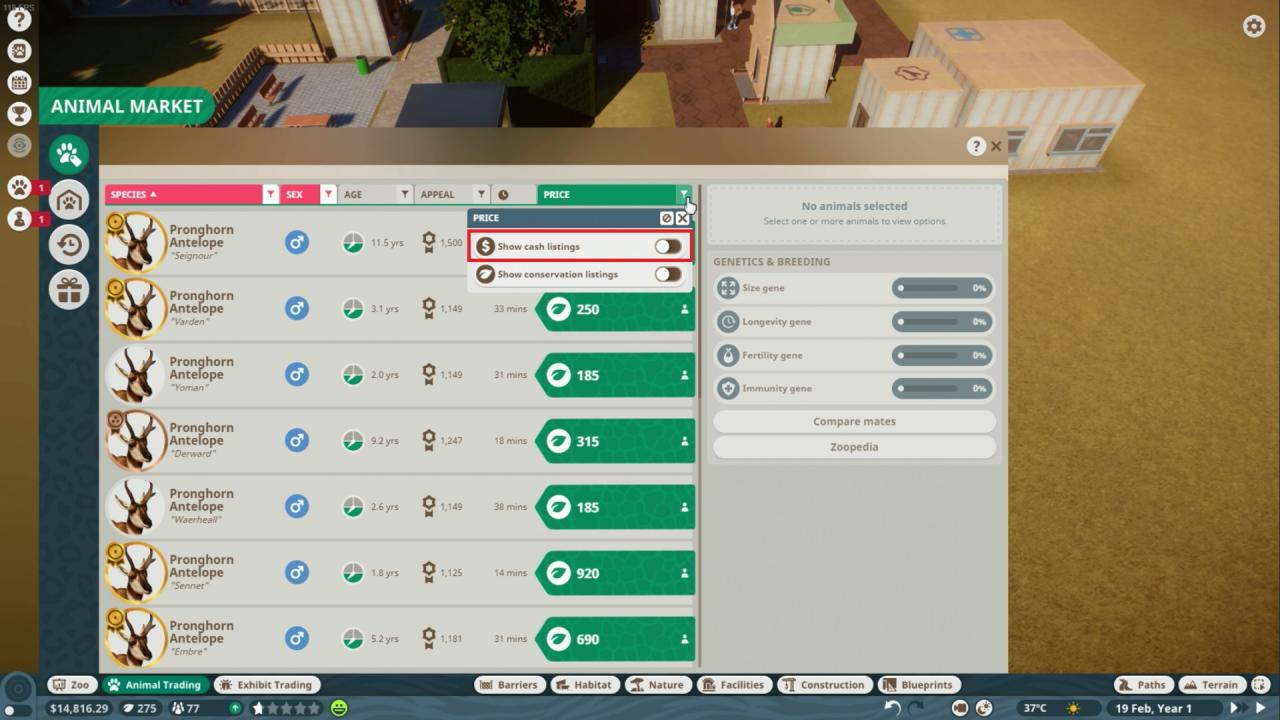
When looking at the animals stats, you might want to try and find a specimen that is in perfect health, has great genetic traits, like excellent fertility or high longevity but you will find very expensive specimens that way. It would be great if you could buy only those perfect ones, but you need to be realistic about your starting funds and just look for the overall best choice, not too expensive and yes, not great genetics.
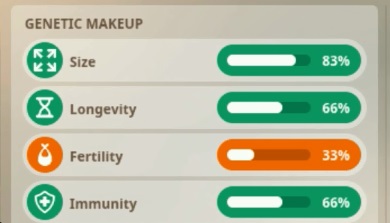
Remember that switching out the animals, buying and selling them is a fast process, so leave breading of fantastic specimens for later, when you have a proper and profitable zoo up and running.
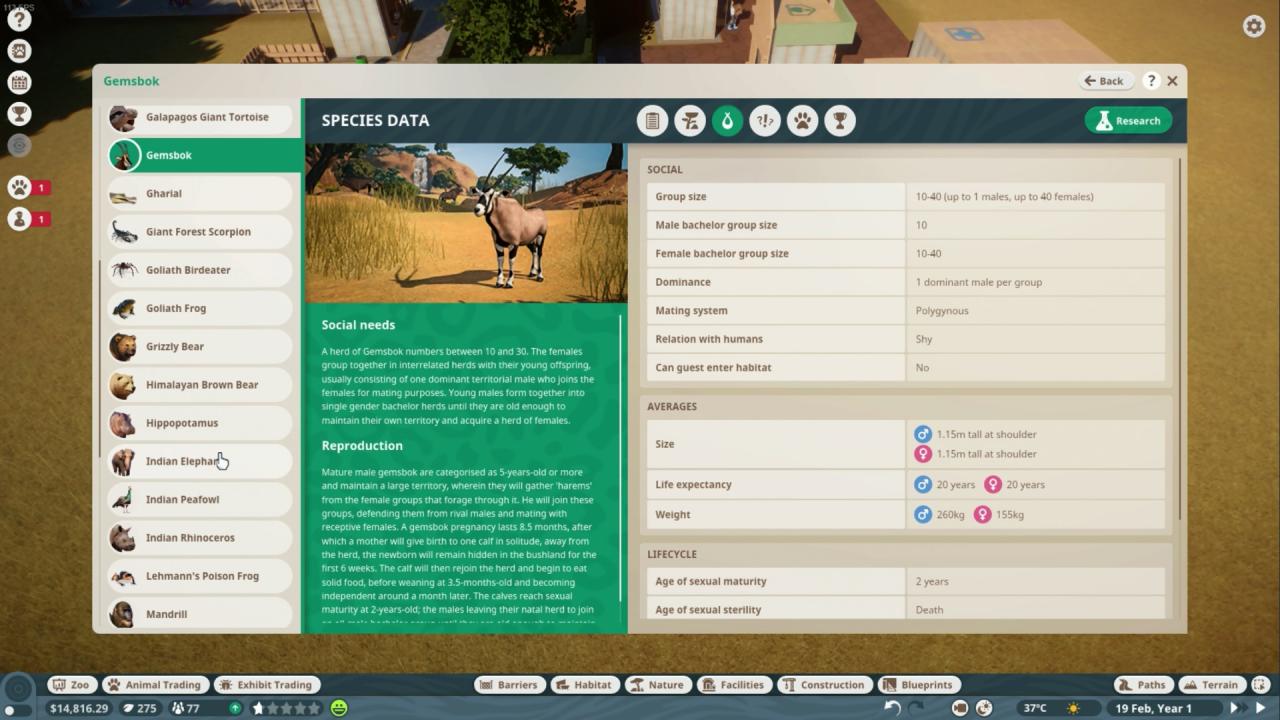
Read up in the Zoopedia about the animal that you have chosen to inhabit your first habitat so you can find out the exact type of fences you have to use, the size of the habitat, so you can expand or reduce the size of your first habitat, and does the animal require climbing objects or water for swimming.
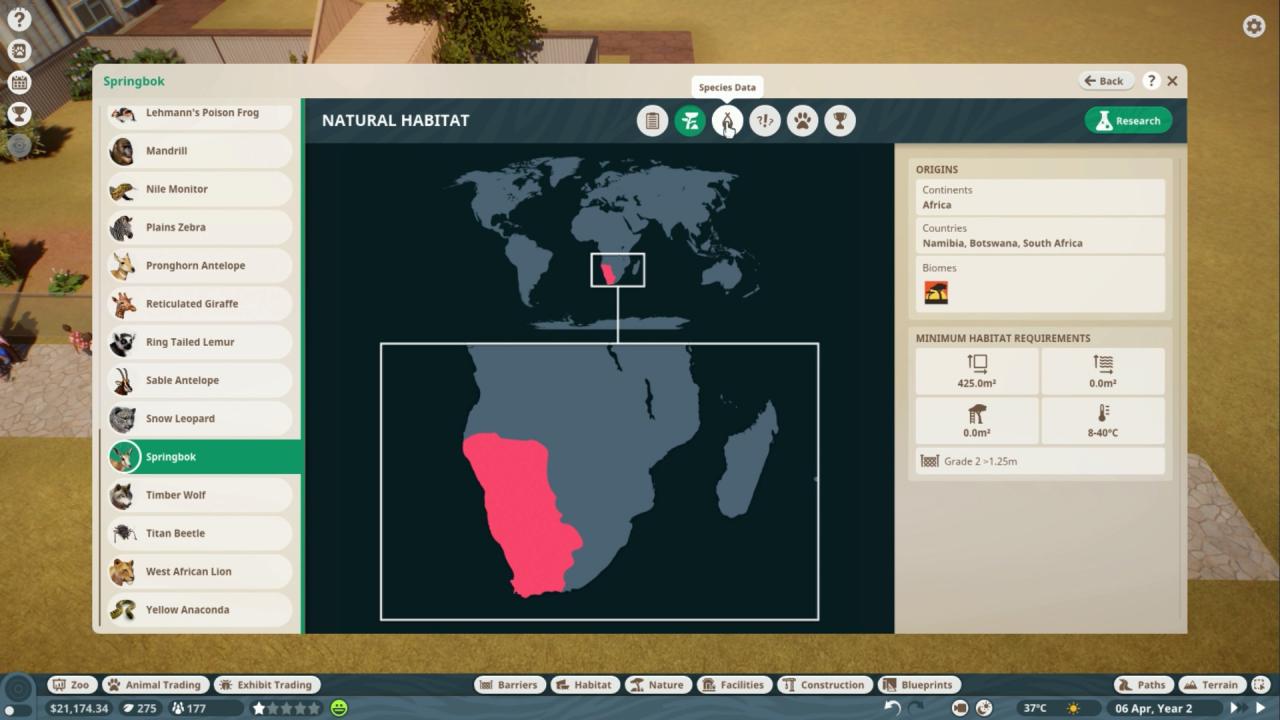
The temperature that the animal is used to is also an important factor that you can read about in the Zoopedia. Once you have placed an animal in a habitat or exhibit you need to manage the temperature to match their need. If your Zoo’s ambient temperature is too hot then use a cooler in the habitat to lower the temperature, if it’s too cold use a heater to increase the temperature to the animals optimal requirement. For exhibits you will first need to research the individual animal species with a veterinarian in the research centre to unlock temperature, and later humidity controls.
Guests needs and money making
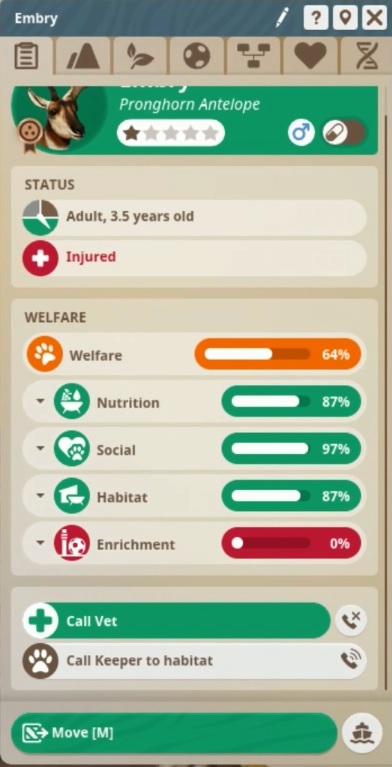
You will need to use this information to add plants to the habitat, fix up the terrain to match its needs, add climbing items or a pond for swimming, arrange the right social stricture and more.
Video about How to make animals happy:
 Now that your habitat is built, the animals are settled, staff is working and their faculties are operational you need to make sure that you can make money from the guests. First thing is having glass panels as one side of the habitat, the one next to the guest’s paths and a donation box next to it. This way guests enjoy the view and create an income for your zoo.
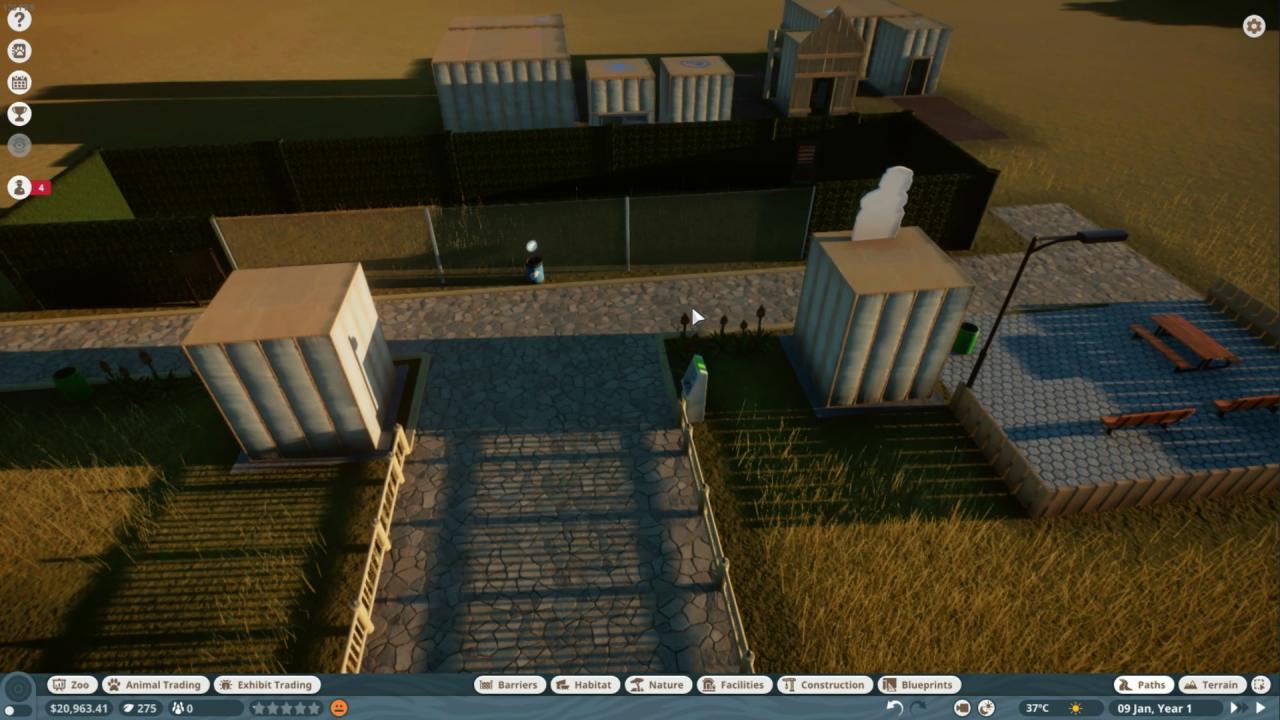 Another way of making money from guests is the tickets, you can change their price in the menu opened when selecting the zoo’s entrance.
After spending time in your zoo looking at the animals guest will want other forms of entertainment. For example you can build a gift shop, but before that build ATMs so guests can pick up more cash to spend. There guests can buy thing like balloons and other small items, which they will later throw around your zoo creating litter. Which is why you can build trash bins and employ more caretakers to keep things tidy and clean. A security guard is also a welcome addition to the staff to prevent vandalism and littering. With the gift shop you can add an information center stand and information boards to educate your guests as they walk around your zoo. There are many other forms of items that you can add to habitats and other objects that will give written or voiced information to your guests. You should remember to add these along the guest paths and next to habitats and exhibits. Each needs to be individually set up for information about that species that is housed next to it.
As guests get tired, hungry or thirsty they will need to find stands with water and food to buy and a bench to sit down, rest, eat and drink. More garbage, yay… On the bright side this is a later game stage worry, as when you have a new zoo, with 1 habitat and an exhibit or two, guests won’t stay long enough to need to eat or drink, nor need a toilet.
There are several guests needs to take care of which you can track in the guests information card.
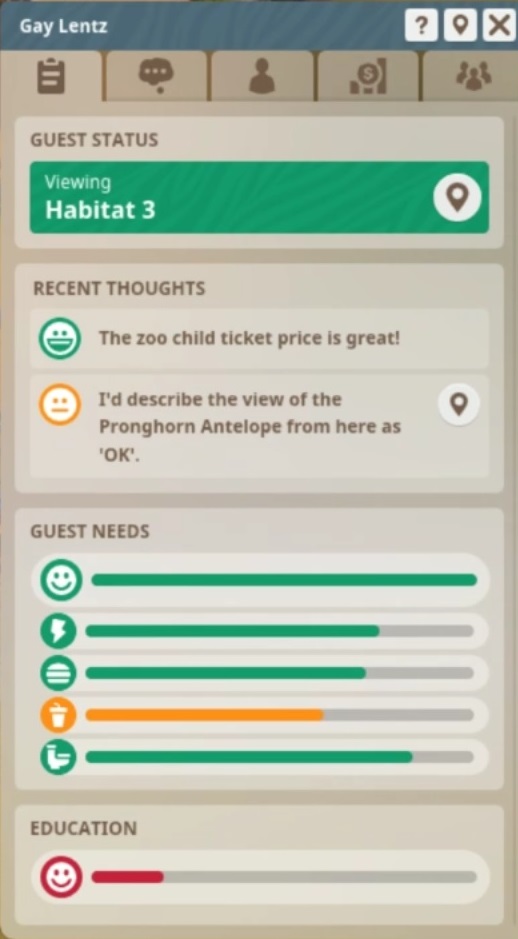
Video guide: How to make guests happy:
As you build new habitats and add more animal species, create longer paths for guests to walk down on, they will eventually start to be hungry and thirsty enough to require food and drink stands. Which brings us back to the toilet need… as if all the animal poop wasn’t enough to deal with.
These will all produce additional income, and you can change the rates that they charge in their information cards when you select them. Don’t forget to add additional vendors as the working hours of the zoo are longer than individual vendor shifts.
One more gameplay mechanic that is very important is the work zones. This is a gameplay mechanic that allows you to create special zones which encompass custom chosen buildings(habitats, facilities etc.) name them, and then task individual staff members to work in them. This way when you, for example, have three habitats you can task individual keepers to take care of animals in them without having them stepping on each other toes and overlapping their work, creating zones that are well maintained and other that are left unstaffed.
You can keep track of the work zones in their own menu and using the before mentioned heatmaps. You can do the same staff management with all the other staff members which does involve more micromanagement but will pay off with more efficient work schedules and zoo maintenance.
Additional tips
As you earn more cash, you will want to expand your zoo. For this I will leave you with a few tips:
1. Occasionally build small or large plazas with guest paths at critical intersections so that guests can move about and around each other. You will notice that they move like water, so thing more about fluid dynamics rather then crowd management.
2. Add additional paths when making stands(gift, food etc.) next to guest paths as they can create large queues which can block other guests from passing through
3. Always leave lots of room around your habitats. As you might want to expand them, move them, add plants, add other guest attractions, educational items around them.
4. If you have separate sections of staff facilities makes sure that those staff are limited to working in habitats and buildings that are close to those facilities so they won’t waste time moving about from one side of the zoo to the other
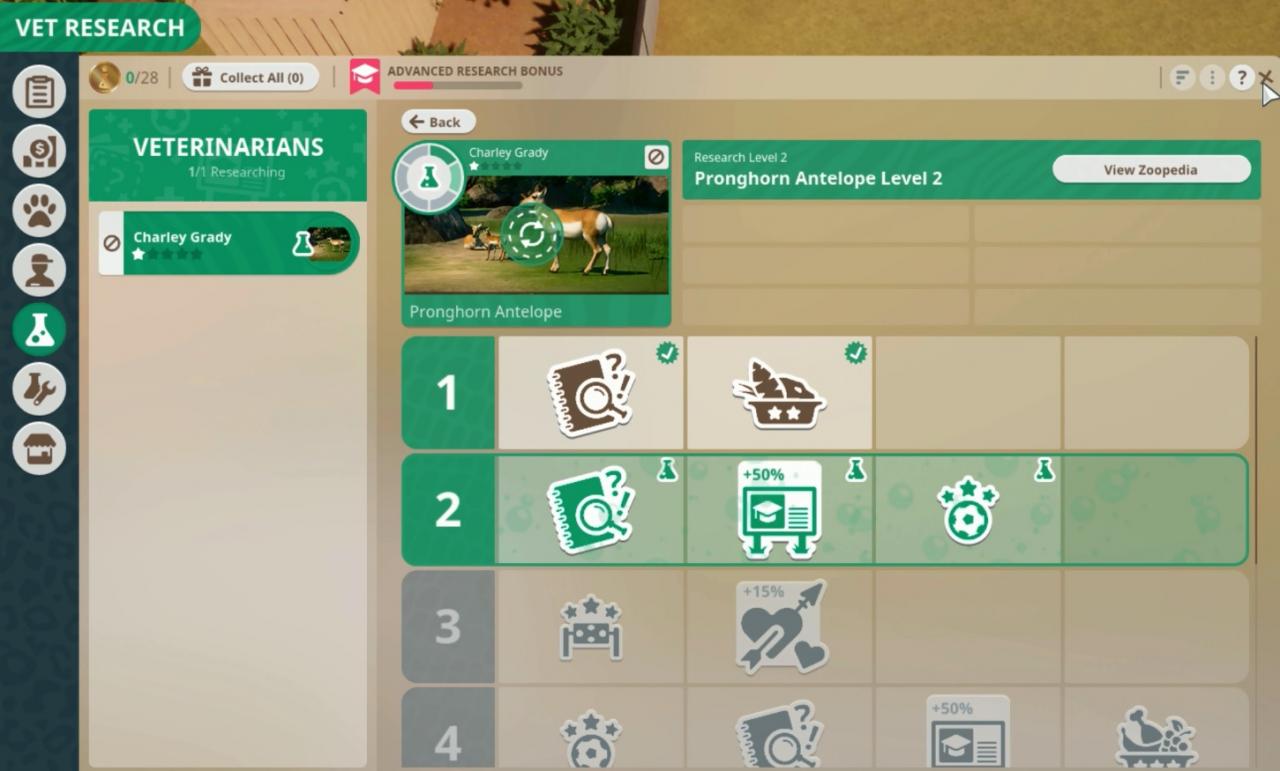
5. Keep doing research with multiple veterinarians as you will need to unlock many new things, like better food, enrichment items, and exhibit temperature control as soon as possible to make your animals happy in your zoo.
 6. Rise the prices of everything until you start noticing guests complaints
7. Not every animal habitat has to be for display, you can make simple habitats in which you will keep your animals with good genetic traits that you will bread and then send out those new animals to other habitats for display
8. Once you have a good breading project setup, you can even sell off those animals for extra profit or release them into the wild for conservation points
9. Remember to switch around the enrichment items as animals will be become bored of the same items(toys)
10. Plants set outside the habitats can still have an effect on animals in the nearby habitats. Take notice of this and switch them for plants native to the animals original biome
I wish you good luck and may you make the best Zoo!
Related Posts:
- Planet Zoo: Beginner’s Guide to Franchise Mode
- Planet Zoo: Career Mode Guide
- Planet Zoo: How to Earn Massive Amounts of Conservation Credits
- Planet Zoo: Plague, Disease, Virus Guide
- Planet Zoo Animal List DLC Animals Included
