The Ardyn are a unique race in Odd Realm, functionally immortal but regularly needing to leech the life force of others. In this guide, you’ll learn the basics of how to play this challenging, but highly rewarding race.
Introduction
Important play points for the Ardyn include:
- A short life span of only 140 hours, or roughly 5 days. An Ardyn’s age stat accounts for this hourly count, rather than their chronological age, giving them the Senectia affliction once they reach their life span.
- Life Leeching, allowing Ardyn suffering from Senectia to sap 5 days of life force from another entity and transfer it to themselves.
- Time Weaving, allowing Ardyn to make use of a unique, universal resource called Nyctium.
- No hunger or thirst, with all farming done by the Ardyn facilitating Life Leeching instead.
- Chronoblast breeding, meaning Ardyn are grown rather than born.
Getting Started
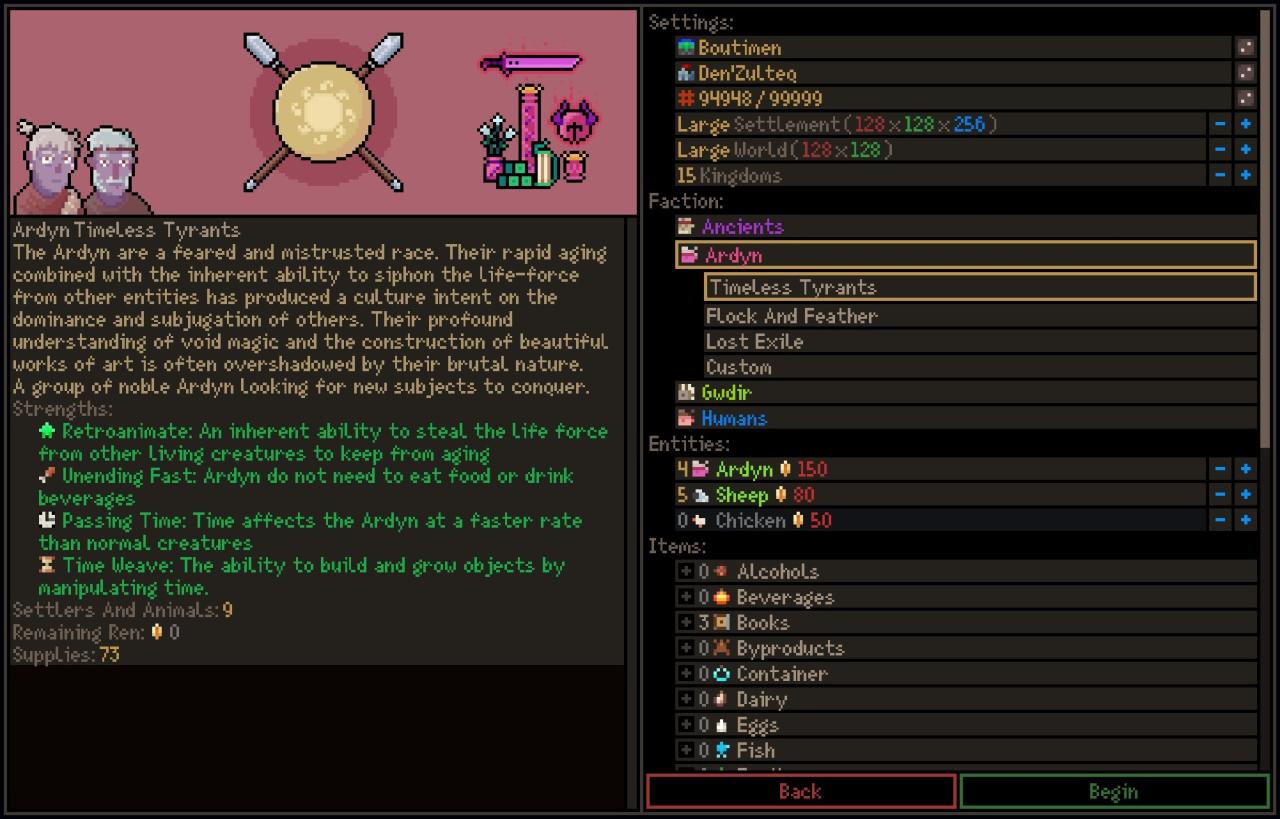
There are three gamestarts available to you as the Ardyn: Timeless Tyrants, Flock And Feather, and Lost Exile. As the Ardyn require death to create new life, as well as entities to feed from, I would suggest choosing one of the first two until you are well-versed in their mechanics.
With these default starts, you will begin with multiple Ardyn settlers, as well as a flock of either Sheep or Chickens; protect these animals with your life, else you’ll struggle to live yourself. You should also start with a modest supply of books and resources, including some Tomes of Agriculture; these will be important for your starting techs.
Ardyn are fairly tough people who can thrive in desolate environments. So long as you can source enough food for your livestock and captives, your Ardyn will prosper anywhere. To begin, I would suggest a location with grass for grazing, and proximity to nearby factions for trade. Access to animals for taming is also a plus – the longer lived the animals, the better. The minimap on the top right of the Overworld Map will show you your locations layout, and you can consult the tabs on the bottom-left for information on animal, plant, and fish life in the region.
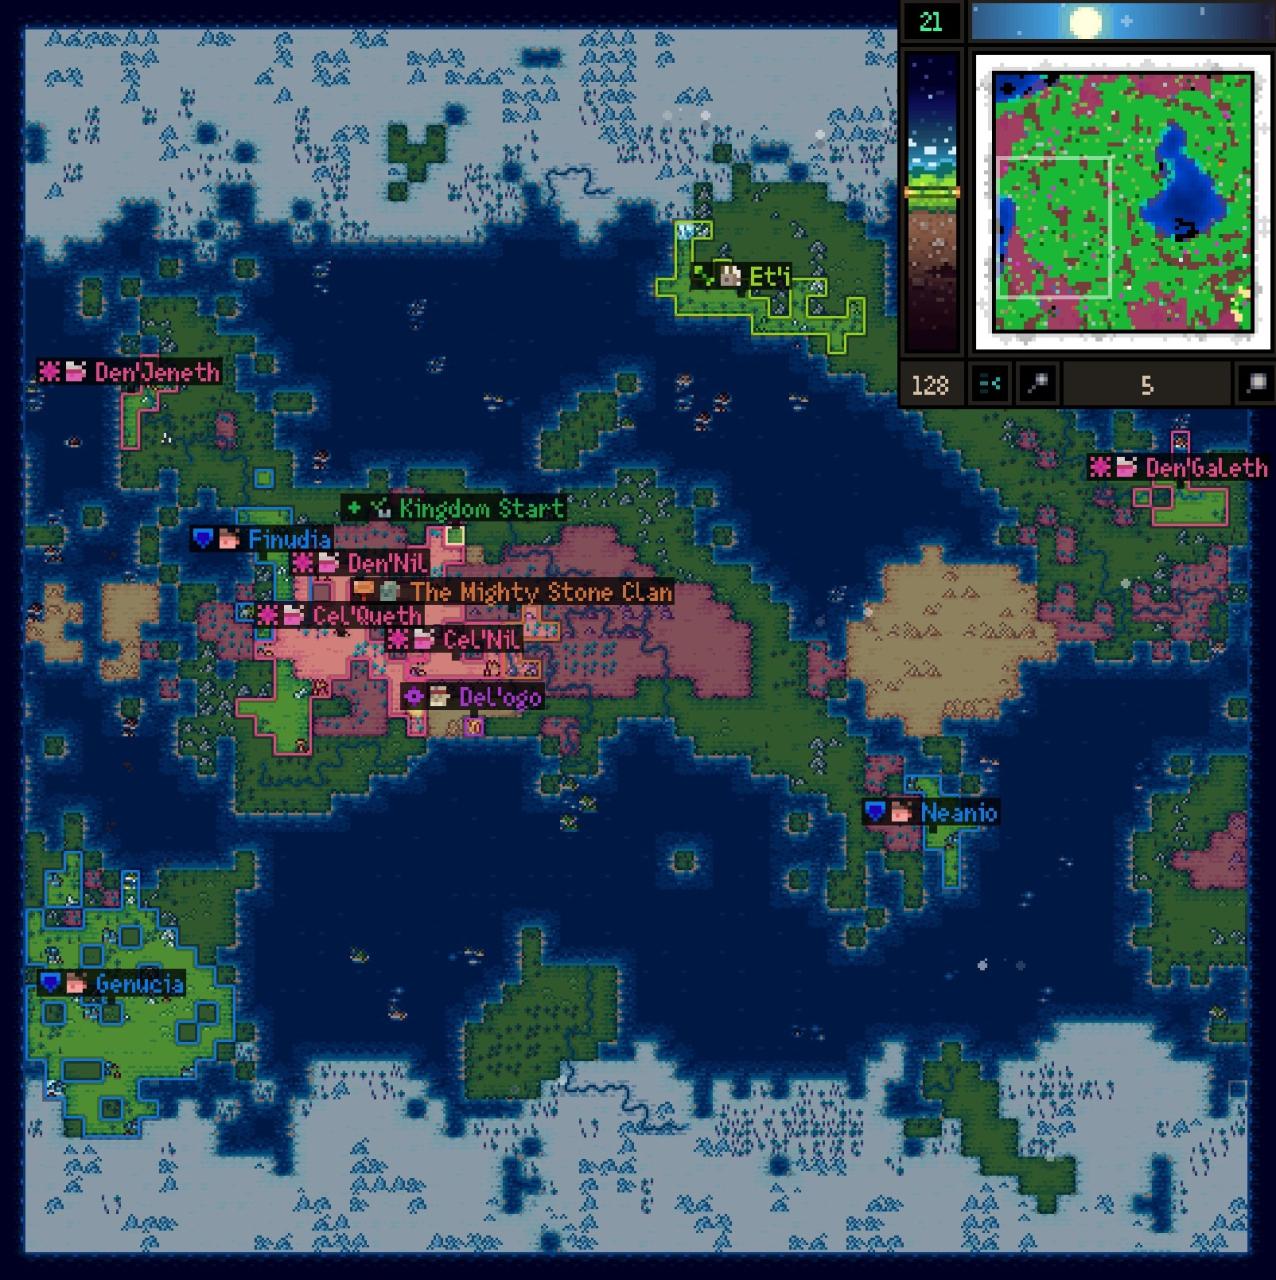
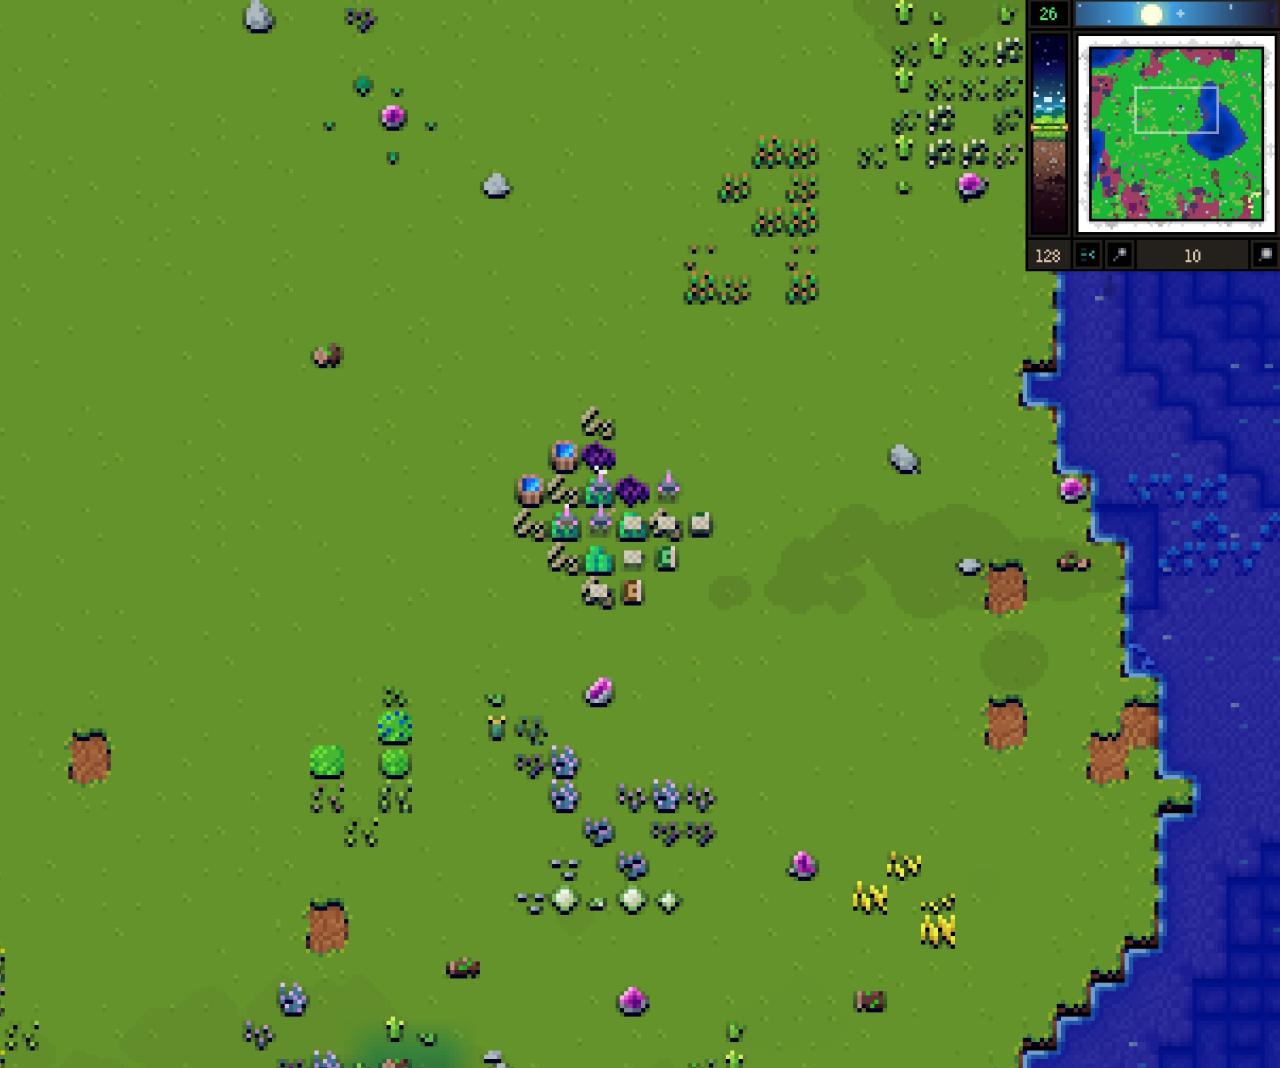
Once you have chosen a location to settle, click the “Kingdom Start” button, as it’s time to build your settlement!
Begin by placing down your Settlers and pausing the game. Your first step should always be to choose a ResearcH option; starting Research on “Hunting I” will allow you to build Wood Cages and designate Hunting Grounds once it is complete. This will facilitate capturing entities, as only livestock and captives can be used for Life Leeching – this is, essentially, farming for Ardyn. You should already have Animal Husbandry I unlocked, which will allow you to designate Animal Enclosures for grazing, feeding, and gathering resources; if you start with Sheep, you can shear them for wool that can be used for clothes, and if you start with Chickens, they can lay eggs in a Roost that can be fed to other entities.
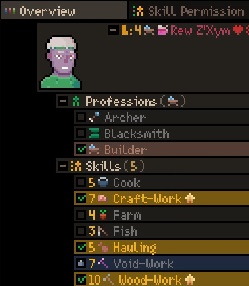 Check your settlers’ Skills and Professions in the Overview tab, and ensure that you have every Skill ticked at least once between them, as it may be some days before you get any more Ardyn. Don’t fret if you have a useless settler, as they will provide a vital service to your settlement later. Switch your settlers’ Professions to cover the skills you desire, as each time your settler levels up, the skill covered by their Profession – marked by a yellow arrow – will increase by one point. It’s extremely important in the long run to have at least one skilled Technocron, and Farmers and Builders will get your settlement off to a good start quickly.
Next, it’s time to start Building. You will want to start with some basic structures; a Fiber Bed for each settler, some Clay Pots or Rope Baskets for storage, a Well for water, and a Workbench and Fire Pit for basic crafting. If you started in a biome without grass, a Wood Food Trough will be necessary to feed your livestock. You likely won’t have the resources necessary to construct all these buildings right at the start, so set up some Jobs for woodcutting, crop/grass harvesting, and dirt mining. Start out small with these Jobs, as you don’t want your settlers working overtime on unnecessary tasks.
Finally, open up the Rooms tab and set up some rooms; Ardyn Homes over your beds, a Stockpile over any storage you built, a Workshop over your Workbench and Fire Pit, Wellhouses over your Well, a Hortichron for farming Nyctoids and Chronoblasts, and an Animal Enclosure – preferably over a large, grassy piece of land adjacent to water. It can pay to set your Hortichron to automatically produce Nyctoids whenever Remains are available, but don’t forget to remove Ardyn Remains from that list!
Now, unpause and let your Ardyn get to work!
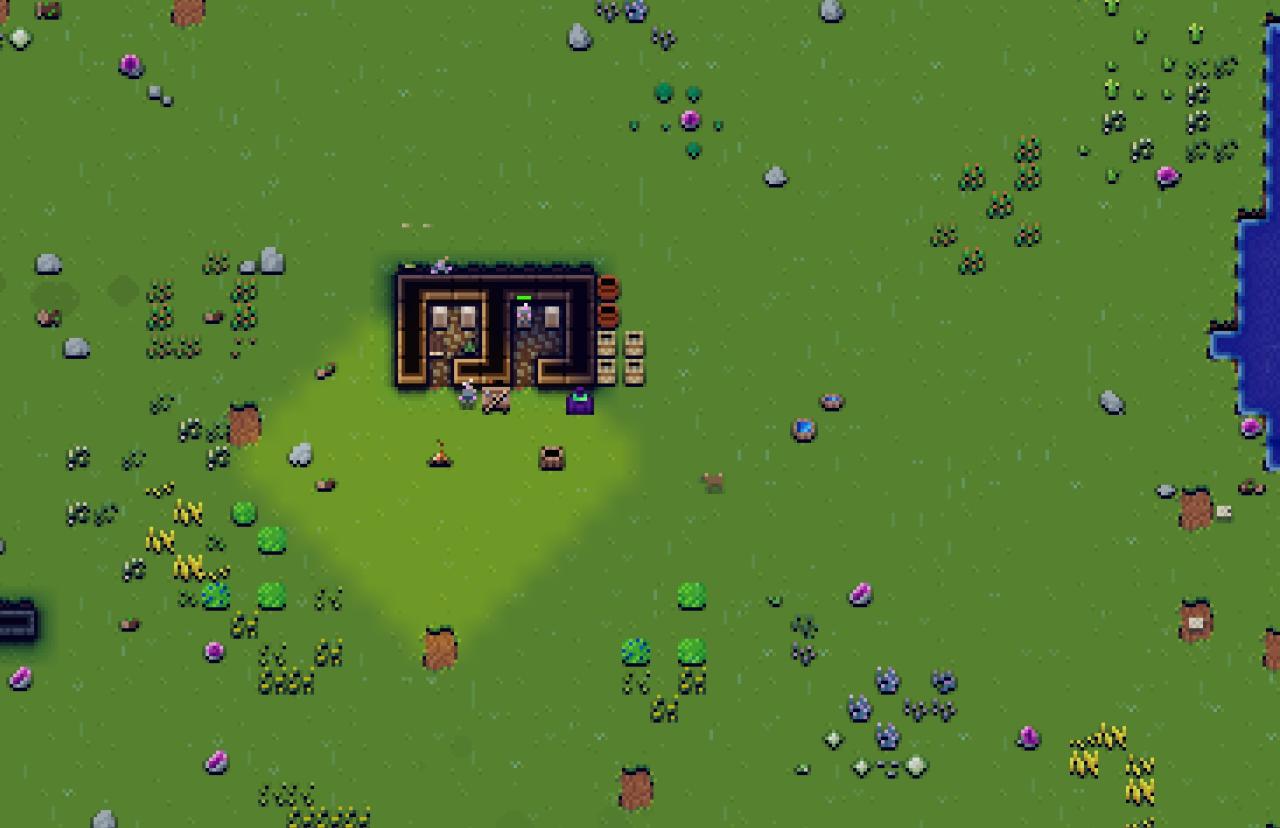
Next Steps
It is likely that your first Bandit Raid is just around the corner, so once your Workshop is complete, begin constructing some Wooden Pointy Sticks with which to arm your settlers. You can equip this by entering your Inventory, selecting the settler you wish to equip, and then clicking on the tool or gear you wish for them to use – When they have time, they should travel to the stockpile and retrieve their equipment. For the rest of the first day, your people can spend their time constructing their first houses and gathering local resources.
You should also be finishing your first Research after the first day, which means it’s time to pick a second; Wood-Work and Stone-Work are good picks depending on what resources are available, allowing you to expand on your initial structures. The Ardyn also have access to the unique racial research Astralarium II, which allows you to use their unique resources, Nyctium and Astralite, for a variety of items including structures, storage, and even powerful early-game armour. As we settled in a Taiga biome, and have 4 Ardyn to fight for us, we will be starting with Wood-Work, followed by Astralarium II once that completes. Alternatively, if you’d prefer to rush into metal, Stone-Works allows you to construct Stone Anvils and Furnaces.
With Hunting I now complete, we should set up some Wood Cages with a Hunting Grounds room over them (Remember, room tiles don’t need to be touching.) In the Production options for your Hunting Grounds, tick “Seize Entity” – this will allow any settler with the “Animals” skill enabled to capture whatever finds its way into a cage. Local animals should, eventually, wander into a nearby cage, so spread a few Wood Cages around the map and give them some time to work.
Once your Astralarium II research finishes, it’s time to build an Immolation Rostrum in an Astralarium room. If you have secured any Nyctium by this point, use it to make some Nyctium Armour for your settlers; with only 8 Nyctium, you can make a set of Nyctium Helmets and Nyctium Leggings for each of your Ardyn. Nyctium Armour provides a decent +4 Armour boost per piece, and is unique in providing +1 Move Speed – an ambient improvement that will boost your entire settlement.
Approaching Day 5, your Ardyn will begin suffering from Senectia – make sure you keep an eye on them and keep them close to home, as they will automatically Life Leech from your livestock. If you haven’t already, this will often be the time you receive your first Remains from which to create Nyctoids – though if no livestock die, you’ll soon have some Remains anyway…

Bandits will begin showing up around this time. Your first raid should be small, no more than a couple humans with minimal arms and armour. As Ardyn are strong fighters, you should weather this battle fine; however, ensure the bandits do not kill any of your livestock. They may approach your livestock first, or otherwise your livestock may take it upon themselves to attack; in both cases, you can directly command the livestock away, and attack the Bandits with your Settlers.
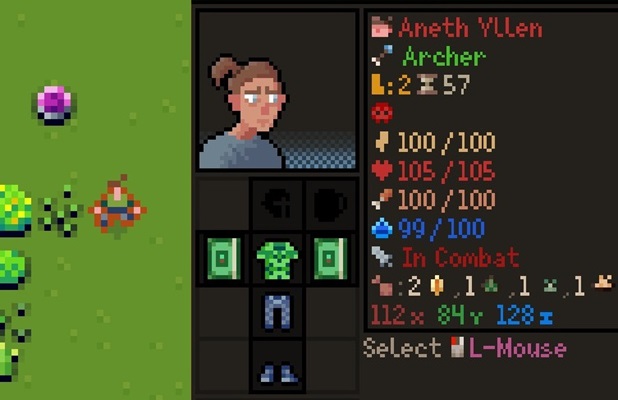
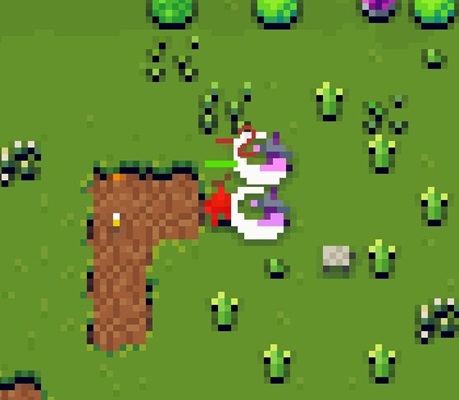
Once defeated, the Bandits should leave behind some items – potentially weapons and armour – as well as their Remains. These Remains should go into your Hortichron to immediately begin producing more Nyctium. After roughly two more days, you’ll have enough Nyctium to finish a full set of Nyctium Armour for your Ardyn.
You should also finish your second batch of research around this time, which means it’s time to start making more long-term decisions. It may be worth it to research Wood or Stone Weapons and Armour if you’re anticipating more challenging raids, or Library to speed up all future research projects with books.
Expanding
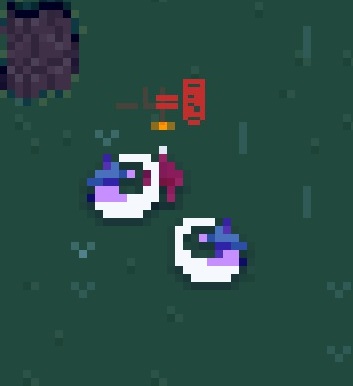
As the sacrifice takes place, prepare the next two steps; in your Astralarium, place a production order for an Astrasome, and place two orders for Chronoblasts in a Hortichron. It is good practice to have separate Hortichrons for your Nyctoids and Chronoblasts, so create a second room for this.

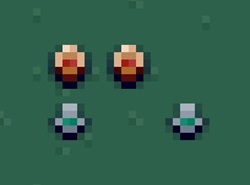
Congratulations, you have proliferated your species! After two days, these Chronoblasts will grow into fully-grown Ardyn, ready to begin the cycle anew. With each new batch of Ardyn born, be sure to keep those with the best skills, leaving the rest for sacrifice. However, don’t worry about sacrificing these Ardyn until you have enough Livestock to support more – they can provide decent soldiers in the meantime, and battle may take their life honourably well before you decide to take it yourself.
Beyond this stage, the world is your oyster. Continue capturing livestock, research into Prisons and capture Bandits in cages, research Trade to kickstart your economy, grow your settlement, and dominate all those who stand against you. The world exists to feed your unnatural appetites!
Addendum
If you have any questions, please comment below, and thank you for reading our guide!
Thanks to IronSquid501 for their excellent guide; all credit belongs to their effort. If this guide helps you, please support and rate it here. Enjoy the game.
