For Mount & Blade II: Bannerlord players who want to create a server, this guide will explain how To setup a Dedicated Server
Pre-Requirements
Enable Tools within your Steam Library. Mount & Blade II: Dedicated Server should appear on your list. Download and install it.
Anonymous hosting is not supported. You will have to create a server token by going in-game first.
- Launch Mount & Blade II: Bannerlord Multiplayer and log into the game lobby:
- Open the game console by pressing ALT + tilde key (~)
- Type customserver.gettoken in the textbox and press enter:
Your token has been generated and saved under your Documents\Mount & Blade II Bannerlord\Tokens folder
Create a missing Folder in *:\Steam\steamapps\common\Mount & Blade II Dedicated Server\Modules\Native\MultiplayerForcedAvatars
For Private DS
Configure your Router on the Portforwarding Menu
Set UDP & TCP to 7210
Server Provider
No need for Portforwarding
Set Firewall exception for In-Outgoing Data for Mount & Blade II: Bannerlord Dedicated Server
Mostly Add Program to exceptionlist, check your Firewall Programm how to
Files: Files needed[drive.google.com]
File Configuration
Download those Files on your PC: Dedicated Server Files[drive.google.com]
- tdm_config.txt – Server Configuration Files
- start.bat – Starting Server Batch
Extract it to the place you wish.
Move the extrated File tdm_config.txt to the Folder *:\Steam\steamapps\common\Mount & Blade II Dedicated Server\Modules\Native
- AdminPassword is not set per default, it causes Startup issues with the server.
- You can set it up in the WEBUI & or Server Console, the initial AdminPasswort is blank.
[/i]
- Start_game_and_mission can break when paired with enable_automated_battle_switching
[/list]
Support The host of GK Server
Batchfile Setup
- Copy The Extracted File start.bat to the *:\Steam\steamapps\common\Mount & Blade II Dedicated Server\bin\Win64_Shipping_Server
Note: Alternative you can copy paste the content into PowerShell every time you want to start the server. Create a Shortcut to your desktop of the File. - If you dont want Web UI, you have to delete the line
.\DedicatedCustomServer.Starter.exe /dedicatedcustomserverconfigfile tdm_config.txt _MODULES_*Native*Multiplayer*DedicatedCustomServerHelper*_MODULES_
and block Port 7210
If you are running a Dedicated server with out the Maingame Mount & Blade II, you need to set the Token (from file, generated by Console command customserver.gettoken)
Before the _MODULES_ section in start.bat
Example:
.\DedicatedCustomServer.Starter.exe /dedicatedcustomserverconfigfile tdm_config.txt [TOKEN] _MODULES_*Native*Multiplayer*DedicatedCustomServerHelper*_MODULES_
Port can be changed individual by adding
/port <XXXX> to the command line in start.bat
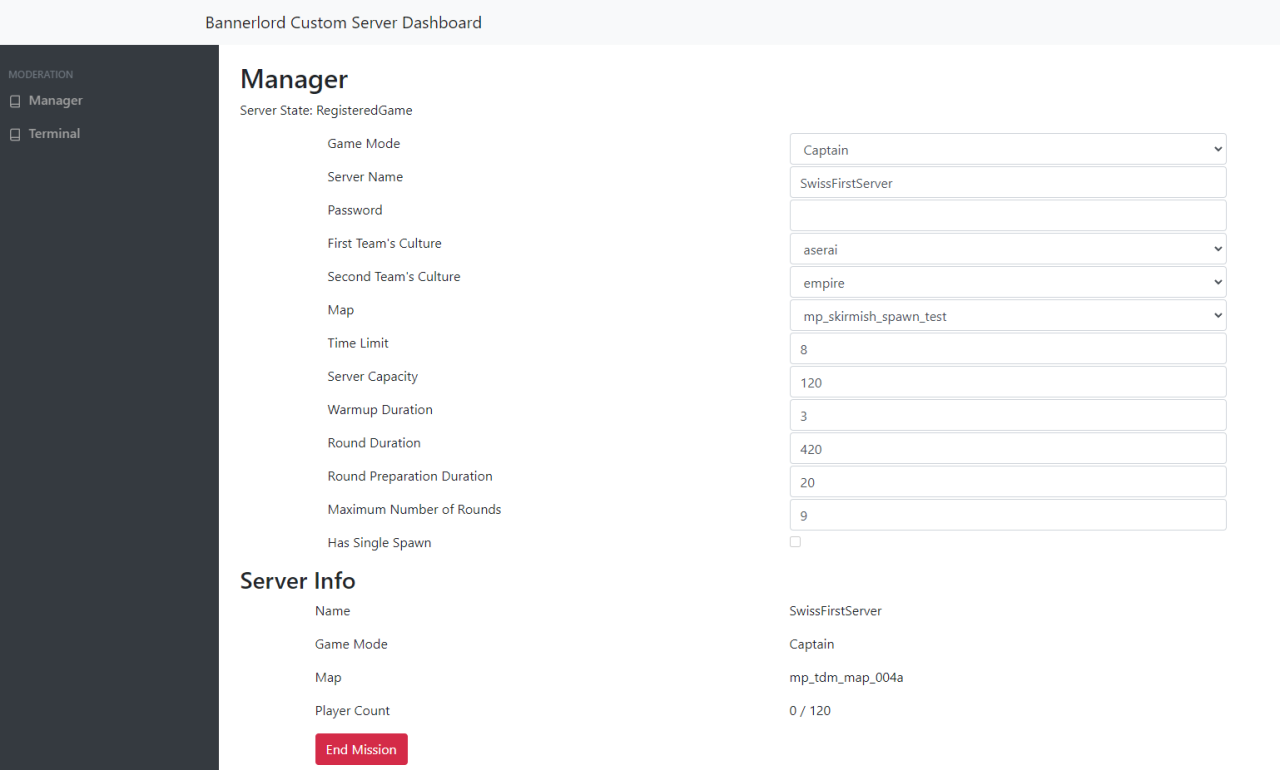
Web UI
- At version 1.0.0.441 The wwwroot folder is already on *:\Steam\steamapps\common\Mount & Blade II Dedicated Server\bin\Win64_Shipping_Server
- If not search for it on the dedicated server folder and copy it to bin\Win64_Shipping_Server
- The UI will not be modifiable if there is a mission running, but even then it does not actualize properly for the UI to update correctly
- The Terminal page on the Server Console will behave similary
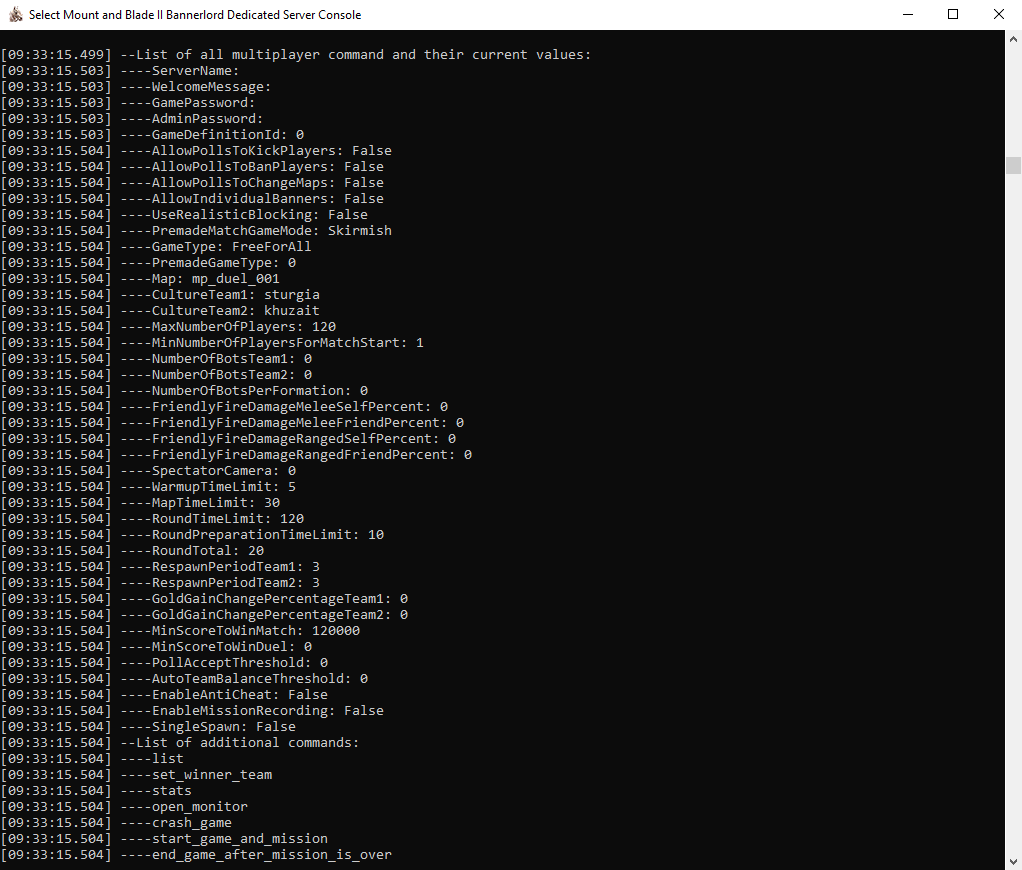
- Type Help for the List of Commands
To access the Web Ui use 192.168.xxx.xxx.xxx:7210 on your browser. You can find your ip adress under networking settings on windows or your router.

Upadate the Server Helper
Go to *:\Steam\steamapps\common\Mount & Blade II Dedicated Server\Modules\DedicatedCustomServerHelper
Edit the SubModule.xml
<?xml version=”1.0″ encoding=”utf-8″?>
<Module>
<Name value=”Dedicated Custom Server Helper” />
<Id value=”DedicatedCustomServerHelper” />
<Version value=”v1.0.0.4407” />
<DefaultModule value=”false” />
<ModuleCategory value=”Multiplayer” />
<Official value=”false” />
Update the Version Value to the Actual game/SH version.
You can find it on Multiplayer window on the launcher under mods.
Change also the Dependent Modules to the actual Version.
<DependedModule Id=”Native” DependentVersion=”v1.0.0.4407″ Optional=”false” />
</DependedModules>
On making this Version is 1.0.0.441 October 2022
Starting the Server
Double click you your shortcut on the Desktop.
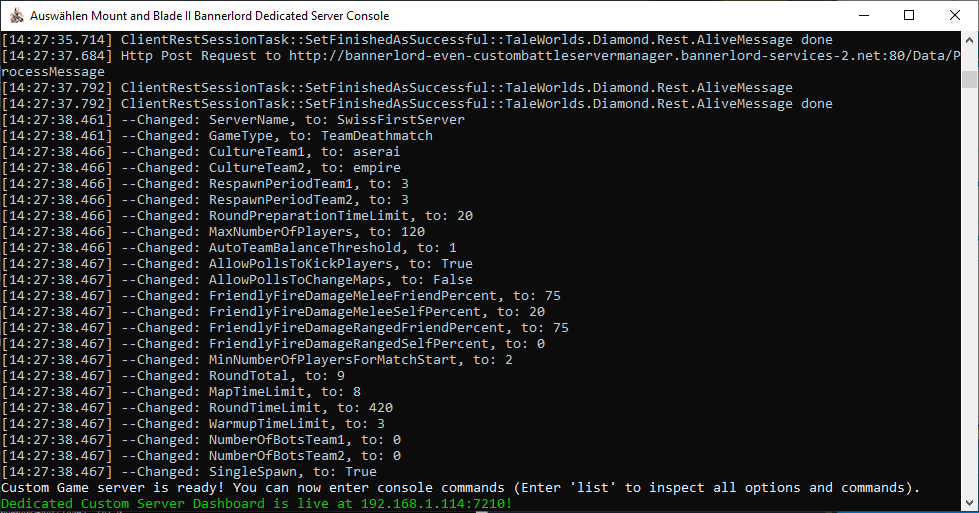
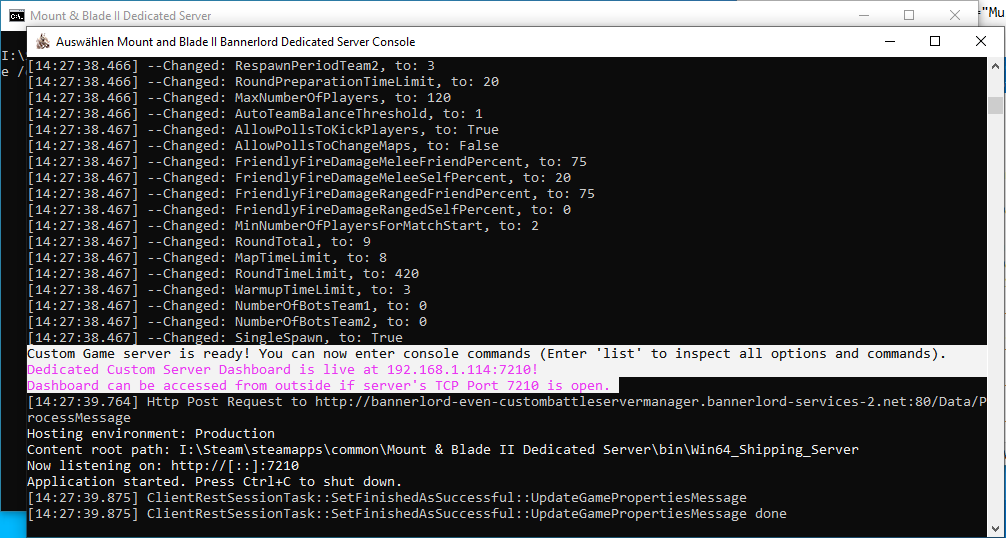
If everything is fine the cmd windows wont shutdown, and you will see a green line confirming your Server is running. Also if the Web UI is activate if that is running to.


Start the Game and choose Multiplayer on the launcher. Make sure your Standart Mods are activated.
Setup a MP Game
- Start the server
- Go to the Web UI or server Console
- Select the settings for your game
- Start the game
When stoping a Game the Server will shutdown completly. So changing game needs a forced shutdown then a softrestart.

- Choose Multiplayer
- Check all Standart mods are on
- Start game
- Go to play
- choose Dedicated server list
- Look for your server
- Join
Sources – Credits
@That Horns Guy
Console Commands

Related Posts:
- Mount & Blade II: Bannerlord – How to Disable Blood
- Mount & Blade II Bannerlord: Khuzait Heavy Lancer Fix
- Mount & Blade II: Bannerlord How to Solve the Brother Marriage Glitch
- Mount & Blade II: Bannerlord – How to FIx Game Crashes
- Mount & Blade II Bannerlord: How to Activate Cheats
