

This guide covers the fastest bolt farming loop in the game, built around the Money equipment set and a respawning enemy cluster in World 4. It includes the exact locations of all three set pieces, the upgrade order, and the suicide-respawn trick that resets the room indefinitely.
I put this together because bolt costs spike hard in the late game and most players hit the upgrade shop completely broke. The setup requires a fair bit of legwork across three worlds, but once the loop is running it pays back the initial investment in a handful of runs.
Prerequisites and Setup Costs
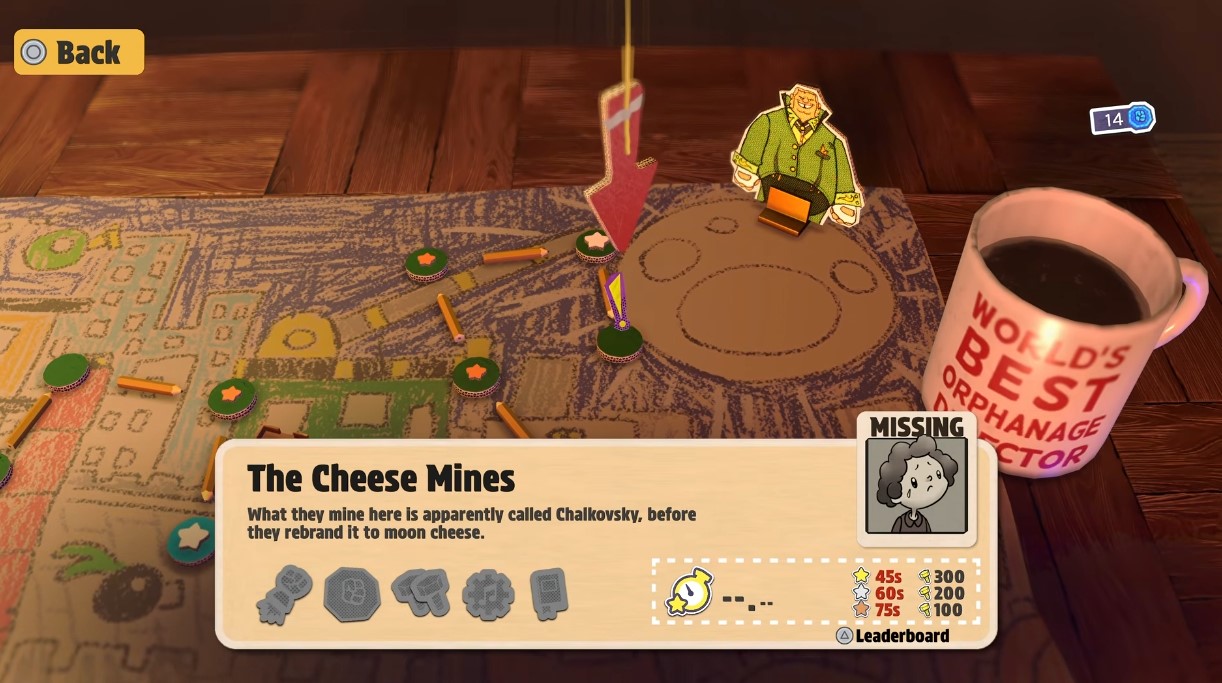
This farm does not open up until you are close to the end of World 4. If you want to know whether you are far enough without spoiling much: you need to have unlocked the level called The Cheese Mines. Not there yet? Keep playing — the method will still be waiting for you.
Once The Cheese Mines is available, you need three specific pieces of gear before any of this works. All three belong to the same equipment set, so they must be worn together for the bonus to trigger.
| Item | Location | How to Reach It | Editor Rating |
|---|---|---|---|
| Pocket O’ Money | World 2 — Timberfall Factory | After the second checkpoint, ignore the one-way doors tempting you upward. Instead head right, work through the spiky passageways, and ride the vertical conveyors up to reach it. | Essential |
| Hat O’ Money | World 3 — Ava’s Factory | Sitting on top of the Cat Food boat. | Essential |
| Fistful O’ Money | World 4 — The Cheese Mines | Next to a Zip Bolt past the first checkpoint, in the room immediately after a chamber packed with breakable rocks. | Essential |
On top of the gear itself, budget 10,997 bolts for upgrades. Every single one of those bolts should go into fully upgrading Fistful O’ Money. Its special ability scales with each upgrade level, so the payout grows with the investment — this thing repays its own cost alarmingly fast.
Editor Warning: Do not skip the Fistful O’ Money upgrade. Running the loop with an un-upgraded fist still works, but your bolts-per-minute drops hard enough that the setup grind stops being worth it.
The Grinding Loop
Equip all three Money pieces at once, then travel to The Scraplands in World 4. Your job here is simple: destroy every Cuboid you lay eyes on.
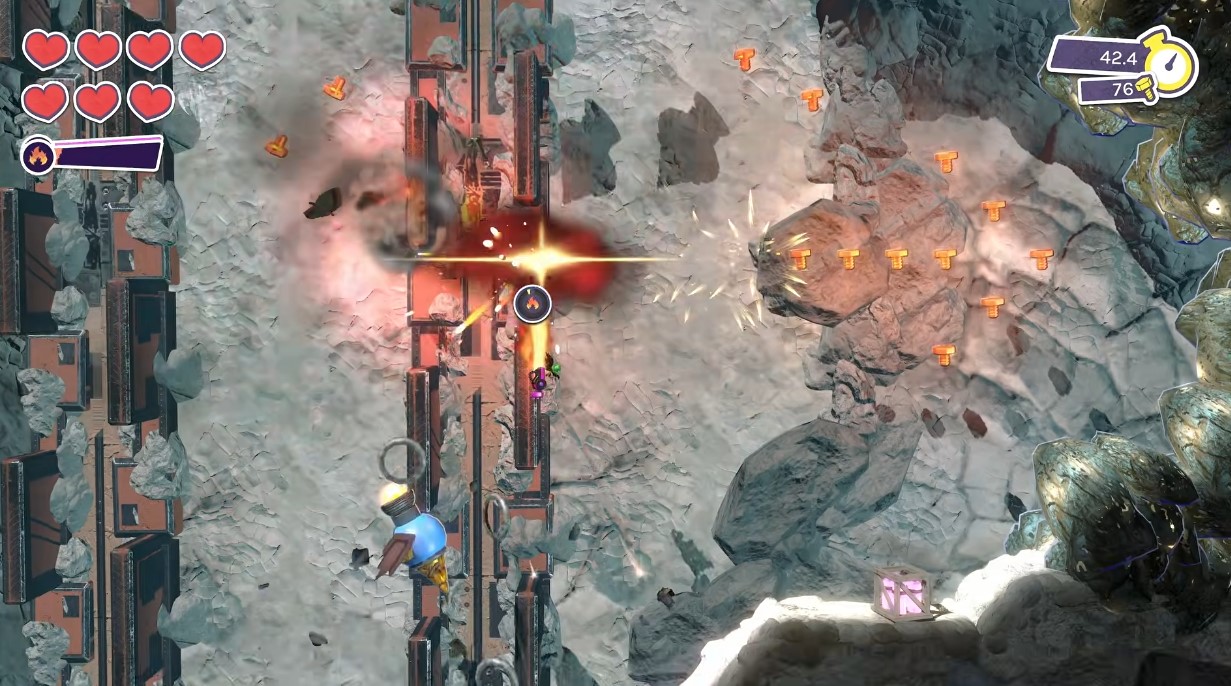
The richest cluster sits in the final area beyond the second checkpoint, a room that is absolutely stuffed with Cuboids. Fire up your Nitro and plow straight through the densest group you can find — the bolts start raining immediately.
There is one hard rule that decides whether any of this pays out:
- Eligible kills: Punching, Jetting, or hitting Cuboids with Nitro — your own fist and movement abilities.
- Wasted kills: Hazards, spiky balls, or weapons fired by other Cuboids — these destroy enemies without granting a single bolt.
A clean sweep of that final room routinely clears 10,000+ bolts in one pass.
Resetting the Room Without Leaving the Level
Once the room is empty, drain your health on one of the gear hazards in the area. You respawn at the checkpoint, and every Cuboid respawns along with you. Repeat as many times as you want.
Editor Warning: When you are finished farming, you must finish the level by triggering the exit. Walking away, quitting out, or dying without triggering it forfeits every bolt you earned inside the level — the total is only banked on completion.
Conclusion
The whole routine hinges on one habit: only kill with your own abilities, and always trigger the exit before you stop. Get those two things right and the bolt economy stops being a problem for the rest of your playthrough.