For Hardspace: Shipbreaker players, this is a comprehensive guide to breaking apart and salvaging all ship types present in the game, let’s check it out.
Main concepts
Without wasting time, let’s get into the main concepts in the art of shipbreaking.
First and most impotant objective for you as a salvager is to stay alive.
When you see a pipe leaking fuel or coolant, a reactor going critical, a power supply throwing lighting around or just a metal panel spinning wildly in your direction – find a way out and put some distance between you and the source of danger. Death means wasted money (resurrection fee), wasted time (resurrection and time for positioning) and on higher difficulties it means loss of life.
Second objective is to salvage as much stuff as you can.
That means:
- Making as little cutting with the splitsaw as possible because it doesn’t just separate things, it removes a fairly reasonable chunk of material which costs money
- Focusing on making cuts,burning things and disassembing in this exact order: Disconnect by grappler – cut points – cut beams – burn connecting beams.
- Preserving objects and materials based on their depositing point:
- Barge
- Processor
- Furnace
- And last – salvage even damaged things, if a panel, computer, sensor tower got damaged too much – it still can be salvaged in the Furnace
We have 3 end destinations for salvage:
- Barge which is at the bottom of the bay which gives us highest amount of money per salvage – to the barge go pretty much all items in the ship: furniture, reactor, engines, nacelles (boosters), computers, switches, cargo – almost everything small and complex
- Processor which is located both on the left and right sides in the front of the bay – this thing salvages the more hefty stuff like the outer shell/casing of the ship, “armor”, structural beams, doors and pipes.
- Furnace which is located on the left and right sides behind the processor – it takes in everything broken (you damaged a computer too much – in the furnace it goes), glass and aluminium panels which make the interior of the ship.
Both of the present ships can be broken into 3 main sections: Bow or nose of the ship – middle section – Stern or the back side.
Grapple
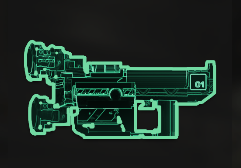 Grapple is our biggest friend, it’s used for both moving yourself and stuff around in space, I’m not going to repeat after the tutorial only mention some important findings:
– Holding onto big stuff and pulling yourself closer is a great way to travel and saved my ♥♥♥ several times, it’s basically your last resort to pull yourself out of furnace or processor as their gravitational pull is too strong to escape using only your jetpack
– The strength with which you can move things around depends not only how far you try to move it by changing your aim direction but also on how far you are from the object, it’s way easier to manipulate big things from a distance than from up close
– Charged push you unlock later in the game is not as good as it seems, it is only useful for sending the already easily movable objects farther and faster, if you try it on something big chances are you’ll get yourself killed or send yourself flying with little to no effect to the thing you tried to move.
Cutter
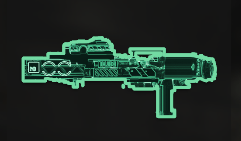 Again, I am only going to say smaller important notes.
– Stinger>>>splitsaw (I swear I’ll make a chad stinger vs virgin splitsaw meme and put it here) Stinger is way more precise and it’s way harder to get yourself blown up or frozen with it. It doesn’t push you around as the splitsaw does. It preserves more material due to how it evaporates things completely thus freeing the surrounding objects (you’ll see what I mean in breaking the cockpit of the Mackerel and breaking apart inner sections of Gecko). Only things splitsaw has going for it is how it doesn’t force you to think about overheat and how it can save some time in some rare cases.
Hands!
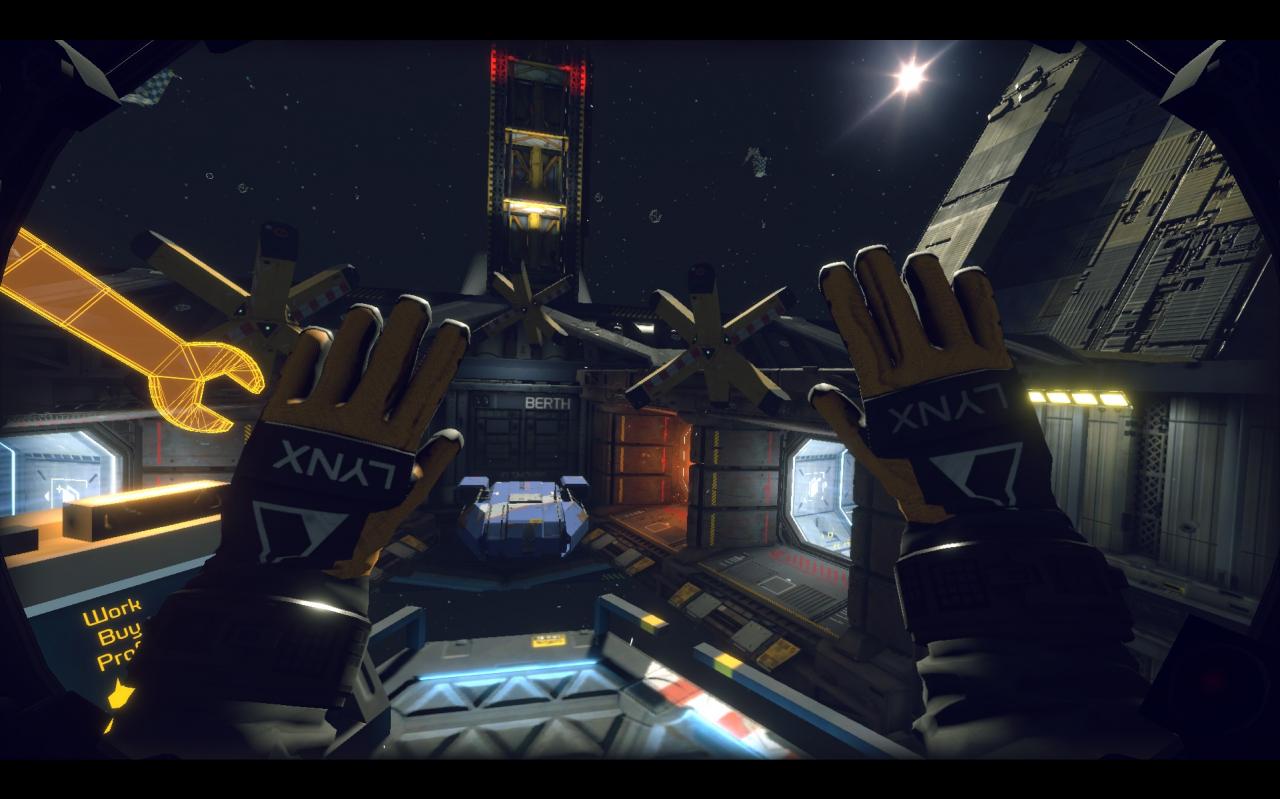 These two appendages most humans have come especially useful in space. And weird thing is our character is very strong for someone who’s apparently a space worker. By holding Z or X you can extend left or right hand respectively and grab onto things, now where is this useful?
- manipulating large objects at a distance more easily while staying in place by holding on to something heavy
- Saving yourself from plunging face first into stuff by grabbing onto something
- Crawling around the ship if you have no fuel in your jetpack (never happened to me but yeah (pls bump up the fuel burn rate))
- Holding onto walls while decompressing parts of the ship to avoid being hit in the face by a cargo pellet and getting thrown across the room
Important to note that you can only hold onto parts of the ship, the jax (the huge yellow thingies floating around) and your habitat. You can’t hold onto parts of the station and pull yourself out of furnace (for now you have to use grapple for that) (pls fix).
And the last thing to note is actually pulling things apart
You already know about using tethers and grapple from the tutorial but you should also think about using your jetpack, it’s actually the second strongest way to move stuff in space (after several tethers of course). So if you don’t know if you’ve cut the thing free or not – just push into it and see if it budges or not.
Now that we’re done with some basics let’s get to dissecting our first ship!
Mackerel – Overview
I am going to cover both types/professions of the Mackerel together because differences between them are very very minor.
Important note – the early mackerels you get won’t get some of the features I will cover, although the overall disassembly process is very similar.
Mackerel is a small nimble ship which functioned as an interstational transport for people or cargo. As such we have 2 types of it – cargo and transport. The difference between them is only in the internals of the cargo bay – transport will have a bunch of seats while cargo will have cargo pellets set up around.
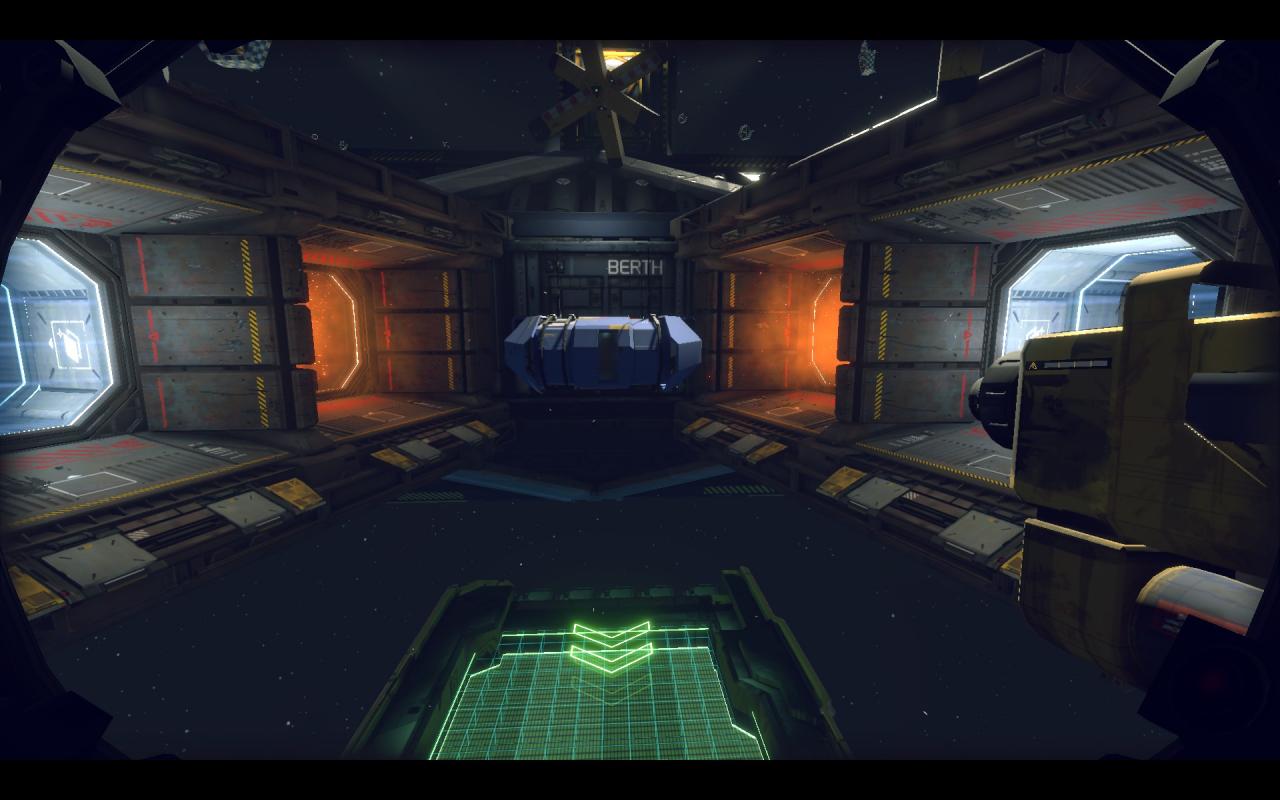
front view of the ship
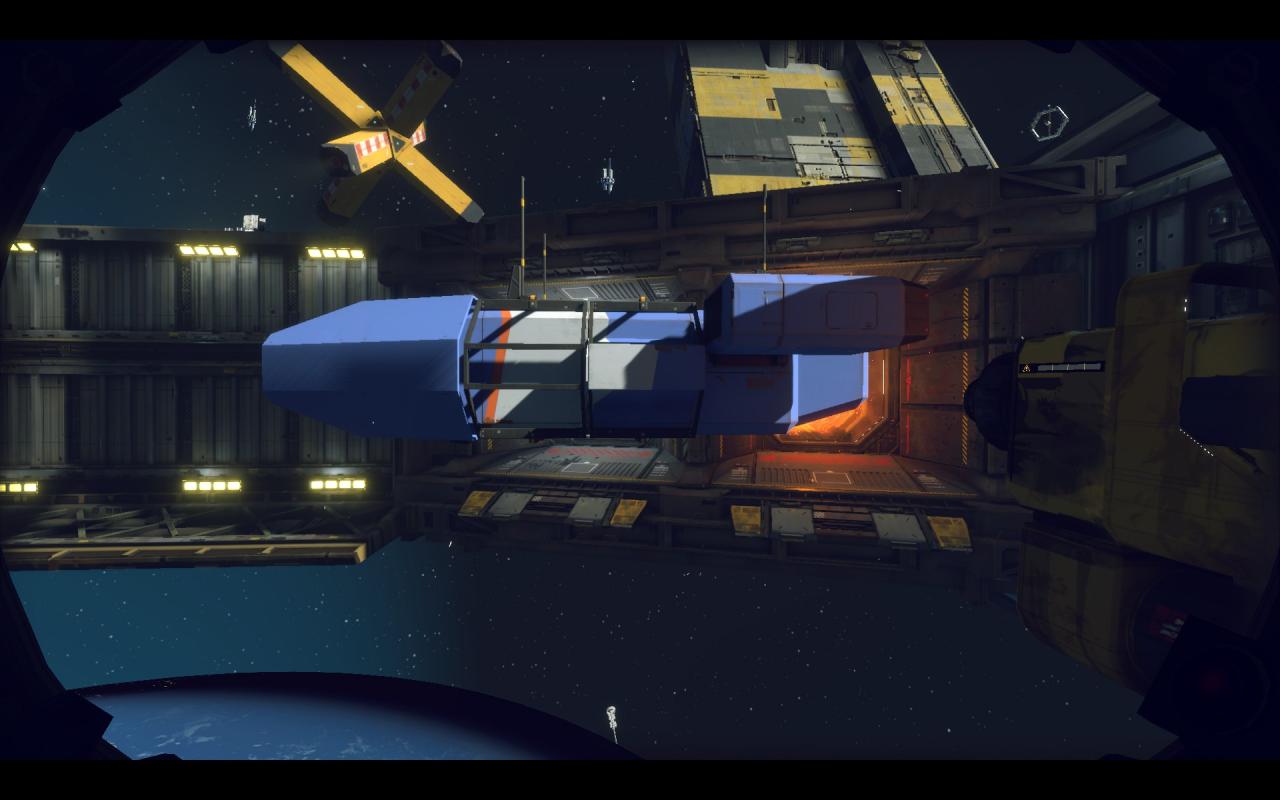
Side view
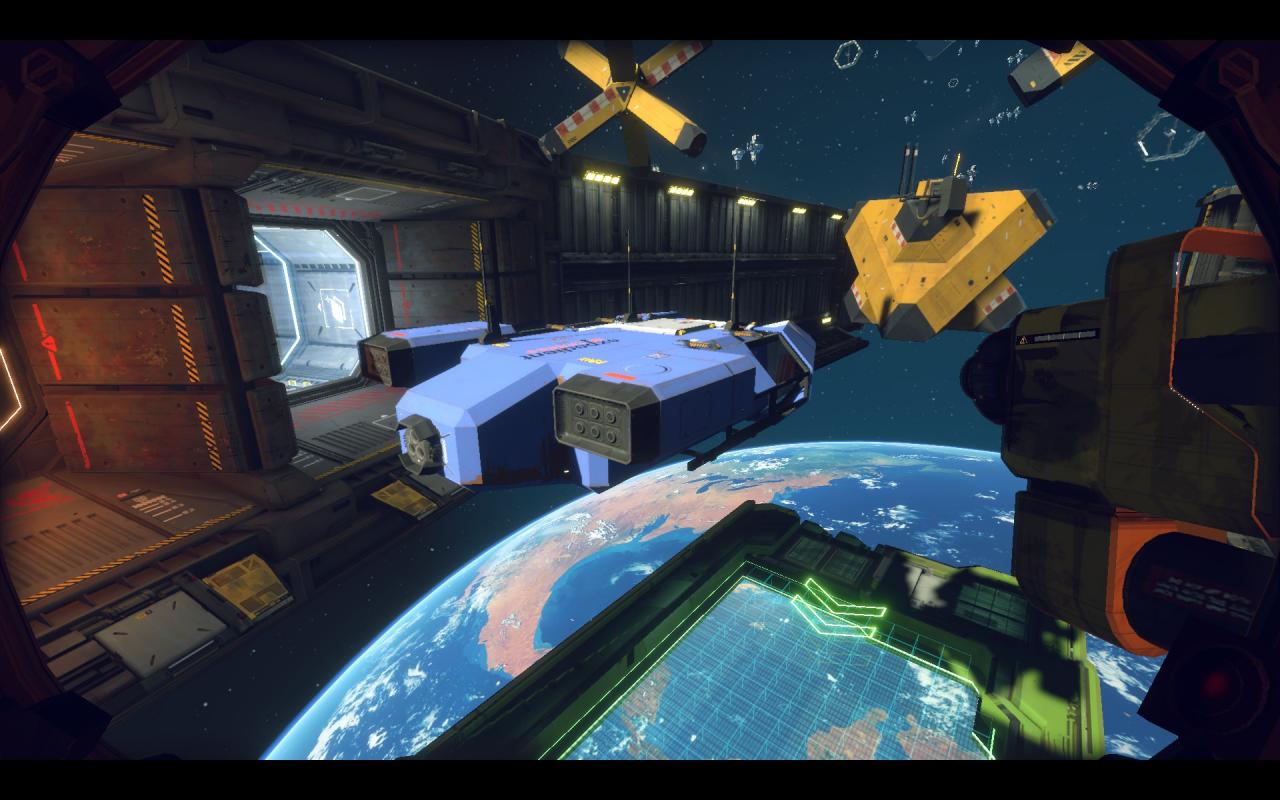
Back view
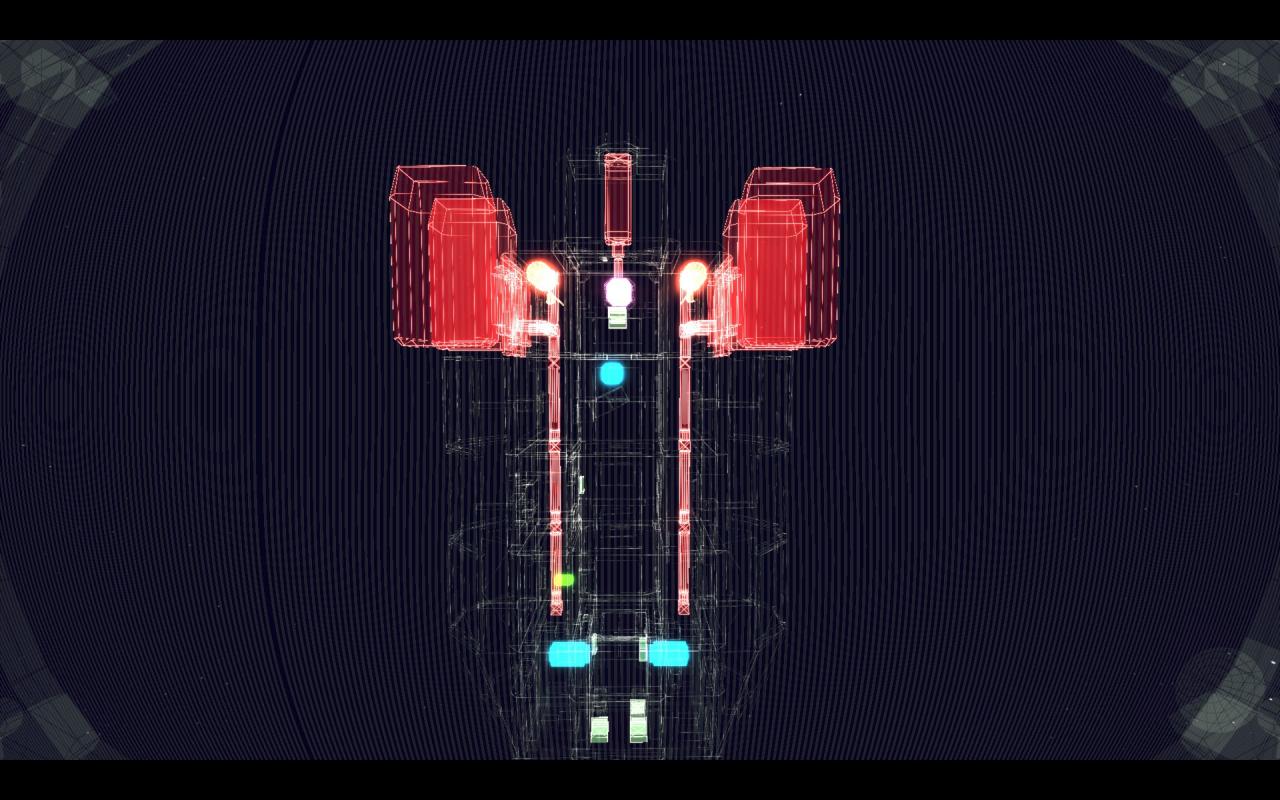
The two blue blips in the bottom are cooling containers. The red lines on the sides are fuel lines (and the reason why I argue against cutting from inside of the mackerel cargo bay into the “shell” of the middle section). Aside from those two it contains a simple engine and a reactor.
Mackerel – Beginning of dissection
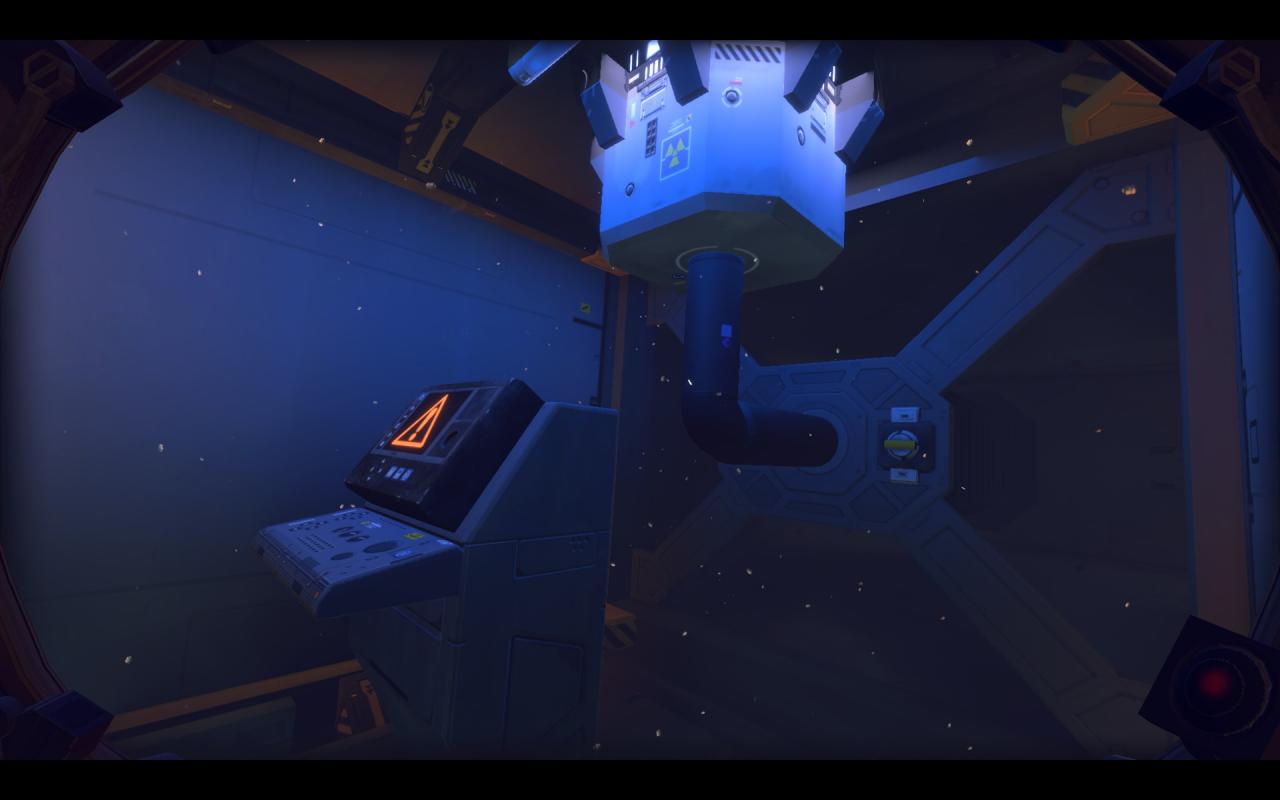
Reactor can be connected by a fuel pipe to the engine and you’d have to flush the fuel before disconnecting the two. Sometimes you’d have to find the keys – an tiny but important with which the object scanner can help. I always suggest trying to flush without finding the keys tho – sometimes our character just has them. If you do still need them – they’re usually floating around in the cockpit, in one of the side “shells” (the portions between the cargo/passenger bay and the outer panels of the ship to the left and right sides of the ship) or just in the cargo bay.
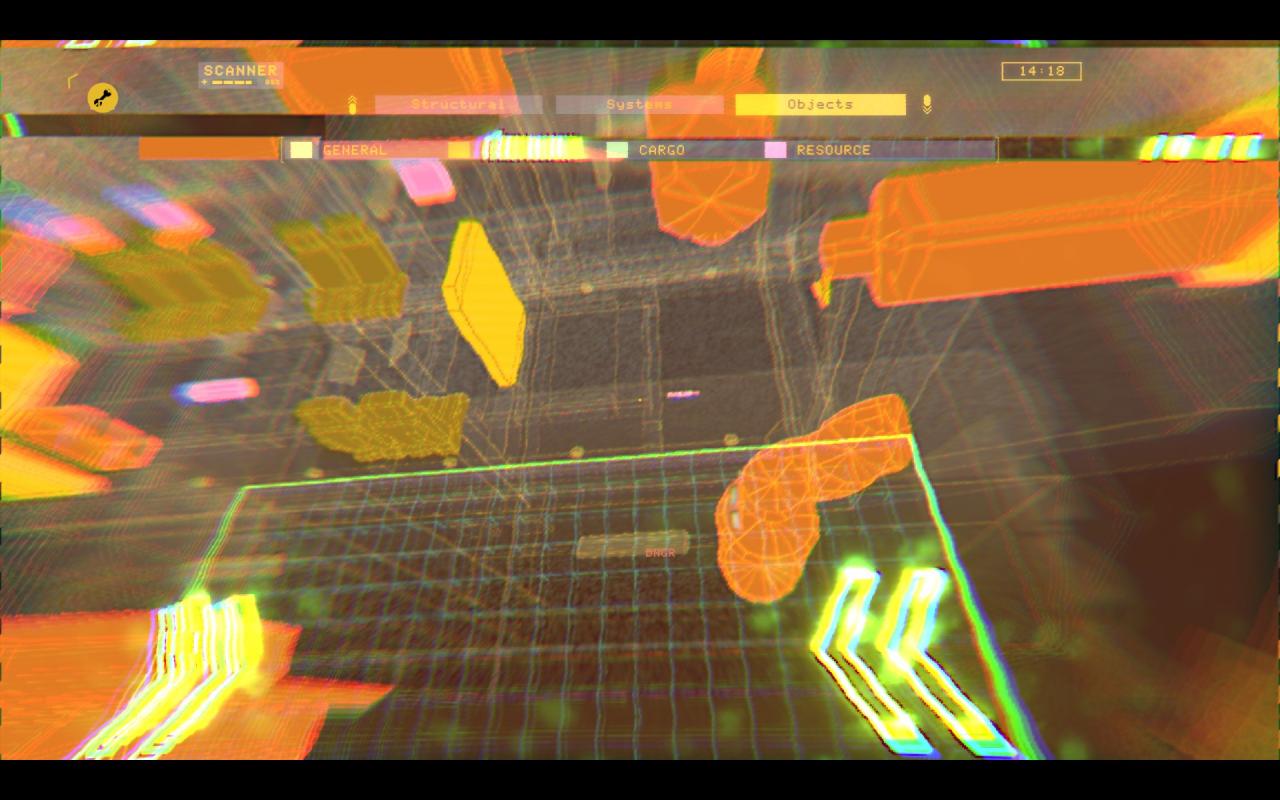
The small pink line in the middle is the keys.
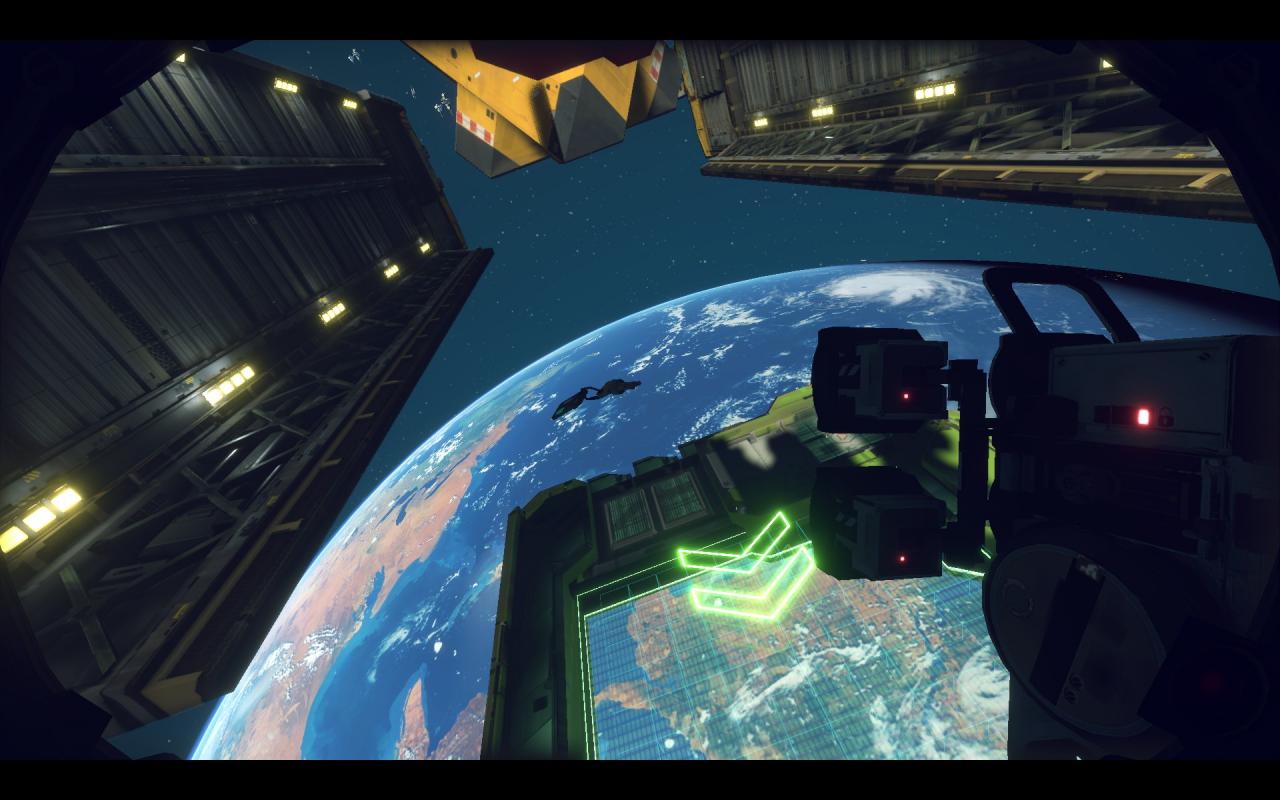
They don’t look so important now but trust me when we get to Gecko they’ll make or break the ship.
My overall suggestion on the order of dissecting a Mackerel is this
- remove everything you can reach from the outside of the ship without getting inside – antennas, the “armor” panels and beams, sometimes you can remove the boosters. Although do not touch the engine panel or the glass in front.
- Enter the ship through the hatch and decompress the ship (you do not need to open the door to the cockpit (it opens automatically) or the door in the cargo bay (due to the hole under it))
- Open the hatch to the space through which you entered – this way you won’t forget about a pressurised airlock if there is one.
- Flush the fuel from the reactor pipe if needed and if you don’t need to get the keys which are in a side compartiment (if you need to – then find them after separating nose of the ship from the rest of the body and only then flush the engine)
- Start cutting almost all the cut points you see. And don’t be lazy – cut them with the stinger, not the splitsaw because the internal walls of the Mackerel are made from aluminium which you can cut accidentially which would at best result in you losing some of the material.
- Do not cut the points in the last section of the ship – the 8 you see in this picture – if you haven’t found the keys yet. Do so only after you’ve found them and disconnected the fuel line
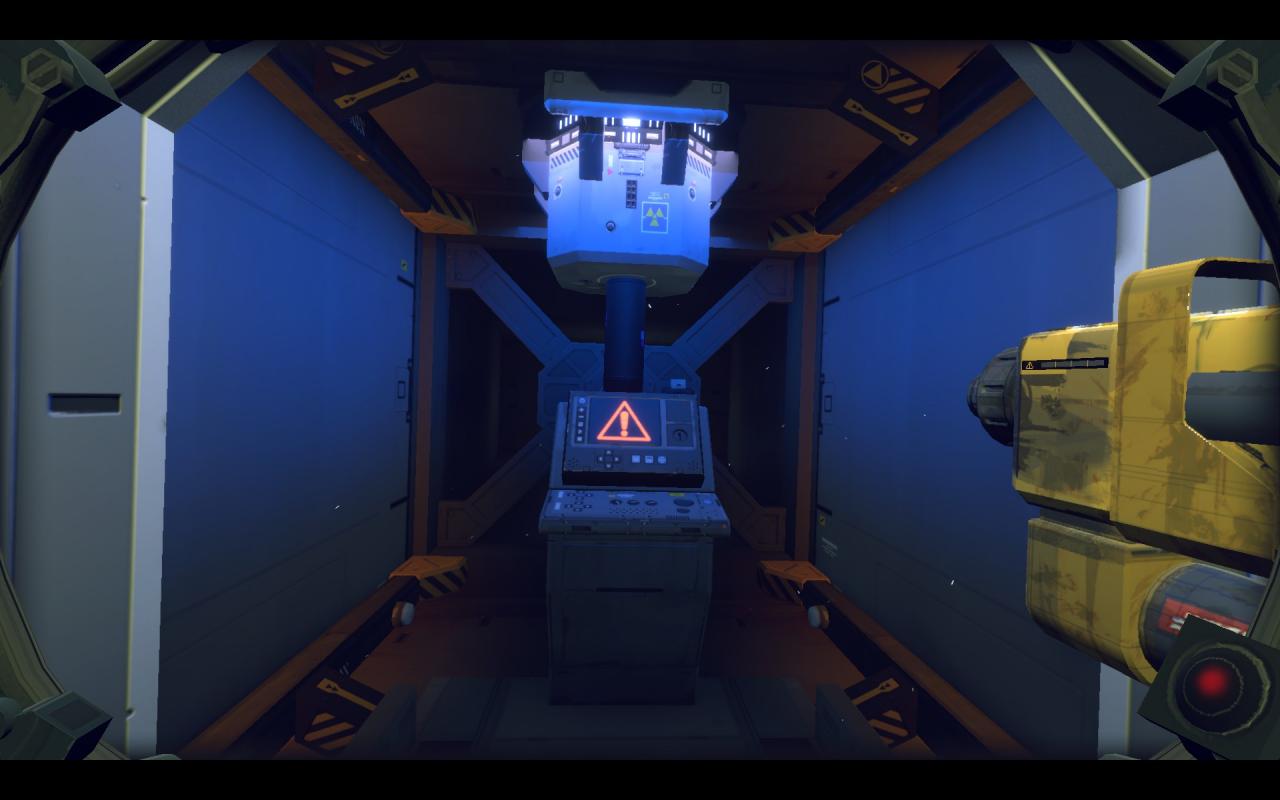
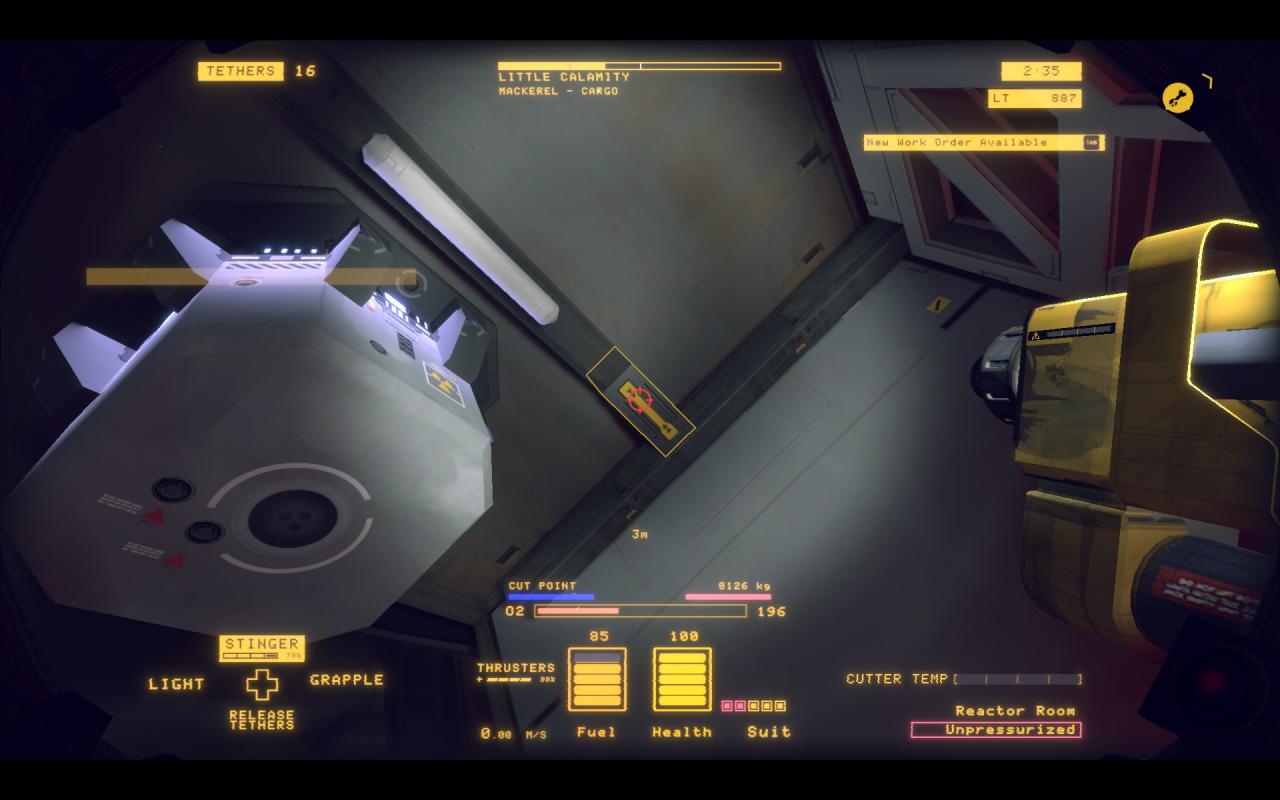
An example of the cut point
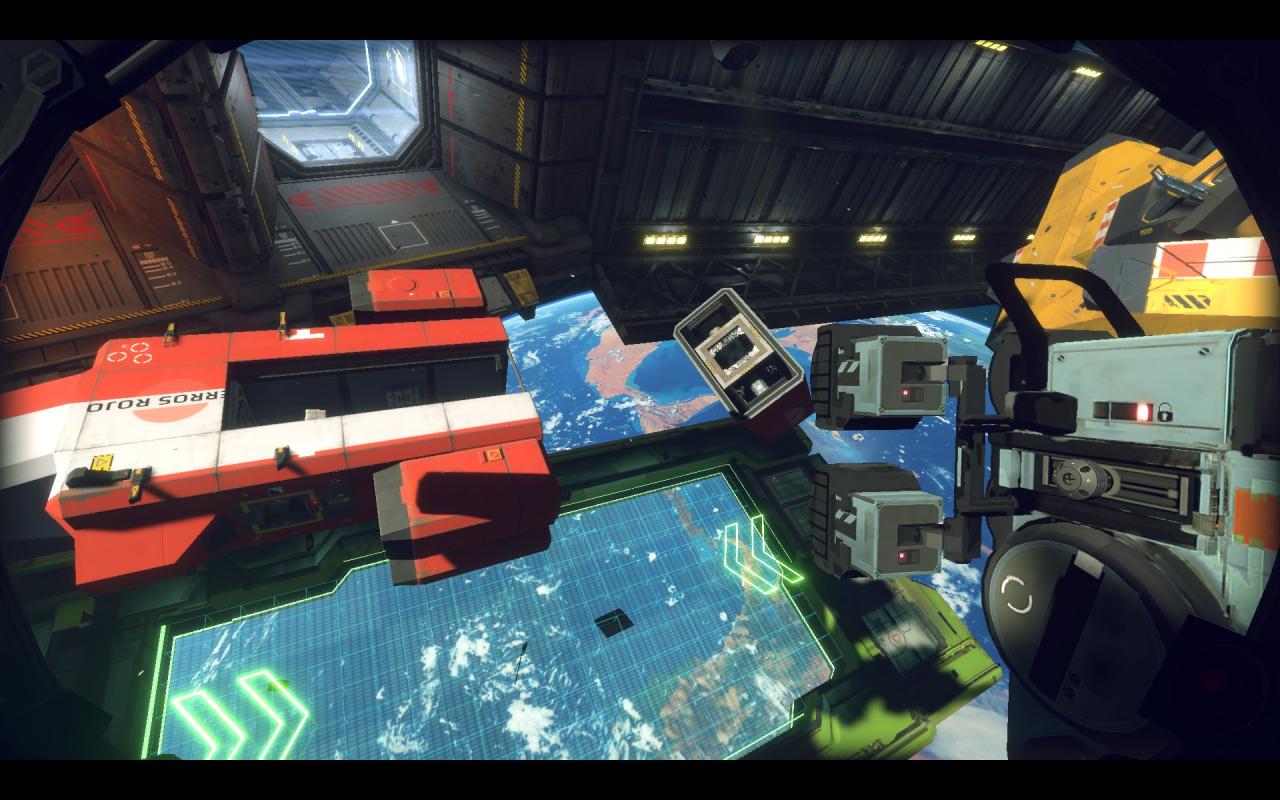
After you’ve done with cutting the internal cut points you’d have at least 2 separate “big” parts (aside from the bunch of small panels you should’ve sent flying to their destination) – the nose and the middle. Sometimes the back side would come free too but it’s not the rule – the fuel containers can hold it in place. Let’s proceed with dissecting each part separately
Mackerel – Front dissection
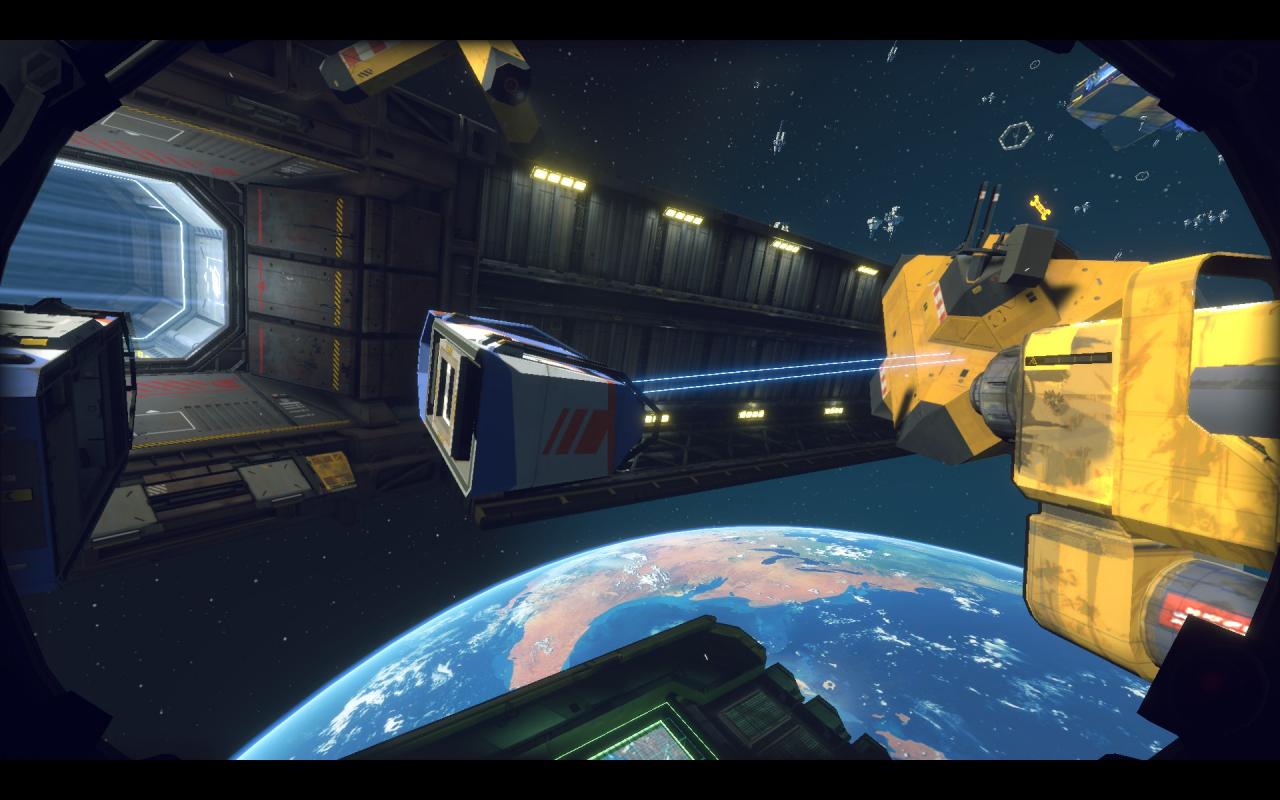 Now that you have your meal cut for you it’s time to lighten it up.
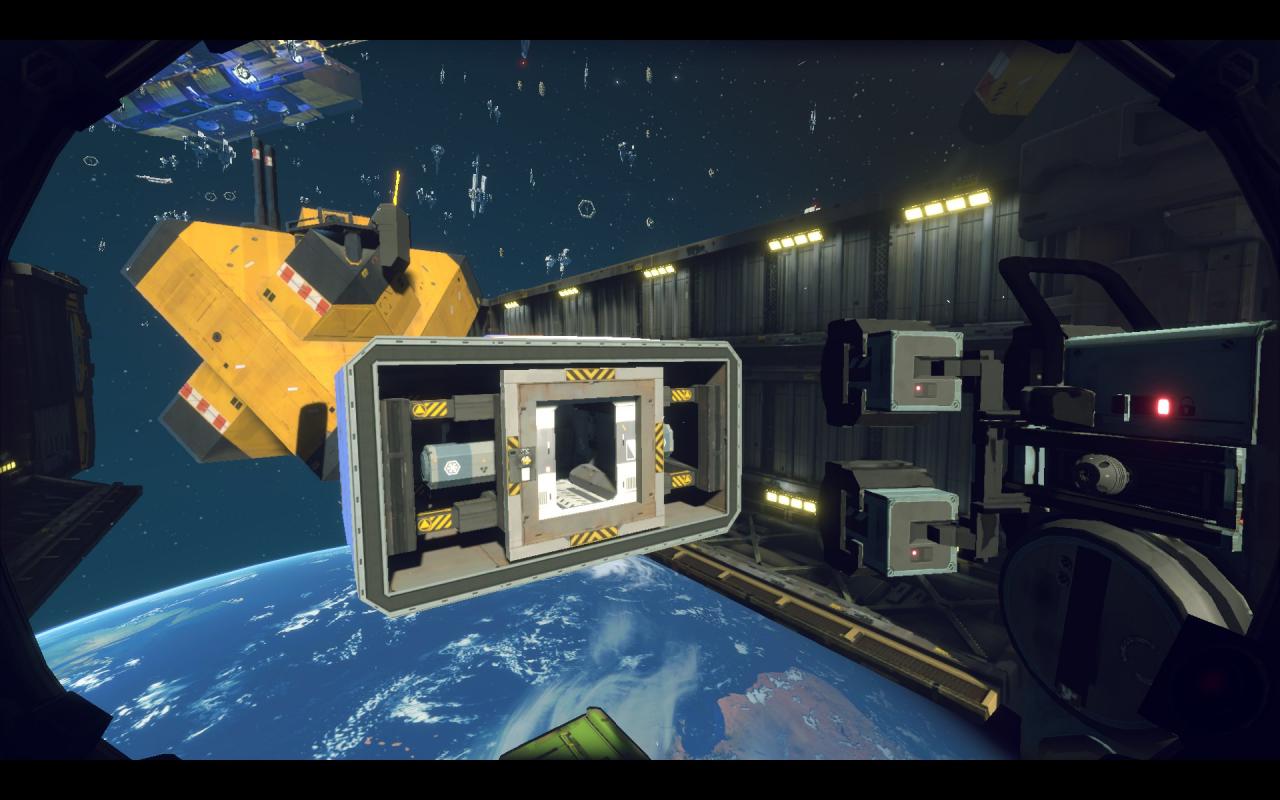
Cut the cut points on the sides (with a stinger due to presence of coolant barrels) and pull the shells to processor.
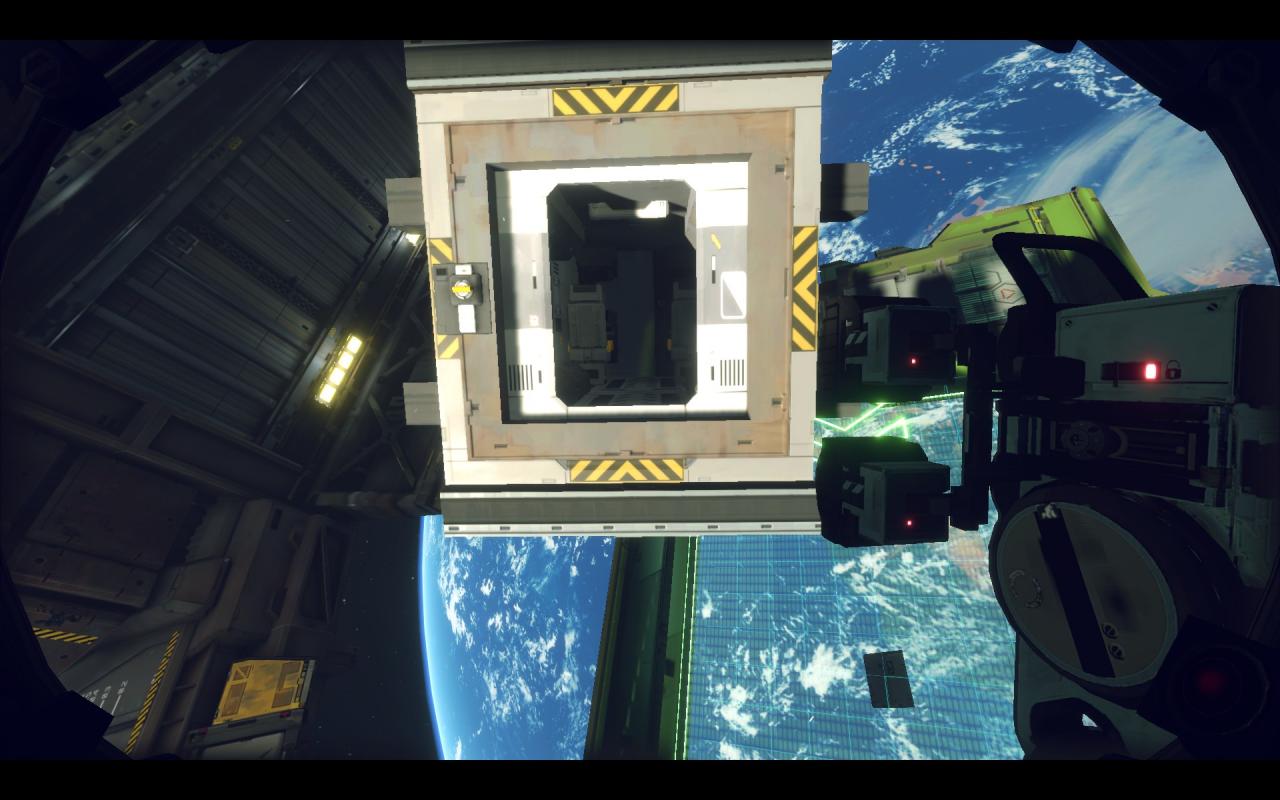
Now we can get to clearing out the cockpit. First incinerate the 4 brown-gray beams you see going around the door. This will partly free the door assembly. To free it completely get into the cockpit and pull away the cargo containers – don’t pull them out just yet, just disconnect them. Once done with that the door part will come free and you can either throw it into furnace or burn the sides of it to free the door and send it into processor.
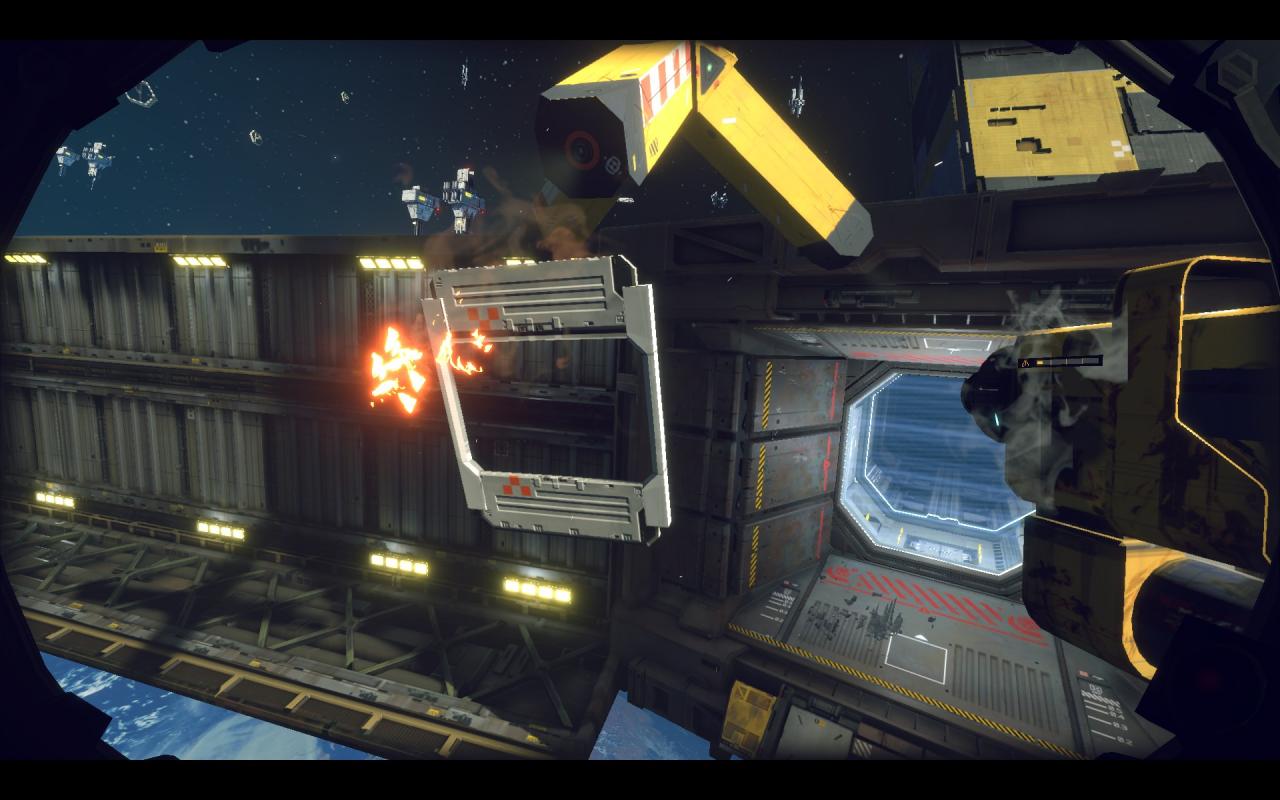
Cutting out the door free and sending it to processor nets you 24k while just sending the whole panel into the furnace nets you a meek 500 dollaridoos. CUT ALL THE DOORS FREE
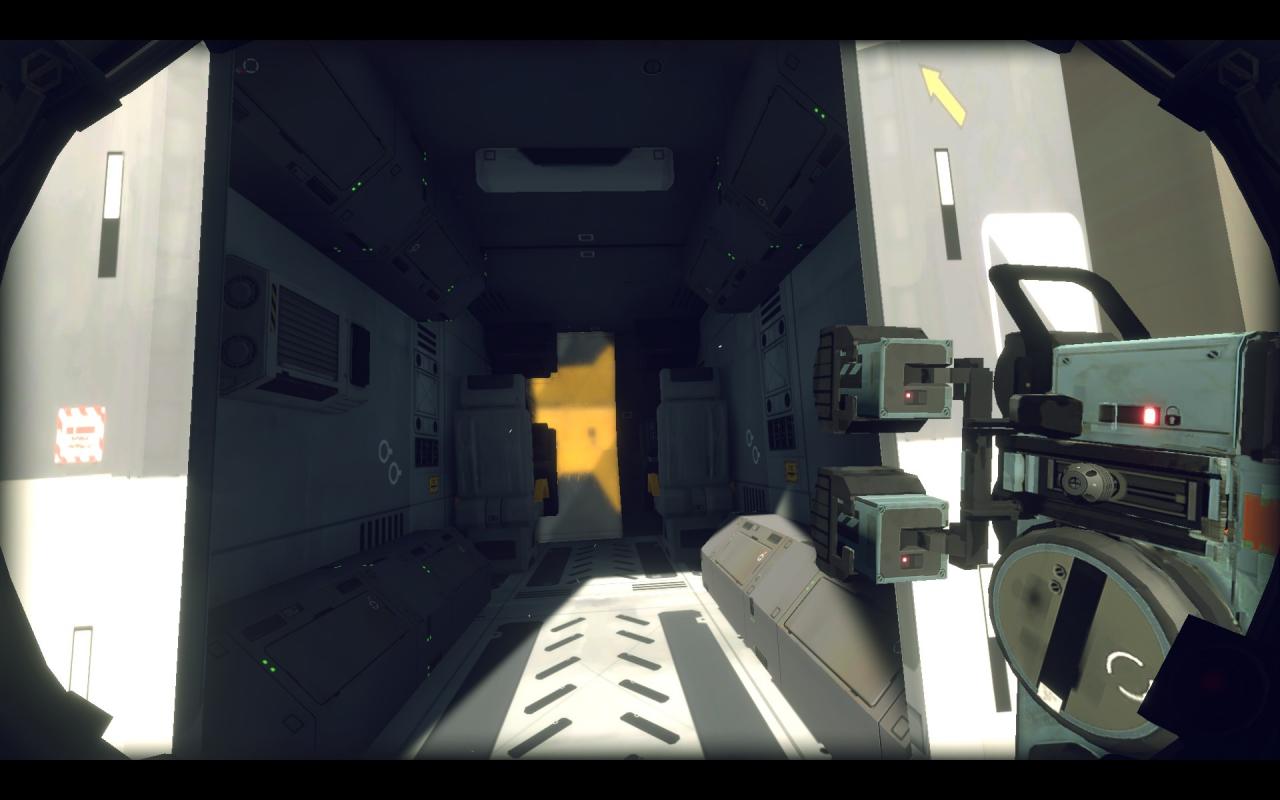
After you’ve cleared out the entrance to the cockpit you can pull everything out of it.
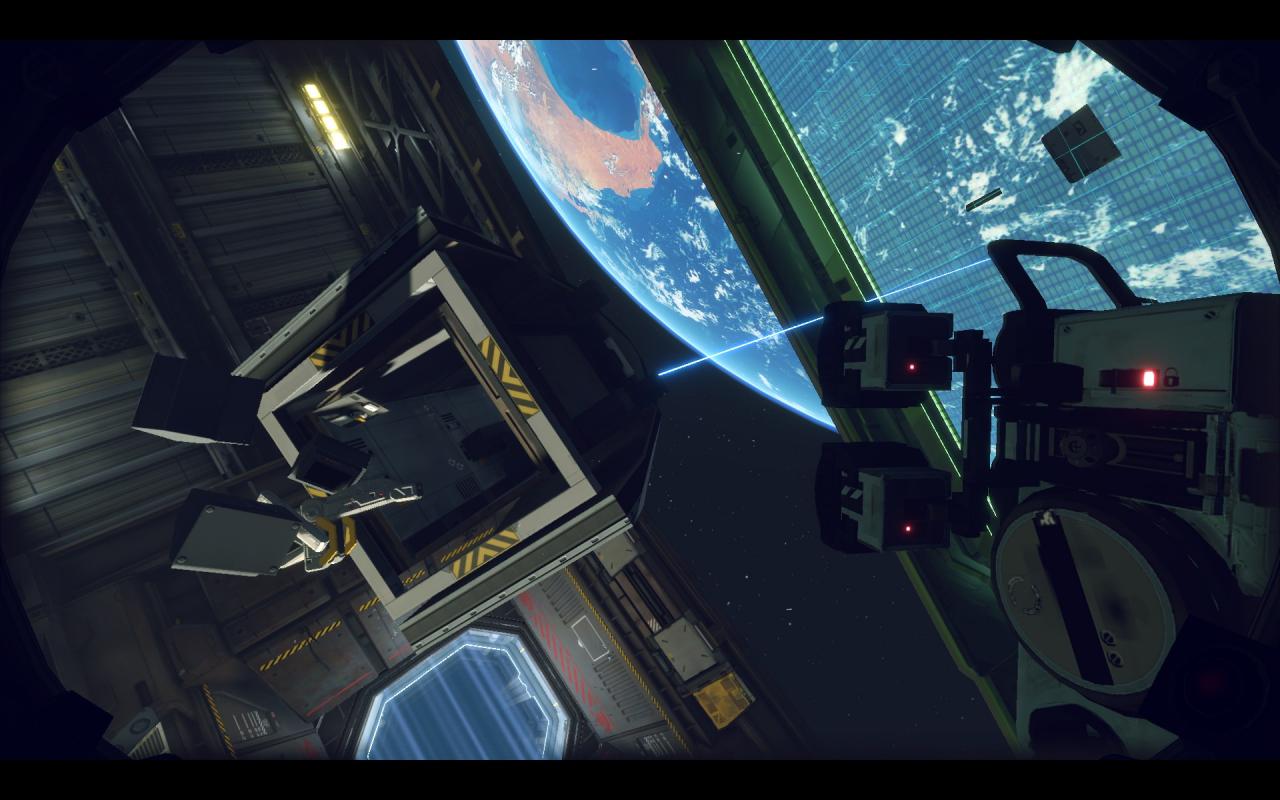
A good trick is disconnecting stuff and then tethering the main assembly away – making it float away and letting you to float above the freely floating stuff and easily send it in the direction of the barge.
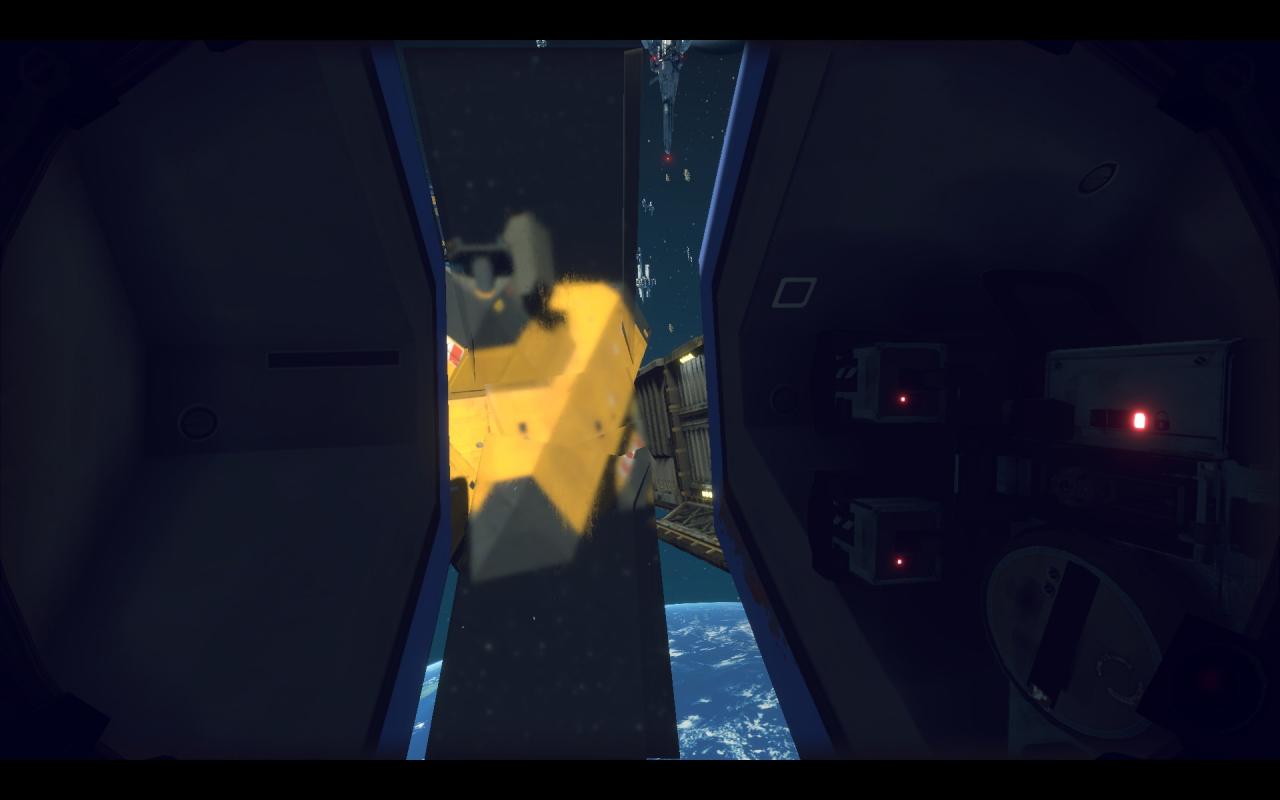
Cut out the glass with the splitsaw. (Trust me – it costs plenty)
 Now to disconnect the aluminium panels from the outer shell.
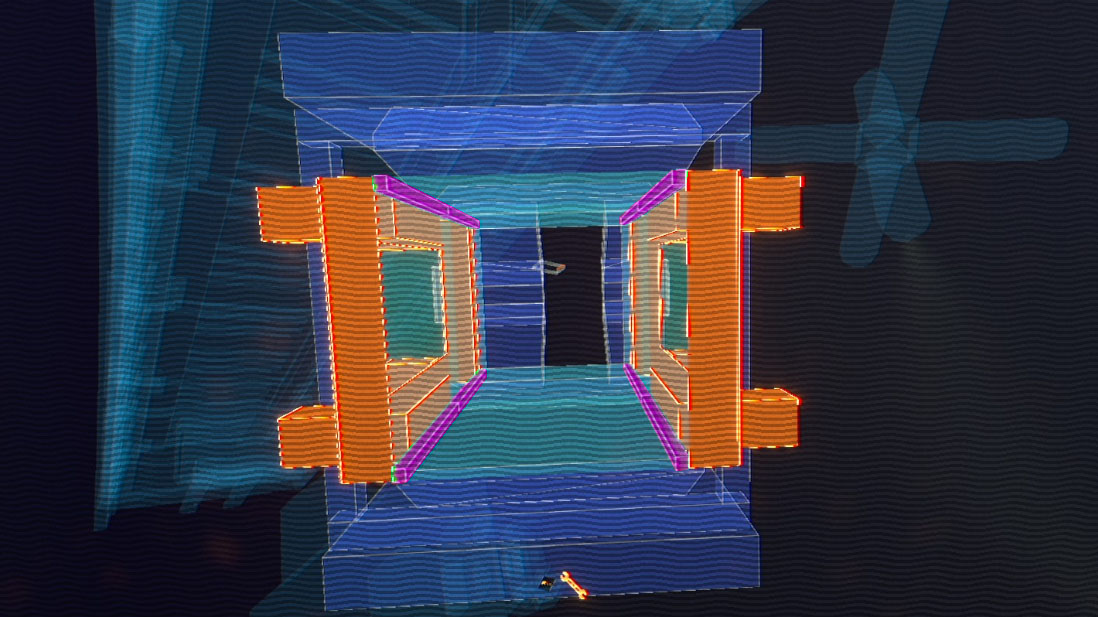 Now look closely – you need to evaporate the 8 beams (highlighted in purple – in game they look cyan) which are connecting the internal aluminium assembly together and hold it to the beams of the outer shell.
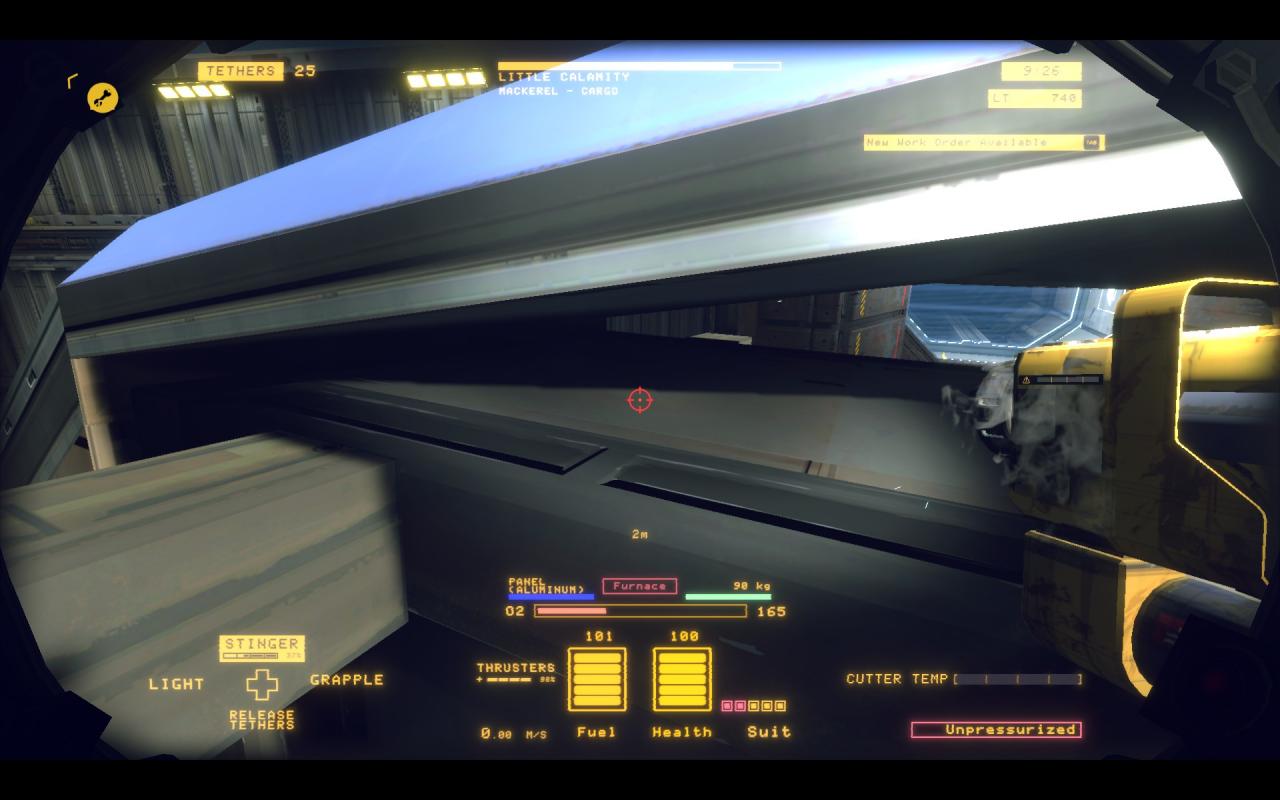
You can access them from outside.
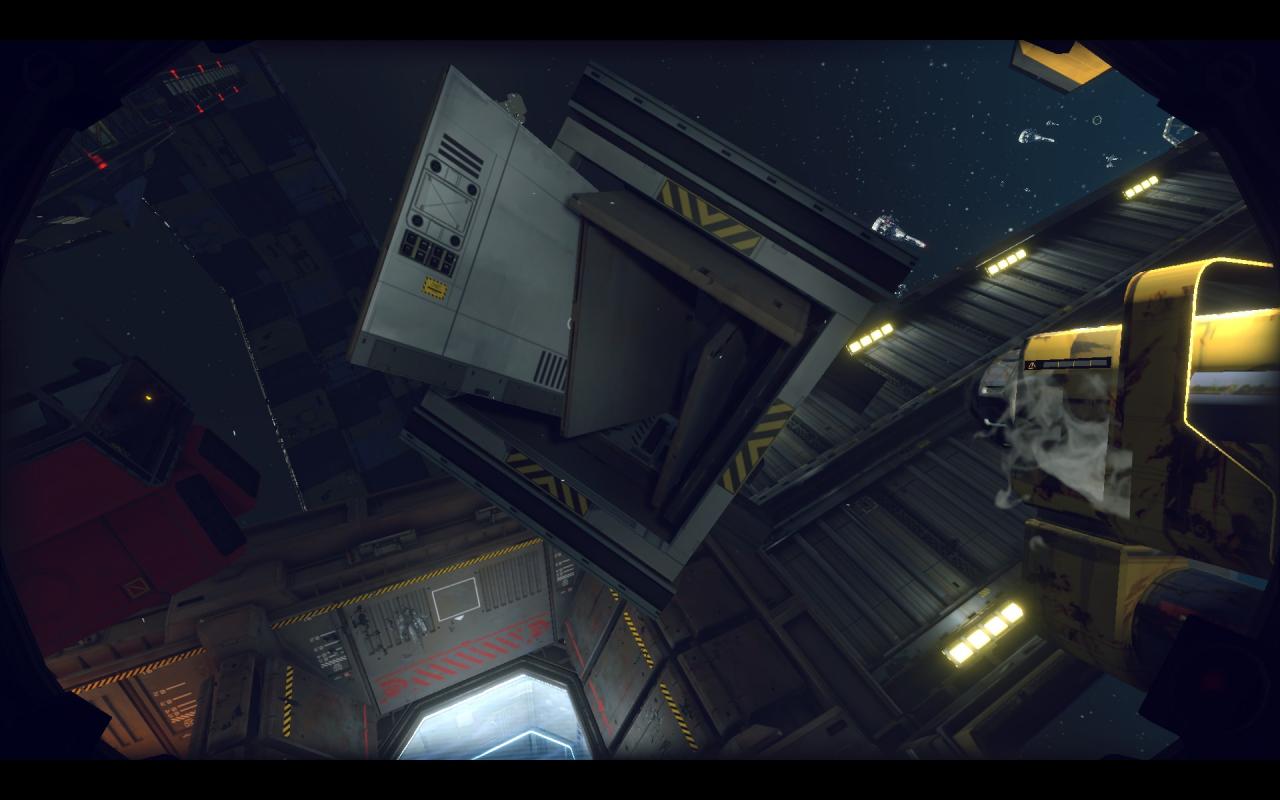
Now you can pull out the aluminium panels and send them into the furnace while sending the leftovers into processor
Mackerel – Middle section dissection
Now to dissecting the middle part of Mackerel
Basically there are 2 parts to mackerel’s middle section :
- The inner one made from aluminium which houses electronics, fuel canisters, cargo pellets, various pickups and reactor
- the outer ones which houses fuel canisters, fuel pipes, power cell and holds up boosters
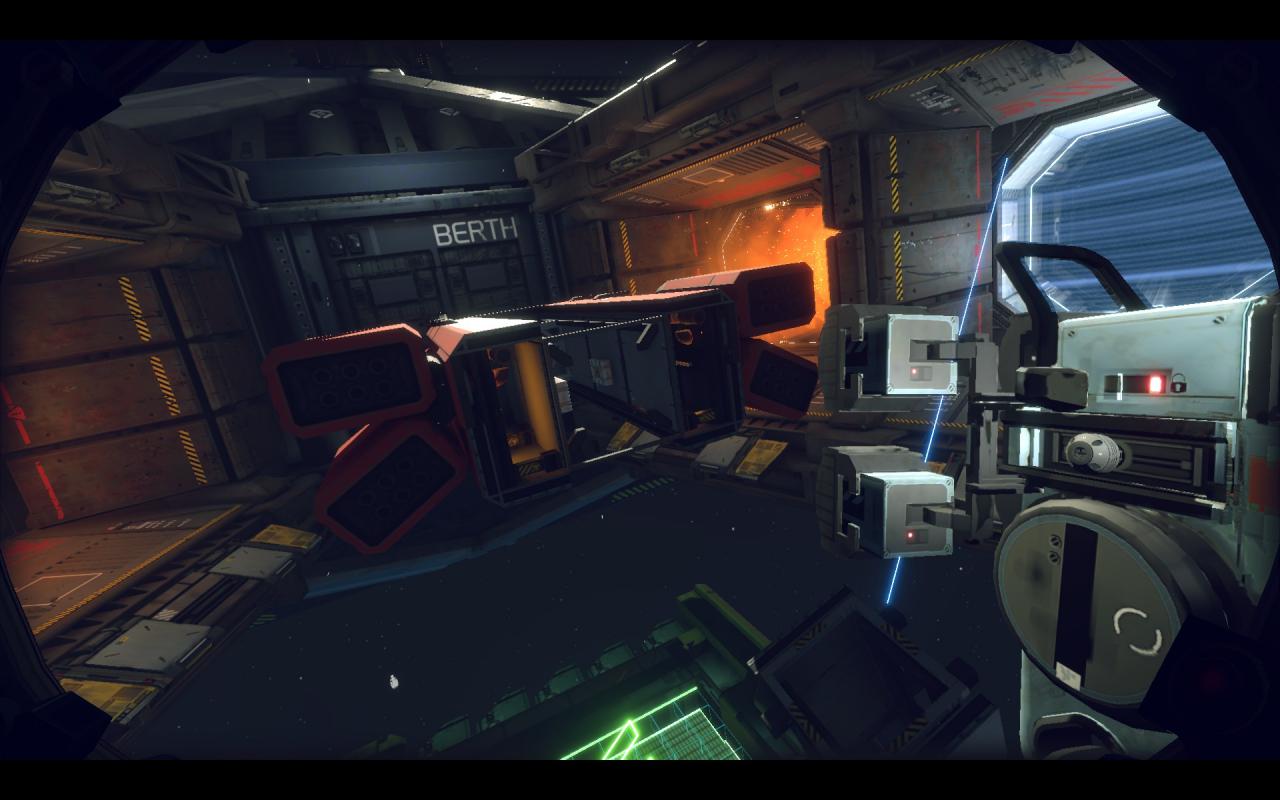
We will begin with outer sections as most likely you’ve already cut the cut points for inner flooors and ceilings.
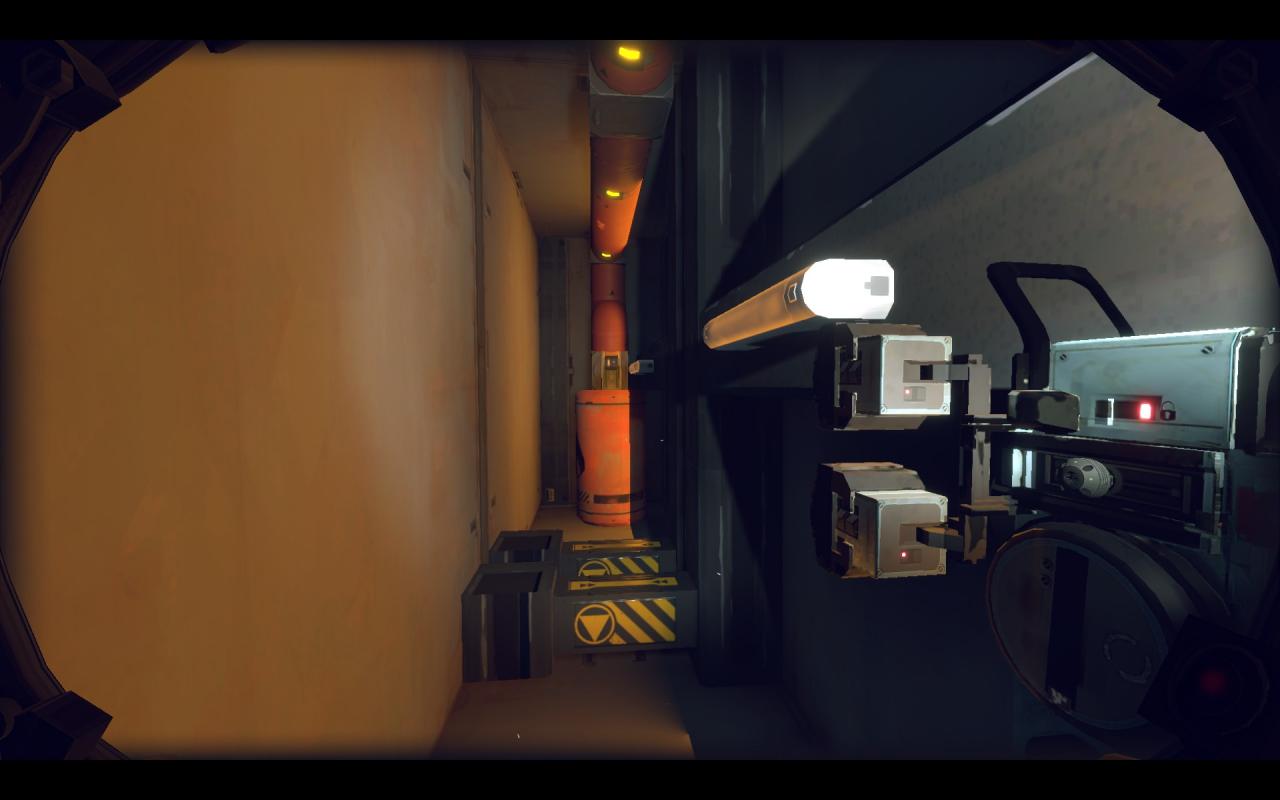
First things first – you want to drain the pipes so it’s less of a tense situation. After that you can cut the cut points, here you can actually easily use the splitsaw.
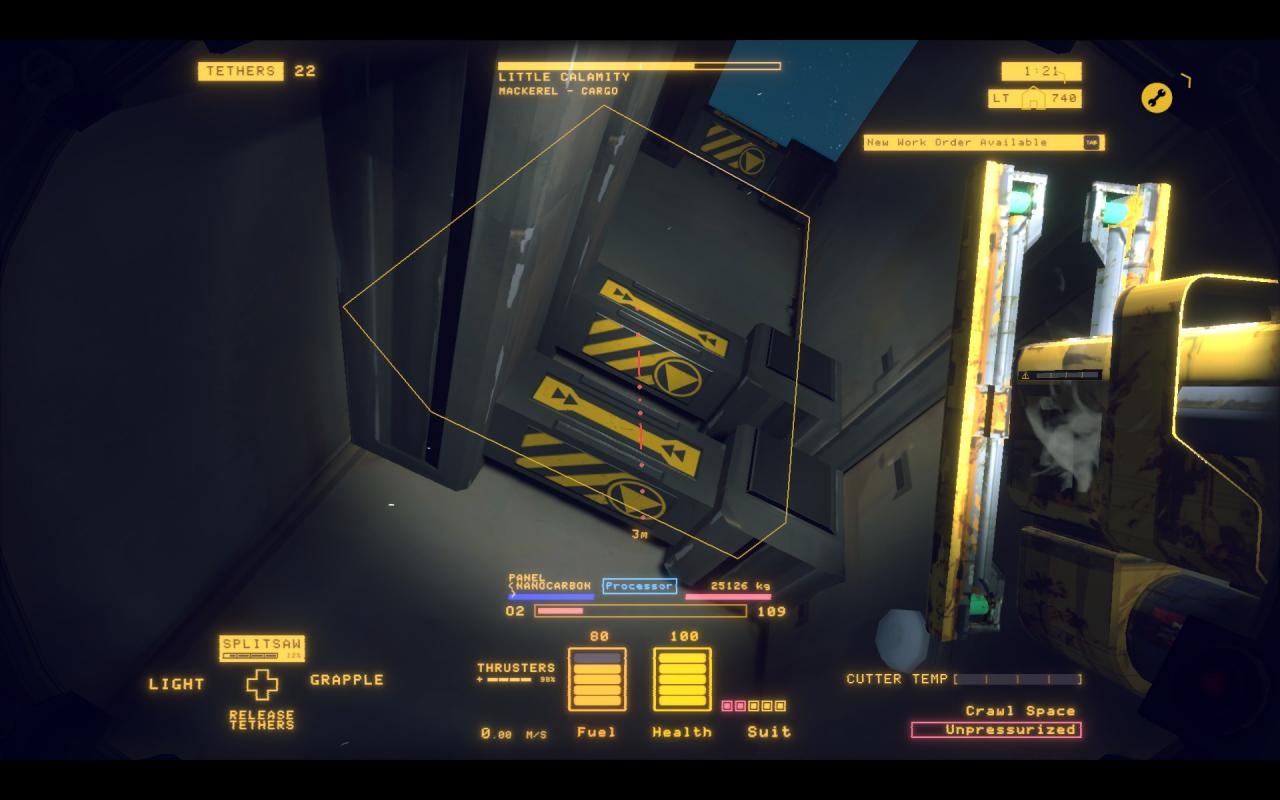
After that you can cut the cut points and send the shells into the processor. Strip down the power cell once done with that, I advise doing that after removing the shells as the power cell likes to spike the surrounding stuff and can easily zap you.
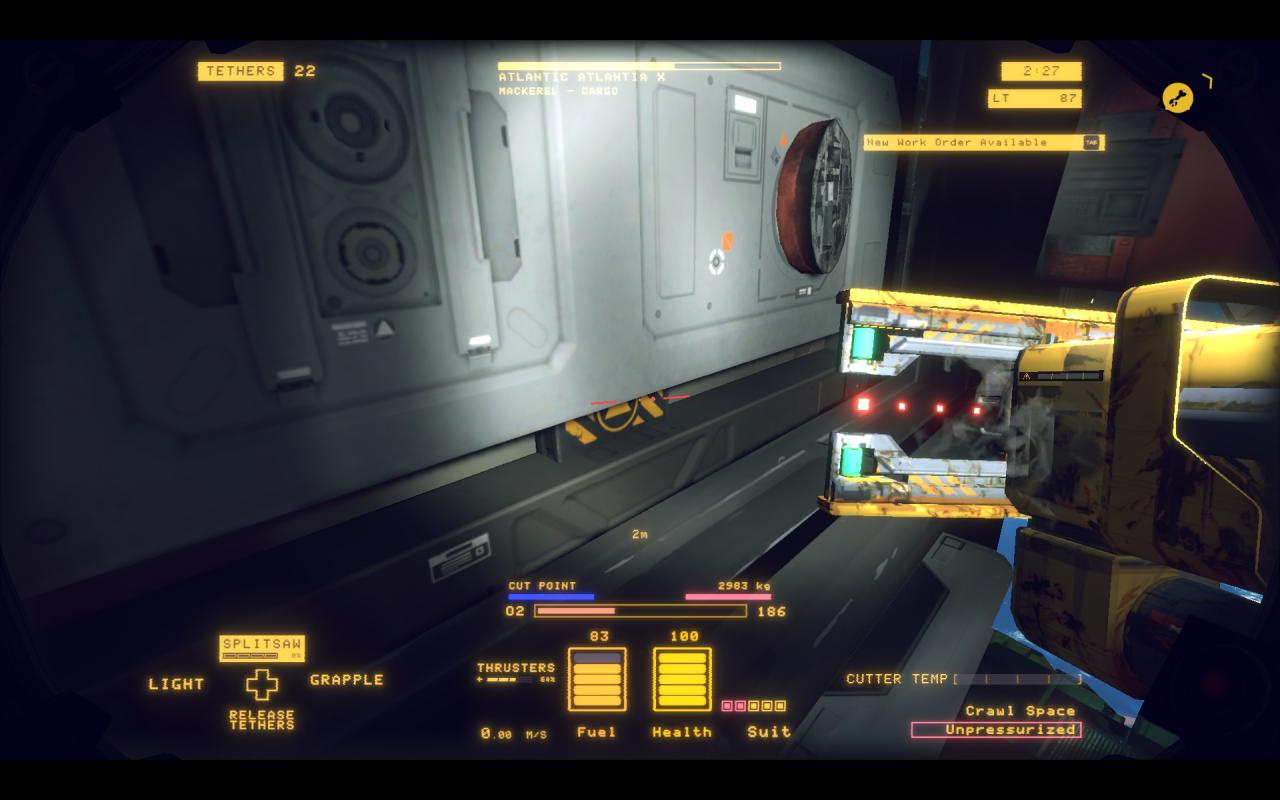
Depending on the construction you may need to cut away the boosters at their cut points and pipes if there are such, and the last section might be attached to the back side of the ship by the fuel canister – disconnect it and send it to the barge. After that – do the same on the other side.
Now to more weird stuff – what to do with the hatch.
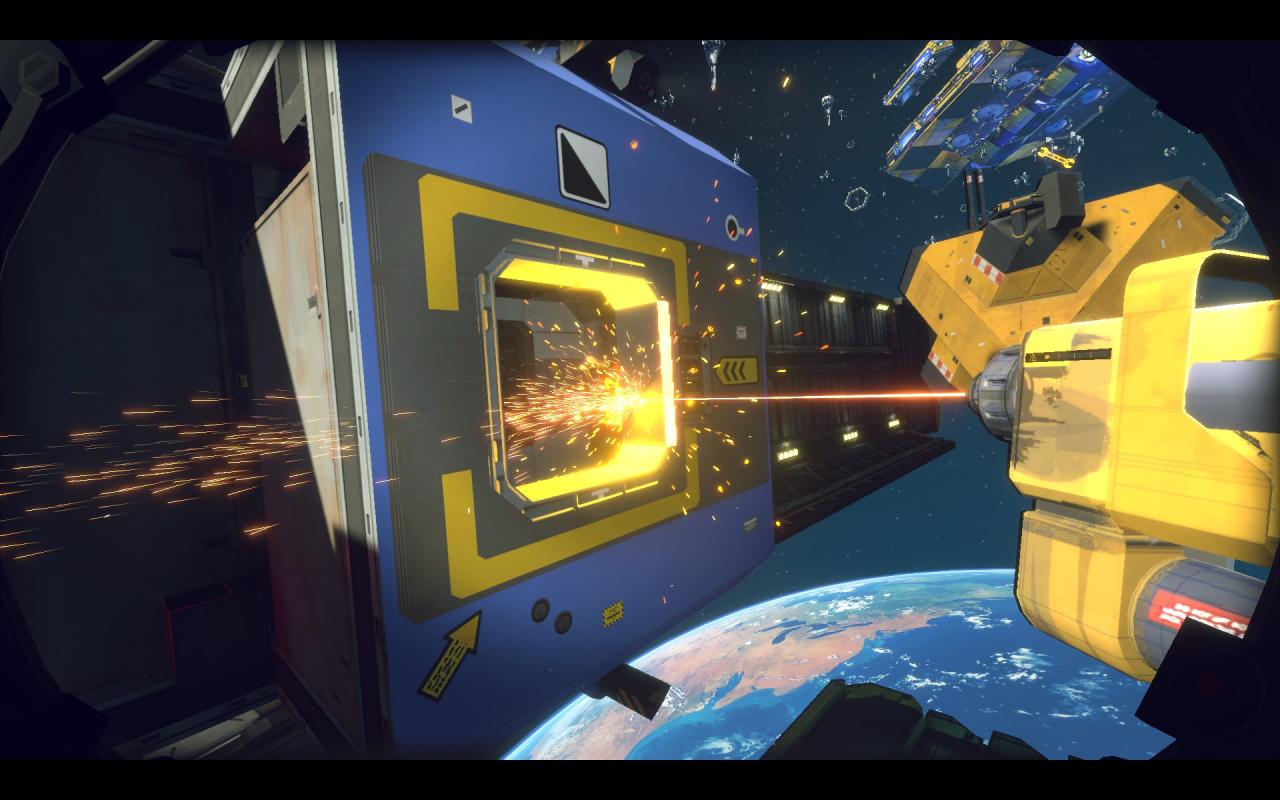
Fry away the thin white lines on the sides of the hatch to free the door
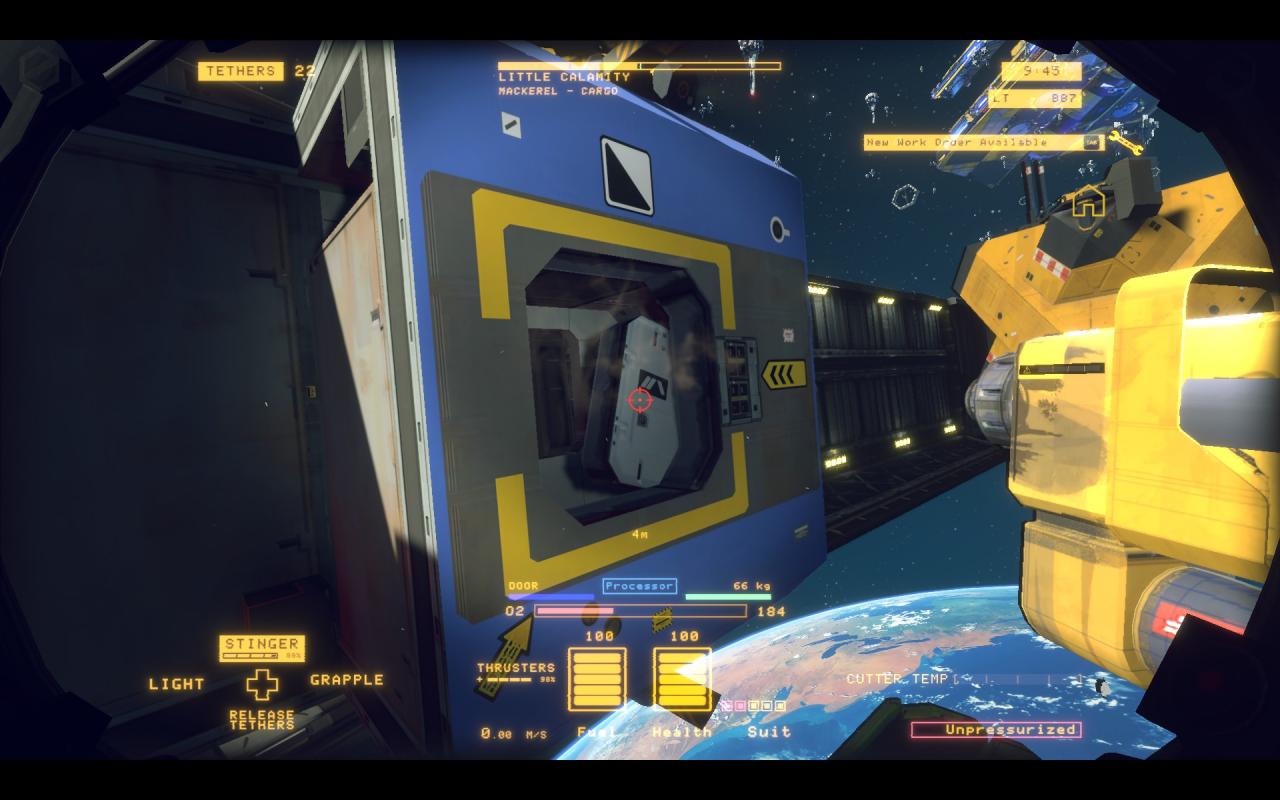
Here it is.
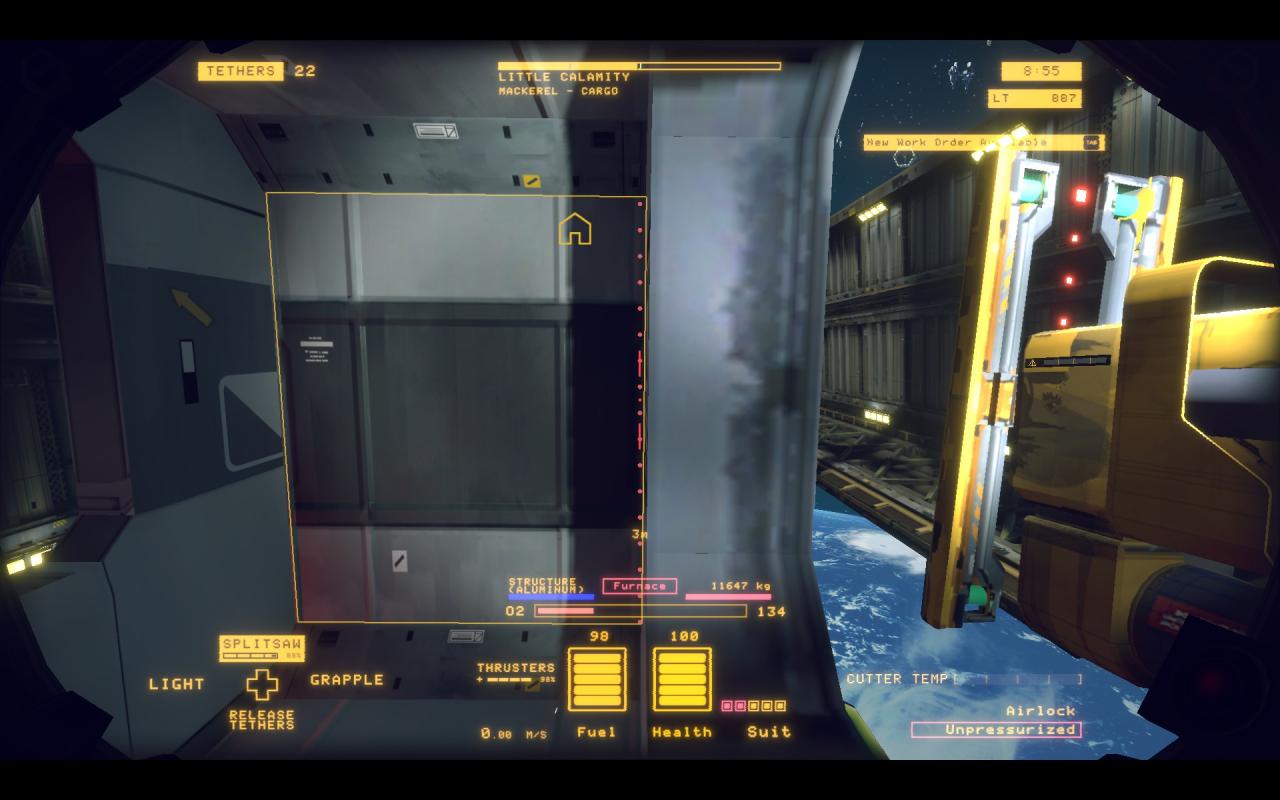
After you cut out the cut point you need to position yourself inside the hatch just peeking inside – like shown at the picture. After that you can rotate around and make cuts separating the hatch from the rest of the ship, this is better than cutting from outside because it’s way easier to see if your cut actually disconnected stuff or not.
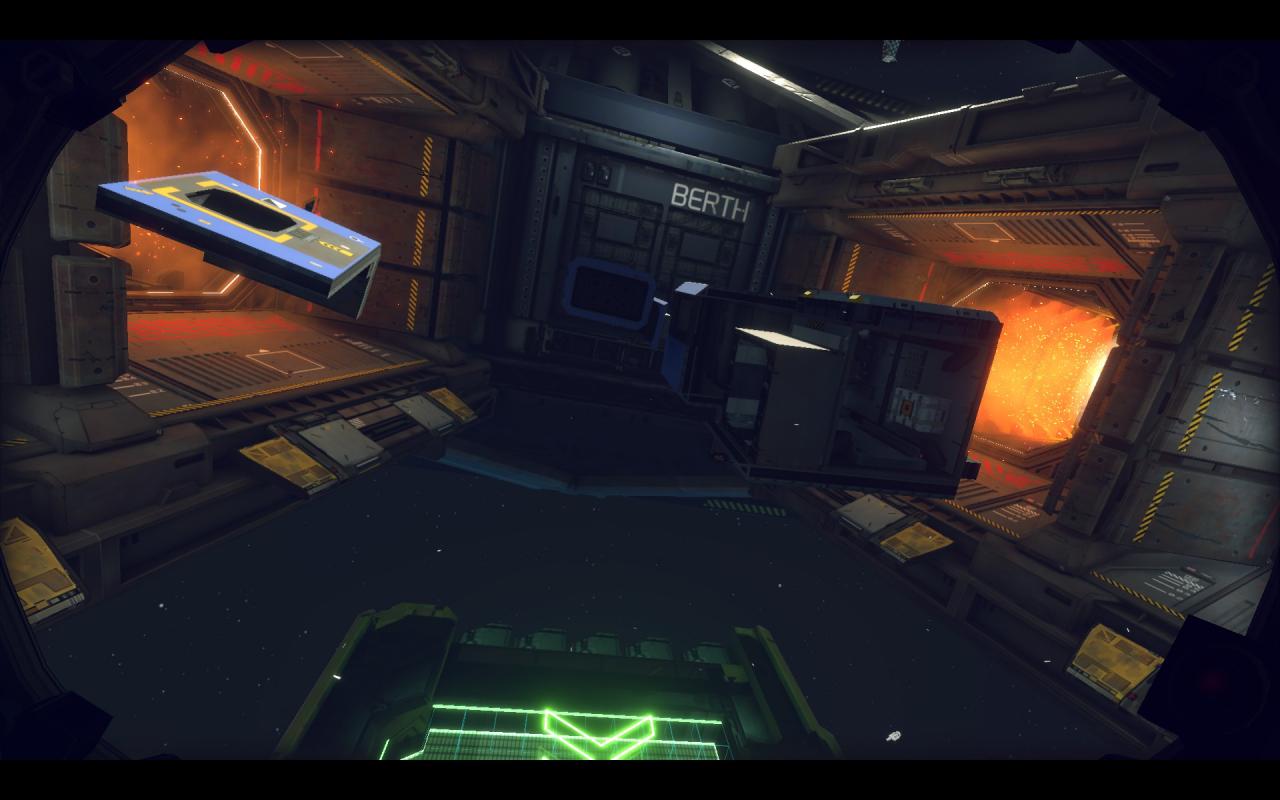
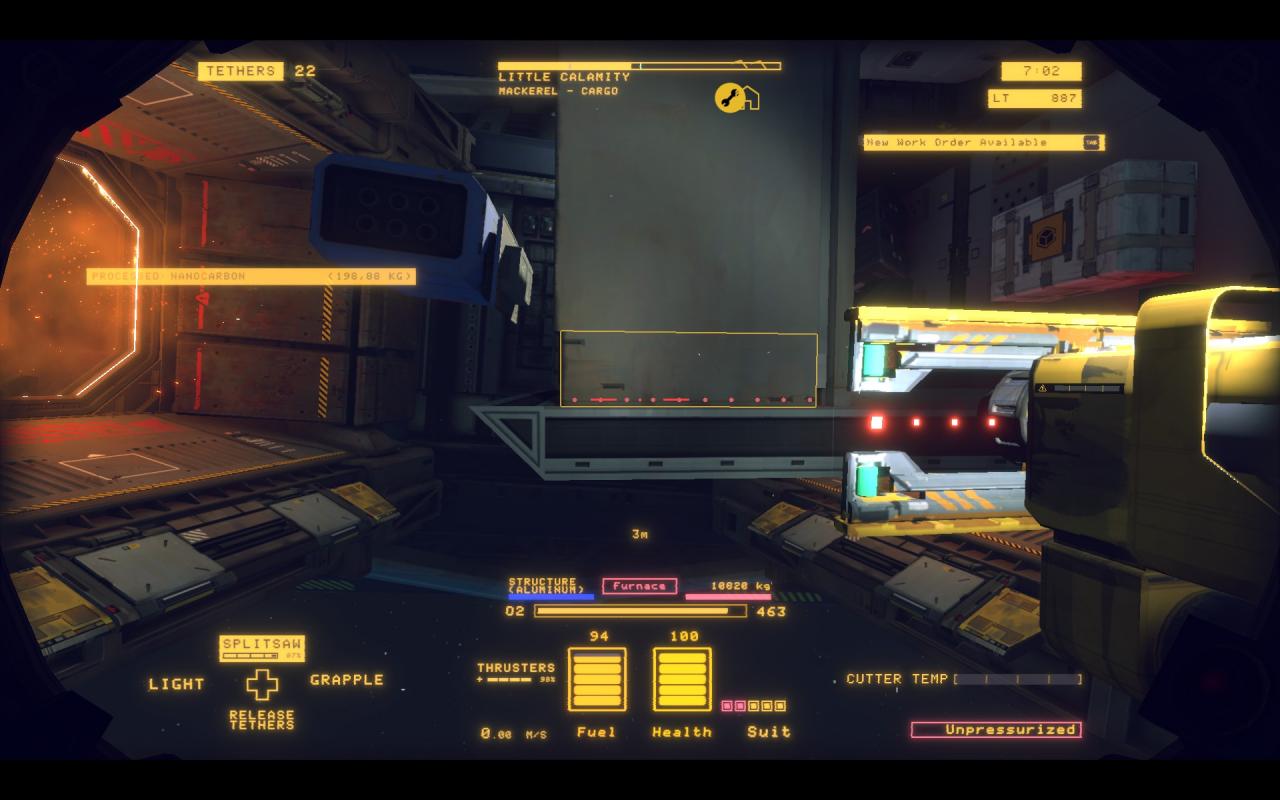
To cut away the bottom part just make a cut just across the panel holding them together.
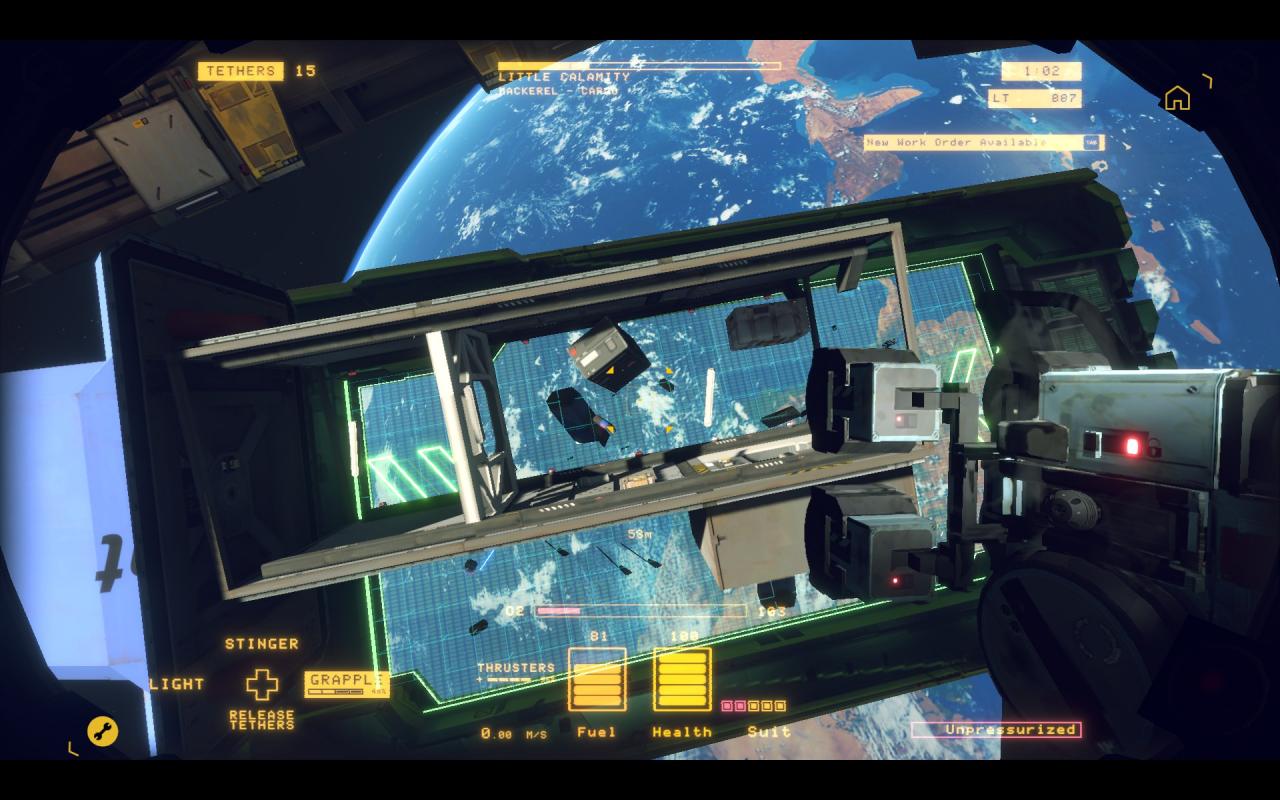
Once done with outer sides you can move to the inner part. Just position yourself above the remains of the ship and send stuff flying directly down to the barge.
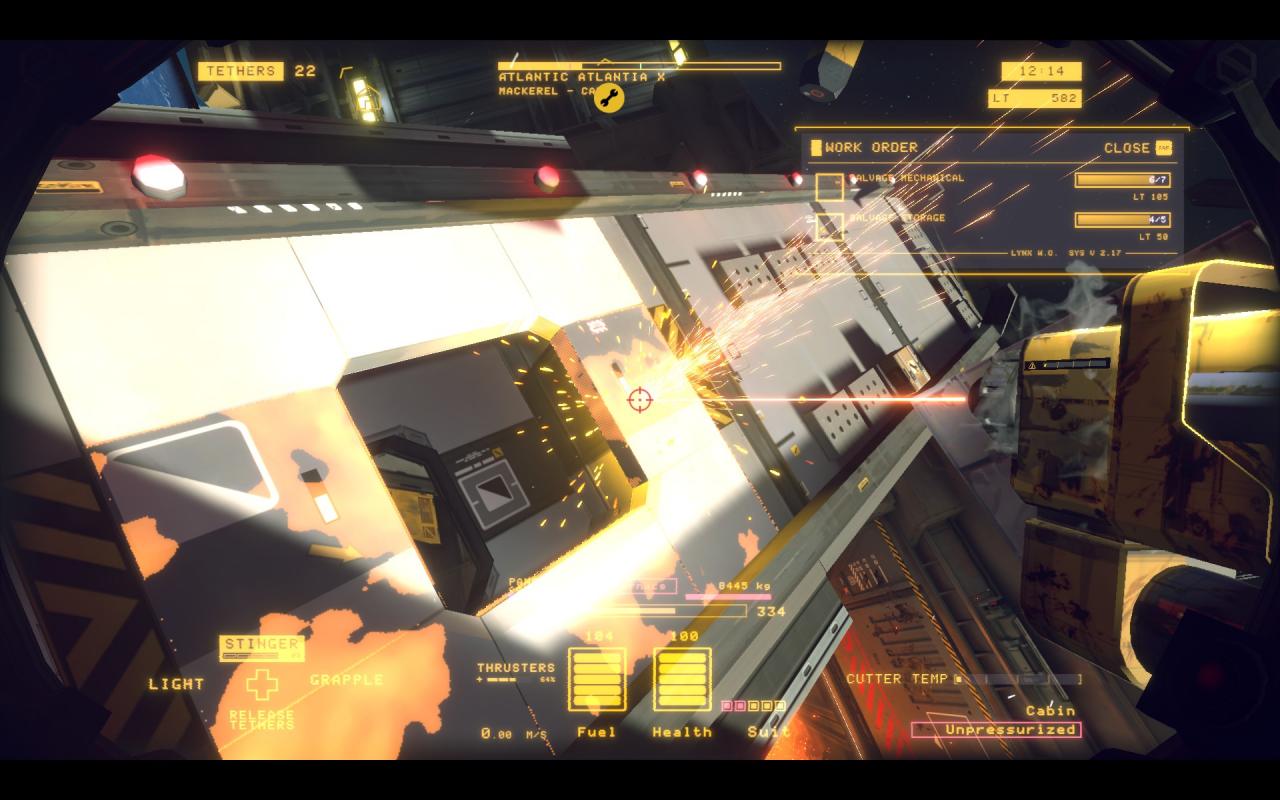
Do not forget to cut out the inner door.
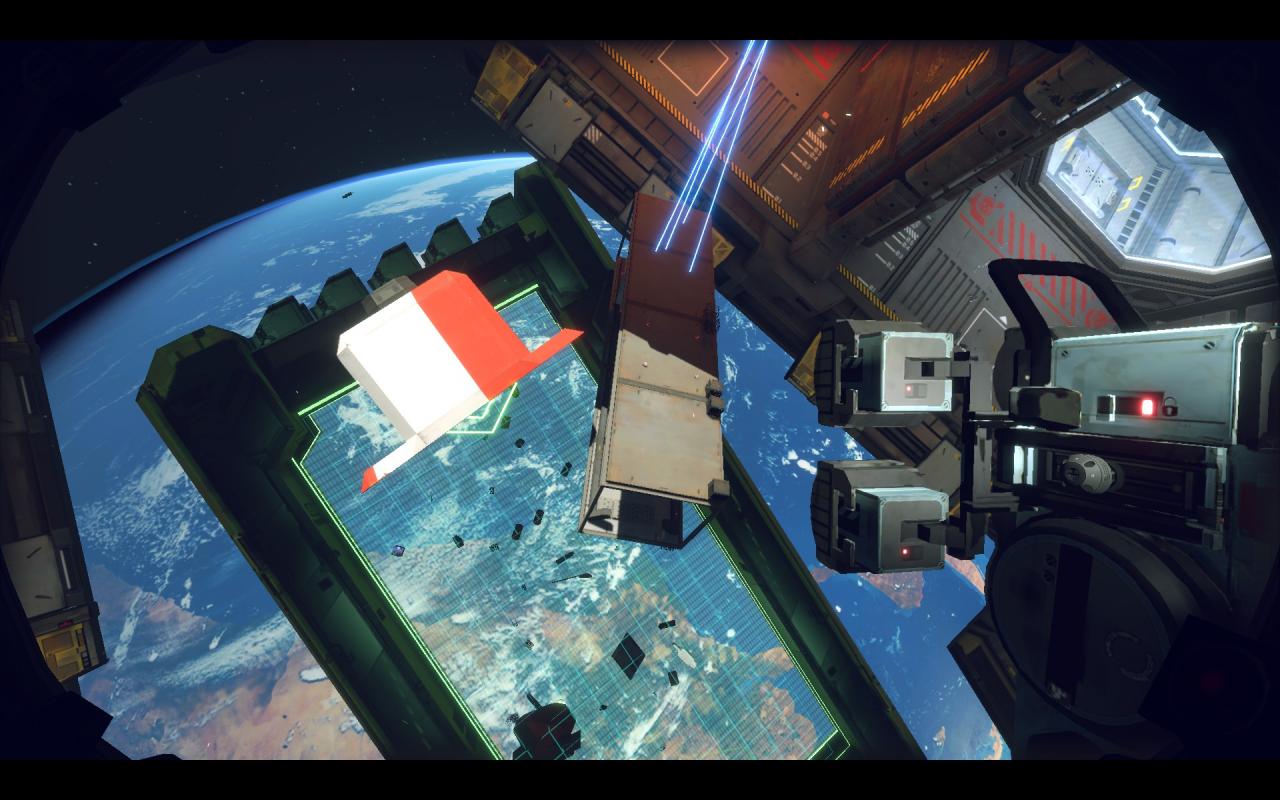
Once done with that you’re going to have a nice clean skeleton of the ship that preserves as much aluminium as possible which you can send flying into the furnace.
Mackerel – back side dissection
This part is actually the easiest.
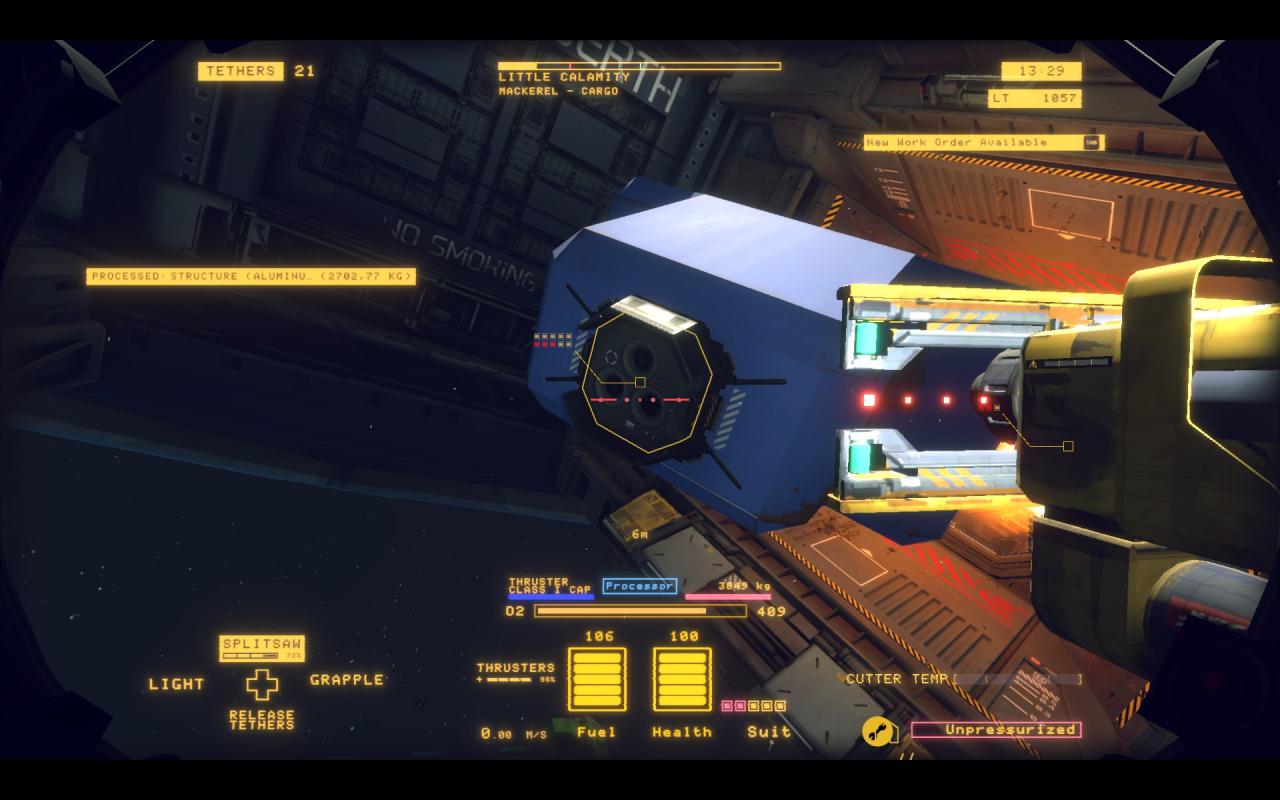
Just cut the cut points on the engine cap (again with a stinger – you can slice through the cap), and pull out the engine.
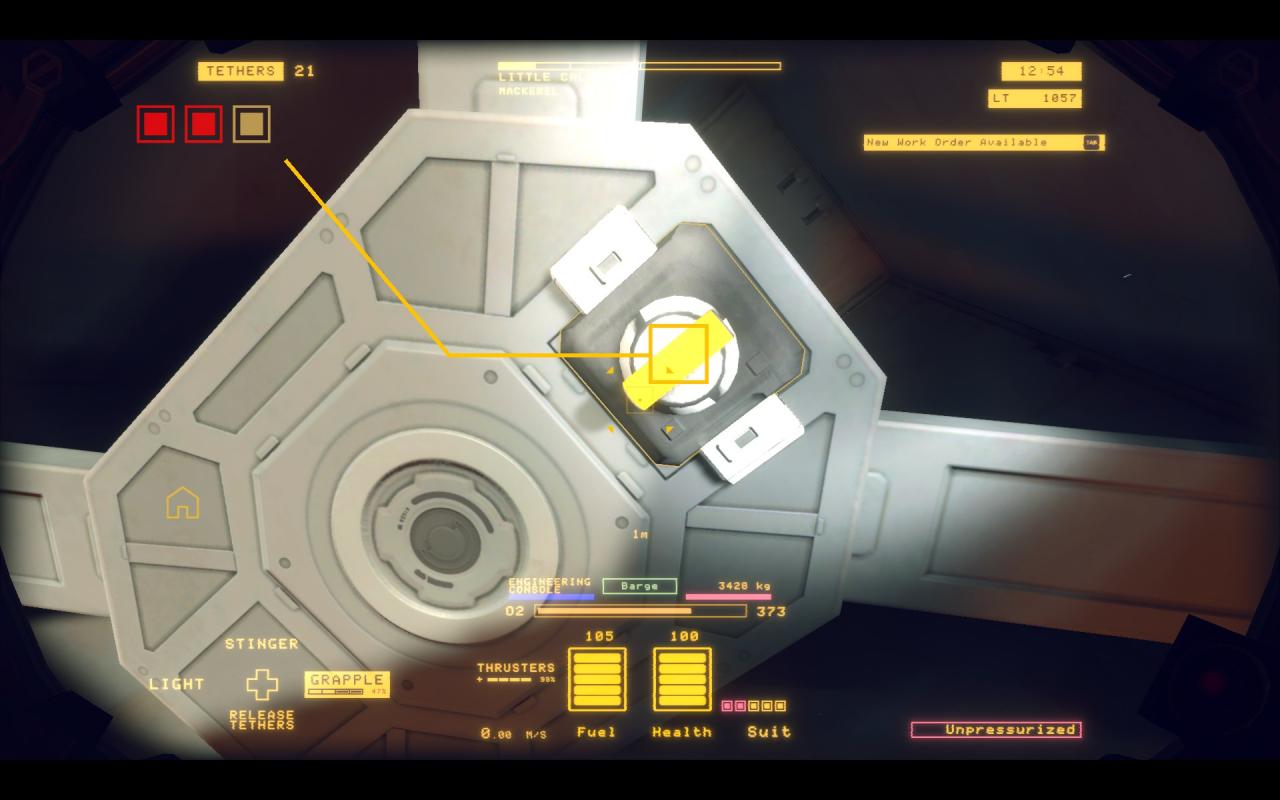
If the engine doesn’t pull out – then go the other side and disconnect it. (It’s mechanical and doesn’t need any power.)
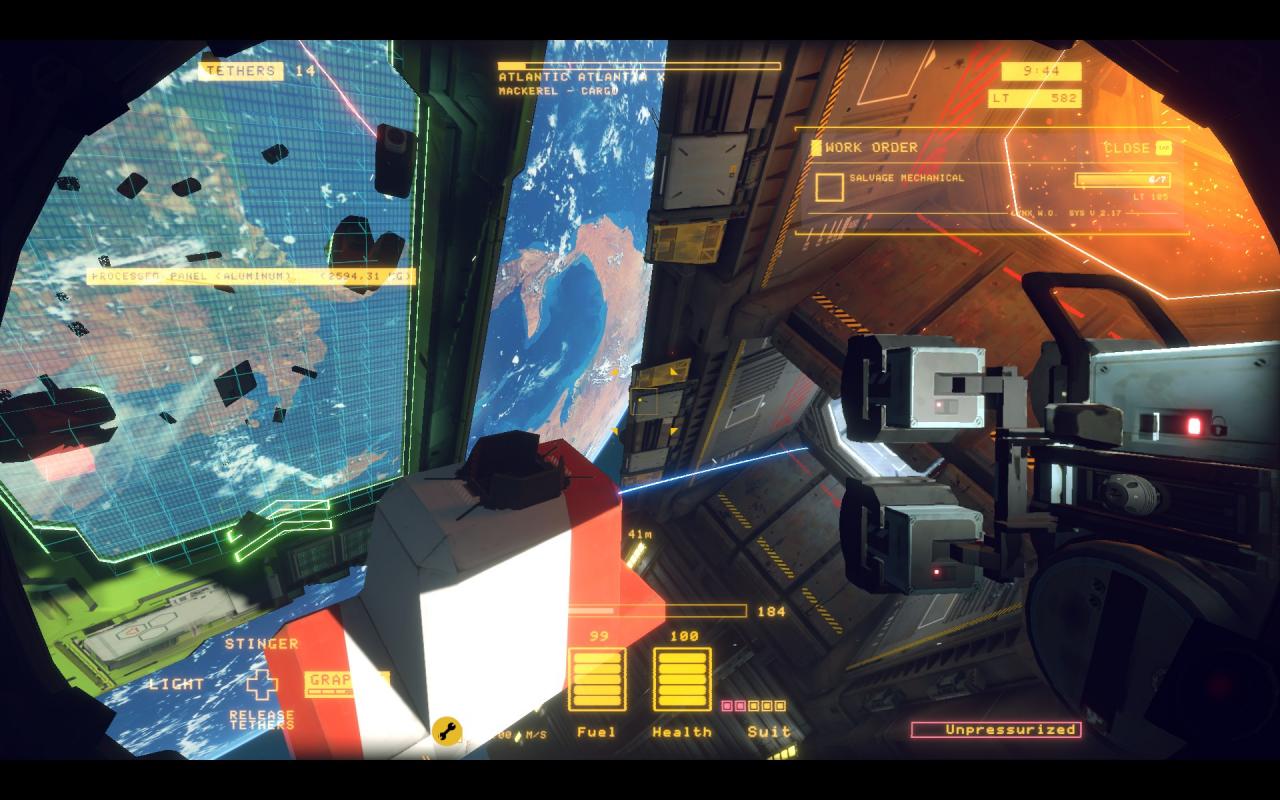
After that just send the last part to Processor and you’re done. Mackerel dissected
Gecko – Overview
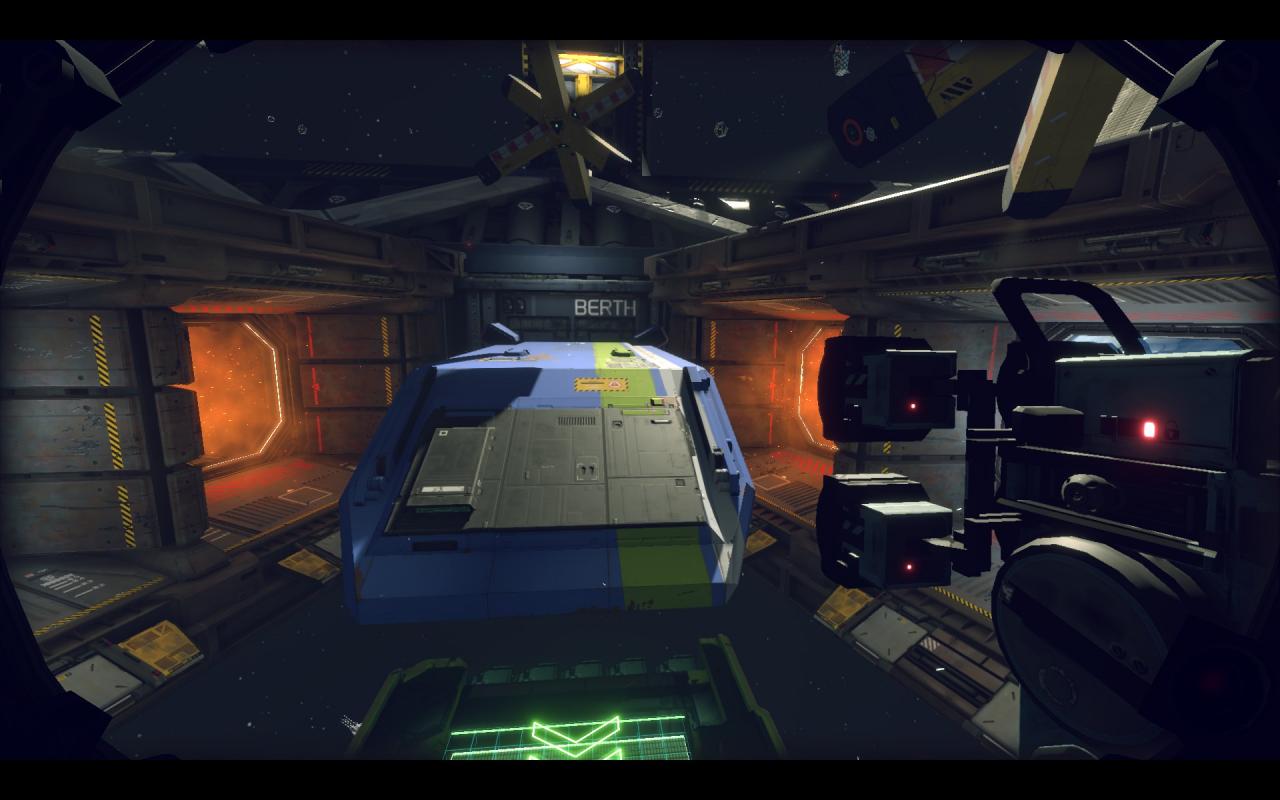
Front
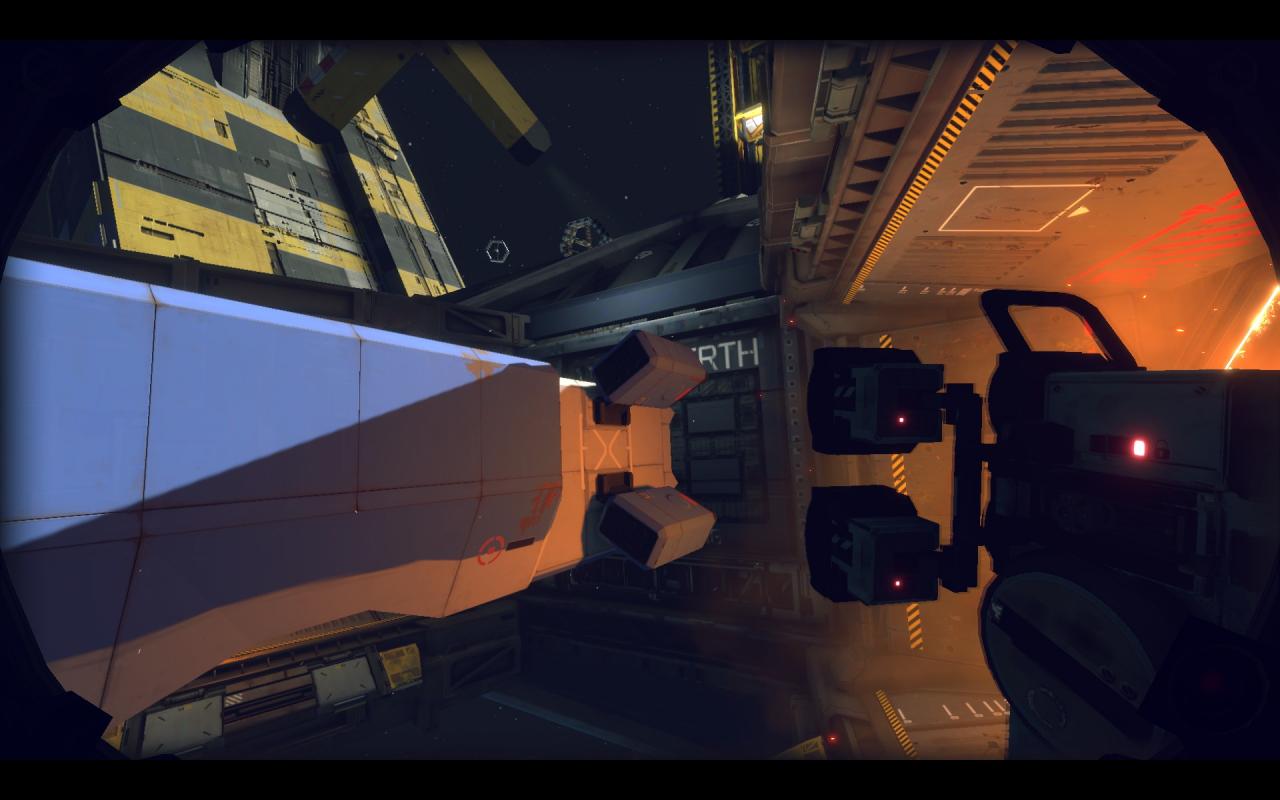
Side
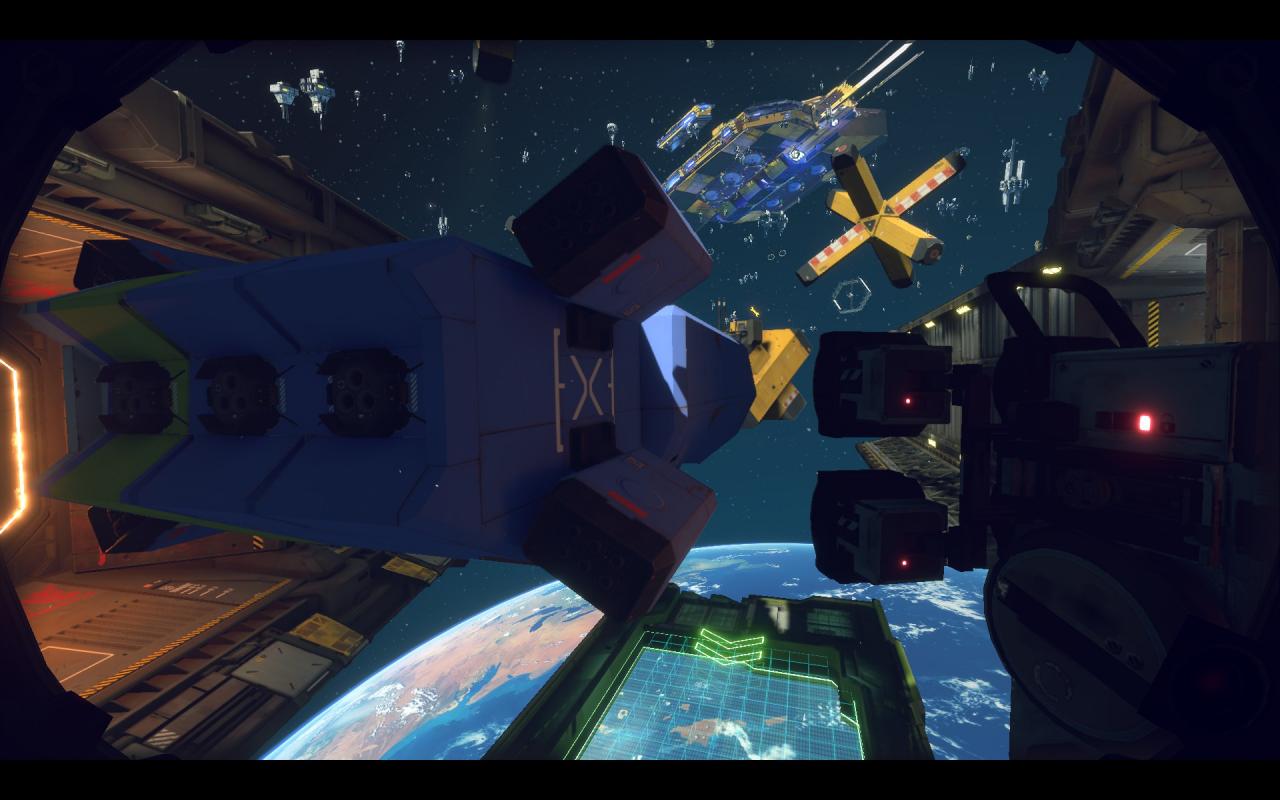
Behind
It is way more big and complex than the small Mackerel and its professions/types vary vastly. As its smaller companion Gecko has 2 very similar types:
– Transport – basically a passenger vessel. It has a very clear difference between inner shell and outer shell and is the most difficult ship to dissect in my opinion. Although it does have the highest value in game.
– Industrial – a cargo freighter full of containers and with at least a pair of huge cargo doors. Its inner shell is more like a suggestion and it’s way less defined.
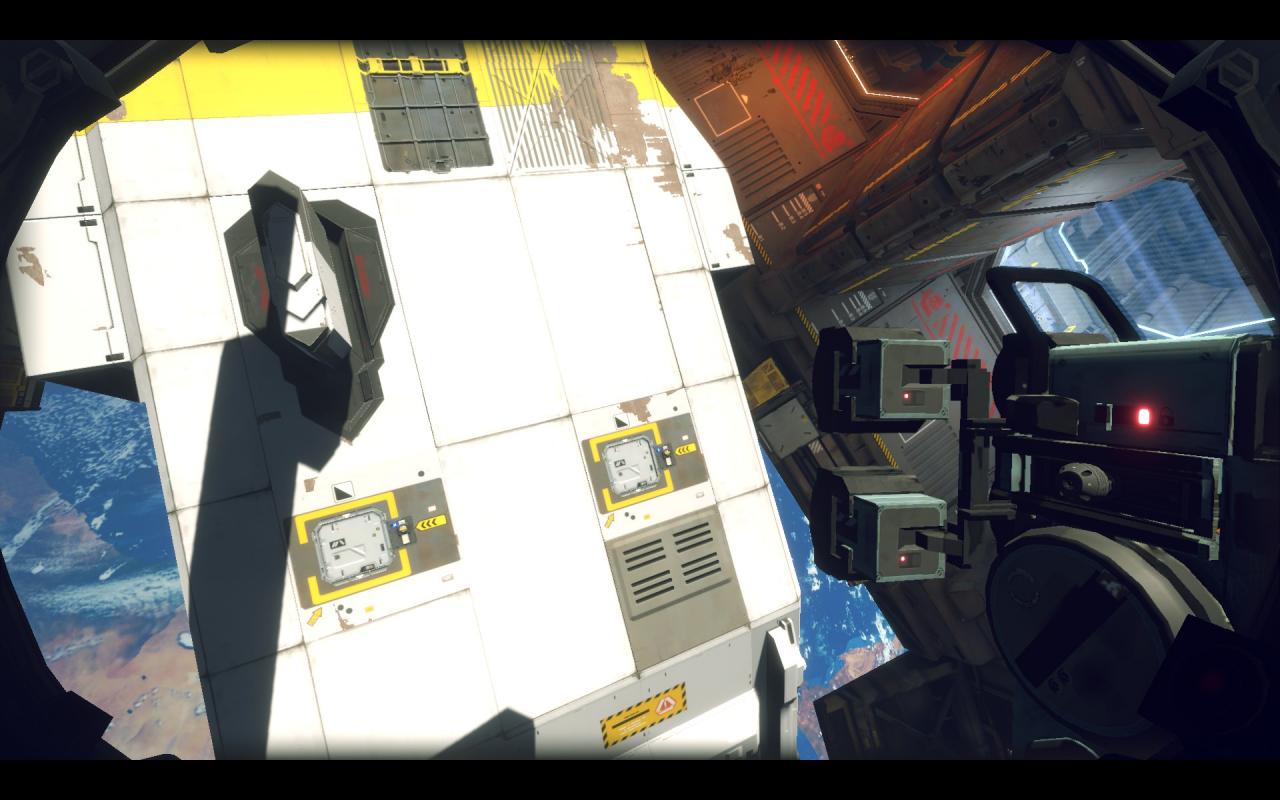
Top view of a transport gecko. Note the sensor array and two entrances on the front of the ship.
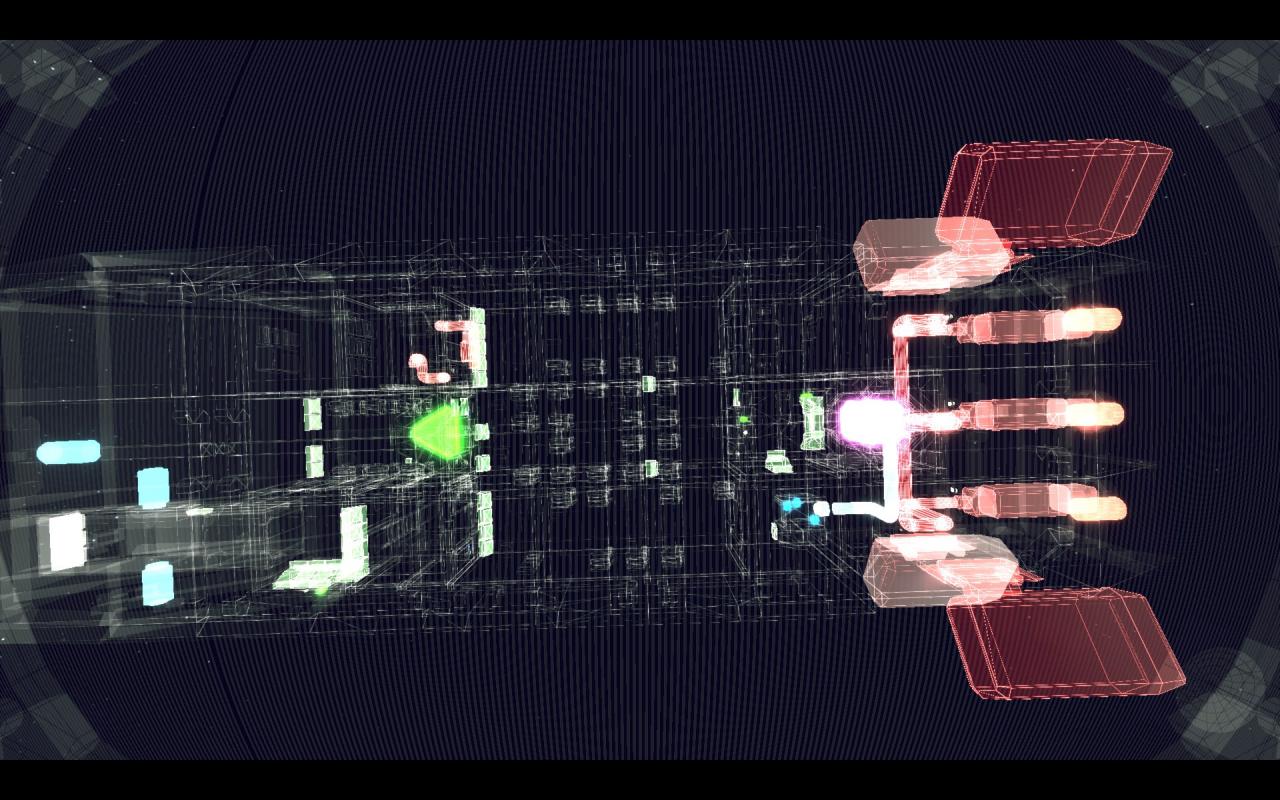
Gecko has three fully developed systems – power, fuel and cooling. Key to disassembiling them is that you have to disassemble power only after you’re done powering down the fuel system as if you do it before that the terminal for flushing the pipes will go dark.
That’s all we are sharing today in Hardspace: Shipbreaker Shipbreaking Guide (All Ship Types), if there are anything you want to add please feel free to leave a comment below and we’ll see you soon.
Credit to Danbur Abrazer
Related Posts:
- Hardspace: Shipbreaker All Material Value List
- Hardspace: Shipbreaker The Mackerel – Fish Dissection 101
- Hardspace: Shipbreaker Tips and Tricks (General & Advanced)
- Hardspace: Shipbreaker How to Safely Deal with Hazards
- Hardspace: Shipbreaker Solutions for Bugs & How to’s
