This guide will cover just about everything you need to know in order to survive the hazardous environments of Genesis Alpha One. we will add more information for this guide.
What is Genesis Alpha One?
Genesis Alpha One is a first person roguelite, in which the player attempts to find a new home for humanity among the stars. The primary roguelite elements in GAO are its metaprogression and permadeath. The player collects artefacts as planetary sites are explored during a run, and once the unlock conditions are met, players have the option to take a number of artefacts into their future runs. Artefacts range from module blueprints and suit upgrades, to new weapons, blueprints for utility and combat robots, and location distribution information for specific resources and alien life forms.
When your ship’s bridge is destroyed, or your last clone dies, permadeath takes hold, and the run is over. You will probably have earned at least a few artefacts for the next run. Maybe you unlocked a better tier corporation start, allowing you to have more starting artefacts and resources. Failure is expected, especially so in your early runs. This isn’t an easy game on the default settings, though you can certainly make it (relatively) easier by customizing your galaxy whenever you start a new run.
To complete a successful Genesis, the player must build and upgrade their ship, create new clones to work in modules/defend the ship, gather artefacts and resources to fuel their expansion, and be ever vigilant for hostile alien infestations. Know that just about everything you encounter is going to try to kill you…with the only exceptions being corporate traders, and the alien lichen known as Leven, Guston, and Protare. More info on those is in their relevant sections.
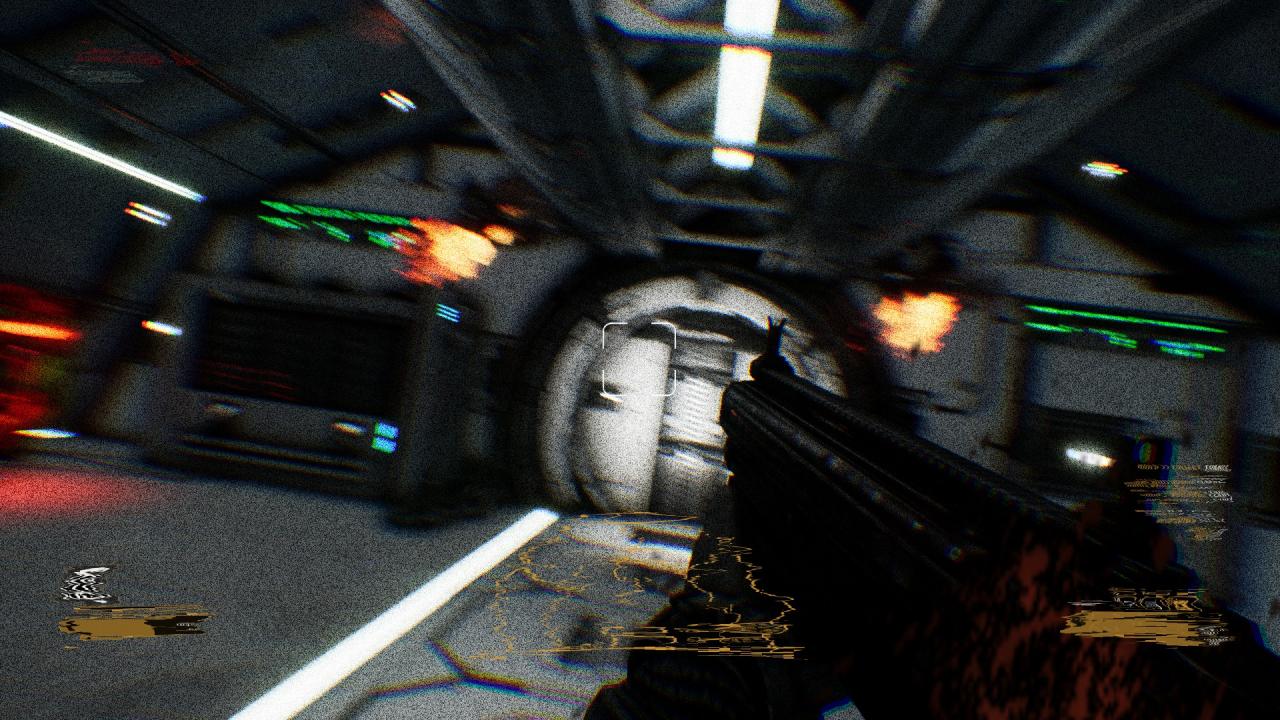
This is a bridge that is just seconds from exploding. That distorted UI is due to the rocking of exploding modules around the ship, and the impending explosive decompression of the bridge.
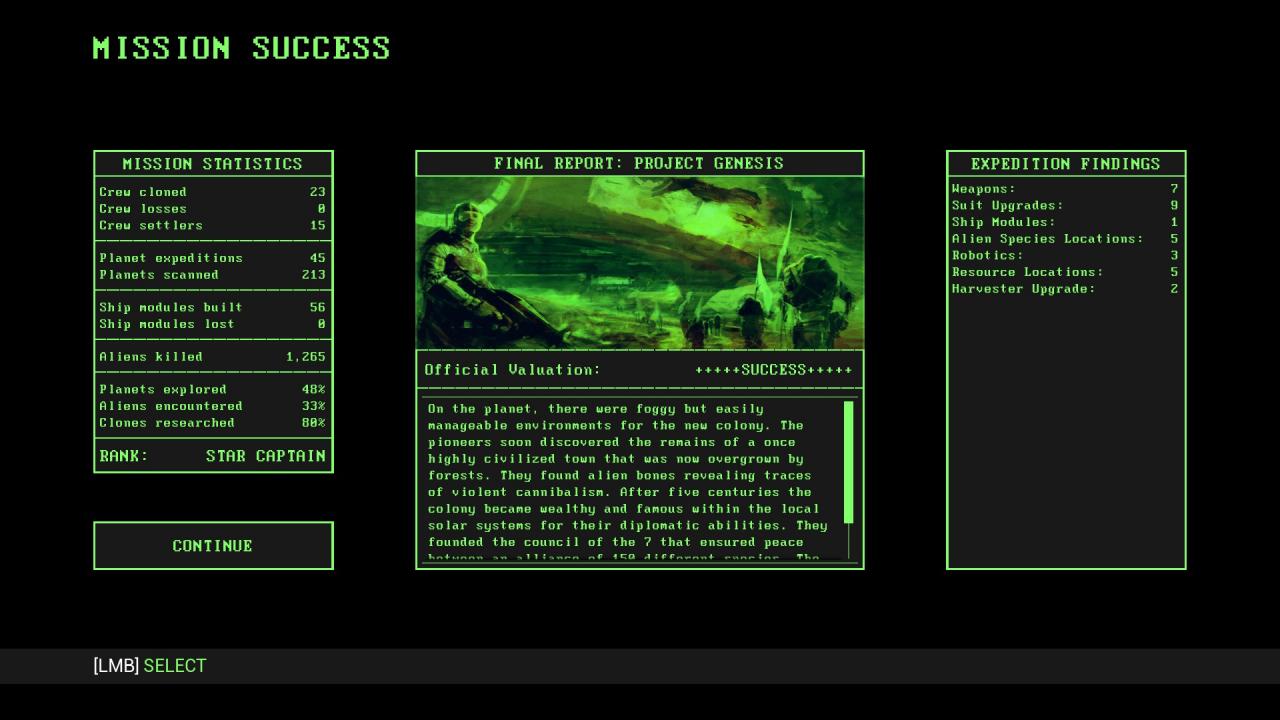
And just one example of a successful Genesis. That’s the good stuff.
Good Practices: Minimize Your Risks!
This game is a roguelite; it will not hesitate to kill you if you play fast and loose. That said, I have some tips that apply in every run, with further details in the relevant sections below:
- You are not a hero. Captain is just a title, and you’re an expendable clone on a ship full of expendable clones. You’re only one step above the other meat puppets in the grand scheme of things, on a one way trip that none of you are expected to survive. All those sites you find are from the many failed expeditions that came before you. Bear that in mind before asking why you’re having to go into the maintenance tunnels to clean up infestations, or wondering why the clones aren’t smarter…
- When on expeditions, always prioritize collecting from sites before collecting resources. Time is frozen on the ship while you’re on an expedition, and you can potentially take your time afterward to collect resources/biomass/samples from the area. That is, if it isn’t too dangerous. Clones can’t investigate sites for you, so consider sending them to gather the resources separately if needed.
- Metadata artefacts are important. Each one gives you the location data for a given resource or alien life, and you can filter the scanning results in the Bridge/Tractor/Hangar consoles to put an (!) on any sector, planet, or debris with it present. This only works for sectors you’ve already scanned, though just having/finding the artefact will give you some pre-scanned locations as a freebie. If you’re searching for a particular alien or resource to farm, it will help you narrow your search. Hint, hint: Leven.
- The game doesn’t hold your hand, and the tutorial leaves it mostly up to you to discover the game’s nuances. Use the PDA, talk to the clones in their assigned modules, and read this guide for anything you can’t figure out on your own.
- In the PDA, you can access the Ship Naming function while looking at a door in order to rename it. You can even turn it into a directional sign, e.g. “<- Shields Bridge ->” or if used in a Turbolift, you can name the whole deck, e.g. “Resources”, “Bridge”, “Greenhouses”, etc. In a Beaming Station, you can rename it as the destination point, similar to the Turbolifts. Even if you use a mostly standard layout as I do, renaming doors will reduce the chance of getting lost.
- Vigilance is your best defense against infestations. Stopping them before they become unmanageable is your responsibility. My design tips below will reduce the areas you need to regularly sweep to just a handful of modules, if you follow them closely.
- Never leave the Tractor Beam operational unless you are nearby to monitor it and/or speed up the process. Doing this has probably led to more newbie losses than just about anything else. Just deactivate the beam from the console. Every time it beams in something, spores may get aboard, and those can lead to diseases and infestations if left unchecked. It only takes a matter of minutes for new spores to cover several modules in lichen, which of course means YOU need to take more time to sweep the area. Some lichen not only mature quickly, but can regenerate after being destroyed, and more spores can land after the tile is empty.Look, if I haven’t made it clear enough by now, don’t let impatience force you to waste more time cleaning up an infestation when it was entirely preventable in the first place.
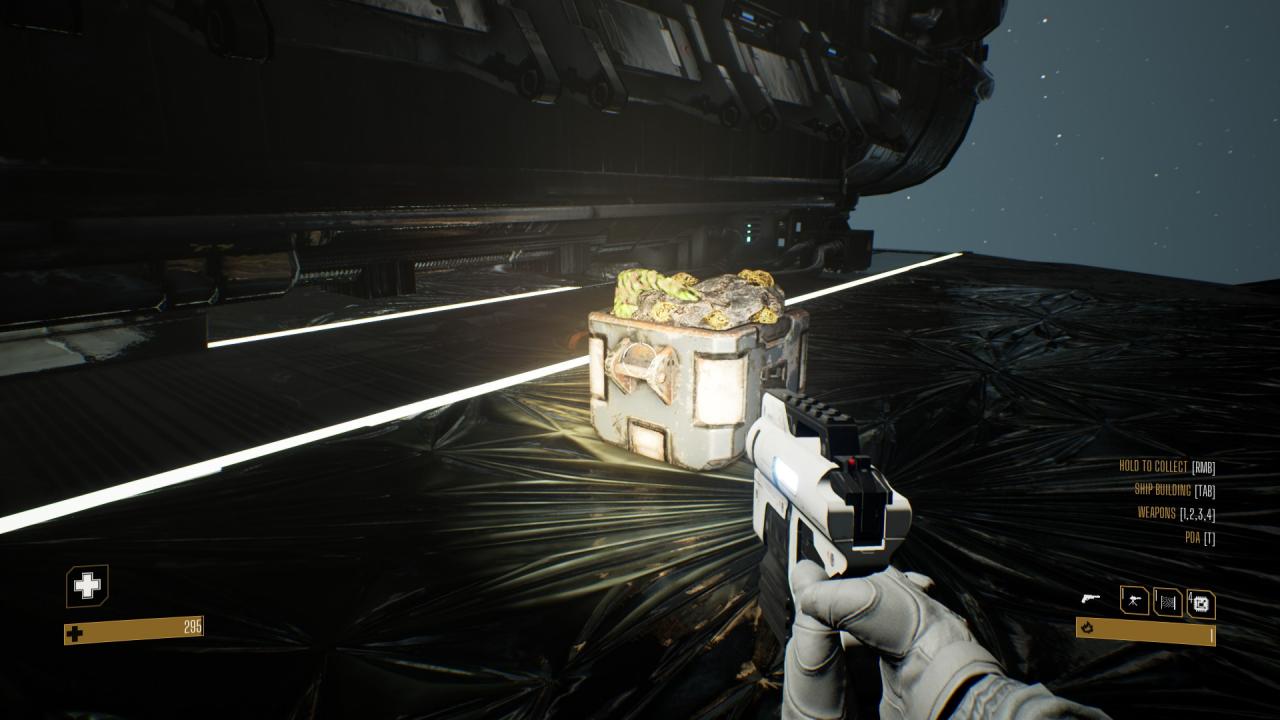
- Every time a Robotnik interacts with a crate, i.e. Taking it from the Hangar -> Deposit, Deposit -> Refinery, or Deposit -> Greenhouse, there is a chance of spores OR an alien spawning at the destination. You can actually see the green tentacle-like formation on crates with an “alien surprise” inside. Decontamination modules will not affect aliens in crates.You can see the green tentacle on the top left of this crate. This one is guaranteed to spawn something at the Deposit or Refinery.
- Not all alien lichen are harmful. Two of them are in fact actively beneficial (Leven and Guston,) and a third type (Protare) is at least neutral, if occasionally inconvenient. More on that in the “Leven Is Love, Leven Is Life!” section below.
- Hyperspace modules not only let you travel further, they increase your spotting range for traders and rogue ships. Even you conserve fuel rods as I do, and jump one sector at a time, knowing where the rogue ships are allows you to avoid getting boarded…unless you’re into that sort of thing. If you’re trying to get the “100 kills” unlocks, I know of a much safer method.
- If you ARE caught unaware by rogue ships early on, your best bet is to RUN to the bridge, jump away at least three sectors, and if it doesn’t look like any rogue ships are nearby, only then should you attempt to deal with the stragglers. The reason for this is to keep their numbers on the ship as low as possible, and minimize the potential damage. More on this (and the “100 kills” method I prefer) in the “Raiders of the Genesis Ark” section.
Your Corporations, and You!
At the start of every run beyond the tutorial, you have to choose a corporation. Each corp has different amounts of starting clones, artefact slots, module blueprints, and resources, with higher tiers providing more of everything. Each corp also has a theme, providing unique/more efficient module variants, and a default weapon for all of your clones. This starting weapon is tied to the corp, regardless of the corp’s tier. All clones will be tier I at the start of every run, also regardless of the corp or its tier.
Important: The Captain can use any weapon you currently have acquired during a run, but your clones CANNOT have their default weapon changed.
- The default corporations, aside from the tutorial corp; the following three have tiers I, II, and III with tiers II and III requiring specific actions during a single run to unlock them for future runs:
- General Ballistics
Theme: The “average” corp start. More starting artefacts than the other default corps. - Superior Genetics
Theme: Larger biomass storage modules and a sixth planter (instead of five) in every greenhouse. Fewer starting artefacts and resources. - Stahl Union
Theme: Large and efficient refinery, supporting three clone workers instead of only one for faster refining; large deposit modules. Lots of starting resources, fewer starting artefacts and at higher tiers, not as many starting clones.Single tier corps: - Framen
- Mechanics
These two are the equivalent of tier III corporation starts, and are unlocked by killing 100 of them on your ship during a SINGLE run. These kills are tracked separately, i.e. 100 Framen kills on your ship to unlock Framen, and 100 Mechanics kills on your ship to unlock Mechanics. You are able to complete a Genesis and Continue+ (or more than one) while keeping your kill progress. Mechanics are my personal favorite of all the corp starts. - Rocket Star (Formerly exclusive pre-order DLC, now unlocked by default for all players)
Theme: A variant on General Ballistics tier I, this corp start features four unique weapons that no other corp can access.
Send in the Clones!
Your crew consists entirely of expendable clones, with the emphasis on expendable. Think of clones as “extra lives” for the captain, i.e. you. If the captain dies, a clone is immediately promoted to captain, assuming there are any clones still alive. You take over control of that clone, and any suit upgrades are applied to the new captain.
Clones have three tiers, with tiers II and III being linearly superior in every way to the previous tier(s). You’ll harvest DNA from certain aliens, and splice it into new clones at the clone lab module. Clones have base stats, determined by the DNA type and tier of the clone at creation. They also have a single damage type to which they are “immune”, reducing damage from those sources (but not nullifying that damage entirely). That damage immunity is also tied to the DNA on which they are based.
Clones have the following stats:
- Biosphere type: What they breathe. Different plants produce different biospheres, and each clone requires one point per clone of their needed biosphere in order to live. Failure to do this results in suffocation.
- HP: Self explanatory, really. Anything above zero, and you’re still in the fight. Some species trade higher Intelligence or Resistance for lower HP.
- Resistance: The Resistance stat has two functions. The first indicates their inherent damage resistance to all sources of damage. That can stack on top of their natural immunity, but no damage will get fully nullified. The second function is their resistance to diseases, and if left unchecked, diseases can cost you the entire run.
- Intelligence: This stat determines how fast or efficient the clone will be if assigned to work in a module. This includes scanning adjacent sectors from the bridge, tractor beaming objects, refining materials, tending to plants, etc.
- Immunity: As covered above, and specific to their DNA type. Examples: Liquid clones have immunity to ballistic damage, while Inferno are immune to fire (energy) damage. Again, it’s damage reduction, not nullification. Attacks will still hurt.
Ship Design: “If you build it, aliens will come.”
The design of your ship is crucial to your survival. I use a mostly standardized layout, not just for the simplicity of construction, but for easier navigation around the ship. I don’t ascribe to the notion of building everything on just one or two decks, so if you think my design is inelegant, so be it. I always prefer function over form. I play carefully enough to never get boarded by rogue ships, and therefore burn fewer resources trying to fortify everywhere.
Whenever possible, minimize the use of long corridors. They only have one power node per corridor module, and are easy for aliens to destroy. If you must use them, make sure to have at least one Access module connected somewhere on that deck, or another module that leads into the maintenance tunnels. I will purposely build certain sets of two-section corridors that I will replace with Security Gates or Decontamination Modules as appropriate later on. NOTE: Deconstructing modules gives you back 100% of the resources used, as long as you have sufficient storage space.
The Resource Deck, Early Game:
I always use the -3 (lowest) deck for my resource gathering deck, and put my highest risk modules there, along with support modules. What are considered high risk modules? The Tractor Beam, Hangar, Deposits, and Refinery, since each of these is a potential point of entry for spores and aliens. The Greenhouses are also a point of entry when plants are brought there, but they are NOT as high risk as the other four modules. I use the top deck for my Greenhouses.
I start by building a four section corridor leading aft from the bridge. The two sections closest to the bridge will be replaced by a Security Gate later on. On the right side of the aft corridor, I place the first Turbolift. I drop down a level, and place another Turbolift, rotating it so the entrance faces to the right. I drop down another level, and place this Turbolift with the entrance facing aft. Finally, the -3 Turbolift faces to the left. I place a 2-length corridor here (I’ll replace it with a Security Gate later) and connect the Tractor Beam.
To the Tractor Beam, I connect the Hangar, and on one side of the Hangar, I place a corridor (2-3 sections maximum) leading to the Refinery. If you’re not using Stahl Union or Framen as your starting corp, you can eventually line this corridor with Deposit modules, but one will suffice for now. On the opposite side of the Hangar will be your Workshop, of the highest tier you have. This makes the supply chain of Hangar -> Deposit -> Refinery happen as smoothly as possible. Between the Hangar and Workshop, you have four charging spots for bots, so your Robotniks shouldn’t have to head back to the Bridge between tasks. Having the Workshop here also makes switching loadouts before or after expeditions simple. When I have a Workshop III there, I’ll connect another Security Gate and a Beaming Station. These will be heavily reinforced with turrets and energy barriers. There is some room for variation in this design, mainly in where you connect your Hangar to the Tractor Beam, since the placement of the other modules on the deck will revolve around that.
This is still relatively early in a run, but it’s a good example of how I plan my design. In this case, the Hangar’s opening is facing the front of the ship.
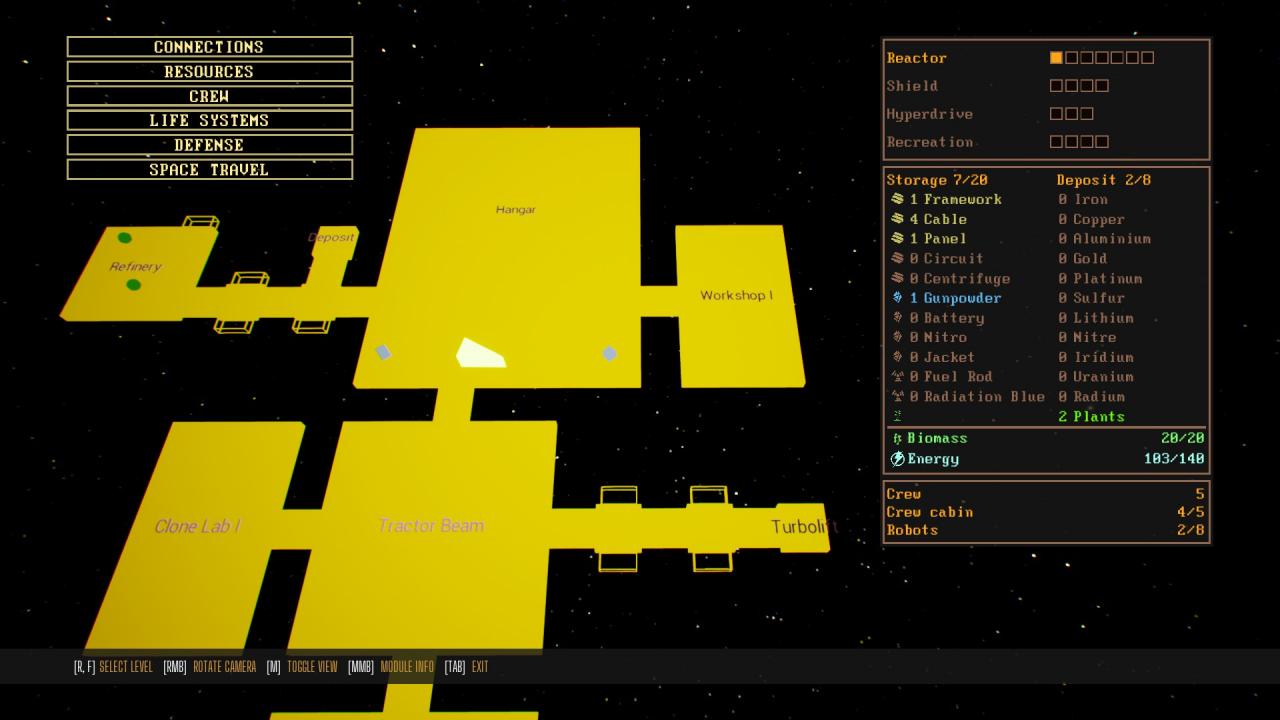
If you’re playing as Stahl Union or Framen, put the Hangar where the Clone Lab is, with the opening of the Hangar facing to the left. Then you can connect the large Deposit to the Hangar, and the Refinery to the Deposit without the need for the additional corridors as pictured above. The Workshop should still be placed on the opposite side of the Hangar from the Deposit.
Later in the game, I’ll have a Clone Lab III, Alien Research, and most importantly my Medical Research module on this deck. These will branch off from the Tractor Beam. Most of my time on the ship will be spent on this deck, and each of these modules will increase the overall chances of survival.
A different ship, and this one’s a bit further in the game. I’d added a third corridor leading to the Refinery to allow for additional Deposit modules.
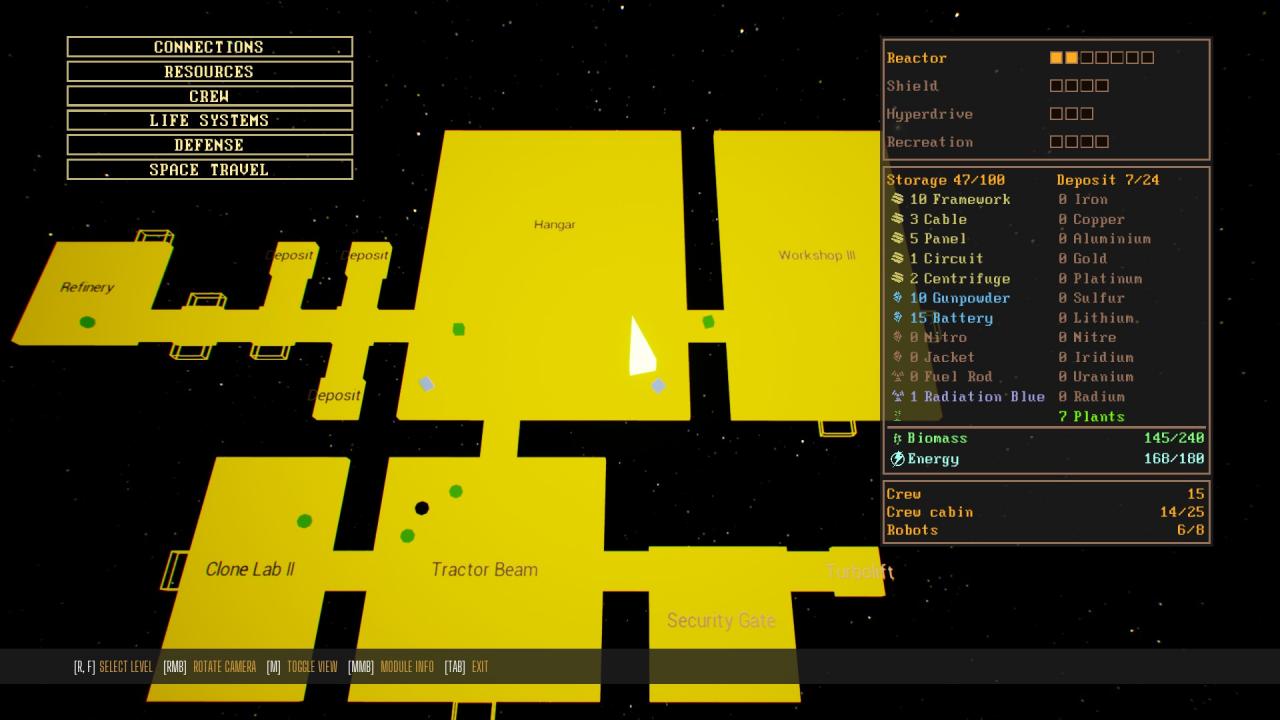
A note about the Security Gates here: I strongly advise you to manually close them whenever you’re working on the deck, and close them behind you when you leave. I already mentioned why you should NEVER leave the Tractor Beam running unless you’re in the area to monitor/speed up things, and this is an extension of that mentality. It may sound like a tedious waste of time to do so, but doing this will keep MOST of the potential threats to the ship contained to this deck, and it will mean you’ll have to spend less time sweeping the decks for potential threats.
Regarding Storage Modules:
Unlike Deposits, Storage modules can be built anywhere on the ship, and have zero risk of crates spawning spores or aliens. Resources are beamed directly to them from the Tractor and Refinery, so you can (and should) keep them OFF the Resource Deck.
The Bridge Deck:
The Bridge MUST be keep intact. If it’s destroyed by any means, the game is over. Protect it with turrets, energy barriers, and a Security Gate. Any modules that are cut off from a power connection to the Bridge will lose integrity and eventually explode. Rebuilding destroyed modules immediately can restore the connection before any losses occur. In my design instructions above, I accounted for the Security Gate to help protect the Bridge, and replaced the initial two corridor modules as pictured:
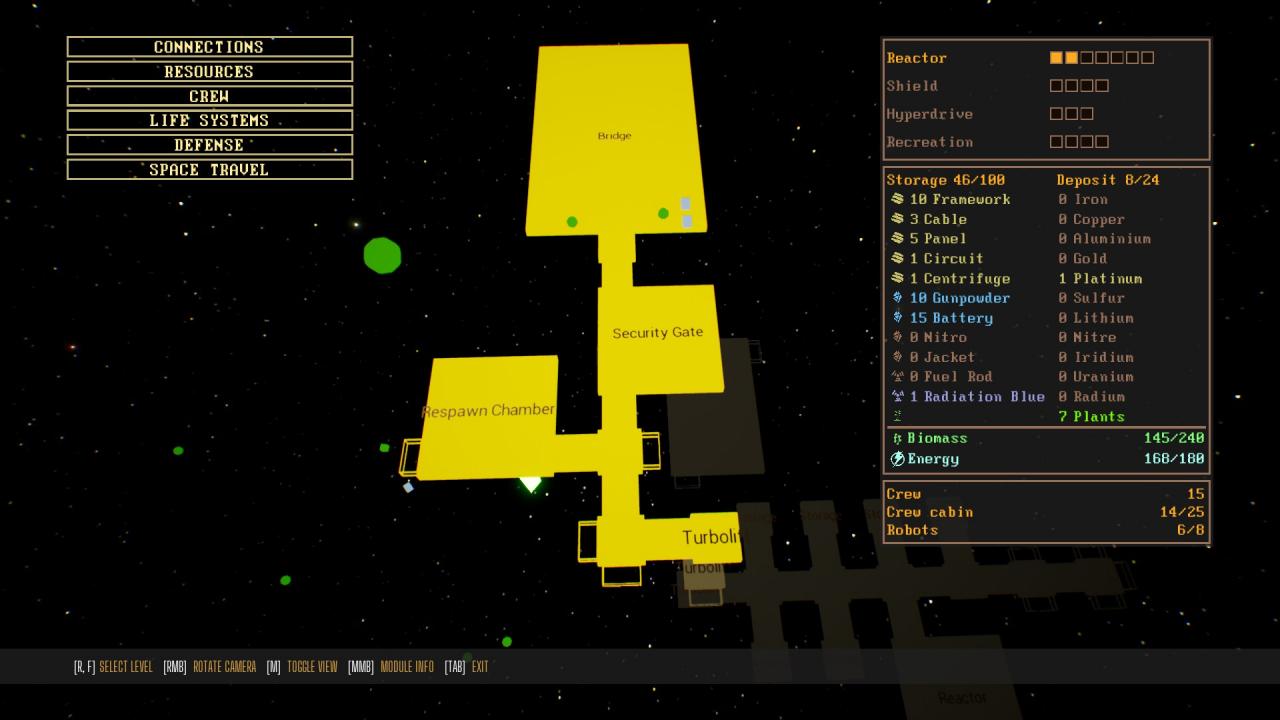
The Respawn Chamber is in a prime position to have the next captain run to the Bridge and jump away if things have gone poorly. Across from the Respawn Chamber there will be a Beaming Station for faster access to the other decks, and I still have plenty of building options on this deck (Reactors, Shields, etc.) if I choose.
The Crew Deck:
I devote one deck as a Crew deck, featuring all of the Crew Quarters modules and at least one Biotank. The Biotank provides access to the tunnels under the other modules, so you should not need to add an Access module here. This deck gets a Decontamination B module (The B variant is more expensive than A, but deals more DPS to mobiles) directly connected to the Turbolift (again, build two corridor modules initially, and plan to replace them later). The Decontamination Module is reinforced by at least two pairs of energy barriers (a pair each top and bottom, protecting the power nodes from attack) and turrets, also placed top and bottom. These defenses will buy you precious time in the event of a disease outbreak.
“Why not use a Security Gate here?”, you might ask. If the Gate is left open, spores can float freely through it. Spores that are on this deck will most likely come from the Crew Quarters, rather than from the Turbolift. The Decontamination module will kill the spores, while the barriers and turrets will kill or at least slow down any mobile aliens. It is ironically counterproductive to your containment efforts if a Security Gate located here closes automatically, and sick clones can’t reach a bed. More on that topic in the section on diseases.
You may opt to add a Beaming Station to this deck, and I usually do. Just be sure to place a Decontamination module between it and the rest of the deck, and fortify it as described above. You can scatter additional defenses around the deck if you feel it’s needed, but if you play very carefully, you probably won’t need them.
The Greenhouse Deck:
This is the top deck. It’s primarily just for the Greenhouses, but I have at least one module here with tunnel access – a Biotank works. I’ll add a Beaming Station later. This deck doesn’t require fortifying, surprisingly enough.
“Modules, How Do They Work?”
- Modules need an unbroken chain of modules leading back to the bridge. Destroy one module, and the ones disconnected “behind” it will lose structural integrity, biosphere, and then eventually explode. Replace any destroyed or deconstructed modules ASAP, because whole sections of the ship can be lost if you take too long. Time keeps flowing while you look at the ship map, and there is no way to “tactical pause” the building process.
You can build/rebuild modules from anywhere on the ship. You do not need to travel to other decks to rebuild, but you may need to restore key connections to your storage modules first.
- Power: Each module has at least one power node, and if more than 50% of the power nodes in a module are damaged, it loses power. It begins to lose structural integrity, biosphere, and then will explode. Restoring broken power nodes in time will prevent this destruction. Modules that have only one power node (e.g. corridors and Turbolifts) are particularly vulnerable to destruction because of this. To be clear, if there are four power nodes in a module and only two are damaged, the module will maintain power. Security Gates function on this principle when the iris is locked.
- Reinforcing modules will make their power nodes more resilient against damage. This can get rather expensive, so prioritize reinforcing your high risk areas and critical junction points first. Reinforcing will only buy you time to get there and deal with threats. Fortunately, once a module is reinforced, any repaired nodes will return to their reinforced state.
- Damaged power nodes are easy to find, once you know how. Visually, they turn red and give off sparks. That sparking can be easily heard, and it does get louder when you get closer; it can help you track them down. The Awareness alien ability will highlight damaged nodes within its radius, and higher tiers of the ability will increase the effective range. You can even spot broken nodes on other decks, if you’re close enough.
- Turrets and Energy Barriers inside destroyed or deconstructed modules are lost forever. Ones placed immediately outside the doors to these modules will also be lost. Pick them up and move them if you need to deconstruct and replace a module. For better or worse, any lichen present will also be destroyed, so be ready to farm more Leven if the module you just deconstructed is on your resource deck.
Any clones or bots in a module that you deconstruct will remain intact, they’ll just be teleported to safety. If the module is destroyed, so are they.
- Environmental Hazards like asteroids can utterly wreck your modules, and the ones that take damage are random. Shields will reduce the severity of most hazards, but they might not eliminate the threat. In this case, the shields will continually be depleted, and may eventually fail. If you NEED to visit a hazard sector to investigate sites, I strongly advise you to jump in, ONLY investigate the sites and/or farm for biomass/DNA/weapon upgrades, and then jump back out before the shields fail. After you jump, you can deal with any hostiles. I advise not gathering any minerals/plants, because you have to focus on getting back to the bridge ASAP.
To go into a hazard sector without sufficient shields is just asking for trouble. Ideally, you want four shields, as soon as you can afford the minerals and power costs.
About the Resource Collection Tool
Things you can collect with it:
- Biomass – Bright green in color, this heals you slightly when picked up. If on the ship, it’s added to the ship’s Biotank(s) as long as there is space remaining. If on an expedition, it’s added to the harvester’s biotank (20 biomass storage capacity by default, 30 if the harvester biotank upgrade has been found.) A quick protip: If your biotank is full and you’re injured, first use the health station to heal, and then pick up any available biomass. Healing at a health station even once gives you far more HP than a few units of collected biomass.
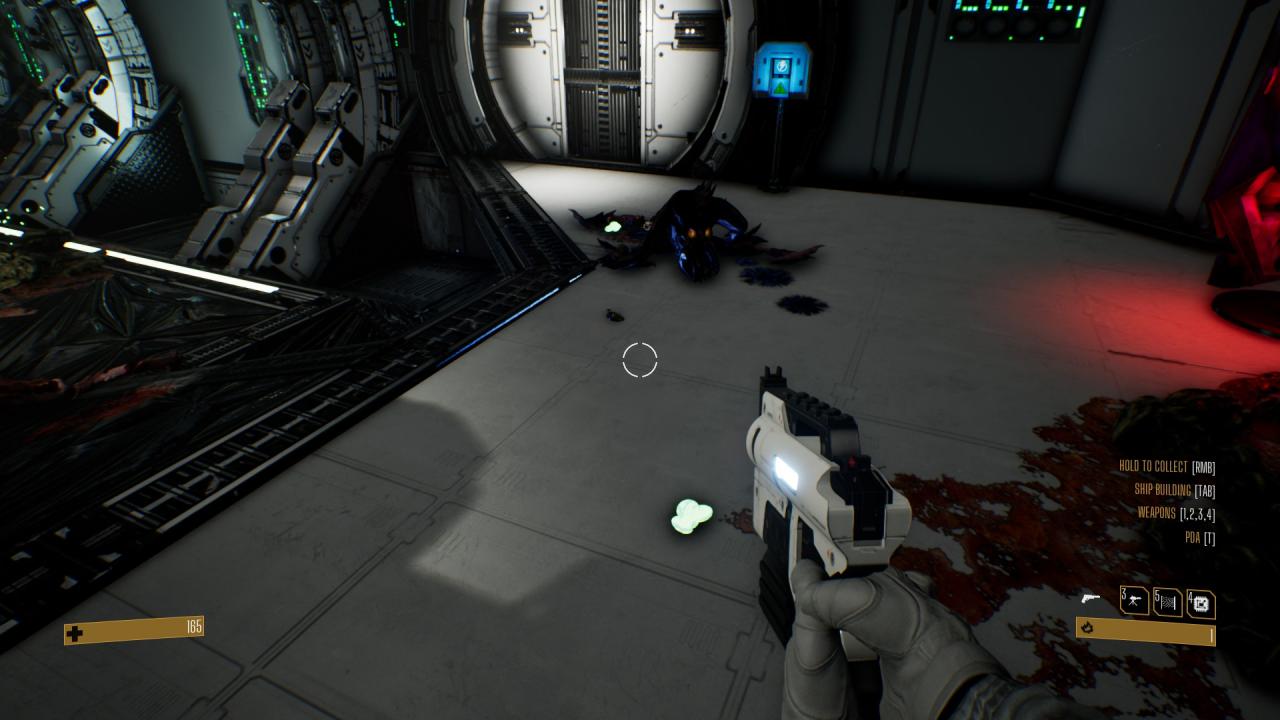
- Alien DNA samples – used for researching and upgrading the tier of your clones.
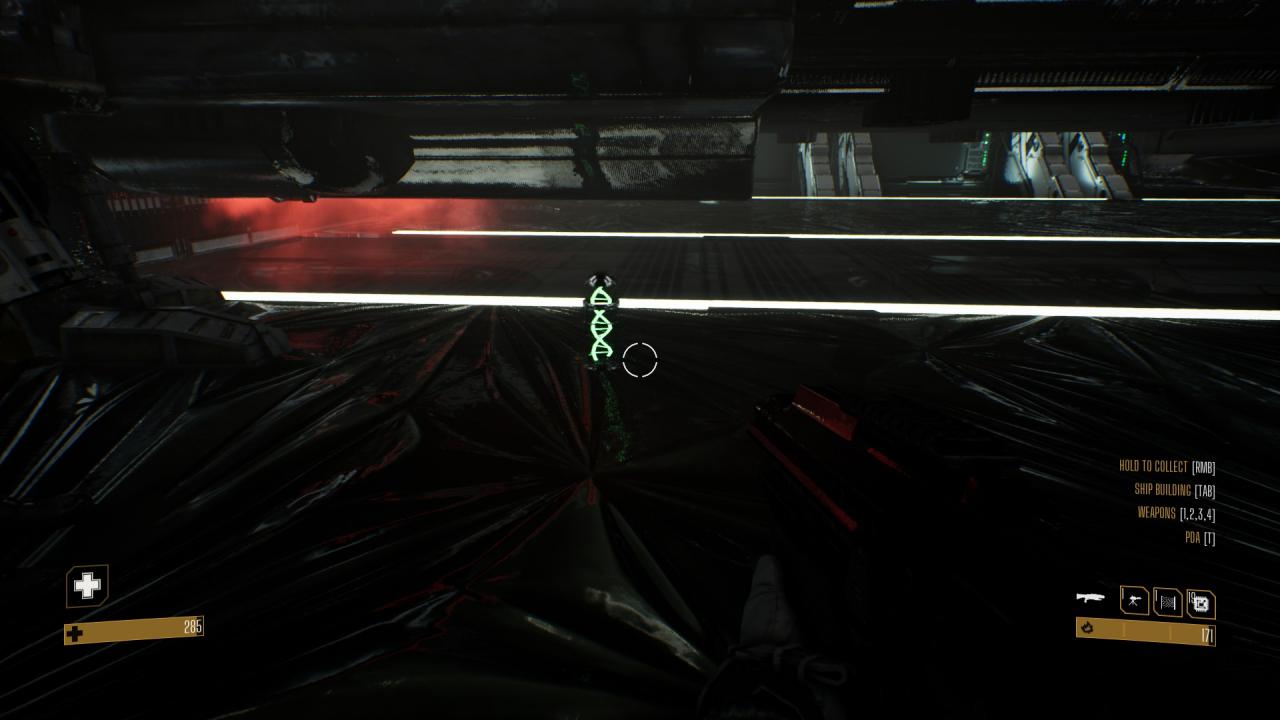
- Weapon Upgrade samples – not all weapons can be upgraded.
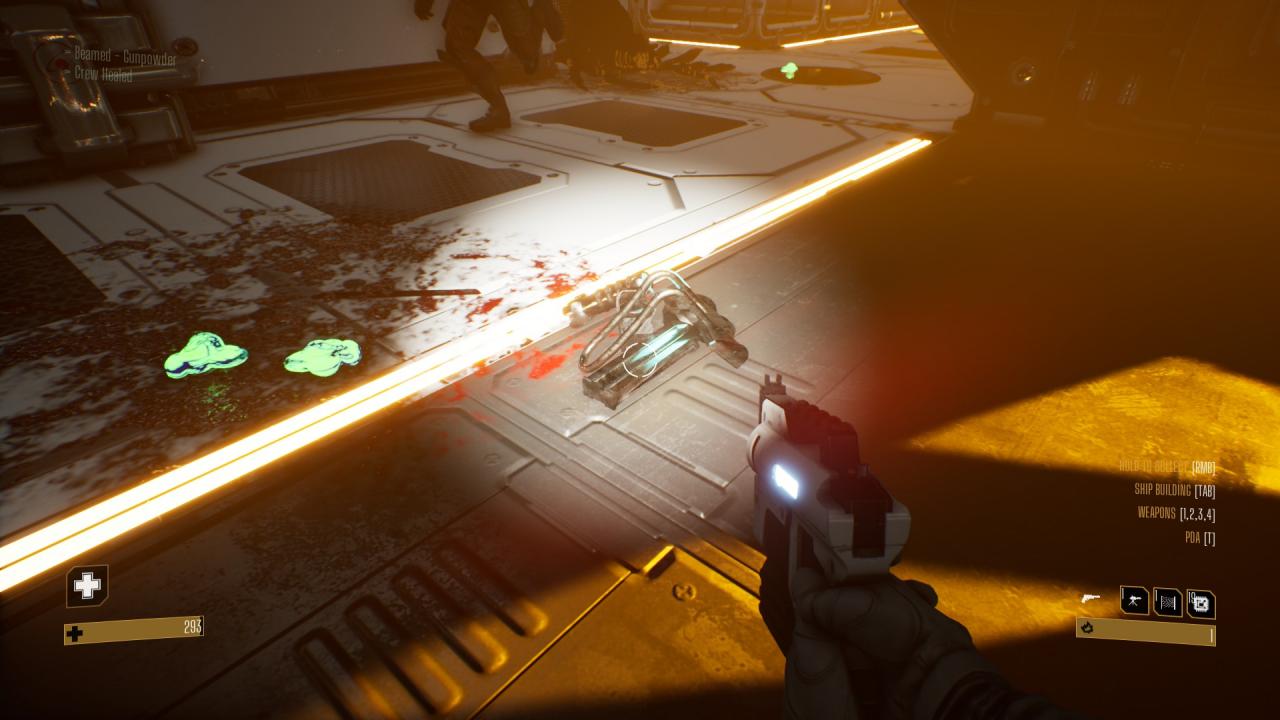
- Alien Ability samples – required for unlocking active skills for the captain’s use. These look like the DNA samples, except red in color.
- Disease samples from sick clones – used in the Medical Research module, see the Disease section. These look like biomass, but are pink in color.
- Ammunition Boxes – often found near sites, or dropped by some aliens.
On expeditions only:
Gather minerals and plants from their corresponding nodes. The display will indicate what you’re collecting, and if it’s a plant, how many points of biosphere the plant will provide. I advise NOT taking tier I plants unless in an emergency (tier I plants provide only two points of biosphere) because they take up as much planter space as a tier II or III plant, and that ultimately means you will end up destroying a large number of plants to support a biosphere change later, or you will need to support more greenhouses.
Capturing Aliens:
This only works on the ship, and only if you have at least one unoccupied cell in an Alien Research module. This is NOT recommended against low tier aliens, because the cost to research them is one Radiation Blue per “research session”, and low tier aliens might not survive the entire procedure. This is ideally done against tier III aliens with an Alien Ability (these are tougher than their standard counterparts, and have a bright red aura to distinguish them from the rest.) If all the cells are occupied, the target is killed; while this may seem like a way to save on ammunition, it takes a long time to capture targets, and the basic pistol is faster. Also note that some aliens are completely immune to capture; if you see the alien’s species in the display, that alien may be captured.
Leven is Love, Leven is Life!
The life cycle is usually Spores -> Land on a tile, becoming Lichen -> grow into their mature/egg state -> spit out new spores and hatch into more mobile creatures when the egg is disturbed. New spores they spit out keep trying to land on more tiles, and the process is effectively exponential if they are allowed to proceed undisturbed. This usually leads to infestations.
In more detail:
“Spores” always take the form of a green gas, and you won’t know for certain which type of lichen it is until it lands. Whenever any spores (harmful or not) are spawned, they will try to find a nearby eligible tile on which to land, then disappear to form a “lichen” or “slime” in that tile a few seconds later. Spores can travel within a finite radius from where they were initially spawned. Some lichen types look very similar at first, and there are further variations in appearance depending on where it lands. The good news is that the nearly mature forms have traits that you can distinguish from the others, and with experience, you can learn which ones to keep alive. Once the lichen fully grows, it’s called “mature” or an “egg” – and it’s in this state that it can spit out new spores, and will hatch if the egg is disturbed.
To further complicate matters during an infestation, some lichen has a chance to regrow on destruction, and most of them will spit out spores on destruction regardless of how mature they are, which means you can potentially destroy the same type of lichen several times in the same exact tile over the span of a few minutes. That’s not even factoring in any hostiles that spawn because of fighting nearby…so do try to keep the hostile lichen in check.
Some aliens will plant their own unique lichen in a tile, and if it’s allowed to mature, more of that alien will spawn from that tile. These are Liquid eggs, and two more Liquid appeared from each one. The new Liquid tried to plant more of their eggs. I didn’t see them spit out spores, but they’re dangerous enough as it is!
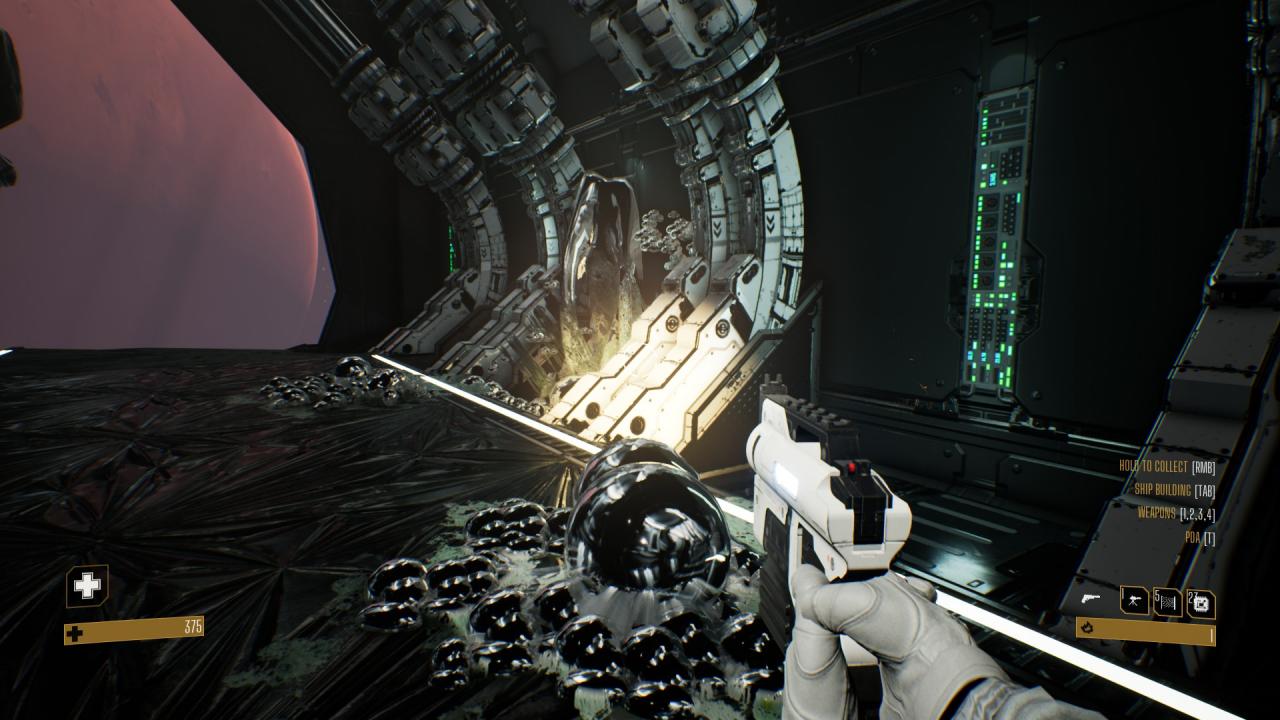
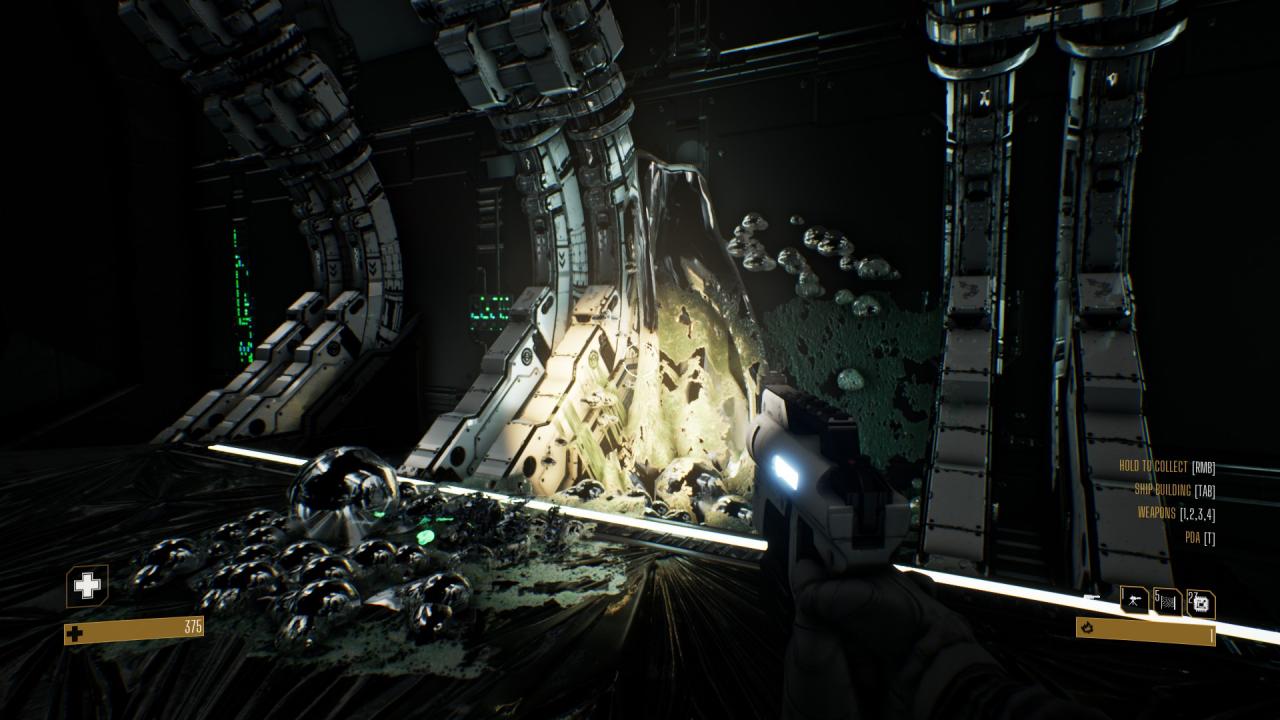
Now, on to the helpful ones!
Leven
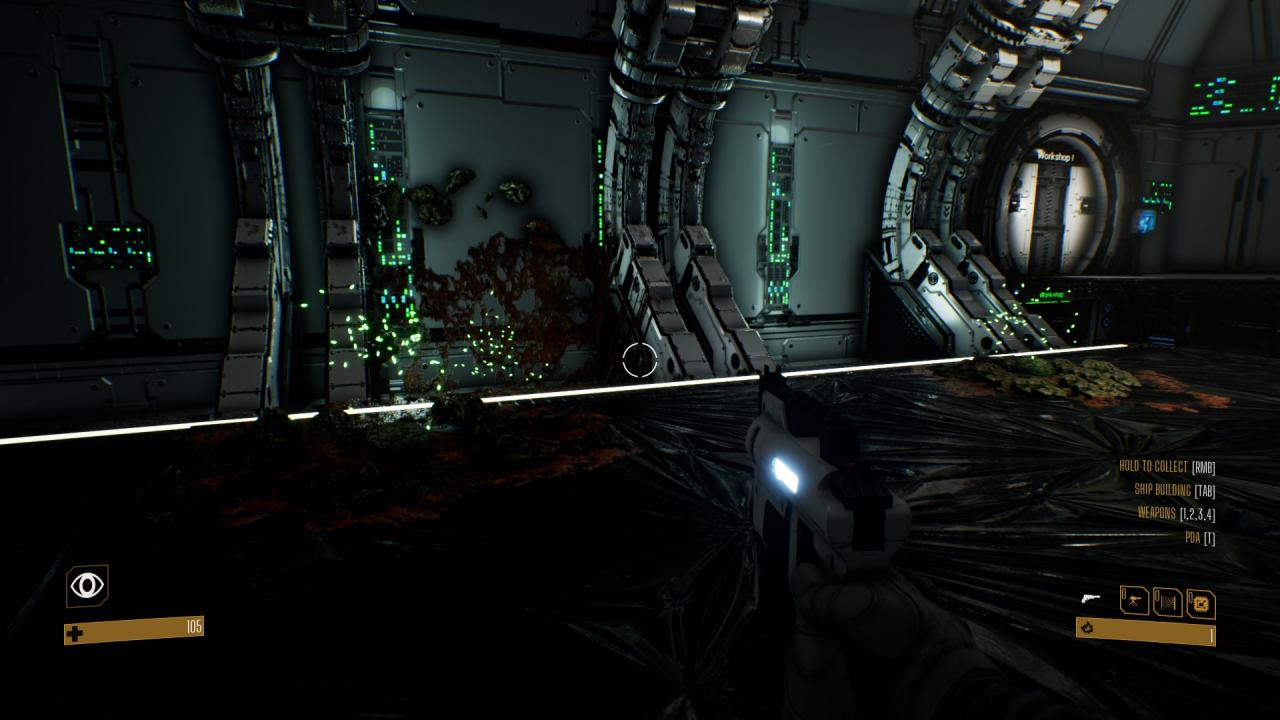
Initially the only beneficial lichen in the game, this lichen appears green, with spherical growths. When fully mature, there will be green fireflies flitting around above it. Leven is literally life; IT HEALS YOU, and any clones that walk near it. Hostile aliens will in fact try to attack the Leven tiles in order to let hostile spores land there. I suggest you protect them with turrets if possible. I also strongly suggest you farm Leven early. Leven wants you to farm it. It is waiting for your harvester right NOW. If you have its metadata, head to a low threat planet on which it lives, and send your clones on repeated expeditions to that planet (yes, even if it’s empty of resources) in order to bring back more Leven spores. Leven is great, but it doesn’t really produce new spores on its own. You’ll need to farm it. You can do the same with the Tractor Beam, if you find Leven in the debris. If you can cover most of your high risk areas on the resource deck with Leven, it will be much more difficult for hostile spores to take over!
Warning: Depending on your custom galaxy settings, Leven might not be the only lichen found in a given place. The spores in crates might be Leven as well, but this is also not guaranteed.
It doesn’t have the fireflies yet, but that is indeed Leven – the central green egg is a distinguishing feature. It’s only the lighting that makes it look more “brown” than green.
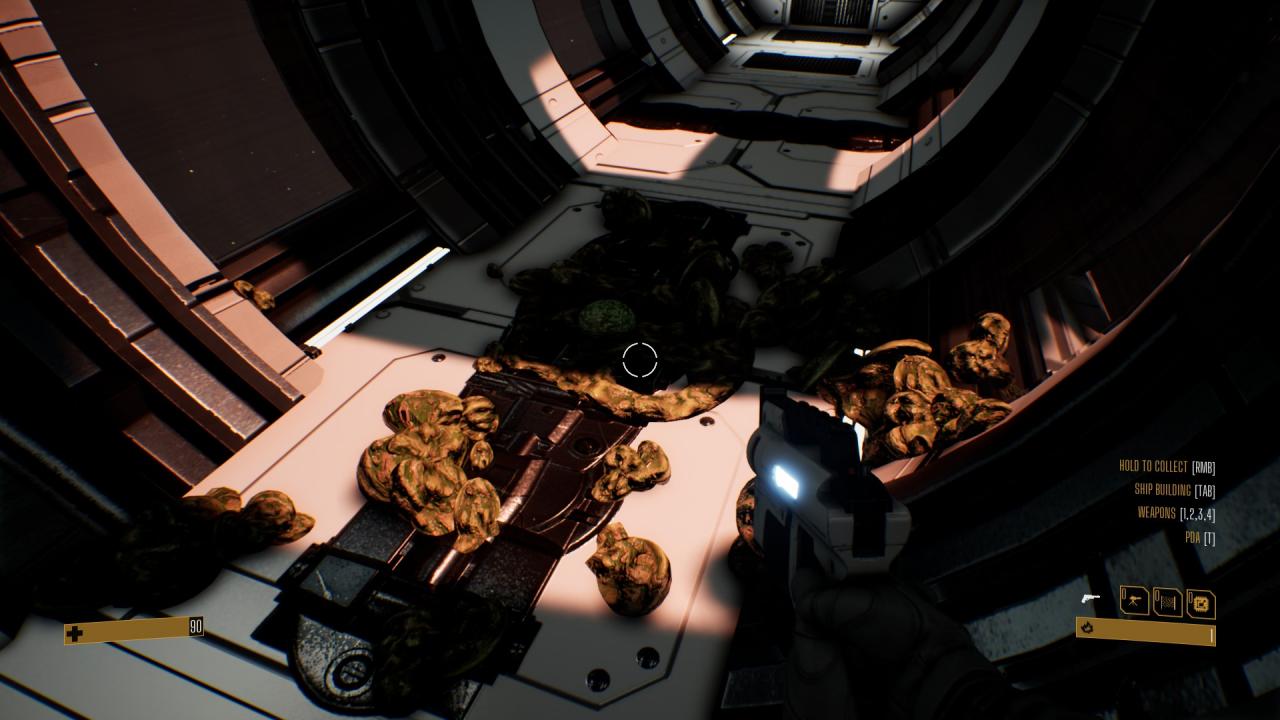
When mature:
The results of Leven farming:
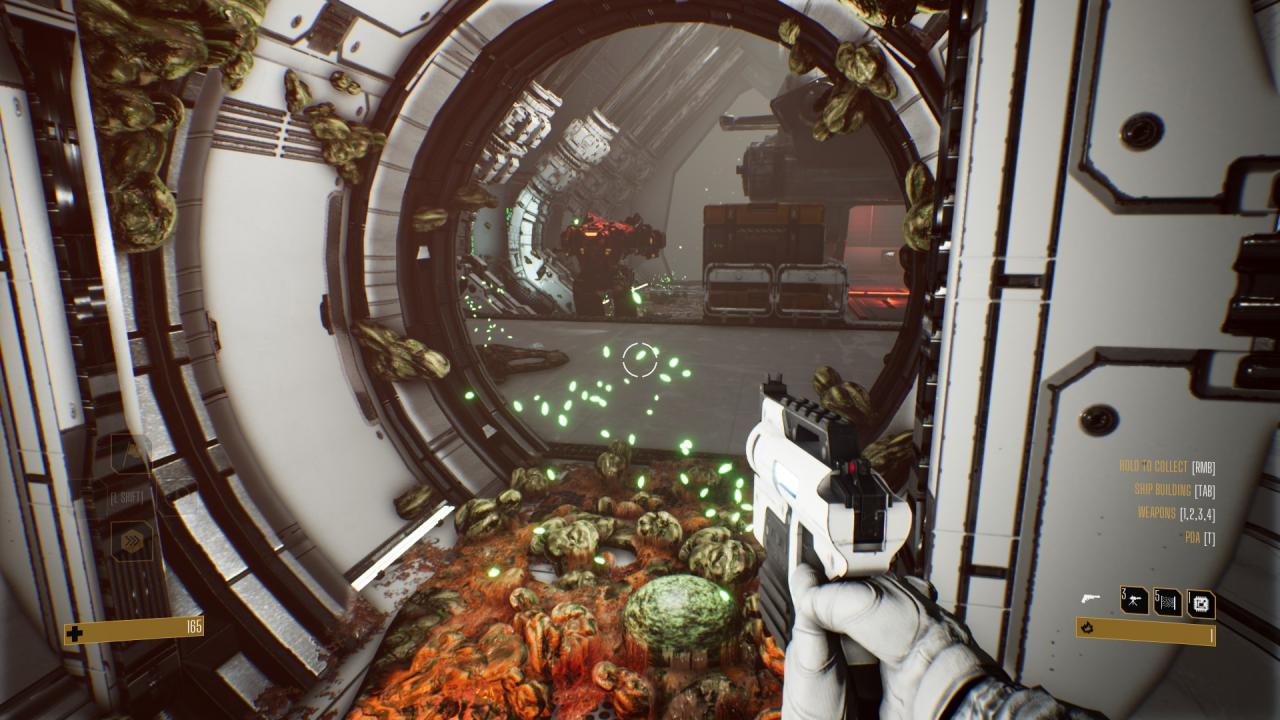
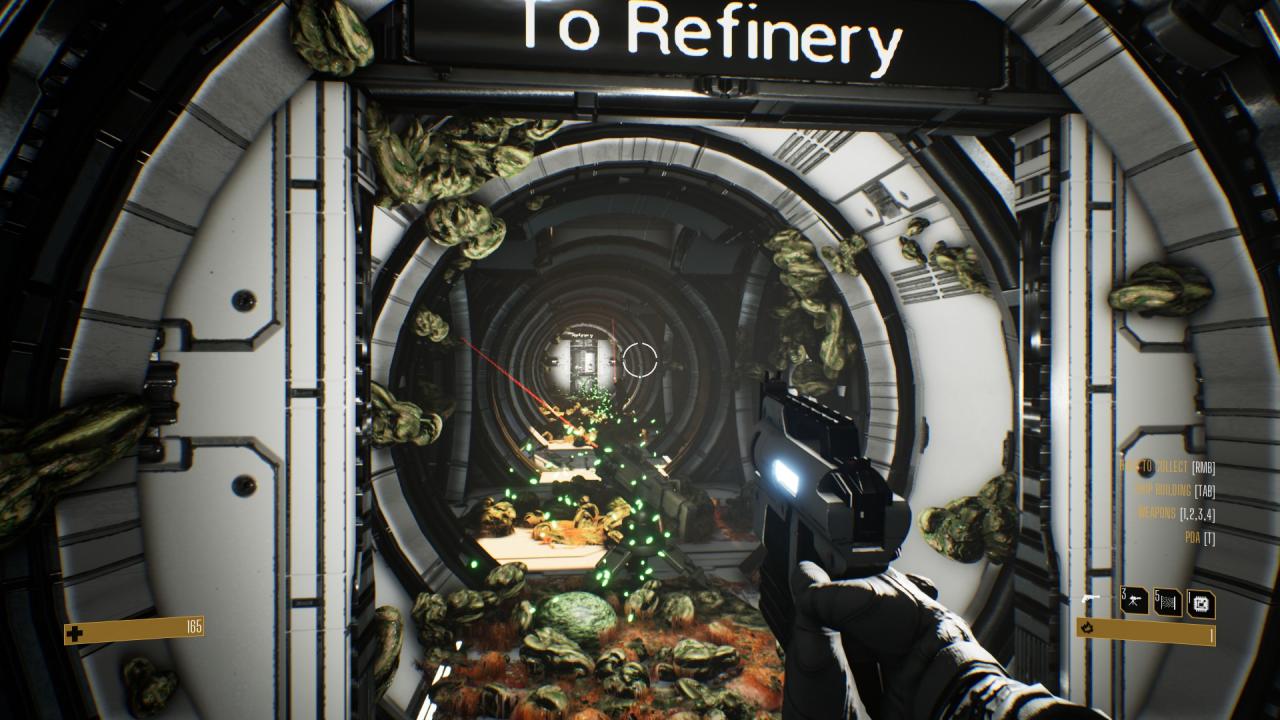
Guston
This one isn’t quite as useful as Leven, I’ll admit. Walking near it charges your active alien ability. Since clones can’t use alien abilities, it doesn’t help them – aside from keeping hostile spores from landing there. It appears red and roughly spherical, similar to Leven. When mature, there will be red fireflies floating above it.
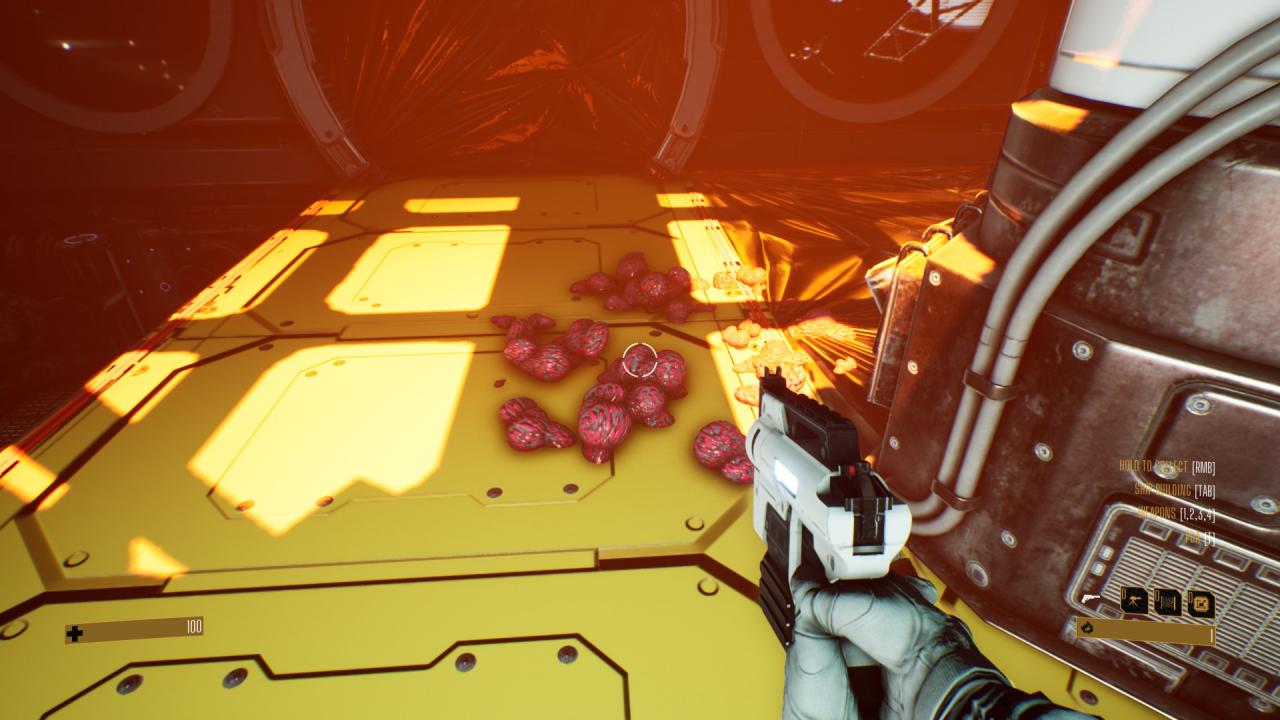
Protare
This one’s odd. Blue in color, when fully mature a shimmering portal will appear above it. Clones and aliens can walk over it normally, but if you walk over it, you’re randomly teleported to another tile with a mature Protare on it. You can’t control where you go, and if there are only two of them located close together as in this screenshot, it doesn’t really help much. Still, at least it’s not going to spawn something that will try to kill you.
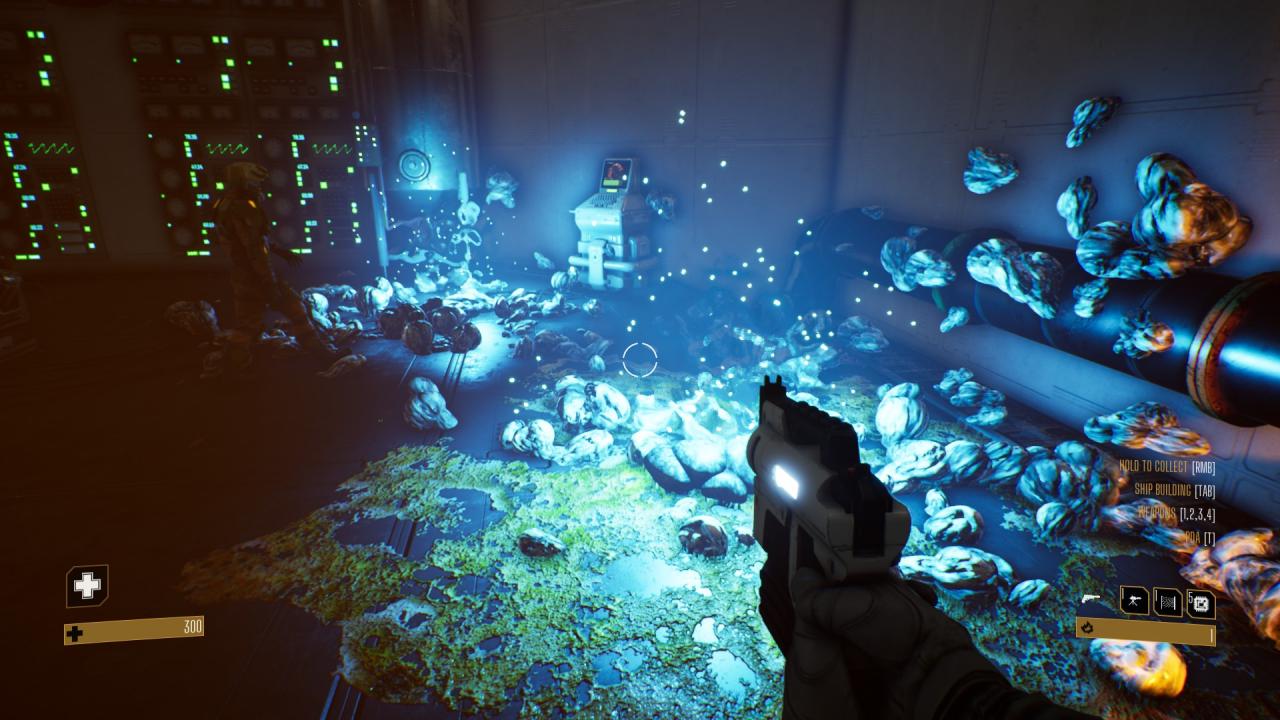
Diseases (or, “What Doesn’t Kill You, May Create Sudden Onset Spiders”)
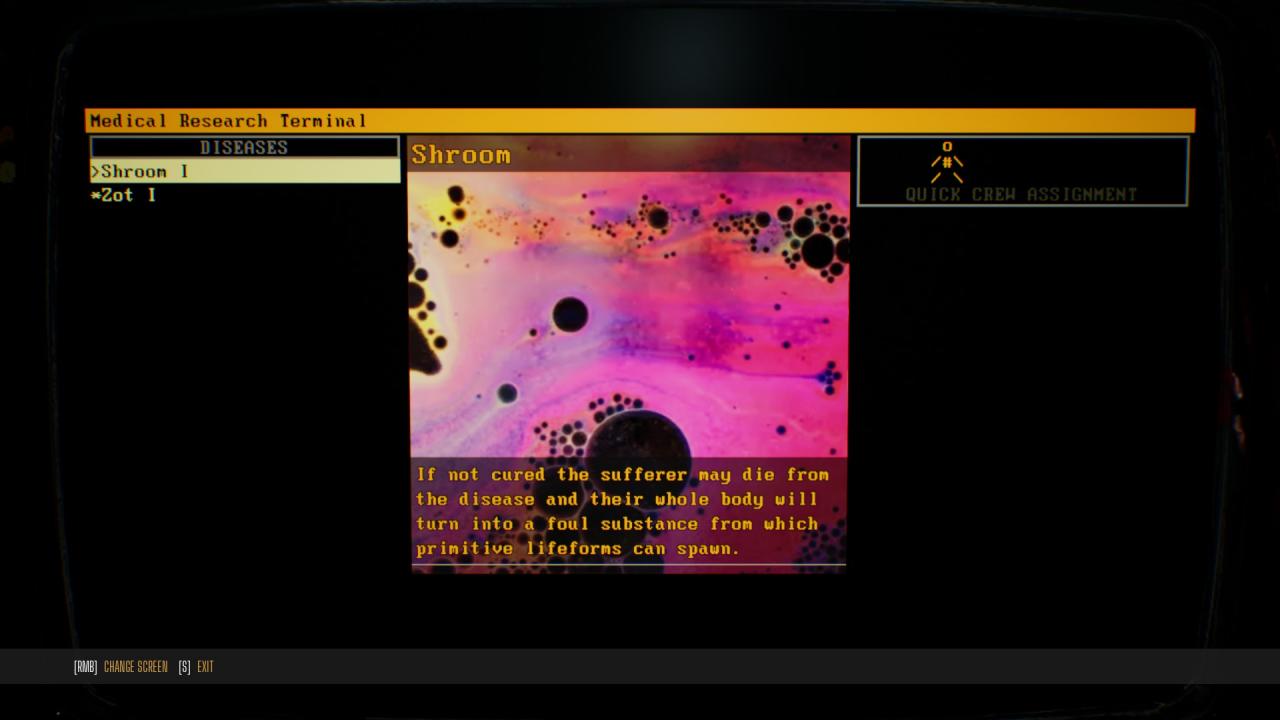
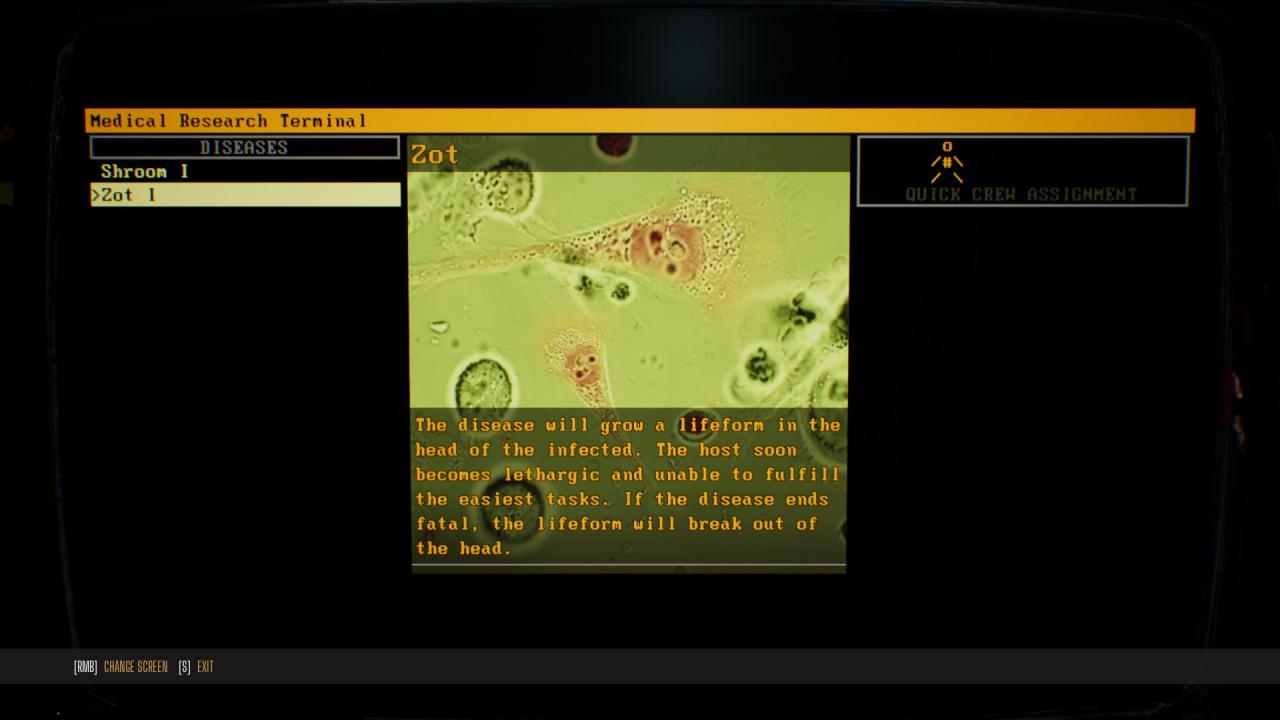
Shroom and Zot will cause the clone to spawn aliens on death, but these two diseases are relatively manageable. In either case, the time required to recover is the main problem.
Helix, on the other hand…it is the ruination of many players’ runs, and quite a few of my own included.
What makes Helix so dangerous is that every time an afflicted clone coughs or sneezes, another Helix lichen is created in that tile or one nearby. Bear in mind that they’re sneezing and coughing all the way to a Crew Quarters, and they KEEP coughing and sneezing while they’re lying down. If more clones become ill, and they inevitably will, the collective coughing and sneezing can create enough Helix to cover most of the ship. If that wasn’t bad enough, the Helix eggs create more Helix spores, and when disturbed, the eggs burst into arachnids. Five minutes is all it takes for Helix to spread throughout a deck, and within fifteen minutes it can be all over every deck.
Even if you’re prepared for this event, Helix is difficult to contain, and this is the reason I use the Security Gate in front of the Turbolift to enact what I call the Vaccine Protocol.
Before you begin, you need the alien location metadata for the disease you want to research. You also need a Medical Research module on the Resource Deck. You will also need three units of Radiation Blue per disease you wish to research. If you have all of that:
- Head to a low threat sector with the disease lichen present. Send all crew except for two clones off the Resource Deck, and manually lock the Gate. Assign the clones to the Tractor Beam.
- Use the Tractor Beam until you get ONE spore aboard, then deactivate the Tractor Beam. Confirm that it’s the disease you want, and then wait for the clones to get sick. Low Resistance but high HP clones are ideal here.
- Once a clone is sick, they will head for the Gate, but can’t leave…so they’ll stand next to the Gate. Alternate between collecting your disease samples and killing off any hostile lichen before it can mature.
- As soon as you have ten samples, run over to the Medical Research and research the disease.
- If it’s Helix, be ready to kill those clones now. If it’s not Helix, and they’re above 90 or so HP, you can probably let them live.
- Sweep and clear the deck twice before reassigning any clones and opening the Gate.
Rogue Ships (or, “Raiders of the Genesis Ark”)
If you have shields, those will need to be depleted before their boarding groups can get through. The shields might regain some integrity before failing again. Boarding groups can hit any location on the ship, which can make them difficult to contain. Once aboard, they have two retreat conditions. The first is met if you kill enough of them. The second is met if they steal enough resources and/or kill enough of your clones. In either case, their ship will retreat, and won’t chase you for a while.
This is only temporary, as there is no method to completely defeat a rogue ship.
So how do you get the 100 kills needed to unlock the Framen and Mechaincs corp starts? The kills have to be on your ship, so you farm them like we did with Leven.
- Have their location medadata, and head to a low threat planet with them.
- Assign a full complement of clones to your Hangar, Tractor Beam, and Workshop. Put any combat bots you have in the Hangar, and set up turrets in the adjacent rooms to help catch any that manage to get past the Hangar. If the turrets are inside the Hangar, you’ll burn through their ammo rather quickly, so this will save on some resource burn.
- Send repeated expeditions with just the clones to the planet (even if it’s empty of resources) and kill any who dare show up in the Hanger afterward. When I did it, I would initiate the next expedition before even dealing with the threats in the Hangar…which is easy enough to do with a low threat planet. You’ll probably end up with decent amounts of biomass, DNA, and ability/weapon samples by the time you get 100 kills.
Planetary Sites
The Motion Tracker II suit upgrade is HIGHLY RECOMMENDED. It reveals the locations of any sites present, as well as the location of the harvester. This is especially useful on planets with heavy fog, tall vegetation, large rocks, or crystal formations that obscure vision. Any sites that have been fully investigated on the current expedition will have their icon in the tracker dimmed.
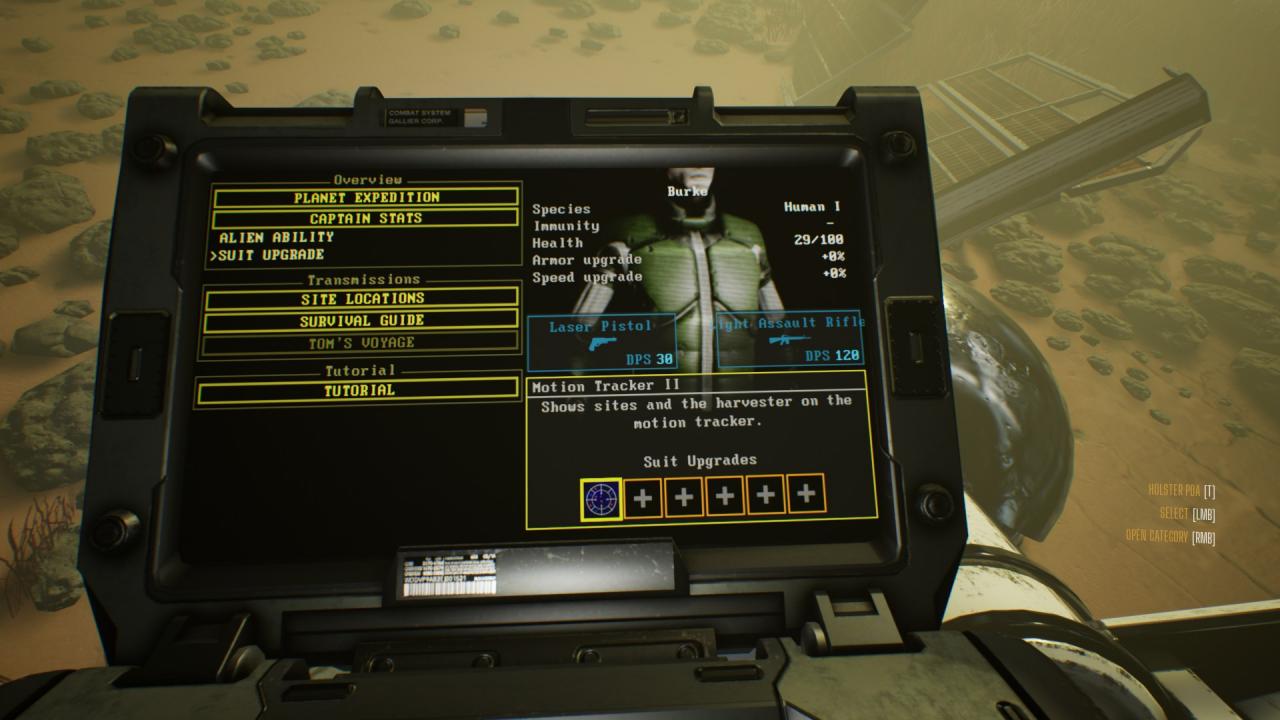
Sites come in two basic types. There may be between 0-3 ammo boxes in the immediate vicinity of every site, so look around for them at every opportunity. The first site type has an object that must be scanned, requiring you to stay within a certain radius of the site until the scan is completed. Once that’s done, a holographic object appears, and you have to interact with it to collect it.
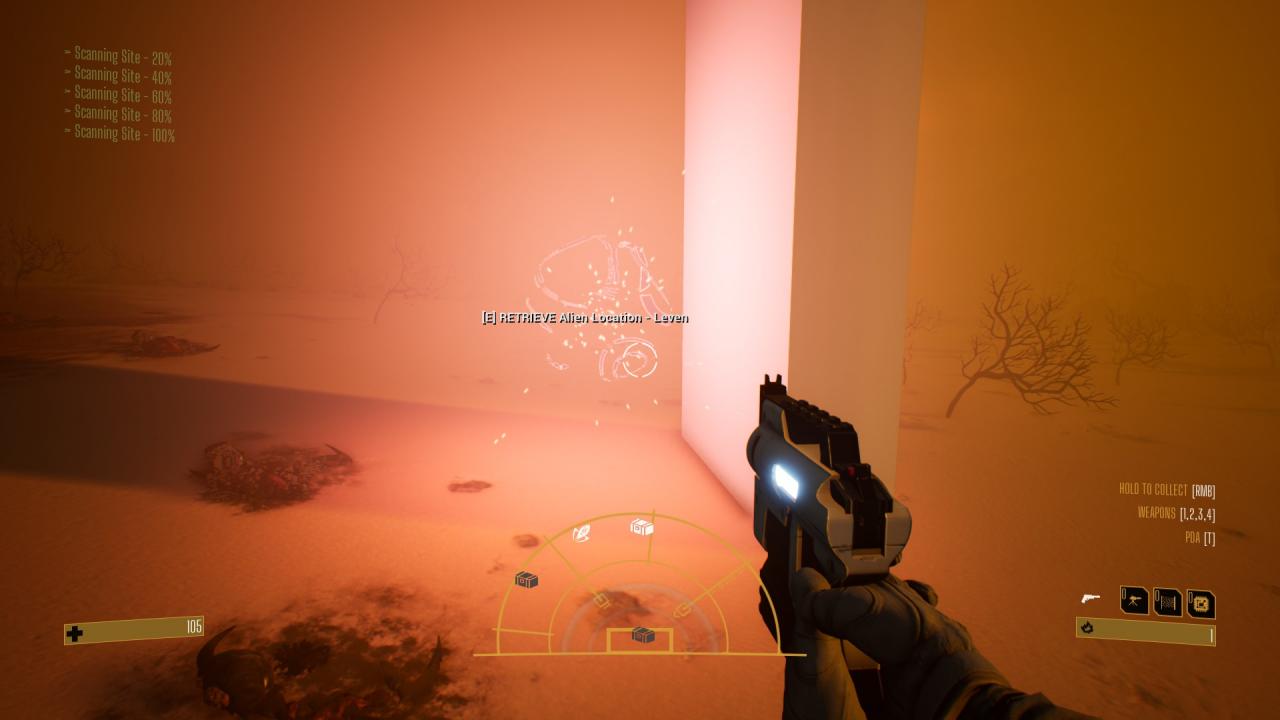
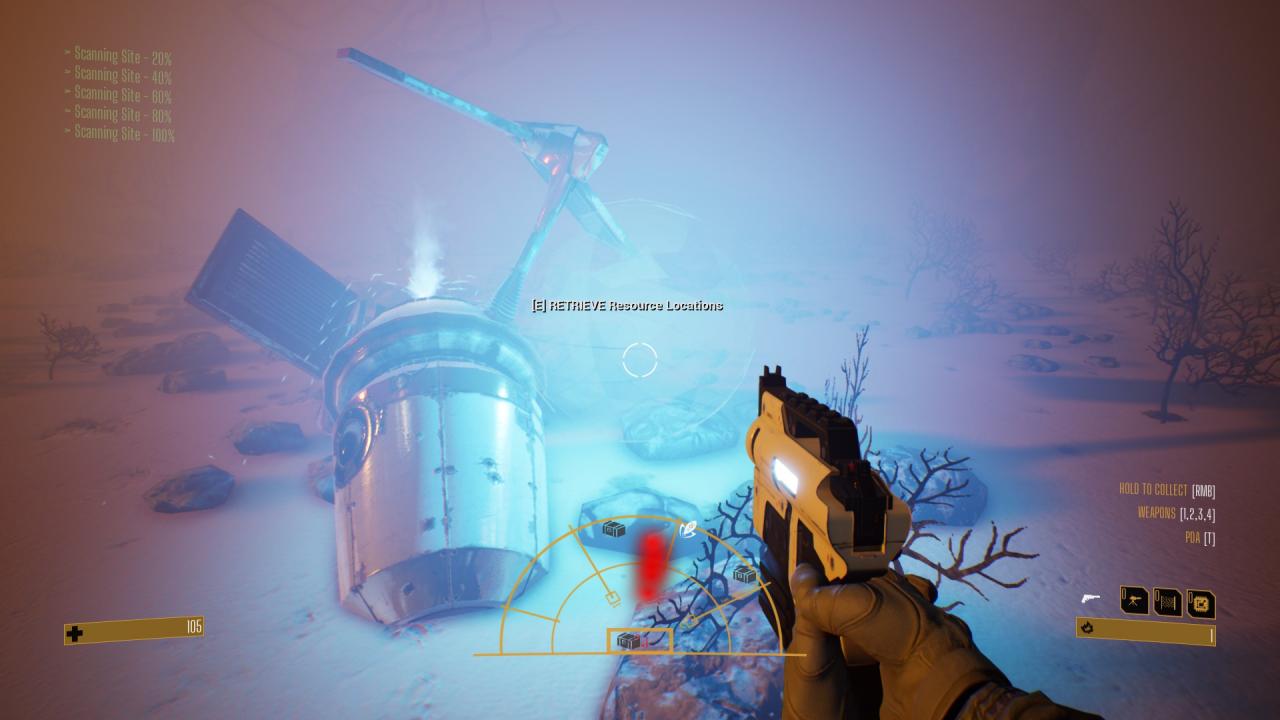
Some site examples, so you know what landmarks to look for:
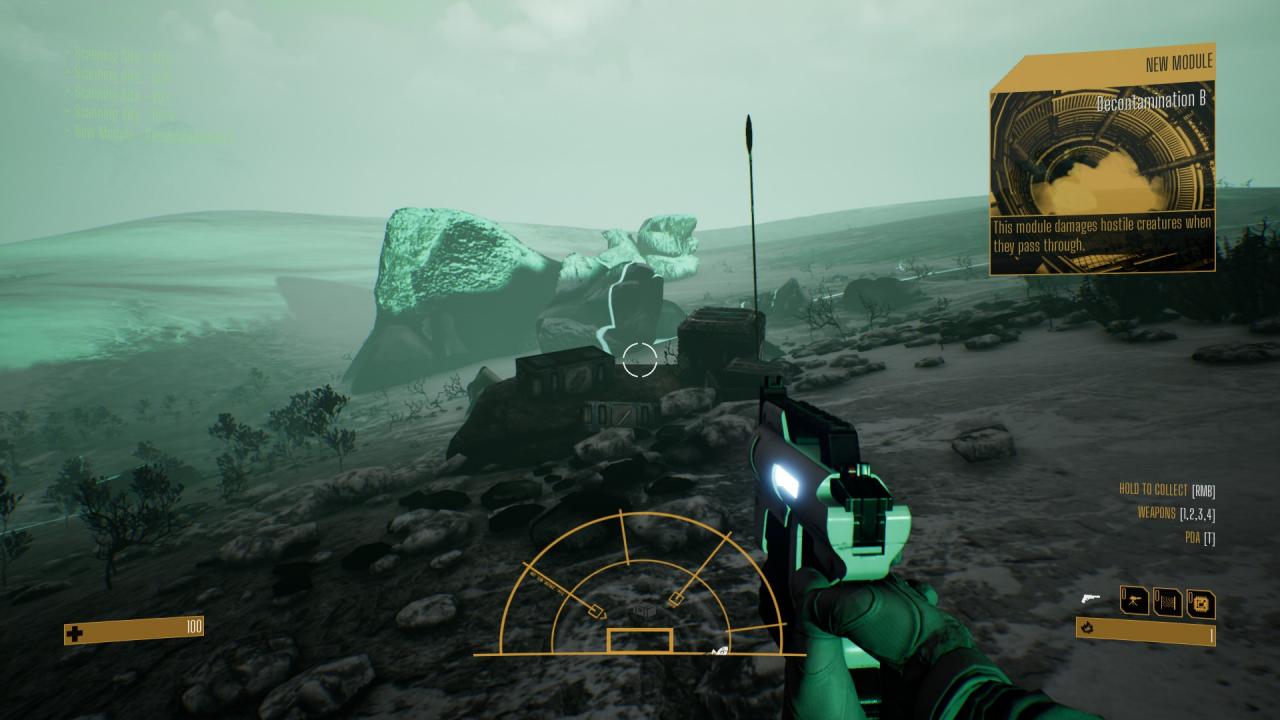
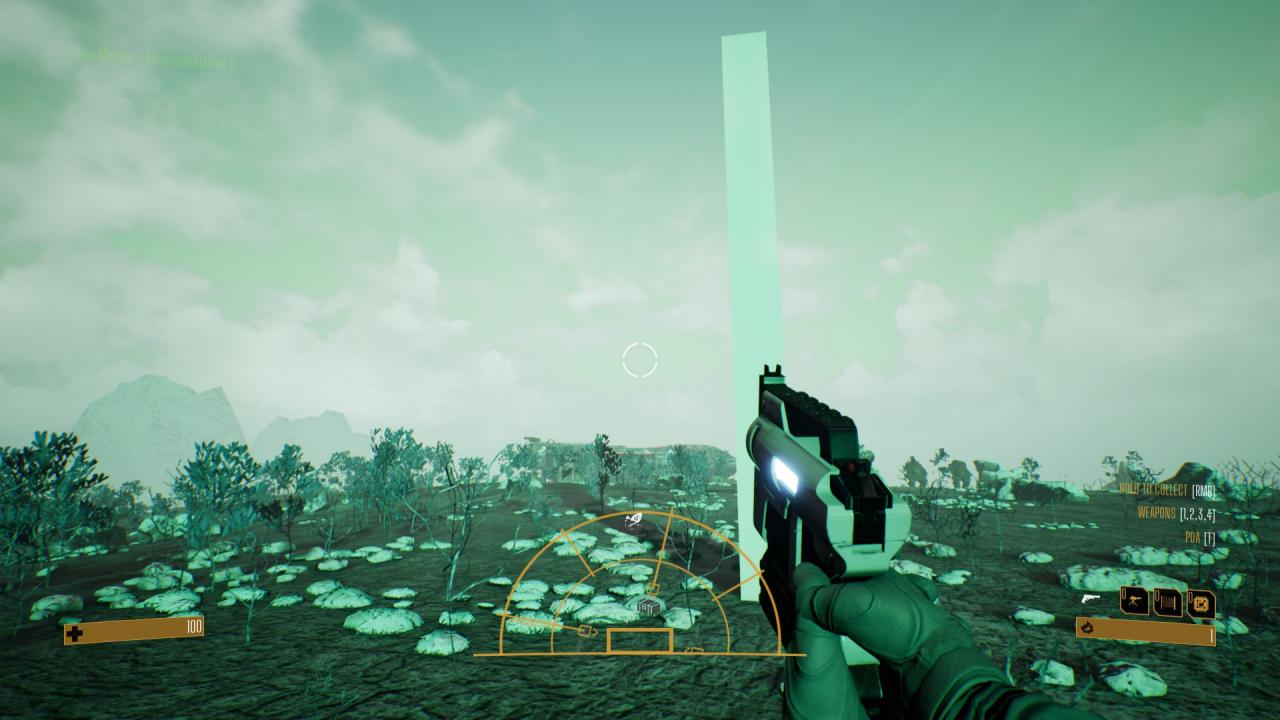
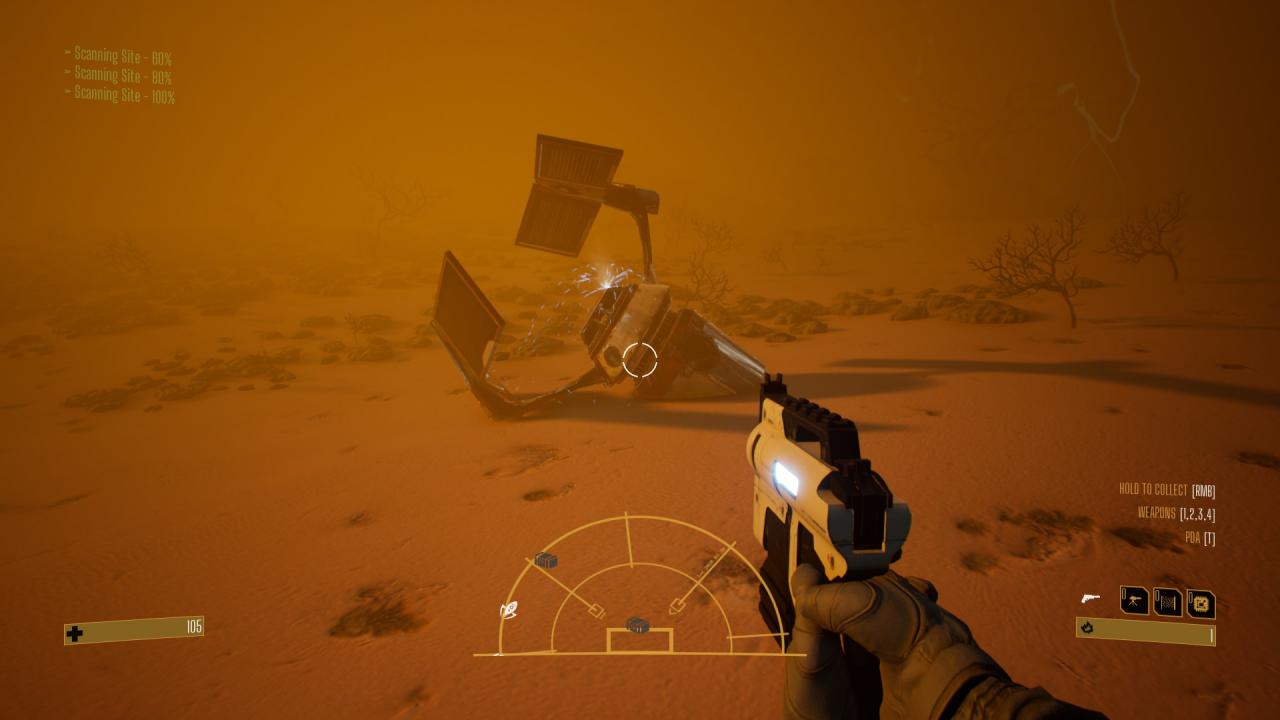
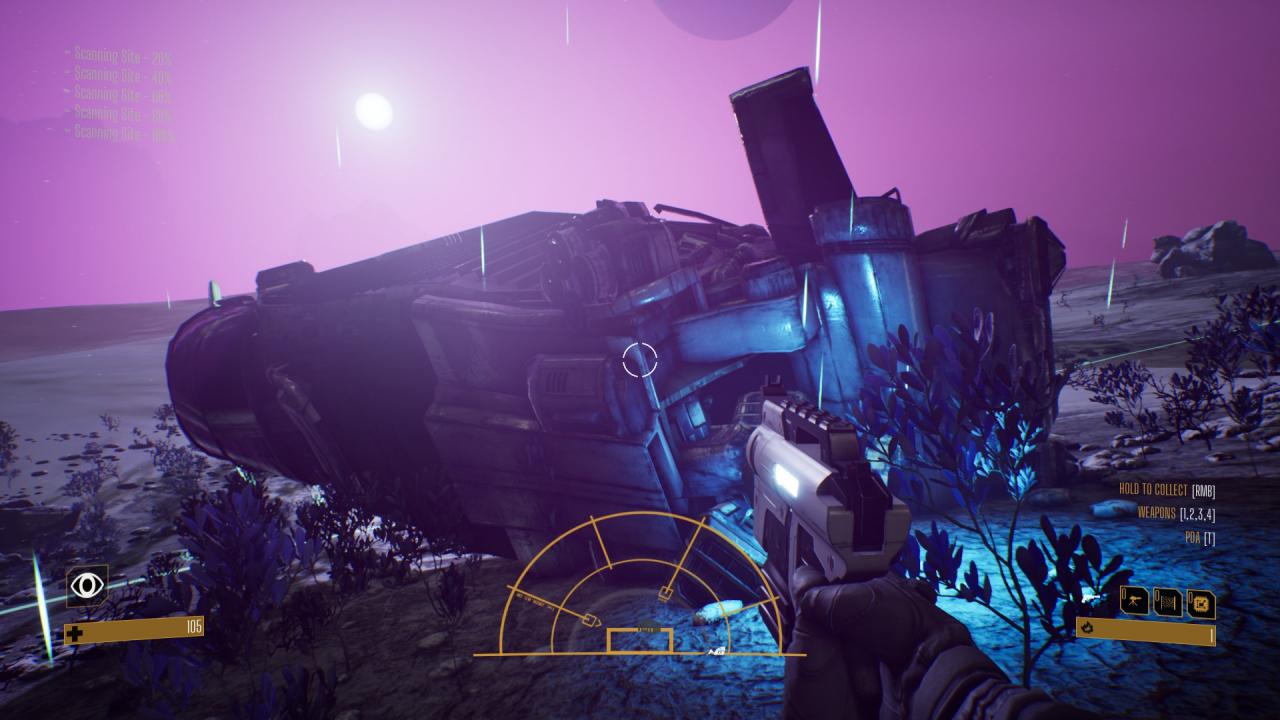
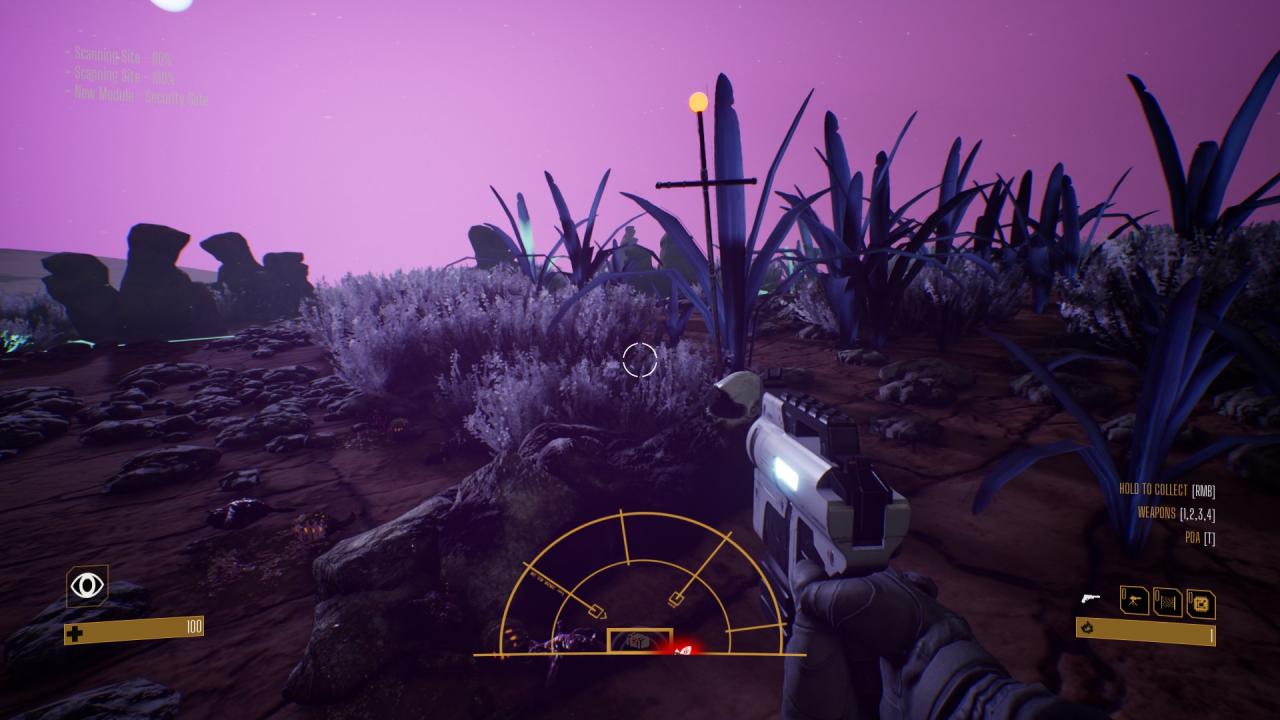
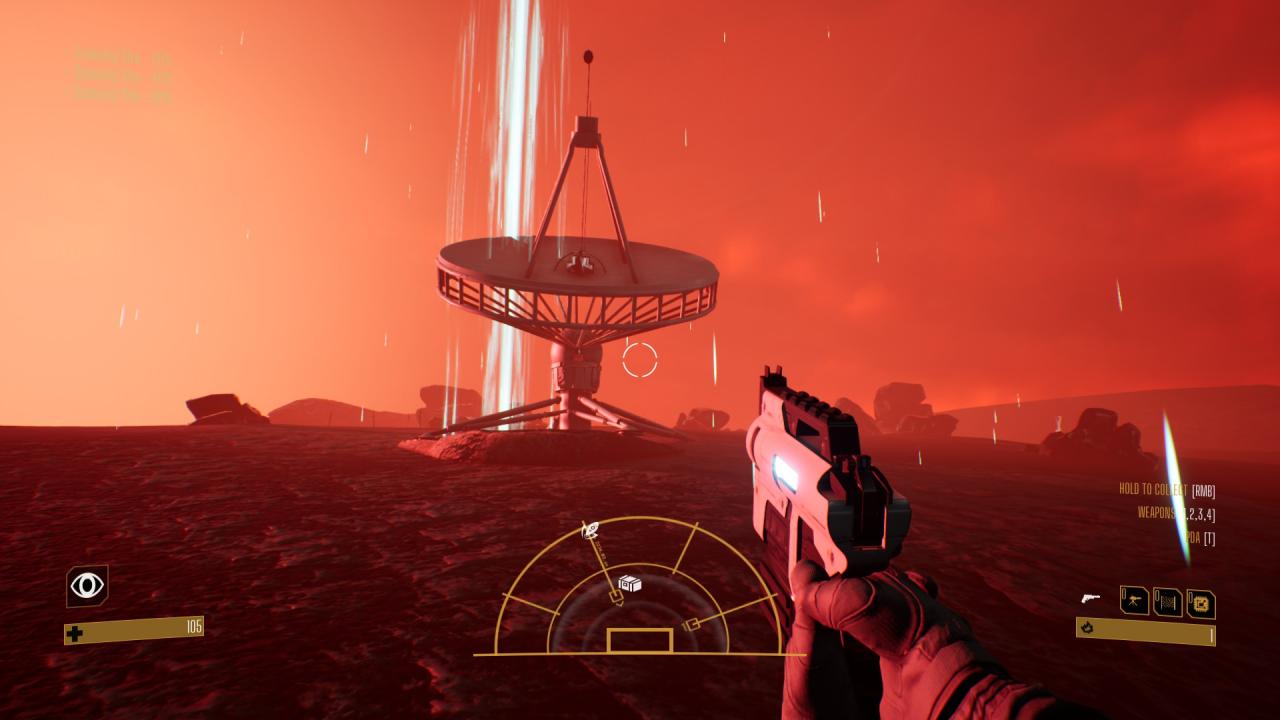
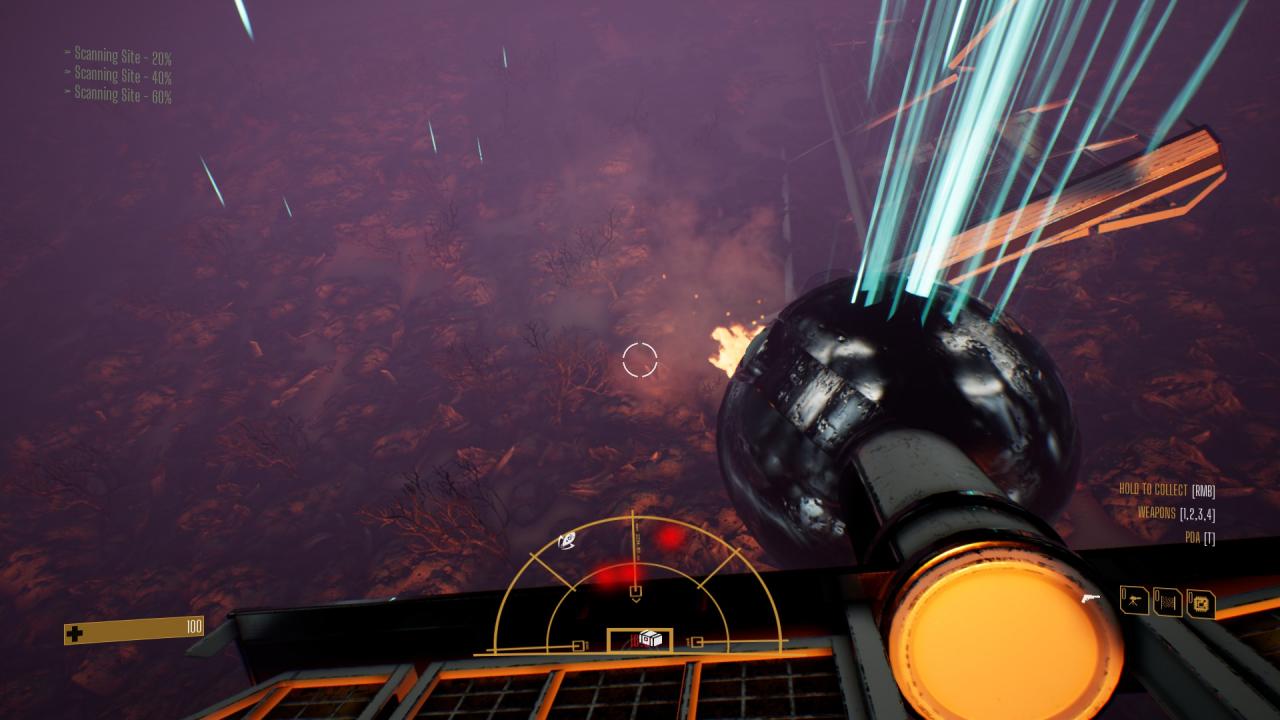
Now that you know what to look for, what might you find in these sites?
NOTE: Artefacts are marked with an asterisk, but some of them have further unlock conditions before they can be taken at the start of future runs.
- Tom’s Voyage entries: These are mostly for lore and world building, but they can give you hints on how to deal with certain situations. You can view all of the entries you’ve collected in the PDA; they will carry over into future runs.
- Site locations: These identify the location of another site with a specific type of artefact. In some cases, it will be named, e.g. a specific weapon or module BP. If it just reads as “suit upgrade”, there are a lot of those to be found, so it will be within that group. Coincidentally, this location data also scans that specific planet for you, in case you’re wondering why you now have info on a cluster to which you haven’t yet traveled.
- *Robotnik variants: These three (black, pink, white) are identical in terms of stats, differing only in color. Superior in every way to the default Robotniks.
- *Module Blueprints: While you CAN buy some of these from traders, all of the unlocked modules you don’t start with should be seeded somewhere in the sector. I’d suggest trying to find them on planets first – unless you happen to find something like a tier III Clone Lab or Workshop early on, and you can afford to make the trade.
- *Weapons: The more options in your arsenal, the better.
- *Resource location metadata: Each of these will let you filter the scanning list on the Bridge/Tractor Beam/Hangar consoles for that specific resource, and you get some pre-scanned locations added once you pick it up.
- *Alien location metadata: Similar to the resource locations, you can filter the scanning list for specific alien life. You’ll get some pre-scanned locations, too. Be aware that multiple types of aliens and lichen can potentially be found on planets.
- *Suit upgrades: These can increase the captain’s health, armor, and movement speed; or increase the damage output of weapons that use a certain type of ammo. Each bonus of the same type stacks, but you have a hard limit of six suit upgrade slots. Fortunately, you can swap suit upgrades on the fly via the PDA.
- *Harvester upgrades: These upgrades are applied immediately when they are found, no researching necessary. They consist of: A second turret on the front of the harvester; a 1000 HP self-recharging energy barrier in the harvester entrance; doubled crate capacity (from 5 to 10 total); 50% more harvester biomass storage so you can bring more back to the ship (from 20 to 30 total); and a speed upgrade for automated expeditions (when you send the clones without you).
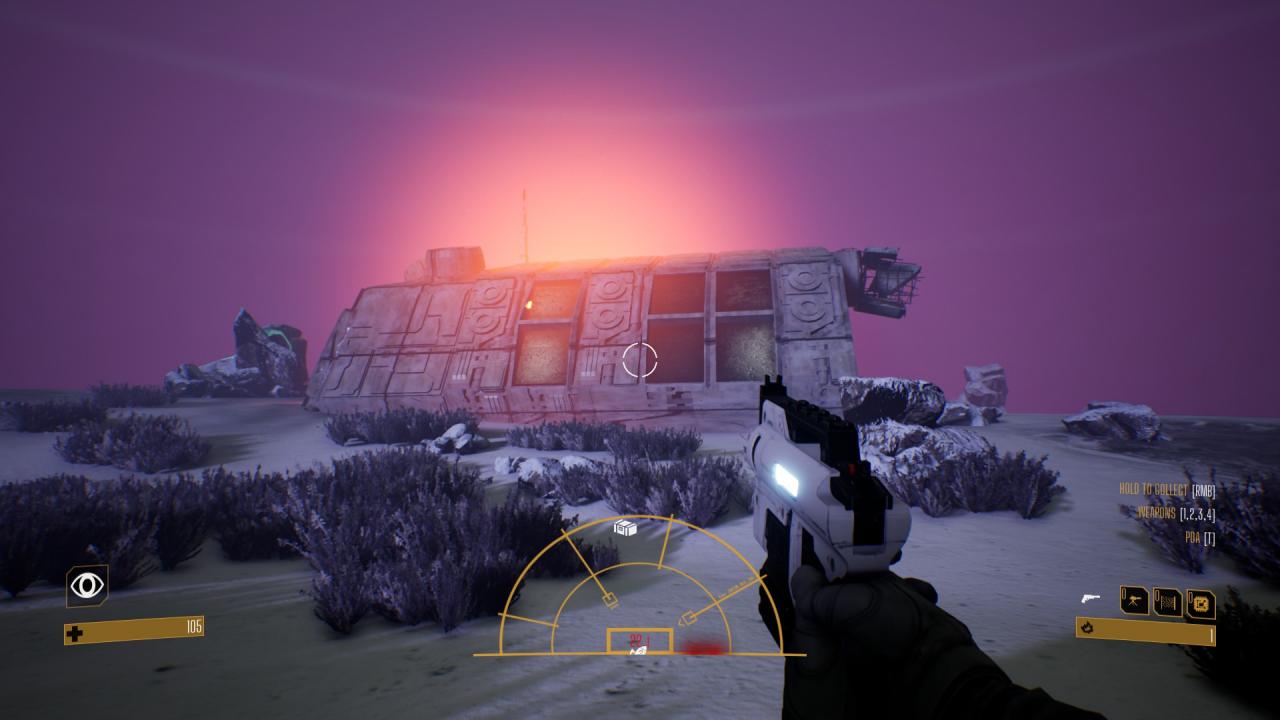
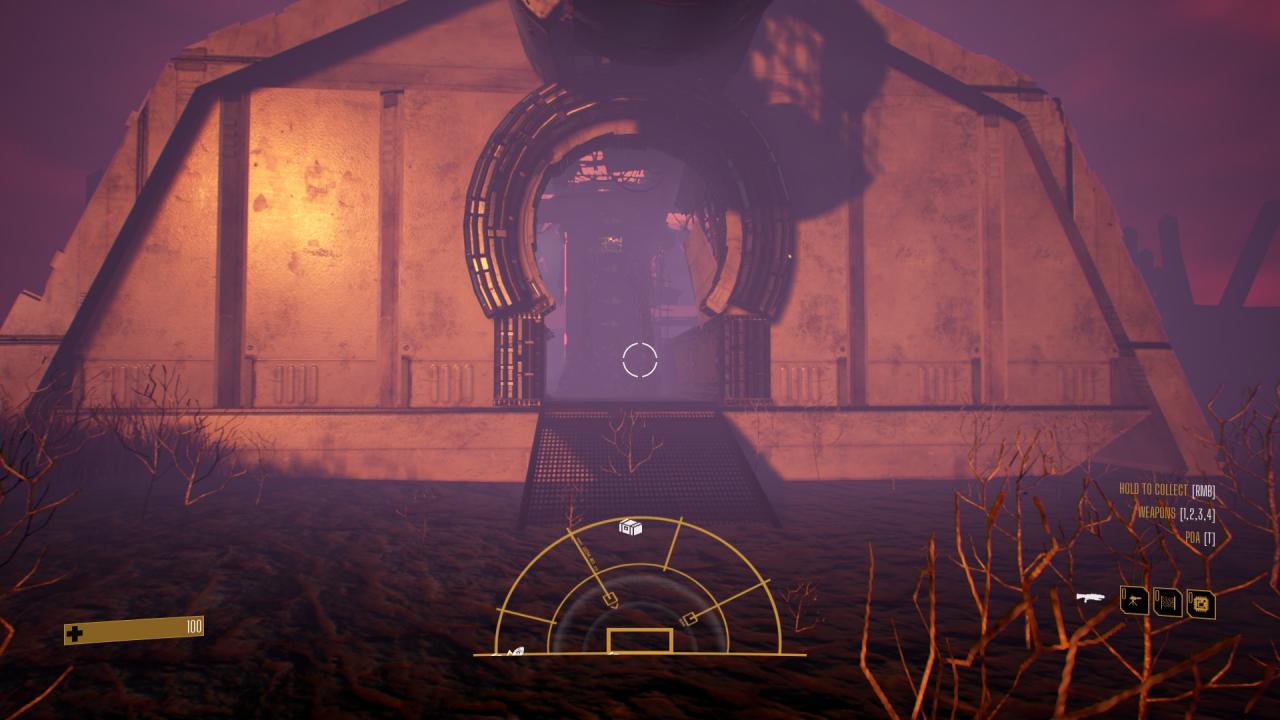
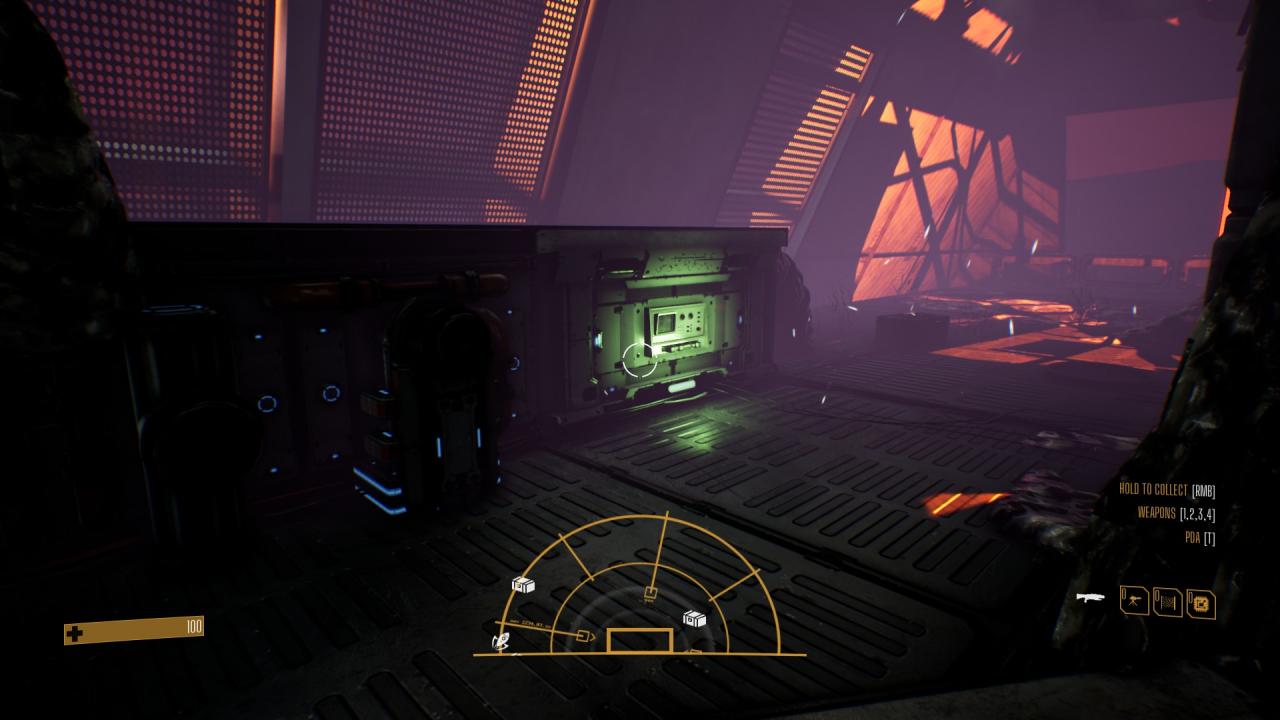
The other type of site is a wrecked ship’s bridge, which also may have 0-3 ammo boxes inside it. Here, the prize is a Module Upgrade Kit. Every one of these crashed bridges has a small terminal from which you can collect a Kit. Its green light as pictured below will turn red when you’ve collected the Kit; unlike the other sites, this requires no scanning. The general layout for all of them is nearly identical, with an entrance at both ends. Just be aware that some of them may have one open edge outside the harvester’s biosphere shield.
Module Kit Upgrades
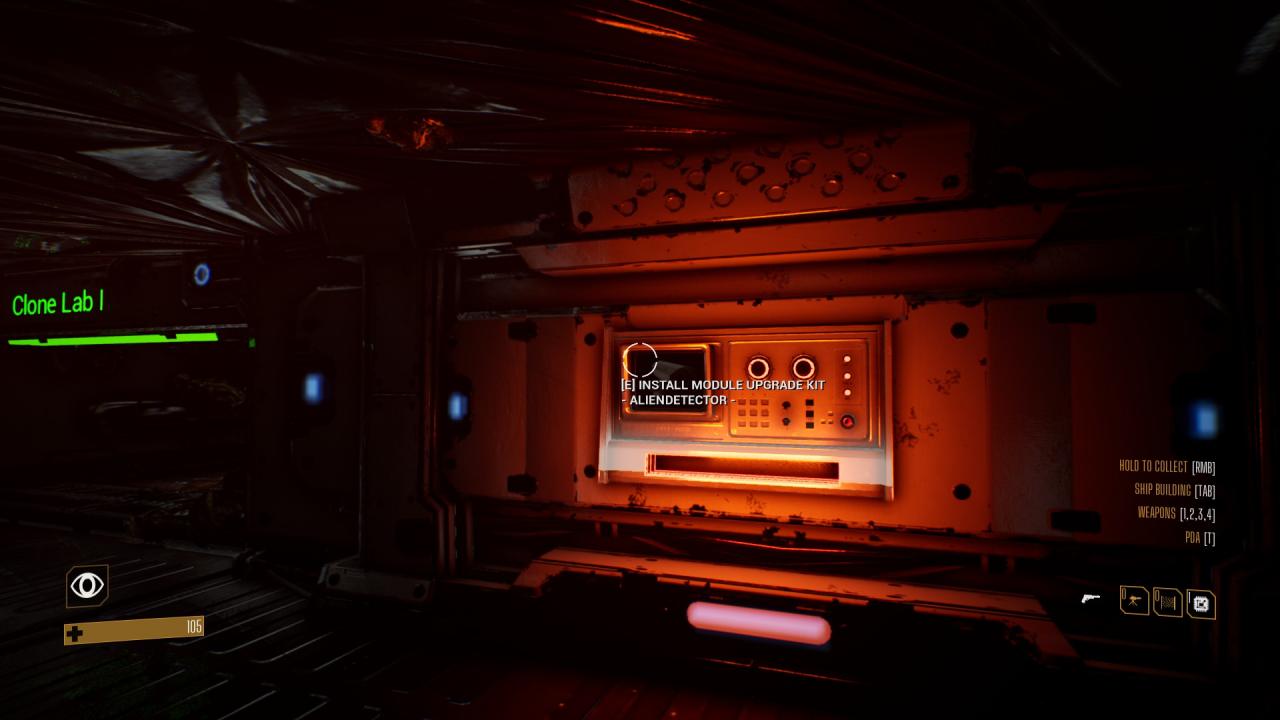
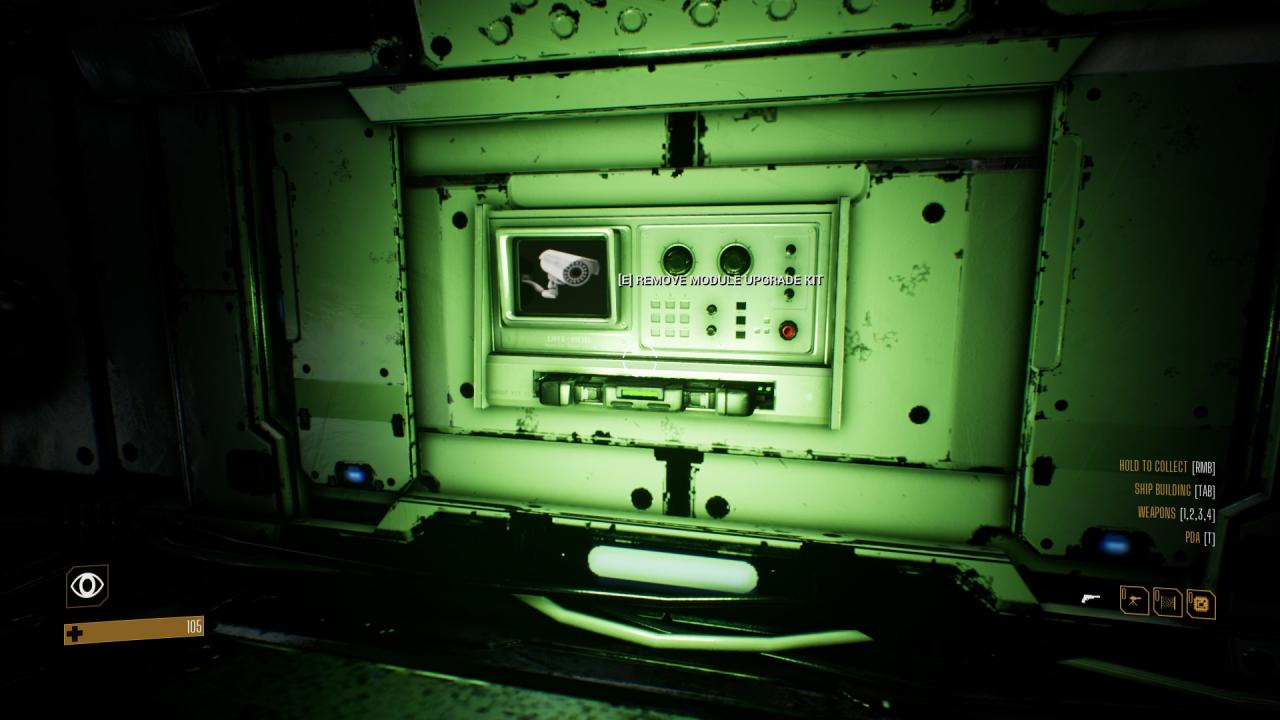
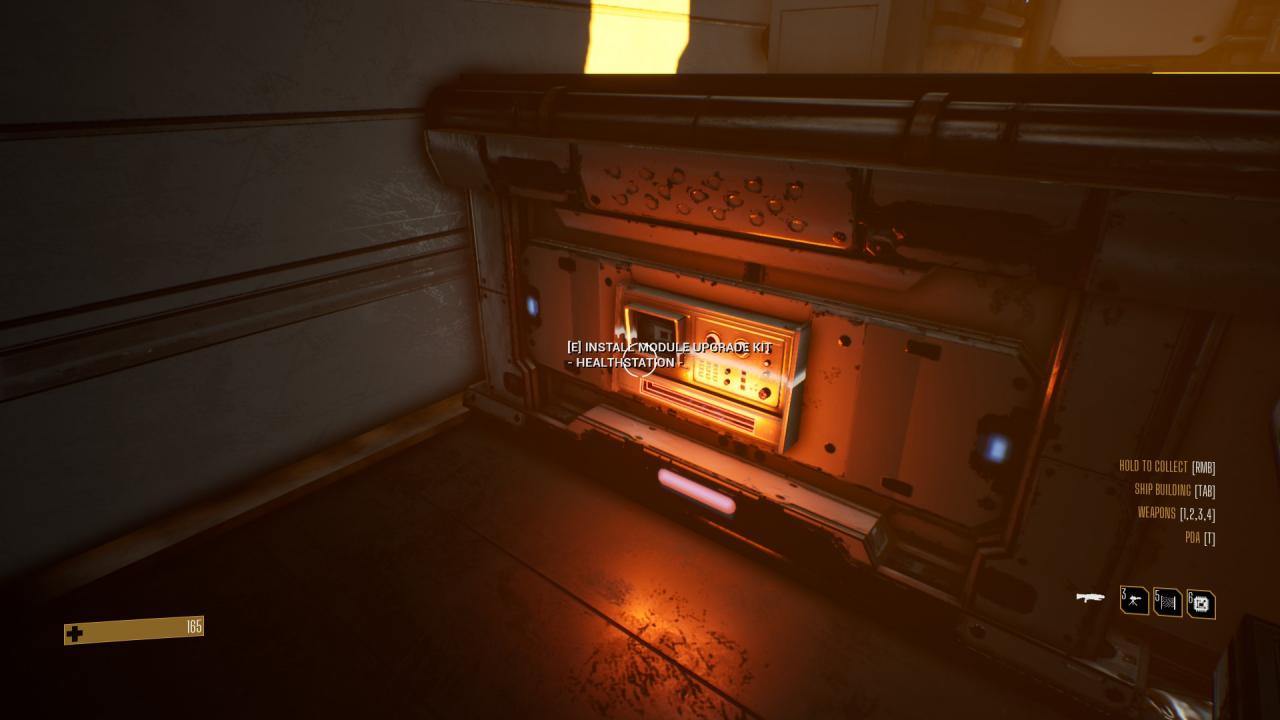
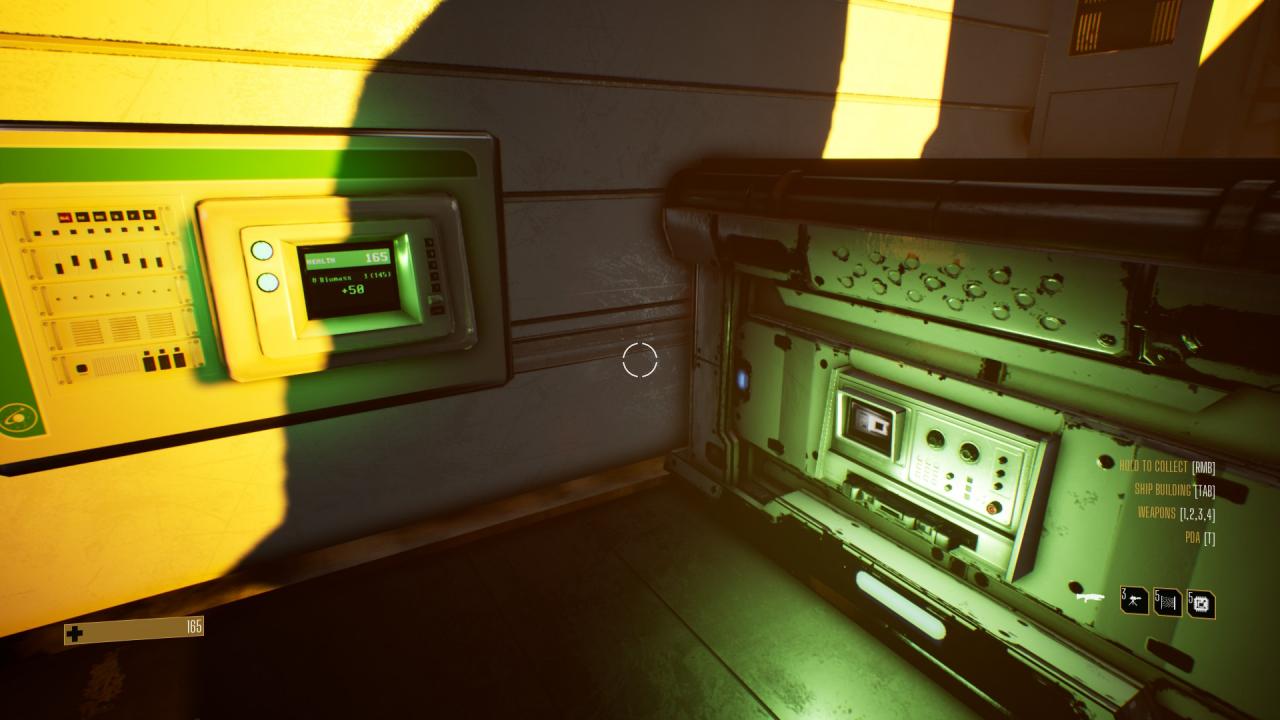
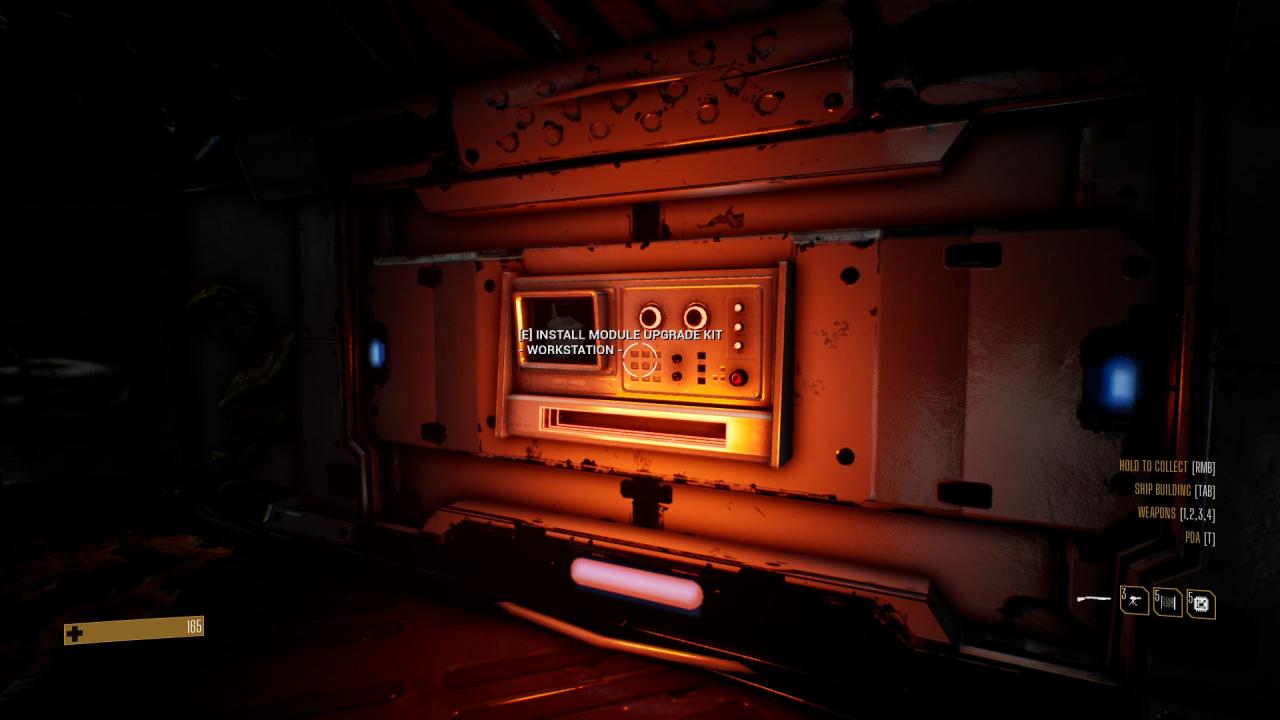
Many modules have Module Kit Upgrade slots. Most of these have just one, usually just the Alien Detector upgrade. Others have a second upgrade slot, which may add a Health Station to the module, or an additional Work Station, allowing for one more clone to be assigned there.
It’s important to note that these upgrades don’t have to be permanent. You can interact with the Upgrade slot to eject the Kit, and use it elsewhere.
Alien Detector: The Alien Detector adds cameras above the doors. The upshot of this is that you can see the movement of aliens within this module when looking at the ship map. It also detects the movement of spores as smaller red dots on the map, but you have to be watching it closely to see them, and spore movement only lasts a matter of seconds.
Health Station: You can see the Health Station appear as soon as the upgrade is installed.
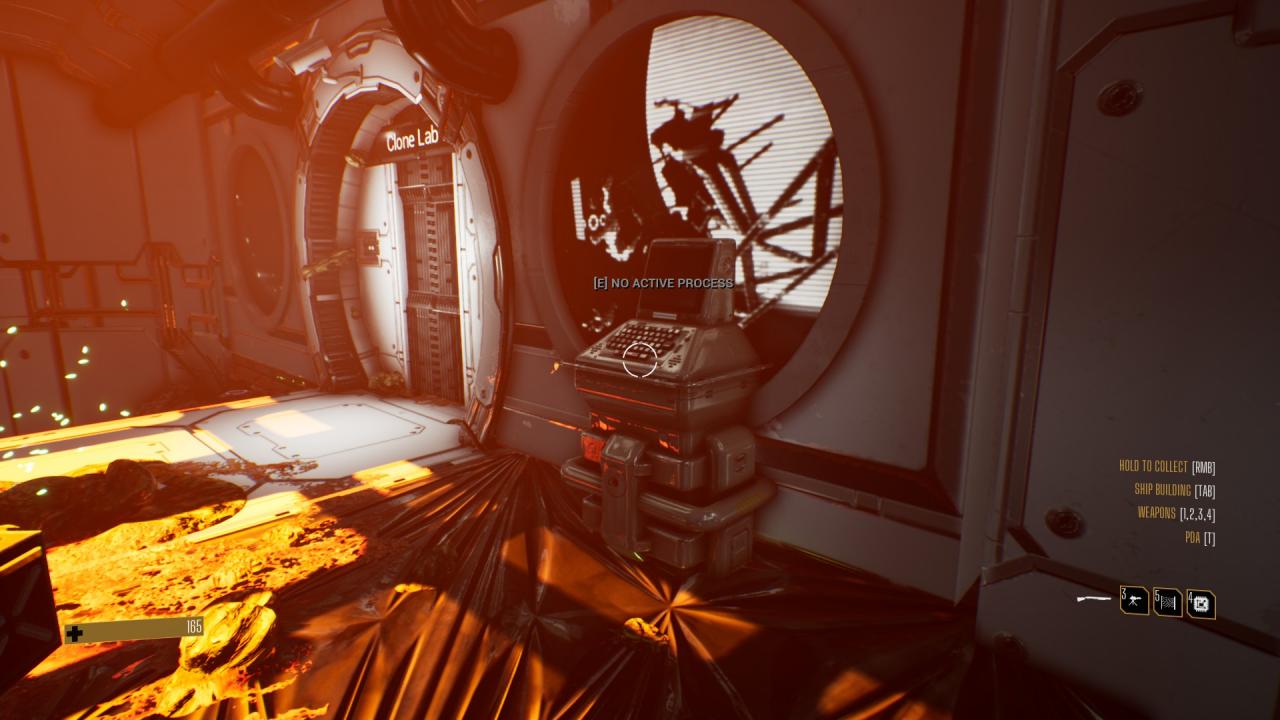
Work Station: In this example, the Tractor Beam. Installing this upgrade adds a console as pictured here. A third clone can be assigned to the module.
Traders: “Capitalism, Ho!”
Once you head to a sector with a trader, interact with the trading hologram on the bridge. The trading interface is simple, but it gets the job done. Make sure your offer on the left matches the value of the thing(s) you want on the right. Rarer resources have a higher trading value.
