
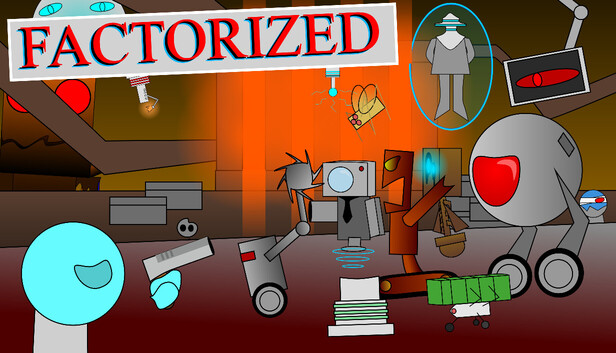
This guide is my attempt to lay out the cleanest way to take down every boss in Factorized, zone by zone. I wrote it for players who already have their full arsenal unlocked, because the strategies lean hard on tools like the shotgun, drillgun, flamethrower, and dash that you might not have early on. That also means heavy spoilers ahead, so if you’re still exploring blind, turn back now.
I put this together because a few of these fights genuinely stopped me cold on my first run, especially the third zone and the second secret boss. Rather than make you grind through the same trial and error, here’s what actually worked for me once I understood each pattern.
Zone 1
The big scrap machine in the first zone keeps things simple, cycling between two moves: slamming the ground and spawning enemies. Clear the spawned enemies as quickly as you can, then pour damage into the part on the right while it’s locked into the slam animation. The shotgun is your default answer for that damage window, and if you’ve got the drillgun unlocked, swap to it whenever it’s off cooldown.
Zone 2
This one rewards patience over aggression. Spam the shotgun or drillgun between its attack cycles, and during the attacks themselves, play it safe by firing the harpoons on both sides. There’s plenty of downtime between cycles to land your shots. It spawns turrets, but in my experience they’re more of an annoyance than a real threat, so don’t let them pull your focus.
Zone 3
This fight is the one that had me stumped on my first playthrough, so take it slow. Two things carry you here. First, prefire the drillgun toward where you think the boss will move. Second, live on the shotgun and fire whenever you get a window. The real value of the shotgun in this fight is its alt-fire to reflect projectiles, since this enemy floods the screen with them and it’s easy to get overwhelmed. If you have the dash unlocked, use it as often as you can.
Zone 4
There are two routes to beating this one: wait it out, or break the rock at the top. It has a slam attack like the first zone’s boss, but with a much longer windup, so don’t let the extra delay throw off your timing. Spend any drillgun charges you get on the rock, and use the flamethrower to handle the spawning enemies. When the projectile-firing enemies show up, switch to the pistol instead. This is the one spot where I’d avoid the shotgun entirely, since it can launch you straight into the boss and cost you health.
Final Boss
Compared to the earlier fights, this one is straightforward. He has two attacks: spawning strong enemies on a long cooldown, and spawning lasers. The lasers aren’t dangerous, but they do block your projectiles, so keep that in mind. When clearing his minions, the shotgun is your best pick thanks to their large hitboxes. When you get a clean window on the boss himself, land a drillgun shot and then swap to the flamethrower for solid sustained damage. He goes down fast once you’re cycling those two.
Secret Boss 1
This one sticks to three attacks, which makes it readable once you know the responses. It can charge down one side of the screen, shoot lasers, and perform a fake-out movement into the center.
- If he shoots lasers, use the shotgun alt-fire to reflect them.
- If he charges, dash through him, or grapple over him if you don’t have the dash yet.
- If he does the fake-out, treat it as a free window for extra hits.
In between all of those, keep firing with either the shotgun or the drillgun. The rhythm matters more than raw output here.
Secret Boss 2
This one had me stuck for a while, and here’s exactly how I finally got through it.
- In the intro, pick the Turret as your favorite enemy and the scrap machine as your favorite boss.
- On the bug attack, fire the drillgun at the spot where they pop out from, and it should kill them all.
- On the ball attack, hide under the right platform. You won’t need to move much there, but stay alert.
- On the apparitions attack, get up on a platform and hold them off with the flamethrower.
- When the turret attacks, move near it, then drift away slowly as it starts firing.
- When the lava rises, grapple to the top platform and jump down right as it reaches the top, so you land at the bottom quickly and can damage the boss.
- When the boss appears, open with a drillgun shot, then jump into him while firing the shotgun repeatedly. That sequence was the most effective thing I found.
- When he spawns enemies in phase 2, just do your best to avoid them. They despawn once the curtains come down.
Cycle through these steps and you should be able to take him out.
Secret Boss 3
This guy gave me heavy roaring knight vibes, and he’s genuinely tough. The core of the fight is dashing through his laser attack and attempting to dash through his projectiles to destroy them. After that, he transitions into his melee attack. Once attack three wraps up, he pauses for a moment, and that’s your cue to immediately hit him with the drillgun. It’s a slow burn, but it’s the simplest reliable way to take him down.
Conclusion
None of these fights are about raw reflexes so much as knowing which tool answers which attack. Once the patterns click, each boss becomes a rhythm you can ride. Good luck out there.