🏝️ Beach
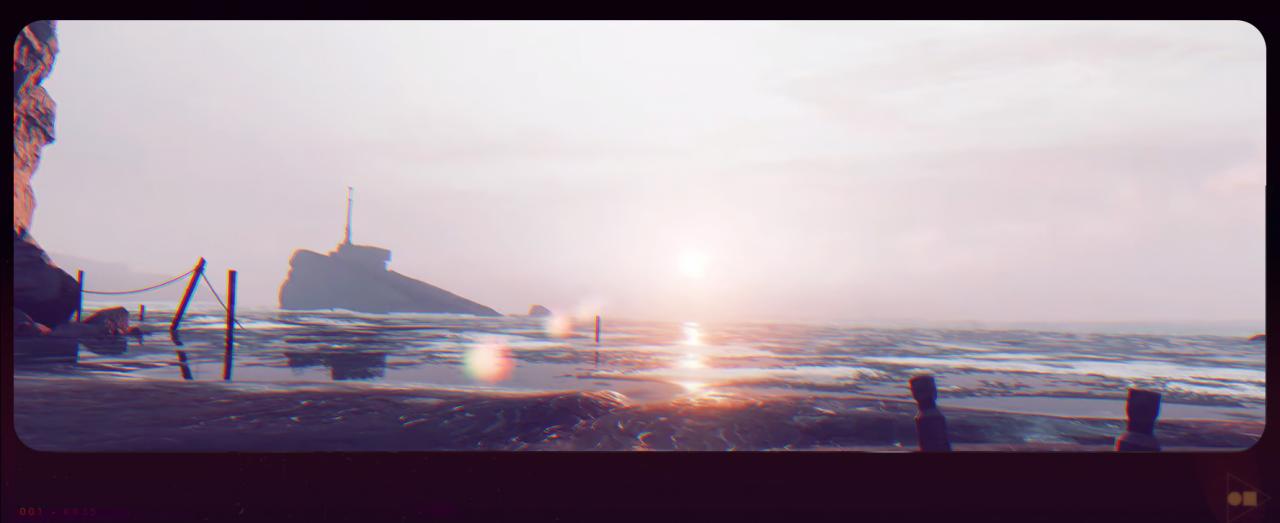
 The island of Blackreef wasn’t always caught in a timeloop. It started off as an isolated fishing colony, but an anomaly in the area eventually attracted the attention of the military, and further down the line, the attention of the founding members of the AEON Program. These individuals and their followers came together to exploit the anomaly and create the timeloop that would ostensibly allow them to live forever.
🔶 Main Story
📑 Welcome to Blackreef
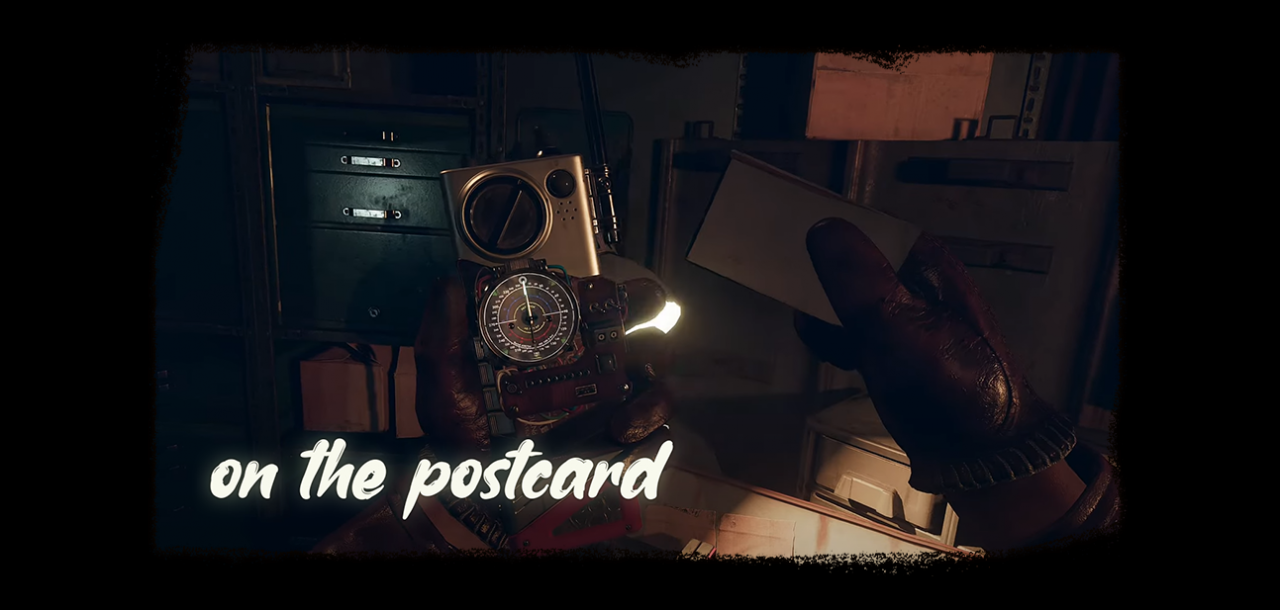
On the back of the postcard which is clipped onto the Hackamajig.
🏙️ Updaam
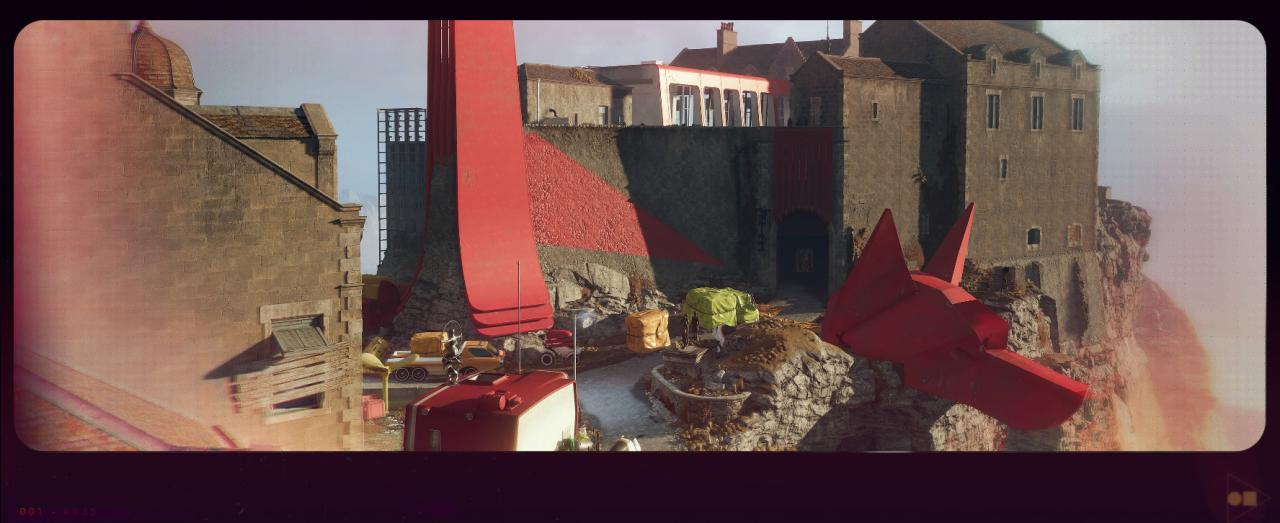


 The metropolitan morning is home to early birds and insomniacs. As darkness falls, the party capital of Blackreef transforms, howling at the moon.
🔶 Main Story
📑 Paint-Smudged Missive
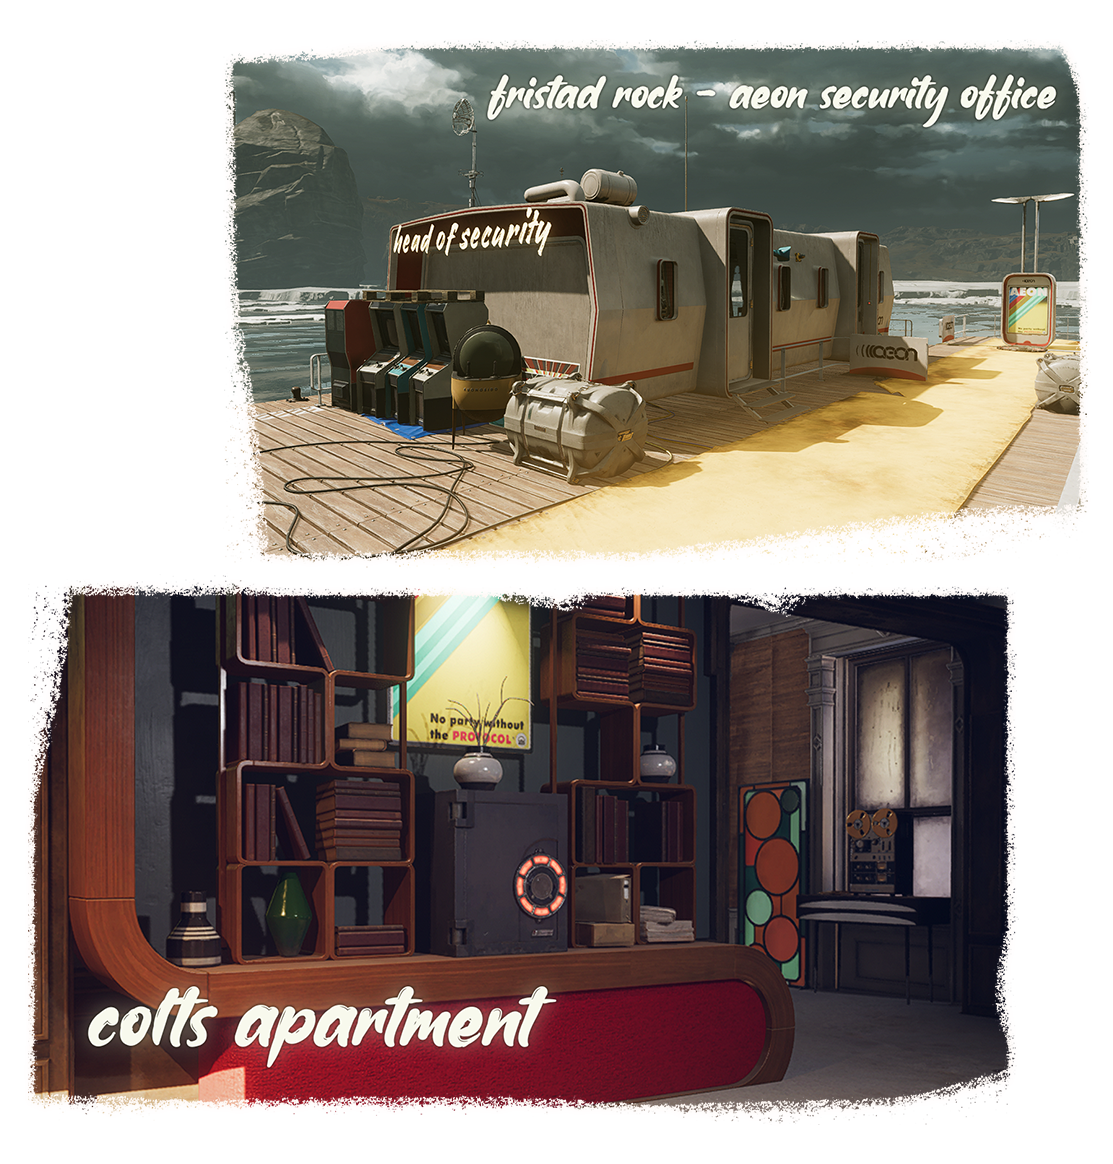
Inside Colt’s Apartment in Dorsey Square.
The code can be found in the AEON Security Office which is located on the dock at Fristad Rock.
🔶 Main Story
📑 Classified Information
On the lower edge of the map, near the Tunnel entrances.
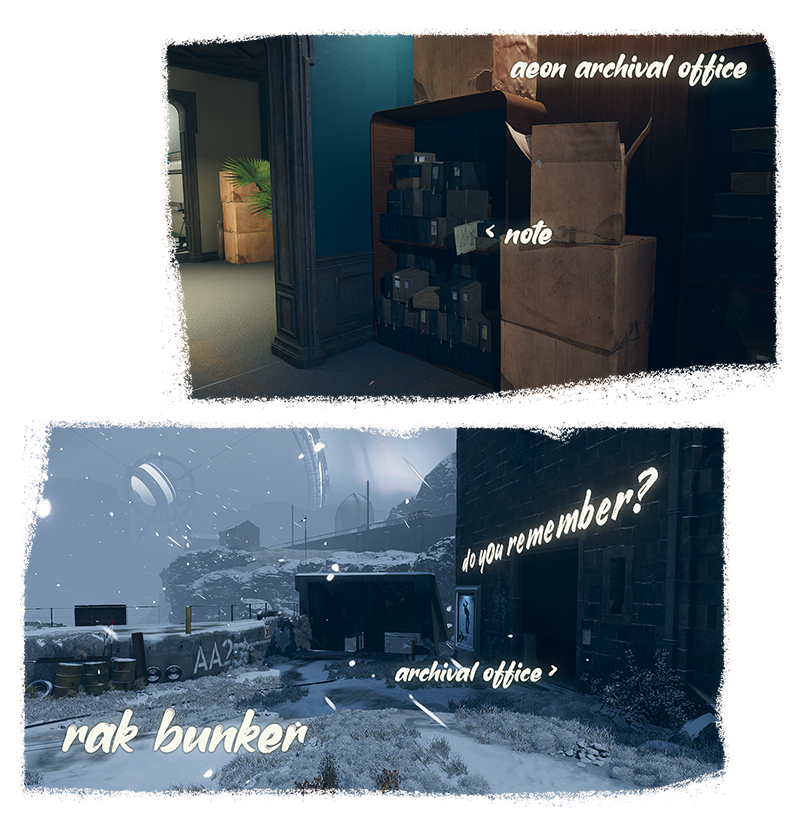
The code can be found in the AEON Archival Office, which is on the top floor of the building right beside the bunker entrance. It is hidden between some boxes on one of the shelves.
🔶 Main Story
📑 Classified Information
📑 Classified Information
📼 Lexicon Wars
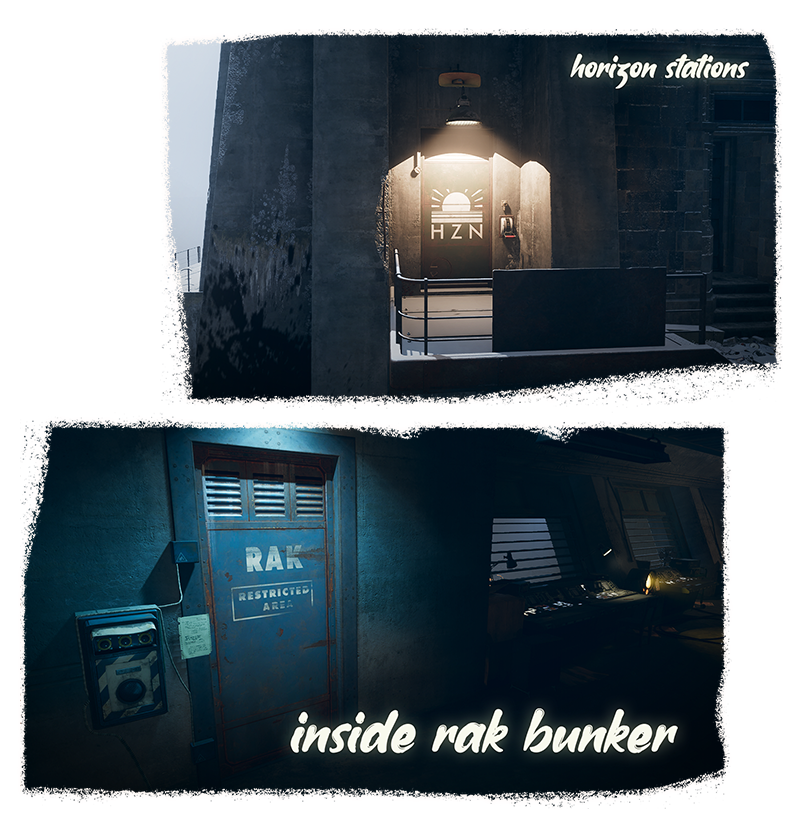
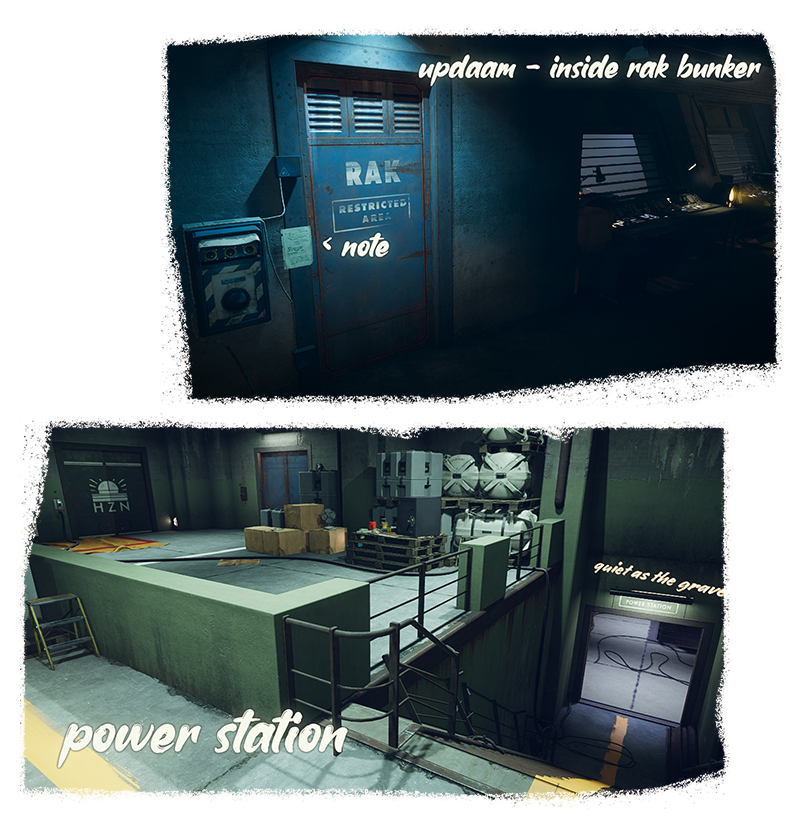
The door inside the RAK Bunker on Updaam.
The code is made up of 3 parts which can all be acquired from the HZN Stations around Blackreef. You will need to go to the Power Station in the Morning to activate the doors around the Isle.
Updaam: Note upstairs in Yasen Station
Fristad Rock: Note on table in Sova Station
Karl’s Bay: Cassette on ground in Akkar Station
🔷 Optional
📑 The Pact of Smoke
📑 Vanya’s Pact of Smoke
📑 Anatoly’s Pact of Smoke
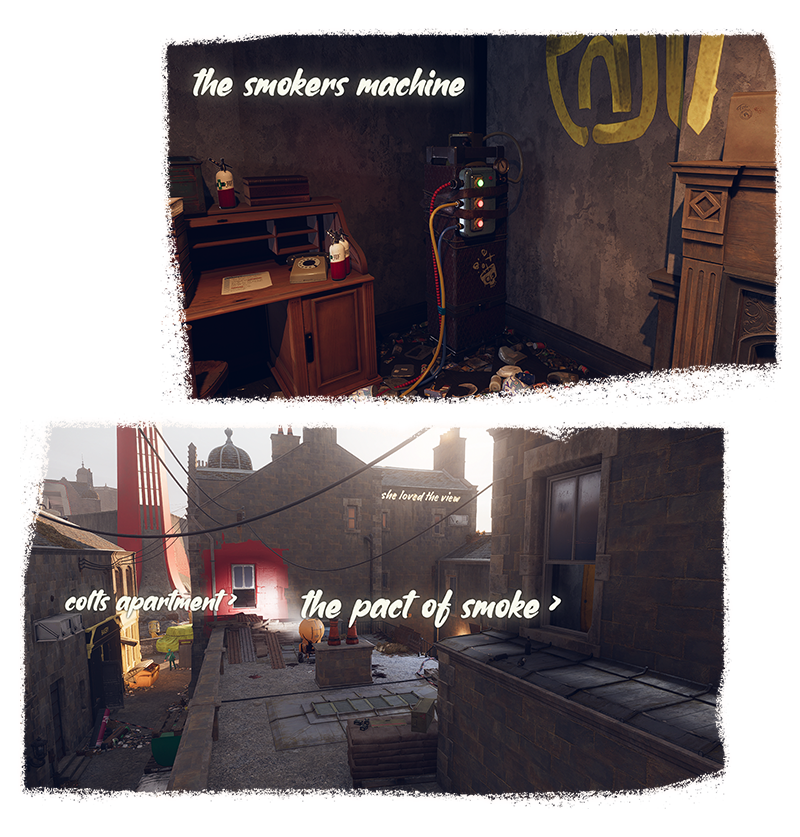
The door inside the Smoker’s Apartment protected by 3 locks. The building is just across the rooftop from Colt’s Apartment
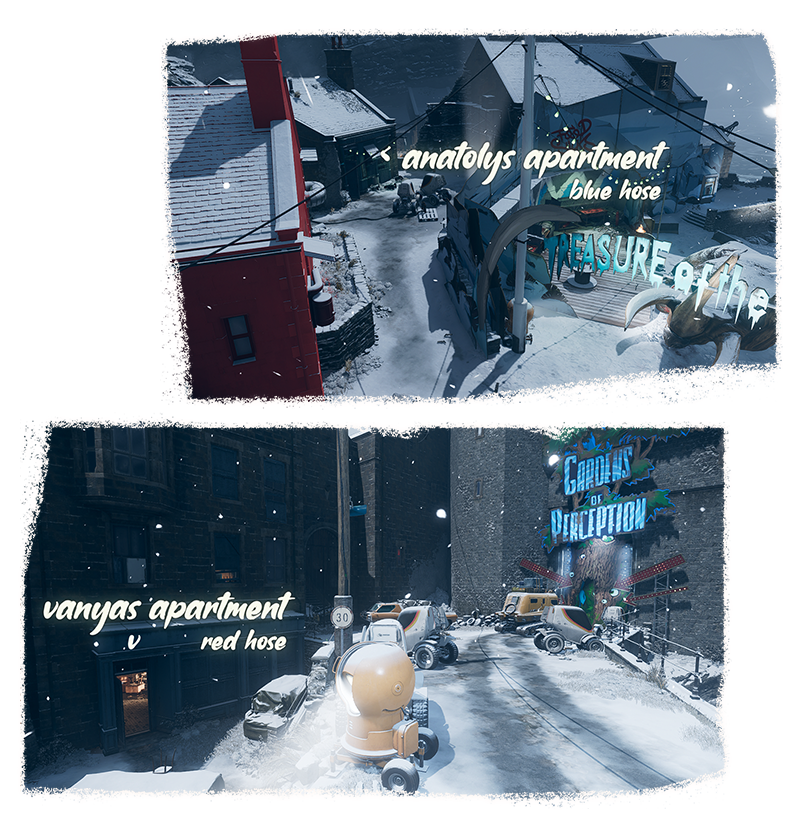
All 3 codes are required to unlock the door. To access the apartments in Karl’s Bay you will need to visit Updaam first and set the machine to the correct hose colour, because Karl’s Bay is unavailable during Noon you will have to do collect both codes on different loops.
Updaam: In the same room as the locked door on the spool table.
Karl’s Bay – Red Hose: Vanya’s Pact of Smoke near Gardens of Perception.
Karl’s Bay – Blue Hose: Anatoly’s Pact of Smoke near Treasures of the Ice
🔷 Optional
📑 Sparky Please
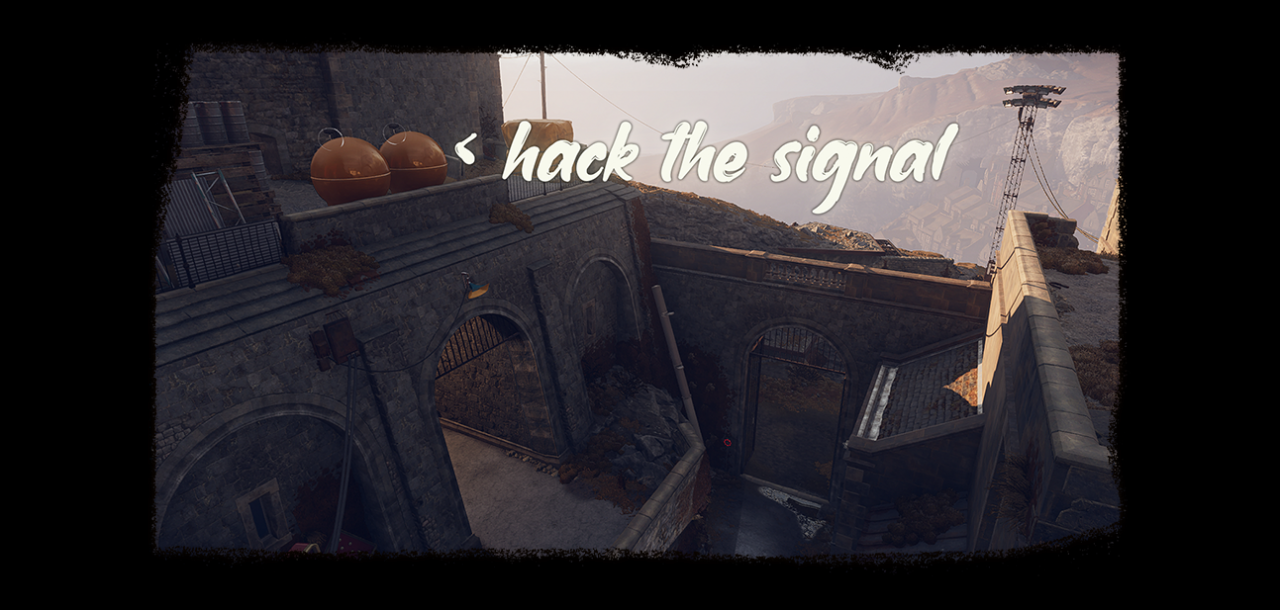
The large gate blocking a path between your tunnels in Updaam.
The gate can be opened by hacking a nearby phone booth.
🔷 Optional
📑 Scribbled Notes
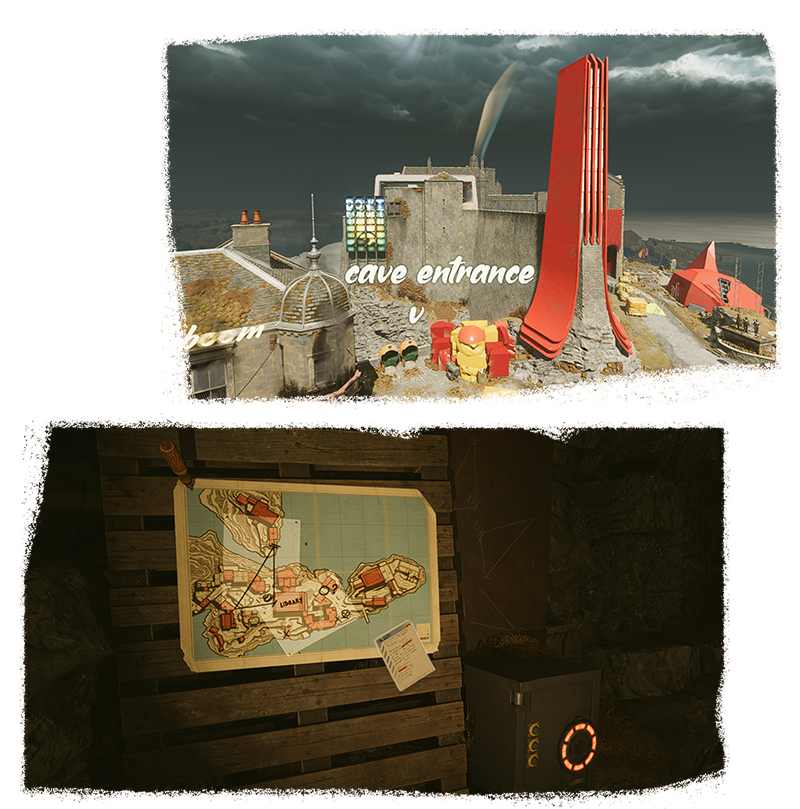
Underneath Dorsey Manor, on the outskirts of rocks near Otto’s Workshop you can drop down into the ditch to find a cave entrance. The cave leads to a map with locations marked, 3 triangle diagrams & a locked safe. I recommend attempting this during Noon where you can access the entire map.
Code Order: The 3 triangles correspond to 3 codes that must be entered into the safe, from top to bottom. The first triangle is already placed correctly on the map, so you only need to figure out where the other 2 triangles go by matching the skull & ring symbols with the corresponding points on the map.
The codes must be entered from first to last, you have unlimited attempts, and the safe will indicate to you when you have gotten each part of the code correct.
Number Order: The order you must input the numbers in each code are indicated by the slashes on each corner of the triangle. No slashes will be the first number of the code, 1 slash is the second number, and 2 slashes is the third number. Keep in mind the third triangle is faded out, so you are forced to guess the order of the numbers for the third code.
Number Locations: The actual numbers you will need to use are written around the map, so you will have to find & record them. They are written in black ink & surrounded by a circle. Once you have noted down all 6 numbers & their locations you should have everything you need to solve the code.
Reward: The safe contains 5,000 Residuum, which can be collected every time you loop.
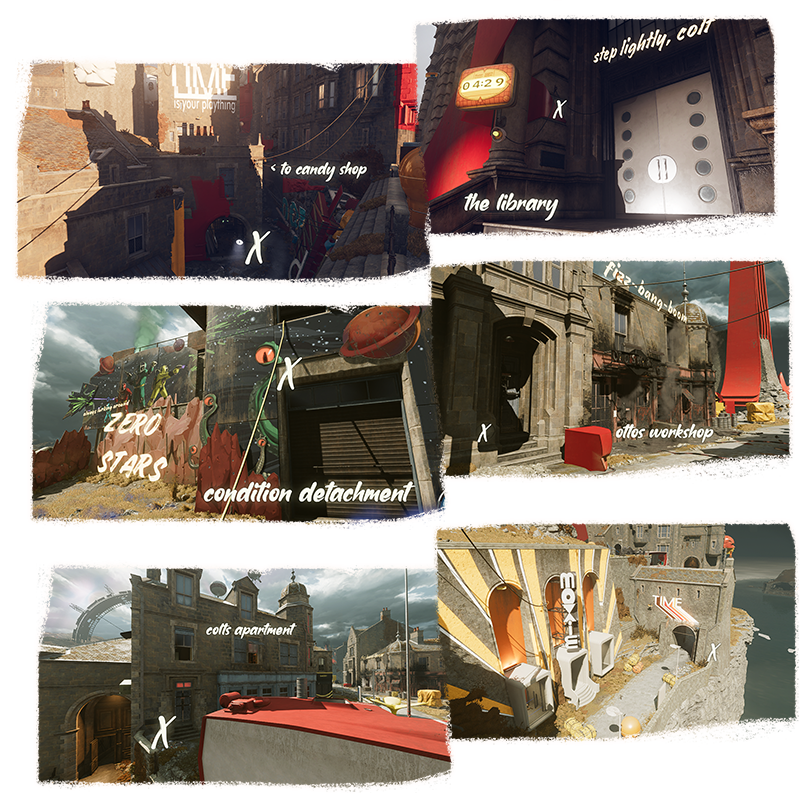
 A playful breeze swirls past Updaam’s townhouses at midday, calling all in need of escapism.
🔶 Main Story
📑 A Reason to Love
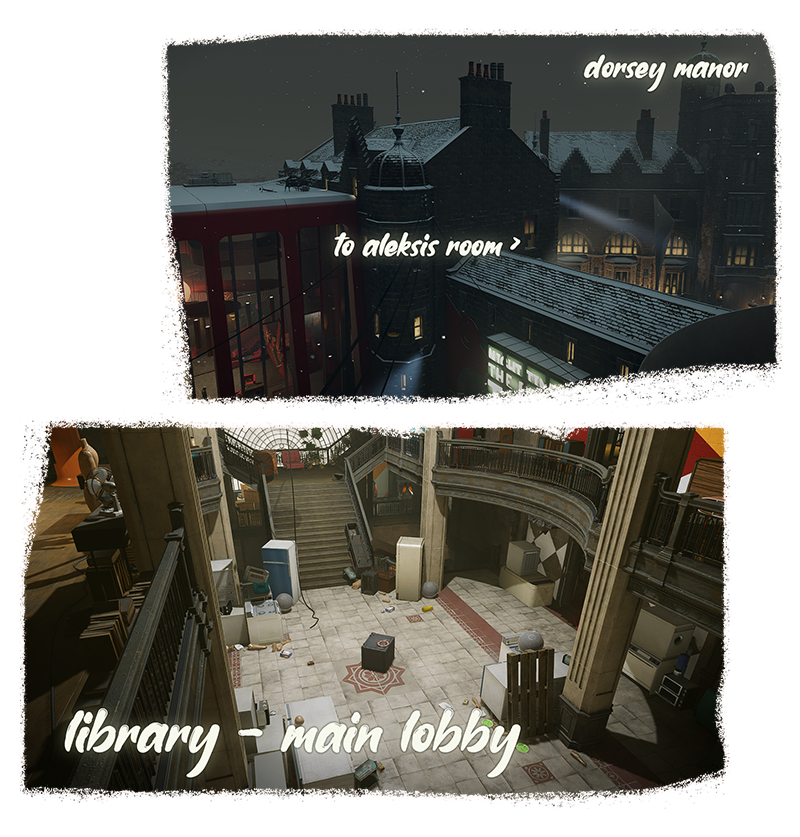
On the floor in the Main Lobby of the Library which is at the center of Updaam.
The code can be found in Updaam – Evening, it is on a desk in Aleksis’ Room, which is on the top floor of Dorsey Manor where the party is being held.
📡 The Complex
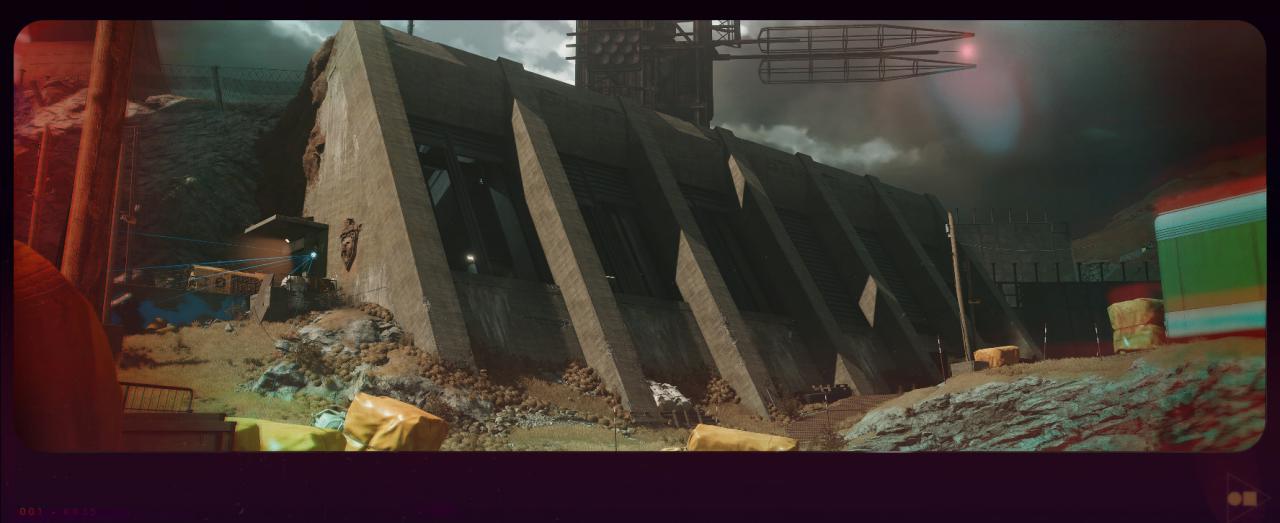
 The skeletons of war machines and research stations decay under the morning sun, whose rays glint and and glimmer on the spoils of science past.
🔶 Main Story
📑 Where the Power Lies
Below the Loop Control Center in the Power Station the Power Relay Controls are protected by a lock on the desk.
The code can be found inside the RAK Bunker on Updaam, it is beside the audio locked door at the back of the room.
 Blackreef’s best and brightest couldn’t care less about the stormclouds overhead. Whatever happens, it’s all data.
![]() Ordnance Depot Vault
Ordnance Depot Vault
🔷 Optional
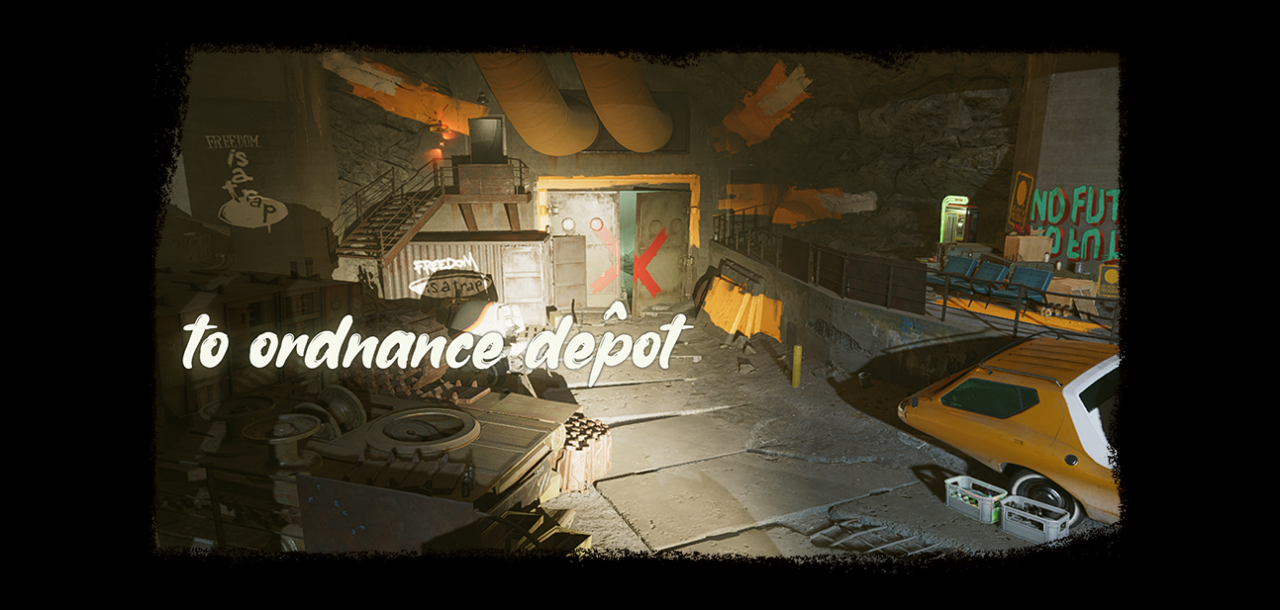
The powered Vault door inside the Ordnance Depot.
To open the door you need to insert 3 Charged Batteries into the panel beside the door. You can find them from anywhere around the map, there is one just outside the room powering a lamp & many can be found in the Loop Control Center beside the Battery Charging Station.
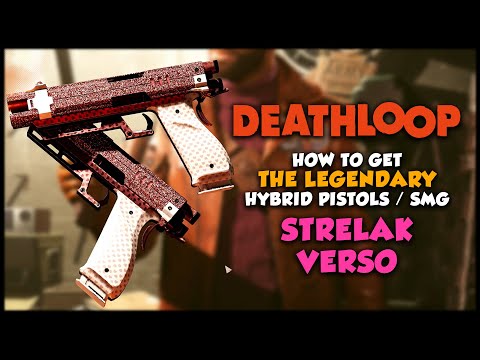
Reward: 🟧Strelak Verso [Random Perk]
🔷 Optional
📑 Memorize and Delete
The armory door on the lower level of the Ordnance Depot. It has a turret inside which will target you through the windows.
To acquire the code you need to head down to the lowest level and power the door for room D20, where you will find a note on the desk inside. There is a battery on this level powering a light which can be used.
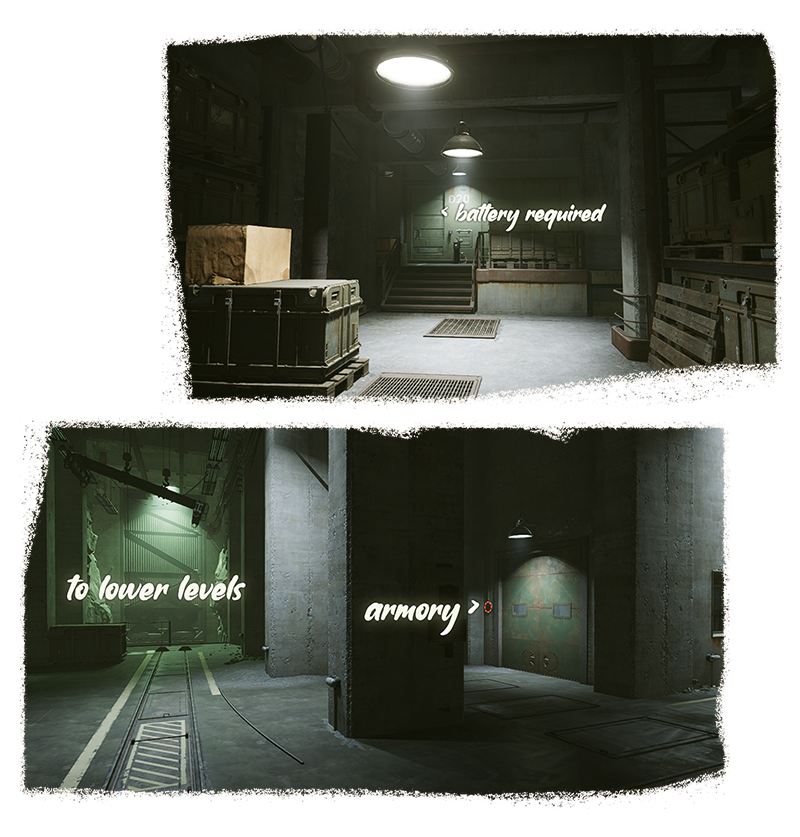
 As the weather worsens, the Complex dons a snow-white lab coat and shivers under the Anamoly’s pulsing brilliance.
🔶 Main Story
📑 Aesthetics are Key
The Private Quarters on the bottom floor of the Blue Lab Annex.
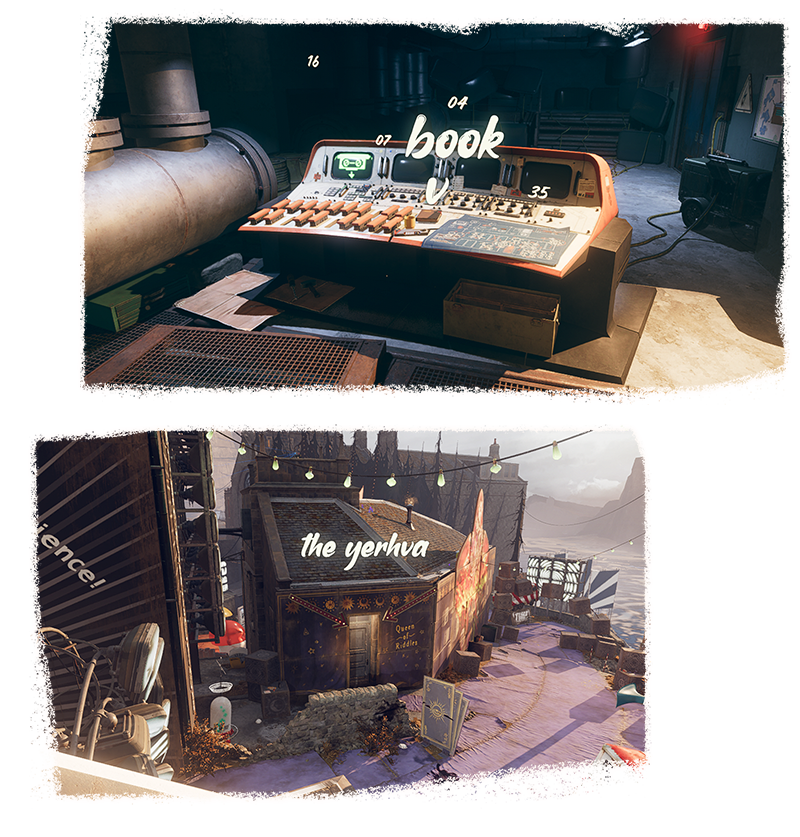
The code can be found inside a safe in The Yerhva, located on Karl’s Bay.
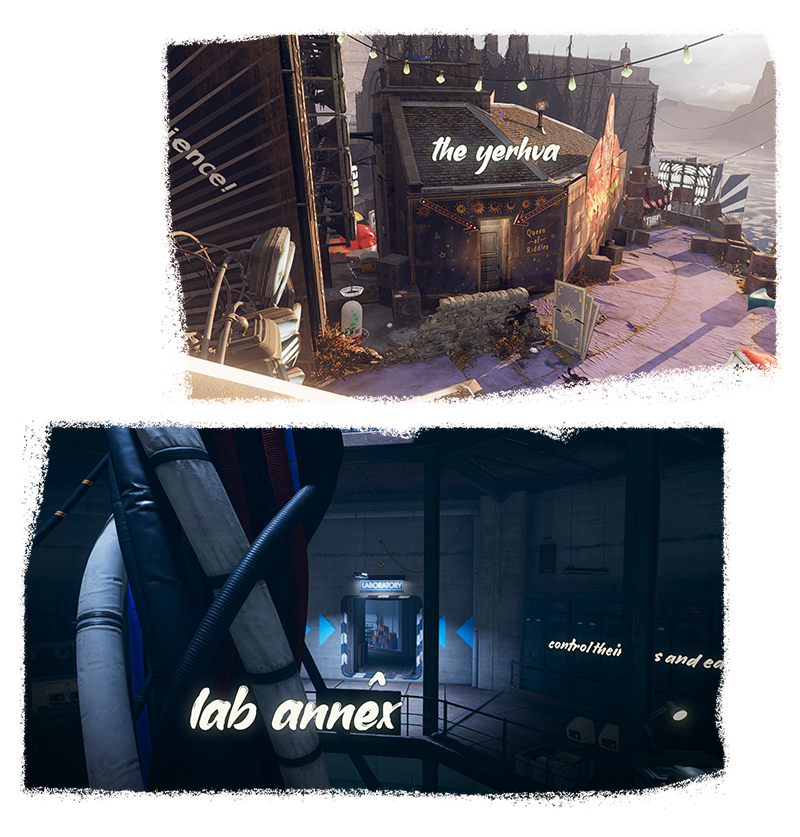
🔷 Optional
📑 Attention all Wenjies
In the Security Room on the bottom floor of Wenjie’s Laboratory.
The code can be found on a Whiteboard in the Blue Lab Annex, just outside Wenjie’s Private Quarters. Keep in mind this code changes every loop.
Reward: Disables automatic depressurization.
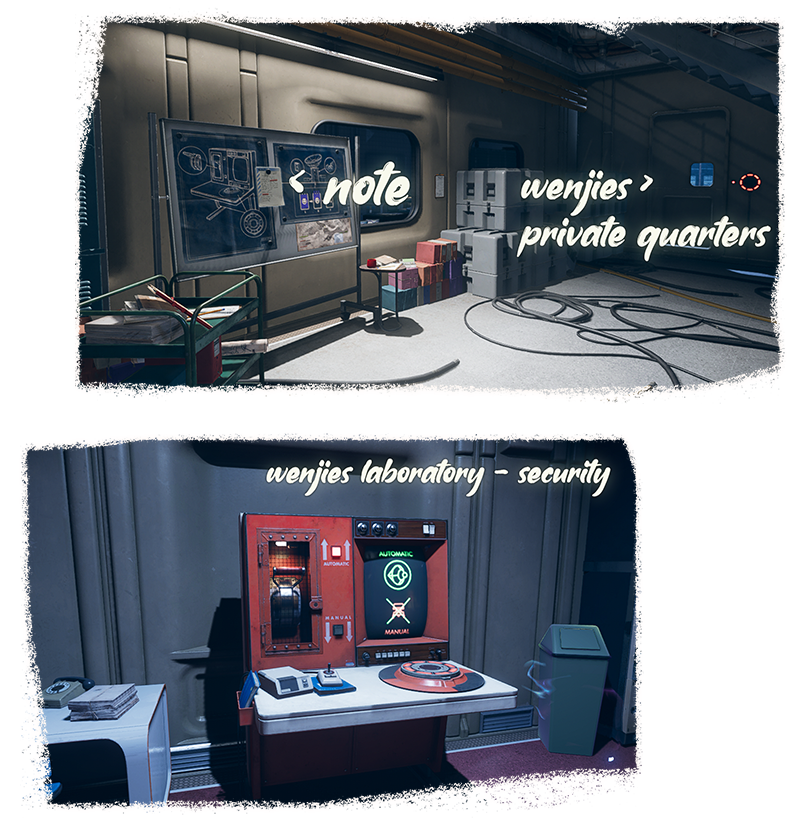
⛰️ Fristad Rock
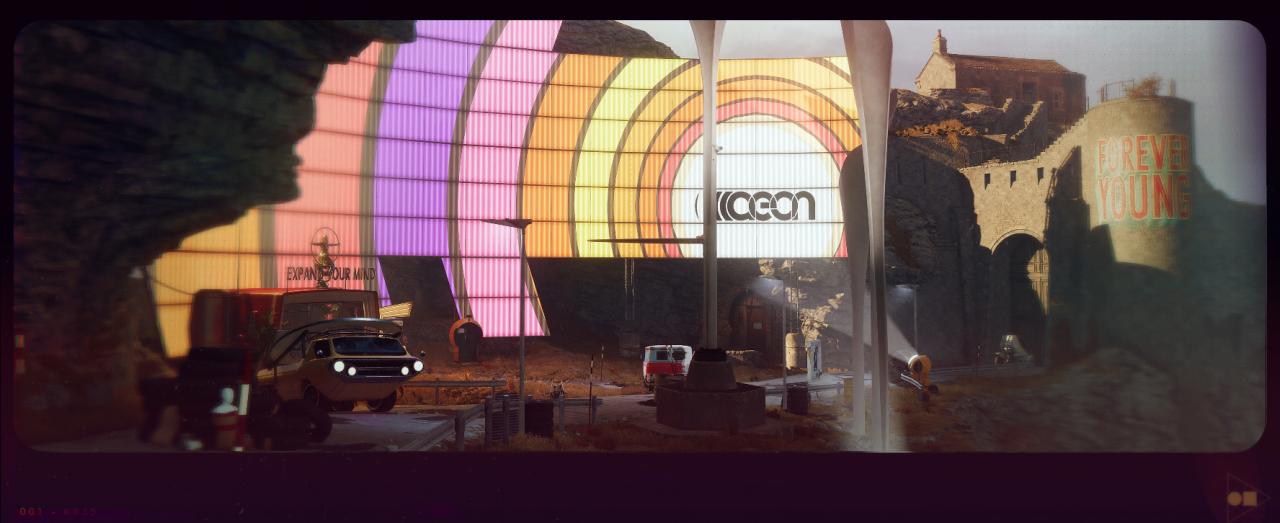
 Everyone on the rock is chasing the high life. The morning crowd orbits a falling star, boogieing and betting their way to oblivion.
🔷 Optional
📑 From the Minicom of Charlie Montague
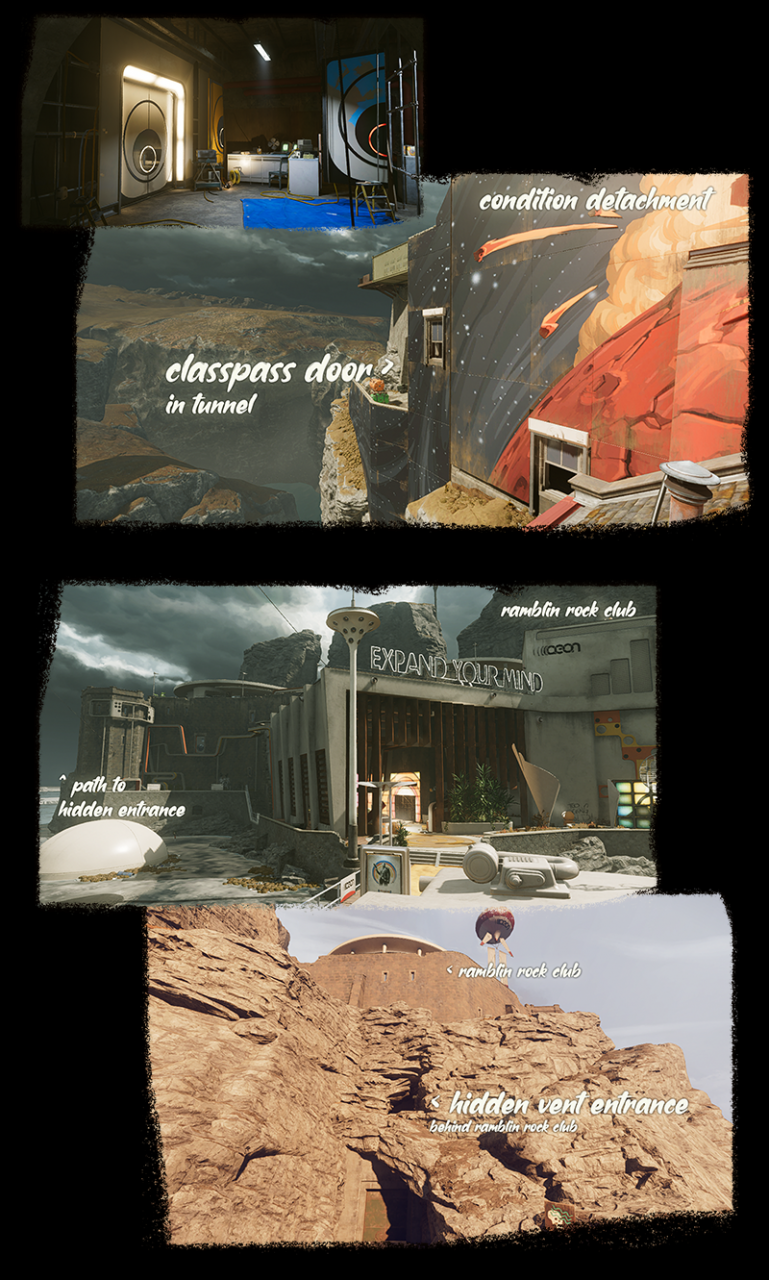
In the back left of the Main Floor of the Ramblin’ Rock Club. The room can also be directly accessed from a vent grille on the outer cliff.
The code can be found in Updaam – Noon, on the left side of Charlie’s Condition Detachment there is a tunnel leading to a hidden area. To access the room you require a ClassPass which can be acquired from the Ramblin’ Rock Club Entrance in Fristad Rock – Morning.
Reward: ClassPass no longer required in Ramblin’ Rock Club.
🛩️ Karl’s Bay
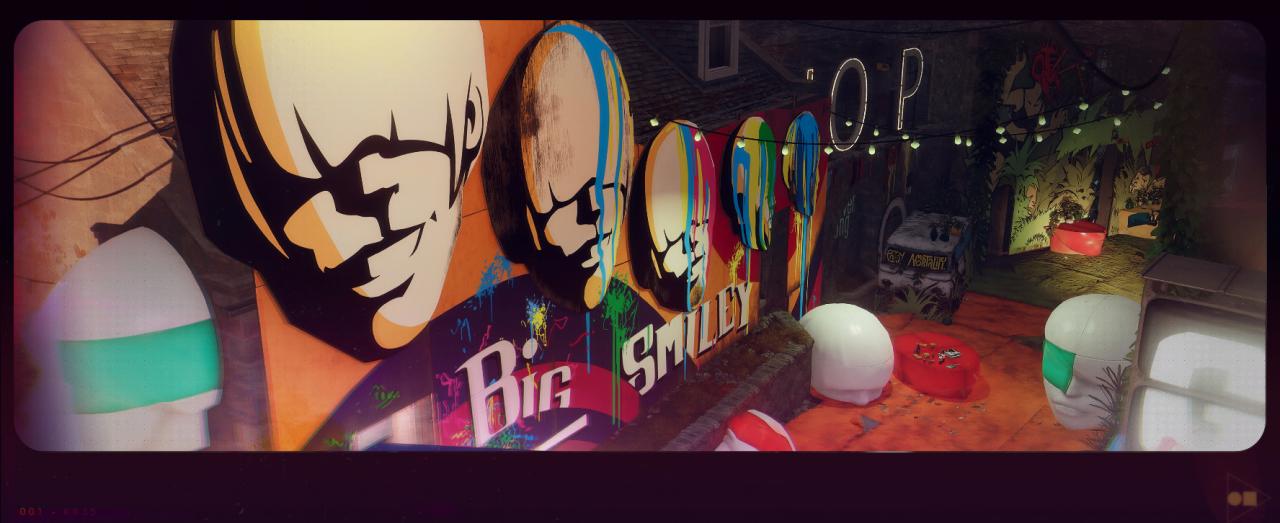


 As the day progress the air across the Bay turns acrid, and the atmosphere thickens above its gaudy props and streamers.
🔶 Main Story
💾 Minicom
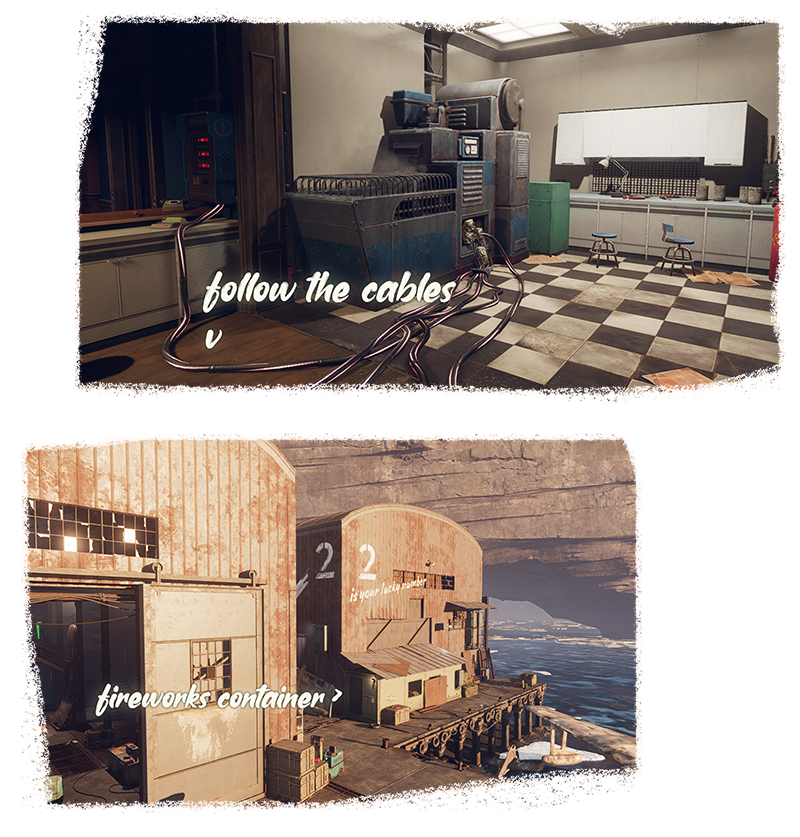
A container for Otto’s Workshop containing fireworks for Frank, it is located behind Hangar 2.
The code can be found on the Minicom inside Otto’s Workshop in Updaam. The message is only available at Noon, however you will also need to visit Updaam in the morning & destroy the blue powerboxes connected to the fireworks machine. They can be easily found by following the cables from the machine & doing so will prevent the Workshop from burning down later in the day.
🔶 Main Story
📙 Order of Operations
A safe inside The Yerhva.
The book containing the code is found on top of the Data Cassette Terminal inside the Secret Bunker at Fristad Rock, which is only available in the Afternoon.
🔷 Optional
📑 I Got Nothing
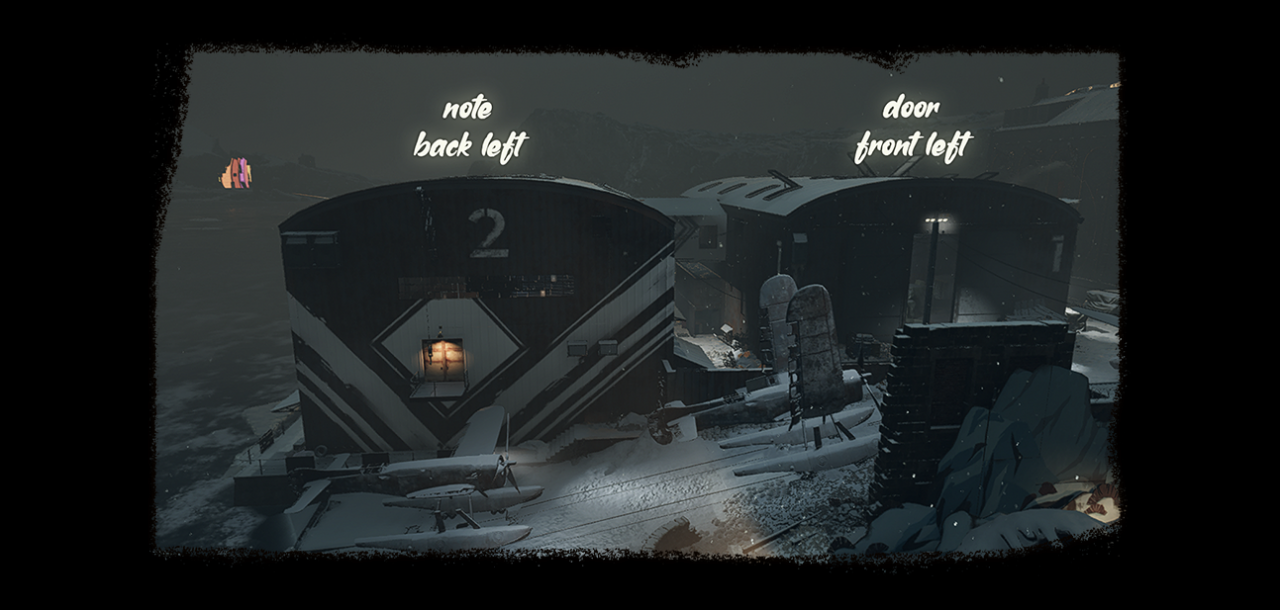
In the front left corner of Hangar 1 on the lower level.
The code can be found in Hangar 2 in the back left corner of the middle platform, next to one of Charlie’s Levers.
Reward: Shortcut between Hangar 1 & Hangar 2.
![]() Pick Rexly’s Hideout
Pick Rexly’s Hideout
🔷 Optional
📑 Towards Tomorrow
Near Gardens of Perception, accessible via the open windows.
When you first arrive there will be a note on the desk titled Living Deja-Vu, after reading it you can return again on another day to find another note, Towards Tomorrow. This second note will contain the code for the door. To access the keypad you need to reach the door without getting detected by the blue lasers. This can be achieved with Aether, or by standing to the side when opening the door and then using Shift to pass them.
 The morning light wakes a menagerie of strange attractions Karl’s Bay, strangest of all the mystical magnetism of Two-Path Divinity.
🔷 Optional
📑 Salt-Scented Page
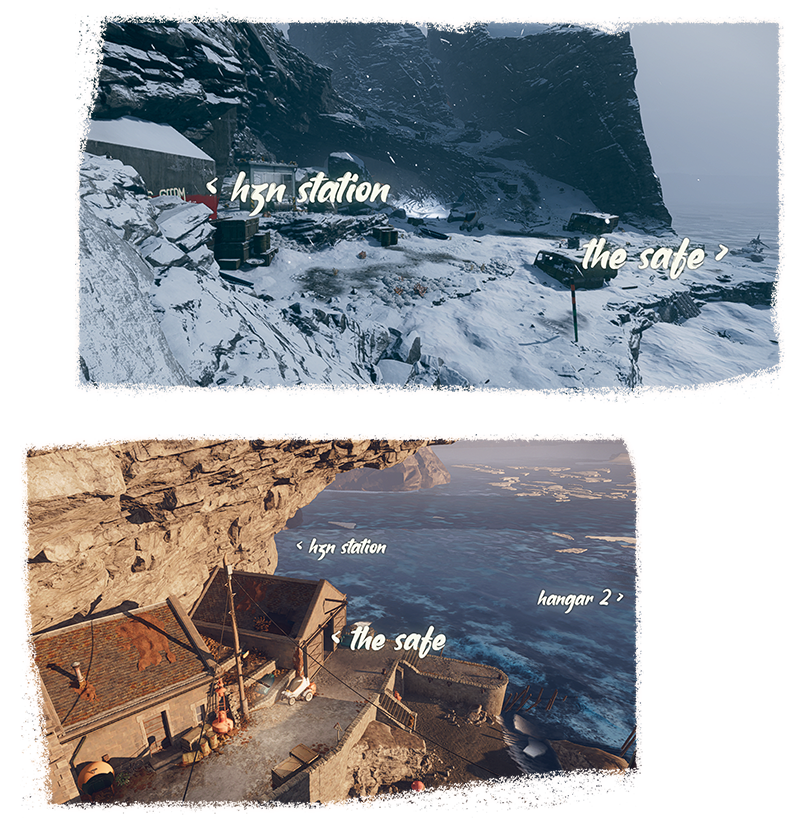
Opposite Hangar 2 along the shore line is a small garage with a safe inside.
The code can be found in Fristad Rock – Afternoon, it is on the ice near a small crashed boat quite close to the the HZN Station. It is actually the same safe from Karl’s Bay but has now been opened.
Reward: 🟦Trinket
 When the fun drains from the funfair and the sun flees the sky, the rotten facade falls from the face of Karl’s Bay.
🔷 Optional
❔ Super Shifty Arsenal Lead
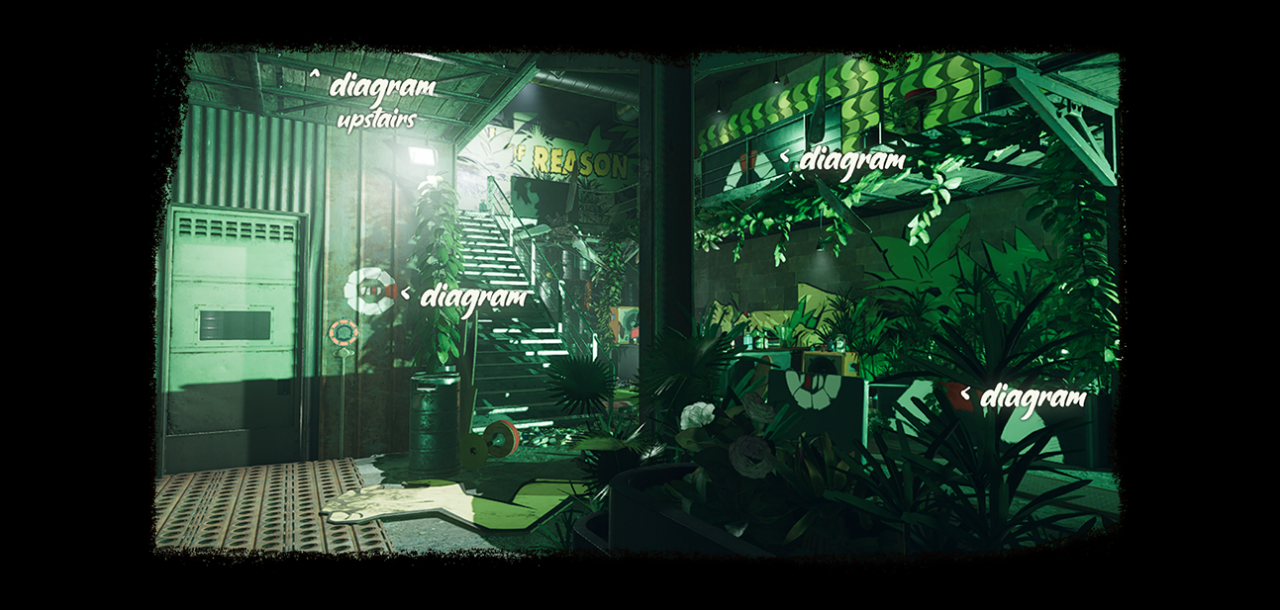
Inside The Dawn of Reason which is the green building along the middle road that runs through a tunnel.
The puzzle is a part of Charlie’s Reward Scheme. Upon entering you will have 3 minutes to enter the code. You need to line up the diagrams painted around the room to find the 4 digits of the code.
💢 Crank-Wheel Safes
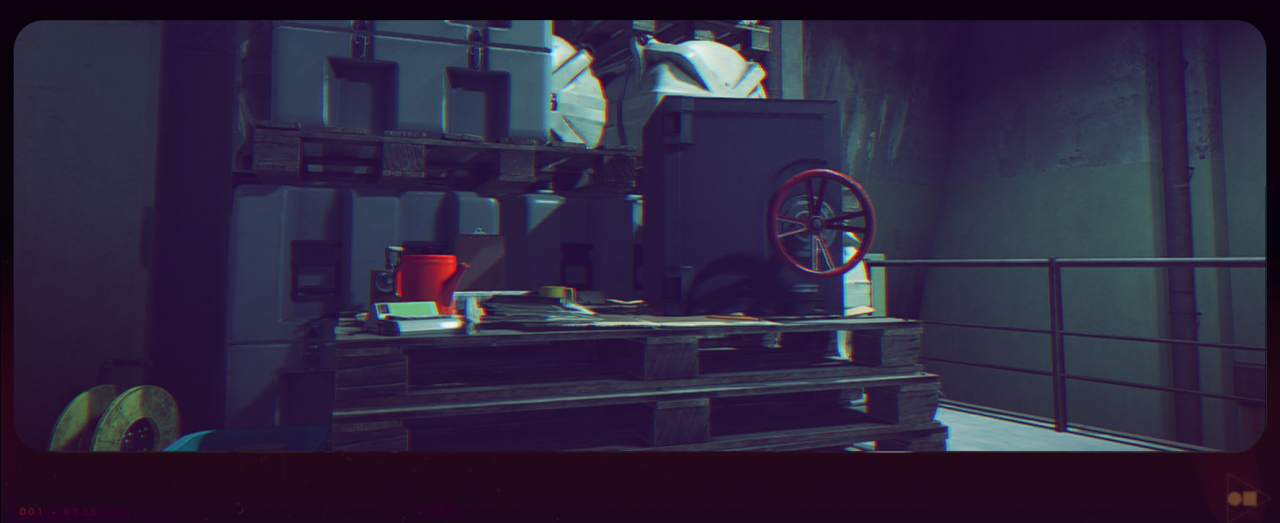
There are various safes around Blackreef that don’t have a code at all & instead require a crank-wheel to access.
![]()
 Loop Control Center
🧭 The Complex – Morning
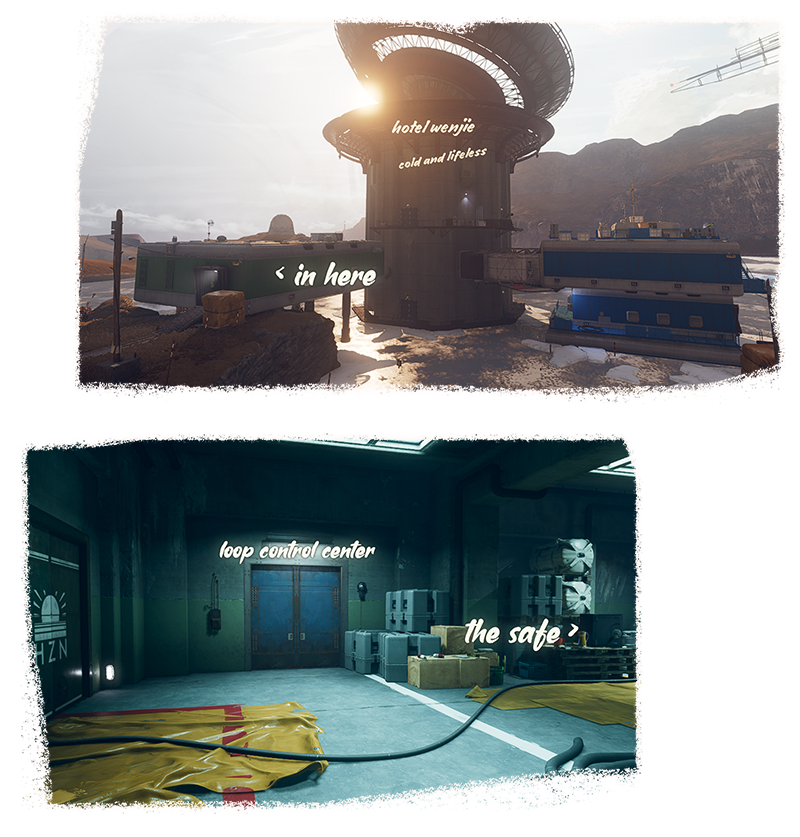
The safe is located on some pallets in the lobby of the Loop Control Center.
The crank-wheel can be found nearby in the Green Lab Annex of Wenjie’s Laboratory. It is on the table next to the Residuum Experiment Machines.
Reward: 🟪The Fourpounder [Headshot Explosions]
 Abandoned Safe
🧭 Updaam – Noon
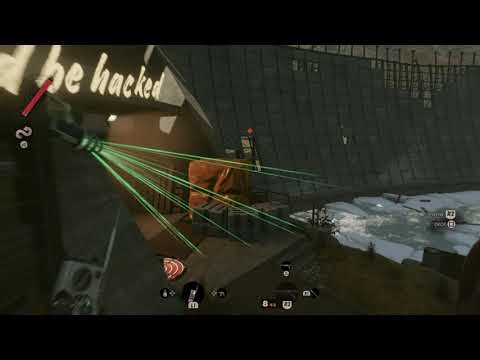
The safe is located on the cliffs near the tunnel leading to Dorsey Square.
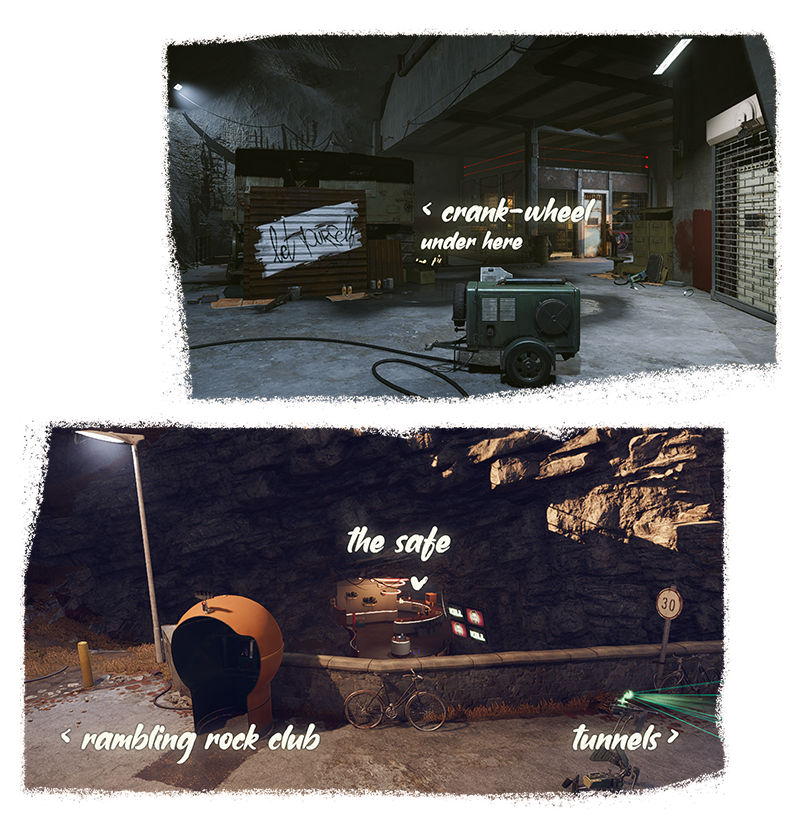
The crank-wheel can be found just outside the ClassPass restricted door underneath Charlie’s Condition Detachment, it is just to the right of the door below the yellow flag. Alternatively you can order a crank-wheel from a Delivery Booth. You need to request delivery to Updaam & then collect it from the Booth in the next time period.
Reward: 🟪Tribunal [Damage Stacks]
 Bar Safe
🧭 Fristad Rock – Noon
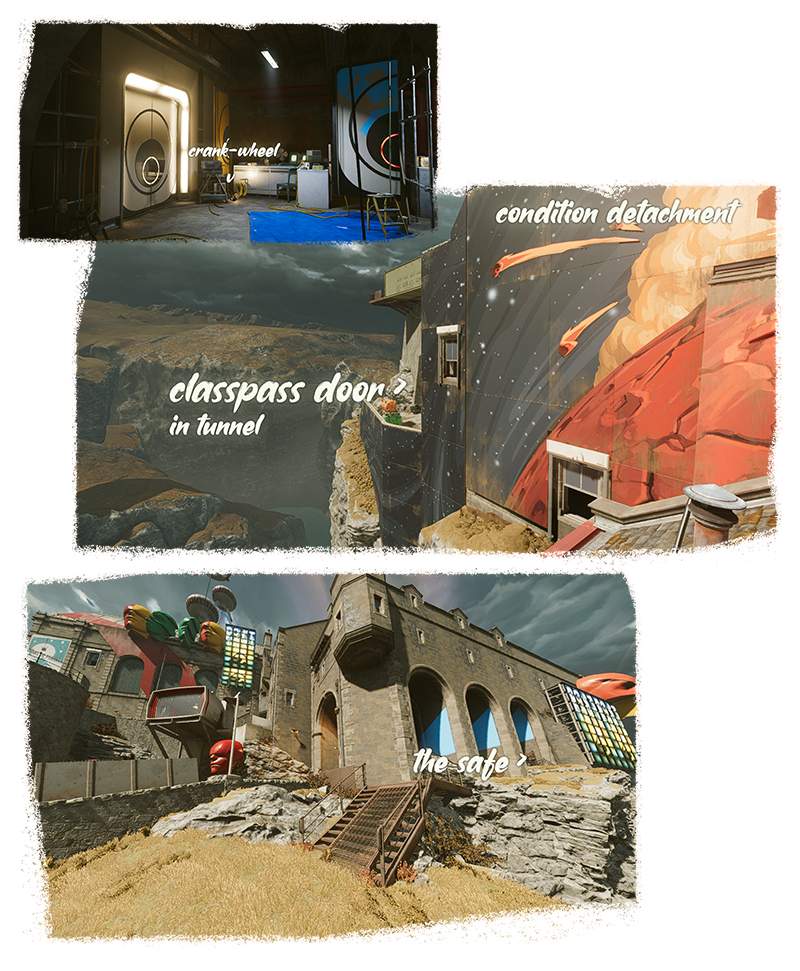
The safe is located behind the bar in the cave at the center of Fristad Rock.
The crank-wheel can be found inside Fractured Image (Fia’s Bunker). To the right of the entrance is a truck and the crank wheel can be found in the path that leads below it. Alternatively you can order a crank-wheel from a Delivery Booth. You need to request delivery to Updaam & then collect it from the Booth in the next time period.
Reward: 🟪Strelak 50-50 [Wider Shot Spread]
📻 Spy Intelligence Archives
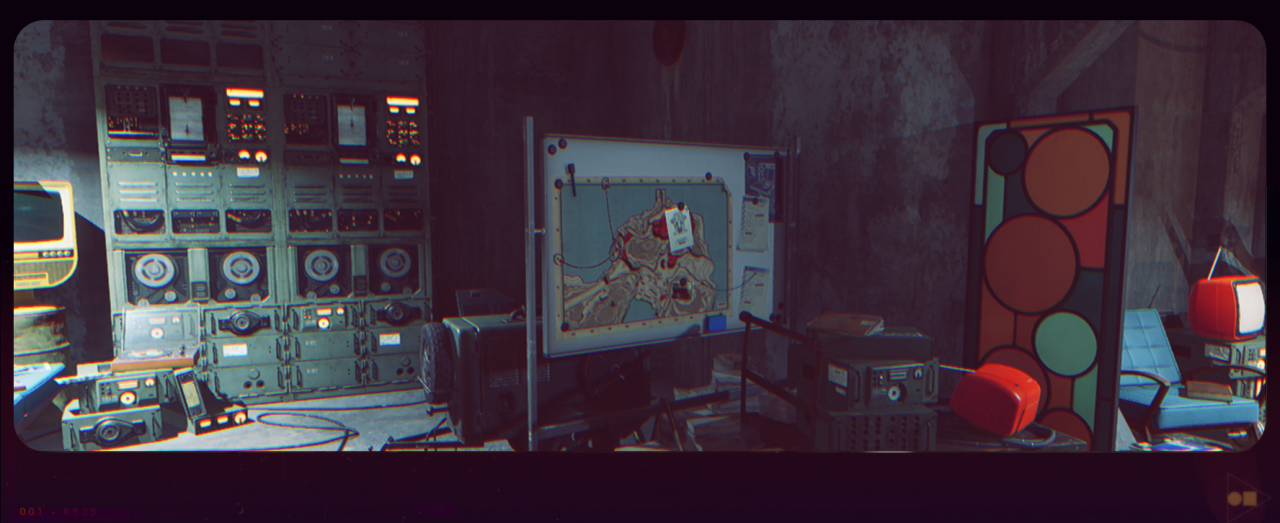


 The Spy Intelligence Archives found on Fristad Rock is heavily protected & to enter it you will need to track down codes tucked away in Spy Hideouts around Blackreef.
You will need 3 codes to be able to access the Spy Intelligence Archives.
![]()
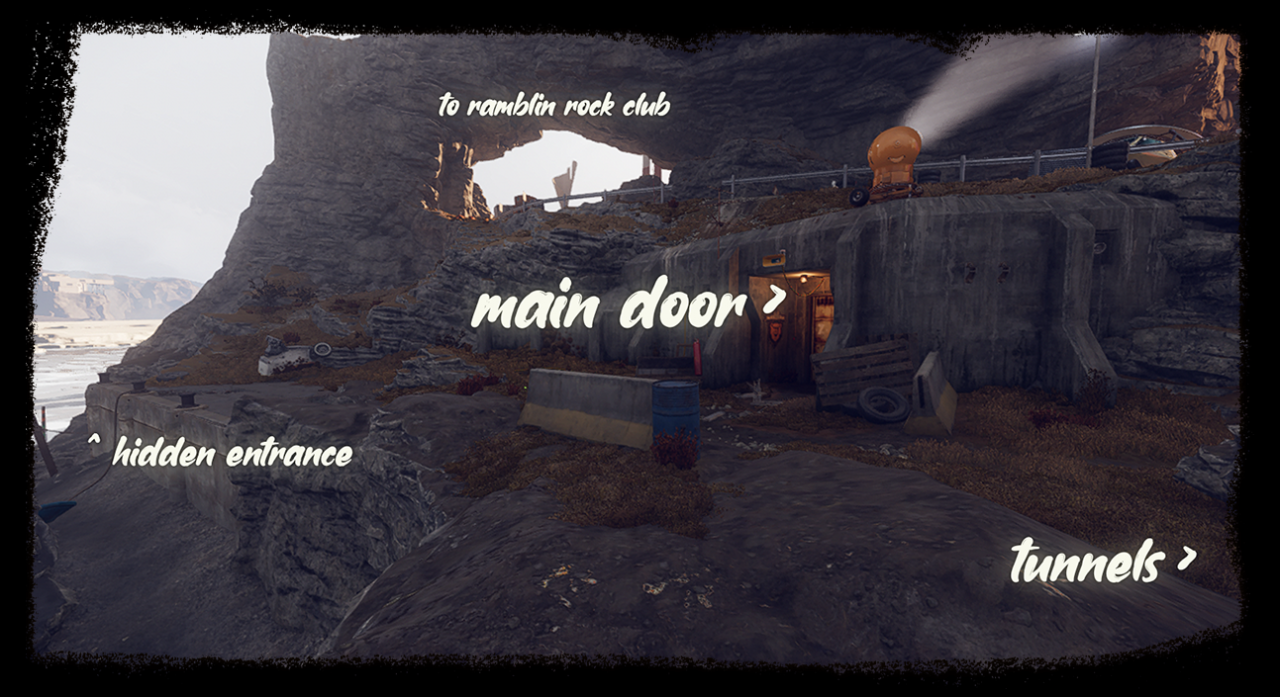
To get started we will want to head to Fristad Rock – Morning. Along the shore right by Colt’s Tunnels we can find a Hideout, and conveniently this bunker has a hidden entrance a bit further along on the side of the rock cliff. Once we gain access to this first bunker we can read all the notes & listen to the Cassette to get the information we need.
The note on the table here will also have the first code.
![]()
To find the locations of the Hideouts & how to gain access to them you will first need to tune into the mysterious radio broadcast that plays only in the morning across Blackreef. There is a radio already in the Fristad Rock Hideout that we can use to tune into this message.
The message will contain a series of letters & numbers which indicate the Map Coordinate of the Hideout & also the number of times you must ring the doorbell to gain access to each location.
M13 // Number
H26 // Number
R33 // Number
Using the Maps we find around Blackreef we can pinpoint the exact locations of each Shelter. You can check these Coordinates yourself at a map when you arrive in each area, there is usually one found near the Tunnel Entrance, but I have listed below their locations:
R33 // Fristad Rock // Spy HQ
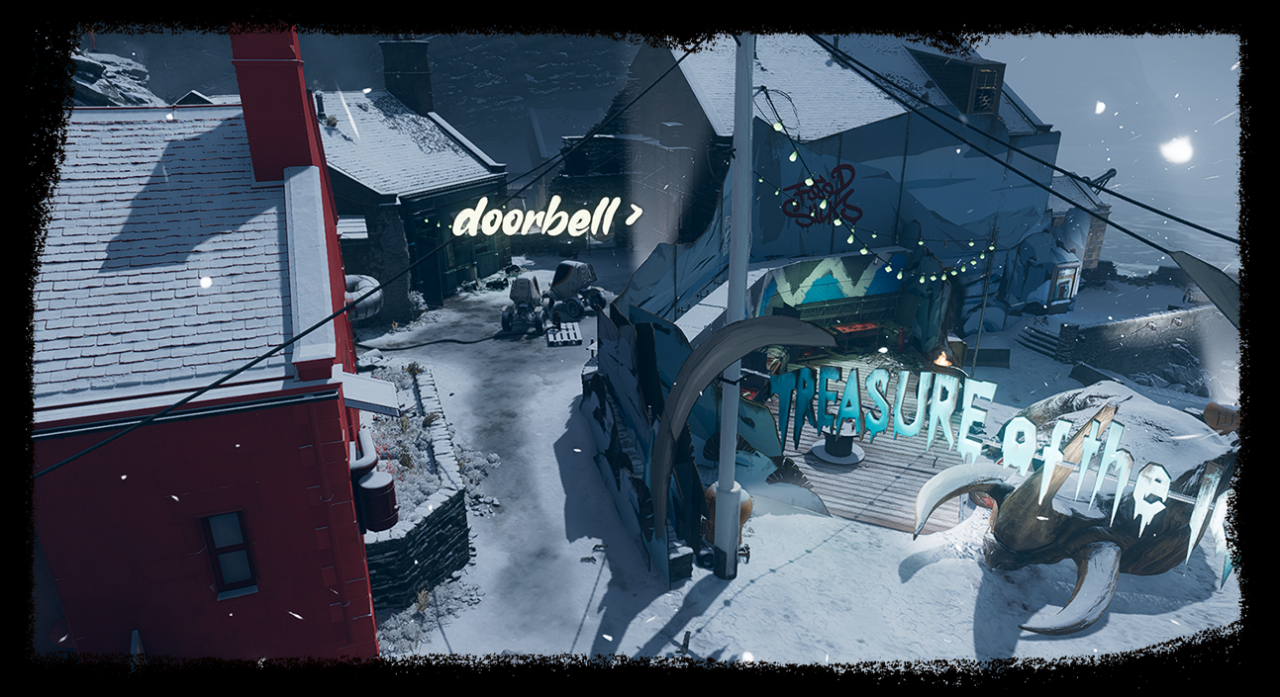
M13 // Karl’s Bay // Near Treasure of the Ice
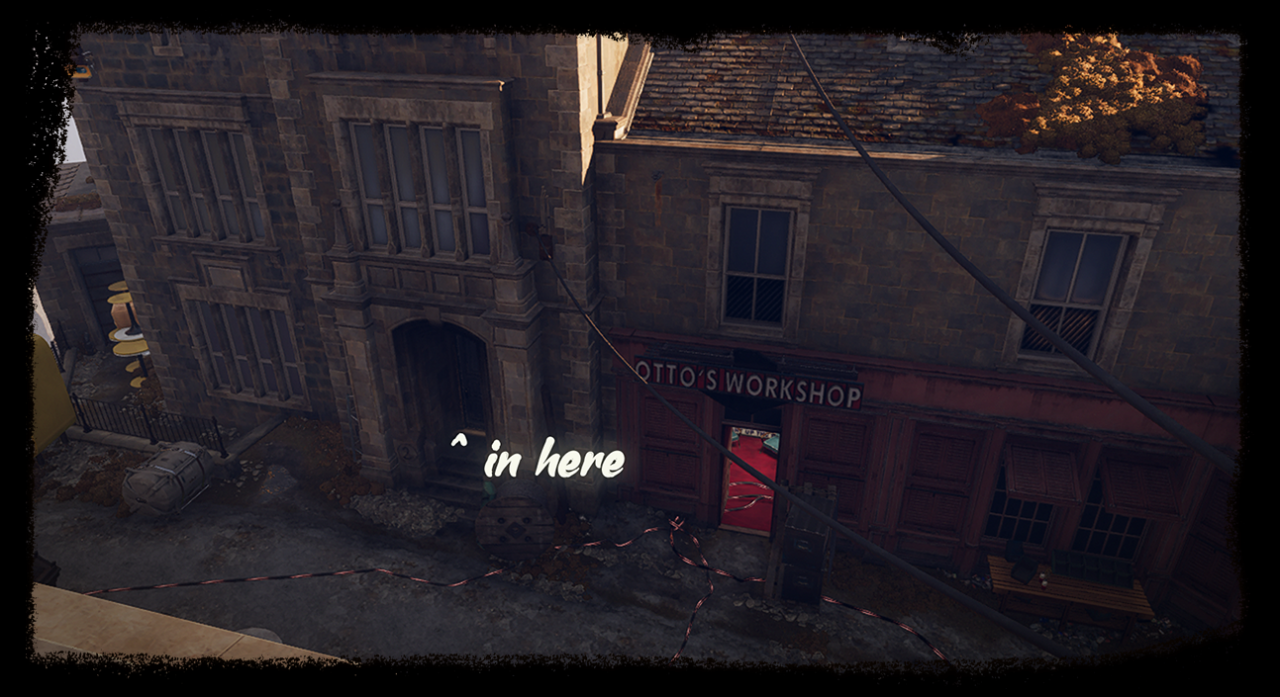
H26 // Updaam // Near Otto’s Workshop
To check if you are understanding the radio message properly you can test it already at Fristad Rock. If you leave back through the tunnel, return to the main door entrance & smash the wooden boards blocking the door you can ring the doorbell the correct number of times & the door should unlock, be sure to press the button quickly without any large gaps between presses.
![]()
Updaam Hideout is located near Otto’s Workshop, it is in the building just to the left with a blue door (Coordinate H26). Ring the doorbell the correct number of times indicated in your radio transmission to gain access & then be sure to read all notes in the Hideout to acquire the second code. You will need to smash the glass panel blocking the door way to access most things of importance in the room.
![]()
Karl’s Bay Hideout is located near Treasure of The Ice along the Main Road (Coordinate M13). Ring the doorbell the correct number of times indicated in your radio transmission to gain access & then be sure to read all notes in the Hideout to acquire the third code.
![]()
With all 3 codes you are ready to return to Fristad Rock & open the Archives door. You can input the 3 codes in any order & the door will unlock.
Reward: 🟪Tribunal [Shoot to Tag] & 🟪Tribunal [Extra Damage When Tagged]
📮 Delivery Booth
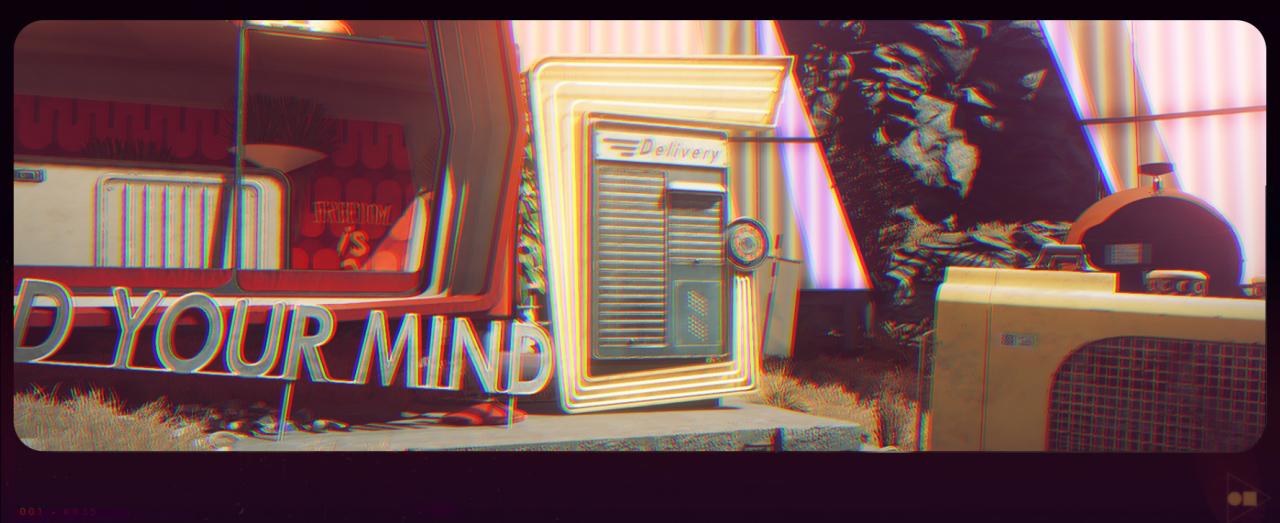


 There is a Delivery Booth available at all 4 Main Locations in Blackreef. You can select an item to be delivered to any location and it will be ready for collection in the next time period.
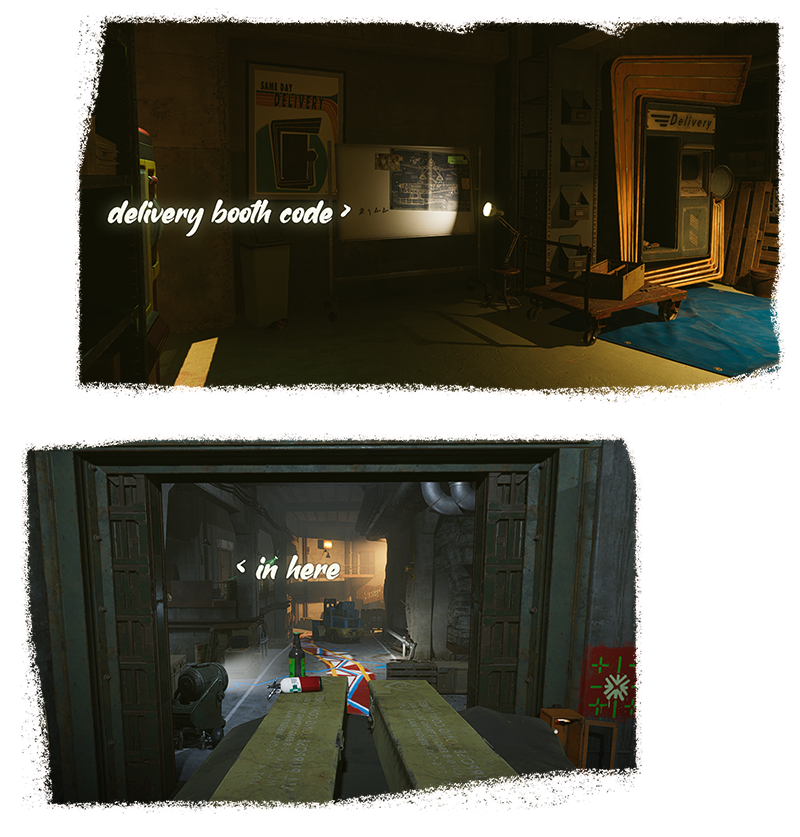
The code for all of the Booths is the same.
Related Posts:
- DEATHLOOP All Challenges Solution Guide
- DEATHLOOP 100% Achievement Guide
- DEATHLOOP Chest under Dorsey Square Guide
- DEATHLOOP Simple Tips for Better Performance
- DEATHLOOP Julianna Invasion Feats List
