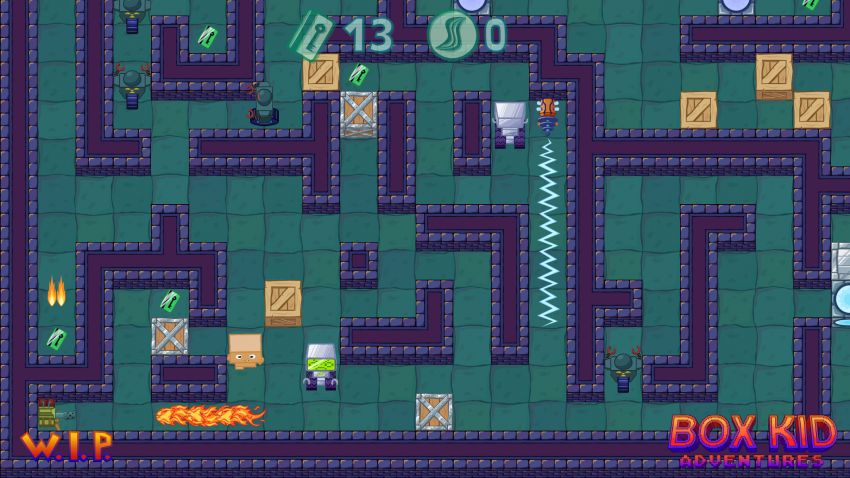
Learn how to create and share levels for Box Kid Adventures using the built-in level editor. This overview will show you all the features that Constructor has to offer.
Basics
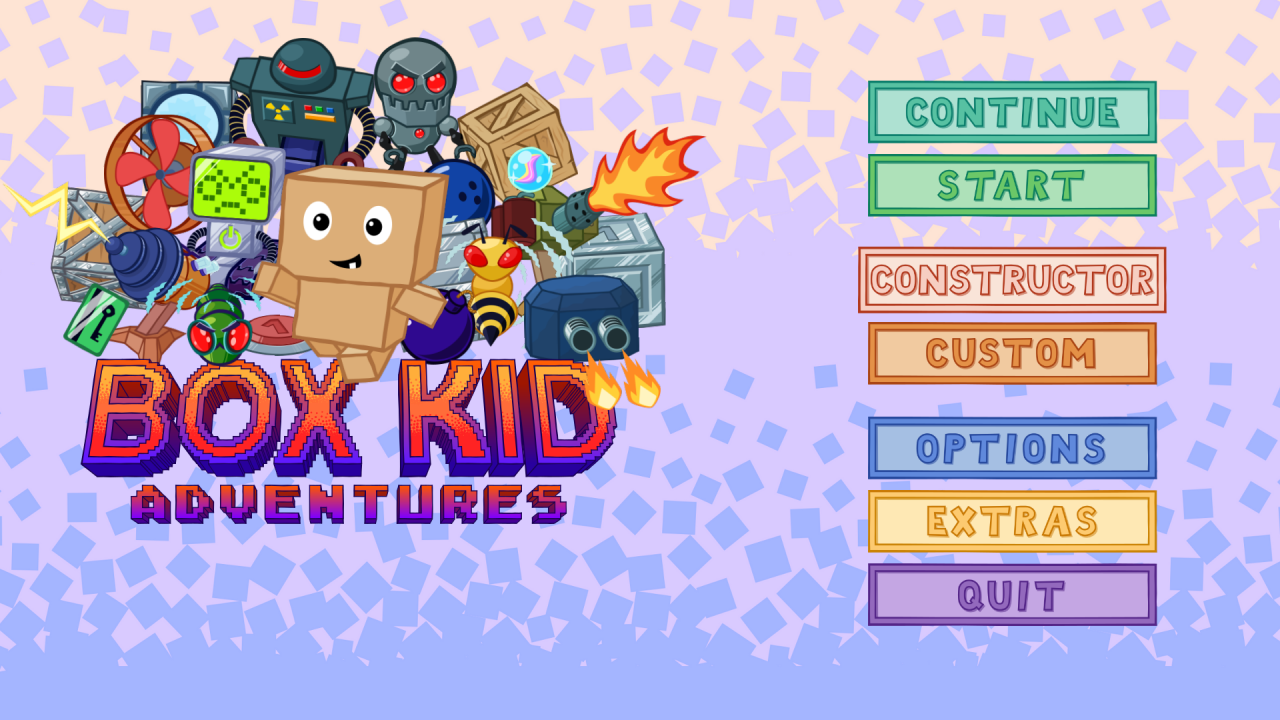
To start making your own levels, in Main Menu select Constructor:
After a brief loading of all needed assets, you will be greeted by the context menu – the main part of the Constructor:
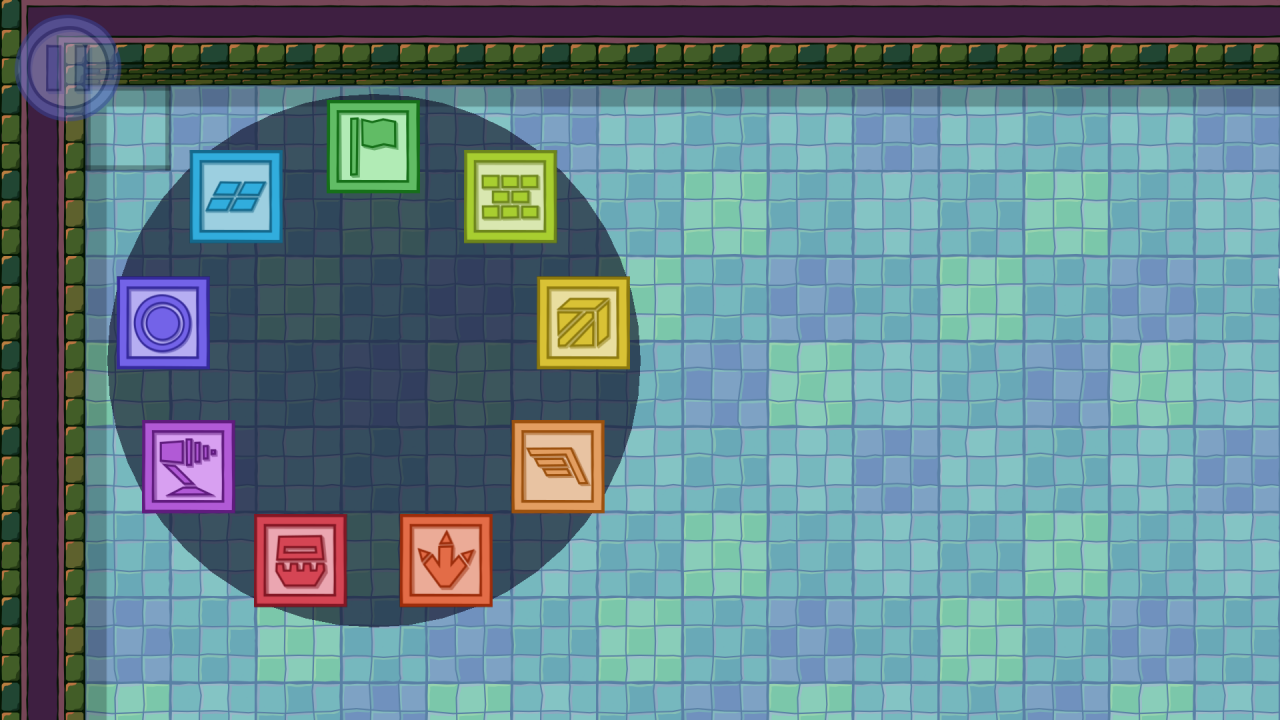
 Context Menu allows you to easily select objects to place in the level (you can also access the pause menu by clicking on the button in the top left corner). To show the menu again press left mouse button or A button on an Xbox controller. You can leave the context menu by pressing the right mouse button, Escape key or B button.
Pause Menu
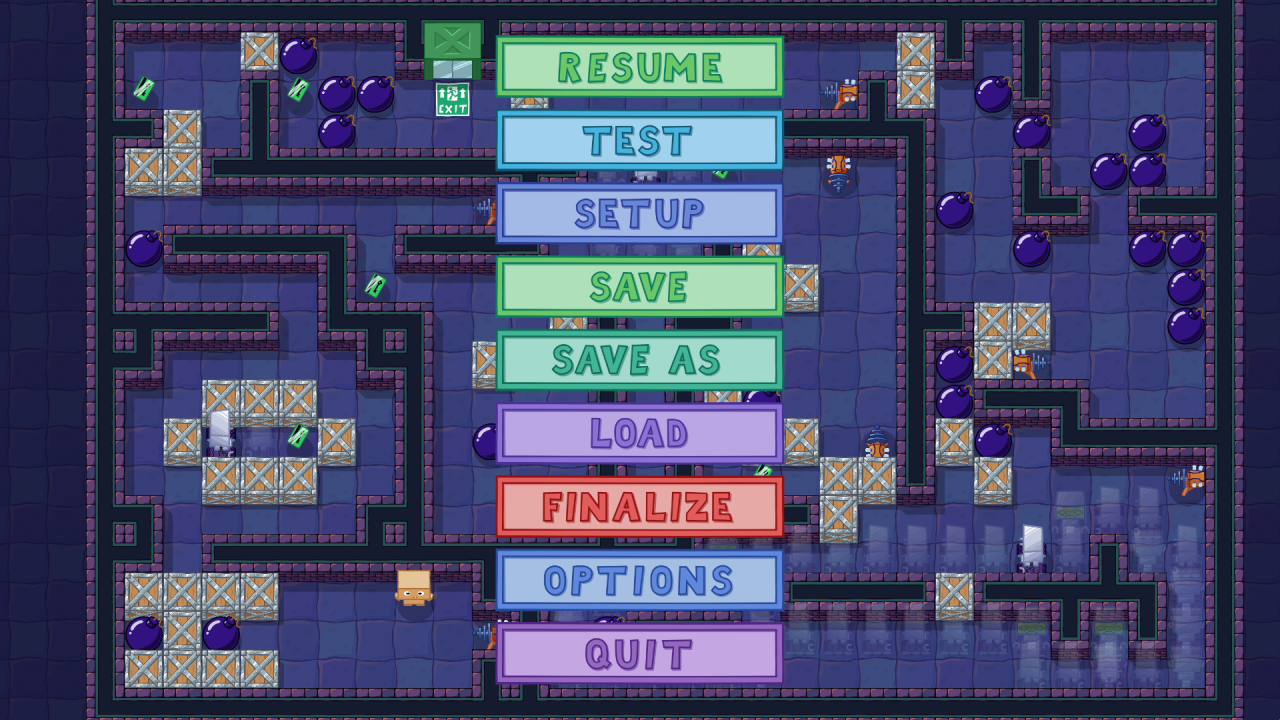
Pause menu allows you to take various action:


Level Setup
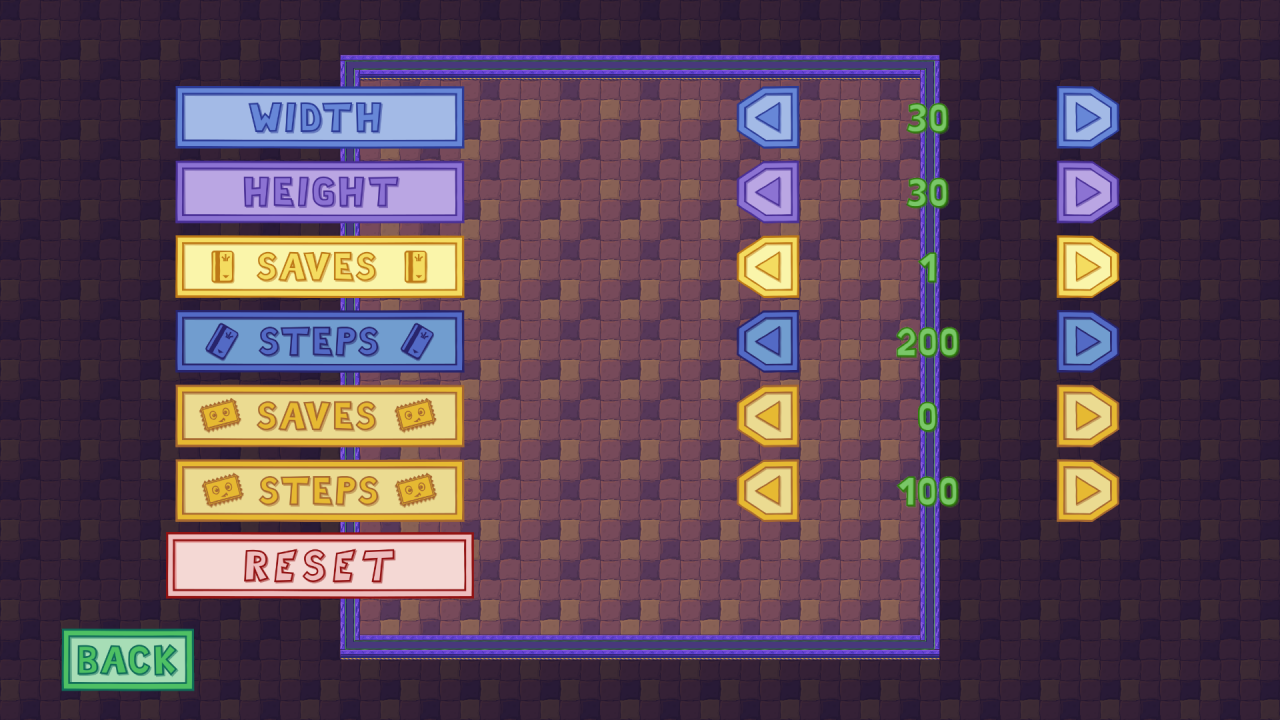
This screen allows you to change the level’s main parameters:


Selecting Objects

Context Menu is made of multiple icons that hide all objects that can be found in Box Kid Adventures. Choosing an icon will open the next menu with selectable objects. Let’s overview the icons:







To select one of the icons click it with the left mouse button or when using a gamepad, highlight it with the left analog stick and press A button. Repeat this action in the next menu to pick an object you want to place in a level.
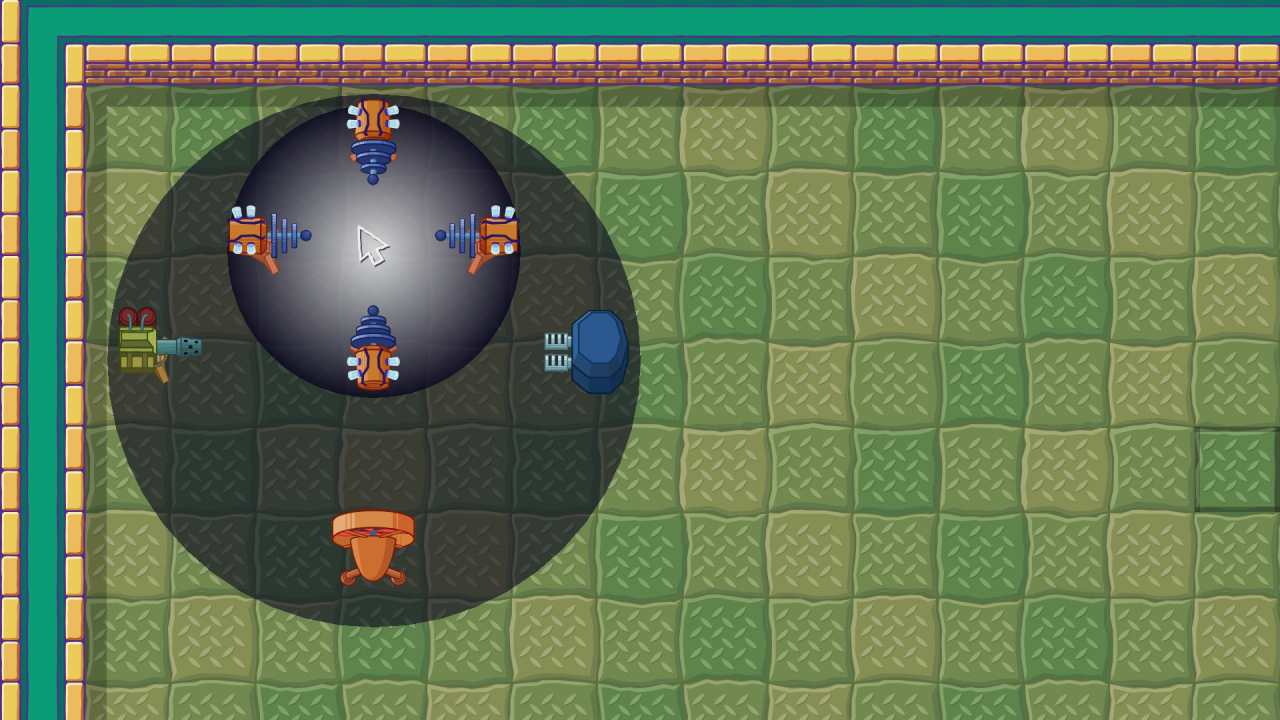
In addition to selecting objects, Context Menu allows you to change the look of a level. To gain access to visual options select those icons:


After you choose which object you want to add to the level, the menu will close.
Placing Objects
At that point cursor changes to your selected object and is pulsing:
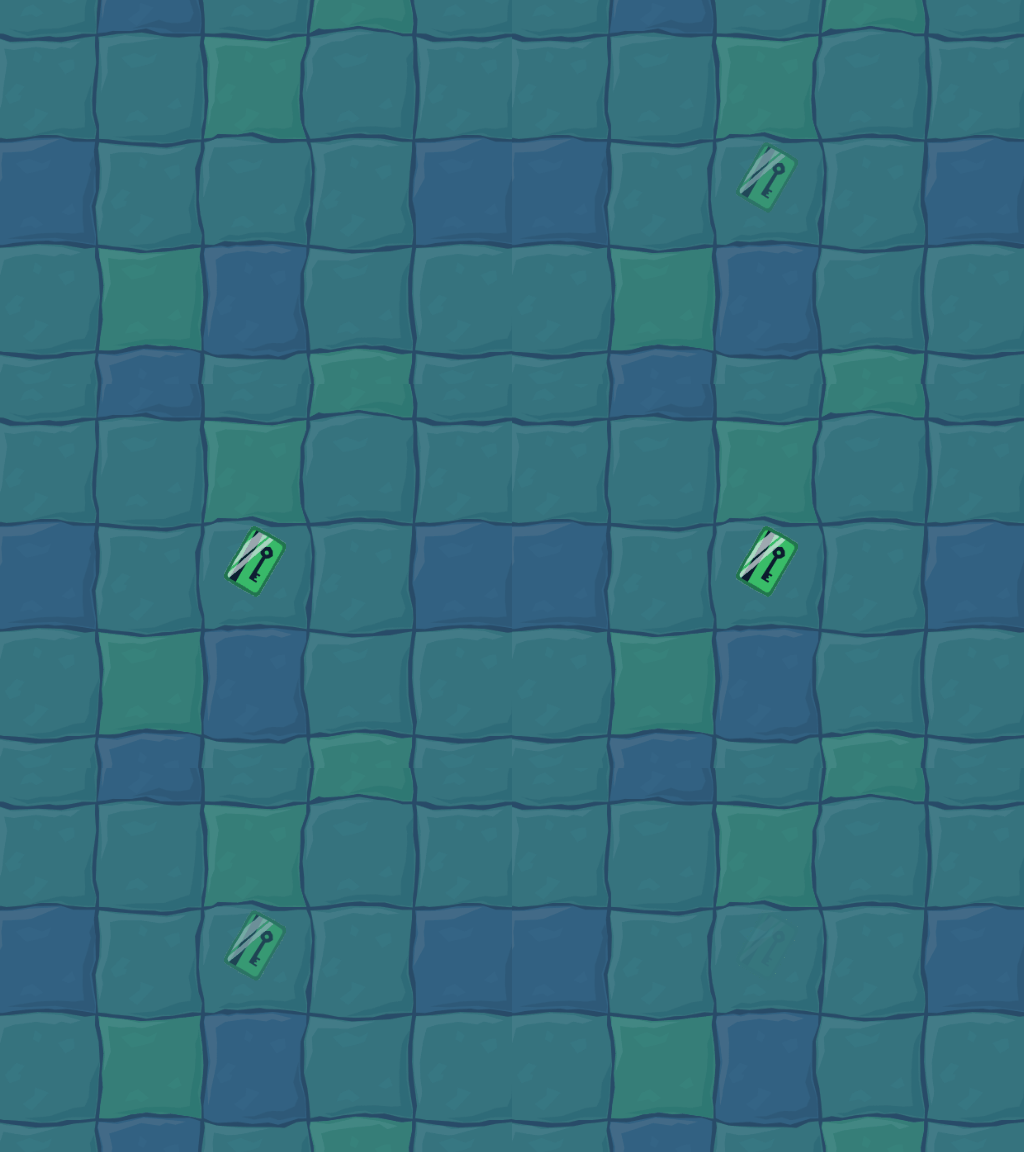
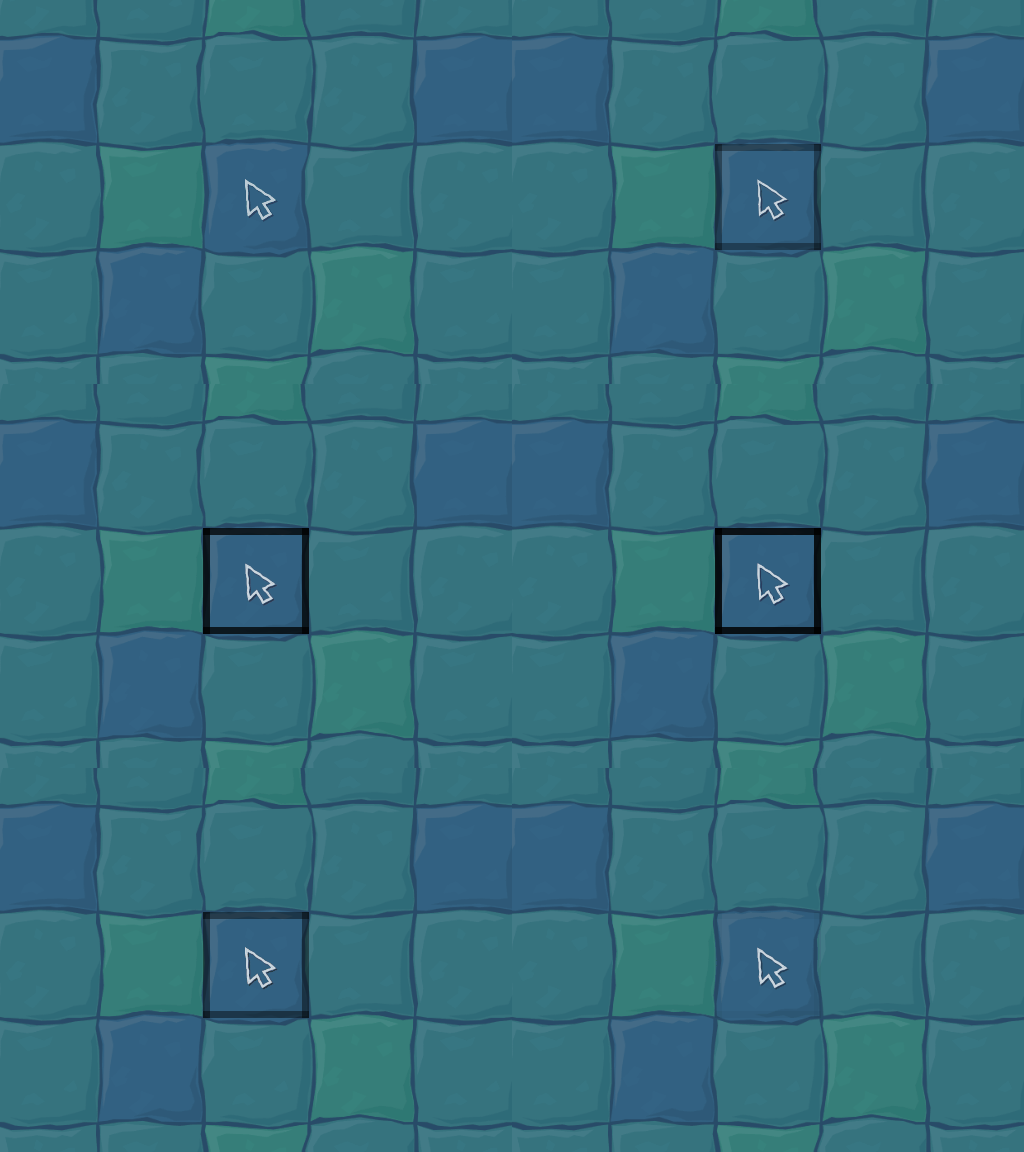
Let’s talk about all the actions that you can take in the Constructor:
left mouse button
A button on a controller
right mouse button
B button on a controller
left mouse button
A button on a controller
right mouse button
B button on a controller
right mouse button
B button on a controller
left mouse button
A button on a controller
(change object’s variant)
Y button on a controller
right analog stick
left shoulder button on a controller
right shoulder button on a controller
left/right trigger on a controller
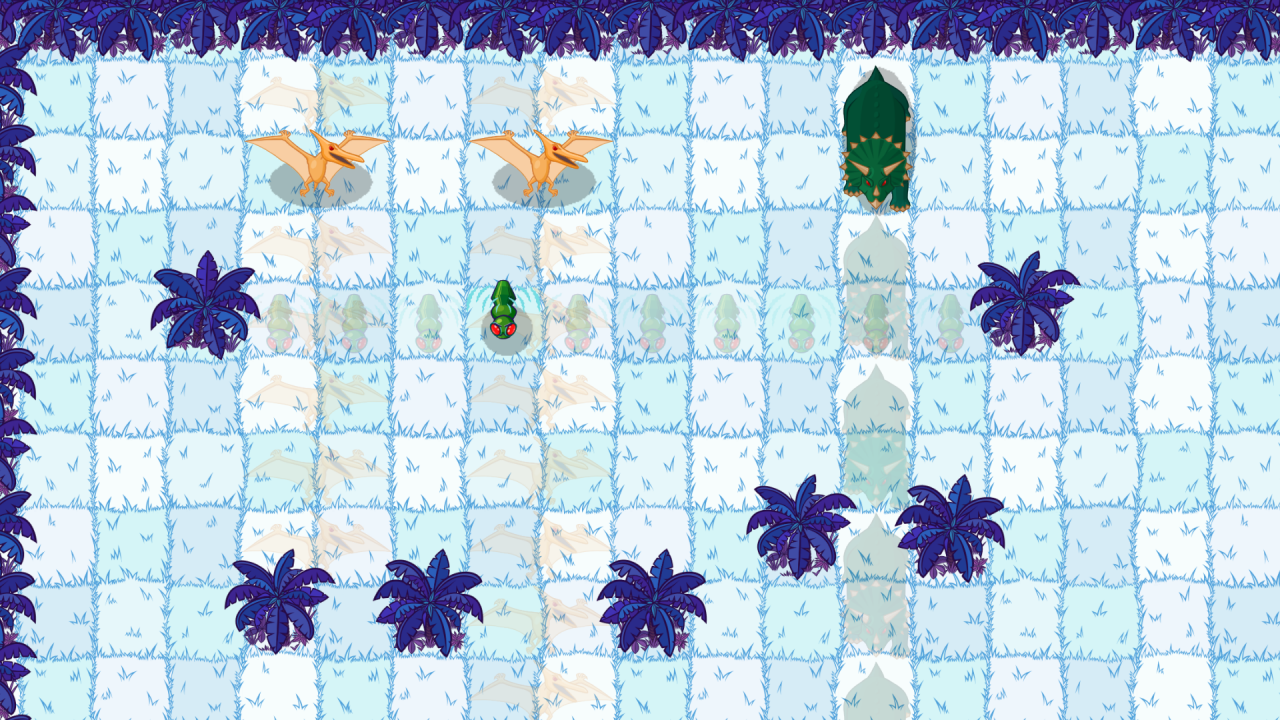
Some objects when placed (or hovered over empty space) display “shadows” – a visual representation of how that object will move:
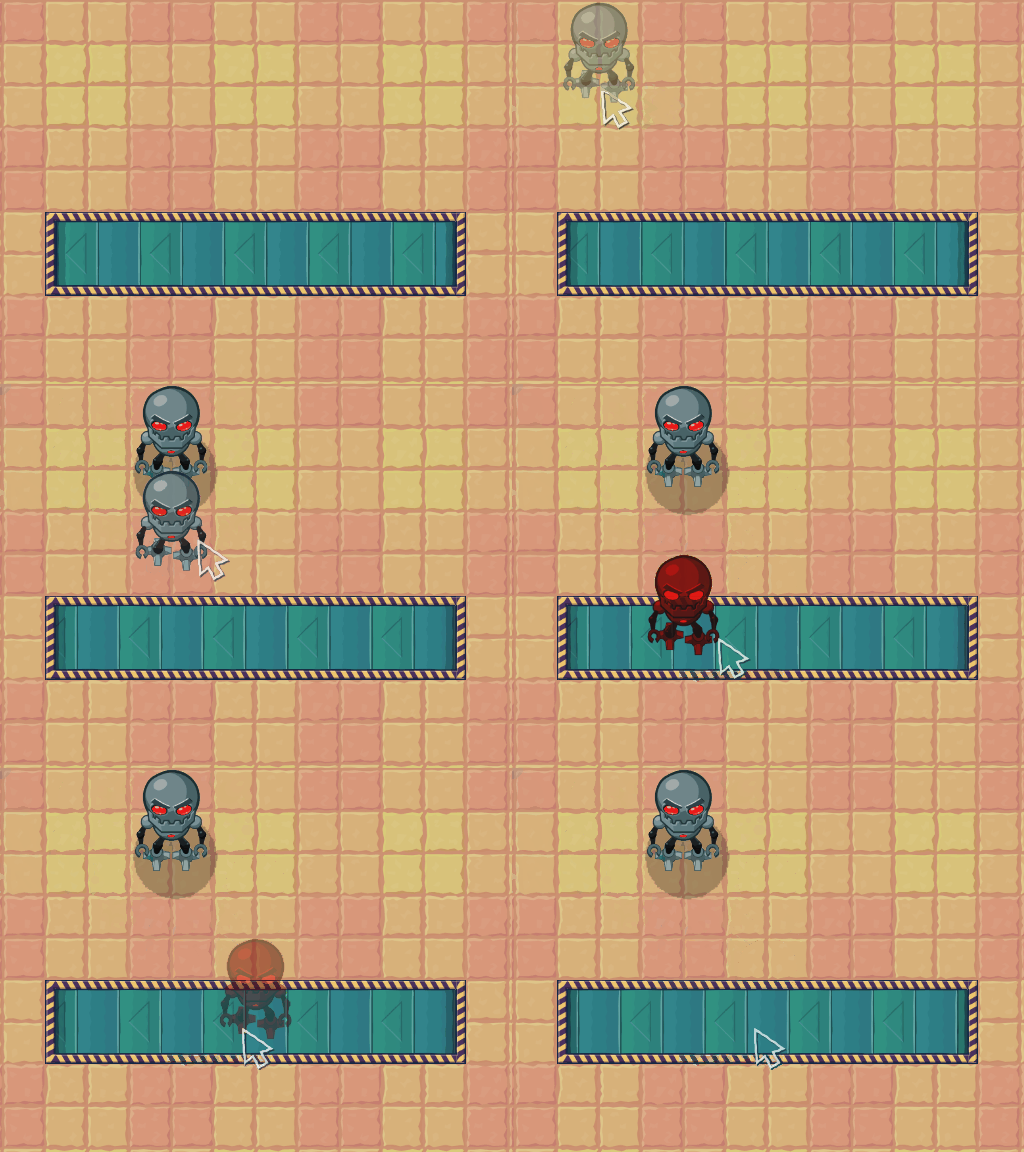
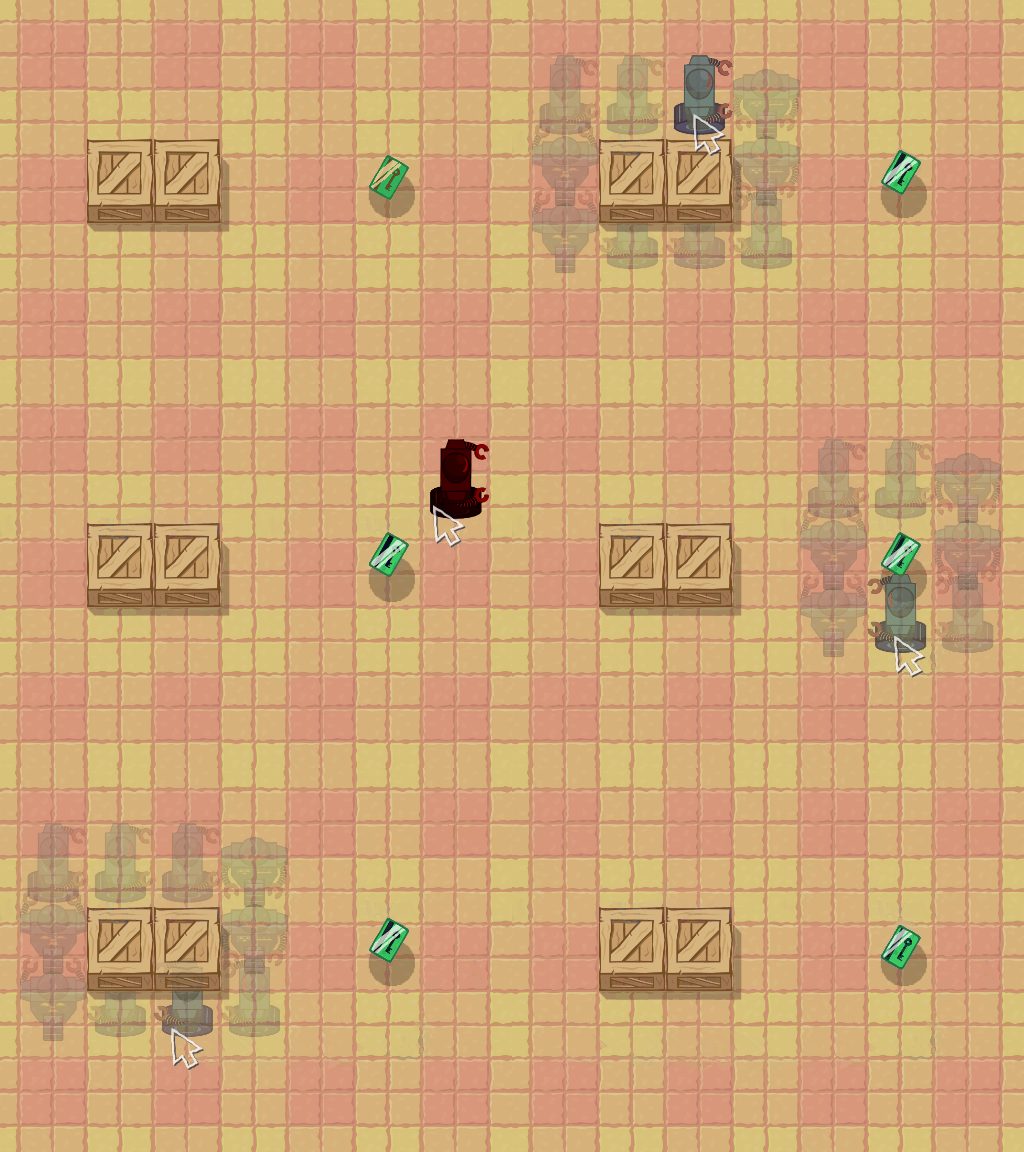
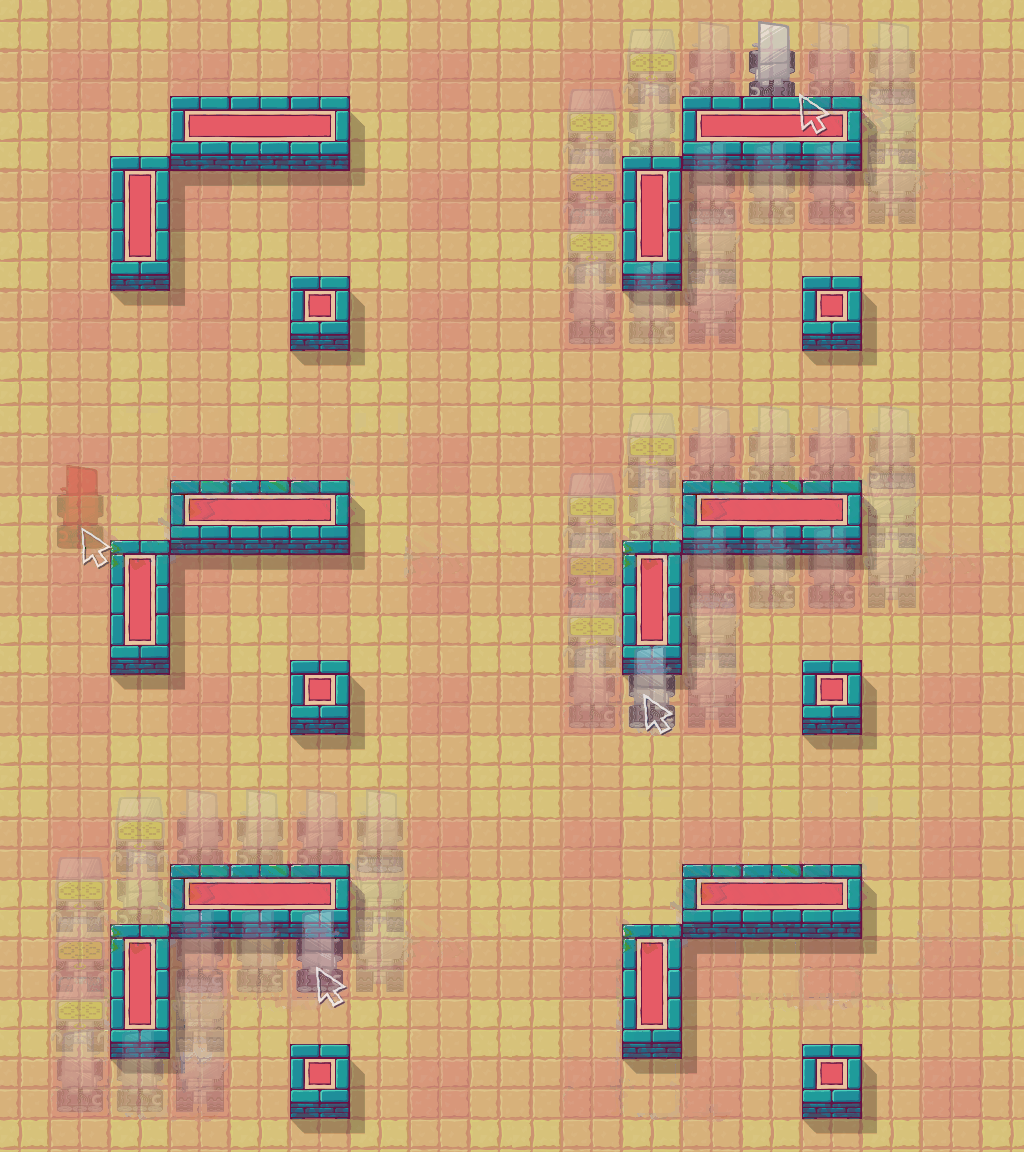
When you can’t place an object, it’s colour will change to red:
Finalizing

This will finalize your level and send it to a local folder and will be accessible from the custom level selection (CUSTOM can be found in Main Menu, under the CONSTRUCTOR button). Folder with finalized levels can be found in %localappdata%/Box_Kid directory (on Windows 7 it will be /Users/<User Name>/AppData/Local/Box_Kid) in folder finals.
Next, you will be asked if you want to send your level to Steam Workshop:
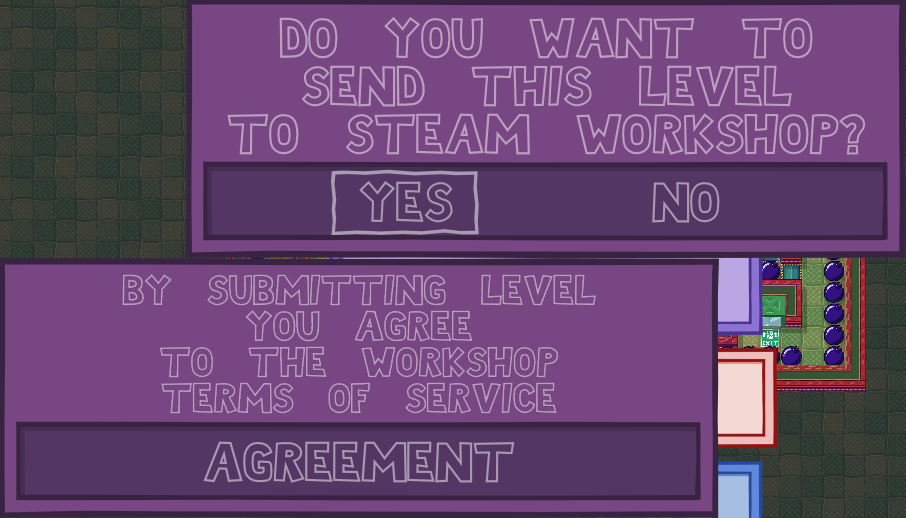
Before you continue, you need to accept Steam Workshop terms of service (otherwise your levels won’t be visible to others).
After a brief moment of creating a Steam Workshop item (make sure that you are connected to the internet) you will be able to enter your level’s title (by default it’s the name that you’ve used when saving the level), description and tags (maximum of 8).
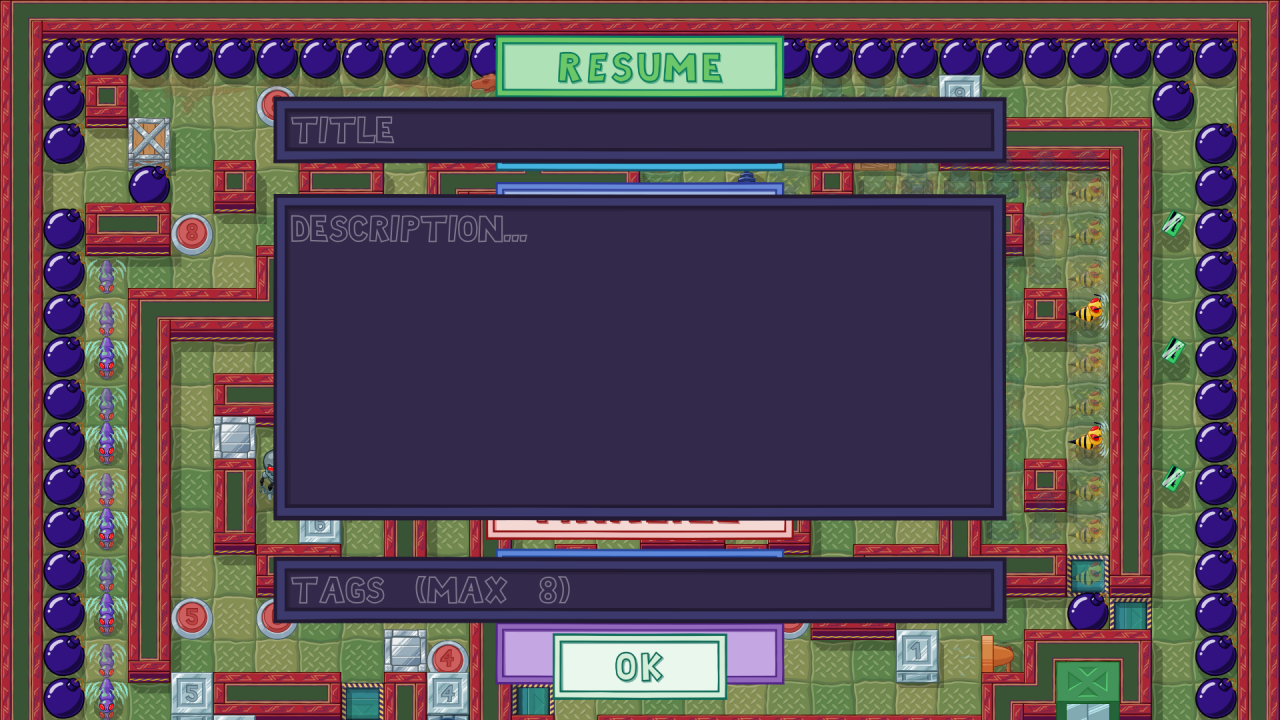
When you are ready to send your level to Steam Workshop, press OK button. Now you will have to wait a little bit since uploading can take some time. After your level gets successfully uploaded, Steam’s Overlay will activate (make sure to enable it in Steam’s Settings). You will be able to review your item. You don’t need to subscribe to it, it is already available for you to play.
By default all levels send from Constructor to Steam Workshop are publicly visible. If you wish to make them hidden or friends only you need to change it on an items page in Steam Workshop.
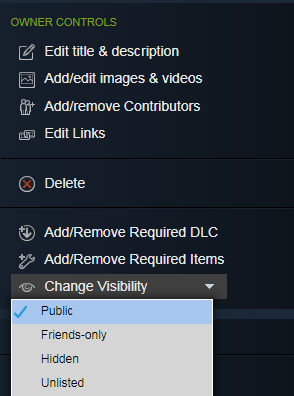
After successful creating of a Steam Workshop item, you can easily update it. Simply load your level from the Pause Menu, make some changes and send it to Steam Workshop again. You will be able to update the description if needed.
Closing Notes
This guide was meant to show you how Constructor works. If you still have some questions, something is not clear yet, ask in the comments and I’ll try to help you.
