Here is a guide on how to get an easy start and one easy way to snowball into the late-game stages.
Starting off
For your first crew, select:
- Navigator: speeds up the loading of maneuvering actions which is very important to escape from the Kraken sooner, avoiding taking too much damage. This guy also decreases the accuracy of enemy cannons and mortars.
- Gunner: every class have a reloading bonus, but the gunner starts with +2 and is the only class who can reach +5. Faster reloads = more damage.
- Marine: right off the bat, melee combat will be the best way to fight. This guy is also good at fending off the eventual haliphrons that board your ship.
Why not Medic: all ships come with a surgeon table which you can use to heal your crew, on top of that, melee fights will often be over before the need to heal anybody.
Why not Sailor: this guide is focused on disrupting the enemy crew, so there won’t be much need for repairs.
You’ll start right next to a port, with a little bit of starting gold. What you wanna do first is to collect gold for exploring the map.
Go to the Explorers Guild and collect your 150 gold:
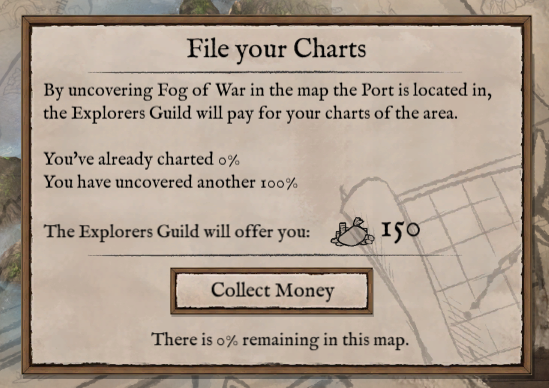
Now you should have 300 gold to:
- Hire new crew from the tavern: Get yourself another Gunner; if there are no gunners available get another Marine.
- Go to Section Upgrade and upgrade the PERFORMANCE of your Mast. This is very important as it will allow you to close in to the enemy ship much faster, avoiding damage.
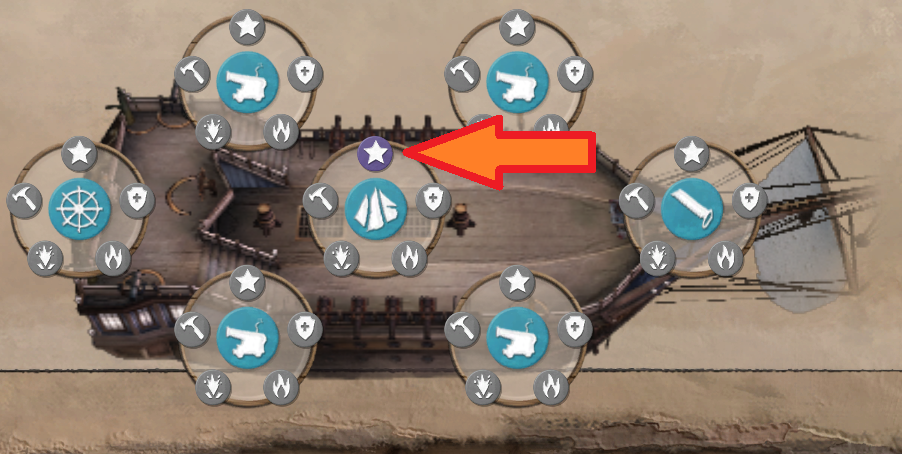
- If you still have gold left, get a PERFORMANCE upgrade for your helm. This is important to be able to Flee the kraken faster. If you can’t afford the upgrade right now, make a point of getting it as soon as you can.
First steps
Scroll down to display your area map and then press space to PAUSE. Remember to always pause any time you need to read or look at something, otherwise the time Cult tracking timer will still be running and you will waste precious time doing nothing in the map.
You need to complete a certain number of events on the map in order the unlock the gates that lead to the next map. Try to plot an efficient path that will allow you to sweep all of the goodies on the map without too much backpedaling.
Make sure to get all of the free ♥♥♥♥ on the map:
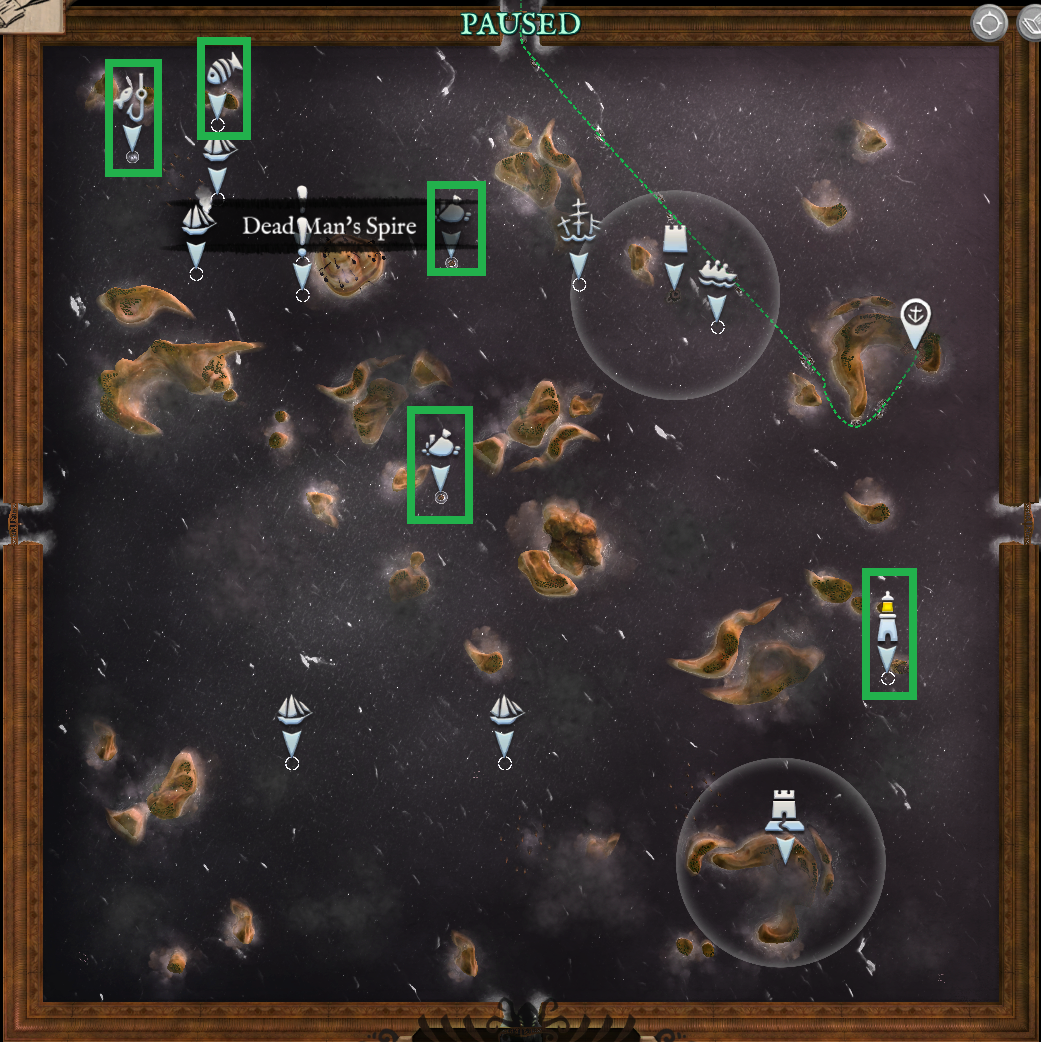
Apart from the free stuff, everything else counts towards unlocking the gates. Ship icons will most likely lead to a ship fight, other icons have a chance of being good events, bad events, or ship fights.
I recommend getting everything, except for diving bell icons. These seem to have way too high a chance to take down one of your crewmates, which is gonna cost 50g to revive and then another 65g to remove the random negative trait. Don’t take the chances until you’re swimming in gold.
Press L to go to the ship view.
You want to place your Navigator at the helm, your Leader at the Chain-Shot, one gunner at each set of cannons (you start with 2 separate group of cannons, each set having 2 cannons) and the last crew helping one of the gunners:
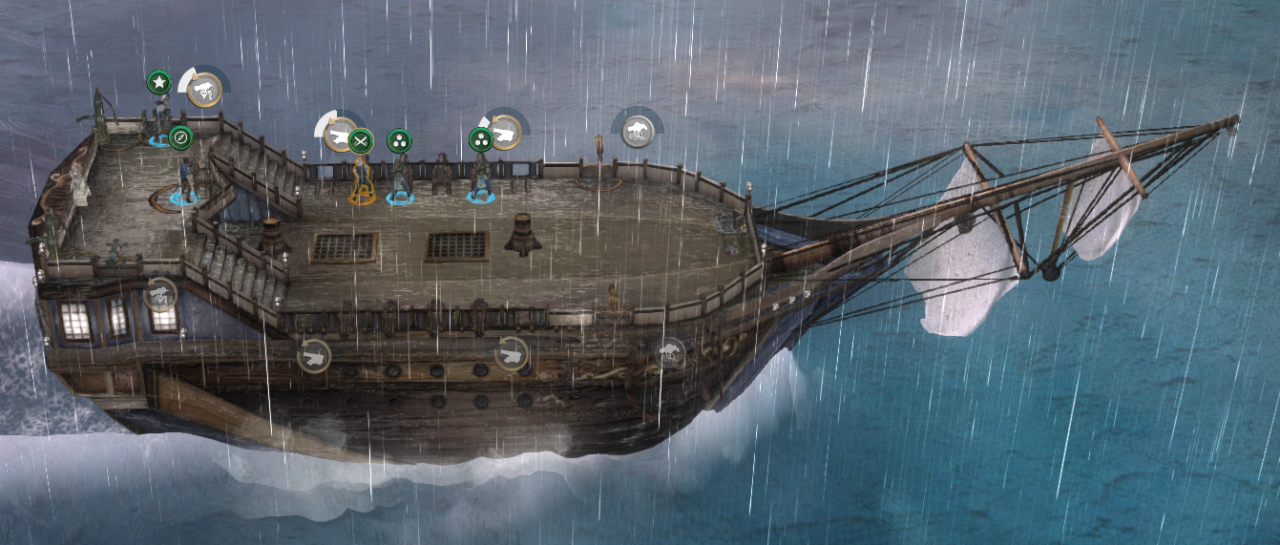
Don’t forget to save your positioning:

During fights you may have to move your crew mates to avoid poison damage, fix holes, put out fires etc. Having a saved position allow you to reset your crew to their original positions with one click (or tapping Z):

Fighting (Early game)
You also want to maximize profits, which is achieved by winning the combat without destroying the enemy ship.
Boarding is the best option to achieve both goals. Right as the combat starts, change the range setting to BOARDING RANGE:
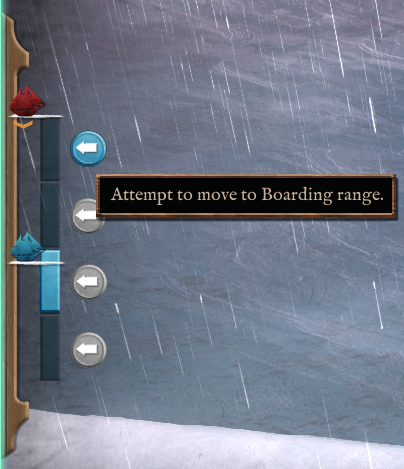
The orange arrow under the enemy ship icon shows where the enemy is trying to go: away from you or closer to you.
If the enemy ship has a preference any range other than BOARDING, which is very likely, they will not let you come close, which is why you should aim the Chain-Shot and all of your Cannons at their mast. The more their mast is damaged, the quicker you will get to boarding range.
Aiming the cannons at the mast can be a little finnicky. The hud at the top-right corner and the highlighting can be used to confirm you’re aiming at the right place.
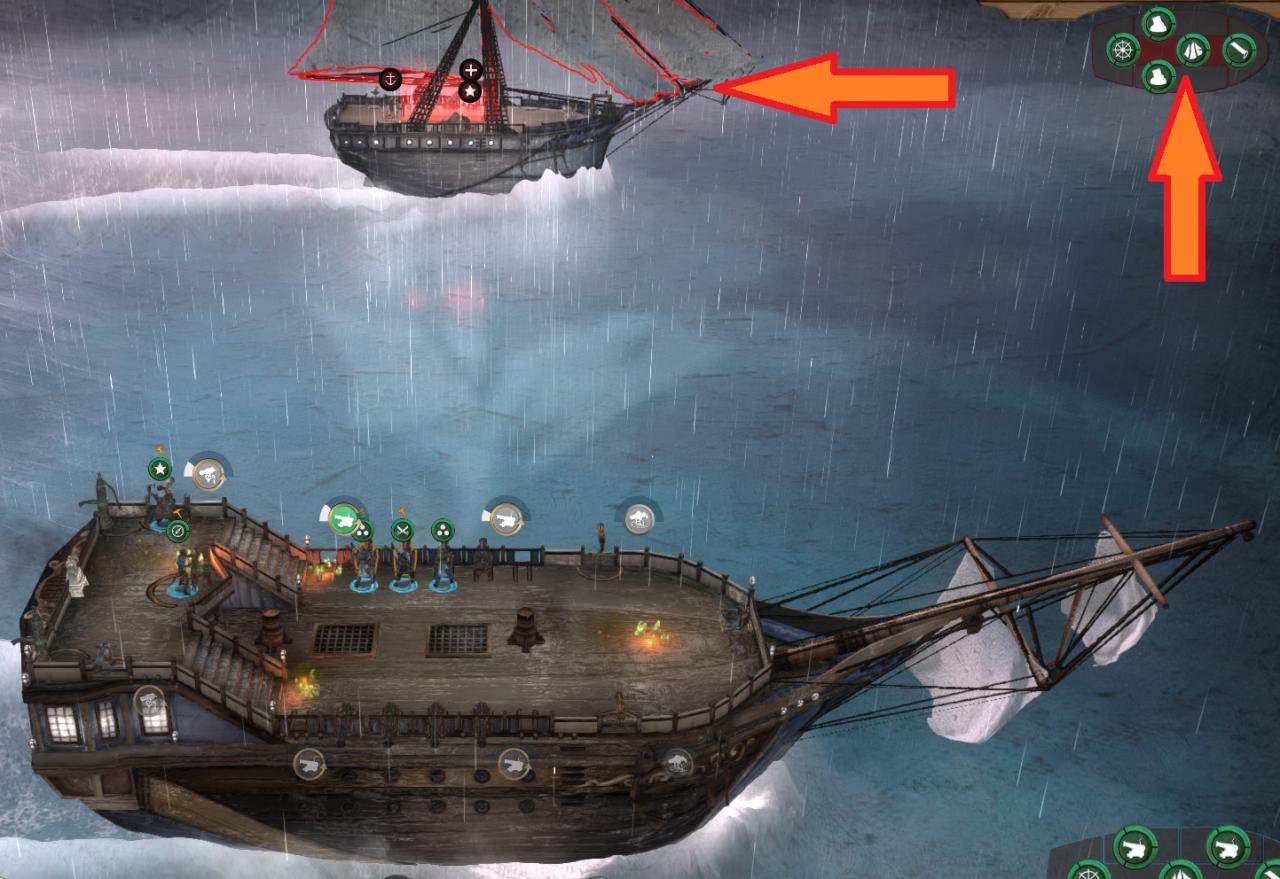
If you got the mast PERFORMANCE upgrade suggested by this guide, you will get to boarding range faster.
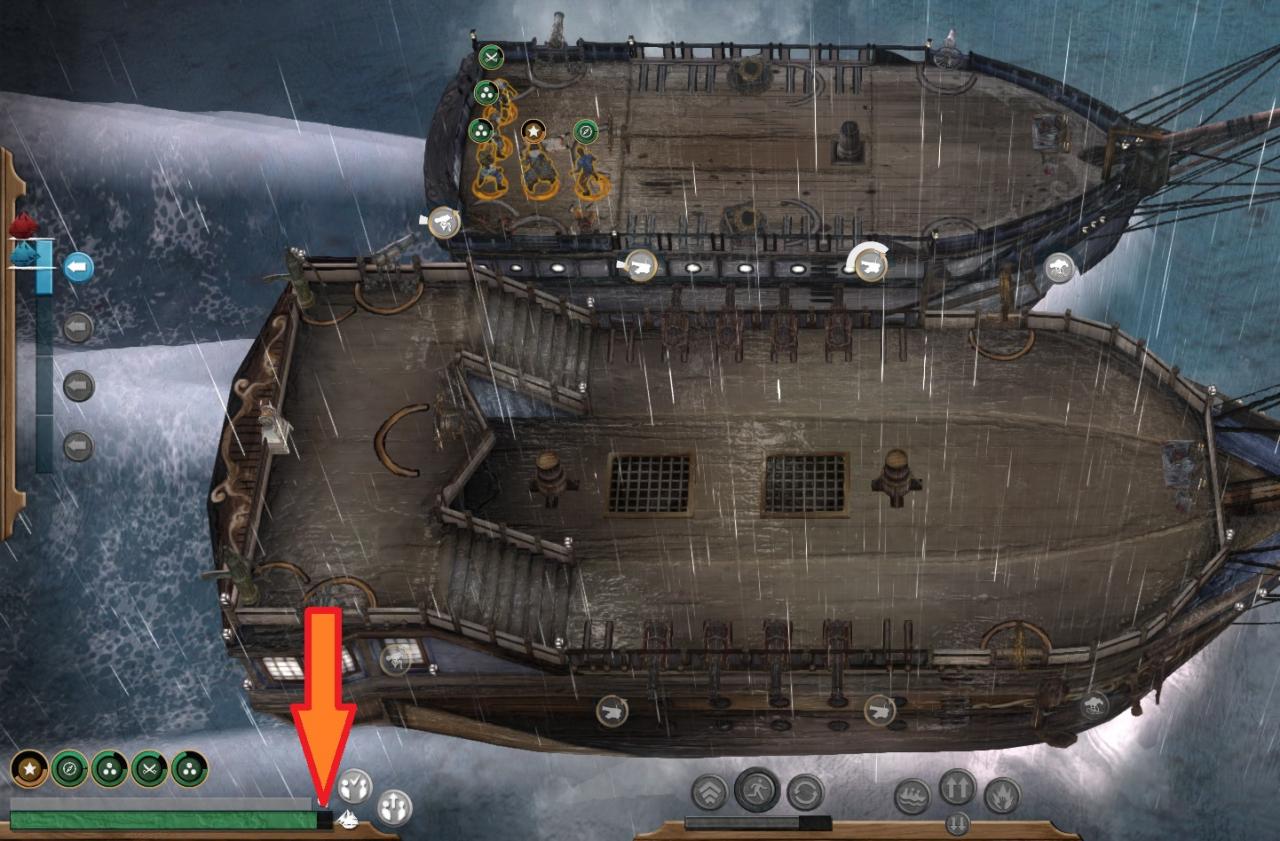
Once you get to boarding range, select all of your crew except your navigator and order them to attack their ship navigator. Once their navigator is off their helm, you can send your own navigator to join the fight. It’s important NOT to send your navigator straight away (unless you’re 100% sure you will win the battle) because the enemy ship may have a way to move away from your ship, which will cause your crew to be unable to go back in case they need healing.
When you’re fighting on the enemy ship, PAUSE, select all crew, order all to attack the same enemy crew, UNPAUSE. Repeat this until all enemies are dead.
If done correctly, you should all of the early battles while taking minimal damage:
Sometimes it won’t be easy to board because the enemy will rebuild their mast constantly. For those situations you have the option to RAM, which can be activated once your Navigator has spent enough time on the helm and your ship is in close range:

Also beware that some enemy ships have boarding spikes which will take about 25% of your boarding crew health upon landing on the enemy ship. Make sure you have the numeric advantage and abuse PAUSE to reposition or send back crew that is about to die.
Surviving the Kraken

When the tracking indicator gets all green, one of 3 things will happen:
- A bunch of haliphrons will board your ship
- A cultist ship will chase and engage your ship
- DA KRAKEN
If you get the Kraken, the most important thing is to keep your navigator (or anyone else if your navigator is crippled) on the helm throughout the whole encouter. Every second spent on the helm is loading the Maneuvering bar which when filled up will allow you to load the FLEE action.
Right at the start, position the rest of your crew across the ship in a horizontal line:
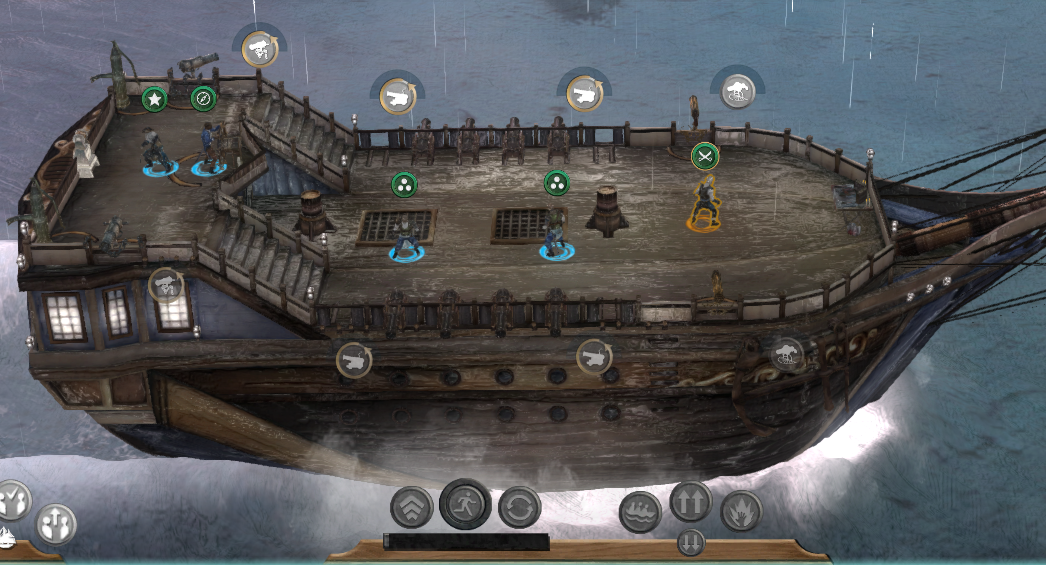
When the tentacles bury in your hull, pause, assign a crew to attack each of the tentacles until all of them are gone.
When they are gone, heal who needs to be healed, reposition your crew in a horizontal line again, and repeat until you can activate the FLEE action:

Helm PERFORMANCE upgrade and higher level navigators helps filling the maneuvering bar faster.
The Kraken will occasionally spawn 2 haliphrons or knock some of your crew down to hamper you progress, remember to abuse PAUSE to respond as efficiently as you can.
After the FLEE action is activated, your navigator has to stay on the helm to complete the action (blue circle filling up around the flee icon). When the tentacles are holding your ship, the flee bar will stop. During this window you can use your navigator to help getting rid of the tentacles.
If done correctly, your ship should only get pounded 2 or 3 times at the early stages, and only 1 time at later stages when you have more crew and a leveled up navigator.
There are kraken icon events on the map that trigger a ship combat that reverts a small portion of the cultist tracking indicator. You can do them to buy additional exploration time without being bothered by the cultists.
Progressing
Here is what your priorities should be:
-
Get both mast and helm PERFORMANCE upgrades
-
Fill your remaining crew slots with gunners
-
Purchase the next ship with more crew slots
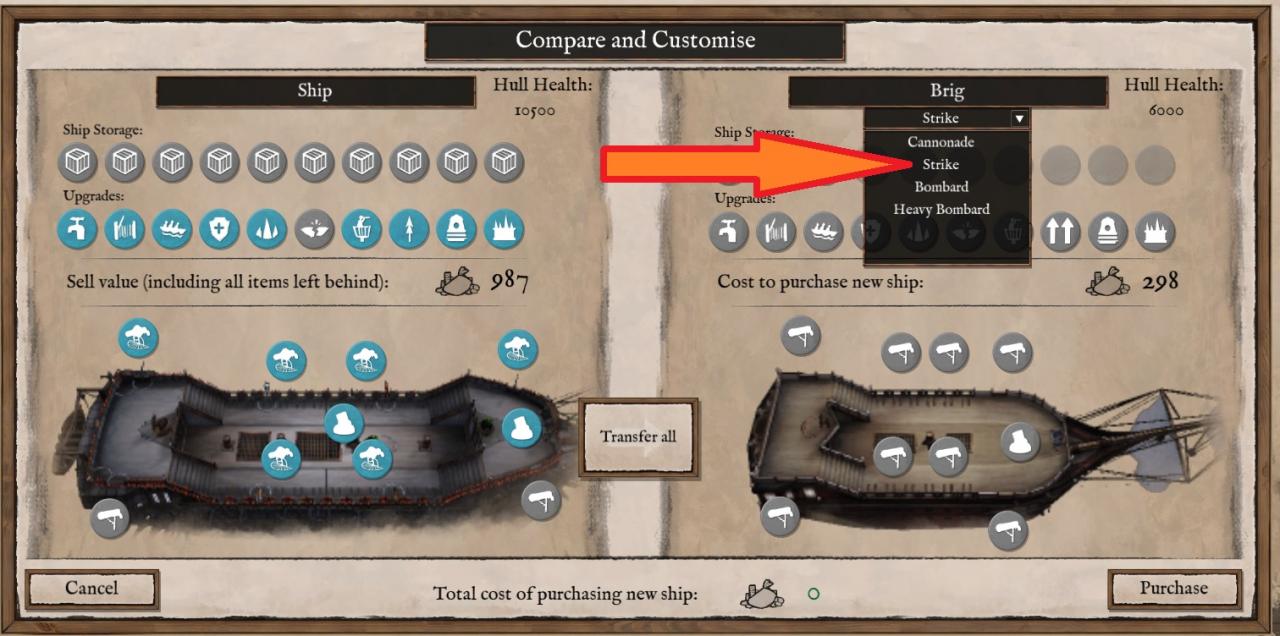
The Frigate, being the cheapest 7-slot ship is a good first option. When you purchase a ship, it will take you to a customization screen. It is important to select the STRIKE layout, which will change most of your ship weapon slots to Swivel Guns:
-
Purchase Swilvel weaponry and Acid Bomb mortars
Swivel guns you should buy:
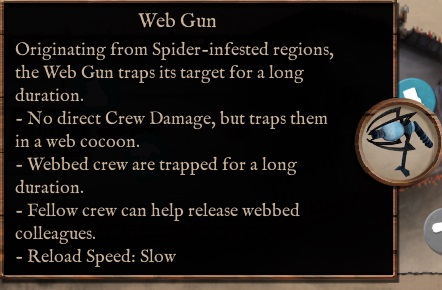
Web gun:
Envelops an enemy in a cocoon for a long time, it will disable the target and another enemy crew who will try to free the target. It is also great for keeping the target on top of an acid area.
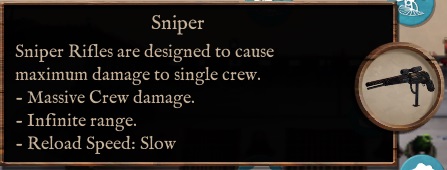
Sniper:
This weapon will kill any crew that has low health (red). Can also be used to damage enemy crew into red health bar, causing them to stop their action to go heal themselves
Lightning gun:
Does less damage per target than the sniper but has the potential to do more damage if you use its ability to chain to other targets. It also stuns the targets, which is useful to keep them in the pool of acid or just stopping their actions
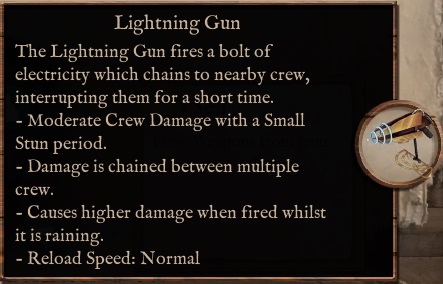
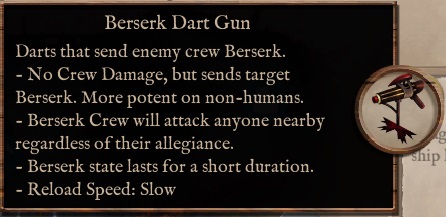
Berserk Dart gun:
Causes the target to go berserk, attacking the nearest crew. The targeted unit goes berserk AND forces their target to stop what they are doing and react to them. Can be used in many ways, such as causing a low health target to berserk, which will stop them from trying to heal, disrupt the action of their target and possibly get them killed in the process.
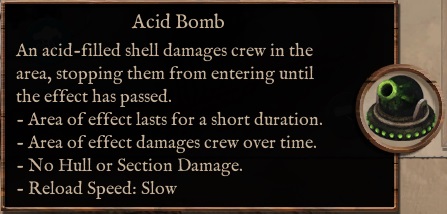
Acid bomb:
Fills the targeted area with acid that deals a LOT of damage. This mortar has tremendous sinergy with the Web gun and the Lightning gun.
If you haven’t found one of these yet and have some spare gold, the hull destroyer mortar is a decent substitute until you get your acid bomb.
When you’re starting, you will use the swivel guns to disrupt the enemy crew (disable their helm guy to quickly get to boarding range or disable the crew at the cannons to avoid taking damage as you approach) and damage them enough to let you finish them off safely when you board.
This tactic will net you a lot of gold because not only you’re getting the bonus for not sinking the enemy ship, you’re also taking very little or no damage because of all of the crew getting disrupted, which frees you from one of the biggest money sinks in the game: repairing the ship.
As you get more weapons and reloading levels you will find that you can kill all of the enemy crew without even having to board them. At this point you want to just keep the least optimal distance for your enemy (if enemy wants to get close to you, get far away from them, if they want to get far from you, get to boarding range) and finish them off.
