For Teardown players, this is a beginners guide for custom content in Teardown, this guide will explian how to make custom maps in details, let’s check it out.
Installing MagicaVoxel
In order to create content for Teardown, you will have to download MagicaVoxel[ephtracy.github.io].
Extract the folder contents and launch the program. (I recommend starting it as an administrator, since MagicaVoxel does not start sometimes otherwise, for me, atleast)
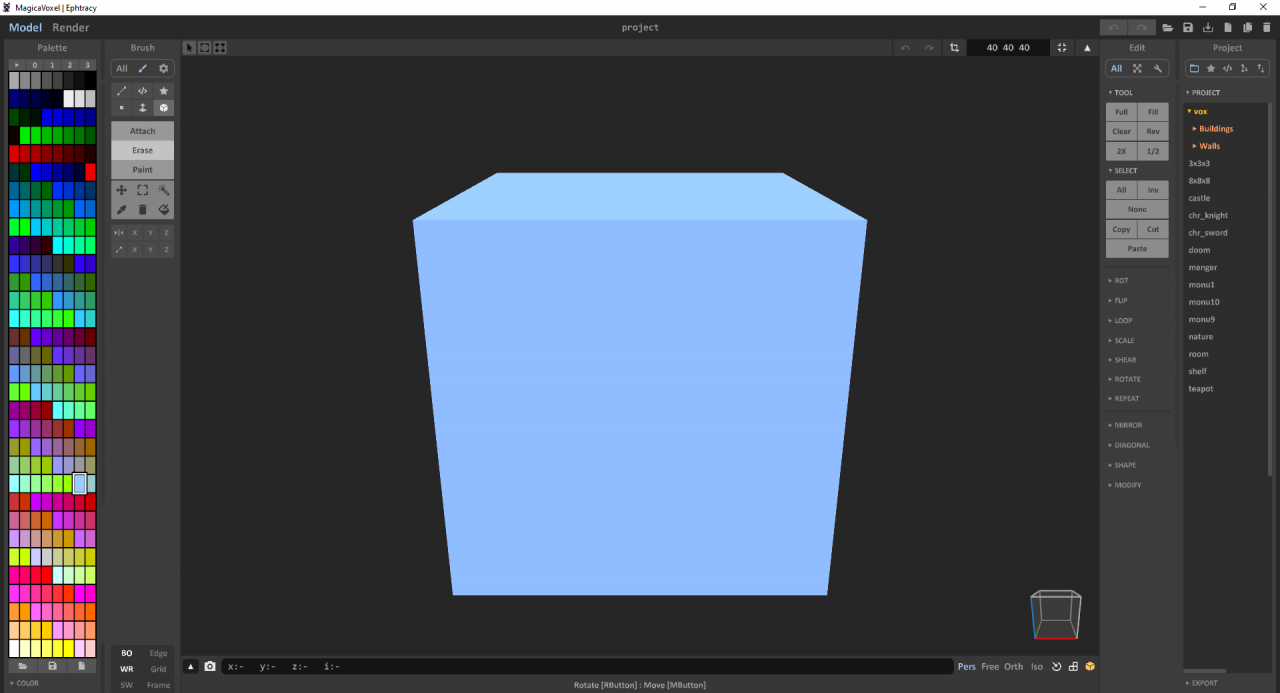
Getting used to MagicaVoxel
All the tools to create a model in MacigaVoxel can be found in the top right corner.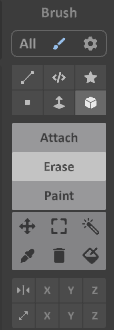
The most common tool to use is the Box tool, that is selected by default.
You can switch between attach and erase mode below it.
Another useful tool is the face select, that tool enables you to extrude voxels or to delete them.(
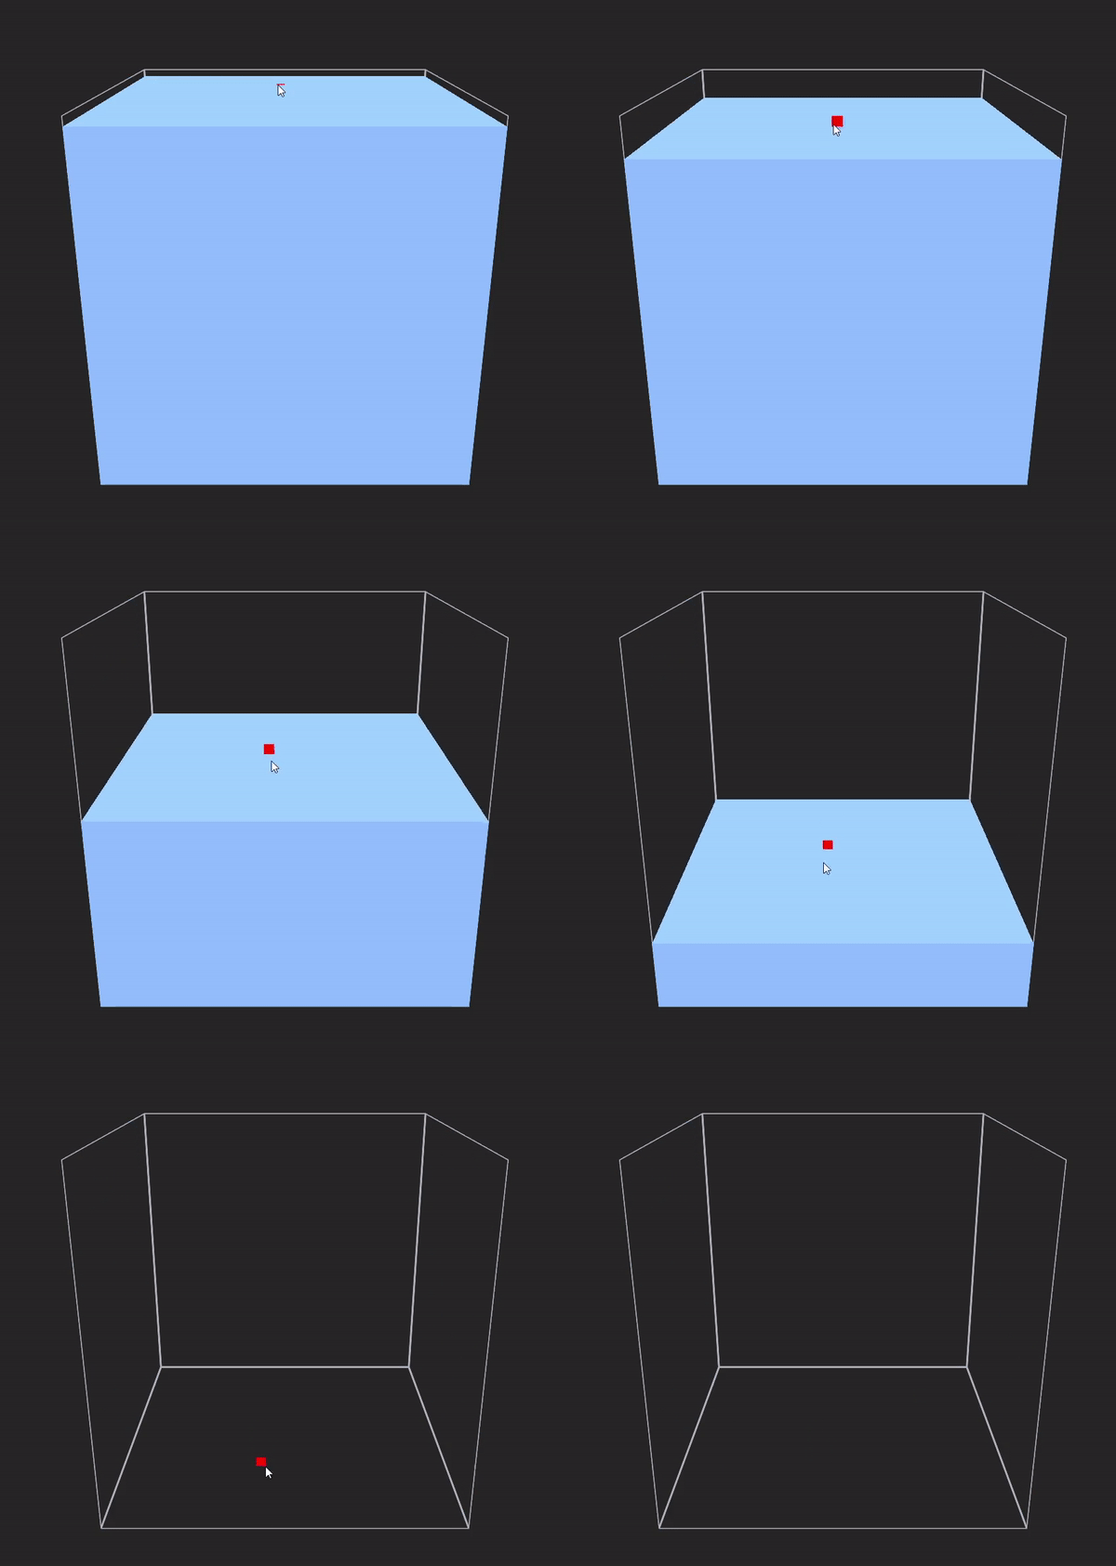
Let’s delete the default cube by selecting the face tool on erase mode and dragging down on the top of the cube.
Let’s draw a shape using the Box tool.
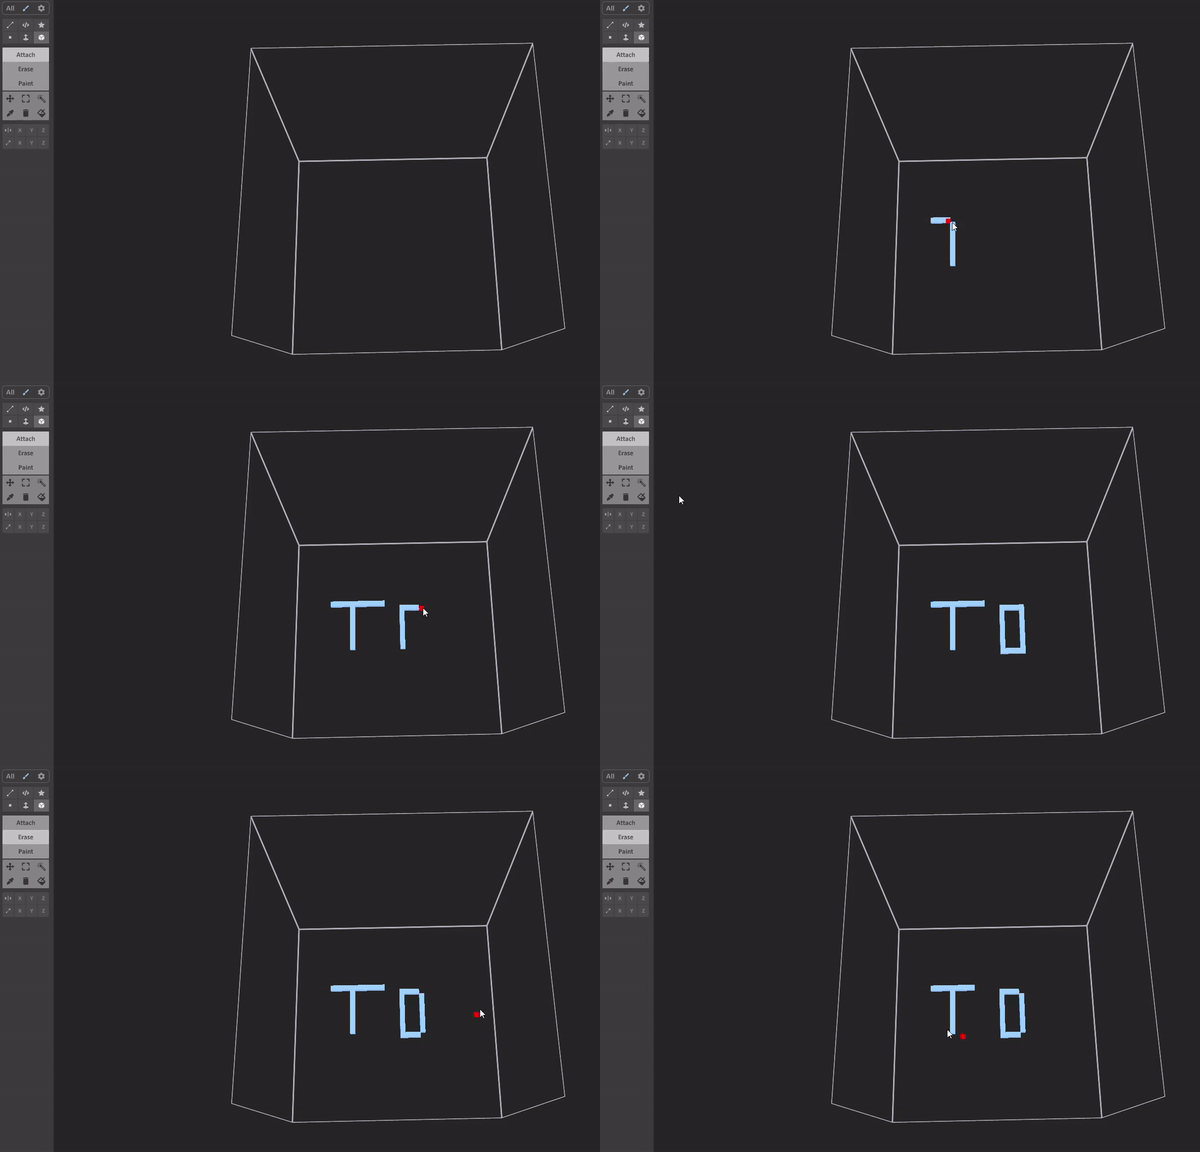
And let’s paint it.
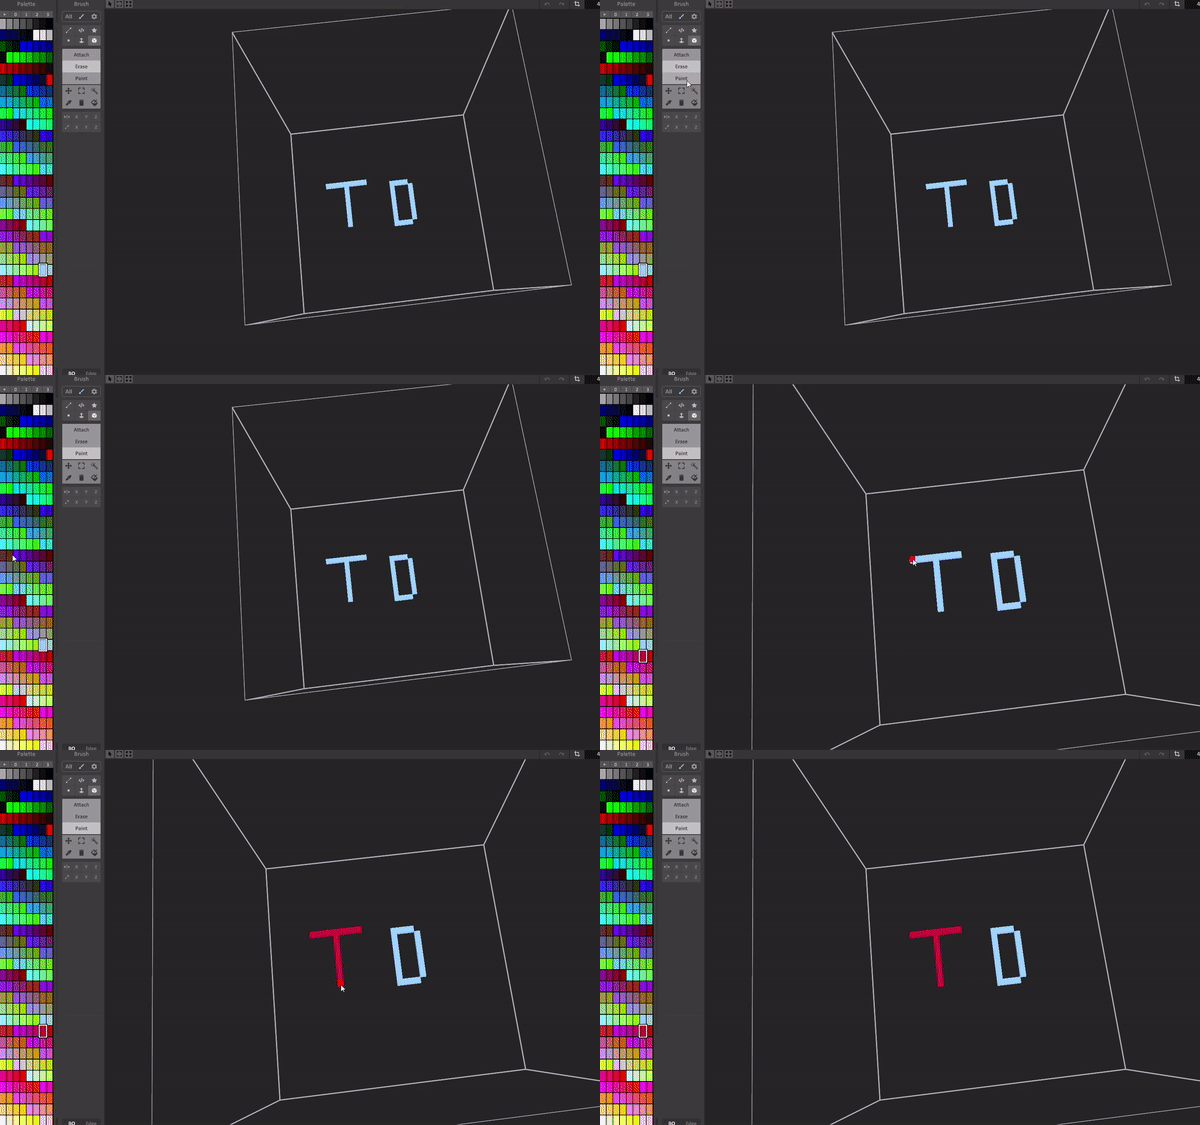
Thats pretty much the basics.
The color palette
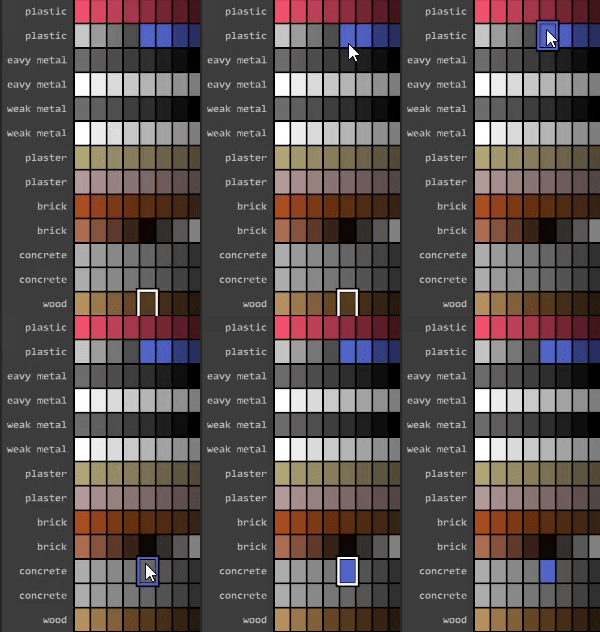
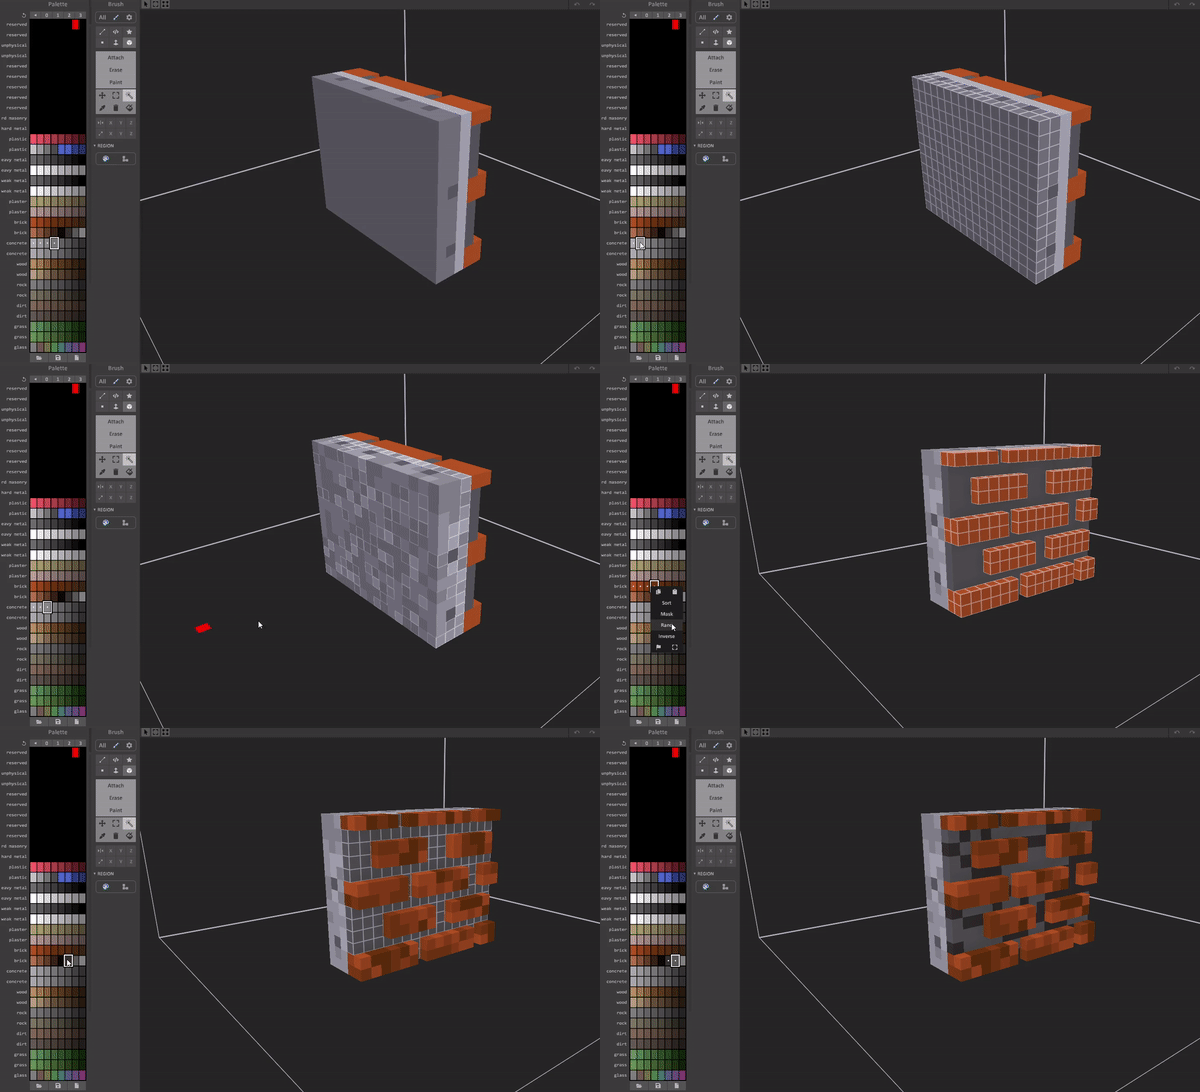
Teardown determines the material an object uses by the Index of the color in the color palette.
Download this .vox file[teardowngame.com] and open it in MagicaVoxel. The materials are listed on the left, next to the palette and cannot be changed. Though the colors can.
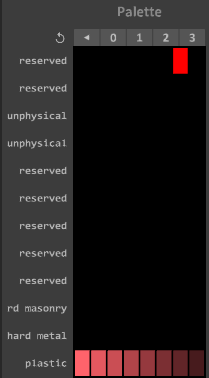
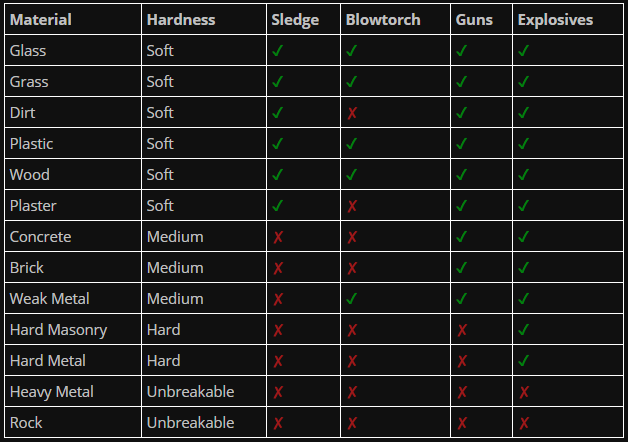
(from teardowngame.com/create)

Objects and how to build them properly
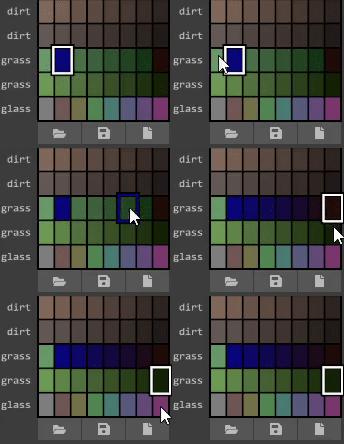
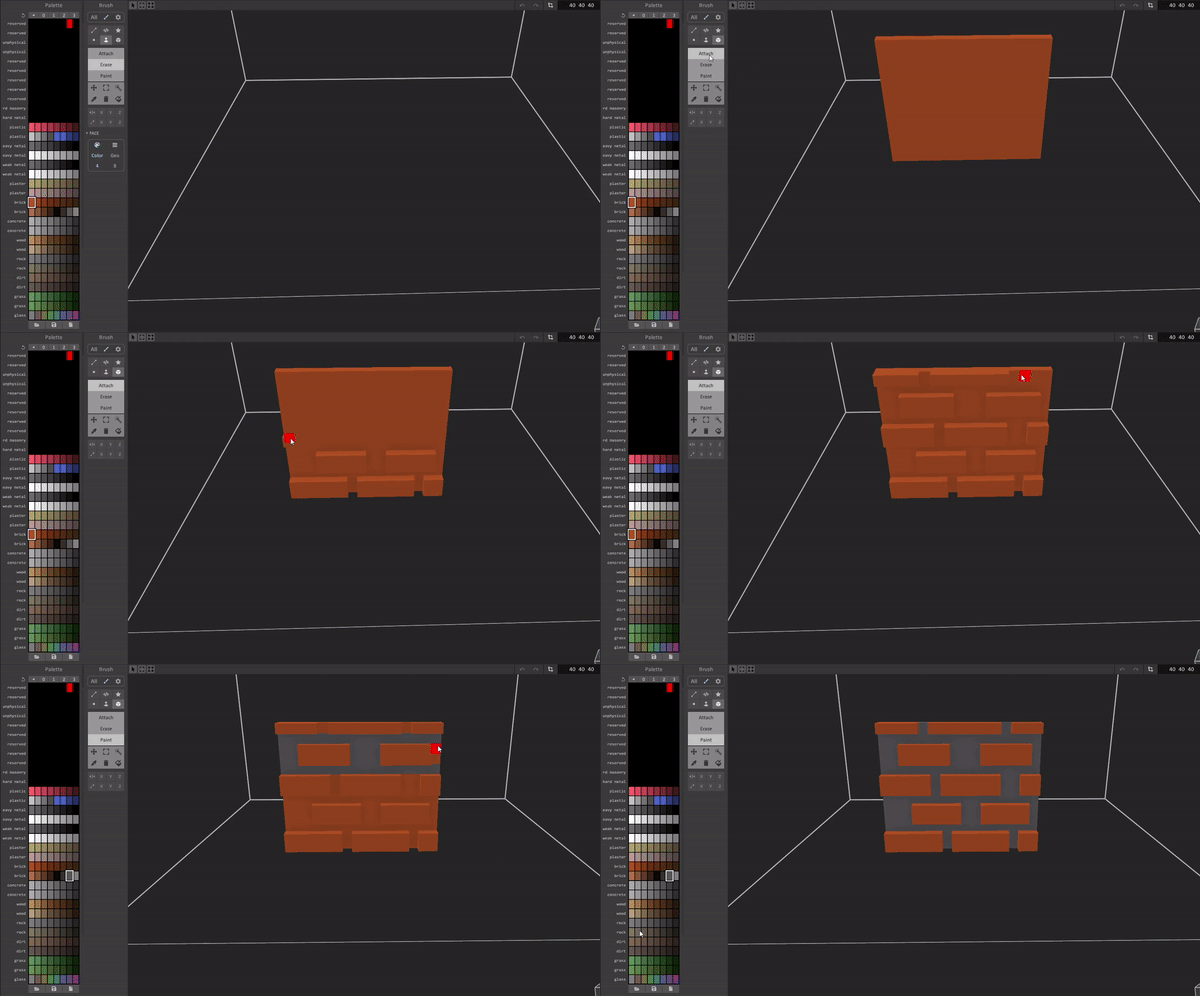 This is a wall, yes but that wouldn’t be fun to break would it.A real wall will have some support of some kind, or insulation. Something to make this more interesting to break.
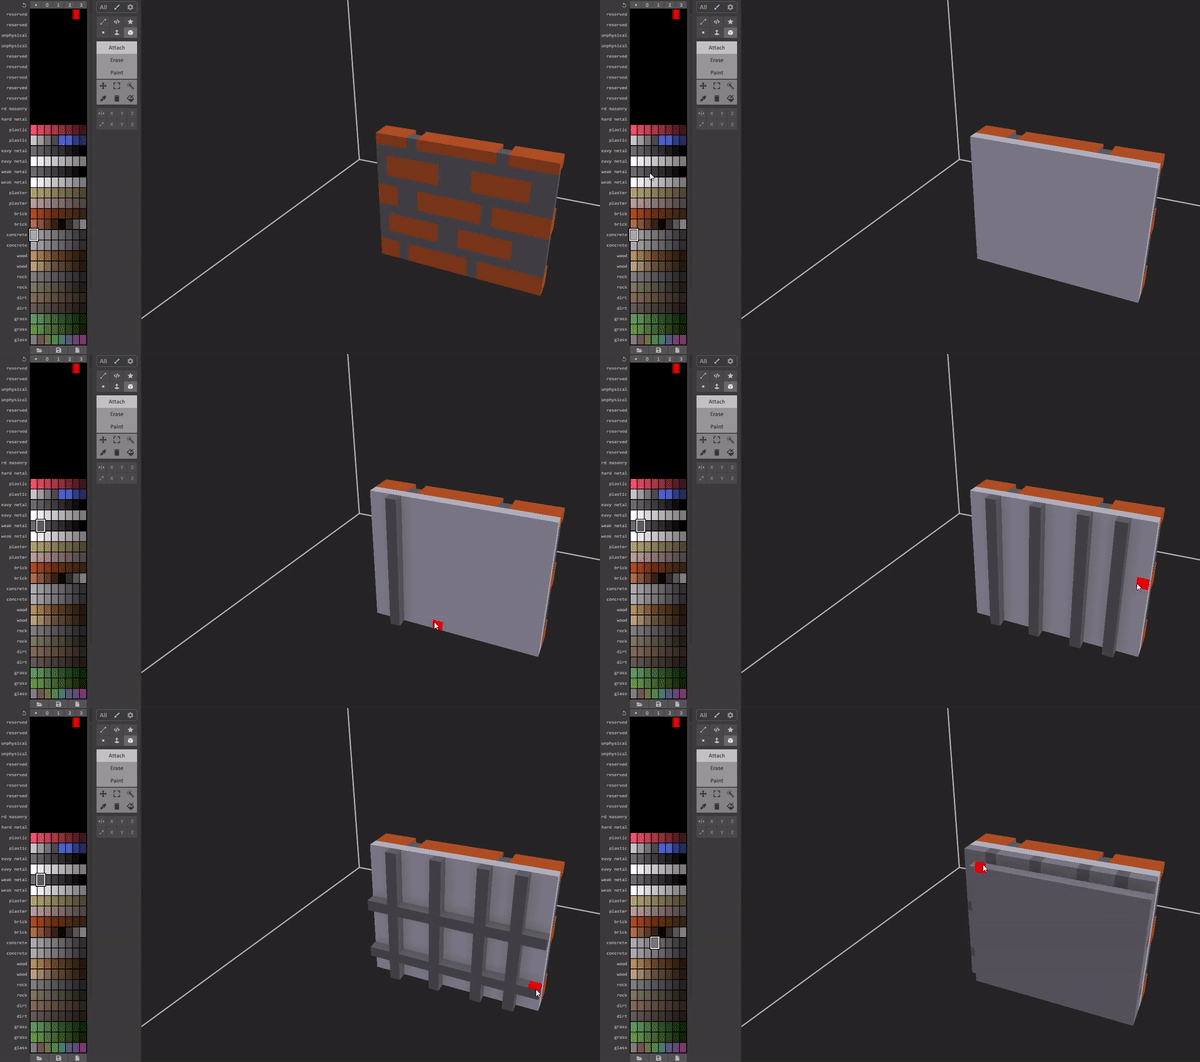
Bad wall vs “good” wall:
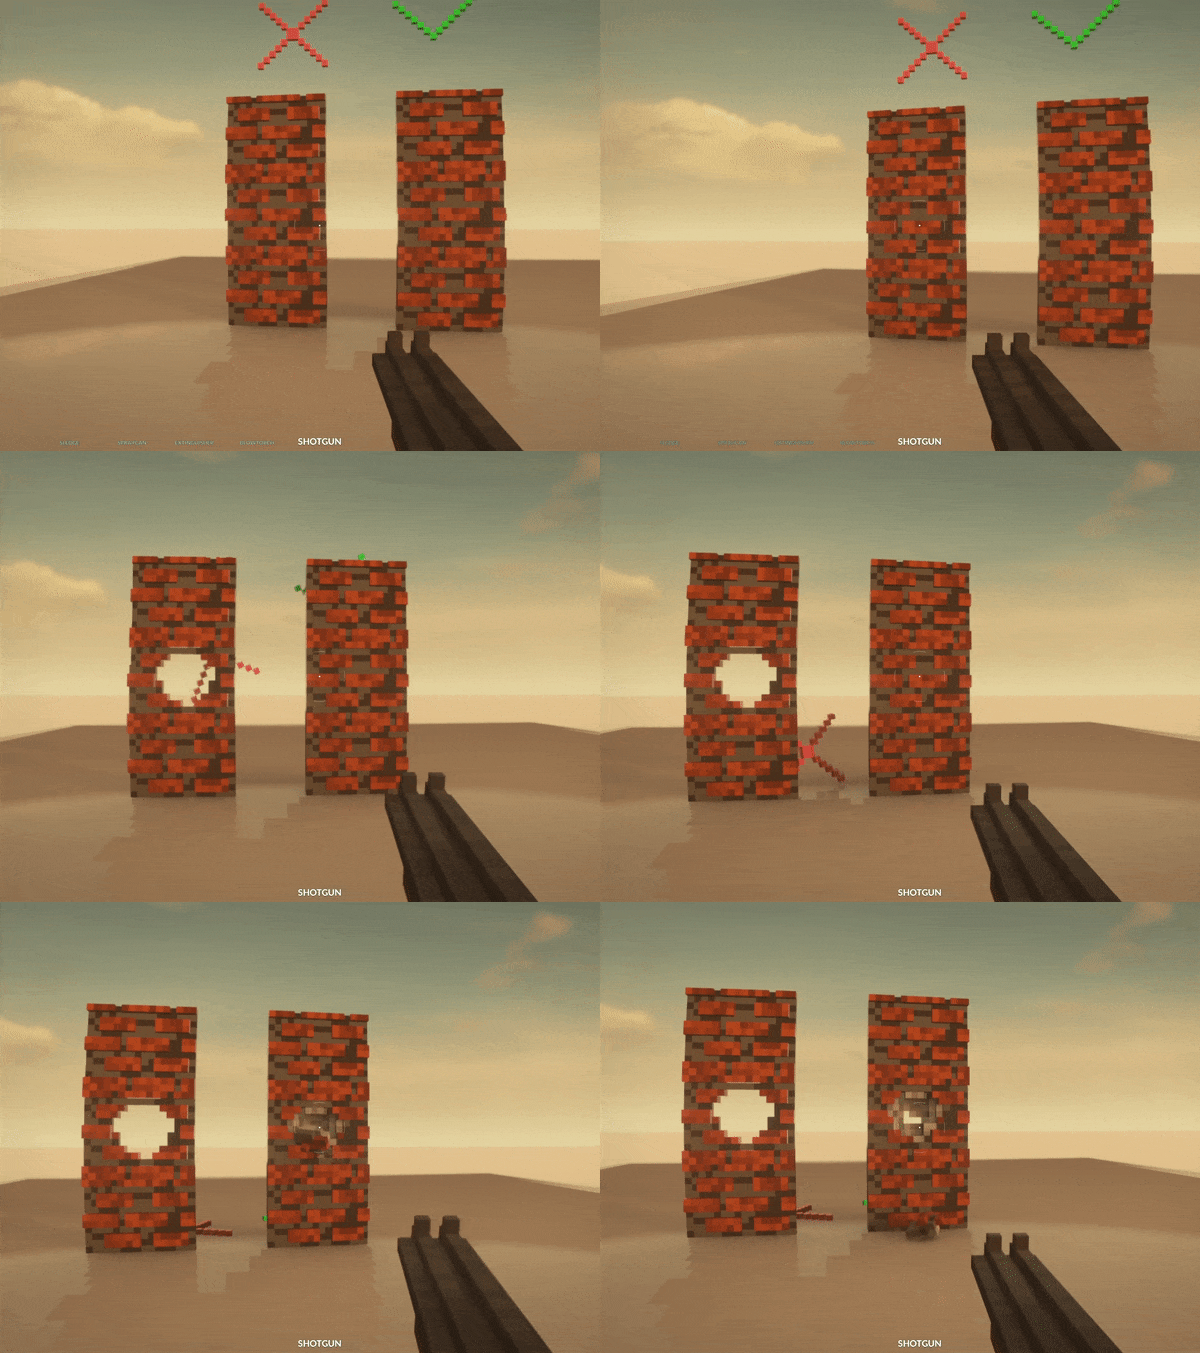
See the material list and combine them properly to get satisfying results.
Windows, Lights, and similar
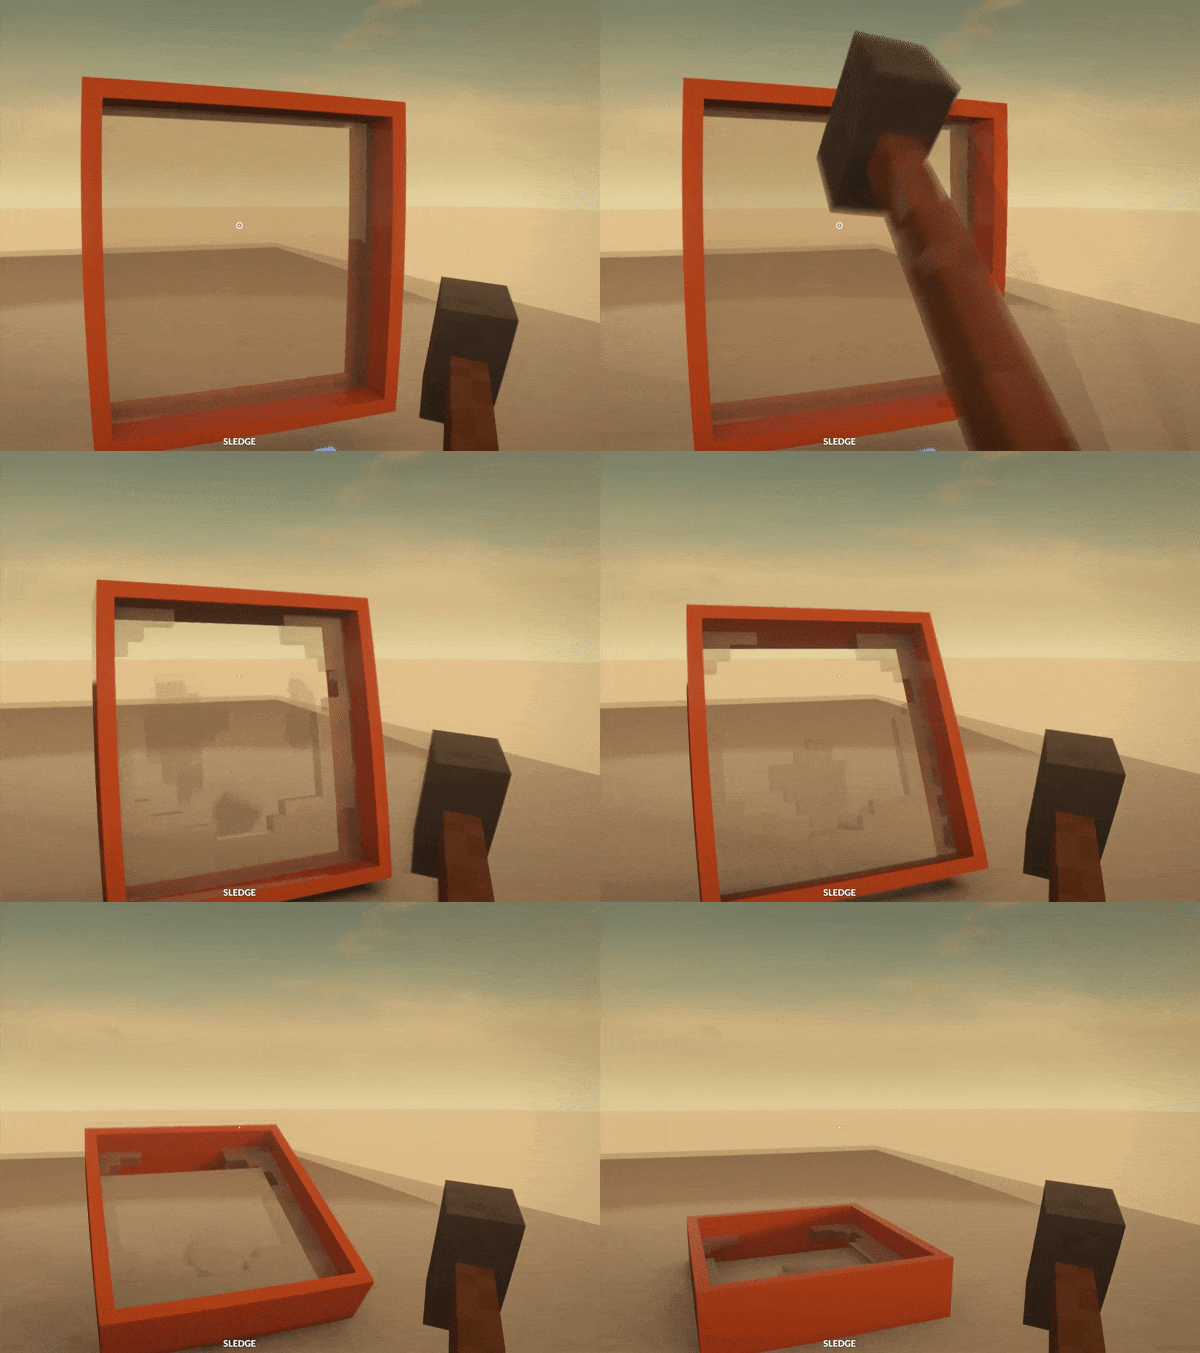
In order to get windows, just select the window material (Palette Index 1-9)
Select your color and chose the material on the right.
Metal makes your material look like metal. The roughness slider makes the metal look like it has been brushed with a steel brush.
If you want lights, use the “Emit” shader. Same for every other material.
See the create website[teardowngame.com] for more details.
(Though they don’t actually emit light in-game, yet)
Building complex scenes
By pressing tab you can switch between the two.In edit mode, you can edit your currently selected object, in object mode, you can move your objects around and arrange them.
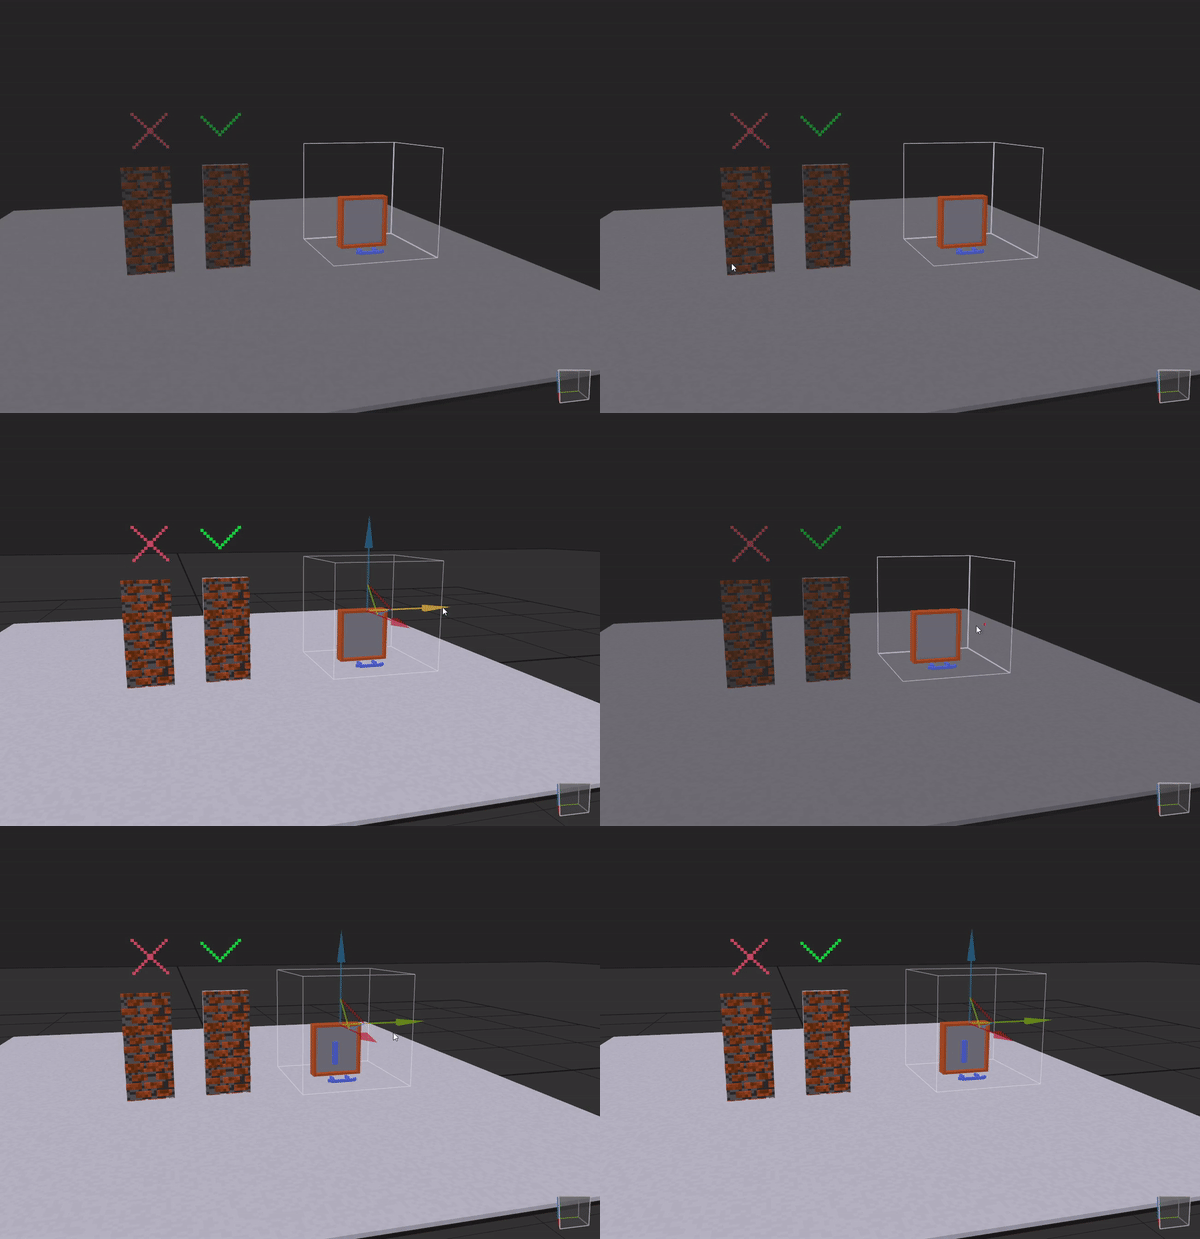
While in object mode, you can press SHIFT while dragging one of the arrows to duplicate the selected objects.
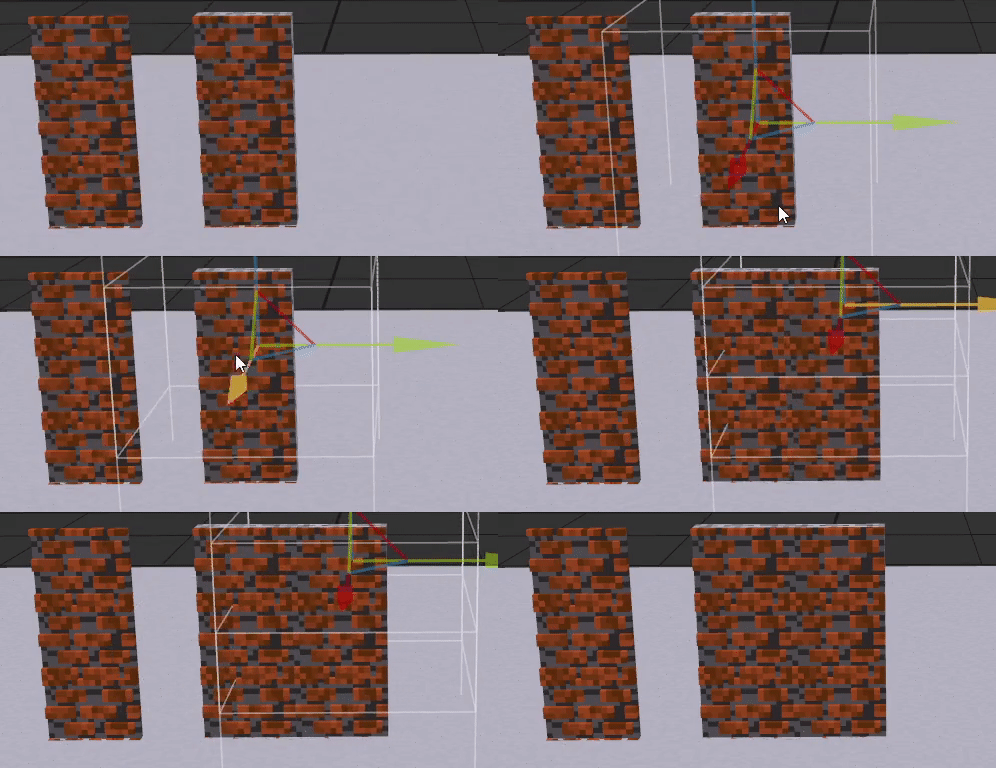
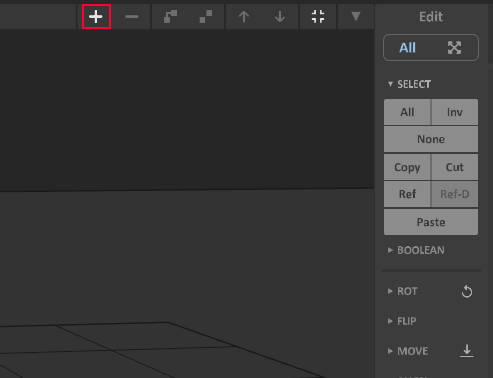
You can add empty objects to edit them by pressing the plus icon in the top right.
That makes building a lot simpler, and is also recommended by the developers.
Adding your .vox file to Teardown
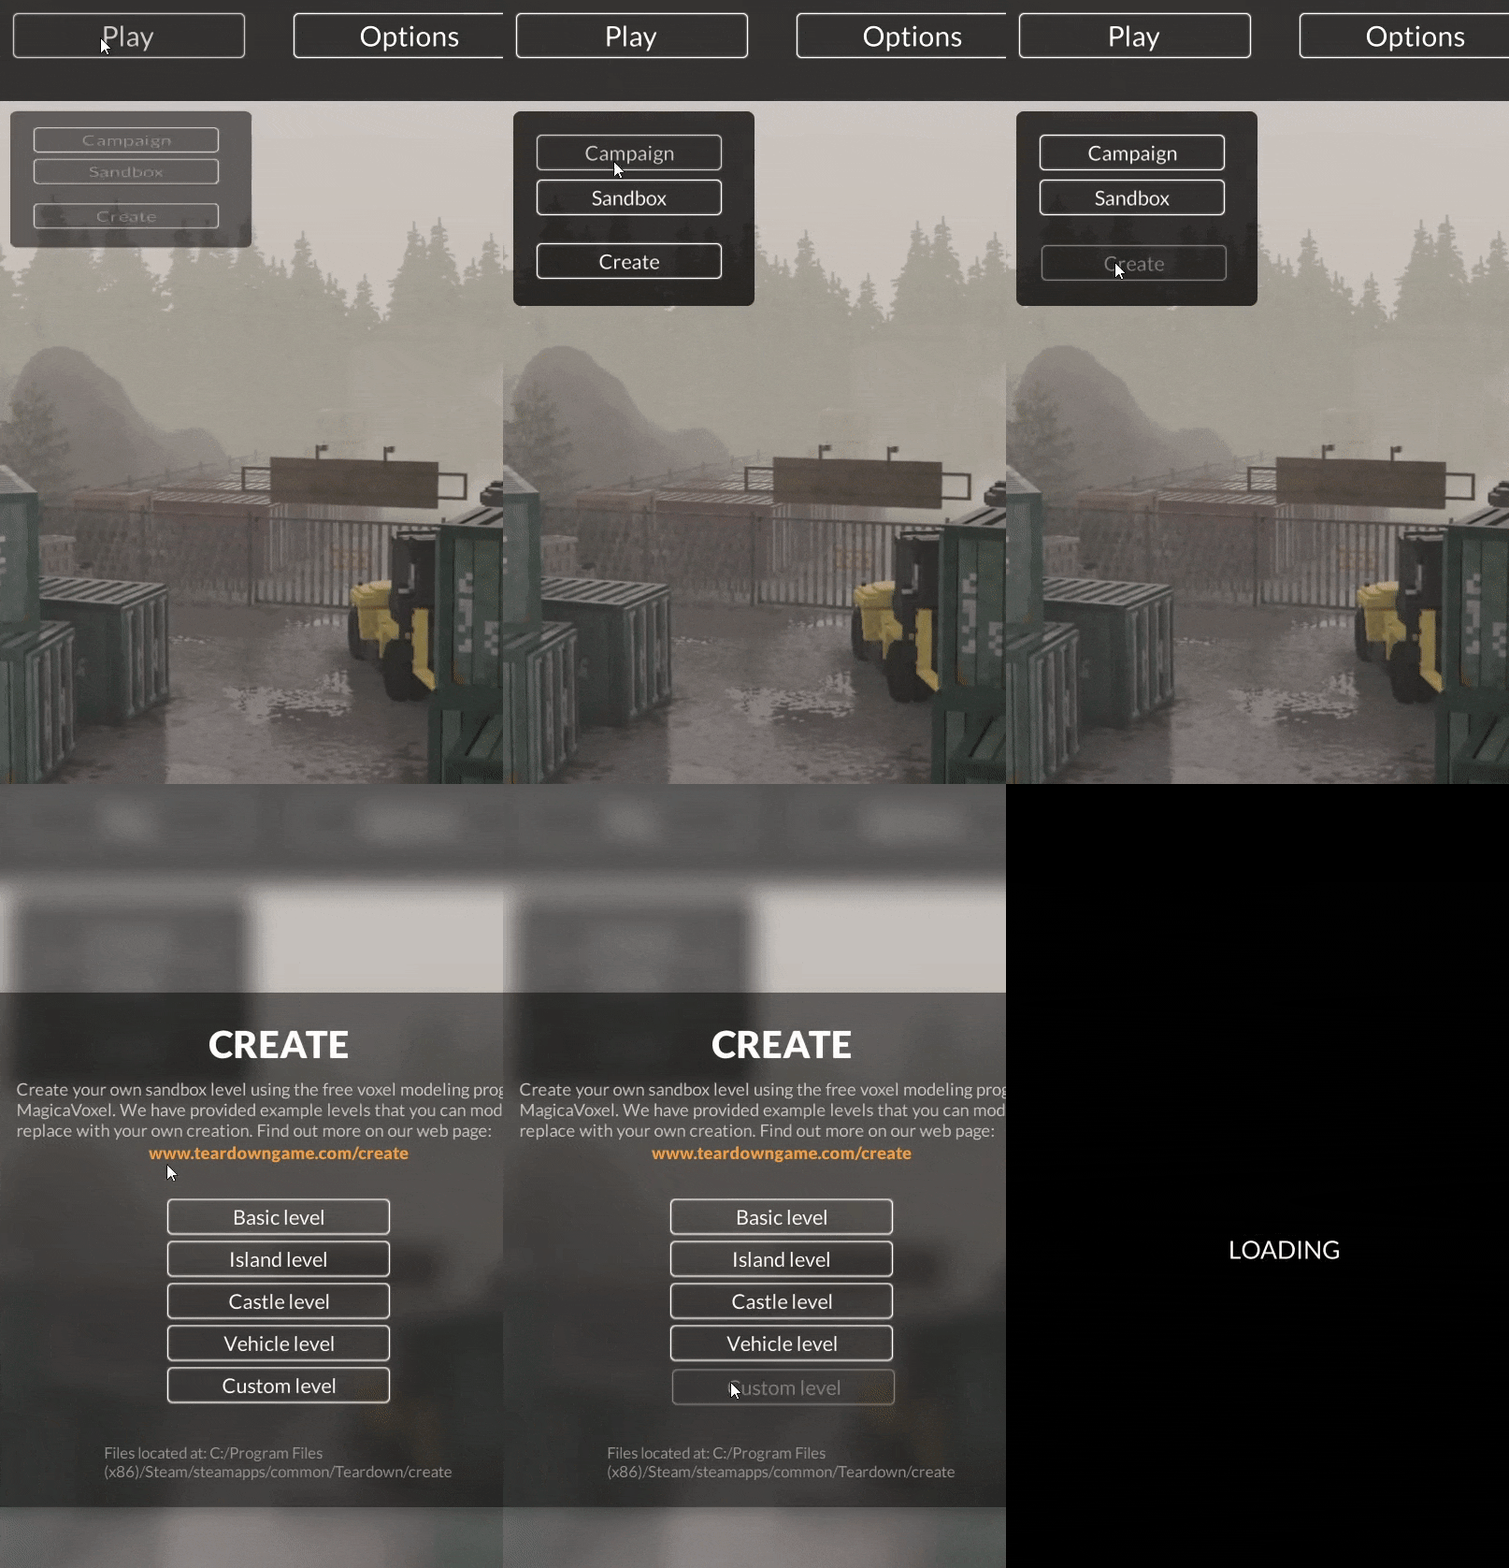
In order to actually destroy your masterpiece, you will need to implement it into Teardown.
Save your file, and navigate to your folder where you saved it. Now, copy the .vox file and move it into the C:\Program Files (x86)\Steam\steamapps\common\Teardown\create\custom folder.
Rename the existing file to something like custom_old.vox and rename the file you just moved to custom.vox

Now you just have start Teardown and start playing your map 🙂
That’s all we are sharing today in Teardown How to Create Custom Maps, if there are anything you want to add please feel free to leave a comment below and we’ll see you soon.
Credit to snoutie 🙂
Related Posts:
- Teardown How to Remove TuxedoLabs Splash & Dark Mode
- Teardown Mini Nuke Launcher Mod
- Teardown Sandbox Mode for Final Map
- Teardown Measurements and Other Tools For Map Makers
- Teardown All Hidden Expensive Items
wow, thx is good tutorial
great tutorial
nice tutorial, but i try to make a door that can open, but i dont know how to make it openable.. can you help me please..
good but in teardown 0.9.0 , o.8.0 , 0.7.2 i not found this button , where its in new versions ?