If you play Death Stranding and tired of build roads, this guide will show you some tricks of how to build roads as fast as possible, let’s check it out.
Introduction
Roads are essential in Death Stranding. Not only do they make your deliveries much faster, but they also protect you from the threats of the outside world. In this guide, I’m going to give you some of my tips on how you can build roads as fast as possible in the game. No more worrying about mules, BTs, and all those damned rocks who’ve tripped you on your journey.
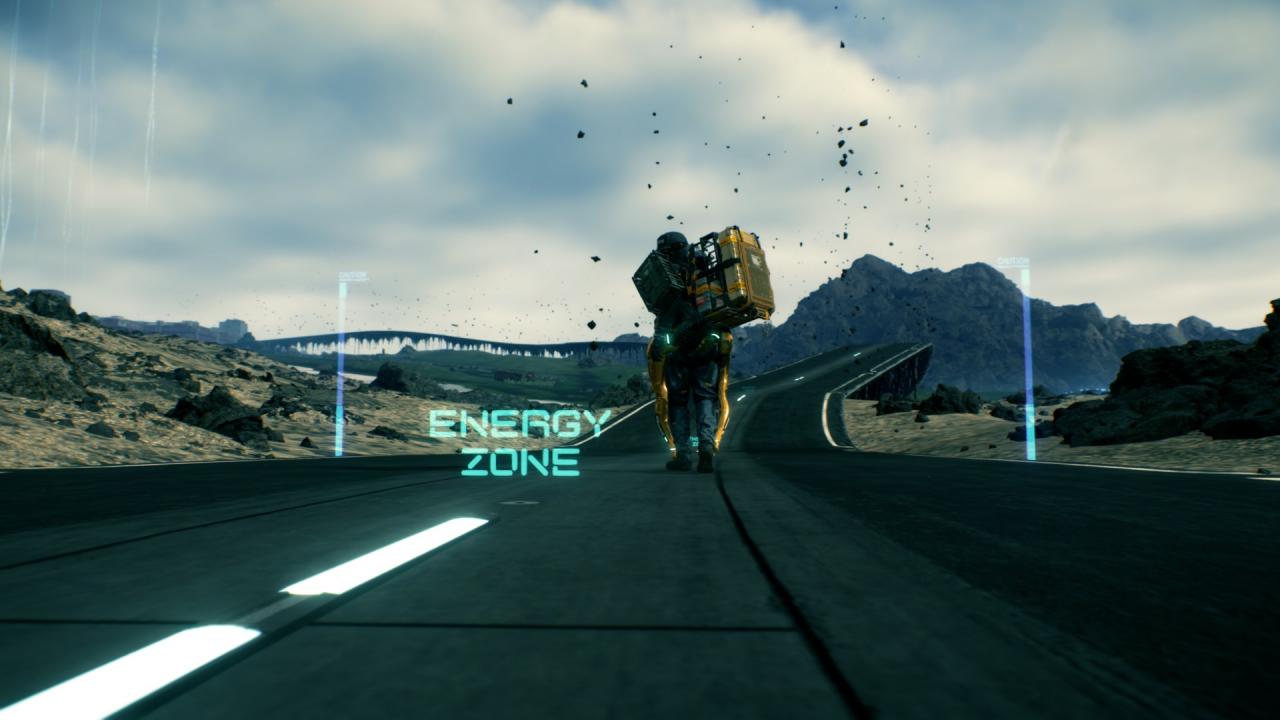 First things first. Roads require you to deposit materials into auto paver systems scattered throughout the Central Region. You’ll need to donate three types of materials: chiralium, metals, and ceramics. Most auto pavers already contain an initial amount of these materials as donated by other players, and it’s up to you to deposit the rest of them. Some pavers are fairly easy and hassle free to complete, requiring only around 1k ceramics/metals and around 100 chiralium to construct the roads. Other ones, however, can get pretty steep, requiring a lot more of these materials. Here’s how you can get as many of them as possible…
 First things first. Roads require you to deposit materials into auto paver systems scattered throughout the Central Region. You’ll need to donate three types of materials: chiralium, metals, and ceramics. Most auto pavers already contain an initial amount of these materials as donated by other players, and it’s up to you to deposit the rest of them. Some pavers are fairly easy and hassle free to complete, requiring only around 1k ceramics/metals and around 100 chiralium to construct the roads. Other ones, however, can get pretty steep, requiring a lot more of these materials. Here’s how you can get as many of them as possible…
Chiralium
The easiest way to obtain chiralium in Death Stranding is by heading into rainy territory with BTs. If you’ve played far enough into the game, you’ll have a feature on your map menu that allows you to check the weather forecast for the next 30 minutes. This is a useful way of seeing exactly where it’s going to be raining and where you should be heading for all that sweet chiralium. The areas covered in blue squares on your map are where you should go. If you haven’t unlocked that feature yet, you can still find out where it will be raining by looking for black strands in the sky. That’s where the BTs will be. BTs are pretty tough and timefall rain is detrimental to your cargo, so make sure you carry lots of repair spray. It can also help to have a PCC that can build you a timefall shelter. Shelters automatically repair your cargo and give you a neat spot to rest in the rain. That way, you can head back there periodically for a quick breather during your search for chiralium.
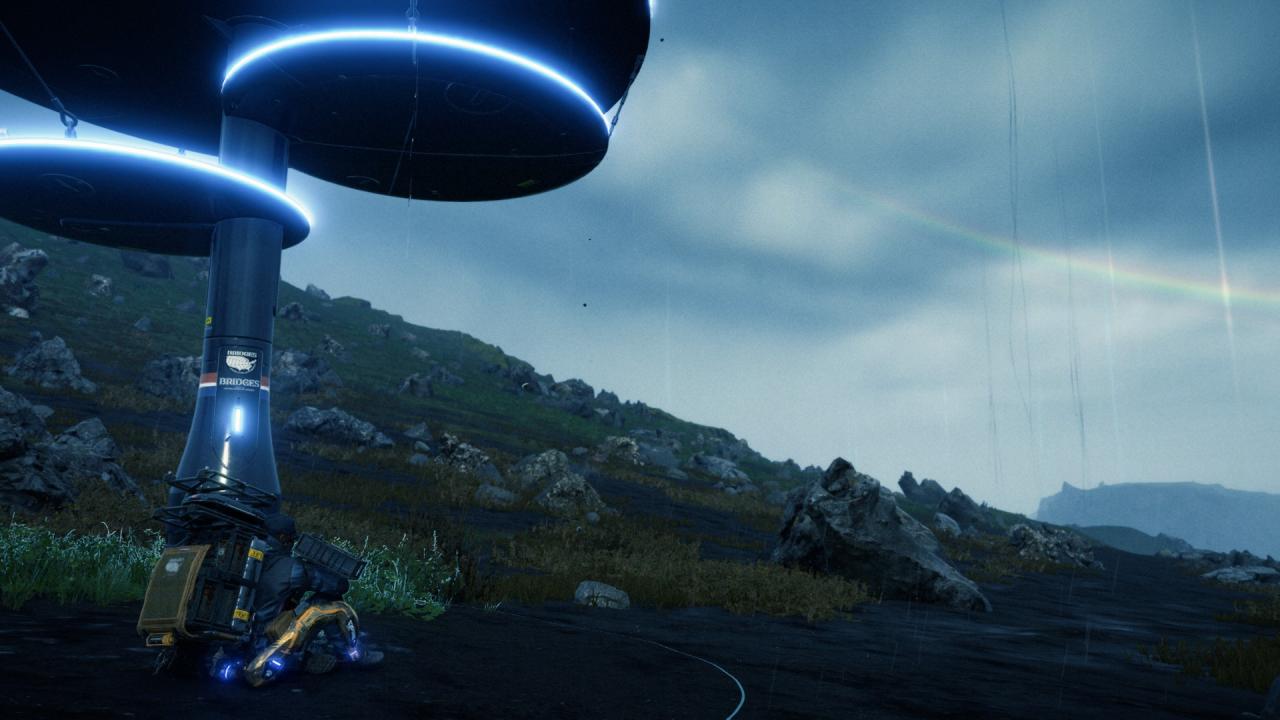 In the rain, you’re going to want to pick up all the chiralium on the ground while eliminating as many BTs as you can. The easiest way to do this is by sneaking up on them and slicing their tethers, which will instantly kill them and make them drop some chiralium. You need to progress far enough into the story to do that though, so if you haven’t unlocked that ability yet, I recommend stocking up on hemantic grenades and ex grenade #2s (aka poop grenades). An ex grenade #2 attracts BTs to an area. Toss one, wait for a group of BTs to move to the area, and then finish them off by throwing a hemantic grenade into the group. Just remember that larger BTs are harder to kill and require more than one hemantic grenade to be thrown. Turning down your difficulty to the lowest setting (assuming you aren’t already playing on it) can help a bit, too. On lower settings, the timefall damages your cargo less and you don’t have to worry about repairing it as much. There is no penalty to reducing the difficulty in Death Stranding. Difficulty only really matters if you are attempting a premium delivery and want to achieve the “Legend of Legends” rank on hard mode. Besides, you can always turn the difficulty back up again whenever you’d like. So don’t worry too much about bumping it down during your chiralium collecting.
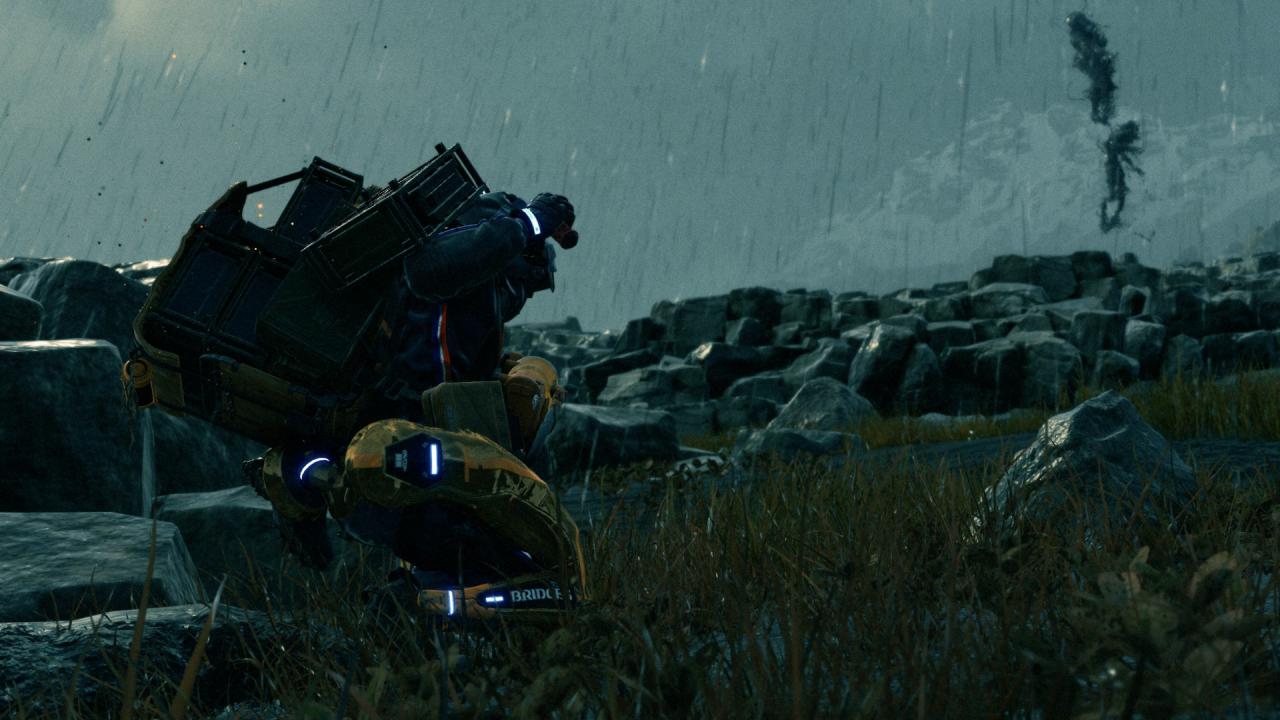
 In the rain, you’re going to want to pick up all the chiralium on the ground while eliminating as many BTs as you can. The easiest way to do this is by sneaking up on them and slicing their tethers, which will instantly kill them and make them drop some chiralium. You need to progress far enough into the story to do that though, so if you haven’t unlocked that ability yet, I recommend stocking up on hemantic grenades and ex grenade #2s (aka poop grenades). An ex grenade #2 attracts BTs to an area. Toss one, wait for a group of BTs to move to the area, and then finish them off by throwing a hemantic grenade into the group. Just remember that larger BTs are harder to kill and require more than one hemantic grenade to be thrown. Turning down your difficulty to the lowest setting (assuming you aren’t already playing on it) can help a bit, too. On lower settings, the timefall damages your cargo less and you don’t have to worry about repairing it as much. There is no penalty to reducing the difficulty in Death Stranding. Difficulty only really matters if you are attempting a premium delivery and want to achieve the “Legend of Legends” rank on hard mode. Besides, you can always turn the difficulty back up again whenever you’d like. So don’t worry too much about bumping it down during your chiralium collecting.
Metals and Ceramics
You’re going to want to raid mule camps to get the most metals and ceramics in the game. Here’s how you can do so with as little difficulty as possible. First, stock up on smoke decoys and stun bombs. If you haven’t unlocked the latter yet, bola guns should be fine. Three of each item should be enough. Get yourself a vehicle parked in a facility garage as well. For this strategy, you’re going to need a truck, since they can carry the greatest amount of cargo in the game. Now do the following: drive to the outskirts of a mule camp (orange circle on your map), and go a little past one of the camp posts. Wait there. You should be pinged by the mules and they will head towards your location shortly thereafter. If you’re lucky, a group of 4-5 of them will be headed your way. At this point, quickly get out of your truck, drop a smoke decoy and remote stun bomb near it, and hide somewhere nearby where the mules won’t be able to see you. They’ll open the decoy and be hit by the smoke. While they’re distracted, you should take them all out by detonating the remote bomb, or by shooting them with your bola gun if that’s what you’re carrying instead. Make sure you knock out any mules who aren’t unconscious yet.
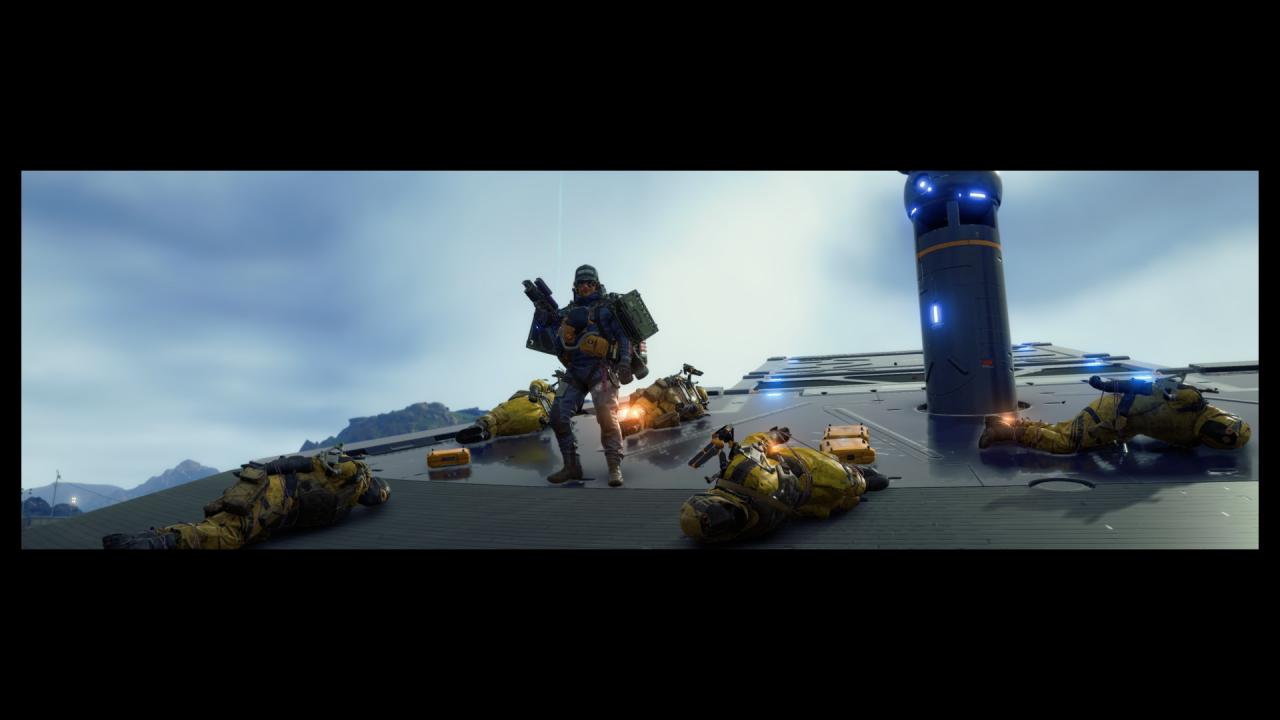 Scoot around the camp and repeat this process. Get pinged, drop a decoy, hide, let the mules come, and take them out either with the bomb or the gun. There will probably be a few remaining mules here and there who weren’t lured into the trap but at that point they should be very easy to deal with now that you’ve taken out a bulk of the camp. You can also use your truck for cover as the last few mules come trickling towards you. With all the mules out of the picture, it’s time to loot. Get back into your truck, drive around the camp, and pick up as many of the ceramics and metals as you can. Ceramics often come in a stack of 320, offering you copious amounts, while metal caps out at a little over 200 (as far as I know). That’s A LOT, considering how many of these stacks you are going to be picking up around the camp. Load these supplies into your truck, and then head for the auto pavers around the map to build your roads. Mule camps take a few hours to fully repopulate, but you can spend this time withdrawing materials from facilities, completing deliveries, and picking up lost cargo to earn these sweet materials on the side while you wait for the mules to return. Have fun, and keep on keeping on!
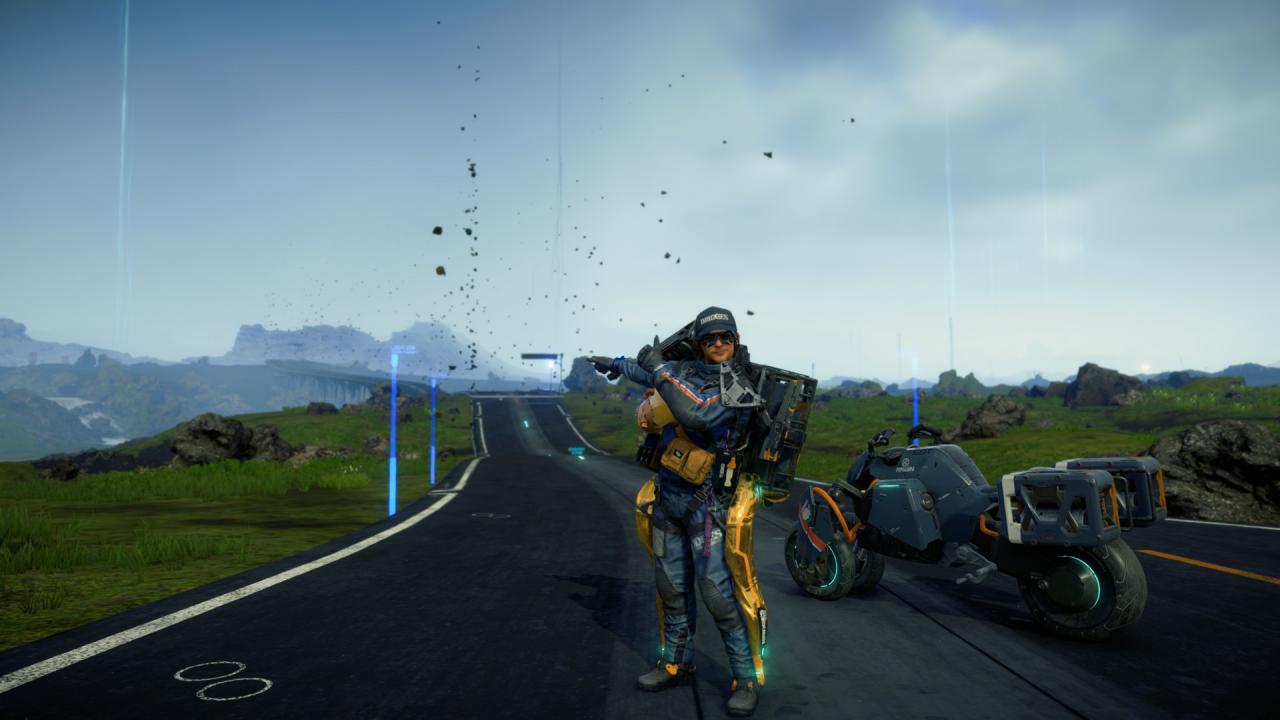
 Scoot around the camp and repeat this process. Get pinged, drop a decoy, hide, let the mules come, and take them out either with the bomb or the gun. There will probably be a few remaining mules here and there who weren’t lured into the trap but at that point they should be very easy to deal with now that you’ve taken out a bulk of the camp. You can also use your truck for cover as the last few mules come trickling towards you. With all the mules out of the picture, it’s time to loot. Get back into your truck, drive around the camp, and pick up as many of the ceramics and metals as you can. Ceramics often come in a stack of 320, offering you copious amounts, while metal caps out at a little over 200 (as far as I know). That’s A LOT, considering how many of these stacks you are going to be picking up around the camp. Load these supplies into your truck, and then head for the auto pavers around the map to build your roads. Mule camps take a few hours to fully repopulate, but you can spend this time withdrawing materials from facilities, completing deliveries, and picking up lost cargo to earn these sweet materials on the side while you wait for the mules to return. Have fun, and keep on keeping on!
That’s all we are sharing today in Death Stranding Fast Road Building Guide (As Quickly As Possible), if there are anything you want to add please feel free to leave a comment below and we’ll see you soon.
Credit to IrritableIndian
Related Posts:
- Death Stranding “Error: Your Windows 10 build must be 1809 or newer” How to Fix
- Death Stranding How to Remove Black Bars in Ultrawide Resolution
- Death Stranding PC How to Set Better Anisotropic filtering
- Death Stranding PC How to Fix Infinite Loading Screen
- Death Stranding PC How to Fix Stuttering
