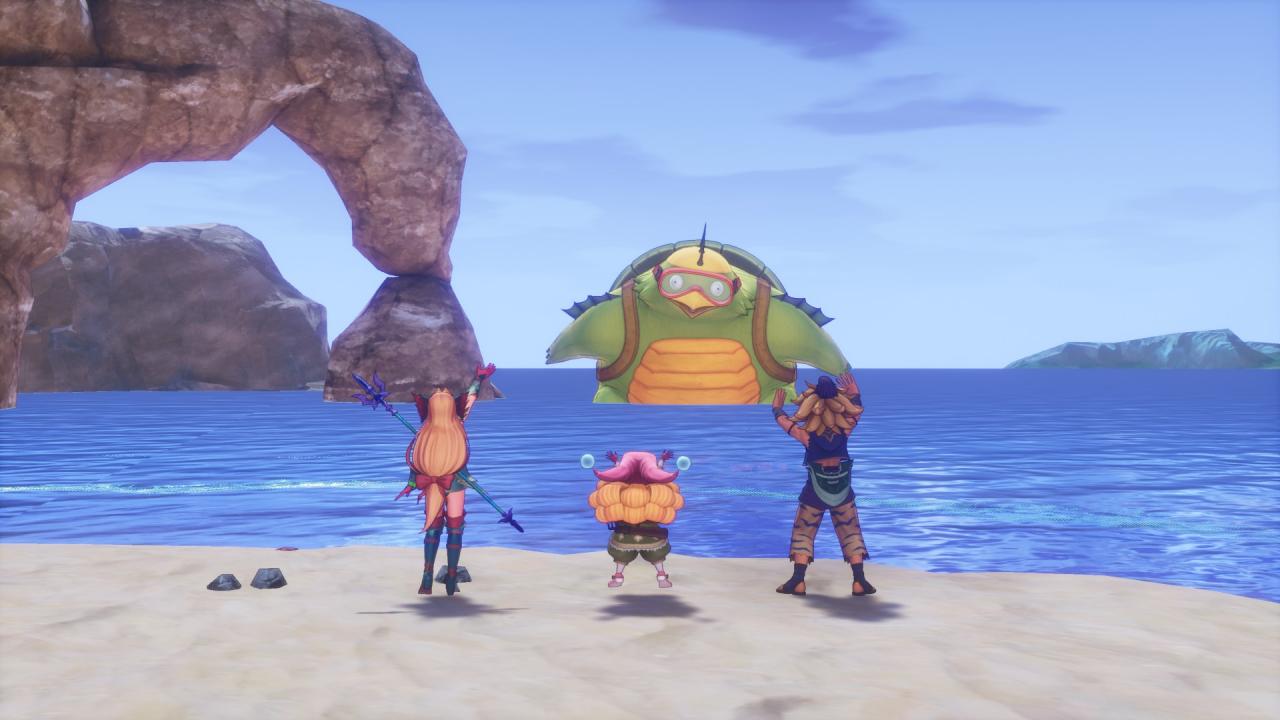
Here is a guide on how to improves the overall visual quality of the game.
Description
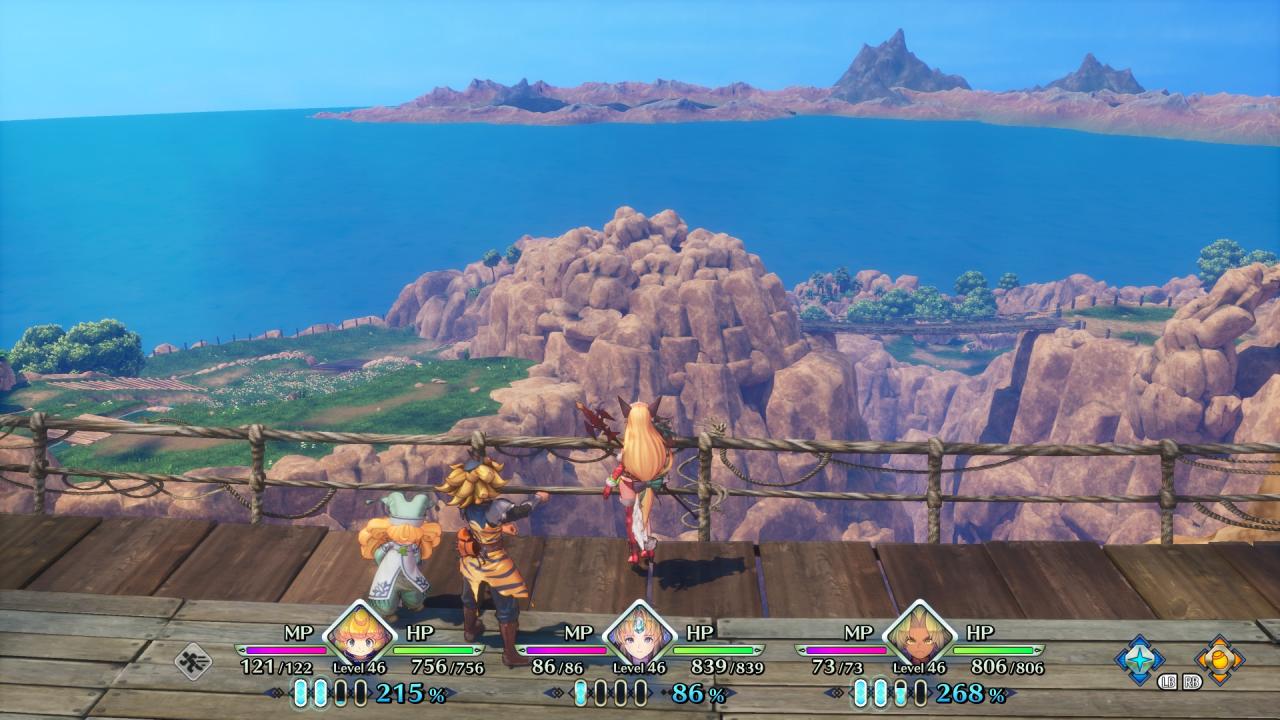
If you want to improve visual quality of the game, such as increasing draw distance, disabling chromatic aberration, motion blur, depth of field, texture quality, screen space reflections and anti-aliasing, then this guide is for you.
Installation
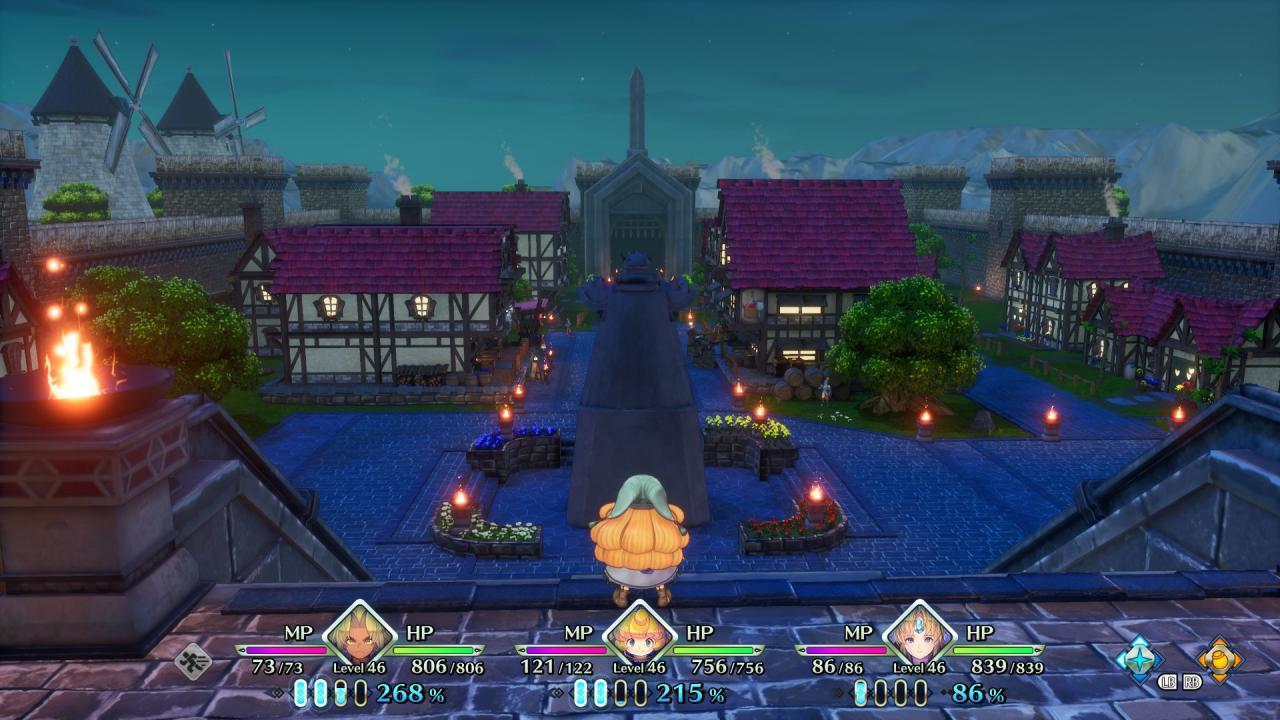
Download the Trials of Mana Visuals and Tweak Settings Packer, which can be found below:
https://drive.google.com/open?id=1lv99UZnLBmfV82166ki-Tp6SRoyVc6ET
Unpack it to any folder of your choosing.
There is a pak file that is already created with the default settings titled “Trials of Mana-WindowsNoEditor_999_P.pak”
To use it, simply copy that file to your Paks directory which is “Steam\steamapps\common\Trials of Mana\Trials of Mana\Content\Paks”
If you want to make your own custom pak file with different settings, refer to the Tweaking section below for an explanation of what the variables do. Make your changes to the DefaultEngine.ini and run the “Create Config PAK” bat file which creates a new “Trials of Mana-WindowsNoEditor_999_P.pak” file and the move it to your Paks directory.
You can now safely run the game and enjoy the tweaked settings.
Tweaking
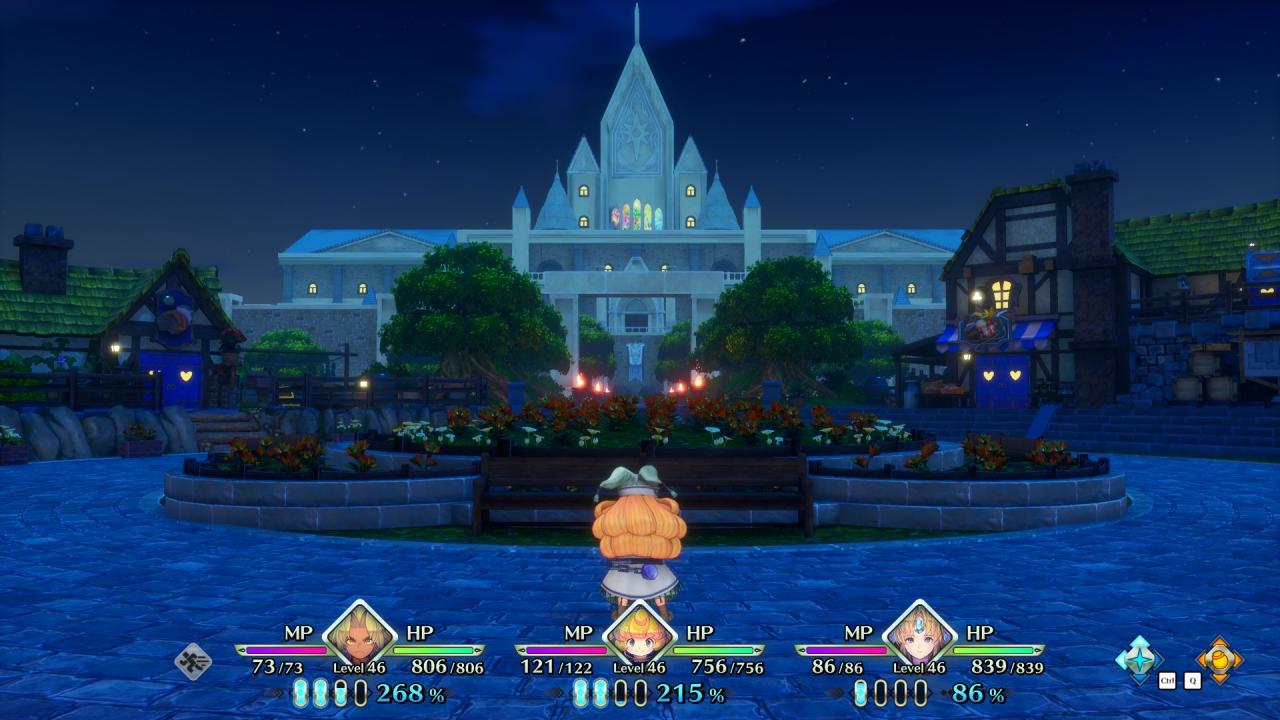
You can tweak all of the values in DefaultEngine.ini and DefaultInput.ini to your liking.
You can disable any of the tweaks by simply commenting them out by starting the line with a # symbol or removing the line.
Here’s a general explanation of what they do:
MaxChannels increases the amount of max audio channels allowed at the same time (as in concurrent sounds), game default is 64.
ScreenPercentage controls Supersampling. This is by far the most performance intensive tweak as it renders the game at higher resolution in a percentage relative to your current resolution and then scales back. This greatly improves visual clarity depending on the value you set and how powerful your graphics card is. 100 is the default value (no supersampling) and anything above it up to 200 is % value of supersampling applied.
MaxAnisotropy ensures the game always uses 16x Anisotropic Filtering (has basically no performance impact on modern PCs).
DefaultFeature.AntiAliasing, TemporalAACurrentFrameWeight, TemporalAASamples, PostProcessAAQuality and Tonemapper.Sharpen improve the quality of the Temporal Anti-Aliasing and make the image overall cleaner and sharper.
Tonemapper.Quality and Tonemapper.GrainQuantization disables Film Grain.
MotionBlurQuality and DefaultFeature.MotionBlur disables Camera and Object Motion Blur.
DepthOfFieldQuality disables Depth of Field in cutscenes if you find it too blurry for your taste, you can also set it to 4 to improve the quality of DoF through enabling Bokeh effect for it (it will make it a bit more “cinematic” but even blurrier).
EyeAdaptationQuality, BloomQuality and DefaultFeature.Bloom controls the fake HDR effect, commonly known as Bloom.
LightShafts, LightShaftQuality and DefaultFeature.LightShafts improve the quality of Light Shafts, commonly known as Godrays or sunrays. You can also set them to 0 to disable completely.
LensFlareQuality and DefaultFeature.LensFlare controls the quality of Lens Flares, you can also set them to 0 to disable Lens Flares completely.
SceneColorFormat, SceneColorFringe.Max and SceneColorFringeQuality disables Chromatic Aberration.
AmbientOcclusionRadiusScale and AmbientOcclusionLevels improves the quality of Ambient Occlusion.
SSS.HalfRes, SSR.Quality, SSR.Temporal, SSS.Filter, SSS.SampleSet and SSR.MaxRoughness improves the quality of the Screen Space Reflections (a bit more costly performance wise than stock settings).
MaterialQualityLevel imroves quality of certain textures in the game.
StaticMeshLODDistanceScale and SkeletalMeshLODBias improves character model quality at a distance (didn’t notice a performance impact so if it’s there it’s negligible).
MipMapLodBias, Streaming.MipBias, Streaming.HiddenPrimitiveScale and Streaming.UseAllMips improves texture quality (zero performance impact from what I could tell).
Streaming.FullyLoadUsedTextures and Streaming.HLODStrategy makes it so that the game loads textures into memory on loading a scene rather than during gameplay greatly reducing chance of hitches or stutter (downside is that the INITIAL loading times are increased a little, but only on first-launch of the game per session). r.Streaming.FullyLoadUsedTextures can cause a few glitches in specific areas of this game, so it is disabled by default.
Streaming.PoolSize controls how much video memory is assigned to textures. By default the game is already configured to use 70% of whatever amount of VRAM your GPU has. If you decide to use this and set this too high, you will get slowdowns.
ShadowQuality, Shadow.RadiusThreshold, Shadow.RadiusThresholdRSM, Shadow.CSM.MaxCascades, Shadow.TexelsPerPixel and Shadow.MaxResolution improves shadow quality (low performance impact).
foliage.LODDistanceScale, grass.DensityScale and foliage.LODDistanceScale greatly improve density, draw distance and drastically reduce pop-in of vegetation, in fact pop-in is pretty much almost entirely eliminated with this (low performance impact).
ViewDistanceScale greatly improves the general draw distance and drastically reduces pop-in, in fact pop-in is pretty much almost entirely eliminated with this (low performance impact).
bAltEnterTogglesFullscreen allows using Alt+Enter to toggle Fullscreen when running the game in Windowed mode.
bEnableMouseSmoothing and bViewAccelerationEnabled ensure that Mouse Acceleration/Smoothing will always stay disabled, Unreal Engine 4 games tend to sometimes randomly trigger it back on especially if you have a controller plugged in, with this it ensures it will always stay off.
Related Posts:
- Trials of Mana: How to Improve Visuals and Tweak Settings
- Trials Of Mana Anise’s Stockade X Map Guide For Nagivation
- Trials of Mana Character Story Pairings Guide How Pairs Work
- Trials of Mana No Future Guide
- Trials of Mana: How to Beat Anise (Using Rune Seer Angela)
