Here is a guide on how to create mods and upload them to the Steam Workshop.
First and foremost, locate the game’s Steam install folder.
In it, you’ll find the prep.exe script. This is the main modding tool, and is used to build and upload mods.
Secondly, locate the game’s AppData folder at %localappdata%/.uoc2/.
The _packages directory located here is where all your mods will be stored locally.

The game consumes mods in the form of packages. A package is a directory containing some assets. In the game’s installation folder is the base package (_packages/base).
This package contains all of the assets that the game ships with.
Mods are packages that share the directory structure of the base, but change some files in it.
Each section of this guide describes how to create a specific type of mod.
Enjoy personalizing your Unity of Command II experience!
Editing the game’s configuration files
Unity of Command II uses YAML configuration files for almost everything.
These files define things like the camera, AI behavior, game rules and much more!
Most of them can be found in the base package at _packages/base/config.
Let’s create a new camera mod! First, create a new package in AppData _packages. I’m calling mine camera_mod.

Now, create constants.patch.yml in the camera_mod folder with the same directory structure as in the base package.

constants.yml contains a lot of data, but we can modify only some of it.
For example in the camera mod, I’ve only edited some of the zoom values.
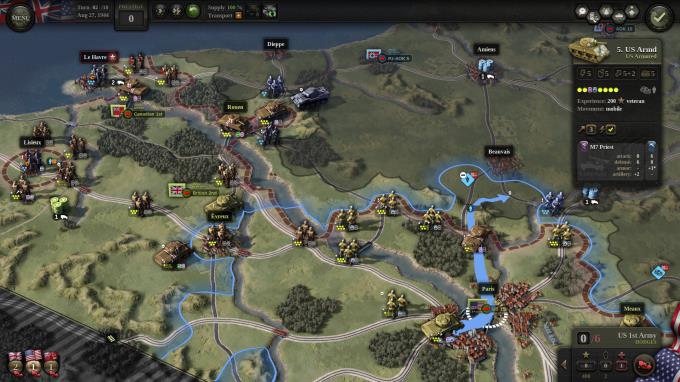
The camera mod we’ve crated allows for some pretty epic zoom outs!

To upload the mod, run the steam_ws_upload command with the prep script in the game’s install directory.
The {package_name} is the name of the mod’s package directory. So it would be camera_mod for the above example.
The –visibility kwarg can be 0 (public), 1 (friends only) or 2 (private).
Adding a thumb.jpg to the mod’s package directory will set it as the mod’s thumbnail.
When updating the mod the –title, –description and –visibility kwargs aren’t required.
