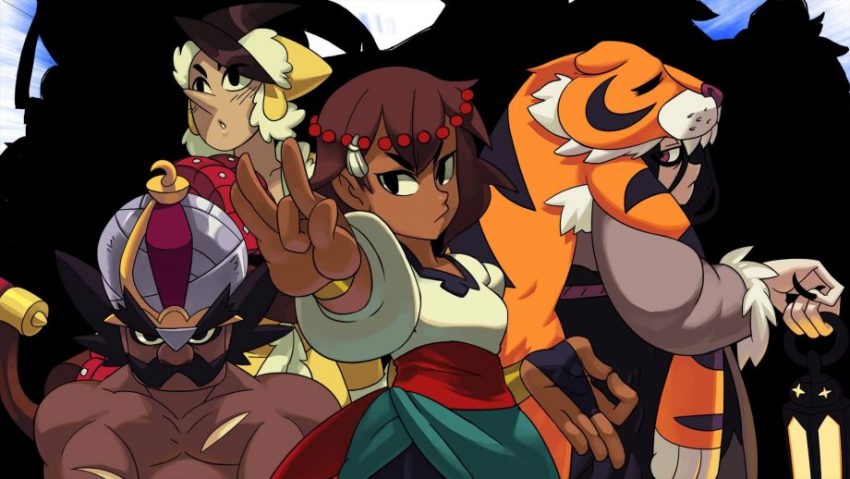
A guide to reaching and fighting the optional superboss. Contains unmarked spoilers!
Terminology
- Dash Effect means the Tier 2+ effect you gain after running along the ground for a few seconds. While active, this effect allows you to break barriers you run or jump into. This effect is preserved across a small set of moves. At this stage of the game, the move that starts this effect is called Mahu Heruka Hustle in-game.
- Air Dash, or Tier 2 Air Dash refers to the move that allows you to move a short distance in the air, which by this stage of the game has been upgraded to be in a direction of your choice.
- Air Smash refers to the Tier 3 moves that briefly pauses as Mahu Heruka shouts in exertion, then moves a short distance either upward in the Upward Air Smash, called Sky Splitter in-game, or a longer distance to a side with a Side Air Smash, called Savage Divide in-game.
- Tier 4 Air Dash refers to the final move you receive in the game, which allows you to hover as you charge up and generate Iddhi, then move an extreme distance in the direction of your choice burning Iddhi and health along the way. This is called Divine Wheel in-game.
- Pole jump means the move that briefly pauses as you pull the spear back on the ground, then release for a massive leap. This is called Pirate’s Leap in-game.
- Ceiling hang means the move that lets you hang onto the ceiling, and can leap forward repeatedly without needing anything except the ceiling to hold on to. This is called Barnacle’s Grip in-game.
- Jumping slide means the move that causes you to maintain a short, sliding hitbox while rising up a short distance. This is called Kampan Corkscrew in-game.
- Action buttons refers to the buttons used to execute a particular action. For clarity between platforms I describe the button by where it appears relative to the others. For example, on an XBox controller the Right Action Button is B, on a PS controller the Right Action Button is O, and on the keyboard the Right Action Button is D.
Mechanics, or: “Help! Why can’t I Air Dash?”
The catwalk’s platforming section marks a significant spike of difficulty compared to the rest of the game. There are a few moves that are only required a few times elsewhere, and some that are only truly needed here.
- Smashing a mine will only refresh the current type of smash used and your Air Dash, and only if you smashed into it with a smash move that can be refreshed. This means that downward smashing into a mine will not refresh anything at all! This is a mechanic that is never expressly introduced, and something you are never likely to come come across in other parts of the game, as you’ll almost always immediately refresh your entire moveset from landing anyway.
- Any damage taken in the catwalk zone is instantly lethal and will cause you to reset. You will not be able to use recovery frames to move through spikes or recover abilities on a damaging surface, and any use of your Tier 4 Air Dash will cause you to reset. This means you can quickly double tap the Right Action Button to reset if you whiff a move. The first tap burns your Air Dash, if any, and the second enters the Tier 4 charging sequence without waiting for grace frames.
- You can still use your Tier 2 Air Dash after acquiring the Tier 4 Air Dash. You will need to tap your right action button very briefly to do so. You are given a small number of grace frames, to the point where the Tier 4 Air Dash charging frame can become visible for an instant before switching into your Tier 2 Air Dash, but in even a fraction of a second you can fatally enter the Tier 4 Air Dash charging sequence and reset.
- This level contains thick barriers with orange particles that require a move that preserves the Dash Effect to break. This is unlike the barriers with orange particles that you can encounter in the desert, which a regular Tier 3 Air Smash can break through. In practice, this means you will have to work out a sequence of moves that preserves the Dash Effect all the way through to a barrier blocking the goal. Changing directions too early (before you reach a wall to bounce off), holding on a wall for too long, Air Dashing, and air smash moves will all break the Dash Effect.
- While maintaining your Dash Effect, you can press down quickly followed by a jump to pole jump preserving the Dash Effect in a leap that goes both high and wide.
- If you try to use a move with limited uses that is not available, it will use the move with on the same action button that is always available instead. With the Left Action Button this means swinging your axe, which is sometimes recoverable, with the Up Action Button this means charging downwards in a ground smash, which is usually not recoverable, and with the Right Action button this means fatalling entering your Tier 4 Air Dash charging sequence.
- There is one clear path presented, and to my knowledge there are no shortcuts. If you try to use your ceiling hang to bypass the early section, you’ll run into invisible walls. If you try to settle to the right to refresh abilities in the final section, you’ll run into invisible walls.
- The map does not show the catwalk beyond the entrance, so there is no point in checking it to see where to go next. You just have to keep going left, and follow platforms and objects as they appear.
Reaching the Catwalk
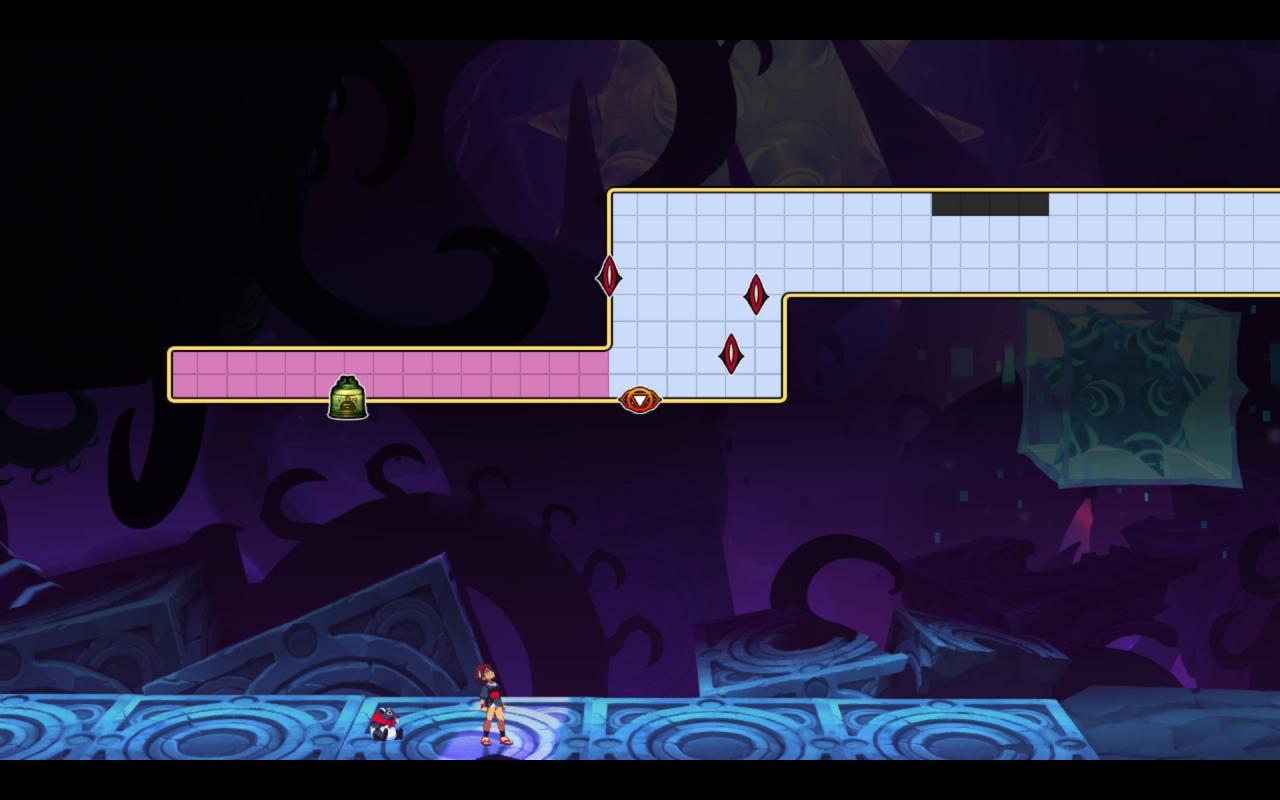 Notice that one of the blocks in the wall is in a slightly different color to the rest.
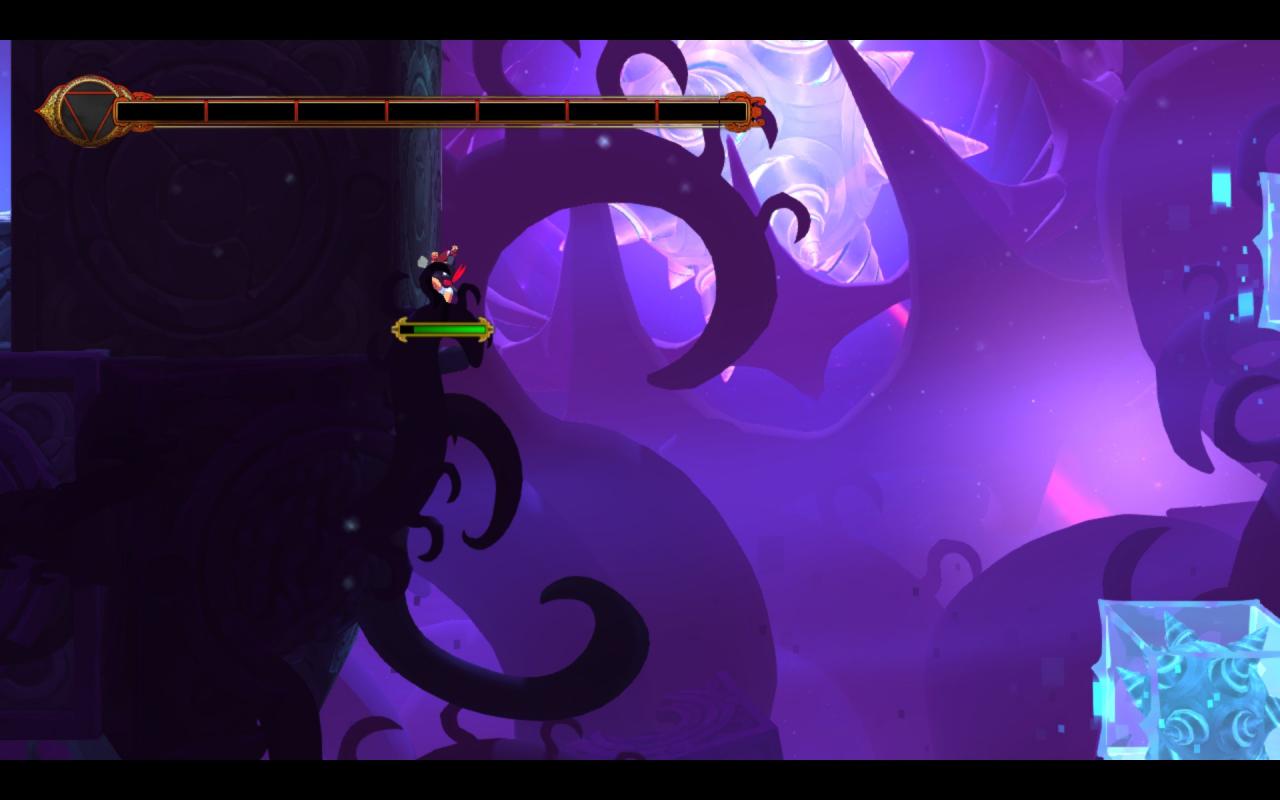 You can smash through this block to enter. Now begins the most challenging platforming area in the game!
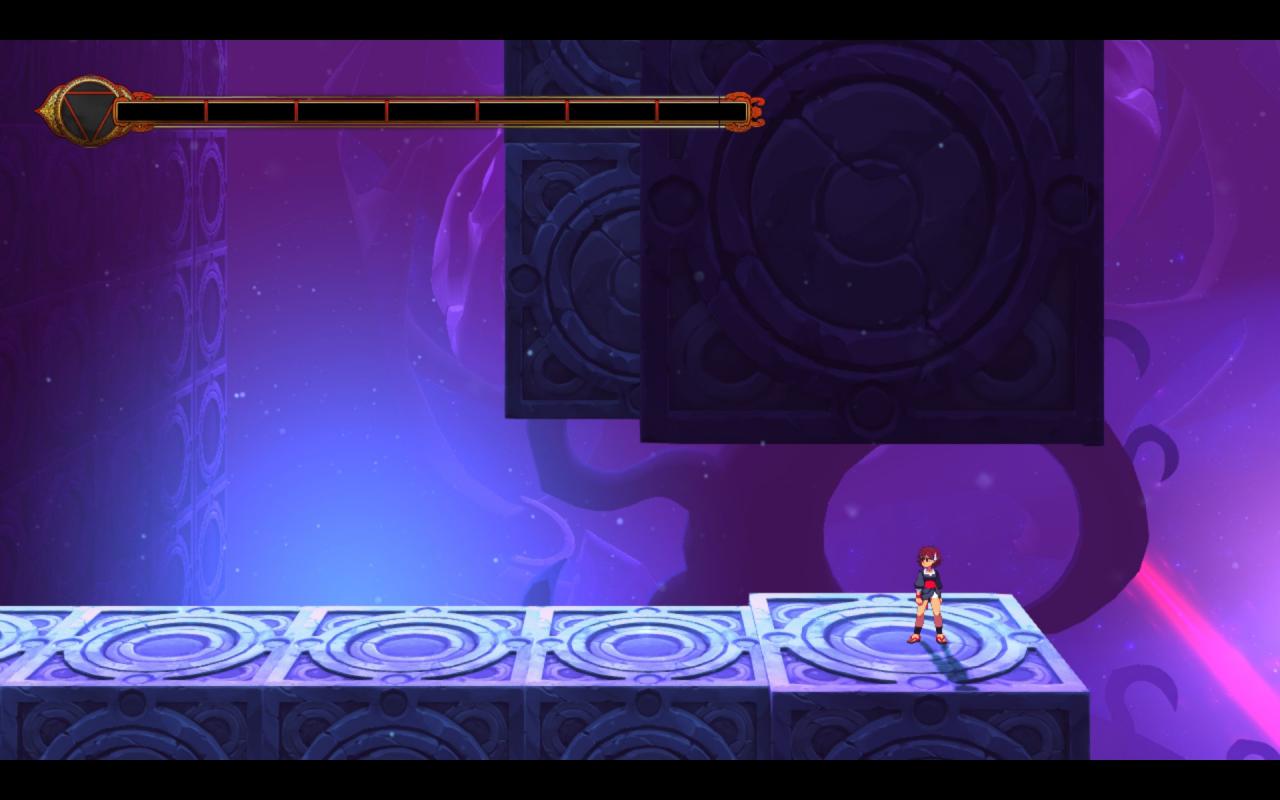
Running the Catwalk: Section one
The first section is a crash course on catwalk mechanics. Any attempted use of the Tier 4 Air Dash will kill you, and you need to get used to maintaining your Dash Effect, as platforms long enough to restart the effect are few and far between.
First, there are three barriers you need to break through. Start your dash on the initial runway, and slide to break through the first barrier.
You can either use a full length jump or a dash preserving pole jump to get over the spikes while preserving your dash state.
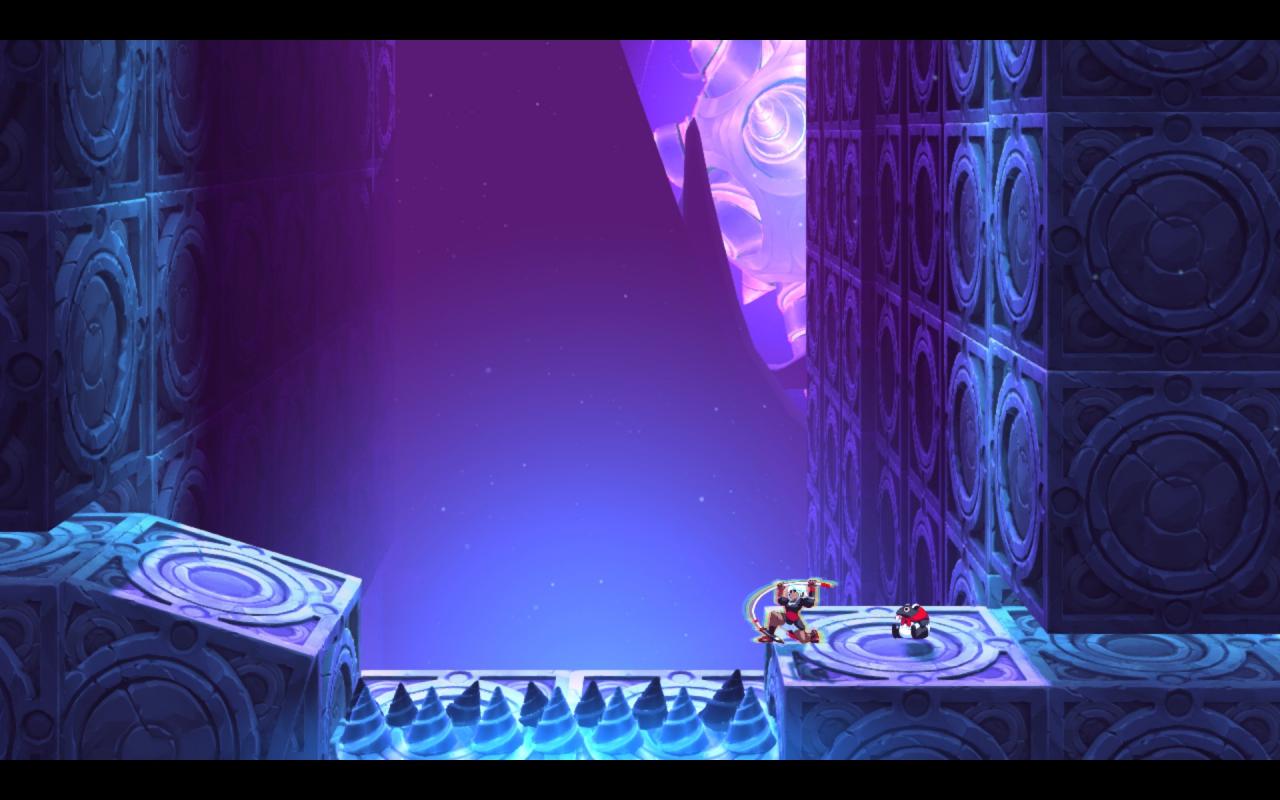
Either slide or jump slide through the second barrier, then use a jump slide as you near the end of this platform to break through the third barrier.
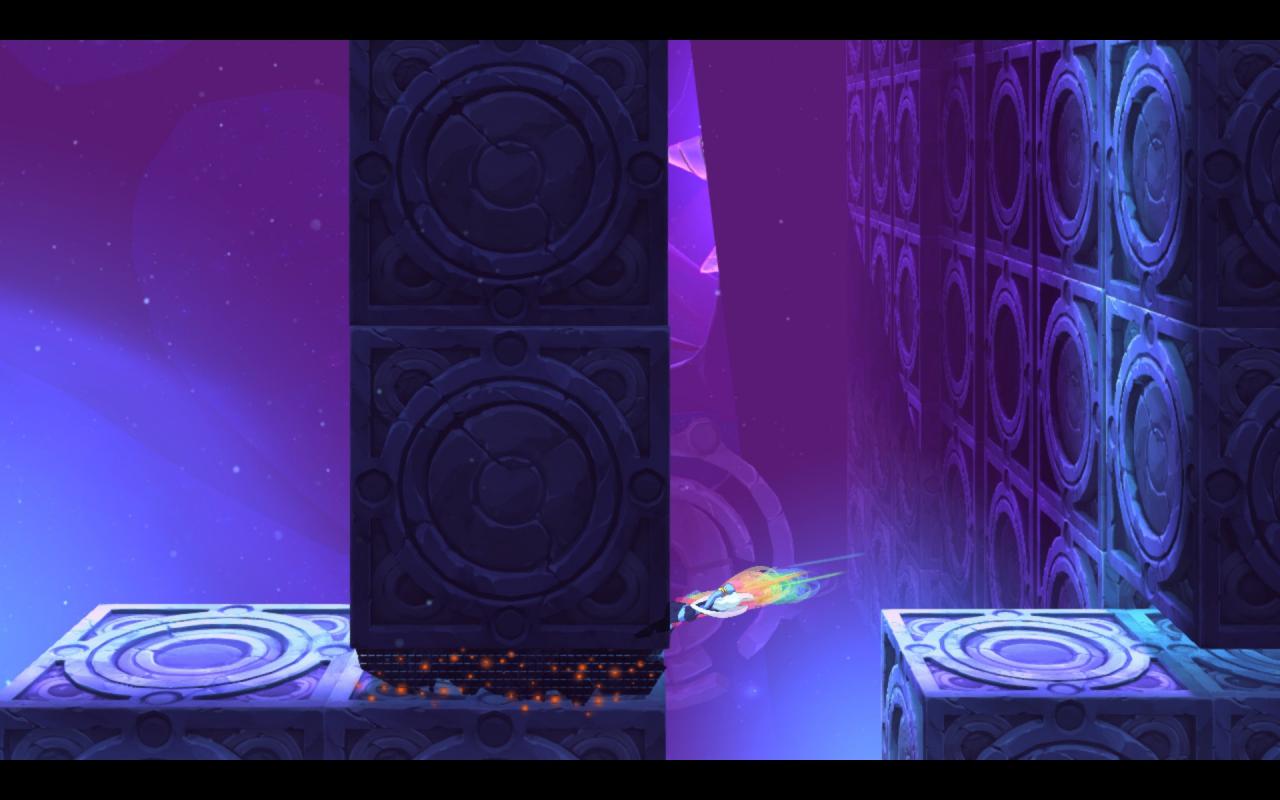
You can pause at this spot if you like. While this platform is long enough to start a fresh dash, this second part of the first section doesn’t require maintaining one.
Jump, Air Dash to get closer to, and then side smash to break through the first mine. If you have enough height, you can just Left Air smash onto the platform. Otherwise, you can either Up Air Dash or Air Smash to gain height, then Left Air Smash to reach the platform, which is another spot you can pause at if you like.
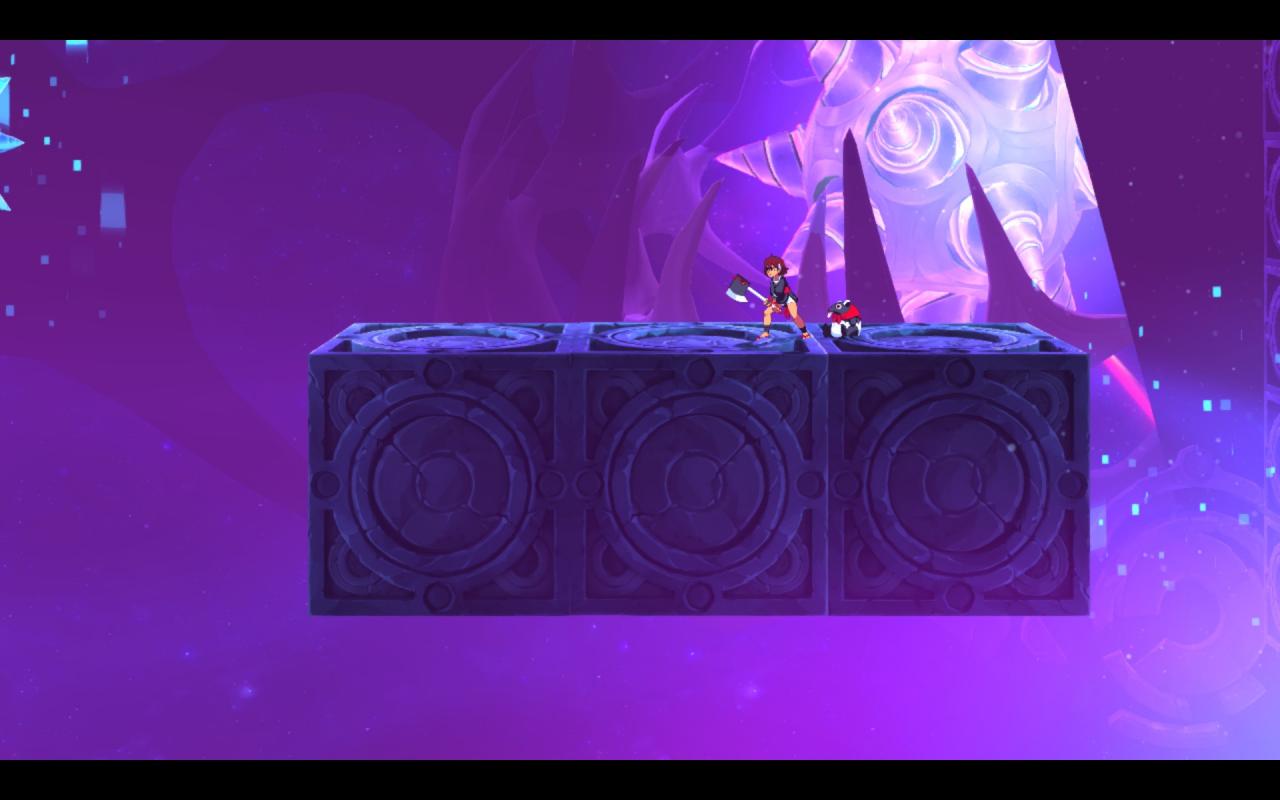
Once on the platform, you can skip the mine on the left by using a tight Air Dash if you like, but it’s easier to Air Smash into it then Air Smash into the stack of mines above it.
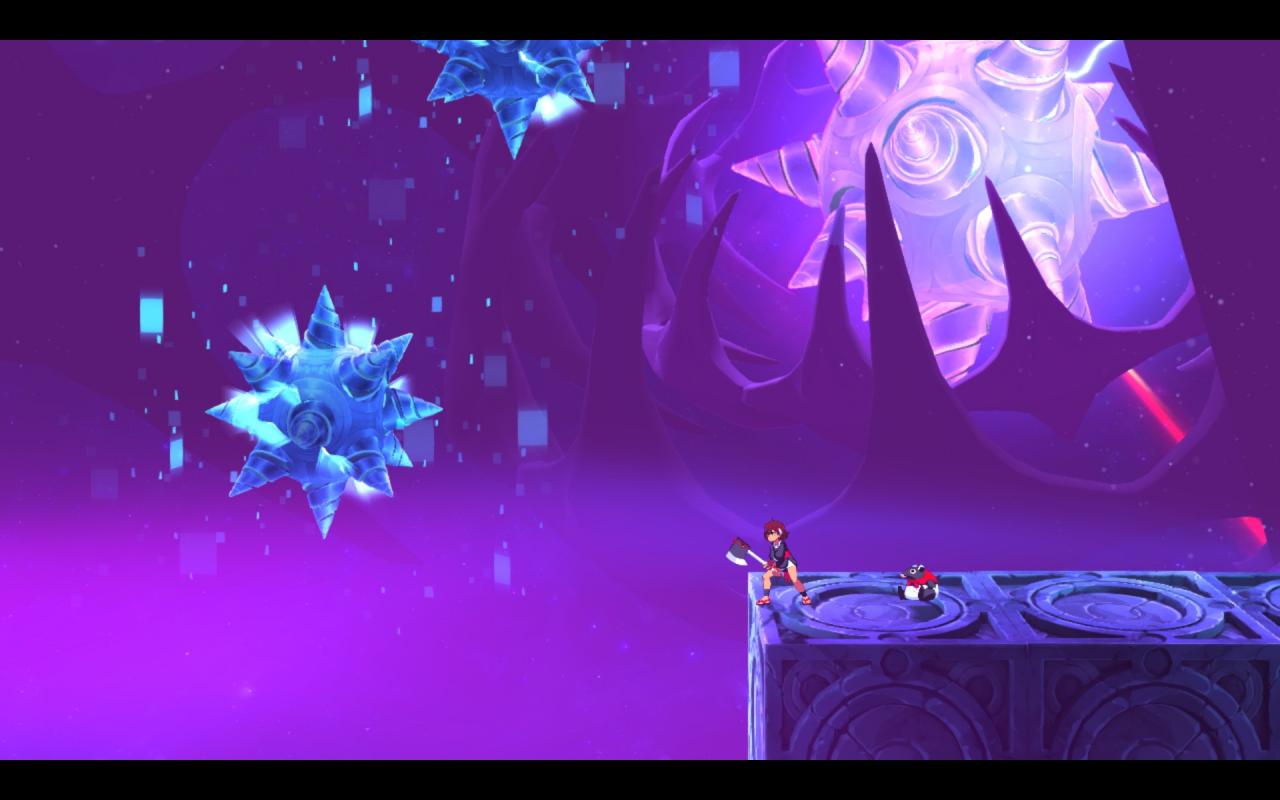
Continue Air Smashing until you reach the top, and another spot you can pause at.
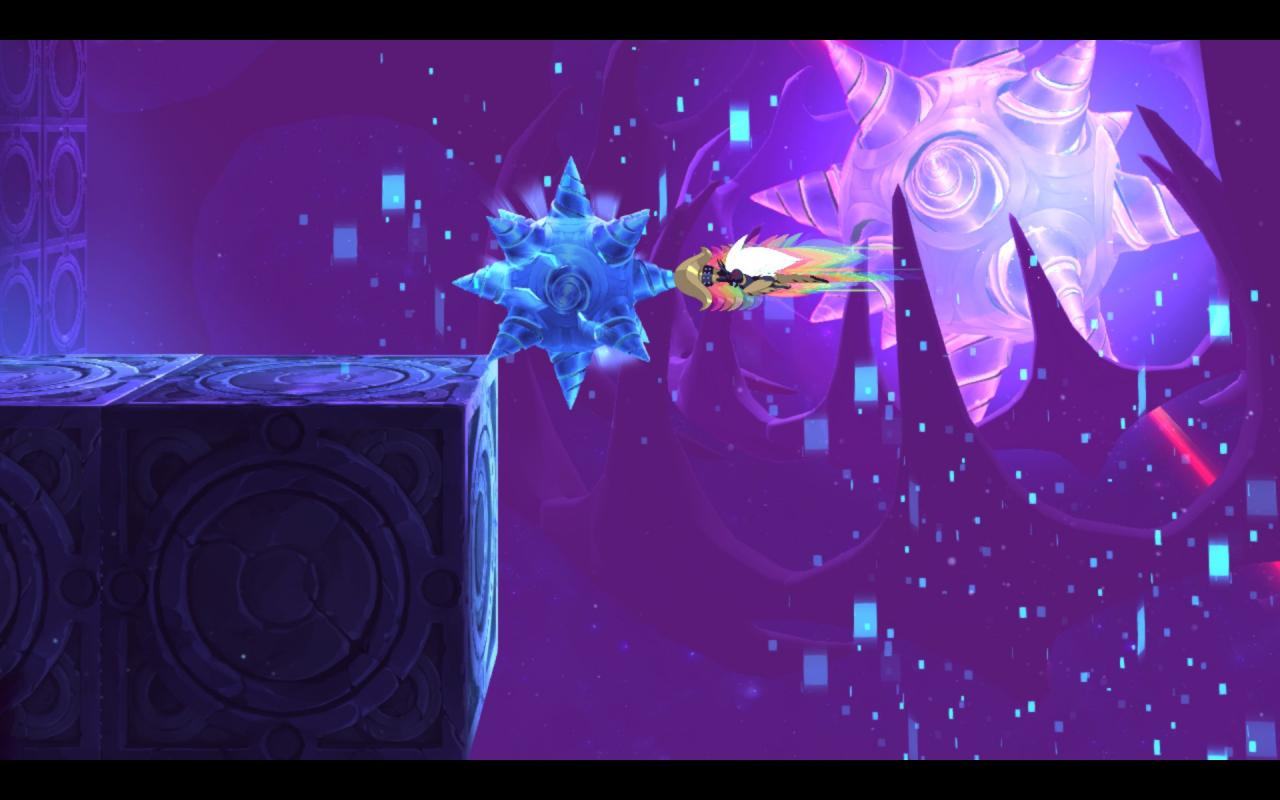
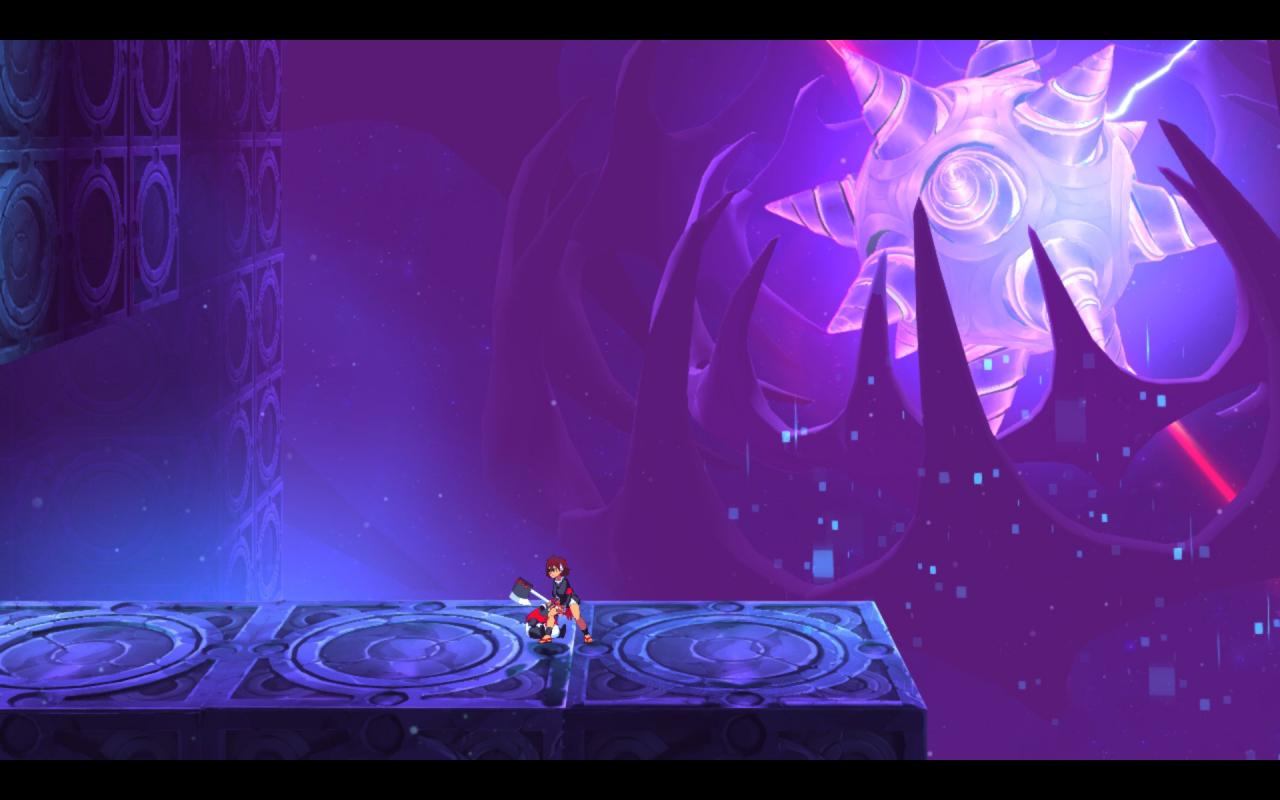
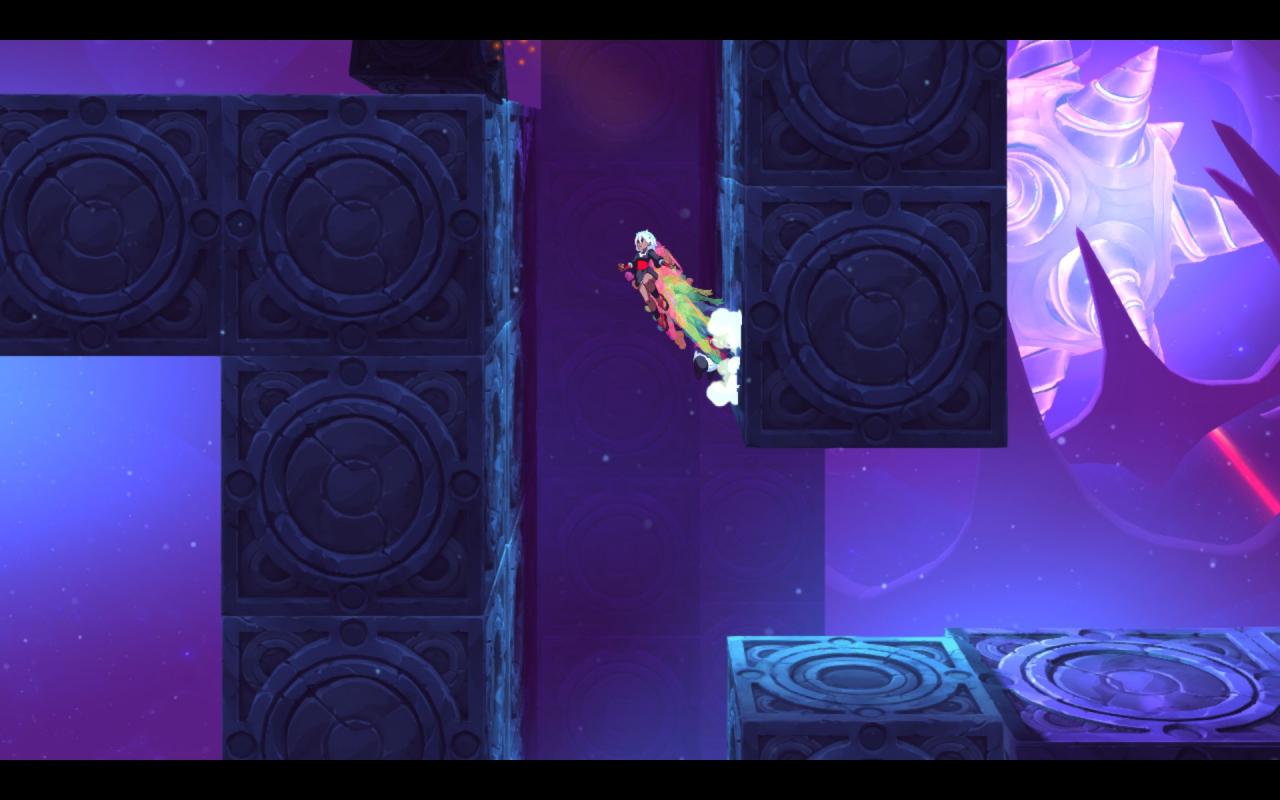
For the third part of this first section, you’ll need to preserve your dash state again through a short series of wall jumps.
On the next platform, you’ll see a series of mines at varying heights. Your Air Dash refreshes along with the current smash you use to break it whenever you smash into a mine using a refreshable smash.
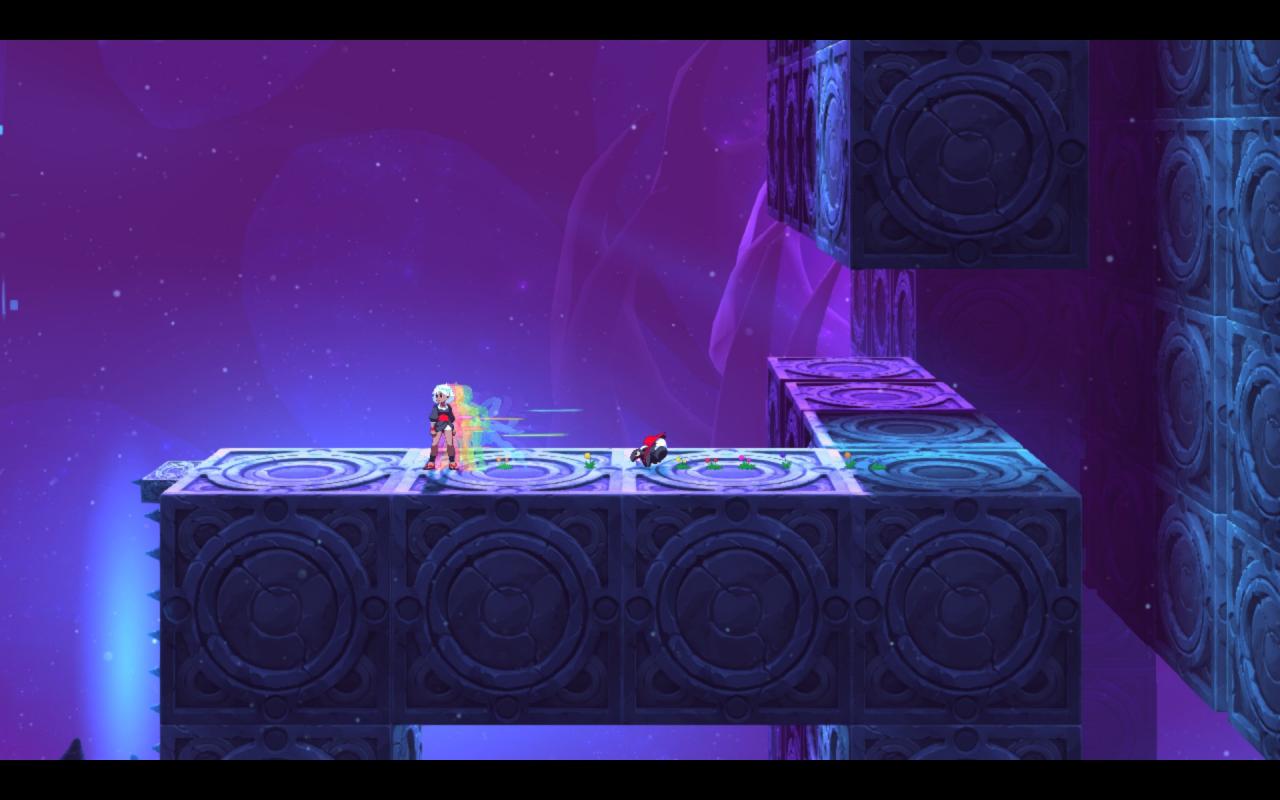
For each mine, Air Dash into a good Smashing position, then Left Air Smash through it.
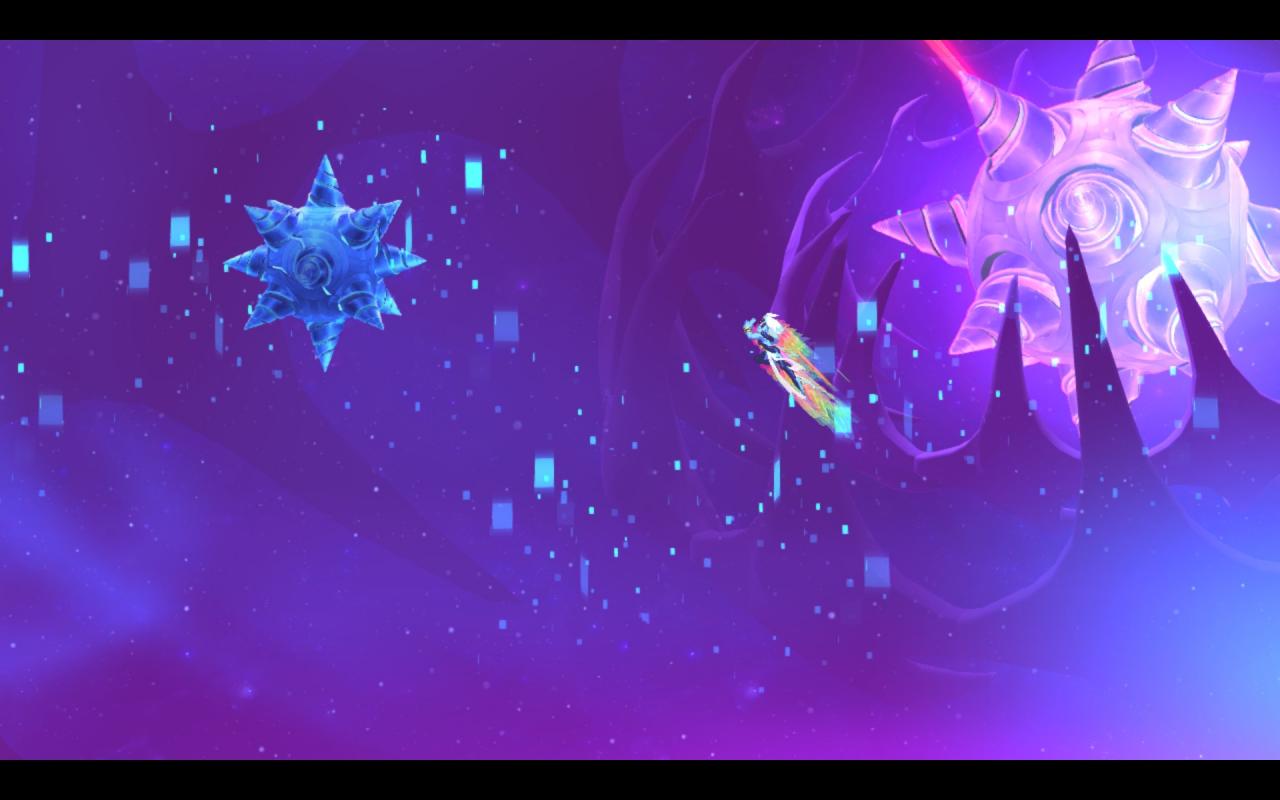
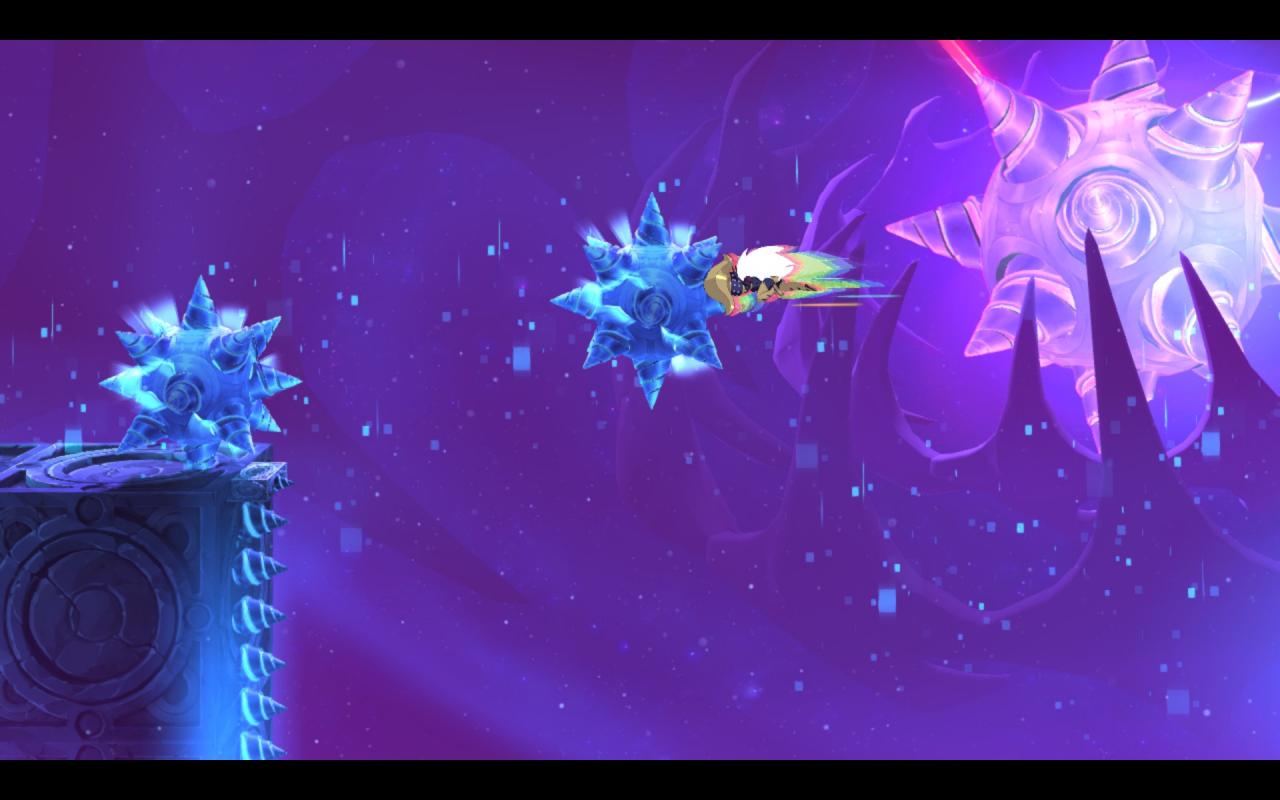
Finally, you’ll reach a platform immediately before a thick barrier with orange particles, and finally, a checkpoint that marks the end of the first section!
Running the Catwalk: Section two
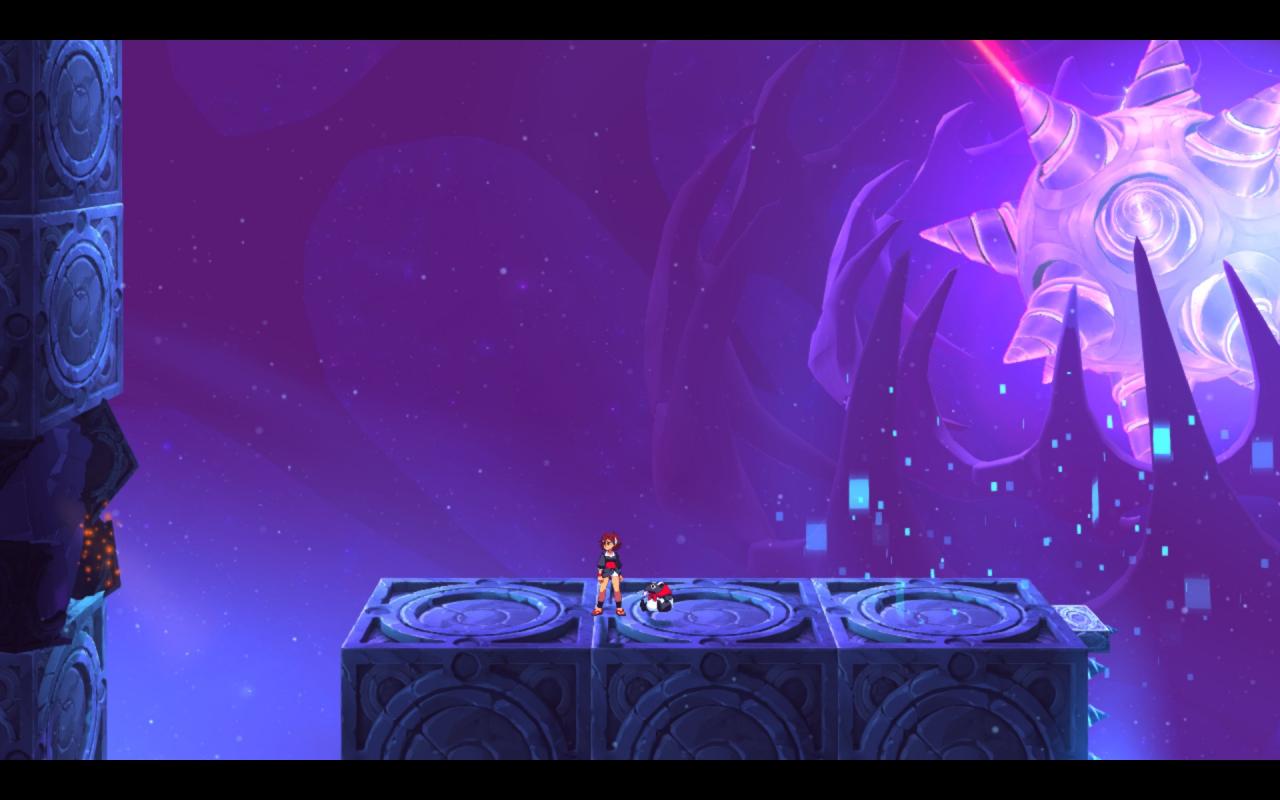
Start your dash, then jump through the barriers.
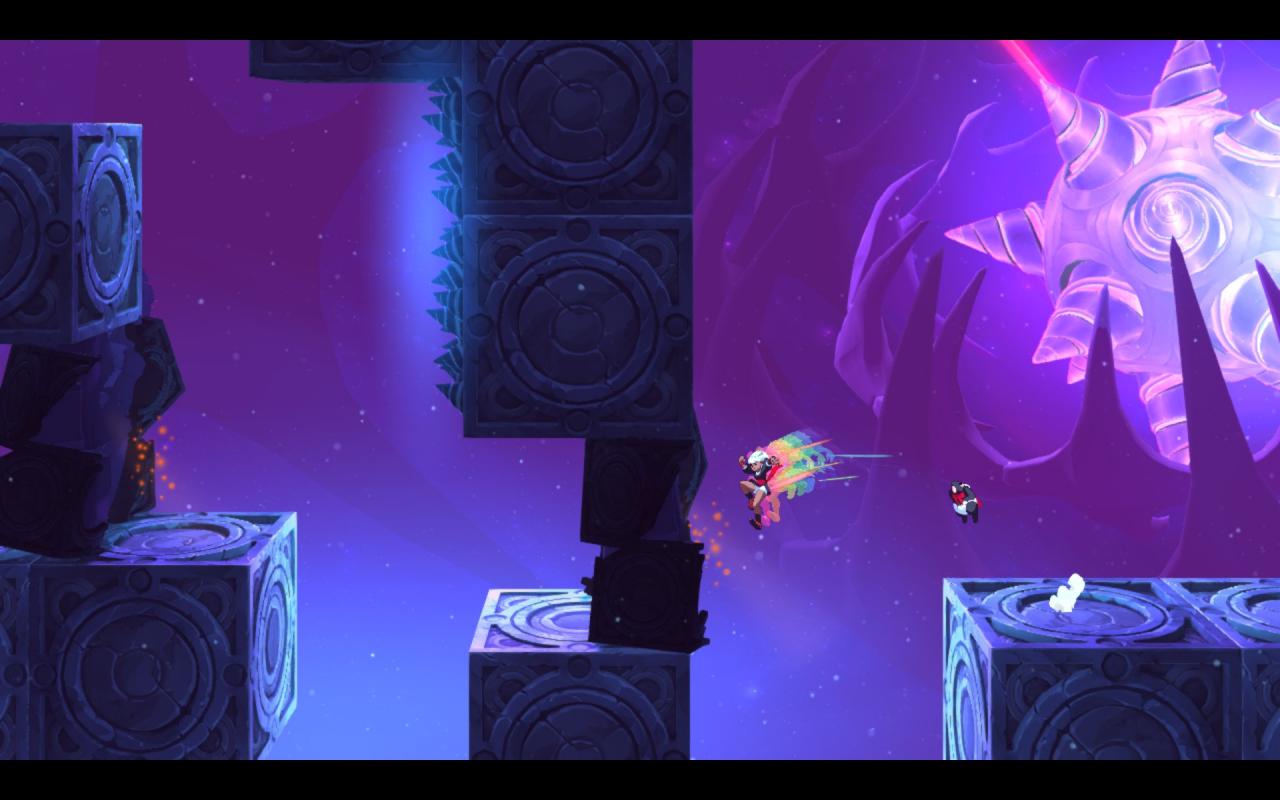
You’ll enter a tall room which requires a lot of wall jumping to preserve your dash state.
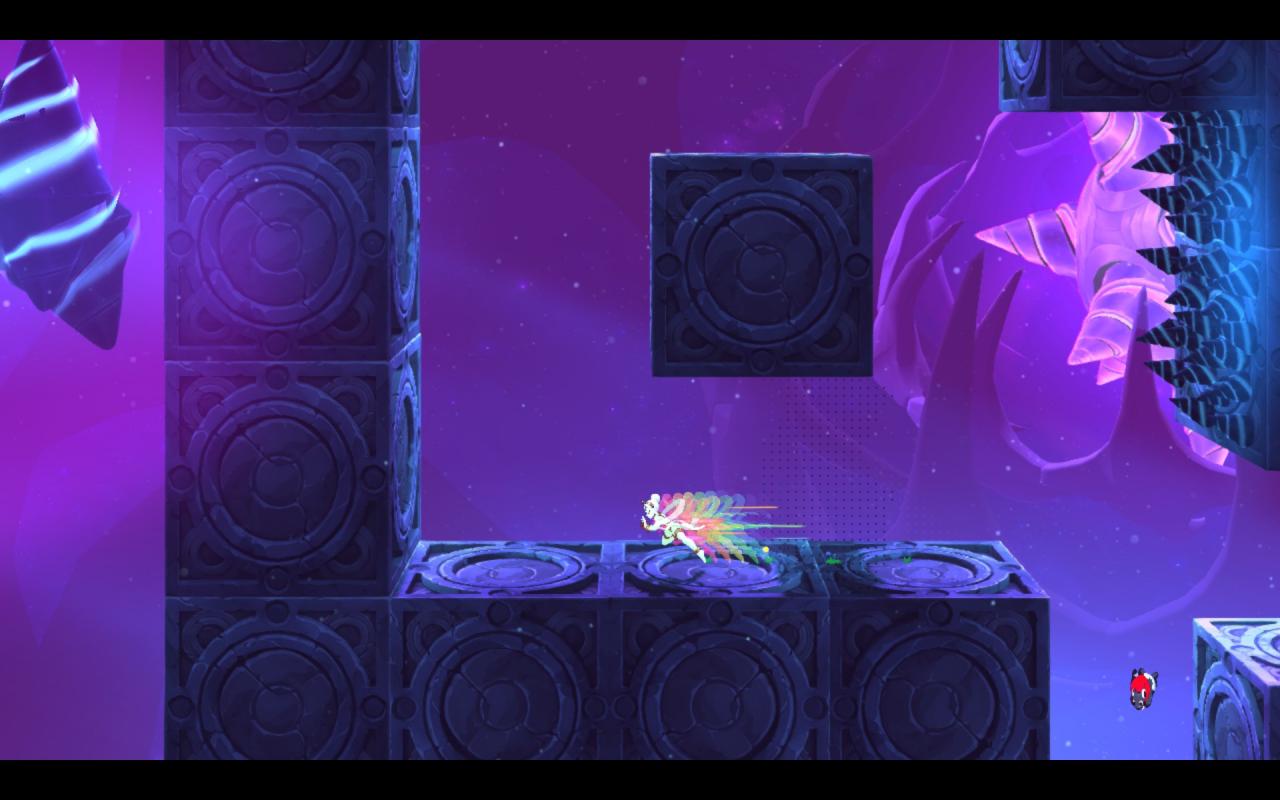
The most common way of losing your dash state here is by pressing the opposite direction too early. You can press jump just before pressing the opposing direction to make this much more consistent.
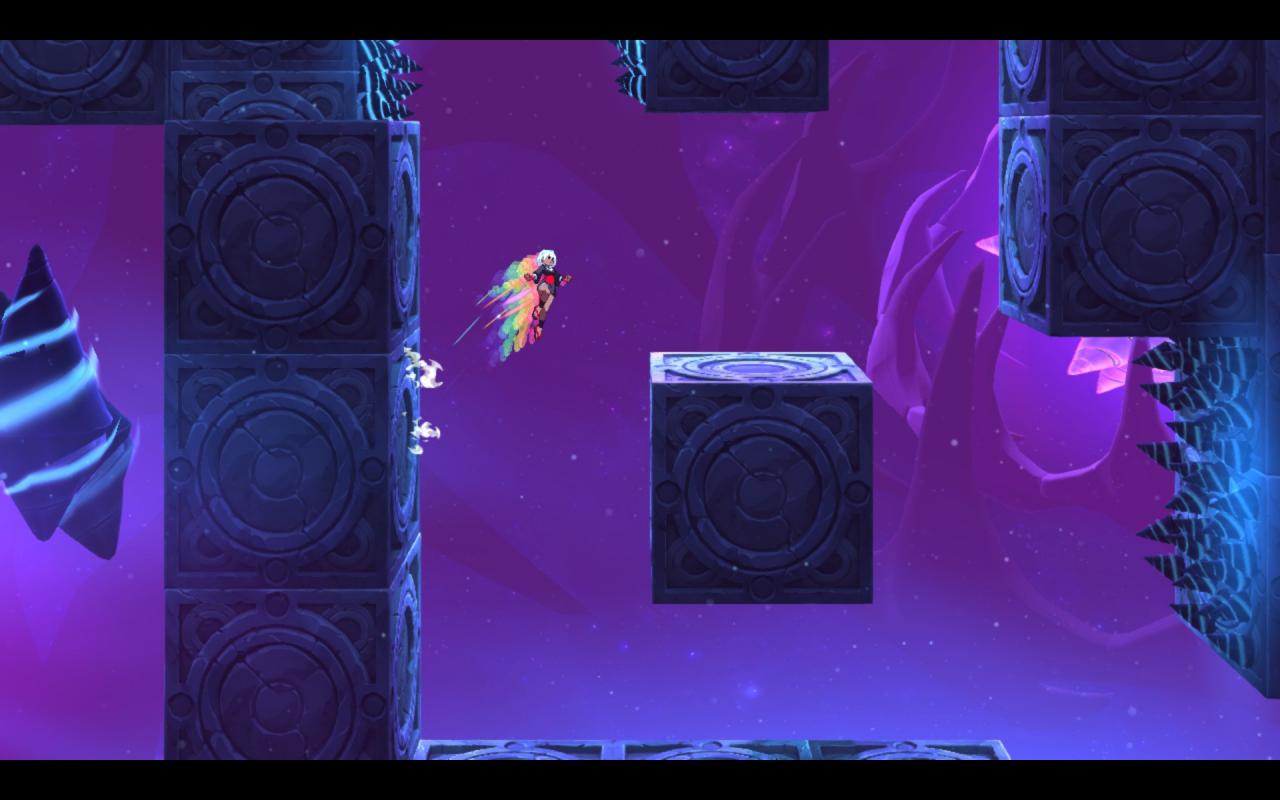
Follow the right column up.
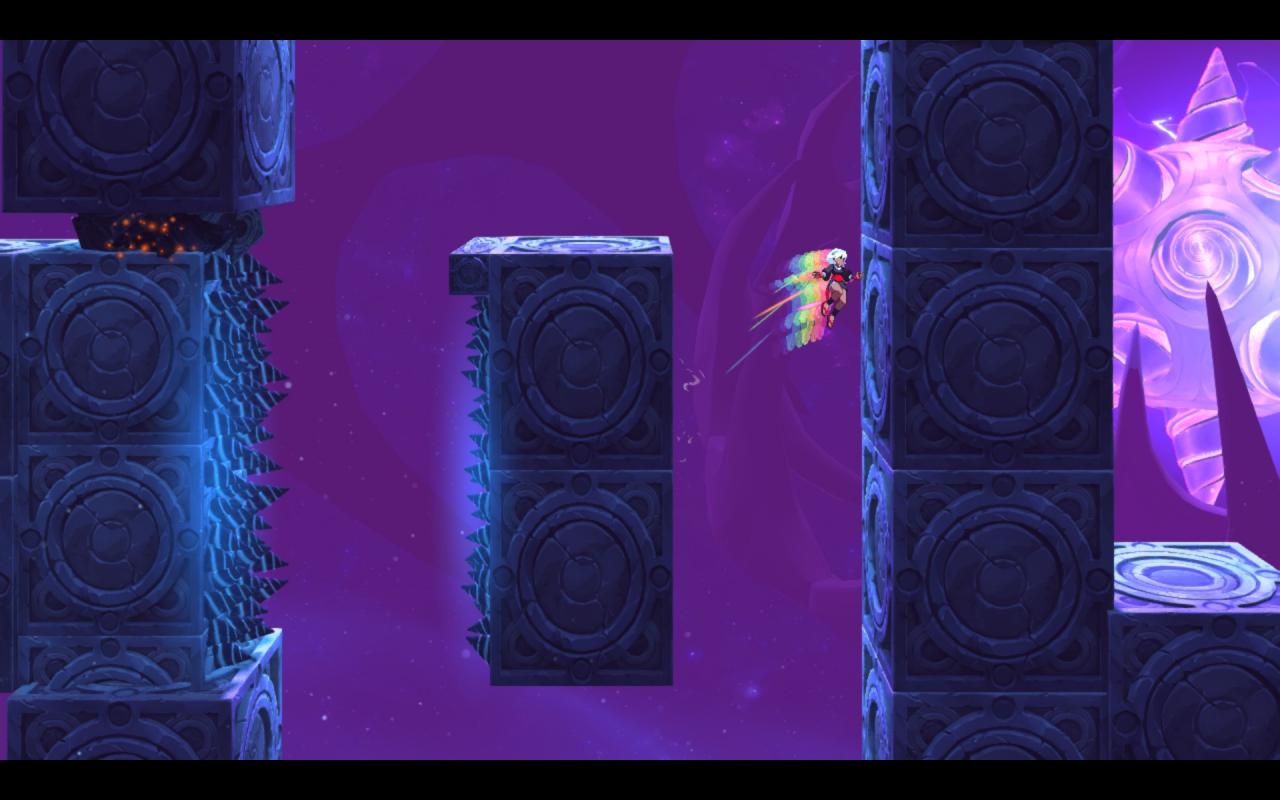
Jump slide through the barrier, and you’ll come up to a ledge you can pause at if you wish.
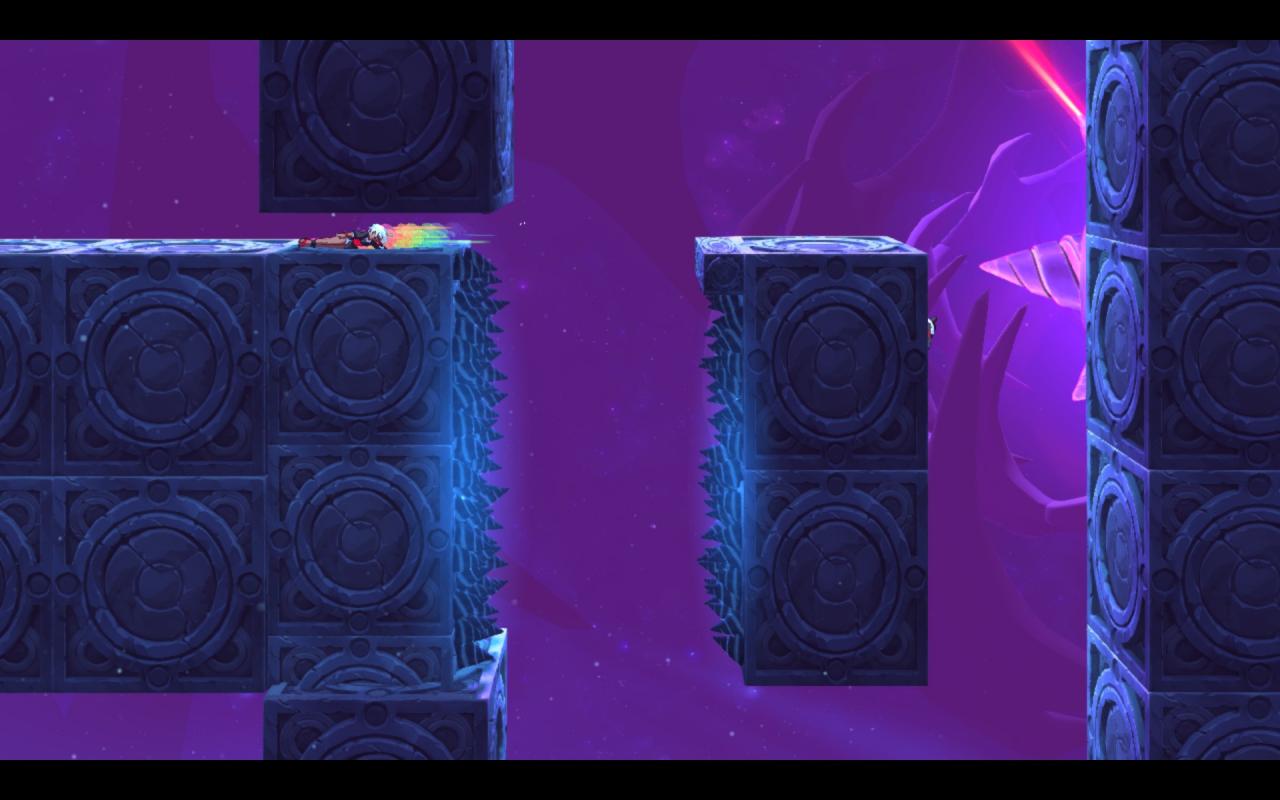
You’ll be able to see a series of diagonally downward sloping platforms.
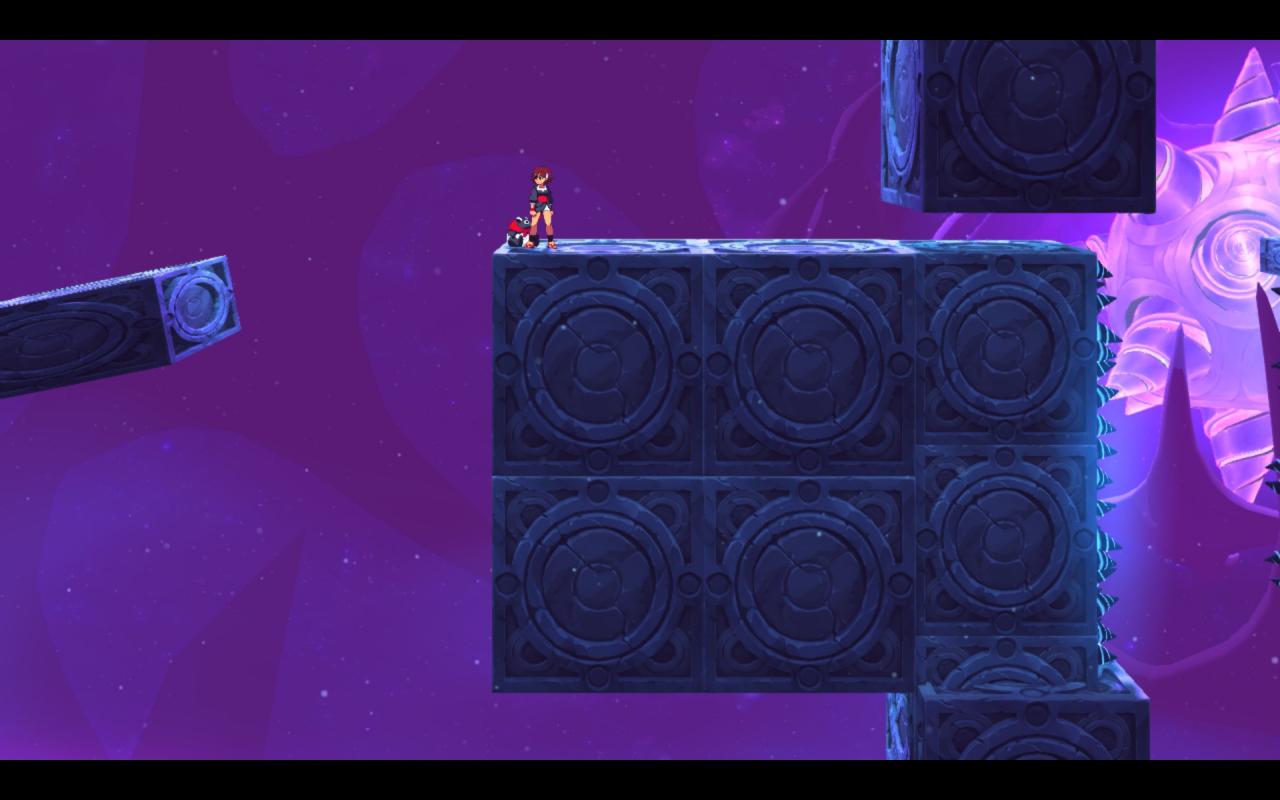
Start your dash, and use short presses of the jump button to do jumps that lie somewhere between the shortest and longest jumps between the platforms.
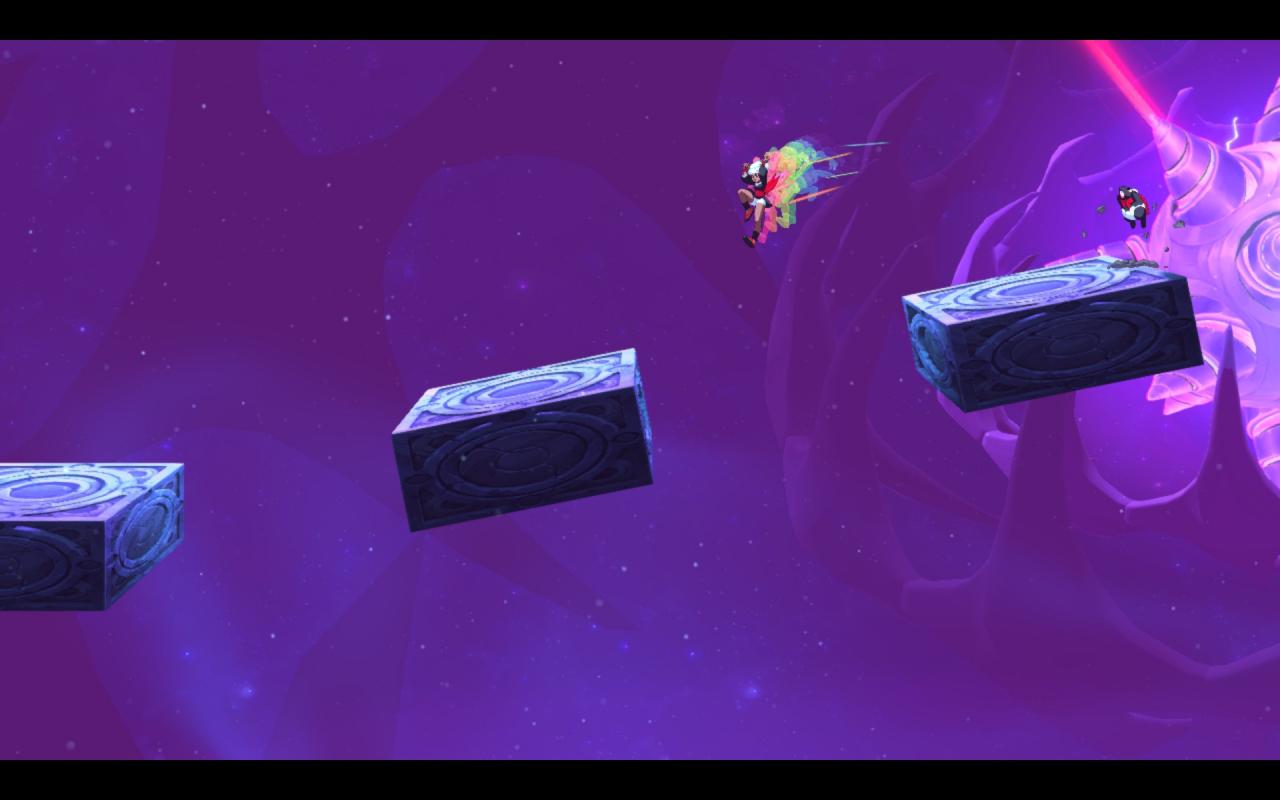
Before the end is another jumping slide.
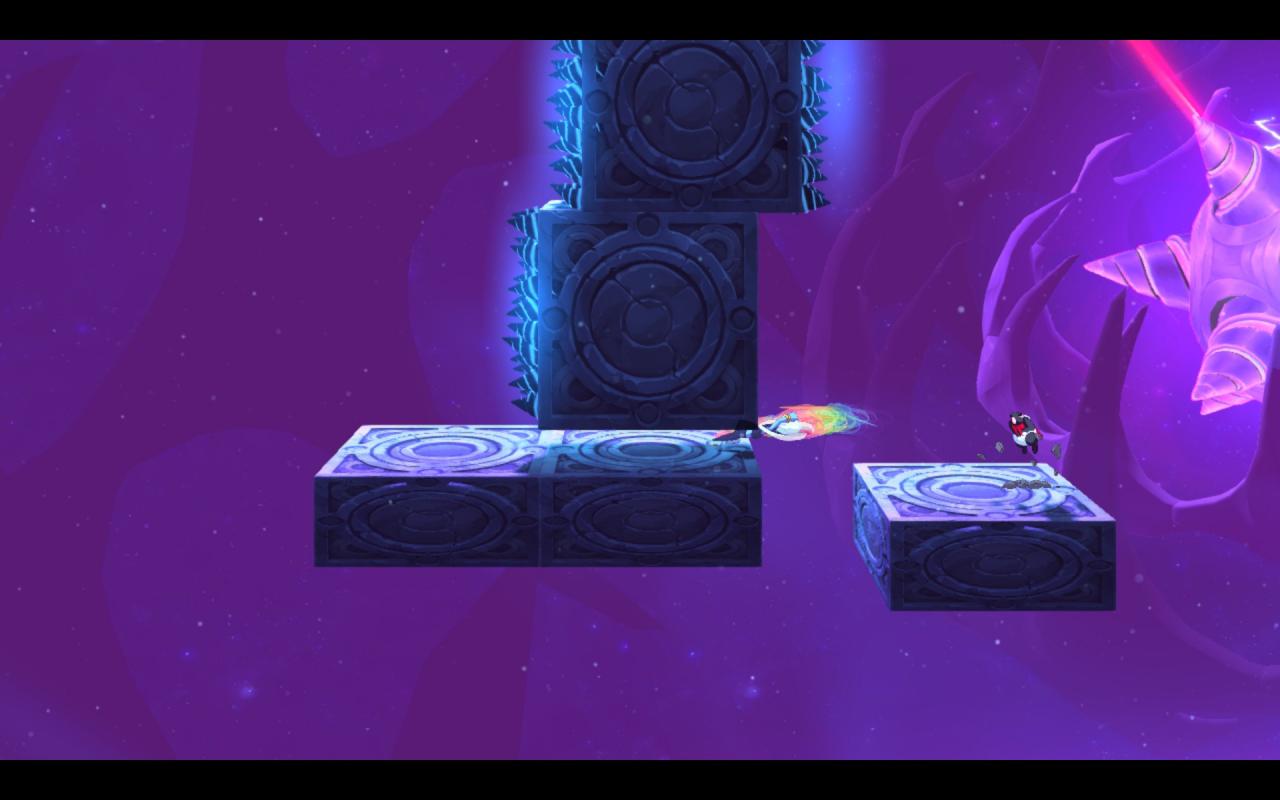
Finally, this section must be finished with a dashing pole jump!Hold the down direction quickly followed by pressing the jump button.
I believe this is the only part of the game that requires this.
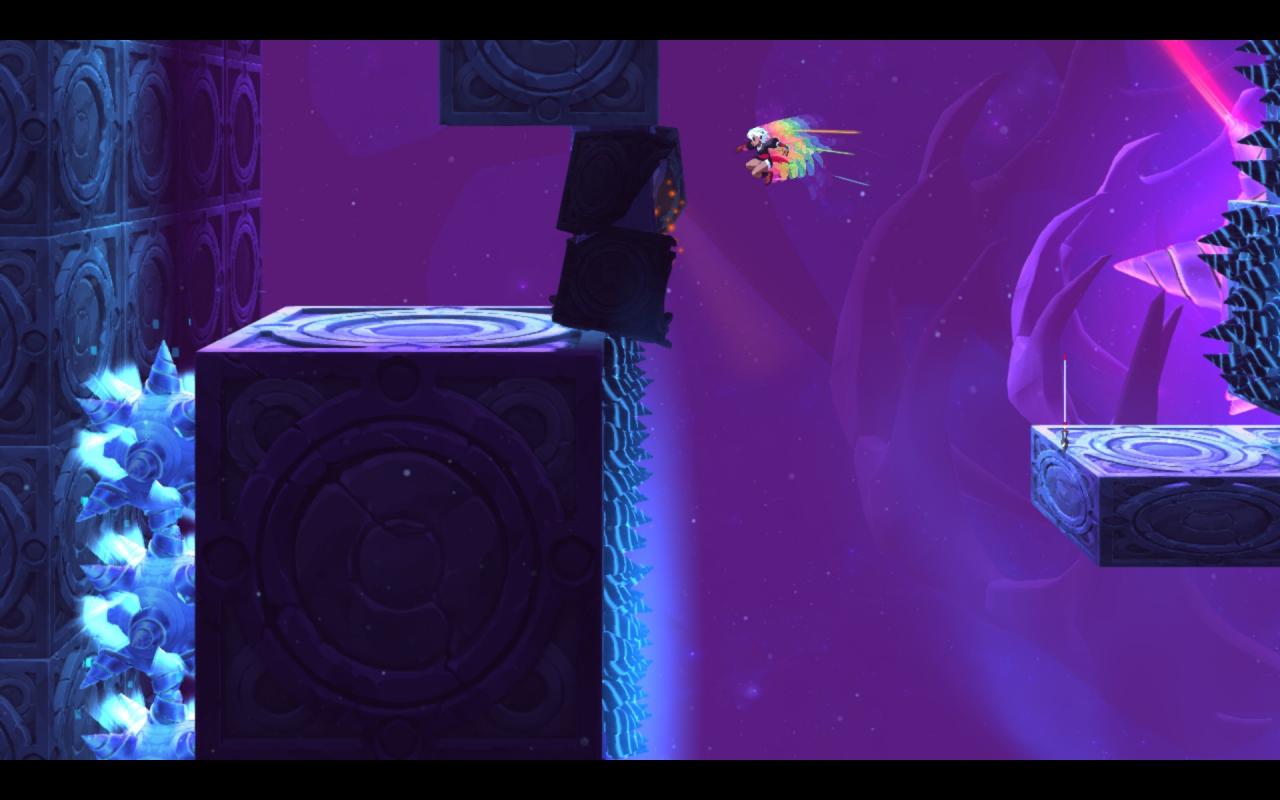
You’ll stand on a large looking down a column on mines. This is another spot where you can pause, and at last, another checkpoint! You’ll now enter the third section, which is thankfully much more straightforward than the preceding one.
Running the Catwalk: Section three
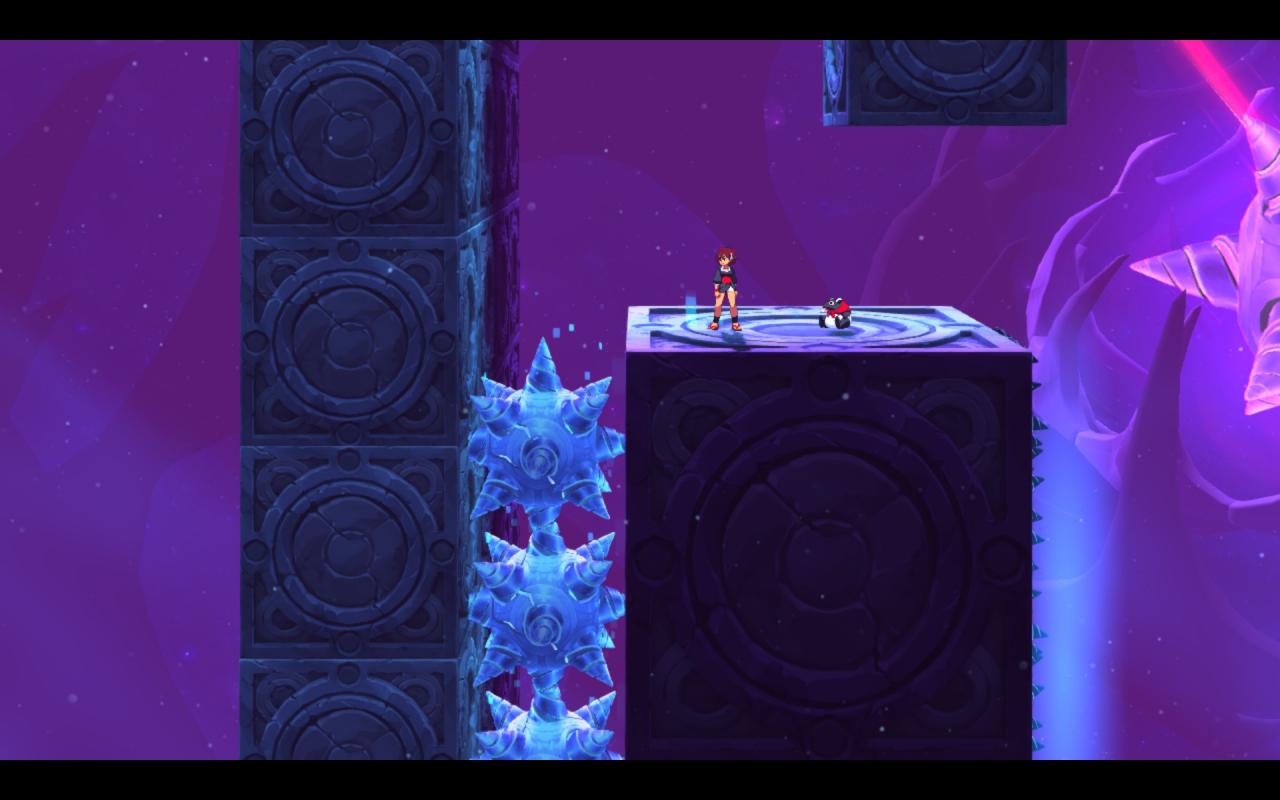
Start a downward smash on these mines, and prepare for an Air Dash to cancel the downward dive.
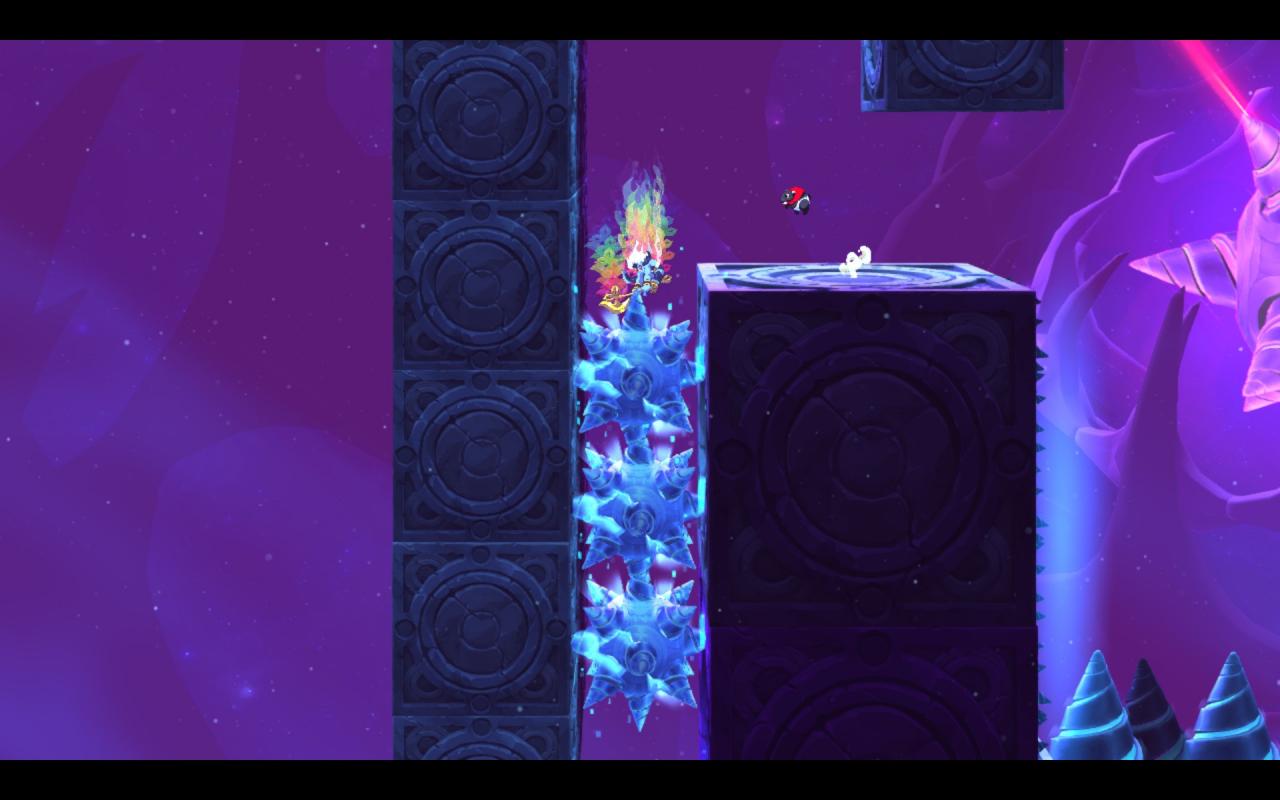
You must you an Air Dash to cancel the downward Air Smash. You cannot cancel a downward Air Smash into another Air Smash. The simplest way is to Air Dash downward once you’ve destroyed the last mine, but you can also Air Dash upwards for safety, and/or rely on wall bouncing to get you back into position to recover.
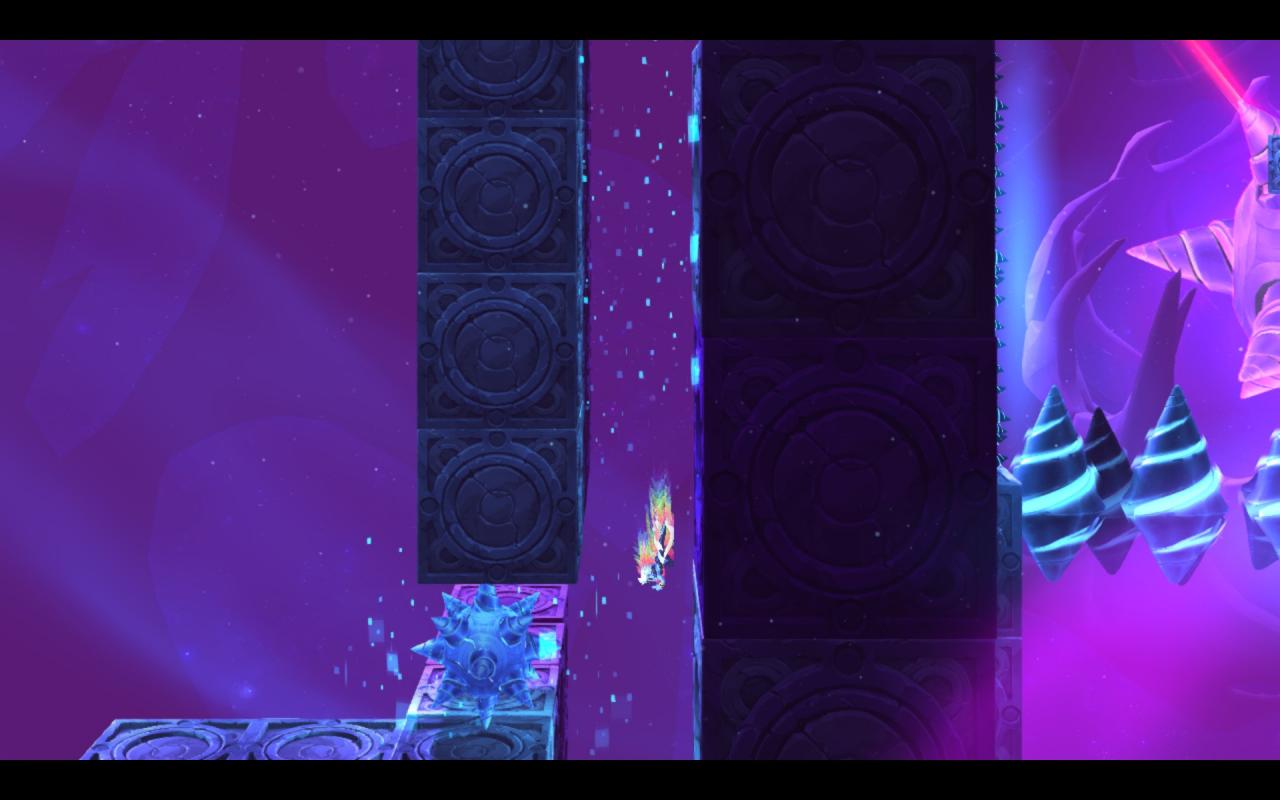
Once you’re in position, smash through the final mine.
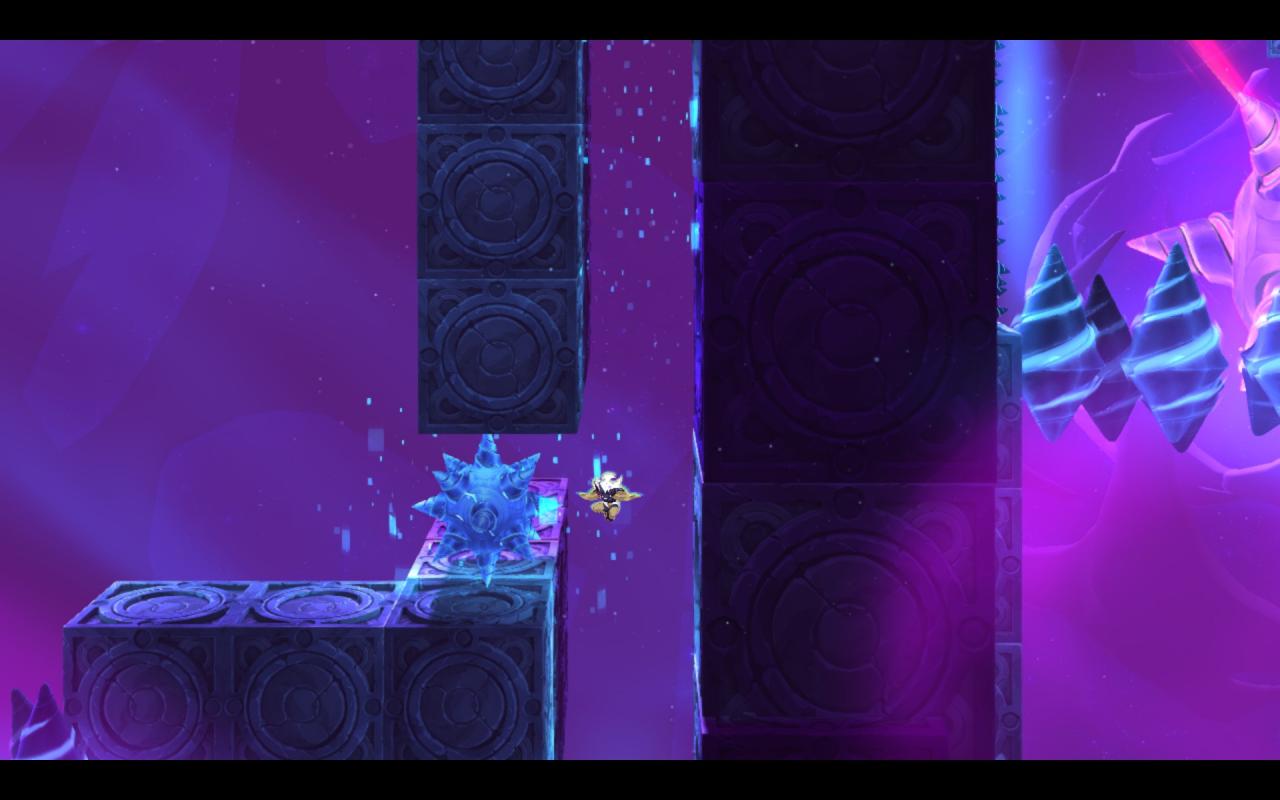
You’ll find yourself on another ledge looking out at a series of mines in a line.
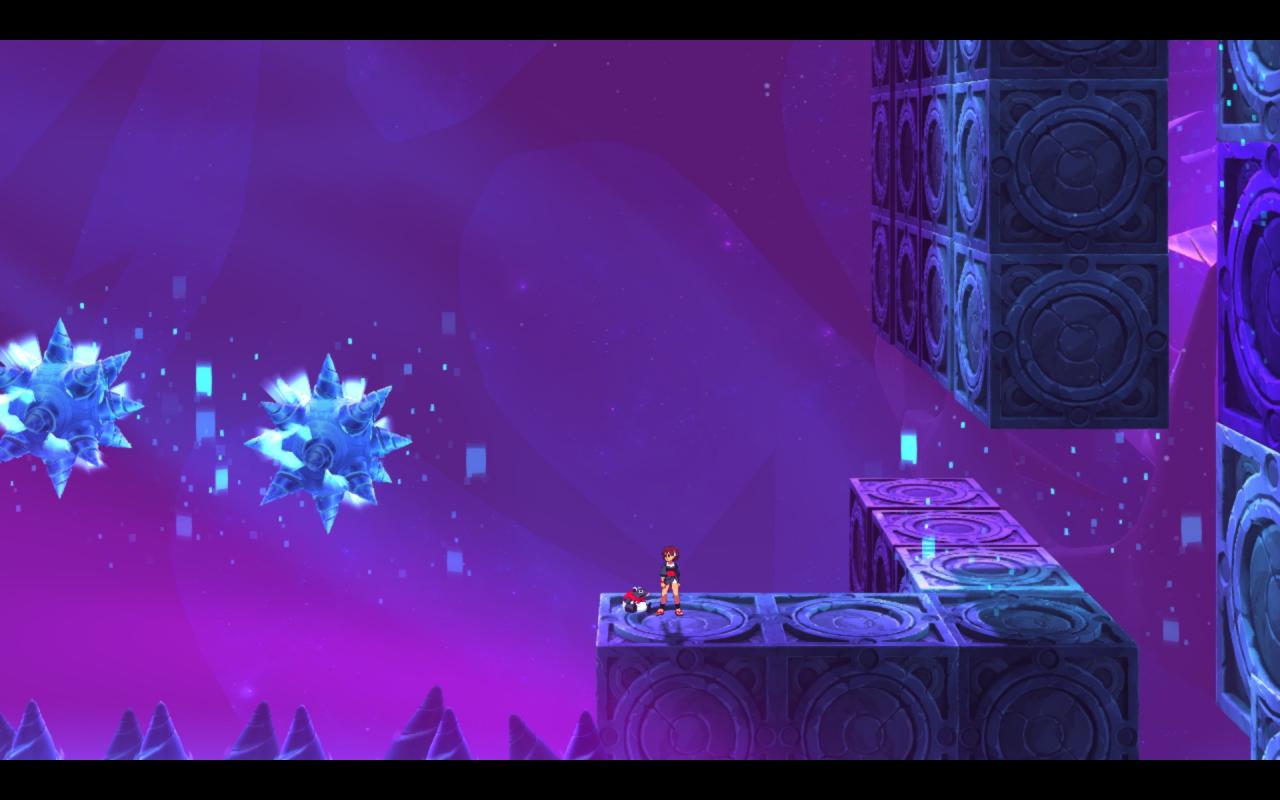
Start smashing through them using Left Air Smashes. You can use an Air Dash in between if you need to fix up a position, but these ones are close enough together that you should just be able to chain Air Smashes.
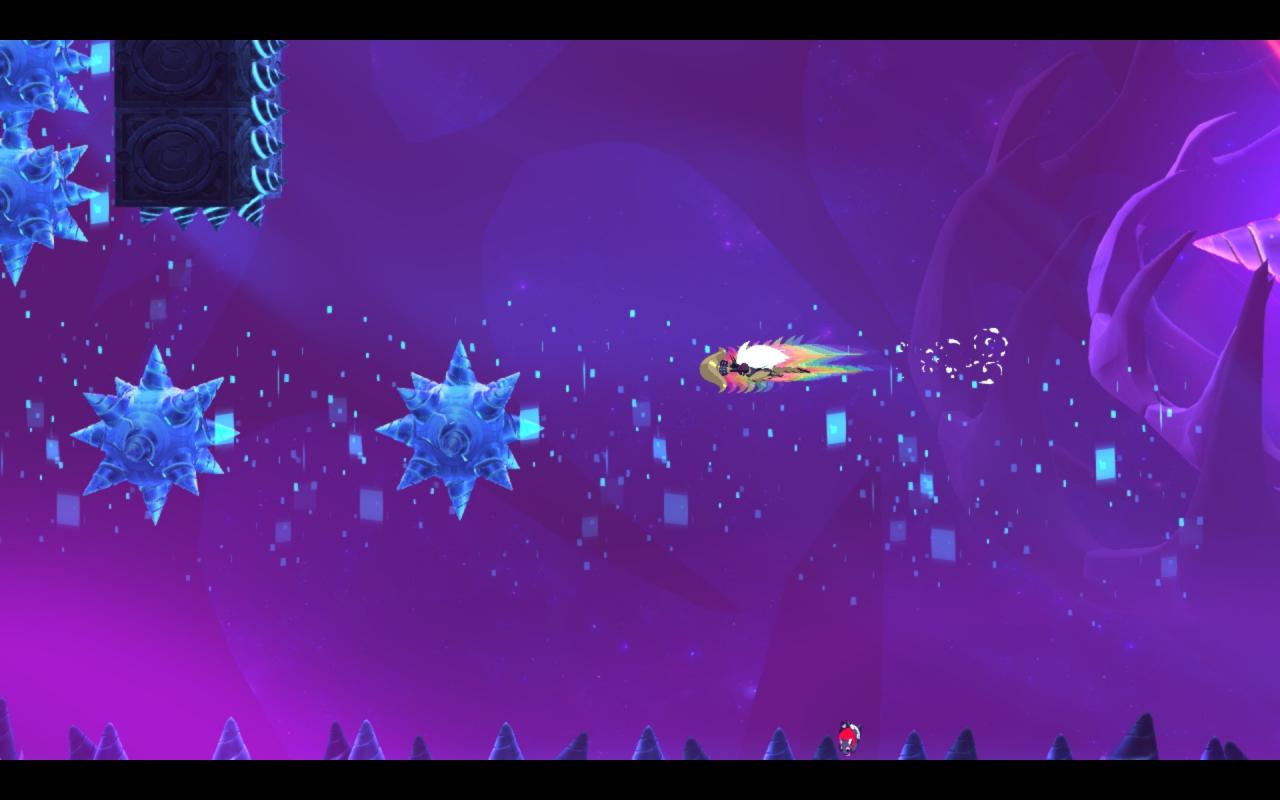
At the end, make sure you’re using an Air Dash to position yourself rather than another Air Smash. You’ll be needing a Side Air Smash again before you touch the ground, and smashing a mines will only refresh your Air Dash plus whatever type of Air Mash you used to break it.
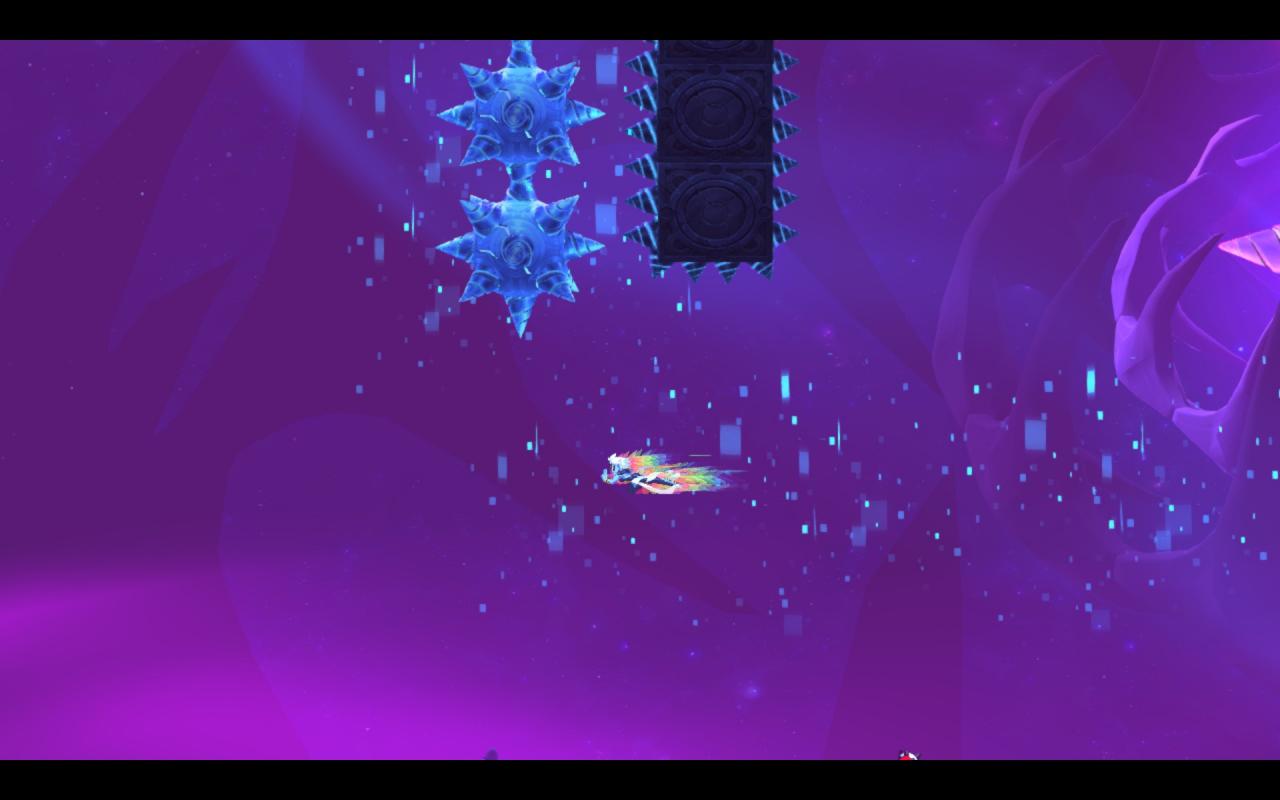
Smash upward into the line of mines above you.
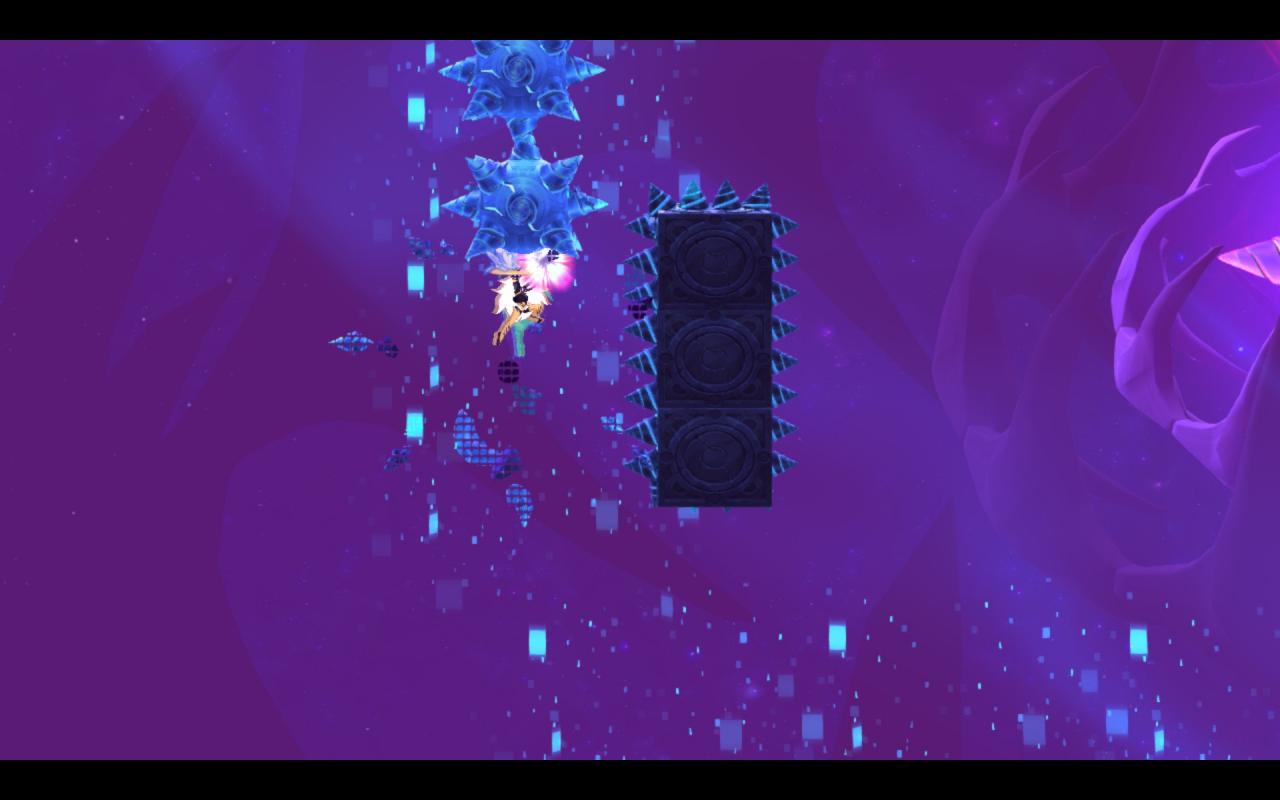
Again, make sure you’re using another Air Dash to position yourself, rather than burning your Air Smash.
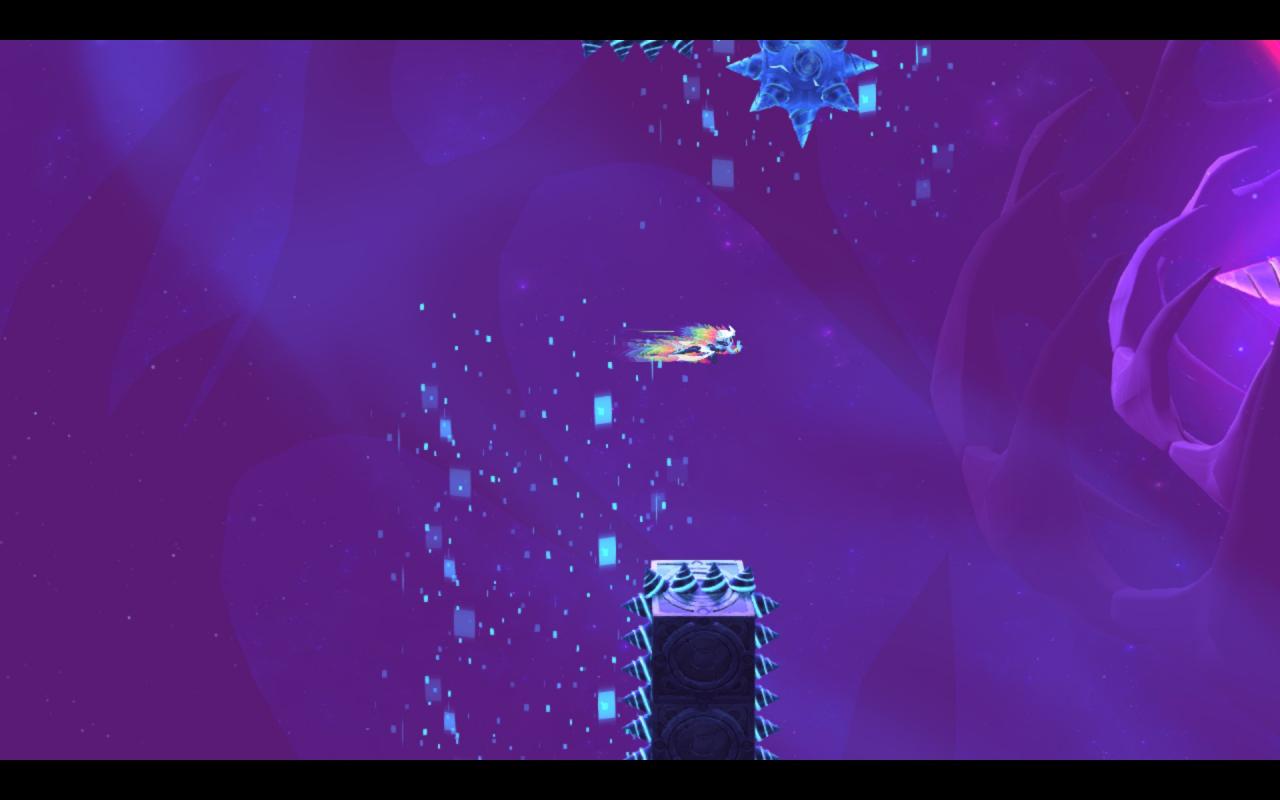
Smash up again.
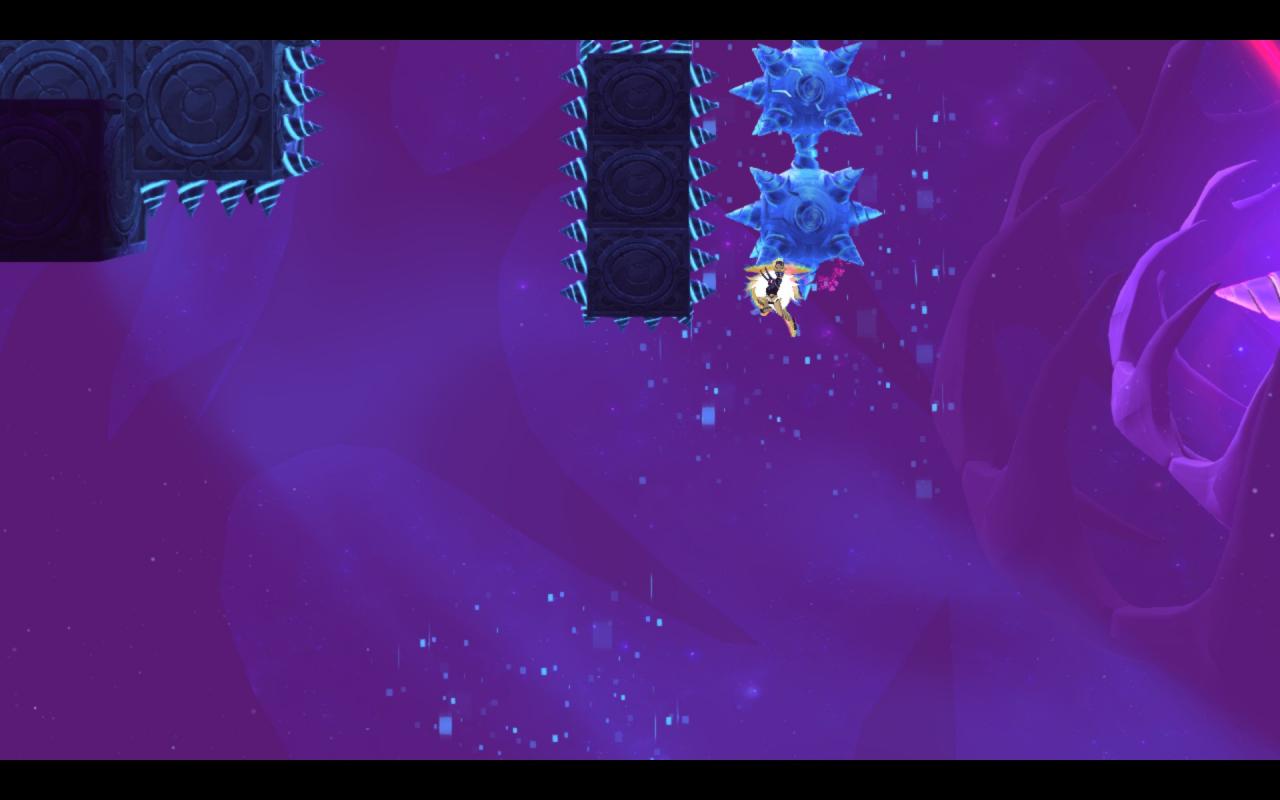
Finally, use your carefully saved Side Air Smash to break through the mine on the left.
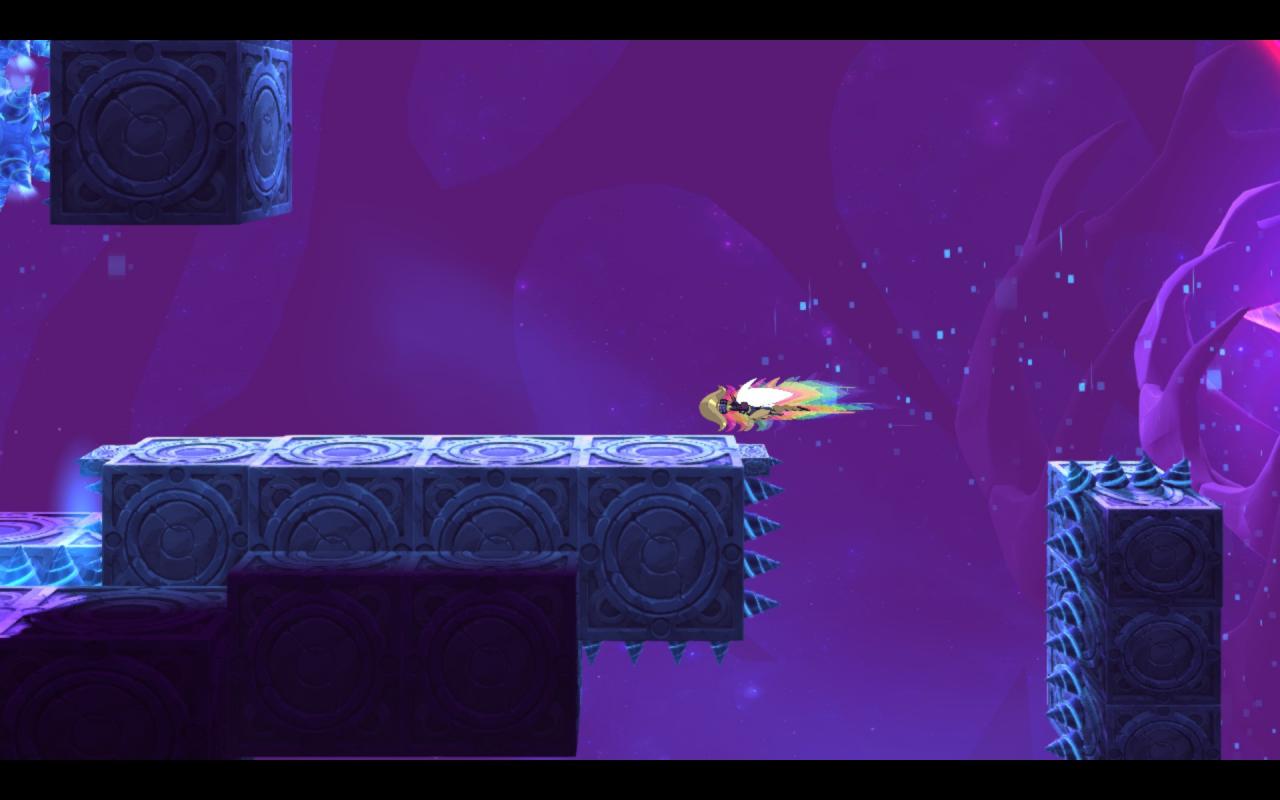
You’ll find youself on another platform, and another checkpoint! The next section involves using your vine teleport, which you will have seen a lot of already in other parts of the game.
Running the Catwalk: Section four
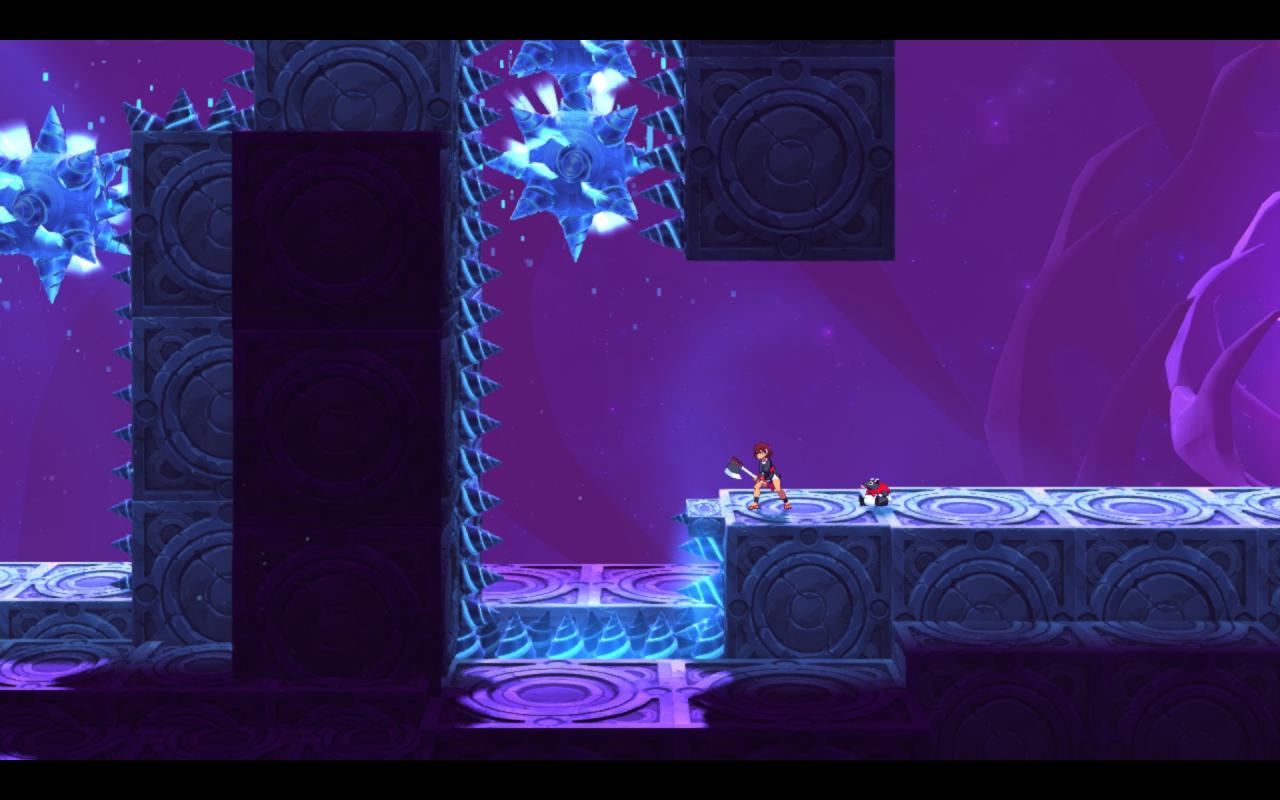
Smash up, and you’ll find a series of transparent blocks that you can shoot through, but can’t pass through.
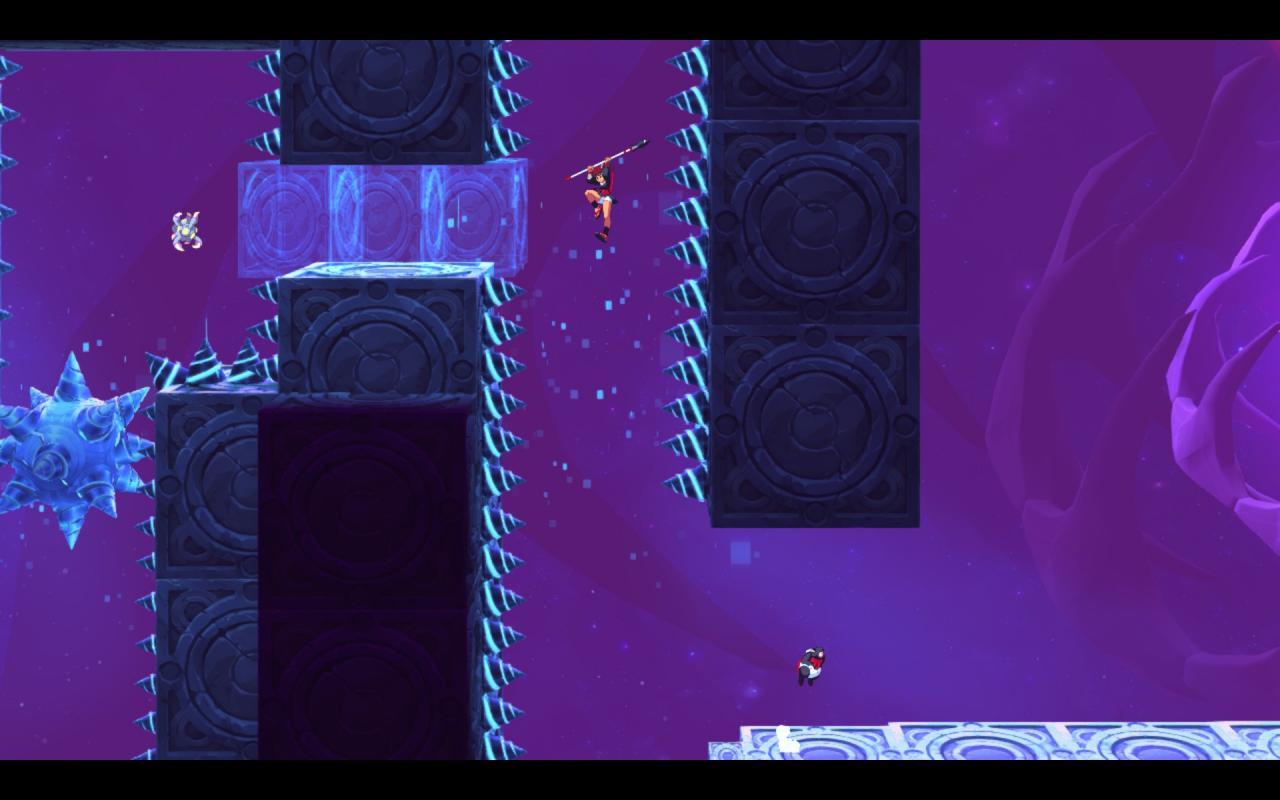
Shoot the enemy on the other side of these blocks with vines.
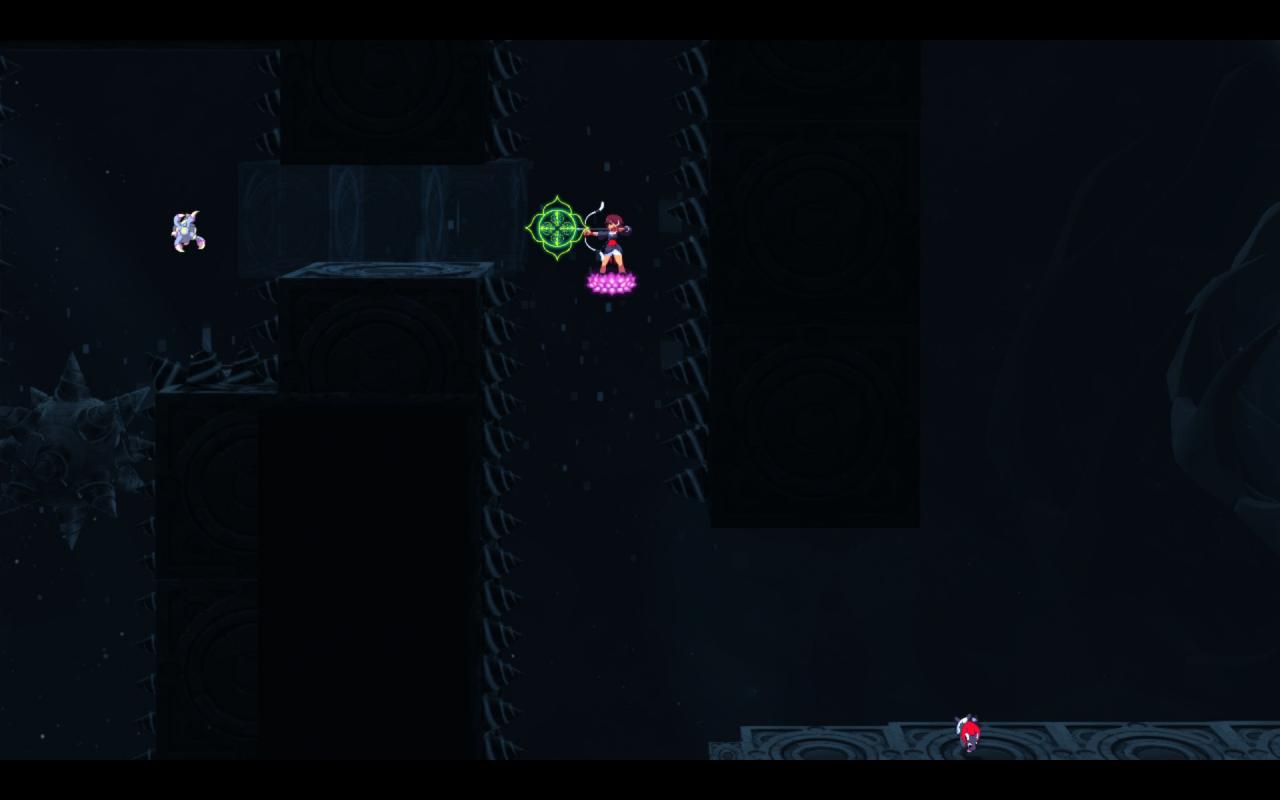
Telepunch across.
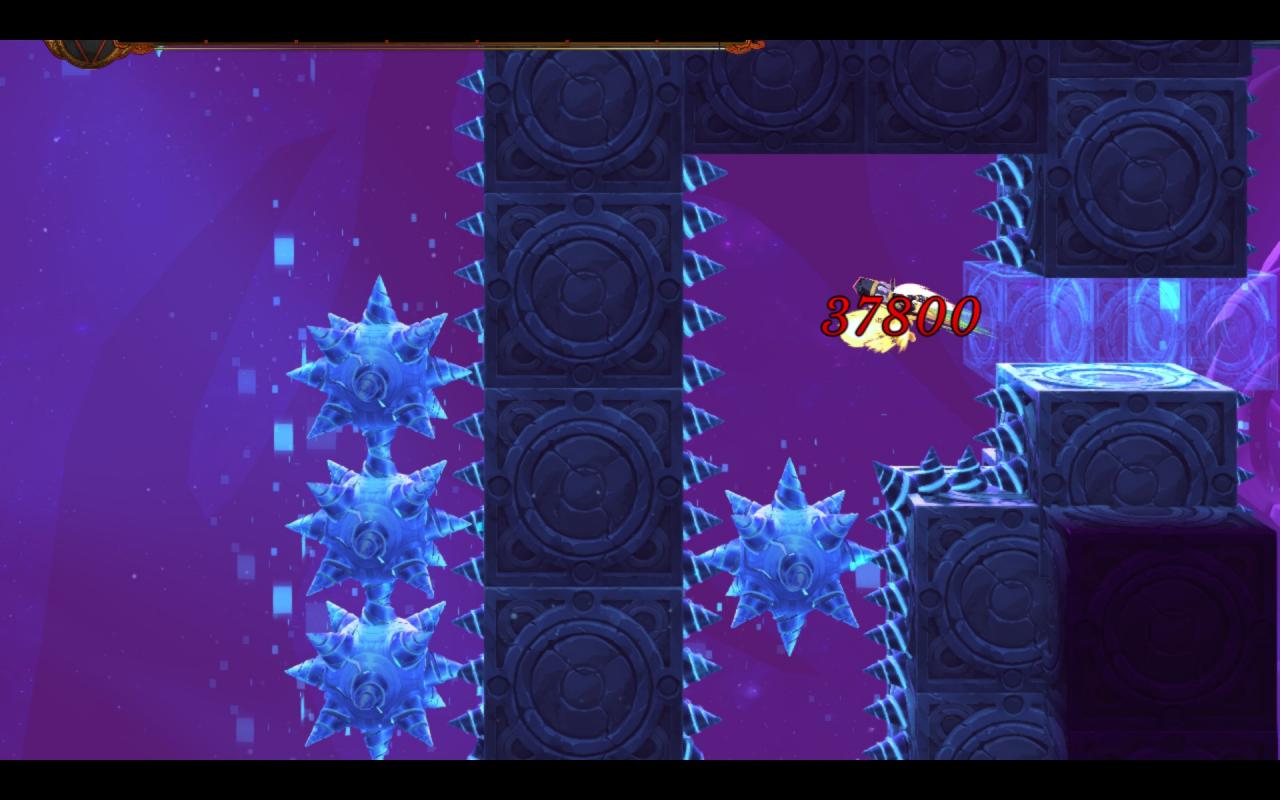
Finally, smash through the mine to end the shortest and easiest section of the catwalk. Brace yourself for the hardest!
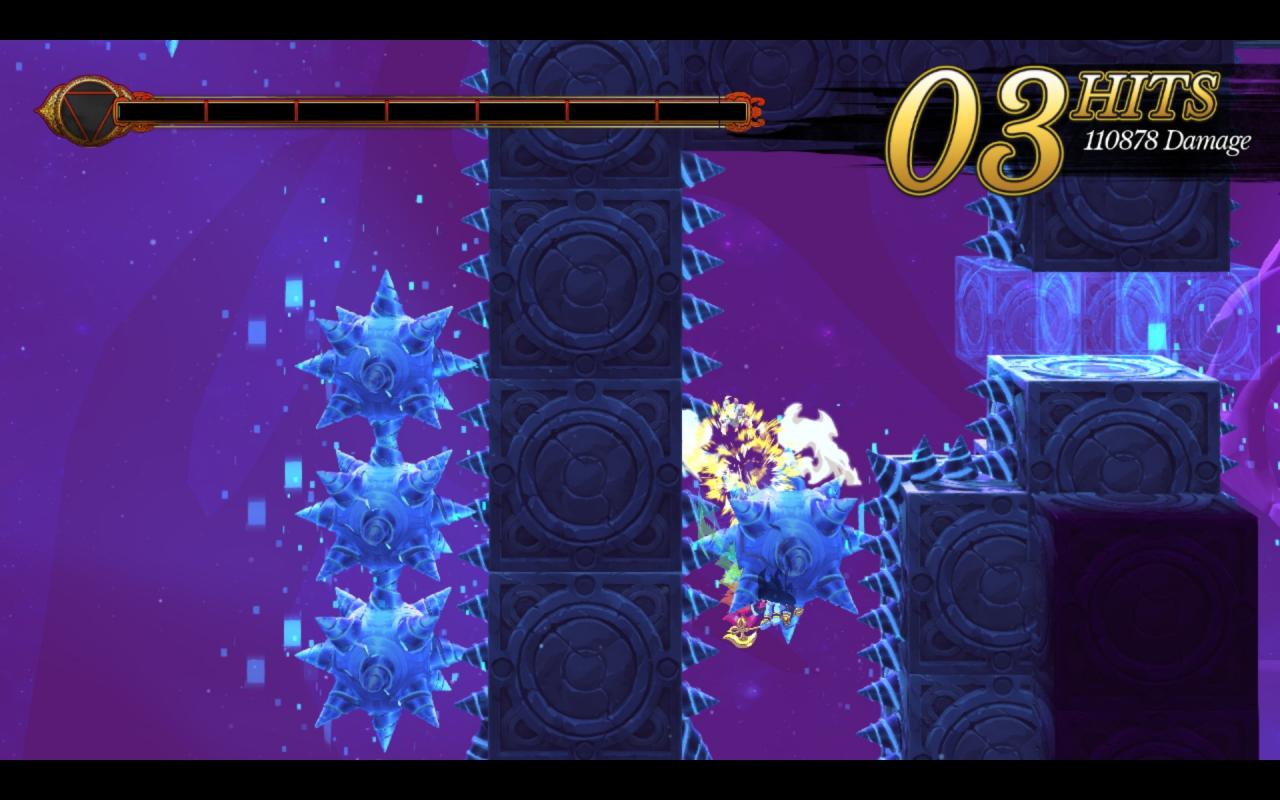
Running the Catwalk: Section five
New checkpoint, not long after the last checkpoint! We’re very grateful for it, though.
There’s a long way to fall for most of this section if anything goes wrong, so remember that you can double-tap the Right Action Button to enter your Tier 4 Air Dash and quickly reset.
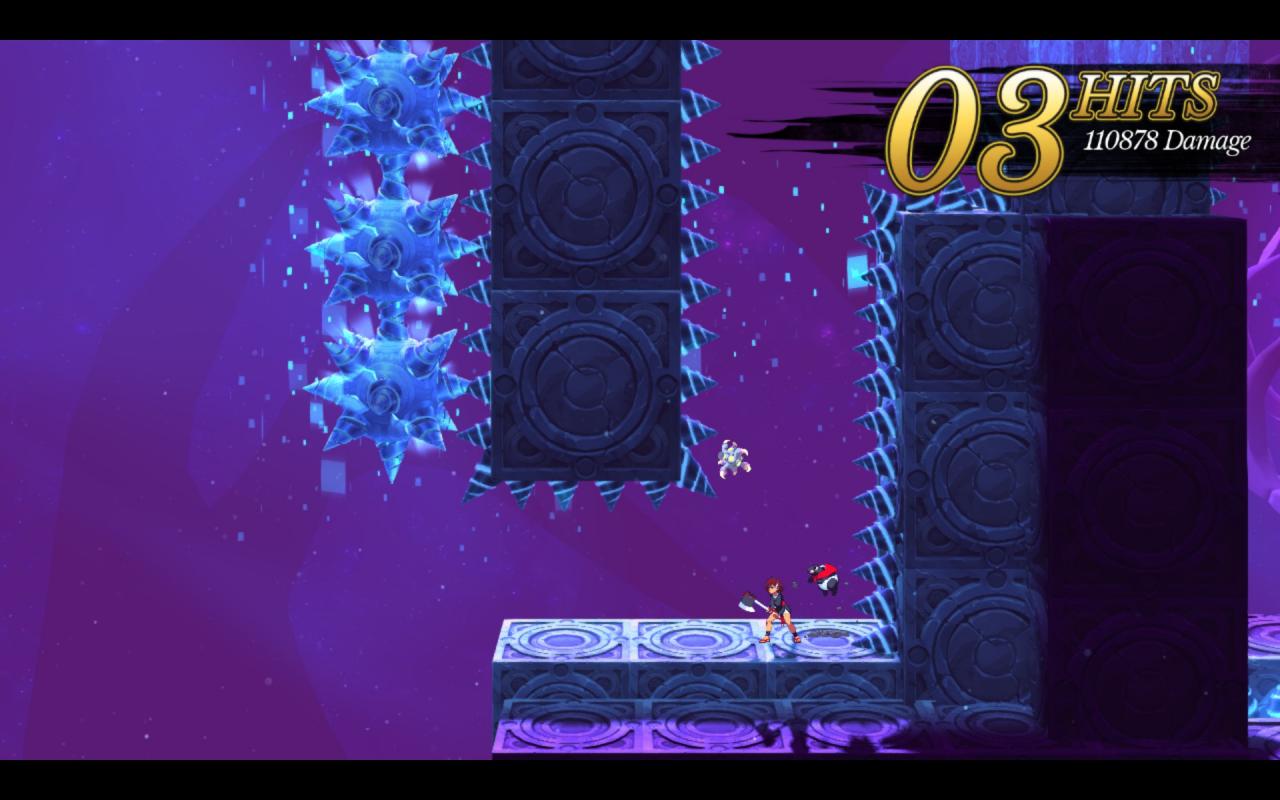
Run off the left edge, then Smash upwards through the line of mines.
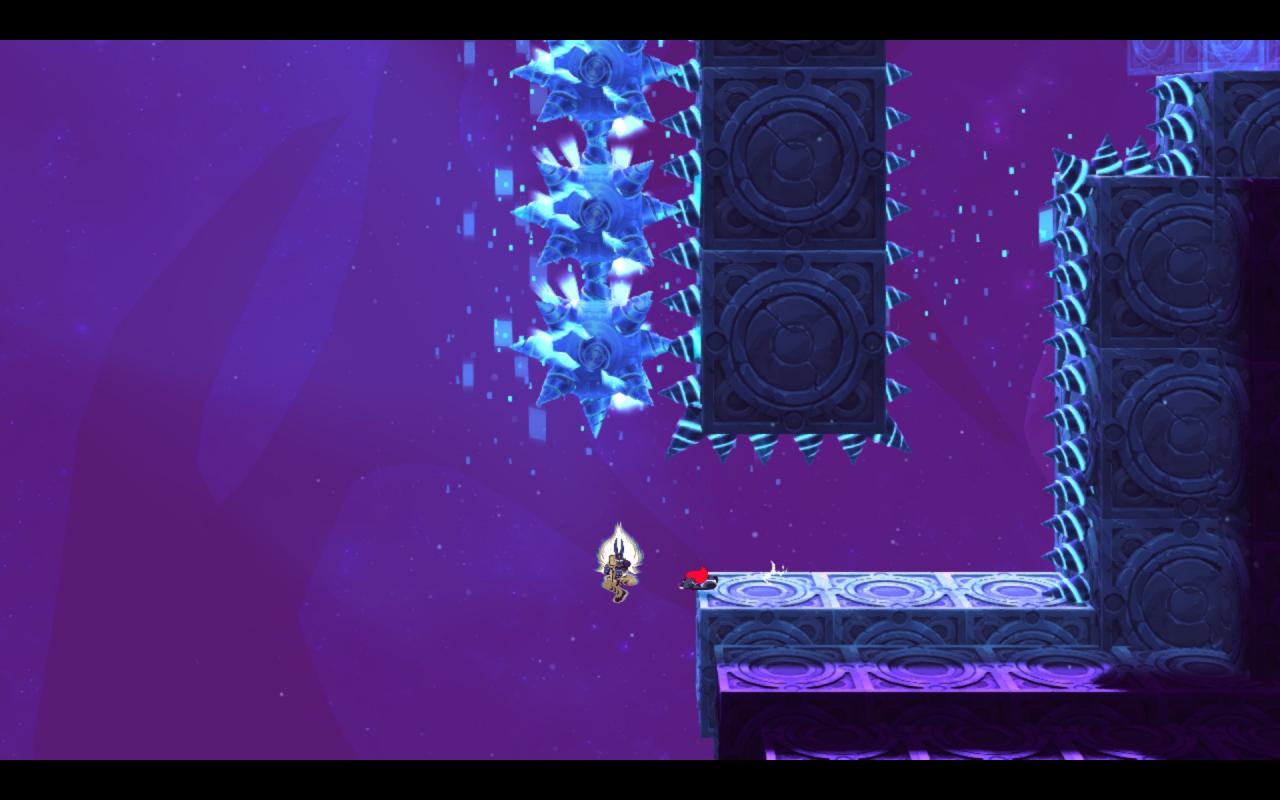
Use your Air Dash to position yourself between runs of mines.
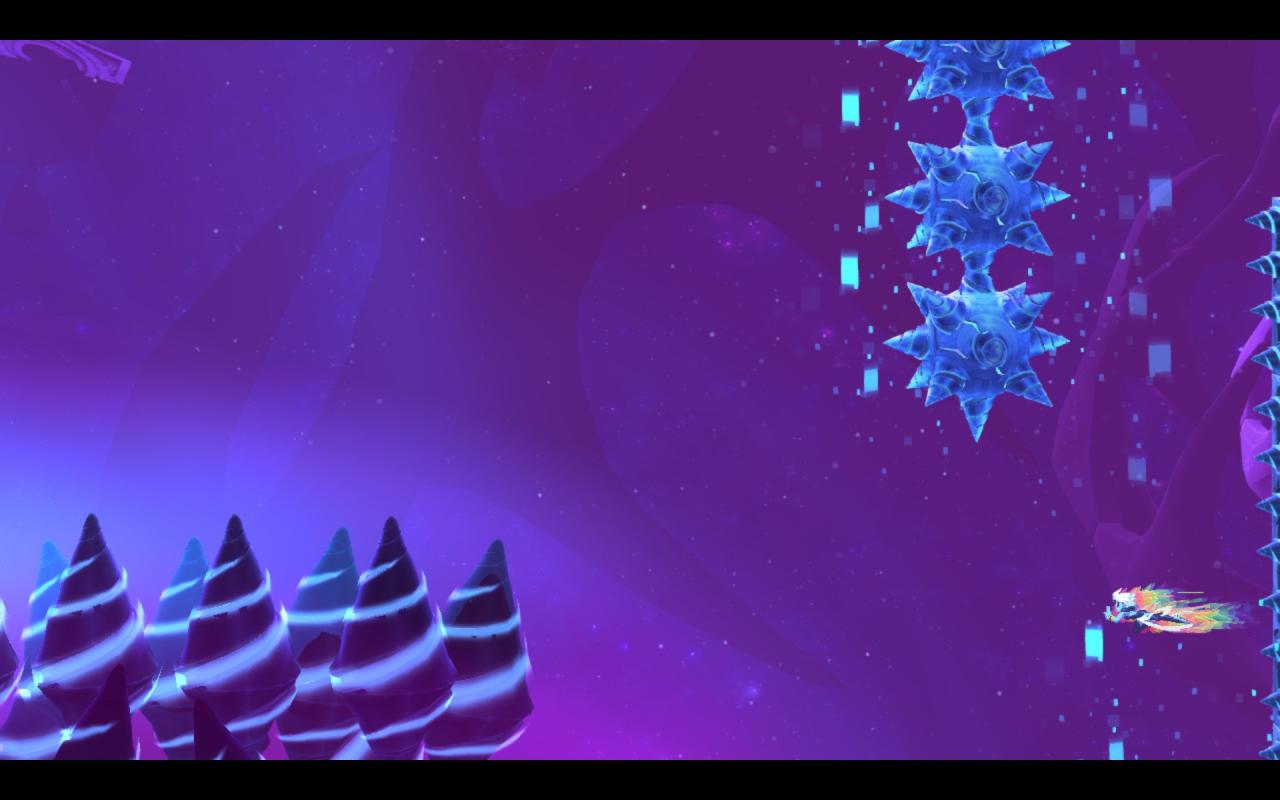
Smash through the next line, and you’ll see two single mines above.
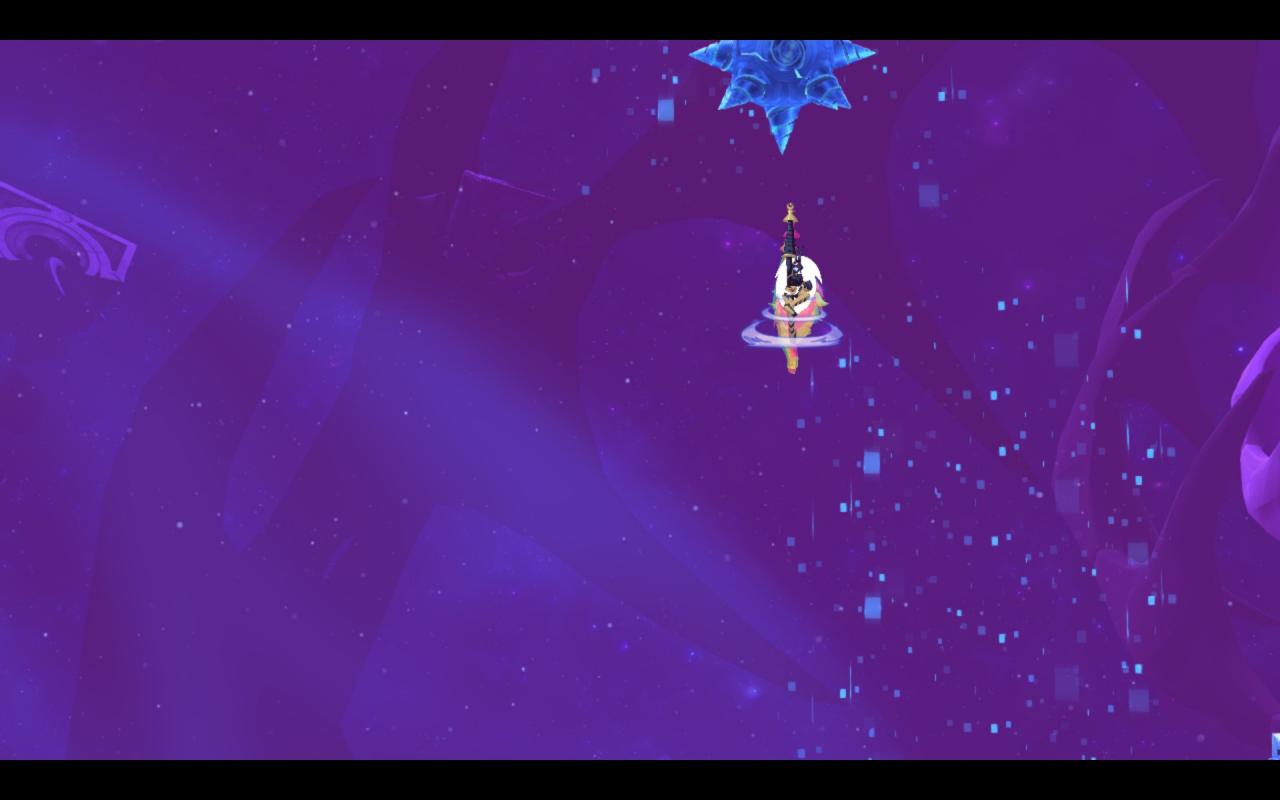
Smash through them both. Don’t skip the last mine, as it would leave you without an Upwards Air Smash.
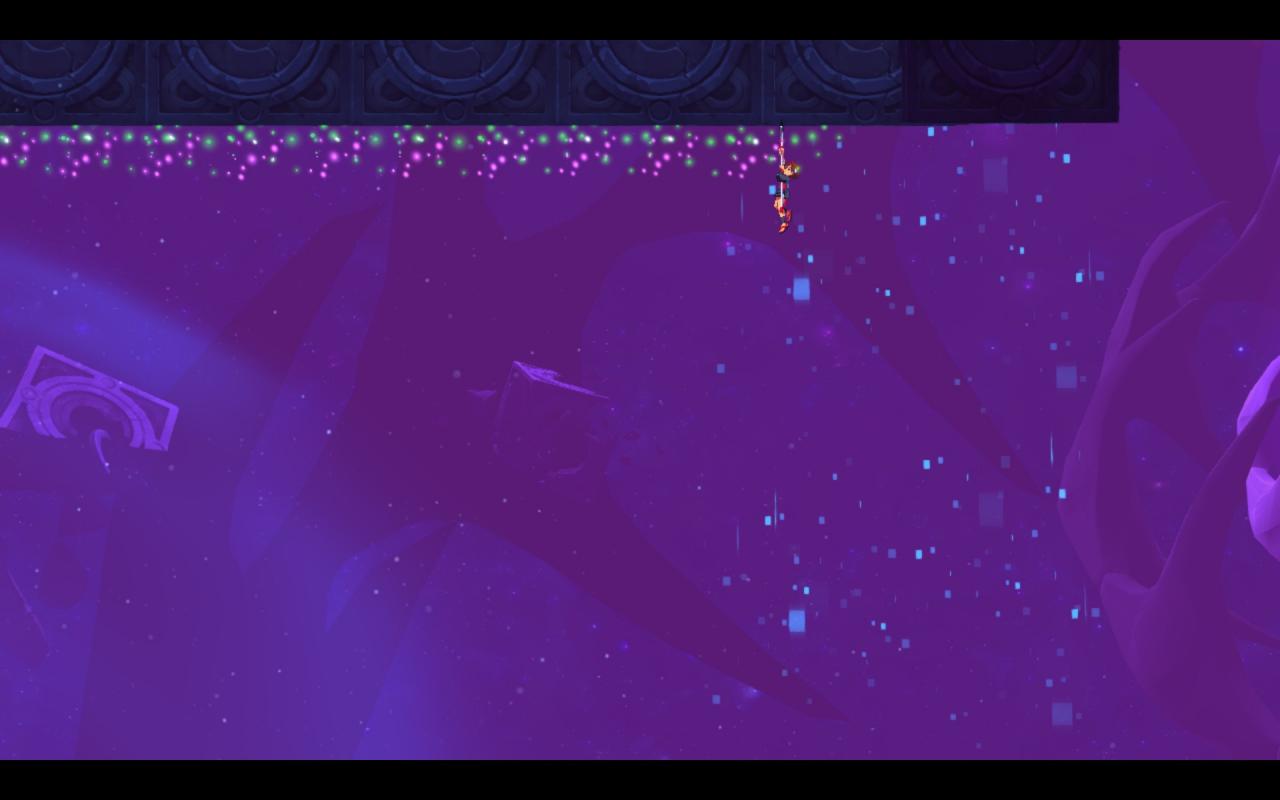
Swing along, keep ceiling hanging. The spike holes are less dangerous than they might appear. You can always start the next hanging position early, which makes positioning to do a full leap past the hold much easier.
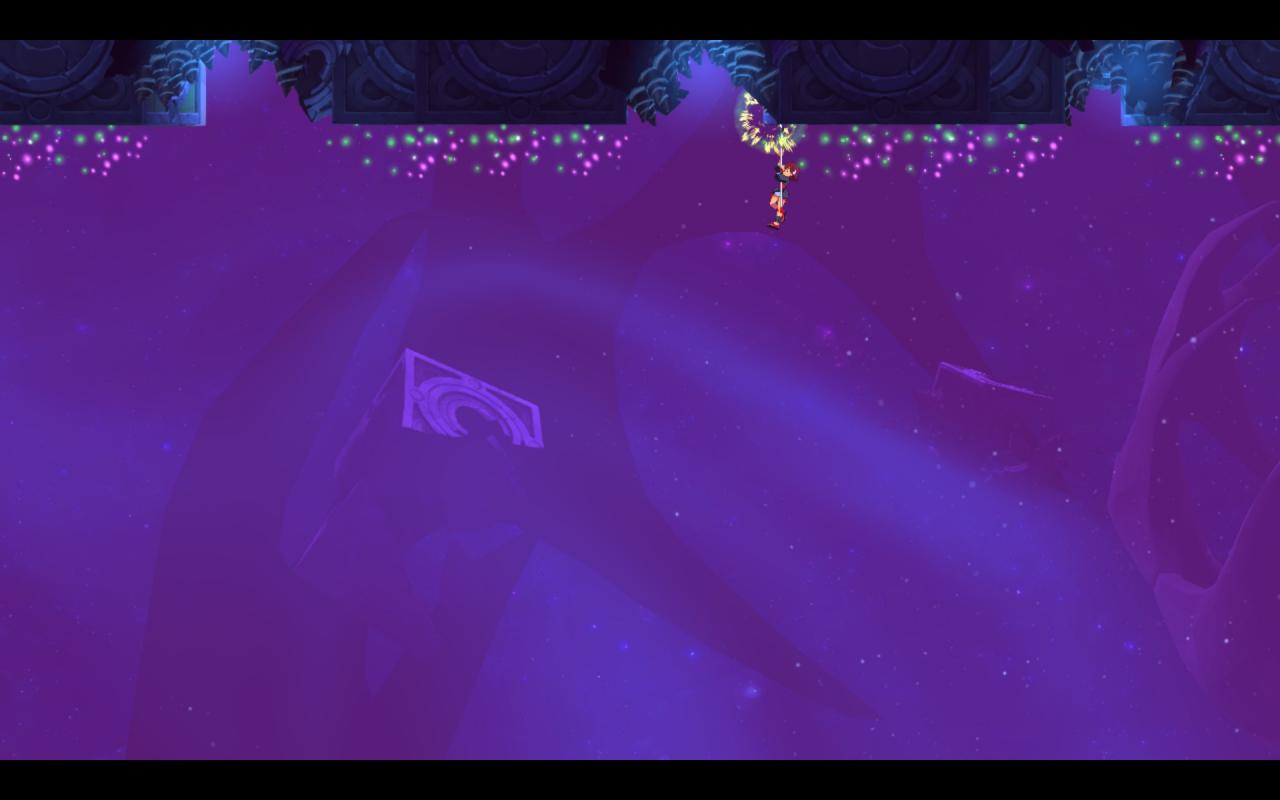
Towards the end, you’ll see a corner of three mines. You’ll be looking to drop off the ceiling. Any part along the final segment will do, it’s the vertical positioning that matters here. Dropping further to the right will give you a little more room to correct positioning with an air dash, however.
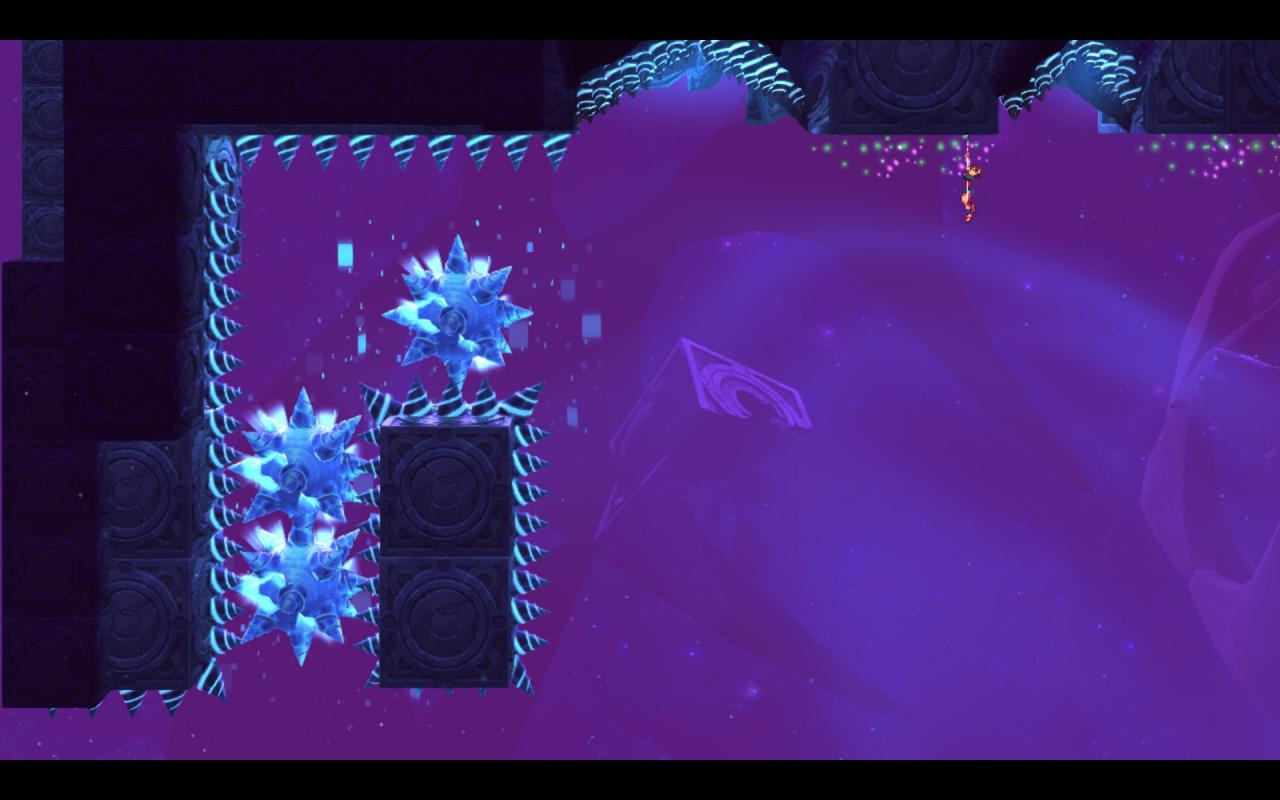
The ideal positioning is so you can hit the upper part of the mine without going so far up that you’ll bounce into the upper spikes.
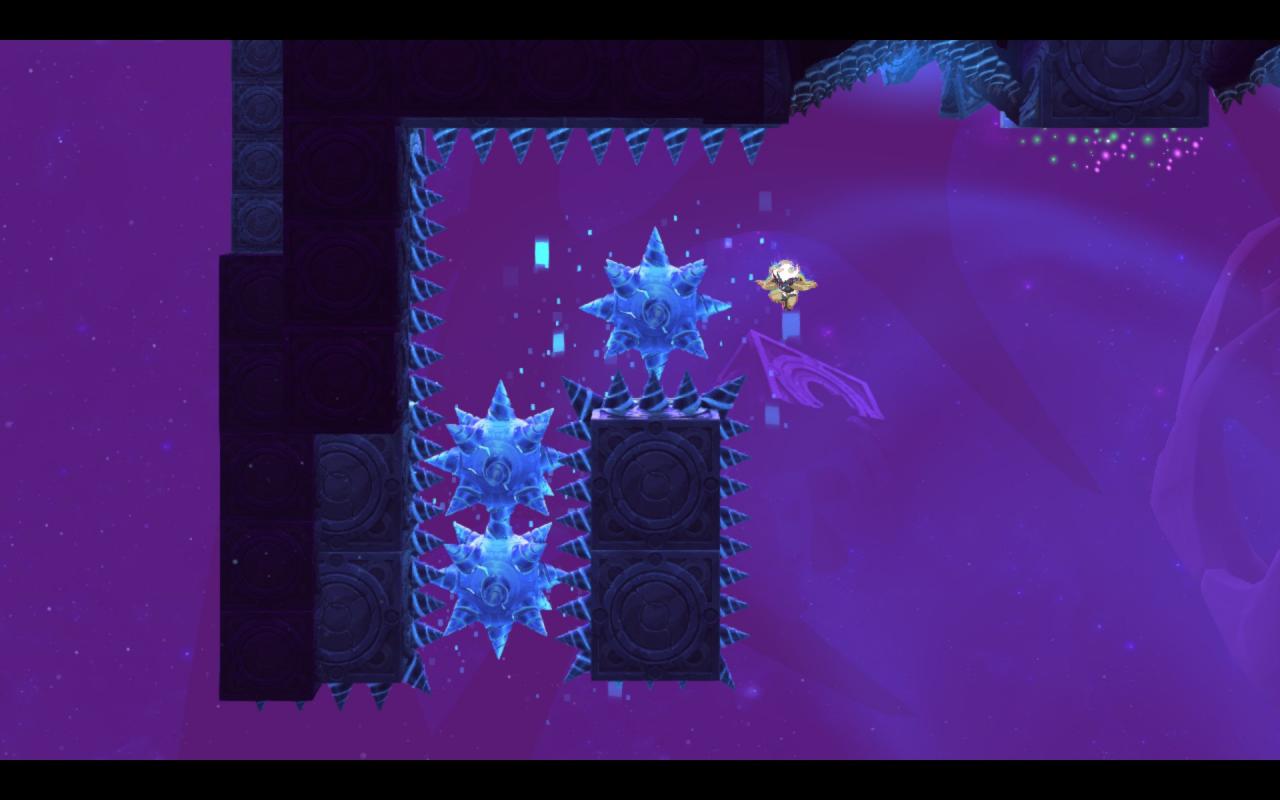
You’re now looking to move into a position slightly up and in the right of the corner hole you’ve just opened up. This is easiest done with a short Left Air Smash before you’ve bounced too far off the mine. Release all buttons right after initiating it and you’ll be in pretty much the exact location every time. You want to be in a position where you can do a downwards smash while holding left to move down at a slight diagonal.
You cannot use an Air Dash to correct positioning once you’ve smashed the right mine. Downward smashing mines does not refresh anything, including your Air Dash.
You must have an Air Dash available to cancel your upcoming downward smash!
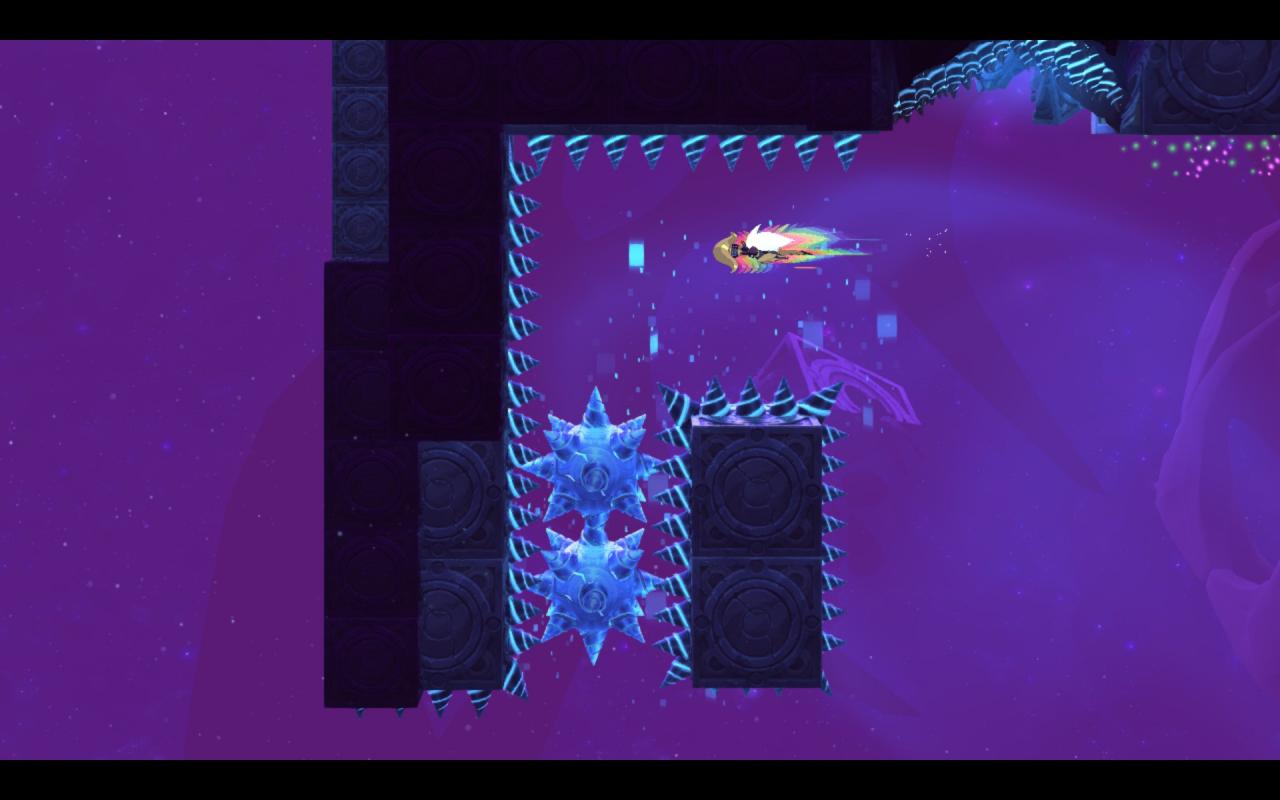
Perform your downward smash, holding left for as much left momentum as possible. As your side Air Smash has already been used, there’s no risk of accidentally starting a Side Air Smash by holding left early. Prepare for your Air Dash cancel. You will want to cancel just below the lower mine, so you can get under it and use your Upward Air smash.
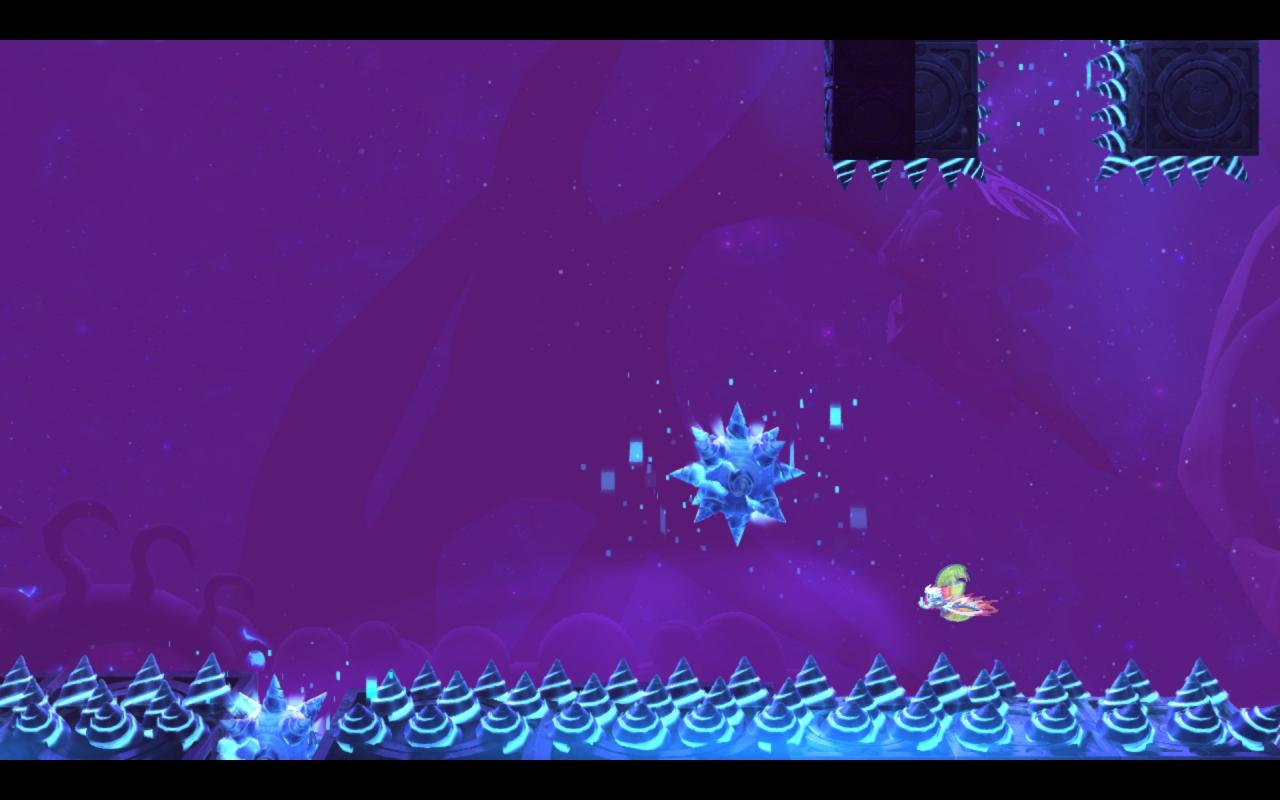
Once below the lower mine, you’ll want to keep ekeing out as much leftward movement from your moves as possible. Use an Upward Air Smash while holding left to break through the mine.
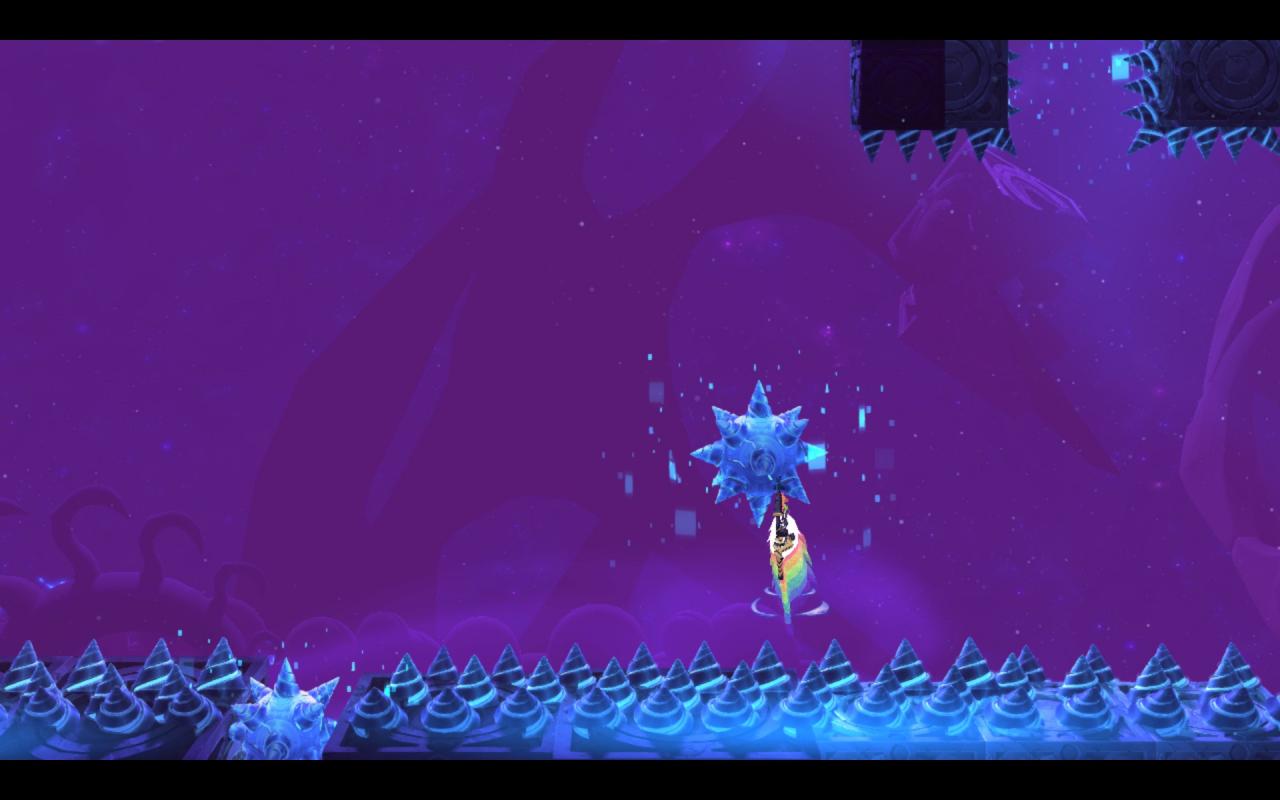
Use all remaining moves to go up and leftward. Diagonal Air Dash again to head left and gain height, and Upward Air Smash to gain a little more height and keep moving left. Once you’re above and slightly to the right of the gateway mine – as far to the left as you can go – you’re ready to perform a downward Smash while holding left.
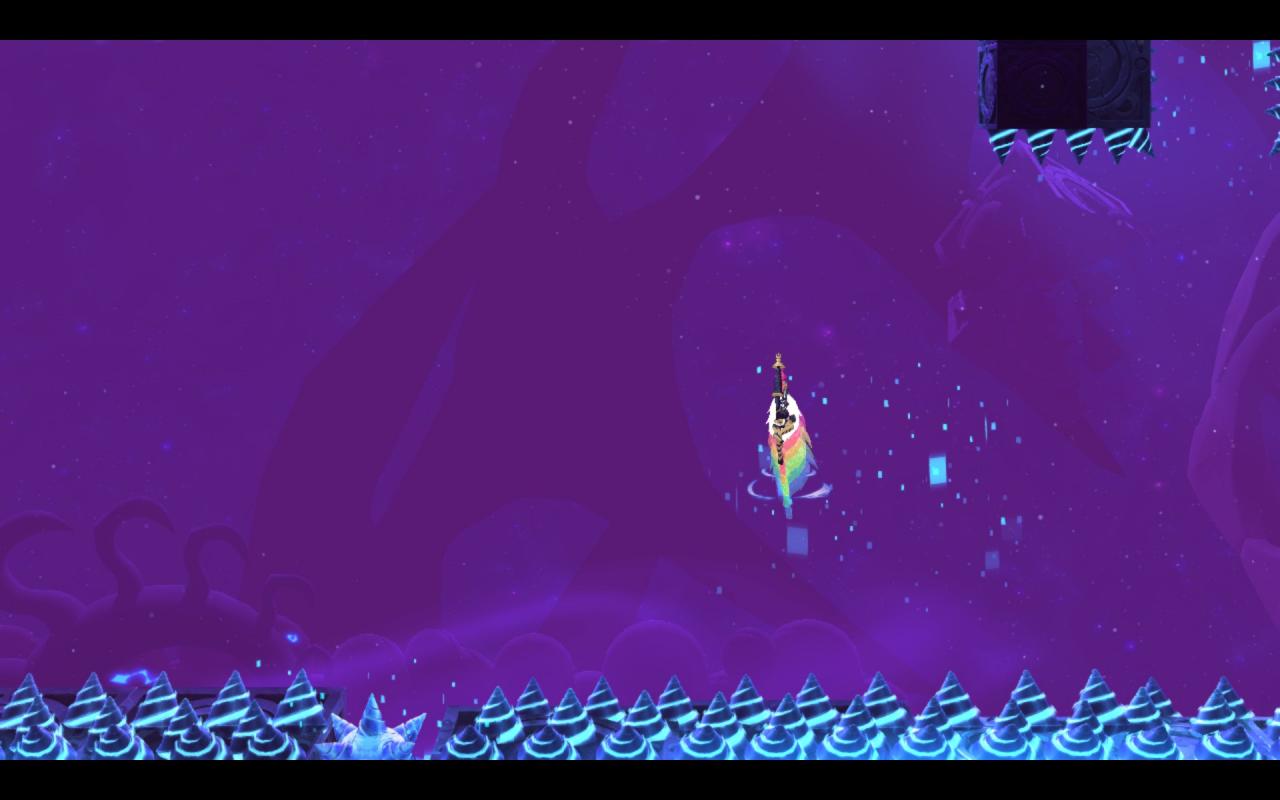
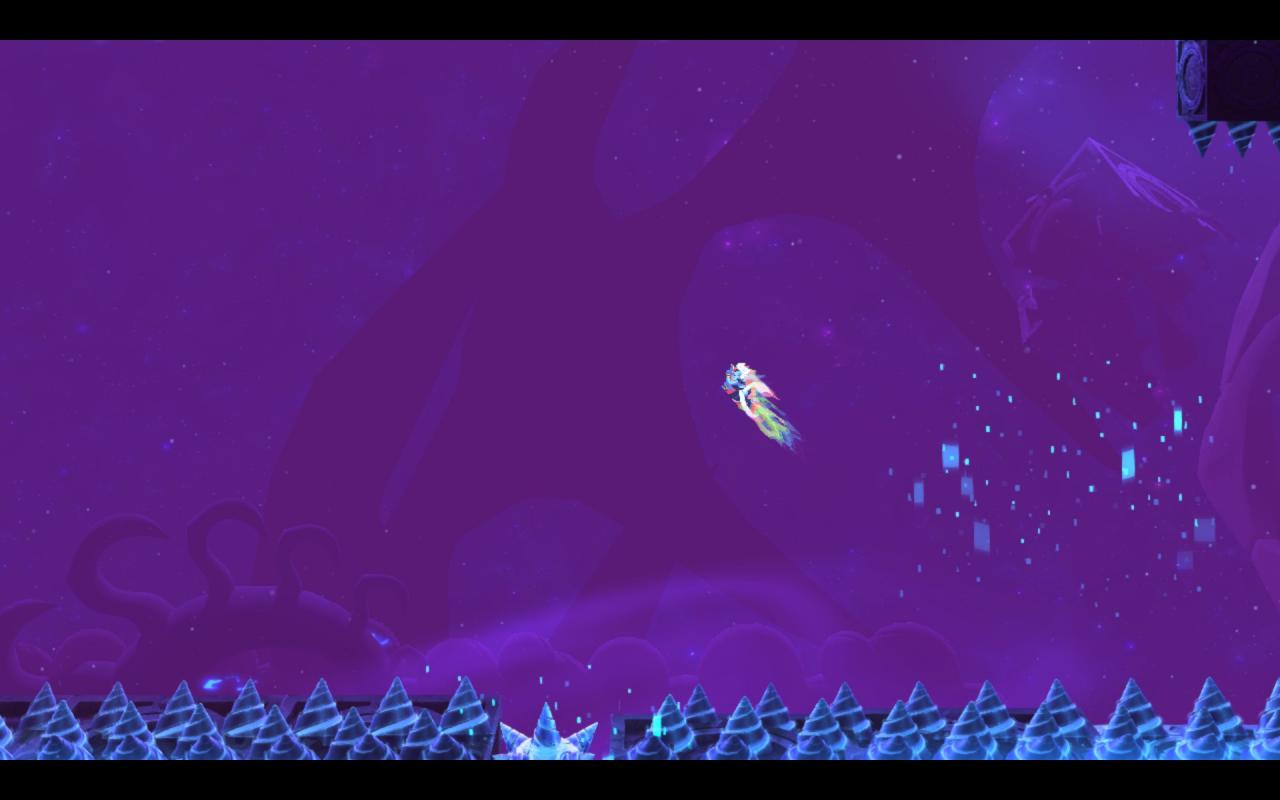
As you smash downwards, you’ll break through the final mine, and reach the end.
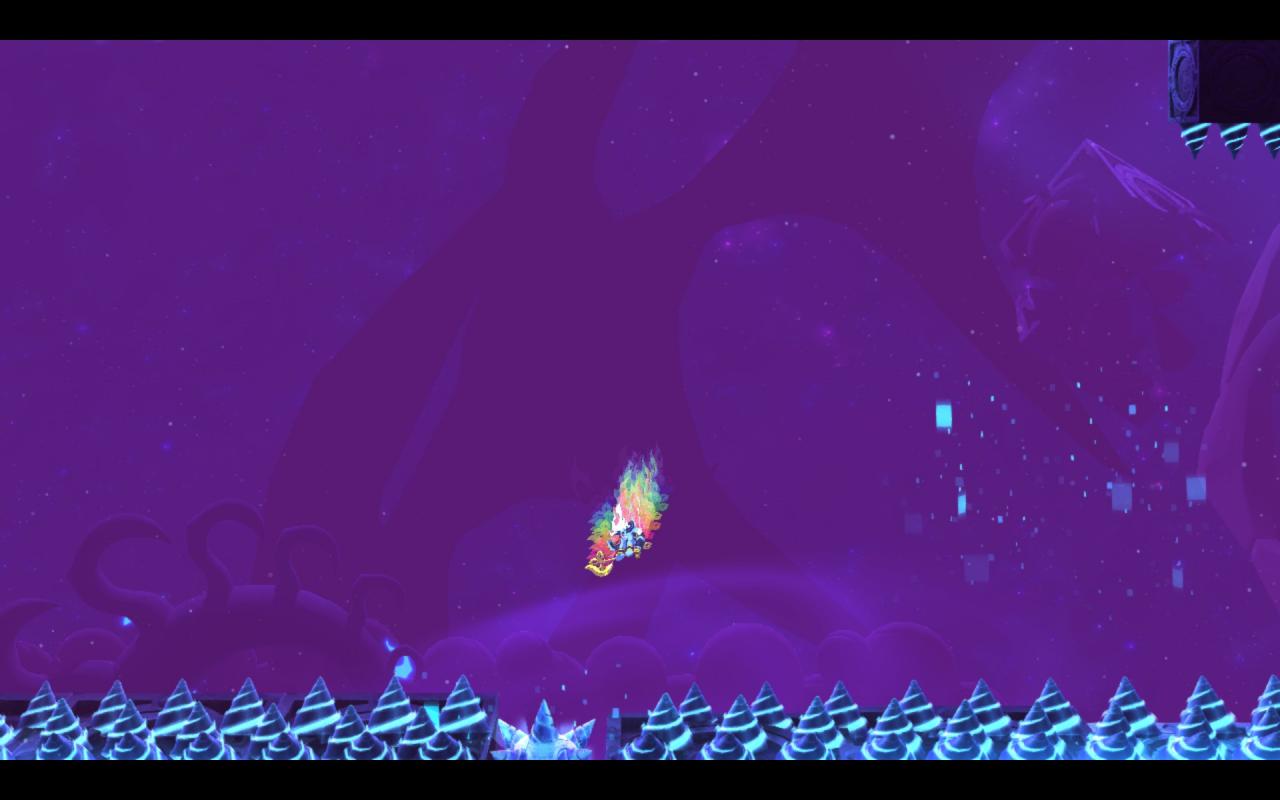 And now, the final test…
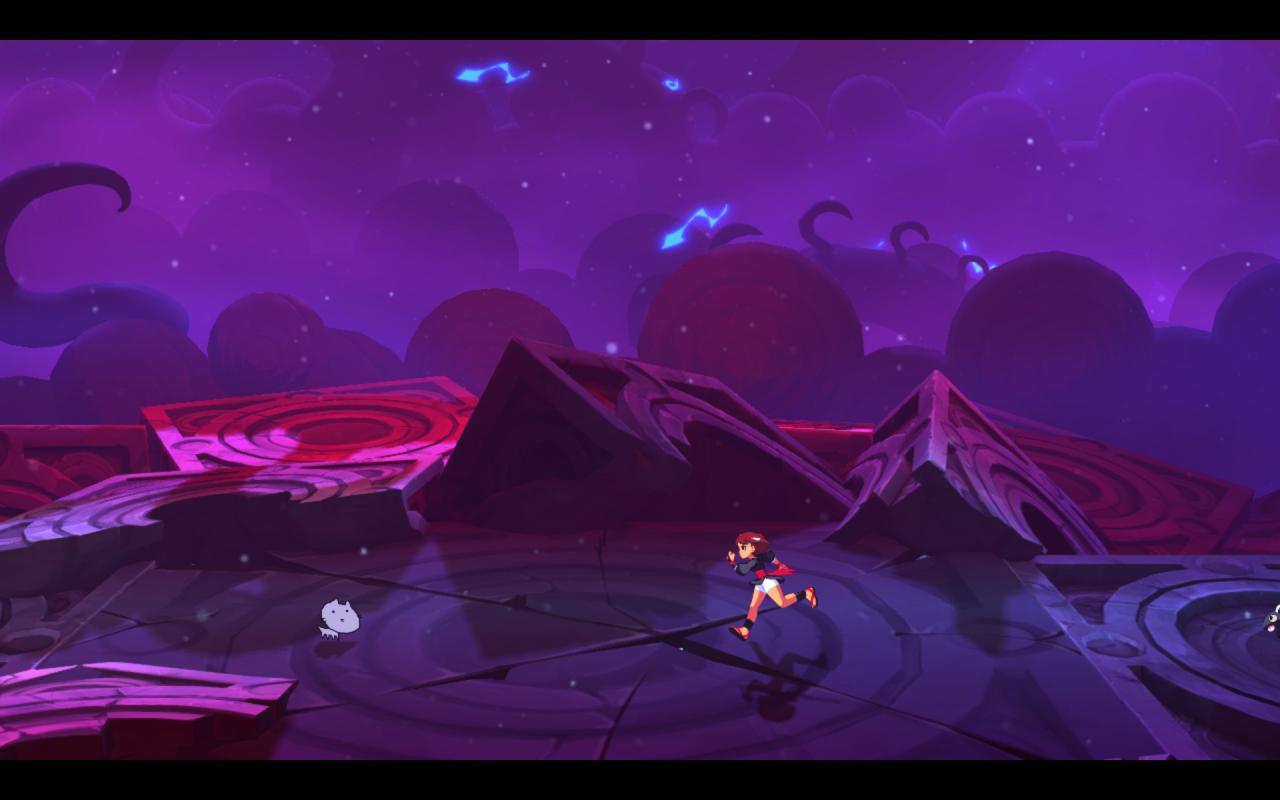
Petting time!
Once you’ve mastered the timing to get through the preceding platforming sequence, actually fighting the cat with an endgame team should be a breeze. You should be at least level 50, have space for seven bars of Iddhi, and ideally have both completed the personal side quests for your party to boost their abilities and have level 5 attack and defence. I completed this fight with Tungar at top, Phoebe to the rear (to be able to fire arrows immediately rather than having to move into position), and Ginseng and Honey on the bottom. This seemed to strike a good balance between offensive power and sustaining the party, but you should be able to run with whatever fits your preferred style.
This fight is both tougher and longer than it might appear at first. While the first health bar will go down very quickly and you’ll face only weak retaliation, the cat has nine lives, each with a heftier healthbar and stronger attacks. The health bar’s size seems to be proportional to which life you’re on – the second health bar is about twice as long as the first, and the third health bar is about three times as long as the first, and so on. By the time you reach the seventh healthbar, you’re not even halfway done yet! While early phases consist of simple, single target attacks, later attacks add multi-hit fire breathing strikes, earthquake attacks that disrupt the entire party, and grabs.
Fortunately, all attacks are telegraphed well in advance and seemingly without any fake outs, letting you get in a lot of perfect blocks even if you’ve never seen it before. With that said, for consistency’s sake, don’t be afraid to chicken block if you’re early in the fight, high on health, and/or about to use Ginseng and Honey’s heal. With seven bars available, Iddhi is generated very, very quickly. Don’t be afraid to use supers early and often, as the faster you get through the fight the fewer occasions there are to potentially miss a block.
Once done, you’ll teleport back out to the summit’s starting corridor, with no particular fanfare other than Ajna’s fist pumping and excited cheer. You can head back to Tai Krung to receive congratulations from the owner. There’s no material reward, or steam achievement, but you can stand proud knowing you’ve both survived through the hardest section of the game, and returned a cat to its loving owner.
Related Posts:
- Indivisible: Character Combat Guide
- Indivisible: Blocking Guide
- Indivisible: 5 Tips You Should Know Before You Starts
