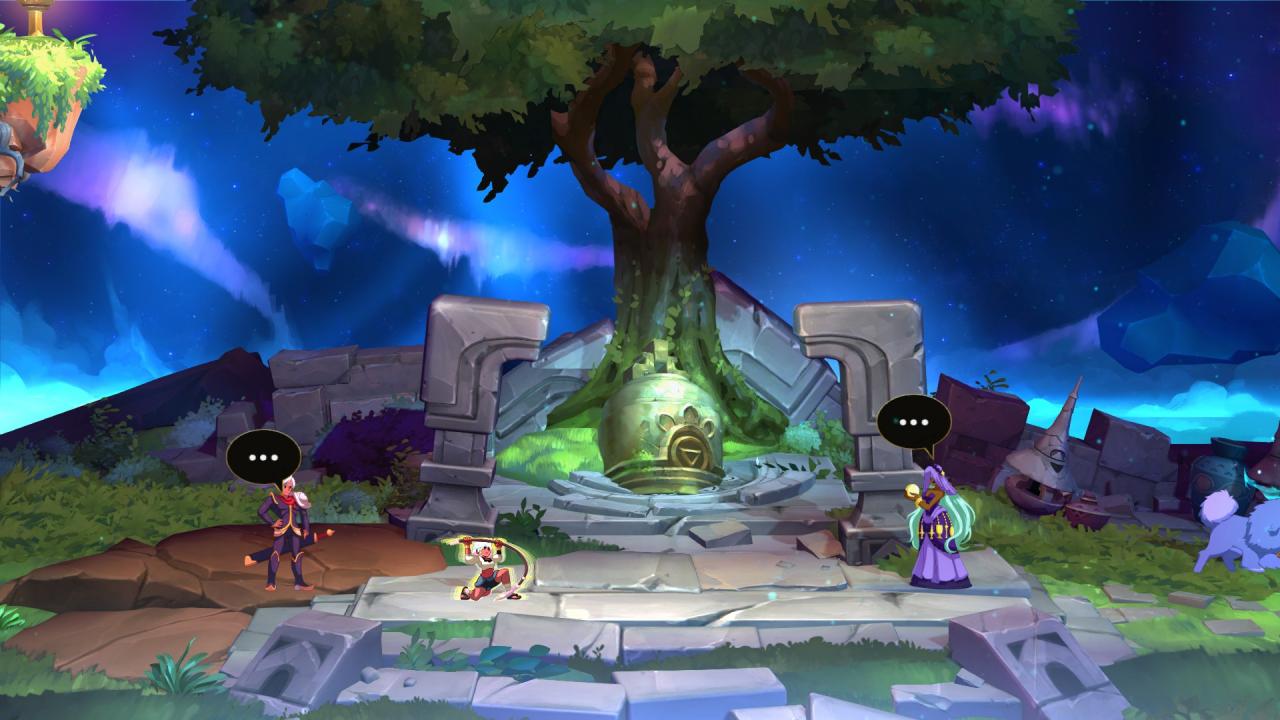
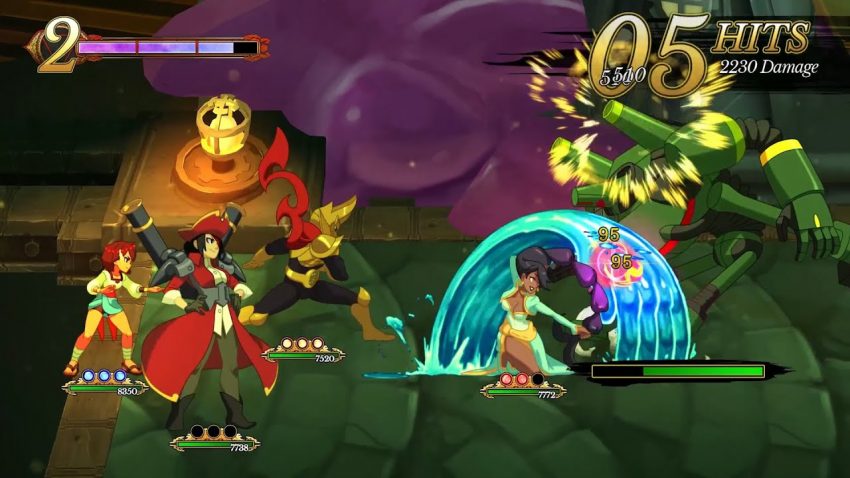
Additionally, there are some characters and even a weapon that’s completely missable!
Consider this like one of those “5 things I wish I knew before I played–” articles you see on the game journo sites all the time. If you’re brand new to the game, or even halfway through, keep these in mind and you’ll be able to make the game far more enjoyable for yourself!
Also, I’m going to try and keep this guide as spoiler-free as I possibly can!
I’ll be vaguely hinting at things primarily, but I will also put slightly more spoilerish explanations under spoiler tags, but I will even try to keep those spoiler light!
Dear god use the pause-screen map
A – Hold down the ‘up’ direction. From here, you can hold ‘meditate’ to zoom the map out, and that’s all you can do with it.
B – You can pause, head down to the ‘view map’ button, and get an actual map that you can zoom in and out of, pan, and it even has a legend!
As far as I recall, the game only tutorializes you and tells you about the “hold up to view map” option. Or maybe I’m stupid and used the wrong map the entire game. Either way, don’t be like me, use option B. Use the map from the pause screen. Once the maps get to be MASSIVE you’ll be thanking me.
USE THE MAP FROM THE PAUSE SCREEN
You can miss Party Members
Some other party members you can get early on by fulfilling certain conditions, but if you don’t fulfill these certain conditions, they’ll either be forced into your party later on or you’ll be able to find them.
Some just spawn in the world once certain conditions are met, and are waiting on you to go find them!
No matter who they are (except for The Cowboy) you can tell where a recruitable party member is via a blue fire icon on the minimap. And for MOST of the game’s “missable” characters, they either stick out like a sore thumb or are on the critical path anyways, so most of them are impossible to miss as long as you’re trying.
That being said I almost did the final boss while MISSING two of the game’s party members! So here are a few spoiler-free hints on where the three easiest to miss / most important to get ASAP party members are.
Once you make it out of the desert, into the port city, and defeat a tank – walk right back where you came from and talk to the one-legged man.
This character is important because he unlocks a fighting-game style training mode
Once you get to a city made of Iron, with wanted posters all around, why not stand in front of one and appreciate the art? If Ajna turns around and admires it too, you know you’ve found a winner!
After Ajna takes a week off, go back to the city filled with fluorescent lights. Get out of the streets and the club, because an old frenemy is waiting for you on the rooftops.
This character is important because recruiting him unlocks a brand new weapon for Ajna! And he’s really cool!
Check the ‘Abilities’ page every now and again
For instance, right after you complete the first tutorial fight, you get an ability called “Indr’s Lesson.” The game never tells you this, but after I checked my abilities page and saw what it was, it completely changed how I approached combat.
To put it in 100% spoiler free terms? Check the Abilities page at certain major milestones to see if you gained something new….
To put it in spoiler-lite terms? When you get a new form, you get a new parry option.
There is at least one movement option the game doesn’t tell you about
If you want to try and find it out for yourself, once you get to the pier and and a pirate teaches you a neat spear trick, you’ll have all the tools you need to do this.
If you want it spelled out even more explicitly… If you do a pole vault in the middle of a Haruka Hustle, Ajna will have the glowing shimmer effect of the Haruka Hustle while charging up the jump. If you wait long enough to charge up for a full jump, but not so long that you lose the Haruka Hustle, you get a super long distance pole vault!
If you want to know if you’re doing it correctly, you should look like this.

Considering that I found this by accident, and that as far as I know the game never REQUIRES this to progress, who knows how many other secret mobility tricks like this there might be?
Point(s) of No Return
Indivisible has 2 points of no return
Most games won’t even give you 1. But Indivisible has 2 in them. The only reason why I spell this out very explicitly is because, during my first play-through, I actually thought the first “point of no return” was actually the game’s one and only point of no return and I was on my way to a bad ending. I spent an hour or two combing the map for sidequests to fix problems in the world, only to never find them…
But, no. It was just a warning that I should prepare myself cause some major stuff was about to go down. The game’s REAL point of no return came much later, and it is EXTREMELY obvious.
You will know you’re at the game’s REAL point of no return because you will find the final fast travel point 20 feet to the right of it, letting you go wherever you need before doing the game’s final sequence
So, consider this a PSA. Once you hit the first point of no return, go recruit as many Party Members as you can, and if you’re close to a Ringsel upgrade maybe go get that (I was at if you want to know roughly where you should be) – but other than that, don’t sweat it, you’re not missing anything!
Related Posts:
- Indivisible: Character Combat Guide
- Indivisible: How to Master the Catwalk
- Indivisible: Blocking Guide
