In CRISIS CORE –FINAL FANTASY VII– REUNION, there is a total of 32 missable Achievements, and this guide will show you them all.
Basics
First things first: Yes, there is an achievement for beating the game on “Hard” difficulty. You can change the difficulty from normal to hard at any point in the game & only need to beat the final boss with hard selected, though. So feel free to start a game on Normal difficulty, if you’re more comfortable that way.
While the game actually separates the story into 10 chapters, it doesn’t provide an actual chapter select; not even after finishing the story. What it does provide though, are 30 available save-slots.
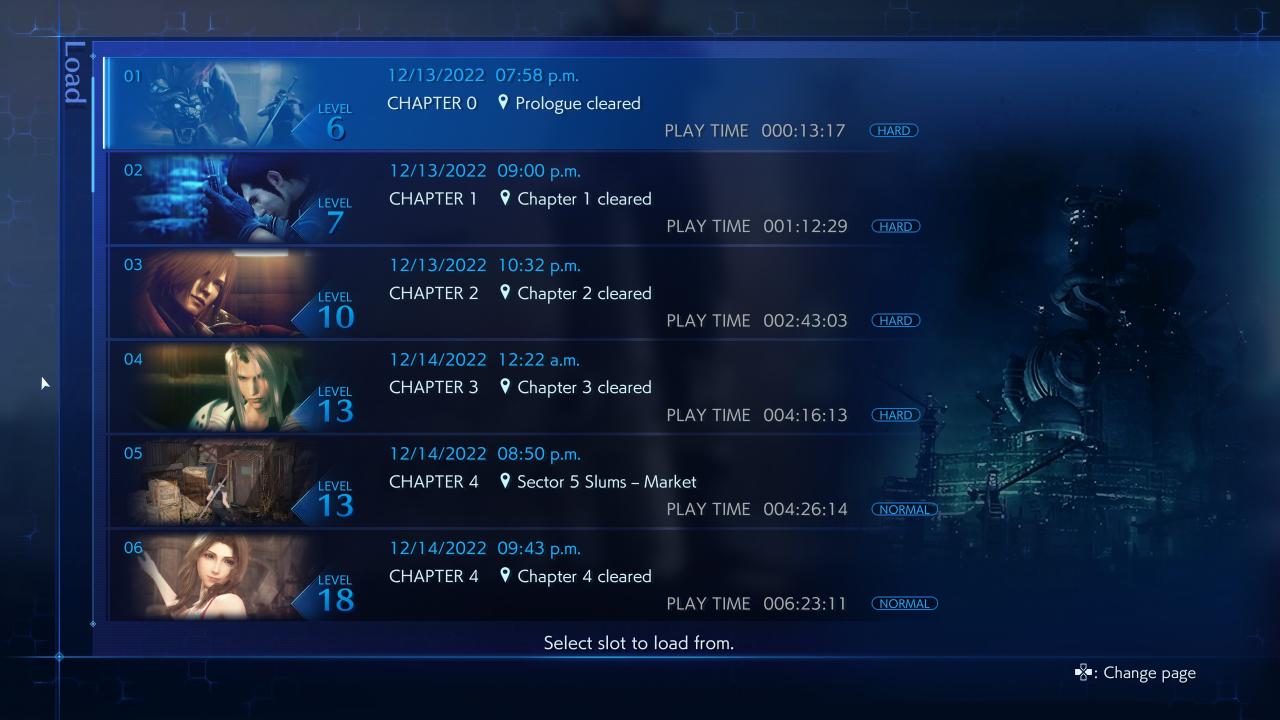
So my very first recommendation is to create your own, artificial chapter select, by keeping at least 1 save per chapter.
Which means, after the first few hours it should look something like this:
With your artificial chapter select in place, there are 2 different kind of missable achievements within Crisis Core Reunion. The self-contained achievements within each chapter, which you can obtain easily by loading a save, playing a few minutes and fulfilling the achievements requirement right away.
Those are located in the second part of this guide and can be grabbed without a problem, even if your “Main Save” is already further into the game.
And then there are some easily missable events from chapter 5 onwards, which seem rather harmless at first, but will stop you from obtaining some achievements a few dozen hours later. You’ll find these events in part 1 just below. If you’ve missed ANY of these, you have to forfeit all your progress beyond those parts and do everything again – sorry.
If you want to go as spoiler-free through the game as possible, while still guaranteeing 100% achievements, create your own chapter select and closely follow Part 1 below.
Several chapters start with a free roam of the city. During those parts, make sure to interact with all orange map-markers to complete side-content. For example:
Part 1: MUST DO’S | Intro
So – under the condition that you’ve read the Basics above – feel free to jump into the game right now and come back here, once you’ve unlocked the achievement for completing Chapter 4.The game has a total of 300 optional Side-“Missions”, which you can access at the various save points within the game.
Around half of them are more difficult than the final story area and can therefor be considered this game’s “Post Game” content. Within those 300 missions, you’ll unlock several shops, mail senders and “DMW Images”, aka summons.
There are achievements for completing/collecting all of them, and a few of each category will be awarded during the harder missions, so hours upon hours after you’ve already finished the story.
A lot of these missions won’t even unlock, until you’re at the last save point in front of the final boss.The problem? A few missions, shops, mail senders and summons are locked behind optional side-content during the story… And you won’t notice you’ve missed them, up until you’ve finished that 300th mission and are still missing a few achievements. At which point you’d have to do ALL of it again…
And as such, the first part of this guide is about the following achievements:


Mail Completionist
Shop Completionist
Received mail from all senders.
Unlocked all shops.


DMW Master
Genji Equipment
Achieved 100% progress for all DMW.
Collected all Genji equipment.

You only need 1 mail from each sender. You don’t need to collect all mails.
The only permanently missable piece of Genji armor is rewarded for achieving the 100% progress for all DMW… so you won’t see the other pieces being mentioned in this guide.
If you want more information on this, check the following video by youtuber PowerPyx:
Part 1: MUST DO’S | Chapter 5 – 9
I haven’t tested, if the Reporter is still available in chapter 7’s free roam, if you don’t talk to him in chapter 5 at all. But as you can actively lock yourself out of the Mail Completionist achievement by reporting this dude, I’ll start the guide at this point.
This chapter starts with a free roam through Midgar.
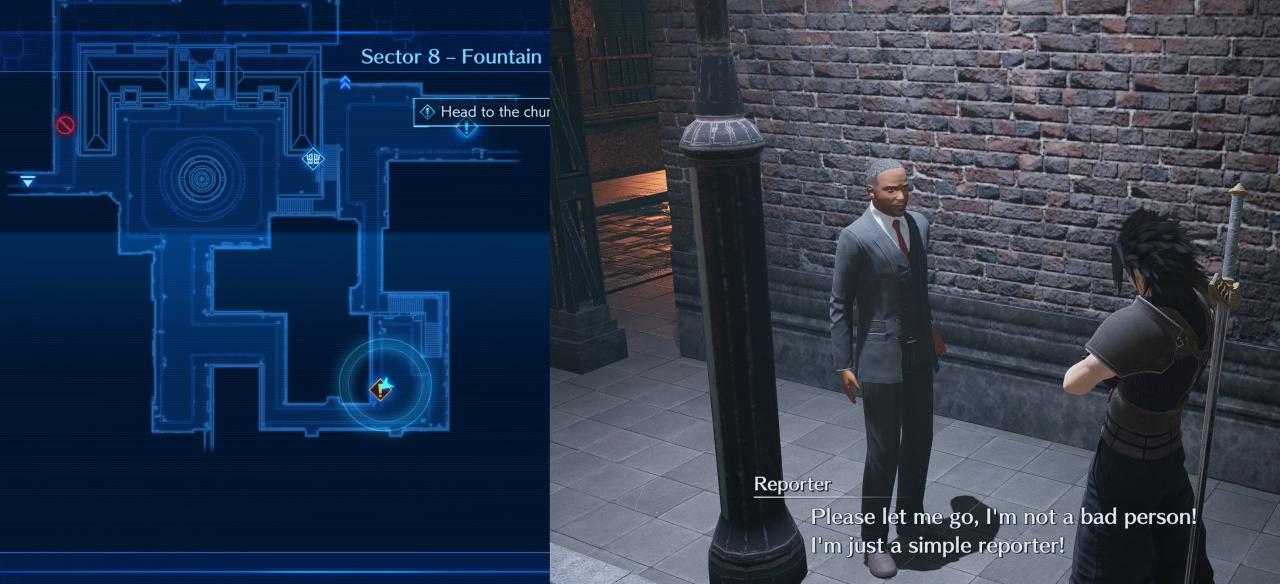
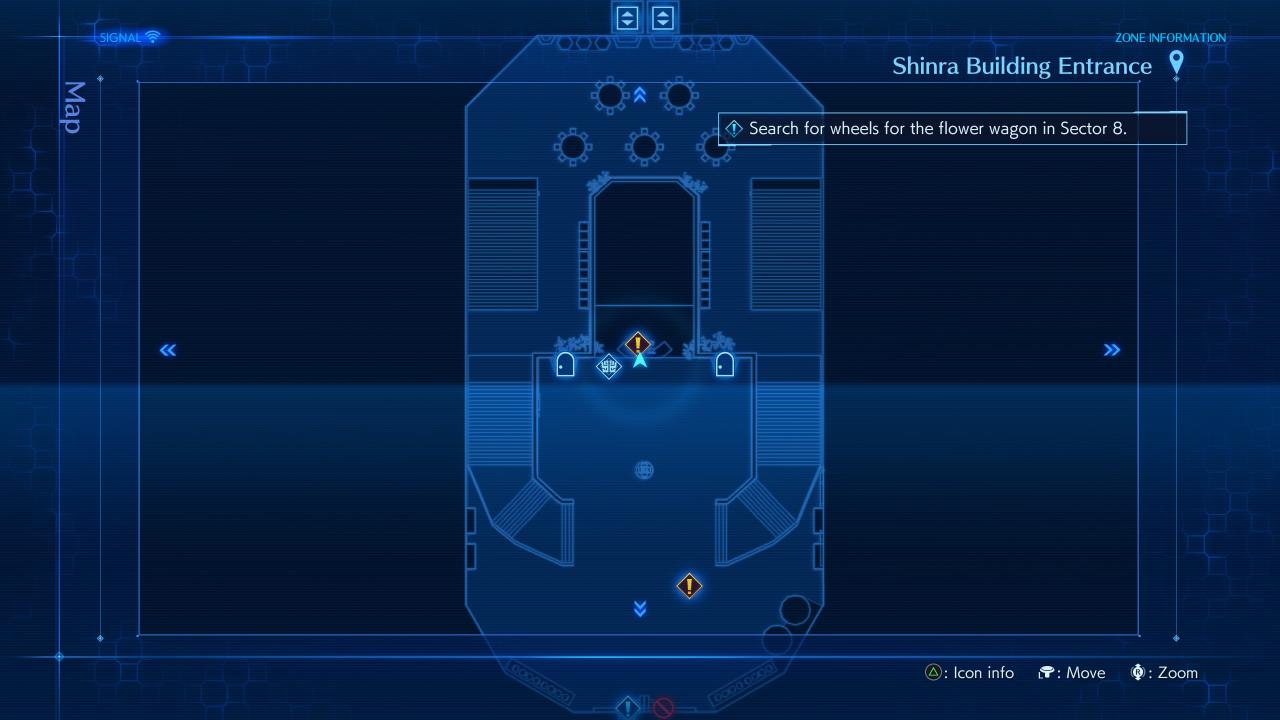
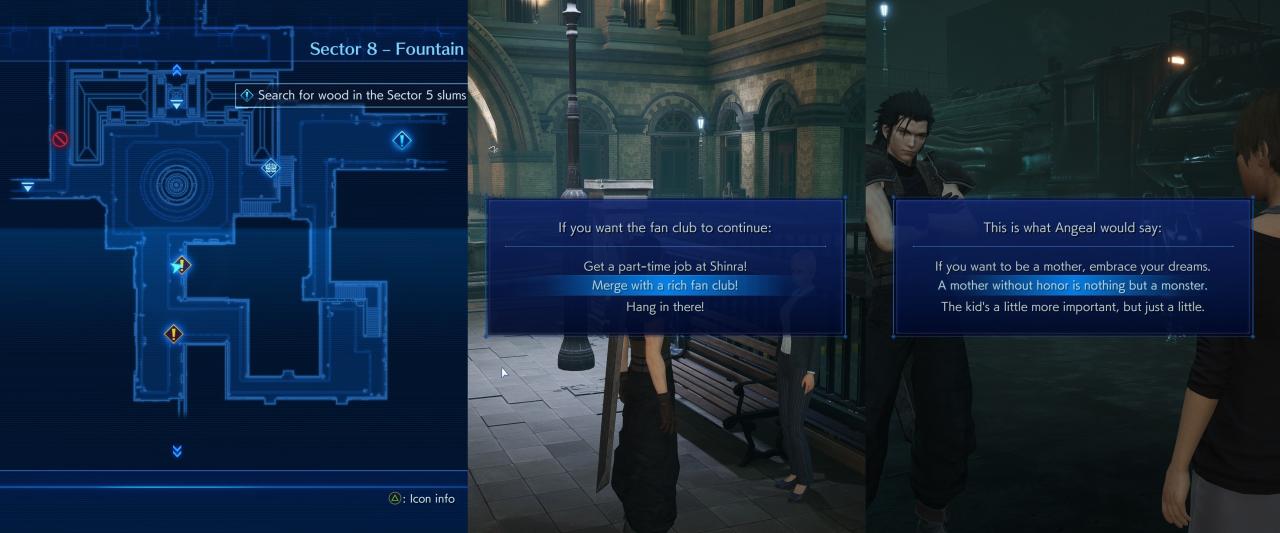
Start by going to Sector 8 – Fountain and locate the “Reporter”. Make absolutely sure to let him go, as he is one of the missable mail senders.
Next up, if you haven’t already done so during free roam of Chapter 2 or 3, you can still join the first 3 out of 5 fan clubs for another 3 mail senders:
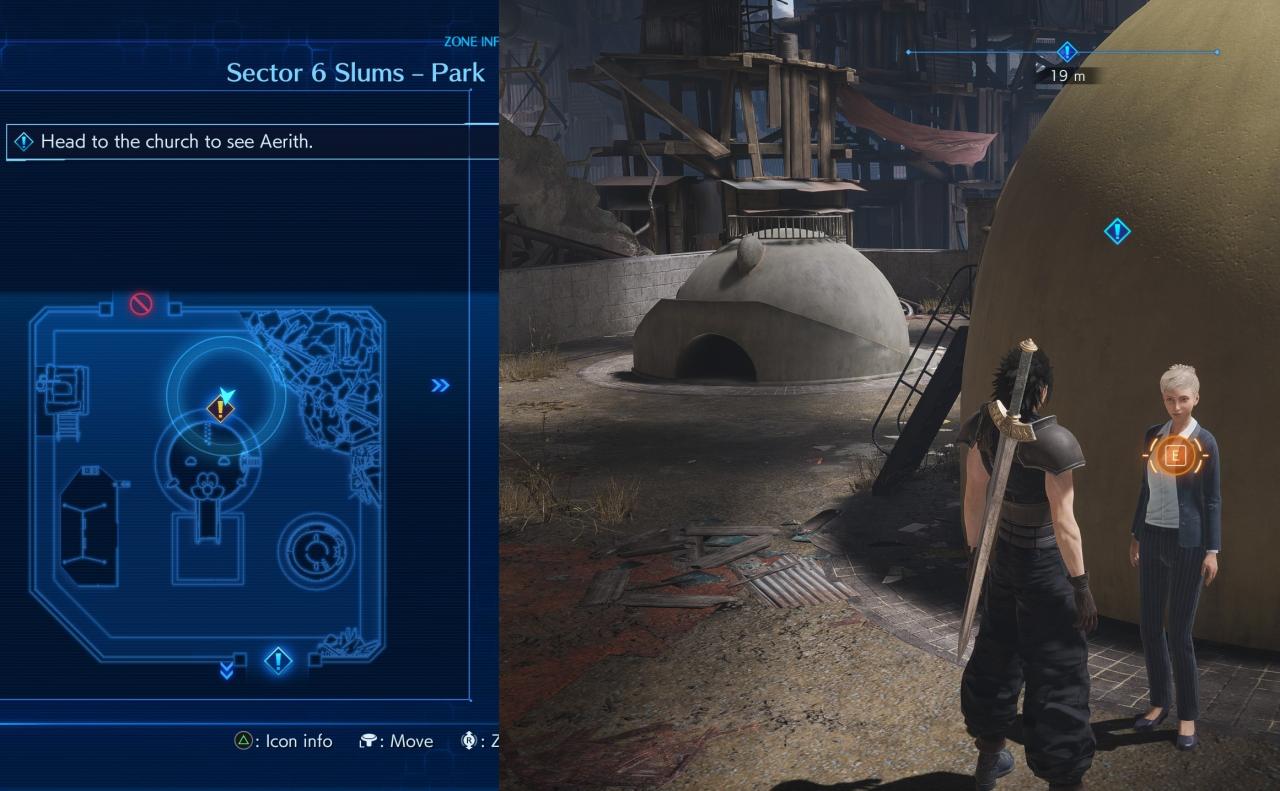
And if you’re heading to the Slums Park, you can join a fourth. This one has a test though. You have infinite tries, but the correct answers are: Masamune -> Super Nova -> His left hand.
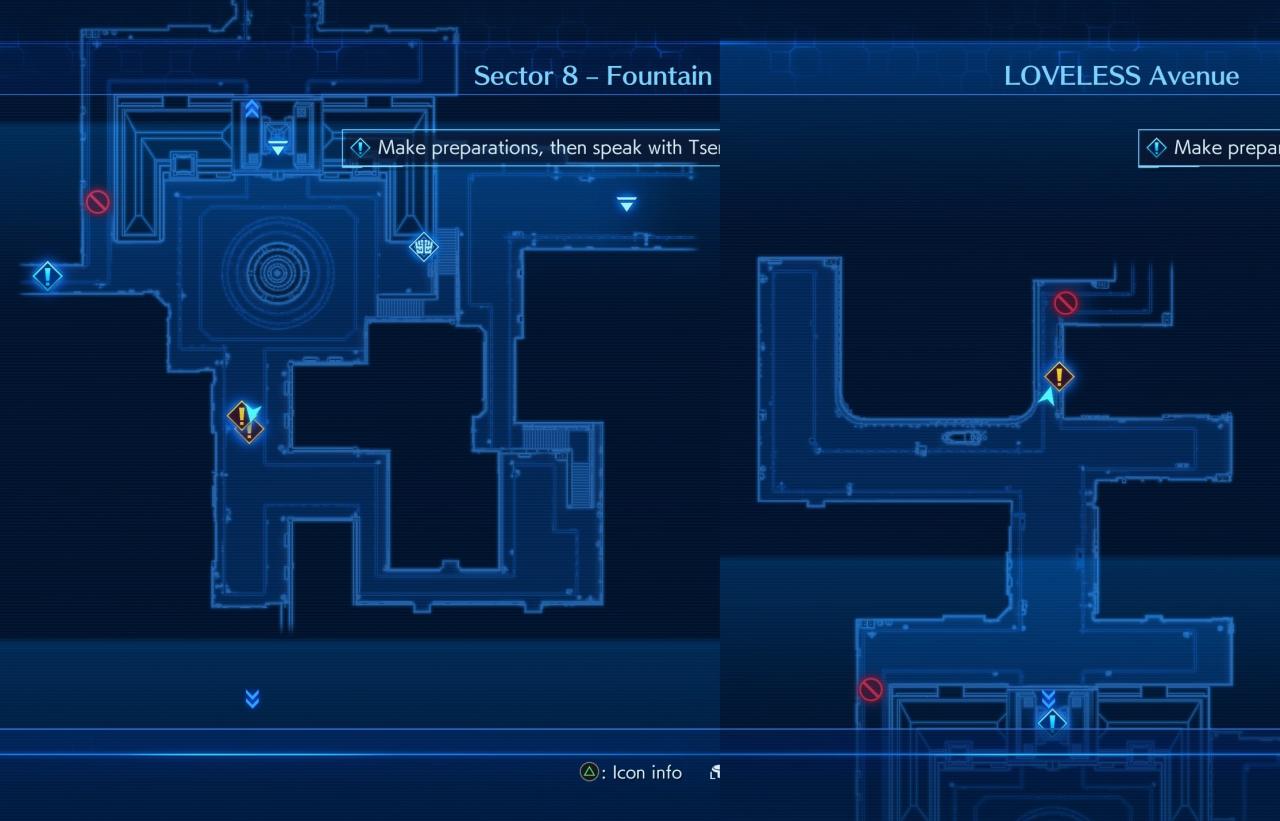
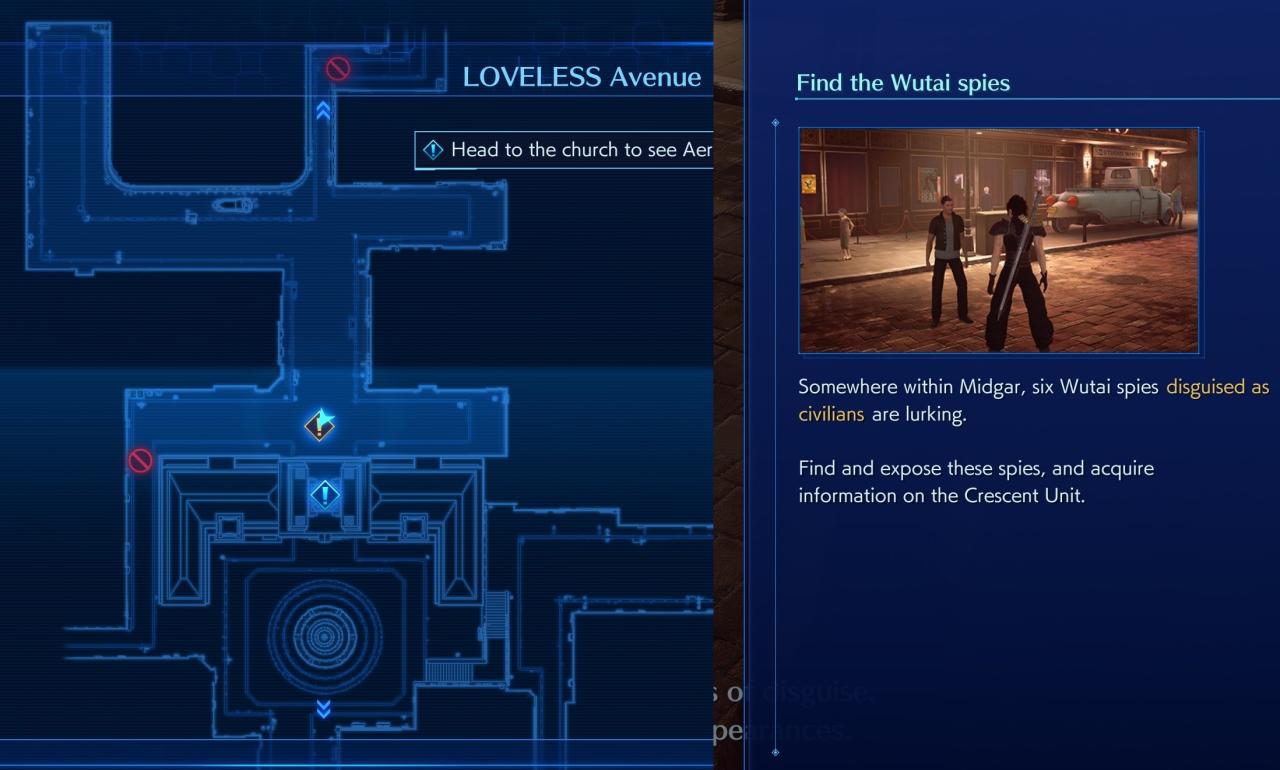
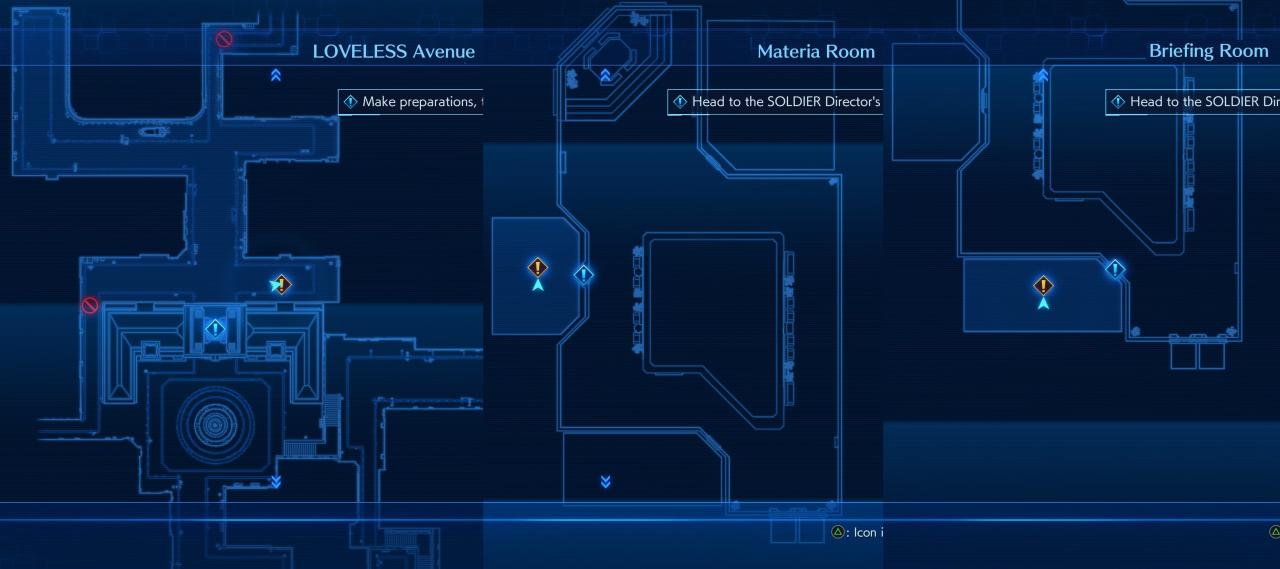
Back in Midgar, on LOVELESS Avenue, you’ll be able to start a side-quest, which requires you to find 6 Wutai spies. Each of them unlocks 1 out of the 300 missions (4-3-1 to 4-3-6), which you don’t have to complete at this point though.
You can start the quest here:
Completing this is rather easy, as these spies are completely incompetent. You break their disguise by simply talking to them 3 times.
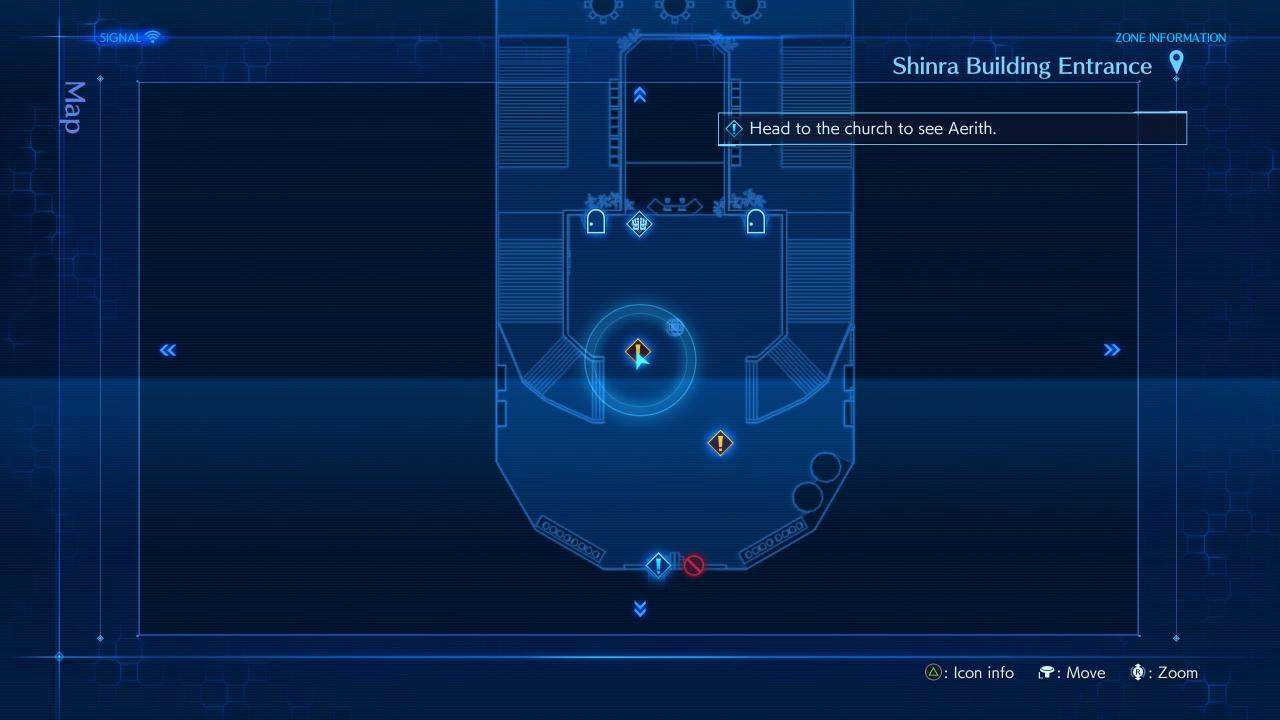
The order of their locations is: Loveless Avenue, Slum Market, Shinra Building Entrance (upper floor; delayed entrance from elevator), Sector 8 – Fountain, Exhibition Room, Slum Park.
Should you struggle to find one of them, refer to another video guide by youtuber PowerPyx:
Doing this will also unlock the achievement:

————————————————————————————————–
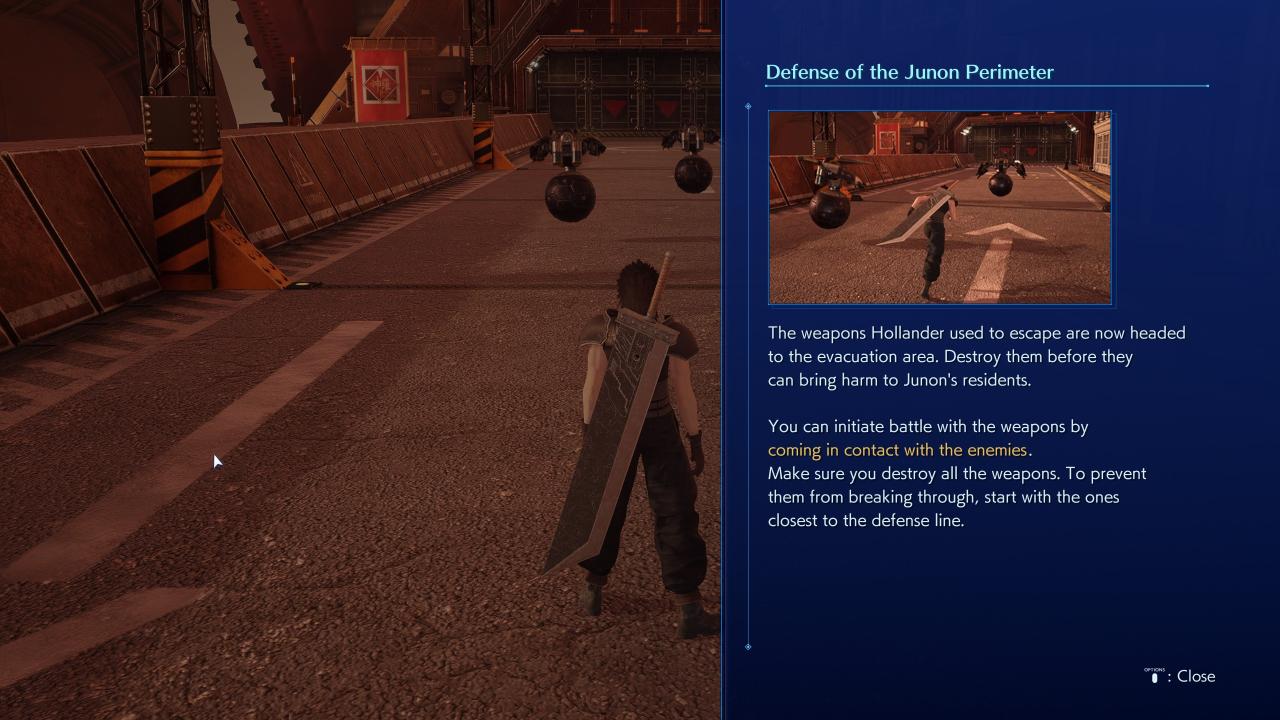
During chapter 6, you’ll get to play this minigame:
Successfully stopping all 30 enemies will unlock an achievement from Part 2 below, but isn’t necessary for your continous playthrough. I’m mentioning it anyway, as you’ll have to trigger the following interaction immediately afterwards. This is a requirement for the fifth and final fan club (mail sender) in chapter 7:
————————————————————————————————–
Chapter 7 offers the final free roam of Midgar. Make absolutely sure to complete all the stuff mentioned below for this chapter, before you hit the point-of-no-return:
Let’s start by making good on the chapter 6 interaction by joining our final fan club to add it to our list of mail senders:
Doing this will also unlock the achievement:

At this point, we’ll have to collect access to a few dozen of the 300 missions. First of all, the only group of missions you absolutely have to do right away (2-1-1 to 2-1-5), as the sixth location below only shows up after you’ve completed the first 5. You might already have those first 5, as they’ve already become available throughout chapters 3, 4 and 5. This is your latest chance though, so they are mentioned here:
And 3 more sets of 6 missions each (1-2-1 to 1-2-6, then 7-1-1 to 7-1-6 and finally 8-2-1 to 8-2-6).
Same as above; they’ve been available for a while, but this is the latest chance. You only need to unlock the first mission each, as the other are follow-ups.
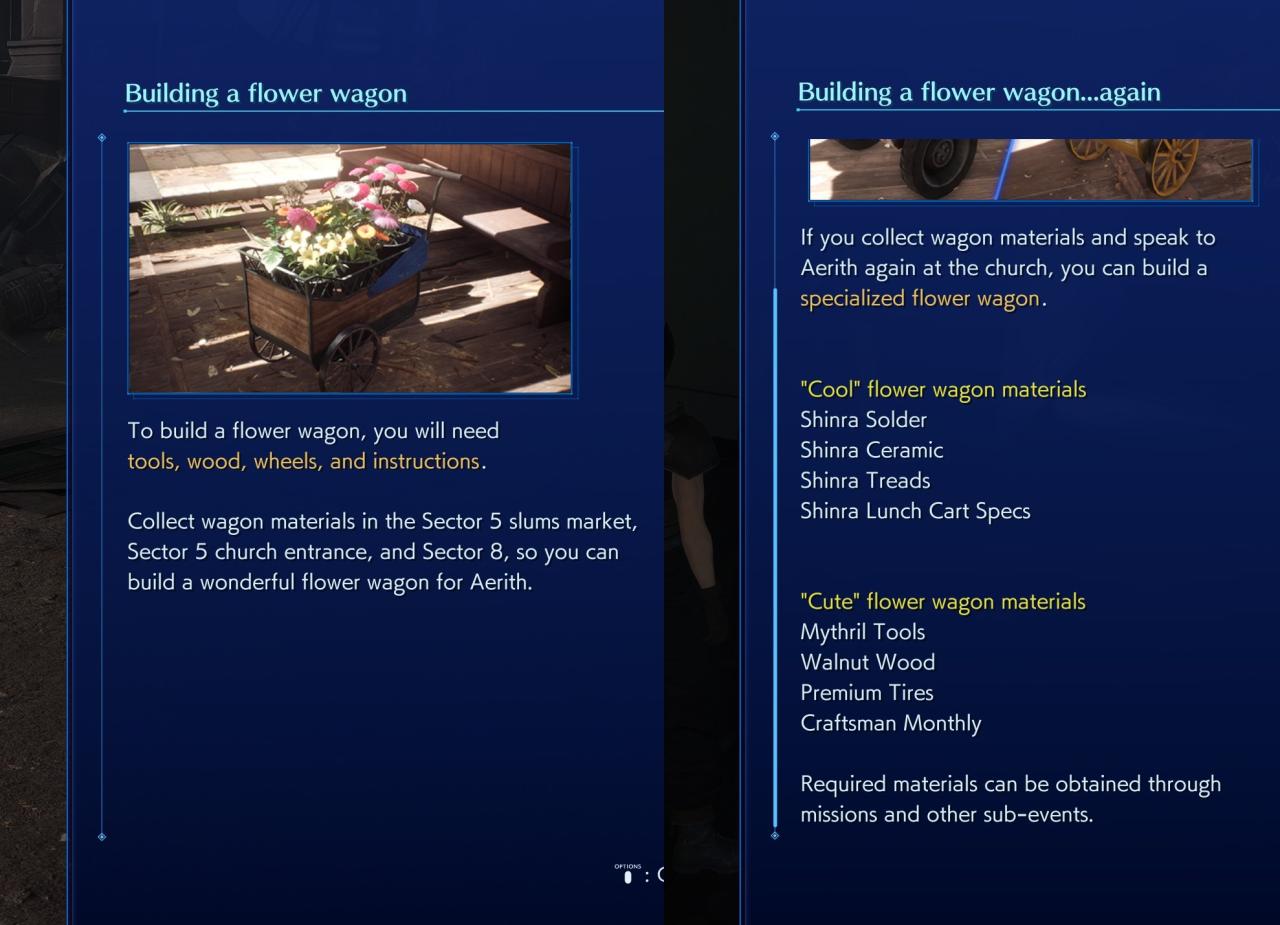
You don’t have to complete these missions yet, but it’s recommended, as 8-2-6 awards the “Master Mako Stone Miner” achievement and 2-1-6, 1-2-6 & 7-1-6 all award wagon parts for the “Midgar Full of Flowers” achievement. Both of these achievements are technically part of the self-contained list though, so you CAN skip the actual completion of them for now and come back later per chapter select.
And the final mission you have to accept right now (6-2-1). This is the only mission you really can postpone to the final chapter, without losing anything.
————————————————————————————————–
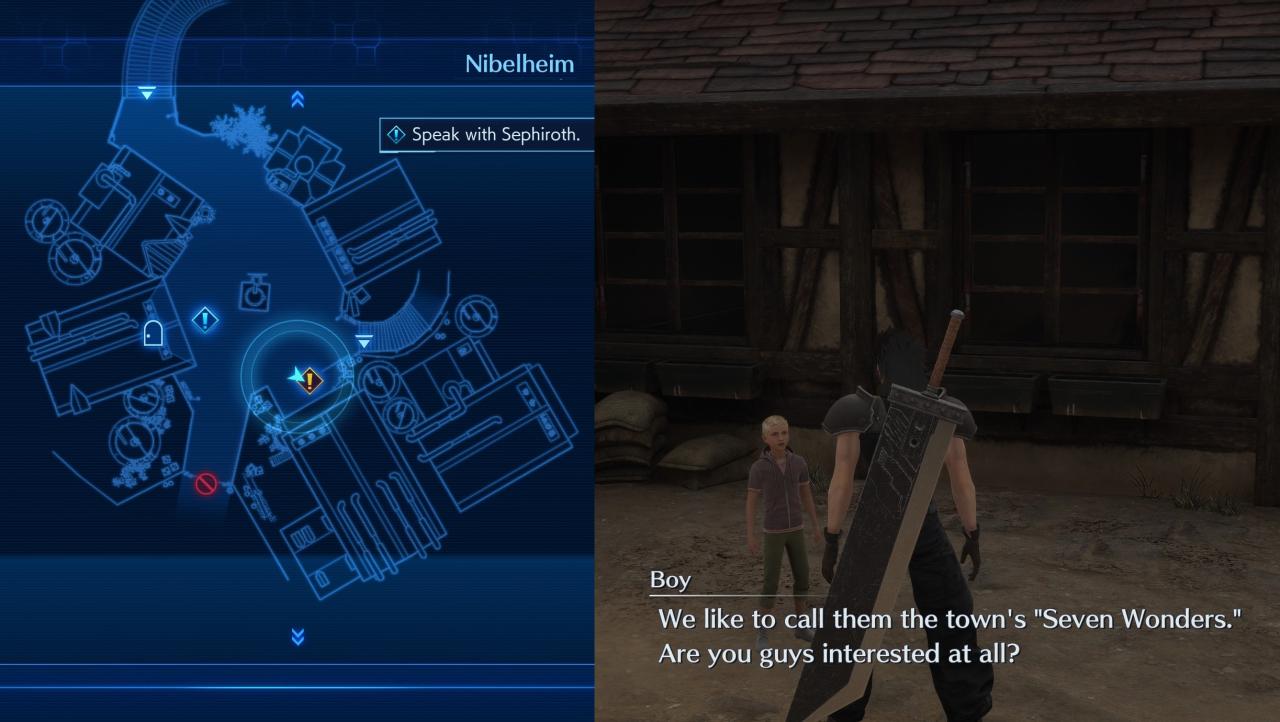
Right as you enter the village of Nibelheim, start the quest for Nibelheim’s Seven Wonders:
Make sure to complete as many wonders as you can, without progressing the main story.
The first wonder unlocks the only missable summon, the seventh wonder adds another mail sender.
Should you require help with the actual wonders, refer to this video guide by PowerPyx:
The last wonder will only be available in chapter 9 and grabbing it will unlock the achievement:

————————————————————————————————–
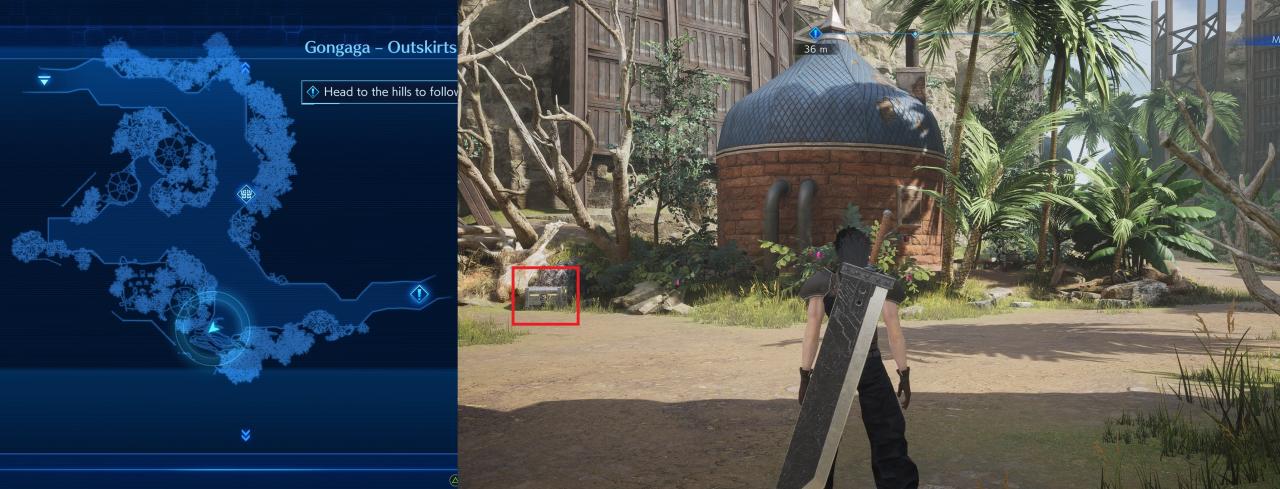
This chapter contains the only missable shop… inside a chest…
And with this, you’re done with everything that absolutely HAS to be done on the save file, which you’ll use to complete the 300 missions.
Good Luck from here on out!
Part 2: Self-Contained | Chapter 1 – 6
As mentioned in the basics: All the achievements in this chapter are missable, but can easily be obtained via the artificial chapter select.

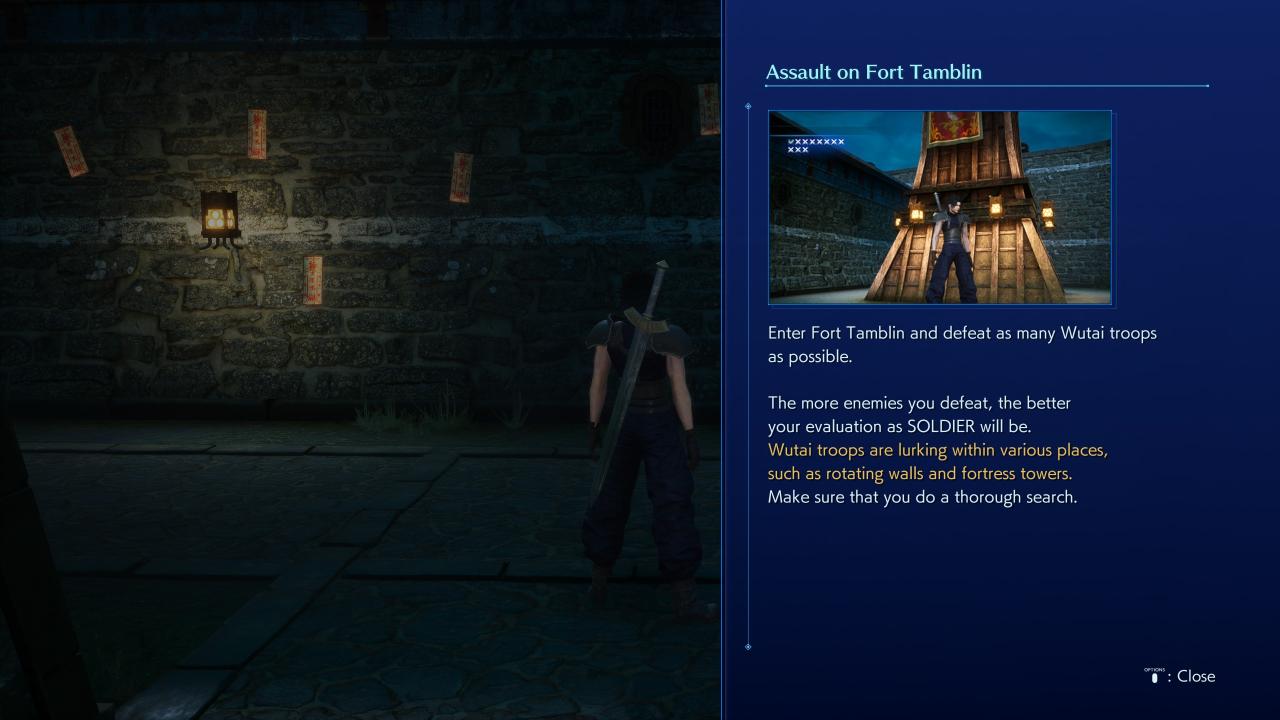
Complete all 16 encounter within Wutai’s Fortress, including the 5 hidden encounter for the towers and rotating walls:


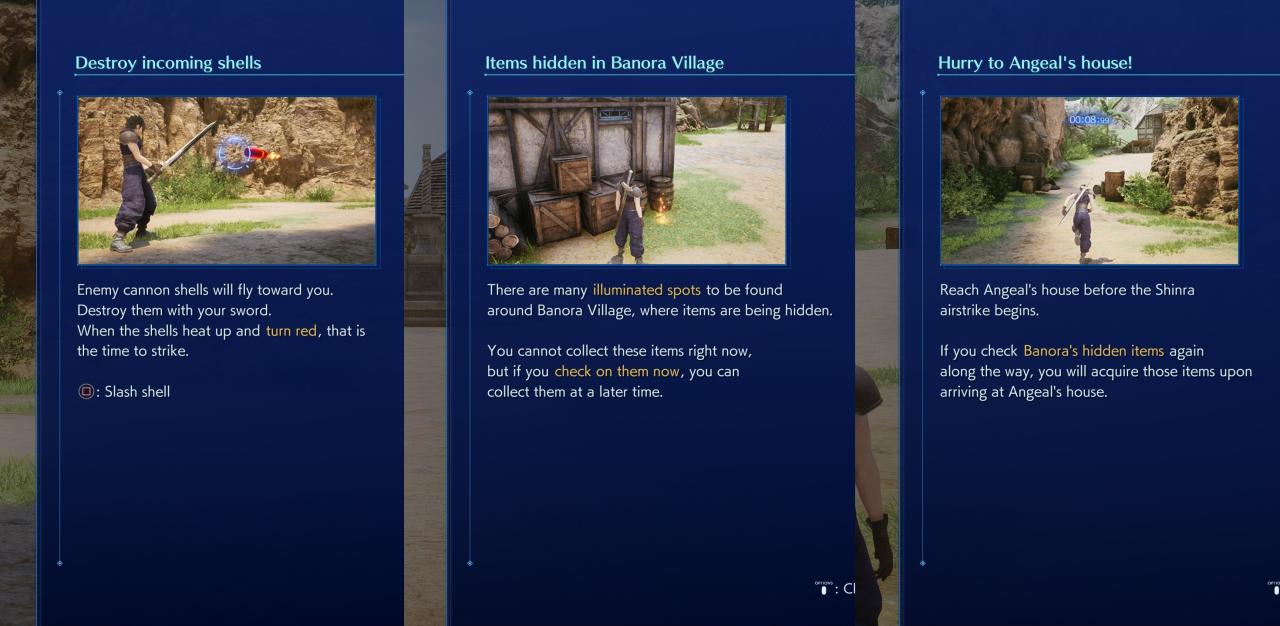
Mark all 5 items for later (3 in village, 2 outside), continue until you have to cut the 10 shells (beware of the camera shift for the tenth) and then collect the 5 items during the countdown.


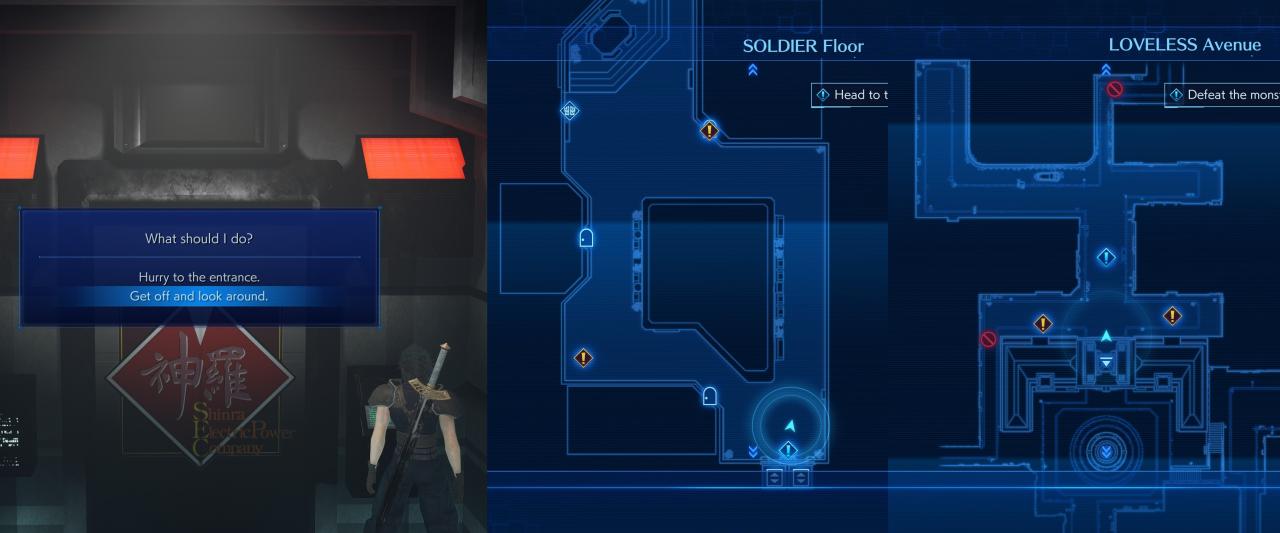
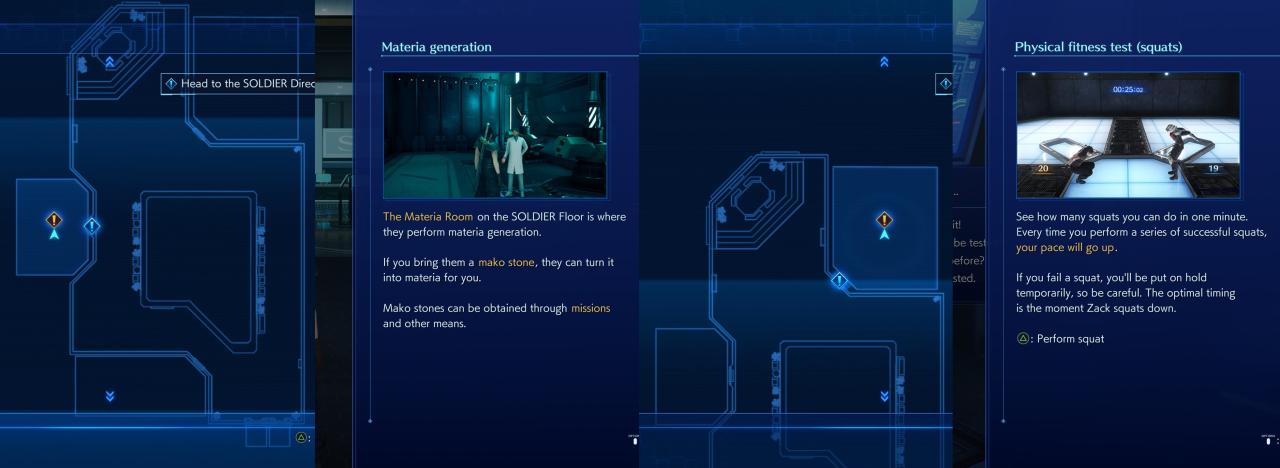
Right at the start, enter the Training room and complete all of Hojo’s tests. Continue with the story until you have to help the people on SOLDIER Floor and in LOVELESS Avenue.


Part 1 of Chapter 4.
After you’ve entered the Slums Market with Aerith and got your pocket picked, do NOT interact with Aerith, until you’ve talked with all 3 vendors, waited for the girl as often as the game lets you (10x), and traded as many potions to the boy, until Zack refuses to continue (5x).
Now talk to Aerith, catch Bruno and make sure to suggest, that you’ll buy the medicine yourself.
After you’ve got the boy’s money back, make another round on the market.
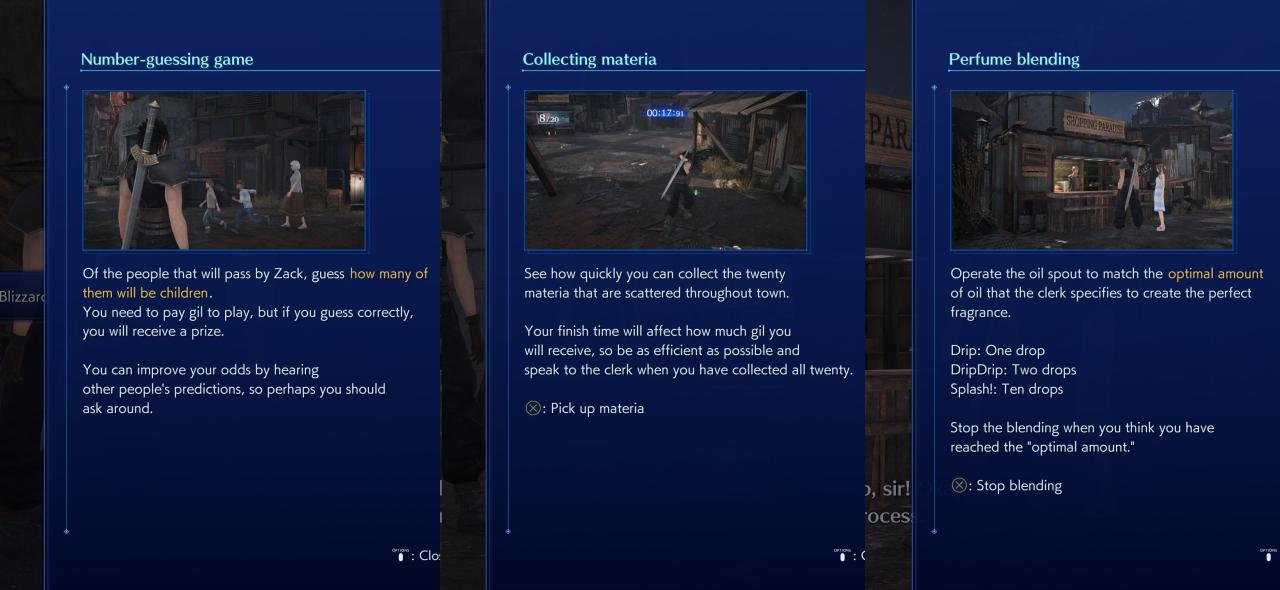
Guess the correct on the first try (the number that both Aerith and boy recommend), collect all 20 materia within 15 seconds, so that he calls you “godlike” and blend the perfume perfectly 3 times in a row. Yes, 3 times. Save and reload in-between to be safe.
Now continue the story until Bruno gives you his Steal materia. If he calls you a “good couple” – congratz. If not, reload the save and give Aerith another perfect perfume.


Part 2 of chapter 4.
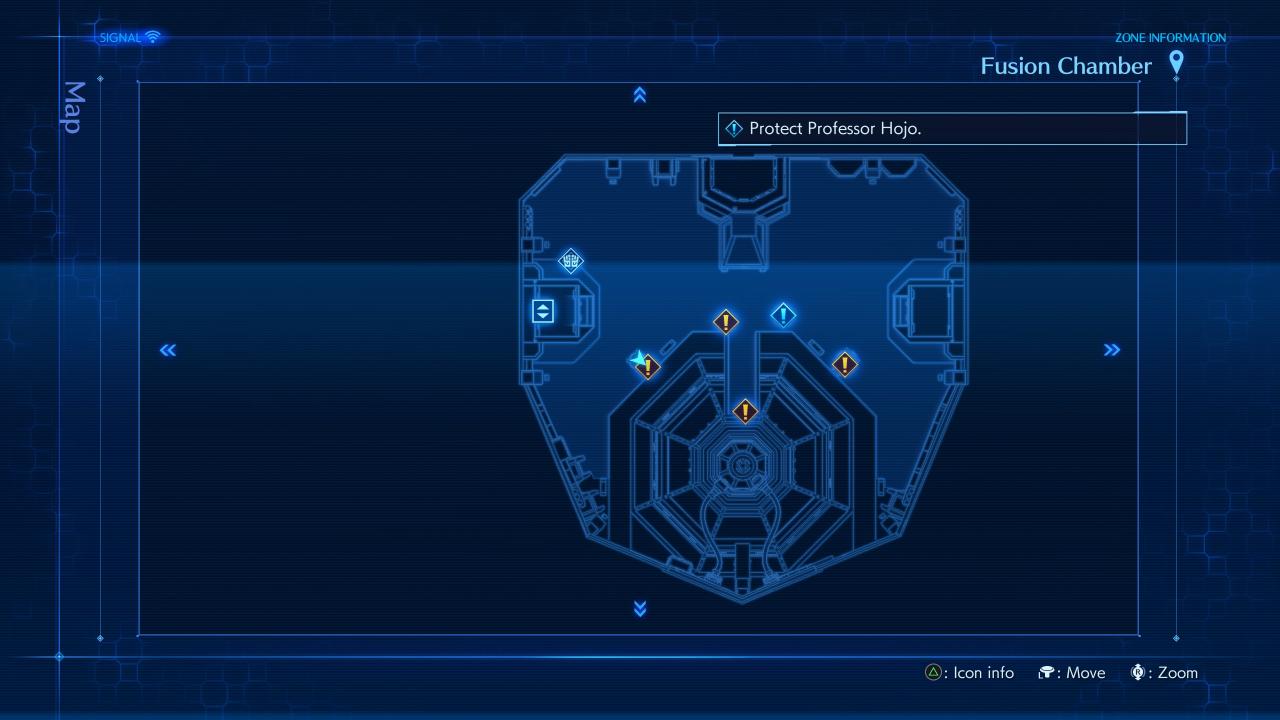
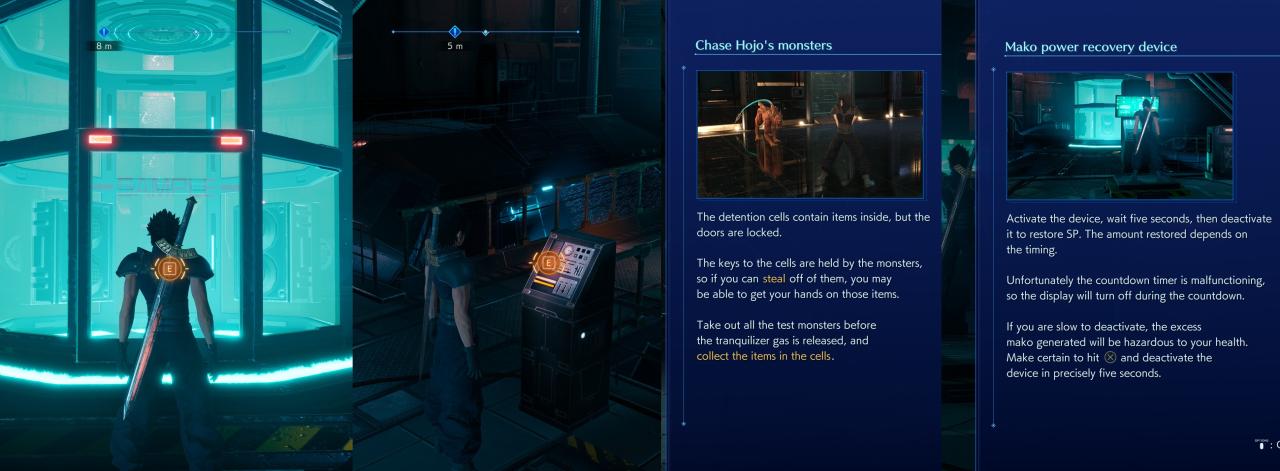
Continue until you’ve spoken to Hojo exactly once. This enables 4 interactions with the machines in the room. Stop the Mako Recovery Unit after exactly 5 seconds (infinite tries), enter the test chamber and give the answers: “A SOLDIER operative like Sephiroth.” -> “State-of-the-art science and technology.” -> “A person unafraid to challenge Shinra” and use the Steal materia to obtain and use all 6 keys.

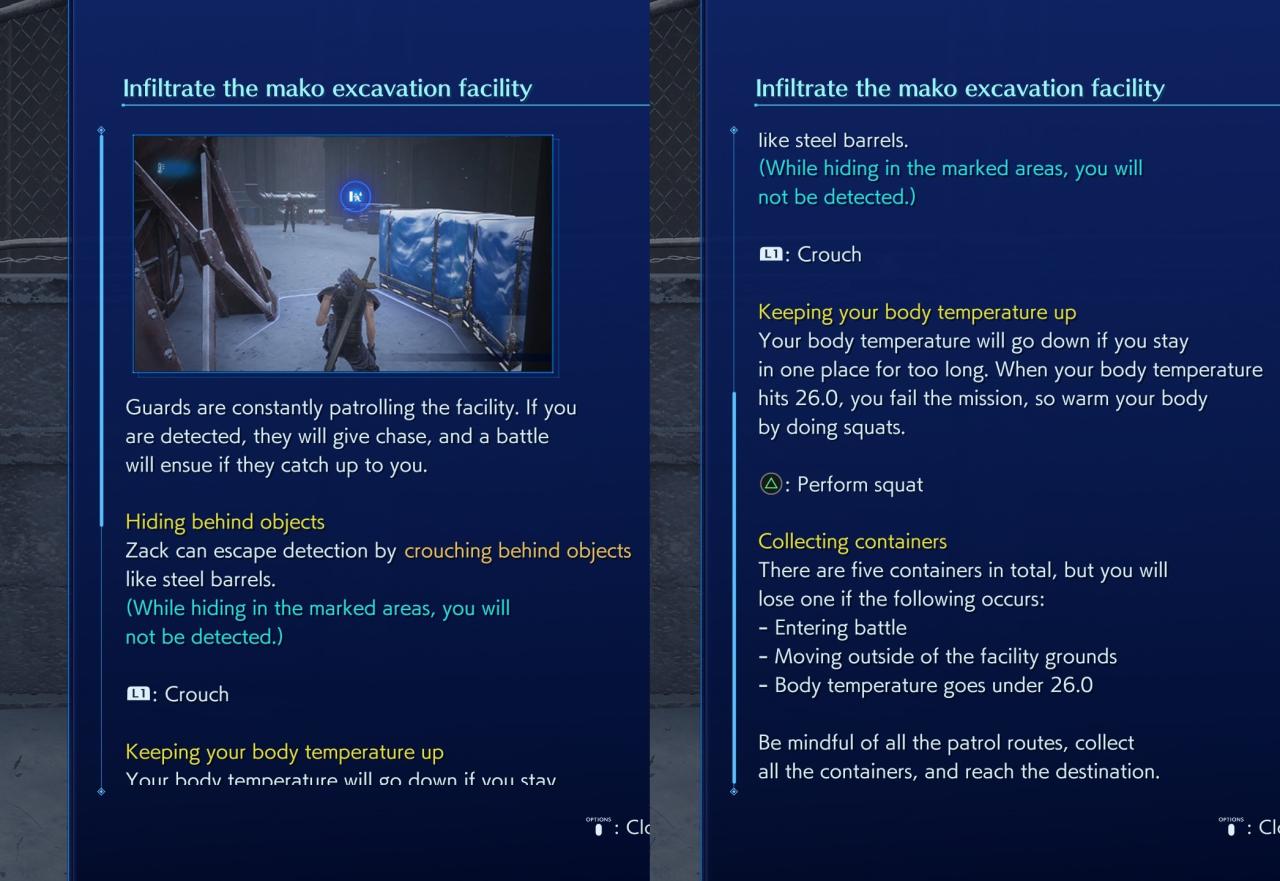
Self-explanatory:

Stop all 30 enemies in time:
Part 2: Self-Contained | Chapter 7 – 10


If you haven’t already done so in previous chapters, complete mission 8-2-1 to 8-2-6 and report back with the scientist in the Materia room, and head into the Training room for some squat competition:
Now head to Sector 8 – Fountain and talk to both available Fan Club NPCs. For the money problem questline, head north to LOVELESS Avenue and talk to the second Genesis Fan Club there. For the boy’s questline, head to the train station and talk some sense into his mother. Report back near the Fountain for the achievement.
Now complete all the missions I’ve listed in the MUST DO part above for chapter 7 to grab all wagon parts. This includes finding all 6 Wutai spies.
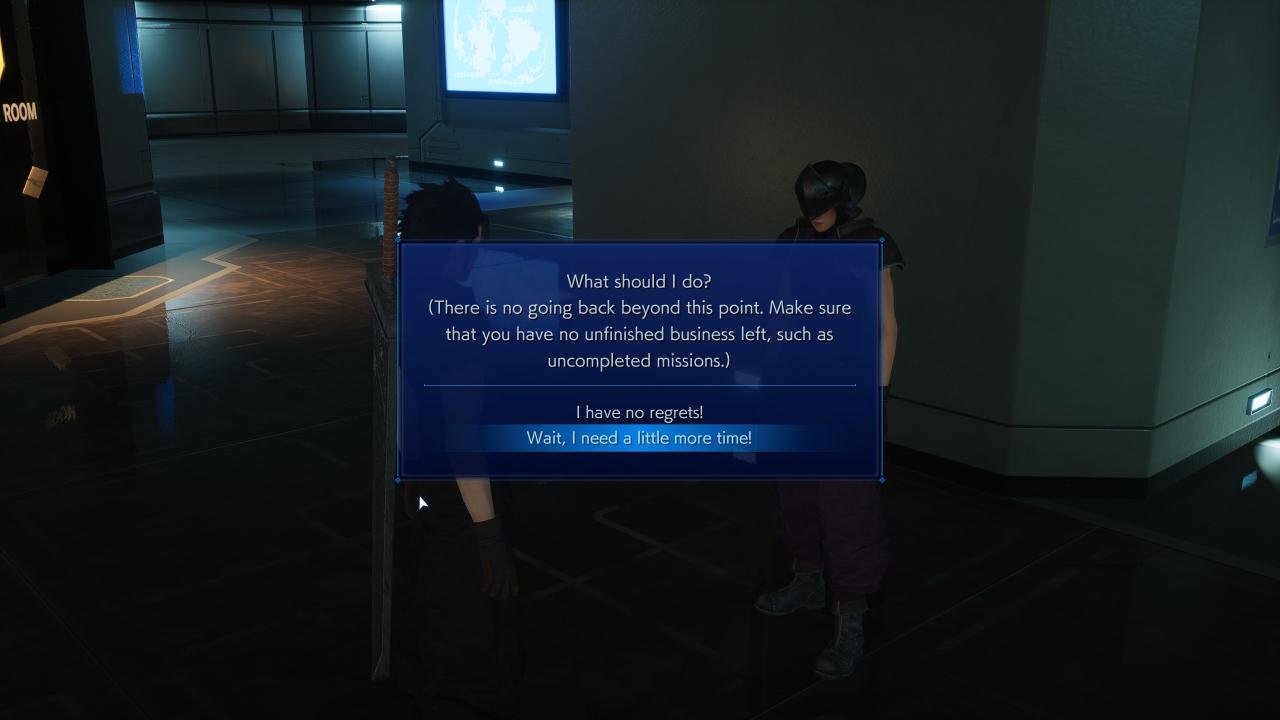
Continue the story until the point-of-no-return prompt, pick “Wait, I need a little more time!”, and go back to Aerith, to build the 2 bonus Flower Wagons.


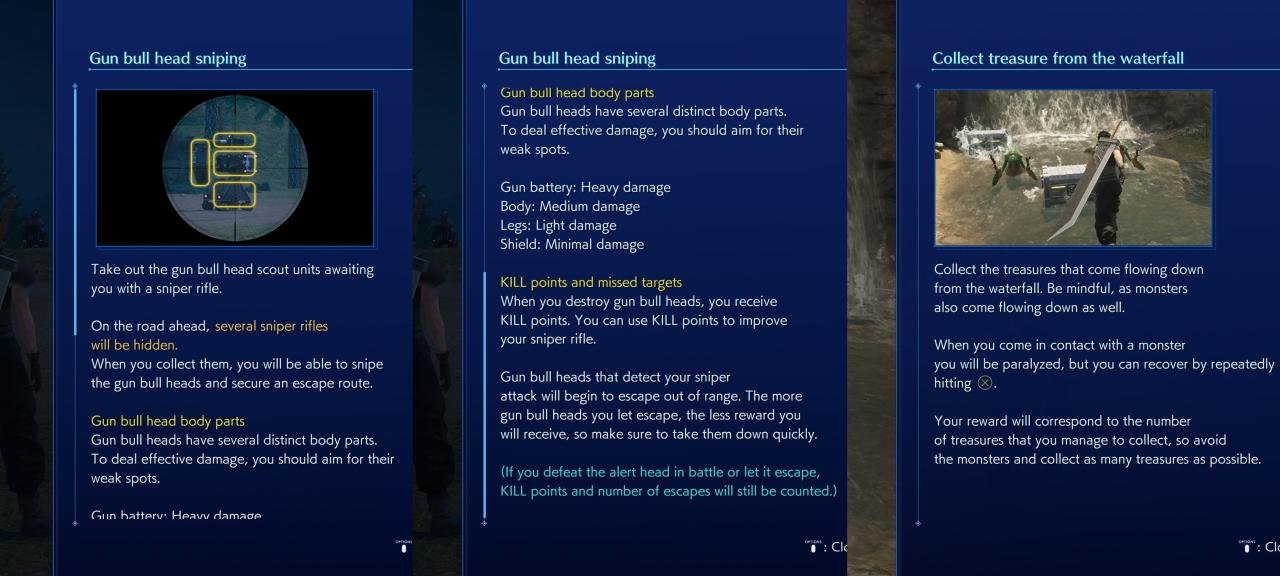
In Nibelheim, complete the Sniper part without letting a single machine escape. You must engage with each individual sniper. Grind them up with normal combat encounters, if you need it.
In Gongaga, play until the Genesis Cutscene at the dead end of the area. Within that area, complete 7 battles (don’t ask me why, I don’t get it either) and head towards the only zone-transition of the area. This will trigger the hidden waterfall minigame (infinite tries; 7 battles each), in which you need to grab all 10 chests.


Within the final underground area, read all 4 tombstones with the LOVELESS Acts and head south into Lake of Oblivion. Interact with all 5 pillars of light and defeat the enemies they spawn. This will unlock the path to the Cage.
For a bit more help, check this video by PowerPyx:
After that make sure to set your game difficulty to “Hard” before you approach the final boss.
Related Posts:
- CRISIS CORE –FINAL FANTASY VII– REUNION Collectibles Guide
- CRISIS CORE –FINAL FANTASY VII– REUNION How to Unlock all DMWs & 100% Easier
- CRISIS CORE –FINAL FANTASY VII– REUNION All Materia Fusions, Best Materia & Accessories, Stat Maxing Guide
- CRISIS CORE –FINAL FANTASY VII– Reunion All Changes to the PSP Version
- CRISIS CORE –FINAL FANTASY VII– REUNION Buster Sword Proficiency Guide
