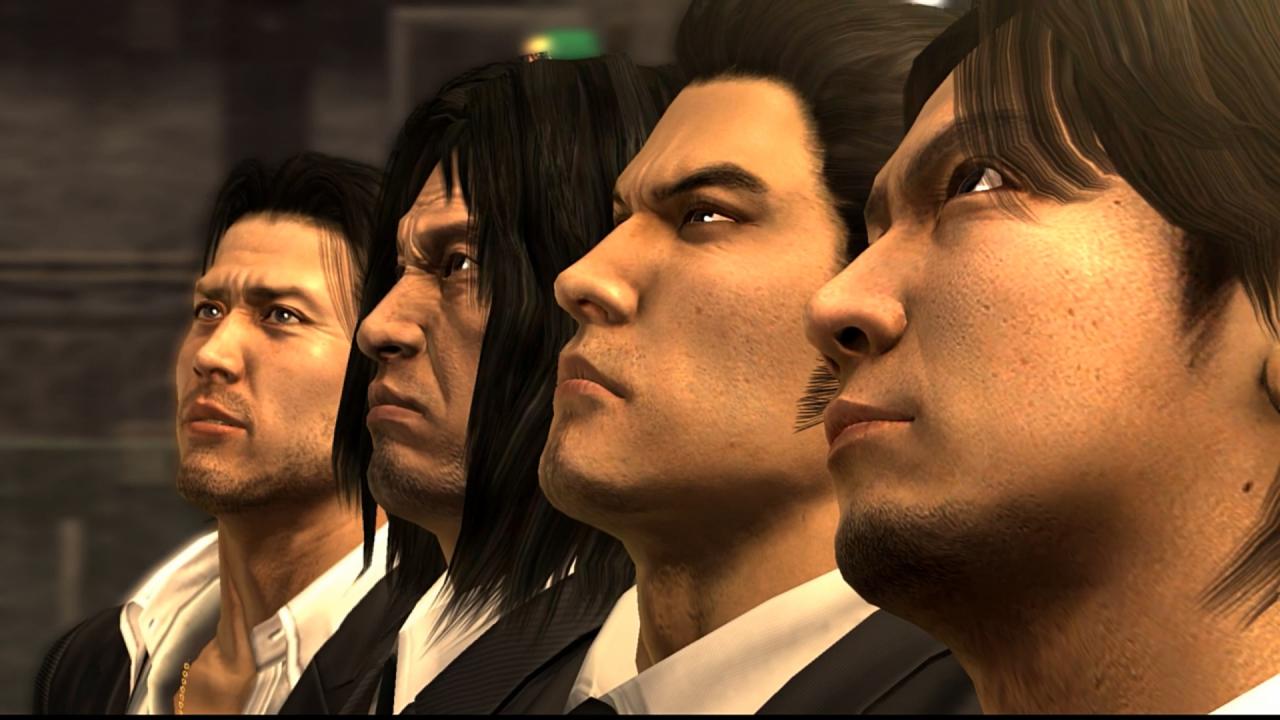
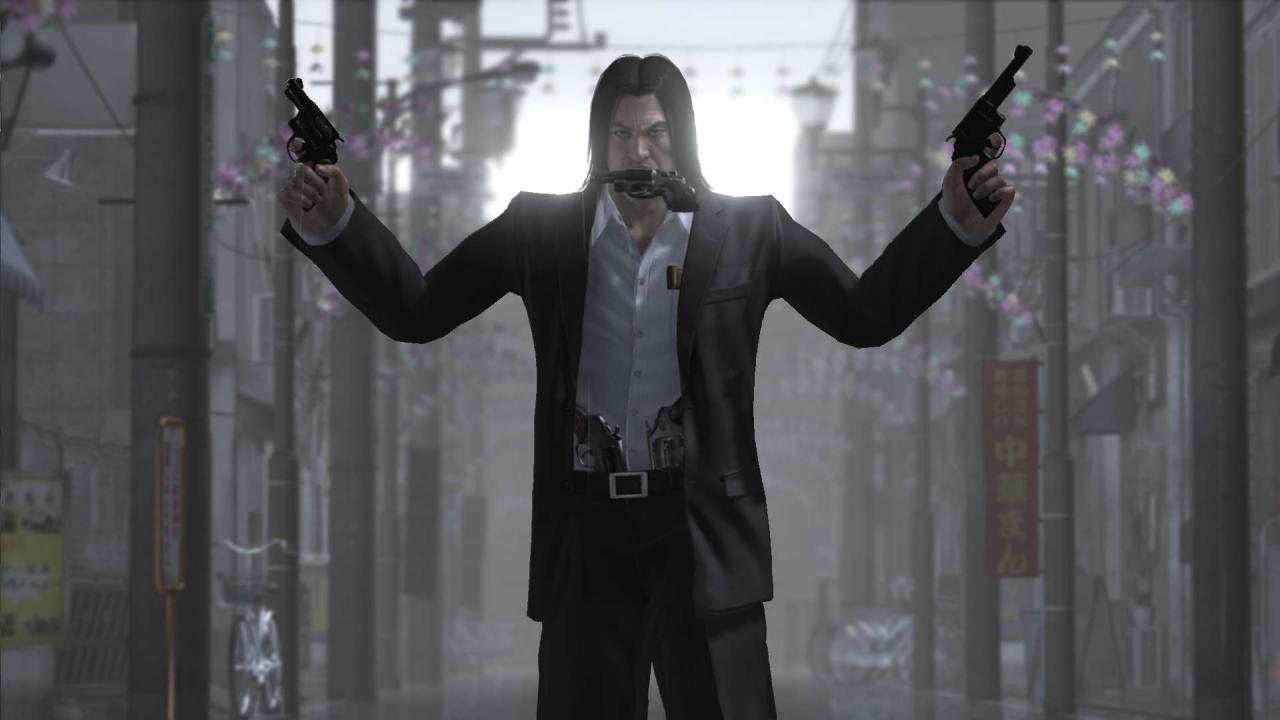
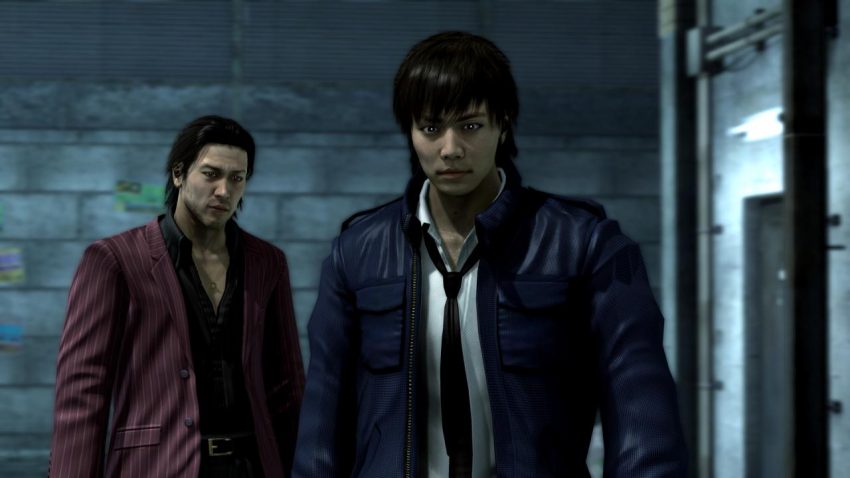
For Yakuza 4 players, this guide will instruct you on how to restore the original voice and likeness of Masayoshi Tanimura as portrayed by Hiroki Narimiya, along with licensed music, higher quality videos from PS3 version and uncensored dialogue.
Description
Originally, famous Japanese actor Hiroki Narimiya portrayed Masayoshi Tanimura, who is one of the playable characters in the game.
The game came out on PS3 in March of 2010 in Japan and March of 2011 in the West, many years later in December of 2016, Hiroki Narimiya was accused of inhaling cocaine by tabloid newspaper “Friday”, as a result of Narimiya’s “friend” selling them a photograph showing Narimiya preparing white powder on table that to uneducated eye could be mistaken for cocaine.
This resulted in what is known as “cancel culture”, where all companies and employers of Narimiya started to cut ties with him.
Narimiya was eventually absolved when he undertook medical tests proving he wasn’t taking any drugs and further proved that the powder in question was actually a special form of candy called “Neruneruneru” which comes in form of white powder that needs to be poured into a glass of water, upon which it hardens and creates a candy.
Despite this, his career was substantially damaged and the following week Narimiya announced he’d be going into early retirement as a result of the fake allegations.
The game was later re-released on PS4 and XB1 in 2019 and PC in 2021 with Masayoshi Tanimura recast with a new actor, Toshiki Masuda. Whether this was done because SEGA simply decided to play it safe and avoid keeping Hiroki Narimiya or because he declined to license his likeness again is not known.
Because we stand against both censorship and “cancel culture”, we’ve decided to create a patch for the Western version of the game that would restore Hiroki Narimiya as Masayoshi Tanimura’s actor in the game.
We have also gone the extra mile and updated the original PS3 textures for Tanimura using the same upscaling method used by the company in charge of PC ports so that his textures would remain at the same high-resolution fidelity as those of other characters.Additionally, all pre-rendered videos except one have been replaced by the original ones from PS3 as they are higher quality than their PS4/PC counterparts, you can find a comparison between them in the Images section of the NexusMods link below:
[link pending, to be added later]
You will notice that the PS4/PC ones suffer from severe video macroblocking and artifacting issues which is why for this patch we opted to replace the videos with the PS3 ones.
This video below will give you a glimpse of what you can expect after restoring Tanimura’s original voice and appearance:
Installation

Now here come the steps on how to install the patch.First of all, you will need to download the package from one of the links below which contains the patch and all its necessary files:
Mirror 1: https://drive.google.com/drive/folders/1v_IQTXyMFAVAcrAkSj5irIFUOfl19rNX
Mirror 2: https://drive.google.com/drive/folders/1ZSY35P0eAeqtWXFS-WzOz-jWzM_jqip_
Mirror 3: https://drive.google.com/drive/folders/123stbVEyyAhWyOgaQrXvV62QPGXQZjoL
Mirror 4: [link pending]If you run into links being blocked due to high traffic, simply right right on the folder in the link (rather than the patch 7zip archive itself) and press Download. This will make Google zip it and bypass the high traffic/download quota limits.
Alternatively you can use https://gdbypass.host/After that, extract the contents of the archive with the patch to a folder of your own choice, it’s compressed in 7z format which can be unpacked using 7zip or WinRAR, though I do recommend 7zip for best compatibility to avoid any potential issues.
Next you’ll need to open the folder with the game itself, naturally make sure it’s installed beforehand.
You can do so by Right Clicking it in your Steam Library and then selecting Properties -> go into the Local Files tab -> and finally press the Browse Local Files button which will open the folder with the game.
Now all you will need to do is select all the files from the restoration patch you unpacked earlier and copy them to the folder with the game, overwriting the files when asked if you want to do so – this is crucial.
The only thing left for you at this point is to simply start the game and enjoy it in all its restored glory.
You can expect similar guides for future Yakuza games once they make their way to PC in the future.
They’re here. Nevermind, I’m good.

