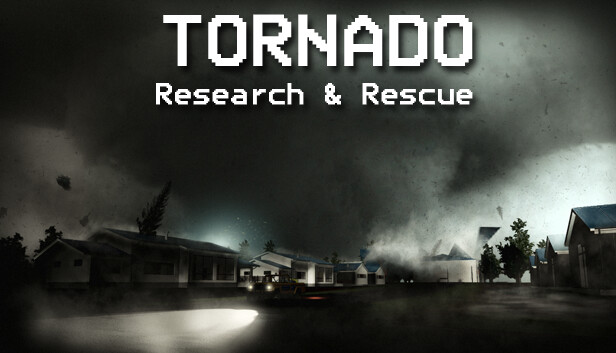
For Tornado: Research and Rescue players, this quickstart guide will explain everything you need to know to begin playing (takes approximately 5 minutes to read).
Getting Started – Game Modes
Before you start your first game you will need to configure your game:
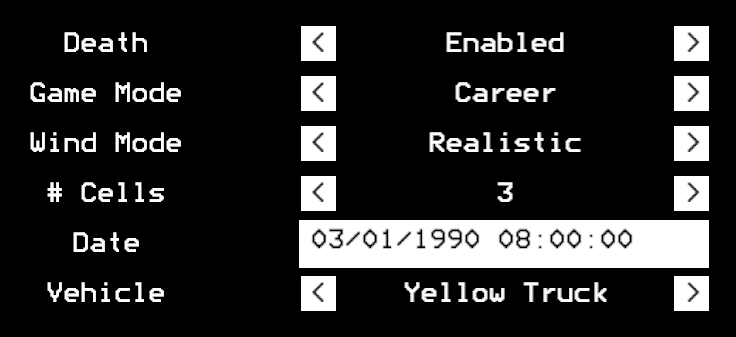
The main game mode is career mode, in this mode you must intercept tornadoes, deploy probes, take photos, warn residents and upgrade your equipment.
There are also two “wind modes”:
- Random – cells will form randomly on the map and move in random directions
- Realistic – cells will form inside of a highlighted risk area and move approximately with the mean wind
The other two game modes are just for fun; tornado magnet makes all tornadoes follow your location, and doomsday is similar to tornado magnet, except a new tornado spawns every 30 seconds and the goal is to survive as long as possible.
This guide will focus on career mode with winds set to realistic.
Checking the Forecast
Each game starts with a randomly generated forecast that updates every 15 minutes. Press [TAB] to open your laptop, and continue to press [TAB] until you reach the forecast page:
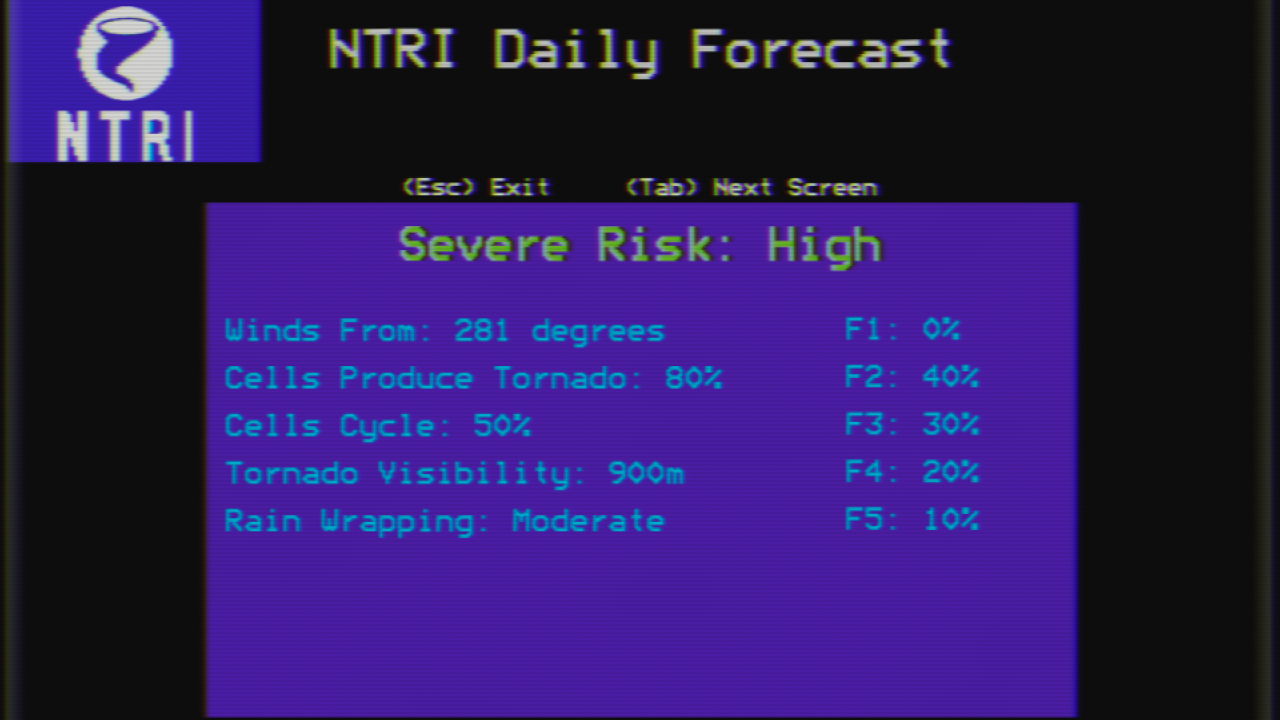
The severe risk summarises how intense you can expect your next 15 minutes of gameplay to be, the four ratings are:
- Outbreak
- High
- Moderate
- Low
The wind direction lets you know approximately which direction cells and tornadoes will be moving in. Cells that move to the right of the mean wind (i.e., right-movers) tend to produce more intense tornadoes, so keep that in mind when deciding which cell to chase!
Not every cell that forms will produce a tornado, the “Cells Produce Tornado” probability lets you know how good your chances are of seeing a cell produce a tornado. If a cell does produce a tornado, the F1 – F5 probabilities let you know which intensities to expect.
When a tornado ropes out, there is a chance that the cell will cycle and produce another tornado, this is given by the “Cells Cycle” probability.
Depending on the weather conditions tornadoes may be wrapped in rain, reducing visibility. The “Tornado Visibility” metric lets you know approximately how close you will need to be to see a tornado, and the “Rain Wrapping” metric indicates how intense the surrounding precipitation will be.
Using the Radar
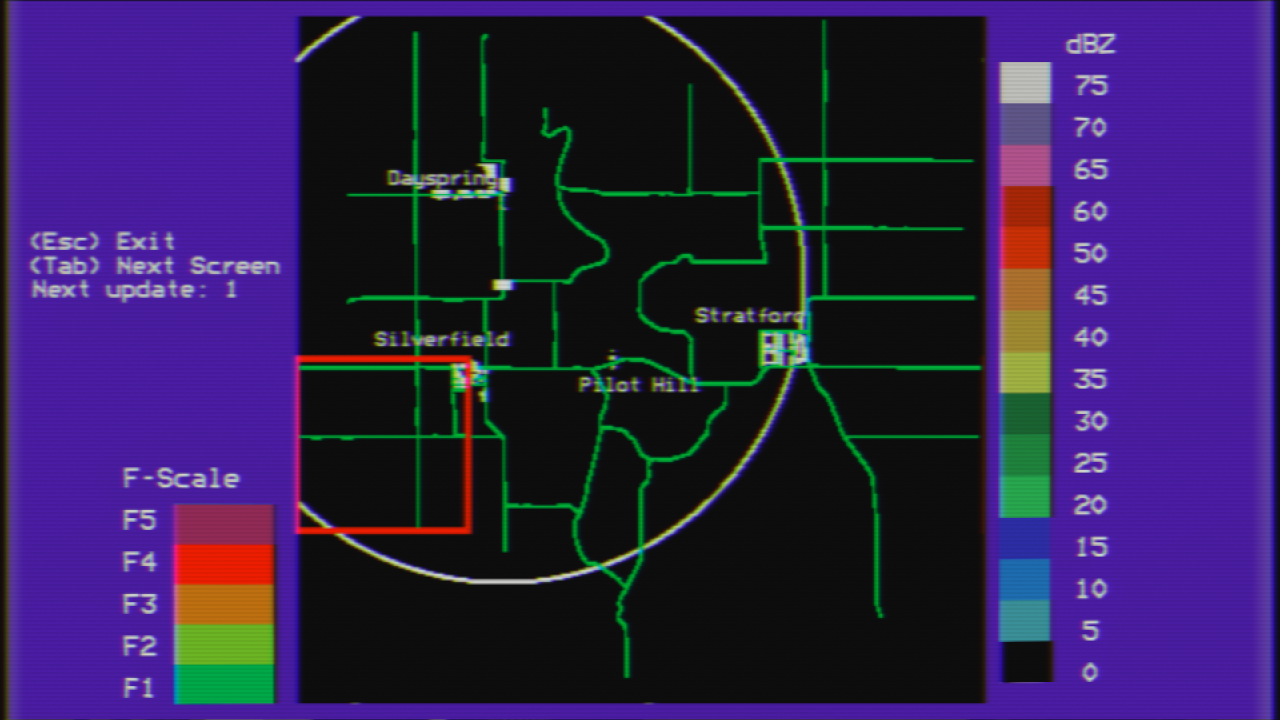
The red box shows the risk area where cells are likely to form and the white ring shows the range of your portable doppler radar (this can be upgraded – more on this later).In this example, we know the direction the wind is coming from (WNW) so we should position ourselves to the south-east of the risk area.
Once storms start to fire you will see them on the radar screen (and also outside – in the early stages of the game your eyes can be more useful than the radar!)
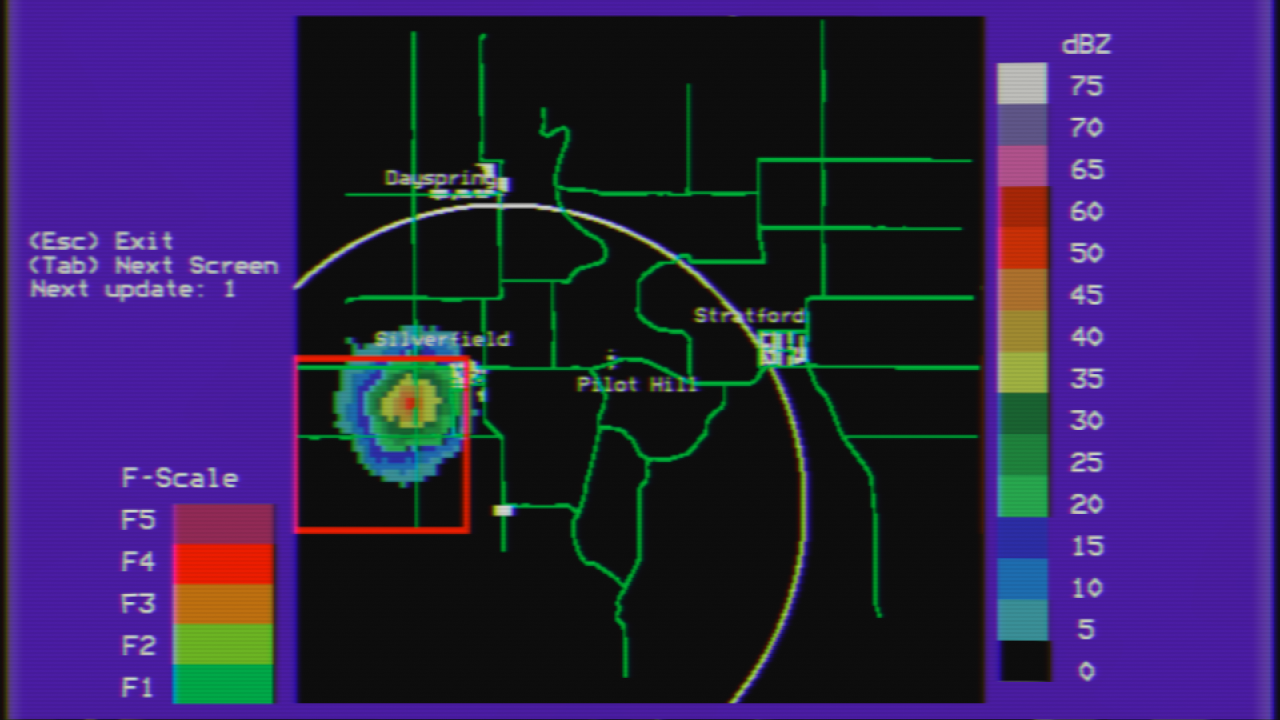
This cell appears to be moving towards the town of Silverfield, so in this case the best move is to re-position north in that town.
Earning Money
There are three ways to earn money in the game:
- Saving Residents
- Taking Photographs
- Selling Data
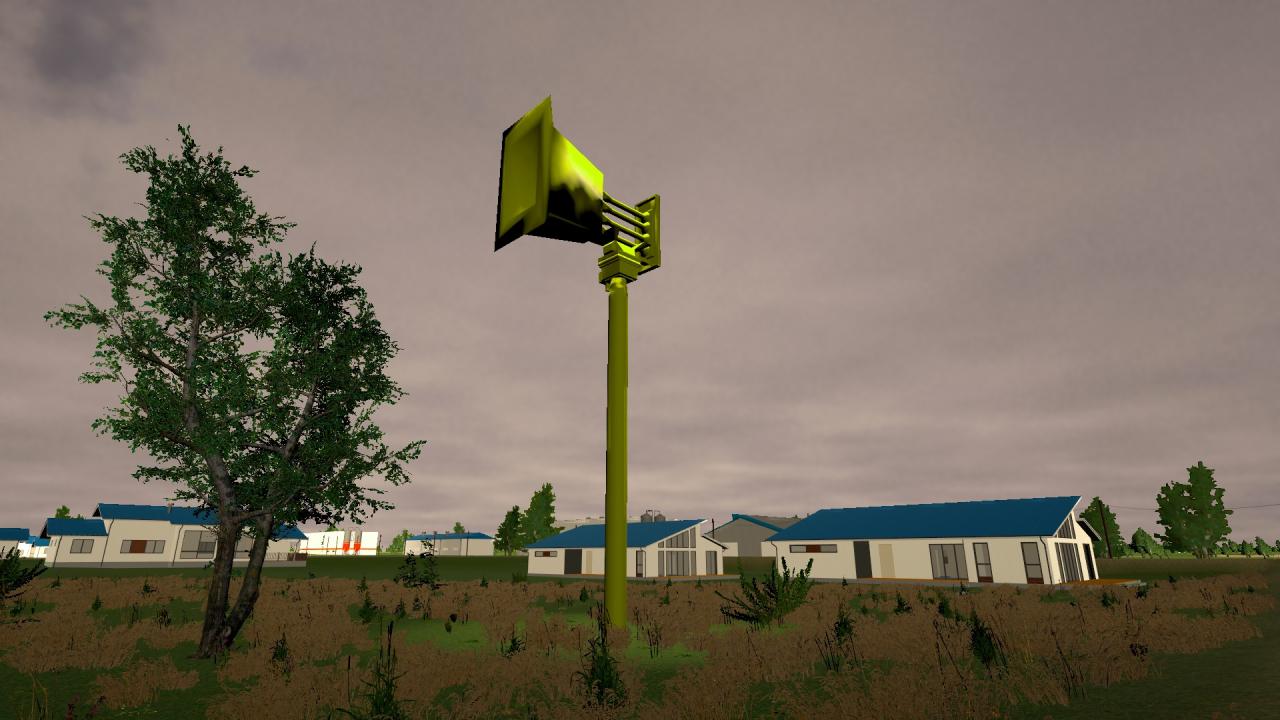
The residents of Silverfield may be in danger so let’s warn them! Find the (hugely oversized) siren, get near it and press [ENTER] – you will hear the siren begin sounding.
Open your laptop and [TAB] to the “NTRI Warning Service” page:
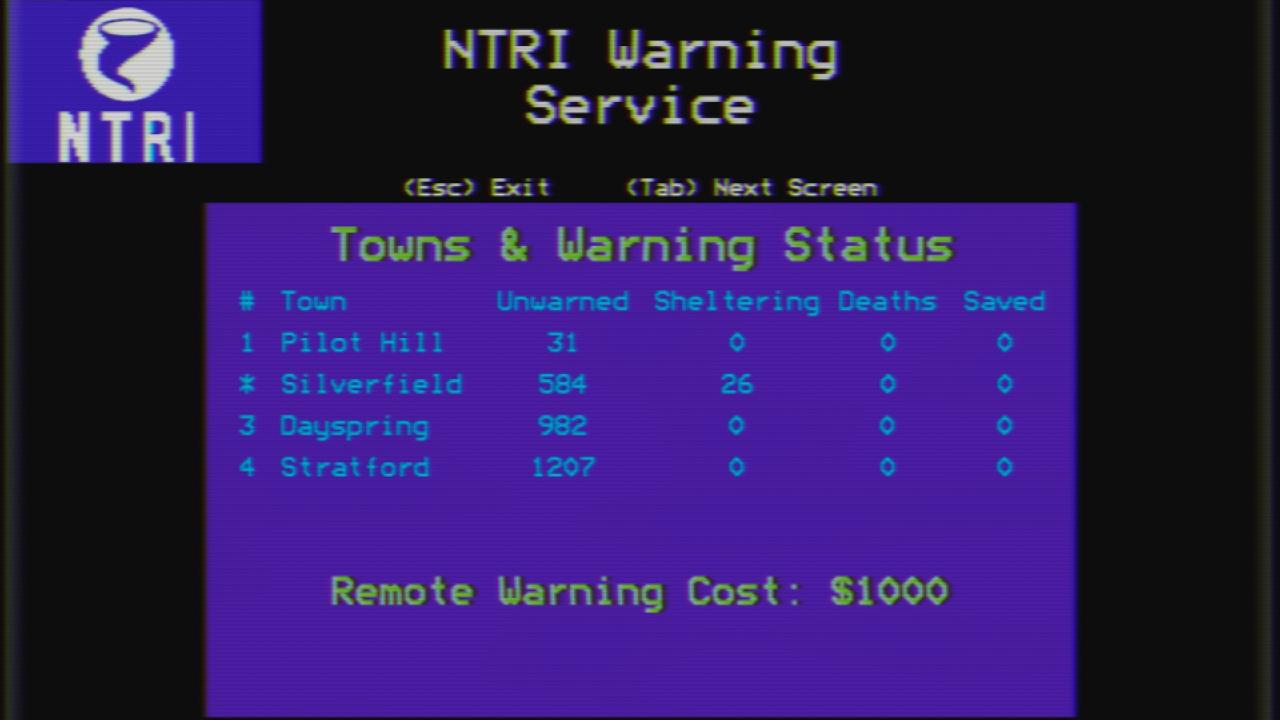
You will observe the number of residents that are unwarned will decrease and the number sheltering will increase. If a resident is hit by a tornado and is unwarned they will be counted as a death, however if they are sheltering when the tornado hits you will earn $100 per resident saved.
When a tornado is on a track that will take it into or near a town, you will hear an alarm and a red countdown will appear in the top-left of your screen. If you are unable to drive to the town before it gets hit you can sound a remote warning. Simply press the corresponding number key for the town you want to warn, the first call costs $1000, the second $5000 and each subsequent call $10,000 – so use these wisely!
To take a photograph of a tornado, right click to enable your VHS camera (and optionally use the scroll wheel to zoom in/out) then left click to take a photo. You will see how much you earned in the bottom-right of the screen. Right click to exit VHS mode.
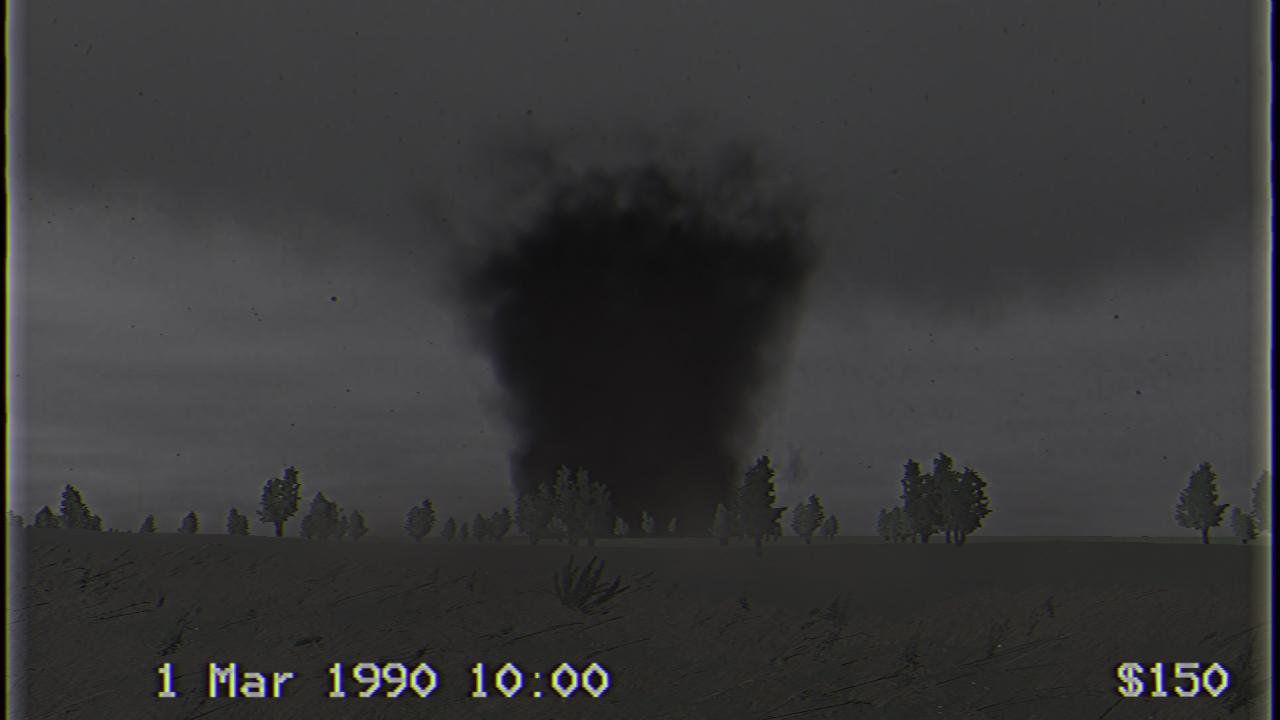
Selling data is the most profitable – but also the most difficult – way of earning money in the game.
You can collect data by driving close to a tornado – probes mounted on your truck will collect wind data. This approach however is risky (driving close to a tornado can result in sudden, unexpected, death) and slow (truck-mounted probes don’t sample as quickly as your main probe).
Alternatively, you can use the “interceptometer” in the bottom-left of the screen to position yourself for a successful tornado intercept:

The “intercept” reading shows your distance from the tornado’s track, and the ETA lets you know how long you have until the tornado reaches the intercept location. Drive until you are within 100m of the tornado’s track for best results.
Next, press [Q] to exit your truck, walk to the bed of the truck and press [ENTER] – the probe will be deployed:
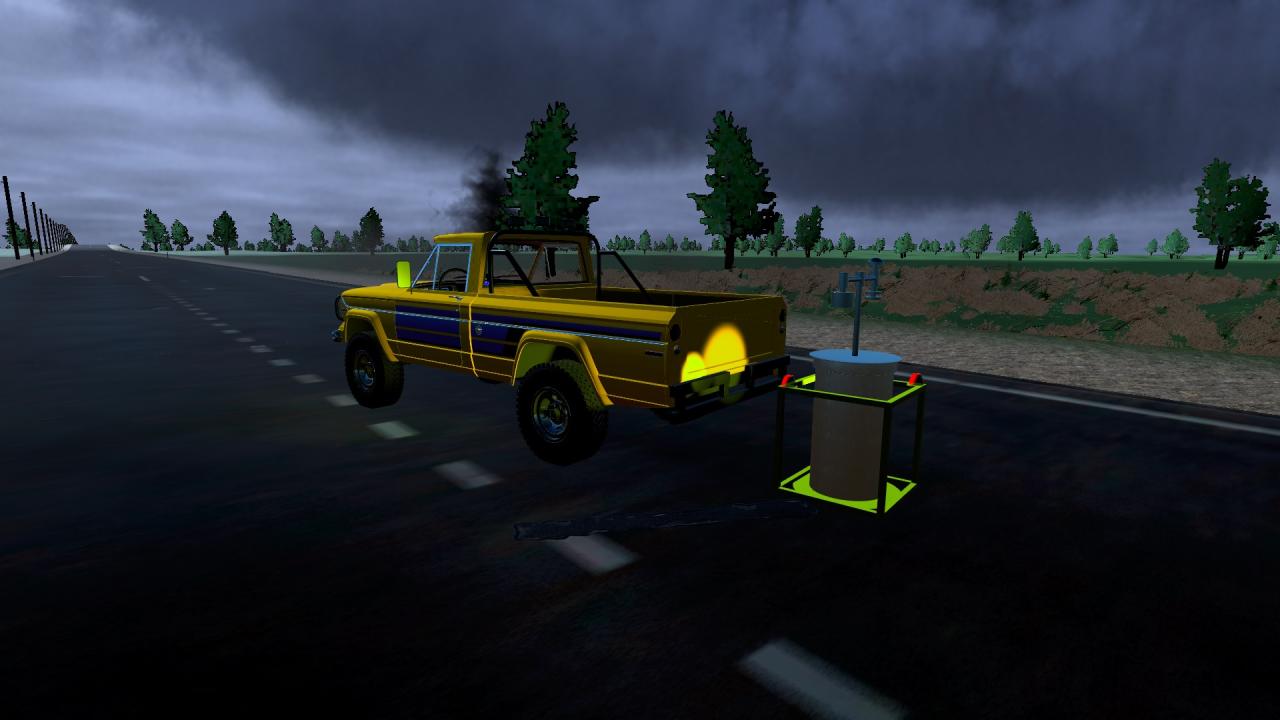
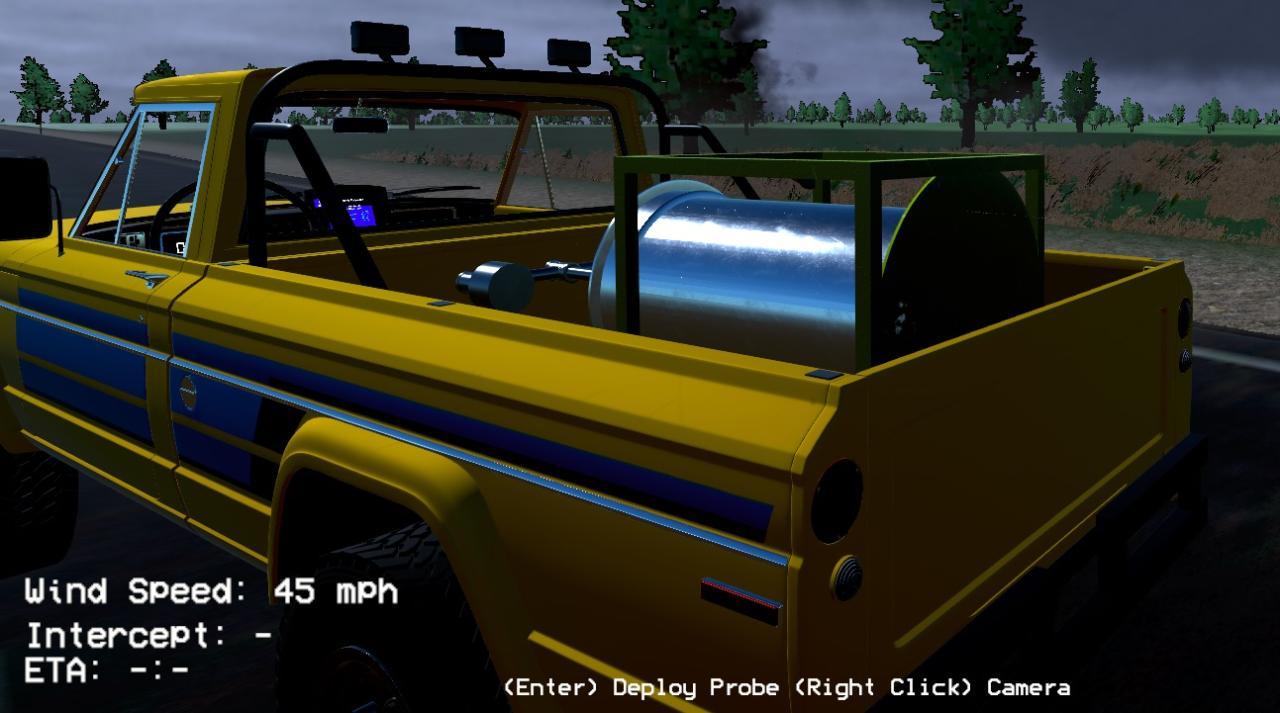
Now get out of there!
If you need to retrieve your probe, reverse your truck until the probe is close to the bed, walk up to the probe and press [ENTER] to load it back into the bed.
If you ever lose track of where your probe is, the “Distance” reading in the bottom-right of the screen shows you how far away it is.
The Data Market
Once you have collected some data (shown in the bottom-right of the screen) open your laptop and [TAB] to the Data Market page:
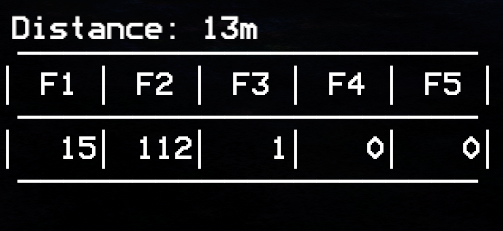
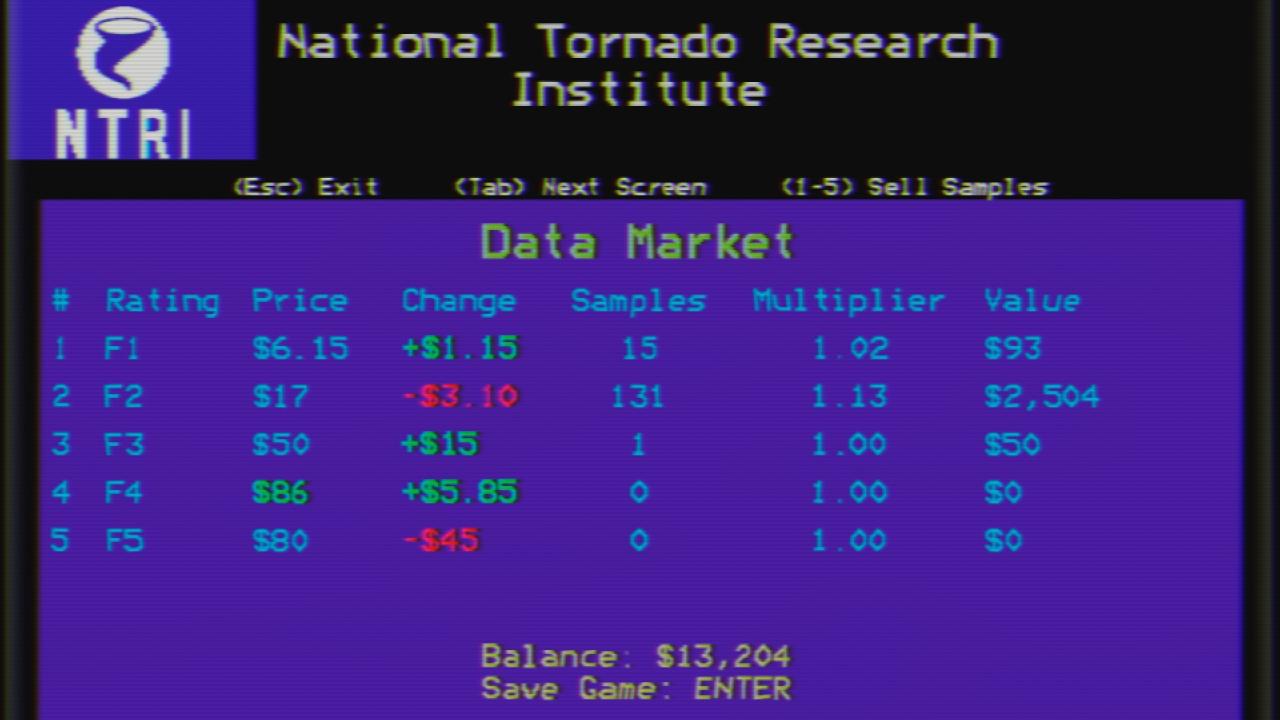
Here you can see the price per sample of each of the F-ratings. There are occasional market spikes where the price for a specific rating increases dramatically. Prices fluctuate over time and the values in the “Change” column show how much the price has changed compared to its standard rate.
As you collect more samples, the value of those samples is multiplied by the value in the “Multiplier” column, however if you die you lose all of your samples!
To sell your data, press the corresponding number key on your keyboard.
Upgrades
Once you have earned some money you can begin upgrading your equipment!
[TAB] along to the “Upgrades” screen:
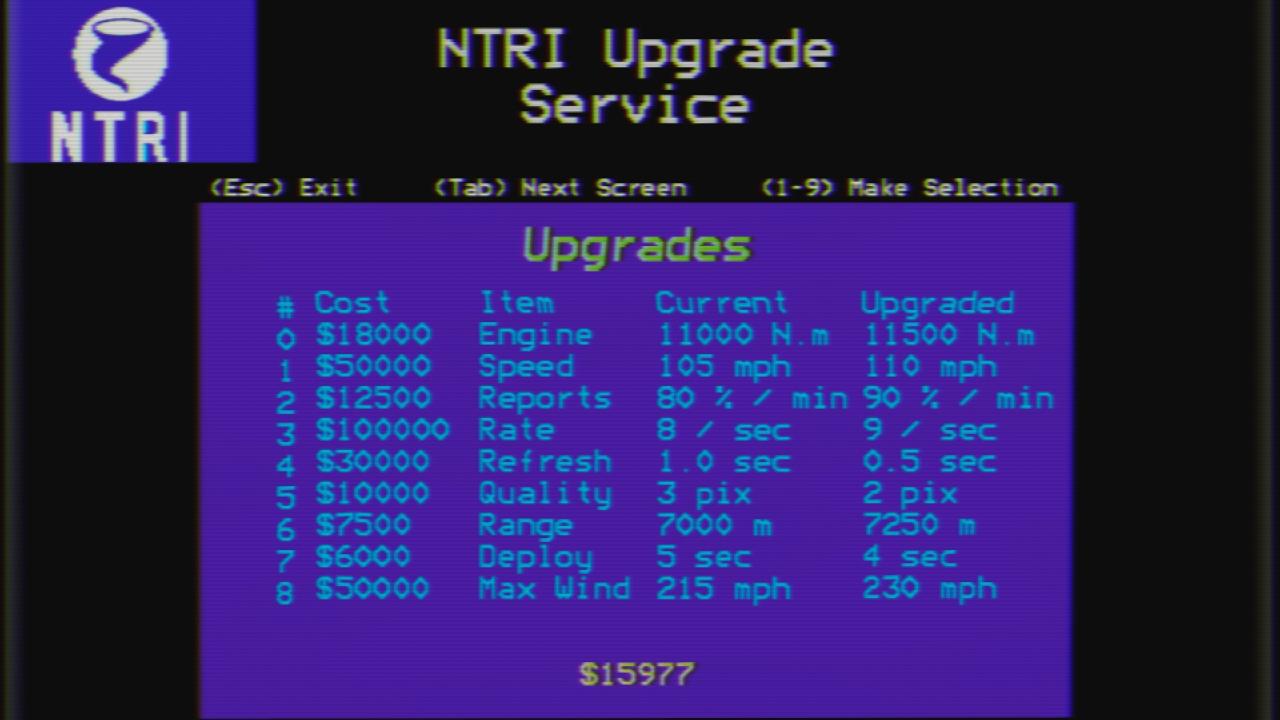
Press the corresponding number key on your keyboard to purchase an upgrade, the options are:
- Engine – Engine torque, improves acceleration
- Speed – Maximum speed truck can drive
- Reports – Increases number of tornado reports on the radar screen (indicated by an upside-down triangle)
- Rate – The number of samples per second your main probe is capable of recording
- Refresh – Time delay in seconds between radar updates
- Quality – Quality of radar image in pixels, smaller values result in higher quality images
- Range – Range of portable doppler radar, indicated by white ring on radar page
- Deploy – Number of seconds it takes for probe to deploy from bed of truck
- Max Wind – The wind speed tolerance of your truck, once the outside wind is stronger than this value your truck will begin to be affected by the wind
With your upgraded equipment you will be better prepared for your next intercept!
