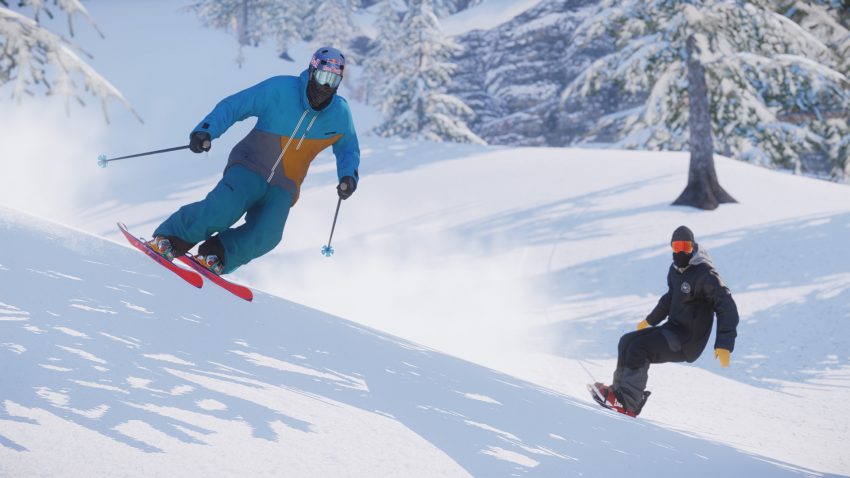
Rail Tips
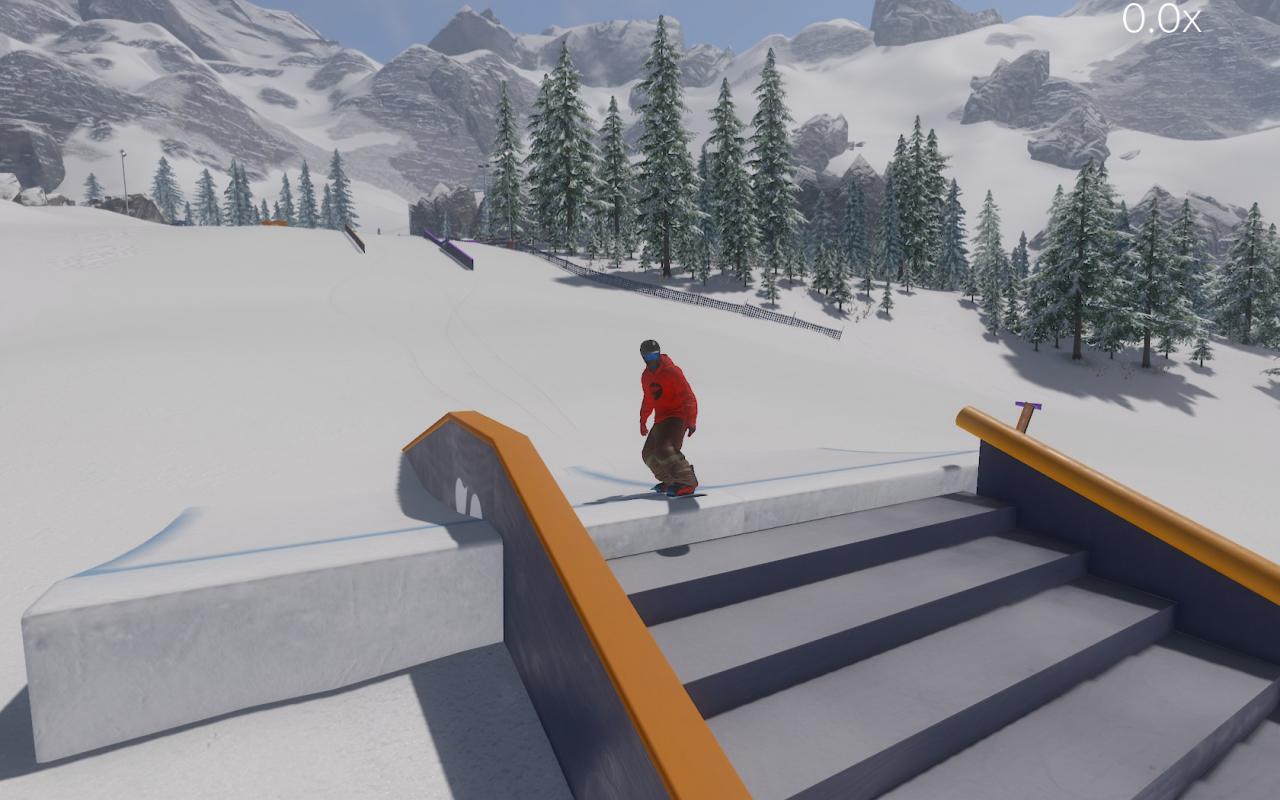
Note* to make it don’t jump on some rails like this one.
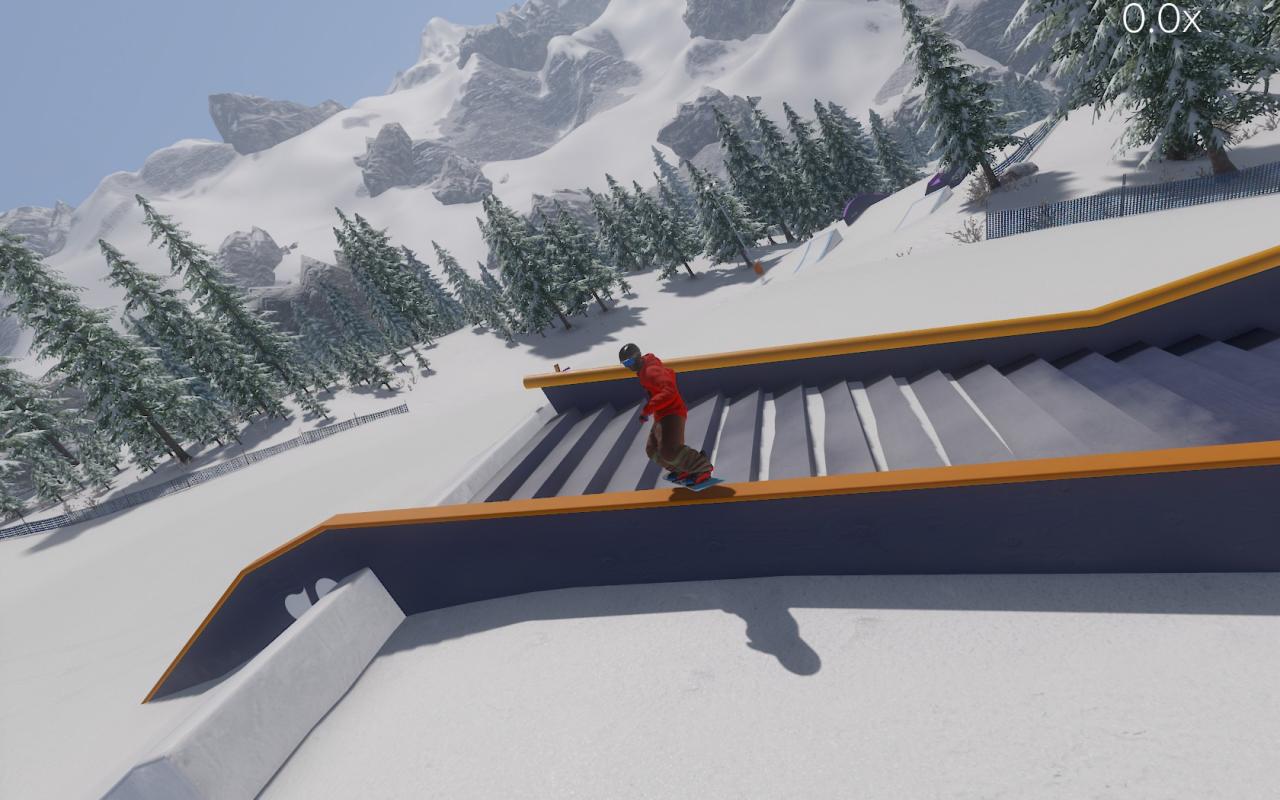
Note* I made it on the rail, and on most rails once your on, you’ll usually stay on it like this one.
But here is how not to do it:
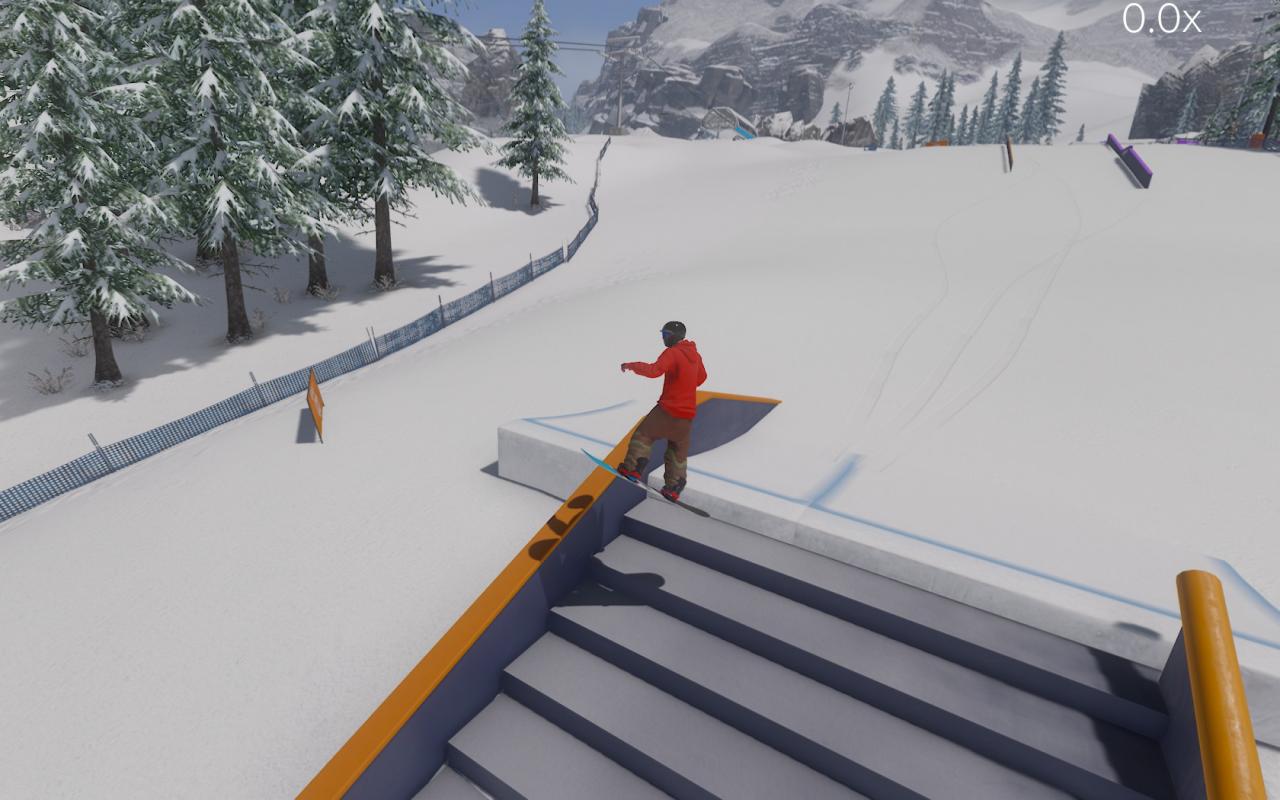
Note* I jumped and whats wrong with that?
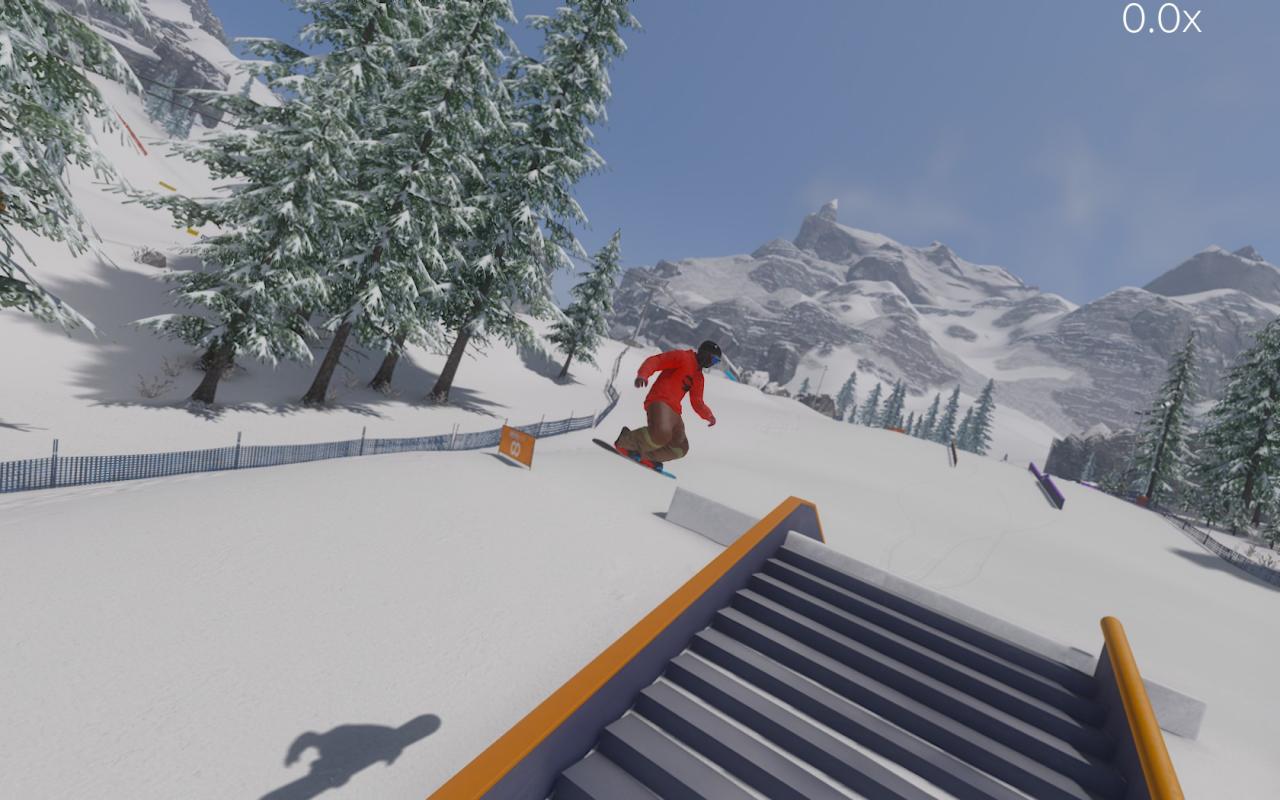
I go up a little, it wont hurt
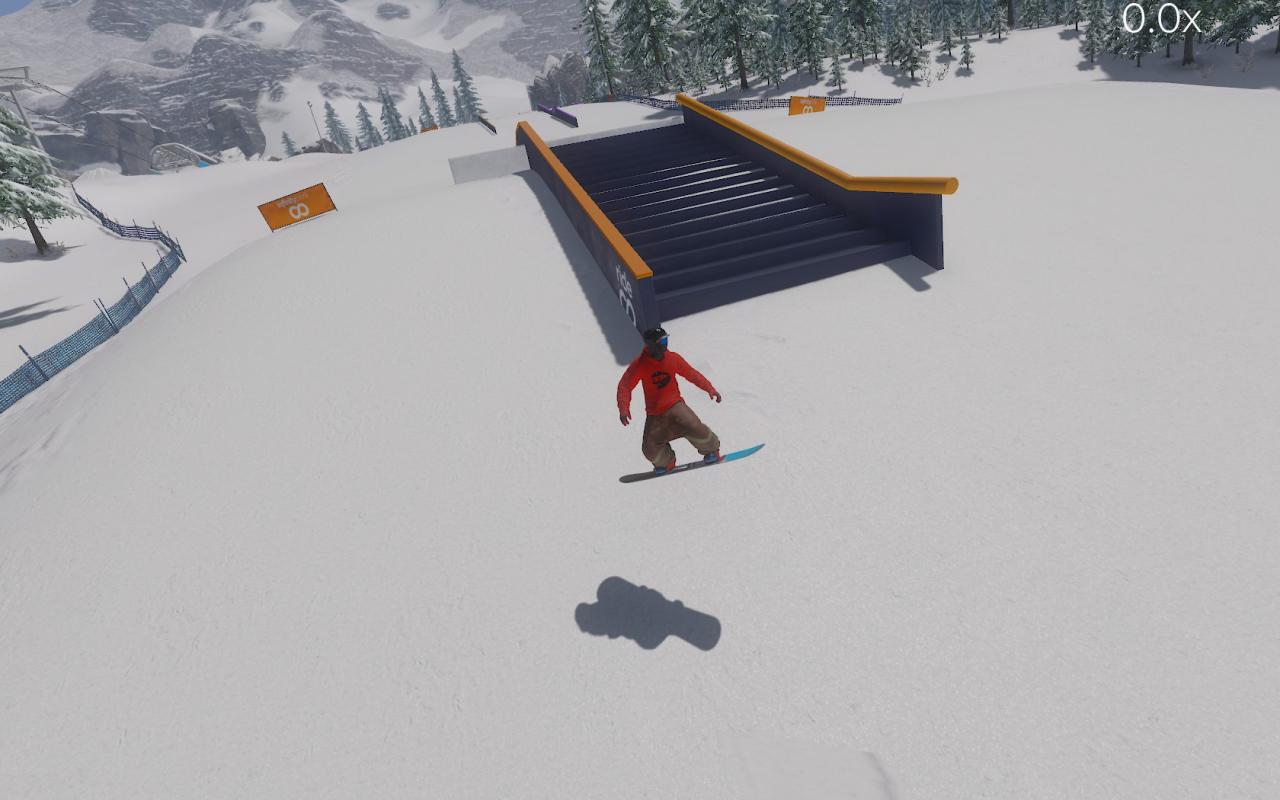
Huh i completely missed it, guess i shouldn’t jump on this one(That’s exactly what you should do is to not jump on this one)
But which ones do i jump on and don’t jump on?
well you can usually tell when your going on it, now if you kind of take a peek (this can be tricky) look at it and ask yourself “does this jump to the rail look like it aligned to the rail or above it? If yes then you do not jump, but if it’s lower that the rail then you have to jump. Note* if you are going slow you might want to jump onto the rail. Below is 2 examples of what to jump Ex.1:
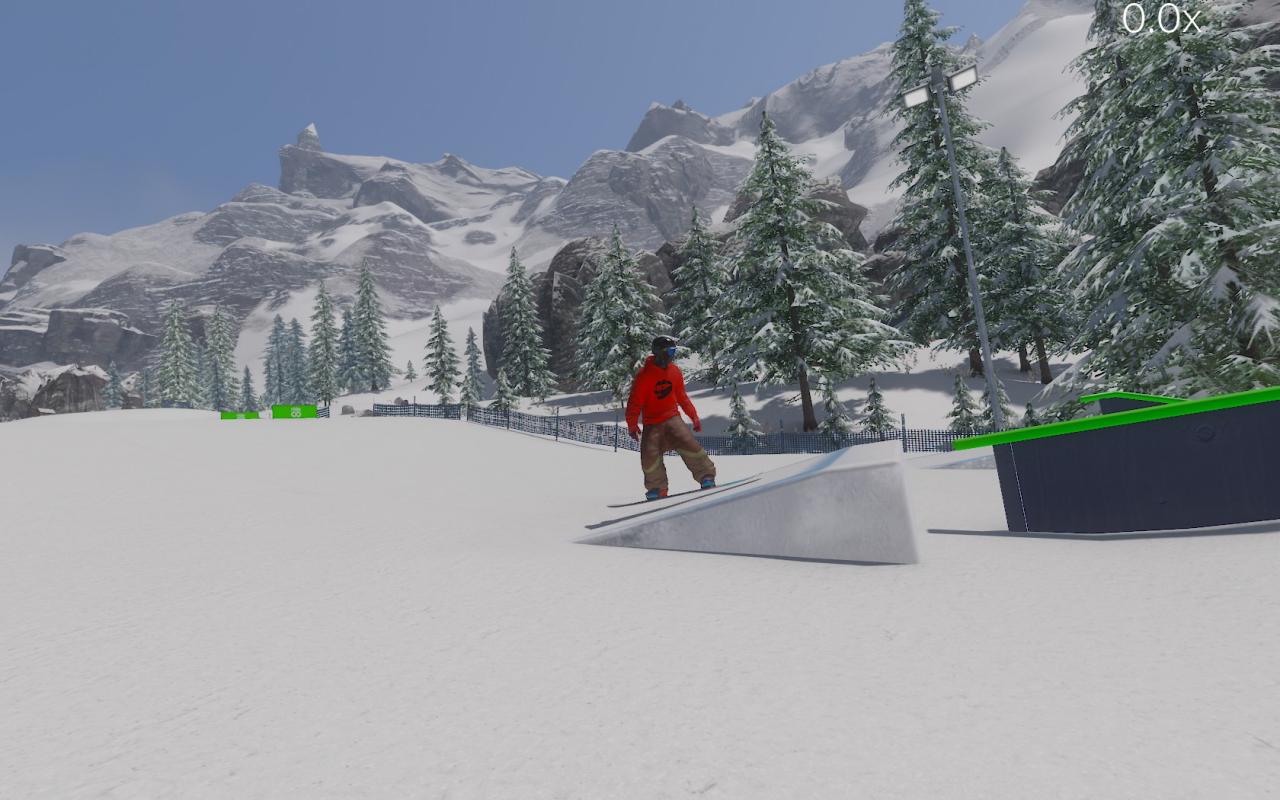
See this one is aligned so don’t jump it.
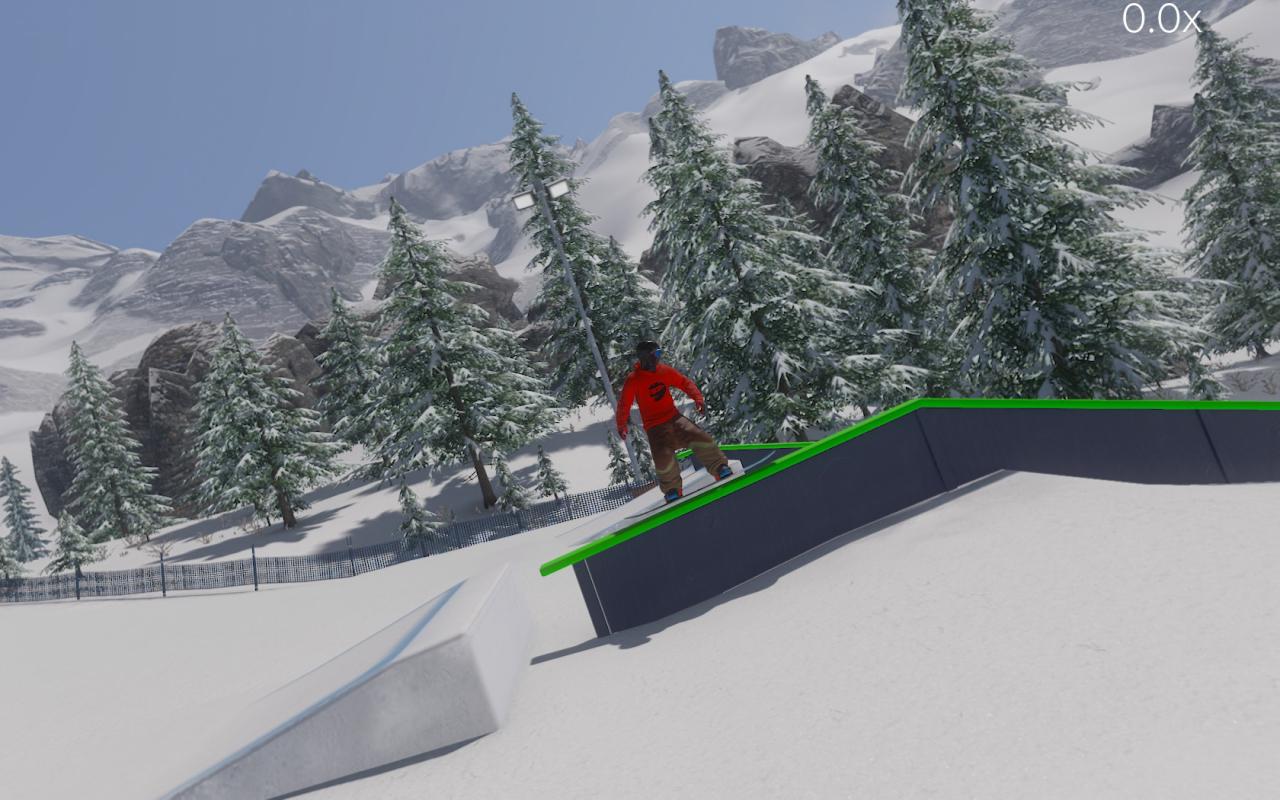
Turned out great when i didn’t jump it
Ex.2:
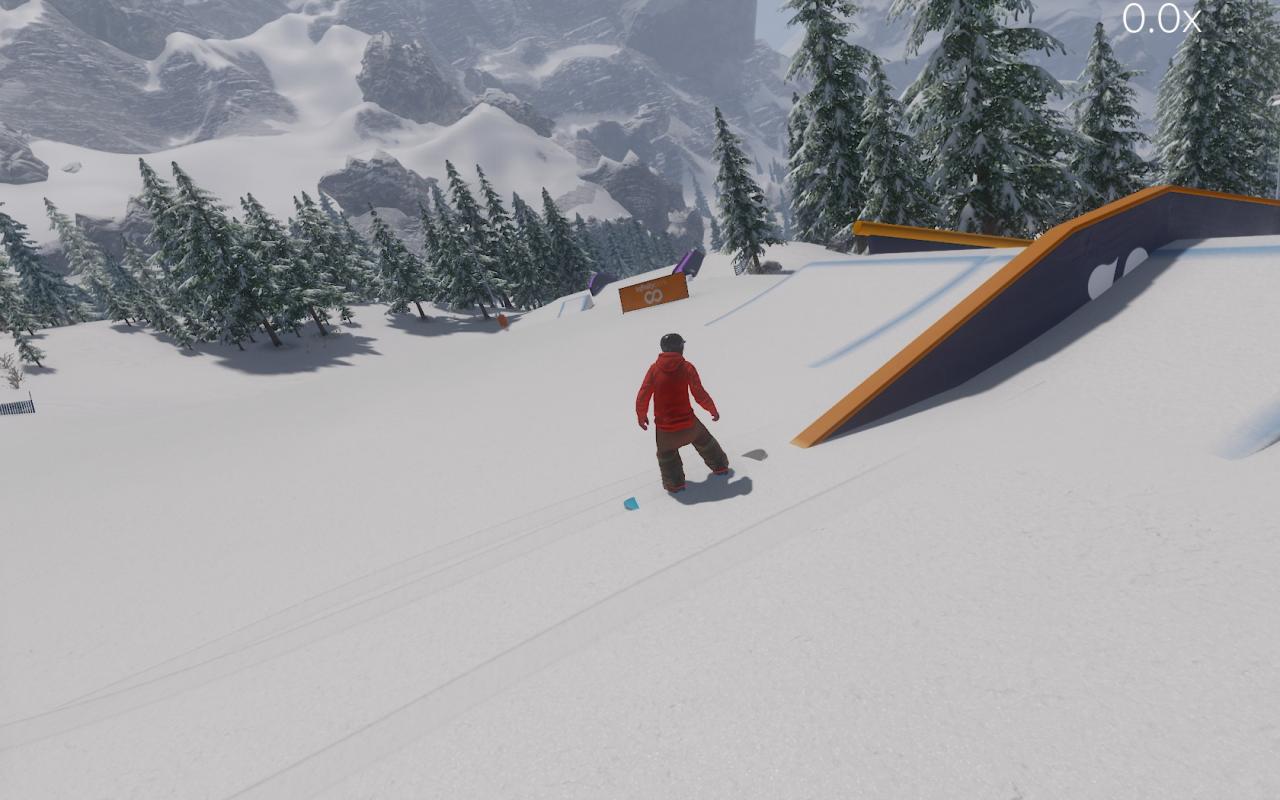
This one comes up from the ground so no problem.
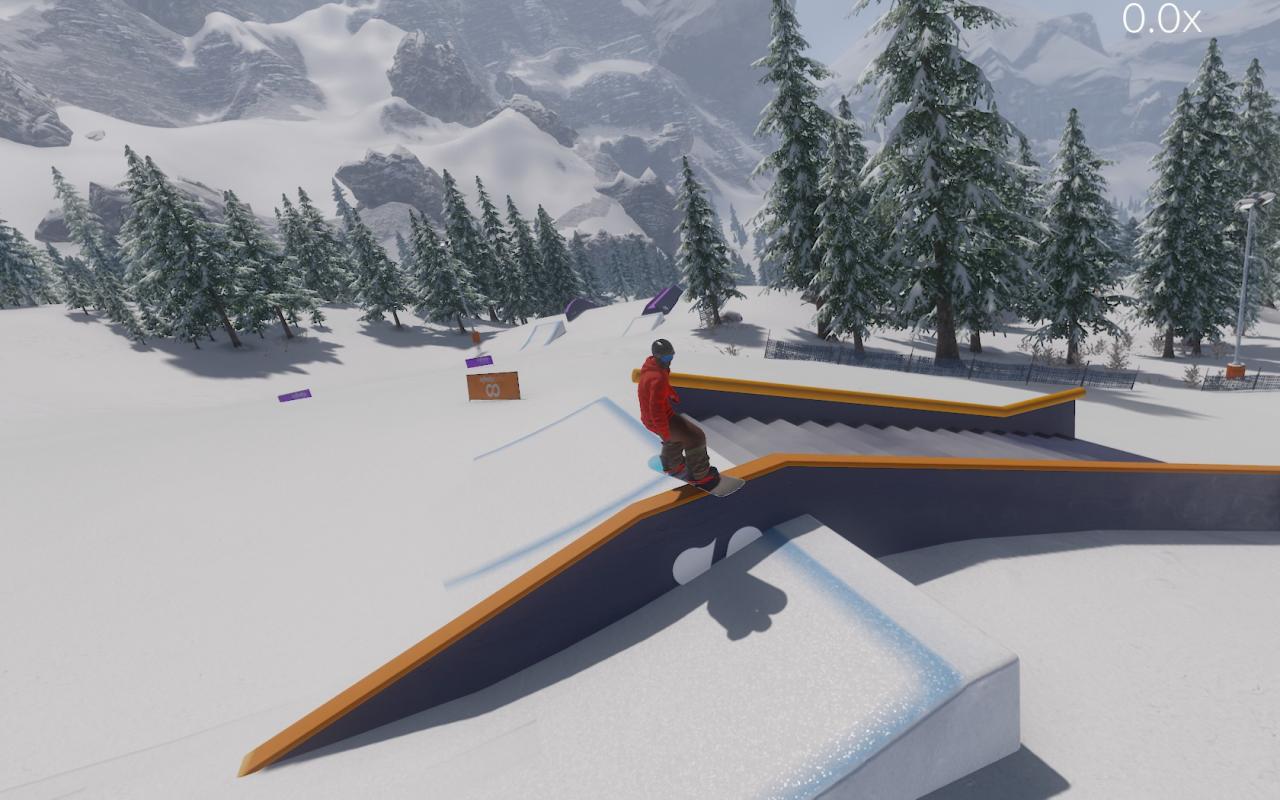
Just slid right on. (no jumping)
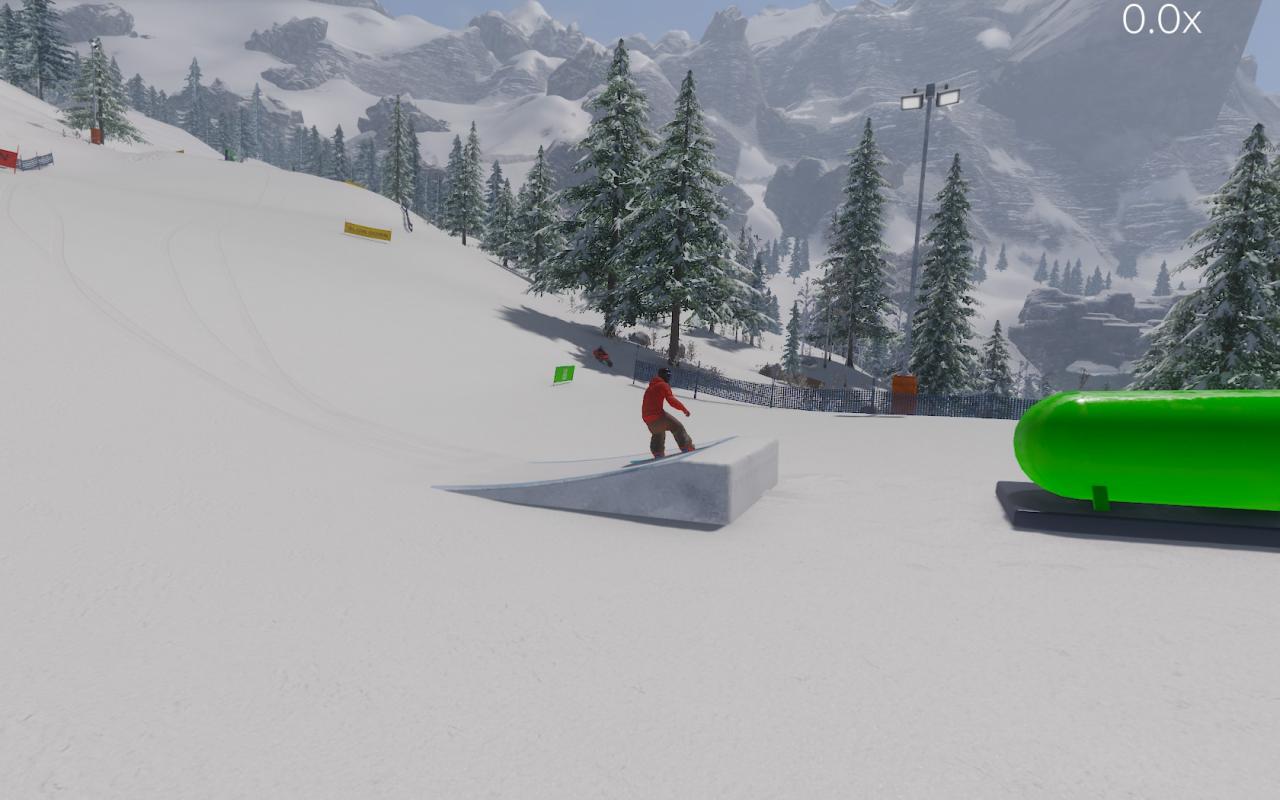
Now here are 2 examples of what to jump on Ex.1: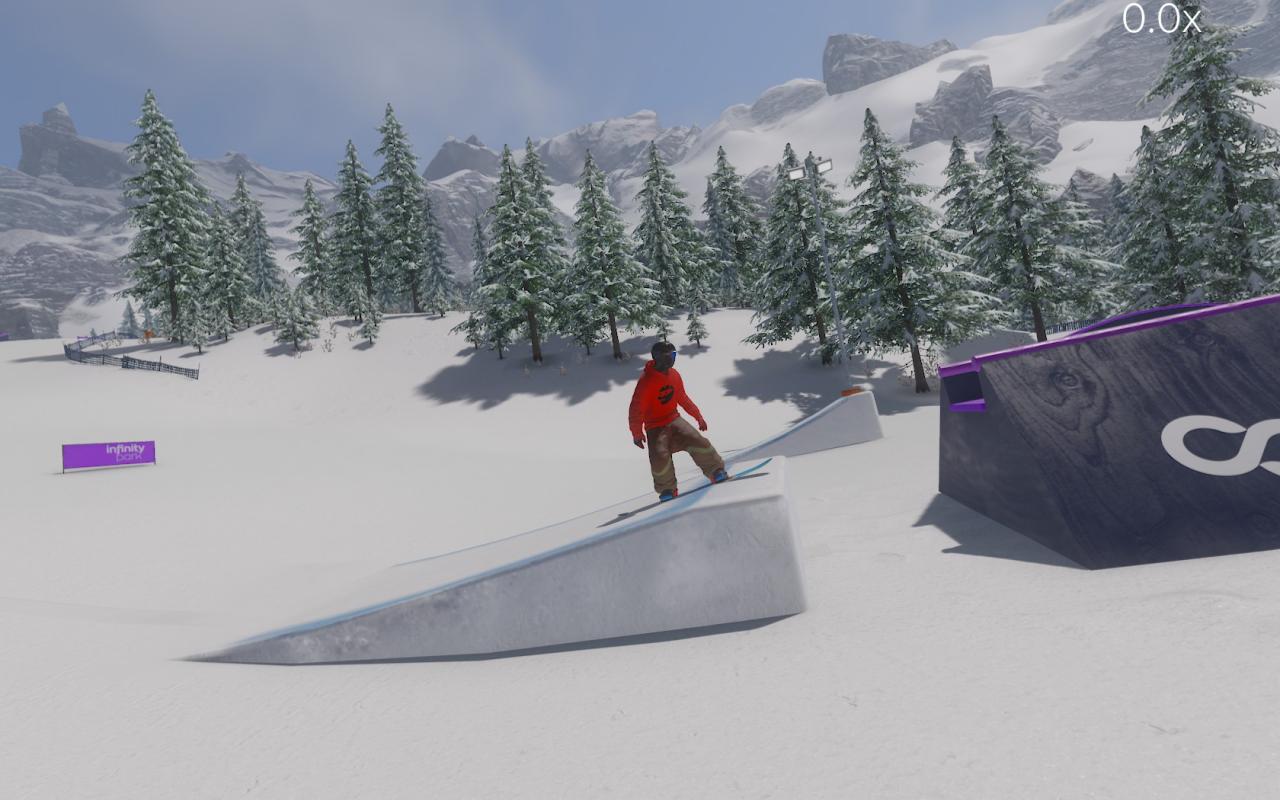
OK so see how decently high this is, you want to jump to grind, unless you want to get in the middle.
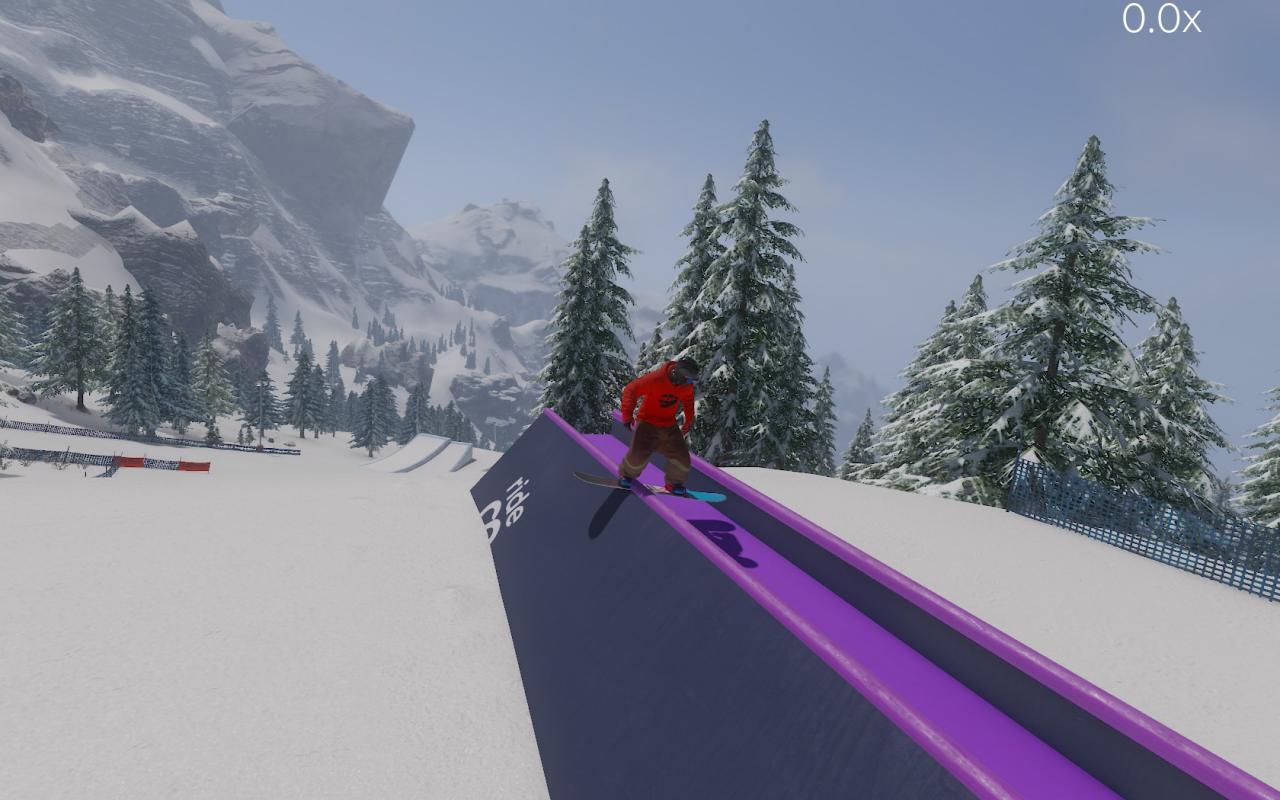
OK i jumped and started to grind. (good)
Ex.2:
See how far the rail is from the jump? For this we need to jump.
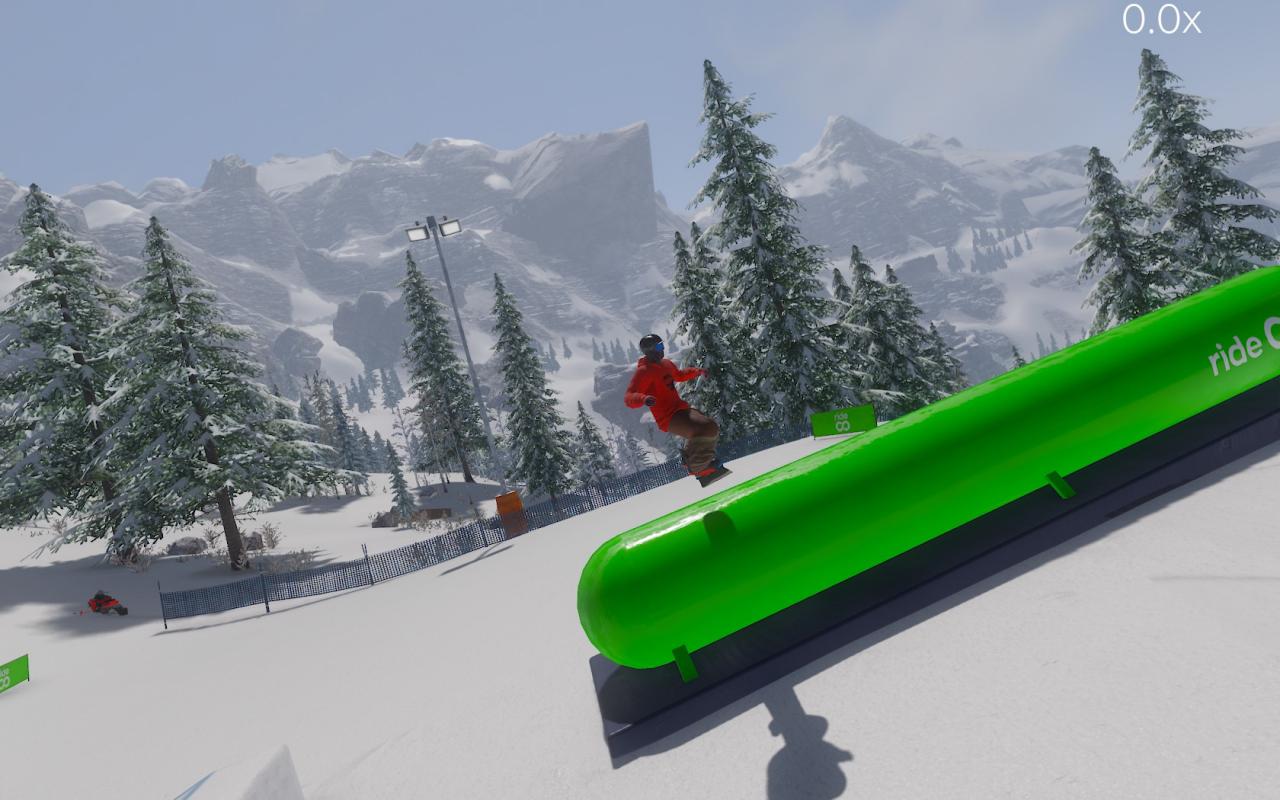
we’re safe.
OK now for more intermediate rail tips to look cooler than before. This part is where we try to jump or not jump (depending on circumstances) onto a rail ,now we try to a spin onto a rail. (only do a spin onto a rail if its a jumping rail see beginner tips above) Note* you only have to have a jumping rail to spin onto it, and Here is an example of spinning onto and off of a rail:
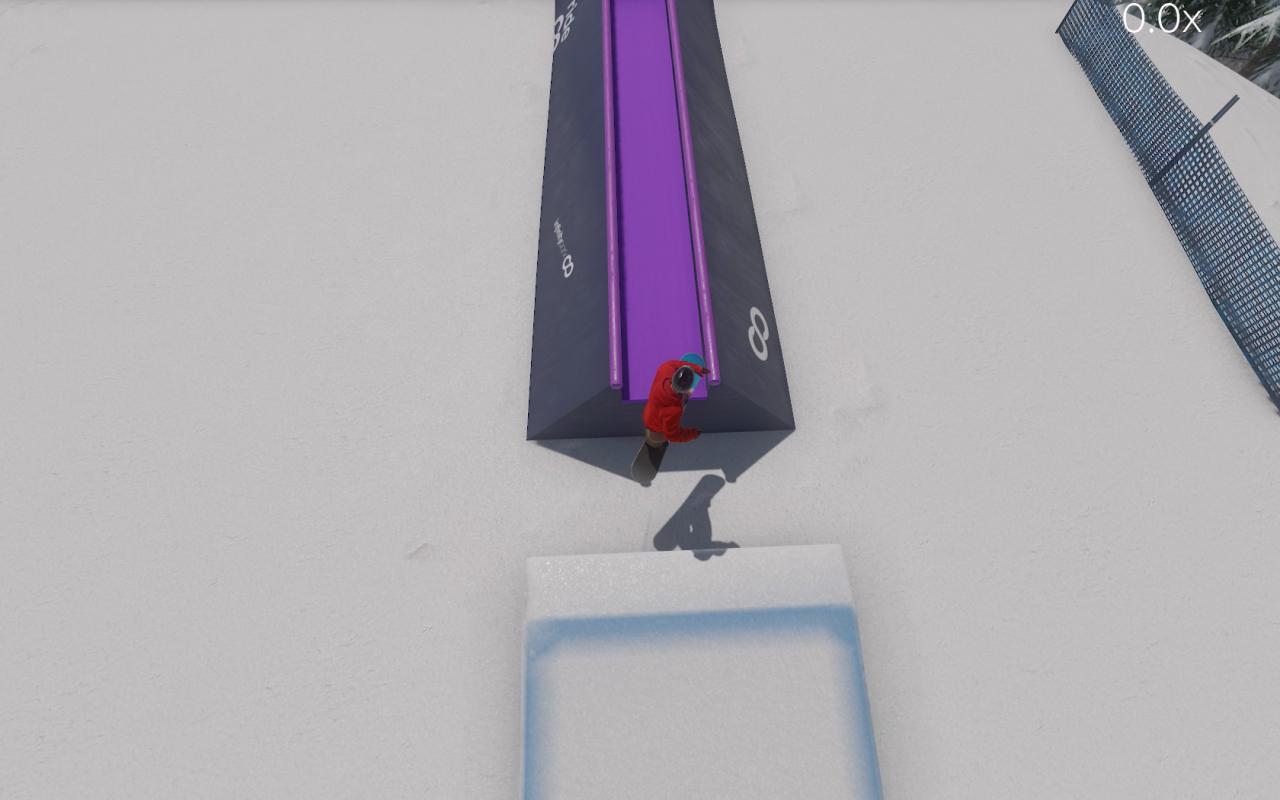
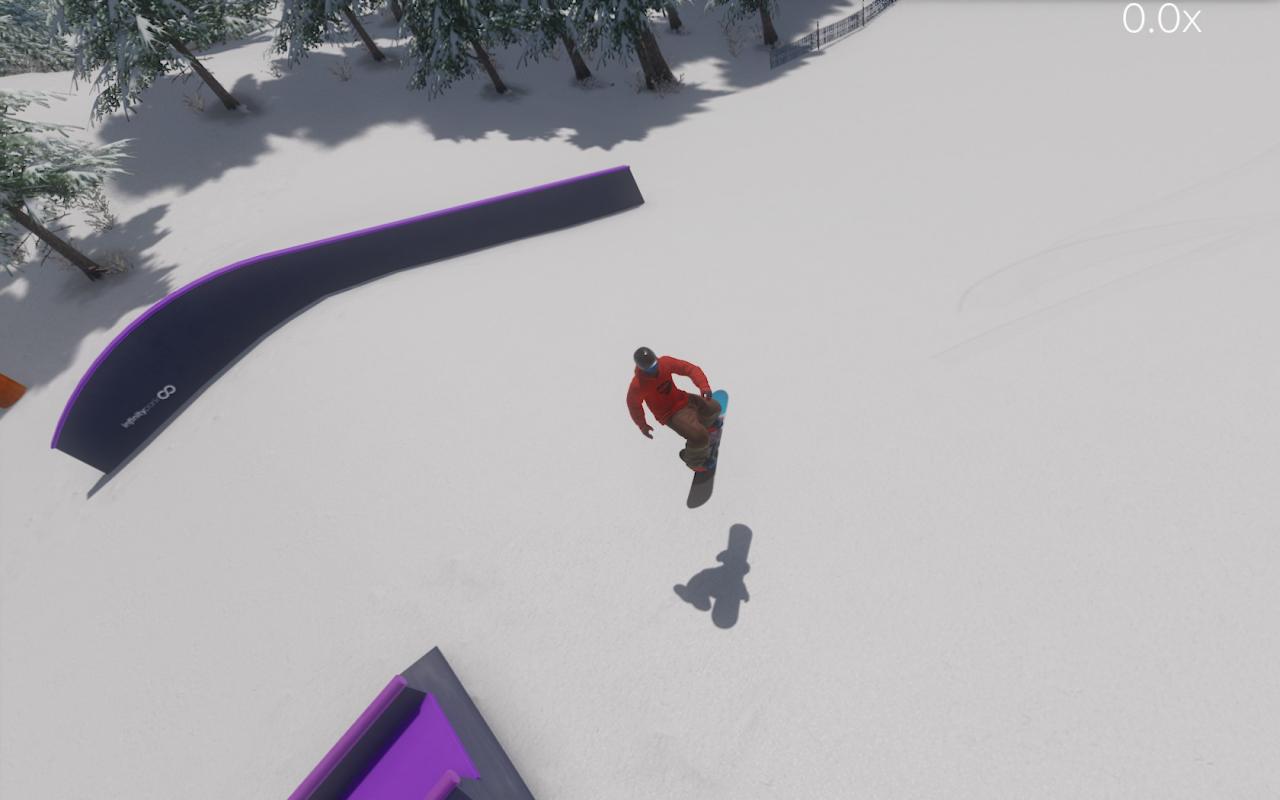
Spin on spin off
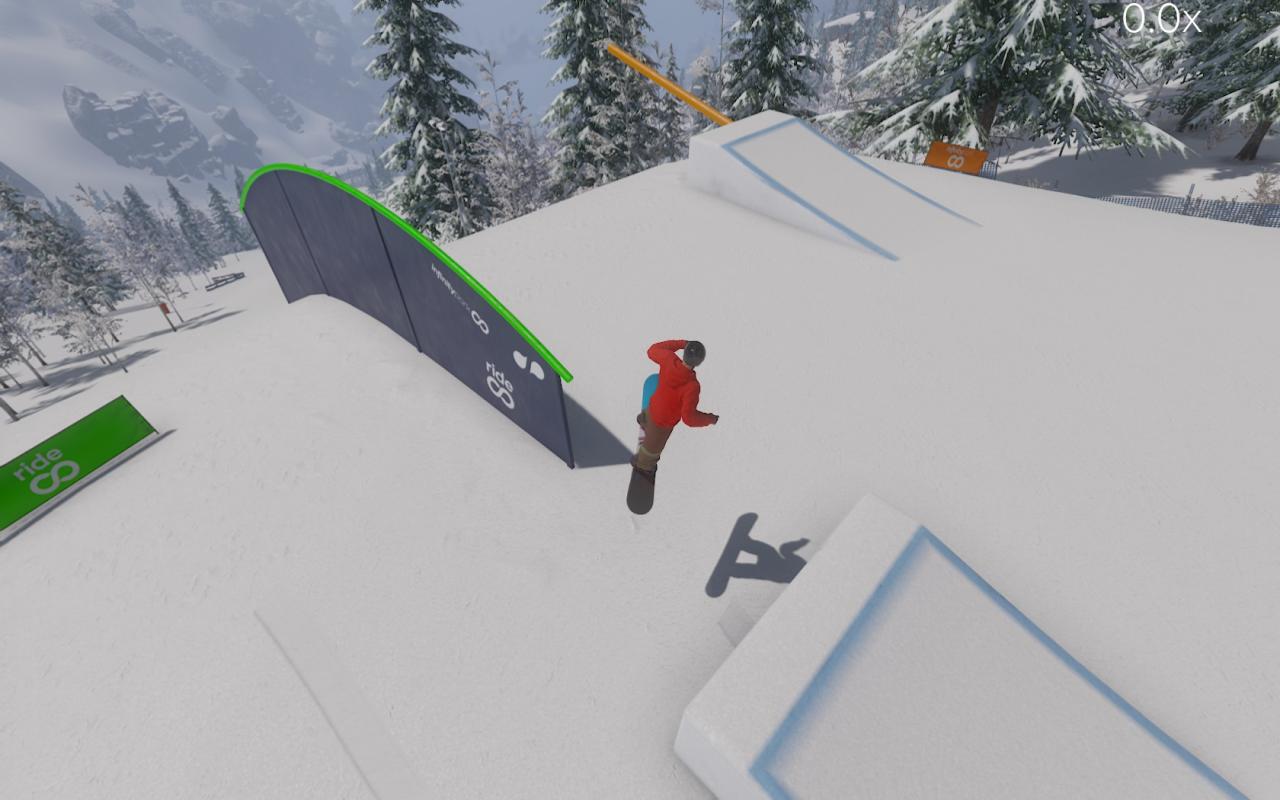
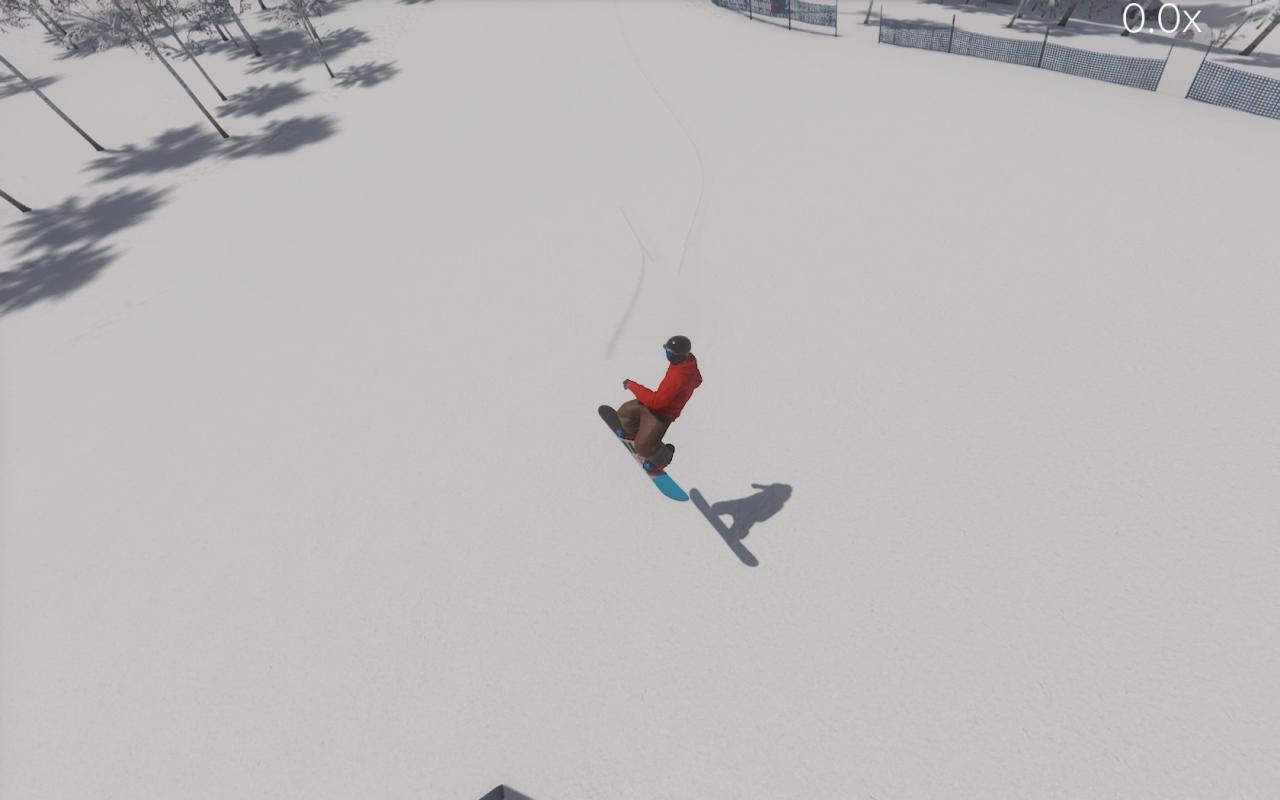
Spin on spin off
Now what you can also do is spin while your on the rail and example: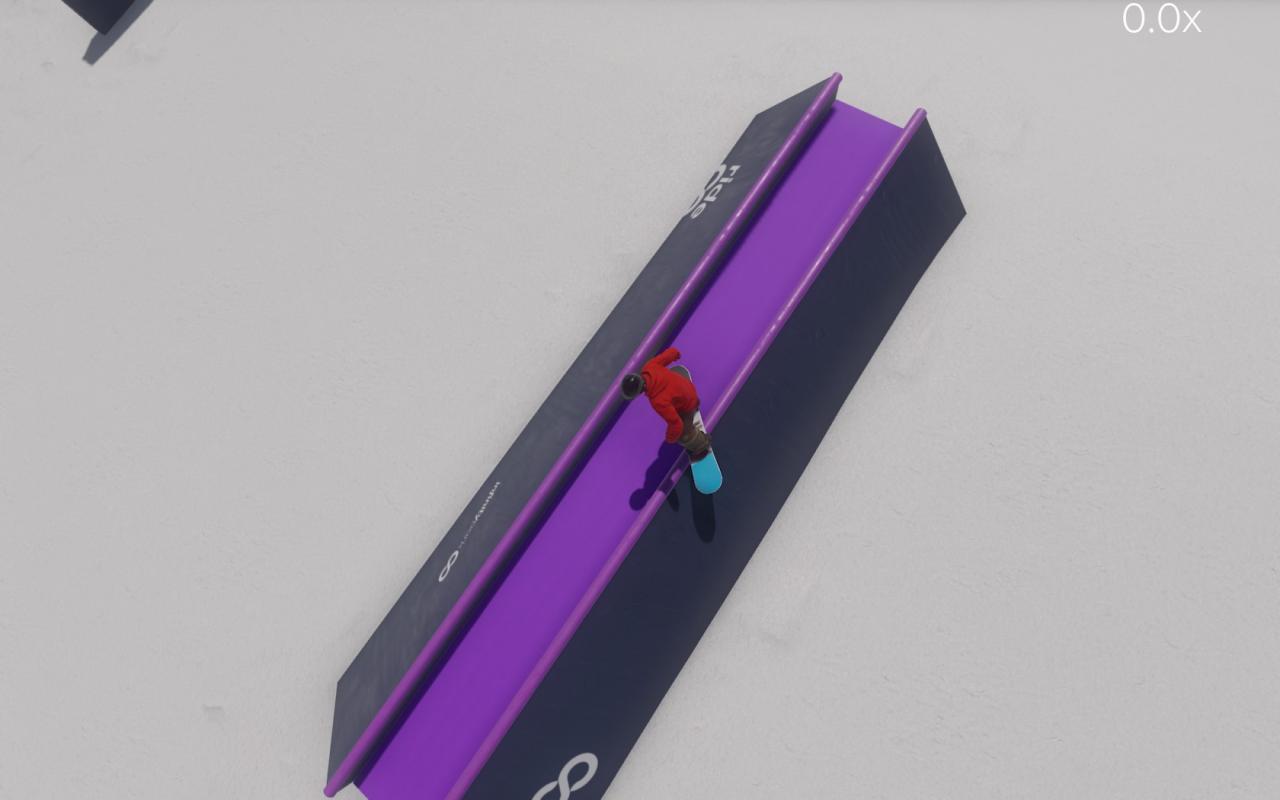
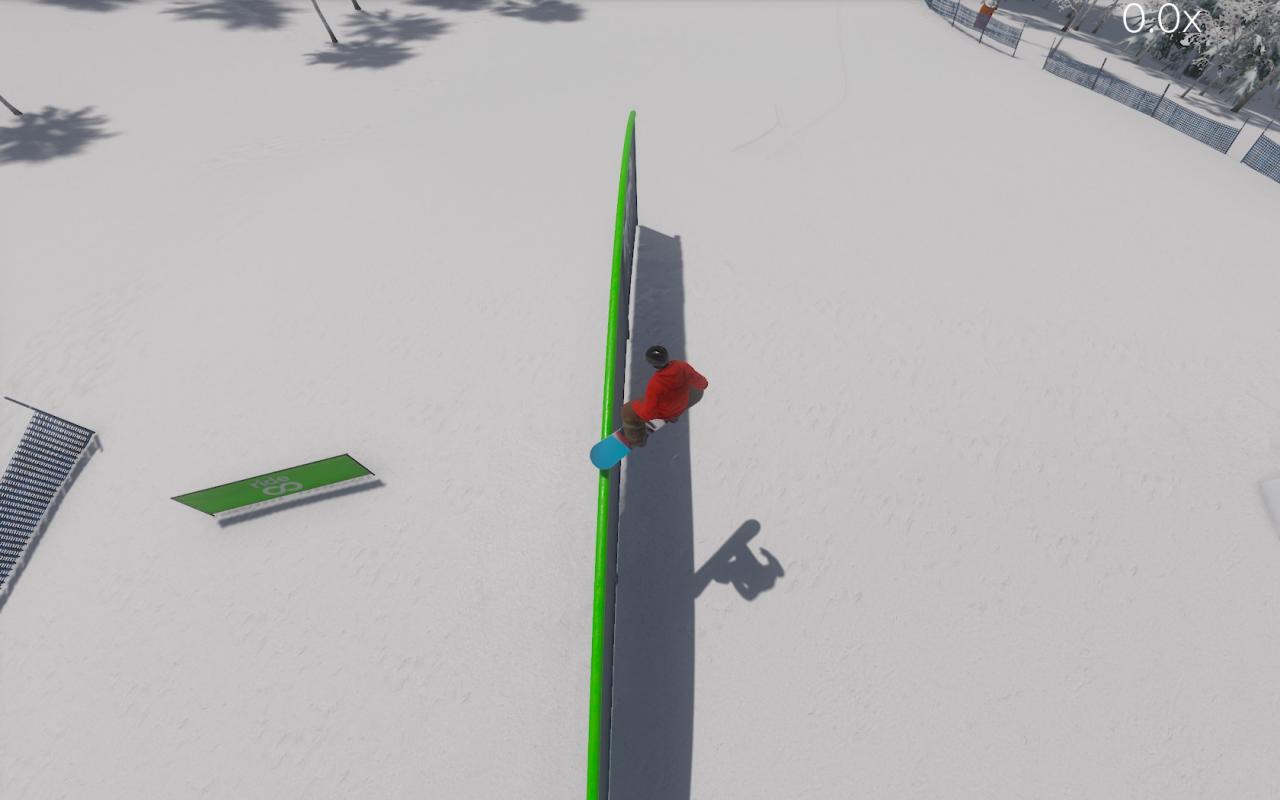
Heh, almost fell off that one
Now we move on to the advanced rail tips, you will need a number pad for “part 2” of this. OK so when you jump on a rail you can try to do a trick on (Pic.1.) and a trick off (Pic.2.)
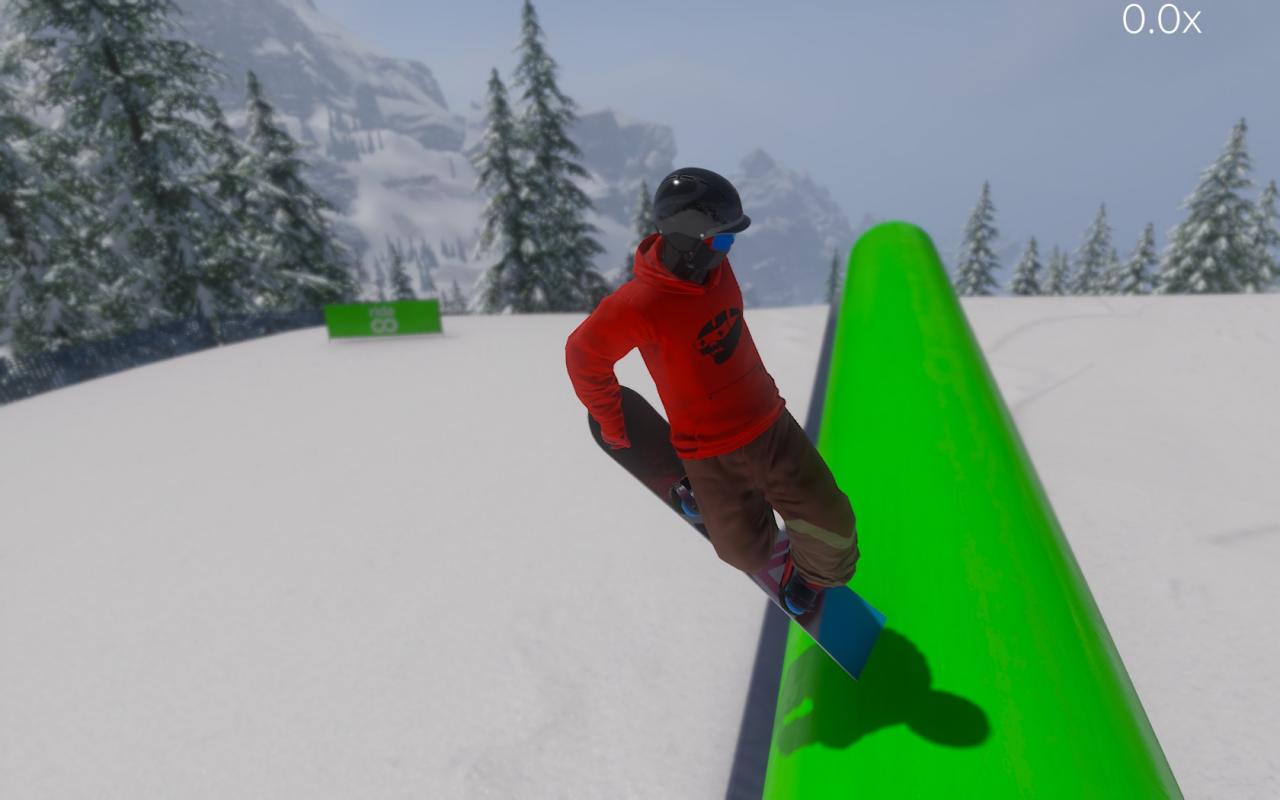
On
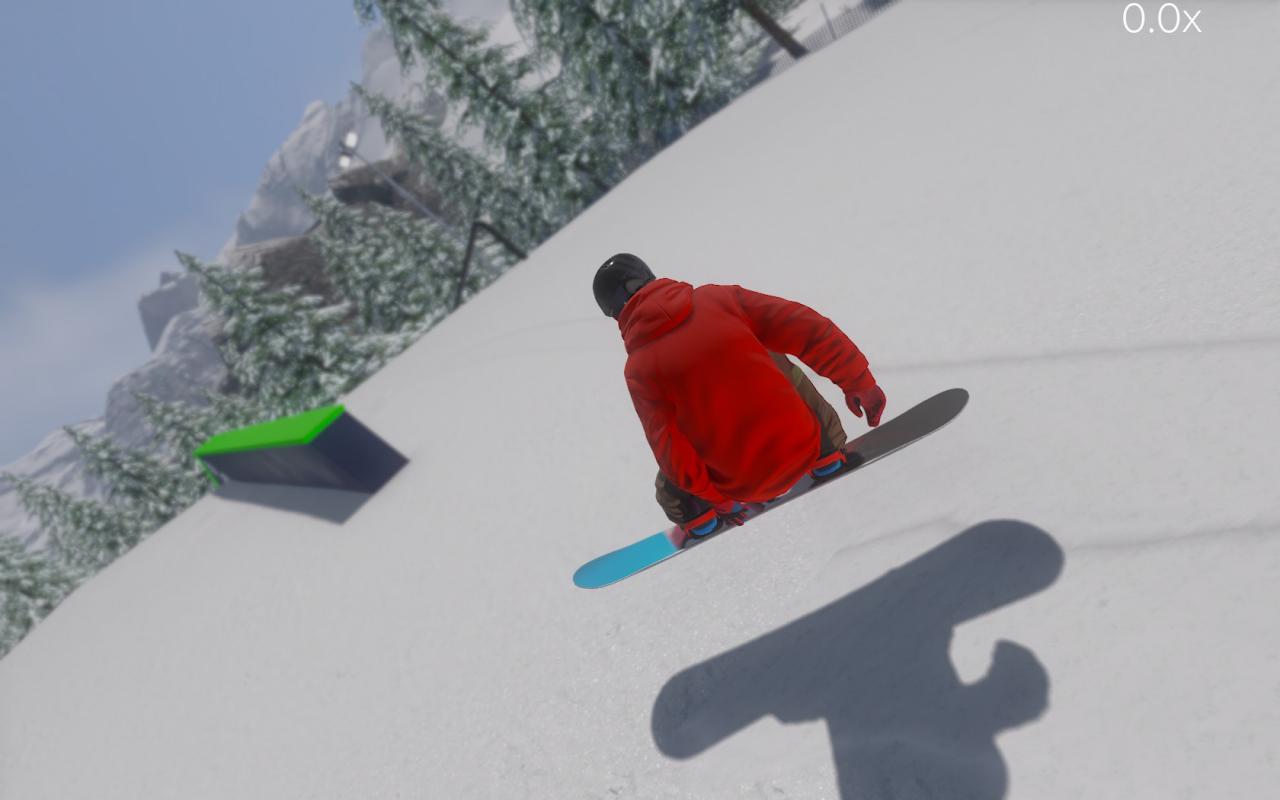
Off
(its hard to do this and make it look good if its not a big rail)
OK for this part you will need a Number pad, got it? OK lets start by looking at the 4 and 6 on the Number pad. When you jump on rails you can use these to tilt you skis or board left or right. 4 tilts them left and 6 tilts them right. This is an example of me using these to do this: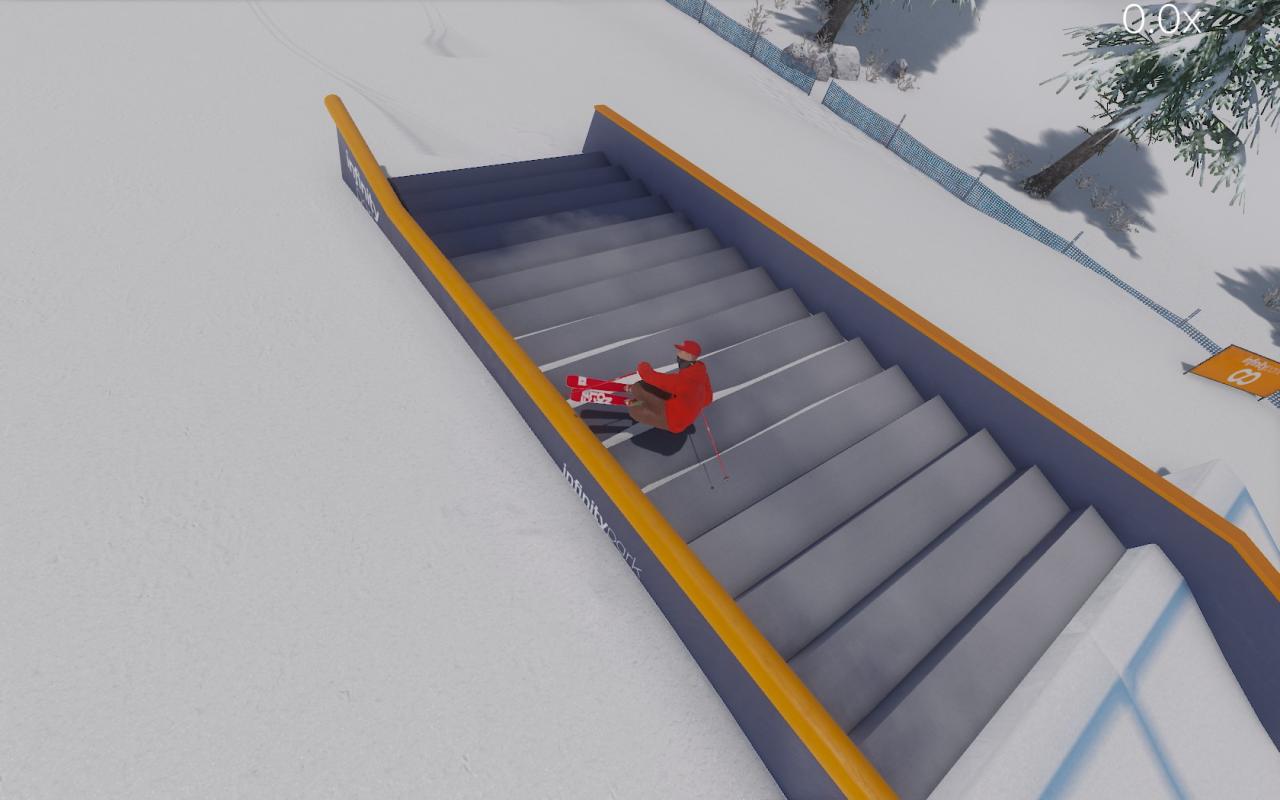
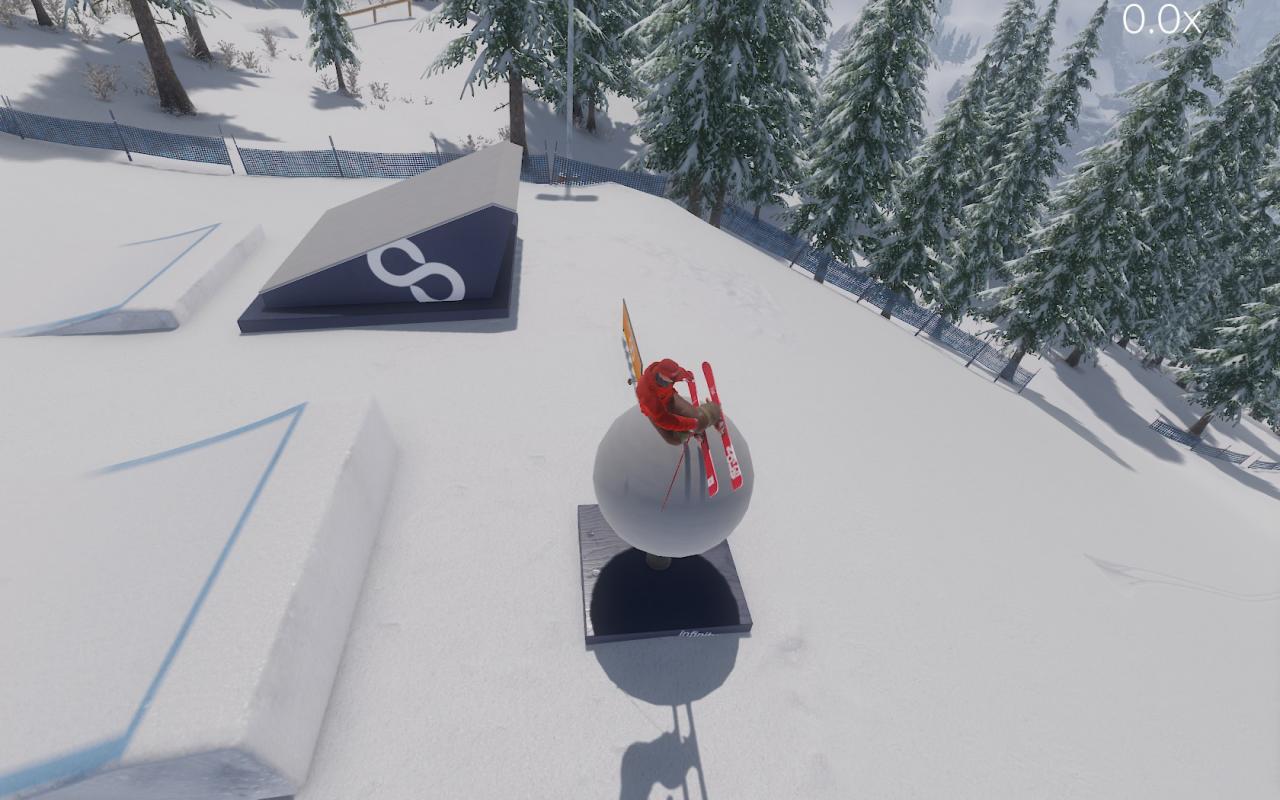
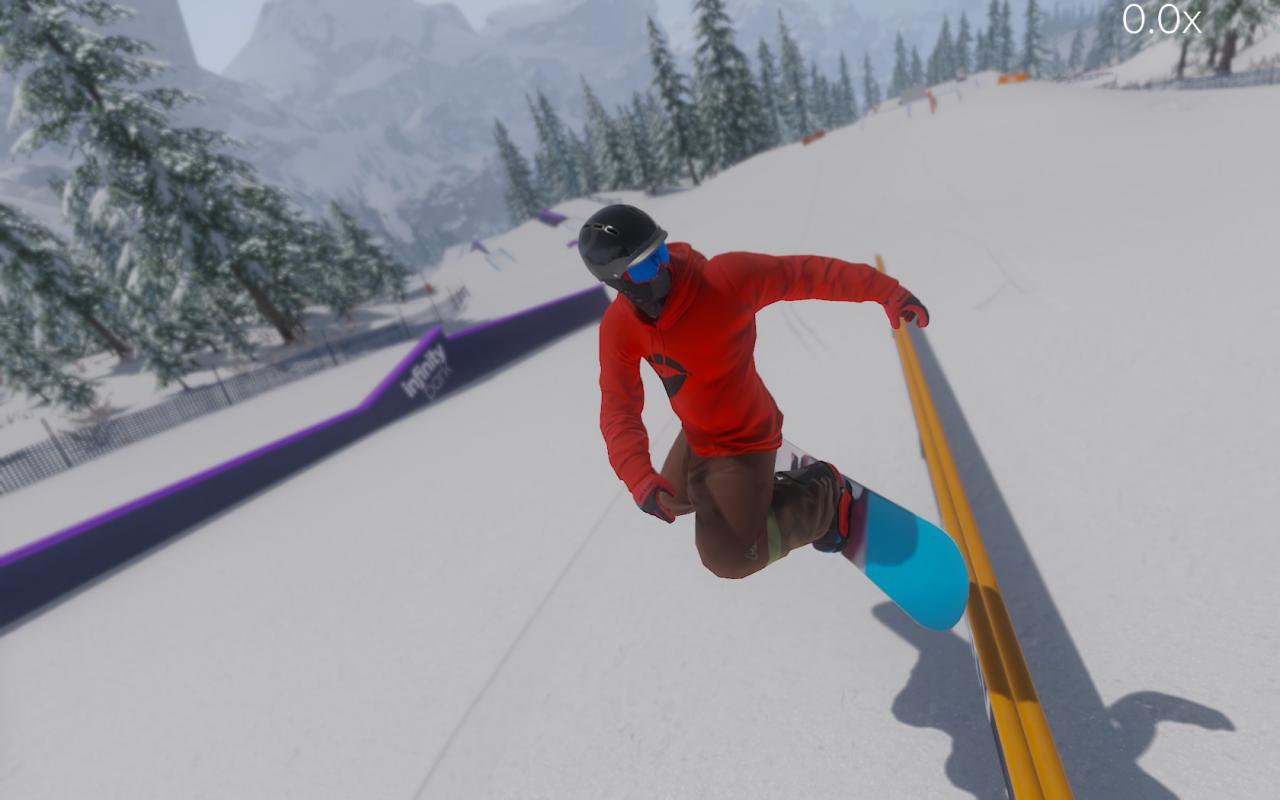
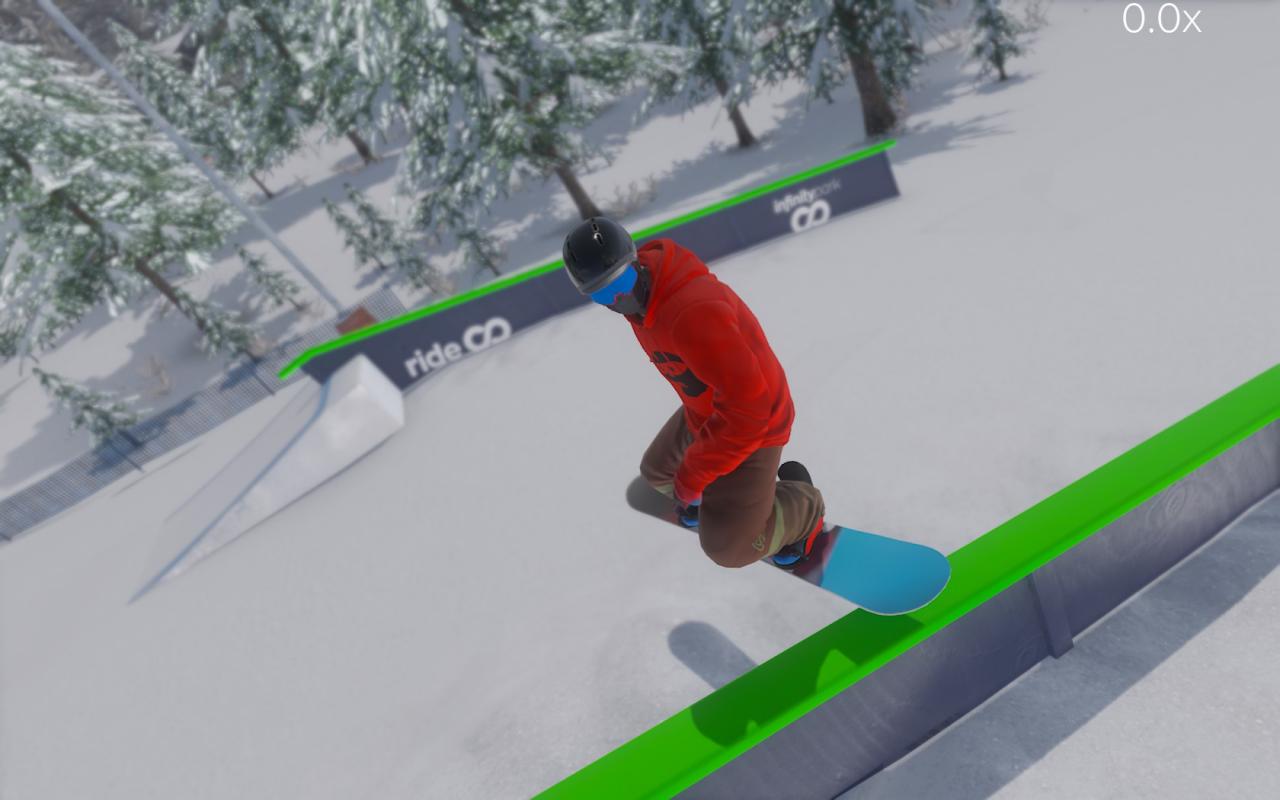
Now if you try these rail tricks you might look as cool as me someday! (I’m actually not that cool)
How To Look Cool And Be Cool
Half And Quarter Pipes
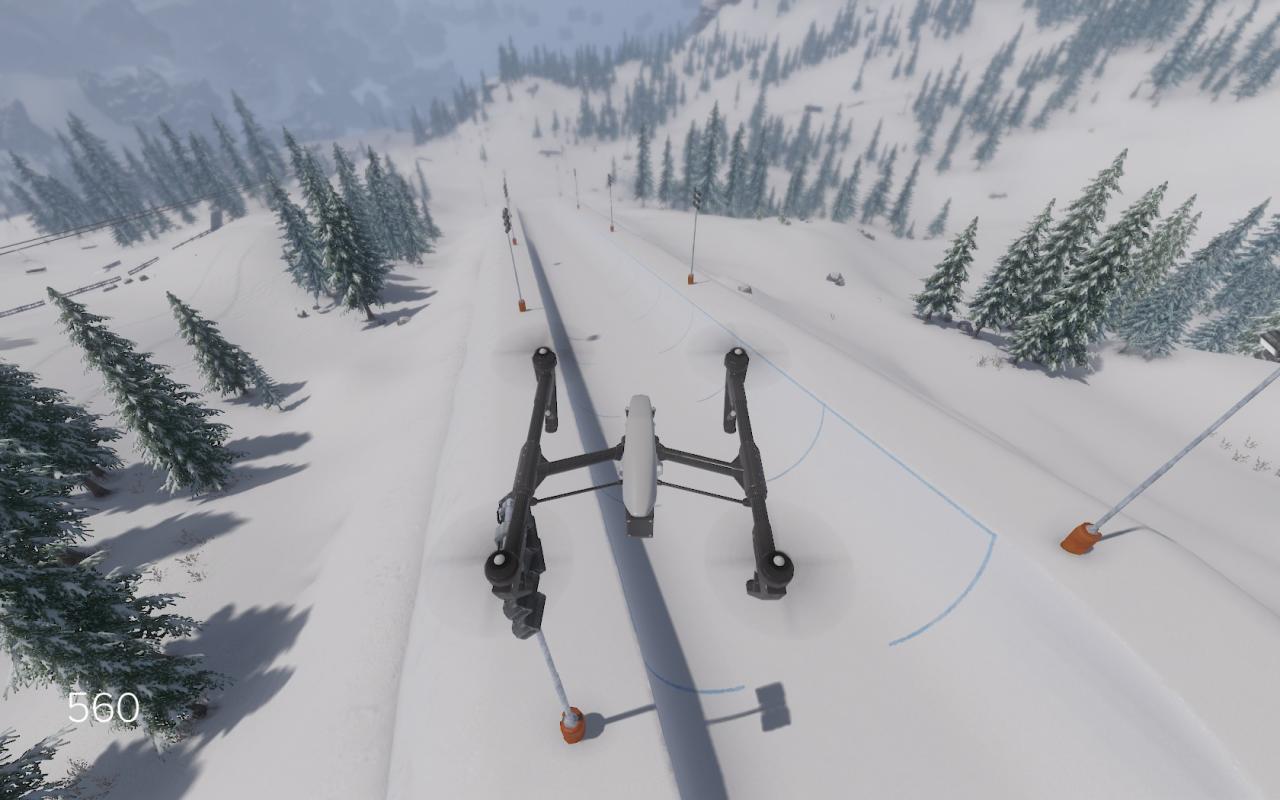
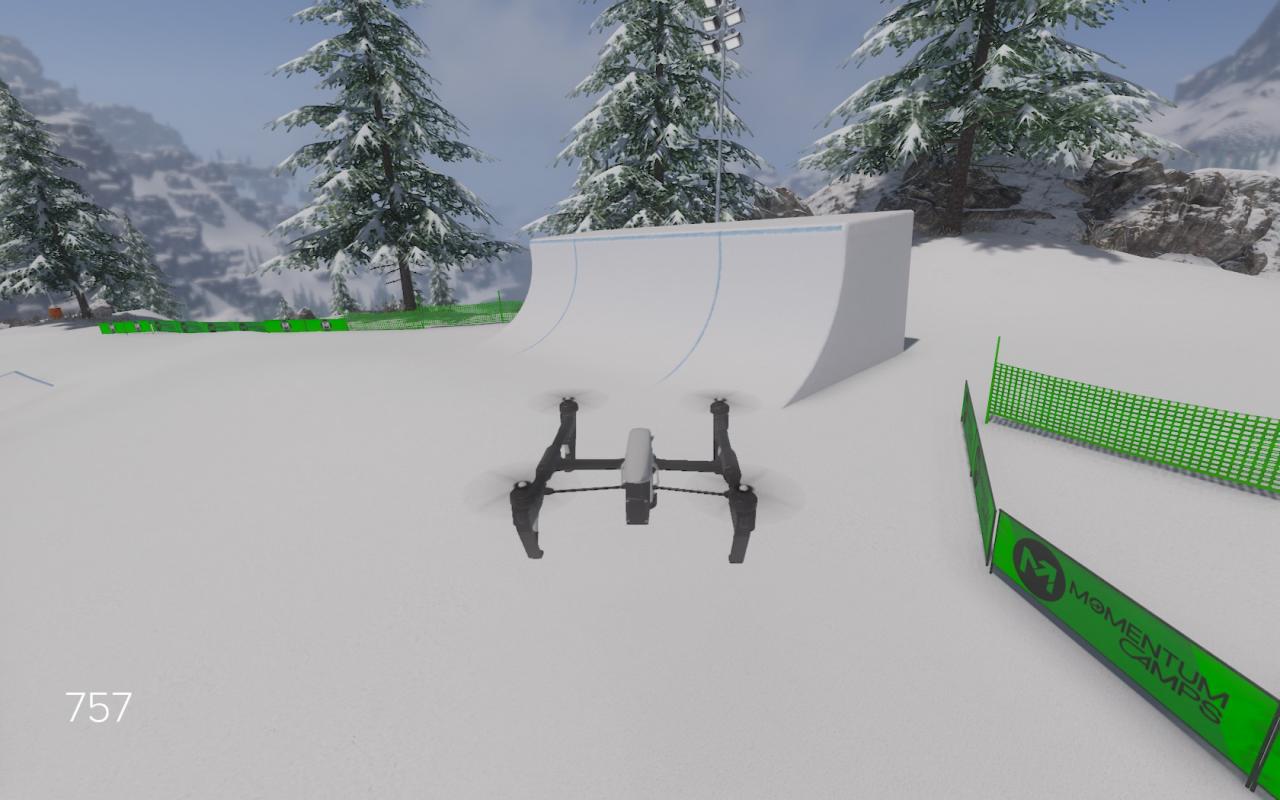
Some tricks for a half pipe are to not go to fast and when you are by the tip of the half pipe or quarter pipe, jump, do your trick, and kind of spin and land (this series of pictures will help):
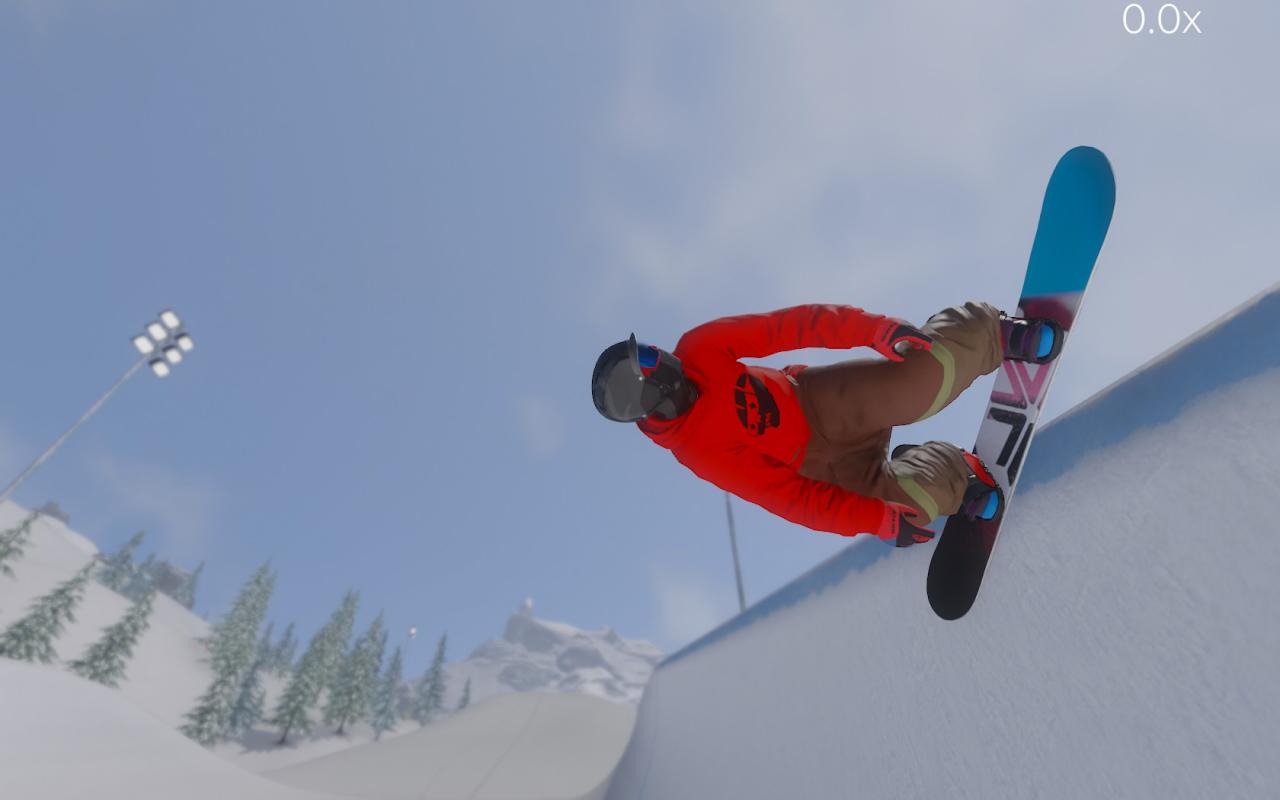
That’s me, Jumping
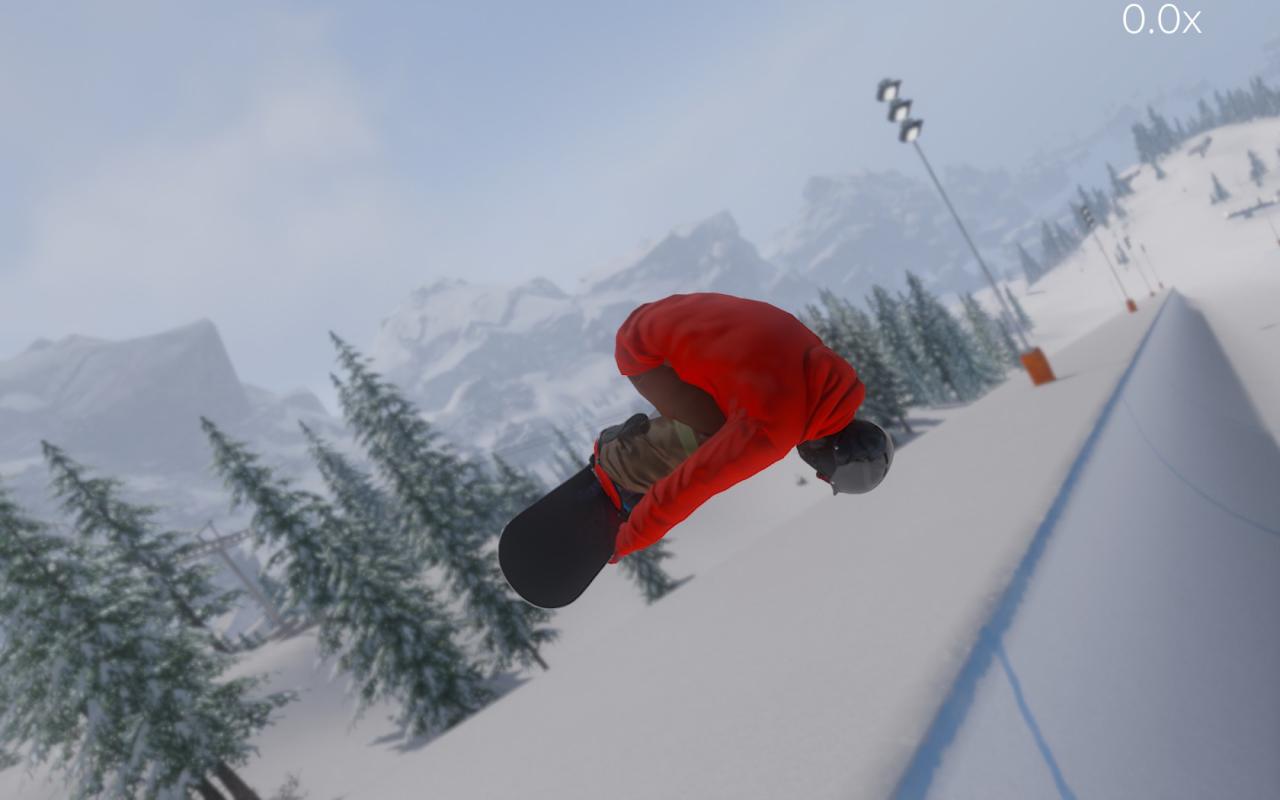
The Trick
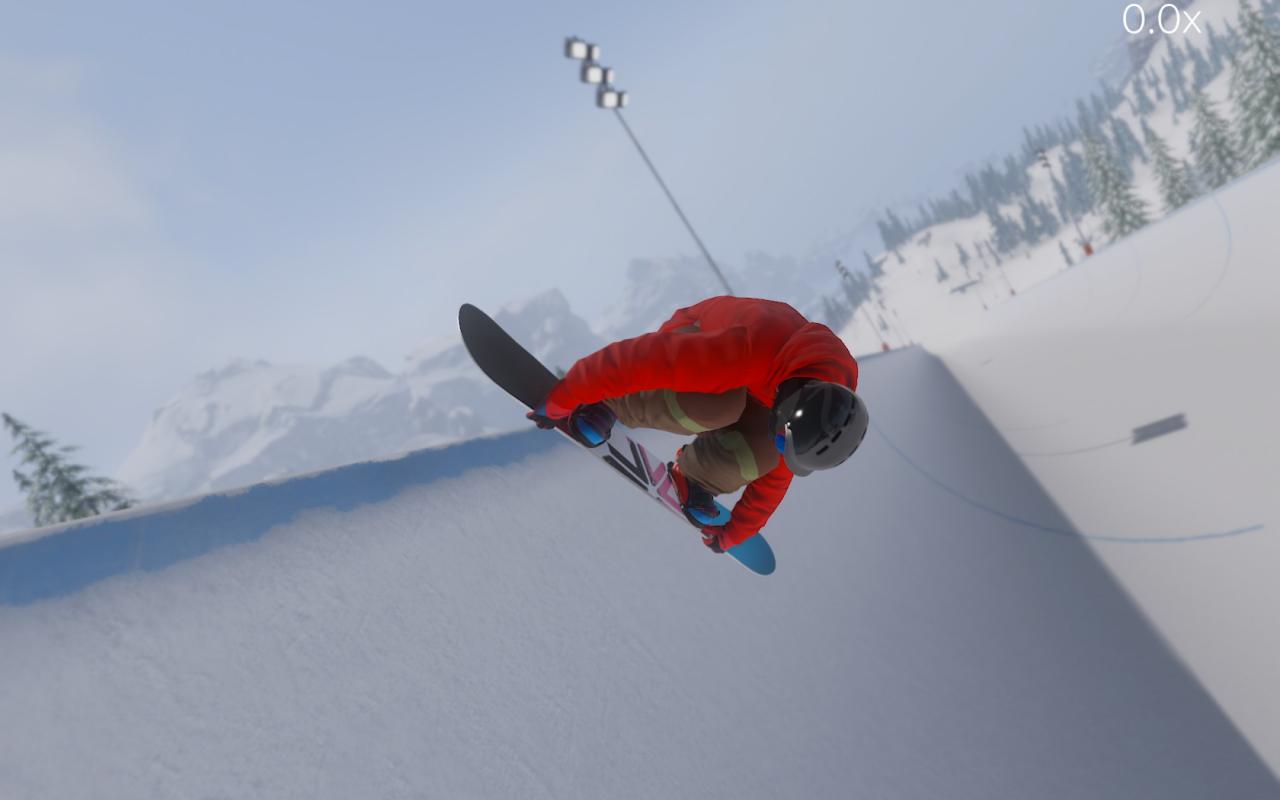
The Spin
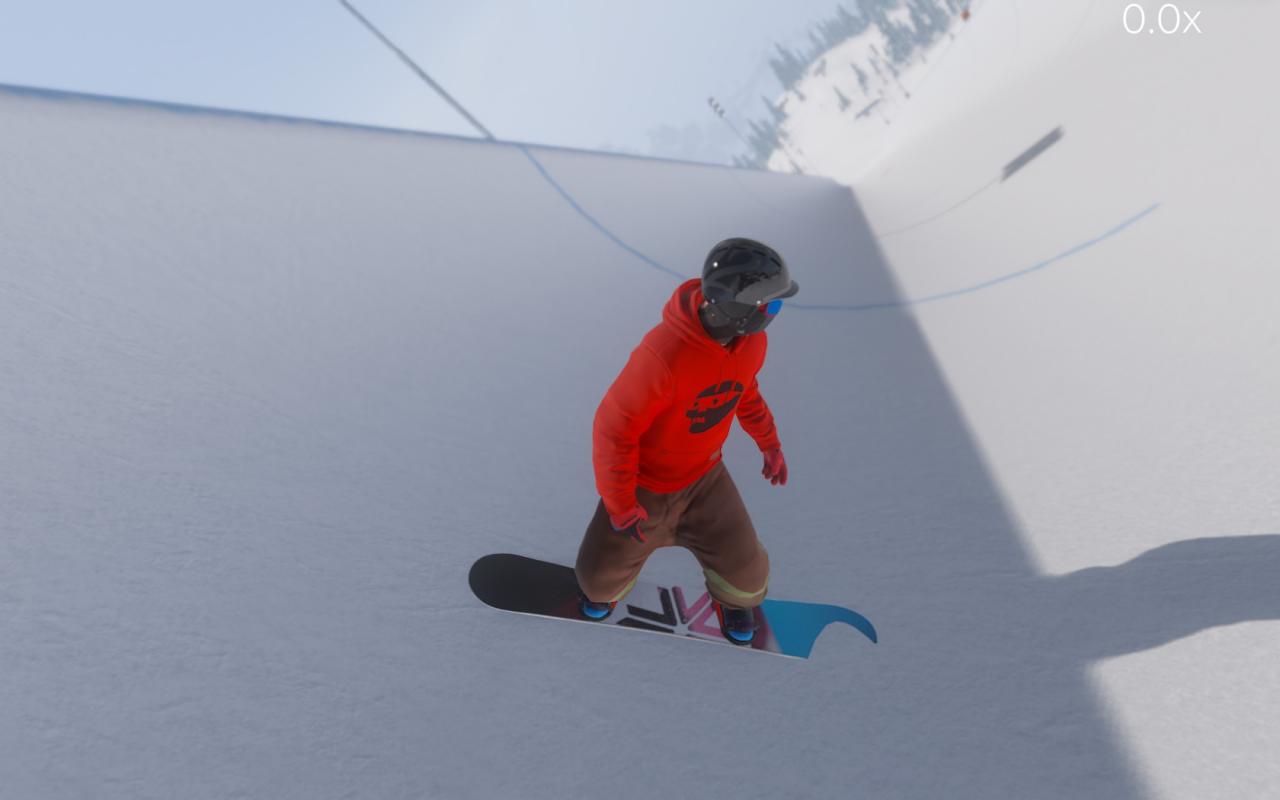
The Landing, and that’s about all you need to know about half and quarter pipes.
Jumps/Air
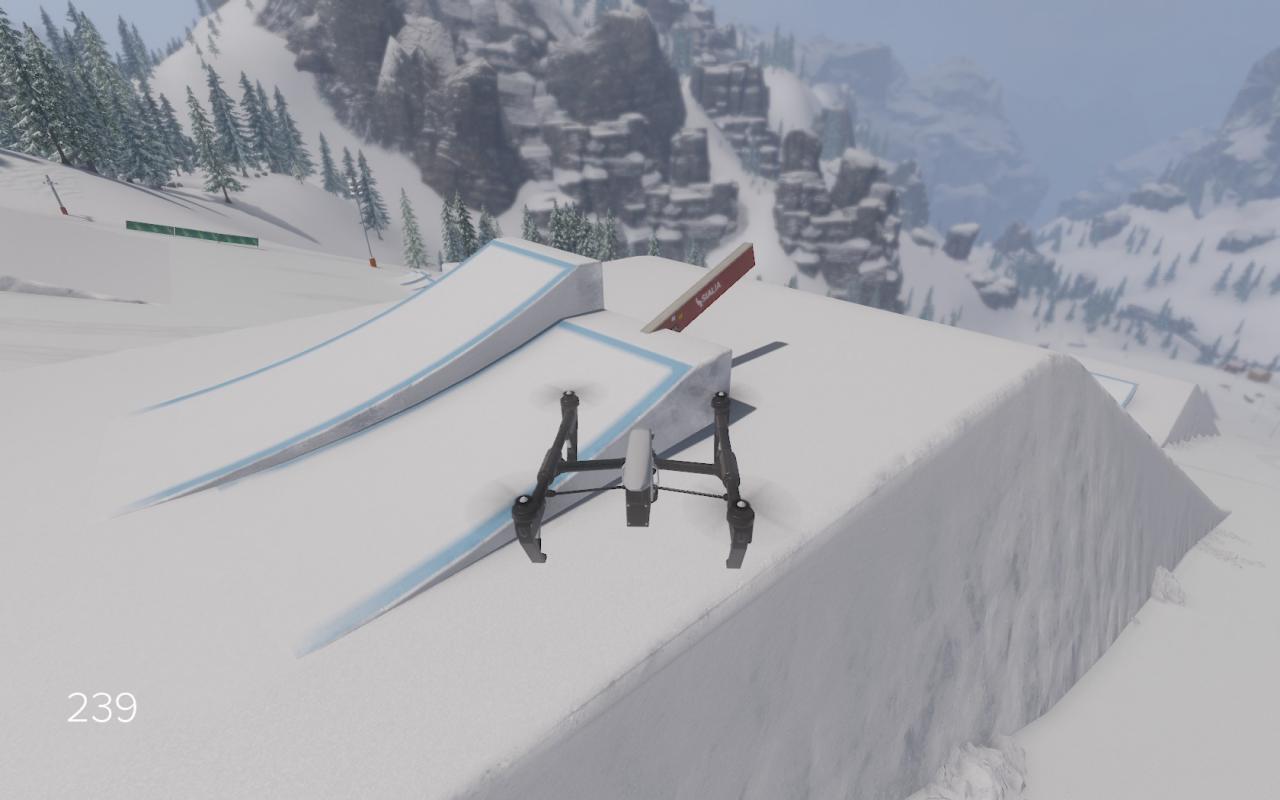
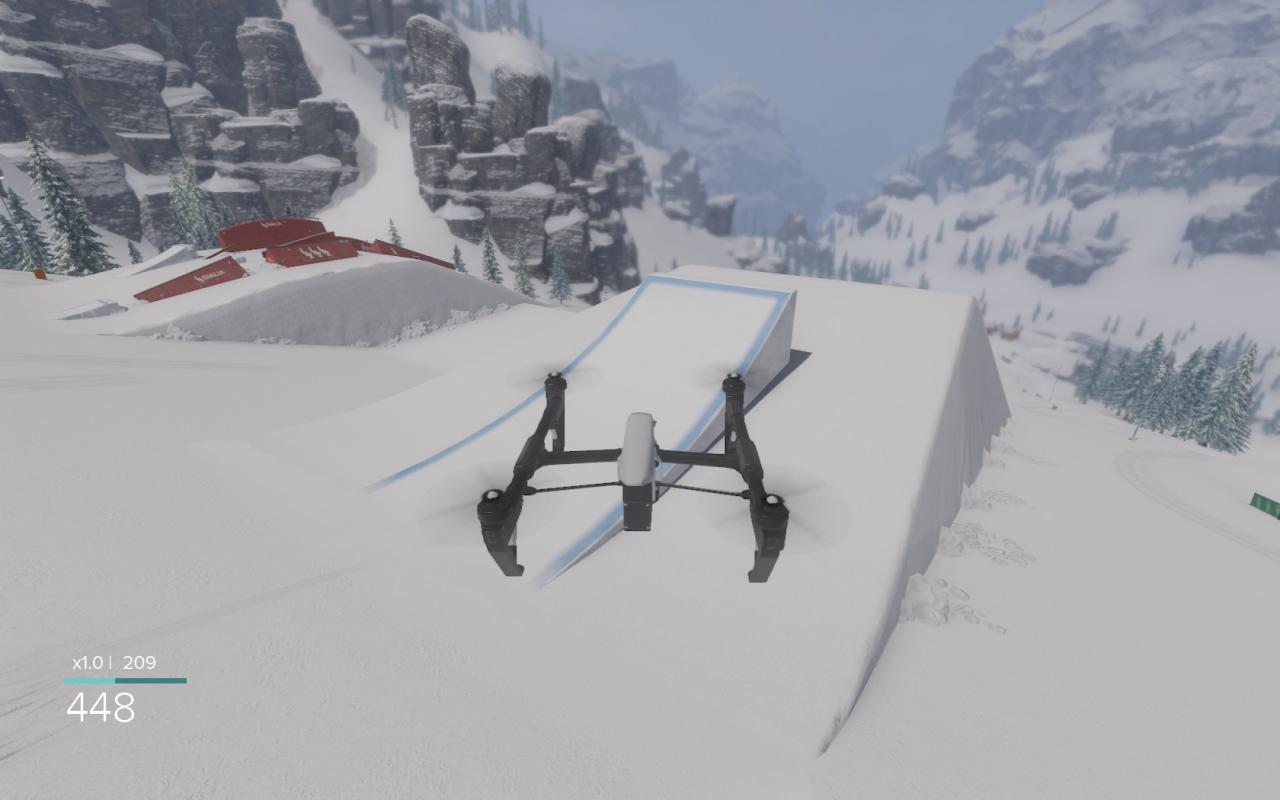
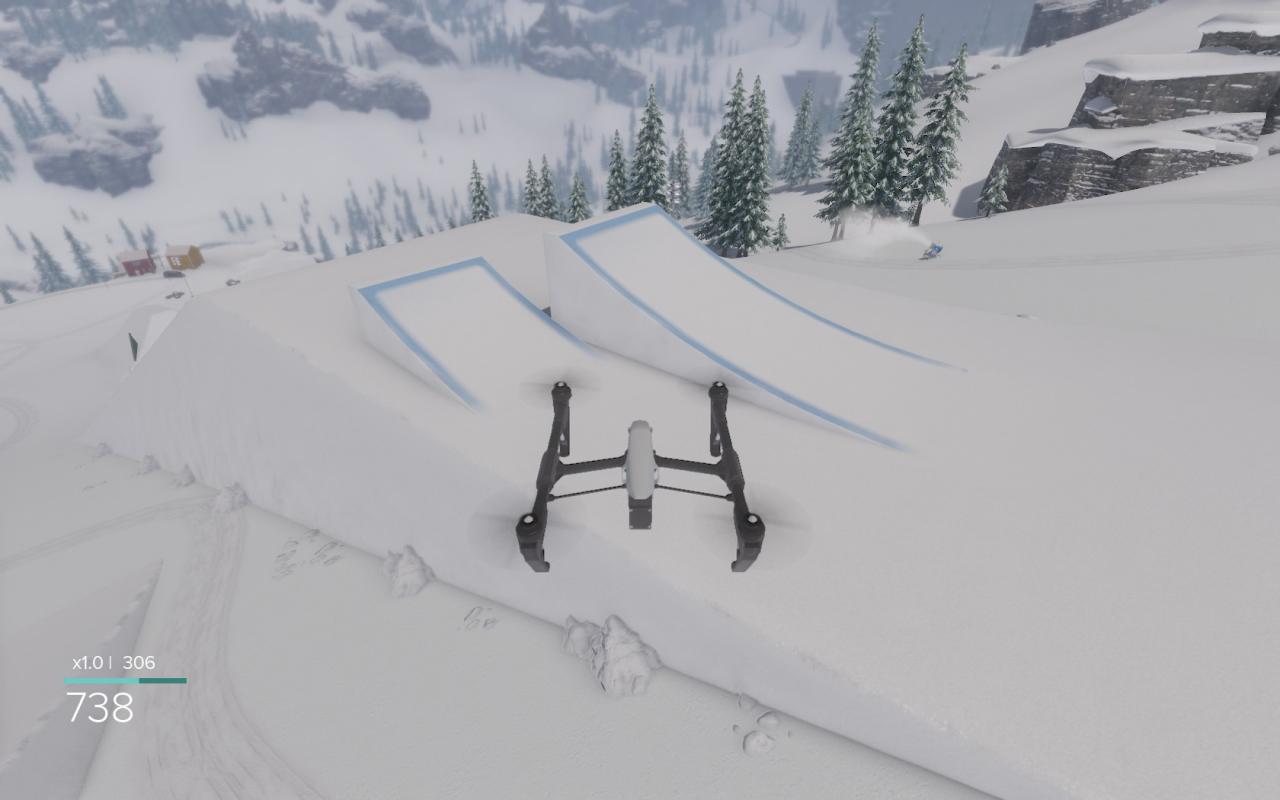
Now when you are jumping you can use the left, right, up, and down arrow keys, and you can combine multiple keys to do more advanced tricks, here are some of the basic grabs.
Every Body’s Character Moves:
Front Flip=W
Back Flip=S
Left Roll=Q
Right Roll=E
Left Spin=A
Right Spin=D
Number Pad 4= Tilt Left
Number Pad 6= Tilt Right
Number Pad 2= Tilt Back
Number Pad 8= Tilt Forward
Snow Boarder’s Grabs:
Left+Right=Bloody Dracula Grab
Up+Down=Super Mindy Grab
Left+Down=Seat Belt Grab
Left+Up=Roast Beef Grab
Right+Down=Stale Fish Grab
Right+Up=Crail Grab
Left=Melon Grab
Right=Indy Grab
Up=Nose Grab
Down=Tail Grab
Skier’s Grabs:
Left+Right=Octo Grab
Up+Down=Truck Driver Grab
Left+Down=Japan Grab
Left+Up=Screamin Seamen Grab
Right+Down=Mute grab
Right+Up=Critical Grab
Left=Safety Grab
Right=Safety Grab
Up=Nose Grab
Down=Tail Grab
Snowmobile’s Grabs:
Down=Oxencutioner
