Starting off your Notes: Your Notes and Your Apartment
This guide will assume you’ve just woken up in your apartment- Or the streets, if for some reason you opted out of starting with an apartment, and don’t have any info.
You don’t need to start a new save for this, this is just how to efficiently organize your notes going forward.
For the purposes of this guide, I will be starting a new save and doing this methodology with you!
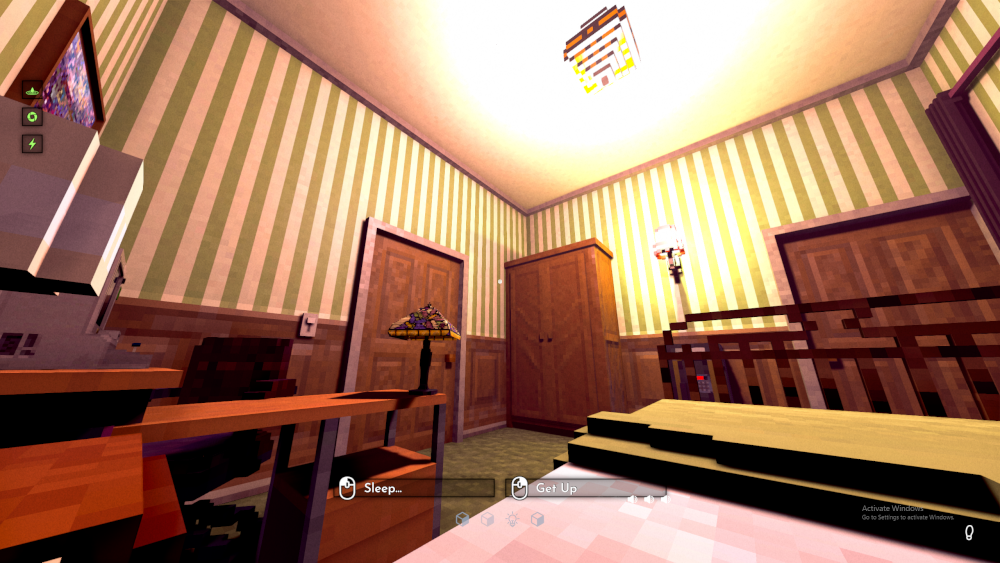
Good morning, Chrono!
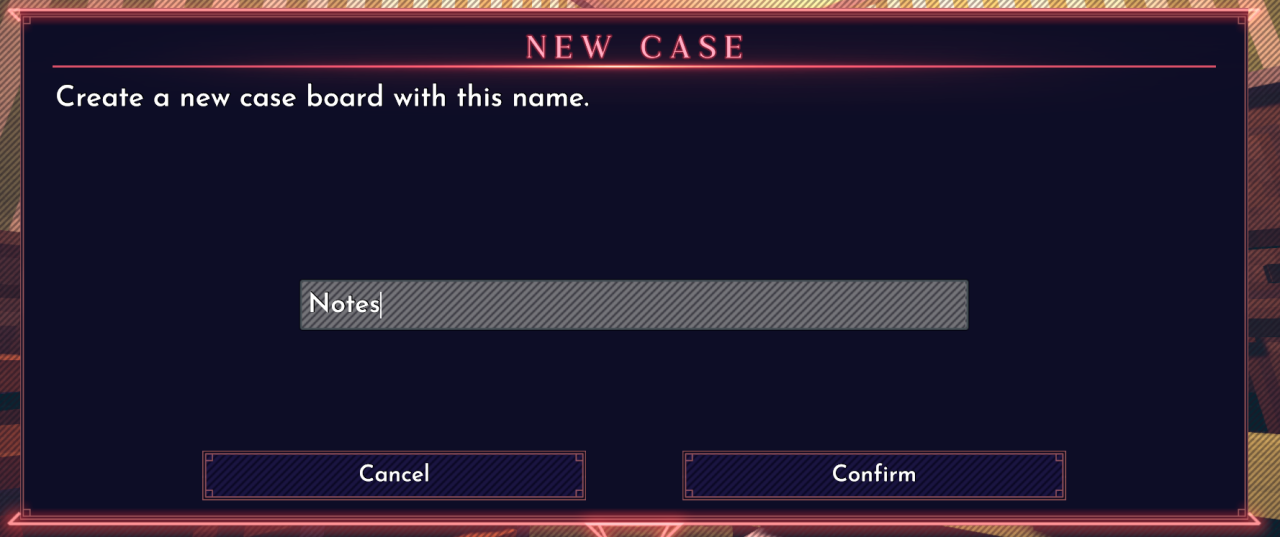
The first thing you’ll want to do is open a new case. You can only have so many cases open, so this will reduce your total number of concurrent side jobs by one, but believe me, it’s beyond worth it. You start off with this button…

And name it whatever you want. Usually Notes, or something suitably noir-ish. Need To Know, The Files, stuff like that.
The next thing you need to do is find a city directory. If you have an apartment, then it came free with your xbox phone.
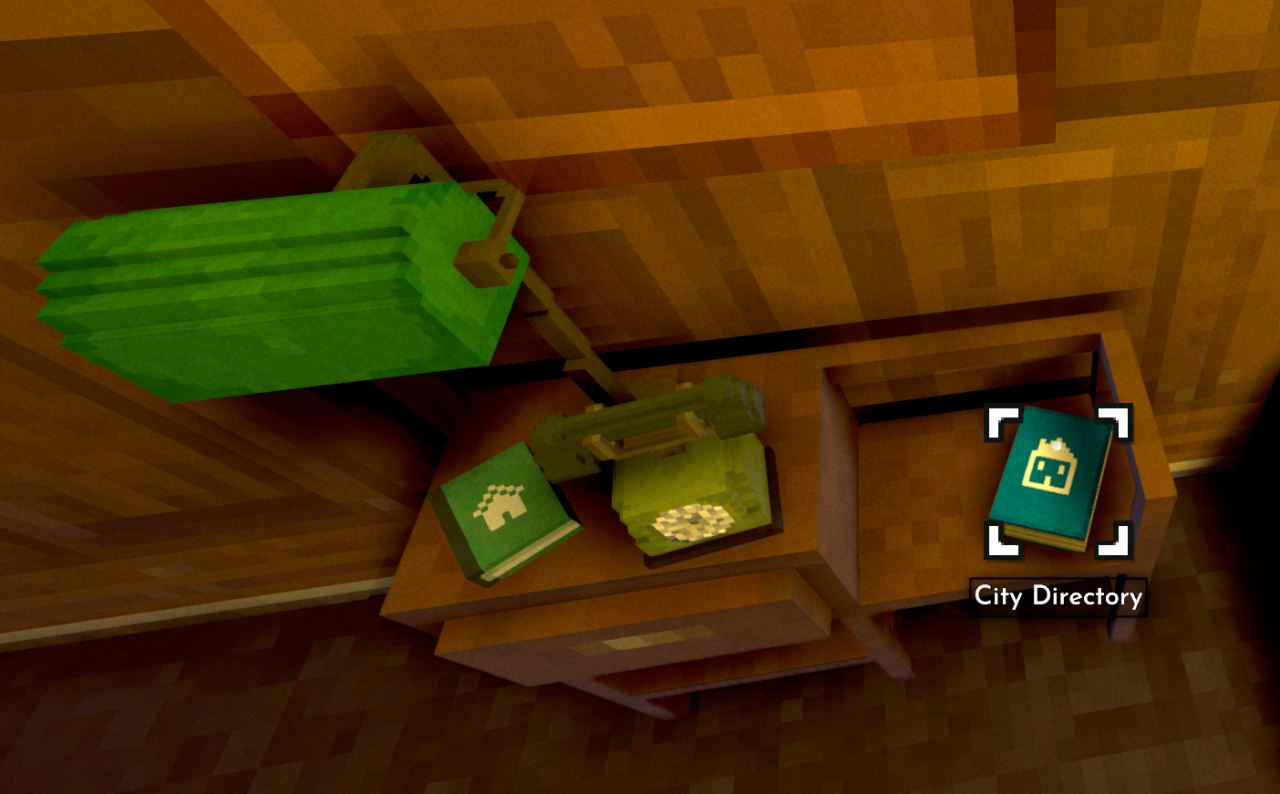
If you have the oldest xbox known to man no apartment, and decided to start off your save homeless, you can find these by any phone. But you know full well there’s one place you’re visiting first anyway.
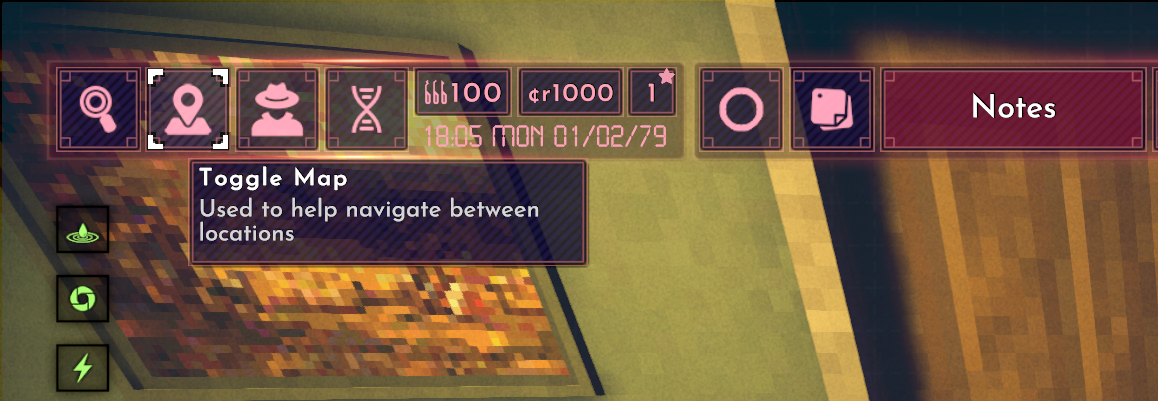
Before we leave our apartment, if we have it, we should pin it. We will be coming here frequently, after all. We could do so by opening our map…
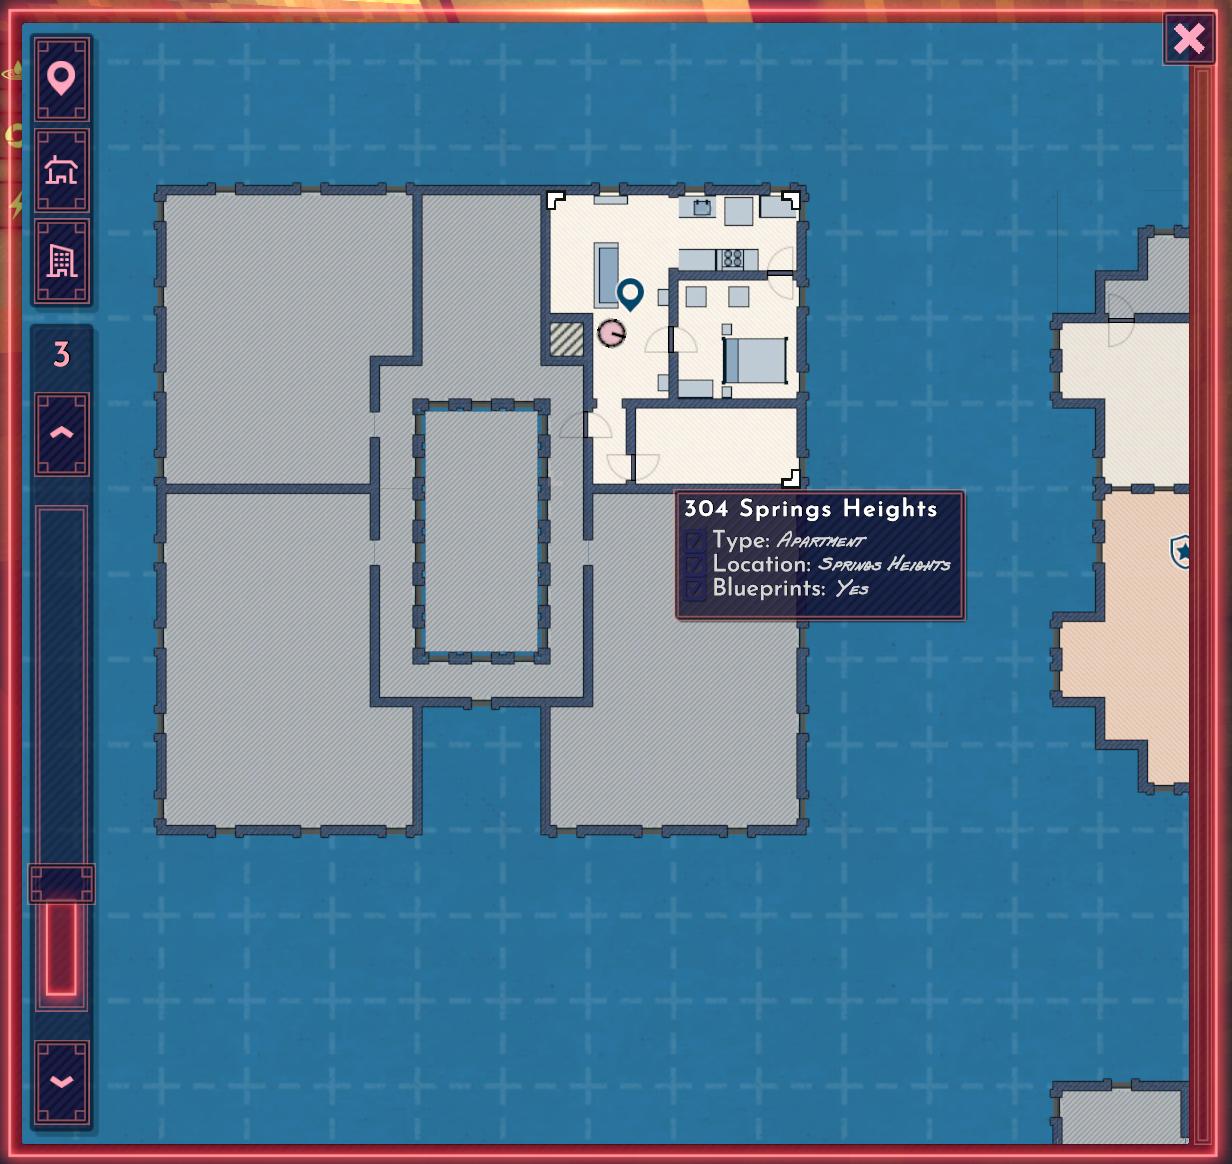
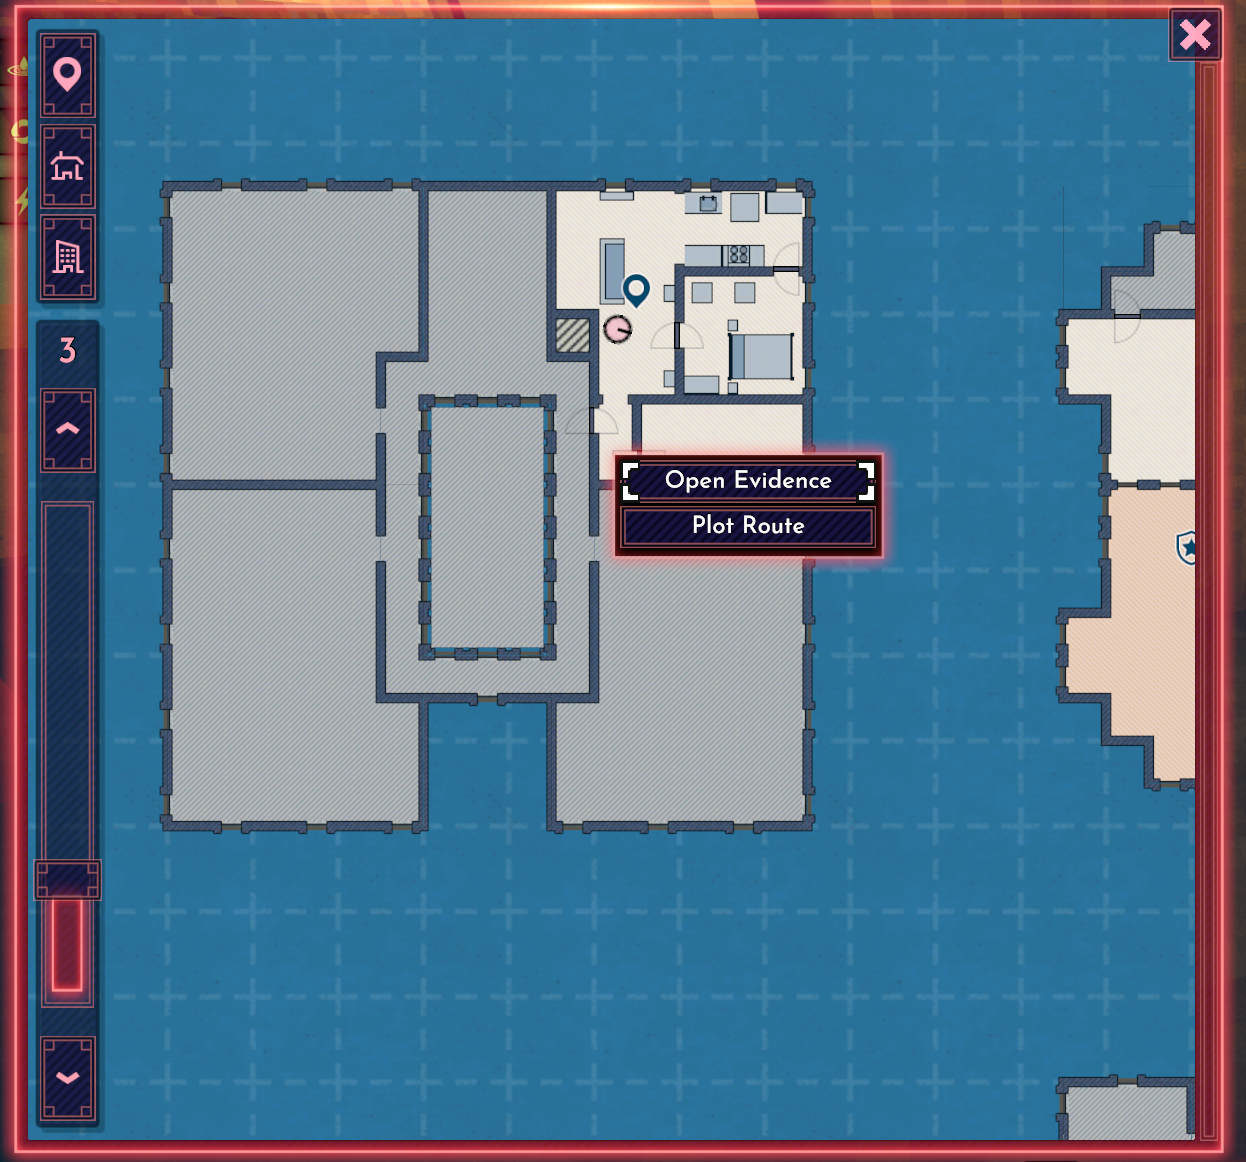
And right-clicking the room we’re in to show evidence to pin it.
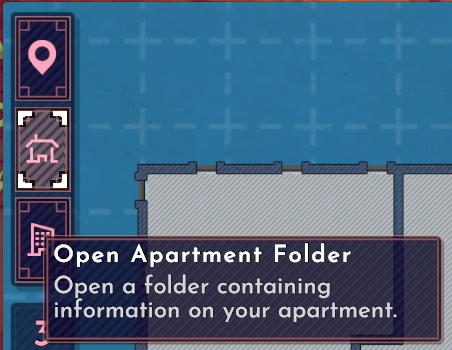
Alternatively, you can click the dedicated Apartment button on the map screen.
Either one will open the location of your home for you to pin to your board by clicking the red push pin.
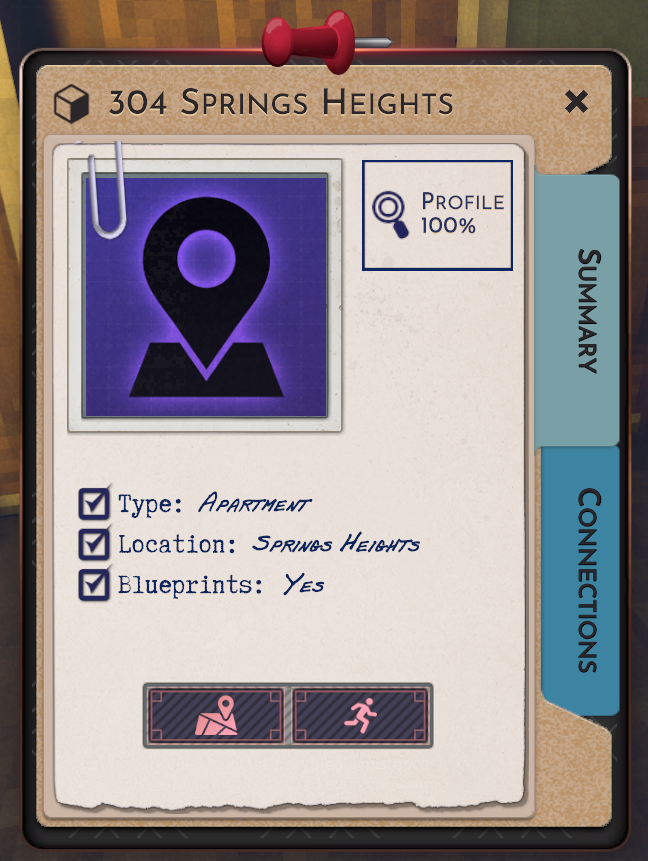
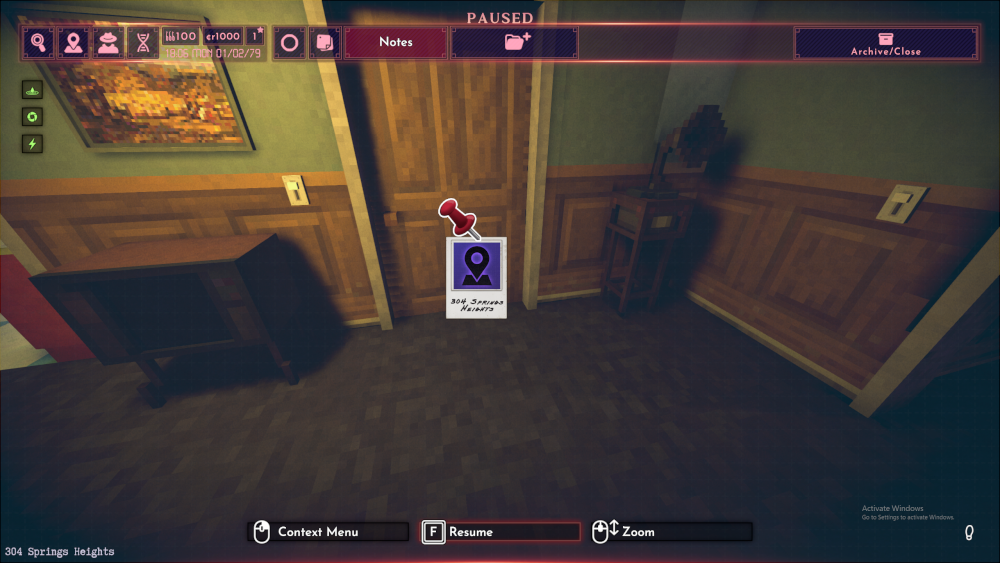
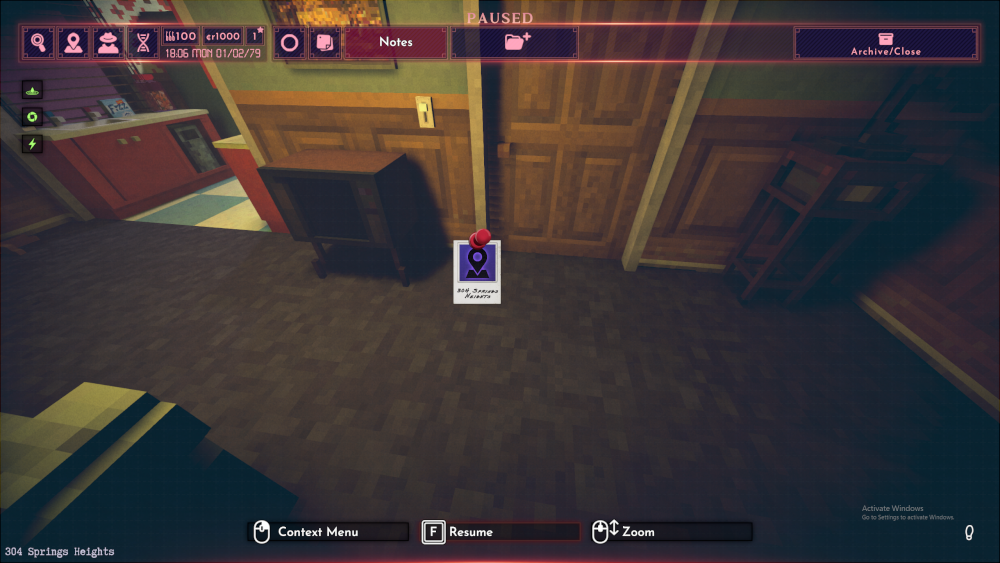
You may wonder why we’re bothering to do this when there’s a dedicated map button for your apartment. There are two good reasons: It’s faster, requiring fewer clicks to hit the map button, then apartment button, then apartment evidence, then navigate to your apartment, compared to just clicking open the evidence and navigation in two steps.
And the other one is that it’s faster to recognize and identify because it pops out. That’s right, we’re doing color coordinated schedules. It’s cheesy, but it works. Let’s dedicate a chapter of this guide to the options, because there are plenty.
Colors, Crossouts, And Shortcuts.
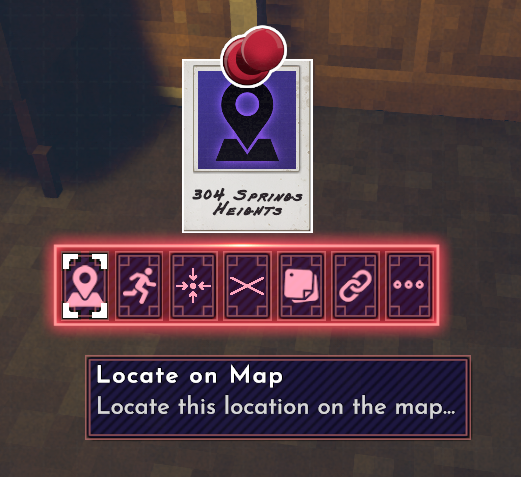
First, we mouse over the push pin of a piece of evidence. If you wait a moment, a menu appears underneath it.
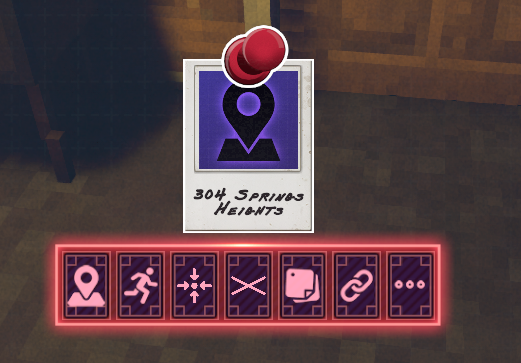
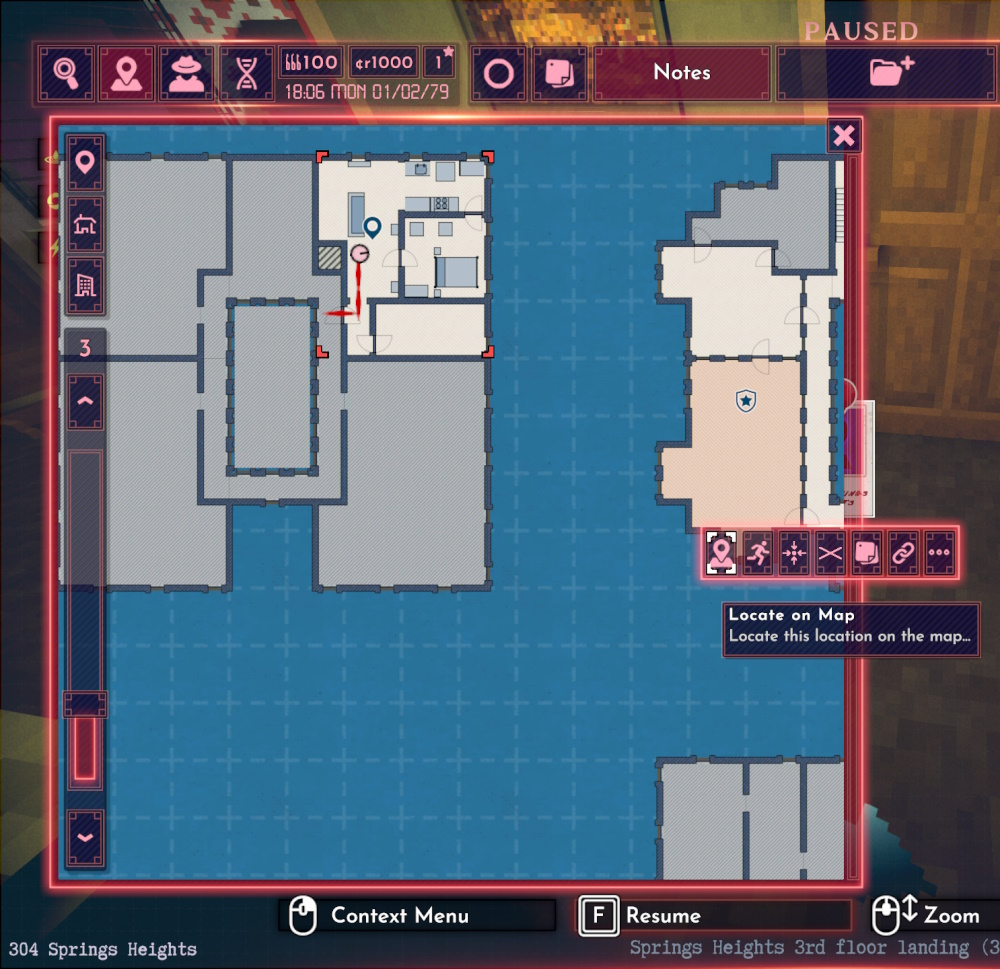
From left to right, we start off with Locate On Map, which does exactly what it says for location pins:
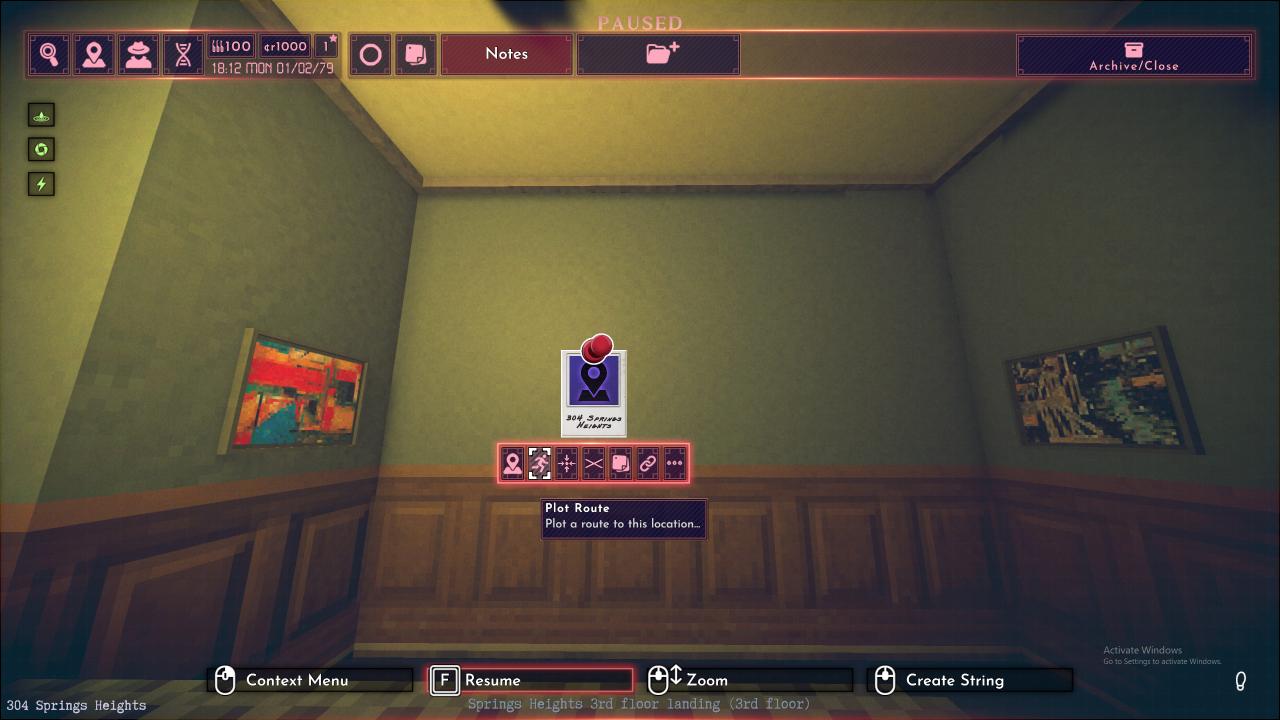
Plot Route, which adds the GPS arrow guiding you to that location:
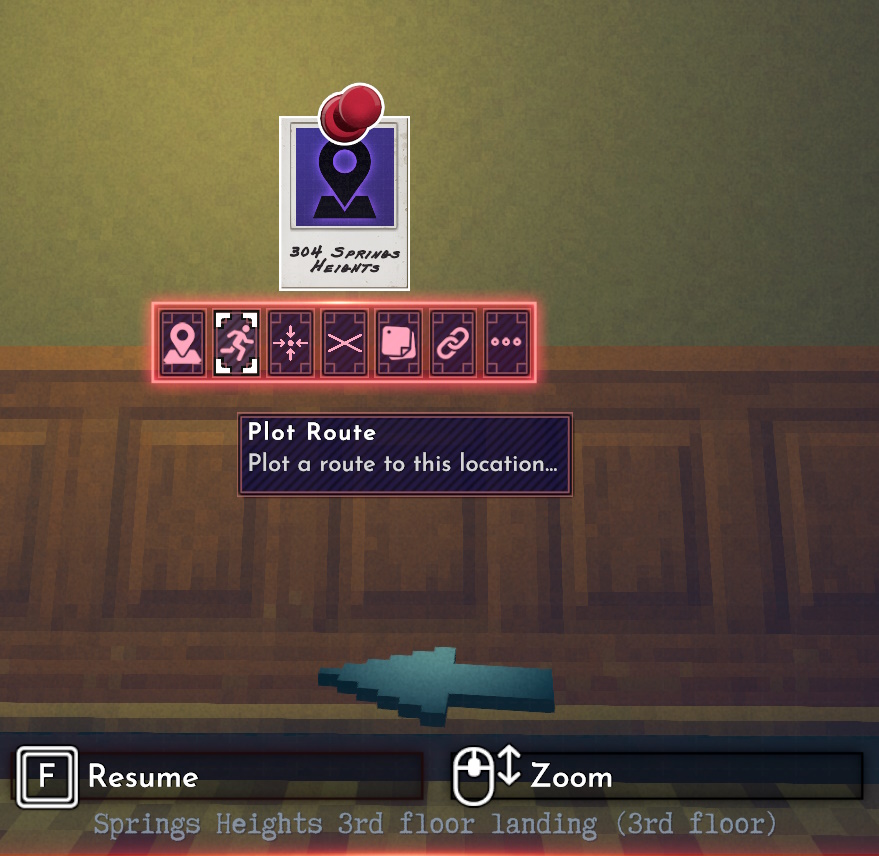
Though personally I’m probably going to stick to the regular method of setting a route:
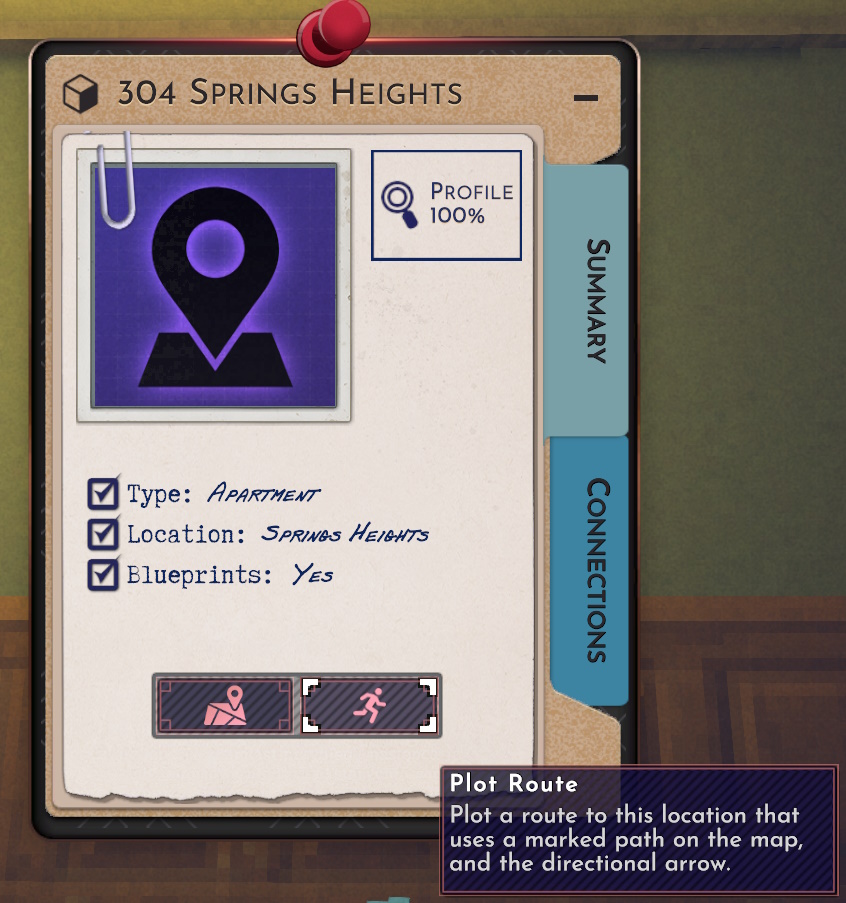
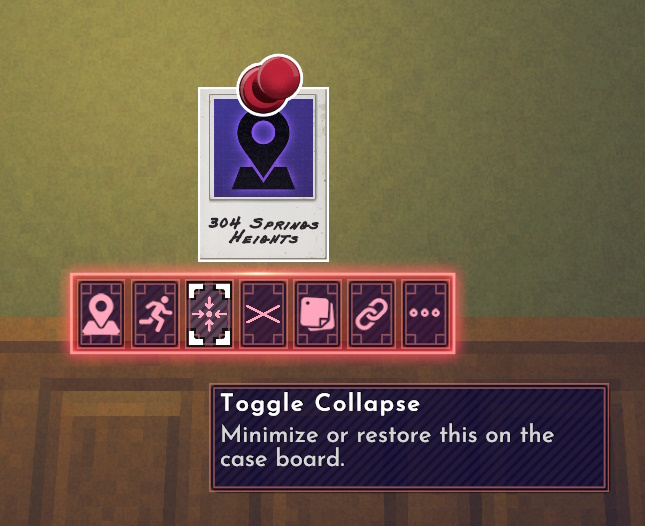
There’s Collapse, which… Makes everything but the associated pin invisible. I’ll be honest, I’m not sure why anyone would use this in comparison to just removing the note if you’re done with it.

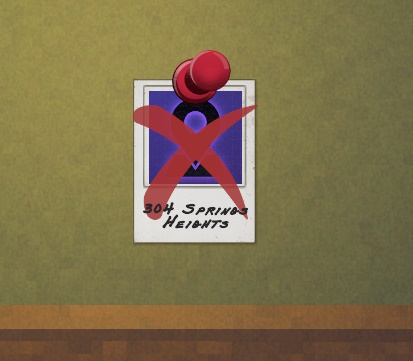
And speaking of being done with it… Got a lead you’ve already checked out and verified as a dead end? Struggle to remember things you’ve already checked, so you don’t want to remove it and re-add it later? Just want to have your case board look a little cooler and more detective-y? Introducing you to Crossout:
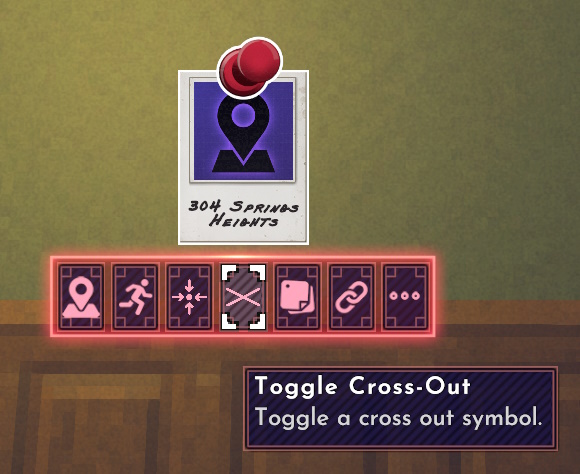
There’s the Sticky Note option, which automatically pins a new sticky note, with a default association between it and whatever piece of evidence you generated the note from:
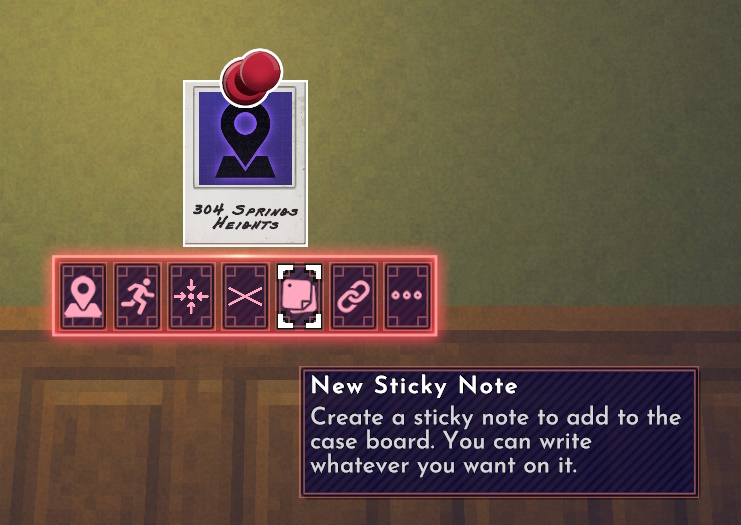
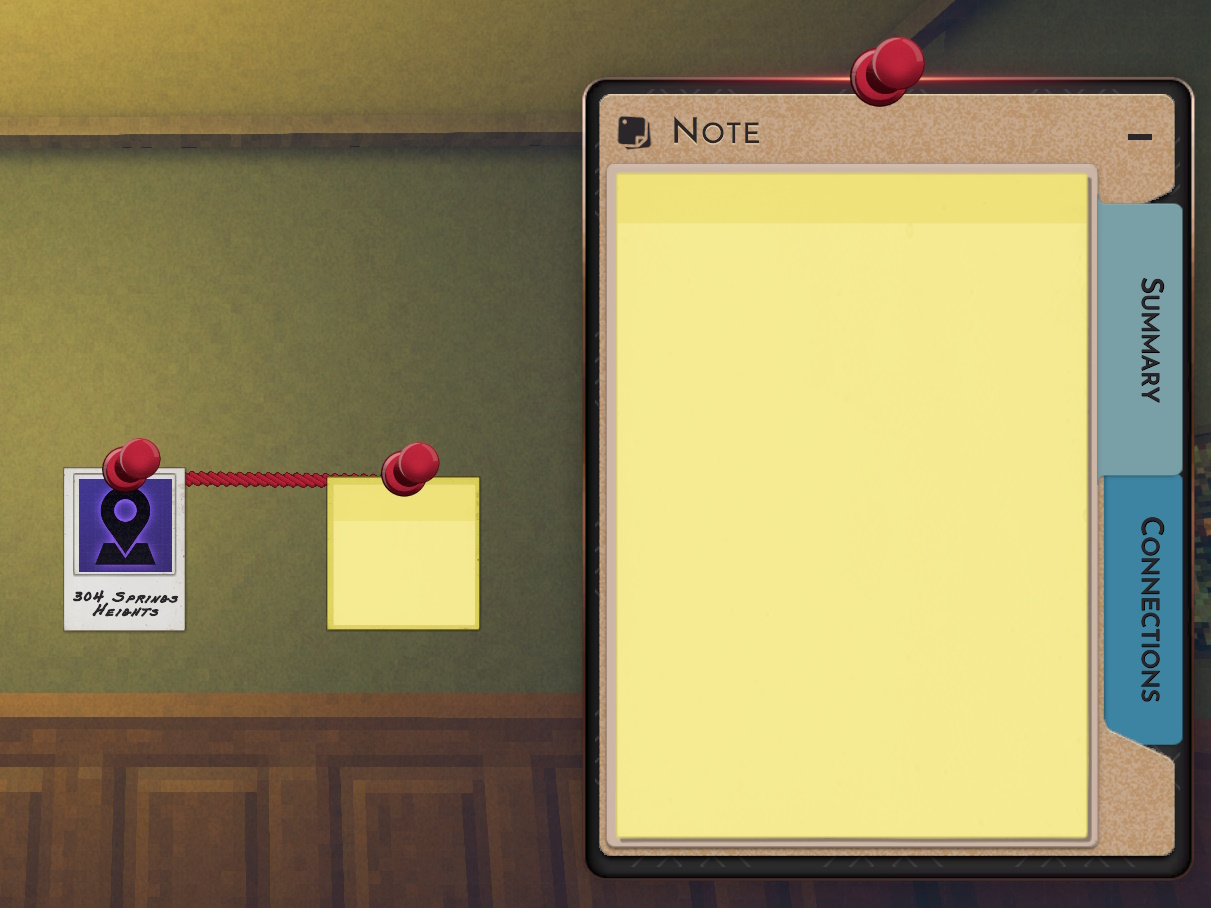
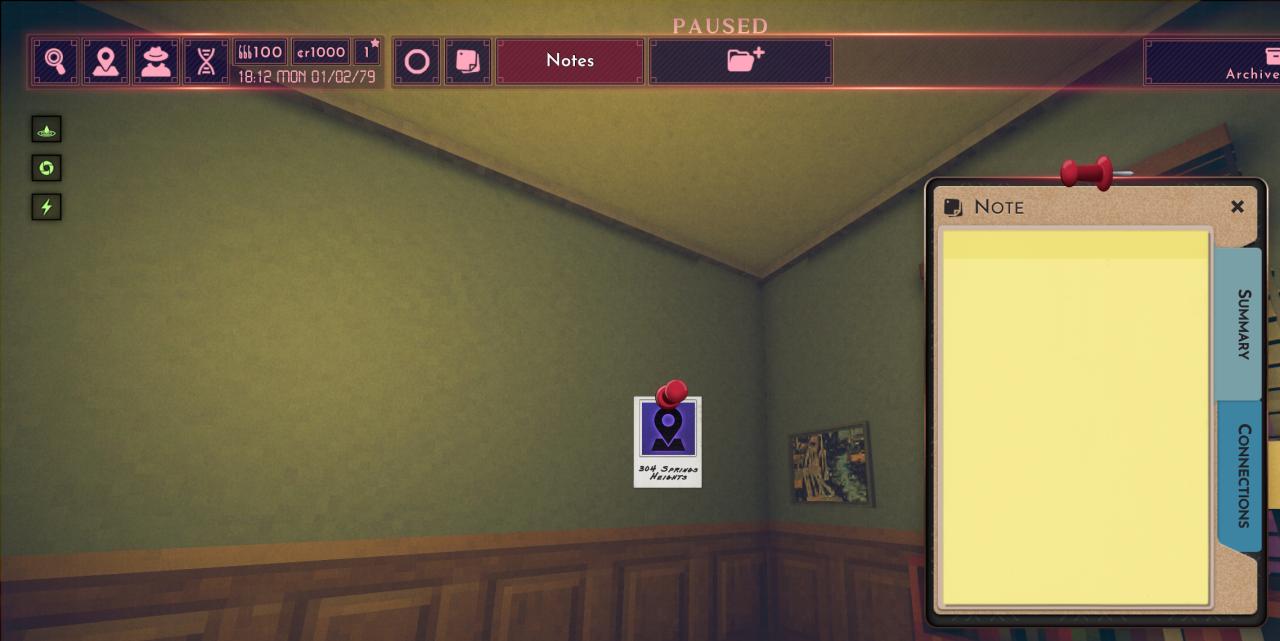
Which is distinct from the regular make sticky note option at the top, because it isn’t pinned to the board automatically, and is not connected to anything.

And, leading off from our custom-connected sticky note, we have the button for custom connections.
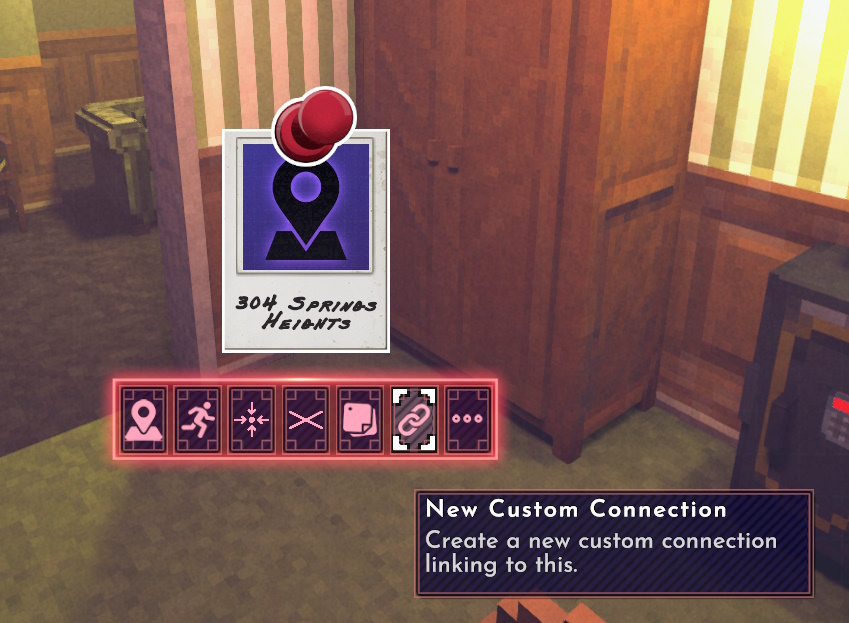
Clicking this button will have a red string, a connection, follow the mouse. You can also use mouse 3- Clicking the mousewheel- And hold it to do the same, which can be rebound in the options menu. Let’s go ahead and make a custom connection between this piece of evidence, the apartment, and the devilishly handsome person who owns it.
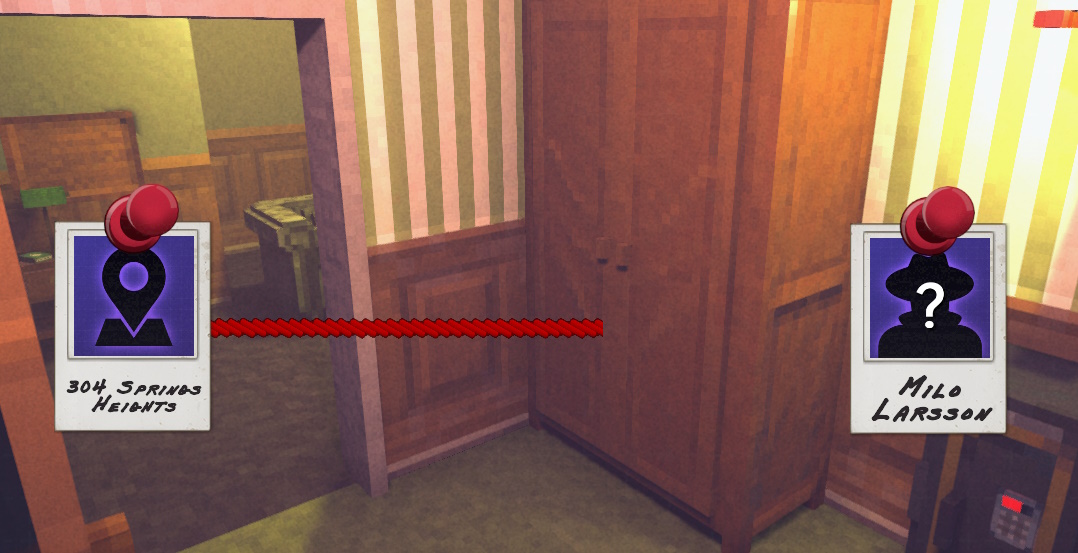
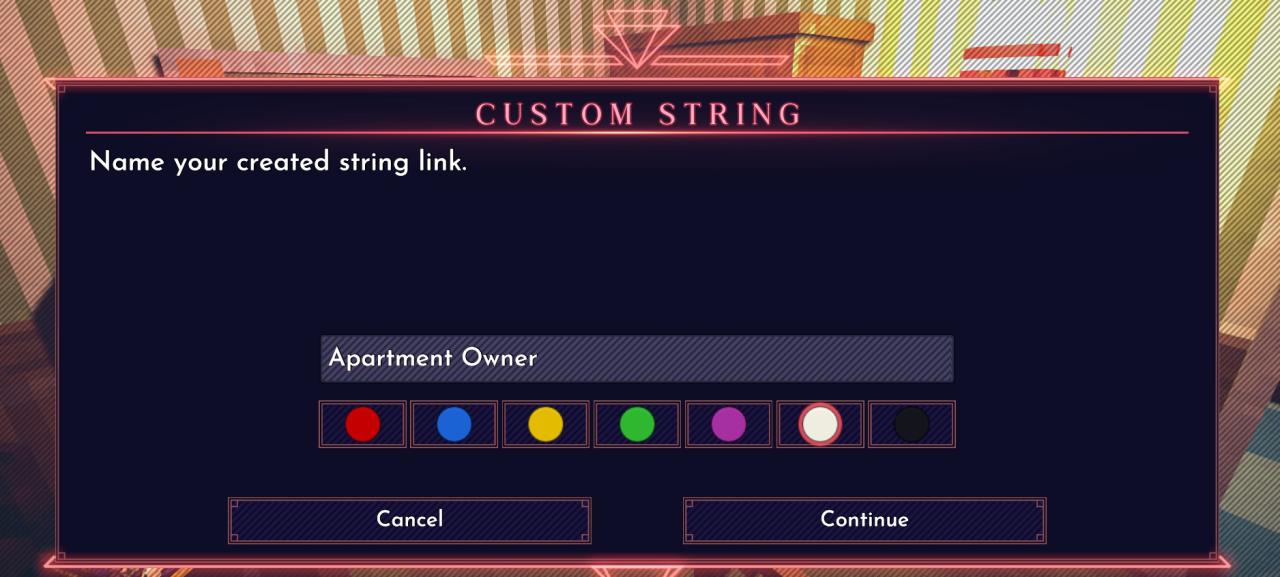
Looking good. Let’s give the connection a name and a color other then the default red.
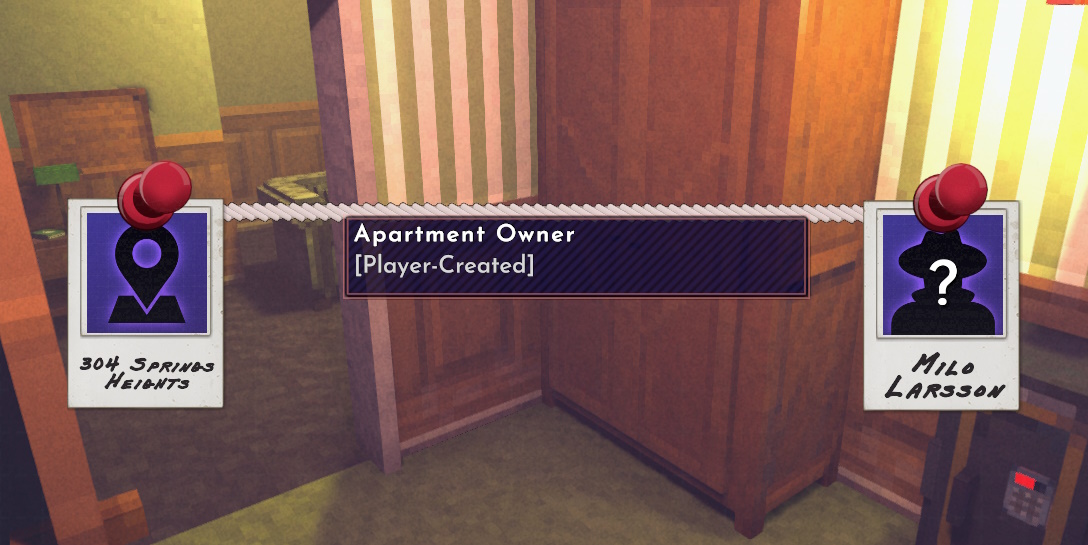
We can mouse over our connection to see what it is. Cases won’t usually go on long enough for this to be useful, but it’s good for roleplaying! Get in the spirit of things.
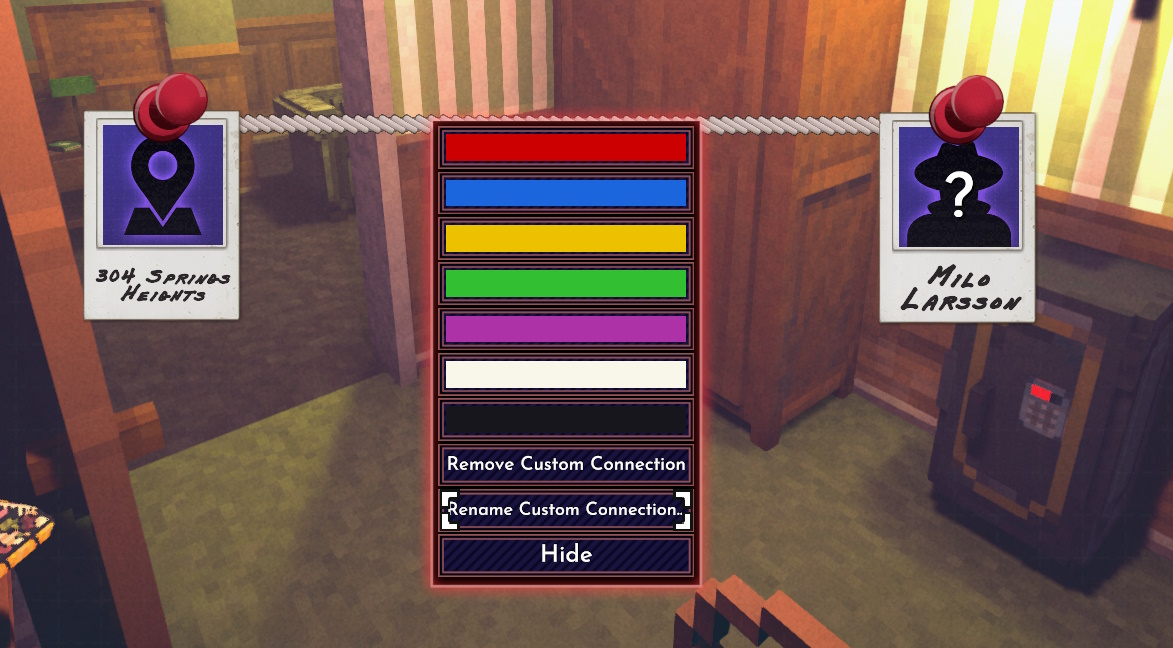
If a case IS dragging on, and you decide you want to keep notes between connections after the fact, you can right click the connection to rename (and recolor) it. Or remove it, if you’ve made an incorrect conclusion.
Finally, there’s Extra Options, which is a bit of a misleading name.
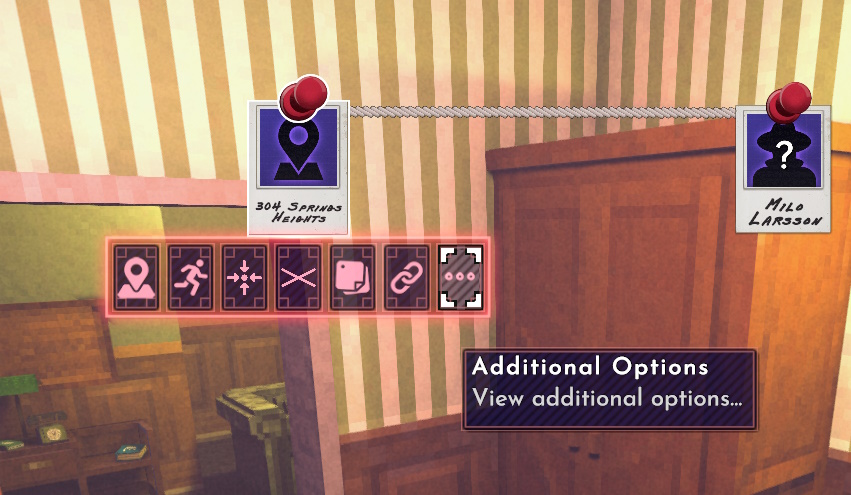
You won’t be hitting this much, because you can open it by right-clicking the pin instead:
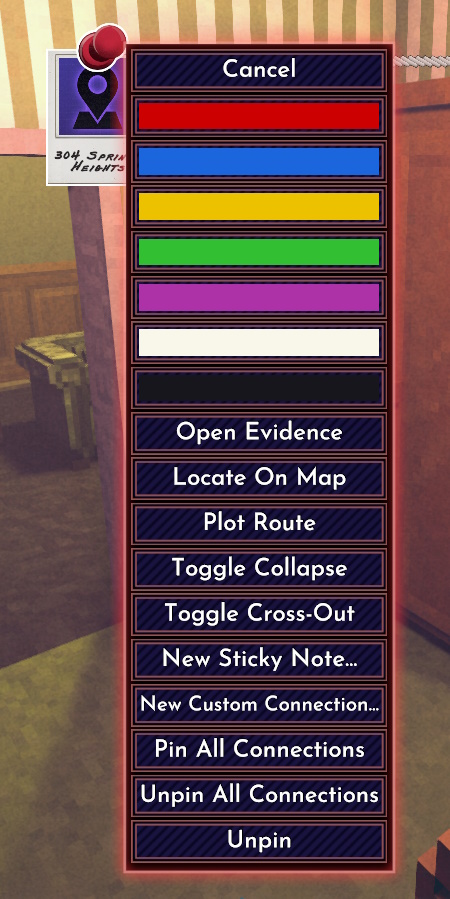
Yes, it’s the short list of all the other options. But also a list of colors. And these colors are the real meat and potatos of our organizaton. You didn’t think I meant the strings when I said you’d be color coordinating, did you?
Gotta catch ’em all!
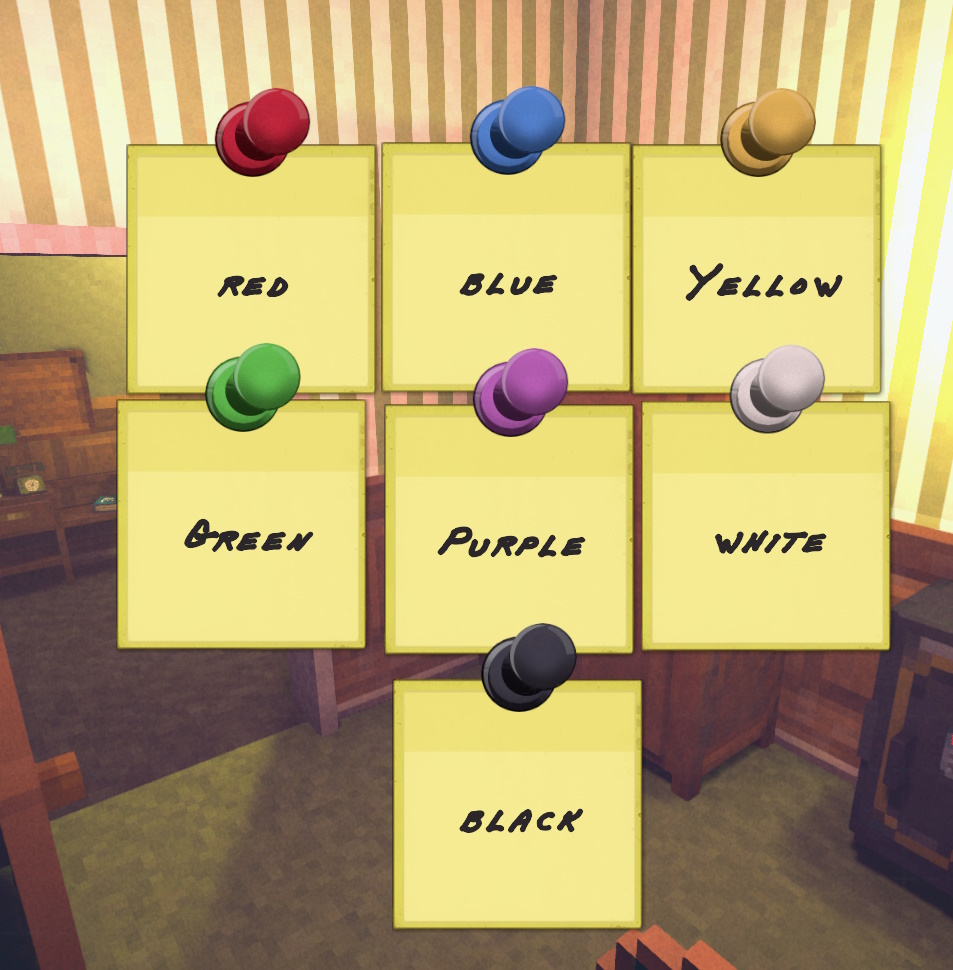
And while I have a number of items clustered together here, here’s another tip for handling groups of evidence. You can click and drag…
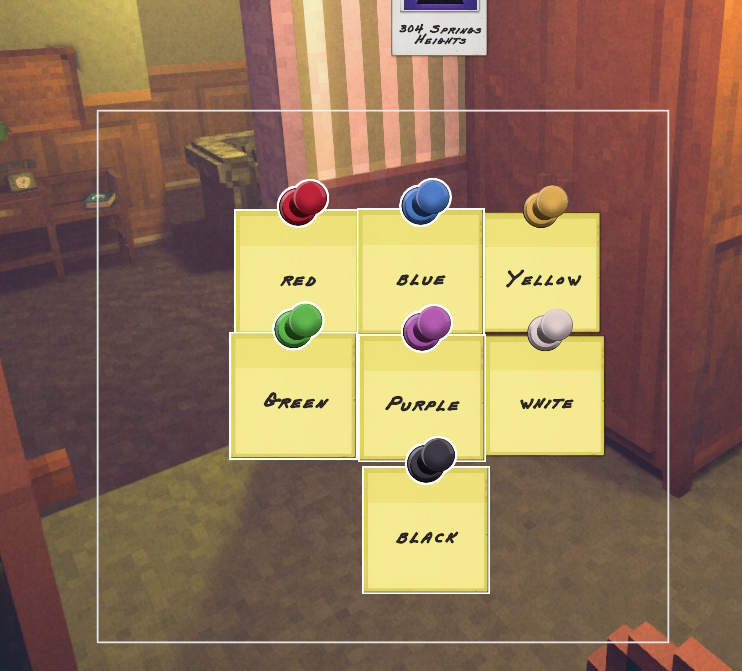
To move the whole thing at once! (Might take some practice, I keep failing to get the last side of things.)
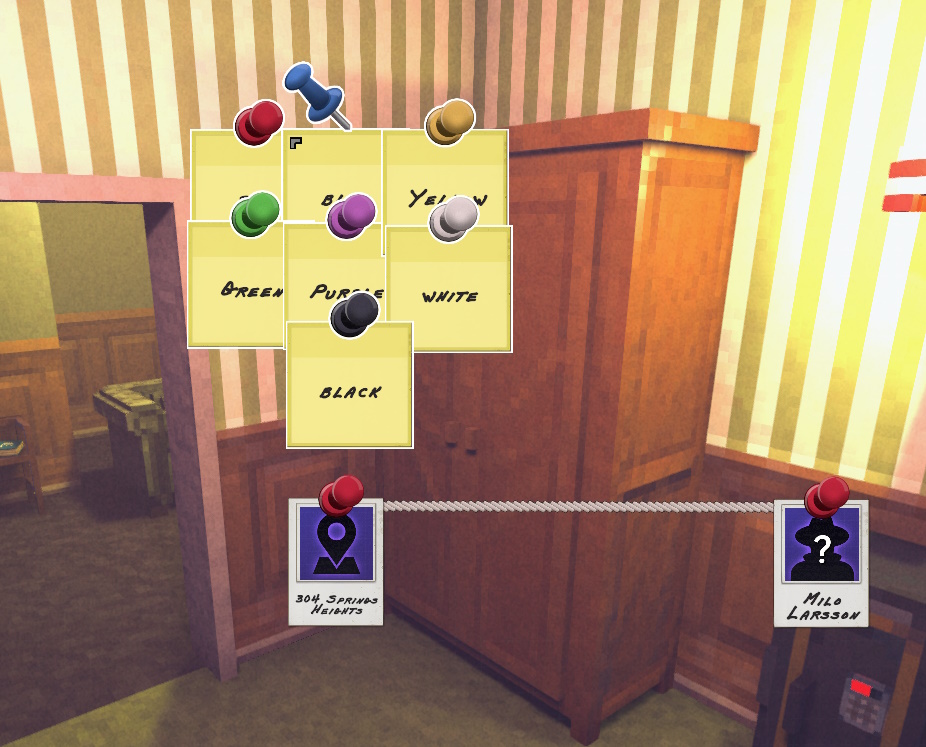
So! That’s the How of keeping our notes tidy. So what kind of things do we actually need to keep at hand?
Basic Fundamentals
Before you leave your apartment, you might want a weapon. If you can get it, you might have a Chef’s Knife in your kitchen. It’s not the best weapon, but for self defense it’ll do the job.
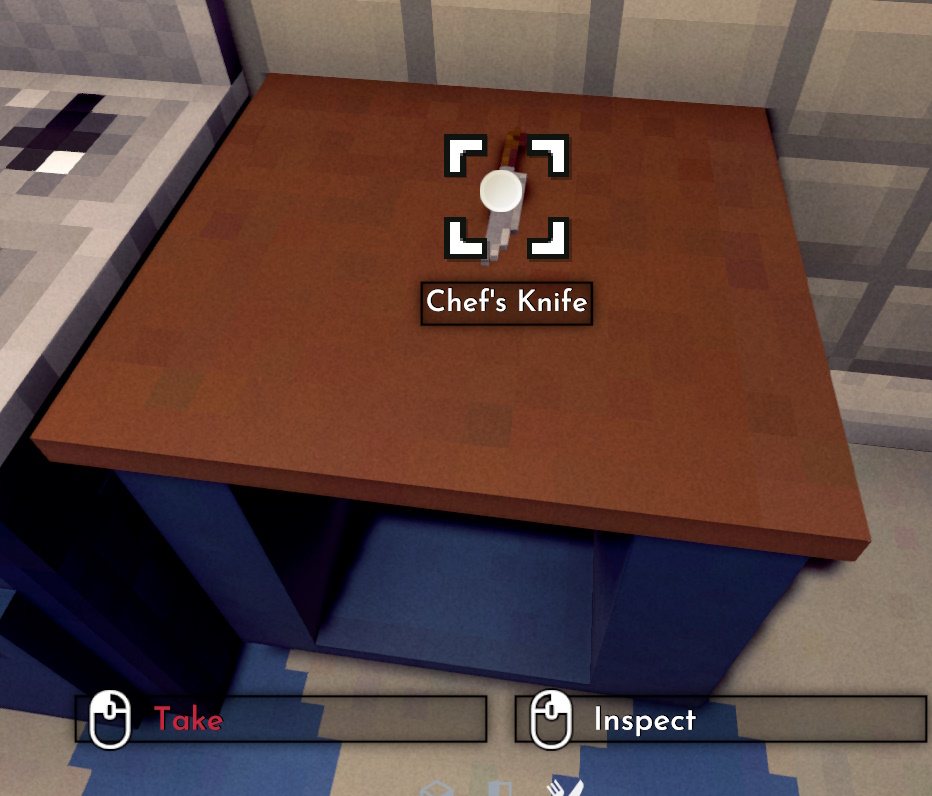
If you don’t have one… Well, a utility knife is worse, but it’ll also work. And if not because you’re homeless… Well, maybe the next murder victim you find will have one in their kitchen. Grab one at some point! (You’ll want a combat knife or a sword eventually, but this’ll do for our start of game kit.)
Now we go out and hit the town! Don’t worry if you get sidetracked into solving a murder right after you leave your apartment. It happens. Let’s head out towards City Hall!
Which brings us to our first organization: I’m going to pick blue for my house, and purple for city hall- City hall gets it’s own color all to itself, because it’s special. It deserves to be in it’s own category. To be honest, I often visit there more then my own house.
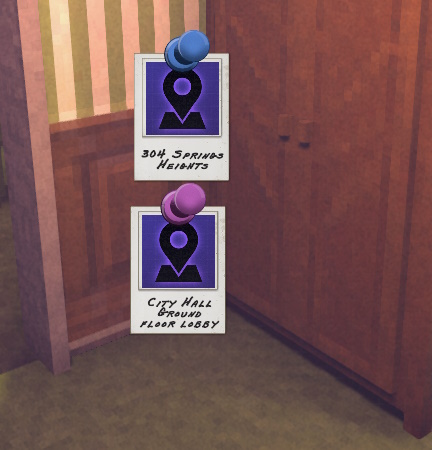
The next order of business is finding a city directory, and visiting city hall! We can do the latter in any apartment, but let’s kill two birds with one stone and go for a walk.
While you’re out and about, you may see words written on walls. Do not be alarmed; you are not hallucinating (This, anyway). These are Black Market passwords. You might find one just by checking the basement of the building you’re in- As a business, it will often have a name, or you can open the door and it’ll be verified as soon as you walk in. (Don’t linger, though, you’re tresspassing.)
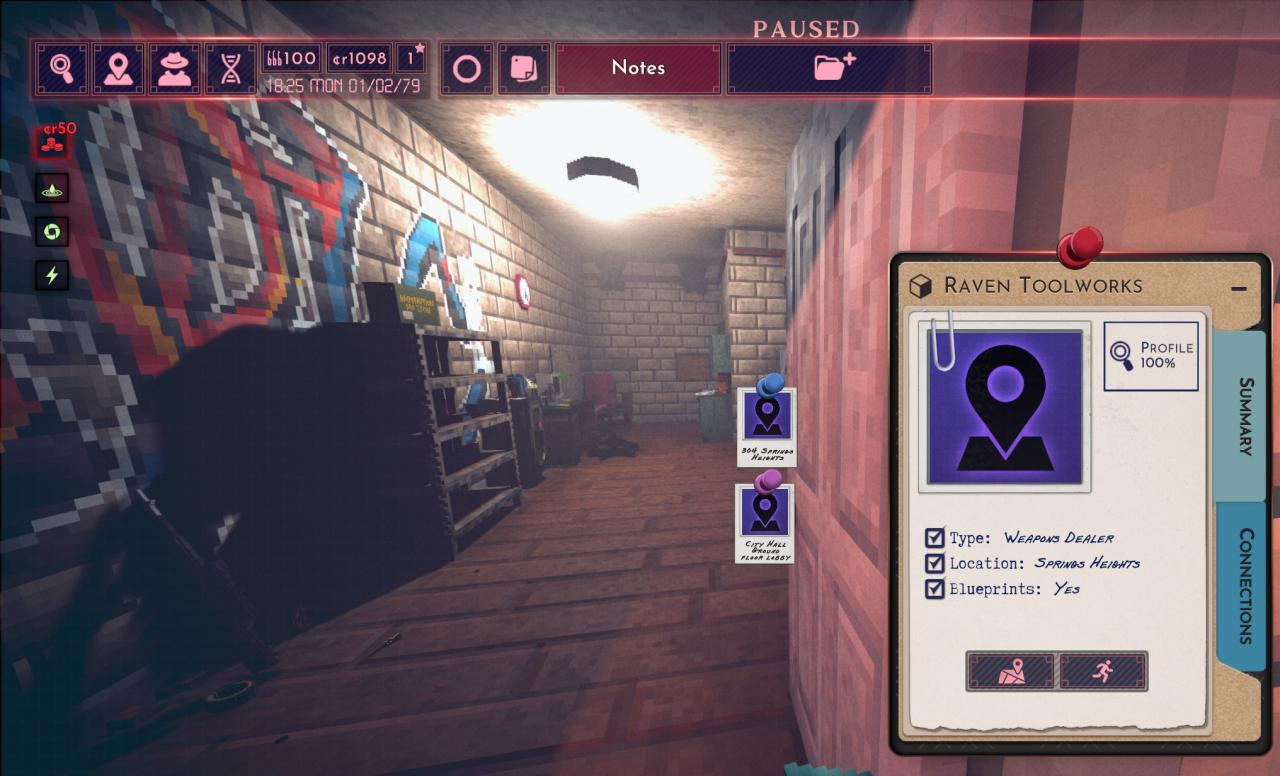
There are two businesses that need passwords: General black markets, which have this icon written over their passwords:

Black market weapon specialists will have this icon instead, though both sell weapons:
(This is where a picture of the icon would go. The current version is bugged, though. It’s usually an icon of a pistol over the phrase)
Don’t worry if you don’t immediately blunder into one in your basement, though. As soon as we reach our city directory, by any phone…
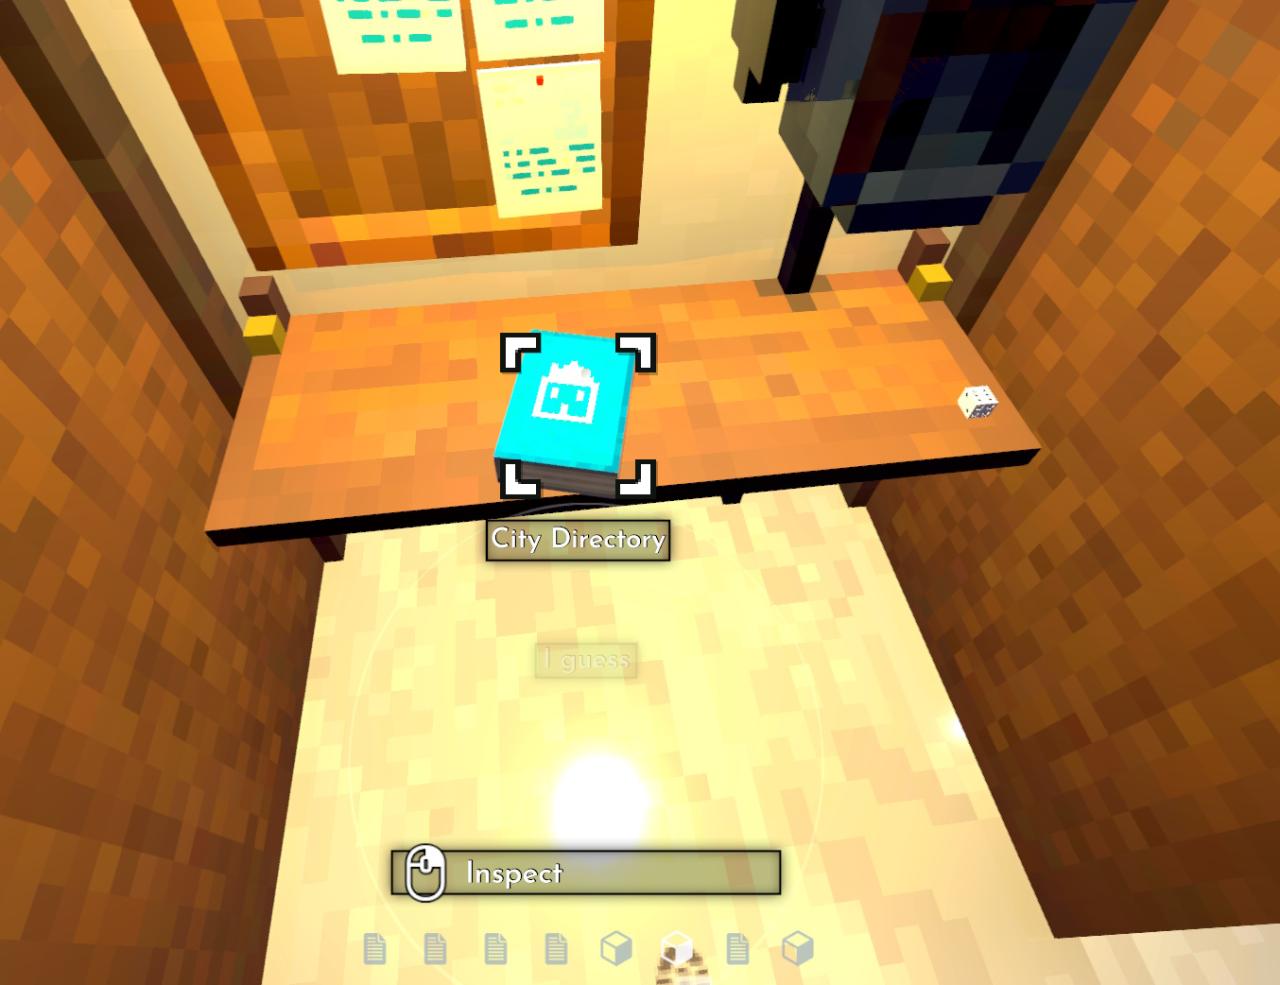
We can start looking up businesses.
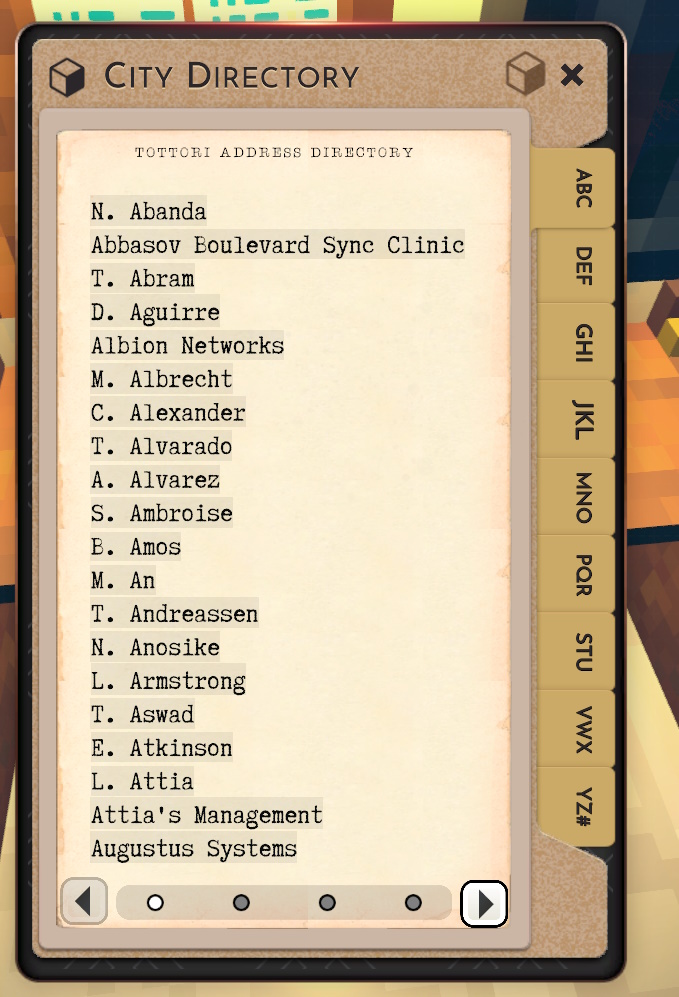
Now that we’ve left our apartments, hit the streets, and metaphorically touched grass, public businesses will automatically fill in what type of business they are, though it’s usually pretty clear by the name. We’ll hit up the food joints later, but there are two kinds of business names we’re looking for now:
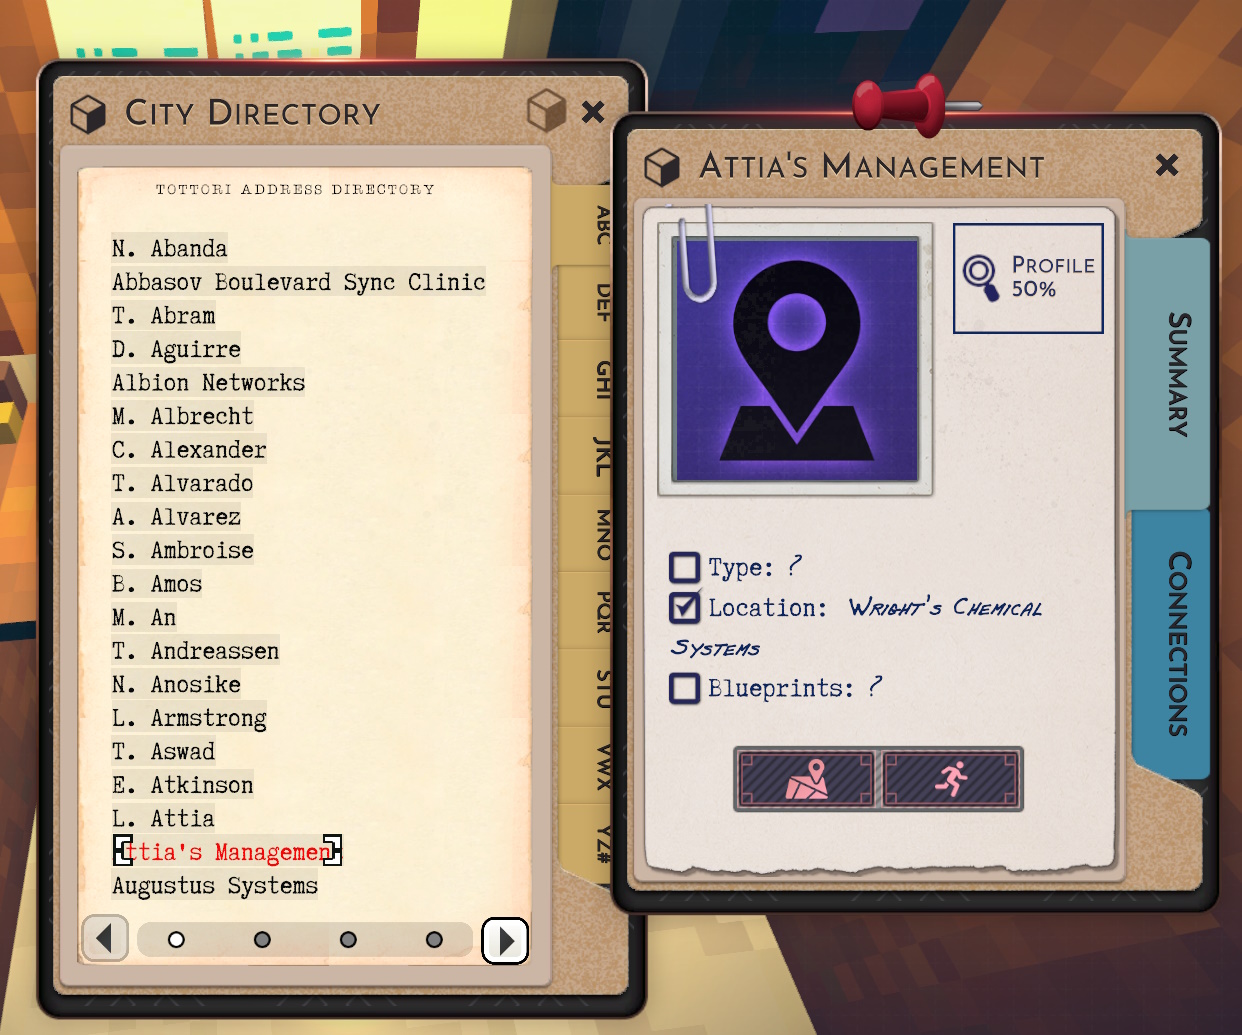
Managements are private businesses, so they don’t get their Type automatically revealed until you physically enter the room. These are security rooms for buildings, and contain resident rosters for the building (Or, the rent-paying half), and security camera hubs. We’ll come back to that in Advanced Organizing. There’s also a ‘ghost’ Management for City Hall that does not actually exist listed here, and you can’t set a waypoint marker for it.
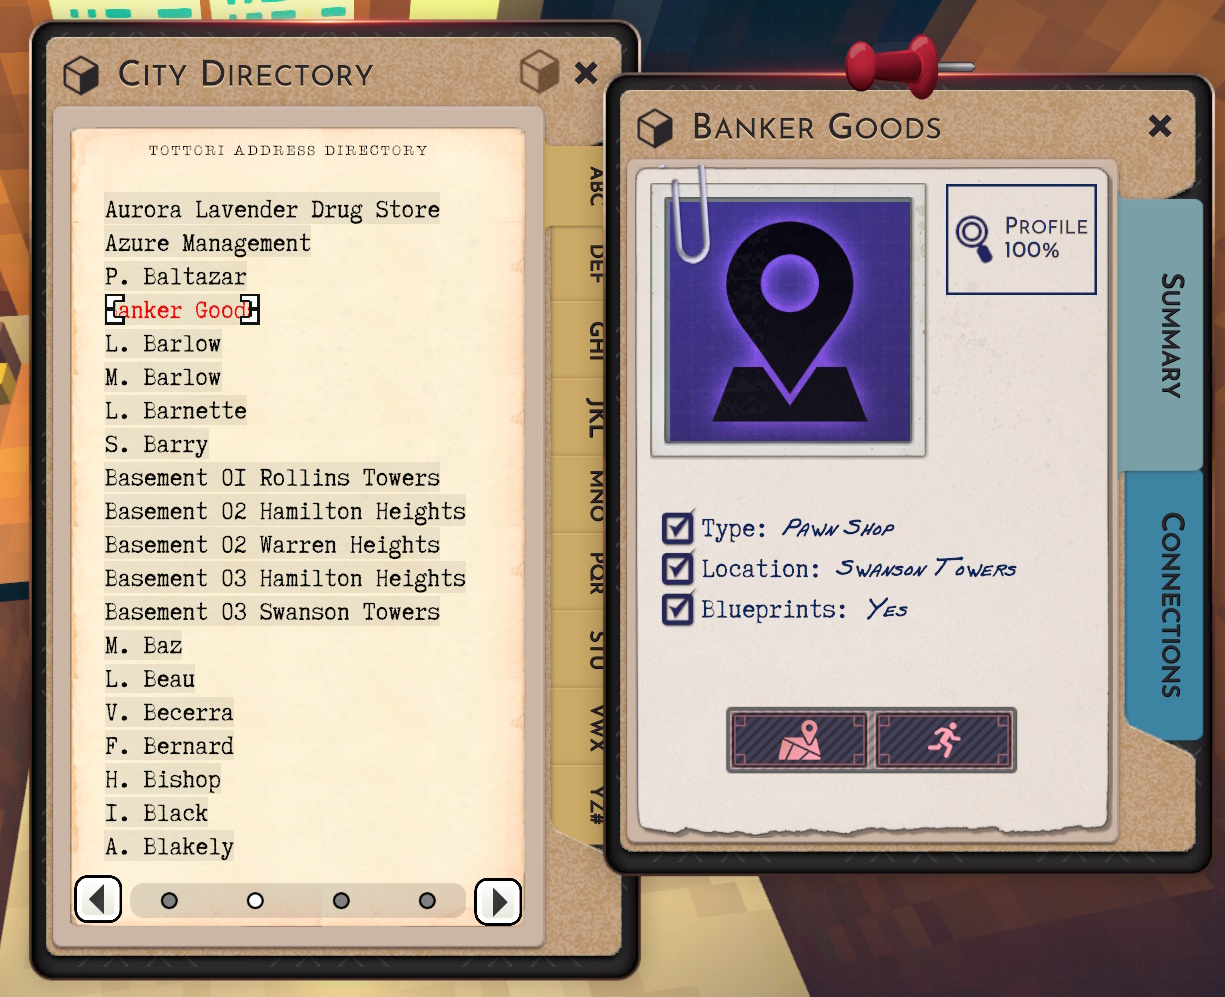
Then there’s pawn shops. They often have names ending in “Goods”, “Tools”, or the like. They aren’t hard to filter out from Office business types, though that’s because Offices have really generic boring names. We’ll come back to this in a moment.
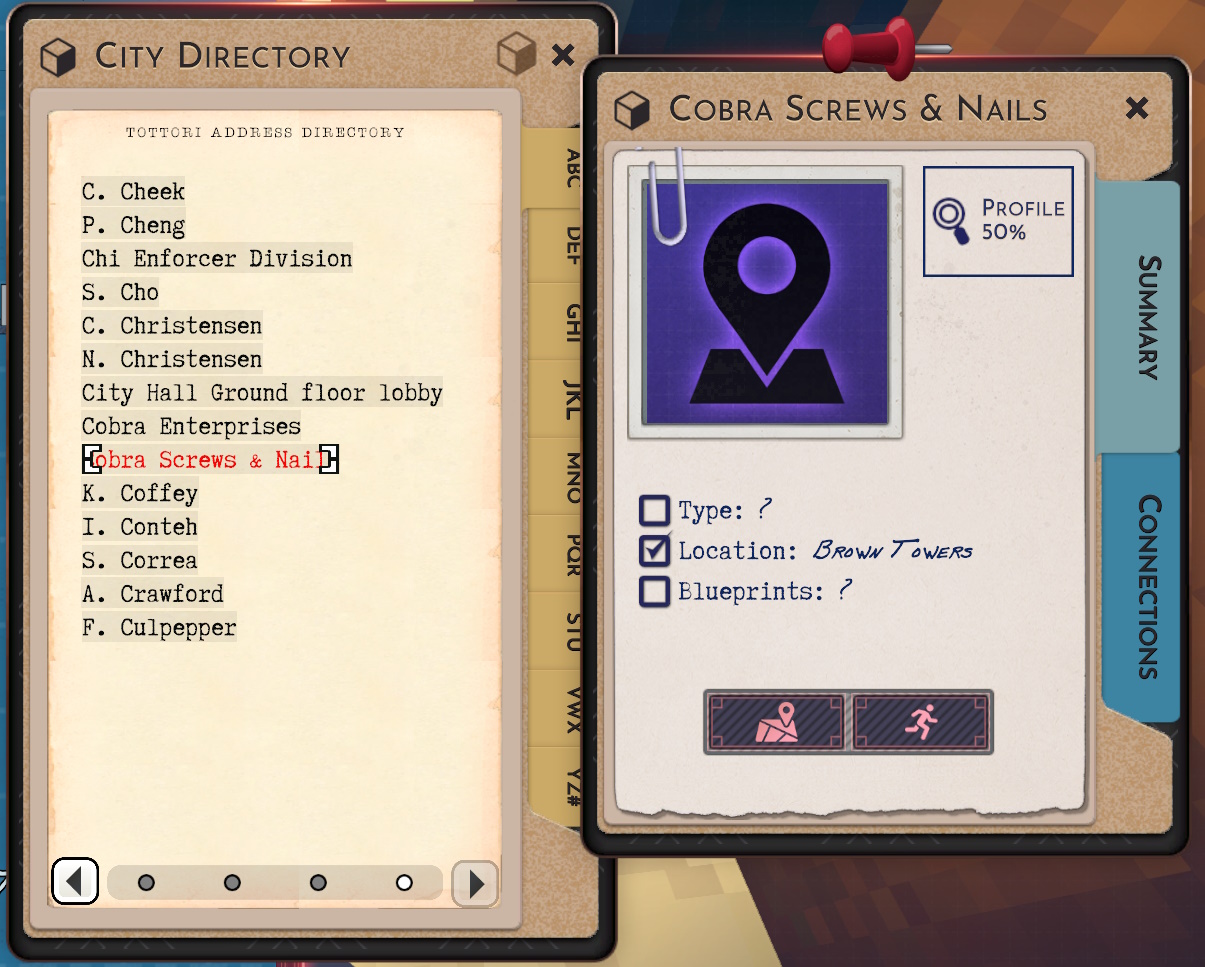
This one is a black market sync clinic. They share names with legitimate hardware stores, which may or may not spawn in your city. They have tool-based names, like other illegal shops.
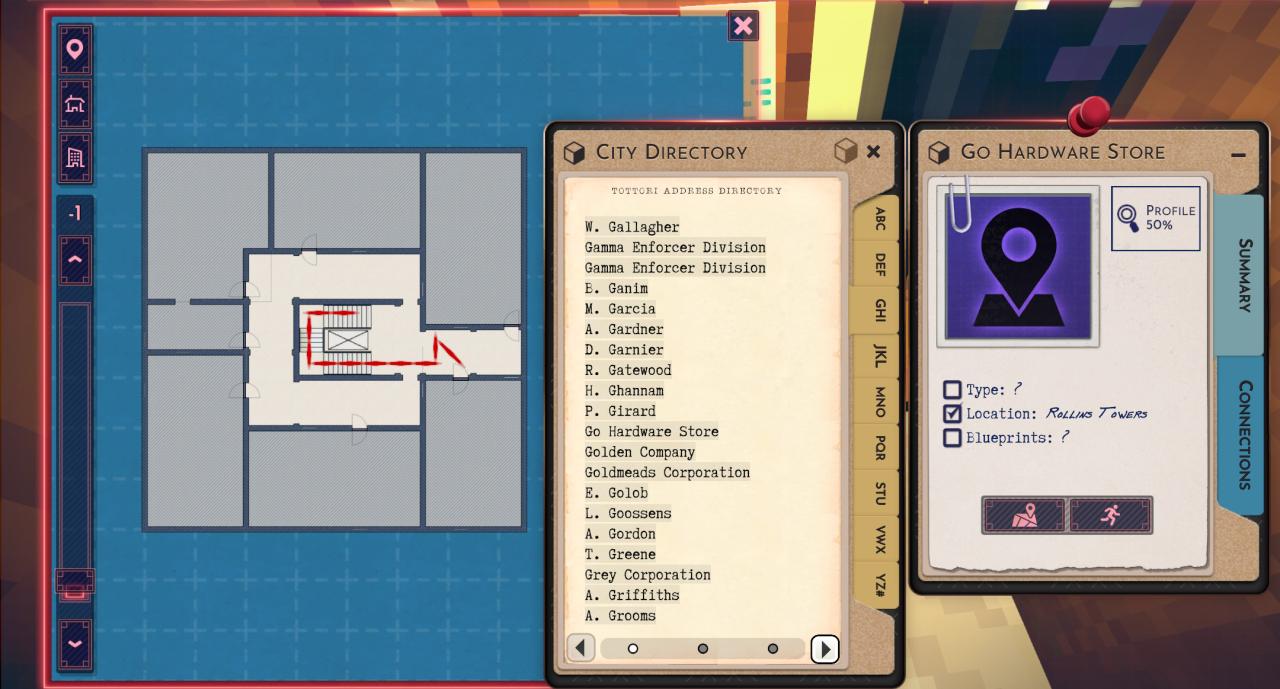
Then there’s ‘hardware’. Illegal shops have names like pawn shops or hardware stores, implying tools and trades, but they’re almost always in Basements, level -1. Occasionally, they’ll be in back alleys, empty spaces on the map:
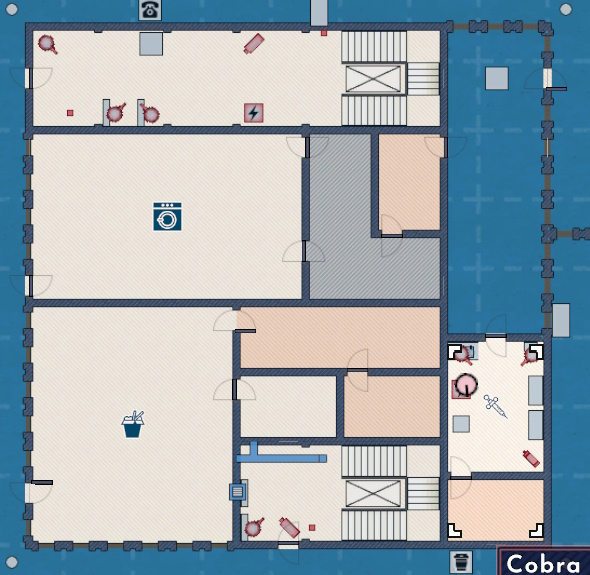
They might be illegal, but they still follow regular store rules. You don’t ♥♥♥♥ with the IRS, even if the cops no longer care about actual crime in this cyberpunk dystopia.
You’ll want to find a Black Market Sync Clinic on the first night, because of the current bug where black market workers (And a lot of other workers) never go to work again after their first shift ends, and they’ll sell some top quality merchandise that’ll help a lot in your work. They’re also the only black market business that don’t require a password.
They’re also, incidentally, superior to regular Sync Clinics because they actually sell more then a single sync disk in the entire city, and have a regular stock.
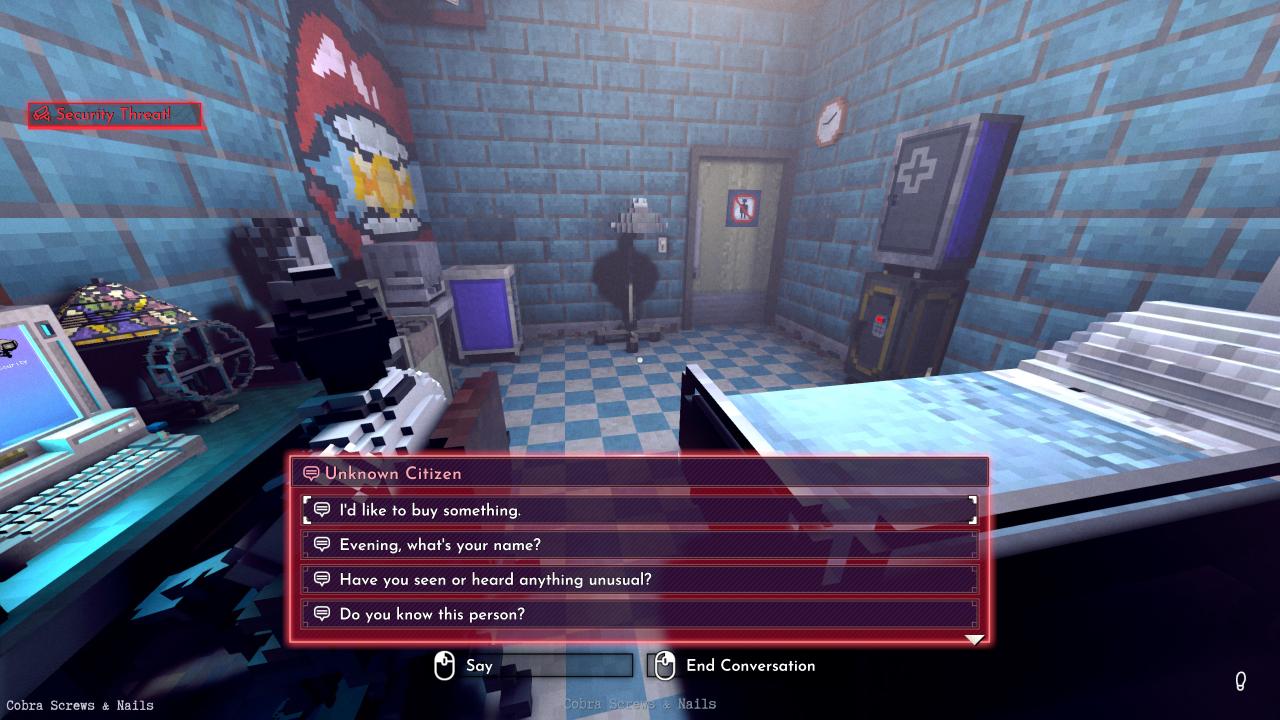
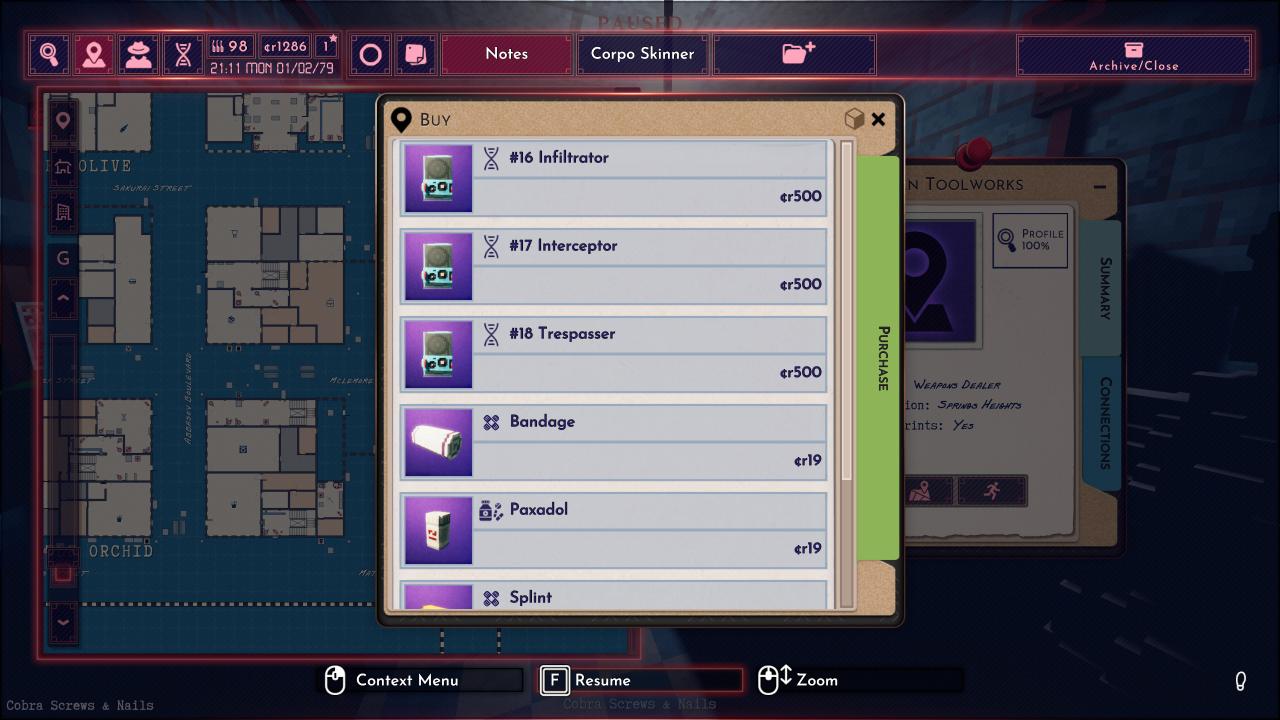
In the options menu, you can start off a new game of Sandbox (EG, the same as regular but without the tutorial case and with an apartment) with 1000 credits, which is just enough for two of the three disks. Which is handy, because two of them are extremely useful and one of them is just a nice bonus you don’t at all need. Believe me, you will be using these two ALL the time. (Rogue more then anything, to be honest.)

So, now that we have a list of all the businesses that aren’t Offices, what do we do with them? Well, I’m afraid in order to bring criminals to justice, we’re going to have to bend our morals a little, and break in. This may be uncomfo-
Oh, you’re okay with that? Huh, that was easy.
Your targets: Pawn shops, black market shops, and hardware stores.
After getting lost on the way to the bathroom (Which is also off limits, incidentally- Employees only!), you can find a sales ledger in the back room. Pin this to your case board.
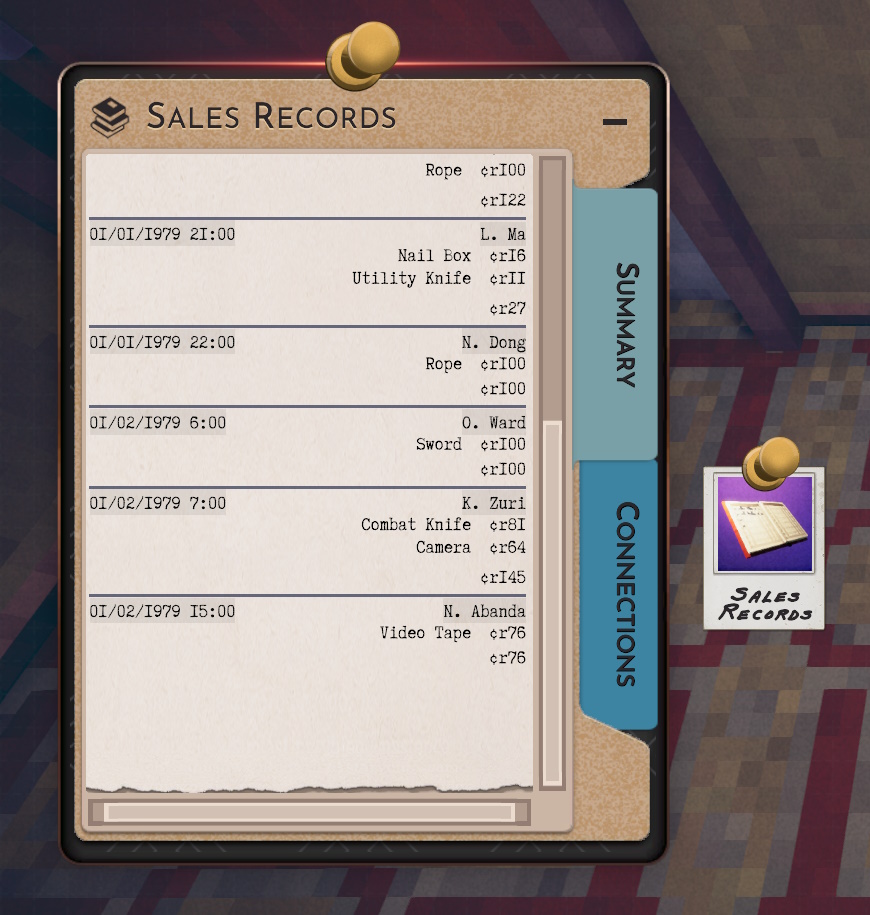
If for some reason your game bugs and there isn’t, you can check the computer:
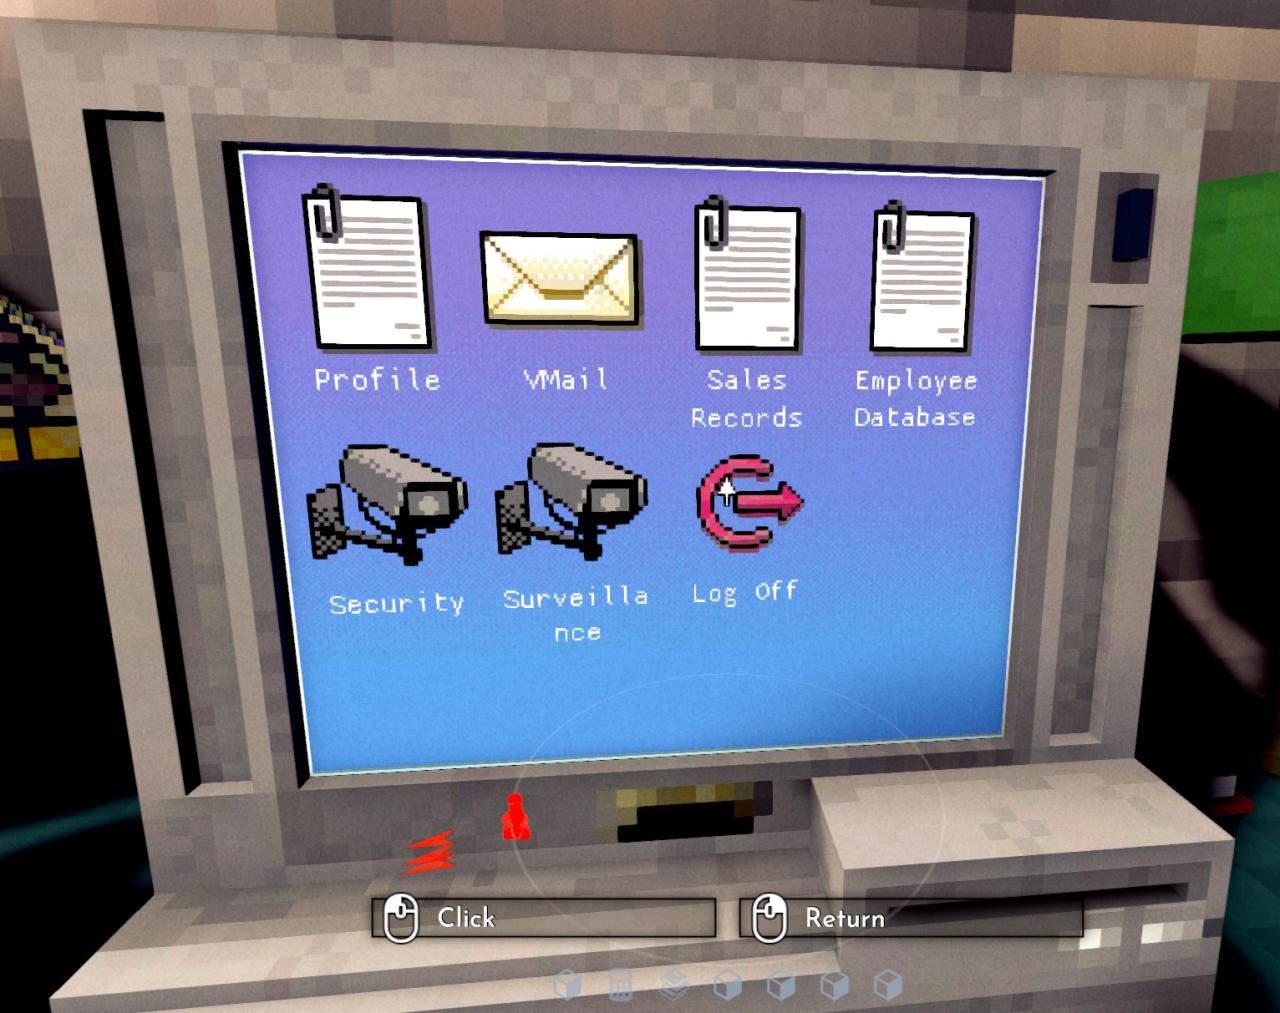

On the off chance you failed to disable security in time, got shot to death, and woke up in the hospital- Or just forgot to grab the name of the store before you grabbed their ledger- It’ll be found in the connections.
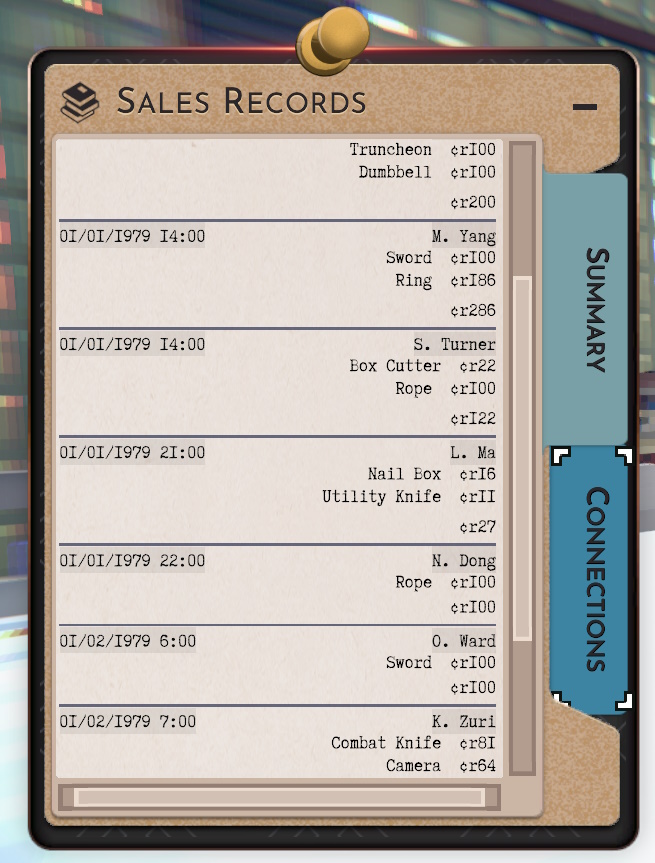
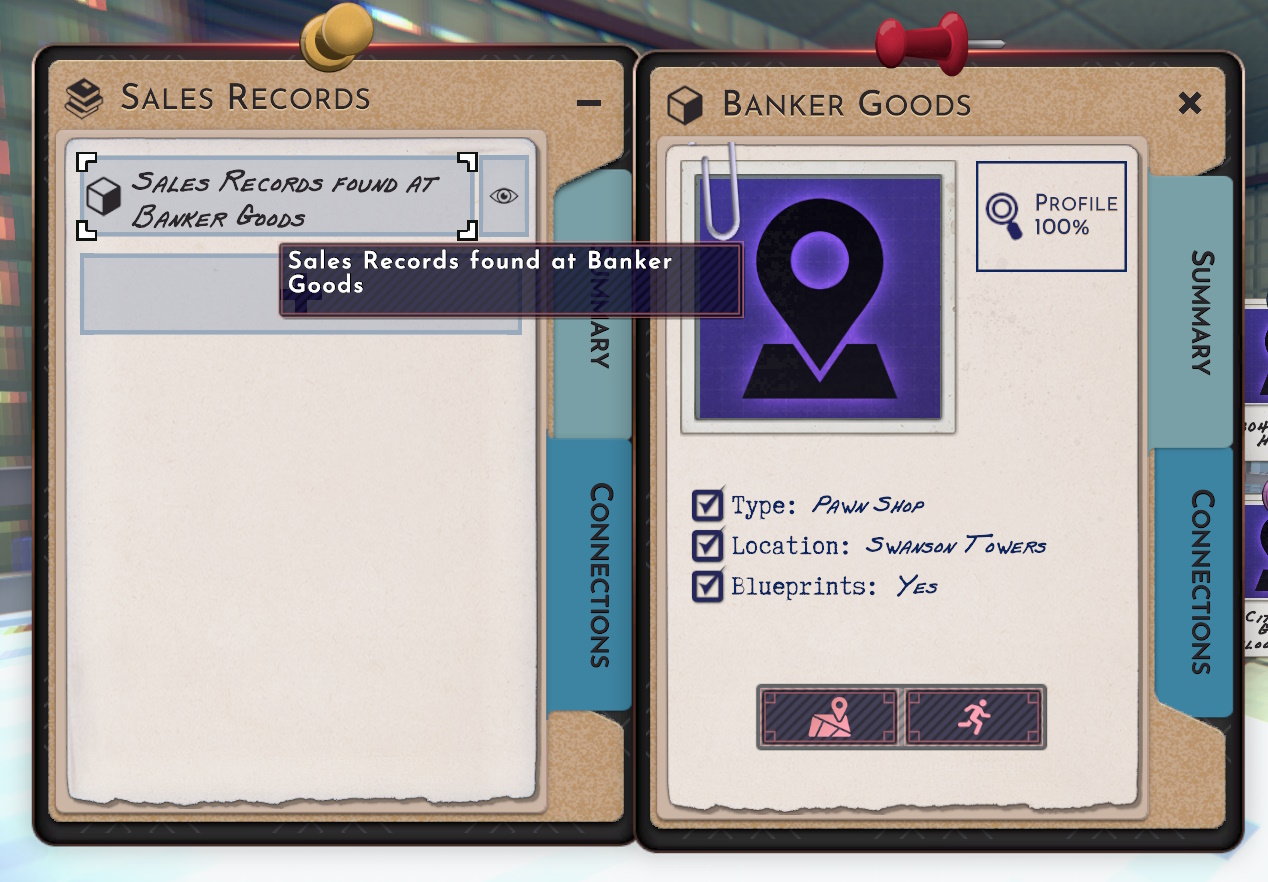
Between cases- Or on a case, if you don’t have any easier leads- You’ll want to grab the sales ledges of every joint in town that sells weapons.
For gun murders, black market traders and gun shops are on the short list.
For blunt weapon kills, hardware stores and other tool supplies.
For bladed weapons, also black market and pawn shops. Rarely, Pharmacies and shaving razors.
For poison kills- Pretty rare, these- The pharmacy. By the way, the poison doesn’t count as the murder weapon. You have to submit the syringe they used instead.
Not every killer will have bought their weapon from anywhere, though. Sometimes they already have it on them, and that lead dries up. But ledgers, like newspapers, are always accurate in real time. I caught a poisoner because I got to the scene of the crime, checked my pinned ledger from the pharmacy, got a name, ran it against the fingerprints on the murder weapon left behind, and got a match. I arrested him before he even reached his apartment from the murder scene
Fundamentals Practice
So what does it look like if you’ve practiced your fundamentals? I’ll demonstrate:
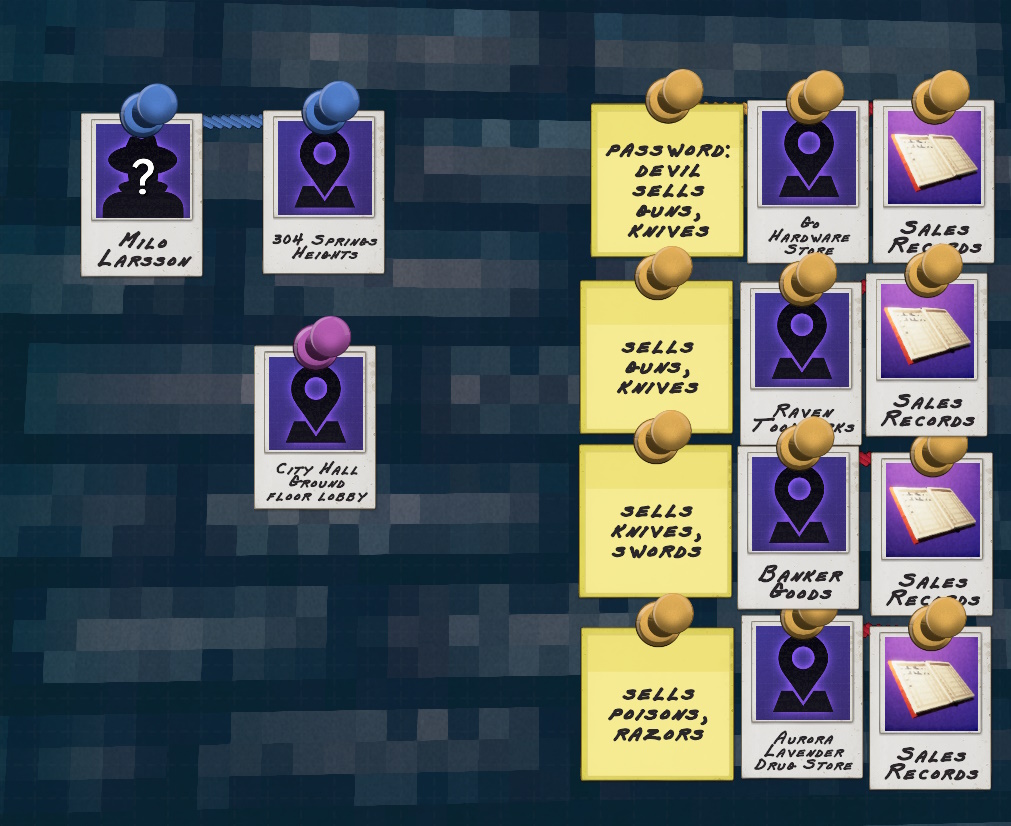
This may well be where you stop organizing your notes. In yellow, we have places that sell potential murder weapons. If you find a murder weapon at the scene, you can quickly compare the names and run them. If you don’t, you can broaden the scope to whoever bought the same type of murder weapon- Blunt, Sharp, Rifle, Pistol, or Shotgun- Starting with investigating whoever bought it most recently, and then backwards after that.
For Black Market stores with passwords, you’ll want to have a note of the password, if you’ve found it, until you get a chance to knock on the door and use it. Once you’ve gained access- You can check by seeing if they’ll let you open the buy menu- You can discard it. And if you never found the password, well… You can always break in and check their ledger when the store is closed.
Alternatively, if you don’t like the sticky notes right next to it, you could do something like this:
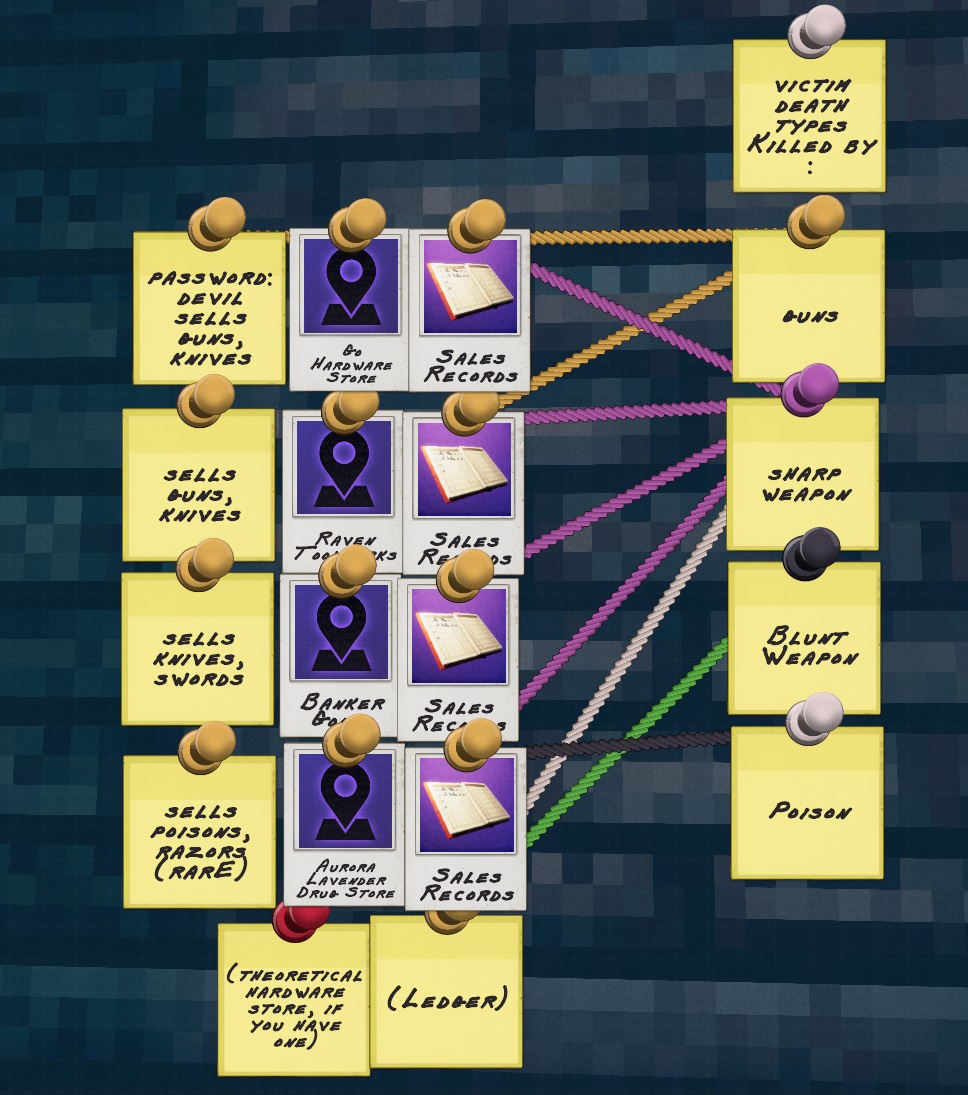
This is a lot messier and not actually as organized looking, but hey: If you like String Theory and want to really get into the conspiracy board aesthetic, go nuts. Not that all murderers need to buy weapons: Enforcers have their own guns, and I guess a nurse killer would have poison from City Hall’s wards. Though I’ve never seen one use poison.
Meanwhile, in the middle, getting space to itself as more important, is our apartment and city hall. We’ll be clicking these very frequently , so they have their own section. I’ve added my own character’s picture next to the apartment just for fun.
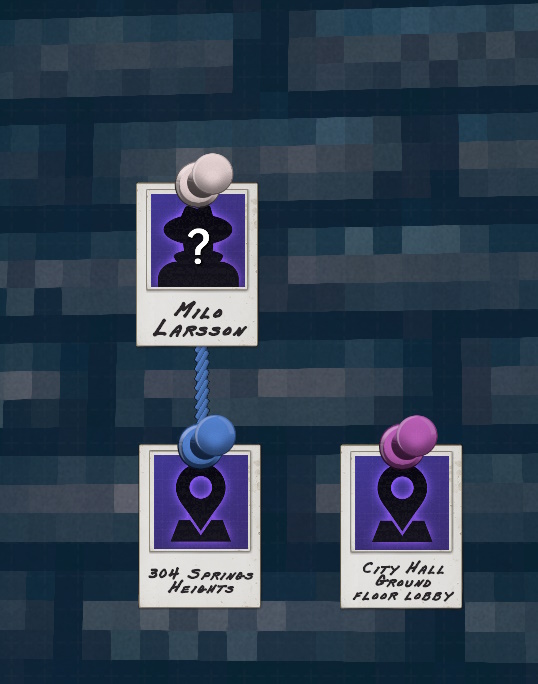
Home and City Hall (your other home) get their own colors, so you can tell them apart and click them at a glance. (If only you could recolor sticky notes and evidence from yellow and white… Maybe some day.)
So where do we go from here?
Intermediate Organization
Well, the fundamentals will help you solve cases, by providing easy access to occasionally useful information and two-click waypoint setting to drop off your loot.
What about using your case board to find cases, instead of just solve them? Introducing: Side Jobs.
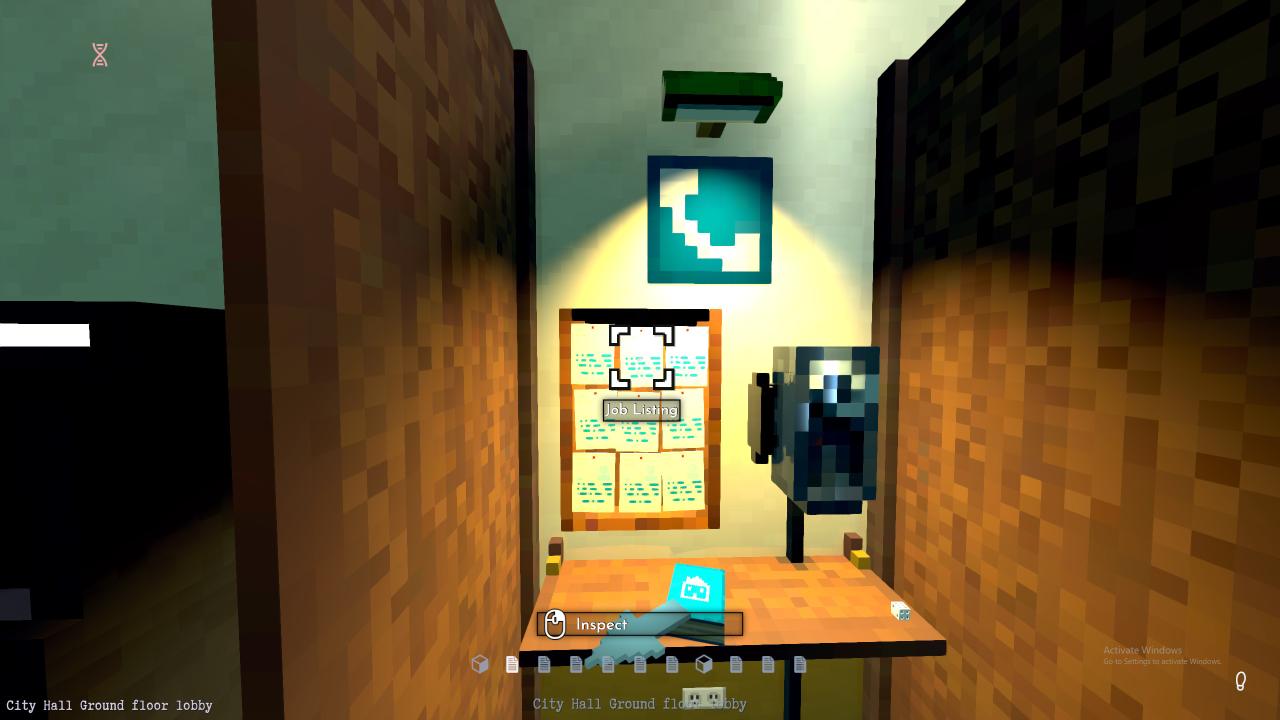
Between murder mysteries, assuming you need cash for some strange reason, or want to do something other then sleep in until the next police report hits your old radio, you can pick up side jobs. I’m partial to arrests, myself.
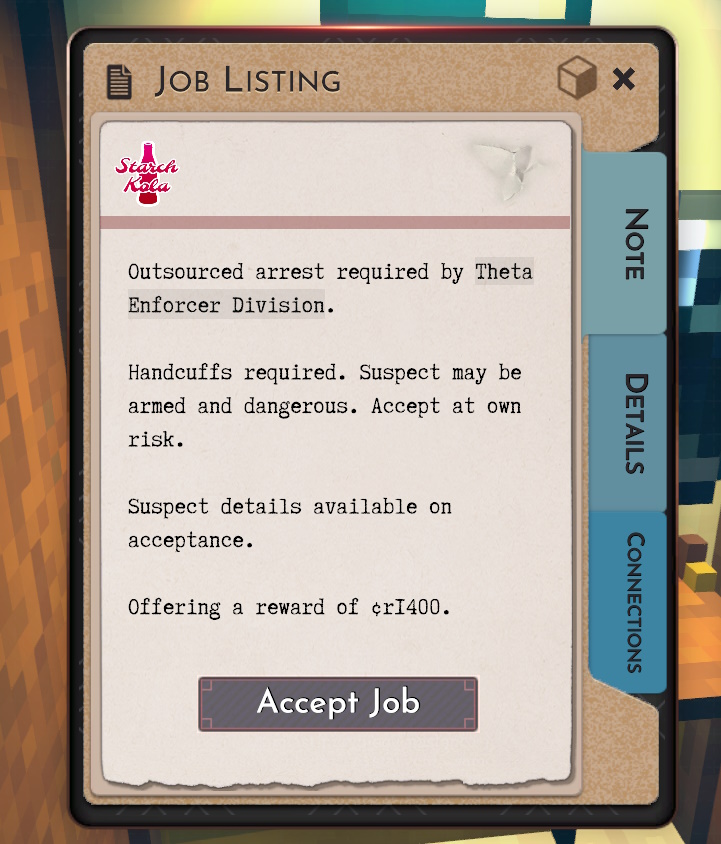
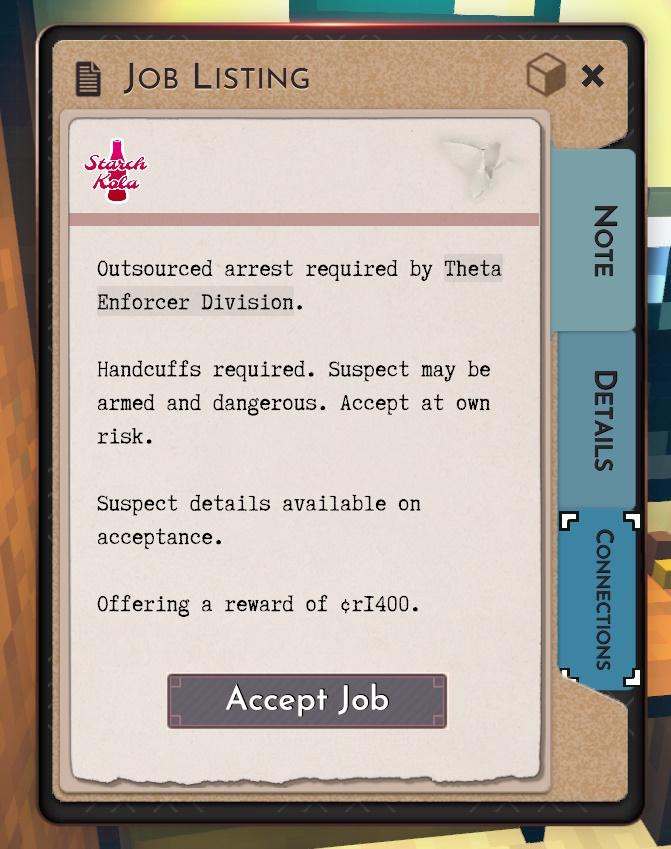
Where does your Notes come into solving these cases? Well, you can check who posted the job. If it’s a humiliation job, or a destruction job, it’ll probably be someone the poster knows. And hates. If you haven’t taken the job listing off the wall yet, you can check it with your fingerprint scanner:
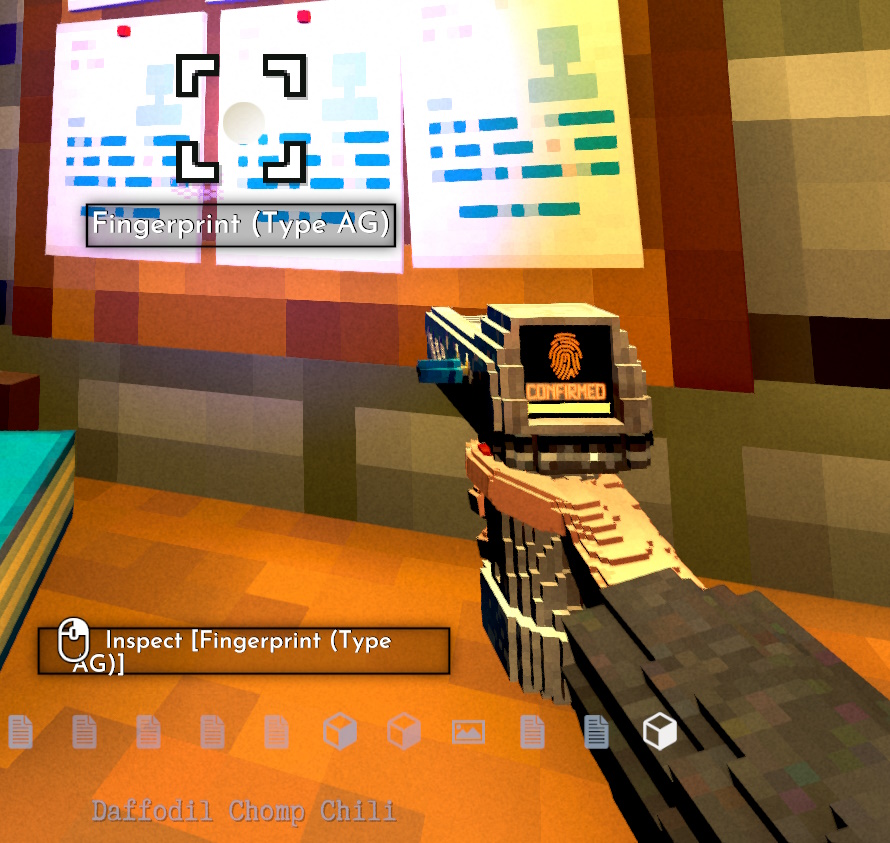
When doing dead-drop jobs, you can find prints on the briefcase, indicating who left it there.
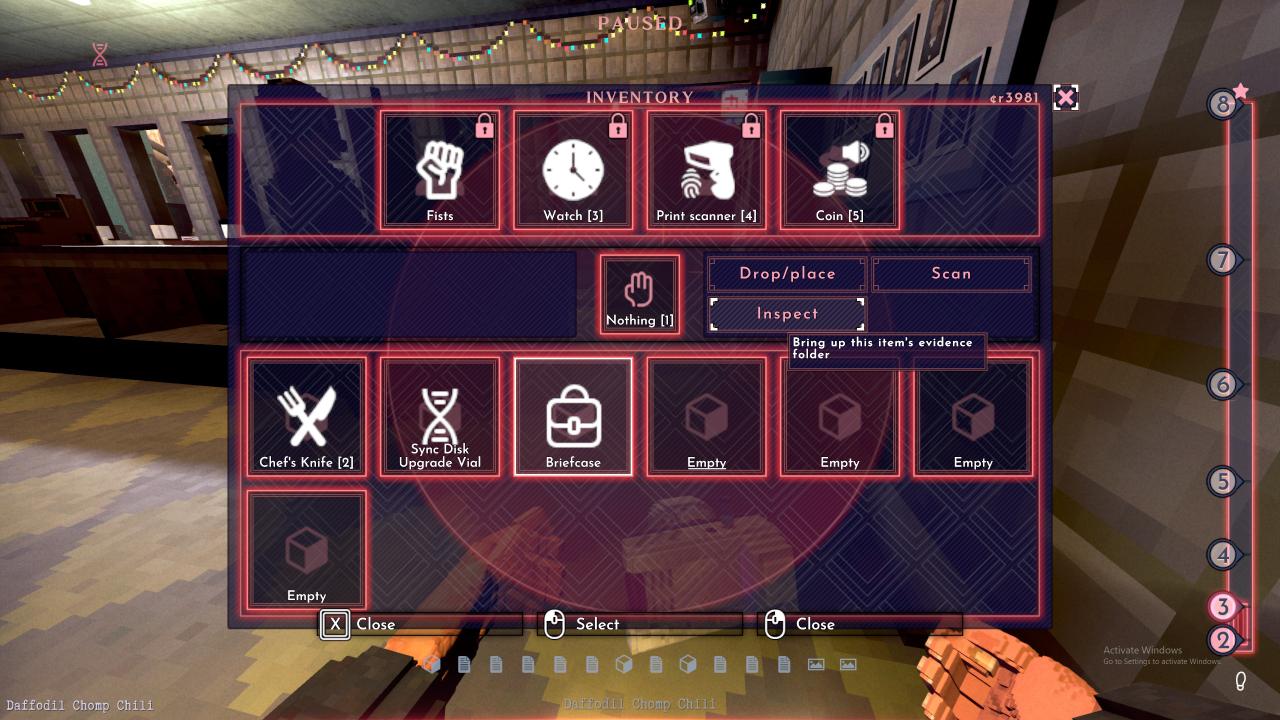
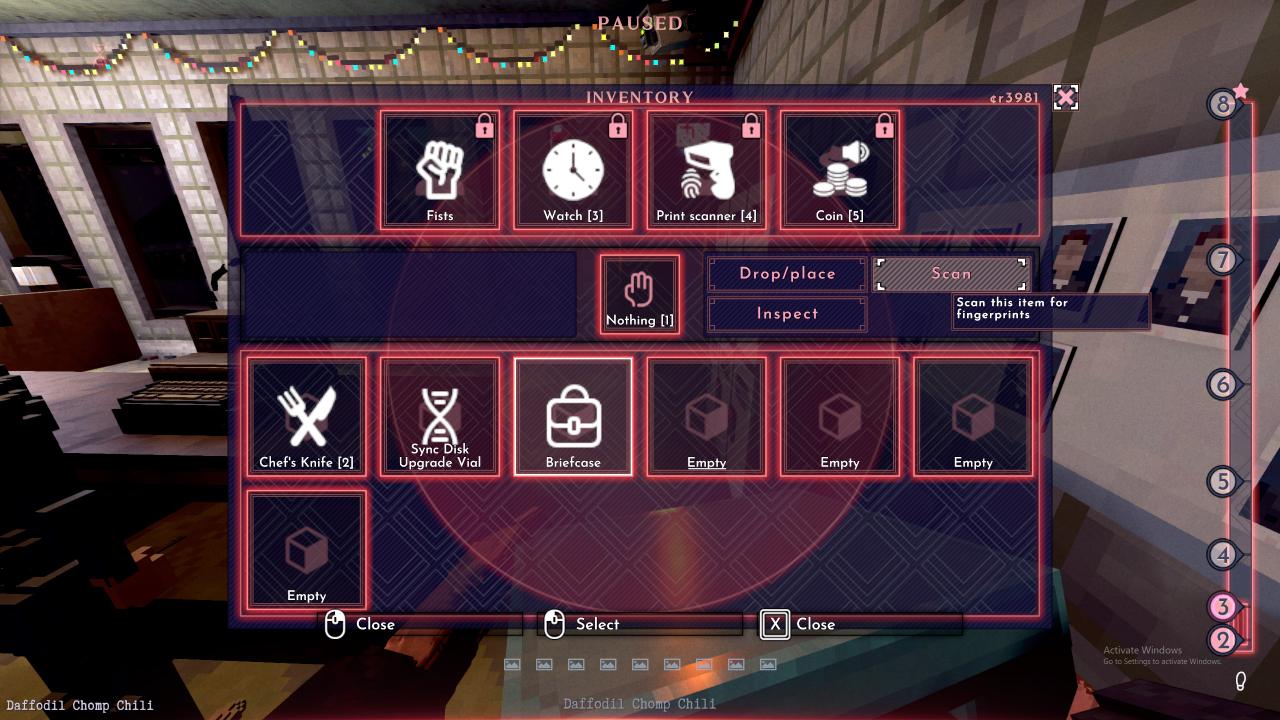
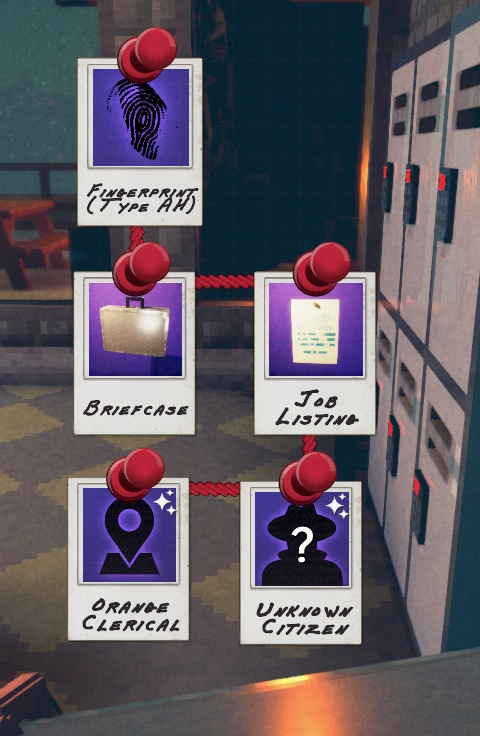
Of course, it’s not always that simple: Jobs can also be posted by middle-men, which makes that deduction a dead end. Why is this shopkeeper posting a job instead of the Enforcers? I dunno; maybe she’s an enforcer’s spouse and her husband has been complaining about an arrest he’s struggling with at work. Or maybe the supermarket is a subsidiary of Starch Co.
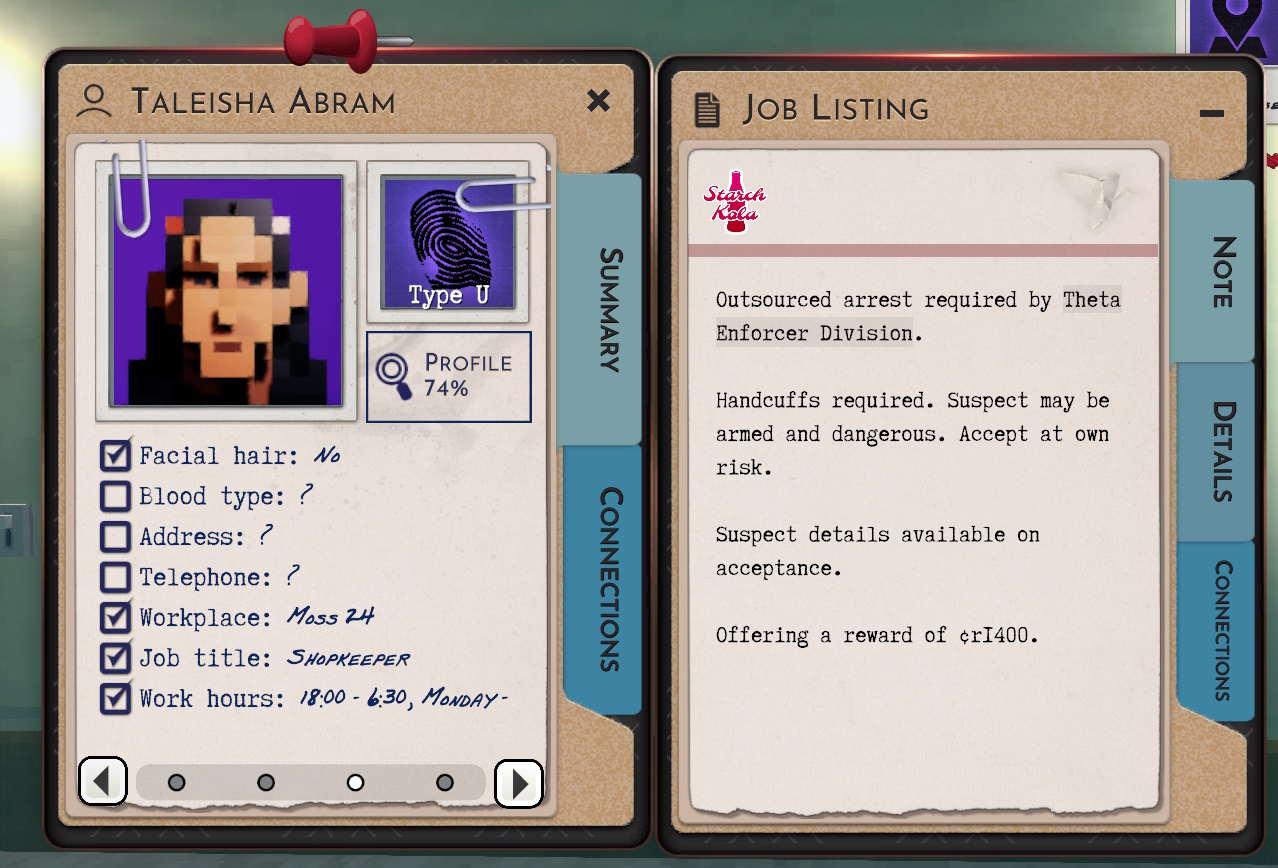
Middle-men seem to be particularly common with briefcases. But don’t toss it into the ocean like an old car battery yet, unless you’re feeling lazy. Bring it home to your apartment.
In the meantime, let’s get back to organizing. Job Boards are found in public spaces- This means City Hall, restaurants, and bars, including Gambling Dens- Which are technically a restaurant, I guess, even if all they sell is drinks. Job Boards always look like this on the map:

So, once you collect all the locations with job boards and pin them- You don’t have to visit them, but you might as well- What will your intermediate board look like? This:
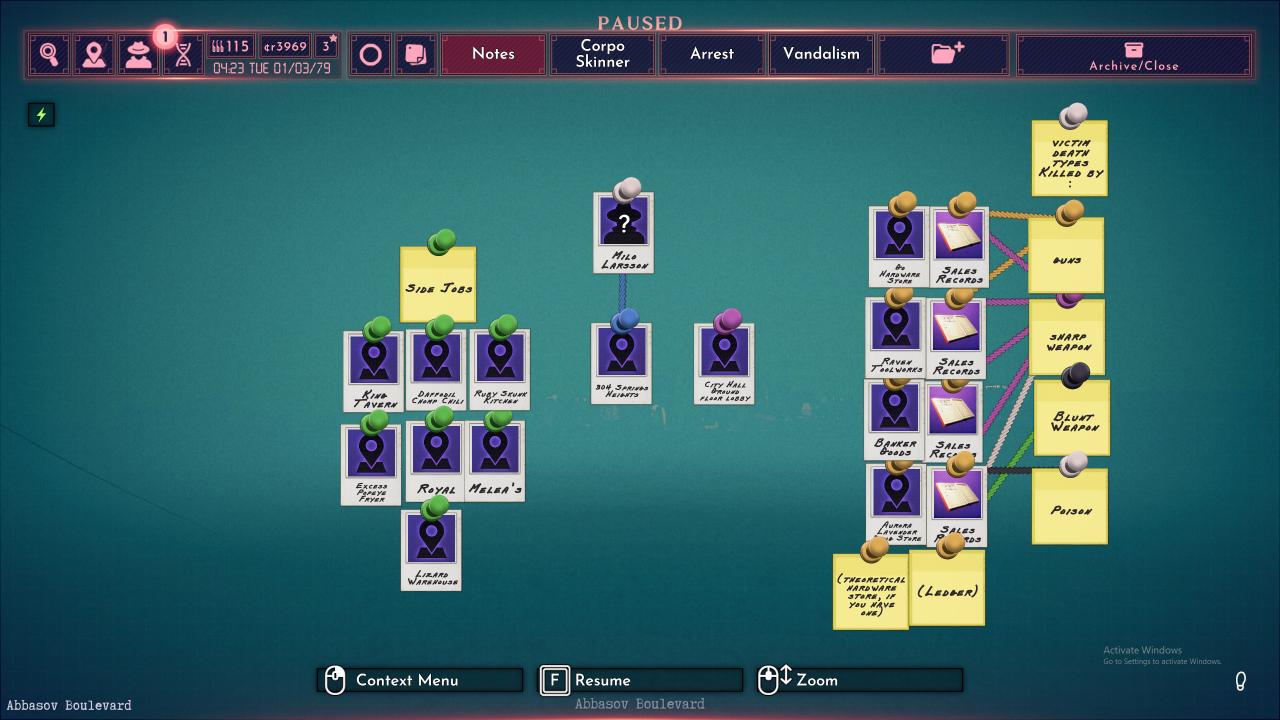
You don’t need these all the time, so they can be off to the side. I’ve put the gambling den at the bottom, purely because I don’t want to go into the basement when the rest are on the street level.
Before we go into Advanced, let’s take a detour, and bring our briefcase home.
Intermediate Interlude: A Practical Detective.
So, you’ve made some money through solving cases and definitely not serial theft. What can we spend it on?
Well, if you’re lucky, there’s the black market sync clinic and it’s three disks. If you’re not, there’s the regular sync clinic, and the singular disk it has in stock forever.
Then there’s your apartment.
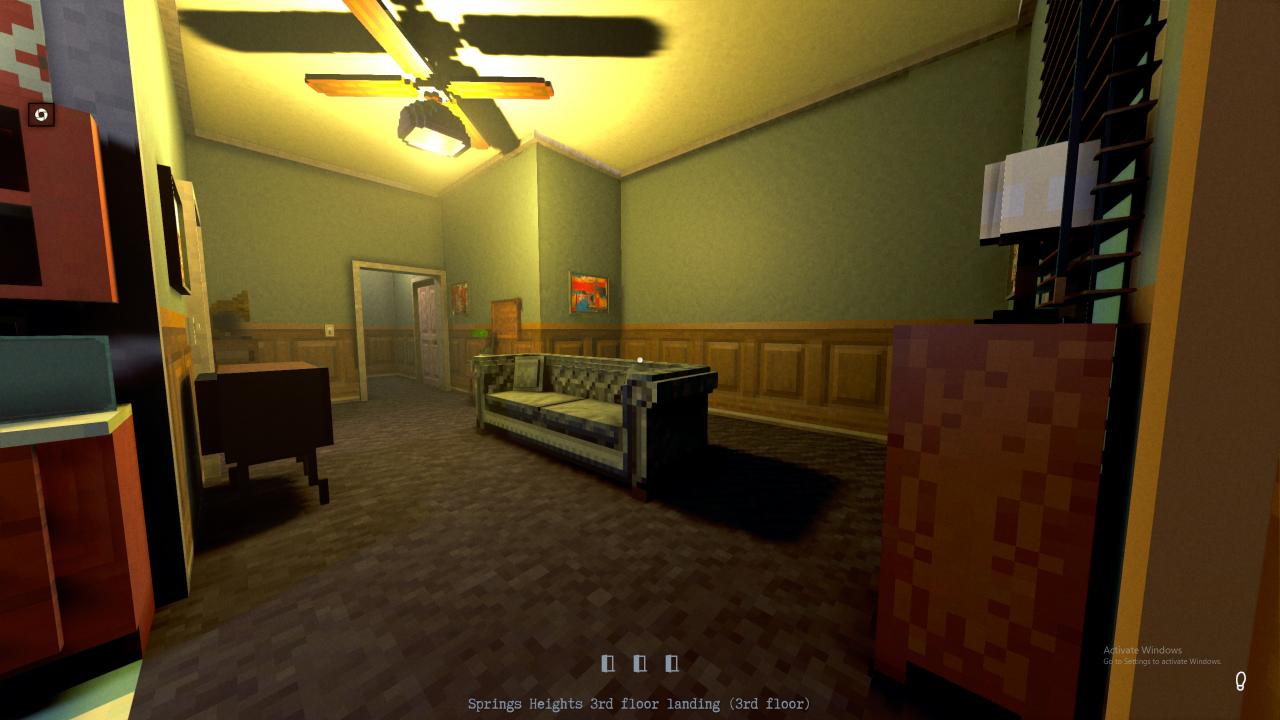
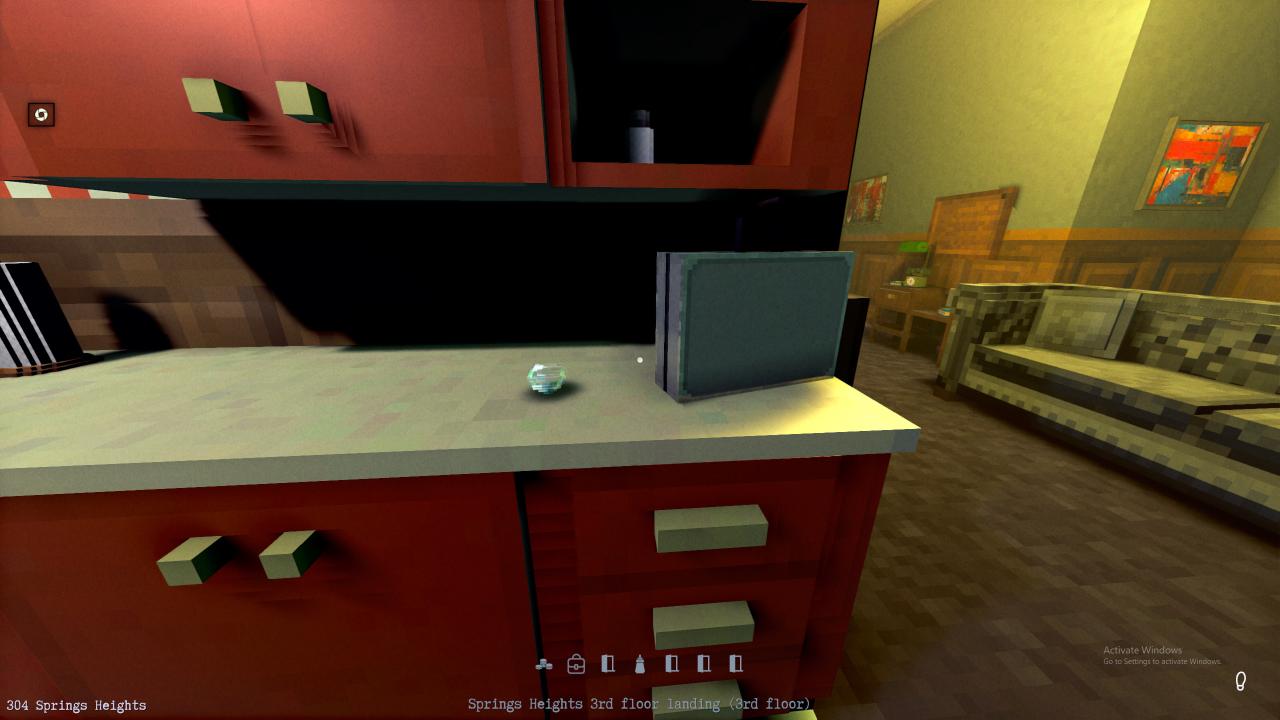
Well, you have your briefcase, and your diamond that you were definitely given by a wealthy and very grateful client and definitely did not steal.
If we open our inventory in our owned apartment (And you can only own one at a time), you can open the decoration menu:
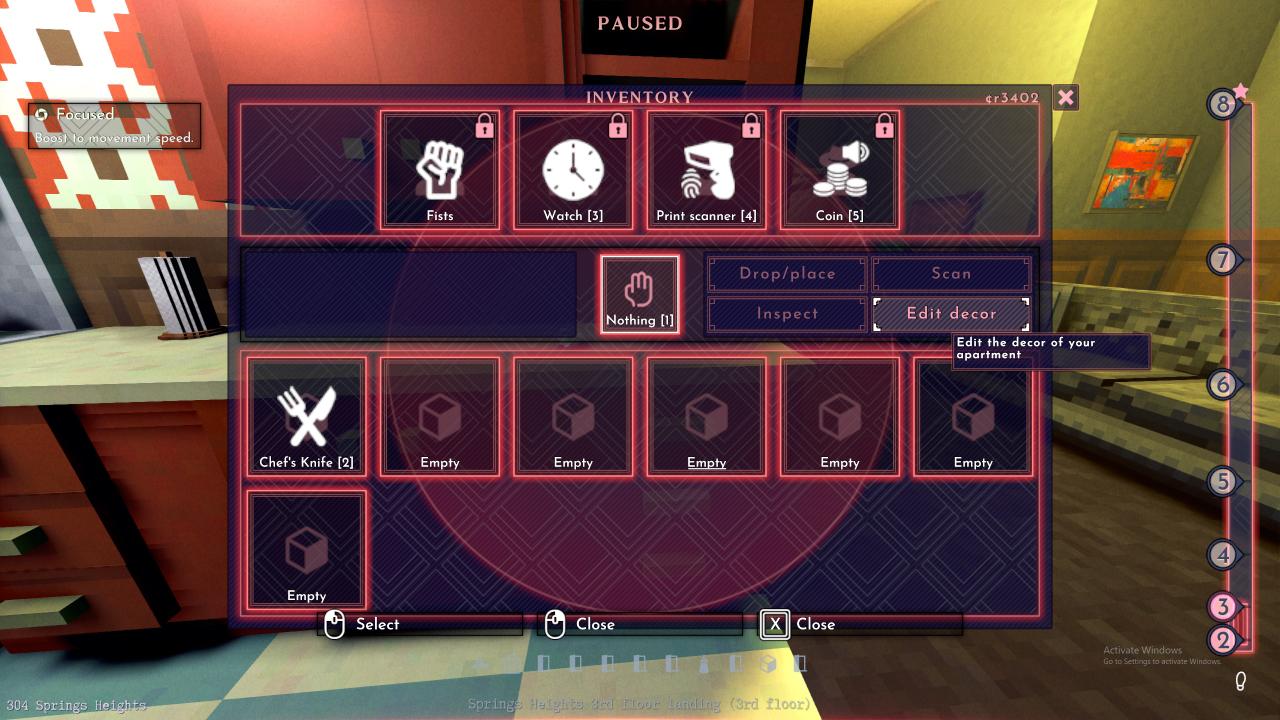
And sell items. Items are always sold at half the price it would be to buy them from a stand or vending machine. Human vendors give discounts, but small ones.
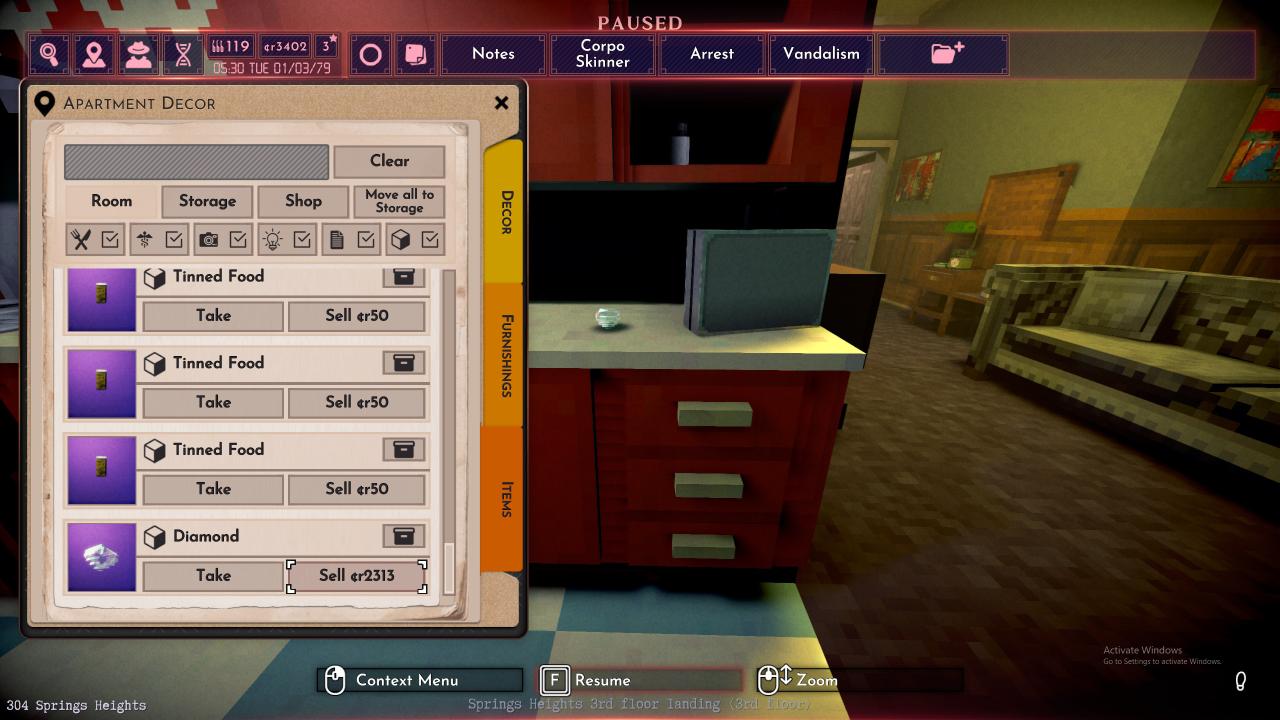
Diamonds have varying price, anywhere from selling for 500 to 3500.

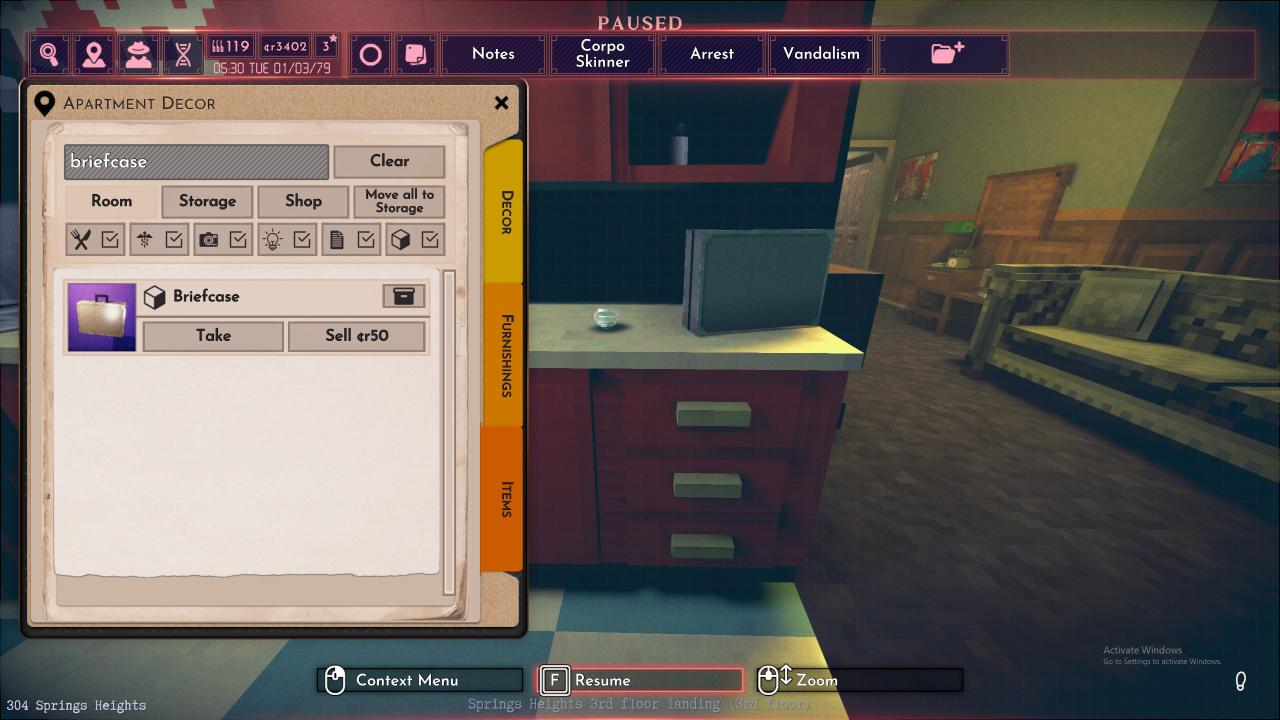
You can also search for items to sell. Hey, our briefcase is worth 50 credits! That’s decent money. Glad we didn’t pitch it into the ocean.
But this is a cyberpunk dystopia, and you know what that means: Omnipresent capitalism and advertisement! But now you can put it to good use: Purchase useful items for your home, so you have a reason to visit beyond showering, sleeping, and selling.
Why not get food delivered straight to your door? Who needs door dash when you could install a vending machine? You don’t have to install Sugar Daddy to know Starch Corp Owns You! Flick from Items to Furnishings, and from Room to Shop…
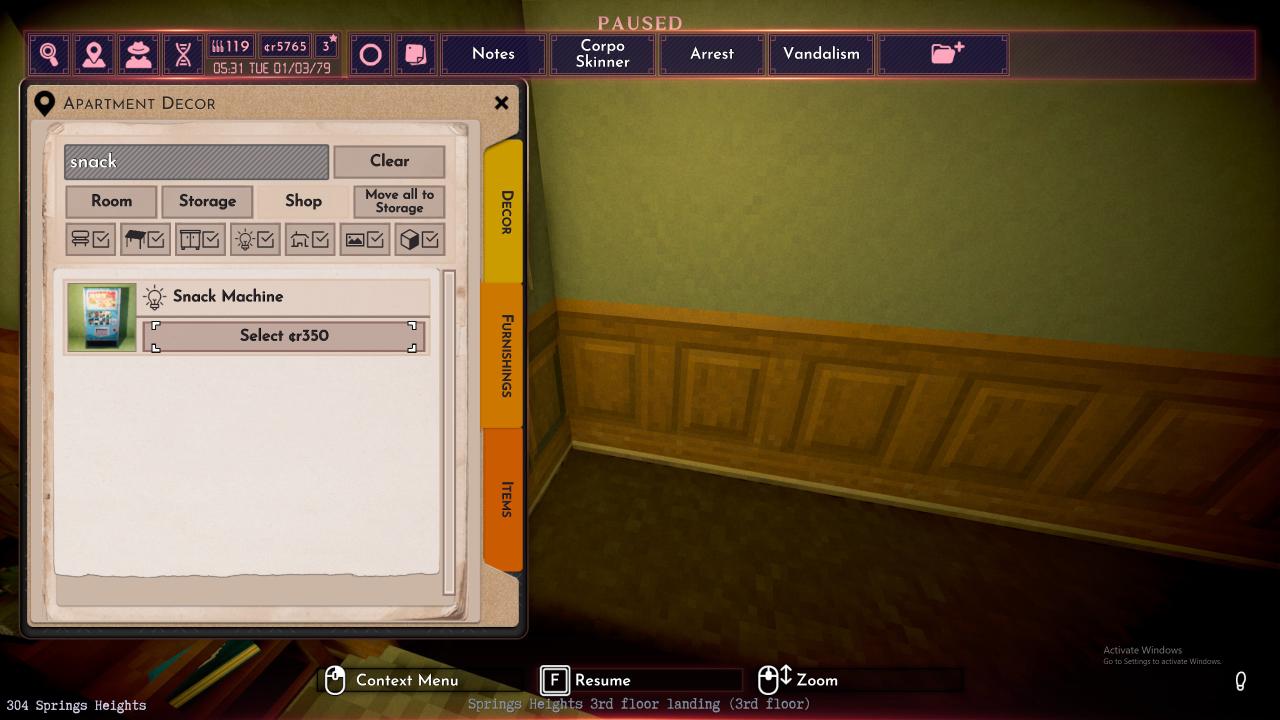
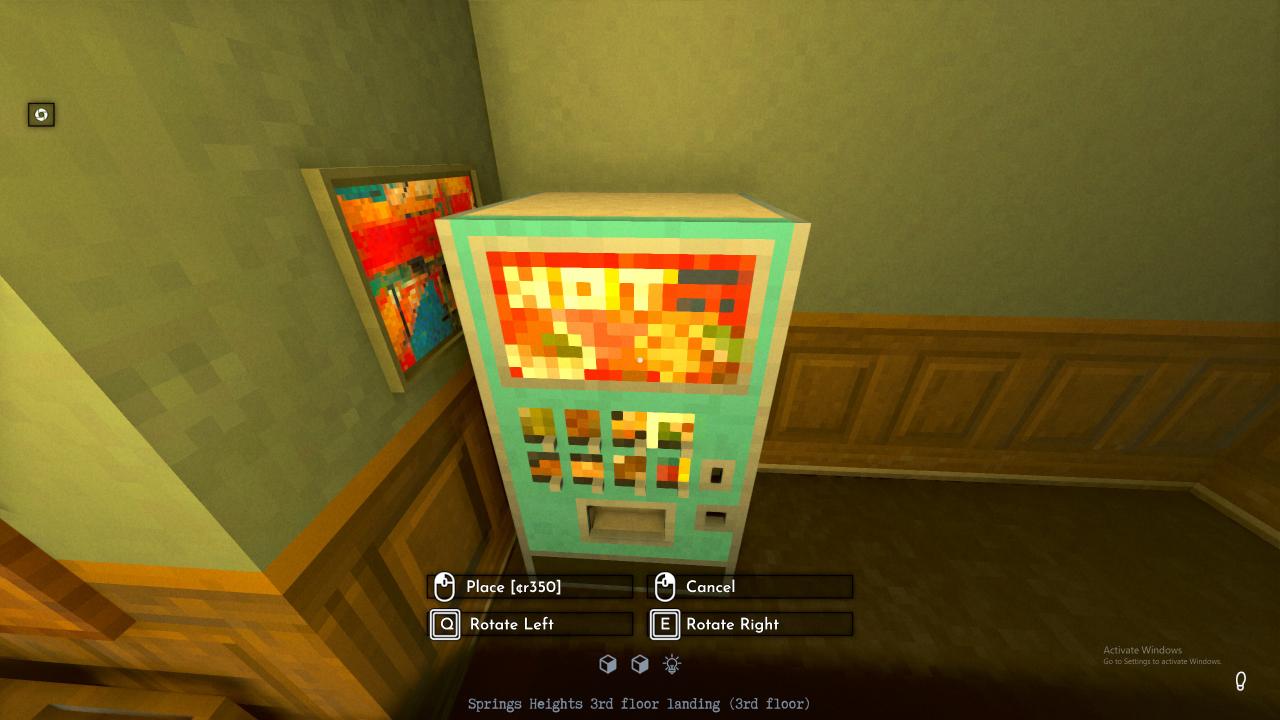
And have yourself a Starch Cola to celebrate!
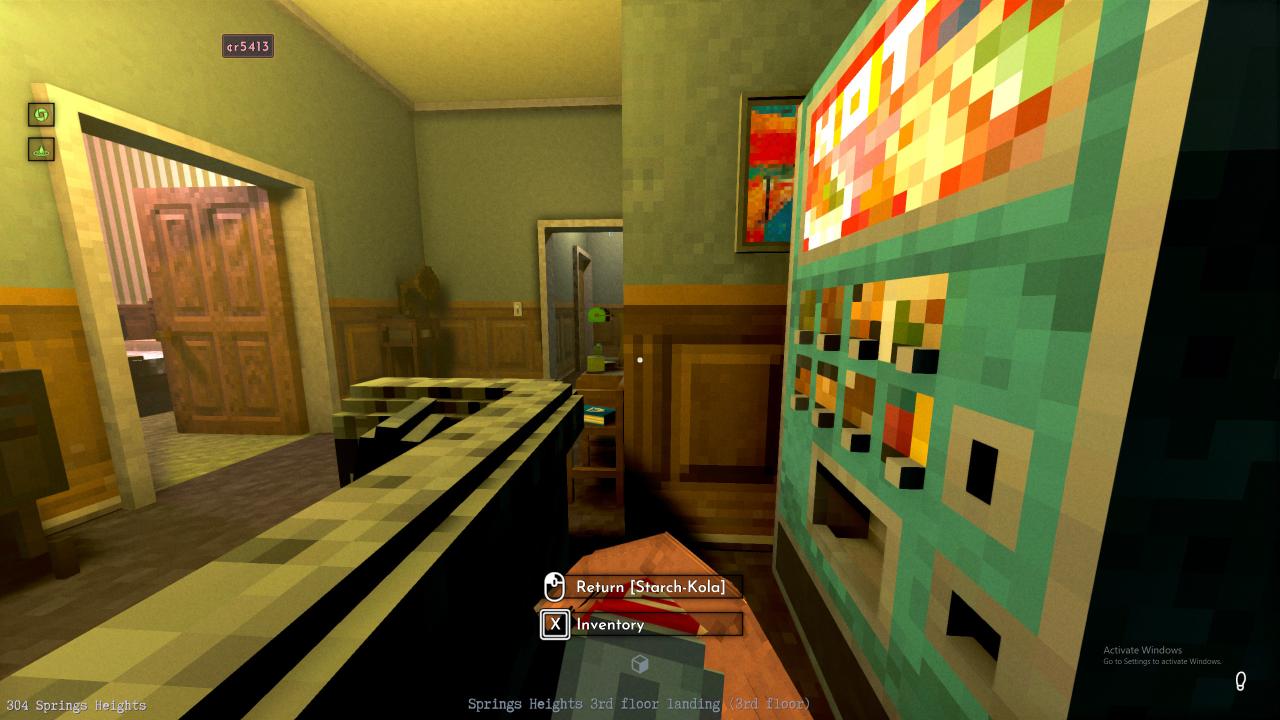
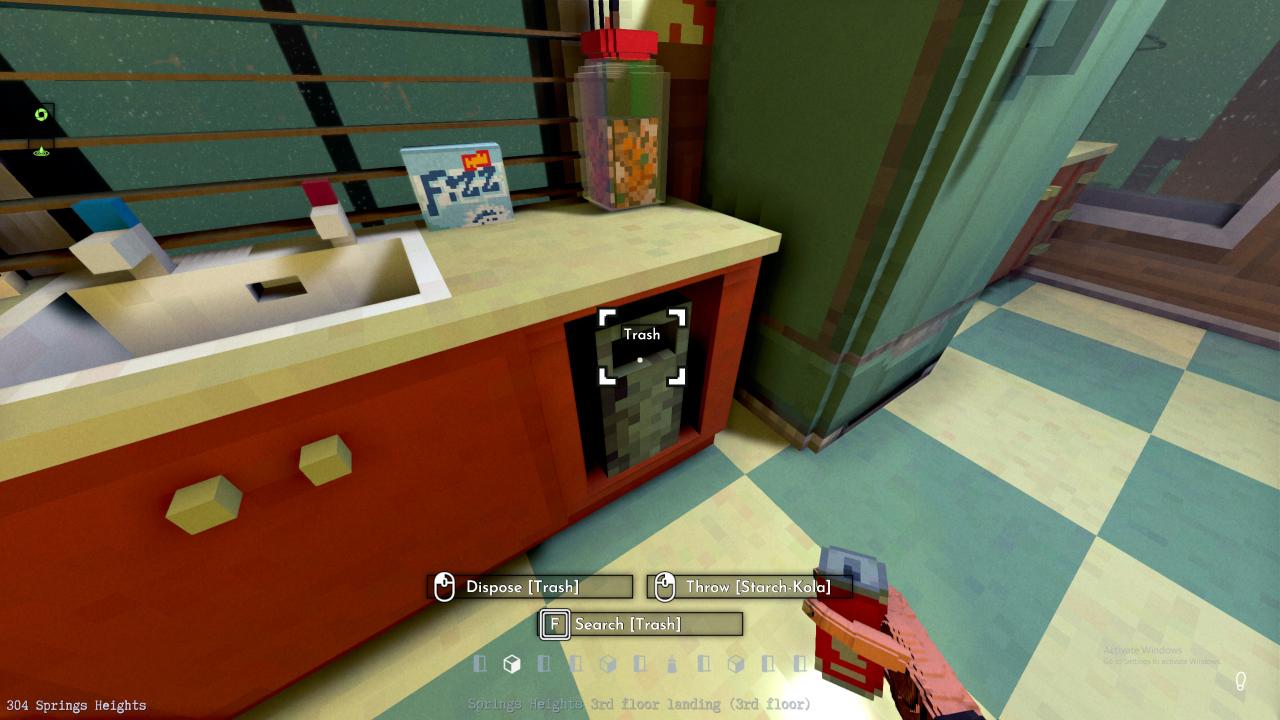
When you’re done eating, put whatever trash you have away. Don’t just pile it up! Or break a window and throw it into the street, if you have something against society. No use Selling them, they have 0 value.
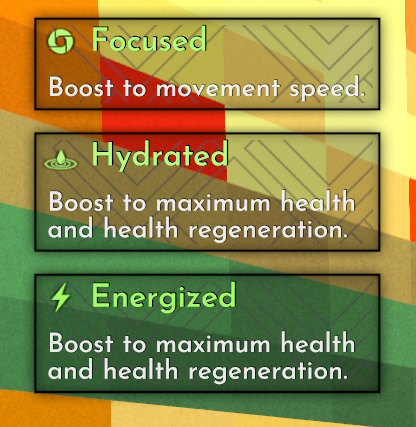
You’ll be drinking tons of cola and eating tons of Croque- Croque leaves no waste to toss and gives Energized, while Cola (Or Coffee, if you opt for a coffee vending machine as well) gives Hydrated and Focused. You’ll want all three before you leave the house- And to take the drinks with you, because a move speed buff is too useful.
What else does a detective need? Get in any fights lately? Play with negative effects like Bleeding and broken limbs on? Well, if you haven’t gotten the free health care in your bed sync disk…
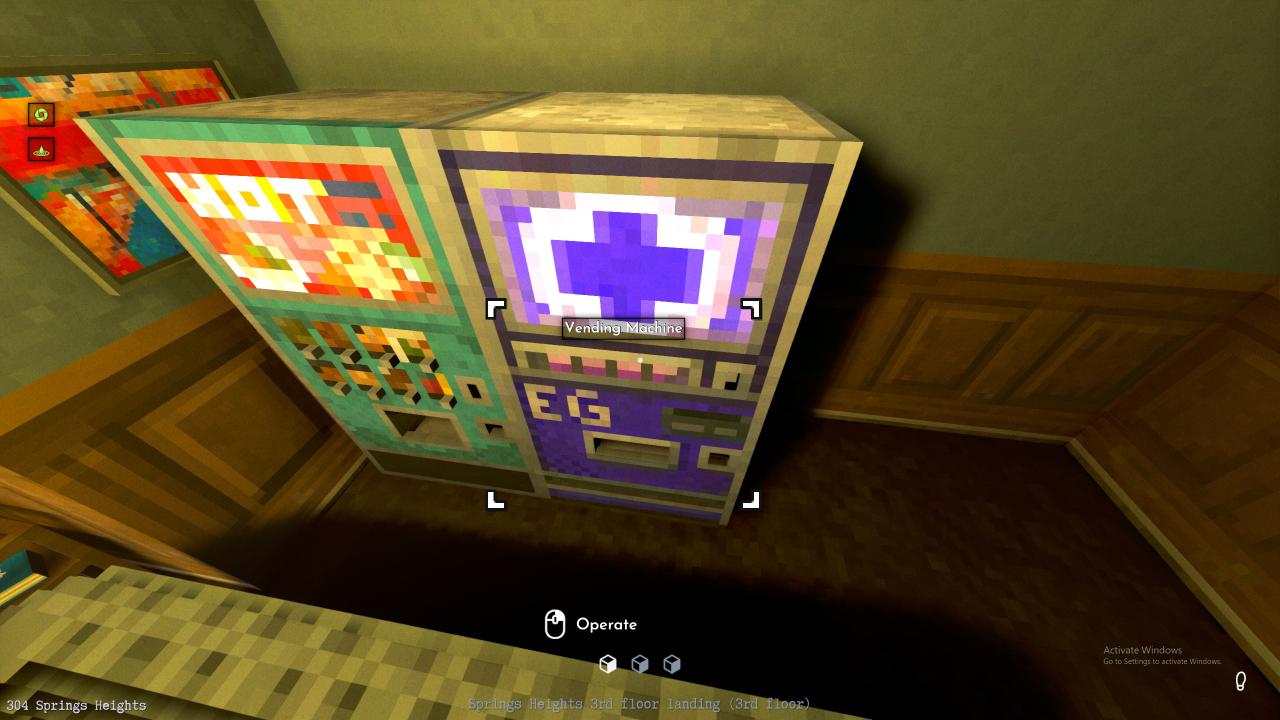
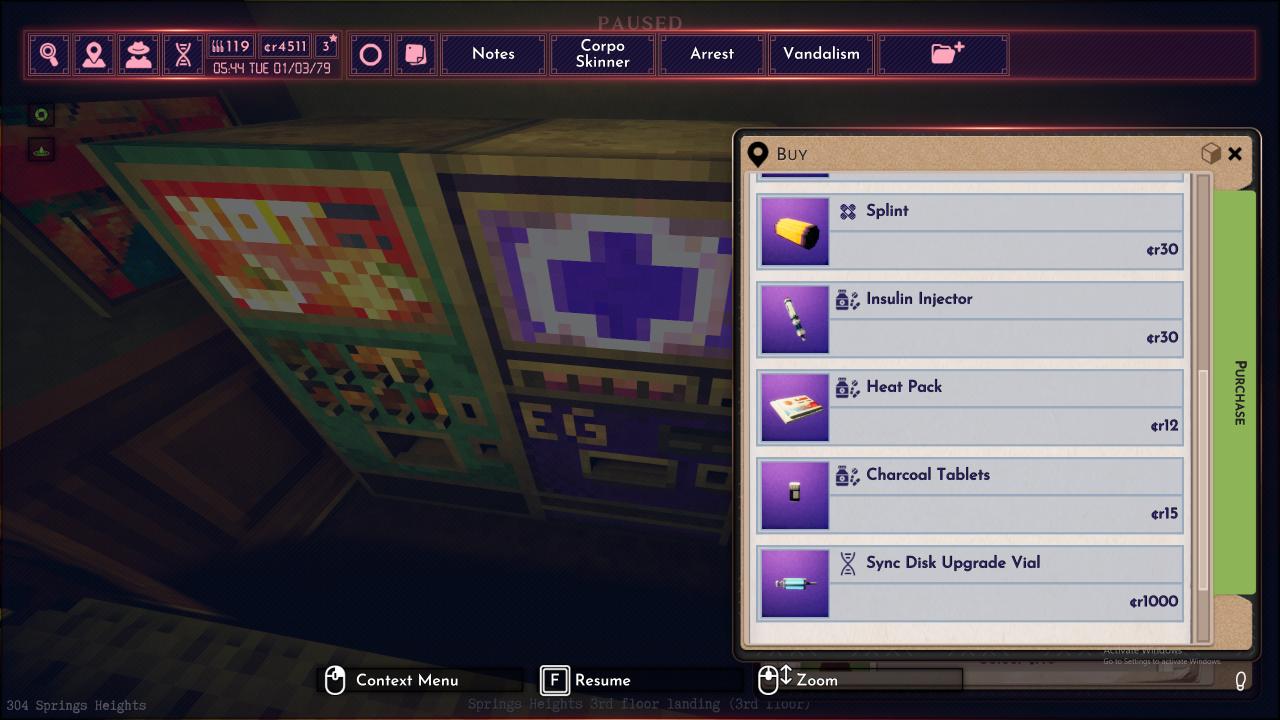
Buy some bandages! Sync disk upgrades! Heat packs to ward off the cold, next time you go vent crawling! And speaking of vent crawling…
It’s pricey, the most expensive item in the catalogue (If less then what a good diamond sells for). But in first place for usefulness…
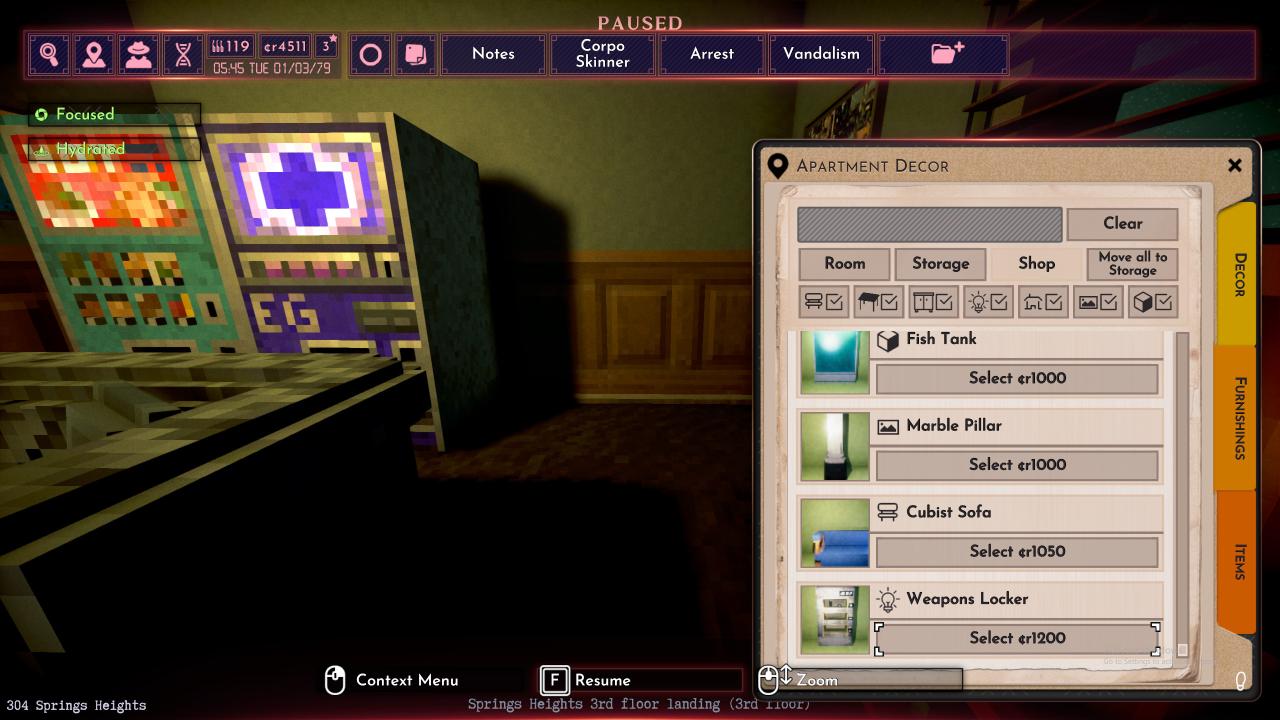
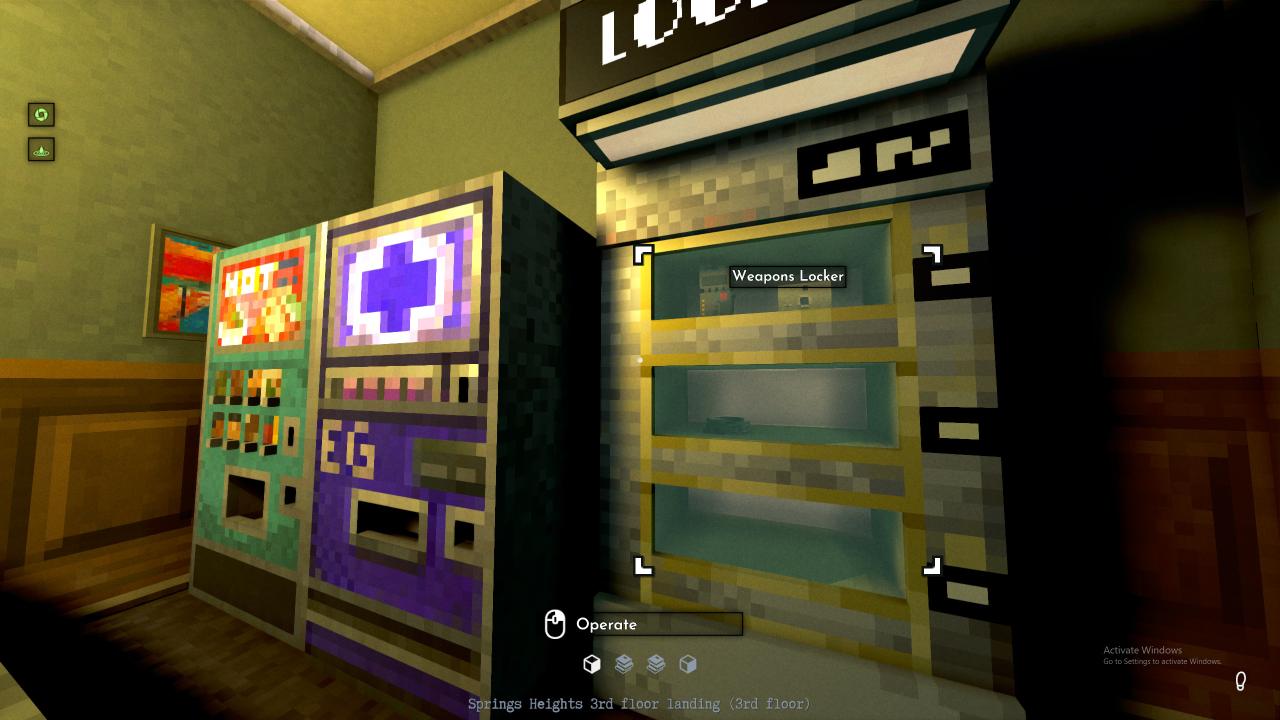
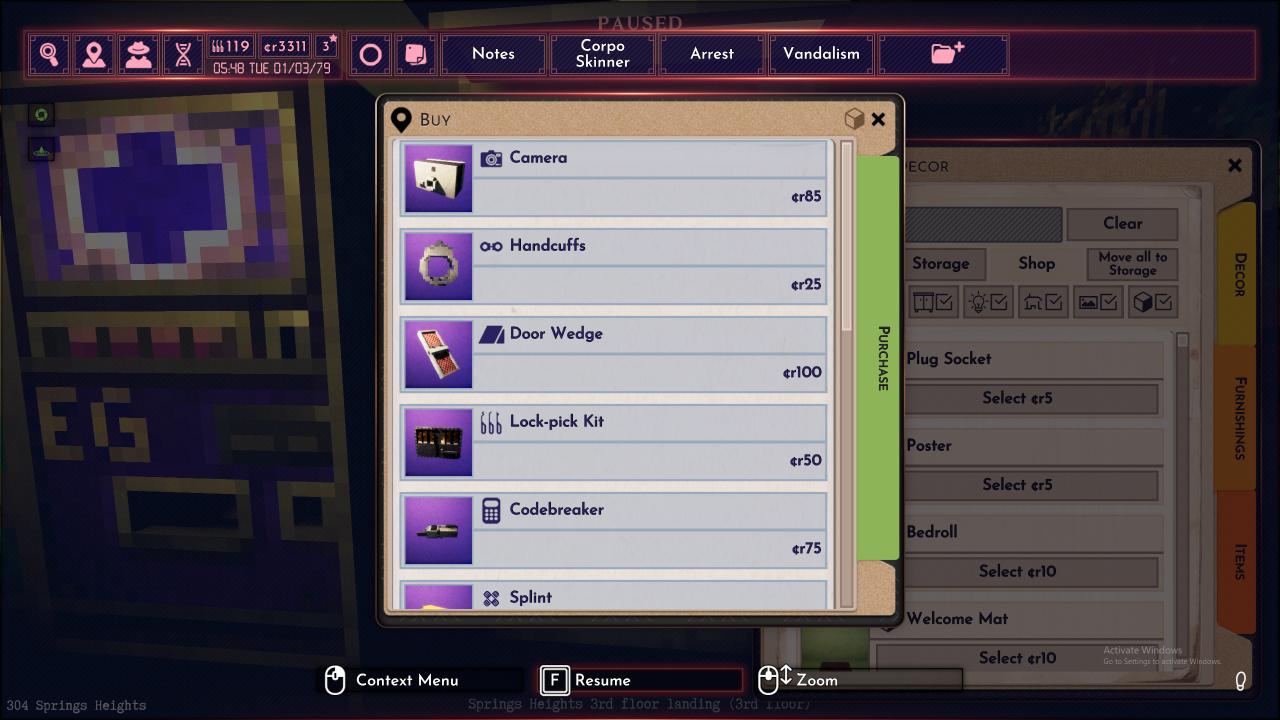
Never leave the house without a pair of cuffs again! Getting kinda crowded in here… What about your loot? And valuable detective gadgets? Your precious inventory space!
Well, you can always put items into storage Nevermind, Storage will delete all your items, don’t use that. Buy a table!
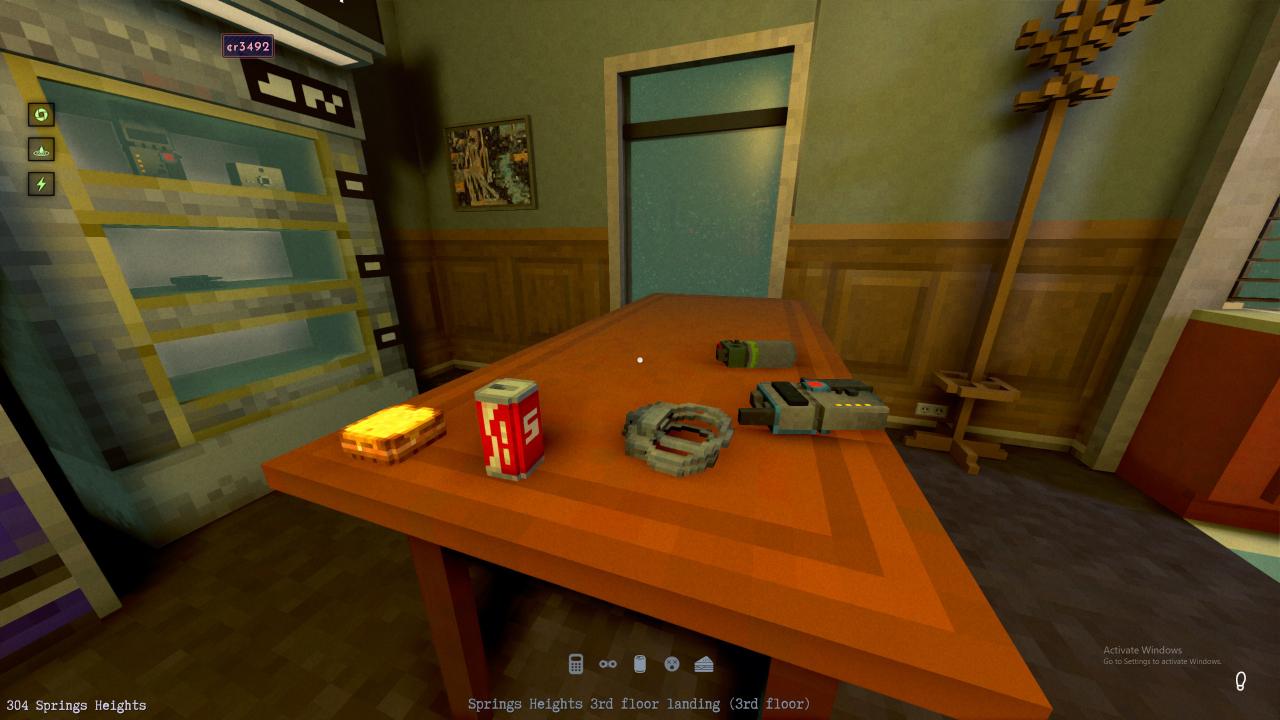
Now that’s what I’m talking about! Stock your table with goodies, and if you’re puttering around your apartment when the call goes out for a murder case, you can leave Well Rested, Showered, Energized, Focused, Hydrated, and loaded for bear with whatever specific gear you need already laid out! That’s so useful! But it’s missing something…
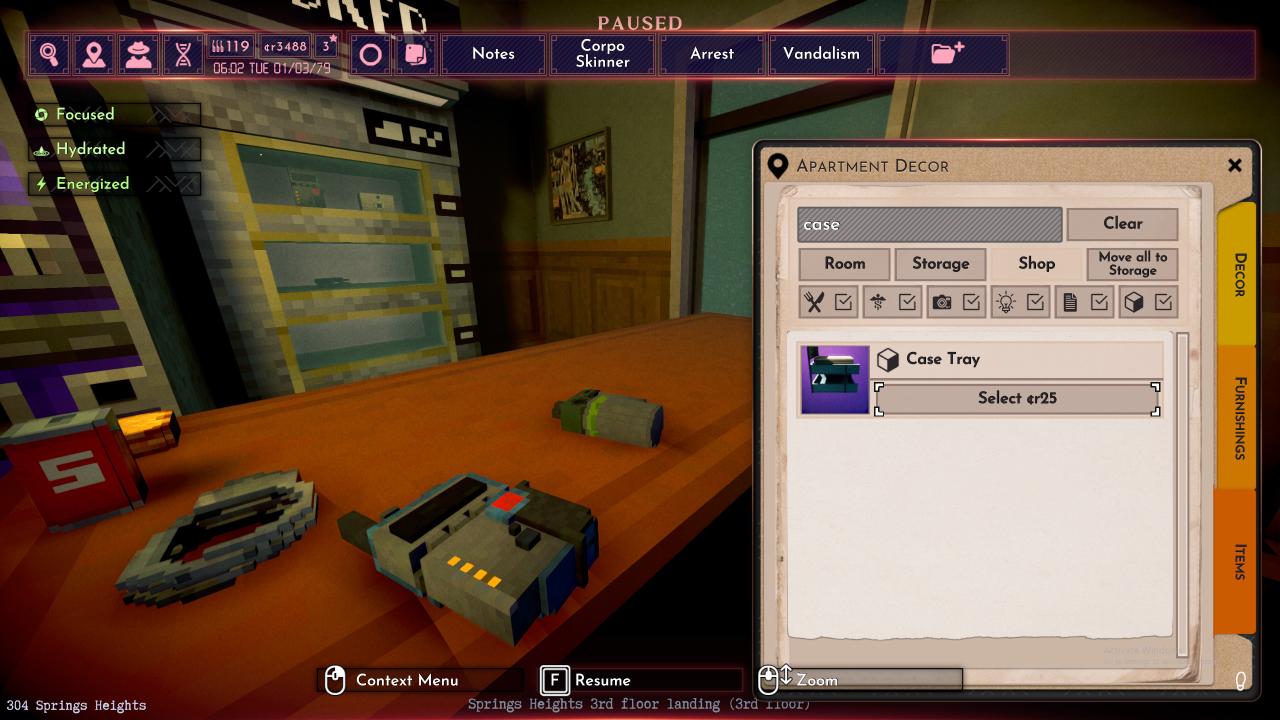
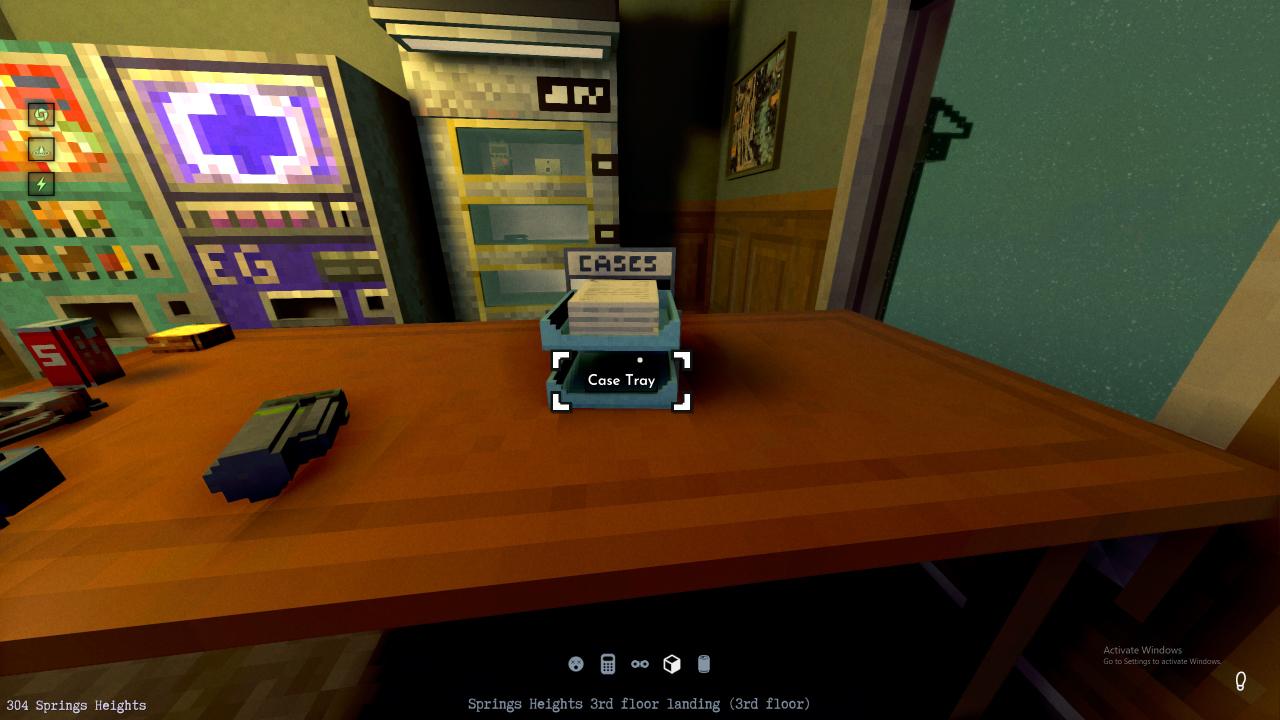
Oh, right! A Case Tray! Why run to city hall before or after the murder scene has been investigated when you can just grab a form on the way out? Or after you get beaten up by a murderer while arresting them, limp home, turn in your case, and buy some medical items for self-treatment before slumping into bed.
Now that your apartment is as one-stop-shop as your case files, let’s get back into your notes. It’s time for advanced lessons!
Advanced notes: Managing the Management.
Most murders take place in apartments. There can be the odd business room murder, or the even odder street murder, but it’s usually in an apartment building. If it’s one of the latter, you’ll have to find the camera box right nearby. But if it’s the former…
Time to hit the books again.
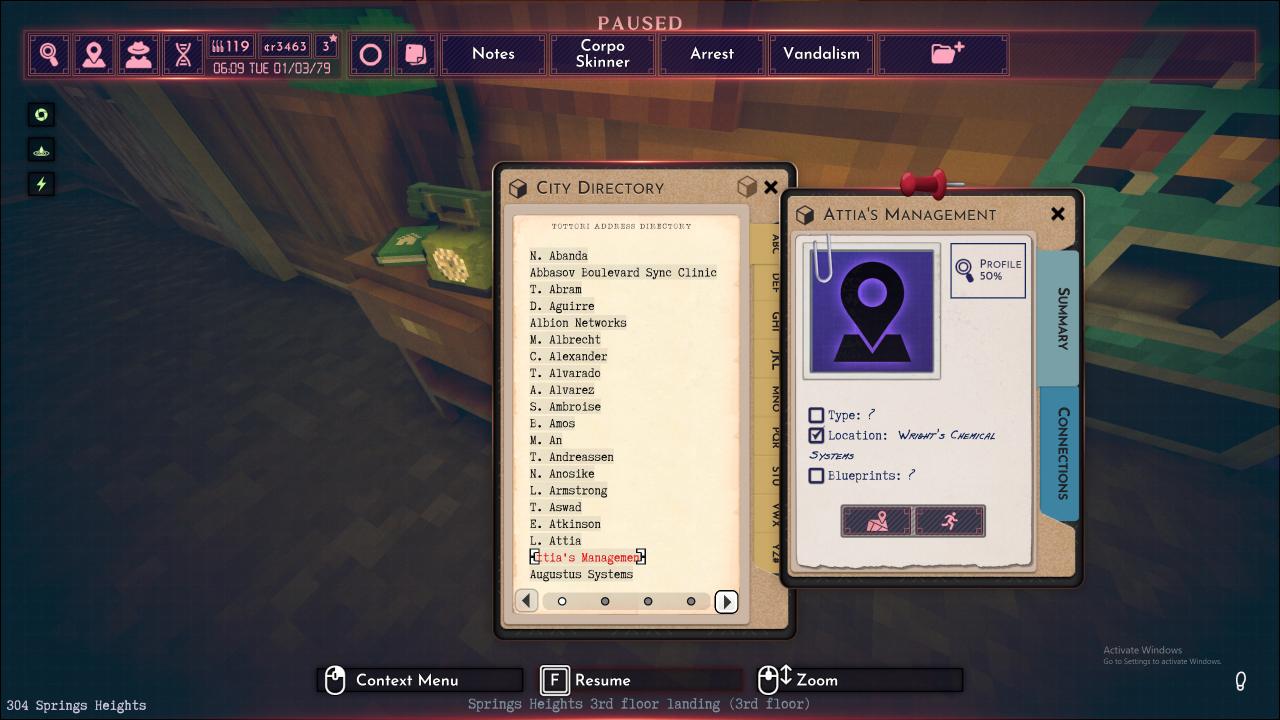
You’ll want to visit every Management office- Mostly the ones that watch Apartments, but hell, at this point you might as well get the rest, and pin them to your board if you so desire. Ignoring the Ghost Management of the Haunted City Hall, and probably the Industrial Plant management (Lord knows I’ve never seen a murder happen at work there, but who knows?) let’s see what we got:
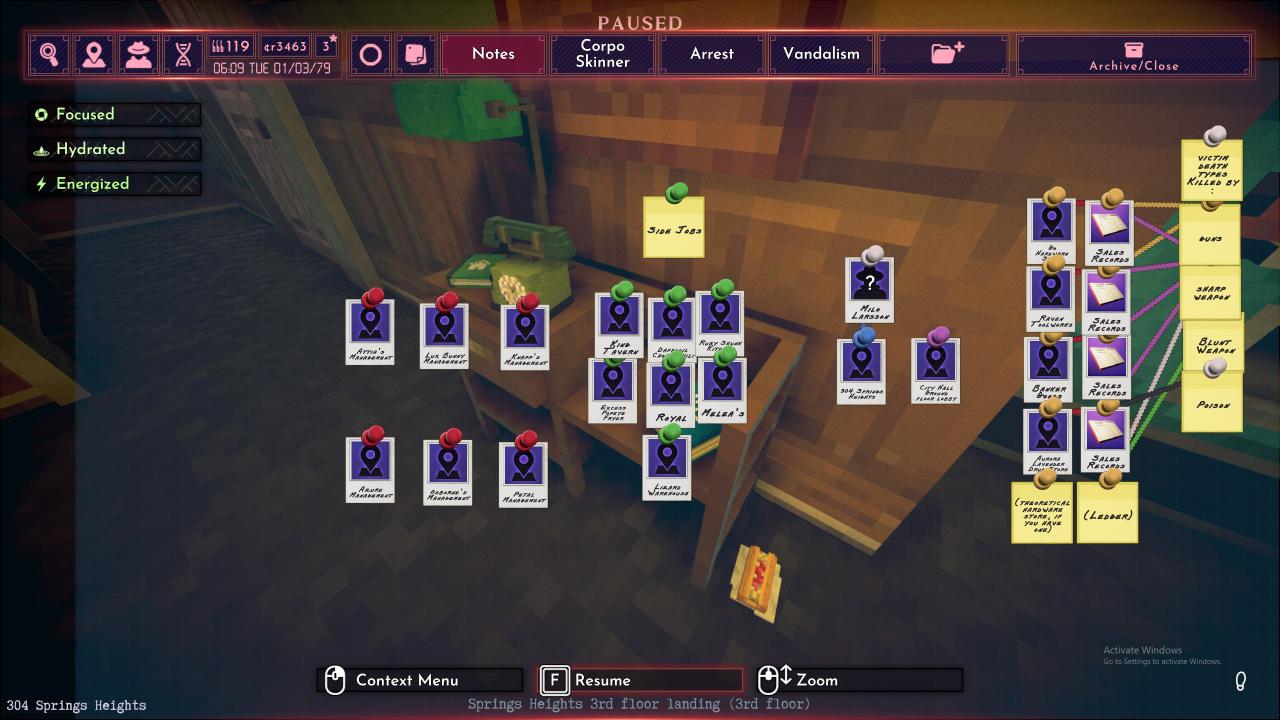
Board’s getting a bit full… Don’t worry, you can put this somewhere out of the way and just scroll or pan over to it occasionally. You don’t usually need to resort to pulling security camera footage unless you get truly unlucky, like a dastardly murderer being enough of a trickster to have the evidence spawn in a wall or lie underneath the utterly immovable corpse.
If you’re lucky, most of these management computers will be left logged on when you get there, or have passwords written on sticky notes nearby. But if they aren’t, or you screw up and turn it off instead of accessing it…
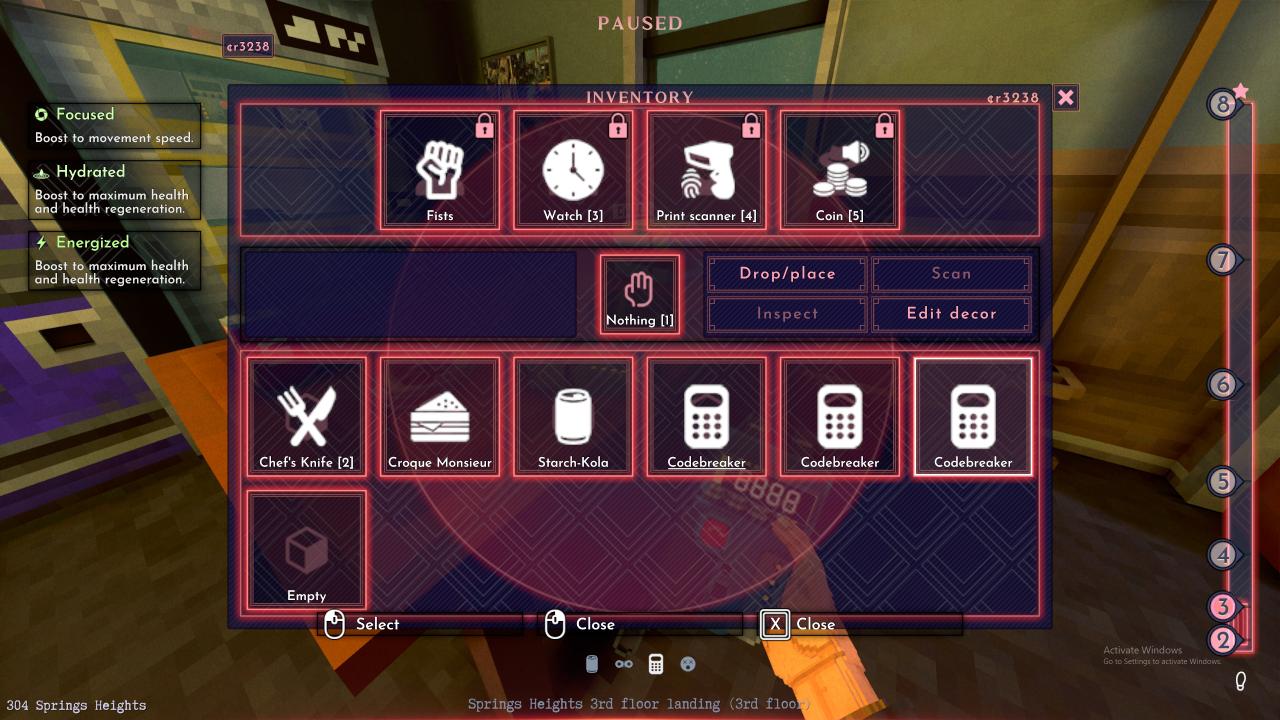
…You won’t need that. Oh, sure, you could grab all the security guard files from the same room under Employees, but this is faster. (More expensive, since reusing them got patched out, but… Still worth.)
And if you’re unlucky… Well, you may have noticed I have six managements pinned and 9 squares in a small city. Even putting aside City Hall, what gives? Well, not all buildings have managements and cameras you can access, so you might be out of luck. Oh well. For everyone else…
Let’s go visiting all the buildings! We can check our connections and pin them beneath:
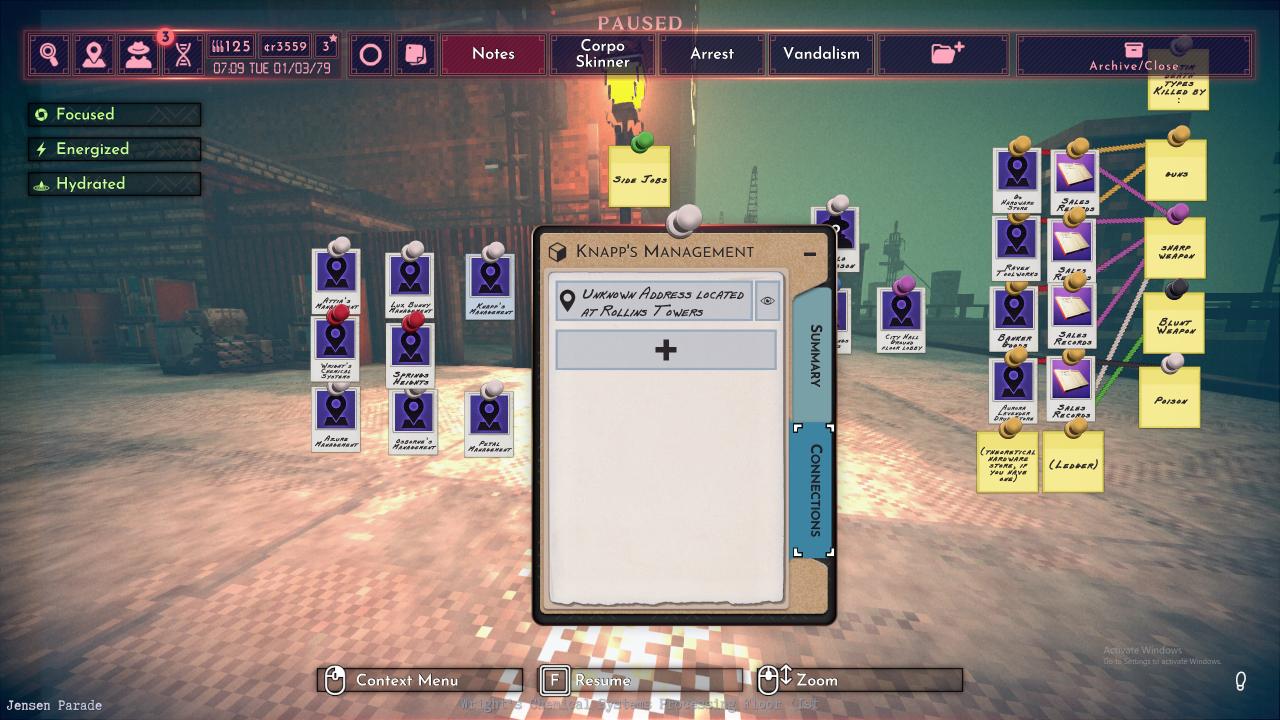
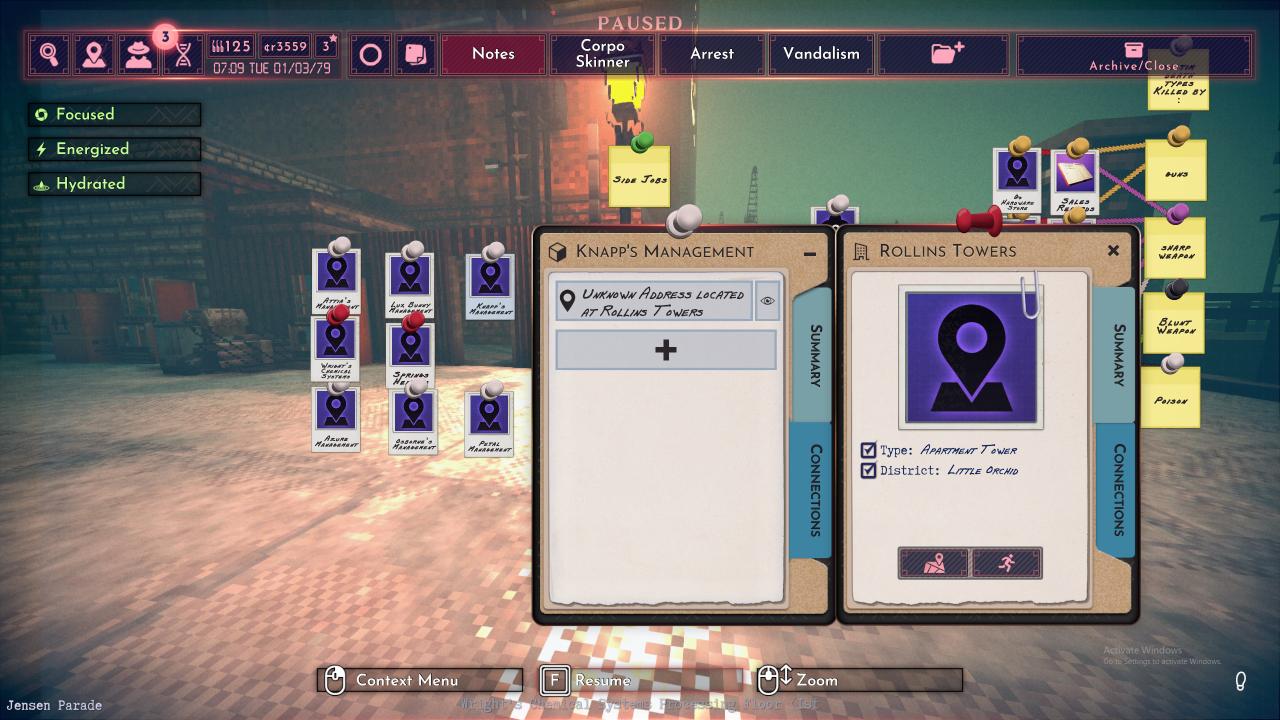
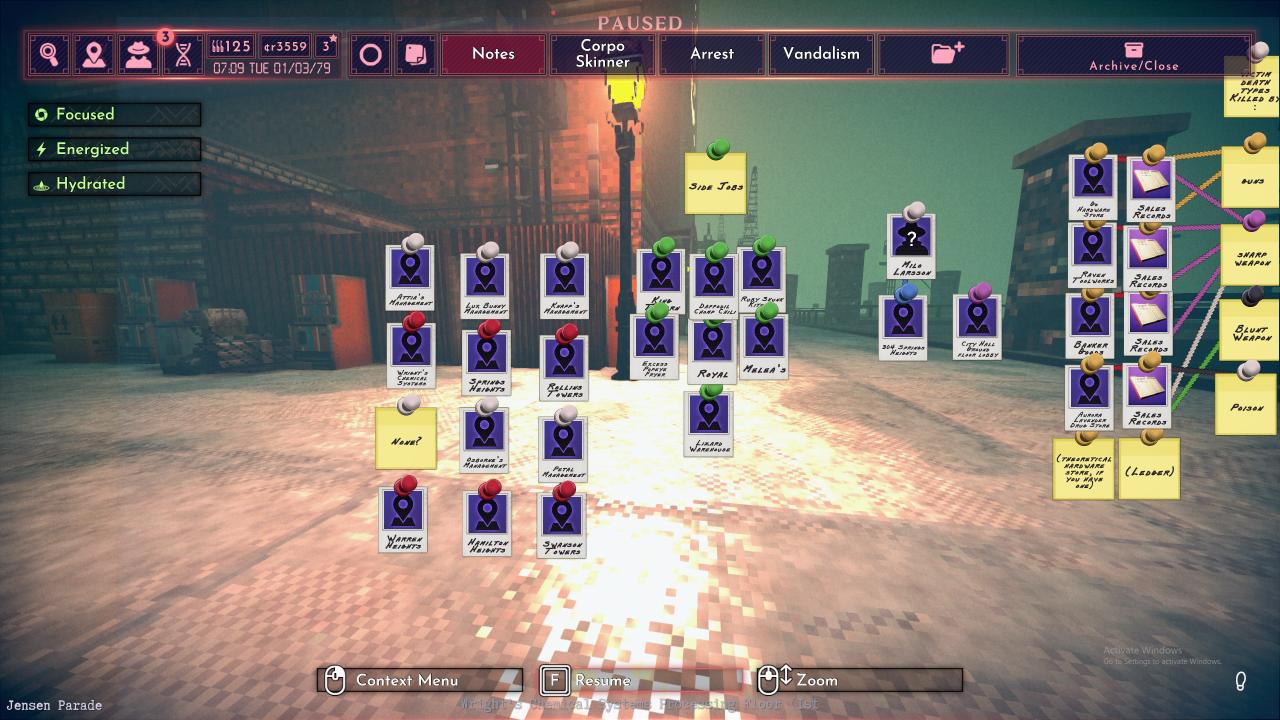
Off we go!
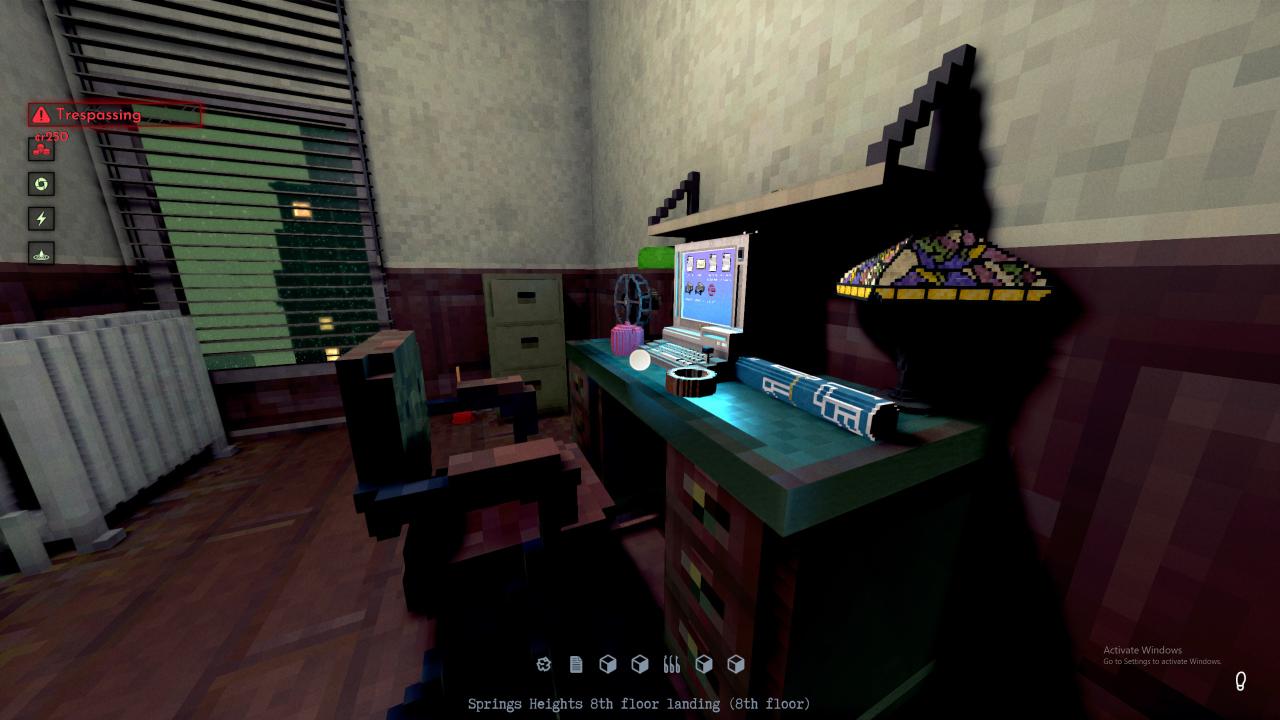
Inside a management room will be a computer from which you can access the cameras and surveillance snapshots, some blueprints you can pick up to learn the building’s blueprints (If… That’s a thing that has a noticeable effect? Better then walking everywhere manually first, I guess), and the employee files for the security guards.
Oh, and the resident names and faces for half the people in the building. No thumbprints for them, but it’s a lot better then nothing.
While you’re at it, you might as well cross off places you’ve already got passwords and blueprints for, so you don’t forget.
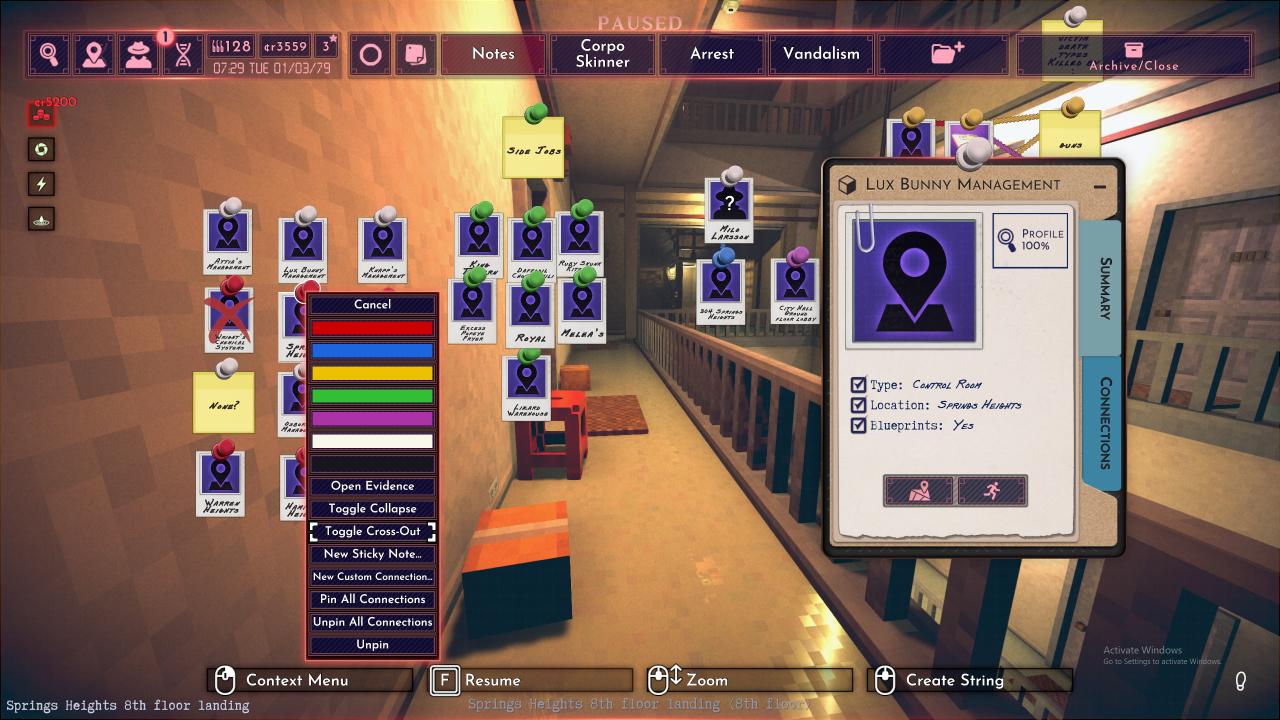
And once that’s ready… You’re just about done! Maybe add your favorite sync clinic next to your home as a frequently visited location, and your Notes have all the persistently-useful shortcuts you’ll need for your detective work. Nicely done!
Final Exam: The Murder
As I’m almost done hitting up all the management suites, a murder call goes out. So let’s talk murder cases.
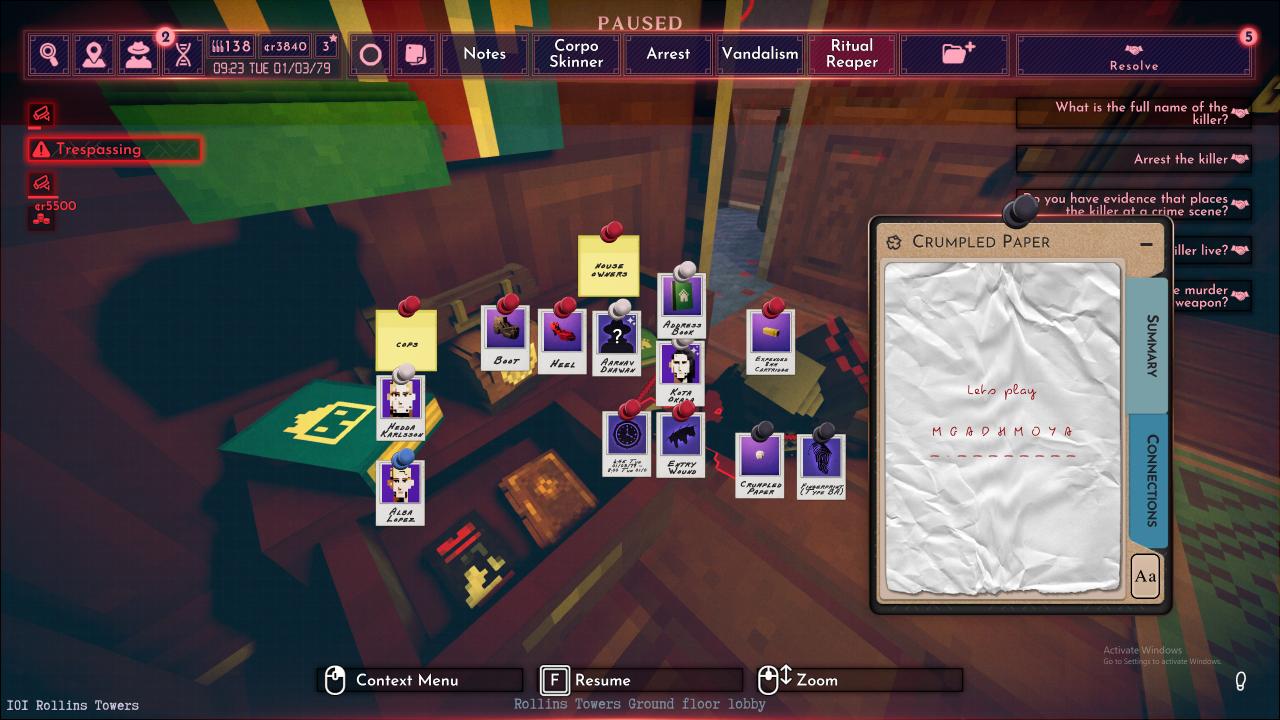
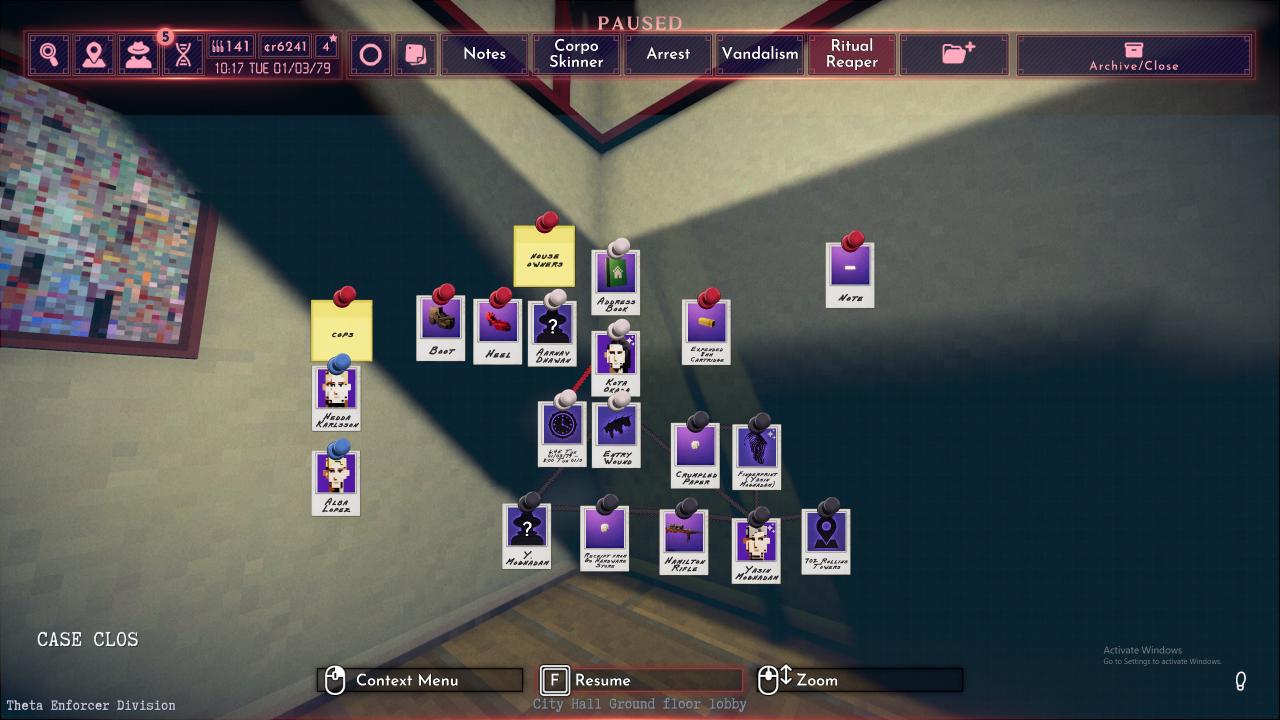
This one’s an anagram killer with a seriously absurdly long name. I take note of the shoes of the owners so I can quickly check their sizes against footprints- But no footprints. I color the owners of the apartment and their evidence with white pins, the cops who showed up with blue pins, and evidence tied to the murderer with black pins.
First thing’s first: This was a gun kill. Let’s check the ledgers and see if we got lucky. If it isn’t, I can head straight to the building’s management room and check the cameras against the time of death.
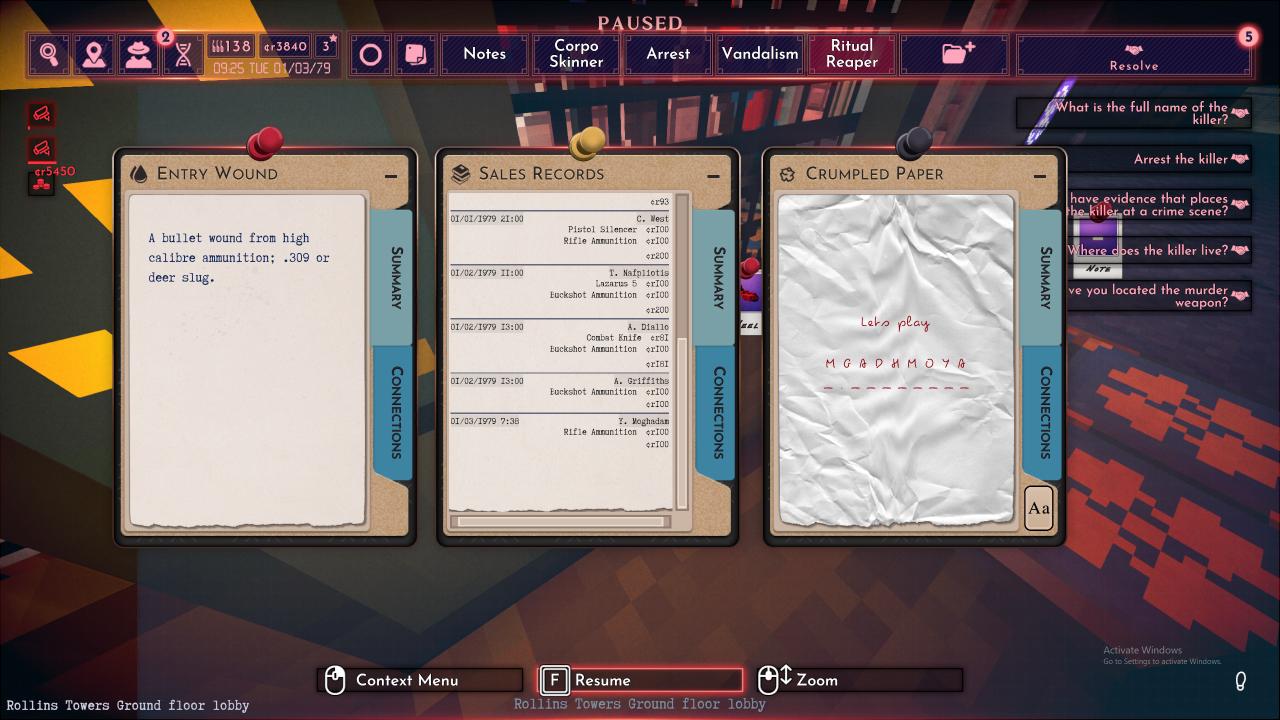
Would you look at that: I’m not even out of the apartment’s floor before I have a name that matches that absolute word salad of an anagram. And I’m sure it’ll match the prints. Let’s go to city hall and check.
A quick route-set…
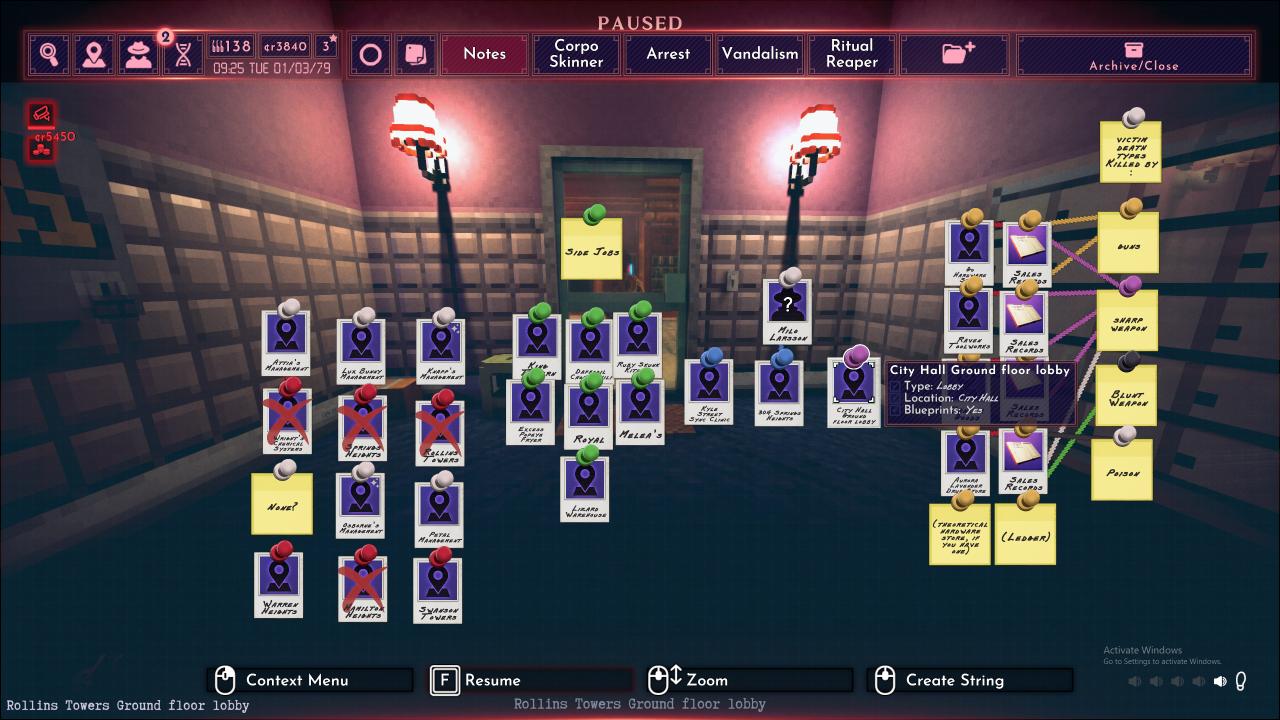
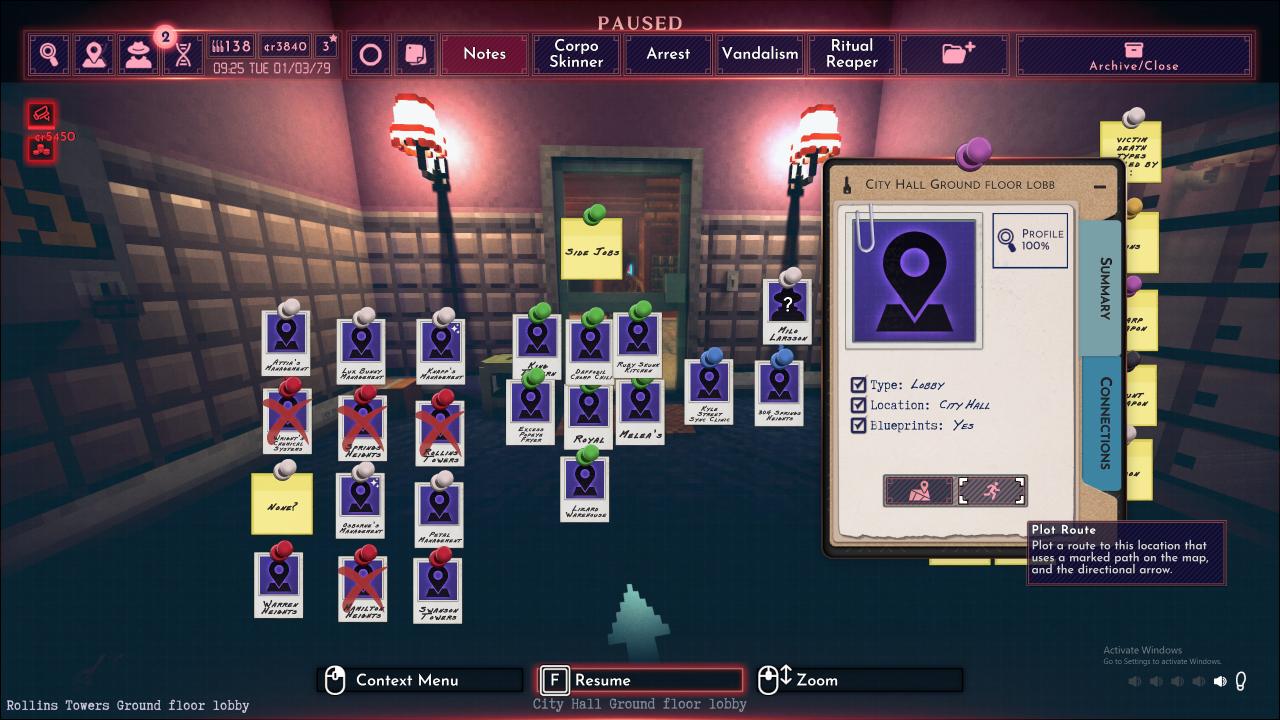
It’s a match, no surprise.
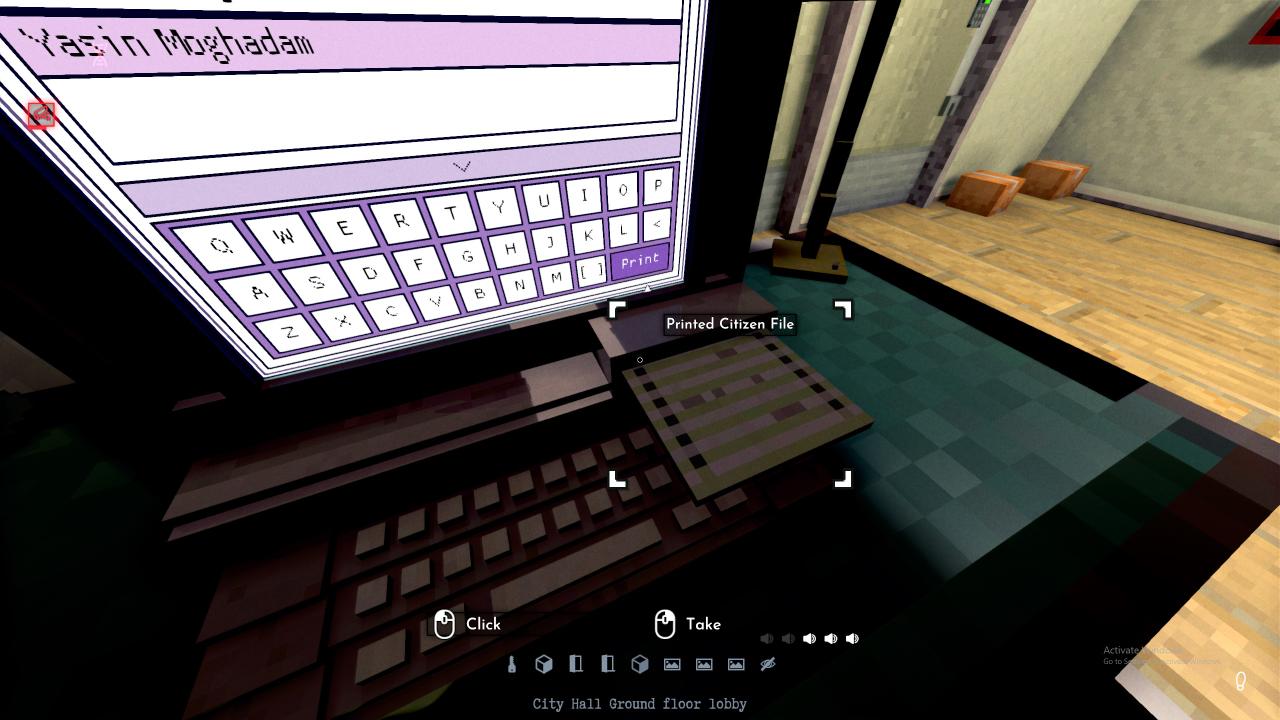
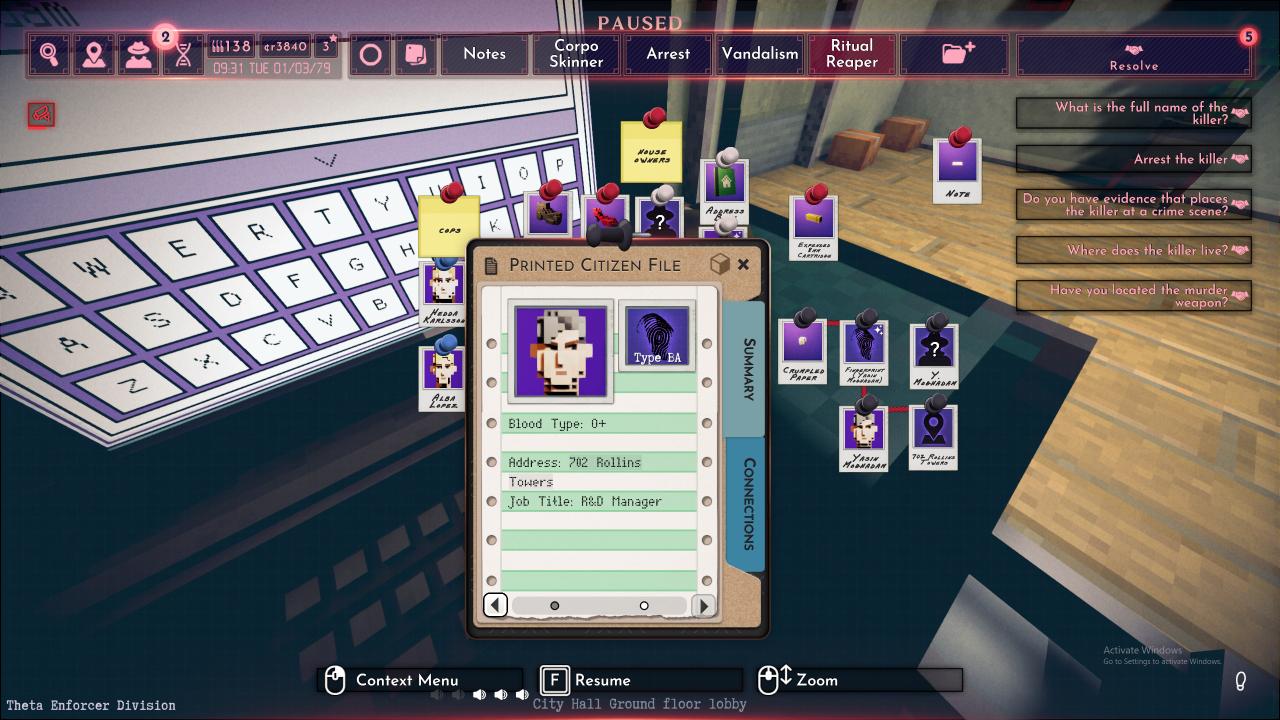
Time to arrest.
Caught before he even got home. Now THAT’S the power of the well organized mind.
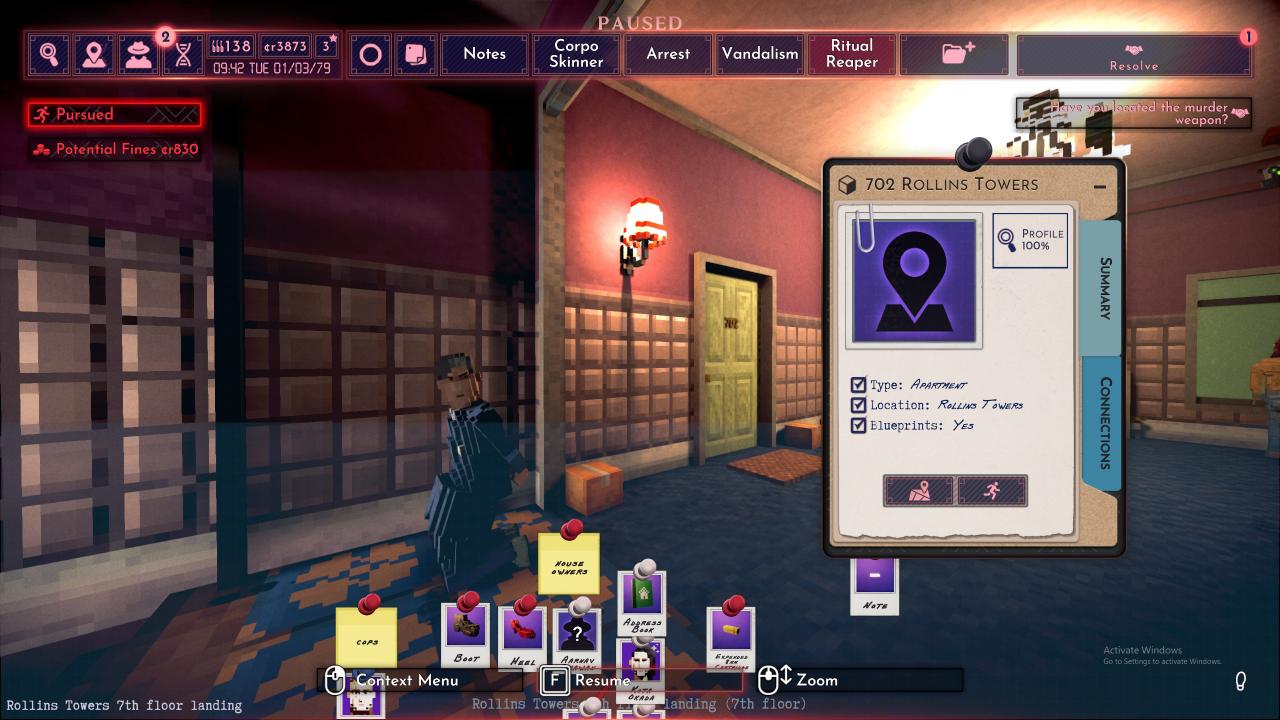
While I’m here, let’s see if he left the purchase receipt around his apartment. Ugh, I could tell this guy was a psychotic cult killer just because of his milk collection.
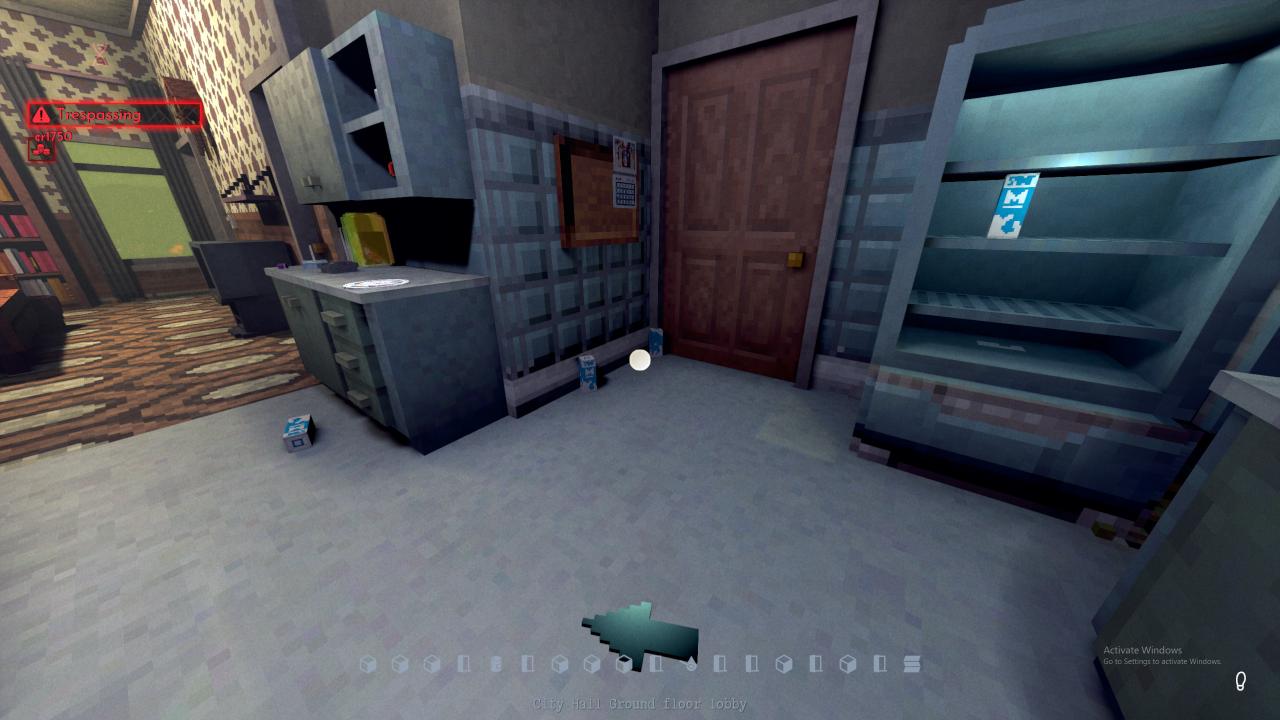
Aha! I found this (and 7 more milks??) in the bin! I bet you thought you’d never get anything out of these after the tutorial case, huh?
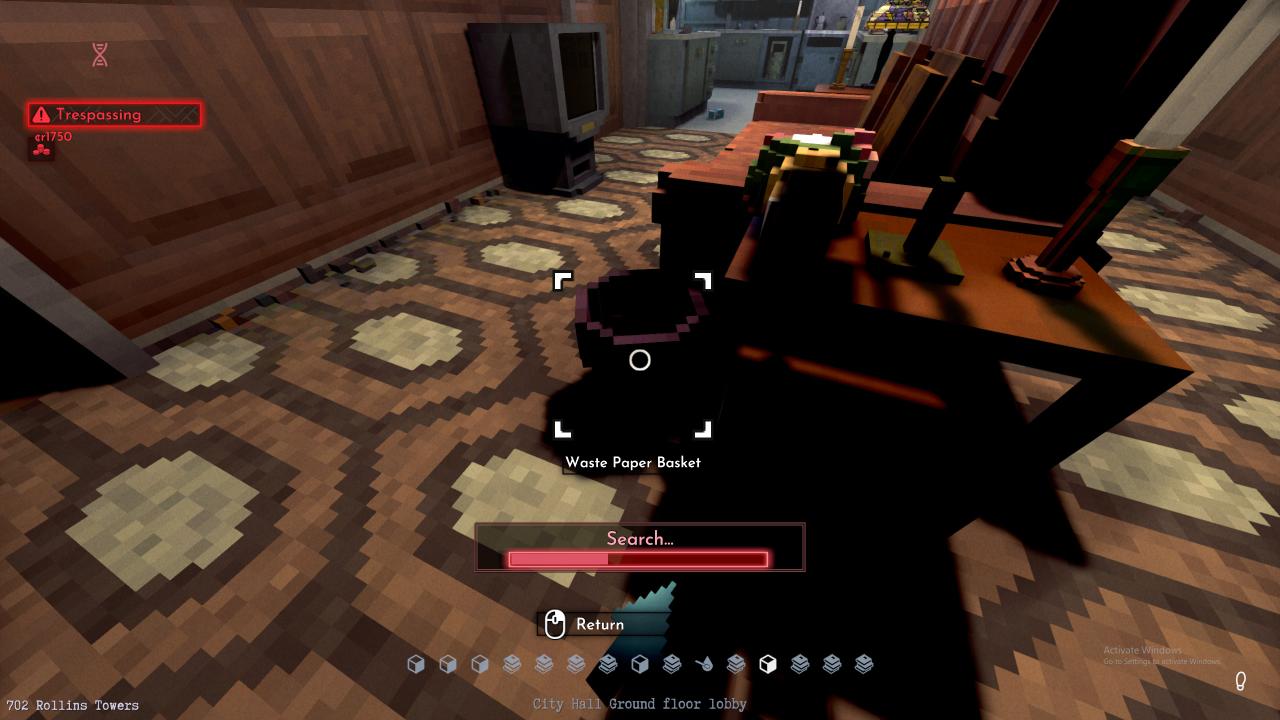
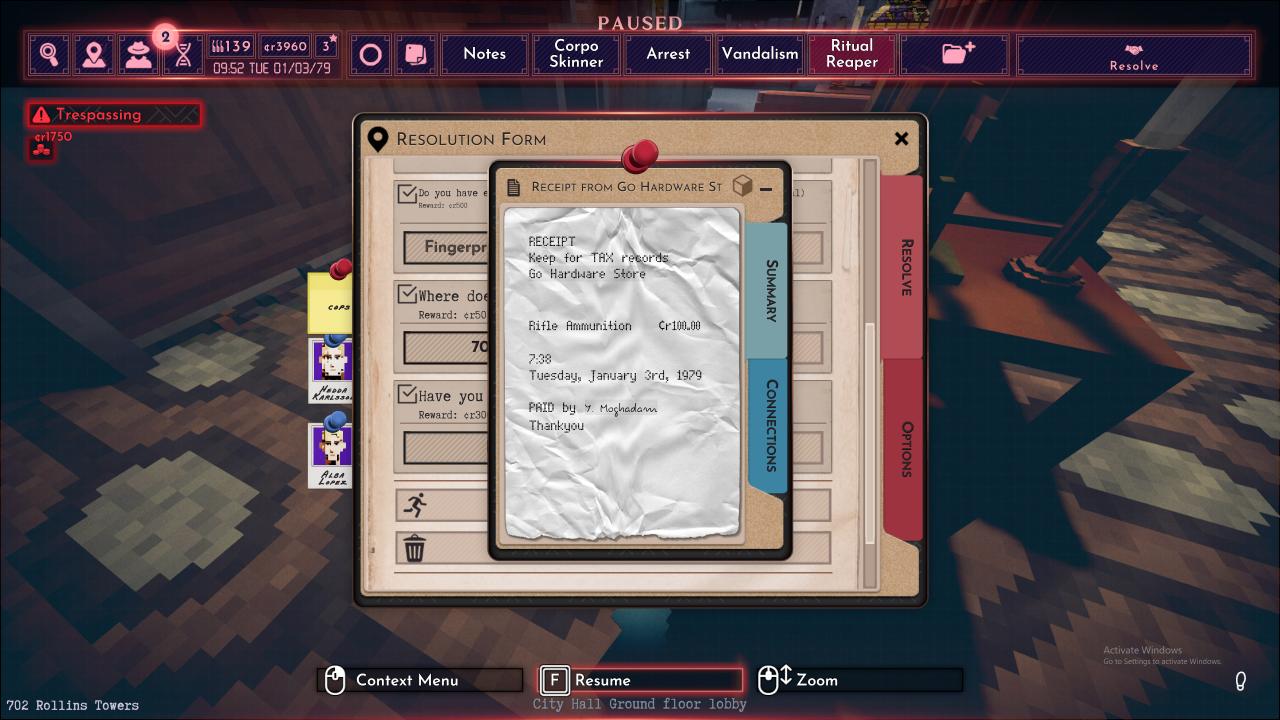
Now all that’s left is to turn it in and put this milk-obsessed killer away for good.
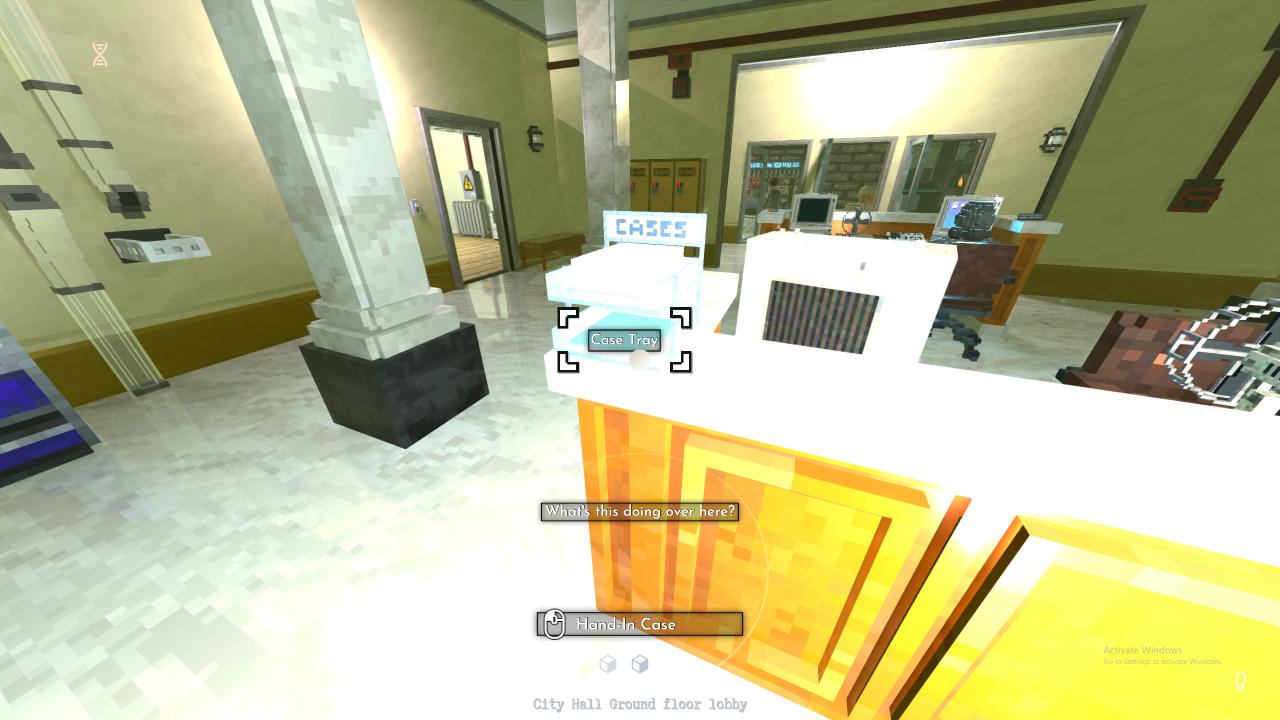
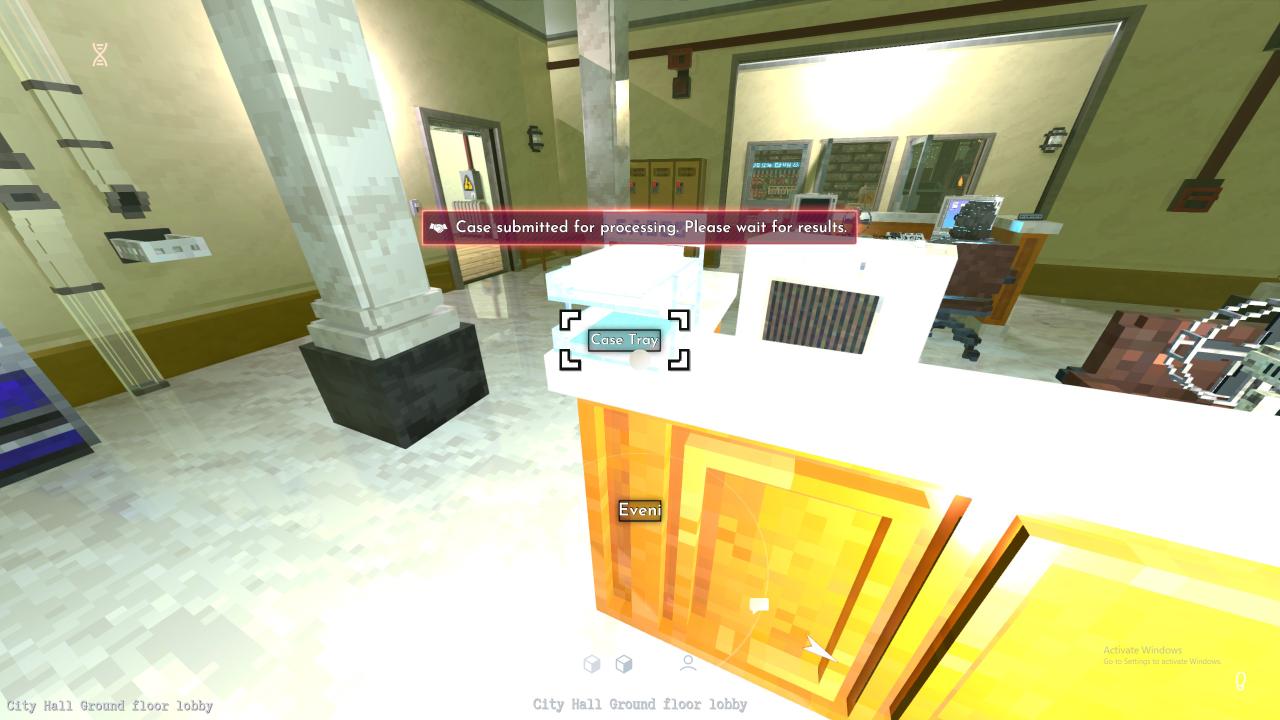
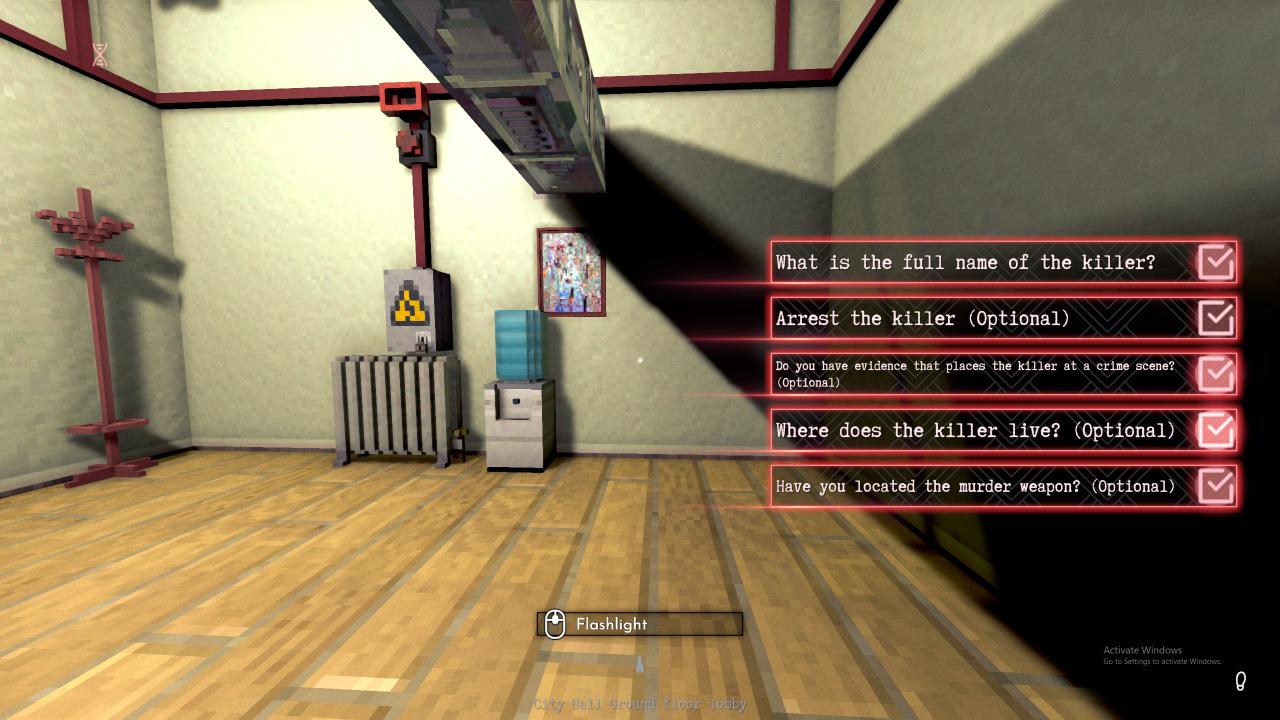
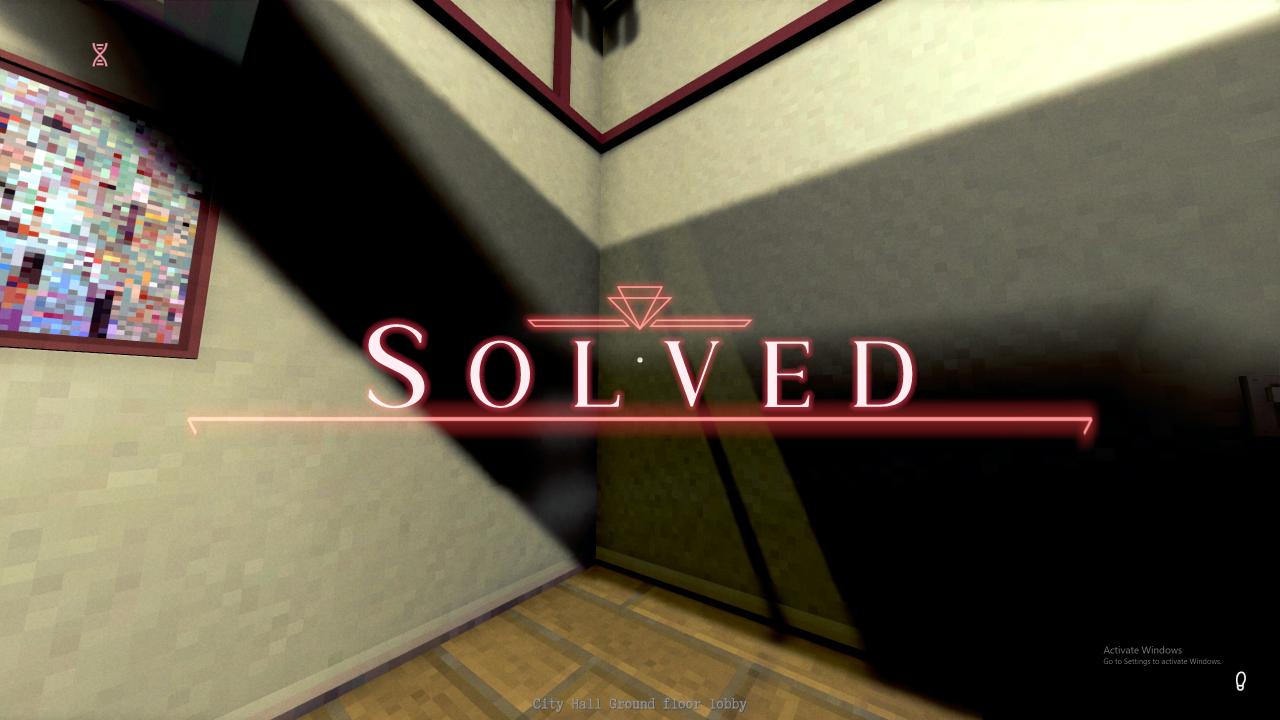
And our final, closed case, neatly organized. A five minute murder mystery! Time to kick back, have a sandwich, and pick up some side jobs! A detective never rests, after all!
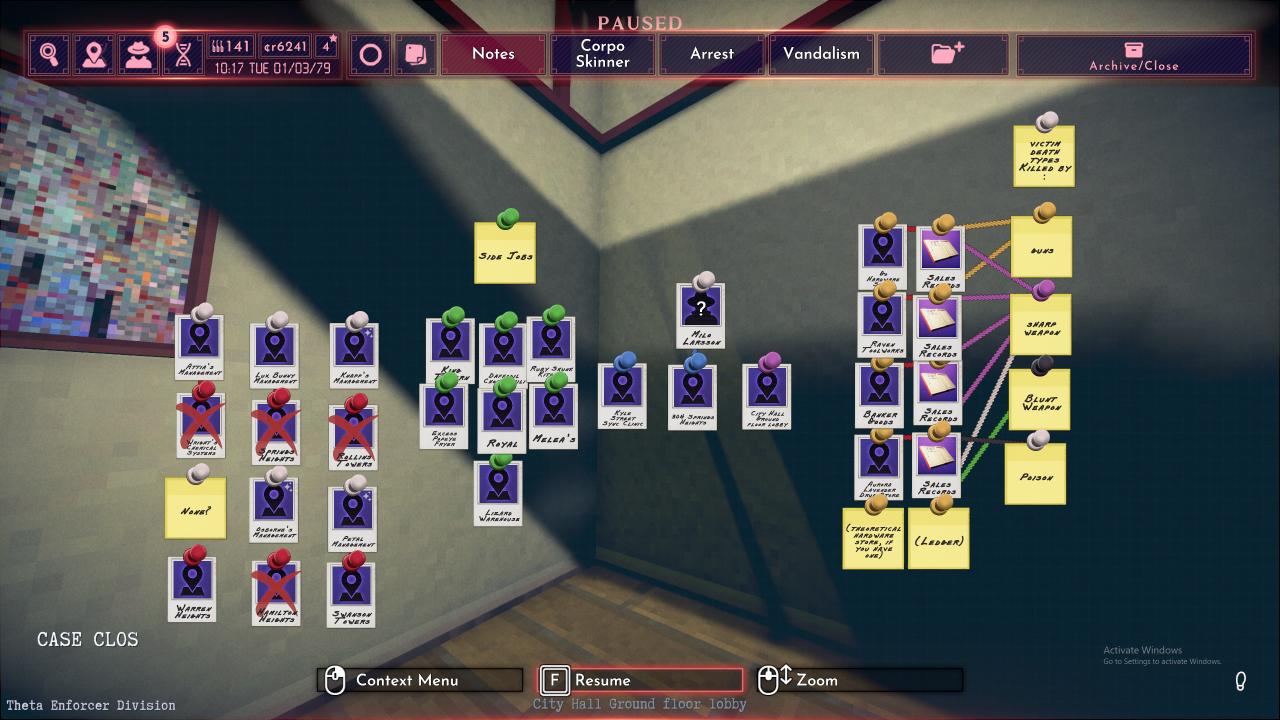
And our final notes for this guide:
Related Posts:
- Shadows of Doubt How to Find Information on Any Citizen
- Shadows of Doubt How to Sell Loot and Solve Crimes
