For Rogue Legacy 2 players, this guide will show you every heirloom in the game, showing what they are, what they do, where to find them, and how to complete their challenges.
What are heirlooms?
Some are found randomly in certain locations, some are always in the same spot. Some are given to you after completing the heirloom’s challenge, some are given to you after doing certain quests or tasks. You cannot lose them once obtained, including across heirs and threads, but they are not shared between save files.
Throughout heirloom challenges you may see orange or blue torches, which are guaranteed to drop meat or a potion.
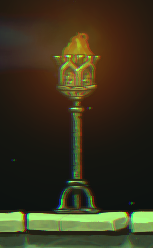
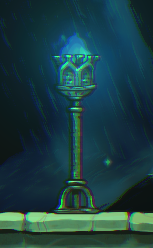
Hestia’s Contract
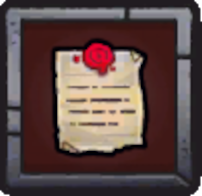
Those who take from Hestia’s Reliquary must also give.
Location: You have this heirloom as soon as you start a new file.
Usage: Doesn’t have any effect on your gameplay.
Ananke’s Shawl
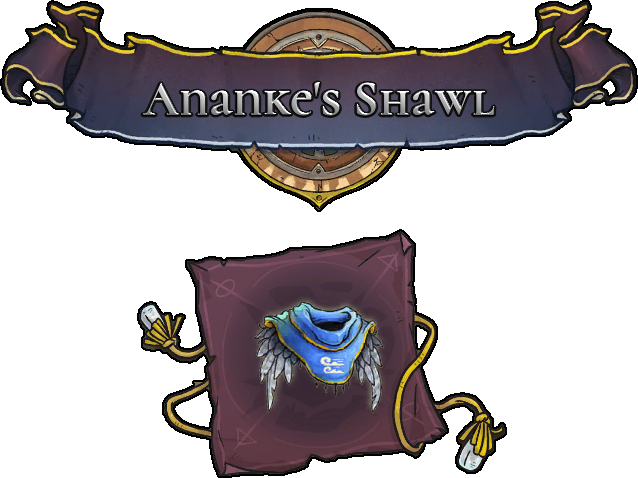
You can now Dash in the air.
Location: It is found randomly in Citadel Agartha, in a long room.
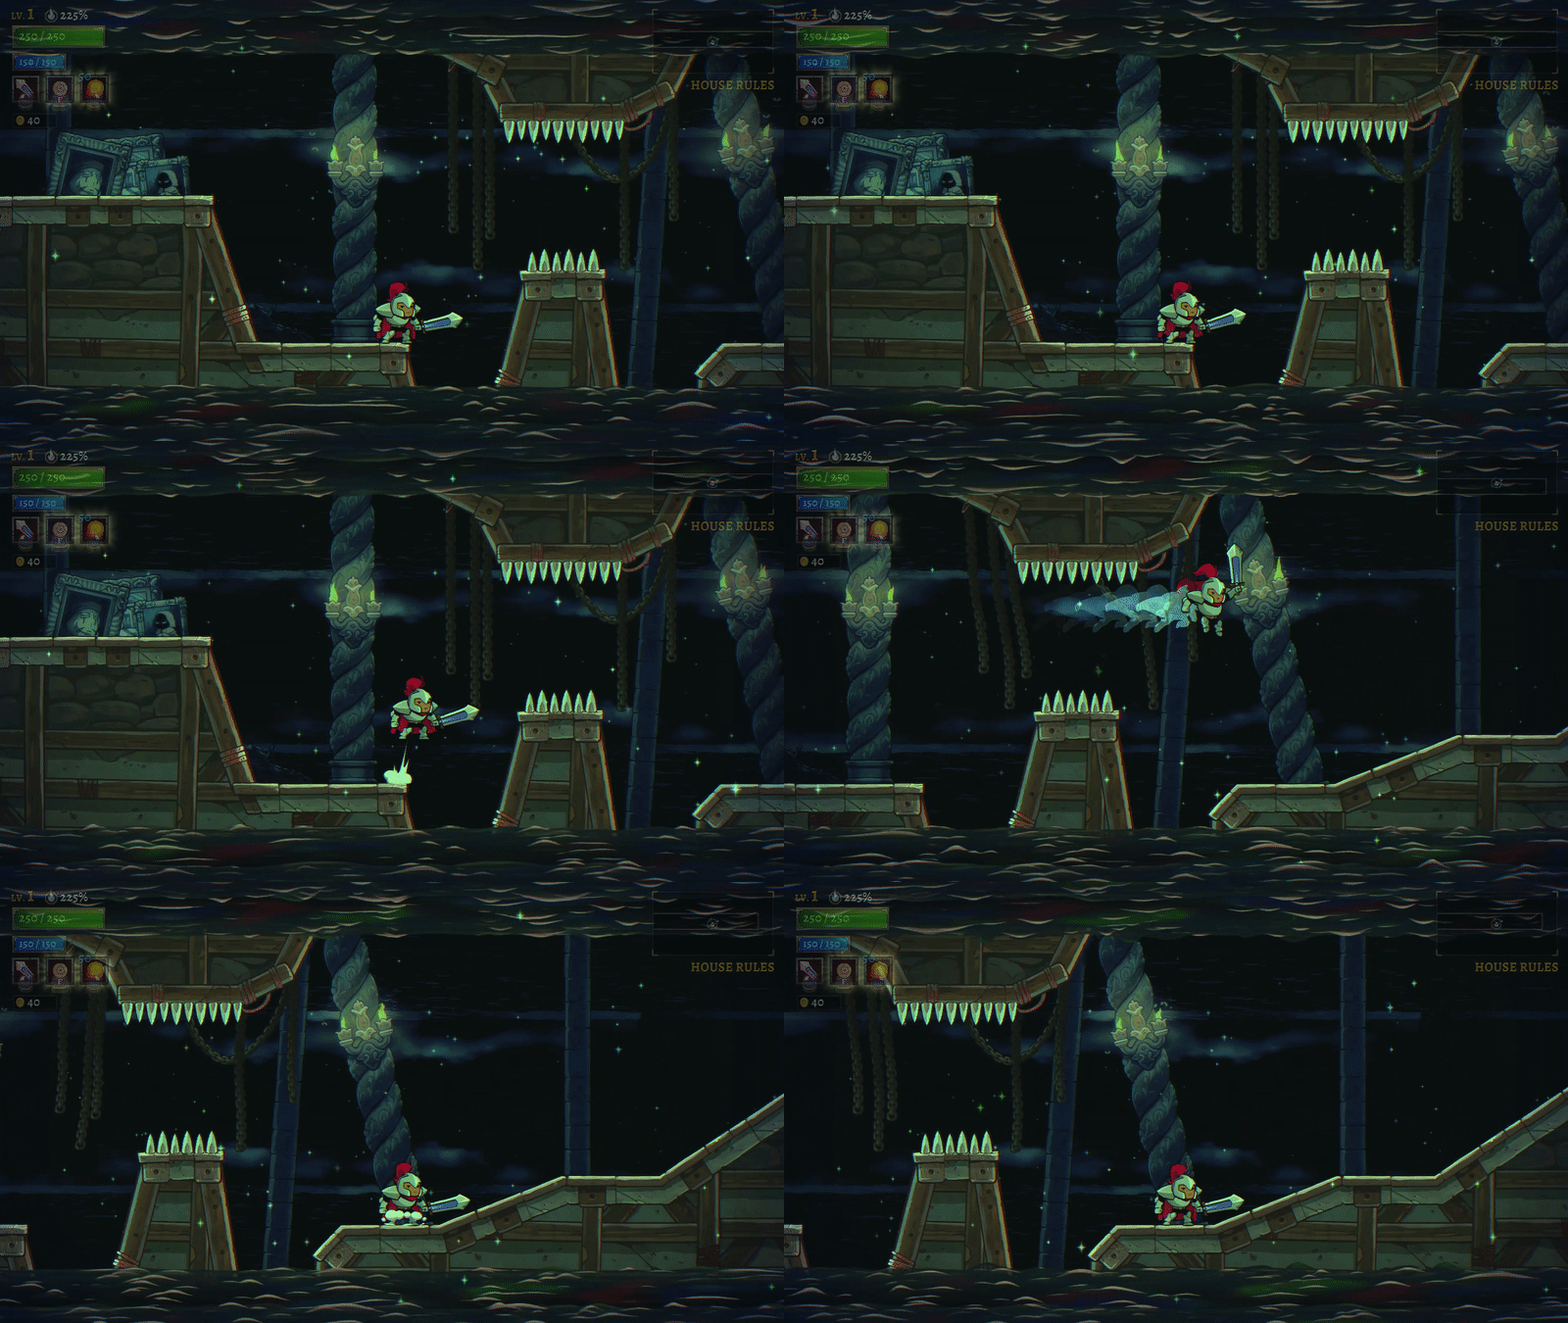
Challenge: In the first area, you will have to dash over a gap. You can do a small jump or be standing on the ground, either will work. Next you will have to jump in the air before dashing, and lastly you will need to jump and dash between two rows of spikes.
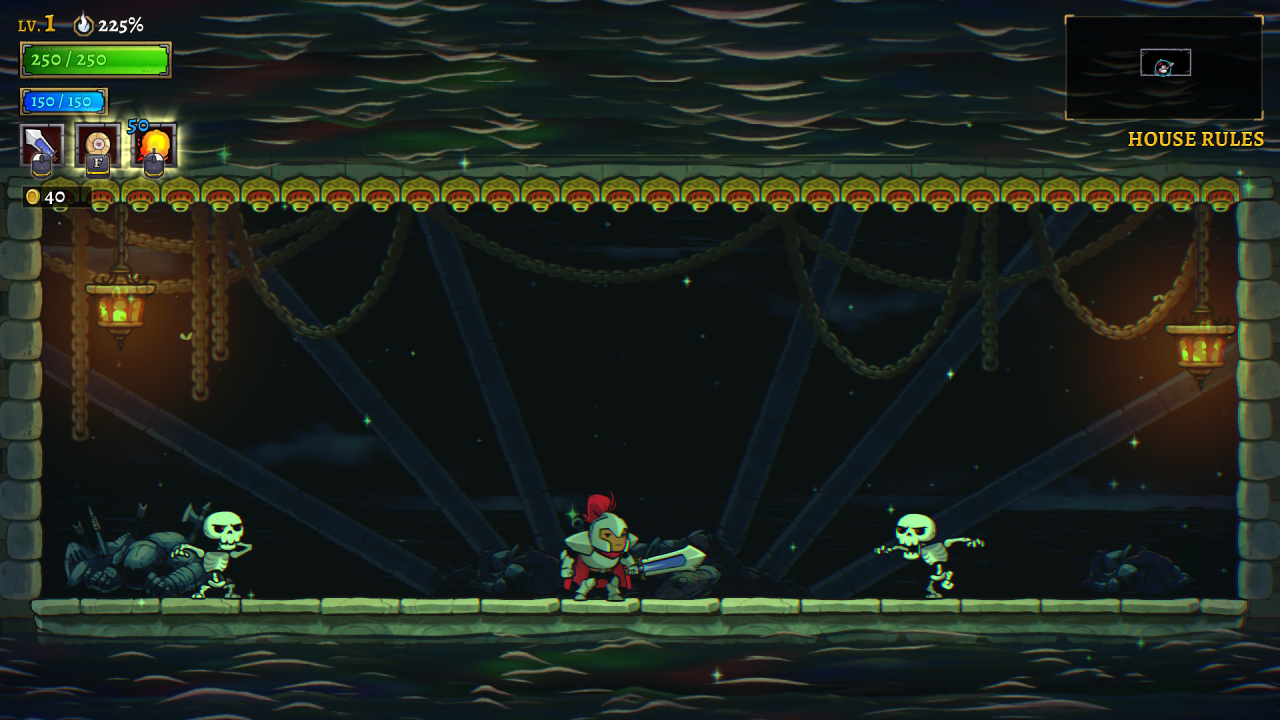
In the next area, you will have to fight two skeletons while flamethrowers blast from above. Two spear maidens will spawn after them.
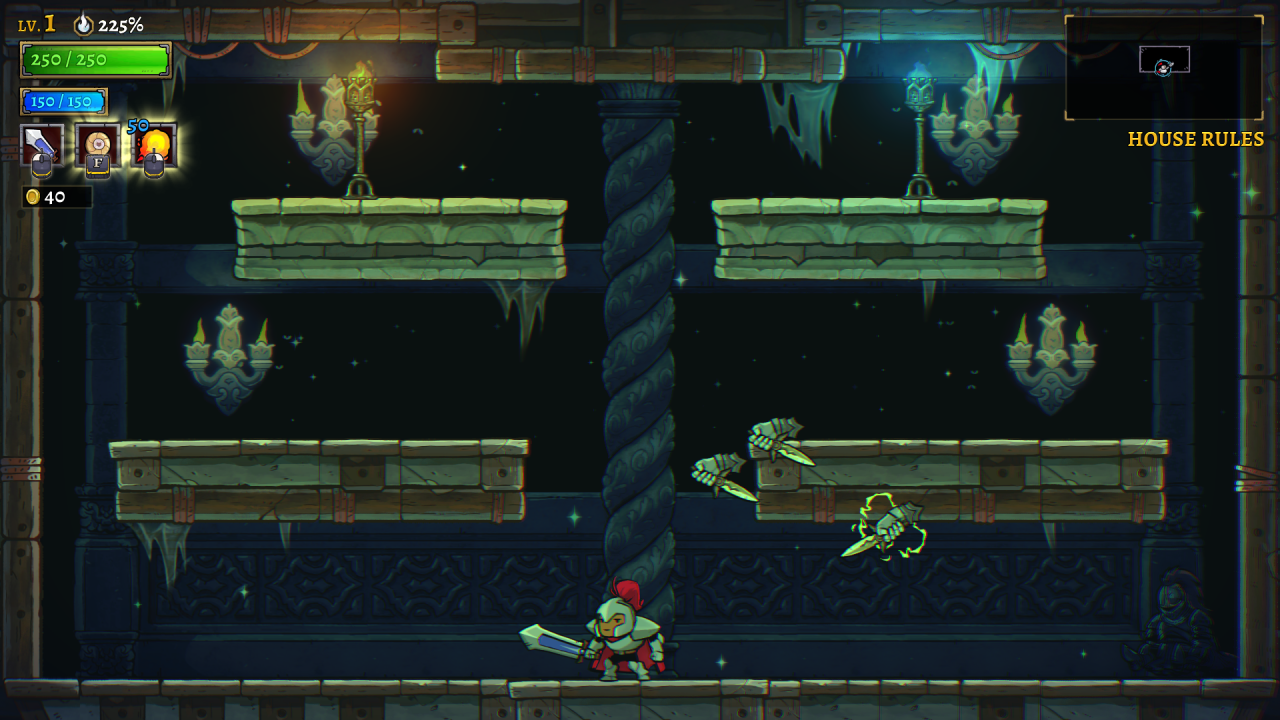
The next room has multiple platforms, and several static blades spawn in.
Afterward you will be teleported to a narrow hall with flamethrowers chasing after you, and you need to dash constantly to avoid them.

The following room is split in two sections, where you will need to dash on the platforms underneath to reach the other side to kill the scouts. If you have something with an AoE, like fireball or shockwave, you can kill them without even going to the other side.
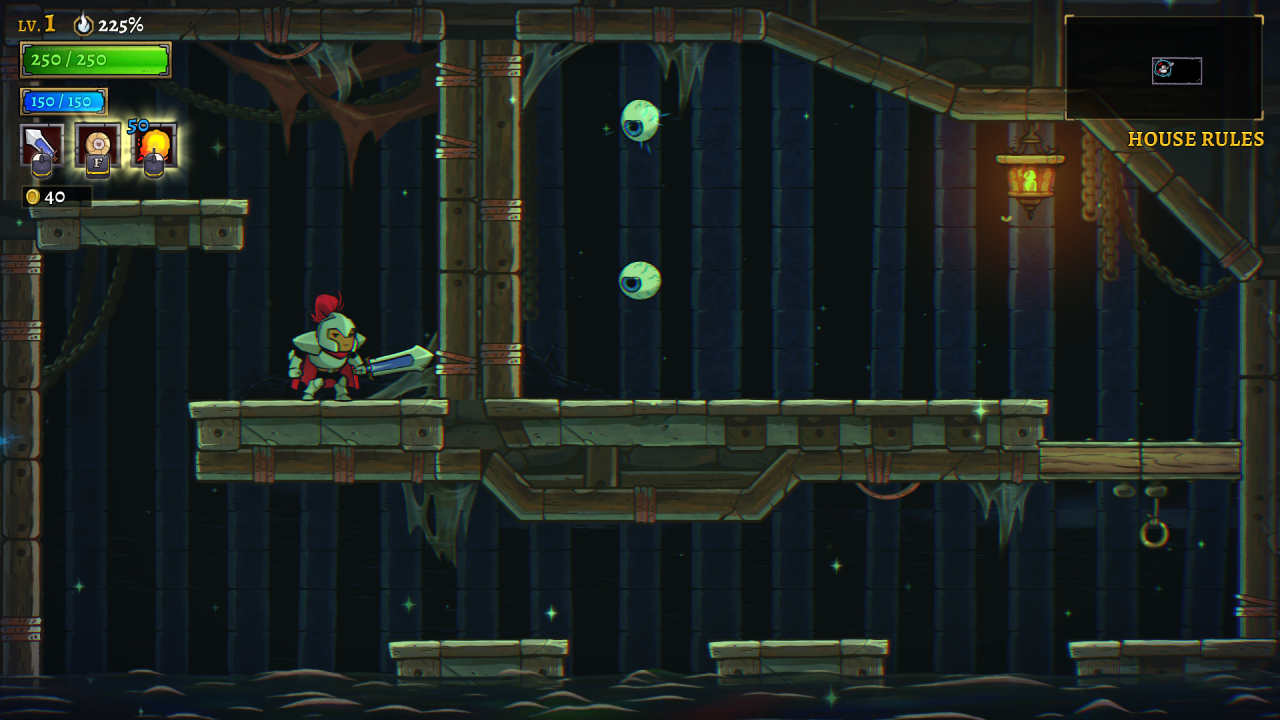
Next is a room with a pit of stygian water in the middle, with a lantern in the centre. A skeleton and stavens spawn on one side, and you will need to dash over to kill them. After those two, a soldier will spawn in the first half of the room.
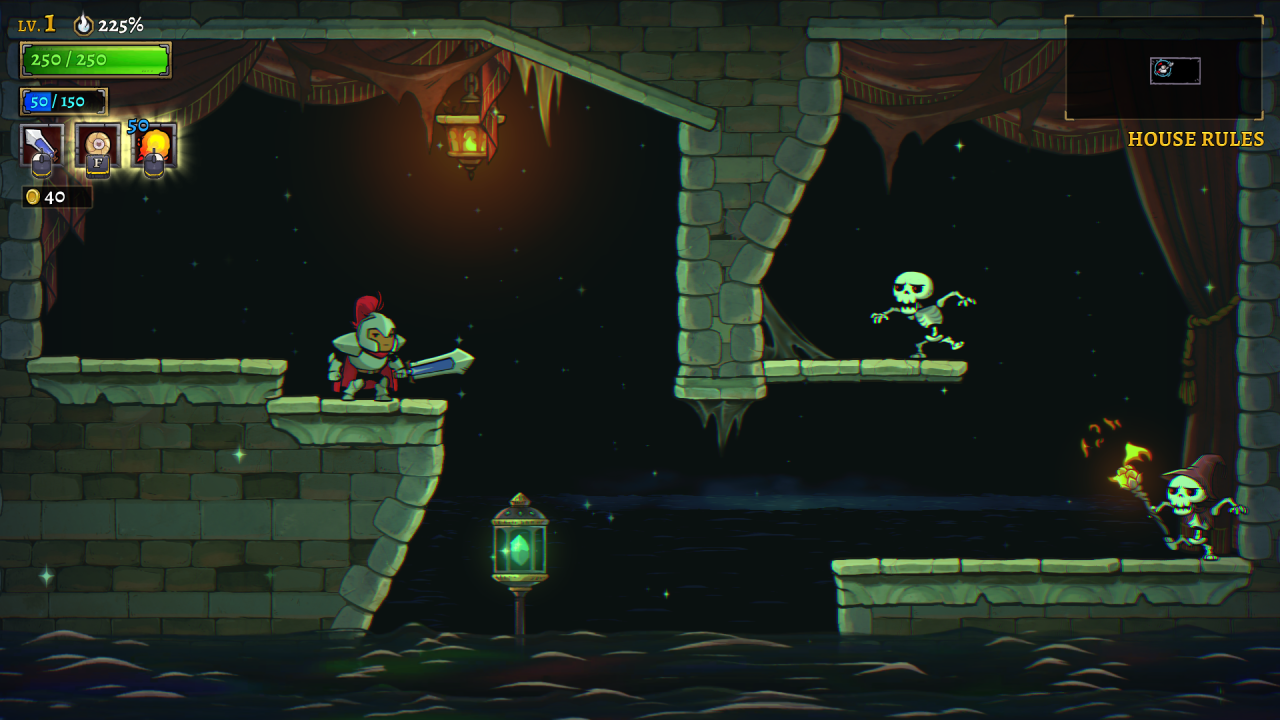
You will then need to do some platforming around various lanterns and teleporters.


Finally, you will just need to navigate through a simple room to complete the challenge.
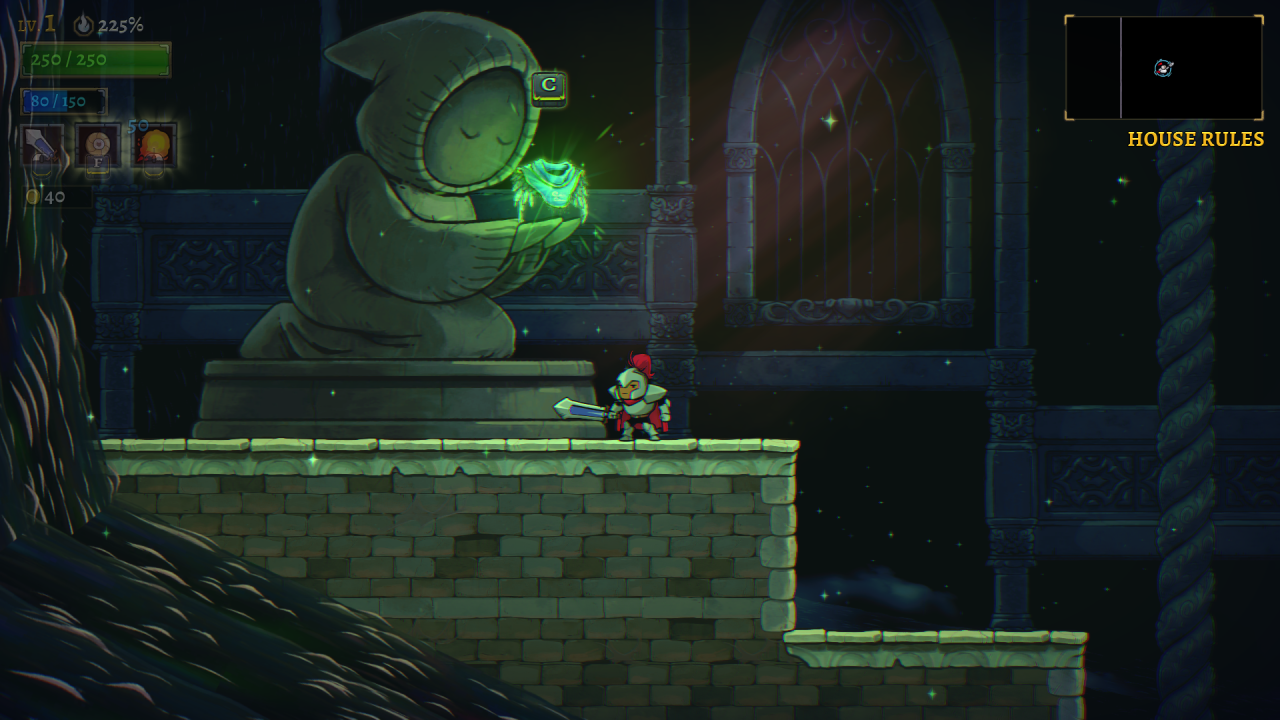
Usage: You can now perform a dash while in the air. You will be able to find dash runes, which allow you to perform extra dashes before landing.
Aesop’s Tome
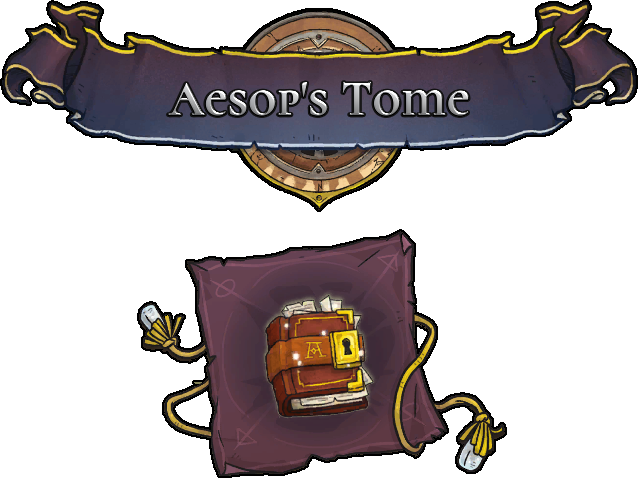
[Use] to read Memories and calm Nightmares.
Location: It is found randomly in Citadel Agartha, in a tall room filled with lanterns.
Challenge: You will need to drop down the platforms, to where you are given a choice between two drops. Neither are correct- the real exit is in the middle, hidden underneath the memory. You will then be teleported to the next area.

Climb up the platforms until you reach the second spinning lantern. Spinkick off of it to reach the platform above you, then climb further up until you reach a loop of lanterns. Here you can spinkick through the gap to land on the platform, then spinkick through the top to continue on.
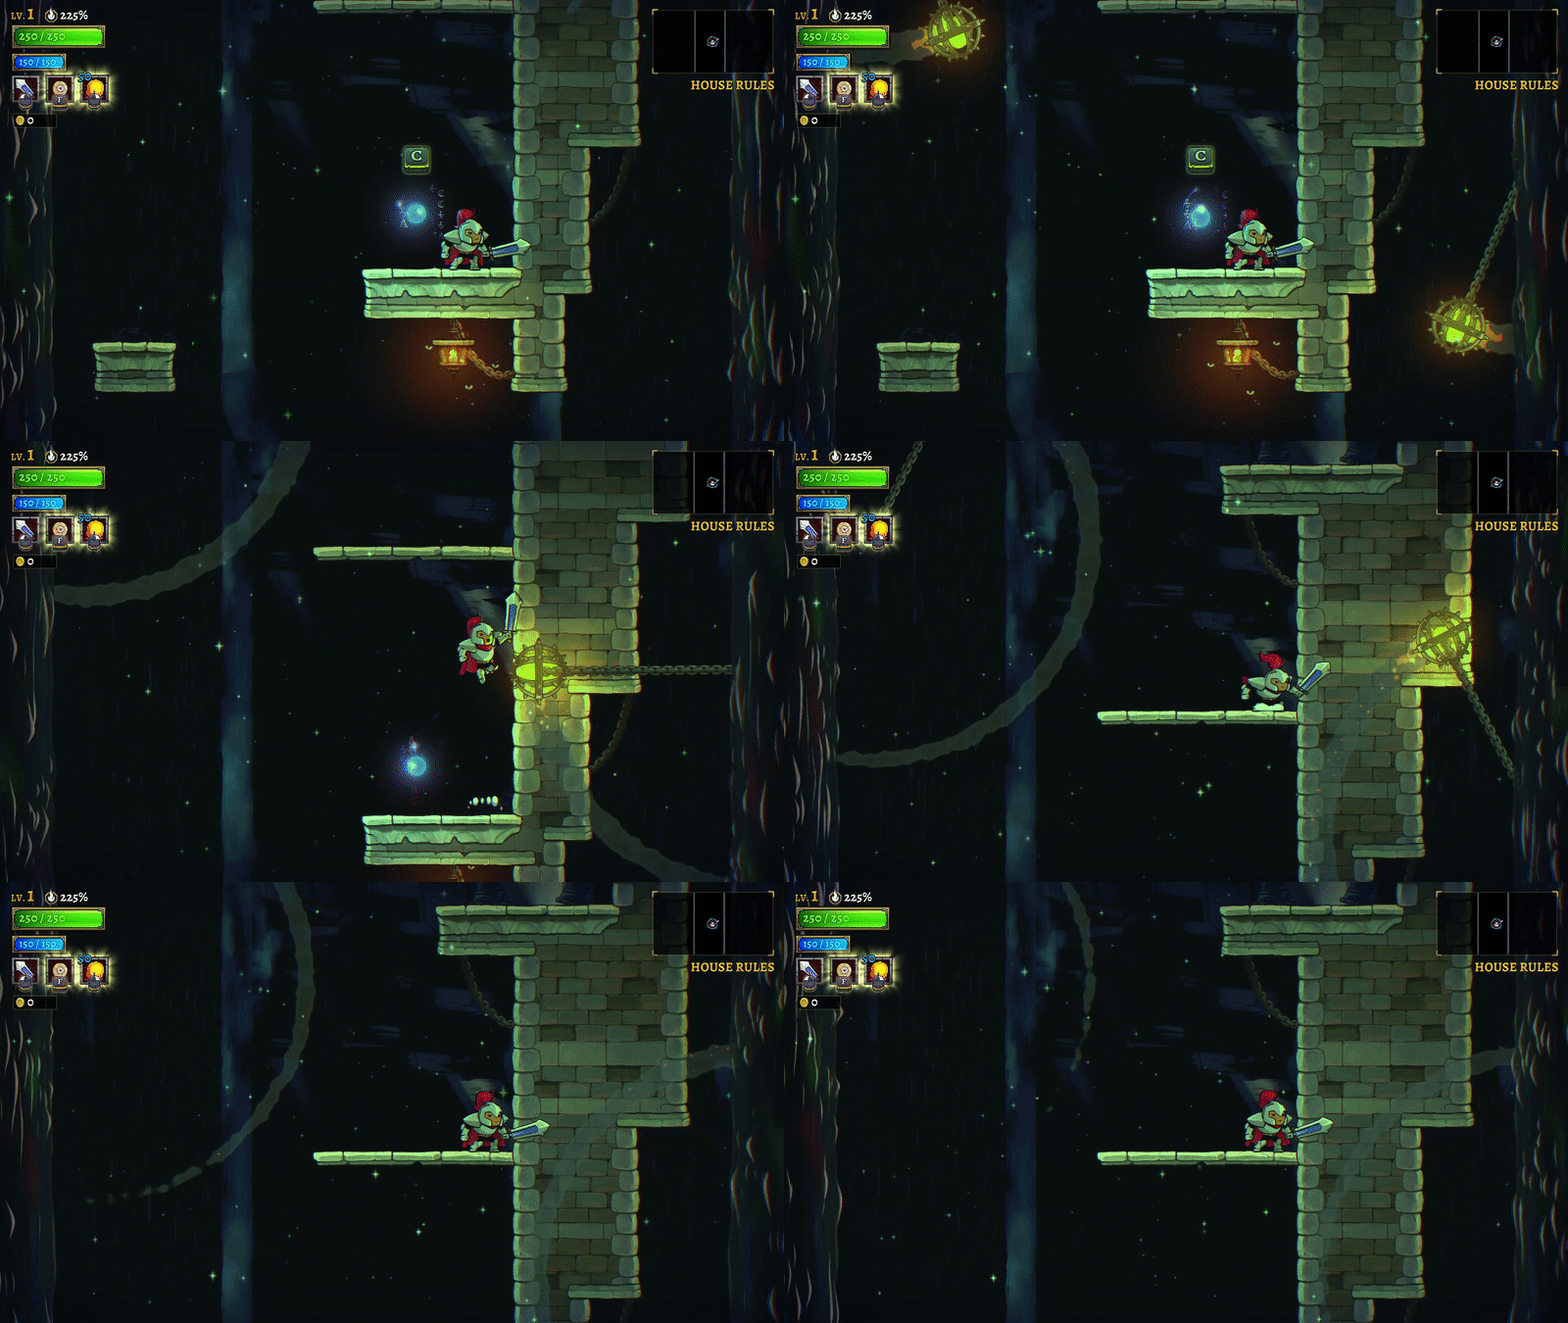


In the next area you will need to do some platforming, then travel through a hallway and open doors while avoiding nightmares- which shoot a projectile at you whenever you attack. You will come upon a nightmare directly in the path, interact with it to temporarily calm it down so you can progress.

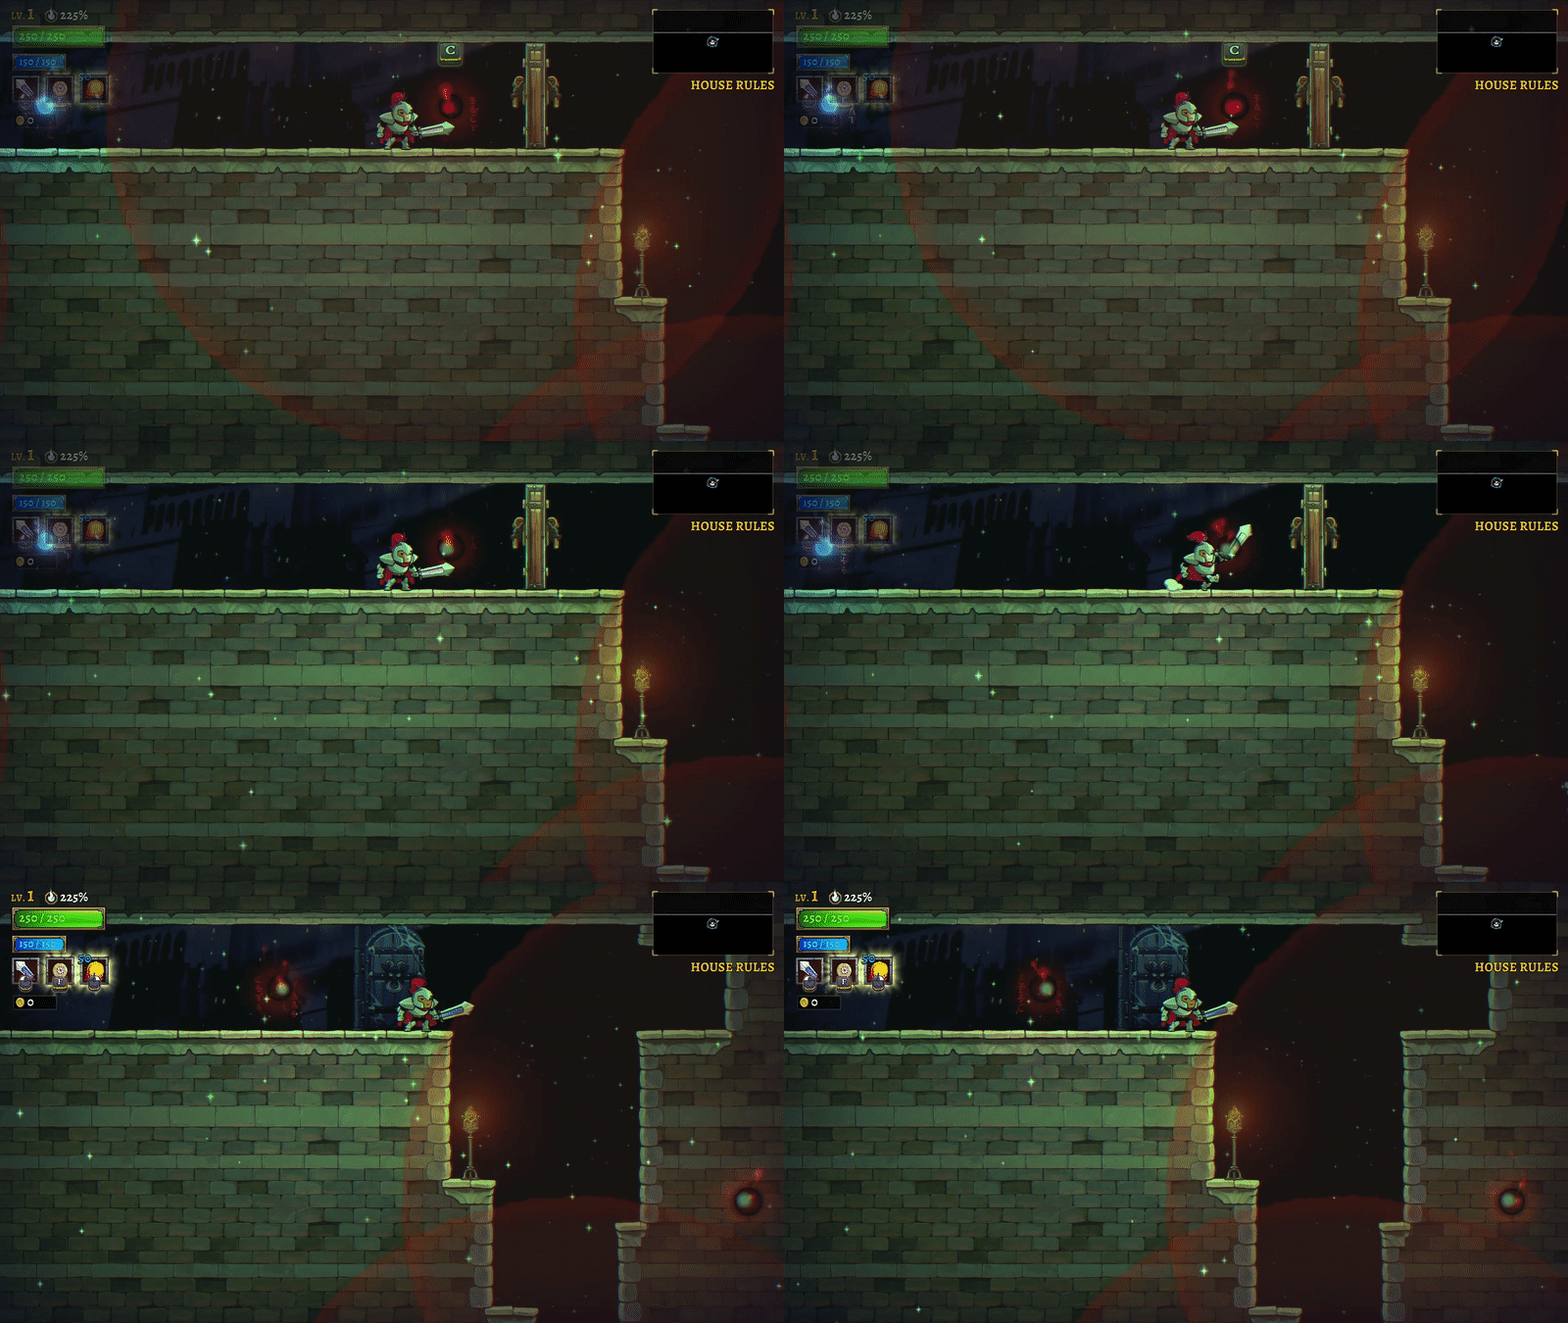
In the next room, you will need to fight two skeletons and then a pupil while two nightmares watch you. You can calm these nightmares the same way as earlier.
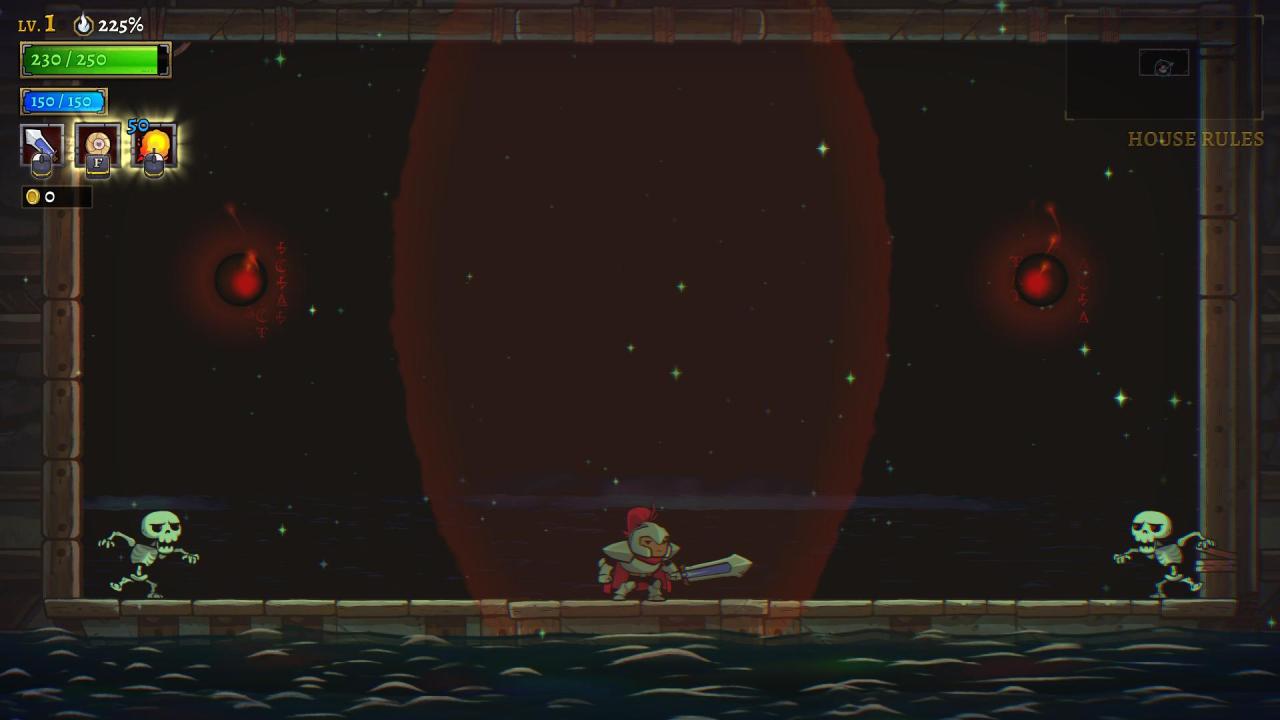
The next room has two platforms in the centre, one on either side, and a nightmare in the middle. Two skeletons spawn on the side platforms, followed by two on the centre platform. The nightmare can be calmed if you have good timing, or you can kill the enemies without attacking by jumping off of the platforms so they fall on the spikes.
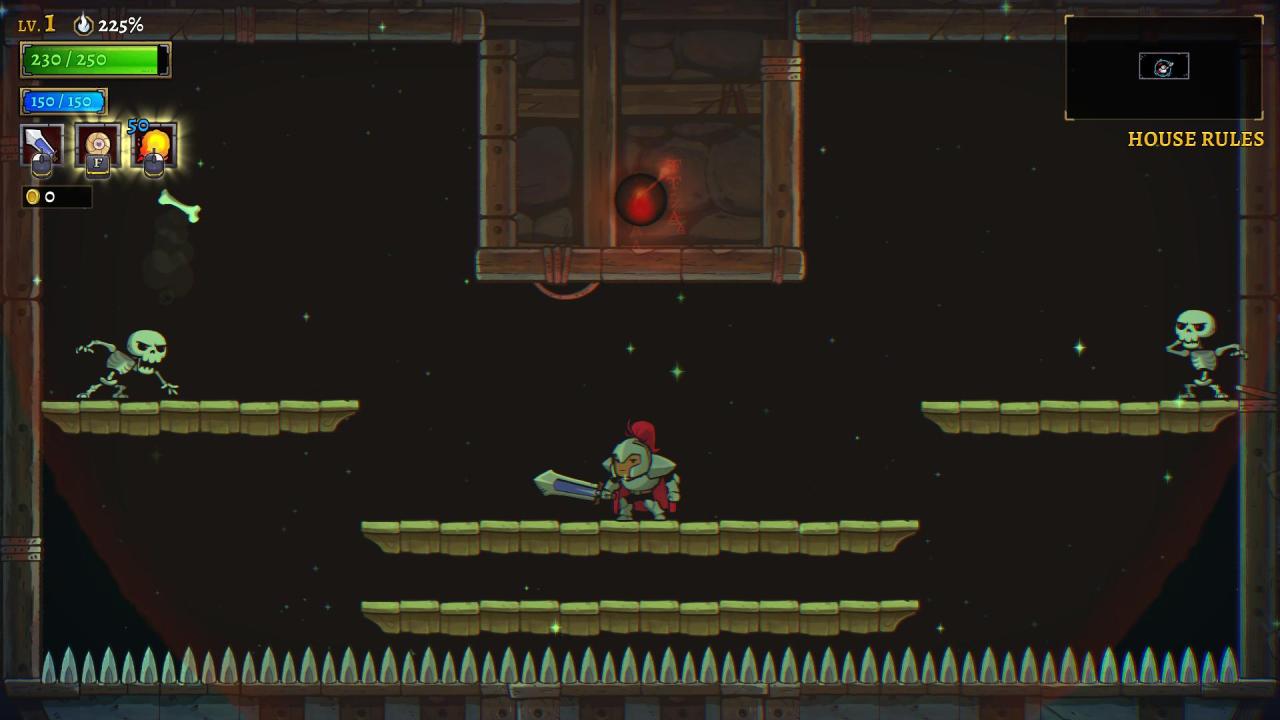
The next room has several soldiers and nightmares, with many platforms. Simply drop all the way down, then jump up to the safe platform from the very bottom.
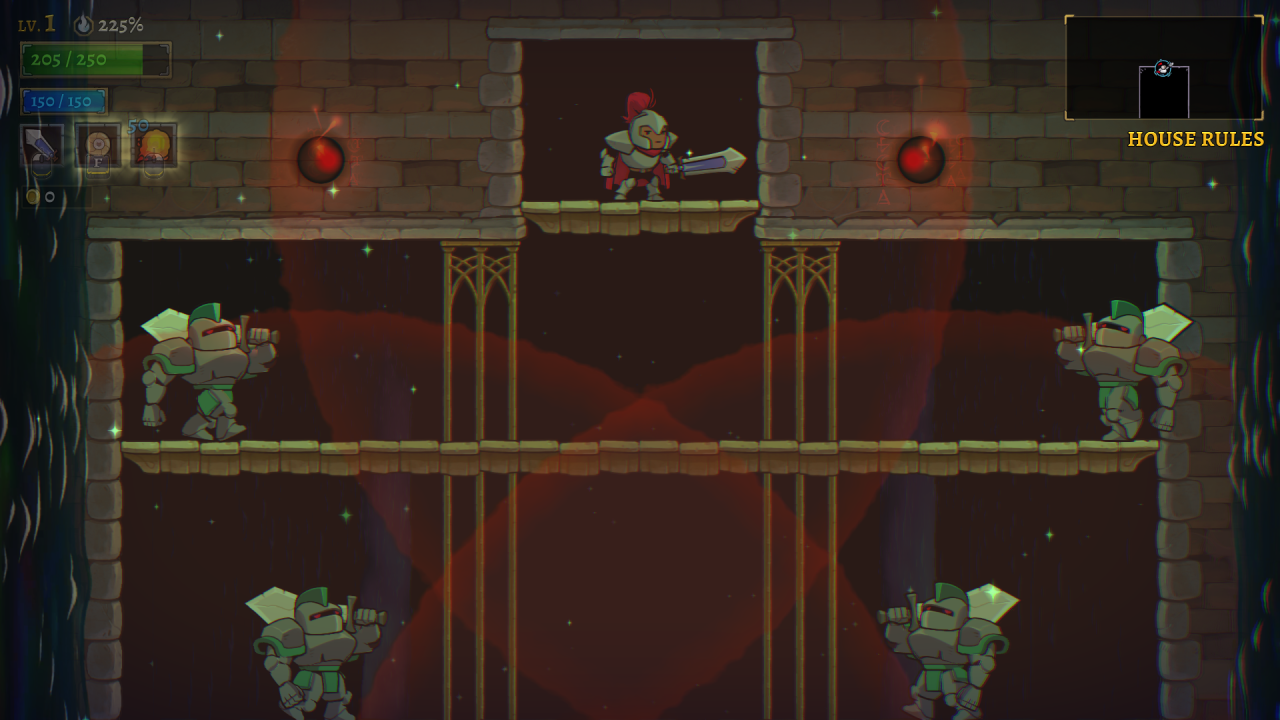
The next room has a nightmare in the centre, and two lamp enemies spawn to the sides. Next, two soldiers enemies spawn, and finally two ember hatchets.
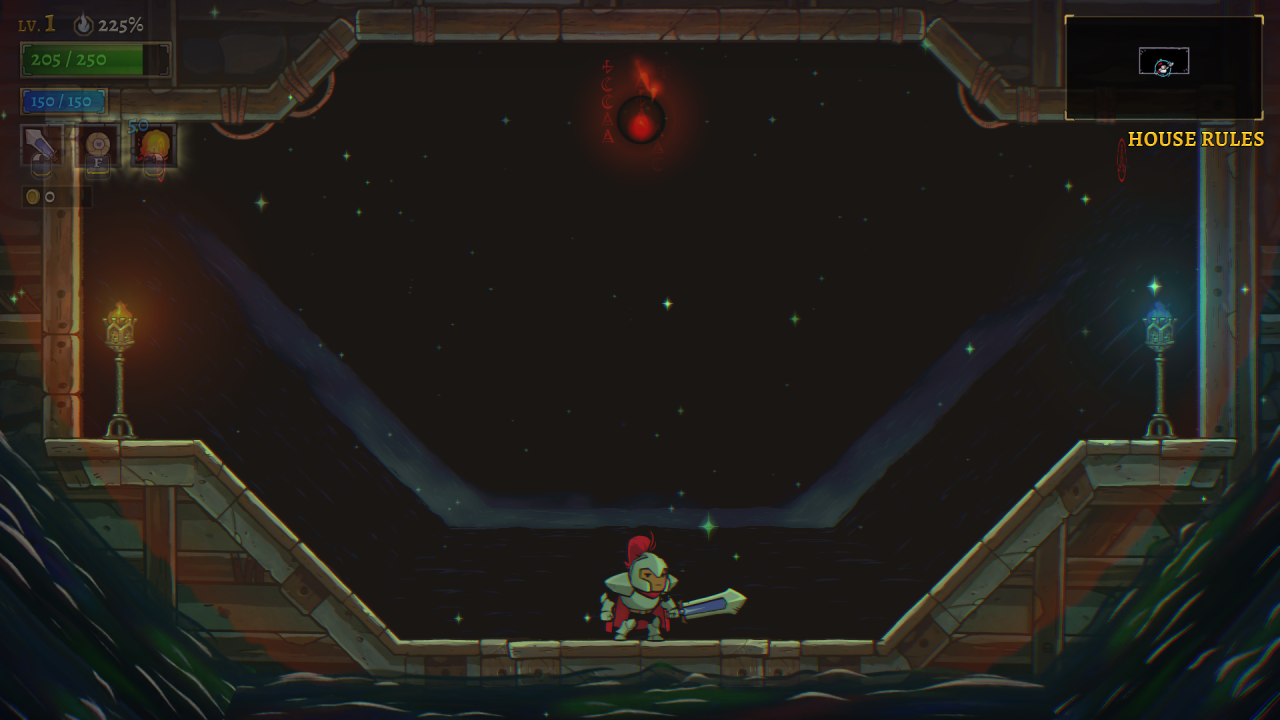
Finally, all you need to do is climb the steps up to the heirloom, and complete the challenge.
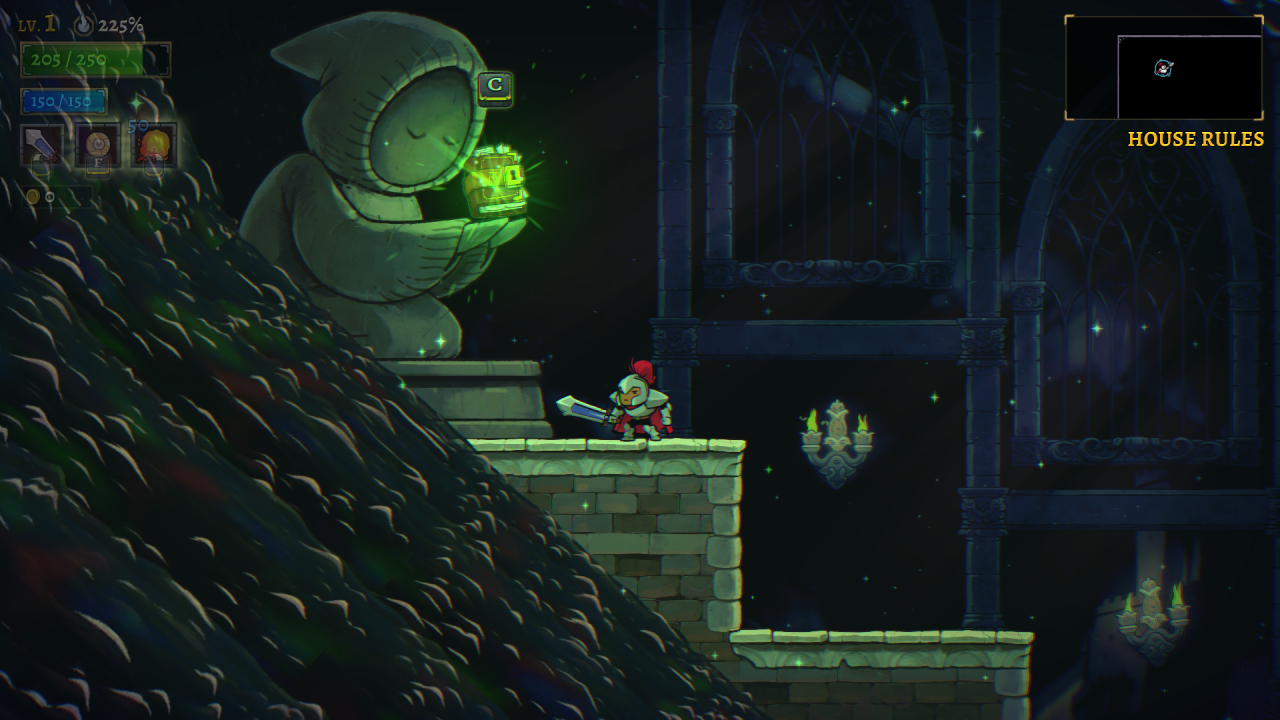
Usage: Aesop’s Tome allows you to read memories- blue orbs found throughout the kingdom- for special lore and bonuses that let you do extra damage to bosses. You can also calm down nightmares.
Echo’s Boots
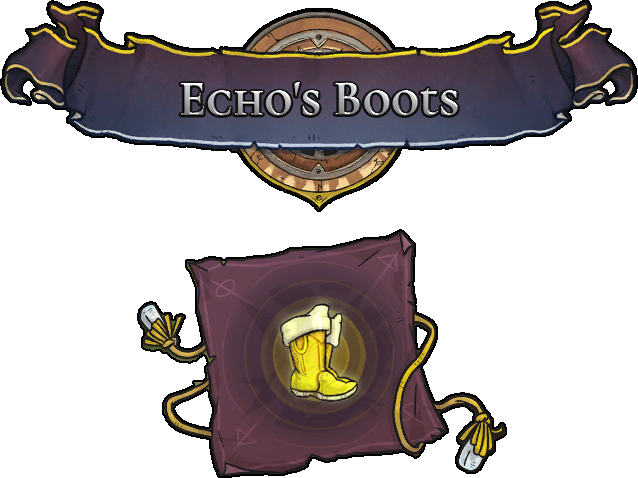
Spin Kick now resets Dashes and destroys Resonant Projectiles.
Location: The door is located in the entrance to Axis Mundi, and you will need to spinkick and dash across the lanterns up top to reach it.

From there you will need to travel upward, spinkicking lanterns and black roots to reach the top of the tower. Jump off the left side and hug the wall to reach the heirloom.


To enter the challenge, you will need to have Ananke’s Shawl.
Challenge: The first room requires you to simply climb upward, spinkicking regular and resonant lanterns.
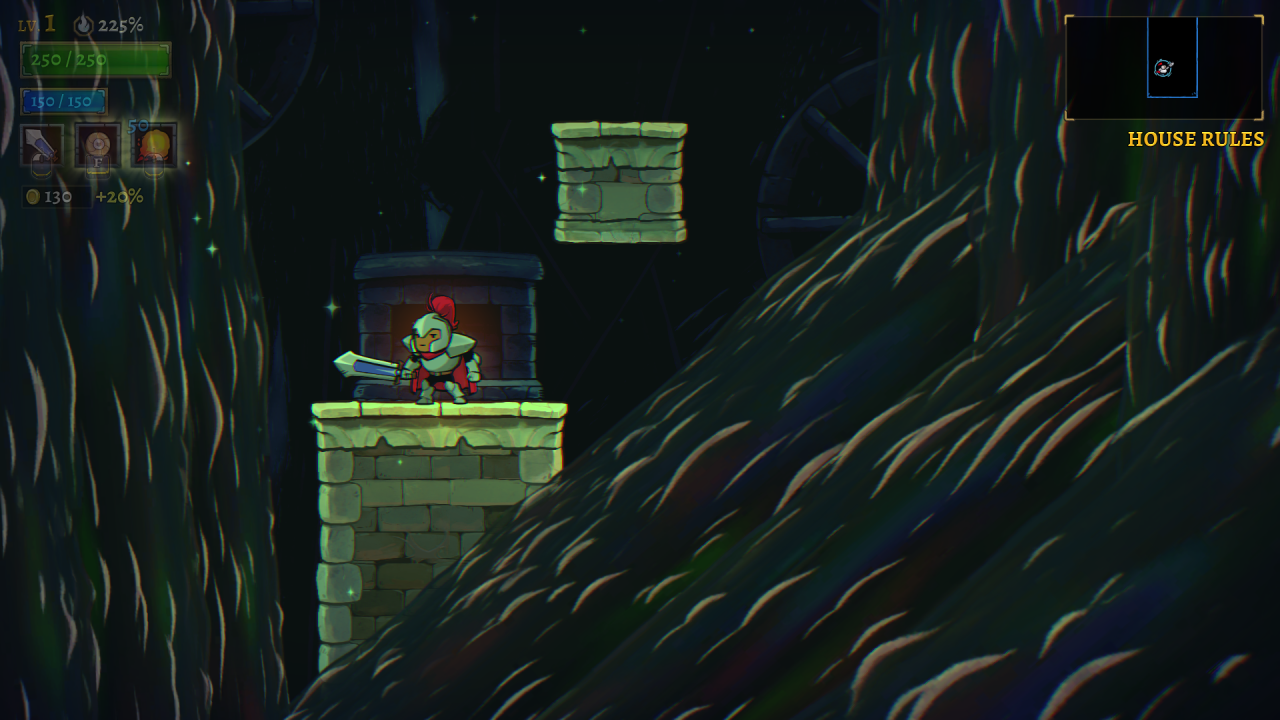
In the second room, you will need to do platforming across lanterns and teleporters, and around spikes.


Next you will need to spinkick targets back and forth, dashing between them each time.

The fourth room requires you to go through the teleporter, spinkicking off of the resonant lanterns to kill an ember hatchet.
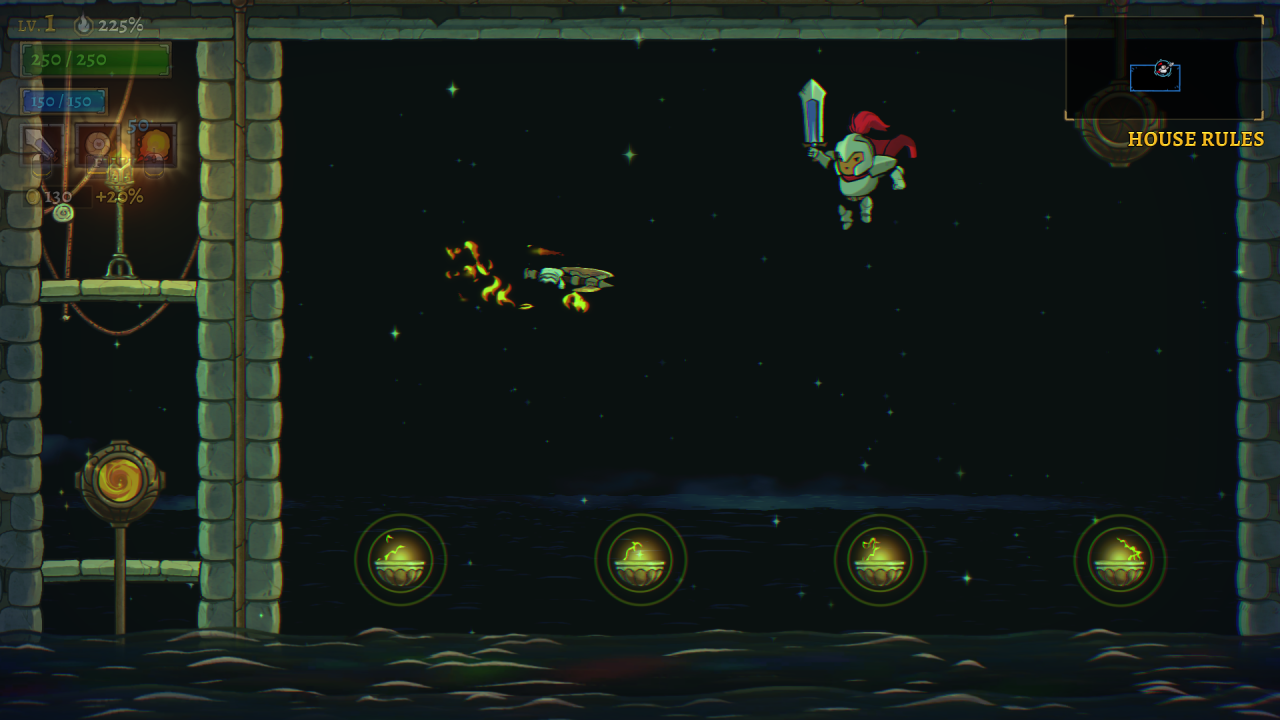
After that, you will need to kill a slug and a will’o using only spinkicks.
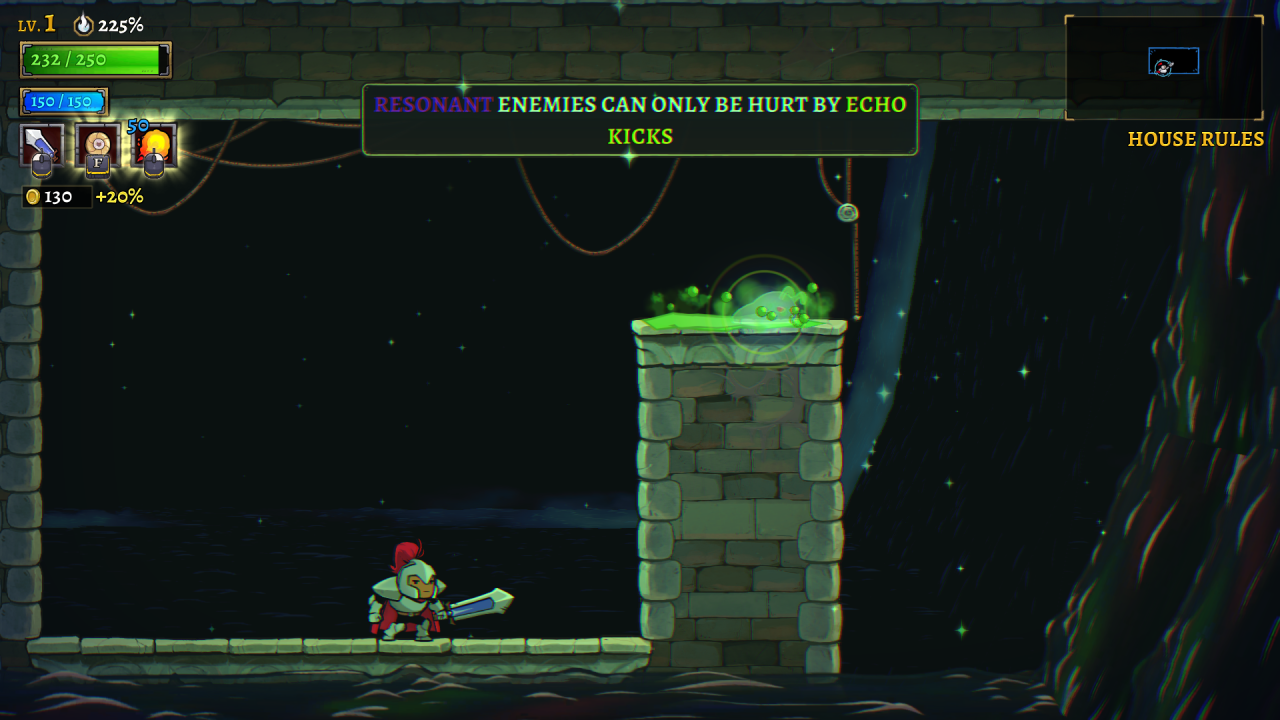
The next area needs you to climb upward, bouncing off of resonant lanterns while avoiding nightmares. Once you reach the area with four nightmares you must bounce upward and use the teleporter, before spinkicking again off of the nightmares’ projectiles.
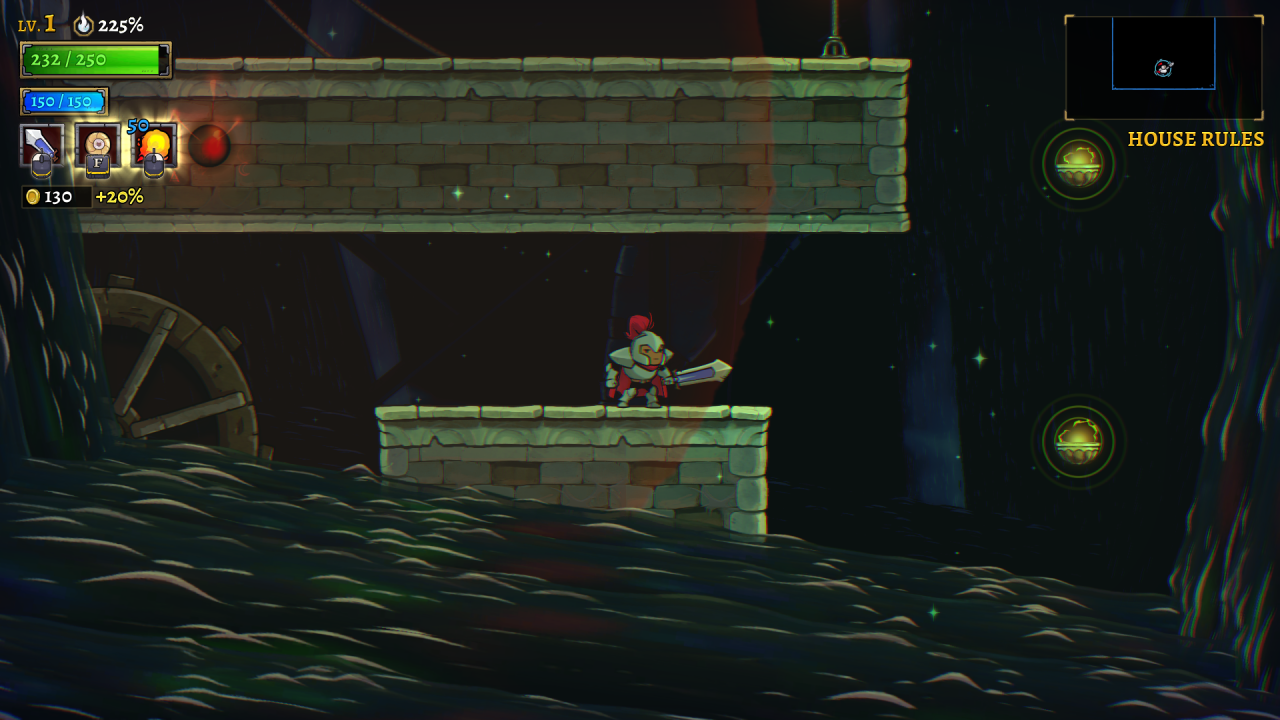

Finally, you only need to drop down and complete the challenge.
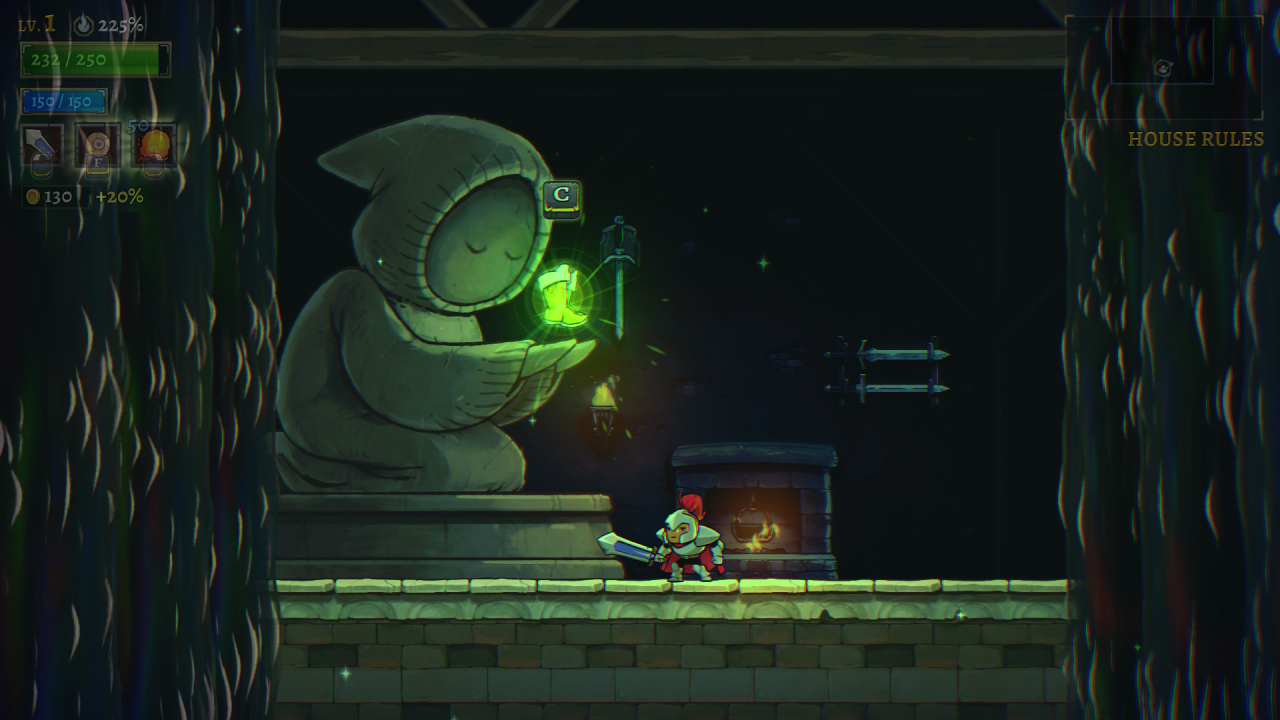
Usage: Your spinkicks now reset your air dashes. You can also destroy resonant projectiles, and bounce off of resonant lanterns.
Aether’s Wings
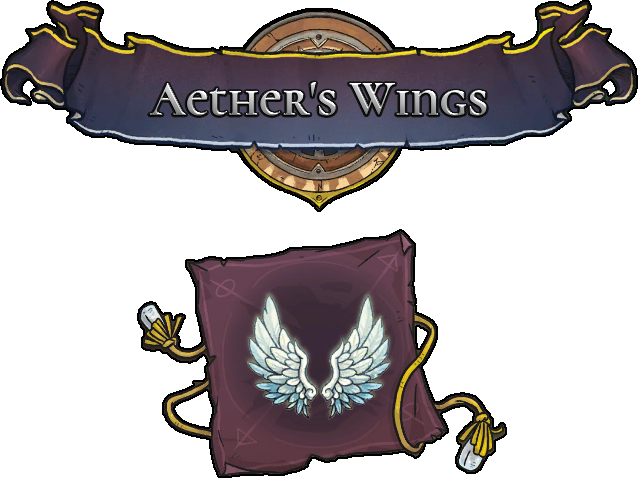
[Jump] in the air to Double Jump.
Location: It is found randomly in the Kerguelen Plateau, usually to the far right of it, in a long room filled with dark water. You can spinkick across it once you have Echo’s Boots.

Challenge: The first room requires you to climb upward and travel to the right, spinkicking off of some lanterns.

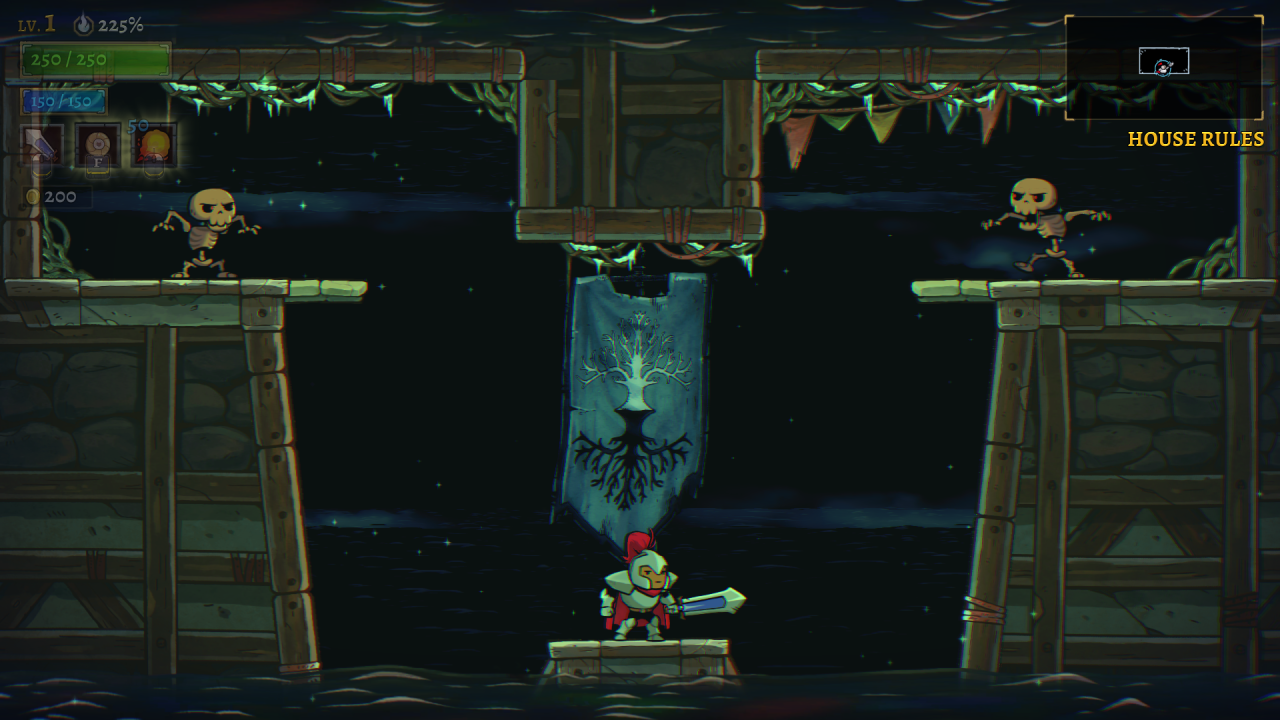
The second room spawns two mr bones, which you will need to double jump up to to reach. After killing one of them, a pupil will spawn in the centre.
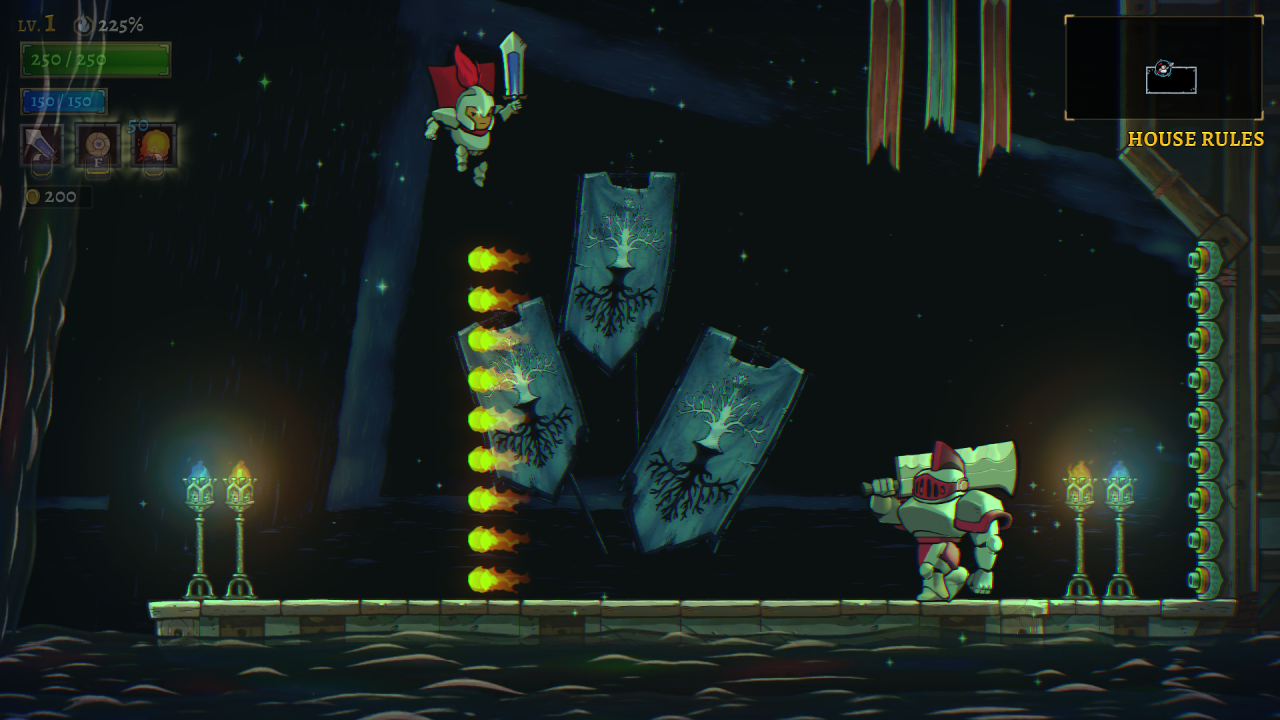
Next is a room with a wall of fireball shooters to the right, which you will need to double jump over while fighting a champion. After it dies, another champion and a blazelock will spawn.
The next room spawns several aqua braces that you will need to fight.
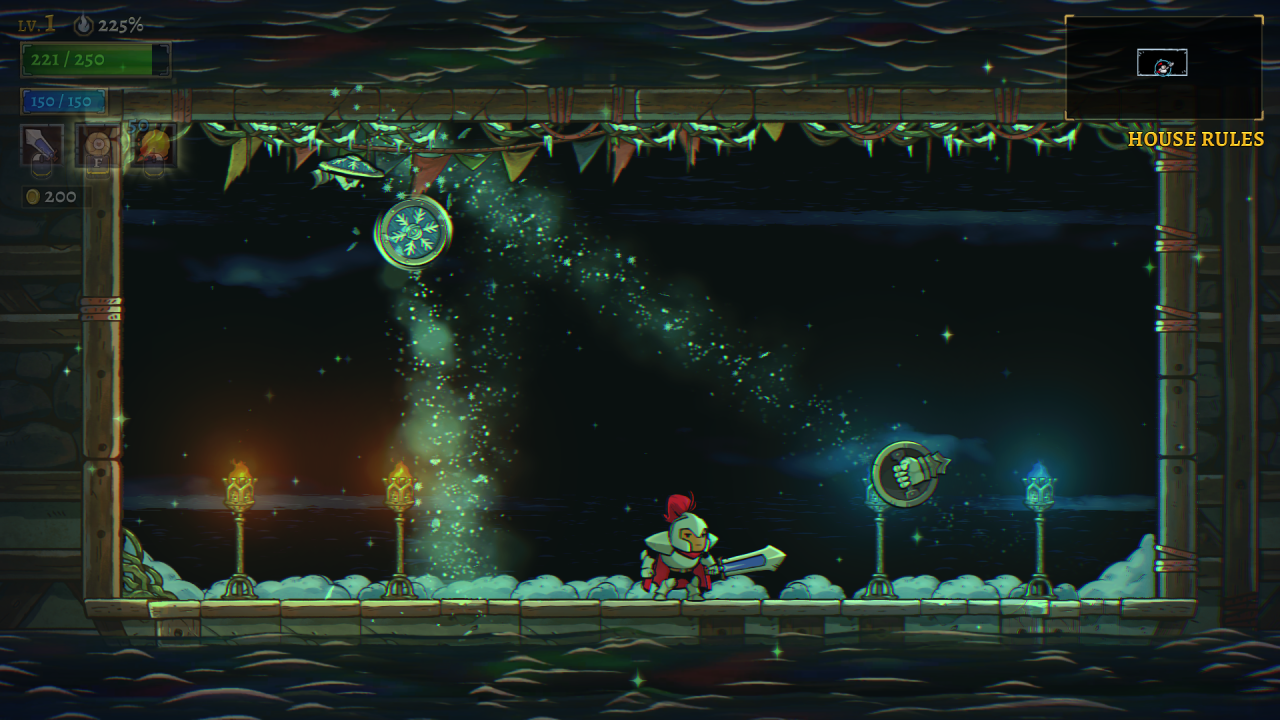
After that is more platforming with a lot of lanterns that you will need to spinkick, dash, and double jump around.


Lastly, you just need to climb upward by dashing and jumping across the platforms, and complete the challenge.
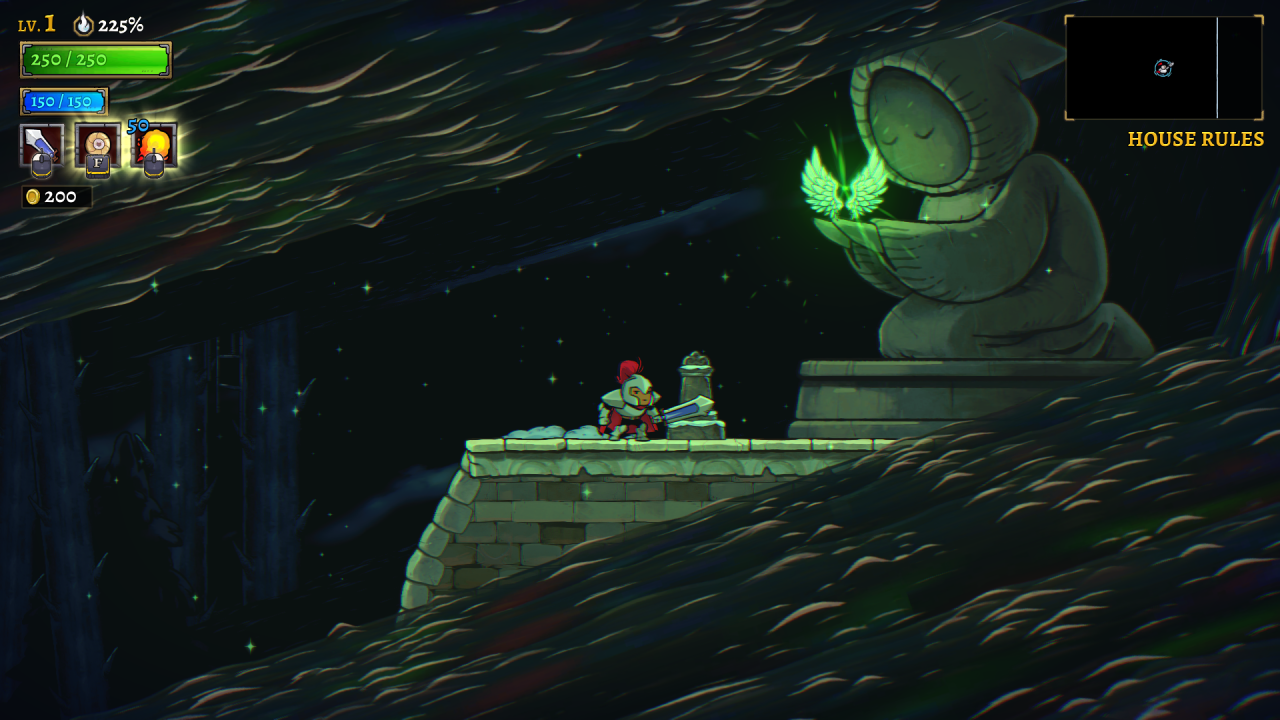
Usage: You can now perform an extra jump while in the air. You will be able to find vault runes, which allow you to perform extra jumps before landing.
Pallas’ Void Bell
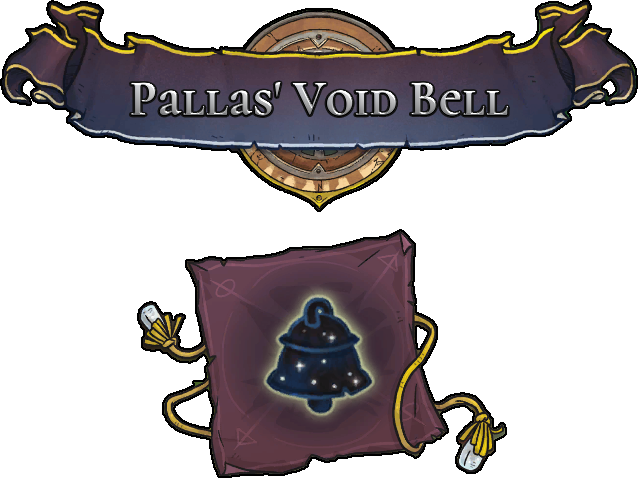
Dash is now Void Dash. Hold to Dash further, and can pass through Void Projectiles.
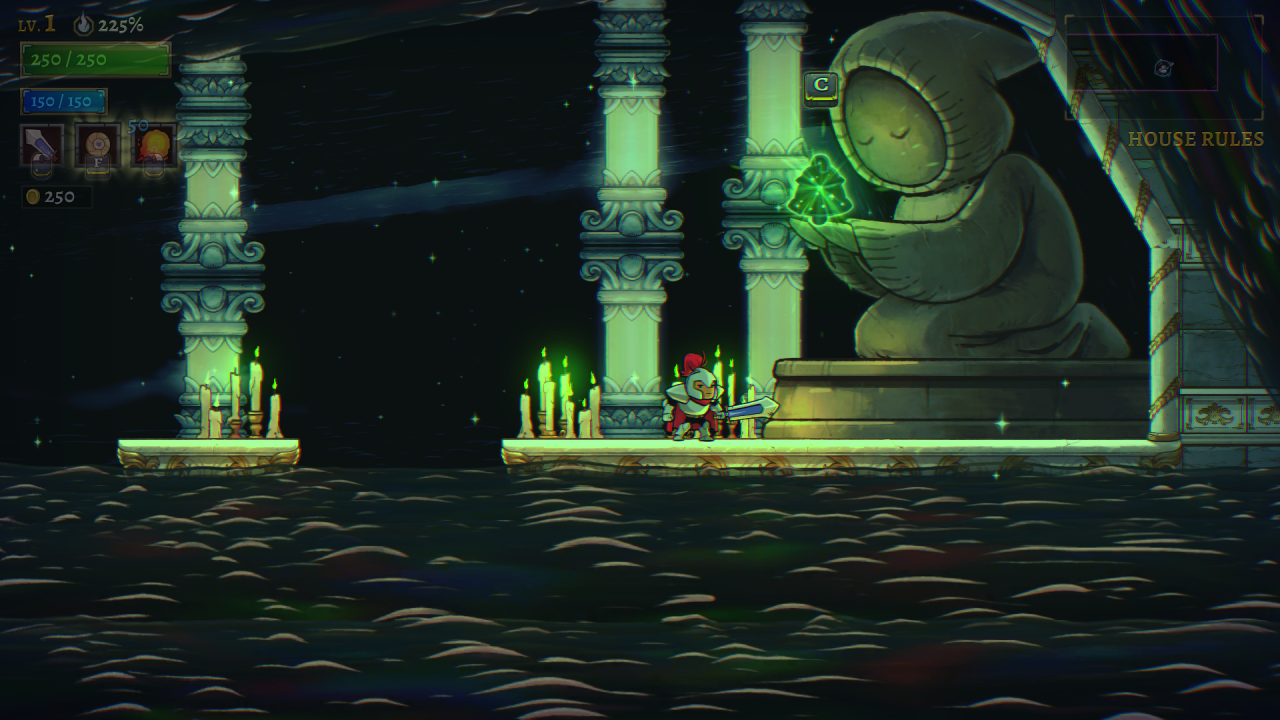
Location: It is found randomly in the Stygian Study, in a room filled with candles and glowing platforms. You will need to stand to the left of the platforms and dash over, without jumping. If a glowing platform is in the way, jump to remove it.

To enter the challenge, you will need to have Echo’s Boots.
Challenge: The first room needs you to do some platforming, dashing over gaps and through void doors.
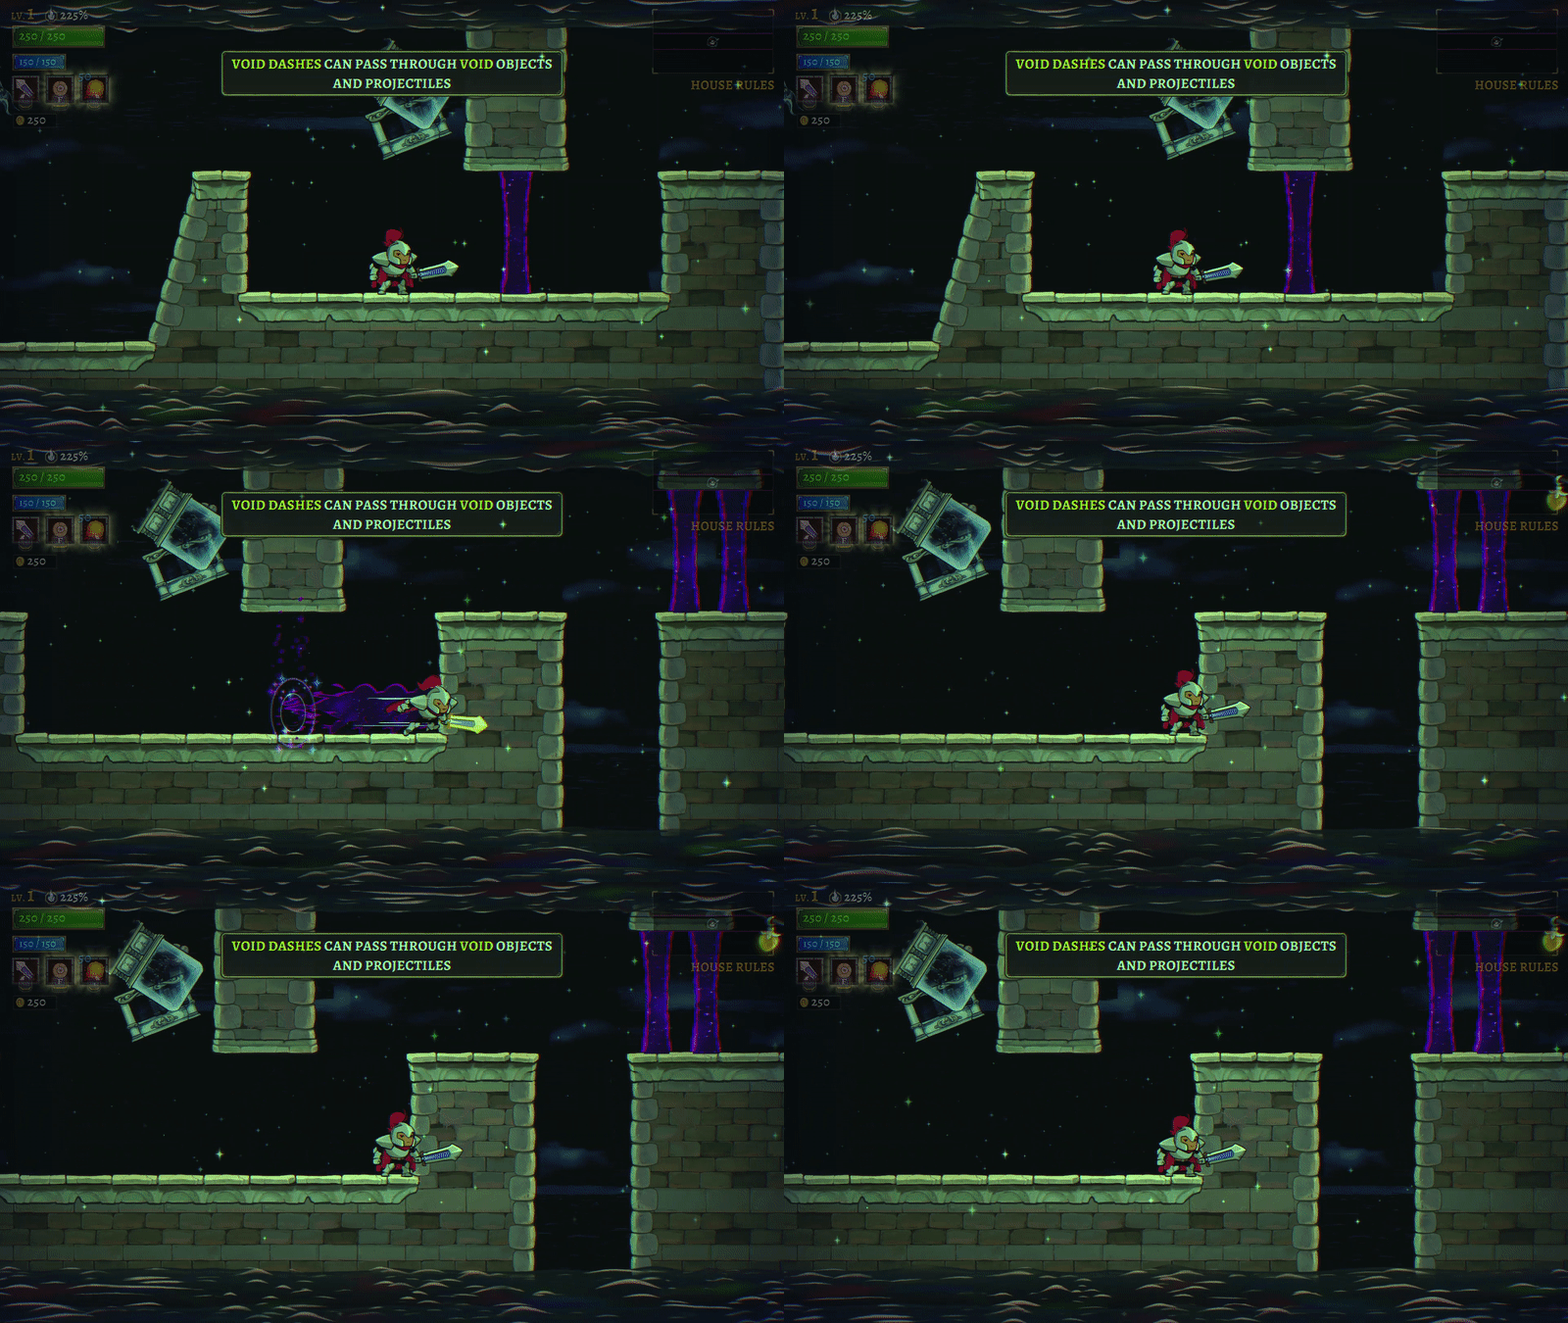
The next area has more platforming, requiring you to extend your dashes to make further jumps.


Next you will need to dash onto the next platform, where two champions will spawn. If they shoot void walls, you will need to dash through them.
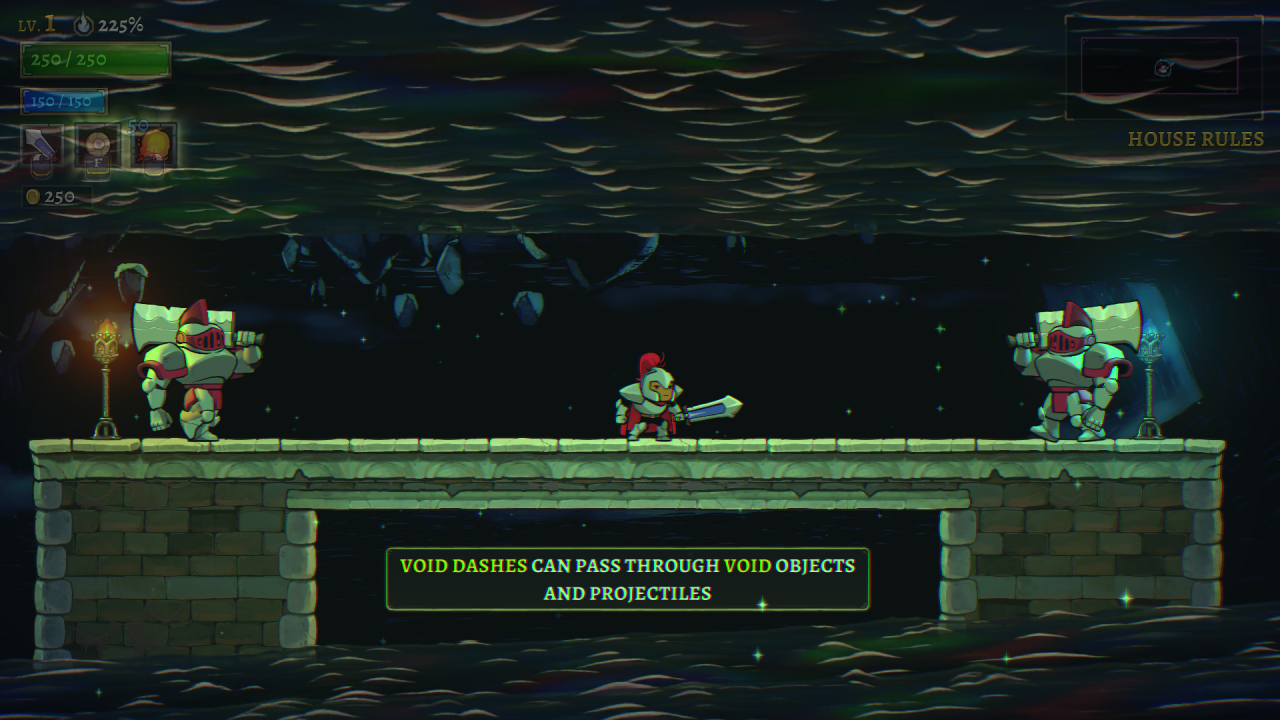
Next is an arena with a large pit of dark water in the middle, with a plonky spawning on the other side. You can dash through its projectiles to reach it.
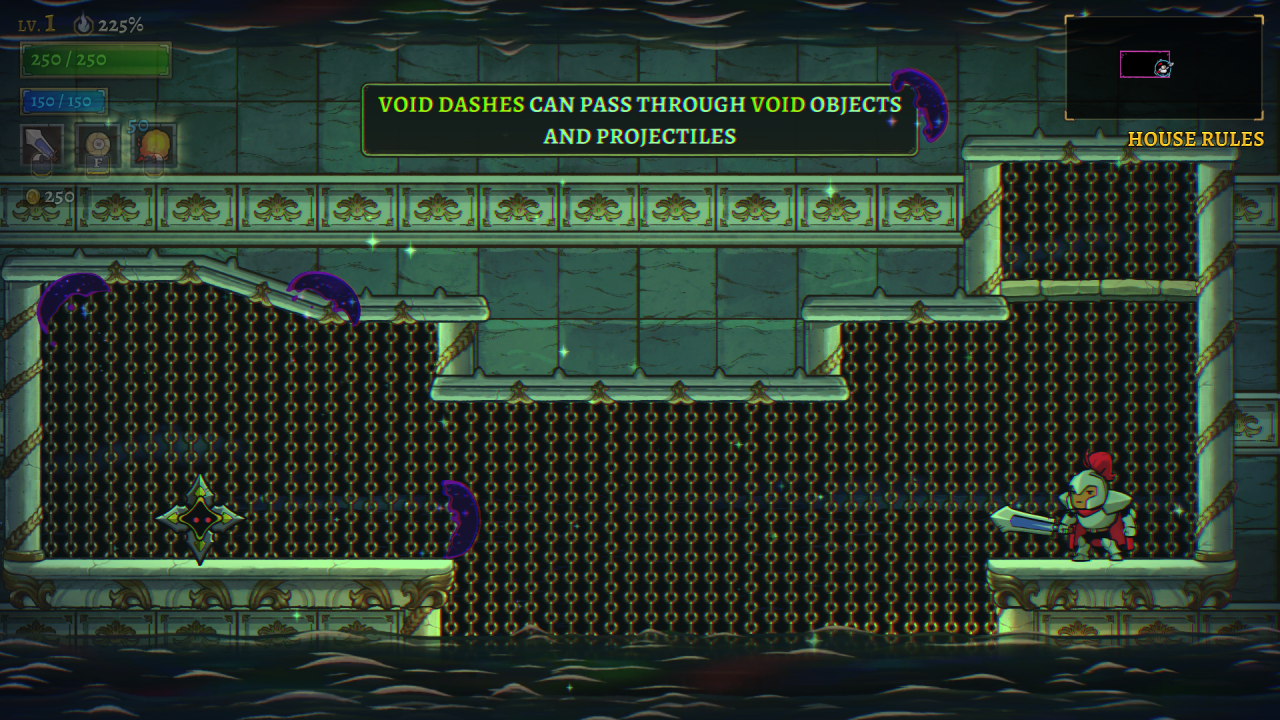
Next up is another arena with two platforms, with void doors between each area, which you can dash through. Two pupils spawn on either side of the arena. After killing one of them two yorbs will spawn, and after both pupils are dead a visionary will spawn at the top.
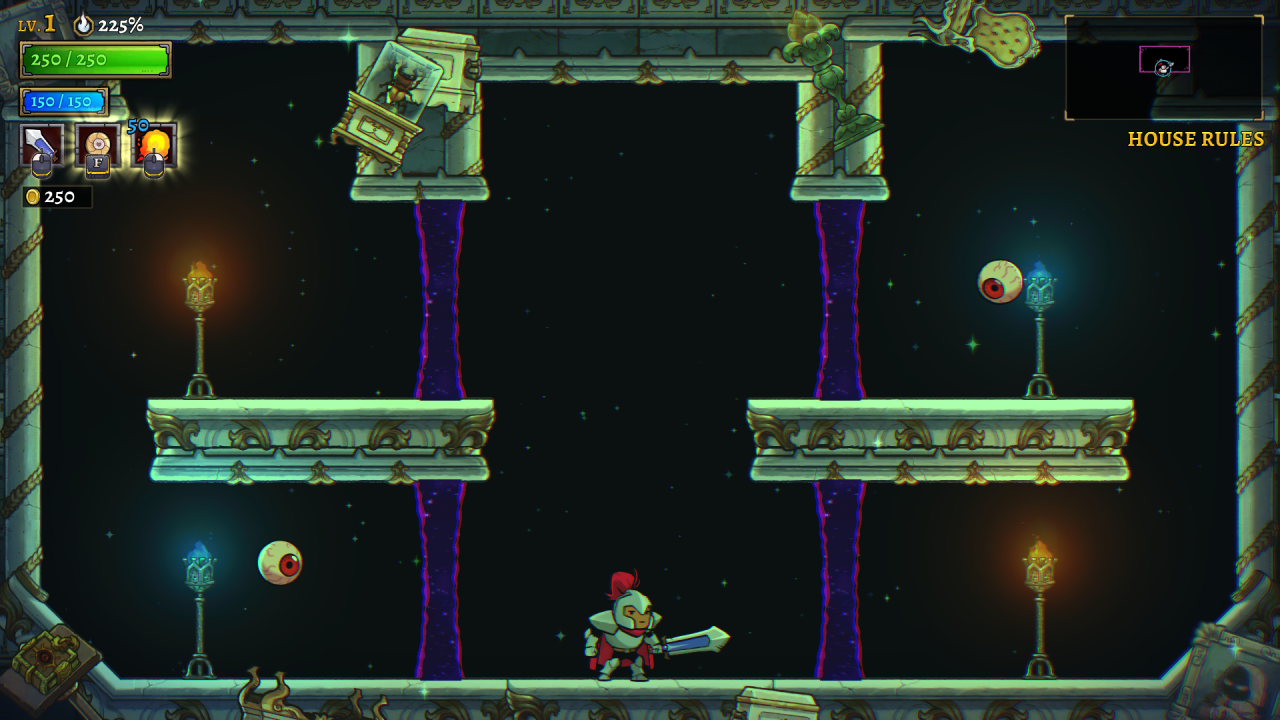
After that you will have to do more platforming with your void dashes and spinkicks. That’s all there is to say, really.
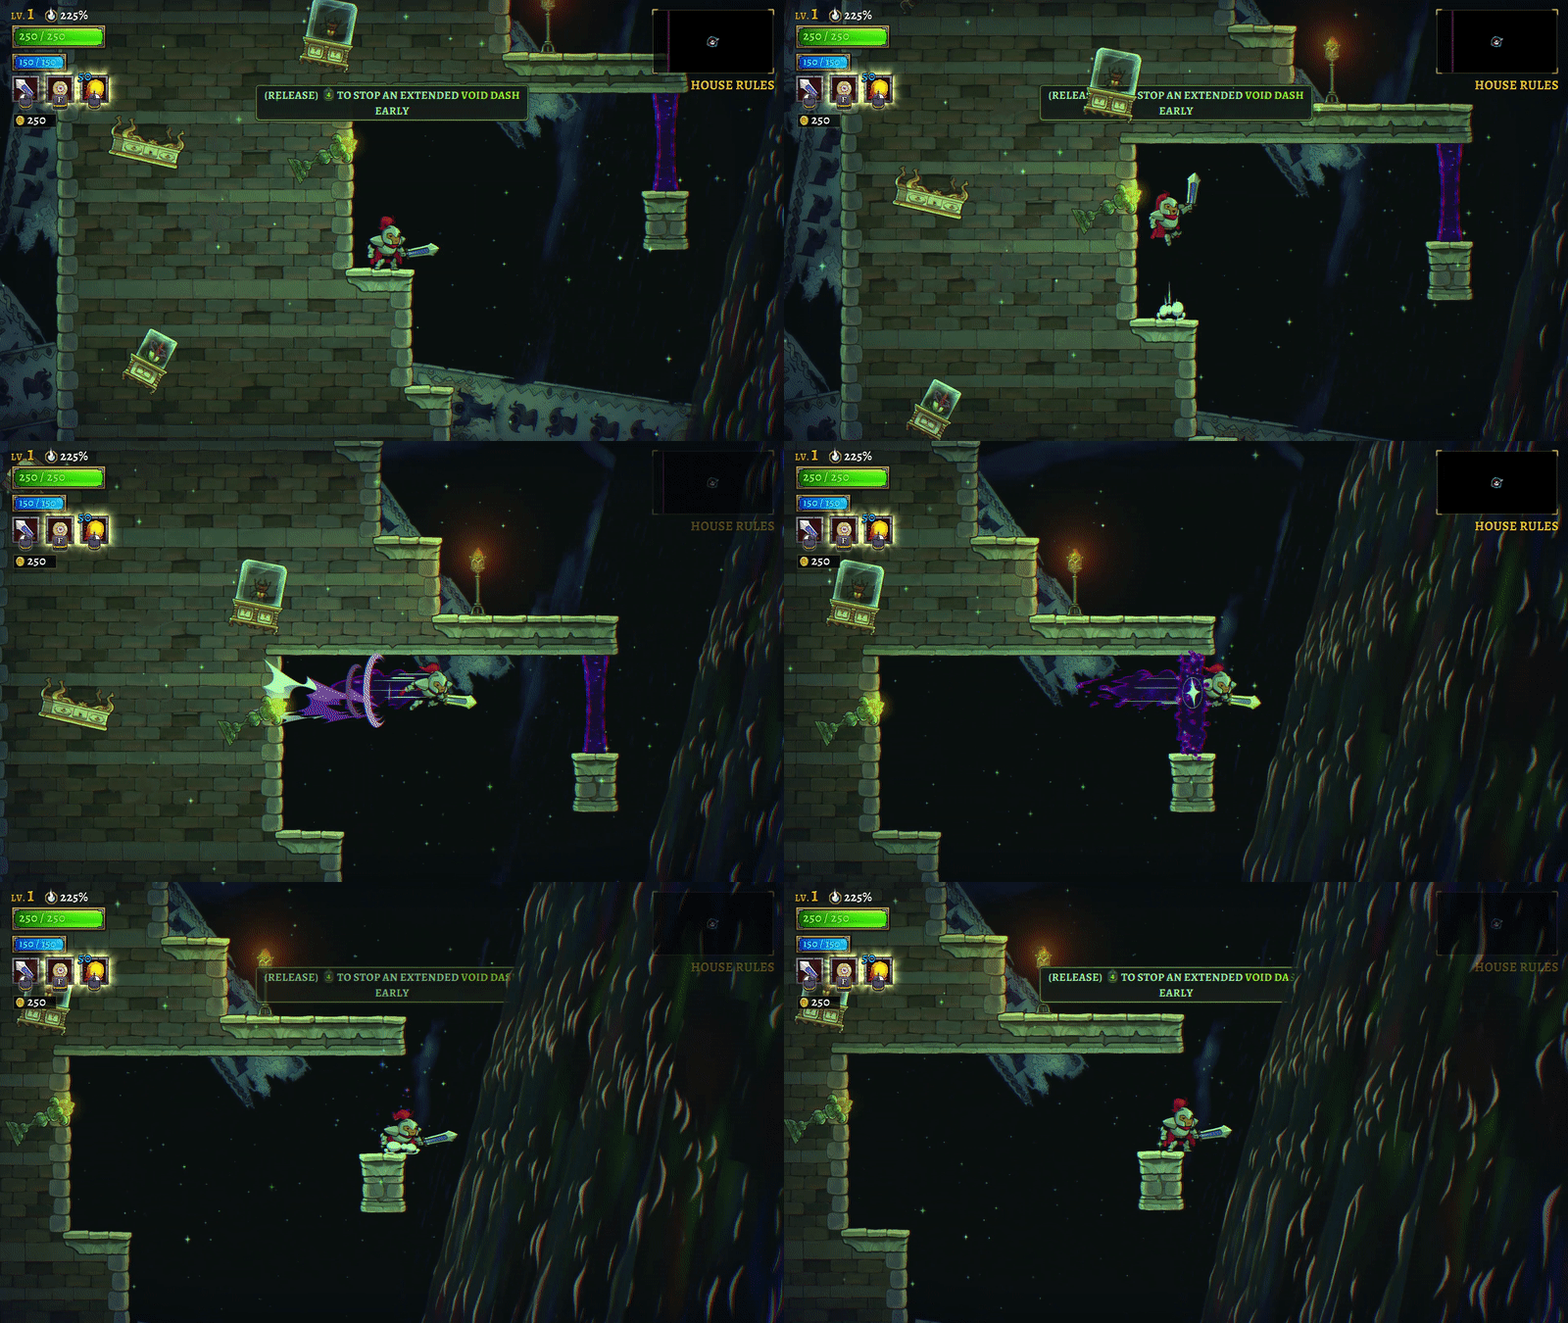

Lastly, you just need to dash over a few more platforms and complete the challenge.
Usage: Your dashes can travel longer if you hold down the dash button, and can travel through void doors and void projectiles.
Theia’s Sun Lantern
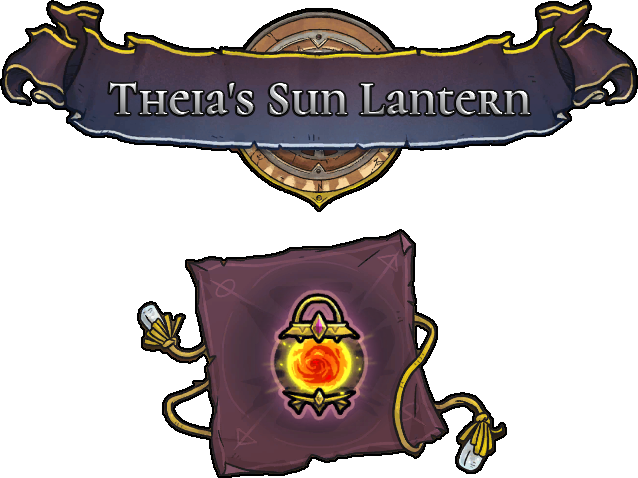
Lights up the dark.
Location: Given to you by the Nameless Knight, at the entrance to the Pishon Dry Lake.
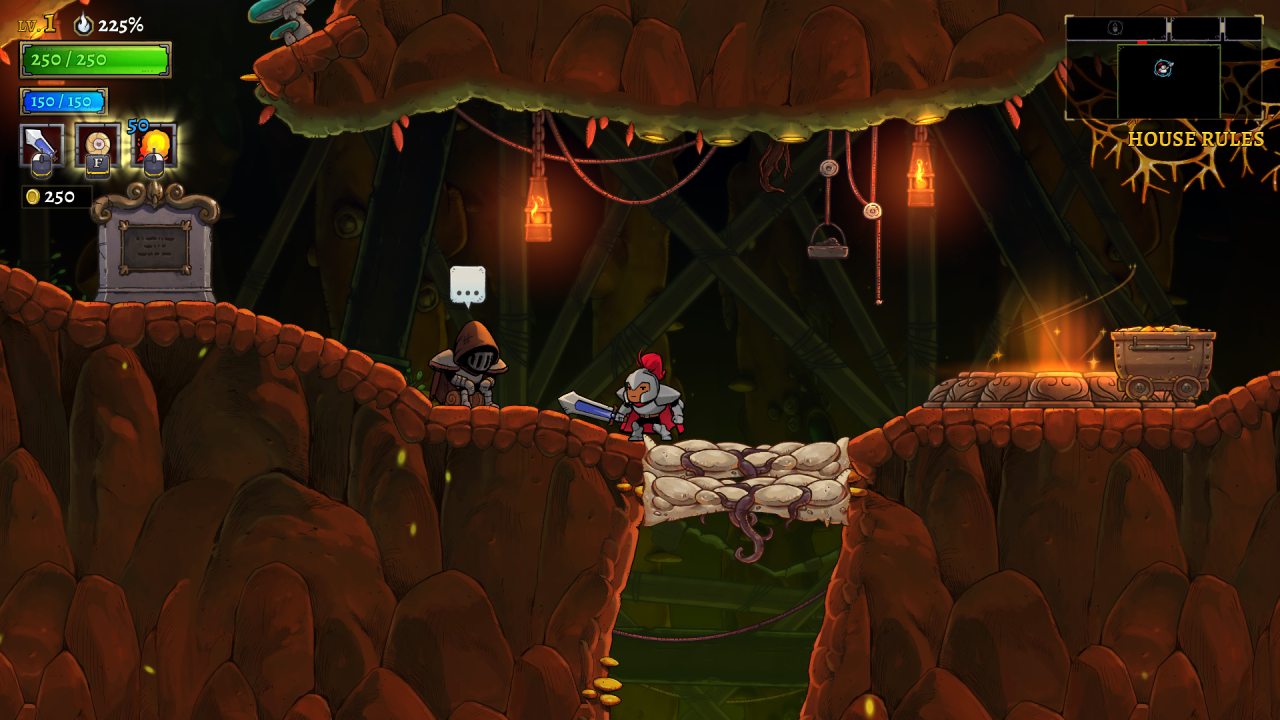
Challenge: You will need to defeat Irad at the top of the Sun Tower before you are given the lantern.
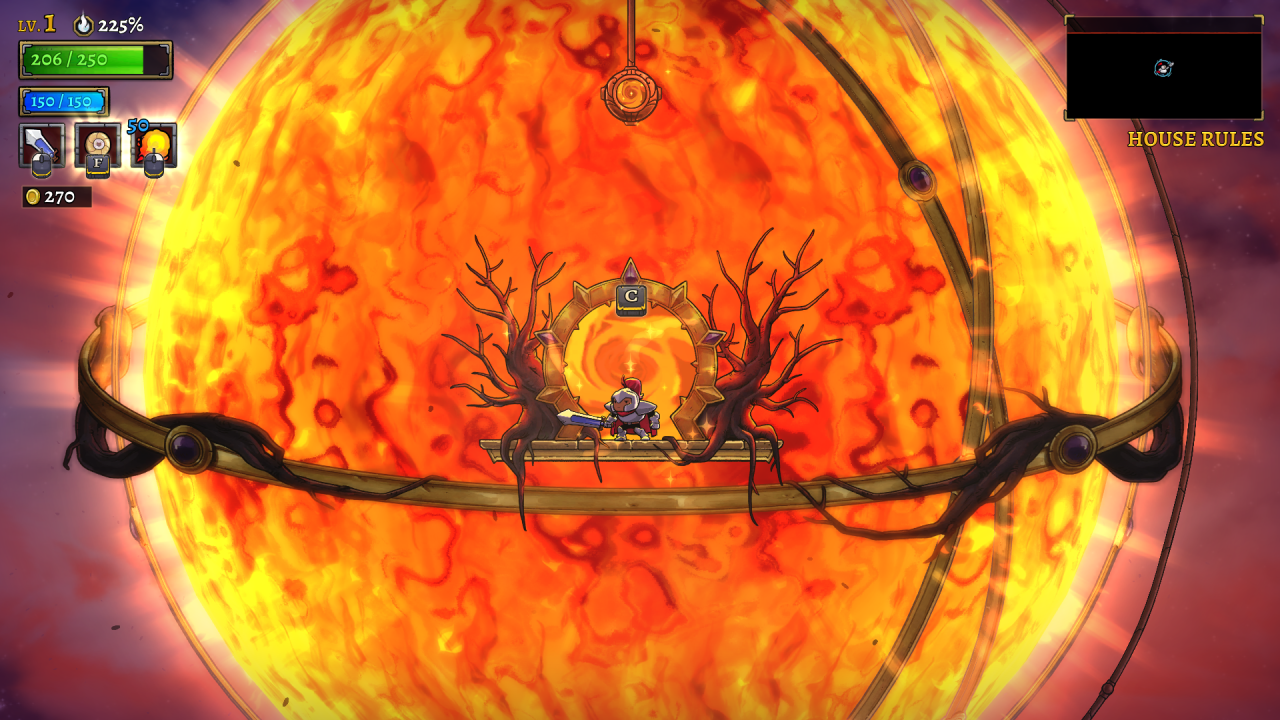
Usage: Makes the Pishon Dry Lake brighter.
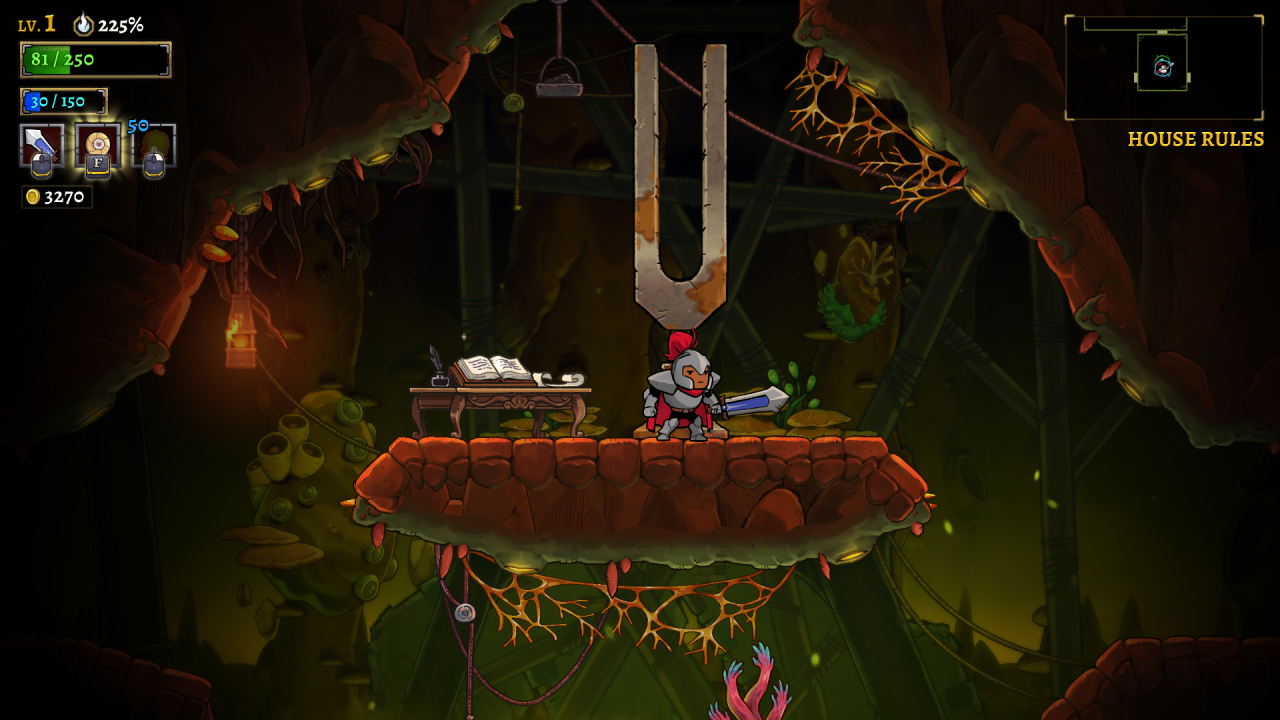
Before
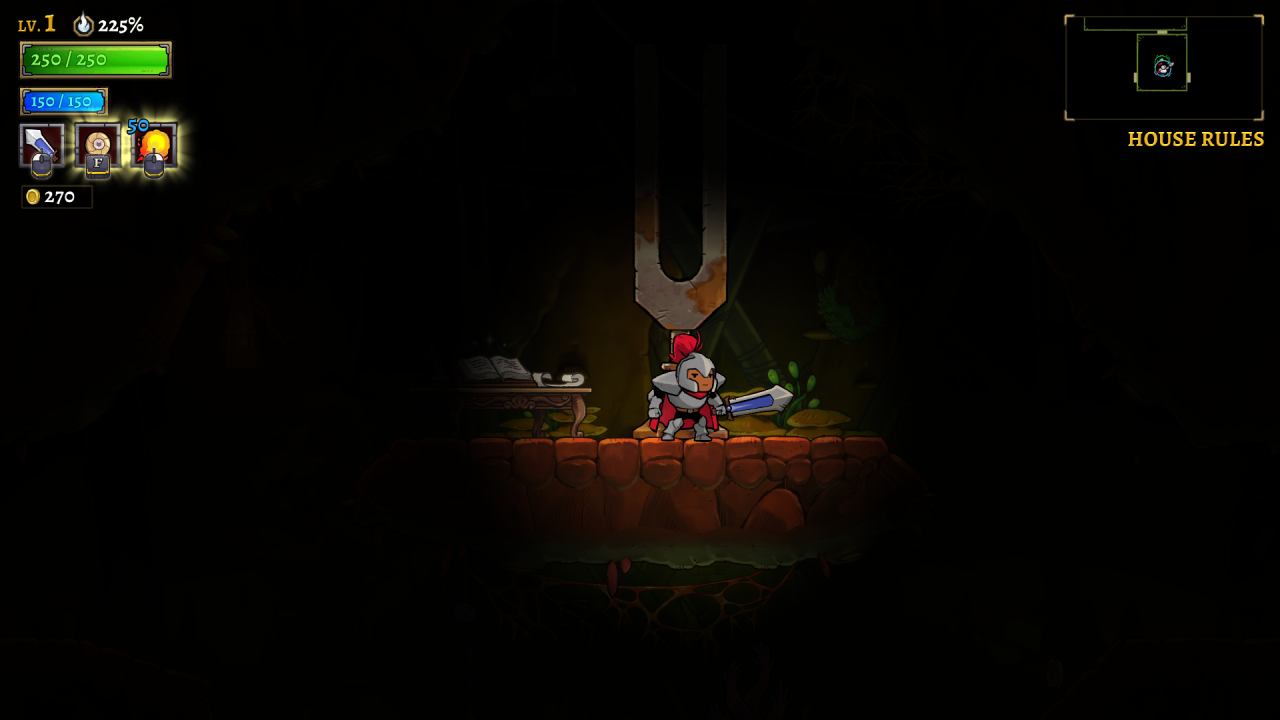
After
Fruit of Life
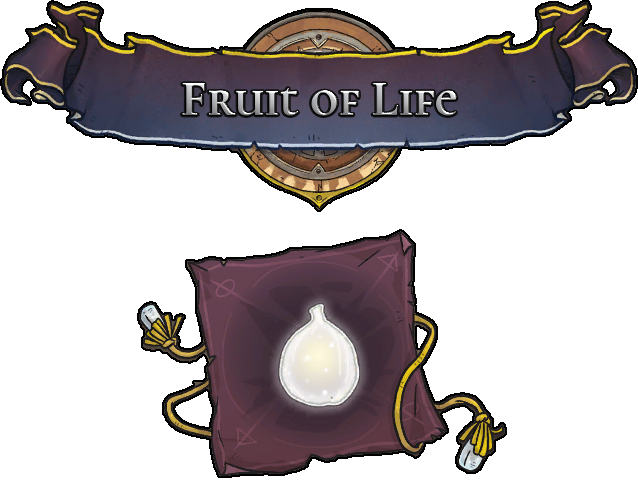
The immaculate white surface is marred by a thin black pip.
Location: In the Garden of Eden.
Challenge: It’s given to you every time you defeat Jonah.
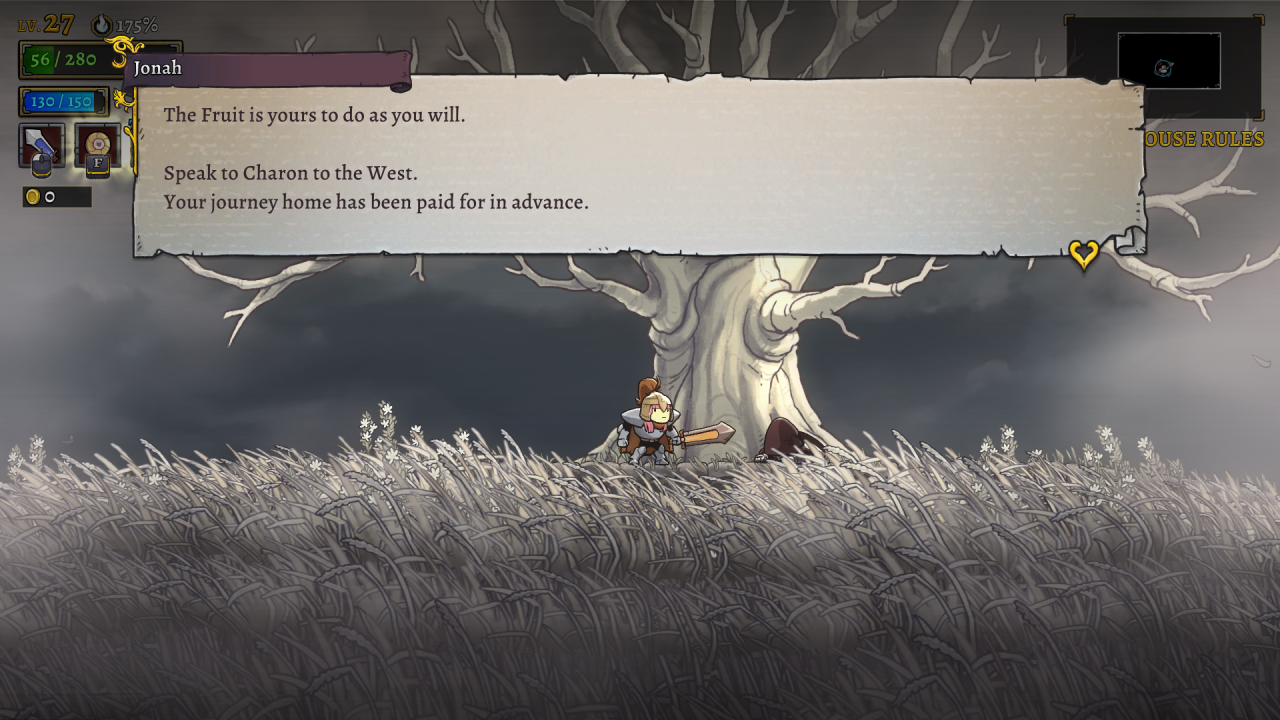
Usage: It’s used to poison Cain, and is the only heirloom that disappears from your inventory. To get it again, you will need to defeat Jonah again.
Gilgamesh’s Anchor

Hold [Use] to activate Binding Stones.
Location: In the depths of Castle Hamson, after you defeat Cain.
Challenge: In the first room you will have to climb and spinkick upward until you reach the binding stone. Activate it and travel upward to continue. With the next binding stone you should not activate it all the way, so you have room to jump to the next.


Next, spinkick across the lanterns and move that binding stone as far as it will go. Wait underneath it until it moves back and continue on. Activate the next binding stone and spinkick across the lanterns, and either double jump up or wait for the stone to return to its original position to climb on it. With the next stone, move it as far down as it’ll go and walk on top of it until you reach the dead end, then wait for it to teleport back.

The next room simply needs you to hold longer than normal for the large binding stone to slowly rise up.
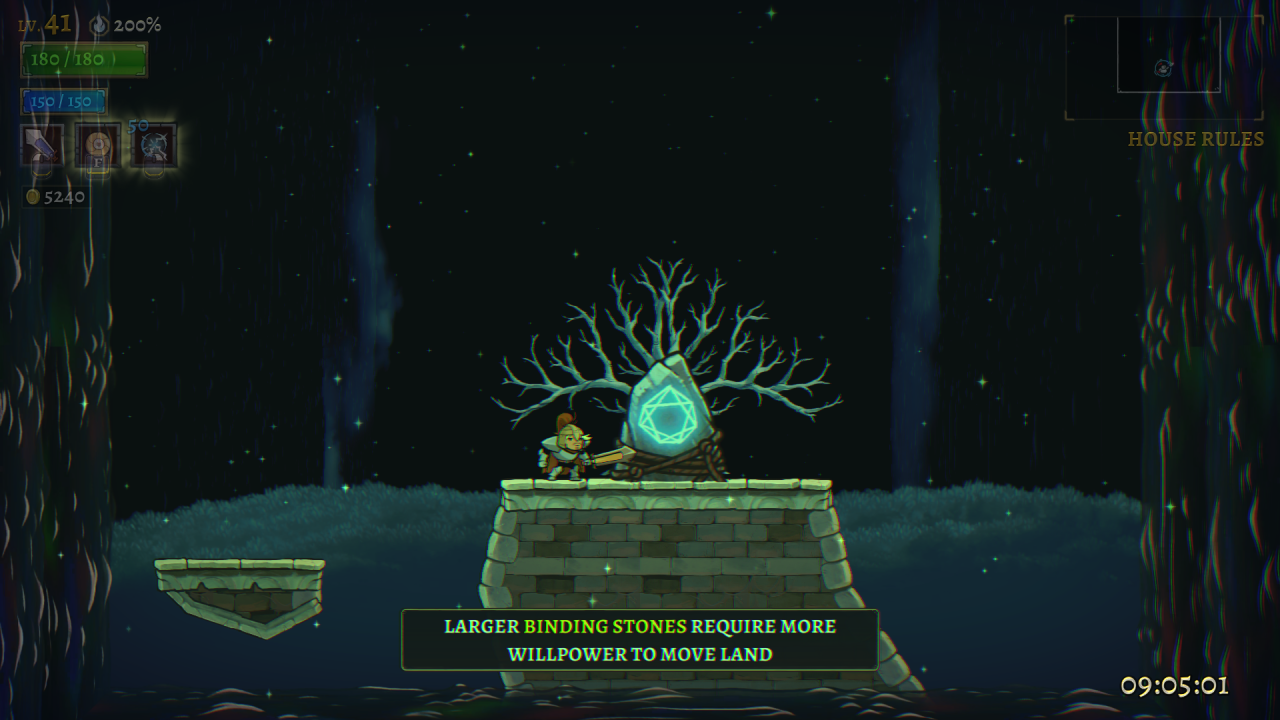
In the last room, use the binding stone to quickly travel up, and complete the challenge.
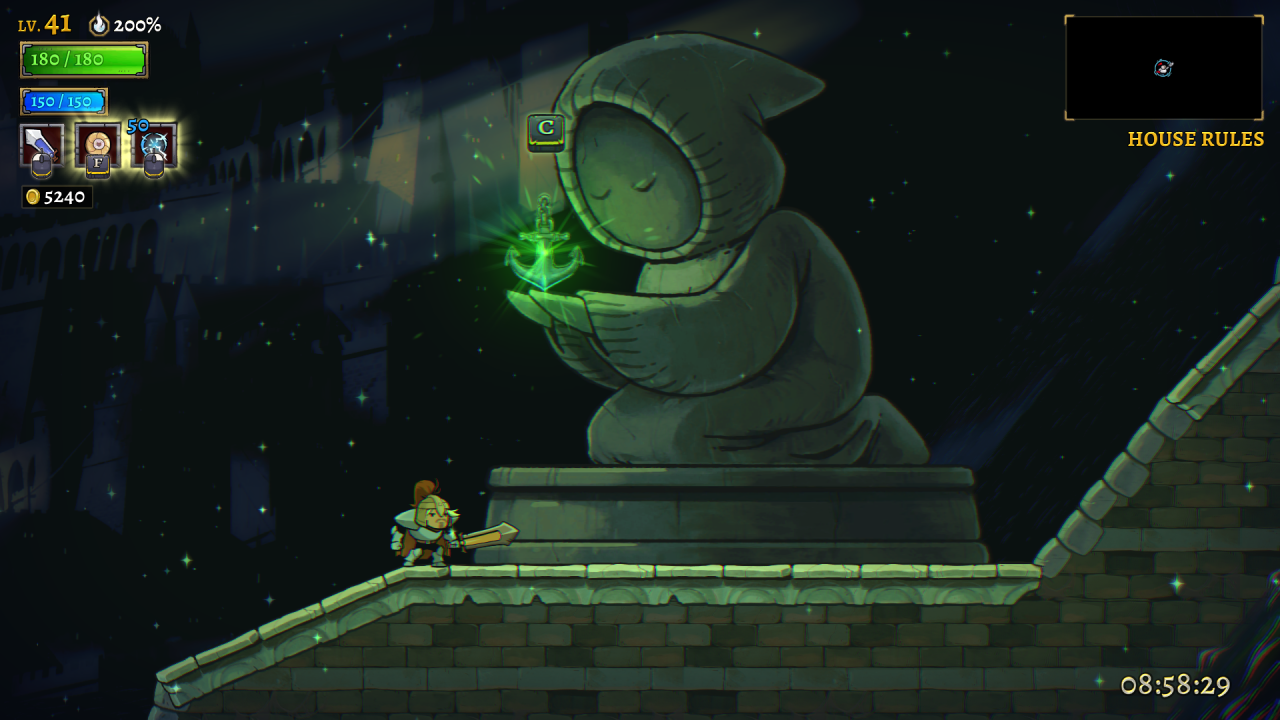
Usage: Currently only used in the ending sequence, to open up the basement and raise Castle Hamson up to the surface.
Mysterious Key
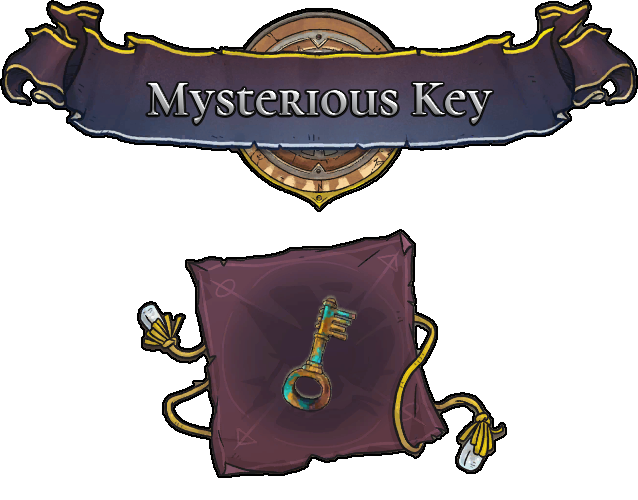
What it unlocks is a mystery.
Location: In the Garden of Eden.
Challenge: It’s given to you after you defeat Jonah for the sixth time, regardless of thread level.
Usage: It’s used to unlock the Rebel’s Hideout located underneath the campfire in the tutorial, where you can find special lore and, once Cain Prime has been defeated, a scar. There are many ways to get up there, including but not limited to flying with house rules, dragon lancer’s flying joust, and comet form. The easiest way to get there without a specific weapon or talent is jumping off of the ledge to the right, which at most will need a single dash in the air.


Related Posts:
- Rogue Legacy 2 All Scars Collecting Guide
- Rogue Legacy 2 All Achievements Guide
- Rogue Legacy 2 All the Hidden Damage Bonus vs Bosses
- Rogue Legacy 2 Relic Tier List Guide for NG+and Soul Farming
