A guide to the collectibles in the game. Original writer is CCL sama but their guide was not all chronological. I was frusterated trying to play and follow the guide so I just ‘fixed’ it myself. Hope it helps!
Overview
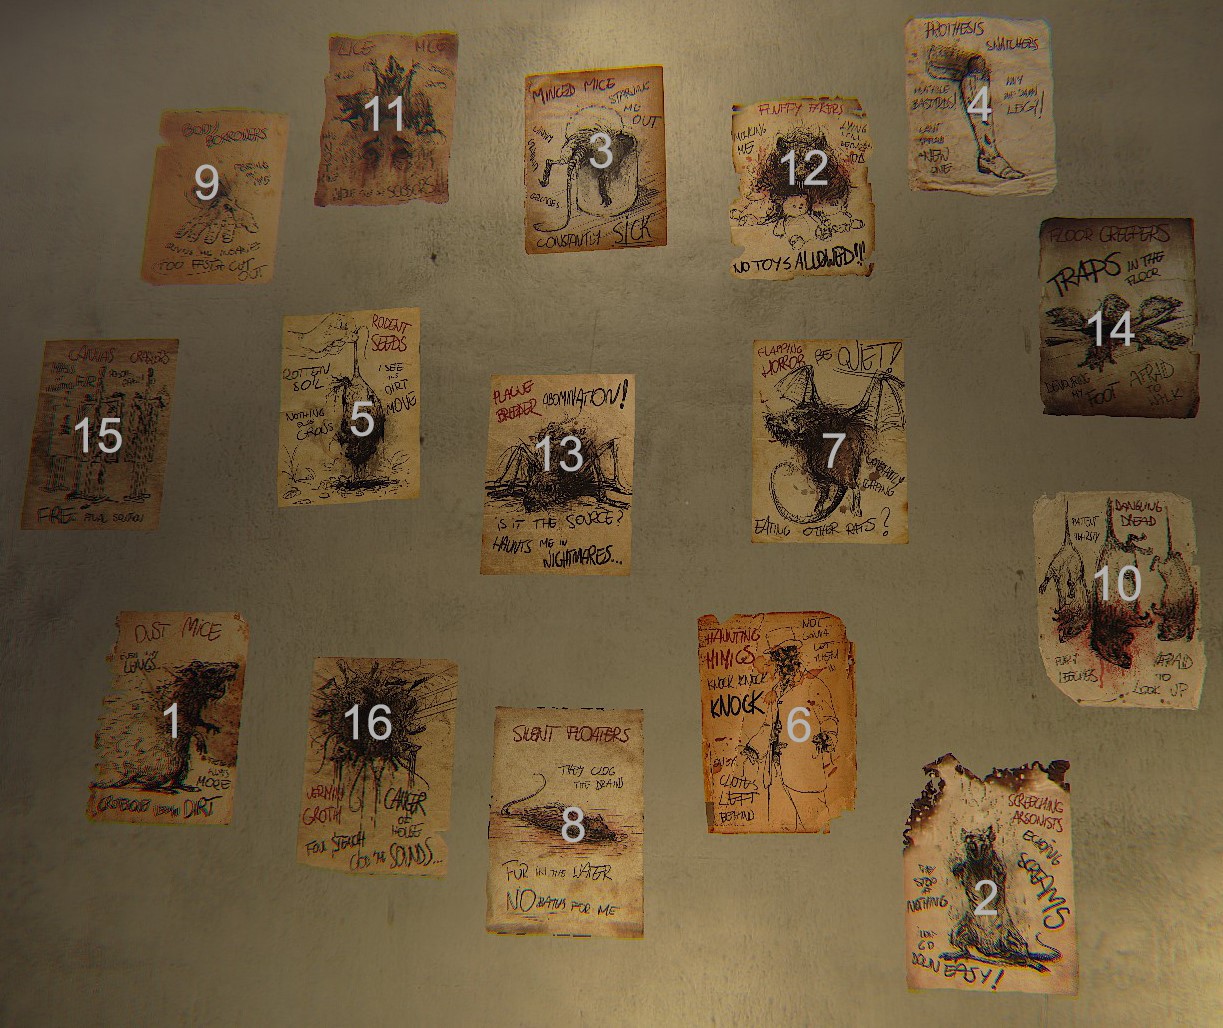
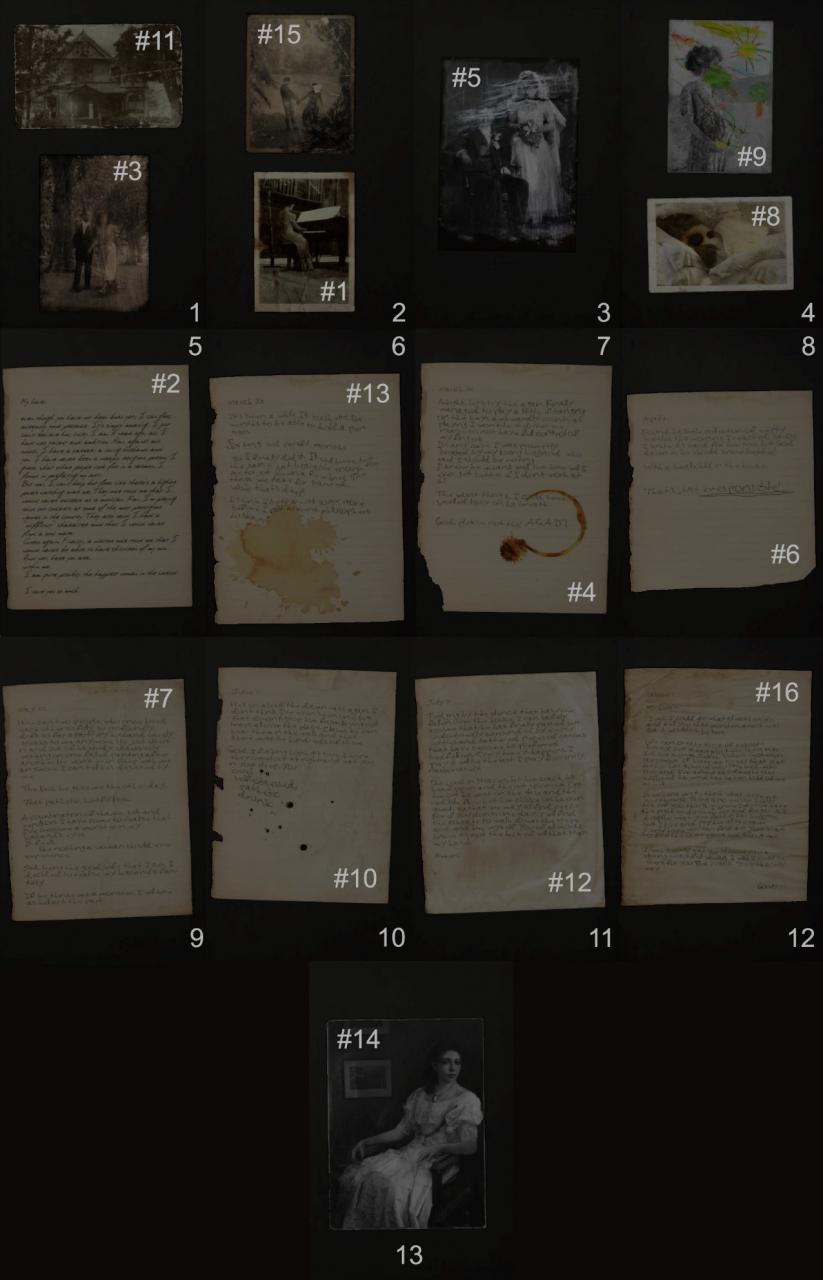
Every drawing has a number. The same thing goes with mementos but with a # prefix. The numbers without the prefix just clarify which page in the book. If you missed one just look here and find the number on the collectible sections for the exact location.
Chapter 1
Memento #1 | Room 4
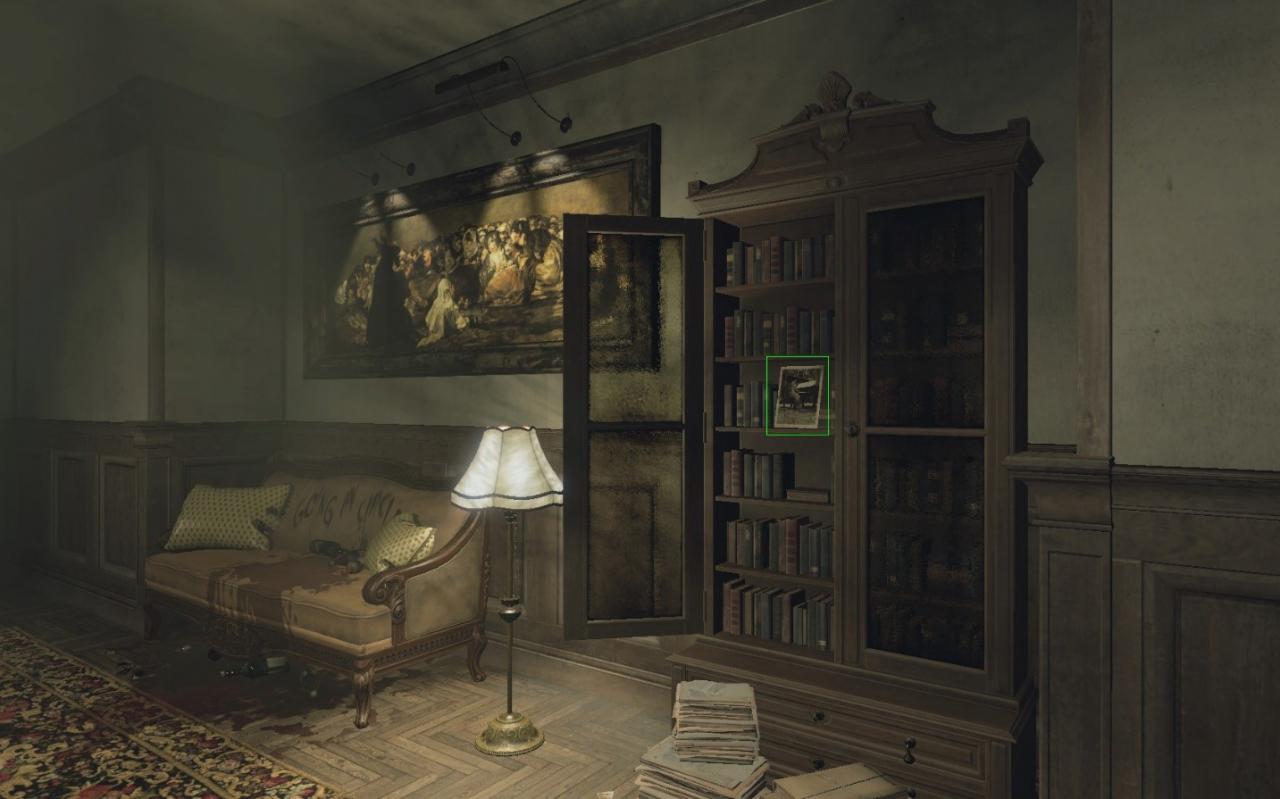
Whisper #1 | Room 5 | Ring | Code 854/485/548
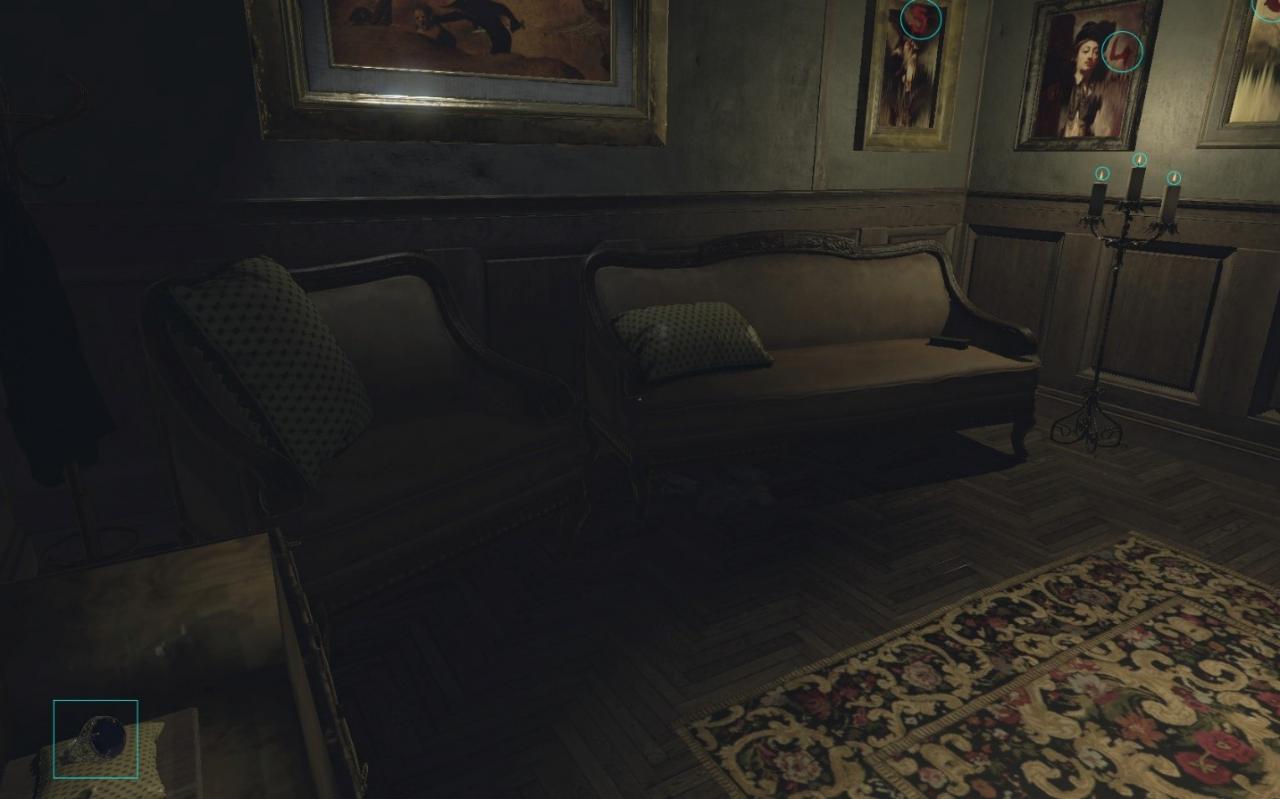
Memento #2 | Room 7 downstairs (+Rat Drawing #1)
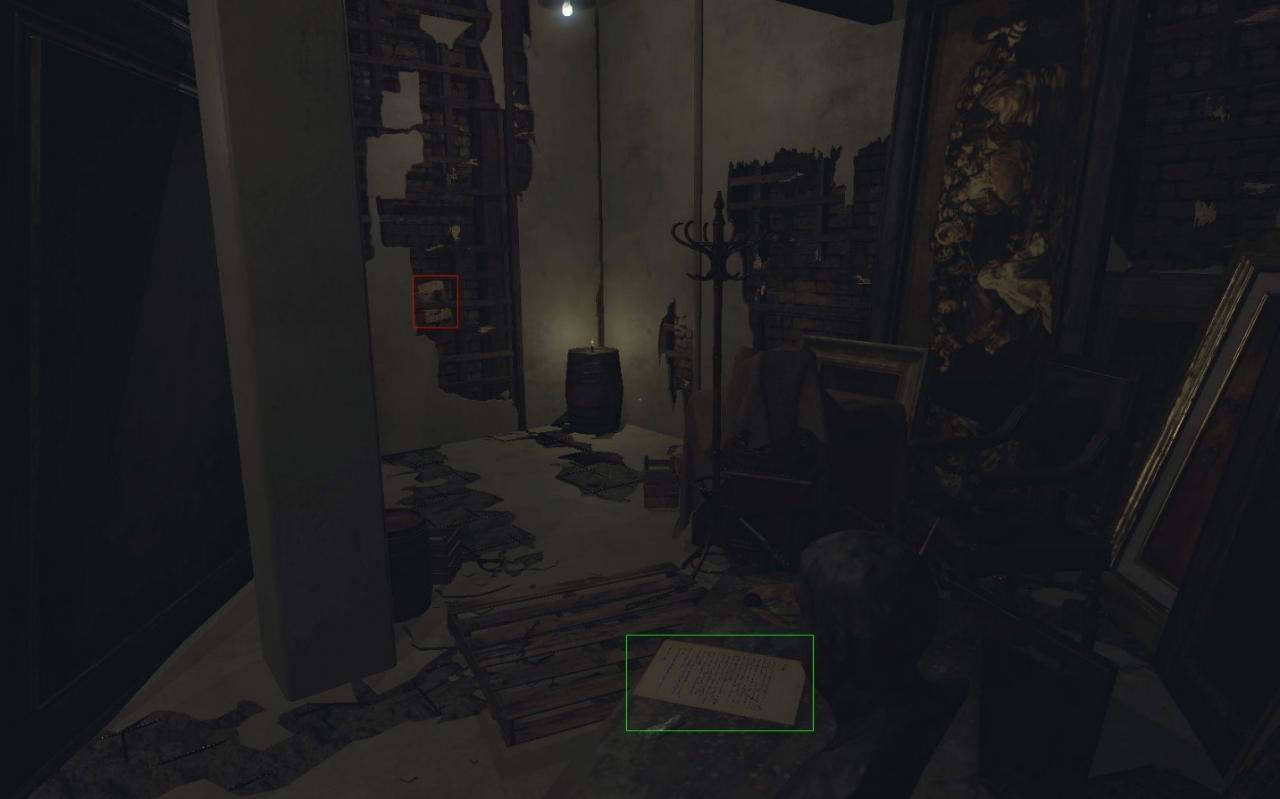
Whisper #2 | Room 8 (Corridor with canvas) | Drawing (behind the canvas)
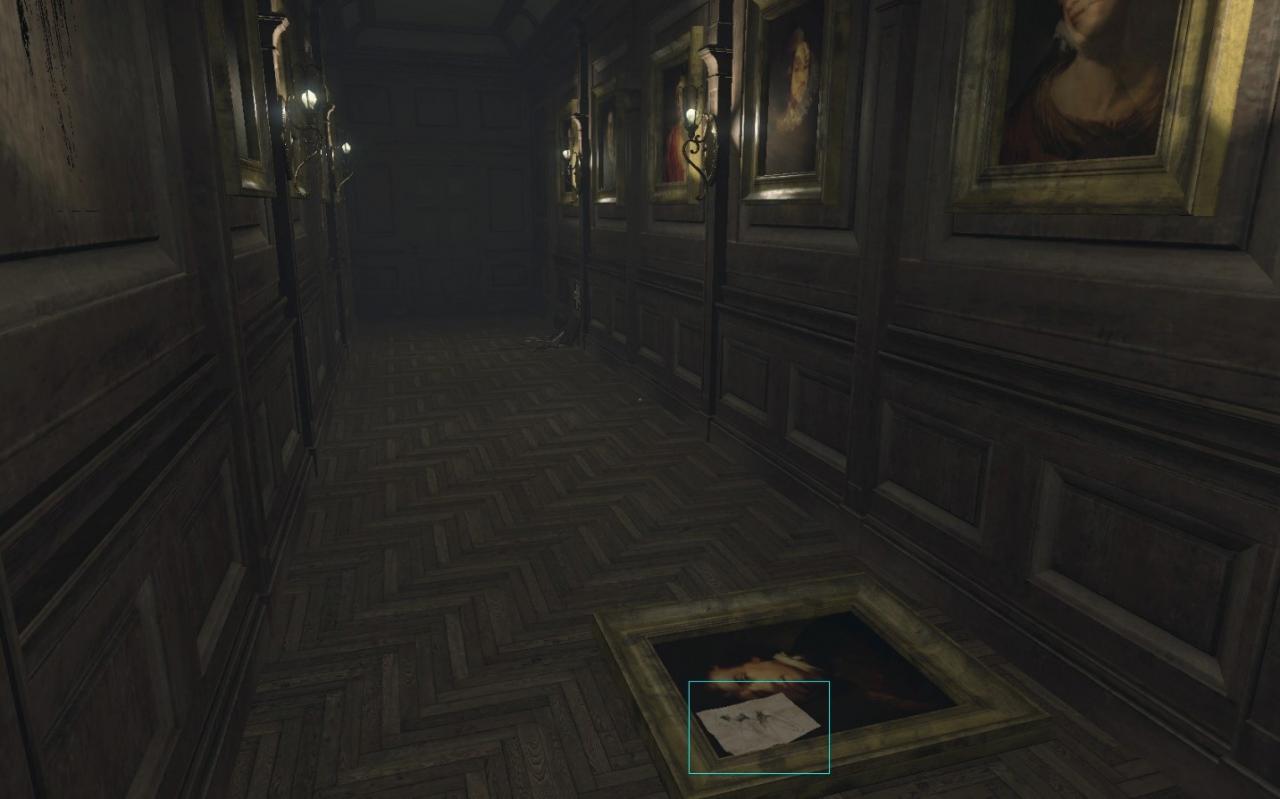
Rat Drawing #2 | Room 9
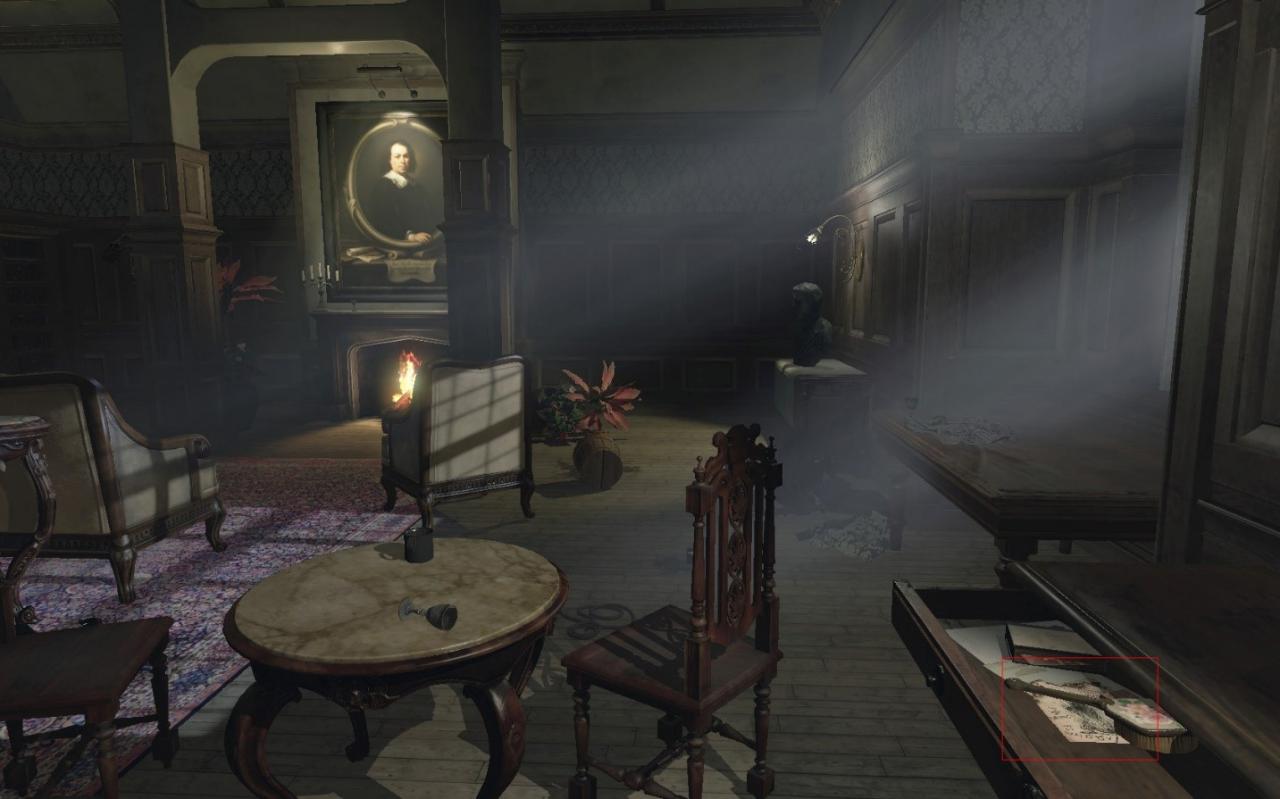
Whisper #3 | Room 11 | Comb
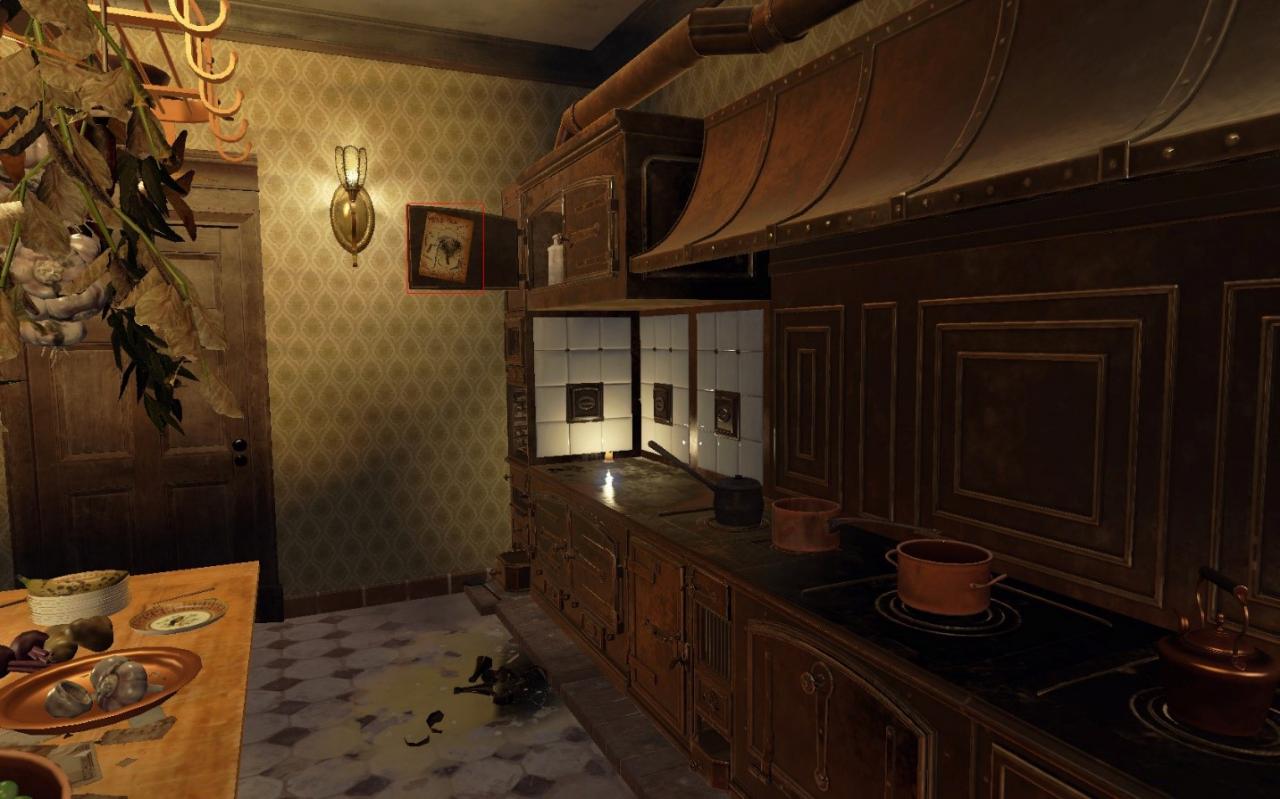
Rat Drawing #3 | Room 14 (Kitchen)
Chapter 2
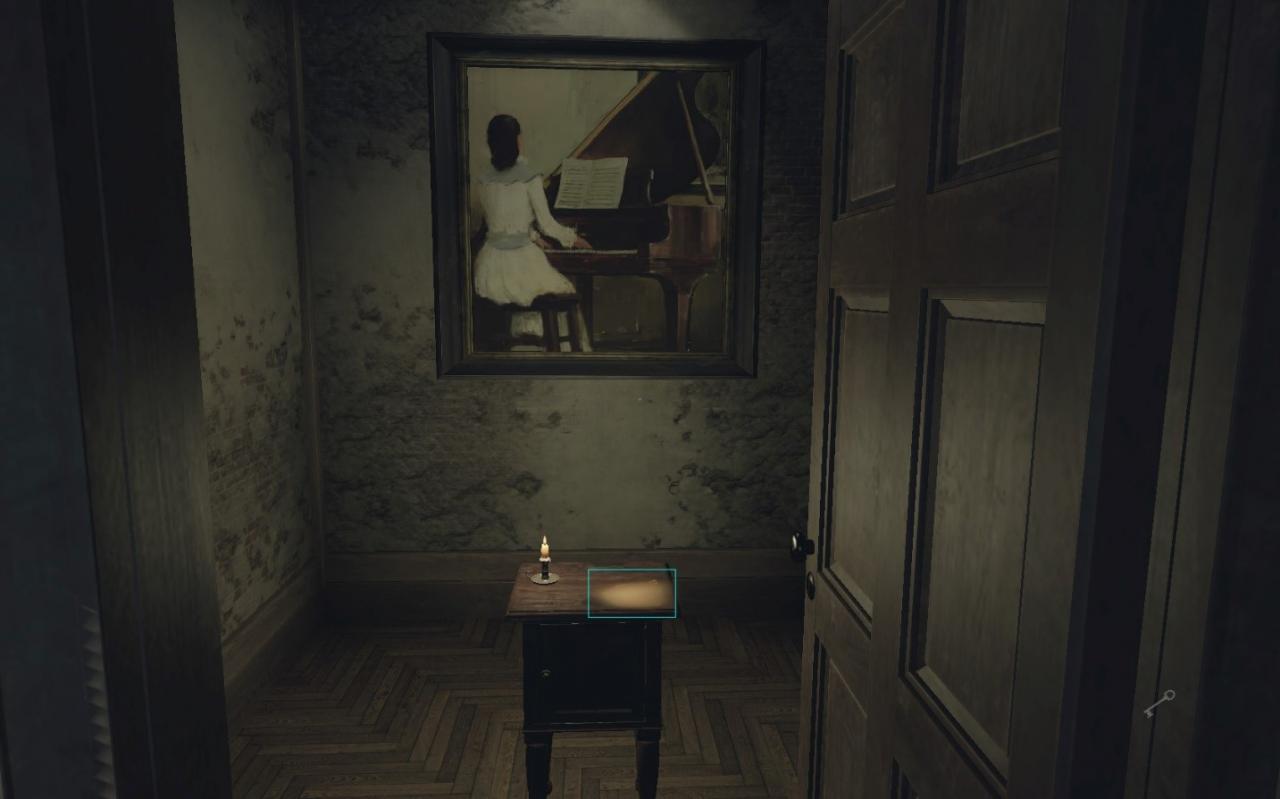
Memento #3 | Room 5 upstairs
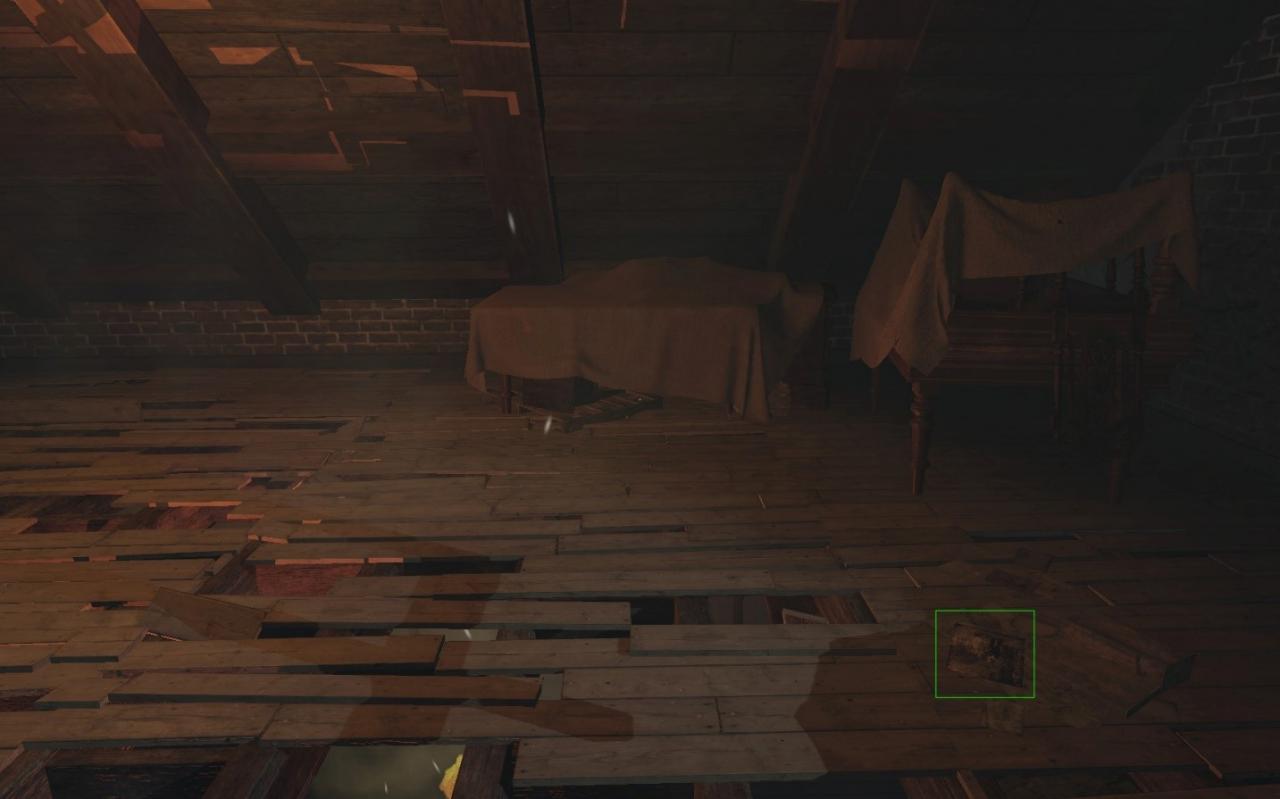
Memento #4 | Room 8 second door (need key) | Safe code 314/165/729
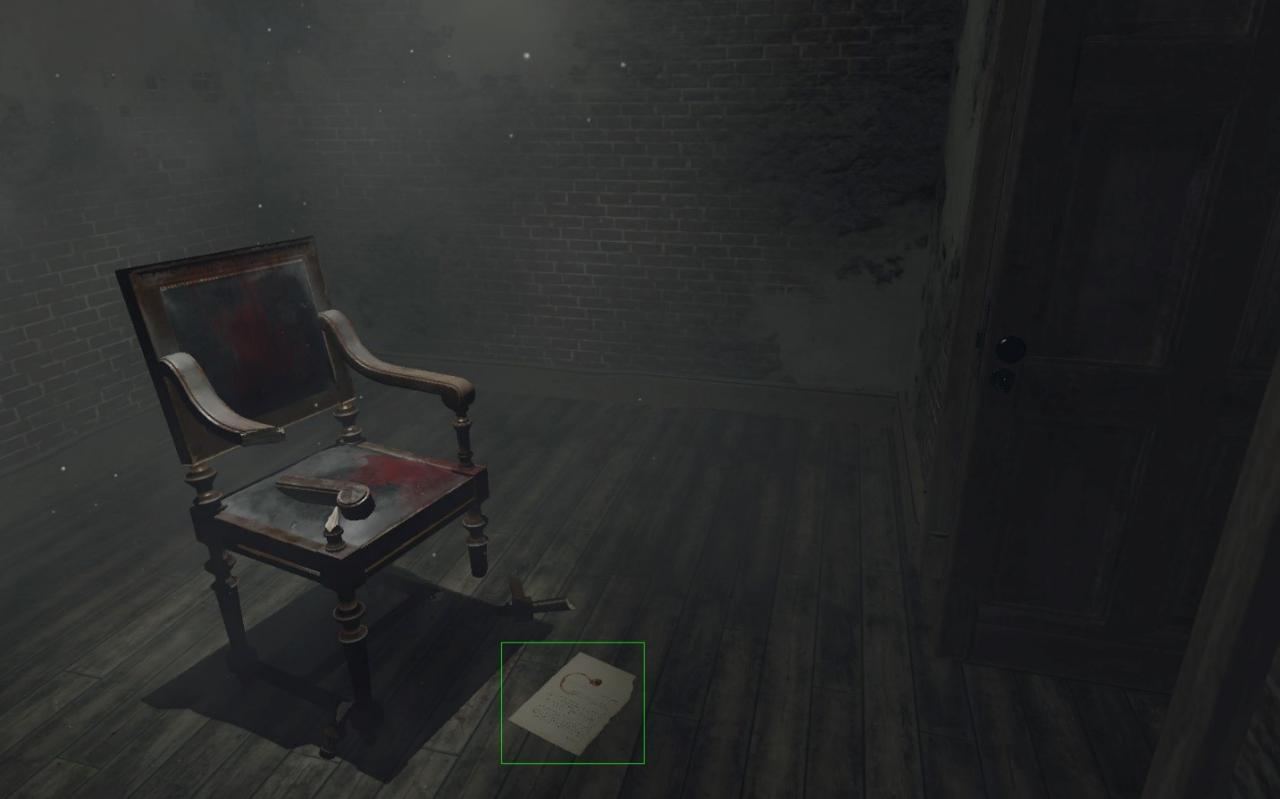
Whisper #5 | Room 11 (Corridor with dog picture) | Collar
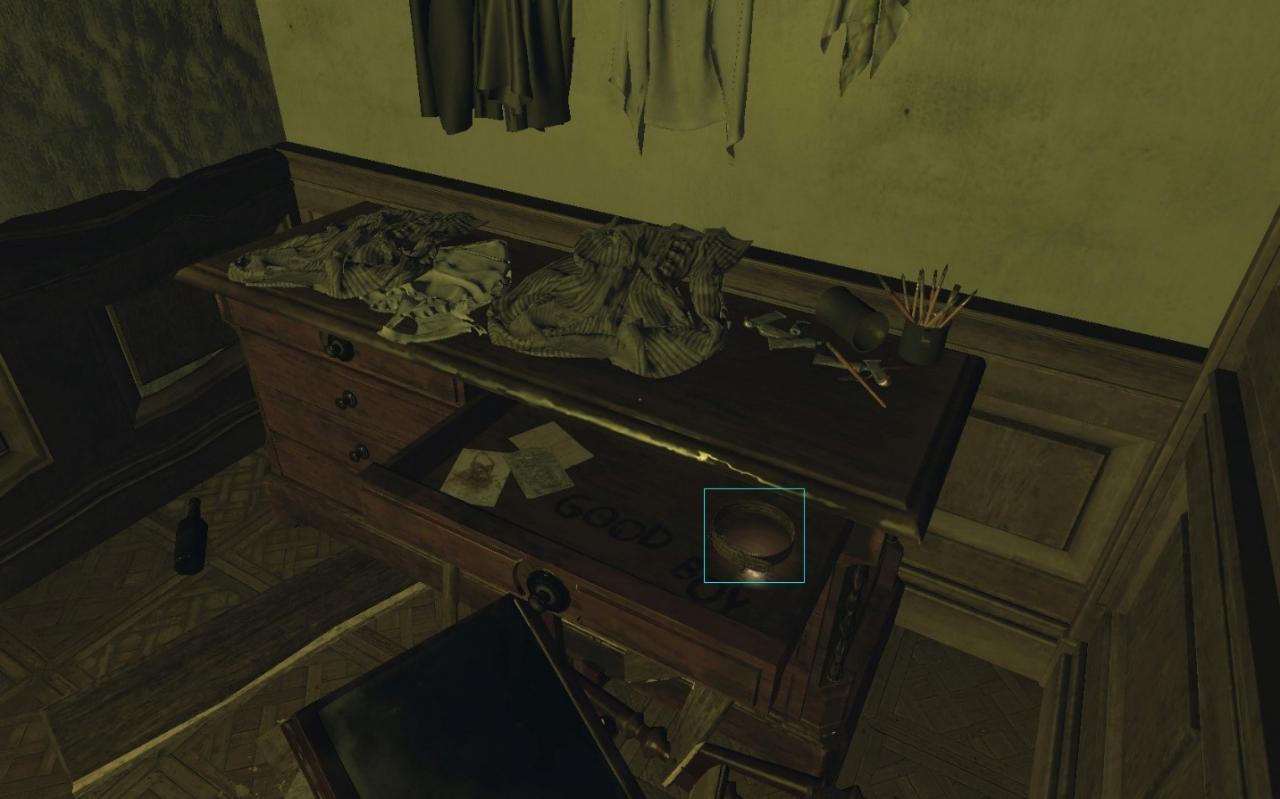
Memento #5 & 6 | Room 15 first door
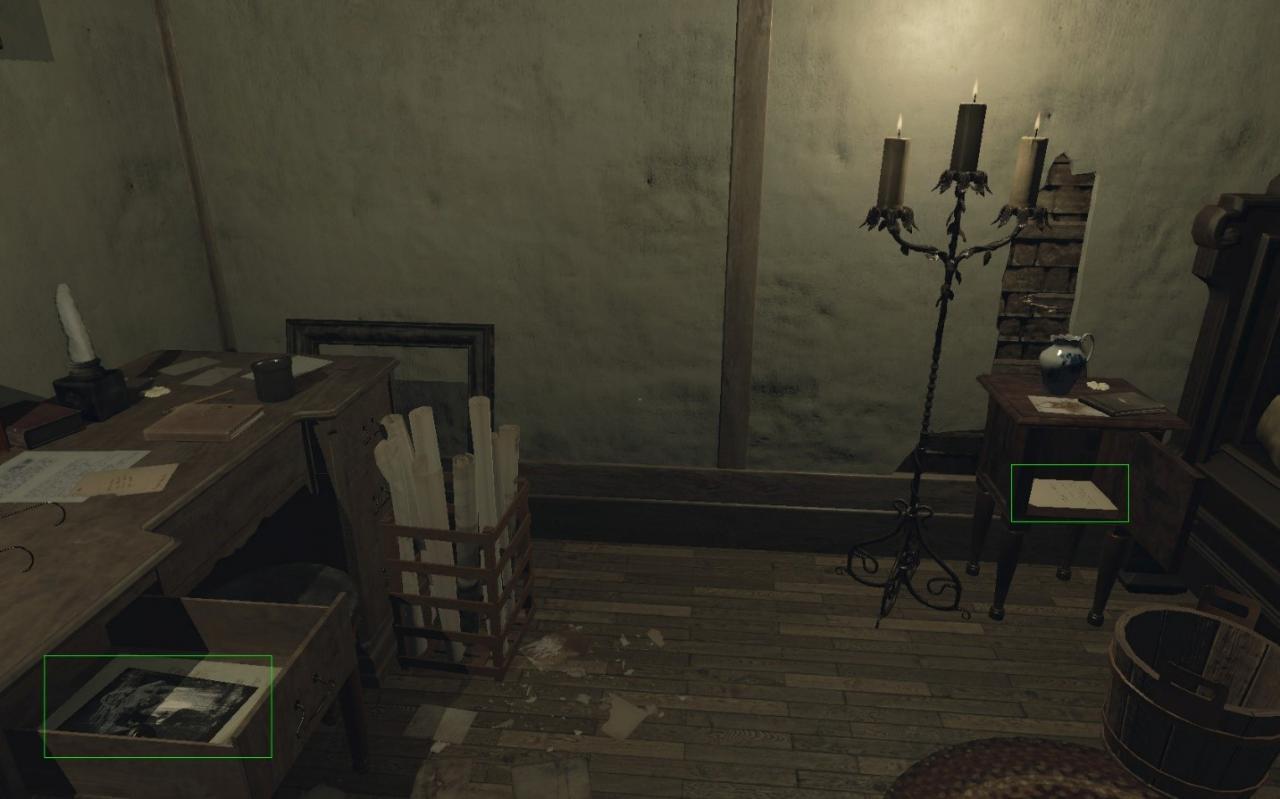
Whisper #6 | Room 15 (Look at the painting after the locked room event) | Cane
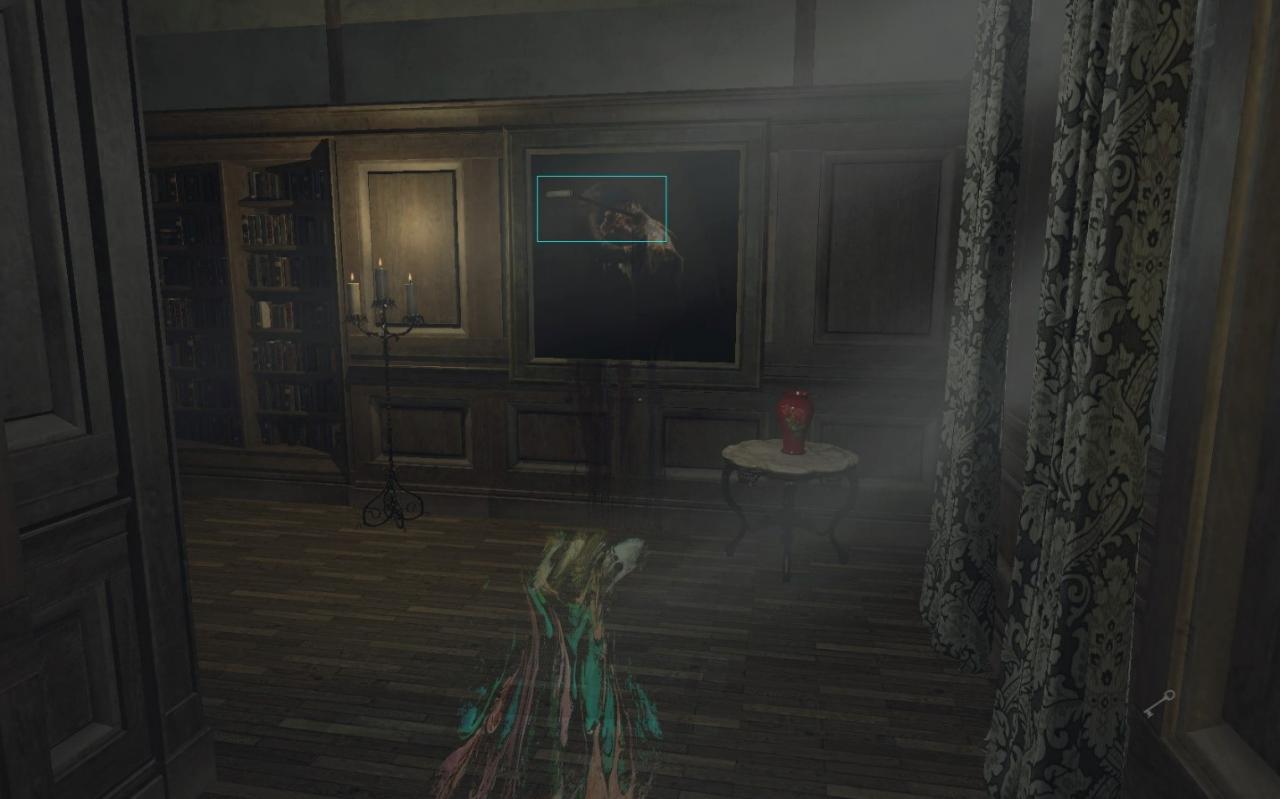
Whisper #7 | Room 17 | Violin
Rat Drawing #4 | Room 17
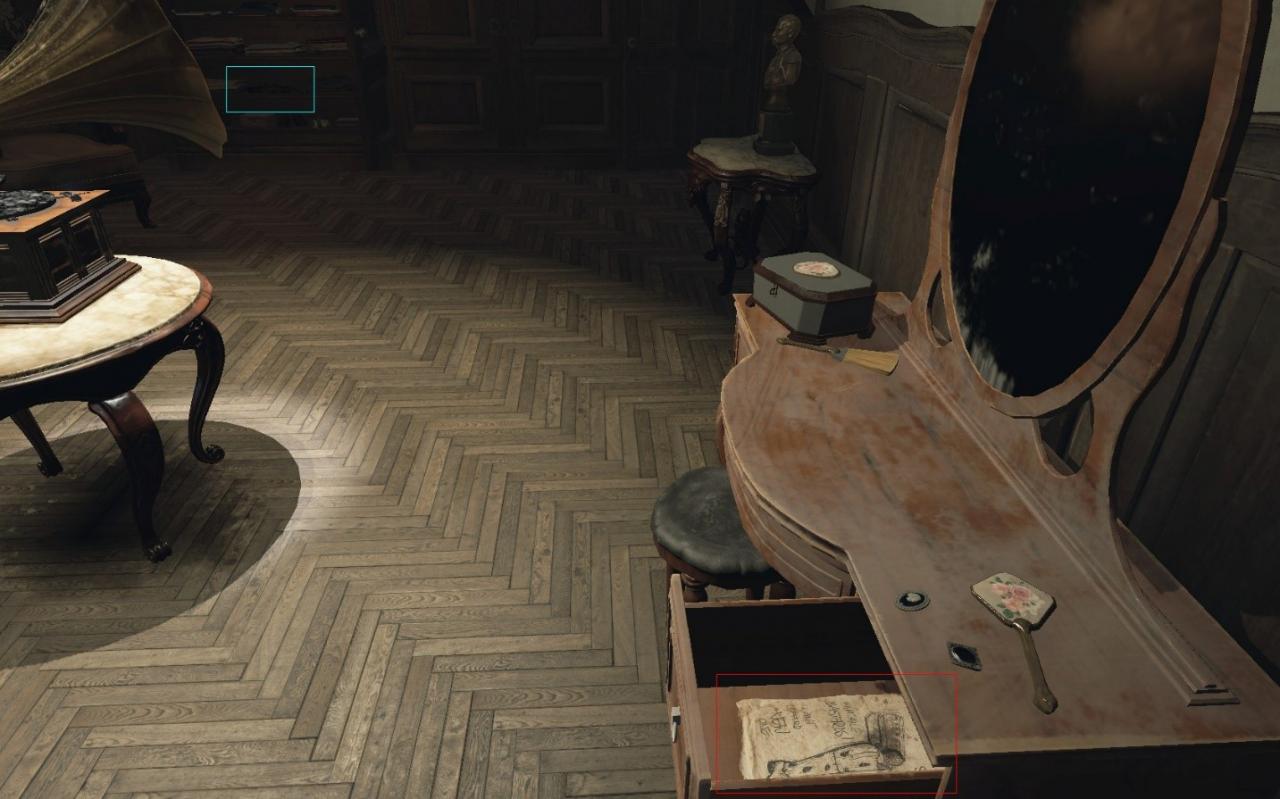
Chapter 3
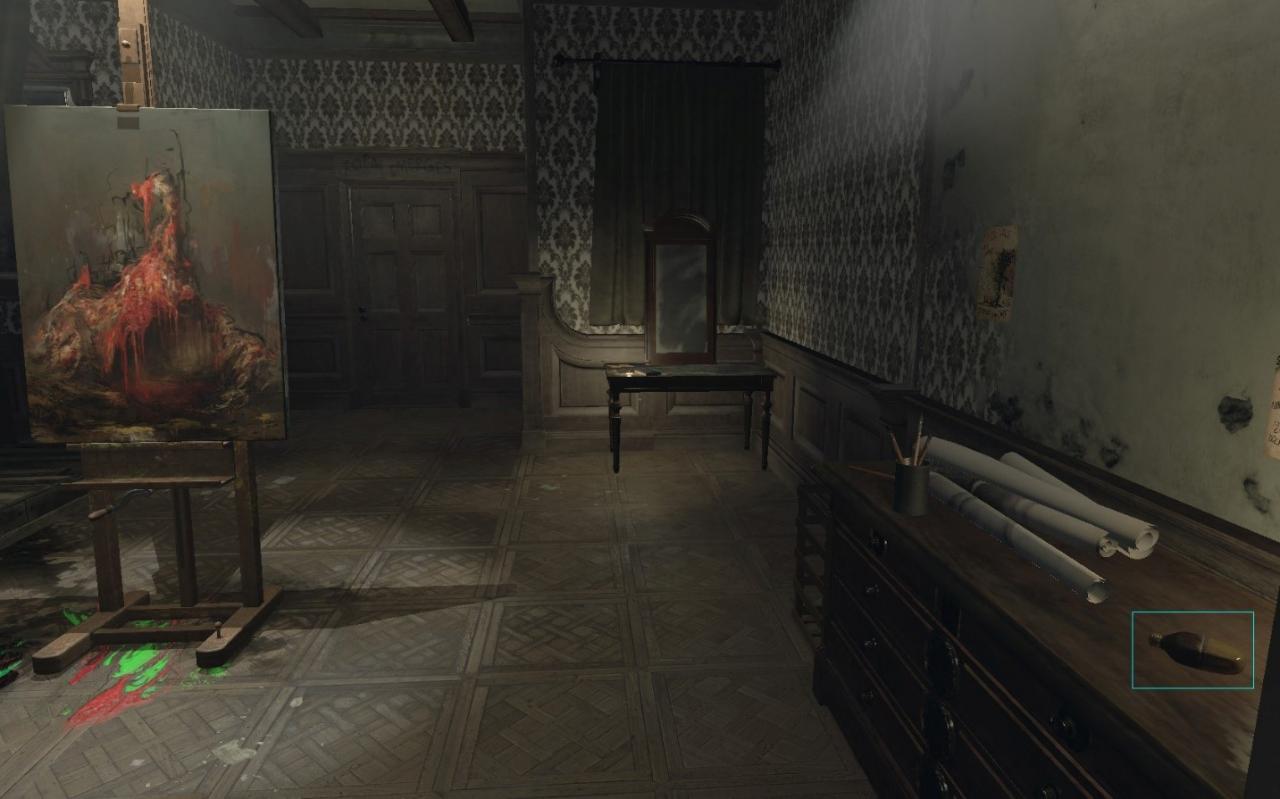
Rat Drawing #5 | Room 2 left door
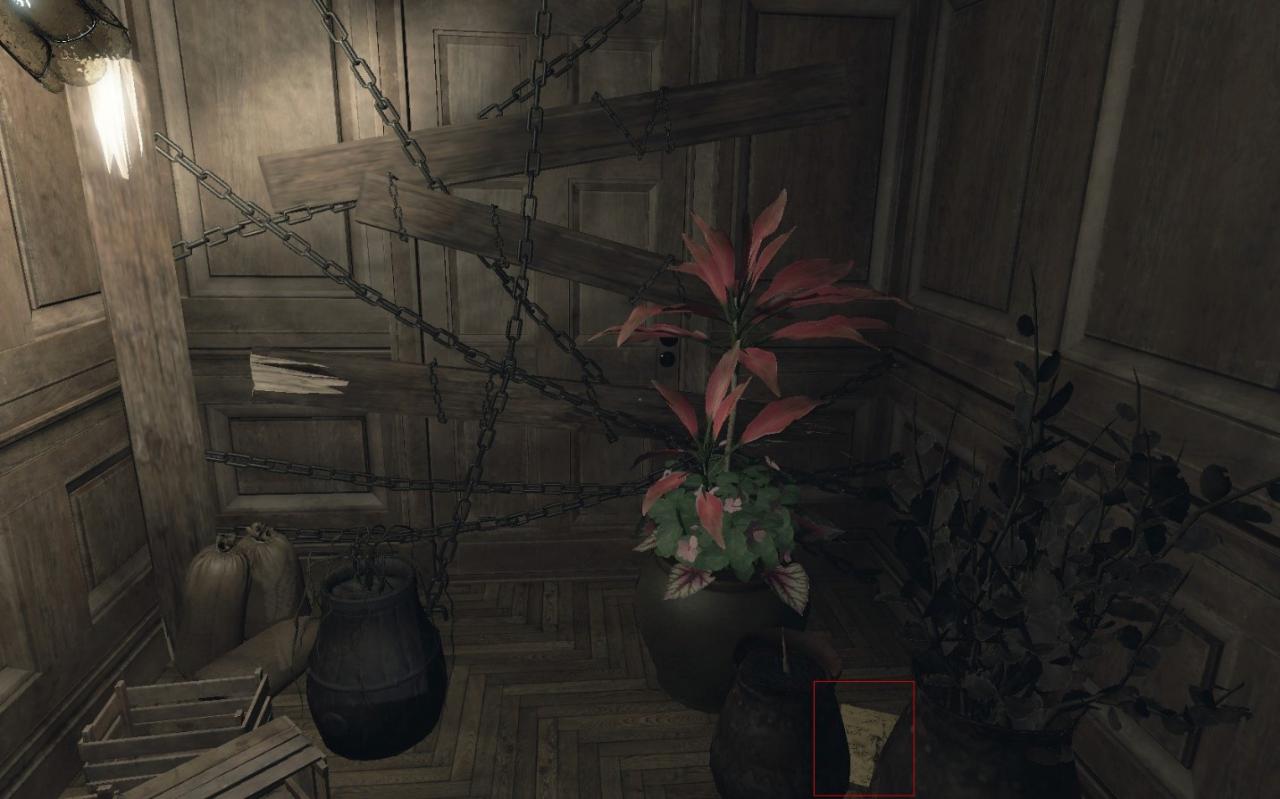
Rat Drawing #6 | Room 4
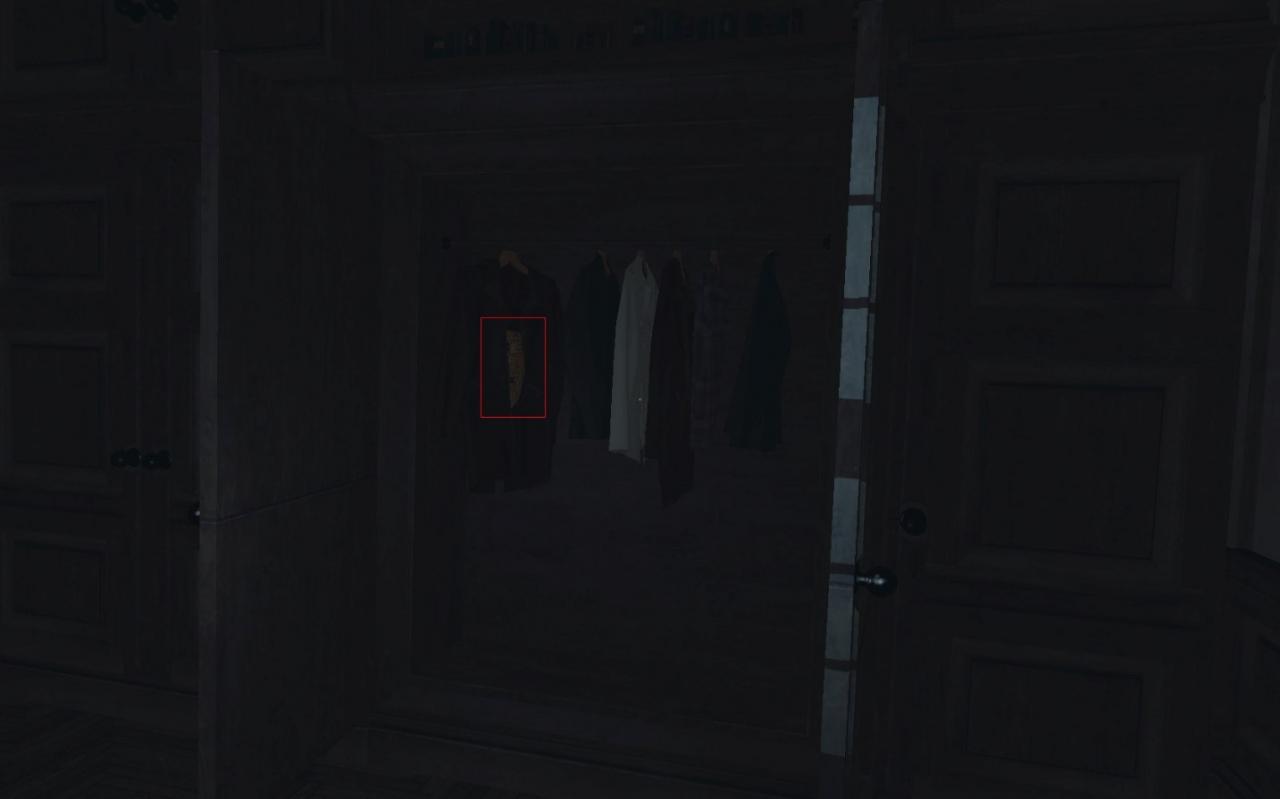
Memento #7 | Room 6 (Need key) | Key in Room 5 first door (appear behind you after you saw the new dark path)
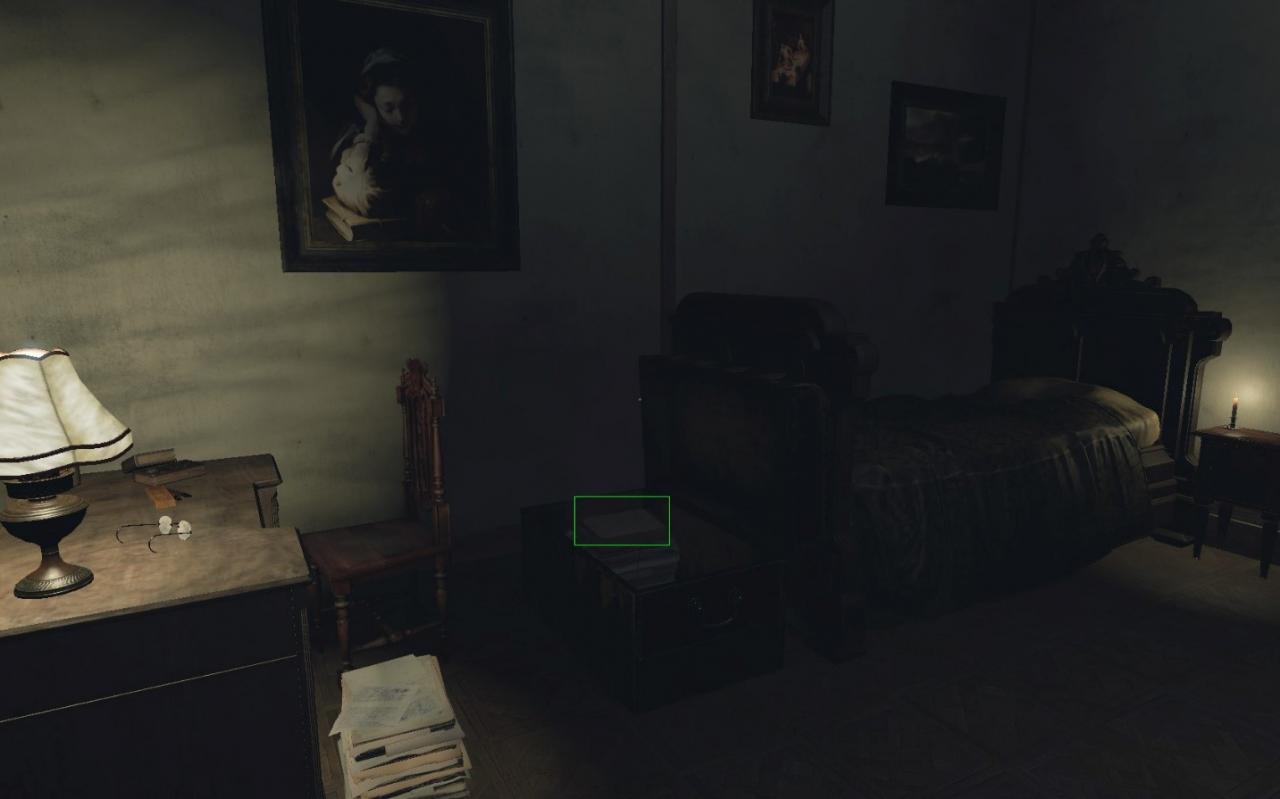
Whisper #9 | Room 9, go straight and open door | Glasses
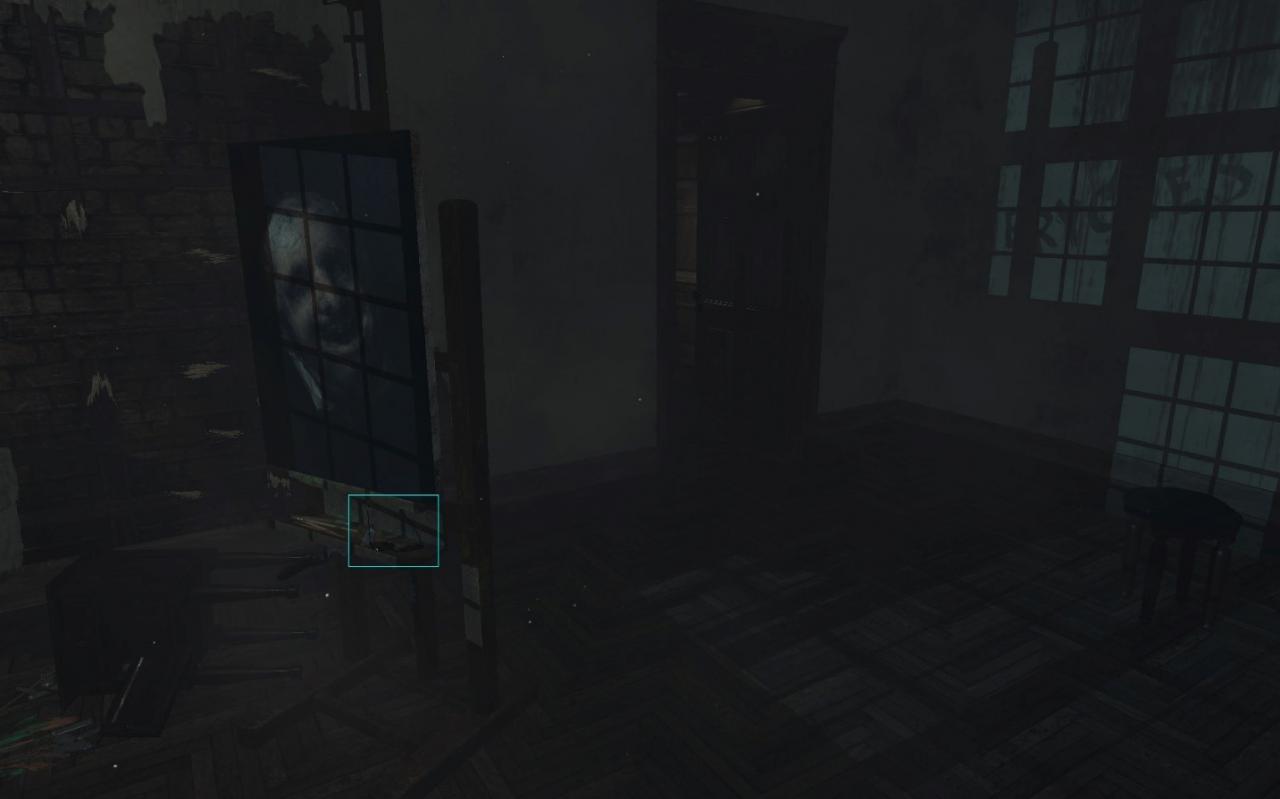
Memento #8 | Room 10 (locked door upstairs need key first, go downstairs move ladder, go up and pick up key)
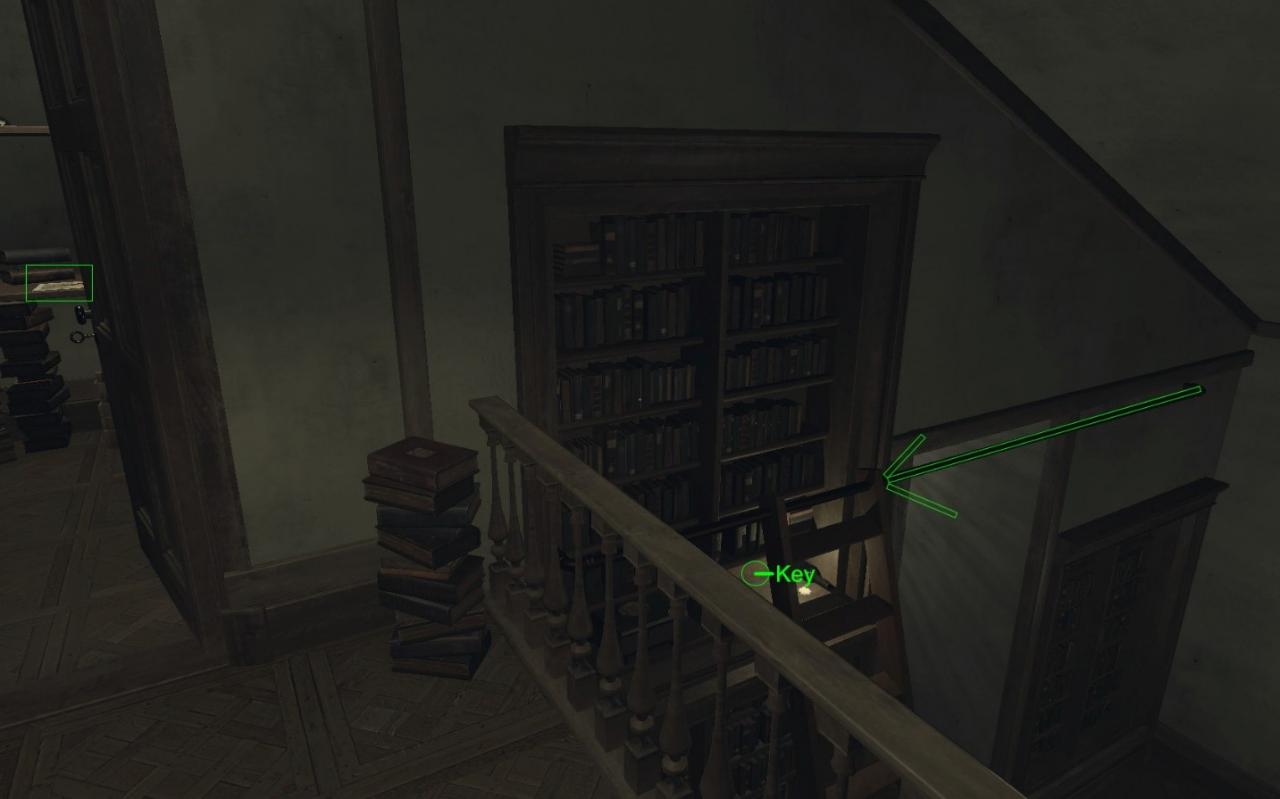
Whisper #10 | Room 10 | Phone
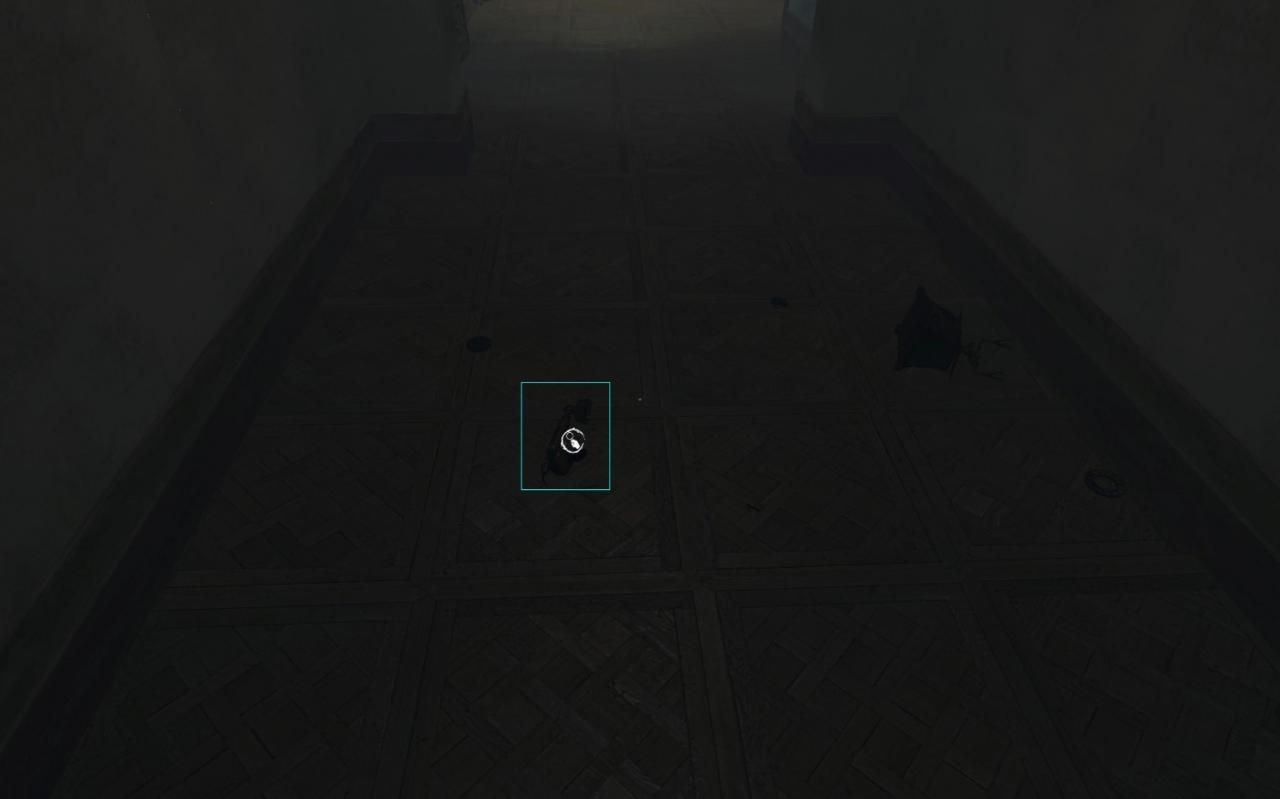
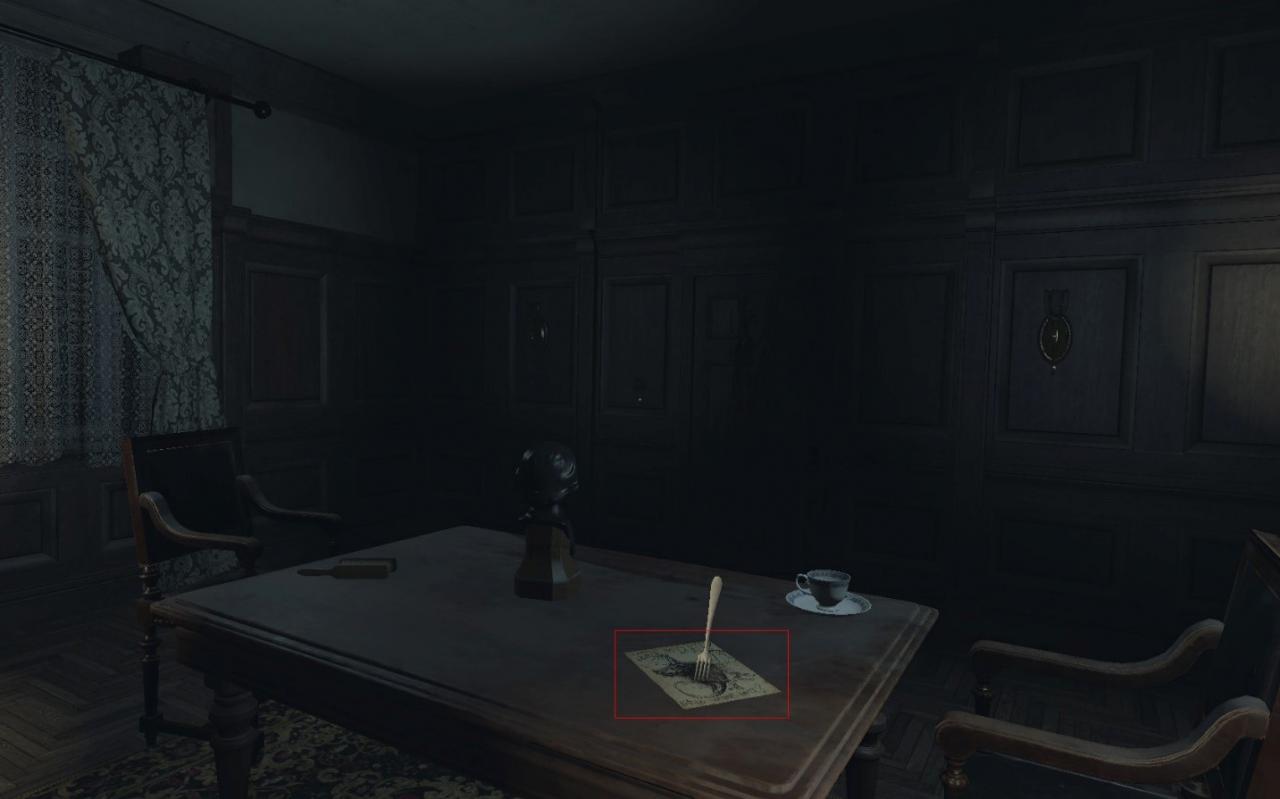
Rat Drawing #7 | Room 11 – next door switch lights on first (Or when you walk in the room look up at the table, the fork hangs it on)
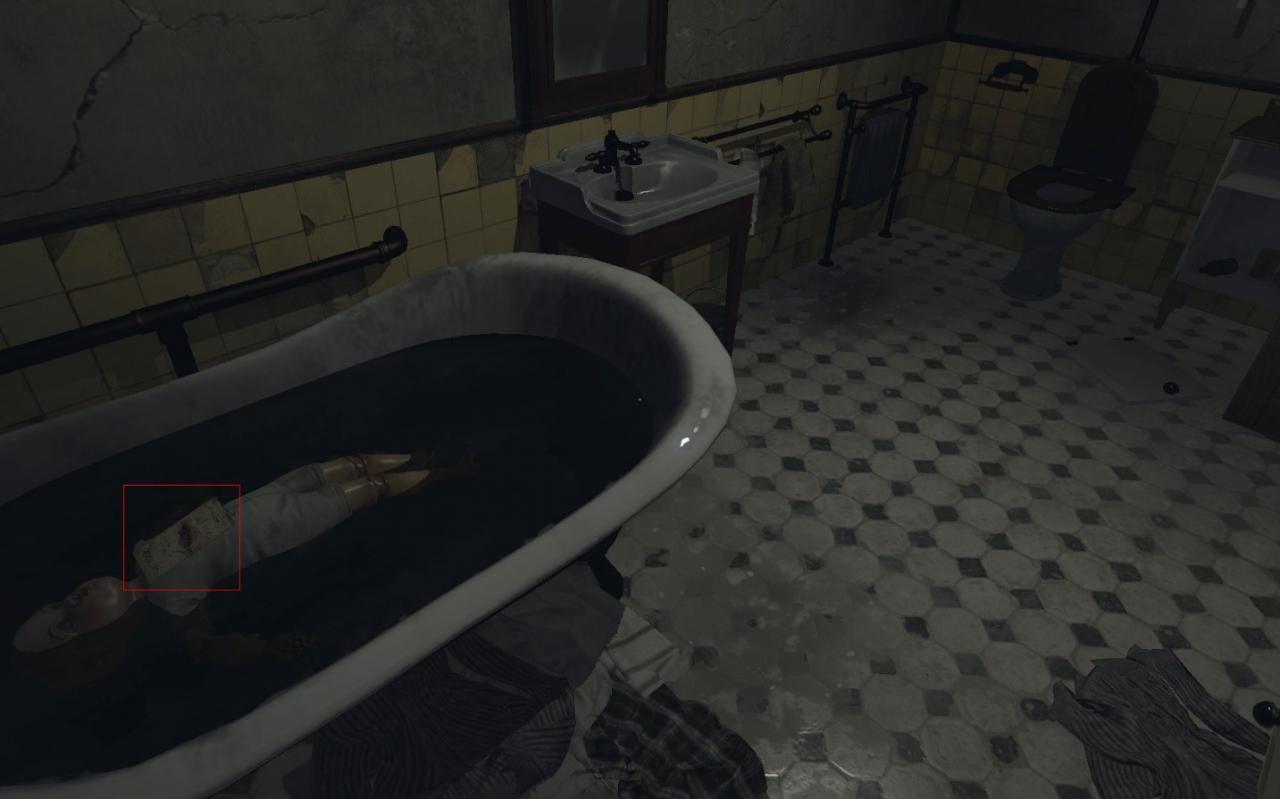
Rat Drawing #8 | Room 17 – through the left door in the bathroom
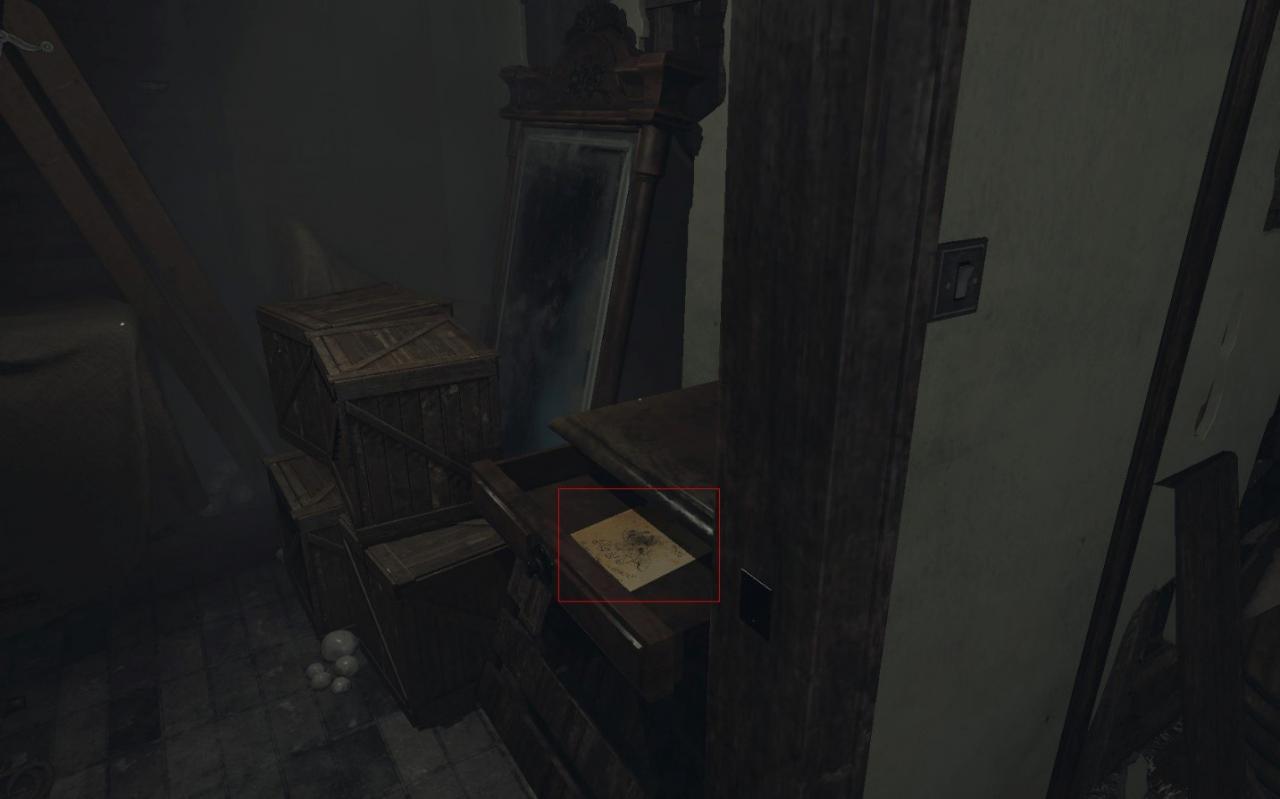
Rat Drawing #9 | Room 18 – last right locked door
Rat Drawing #10 | Room 21
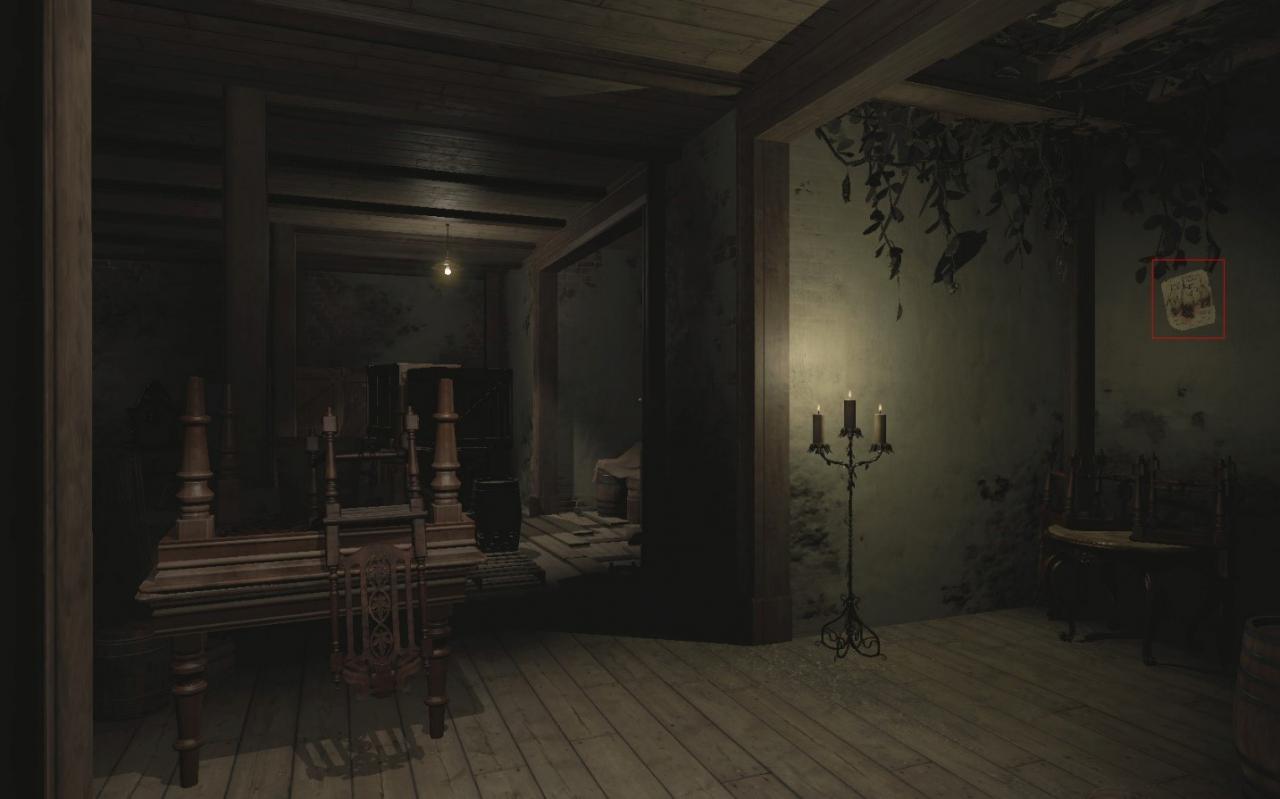
Chapter 4
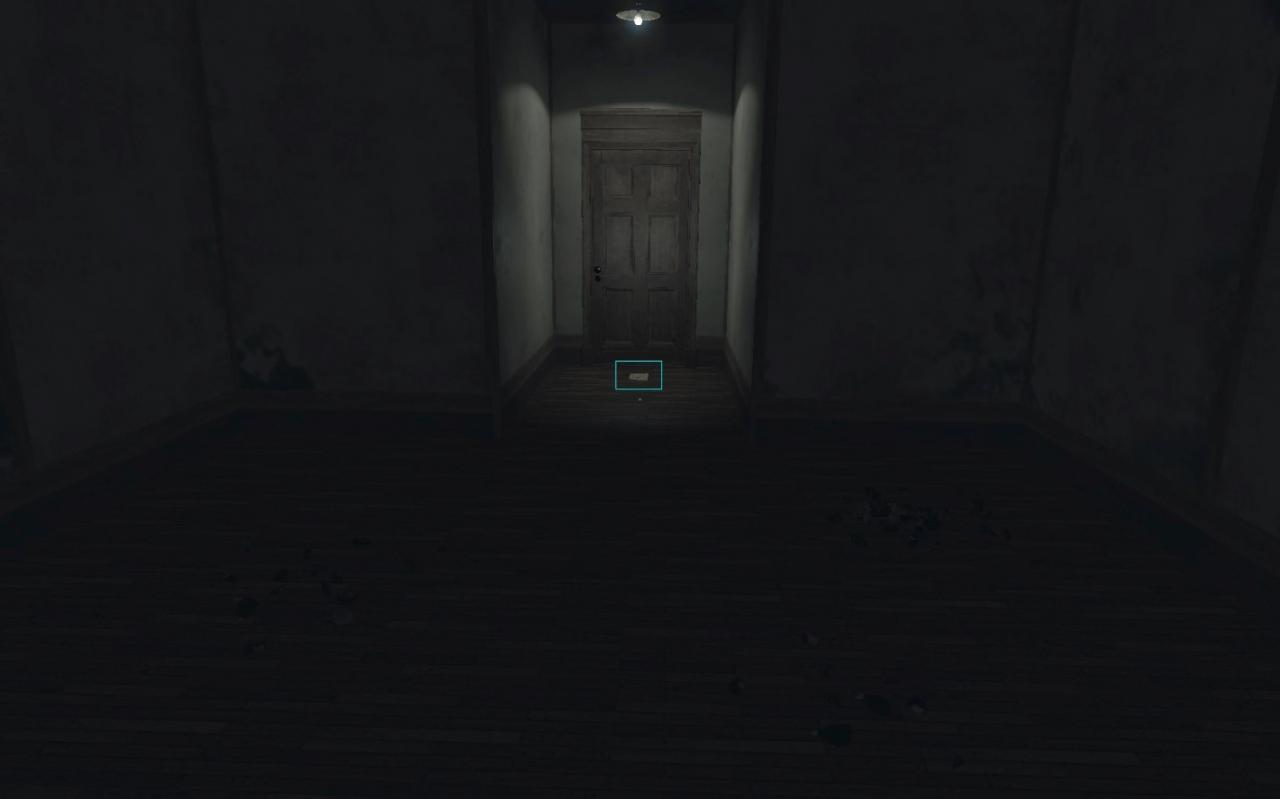
Whisper #12 | Room 4 | Birthday hat
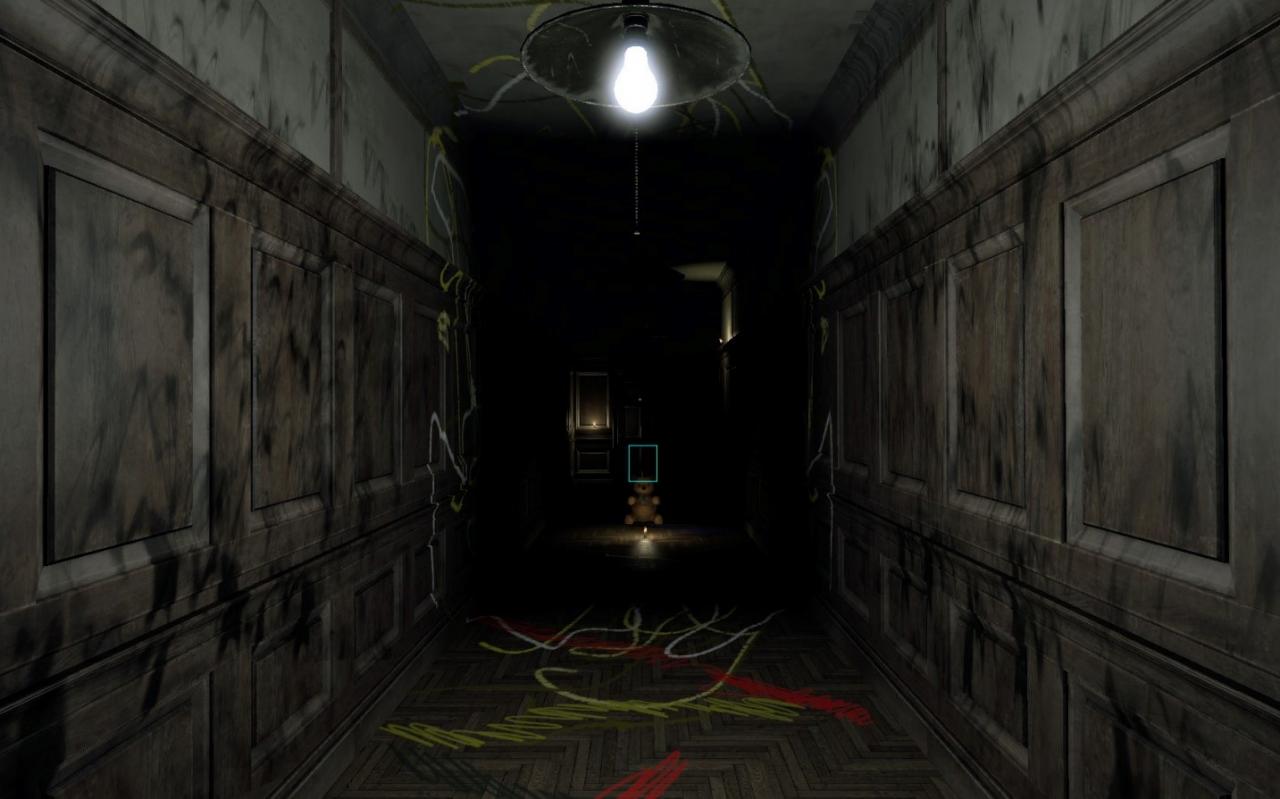
Memento #9 | Room 5 on the left side
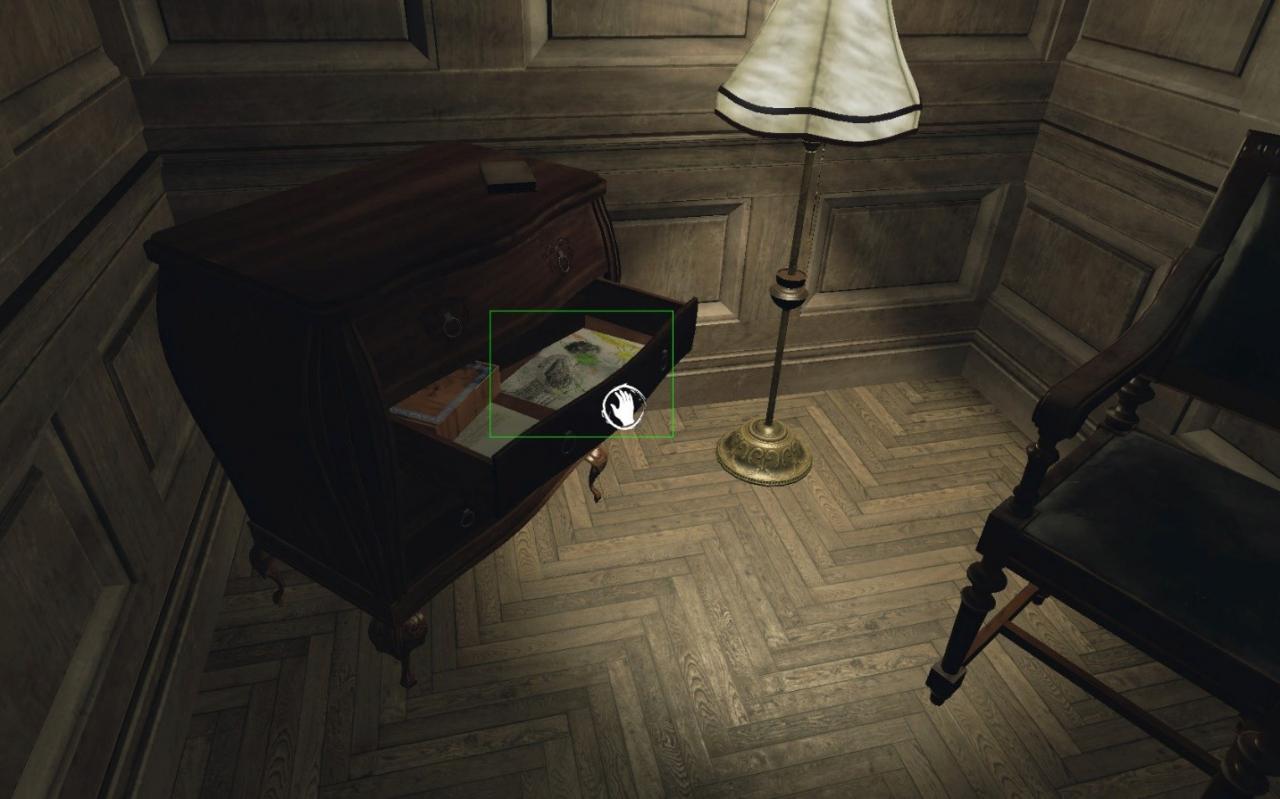
Whisper #13 | Room 6 | Shoes
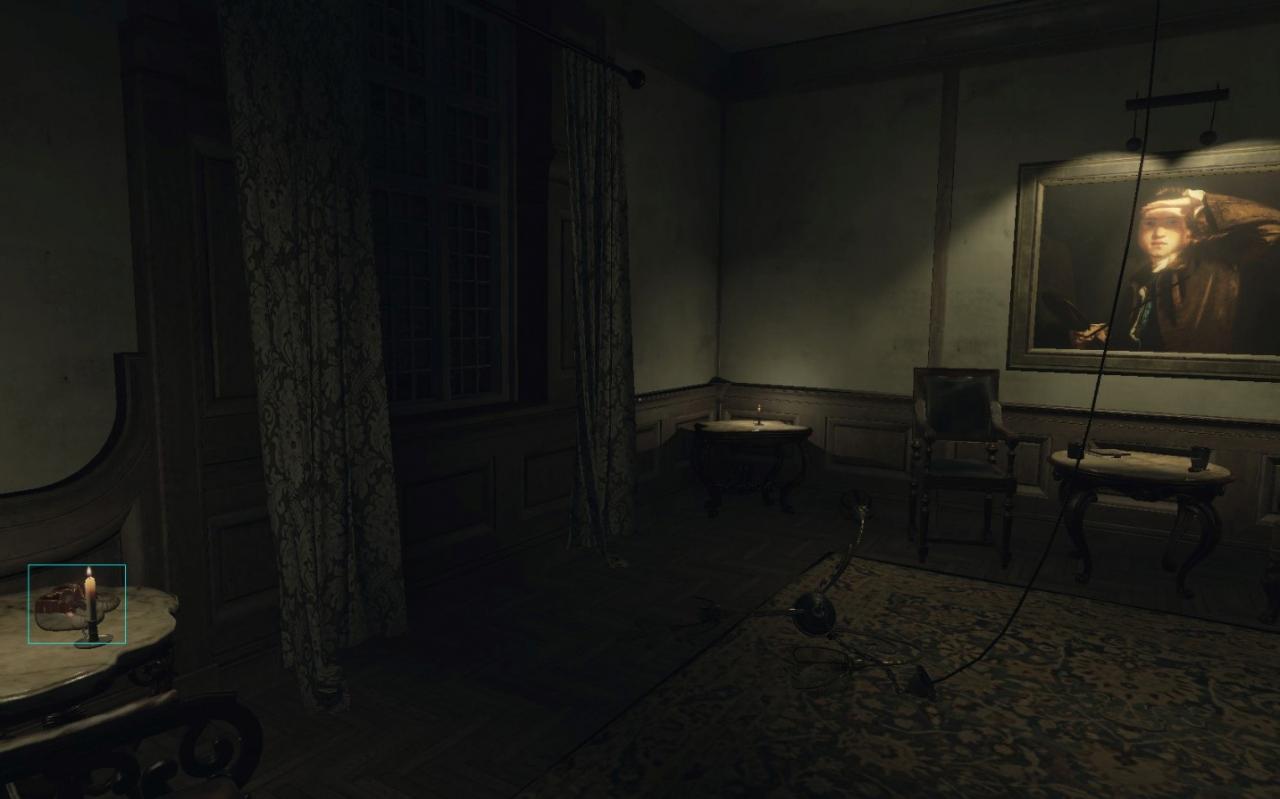
Rat Drawing #11 | Room 7 – try to open both drawers
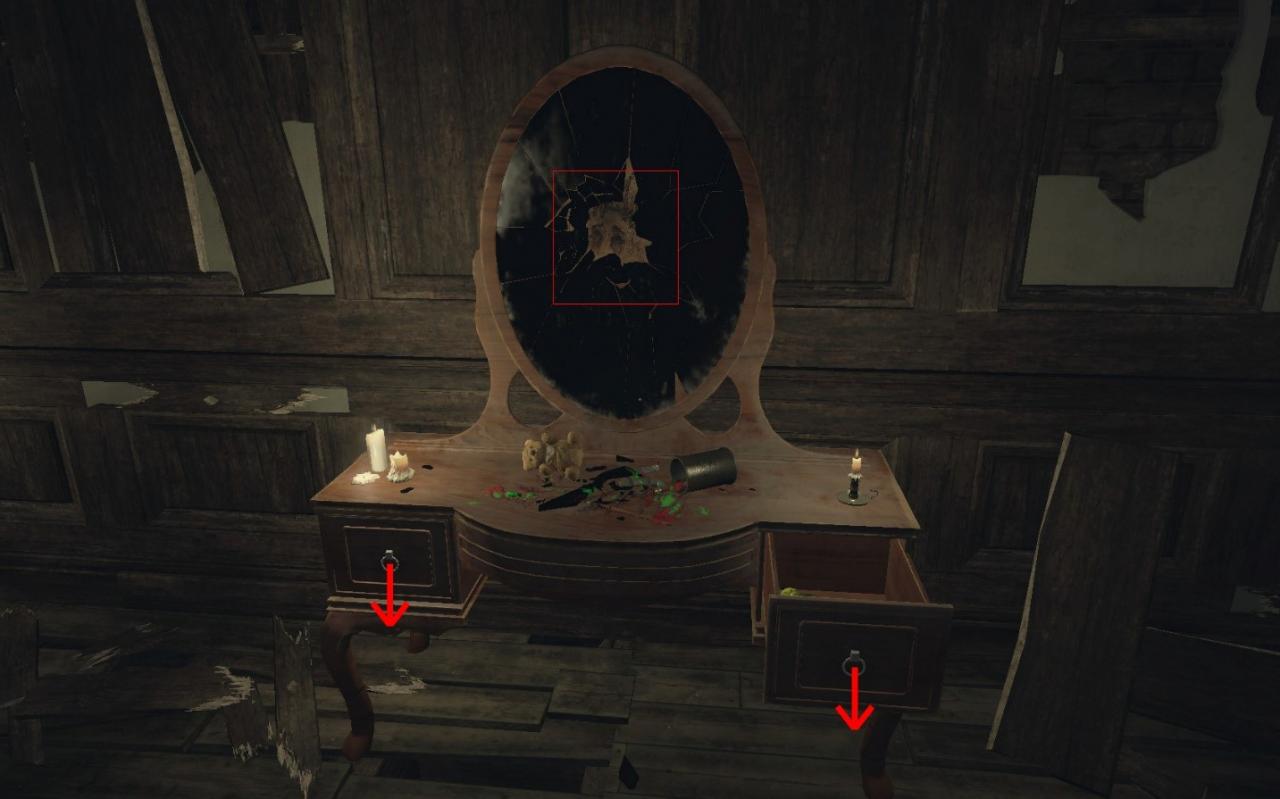
Whisper #14 | Room 8 | Checker (find 3 of them first)
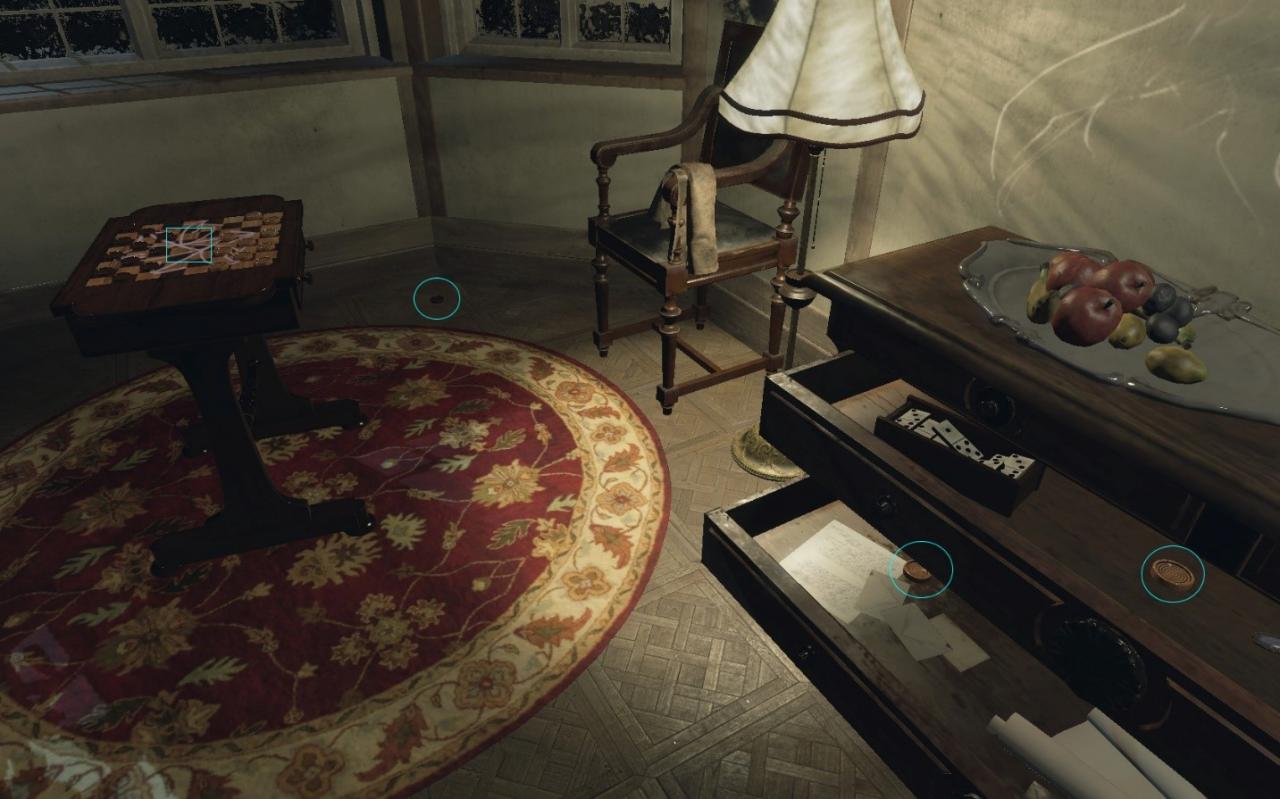
Whisper #15 | Room 17 – behind you in the closet (After baby event) | Soldat toy
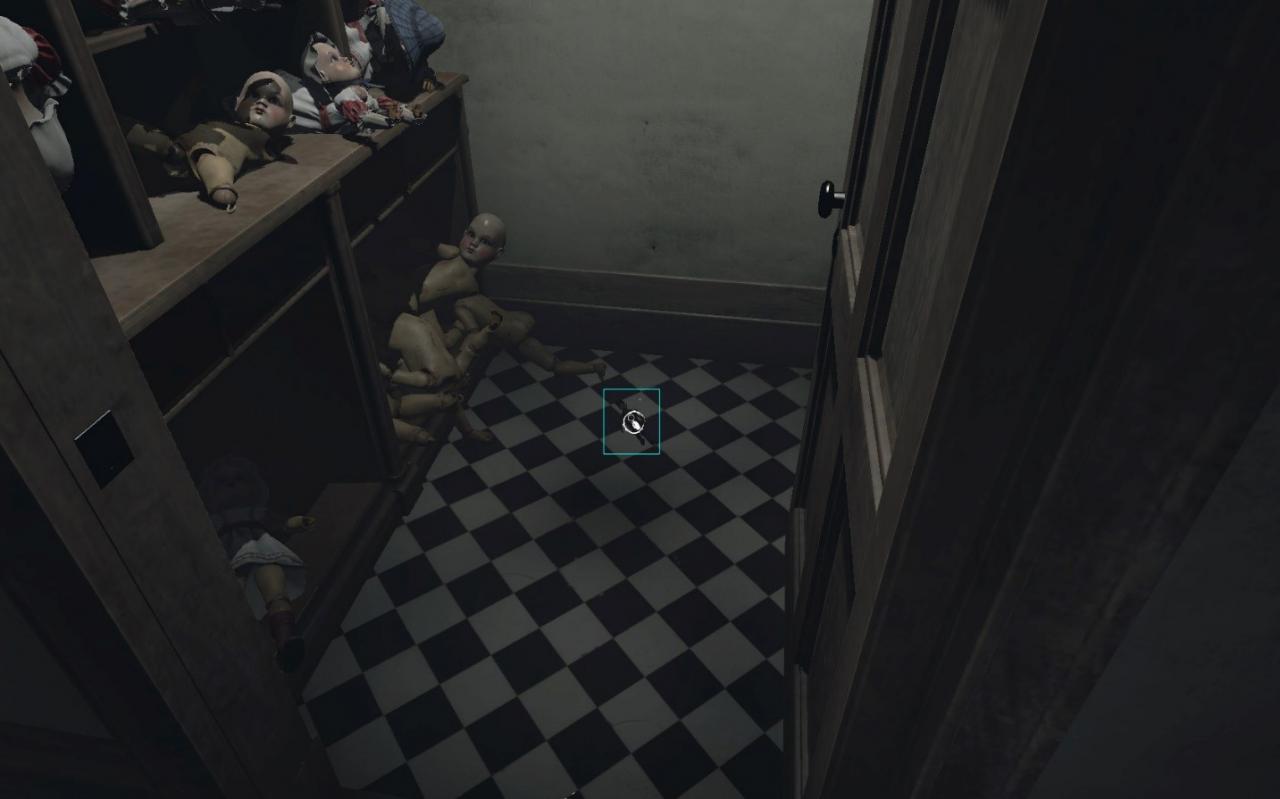
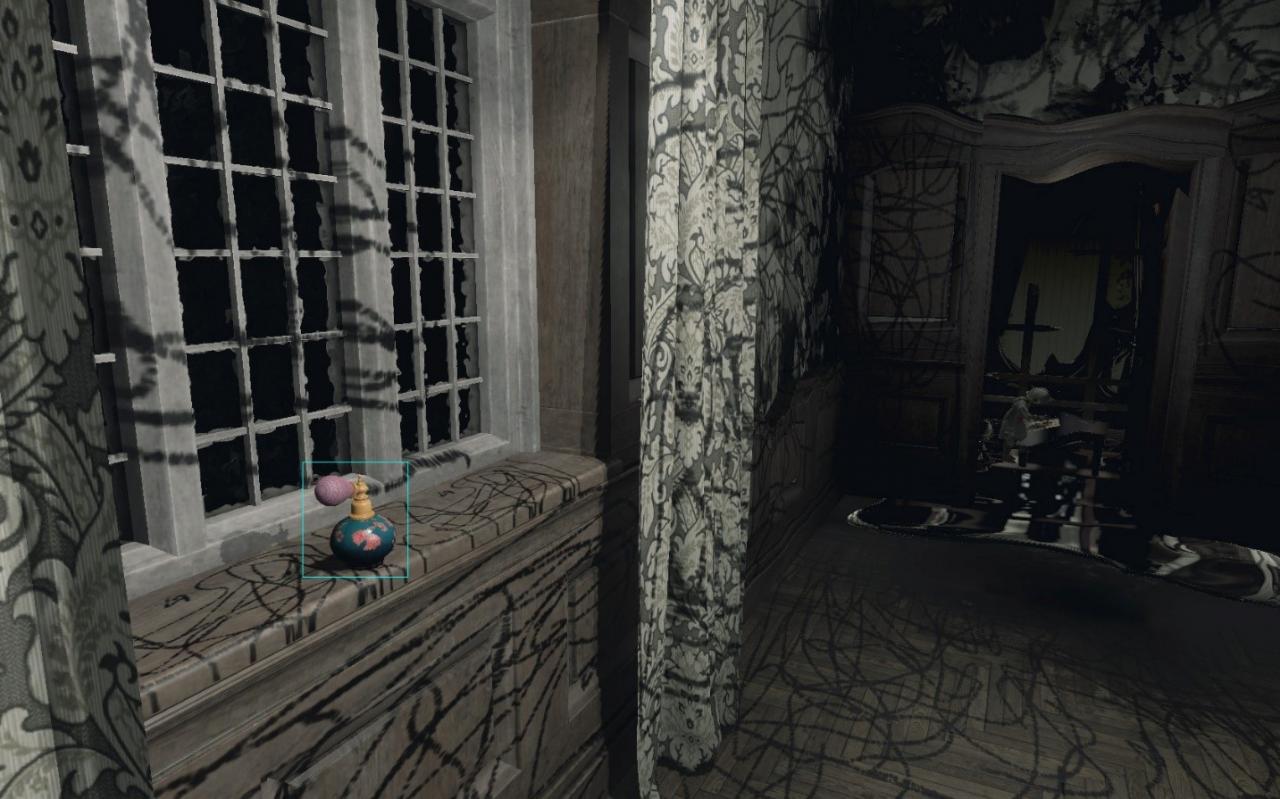
Whisper #16 | Room 18 – on the left side on the window | Parfum
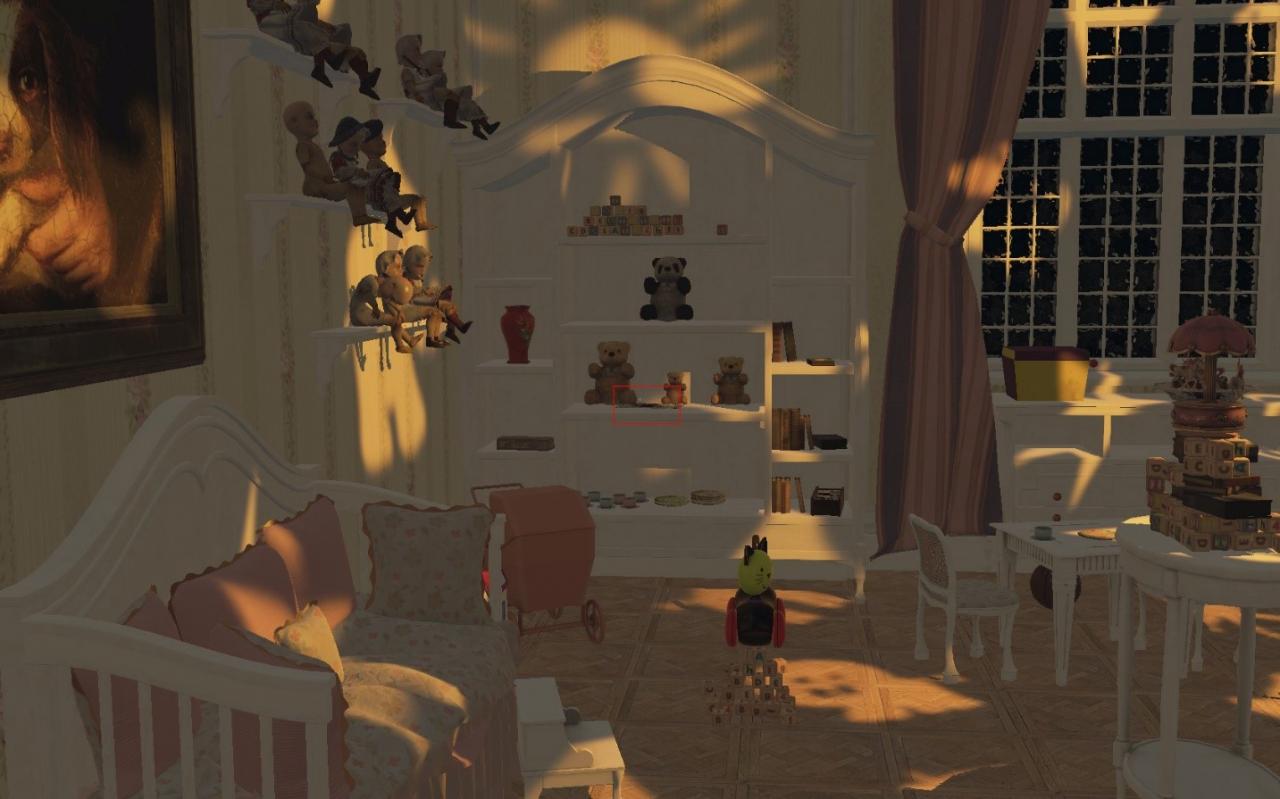
Rat Drawing #12 | Room 20 – left door (Baby Room)
Chapter 5
Memento #10 | Room 3 – through the left door
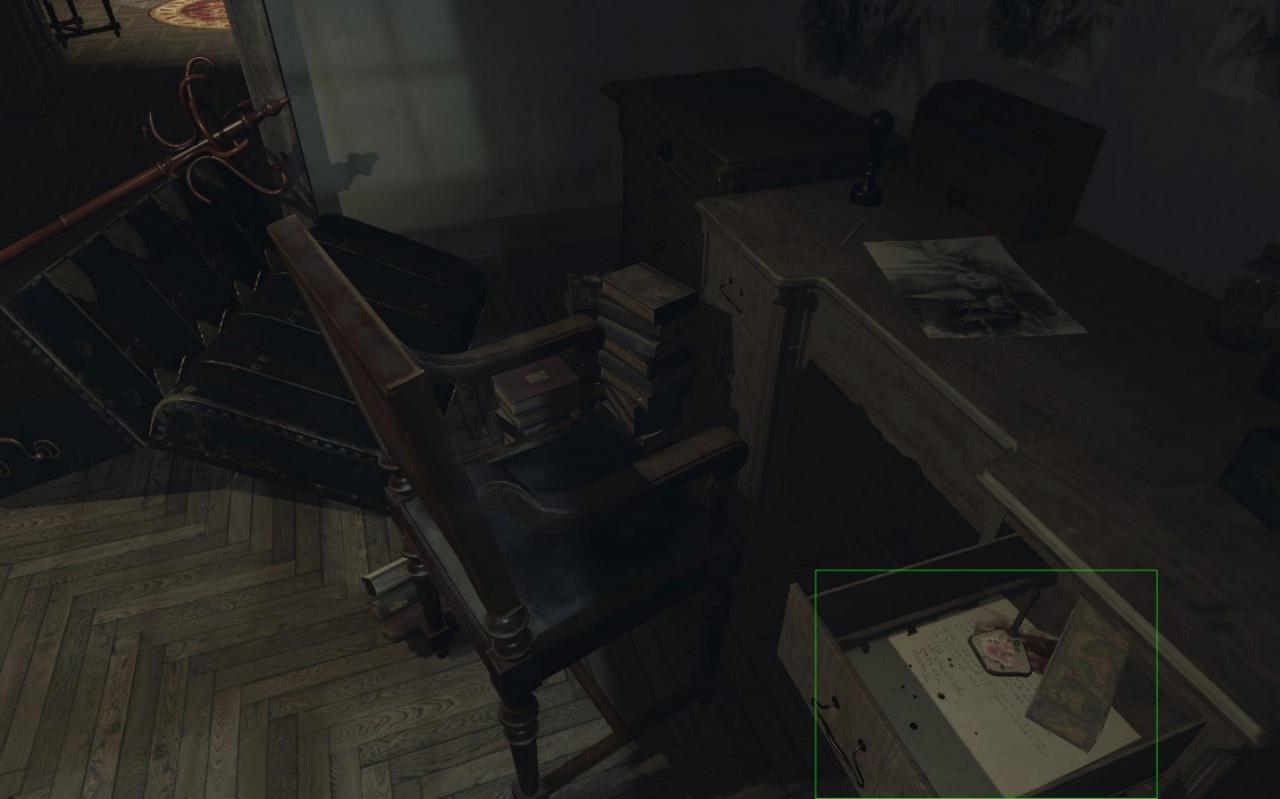
Memento #11 | Room 4
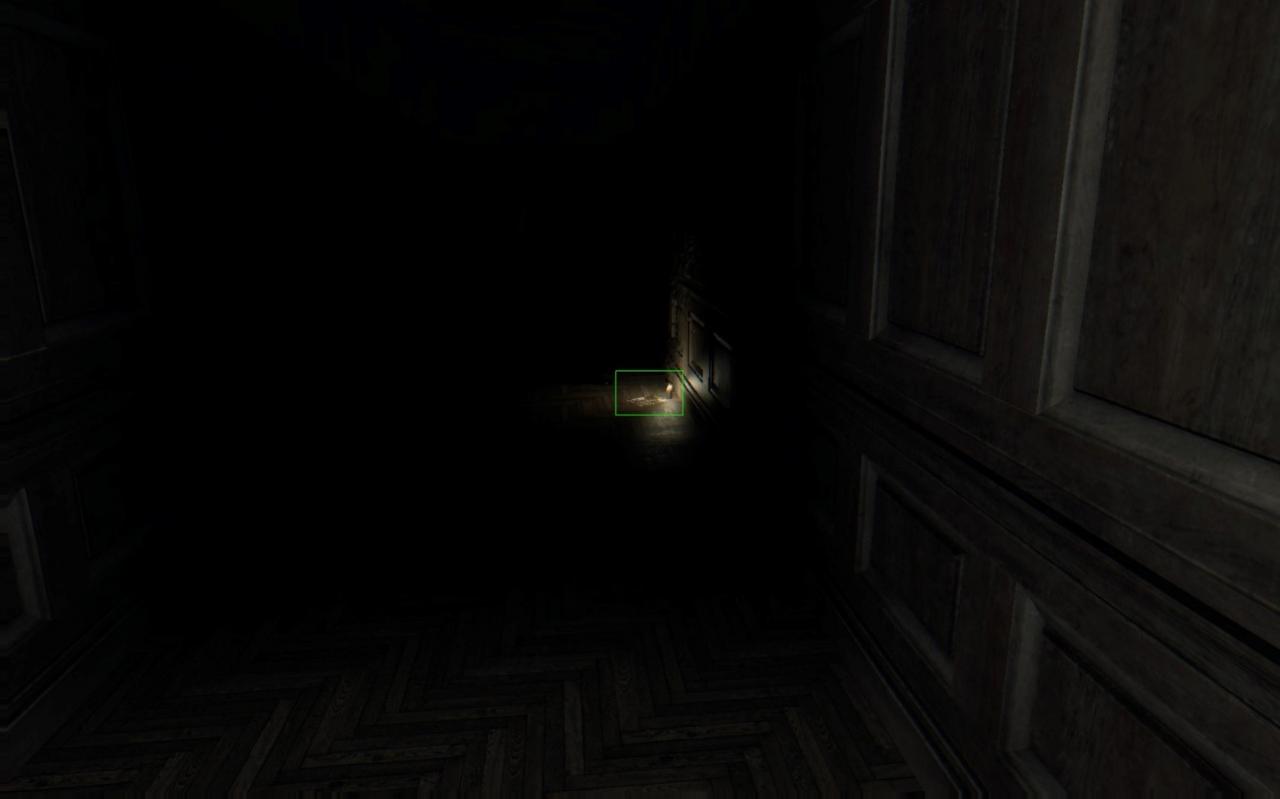
Memento #12 | Room 7a – After unlocked the door in room 6 (cat 341/rat 687/dog 259) when you get blocked by an event and hear baby voice, follow the light and go through the first door. You can’t go back though and need to restart to get the rat drawing #13 in Room 7b.
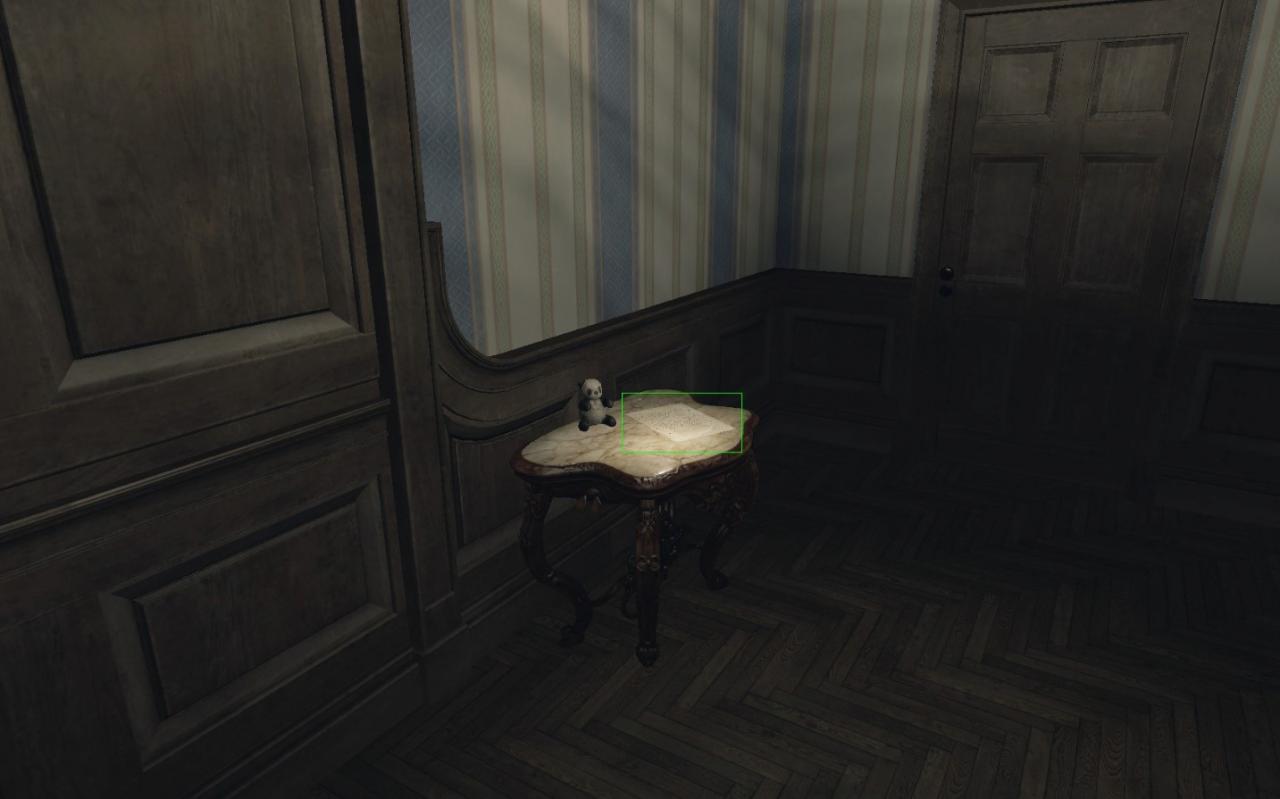
Rat Drawing #13 | Room 7b – After unlocked the door in room 6 when you get blocked by an event and hear baby voice, don’t follow the light and go through the first door. Try to rotate your view until another path opens and follow the rat
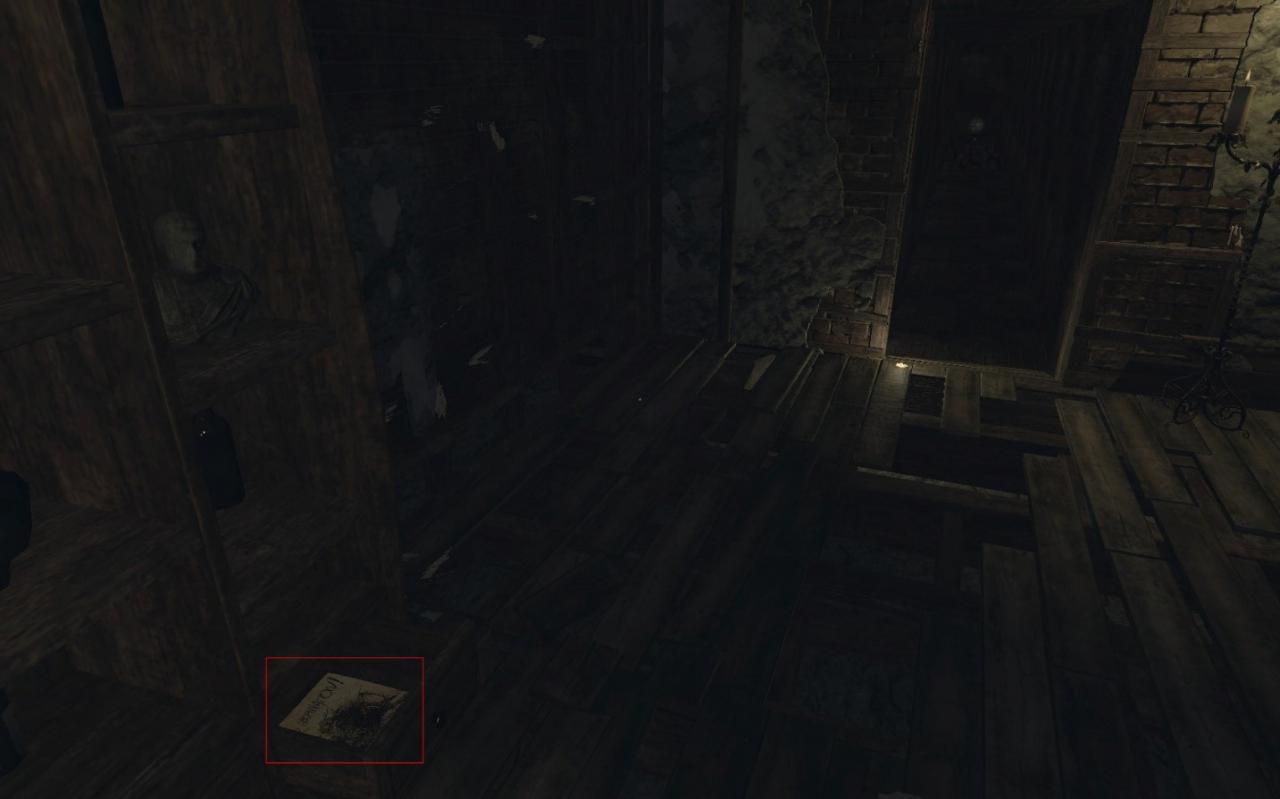
Rat Drawing #14 | Room 8
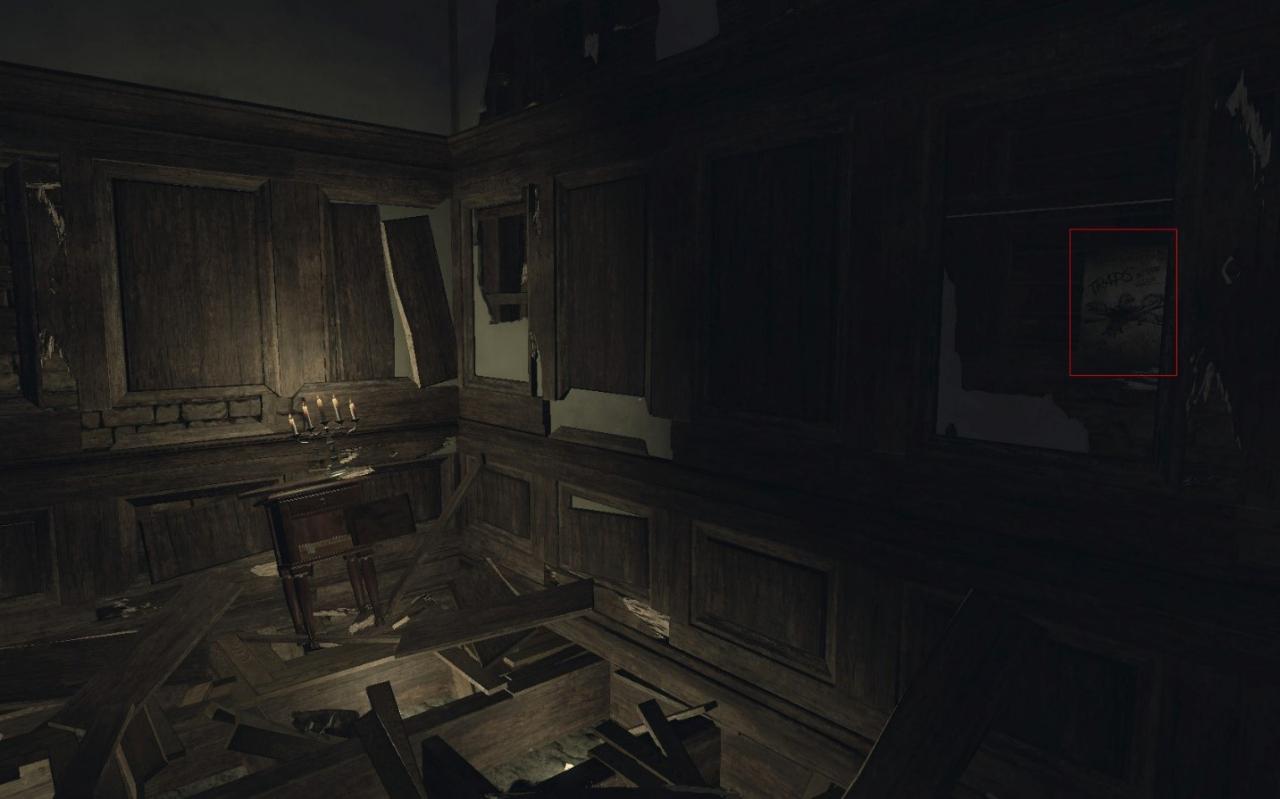
Memento #13 | Room 10 (After the corridor with a bunch of doors)
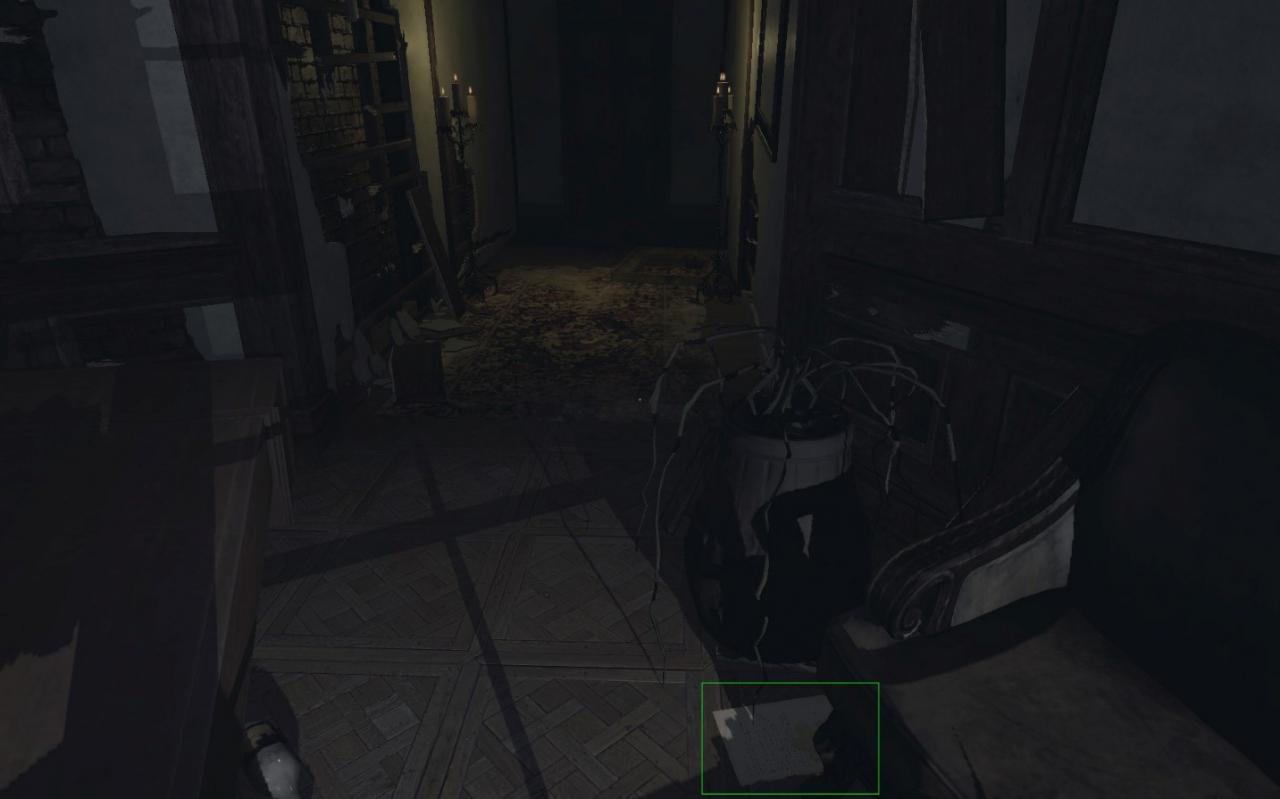
Whisper #17 | Room 11 | Dog Muzzle
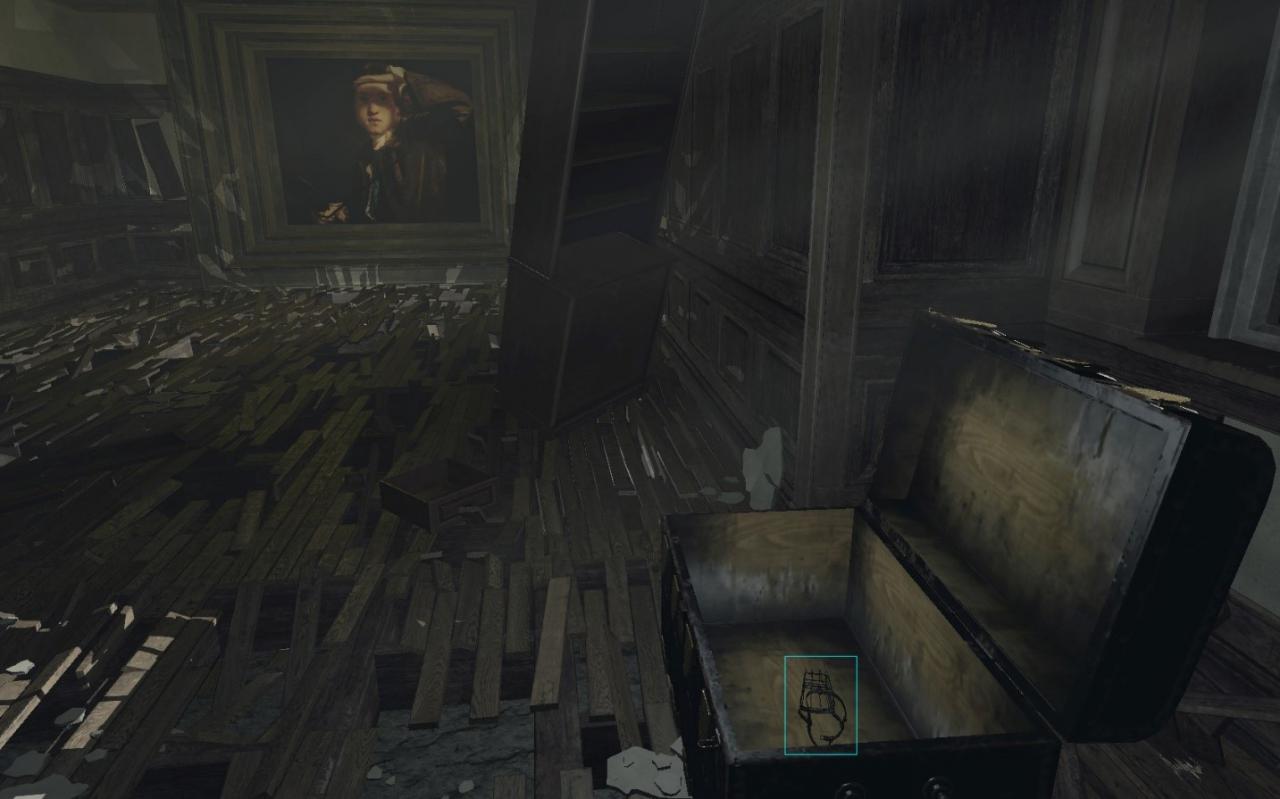
Rat Drawing #15 | Room 12 – through the right door on the canvas
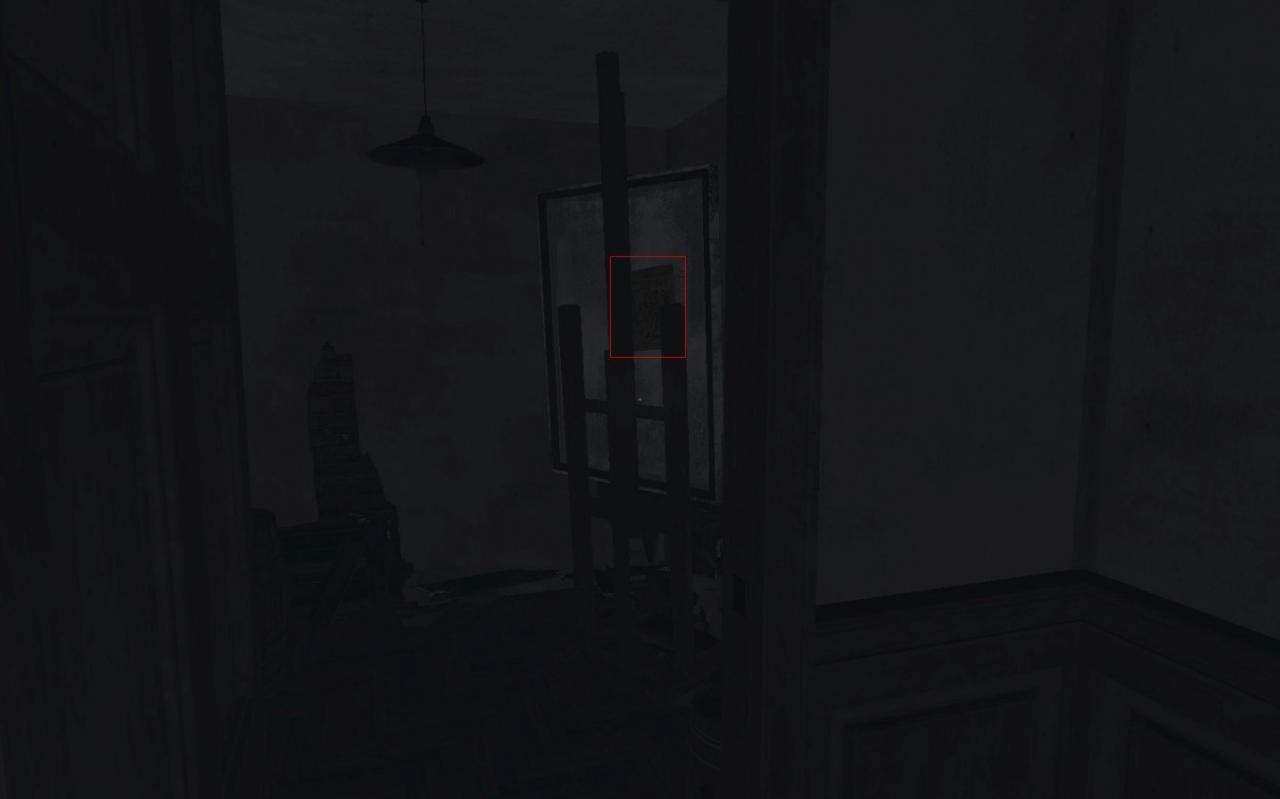
Whisper #18 | Room 14 | Whisky
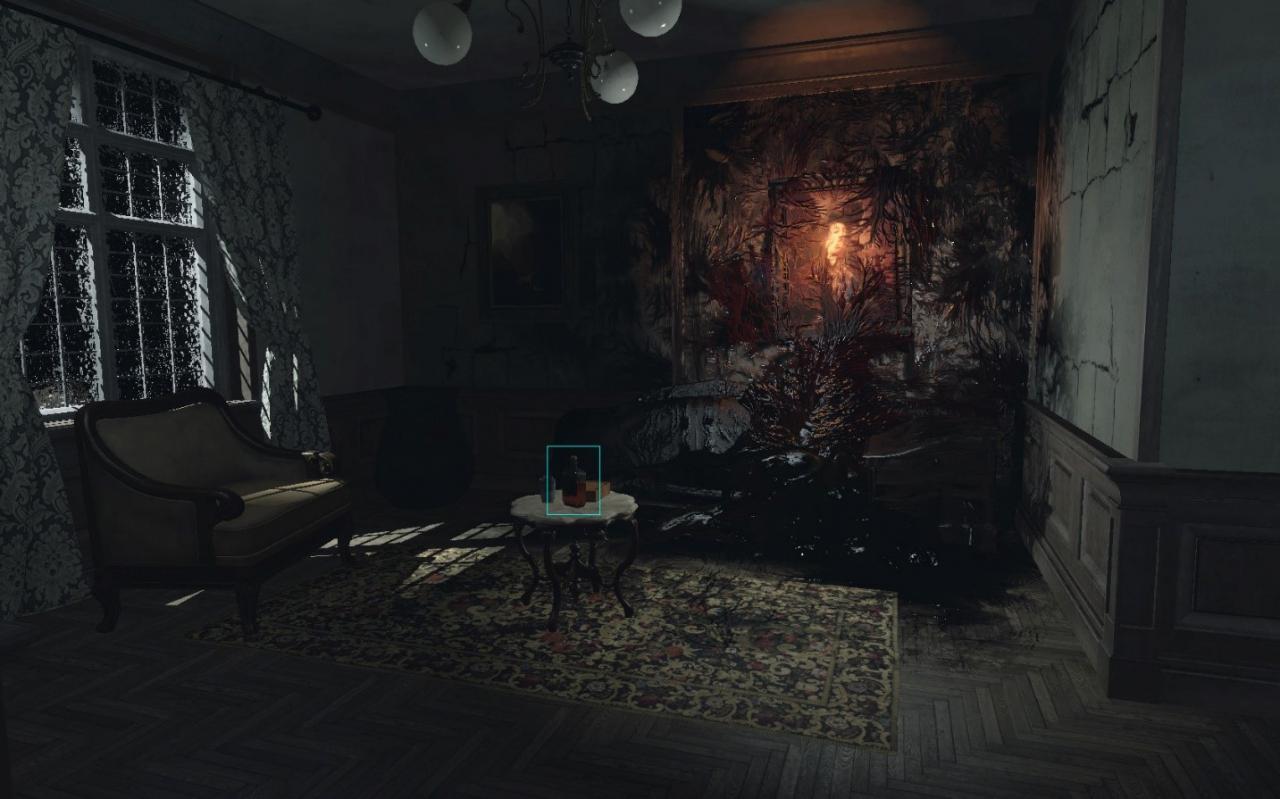
Whisper #19 | Room 17 | Brushes
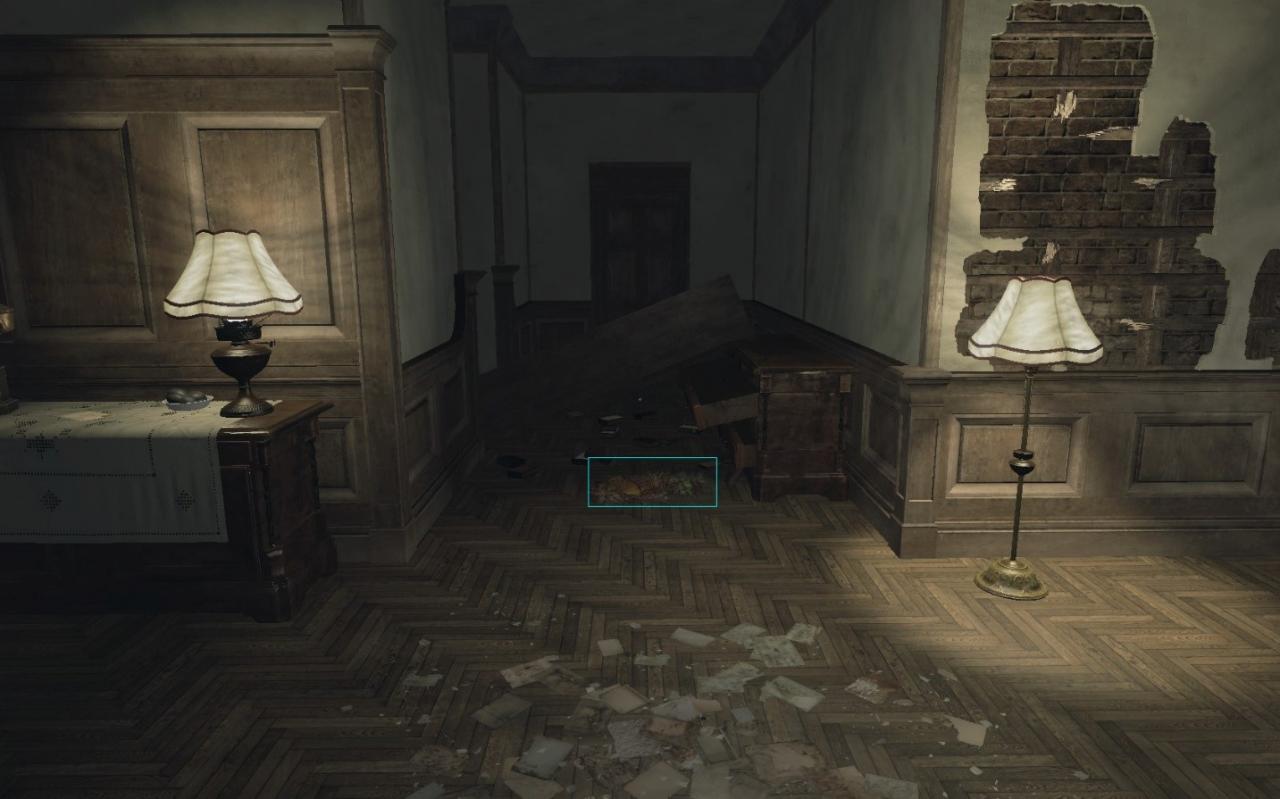
Whisper #20 | Room 18 | Paint tool – Switch on lamp, turn on lightswitch and open the door first!
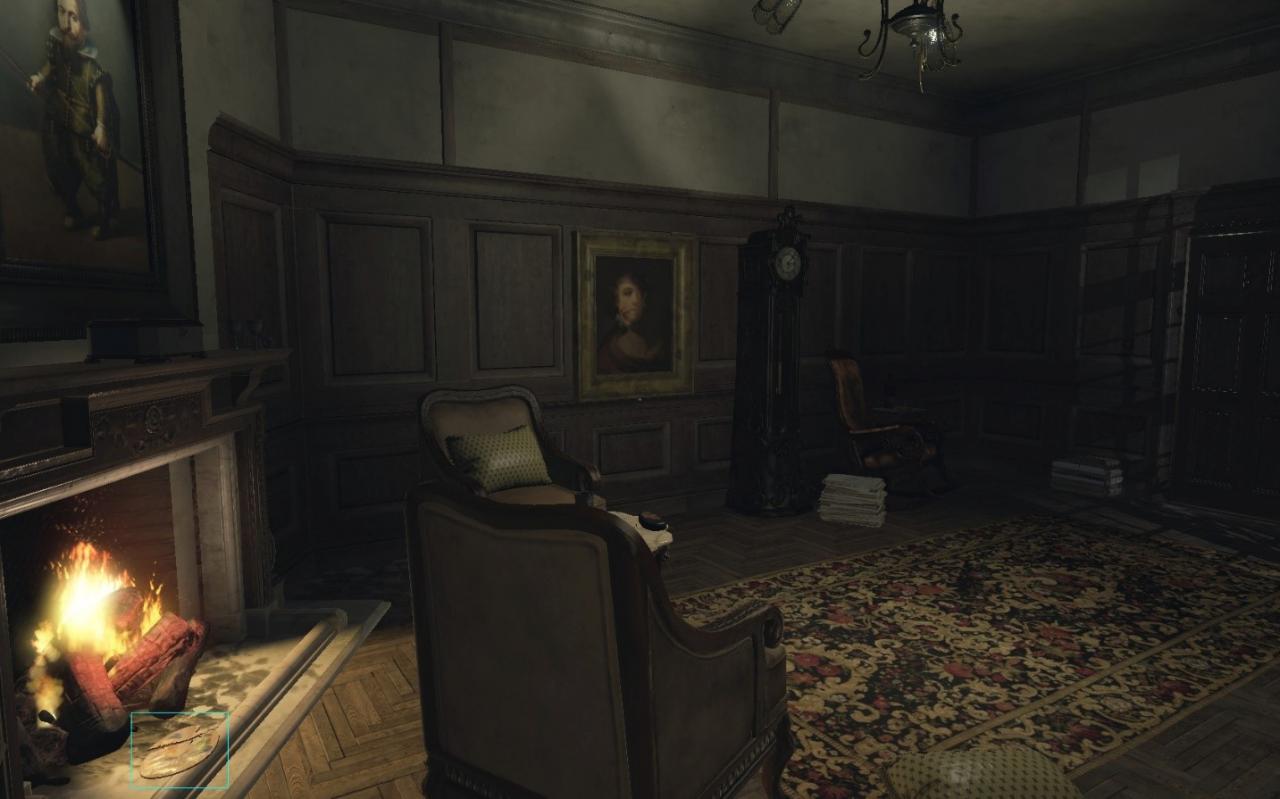
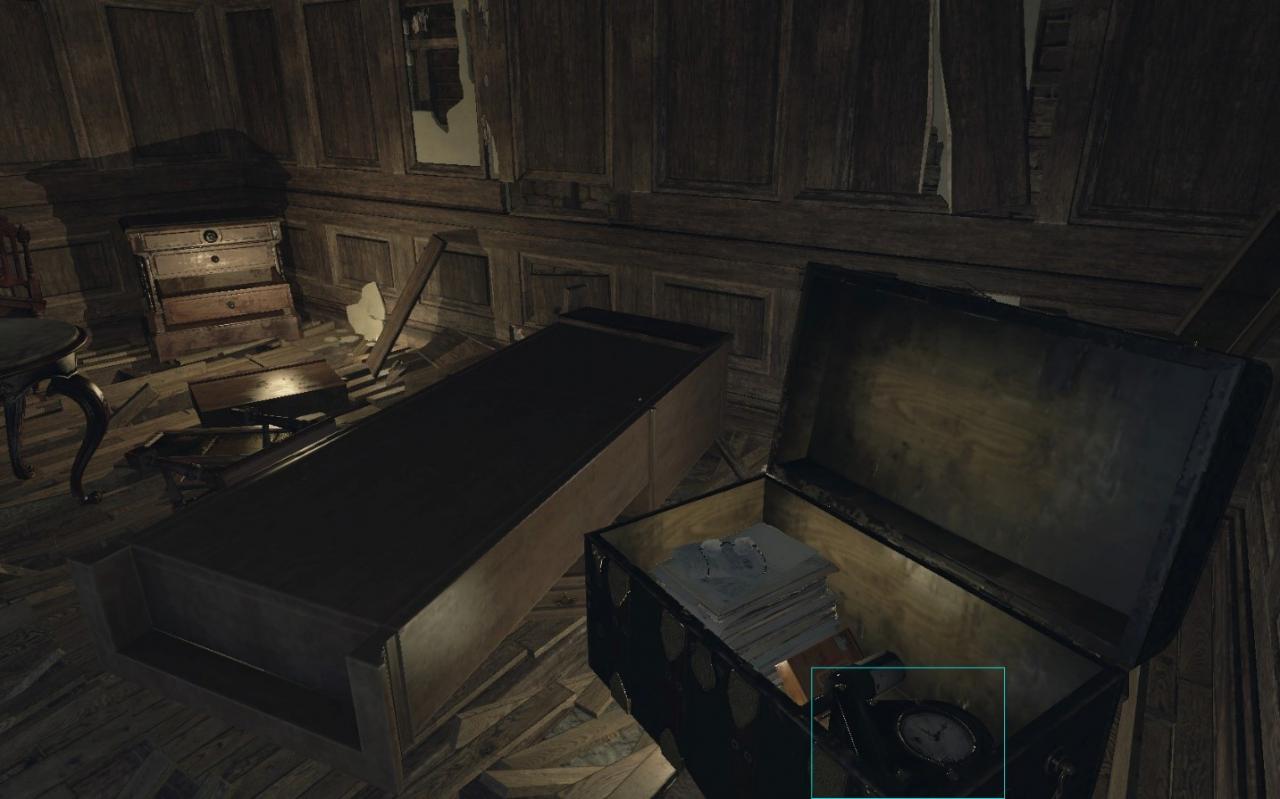
Whisper #21 | Room 21 | Clock
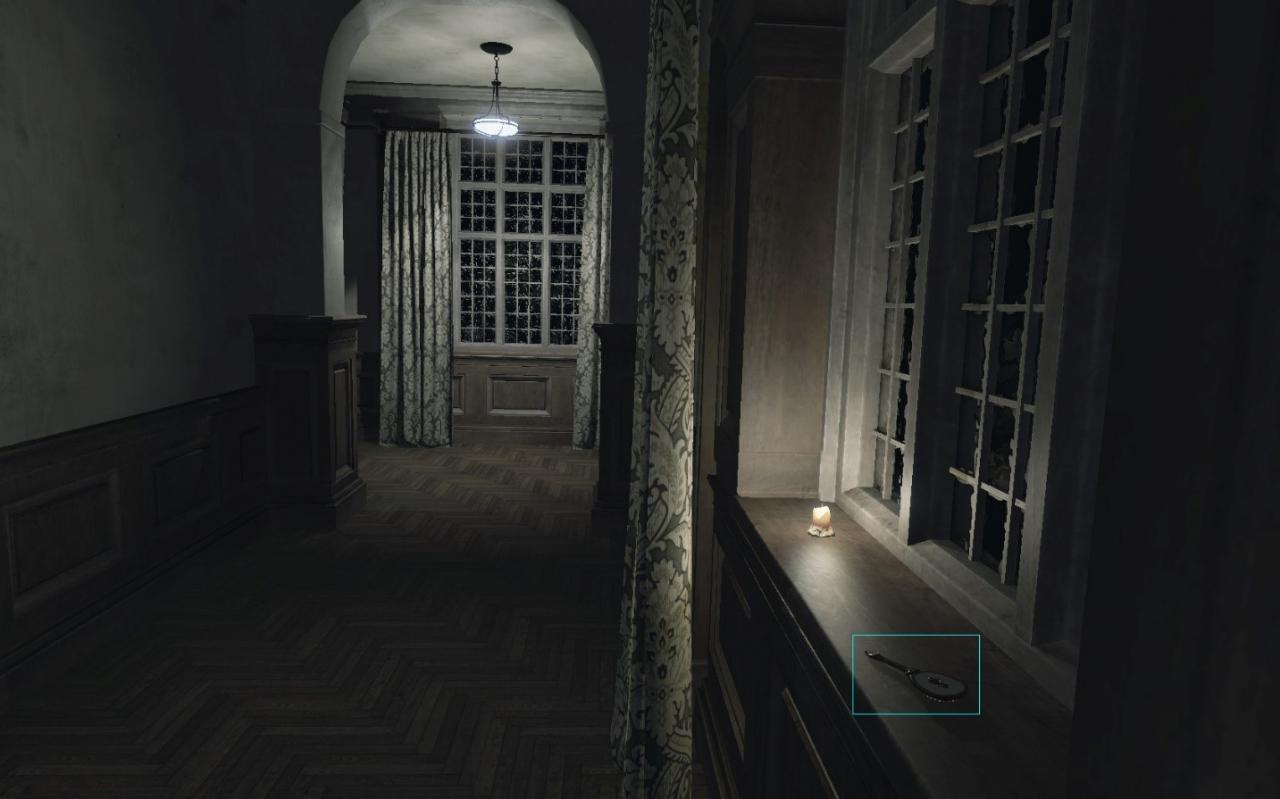
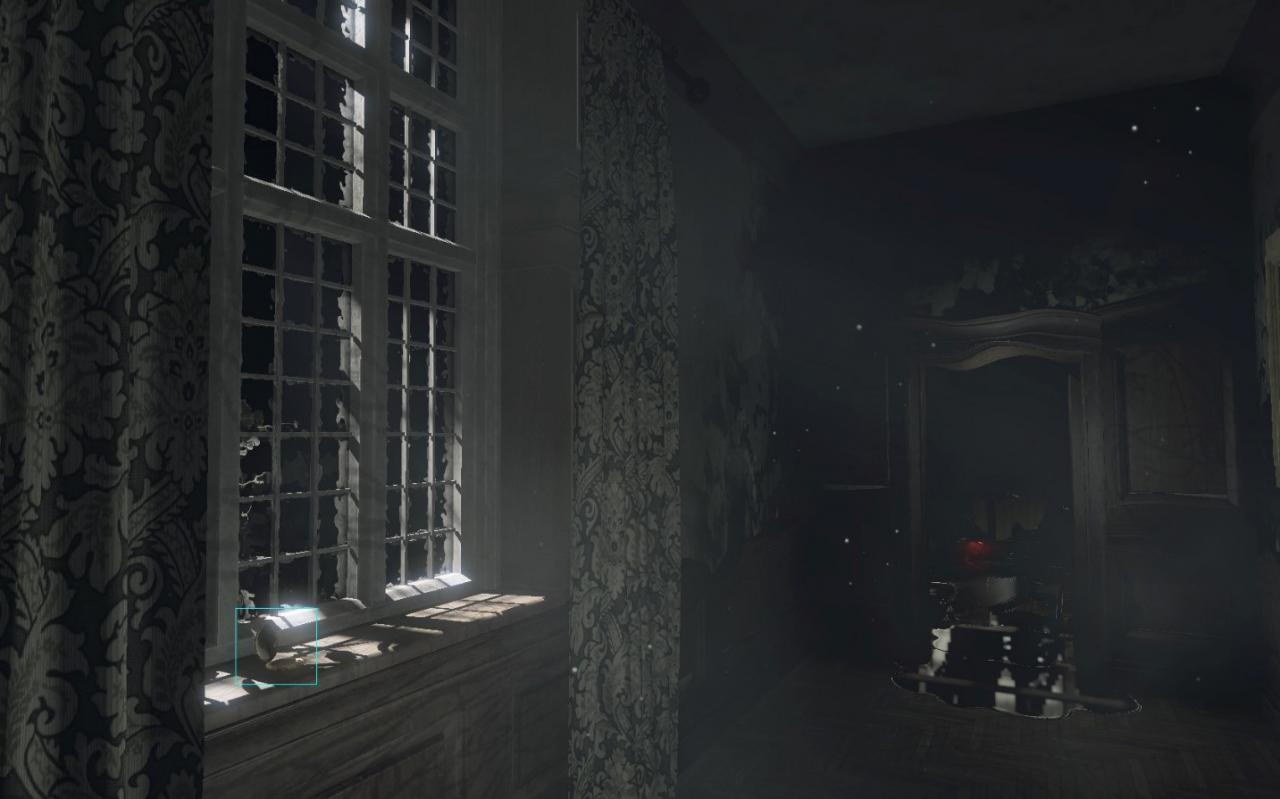
Whisper #22 | Room 22 | Small mirror
Chapter 6
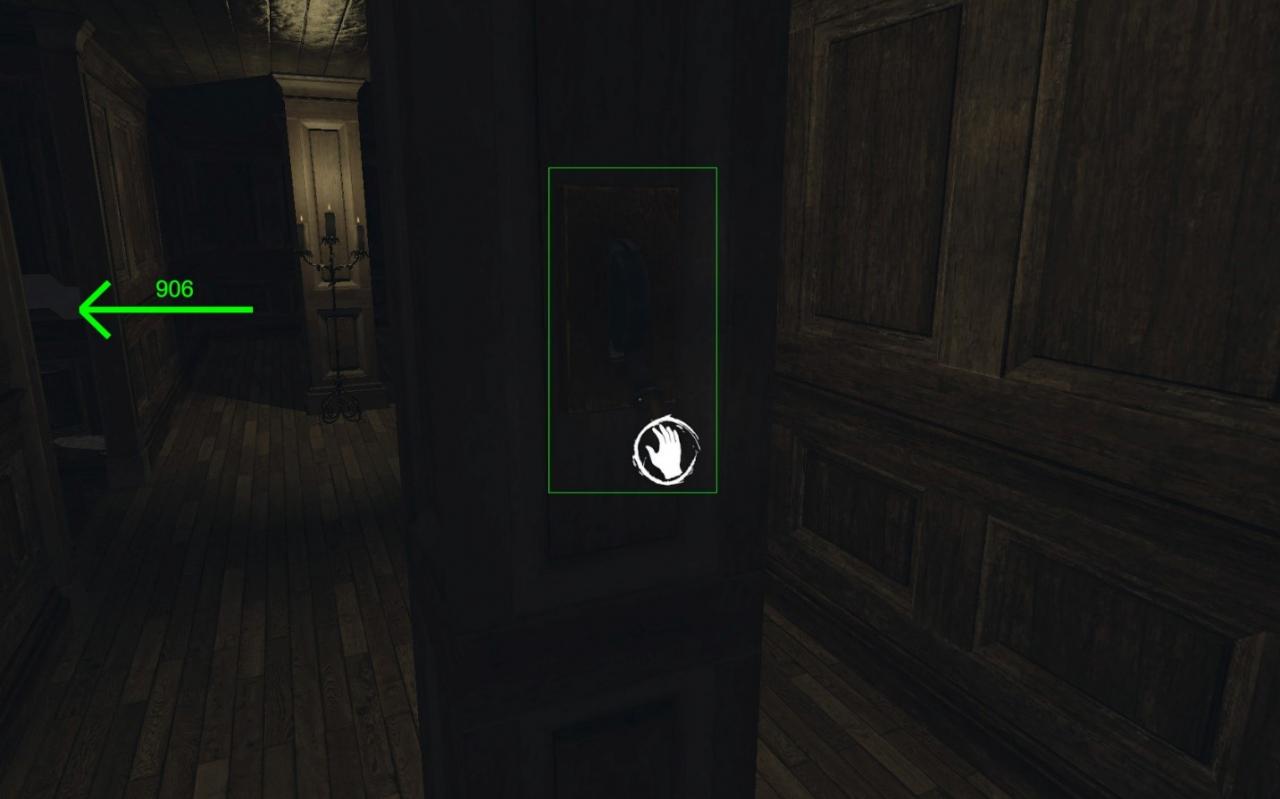
Whisper #23 | Room 5 | Rat – Check the paintings after they fall, after all the scurrying
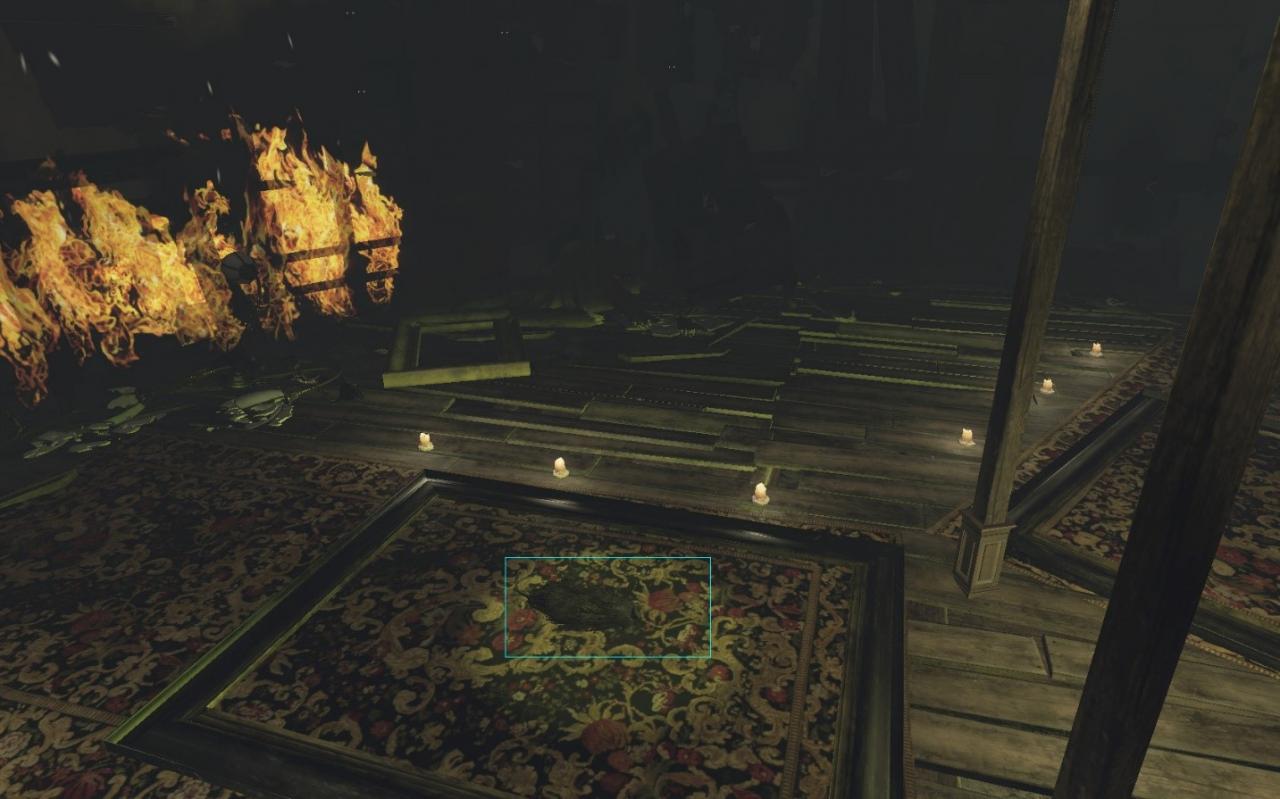
Whisper #24 | Room 12 | Bandages
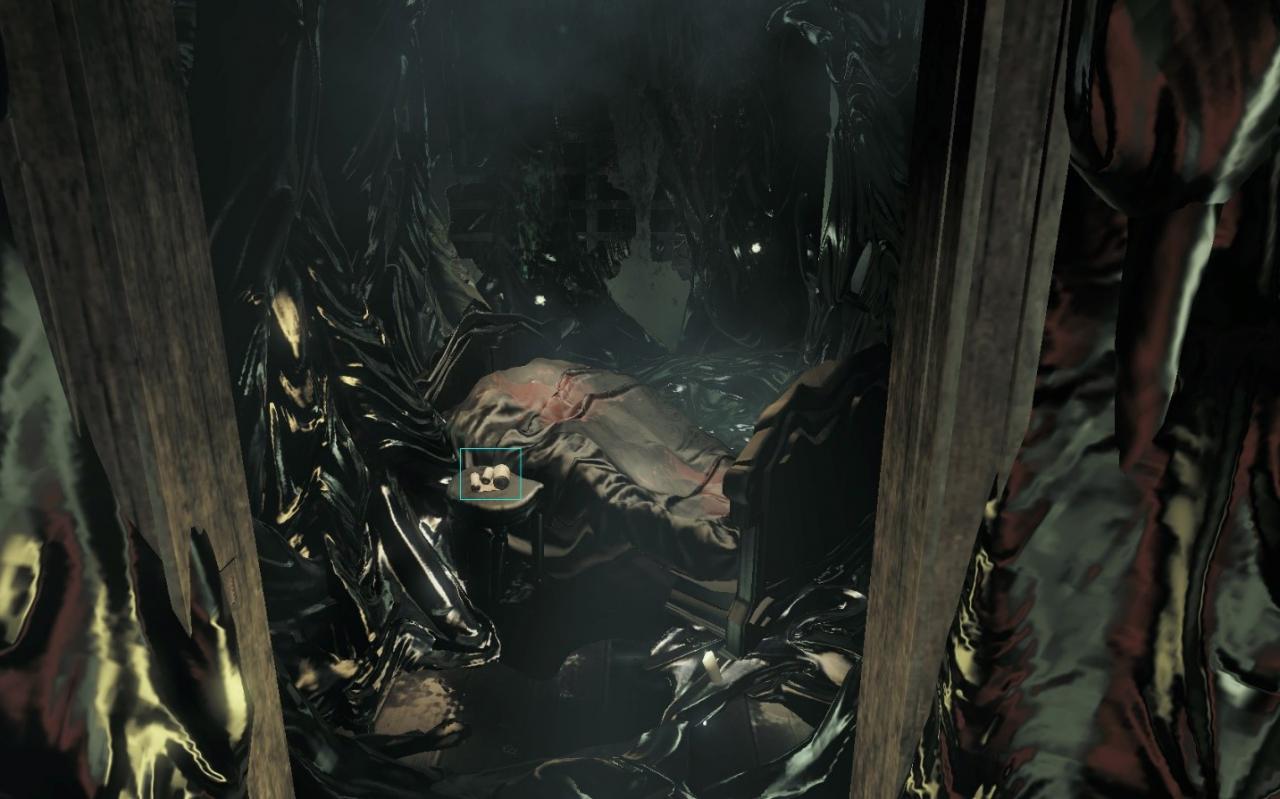
Memento #15 | Room 13 – Use the spooky board and write 363 853 354
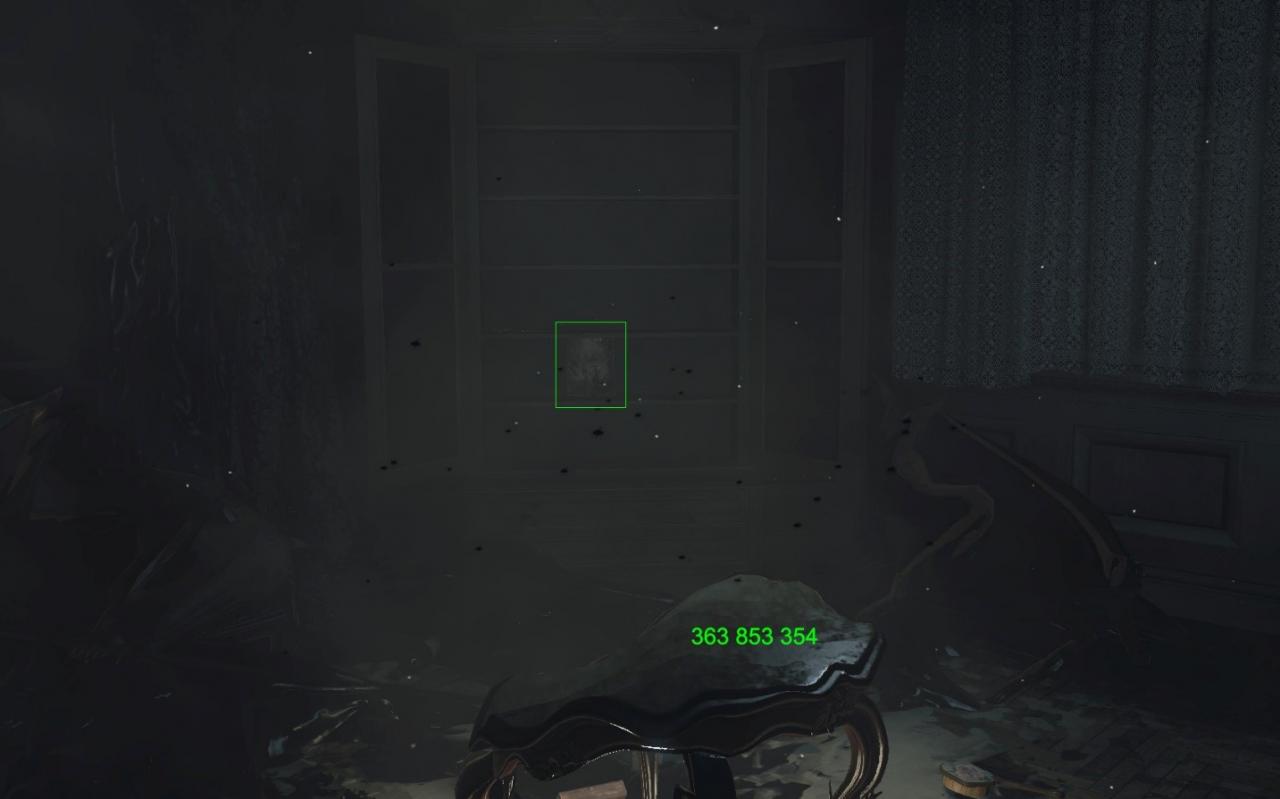
Memento #16 | Room 15 – on the right side
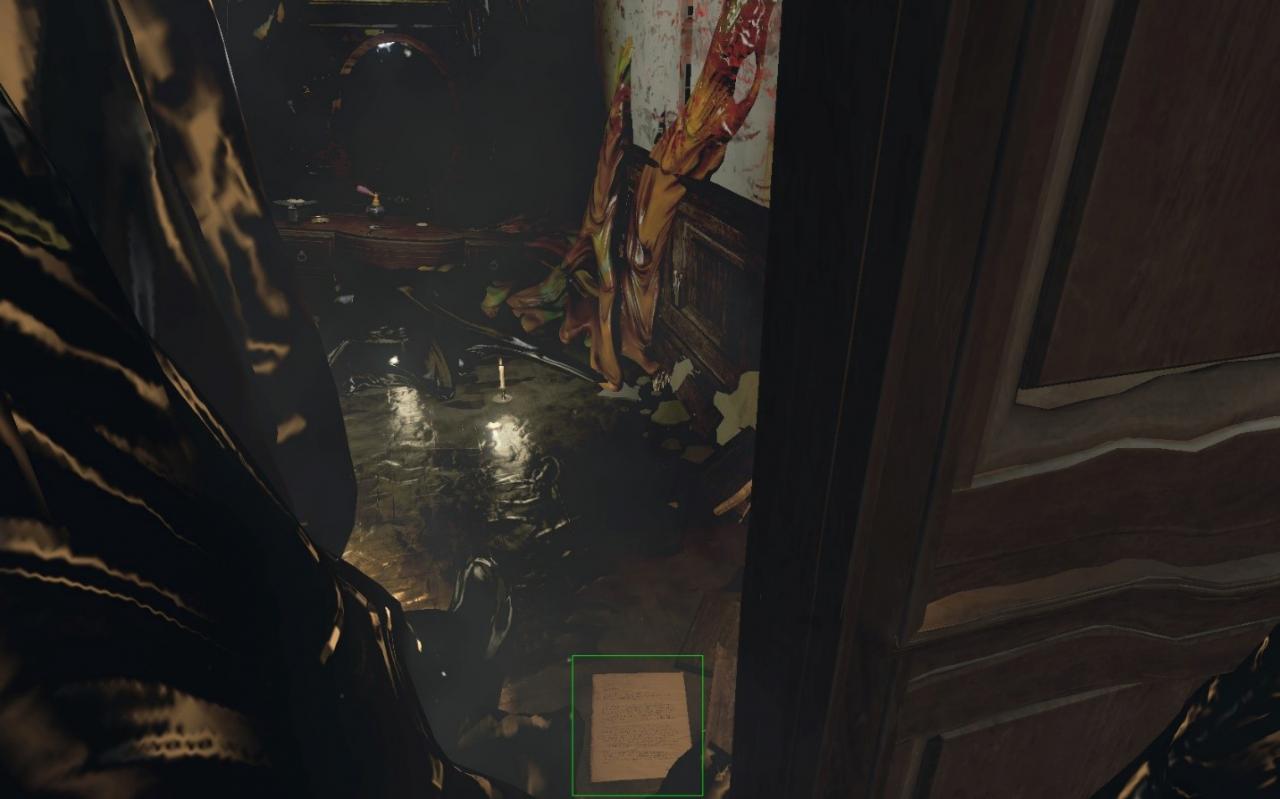
Whisper #25 | Room 15 | Necklace
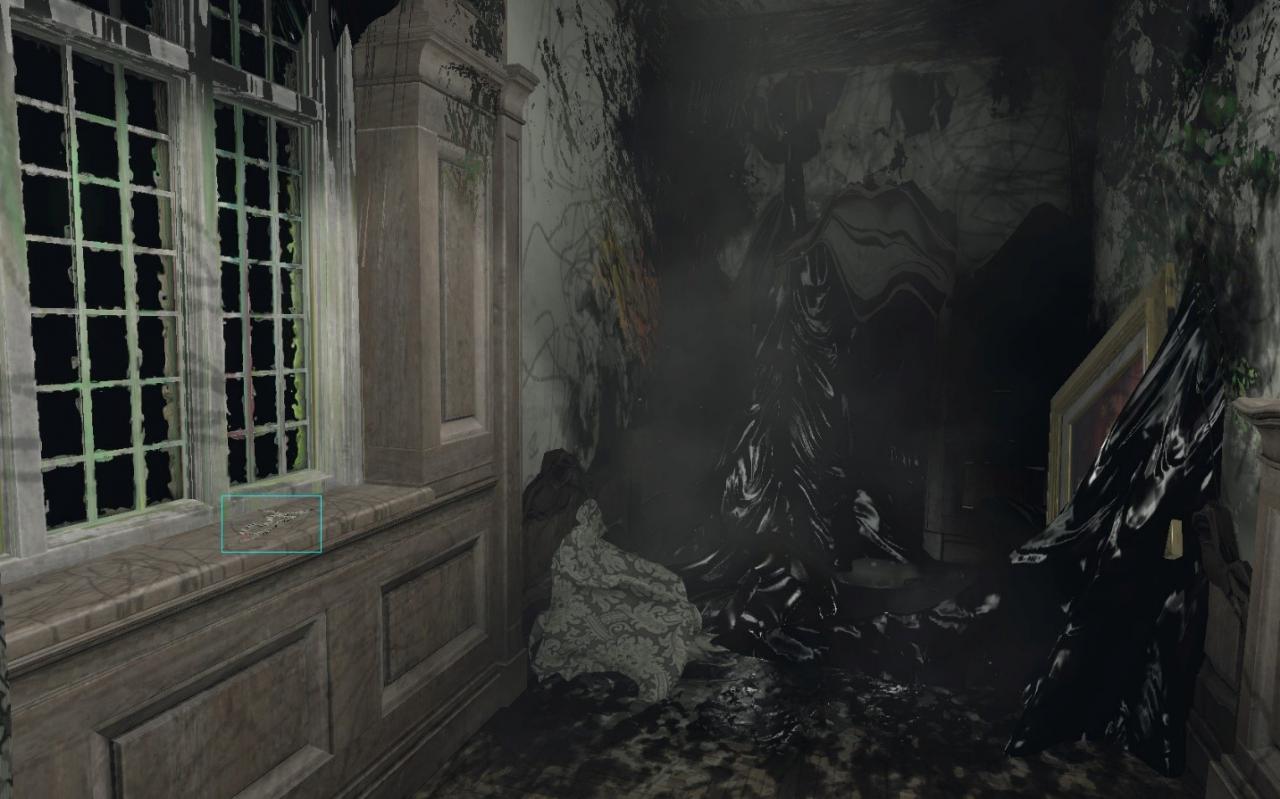
Whisper #26 | Room 16 (Bathroom) | Knife
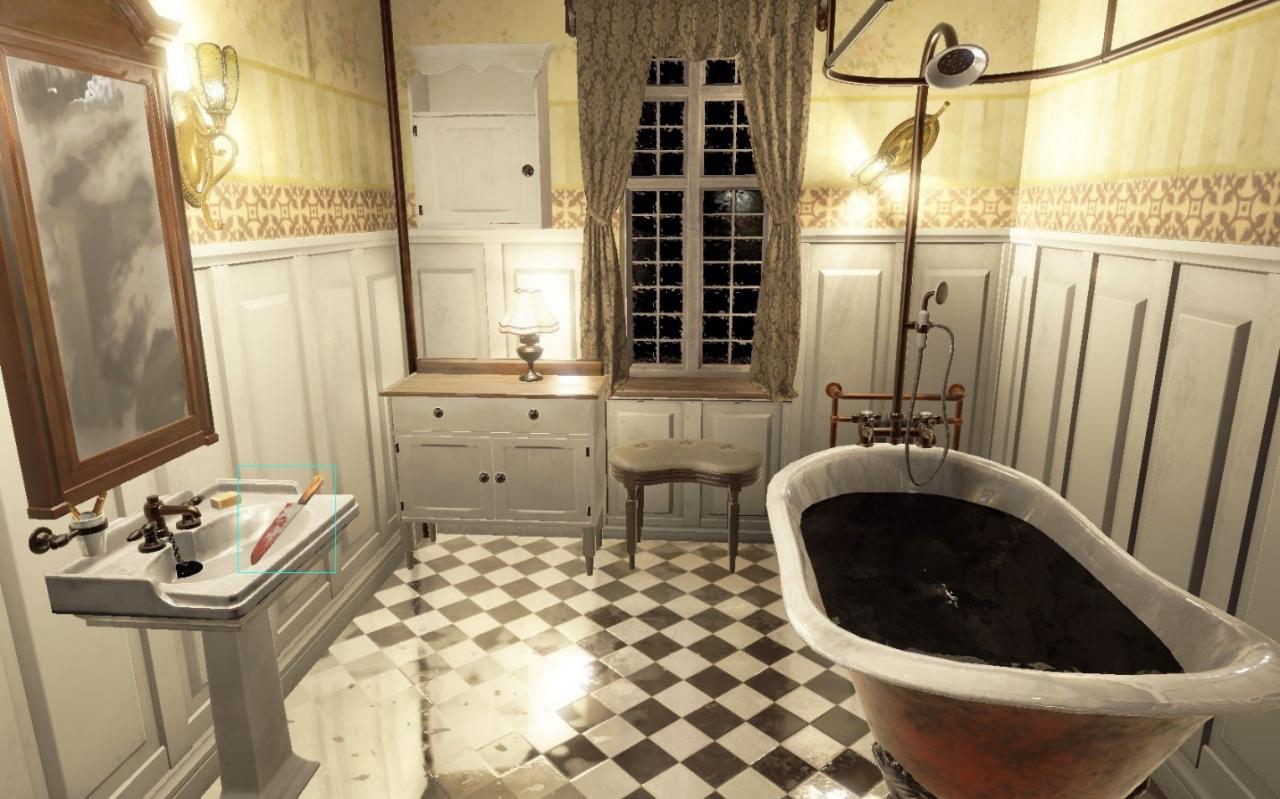
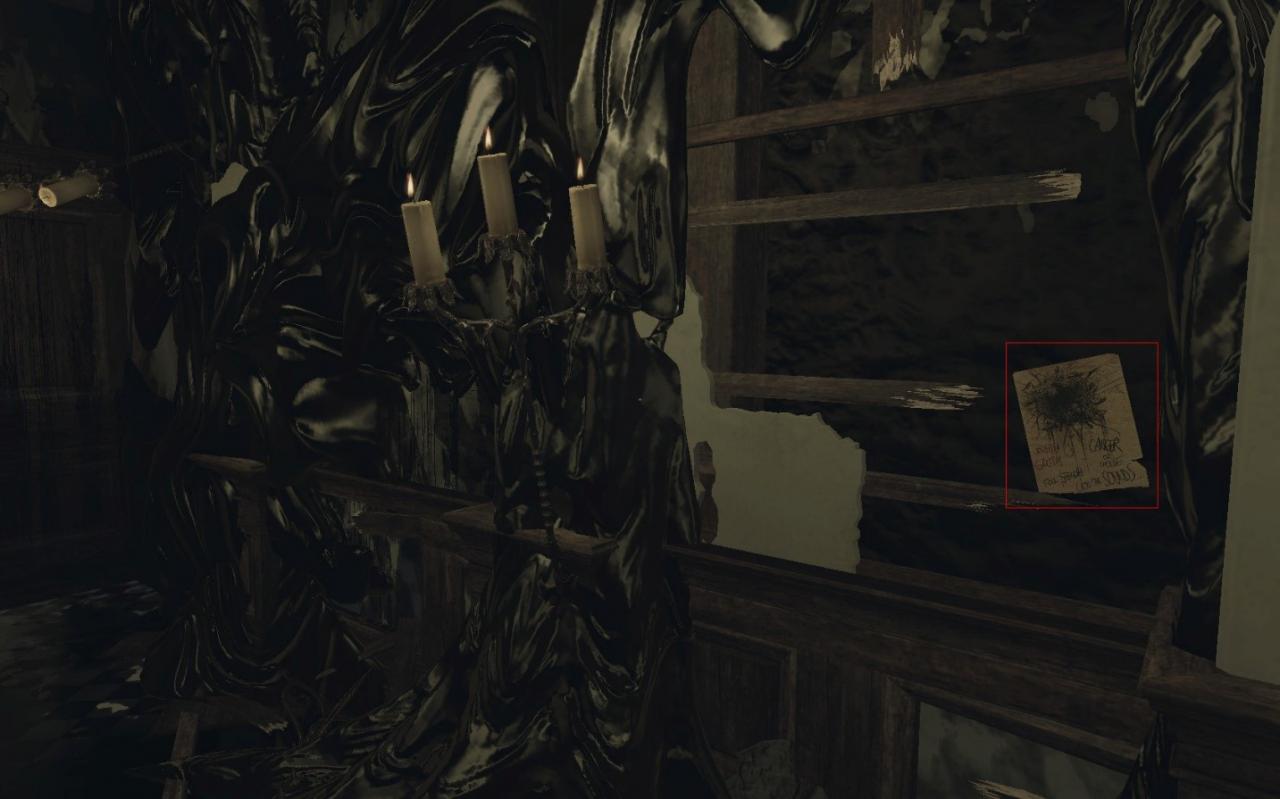
Rat Drawing #16 | Room 17 – on left side

RATS ONLY
Rat Drawing #1 | Chapter 1 Room 7 downstairs

Rat Drawing #2 | Chapter 1 Room 9

Rat Drawing #3 | Chapter 1 Room 14 (LeftsideKitchen)

Rat Drawing #4 | Chapter 2 Room 17

Rat Drawing #5 | Chapter 3 Room 2 left door behind the Plants

Rat Drawing #6 | Chapter 3 Room 4

Rat Drawing #7 | Chapter 3 Room 11 – Look up on the table or switch the light on

Rat Drawing #8 | Chapter 3 Room 17 – through the left door in the bathroom

Rat Drawing #9 | Chapter 3 Room 18 – last right locked door

Rat Drawing #10 | Chapter 3 Room 21 In one of the dark corners there will be lots of vines hanging down, the note will be there

Rat Drawing #11 | Chapter 4 Room 7 – try to open both drawers

Rat Drawing #12 | Chapter 4 Room 20 – left door (Baby Room)

Rat Drawing #13 | Chapter 5 Room 7b – After unlocked the door in room 6 when you get blocked by an event and hear baby voice, don’t follow the light and go through the first door. Try to rotate your view until another path opens and follow the rat

Rat Drawing #14 | Chapter 5 Room 8

Rat Drawing #15 | Chapter 5 Room 12 – through the right door on the canvas

Rat Drawing #16 | Chapter 6 Room 17 – on left side
