Documentation of moves and uses for all characters.
Intro
I’ve gone out and listed the following for each character:
- Stats
Health, Attack, and Speed. - Roles
What the character is mainly used for (e.g. healer, AoE attacks, etc). - Recommended Position
What position in the party the character works best in. - Move List
A simple list of what attacks a character has.- Normal – The attack executed when pressing the character’s attack button.
- Down – The attack executed when pressing the character’s attack button with the down button held down.
- Up – The attack executed when pressing the character’s attack button with the up button held down or held up for controllers.
- Special (1 Bar) – The attack executed when holding the focus button + pressing the character’s attack button once.
- Special (2 Bars) – The attack executed when holding the focus button + pressing the character’s attack button twice.
- Special (3 Bars) – The attack executed when holding the focus button + pressing the character’s attack button three times.
- Move Usage
A detailed description of each move. - Basic Gameplay
How I use the character. Probably the most opinionated part of this guide, but I tried to keep it as factual as possible. - Combos
Any potential combos that I’ve found while writing this guide.
Obviously, this game just came out. I haven’t unlocked all the characters yet, nor do I have to time to plow through this game in one sitting. I’ll be adding characters as I go through the game, and updating already documented characters as more information is discovered. Feedback would be appreciated.
10/9: Initial post (Thorani, Zebei, Razmi, Dhar)
Defining Some Terms
Put simply, they do damage to multiple foes with one attack. Examples include Dhar’s Special attacks and Zebei’s Up attack.
Characters that deal damage in large “chucks” rather than constant quick attacks. A prime example is how Dhar’s Down attack let’s him store attacks to power up high damage attacks.
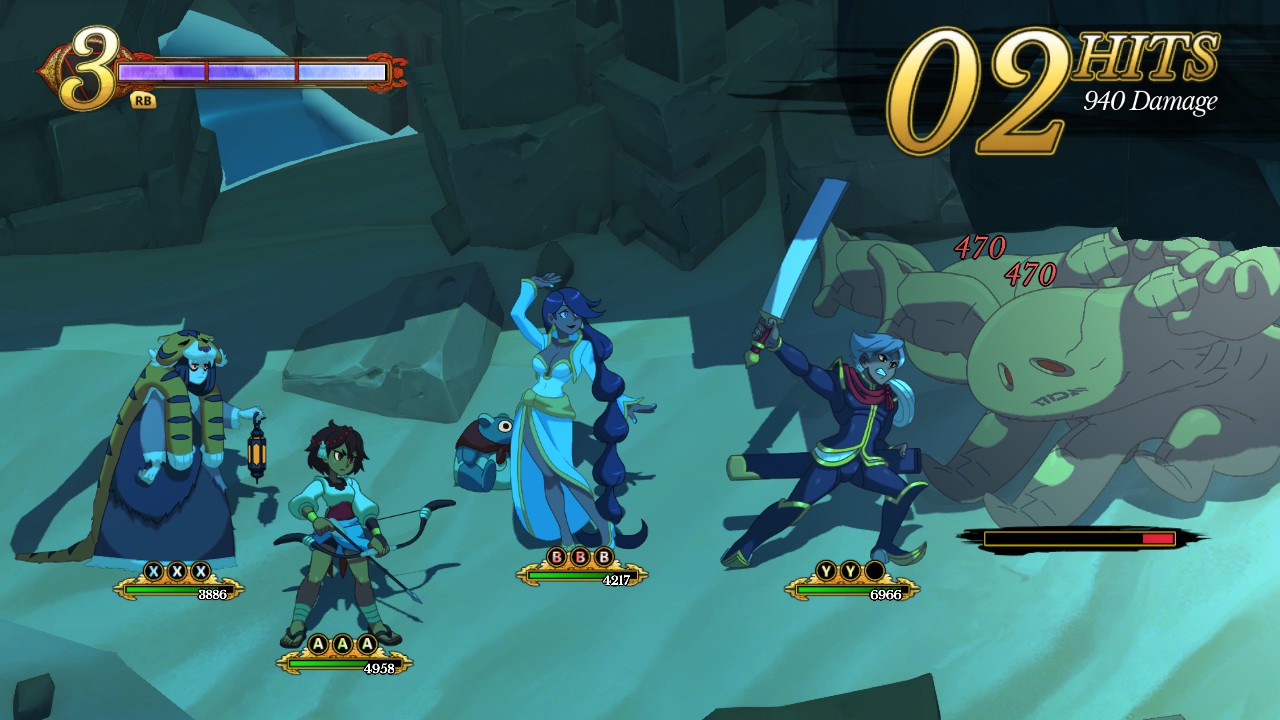
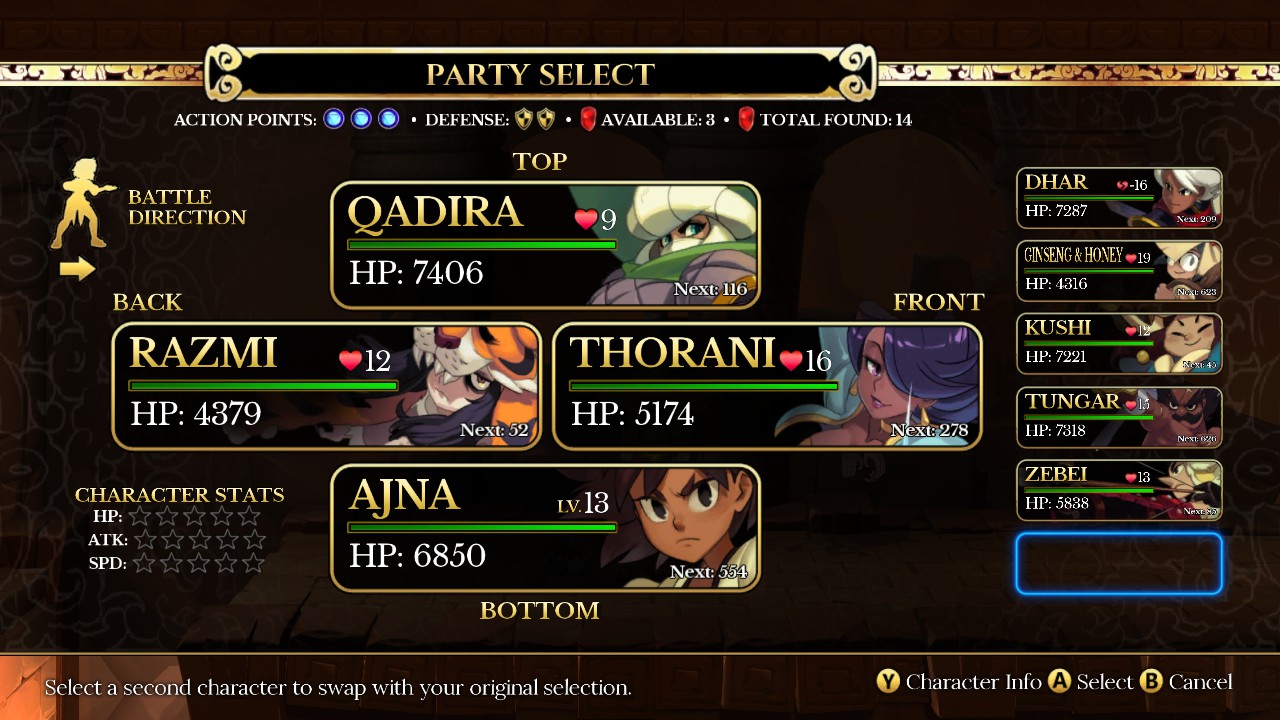 I use “Face The Enemy” formation, which makes it so that my party is always oriented the same way. Front is front, back is back, and top & bottom are “sides”.
Ajna
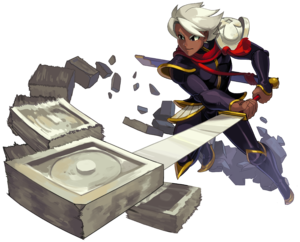
Dhar
Primary: AoE Damage
Secondary: Burst Damage
Front or sides.
 Dhar slashes at the target. This will hit multiple targets if they are close enough, which is almost always.
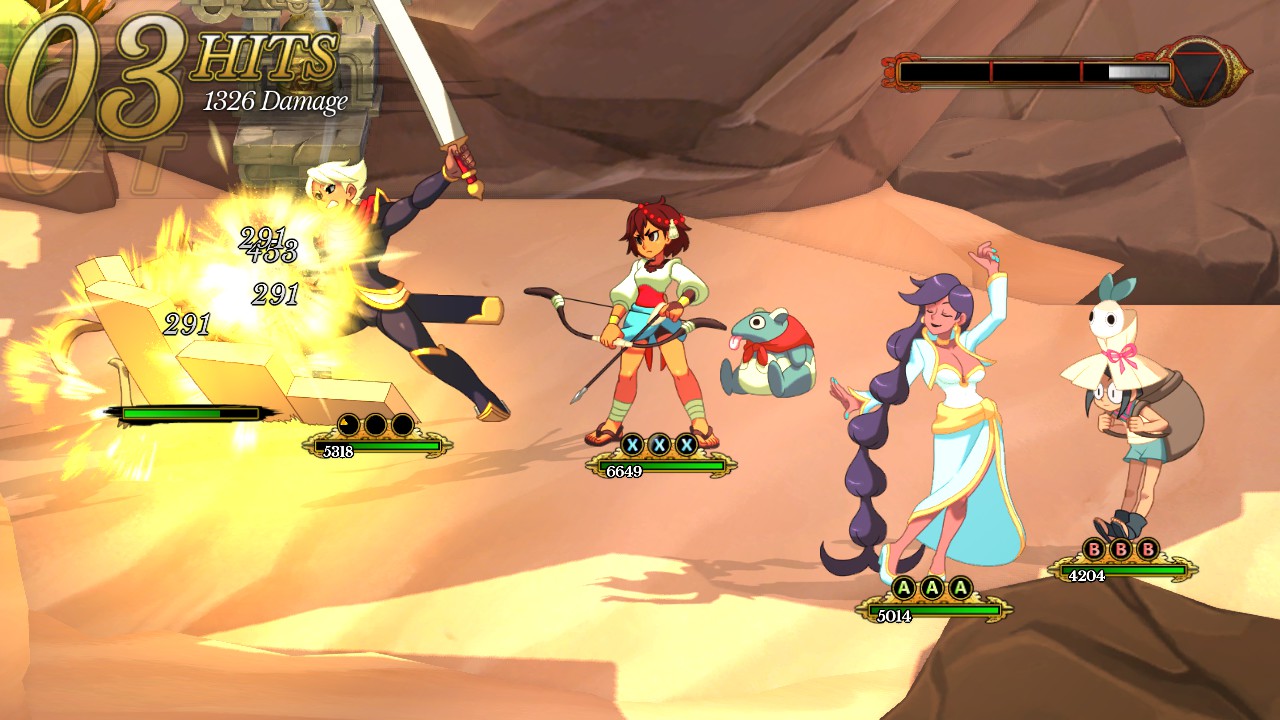
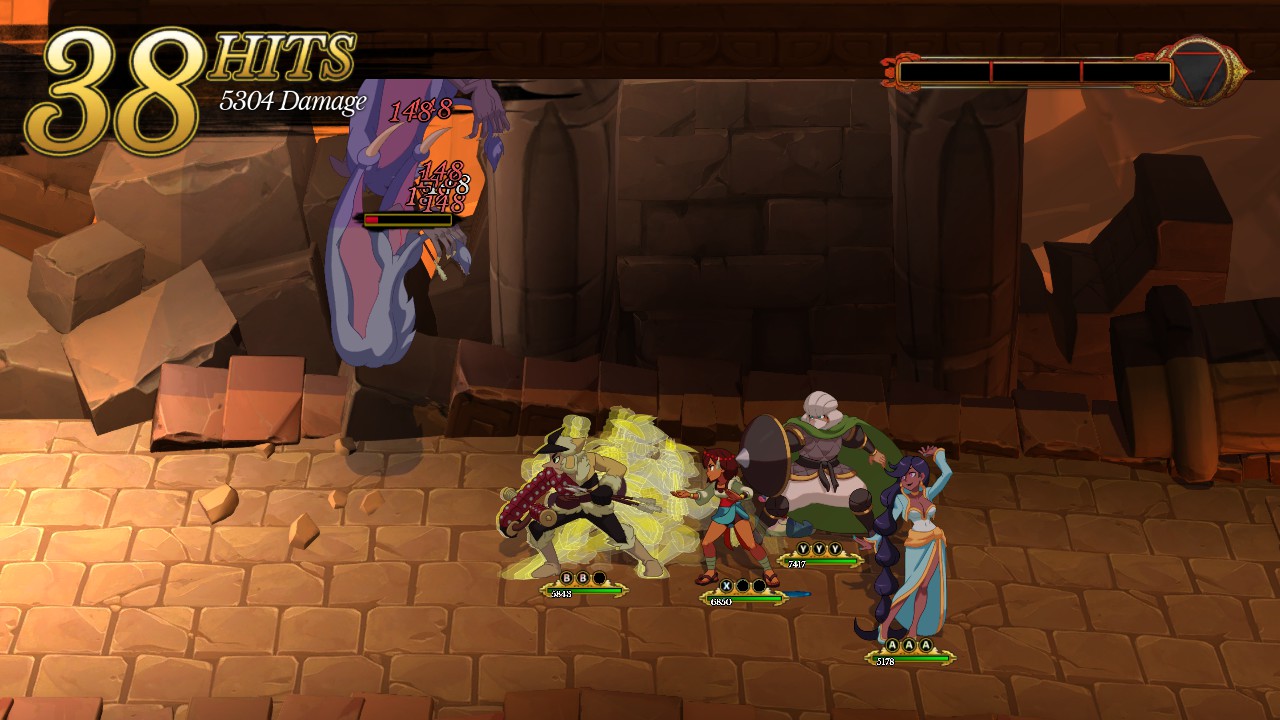
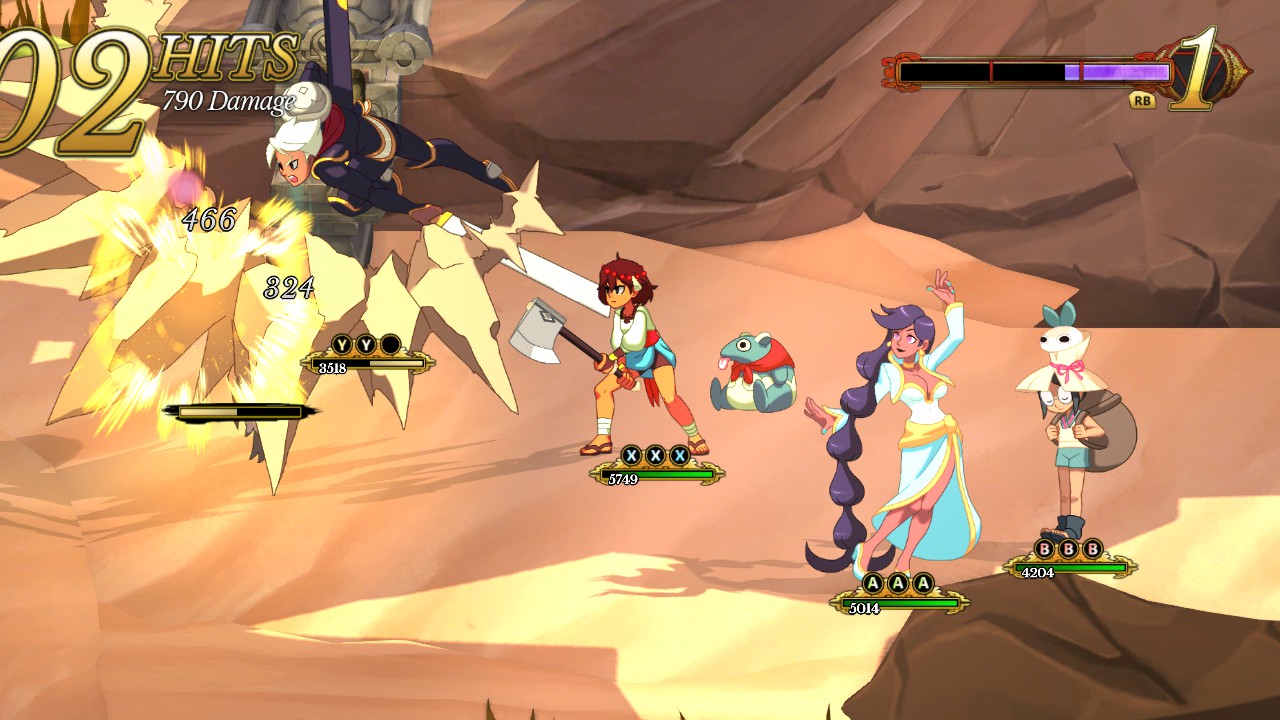 Dhar stores one attack in order to power up another attack. You can gauge how much power you’ve stored by the amount of stone orbiting Dhar. Each attack consumes one charge of the stored power.
Here’s how it interacts with Dhar’s attacks:
- Normal: Attack hits four times for each target hit (excludes airborne targets)
- Up: Attack hits twice.
- Special: Does nothing
Strangely, Dhar’s Normal and Special attacks appear to not work properly when used on airborne foes. The charge is consumed, but the damage remains the same as a regular attack. I also couldn’t find a difference in the damage of boosted special attacks while writing this. It’s either bugged or has a specific trigger.
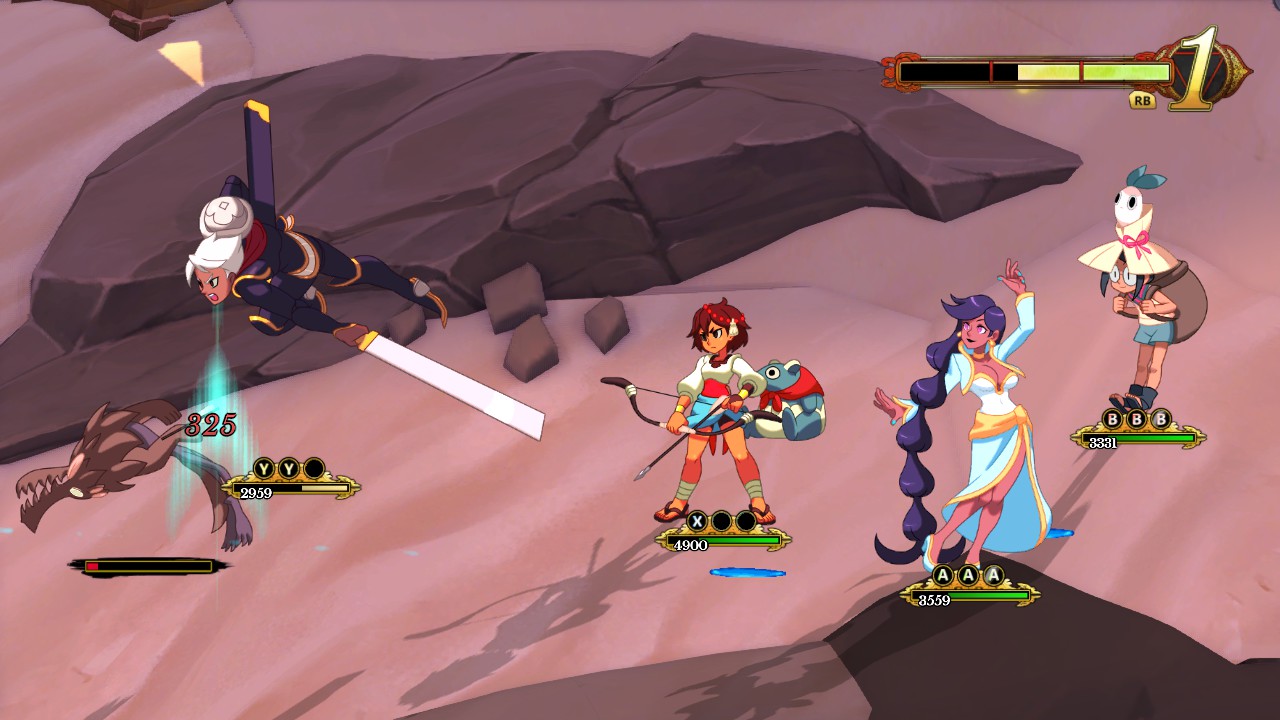
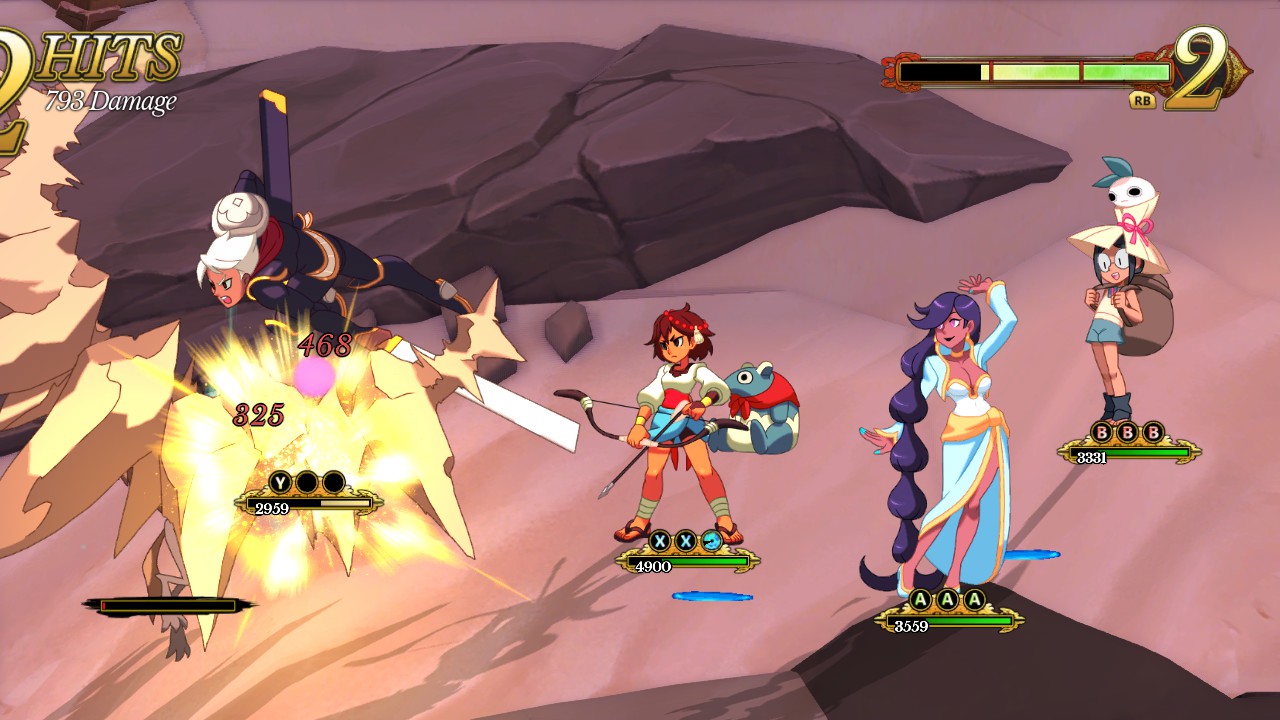 Dhar jumps into the air and slashes at the target. This attack does not hit multiple targets, despite how it looks. This is an easy way to bring airborne targets down into melee range.
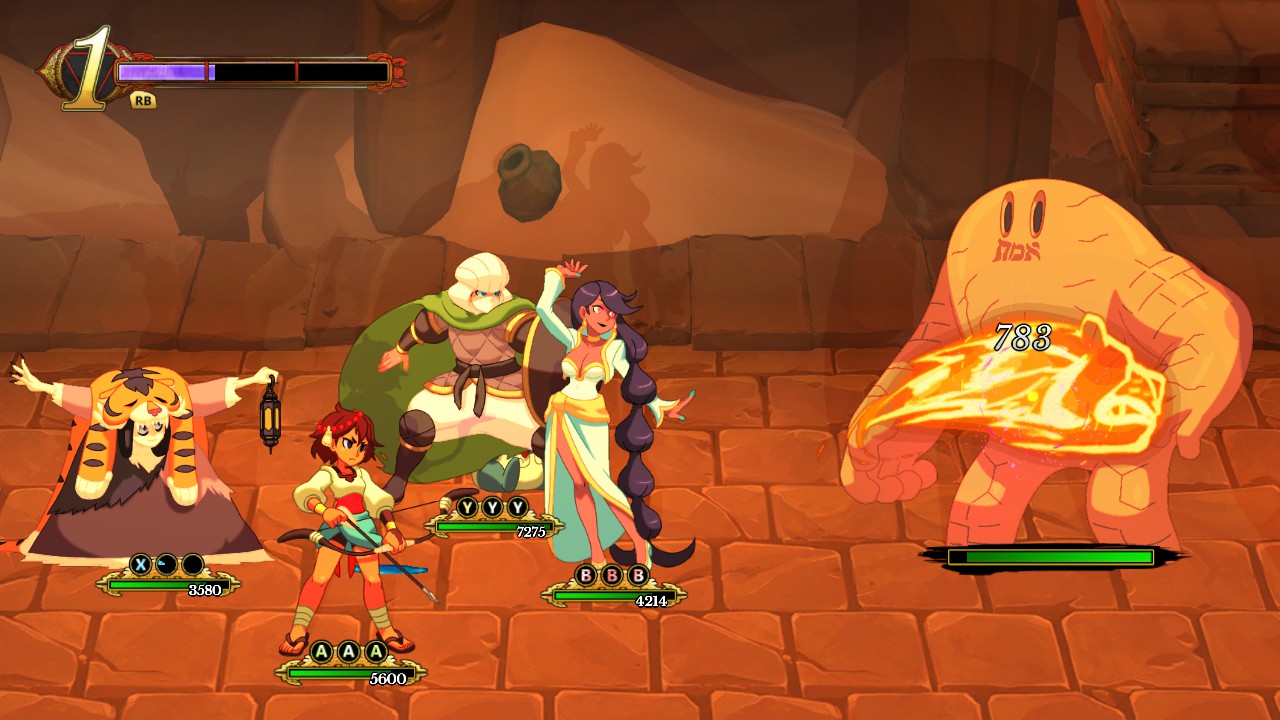
Picture 1 is a non-boosted attack. Picture 2 shows a boosted attack.
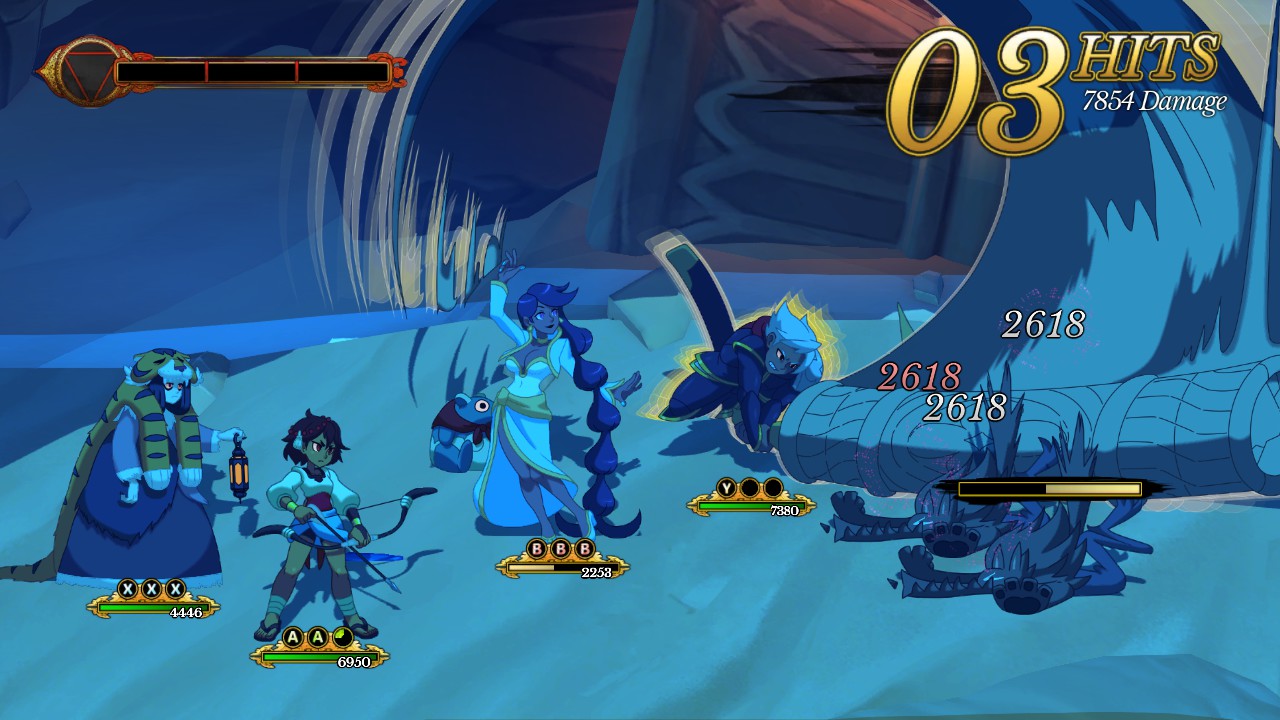 Dhar slams the field with a giant stone sword, hitting everything in the area. This includes airborne foes.
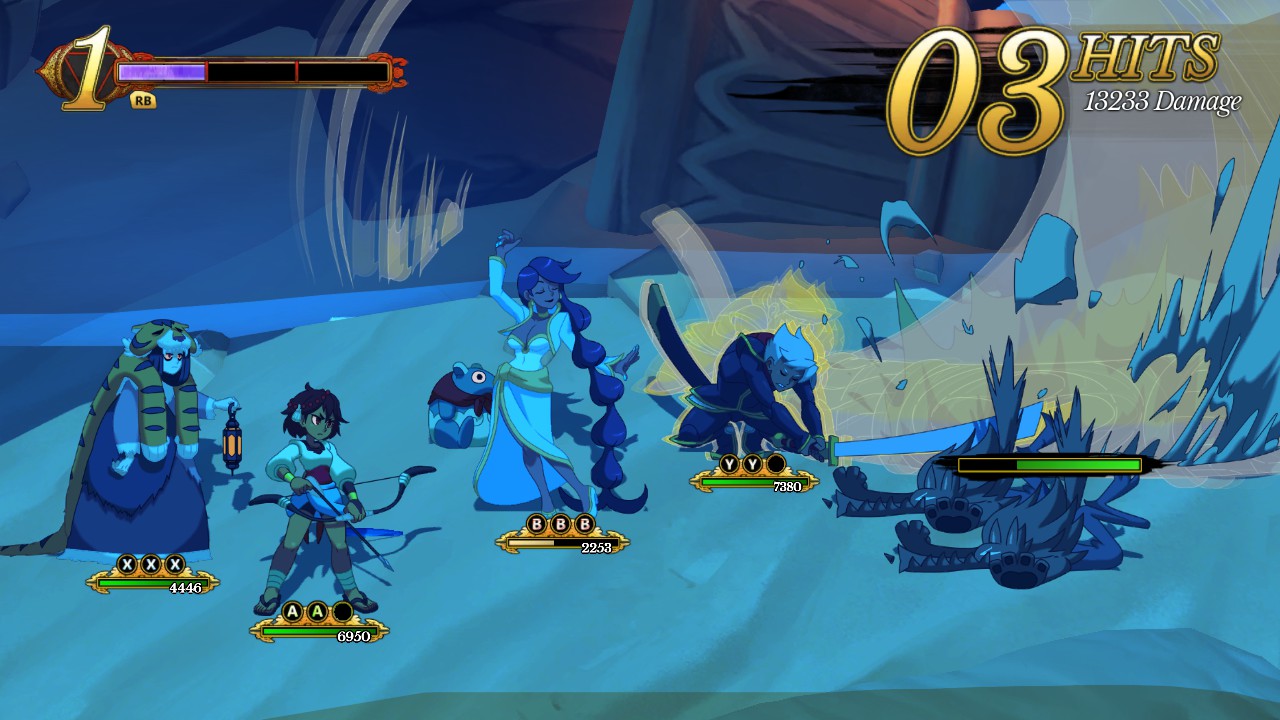
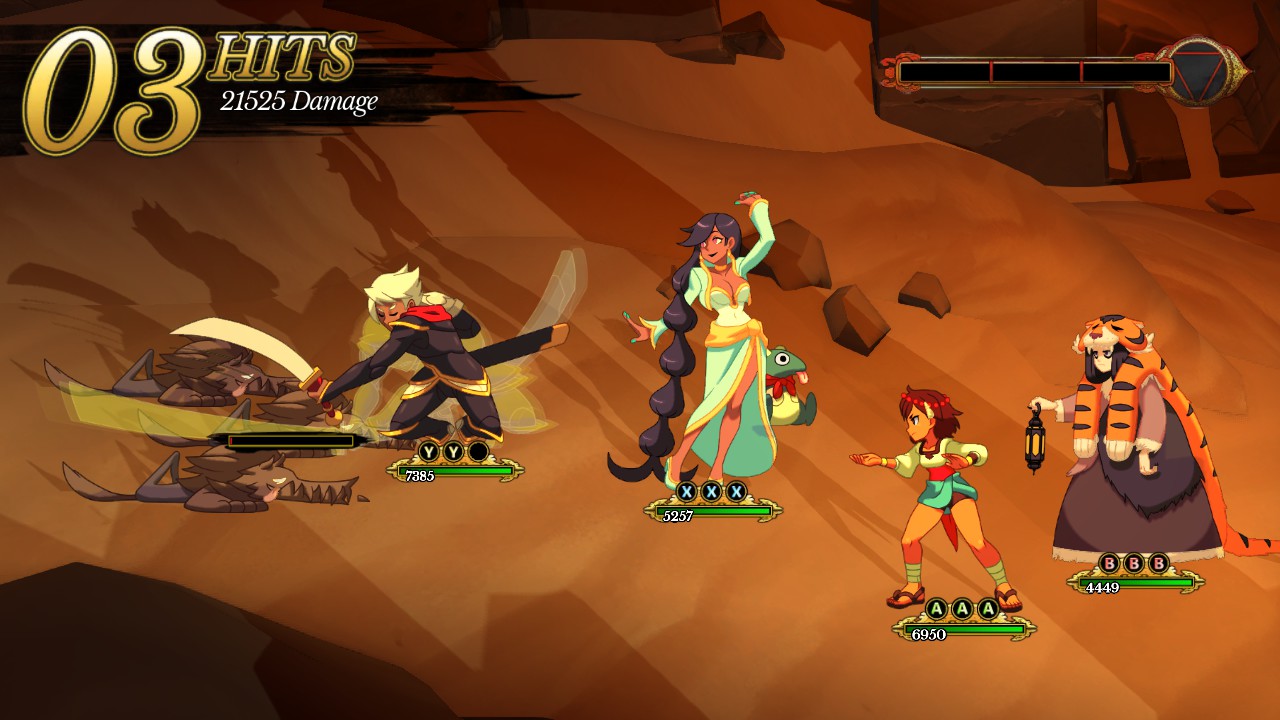 Dhar slams the field with a giant stone sword, hitting everything in the area. This includes airborne foes. This does around 60%-70% more damage than special attack 2.
Dhar is great because he can deal out high single-target damage and has AoE attacks that can hit a lot of targets at once. He even has an up attack that works on the first attack looking at you, Anja. He’s a flexible damage character that can work well in a variety or situations.
Dhar’s only minor drawback is that he does need to charge up before he can deal some solid damage. This is minor mainly because of how fast his attacks recharge. For being listed as a 1.5 speed, he attacks recharge at a rate closer to that of a 2 or 2.5 speed.
I am unsure what to list as possible combos for Dhar. Most would require charging his attacks first and then using either Normal attack or Up attack. I recommend using 3 Normal attacks for ground targets, or a Up attack followed by 2 Normal attacks for airborne targets.
Razmi (& Bon)
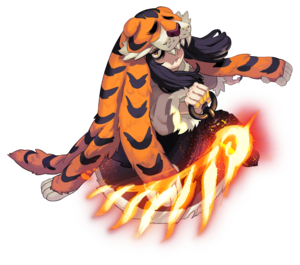
Primary: AoE damage
Secondary: Healing
The back.
Can be moved to the sides if another character needs to be in back.
 Bon flames a target for a good amount of damage. The attack can hit airborne targets.
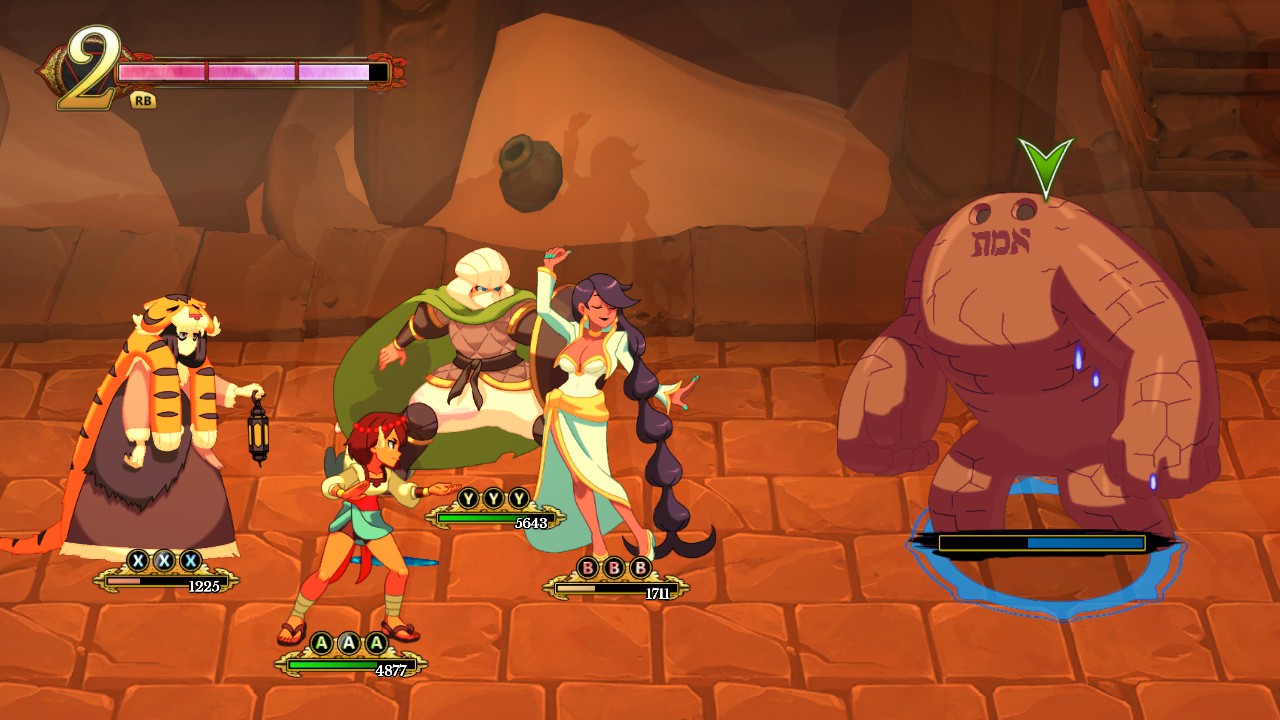
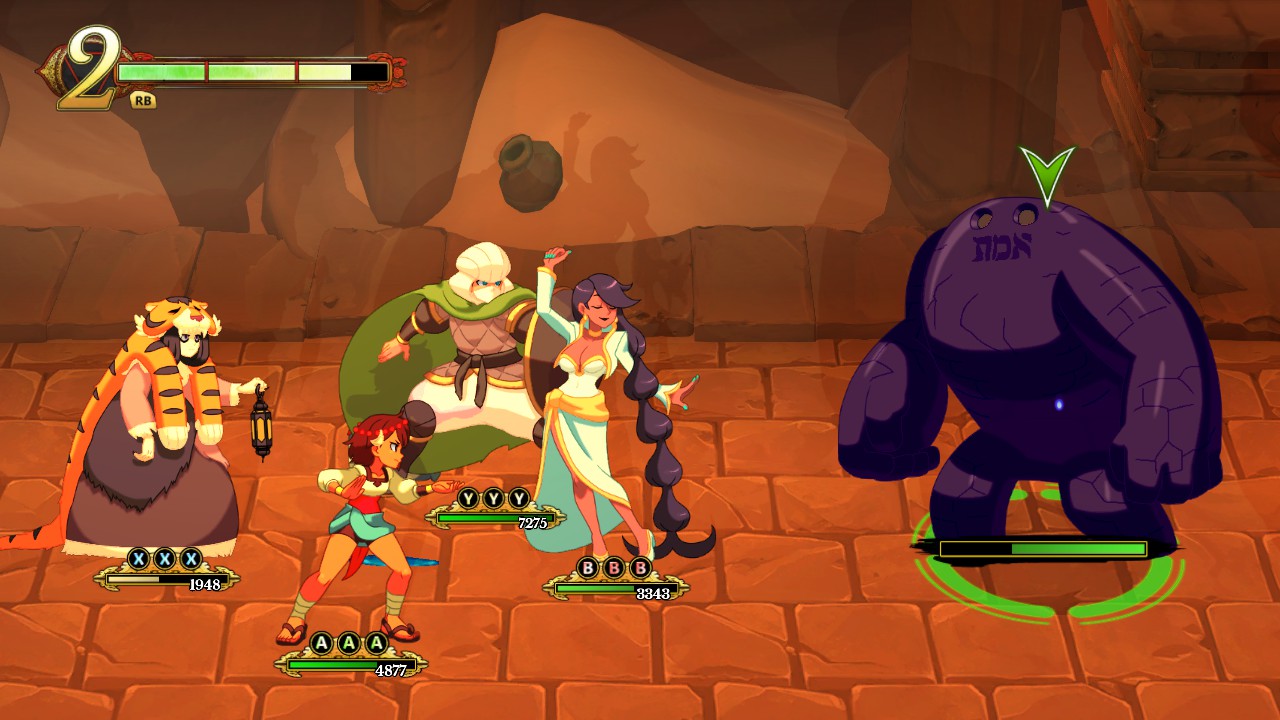 Razmi curses the target, causing them to have a longer wait between attacks. From what I was able to measure, each curse level causes the target to attack ~33% slower, up to 100% slower at level 3. You can tell what level curse a target has by how dark it is shaded.
Pictures show the color difference between a level 1 and level 3 glare.
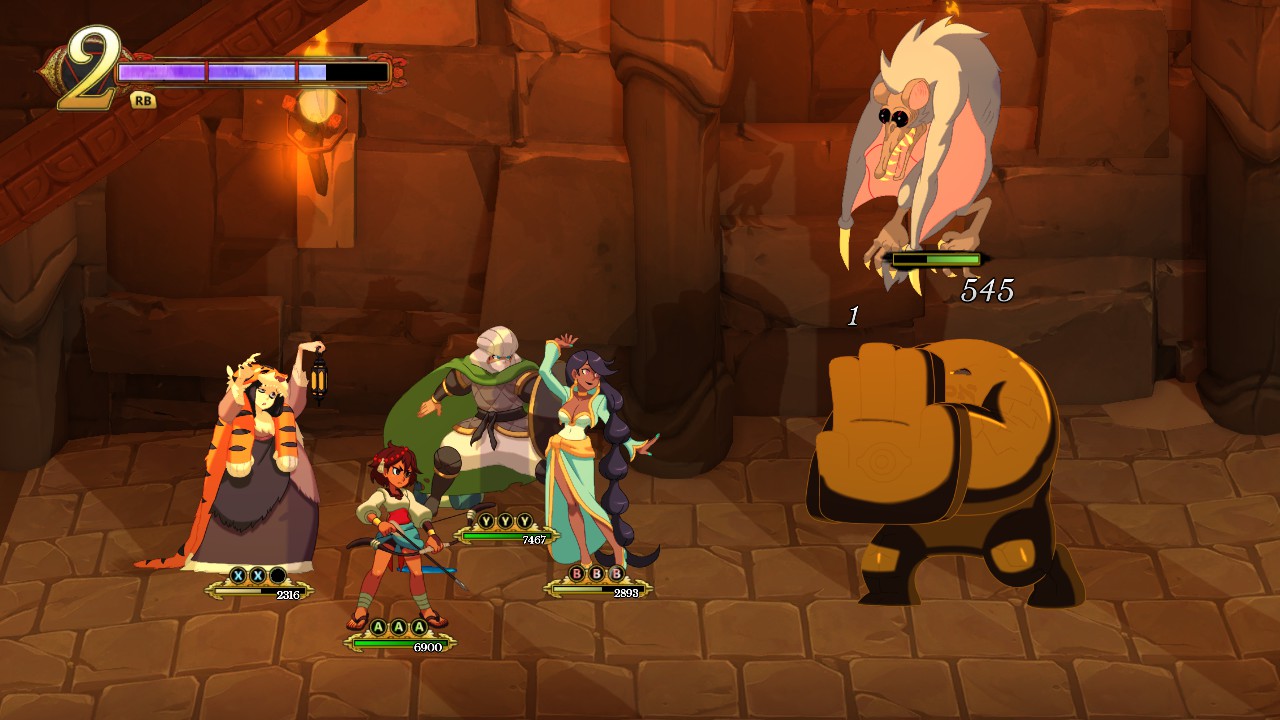 Bon launches upwards from the ground to the target. This means that if you target an airborne target with foes below it, it will hit both. It does slightly less damage than her Normal attack.
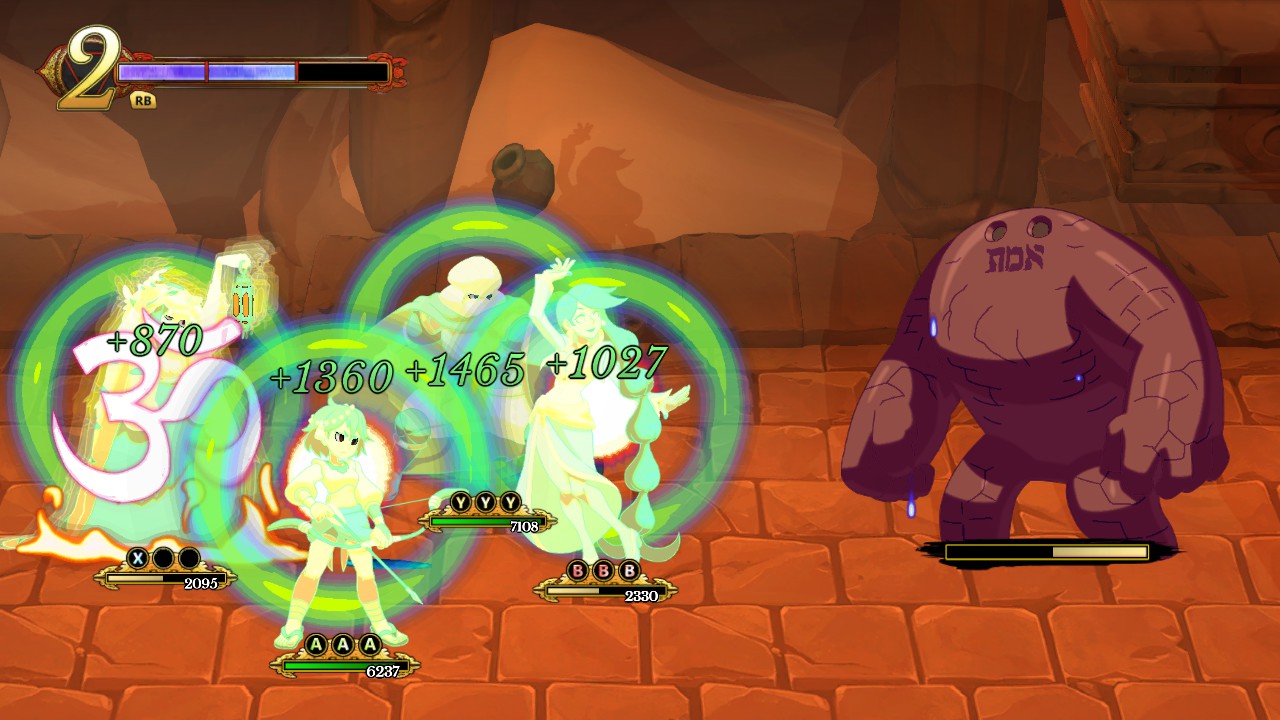 Razmi heals the party for a large amount of health. Use this when you’re in trouble. If you’re using Razmi as your main healer, you’ll be using this a lot.
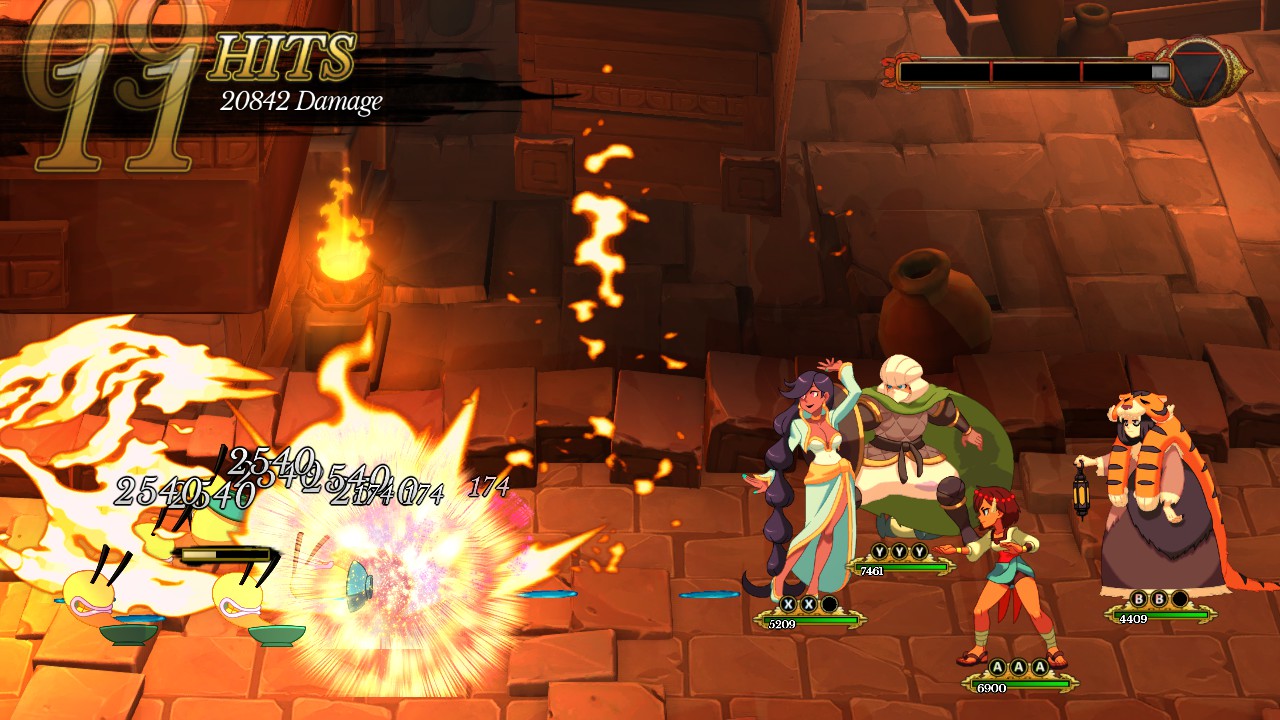
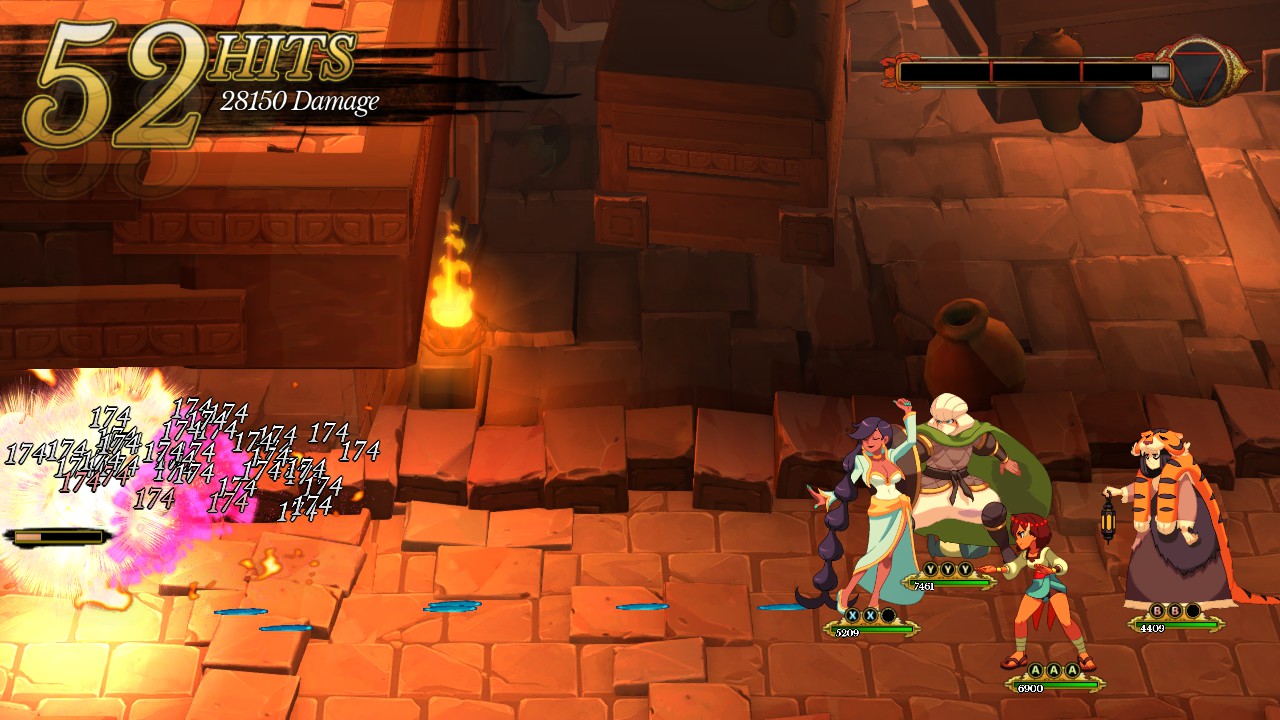 Razmi launches Bon forward across the field, hitting everything in his path. This attack is devastating against large groups of foes. It also knocks down airborne foes.
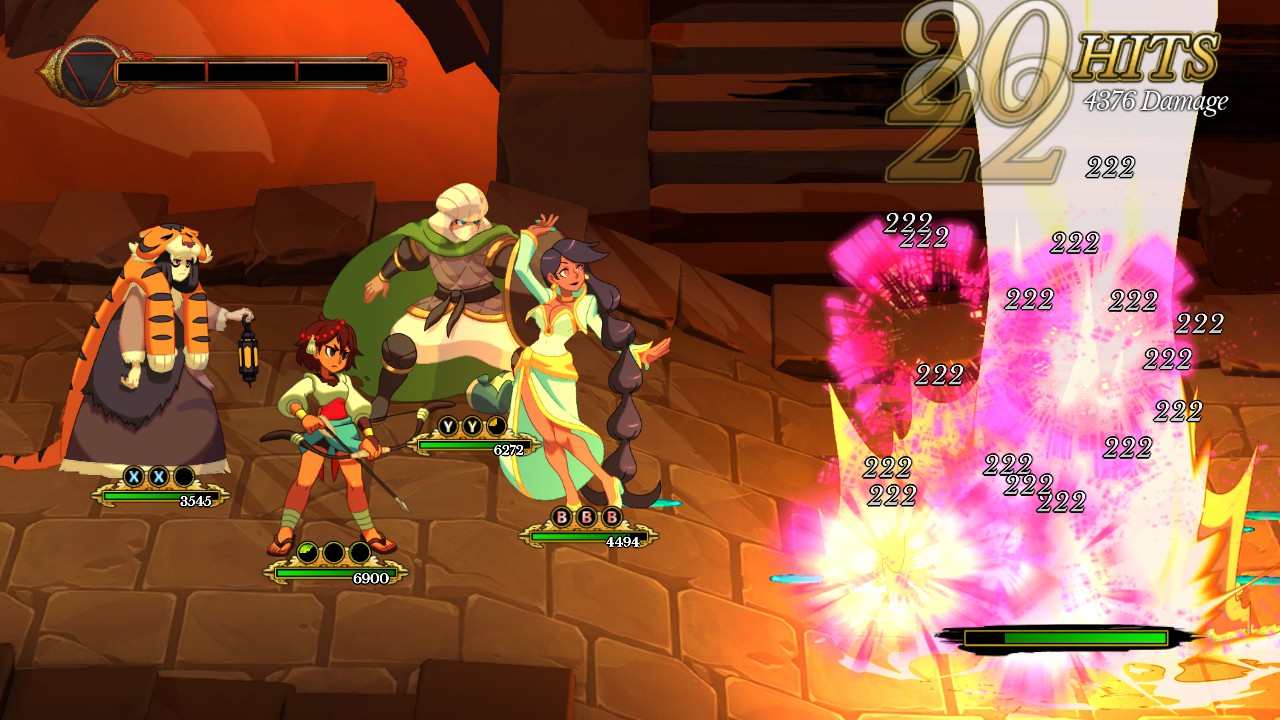 Razmi calls in an orbital strike unleashes Bon, having him rain down fire on the target’s side of the field causing massive damage. Like special attack 2, this hits everything, but does more damage and looks insane. For those that can never have enough fire.
Razmi excels at dealing with large groups of foes. Special attacks 2 & 3 can hit multiple foes read: everything at once, and up attack can as well to a lesser degree. She can even heal a good amount of health for just one bar too, making her a good all-around character. I am unsure yet if Razmi works well enough as a lone healer (she’s probably fine).
Glare works best for bosses, or targets that already have long waits between attacks.
Razmi’s major drawback is her small health pool. You’ll need to watch her health closely to know when to drop some healing.
She also has one of the lowest speeds of all the characters. Her attacks can take a long time to recharge if you blow them all at once. This also makes comboing harder.
Razmi’s minor drawback is that she doesn’t become powerful until you get three meter charges. Having your only source of healing eat the entire meter is a pain, and not to mention that you don’t get her devastating AoE attacks. She becomes much better later on.
Also note that because Razmi lacks a downward attack, she can not break guarded targets.
Unsure. With her slow speed, most of the time you’ll be saving Razmi’s attacks for when you’re able to use her special. Her up attack works well with other party members, but the recharge on her attacks makes comboing with her a pain.
Zebei
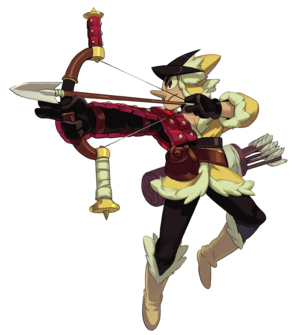
Primary: Airborne target damage
Secondary: Burst damage
The back.
Can be moved to the sides if another character needs to be in back.
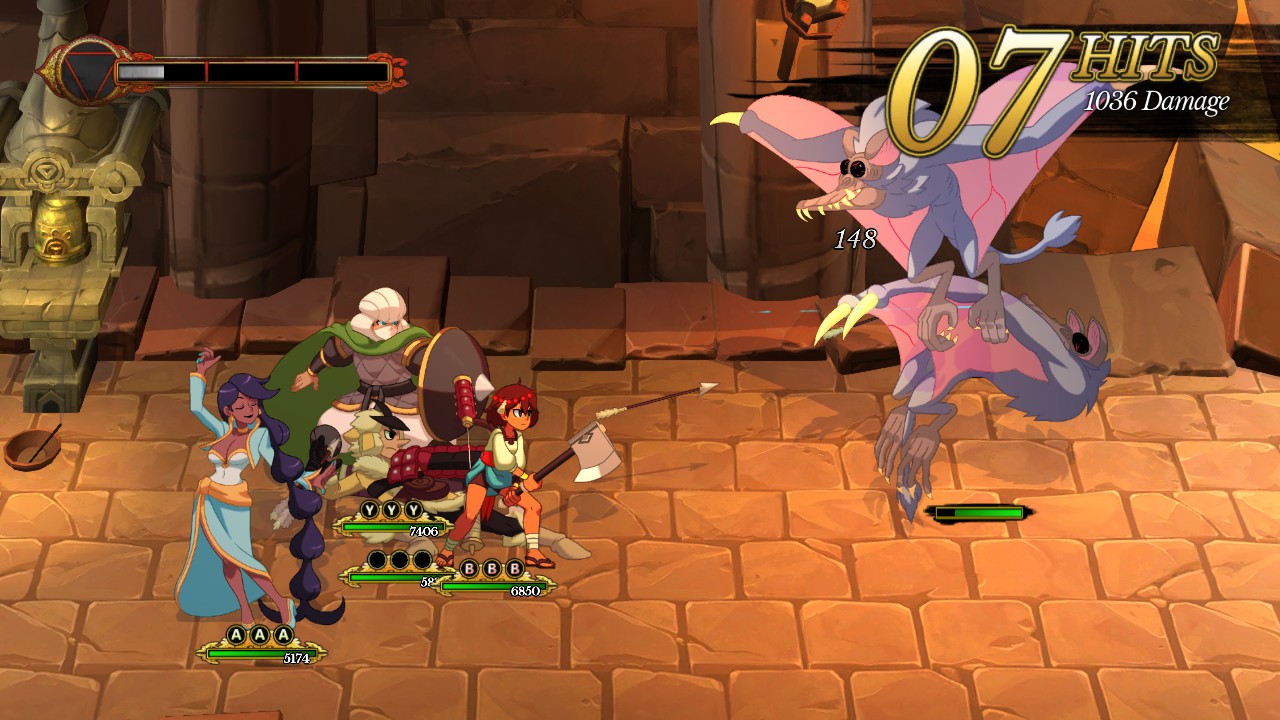 Zebei shoots three individual arrows at the target. These arrows do moderate damage. This attack very rarely hits multiple targets.
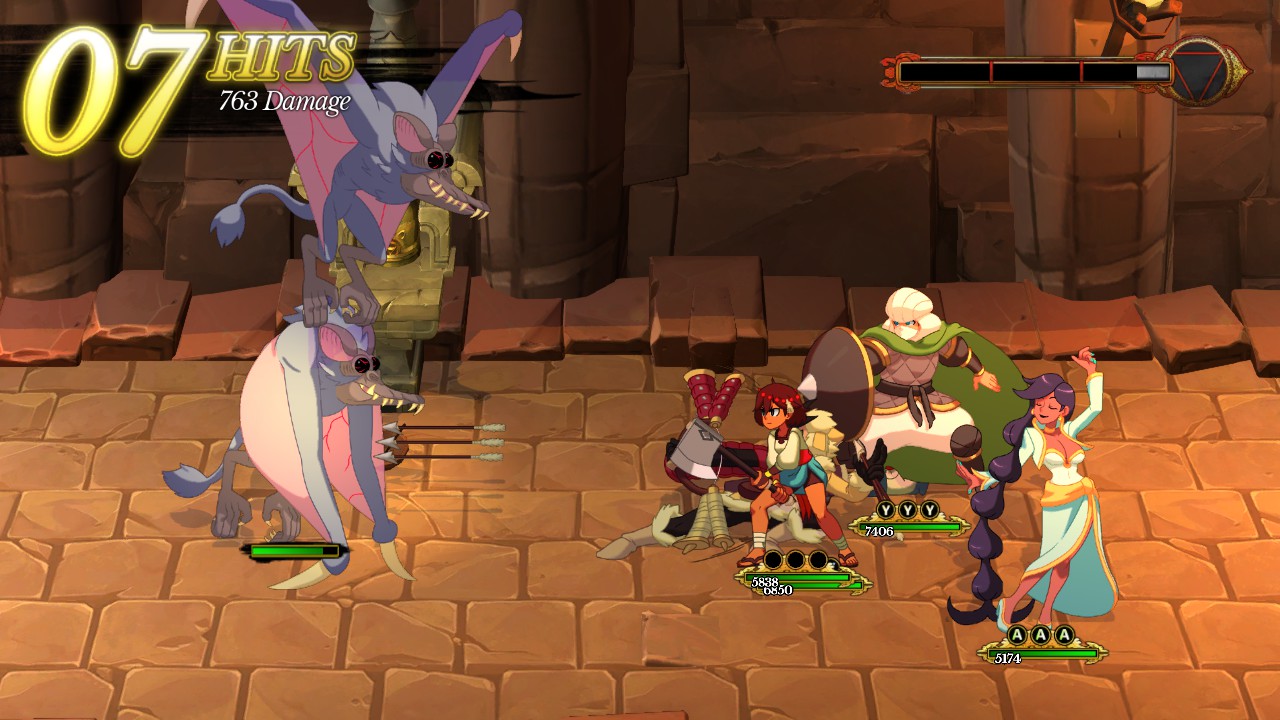
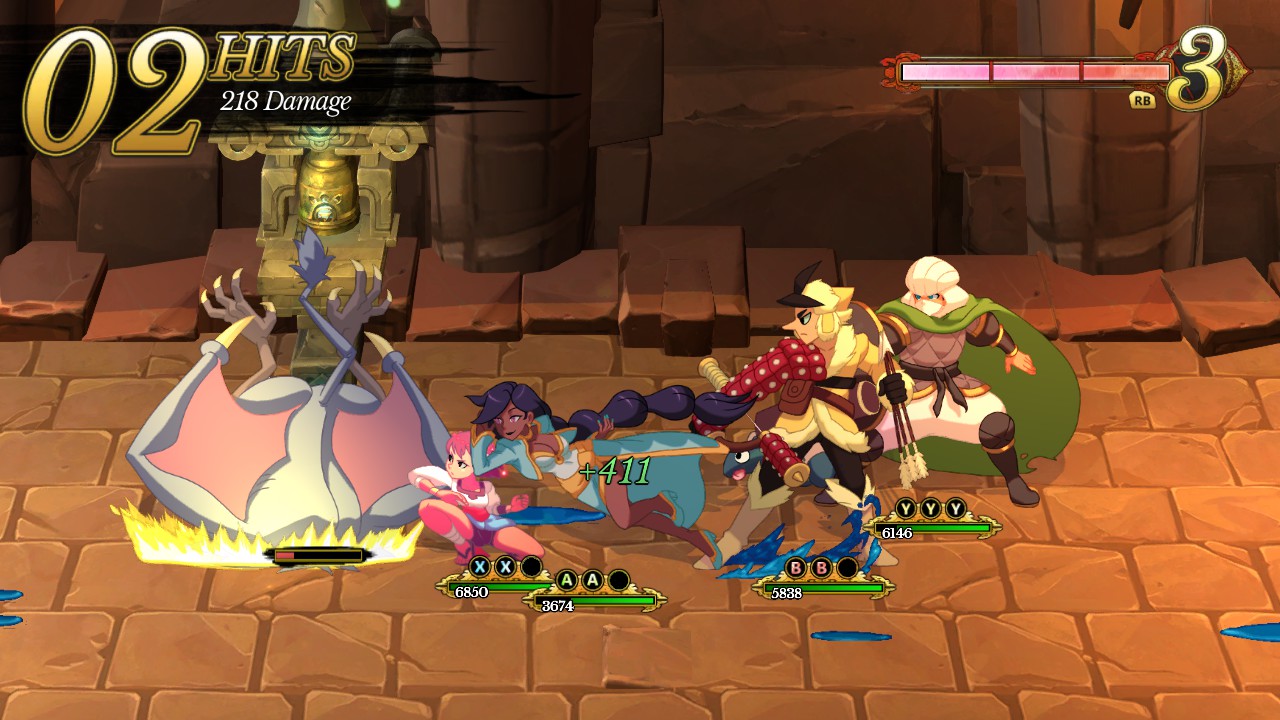
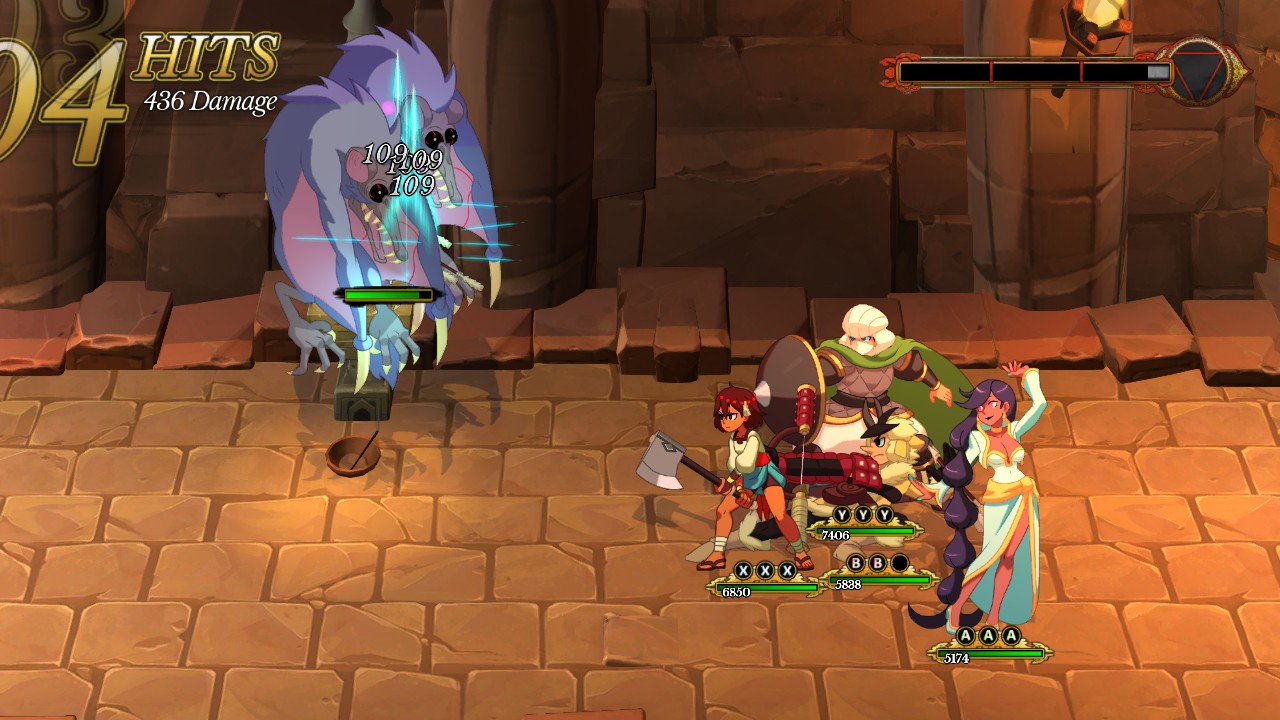 Zebei shoots three clustered arrows at the target. These arrows do slightly less damage than the normal attack. However, there’s a high chance that the attack will hit targets that are clustered together.
Picture 2 shows two targets being hit at once.
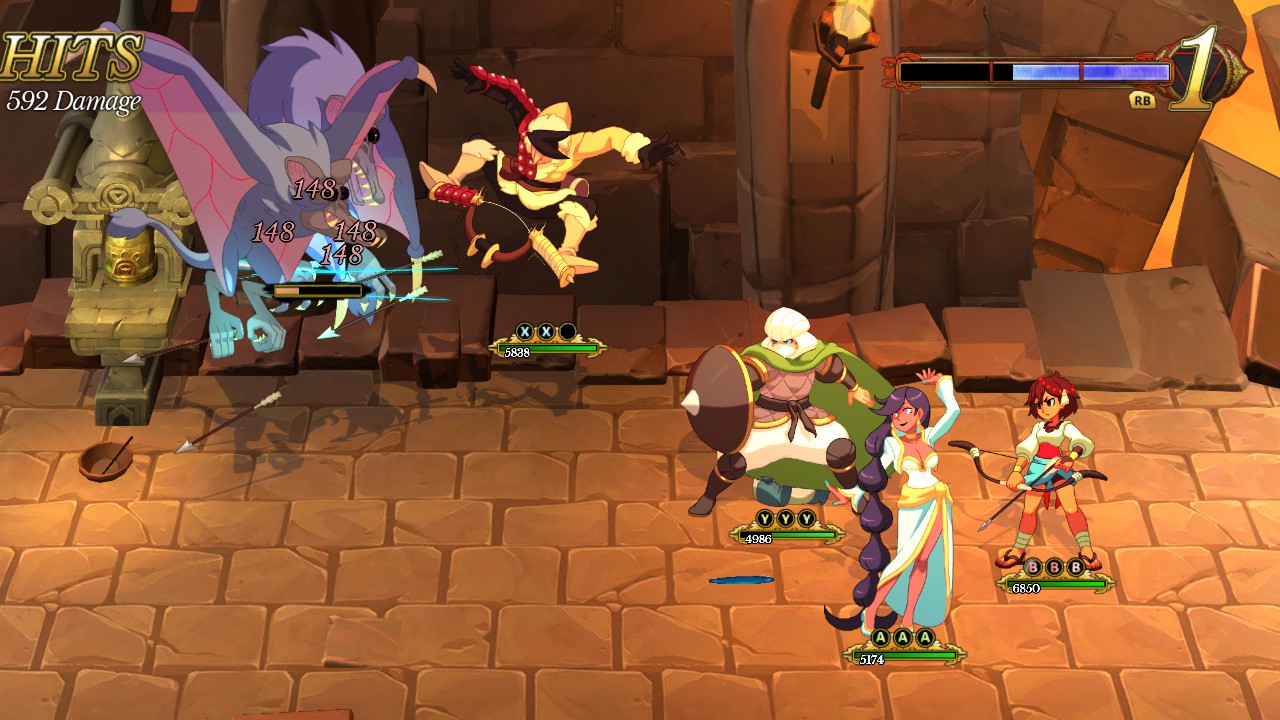
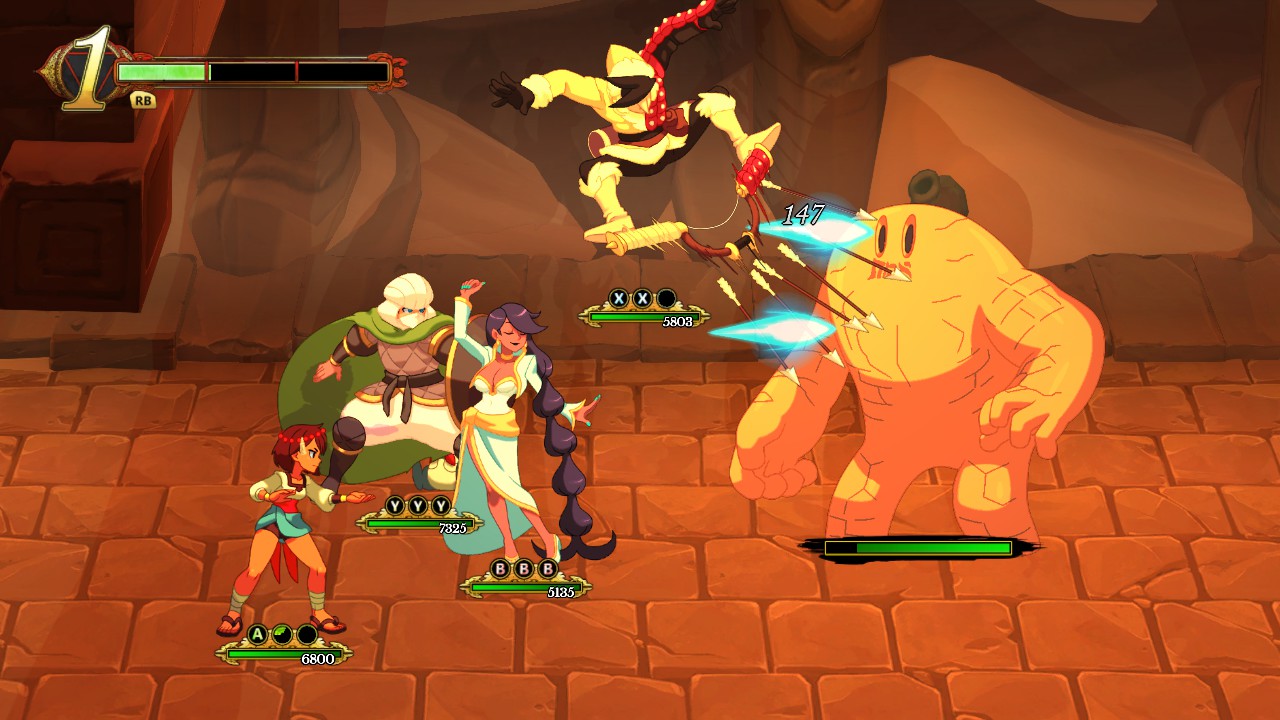 Zebei shoots six arrows downward at the target. These arrows do slightly more damage than the normal attack. The main feature of this attack is how the arrows spread across the enemy’s side of the field. If an arrow collides with a foe’s hitbox, it will do damage . It can potentially lead to some arrows not hitting anything due to the spread.
Do note that an arrow can only hit one target. Once it collides with something (terrain or foe), it will not deal damage anymore.
Picture 1 shows how arrows can miss the targets due to the spread (the bat higher up can also evade the shot).
Picture 2 shows the shot angle of the attack.
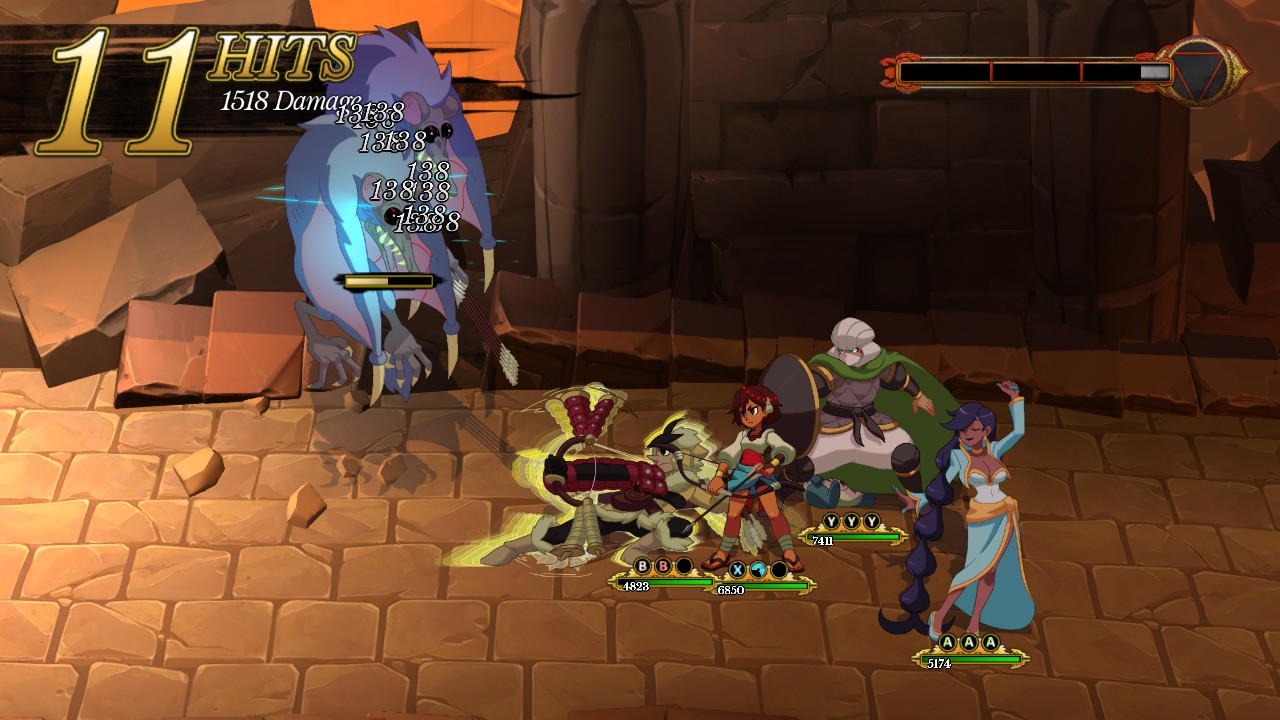 Zebei shoots three barrages of his down attack at the target. The arrow cluster contains 5 arrows, for a total of 15 arrows shot.
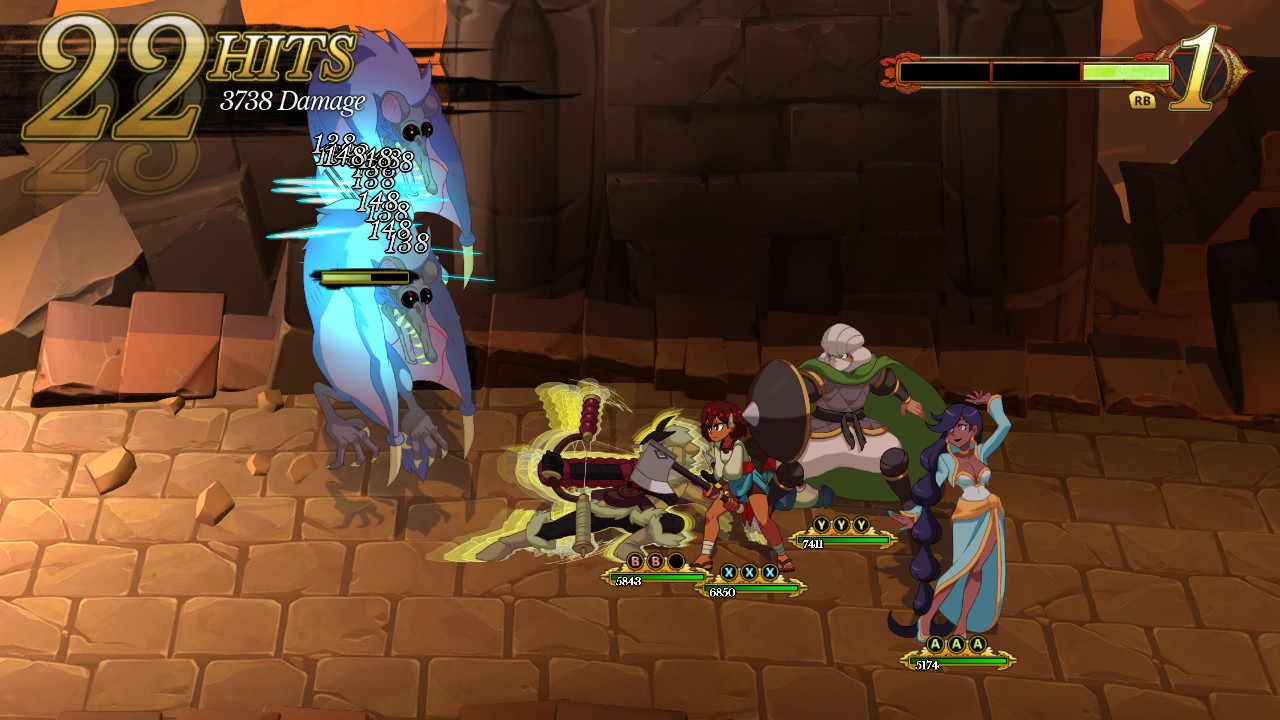 Zebei shoots four barrages of his down attack at the target. The arrow cluster contains 5 arrows, for a total of 20 arrows shot.
 Zebei shoots eight barrages of his down attack at the target. The arrow cluster contains 5 arrows, for a total of 40 arrows shot.
The main use I find for Zebei is to deal with airborne targets. All of Zebei’s attacks will hit airborne targets without fail, allowing you to set up combos with ground based party members who can’t reach those targets. Use the normal attack to down lone targets, and the down or up attack to down multiple targets.
Zebei’s minor drawback is the simplicity of his kit. There’s not much potential to branch out and set up fancy combos that I’ve found yet. I find that it’s more efficient to only bring him out when I know I have to deal with airborne foes, as there are better options for facing only ground foes.
These combos focus on damage to airborne targets.
Icicle Shower
- Down Attack
- Up Attack
- Up Attack
- (Attack with melee party members)
This combo is mainly here to help set up attacks for your other party members. Use down attack to knock down the airborne target(s), then follow up with up attacks to pelt everything on the ground. You can then use other party members to combo off of the downed target(s).
Thorani
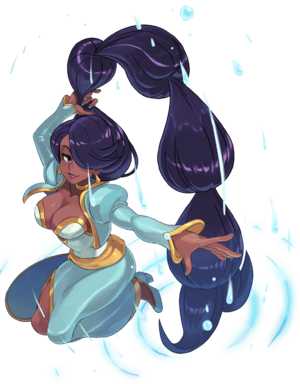
Primary: Healer
Secondary: AoE Damage
Front for ground battles.
Sides if there are airborne enemies.
Avoid the back.
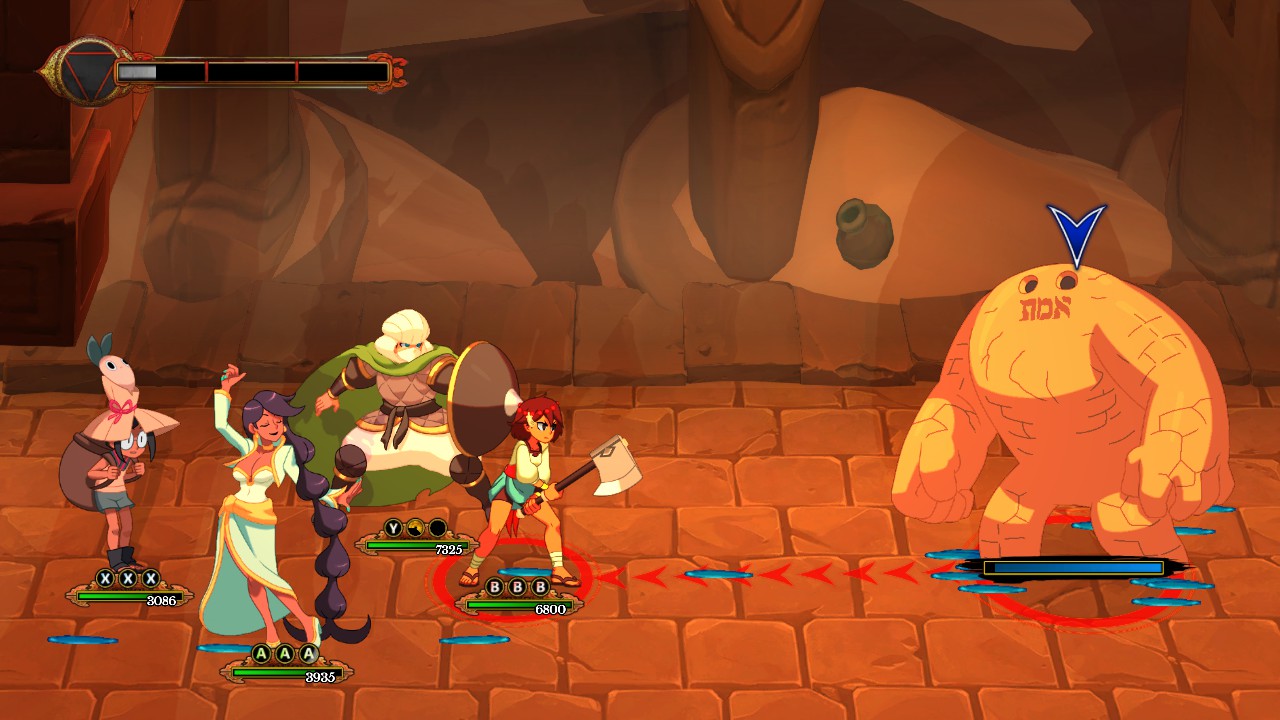
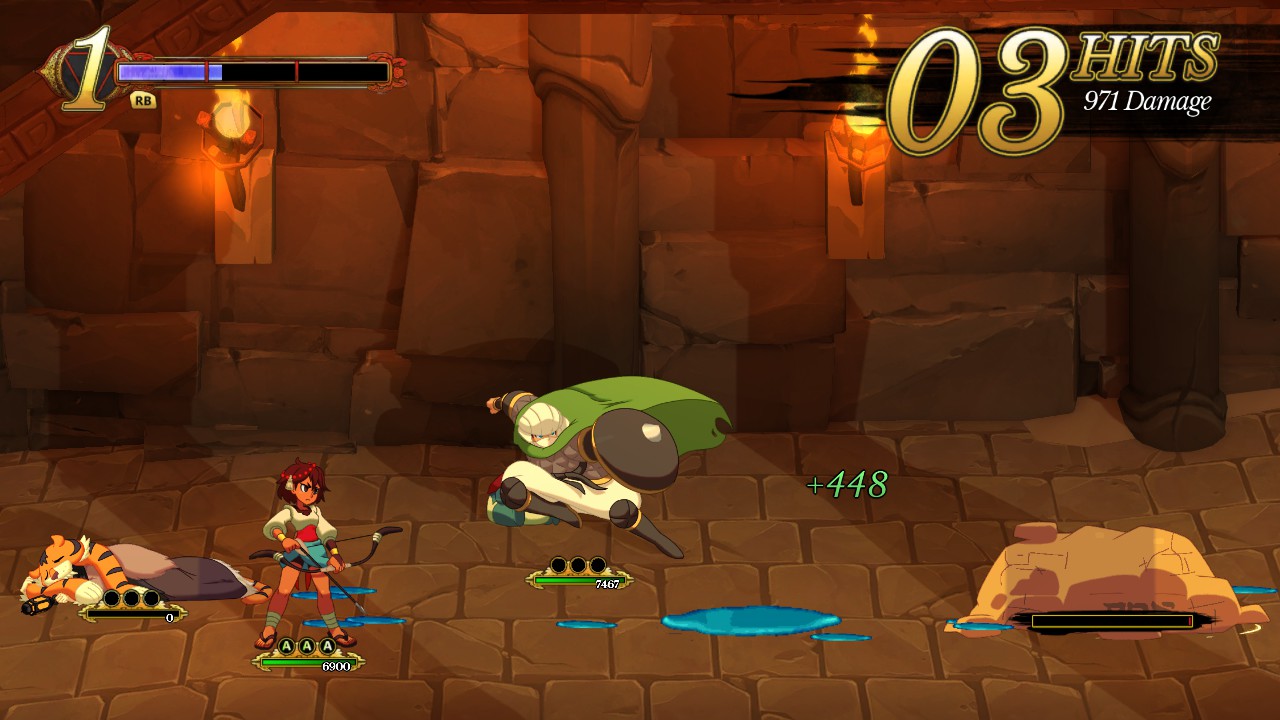
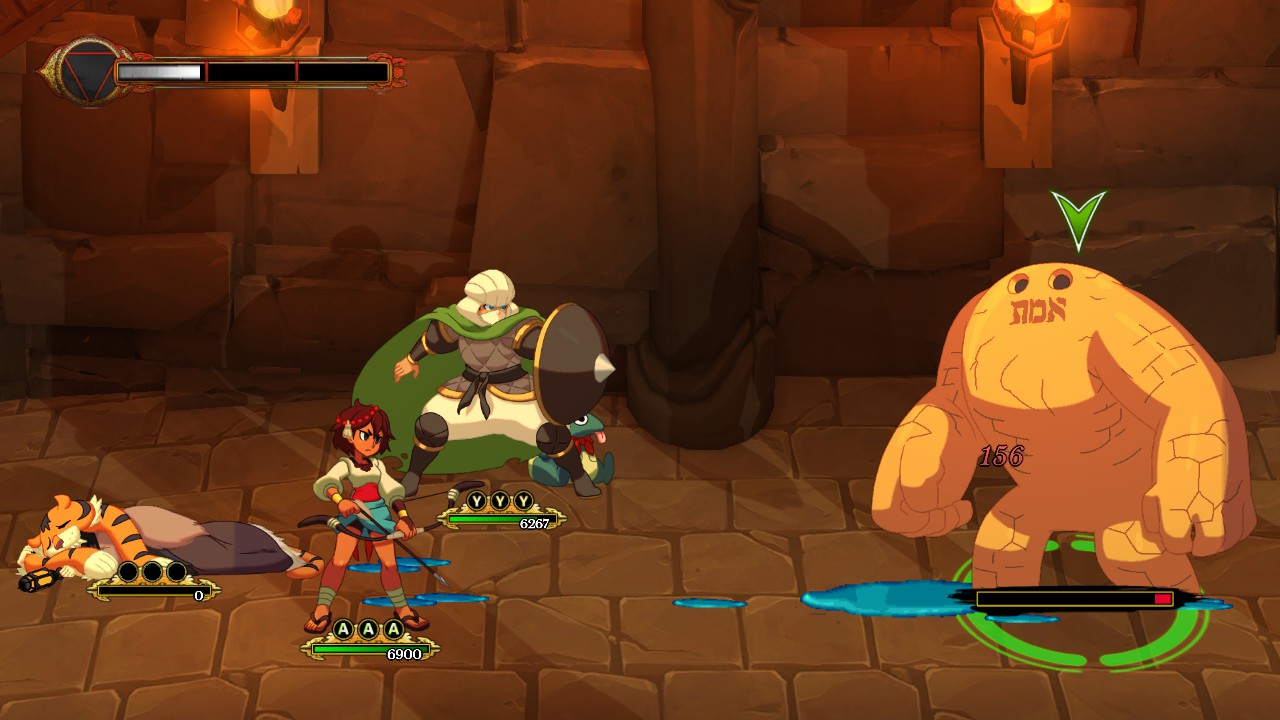
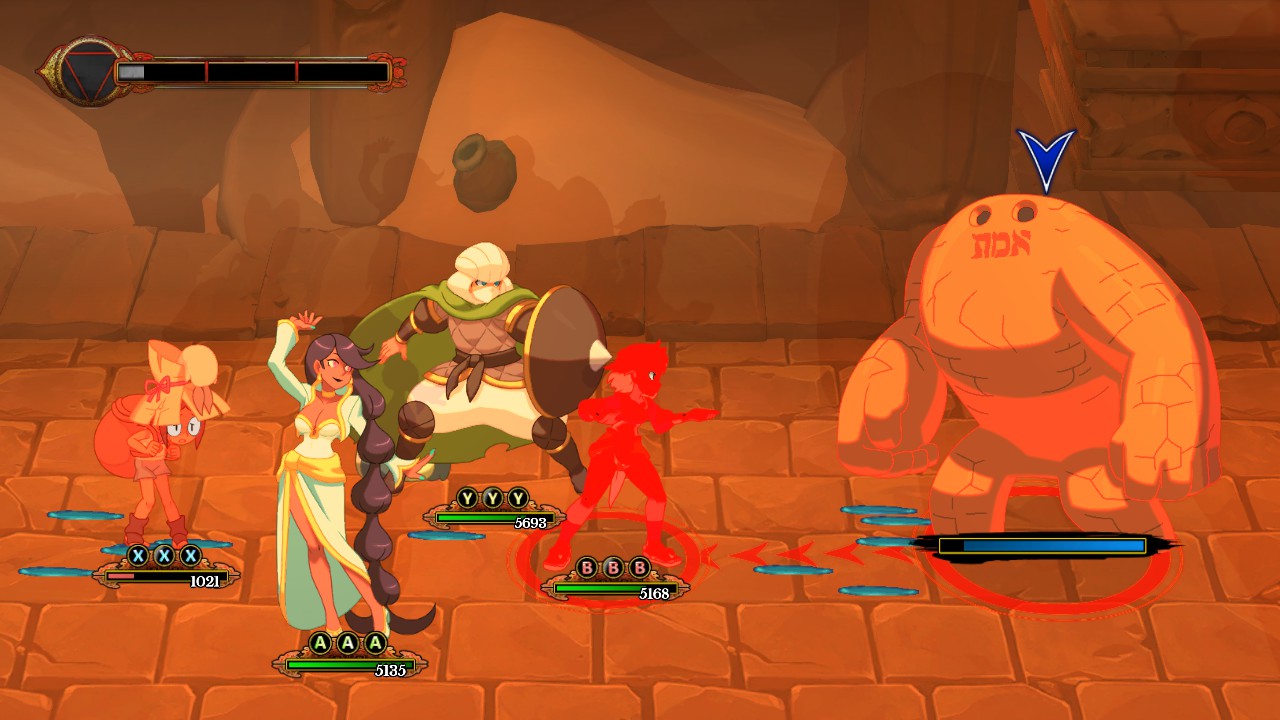 Thorani shoots a single water projectile at the target. The puddles will form around your target and directly behind Thorani. Usually, one attack will create one puddle at the target and one behind you. I recommend using this move when you want to have an even spread of puddles around the field. This can hit airborne targets if there is enough distance between Thorani and the target.
Picture shows puddle distribution after three normal attacks.
 Thorani runs up to the target and hits it with a wave of water. The vast majority of puddles will form around the target, with a few forming between the target and Thorani’s position in the party. Use this move when you want to surround the opponent’s side of the field with puddles.
Picture shows puddle distribution after five down attacks.
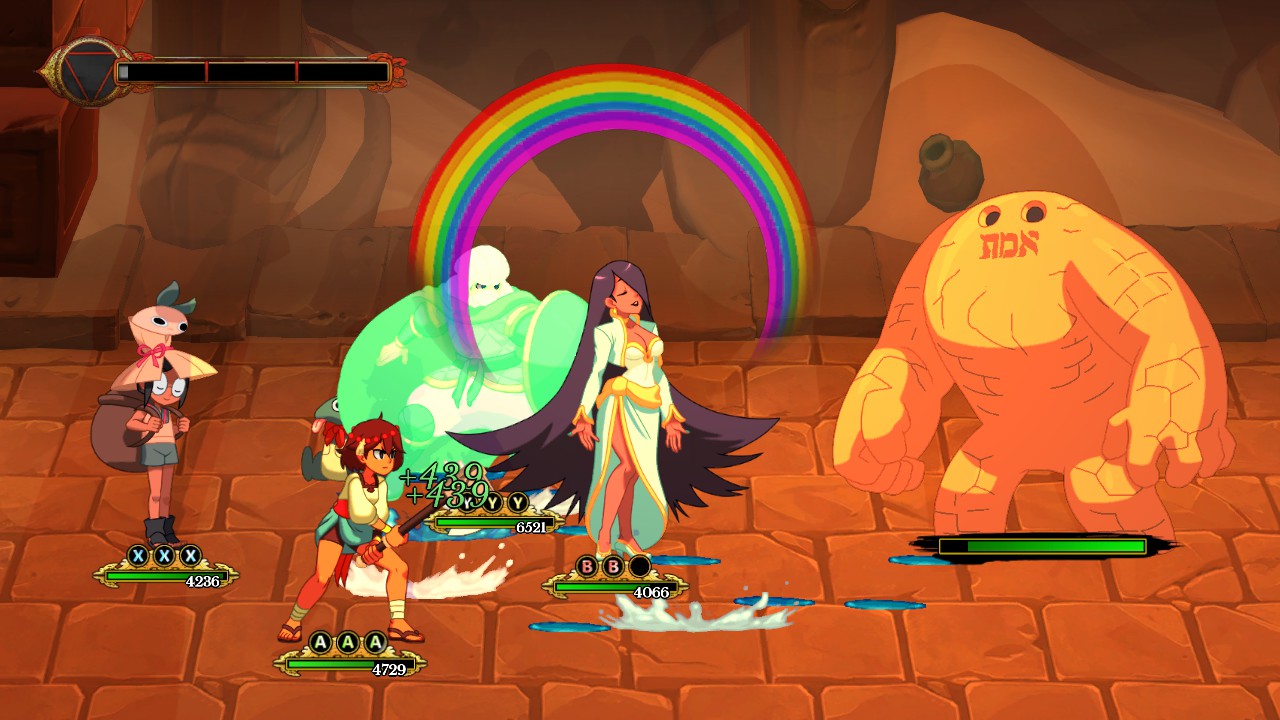
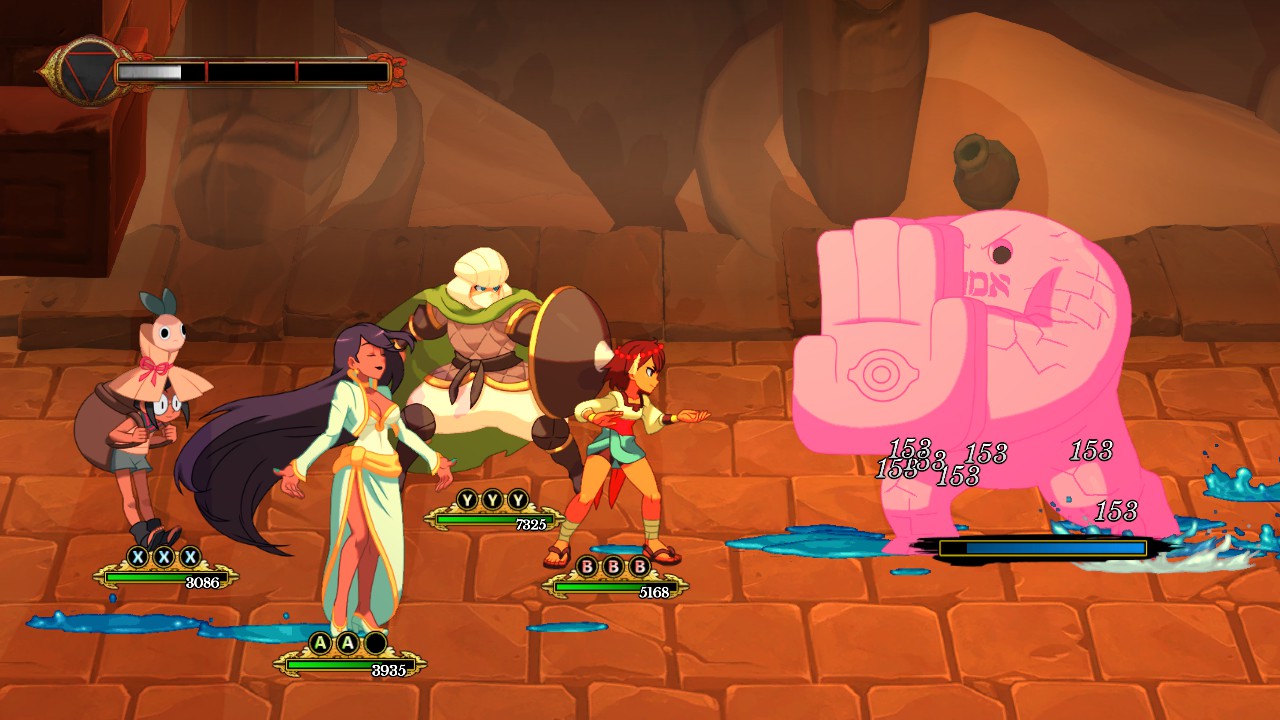 Thorani activates all puddles on the field, causing them to have two effects:
- Heal Allies
Any ally that touches a puddle (or is already touching a puddle) will instantly be healed for a decent amount of health. Most of the puddles that you’ll be using for healing will be near the party. However, you can activate Thorani’s up attack while another character is attacking a foe surrounded by puddles to heal that character while dealing damage to the foe. - Harm Foes
Any foe that touched a puddle will take a moderate amount of damage. While the primary focus of this attack is to heal allies, this is also a good way to deal out some aoe damage across the entire field.
Pictures show both functions of the up attack.
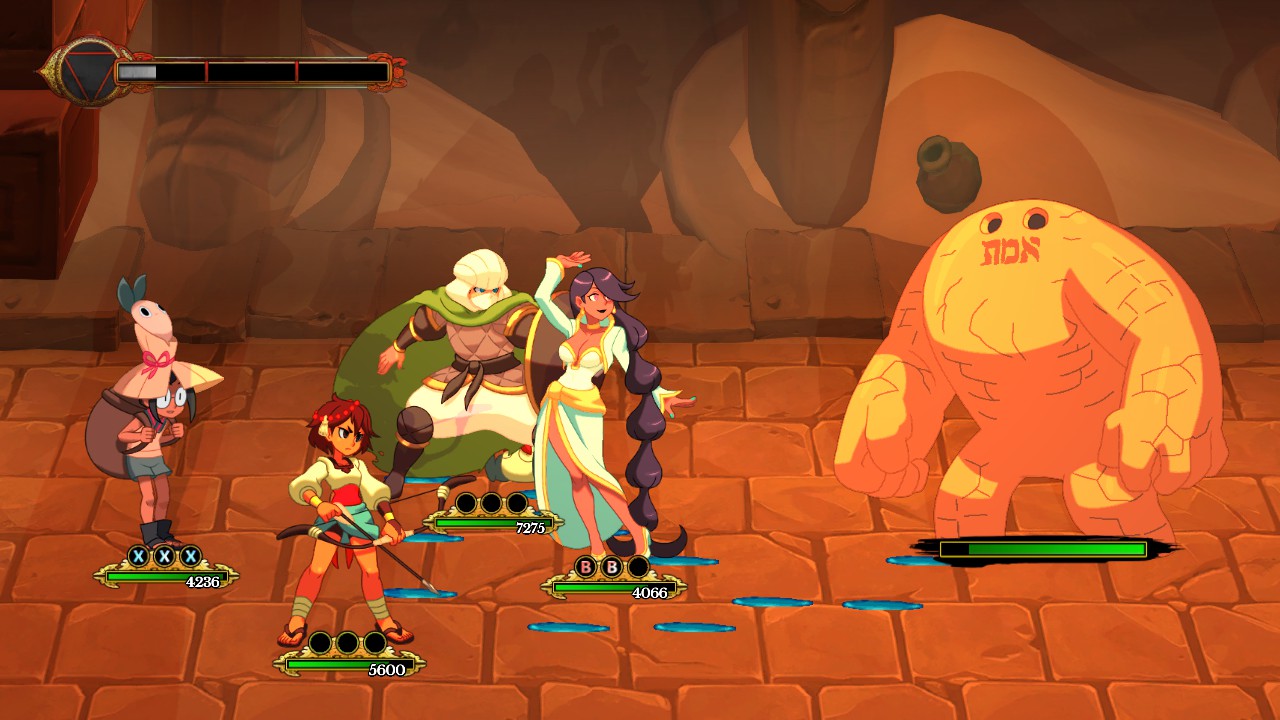 Thorani shakes her hair and surrounds the area around her with puddles. This move is best used when you need to dish out a lot of healing. The best position to use this attack from is the front, as it covers the area where almost all movement will be happening (from both allies and foes). Using it in another position could create puddles that would never be touched.
 Thorani melts away into a puddle of water, removing her from the field. She can not be targeted or damaged, and reappears about 5-7 seconds after the attack is used. The puddle automatically activates, letting you position a healing/damage puddle anywhere.
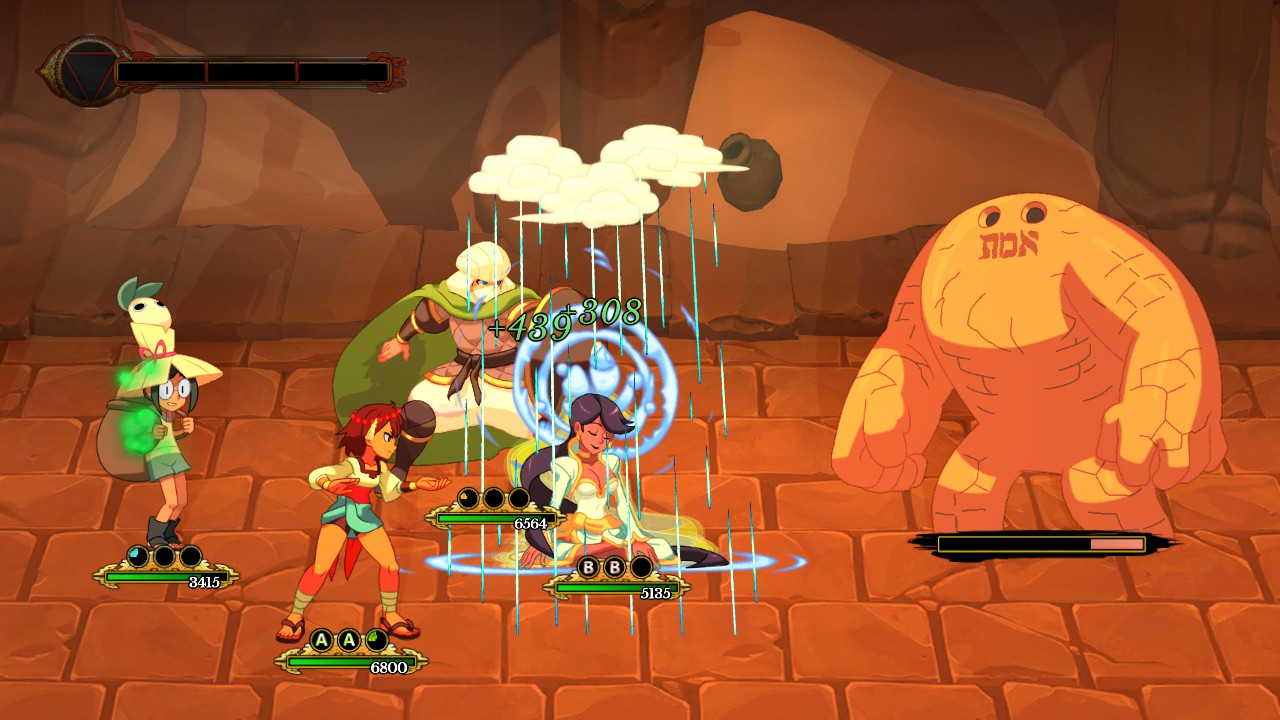
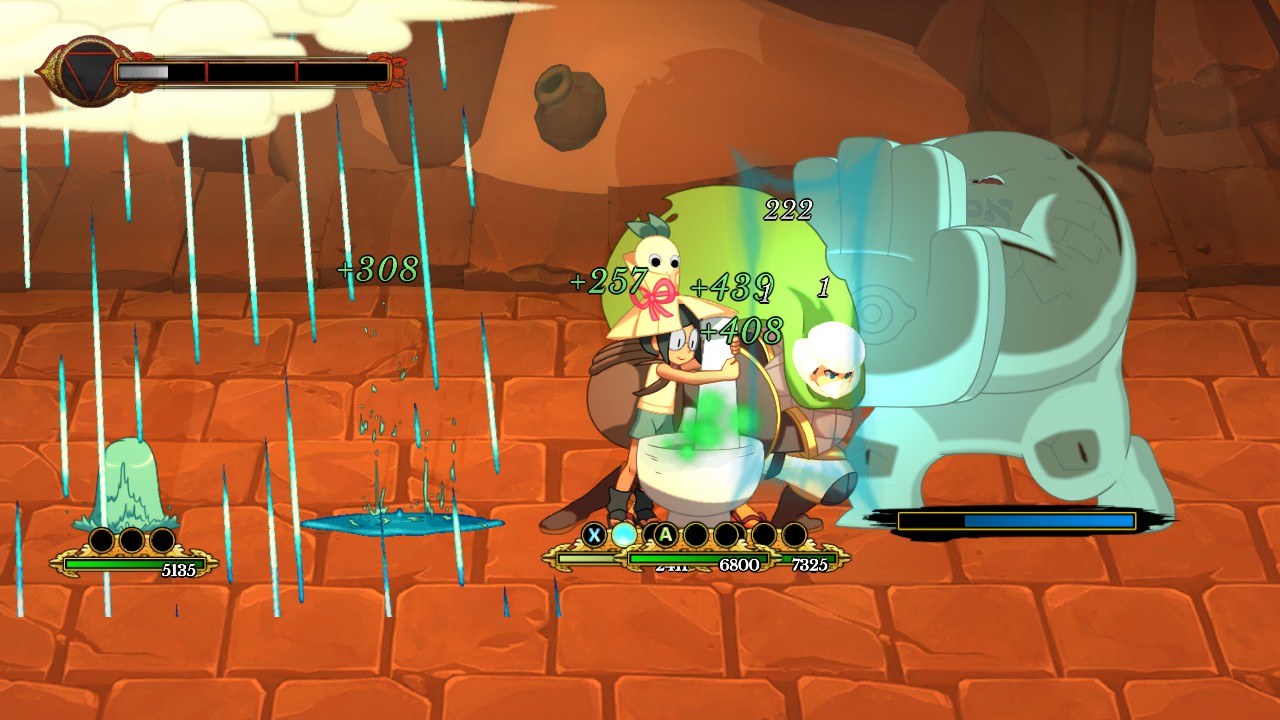
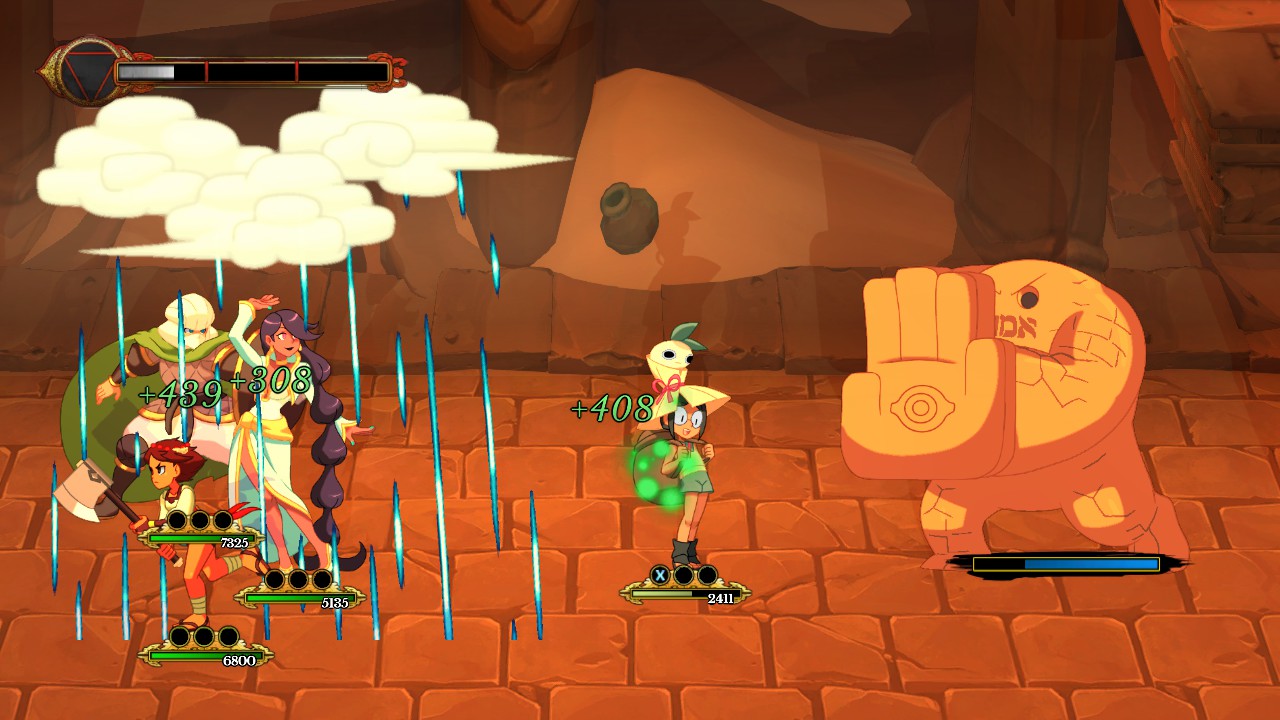
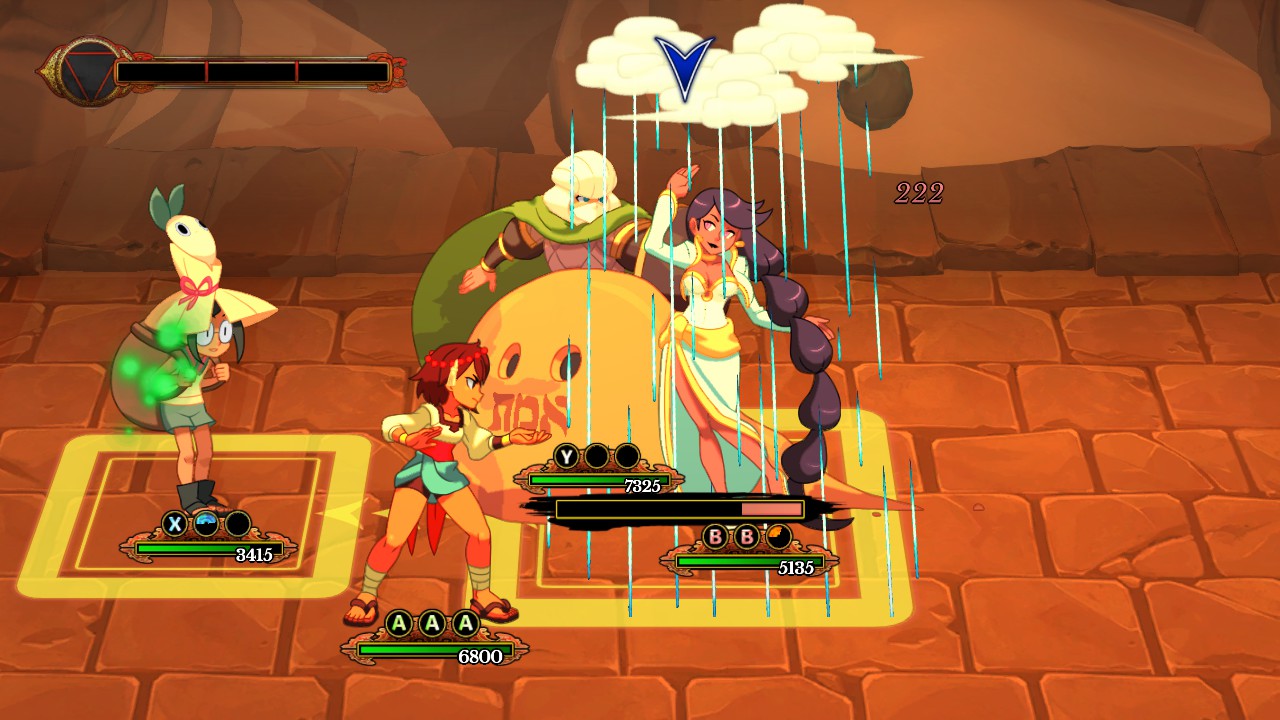 Thorani summons a rain could for ~10 seconds that acts as a mobile active puddle. This means that any ally that moves past her (or is next to her) will be healed, and any foe that runs past her (or attacks her) will suffer damage. The damage and healing is reapplied once every second.
Once again, having Thorani in the front position will benefit you the most as everyone (friend or foe alike) must move past her to attack (excluding ranged attacks). Use this move as a better alternative to her 1 bar special, as it can output more healing than regular puddles can.
Thorani excels at healing characters that are constantly attacking/moving. Therefore, she’s best for players that like to attack with characters continuously instead of attacking with every character all at once.
For a focus on healing:
- Have Thorani attack first.
- Use her normal attack, as the puddles land inside your party as well as in front of any foe you attacked.
- Remember to save your last attack to activate your puddles, so you can heal any ally about to attack.
- Use Special attack 1 for a quick burst of healing around the party.
- Use Special attack 3 for massive amounts of healing.
For a focus on damage:
- Use her down attack, as the puddles land mainly around the foe(s) you attack.
- Use special attack 1 to create a damage zone around the party.
Thorani’s main drawback is that she is an indirect healer. You have to plan on where your puddles will land and where your characters are moving in order to heal them.
Also note that because Thorani lacks a up attack, she can not break guarded targets.
These combos focus less of damage and more on healing.
Raging Stream
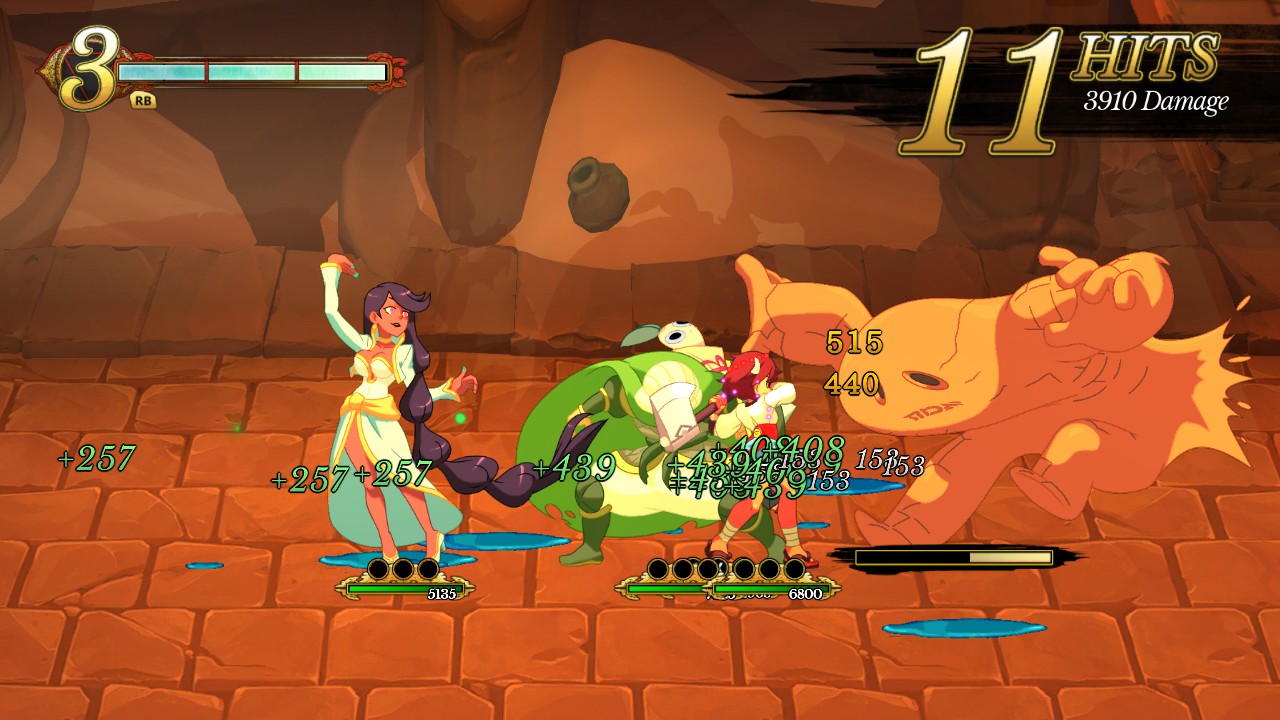
- Down Attack
- Normal Attack
- (Attack with melee party members)
- (While party members are attacking) Up Attack
This will heal all the characters that are attacking the target, while also dealing a small amount of damage. I recommend using this as your main form of attack, as it gives your party a constant source of healing.
Alternatively, you can replace your third attack with a normal attack if you don’t need to heal your party at the moment.
Pure Waters
- Down Attack
- Special attack 2
- (Attack with melee party members)
By activating special attack 2 after using down attack, you can leave a large permanent puddle that can be used by other characters while they attack for easy healing. This also damages foes touching it.
Showers of Life
- Special Attack 3
- (Have every party member attack with their close range attack) + Down Attack
- (Space out the attacks so every party member remains close to the target for as long as possible)
- (Use as many attacks as possible)
Use this when you need to heal every party member at once with no failure or puddle movement. By timing your attacks right, you can have your whole party run past Thorani first for 1 heal, then have her join the rest of the party at the target to constantly be healing them. Space out your attacks so you can hold your characters next to Thorani as long as possible. Since Thorani will be down one attack from activating the special attack, she will run back first. Use this to then heal your party as they run back into their positions.
This combo is slightly spotty, as the healing is only triggered once per second. This is more of a guaranteed way to heal the whole party or just use Ginseng.
Related Posts:
- Indivisible: Blocking Guide
- Indivisible: How to Master the Catwalk
- Indivisible: 5 Tips You Should Know Before You Starts
