In this guide I describe how I reached General Rank for MeRcenary Mode. There are more efficient builds and strategies. But the road presented by me contains several helpful tips and has different safe guards installed.
Introduction and Basic Information
With the latest DLC “Heroes of Hammerwatch: Moon Temple” the Mercenary Mode has been introduced. Mercenary Mode is a perma-death where once you die your character is gone for good.
The good side? You are free to chose from a wide set of skills and build your level 20 dream character
The bad side? You need to upgrade your character once more, different conveniences have to be unlocked specifically for Mercenary Mode again, huge bonus factors like Statues or Guild Bonus have been nullified. Also each subsequent run enforces the next New Game+ difficulty together with penalties
The annoying side? The perma-death, also Mercenary Mode is tied to achievements, so if you are a hunter you have to play it. Lots, until you reach General Rank.
In the following section I will go into some minor details concerning the progression for Mercenary Mode and where we want to get. Most of the information can be found in the Heroes of Hammerwatch Wiki under this link: http://wiki.heroesofhammerwatch.com/Mercenary_mode

Your Prestige Points are a combination of the numbers of floors you have visited, the number of bosses you’ve beaten (arena boss fights don’t count though), your arena rank, as well as the reached NG+ in all dungeons (Forsaken Tower, Pyramid of Prophecy and Moon Temple). It follows the following formula:
INT(Floors Visited)+INT(Bosses Killed*10)+INT(POW(Tower NGP,2)*75)+INT(POW(Pyramid of Propecy NGP,2)*175)+INT(POW(Moon Temple NGP,2)*200)+INT(POW(Arena Level/4,2)*25)
While the number of floors visited and your arena rank can be important at the beginning of Mercenary Mode (more on this later) their contribution towards your Prestige Points is mostly negligible. So, simplified your prestige points are the result of the sum of three scores depending on your new game+ rank for the specific dungeons. You get the following Prestige Points for completing each dungeon.

So you have two options:
– Just playing the Forsaken Tower because it is far easier than the rest but having to ramp up to New Game +10 with the according penalties. And you have a slower start in unlocking new ranks and accompanying shop unlocks.
– Playing all three dungeons, having faster unlocking progress and reaching General Rank with the lowest amount of runs and therefore having less chance to screw up. But you have to complete the harder dungeons
For this guide (and the way I did it) we will follow the second option, specifically following an optimized order for unlocking progress and keeping the harder dungeons on lower run numbers:
Arena to Rank 2 => Forsaken Tower => Forsaken Tower => Arena to Rank 4 => Pyramid of Prophecy => Moon Temple => Pyramid of Prophecy => Forsaken Tower
This way we have to do a total of six runs (+ two arena visits) which is also the absolute minimum number of necessary runs to get the General rank.
What starting build did I use
So the credit herefore goes to Sparks. I did however not study his build in depth. I am pretty sure the way he did it was more powerful and more efficient. I just adjusted it so I feel more comfortable with it and build in some safe-options to remove the chance for having tough luck. With this said, this was my starting build:
Class: Ranger
Active Skill 1: First Aid
Passive Skill 1: Twinned Arrows
Passive Skill 2: Sidestep
Passive Skill 3: Slice and Dice
I will mention important changes, unlocks and additions as well as used drinks for each run in the section belows. As for the choices made here: Sidestep is nearly mandatory for Mercenary Mode as it allows a slip-up every 5 seconds plus an increase in dodge. It is your base safety net. Twinned Arrows is necessary for crowd control and damage. Also as arrows are pin-point damage you have to aim very carefully. Twinned arrows makes the need for perfect aim less as long as you have some enemies present. Slice and Dice increases your dps. Also shooting lots gives you more chances to trigger Primary Attack boni.
For the first active skill I have chosen First Aid. It will be your main source of healing and for a long time also nearly the only source of healing. Getting used to it is recommanded. In addition, First Aid heals EVERY status effect on the game. You burn, you are poisoned or frozen? First Aid can negate it. This is especially important since many effects slow you down.
The biggest boon of the build is the focus on the Primary Attack though. This will not change in later runs. On the plus side this means that you don’t have to waste gold on Upgrades for Skill Power and Skill Crit Chance and Skill Crit Power. And gold will be an issue for most of Mercenary Mode. The overreliance on Primary Attack makes some items useless for you though.
While this is the build I use, you can chose anything you feel comfortable with. The guide should generally work for most range orientated builds. Take note however that you have to adjust certain parts like on what upgrades you want to spend your gold.
Prologue – The Arena Part 1
So, after choosing your active and passive skills, it is time to visit the outpost and to buy your first upgrades. Buy every upgrade from the blacksmith, then go for the following drinks:
- Miner’s Delight: + 100 % Ore Gain, – 75 % Gold Gain
- A Fool’s Errand: + 100% Gold Gain, HP regen set to 0.
- On the Run:+0.4 Movement Speed, -25 % Gold Gain.
- Enchanted Slammer: + 10 Physical damage on Primary Attack, Primary attack costs 2.5% of your current mana (optional).
As mentioned before, ressources are an issue for Mercenary Mode. To increase our income – specifically ores – we take Miner’s Delight as first drink. The focus on ores is simply because they are not taxed like gold. What you find will stay yours. As we still need gold, at least for in-dungeon shops, we take A Fool’s Errand as second drink. The penalty of no HP regeneration can be compensated with First Aid. The third drink, On The Run, is to increase your survival odds. The faster you are, the easier you can outrun problematic situations. These three drinks will be your “foundation” for every single run to increase your ressource income and survival odds. This also means you can save even more money by not buying Mercenary upgrades for HP regeneration as it will be set to 0 anyway. If you are confident in your skills and mana management you can optionally take Enchanted Slammer as fourth drink, simply to speed up the arena process by increasing your fighting power.
For the next step, roll in the item shop until you get Markham’s Stone (the remaining items are less important) and use 9 of your remaining skill points to attune it. If you didn’t get unlucky in the item shop you should still have enough gold to buy every potion and consumable upgrade. With this set-up of drinks and Markham’s Stone you will get at least 35 ores per completed arena rank if you pick up all items.
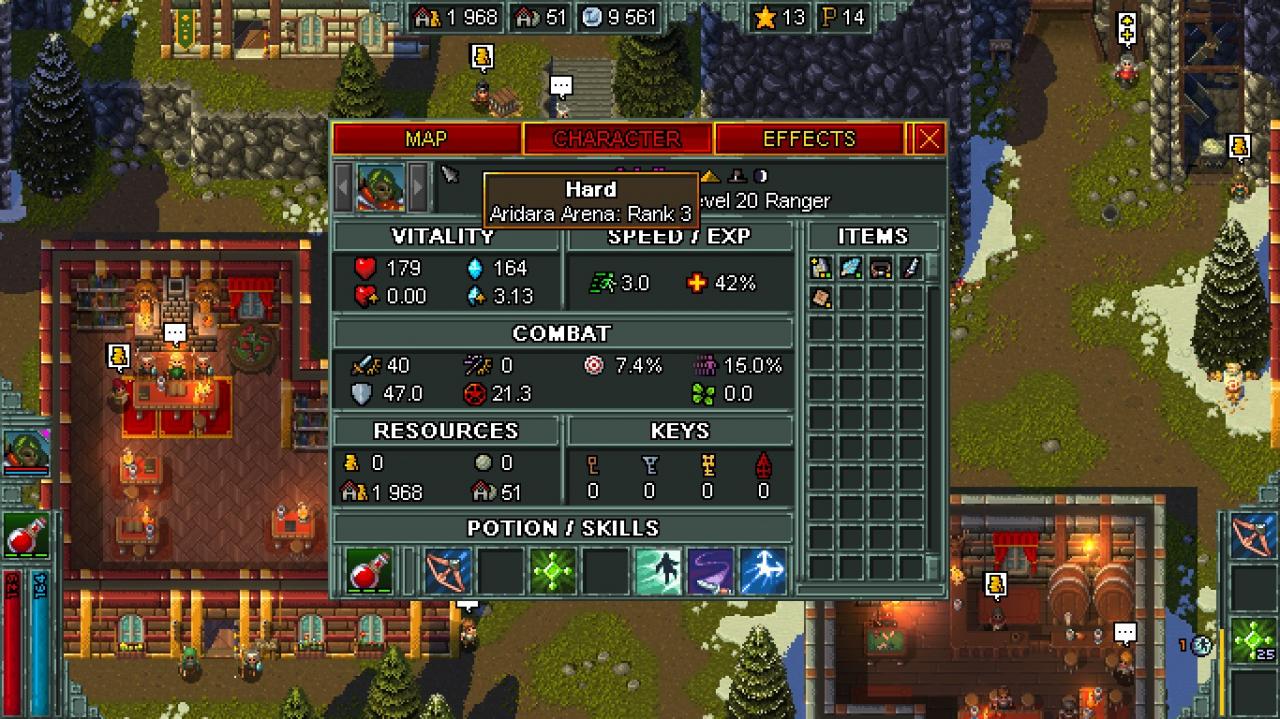
In your first arena visit you will complete Rank 0, Rank 1 and Rank 2 leaving you with more than 100 ores, 14 Prestige Points and enough gold to buy at least 4 arena upgrades for each Attack, Armor and Resistance.
Act I – The Forsaken Tower
Next preparation step are items and drinks. For later runs it is actually recommand to always start with the acquisition of the next run items just to avoid blowing off all ressources on upgrades and then having to go “naked” into the dungeon. As the first Forsaken Tower Run is really easy you don’t have to care for a specific item. But you should once again roll until you get the attuned Markham’s Stone for increased ores. Drink-wise you go the same route as before, again for more ores:
- Miner’s Delight: + 100 % Ore Gain, – 75 % Gold Gain
- A Fool’s Errand: + 100% Gold Gain, HP regen set to 0.
- On the Run:+0.4 Movement Speed, -25 % Gold Gain.
Also, as you have still some skill points left you can use them to attune further items. As mentioned before, speed is a great helper in getting away from danger and strafe circling larger group of enemies while you range them to death. Therefore, the first items after Markham’s stone I attune most of the time are the Right and Left Boot of Speed.
Concerning speed there is one final preparation step: the fountain. In contrast to the main game mode you can’t equalize the balance with gold, so you always have to chose more or equal amounts of negativ effects. For your first visit in the tower I would recommand this list:
- Lousy Consumables: – 1; all health and mana pickups are 50% less effective
- Enemy Overseers: – 5; Mini bosses spawn on every floor, excluding Act 4
- Expanded Floors: + 1; 15% Bigger Floors
- Expeditious Expedition: + 2; + 0.4 Movement Speed
Mini-bosses are in my opinion the most manageable negative effect and can even drop items if you get lucky. Consumables have never been a great help for me, so there is that. On the other side the bigger floors also mean more gold and ores to be found, further increasing your funds. Movement speed as explained. As you can see, with the combination of the fountain and the drinks you have an additional + 0.8 in movement speed.
For the dungeon run itself, nothing much can be said. You should have run the tower dozen of times by now and know what awaits you. It is a NG+0 run, so you have no penalties and quite a pwered-up character. Unless you get arrogant you have nothing to fear. Make sure to always explore the whole floor for getting maximum in ores and gold.
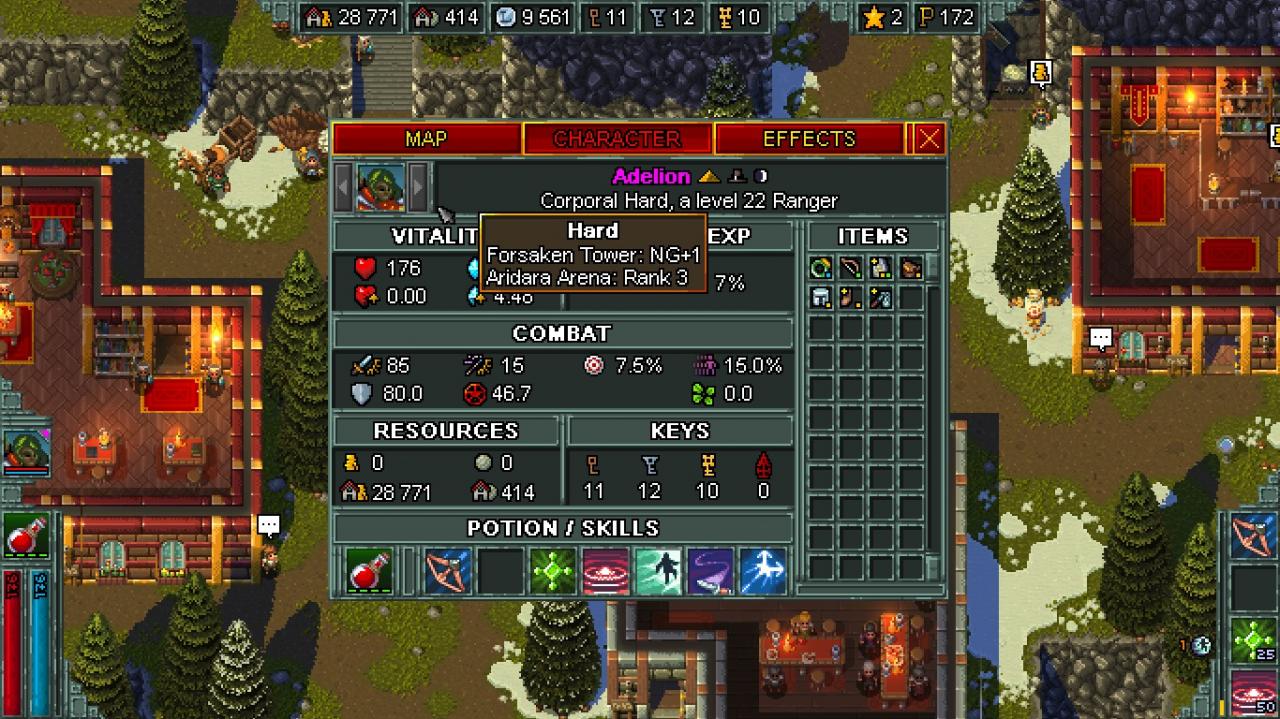
Finishing the run will net you a total of 158 Prestige Points. Added to the 14 you already had will leave you with 172 Prestige Points and your first Mercenary Rank up to Corporal.
Act II – The Forsaken Tower (again)
Your first stop is the item shop where you once again roll for Markham’s Stone. Other items are of lesser importance although you should check that you have at least one item increasing your primary attack or attack power. If you want you can use the Magic Anvil to give yourself another white rarity item like a Boot of Speed or the attuned Spiked Flail.
Next stop is the tavern, going for the usual route:
- Miner’s Delight: + 100 % Ore Gain, – 75 % Gold Gain
- A Fool’s Errand: + 100% Gold Gain, HP regen set to 0.
- On the Run:+0.4 Movement Speed, -25 % Gold Gain.
Similarly, the fountain stays the same too:
- Lousy Consumables: – 1; all health and mana pickups are 50% less effective
- Enemy Overseers: – 5; Mini bosses spawn on every floor, excluding Act 4
- Expanded Floors: + 1; 15% Bigger Floors
- Expeditious Expedition: + 2; + 0.4 Movement Speed
Now we get to the new stuff. As corporal you have unlocked the first chapel row. As enemies grow significantly in health in NG+, you also need to take care for increased damage, as such I would recommand Path of Warrior (Increases damage of your primary attack by 25 %) for 10,000 gold.
As you should still be strong in ores and gold you can now go buy all important upgrades at the Blacksmith and the Mercenary shop up to level 6. Also take note that the sorcery shop has been unlocked so go there to buy Resistance (ignore the rest). As small note, you should not exchange all your ore to gold but do it stepwise. Even after buying all upgrades you should still have lots of ores remaining (200+) which in comparison to gold do not add to tax niveau.
With the levels you gained during your first run and the bought skill points you should have enough skill points to buy your second active skill. There are two options I would consider:
– The first and the one I’ve chosen is Blast Wave. In a small radius Blast Wave will confuse enemies which will most time give you enough room to run away. Since we don’t upgrade Skill Power its damage output will be pitiful. However, Blast Wave has another huge advantage. It does nullify most physic based projectiles like arrows. While this is less important for the tower, it will be very helfpul in the Pyramid of Prophecy in the Inner Sanctum when you fight against the red Spam-A-Lots.
– The second choice is Smoke Bomb. It has a larger radius than Blast Wave and stuns enemies instead of confusing them. So all in all, it gives you better crowd control. Also it temporarily increases your dodge which can make the difference for survival. However, it does nothing with already launched attacks.
Either choice is fine, I think, coming down mainly to preference. Like I said I’ve chosen Blast Wave since the projectiles sometimes really get on my nerves.
With your preparation complete you can now venture into the Tower for a second time. Stay concentrated and loot everything which is not nailed down and you should finish this run easily as well.
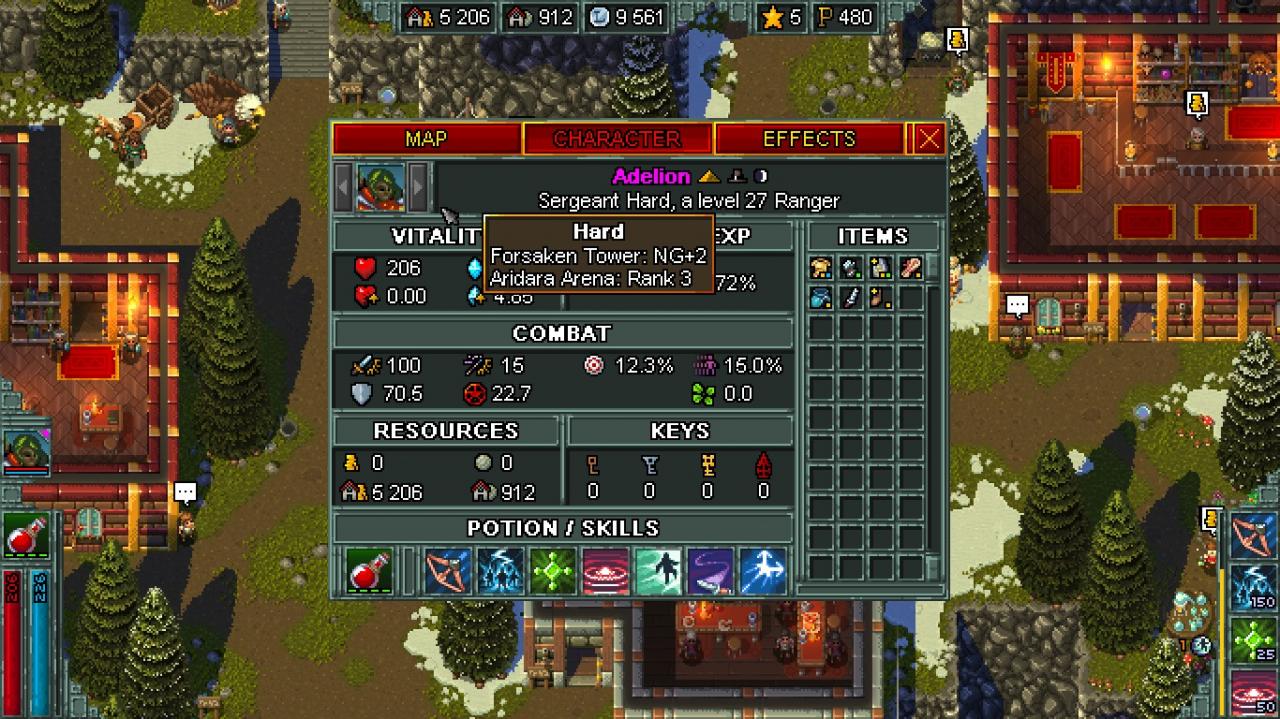
Completing the Forsaken Tower a second time will leave you with a total of 480 Prestige Points and your second Mercenary Rank up to Seargent.
Intermezzo – The Arena Part 2
Buy the usual drinks:
- Miner’s Delight: + 100 % Ore Gain, – 75 % Gold Gain
- A Fool’s Errand: + 100% Gold Gain, HP regen set to 0.
- On the Run:+0.4 Movement Speed, -25 % Gold Gain.
And then use your ressources to buy upgrades at the Blacksmith, Sorcery Shop and the Mercenary Shop. If you skip the usual unneeded upgrades like Skill Power and Mana Regeneration you should still have ores left afterwards.
For now you should restrain from using the skill points you gained from your last tower run. We will talk about this after the arena run.
As I am not sure if the Fountain affects the arena, we will also skip on the Fountain affects.
With this we are already done with with the arena preparations. Time to smash some enemies. While we are pretty well upgraded, you should still pay attention. Enemies can appear below you, are high in numbers and strong enemies can spawn from wave 1. And if you got a bad arena and have tough luck with arena hazards (like the sandstorm) you can die in a matter of seconds.
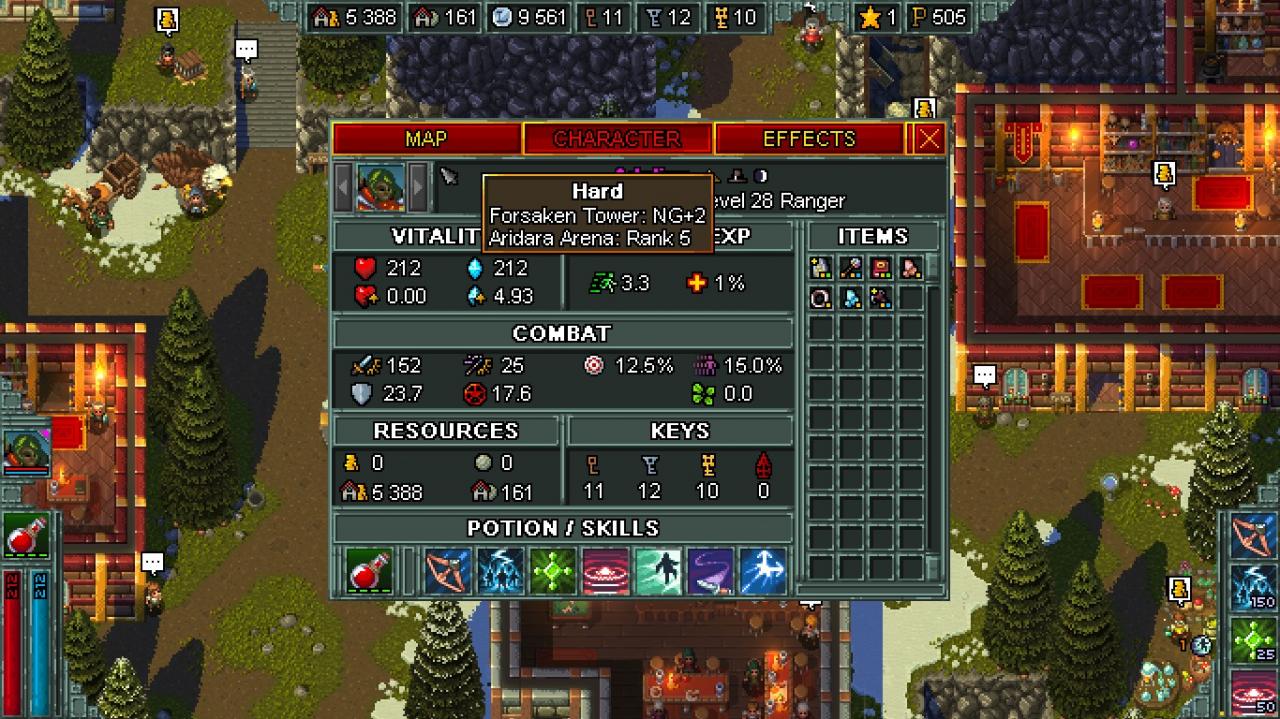
We play for exactly two ranks in the arena, after which we will have 505 Prestige Points. While you can not see the PP in the arena you will see the notification for your rank up to Lieutenant. While it makes sense to play more arena for ressources I heavily suggest to refrain from it. The arena is unfair by design and it really can kill you in seconds. Don’t ruin your day.
Act III – Pyramid of Prophecy
Enemies are stronger from the beginning and we are currently in NG+2. So for the first time we have to pay attention for the items we get at the item shop. One neat bonus of Lieutenant rank is that you can smith blue rarity items as well, so we have different options. I would recommand two items for the next run. First one is STILL Markham’s stone because you will need more and more gold and the Pyramid is not exactly rich on ressources (mainly due to be being shorter). The second one is an attuned Judgement (blue rarity) which gives you +24 physical damage on primary attack, effectively doubling your damage. Personally, I would say that you should be ready to dish out about 5000-10000 gold for getting a good item combination. Getting Markham’s Stone in the item shop together with another strong blue item and taking Judgement at the Magic Anvil may be your best option.
After the item shop you can spend the rest at the usual upgrade shops. Also make sure to pay the chapel a visit since your new rank enables you for a new tier. My recommendation is Blessing of Might (Physical damage ignores 20% of the enemies armor). Ressources start to dwindle now and if you are short on gold you should priorize Armor, Resistance and Speed. But you should still have more than you need.
If you kept your skill points like mentioned before, you should have enough to get yourself your third active skill. Once again, you have two choices:
– The first one is Company Banner. It increases your attack speed by 25 % and functions as decoy for enemies. However, the radius is quite small and the banner has no defense so it will be destroyed quite fast. If you want an offense tool, this is your choice.
– The second one is Pit Fighters which is the one I have chosen. Don’t give in to illusions. The fighters won’t make much damage due to our poor Skill Power. BUT they work quite well as diversion. And one of the main reasons I prefer the fighters is the second boss fight in the Pyramid against Iris. One of her attacks is shooting two curses which both increase your curse counter by 5 and if you don’t won’t to get hit you have to evade them for about a minute. Pit Fighters can absorb those cursed and give your more freedom in navigation room.
If you still have skill points remaining, spend them to attune items. Don’t just go for the blue items. Spend your first skill points on white rarity items which are more likely to be obtained.
So, now to the final tweaks for our next run. First we go the Tavern where our usual list of drinks gets a new addition:
- Miner’s Delight: + 100 % Ore Gain, – 75 % Gold Gain
- A Fool’s Errand: + 100% Gold Gain, HP regen set to 0.
- On the Run:+0.4 Movement Speed, -25 % Gold Gain.
- Markham’s Moonshine: +5 % damage per item in your inventory. Spheres count twice,
Combo is disabled.
While the disabled combo might seem really painful you have to consider what the combo gives you. The first thing is more speed which is something we have taken care of already. The Tavern and Fountain upgrade give us a permanent + 0.8 bonus in movement. So we are already quite fast. Even without combo we are close to an overall speed of 4. So speed while helpful is not necessary. The second thing it gives you is more damage which …. well …. the drink brings you too but better. In addition, without the Amulet of Vengeance there is no way to trigger combos in boss fights and now every item will have a bonus for you, even the so far useless Skill Power items.
Next stop is the Fountain where for now our selection stays the same:
- Lousy Consumables: – 1; all health and mana pickups are 50% less effective
- Enemy Overseers: – 5; Mini bosses spawn on every floor, excluding Act 4
- Expanded Floors: + 1; 15% Bigger Floors
- Expeditious Expedition: + 2; + 0.4 Movement Speed
Aaaand we are ready for the Pyramid. Honestly, I don’t like the Pyramid for several reasons. The desert is unfair because enemies can spawn directly under you, spamming you with mini-bosses (partly the fault of our Fountain setting) and sand pits. Curses while mostly manageable can cause your death really fast if you get greedy as it not only ruins your hit numbers but also the potentially received damage. 25 curses for example make you a one-hit wonder. The worst offender are however the trap, specifically the rolling stones. While every trap does hurt you intensively the rolling stones are special. No matter how much health, defense, shields or even an active Side Step you have, the stones will outright kill you. This special function is very irritating and I would recommand skipping certain traps because of it. In addition to all this, you also have the Inner Sanctum which have red enemies which throw literally a billion bumerangs (remember you can chose Blast Wave to help a bit here).
Last station is the boss fight against Nerys. While he is not that hard in the first half, he will SPAM fire slashes at the end. Always keep distance or they are shredding you. The boss fight against Nerys is reason alone to priorize Resistance items at the in-dungeons shop and the sarcophags. Pay attention and don’t get to greedy with the curses but be ready to use them to get some cheap white rarity items to boost Markham’s Moonshine.
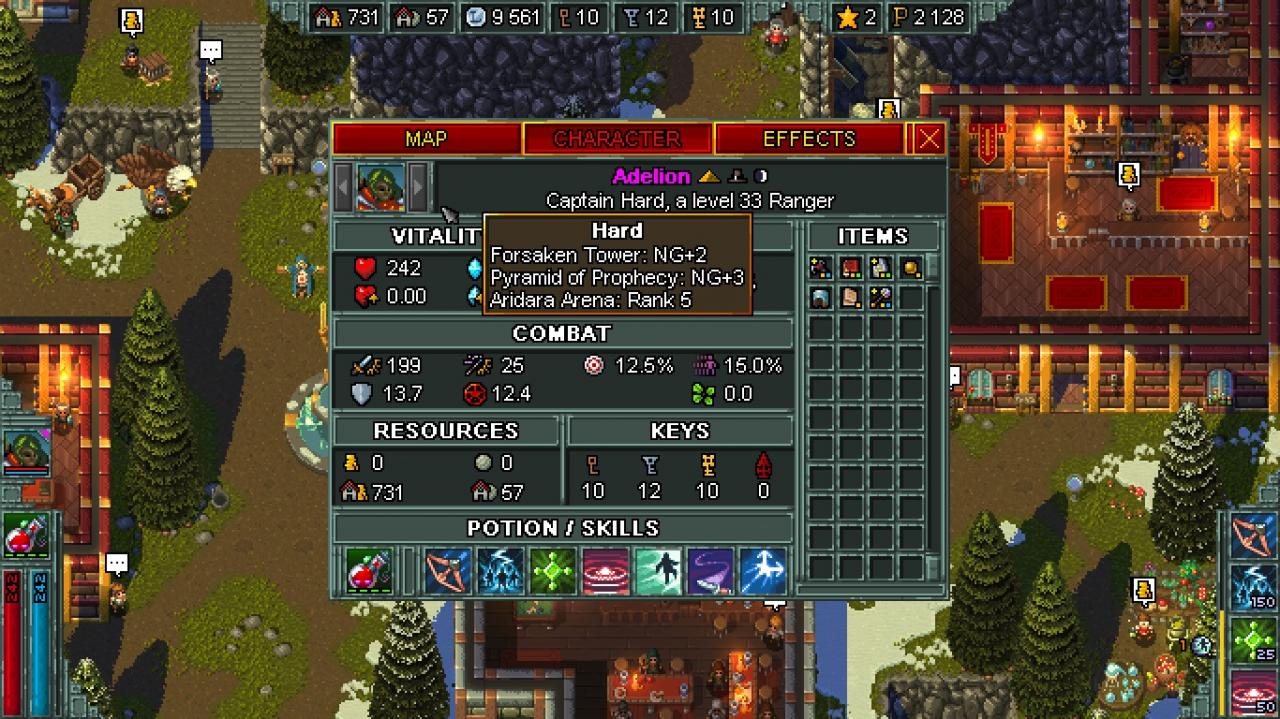
After you complete the pyramid you will have lots of new skill points, a summonable Djini and 2128 Prestige Points and your next rank up to Captain.
Act IV – Moon Temple
At least for me, I still had enough ressource to buy most if not all purchasable upgrades at the Blacksmith, Sorcery Shop and Mercenary Upgrades. If low on cash just skip on Mana Regeneration (you have enough by now since you don’t use active skills THAT often) and Skill Points.
For the Tavern we stay with the selection from the last run:
- Miner’s Delight: + 100 % Ore Gain, – 75 % Gold Gain
- A Fool’s Errand: + 100% Gold Gain, HP regen set to 0.
- On the Run:+0.4 Movement Speed, -25 % Gold Gain.
- Markham’s Moonshine: +5 % damage per item in your inventory. Spheres count twice,
Combo is disabled.
While for the Fountain we do change the selection slightly to:
- Lousy Consumables: – 1; all health and mana pickups are 50% less effective
- Enemy Overseers: – 5; Mini bosses spawn on every floor, excluding Act 4
- Gentle Traps: + 2; Traps do 50% less damage
- Toppled Towers: + 2; All towers are destroyed
- Expeditious Expedition: + 2; + 0.4 Movement Speed
This will also be the set-up for all remaining runs. Speed is always a good thing. Gentle Traps and Toppled Towers are just there to make your life more comfortable because they are frequent in the Moon Temple and they WILL hit you. So the set-up gives you a bit more space to navigate, you will need it. Also, believe me, there is no chance that you will have expanded floors activated for the Moon Temple. The third stage is ridiculous large.
With this, the preparation once again are complete. Now comes the Moon Temple. The peticular thing about this dungeon is the room structure. This means you will always have very minor space to backtrack and avoid enemies. Nonetheless, you should search all rooms which basically means that you will kill every enemy in the temple. The traps are more forgiving then in the pyramind and do only half damage but still pay attention. The worst thing about the Moon Temple are the large stages as well as the bullet sponges of enemies. There are several constructs per level which are quite hard to take down. But if you search for items (and don’t be mad that the Moon Temple CONSTANTLY reminds you how cool Glass Floors would have been) and buy three at the shop all the time you should get through the temple quite well. Also, if I am not mistaken you are guaranteed a Magic Furnace once per stage (either level 1 or 2) and you should make use of it, if you deem necessary. Your ores have no use if you die.
The room structure also make the Great Threat more dangerous (actually threatening). Together with the mini-bosses the room can be crowded quite fast. In this situation you should either summon your banner or the Pit Fighters. Pit Fighters are preferable, another reason I’ve chosen them.
The final act is the boss fight which consists of four necromancers and plays out quite differently. You actually have a lot of space to avoid them but in the middle of the room is an orb which will activate shortly after the fight begins. While the orb generates waves which hurt you, running through them to the next safe spot is still the better choice than fighting four necromancer on one square meter. Also, there are phases between the waves where it only reduced your mana. Use potions if necessary, you will need several. Best is to familiarize yourself with the fight in the main mode before you try this in Mercenary Mode.
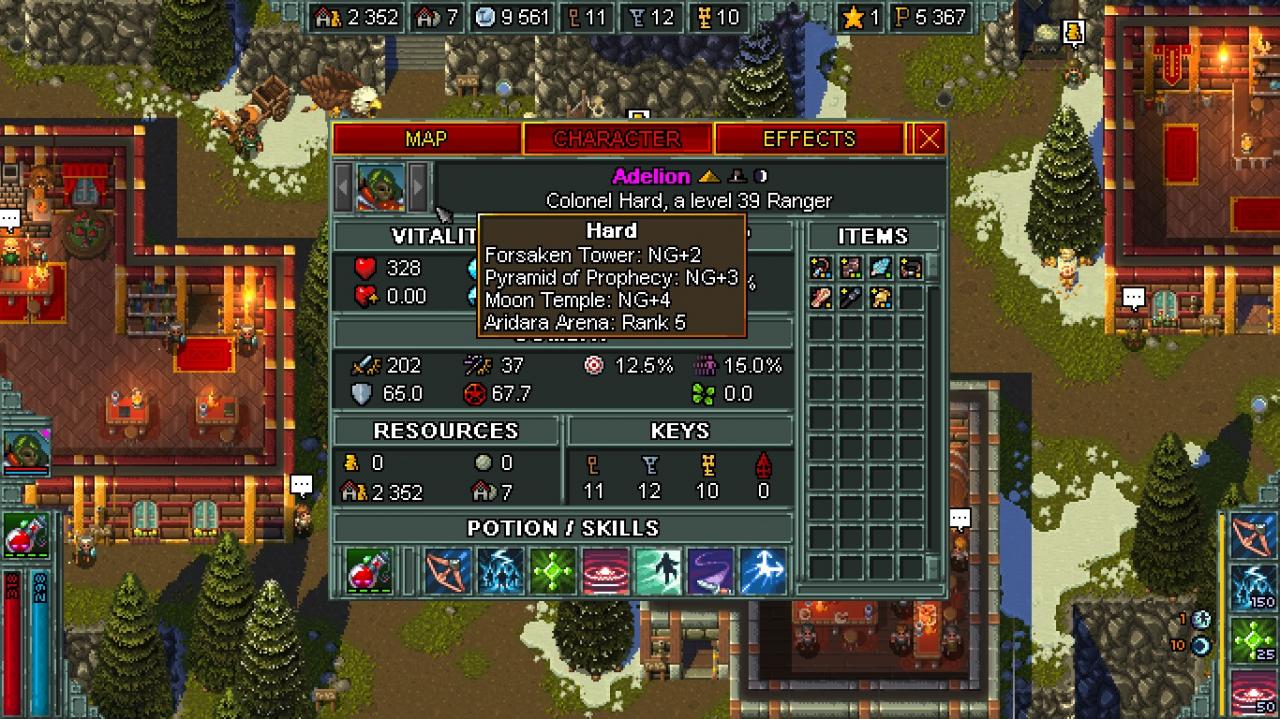
After you complete the Moon Temple you will have insane amounts of Skill Points, 10 Moon Shields absorbing half the damage for the first ten hits every floor and 5367 Prestige Points. Due to this you will be ranked up not once but twice! First you will reach Major Rank and a second later you will be promoted to Colonel (you will also get both achievements, so don’t worry).
Act V – The Pyramid of Prophecy (again)
Next step in your preparation is the item shop where we will start to change tactics. While Markham’s Stone is still recommanded it is not any longer an absolute must. Your priority should be on one of these two items: Amor of Kings, Amulet of Kings. The one you do not get in the shop you should get at the Magic Anvil where you will also attune both of them. Your fifth run will therefore start with a high Resistance and Amore value making this run for the most part easier as the two runs before. Remaining skill points should again be distributed over the remaining items. By now you should also have enough attuned items to feel the “secondary upgrades” which makes your run even easier.
Before you start shopping for upgrades, go visit the Tavern first (as your run low on gold and you won’t risk spending everything before you get drinks). For the next run, the list will once again be updated:
- Miner’s Delight: + 100 % Ore Gain, – 75 % Gold Gain
- A Fool’s Errand: + 100% Gold Gain, HP regen set to 0.
- On the Run:+0.4 Movement Speed, -25 % Gold Gain.
- Markham’s Moonshine: +5 % damage per item in your inventory. Spheres count twice,
Combo is disabled. - Incendiary Demise: + 40 magical damage on primary attack, set on fire when hitting enemies with primary attacks.
As you have purchased only defense items in the shop your damage has to come from somewhere else. This will be covered by Incendary Demise which gives you a whopping 40 magical attack bonus. Vice versa, the reason for getting the Amulet of Kings is to keep the self-inflicted fire-damage by the drink low (it should be at 2). And this is where the Symbol of Essence kicks in as it recovers far more than the two damage you receive per shot. Overall you have for this run a strong defense and offense.
The remaining gold and ores you can spend on the Mercenary Upgrades although you will not be able to purchase much. Priorize Resistance and then Armor.
Last stop before you go into the Pyramid once more is the Fountain where we chose the same set as before:
- Lousy Consumables: – 1; all health and mana pickups are 50% less effective
- Enemy Overseers: – 5; Mini bosses spawn on every floor, excluding Act 4
- Gentle Traps: + 2; Traps do 50% less damage
- Toppled Towers: + 2; All towers are destroyed
- Expeditious Expedition: + 2; + 0.4 Movement Speed
As said before, you are quite well prepared for this run. Far better then for run three and four. As long as you don’t get overconfident or arrogant there is not much that can happen. Play it safe and avoid tricky trap rooms. You don’t need the additional items absolutely.
As Nerys is still quite strong, it is still a safe choice to get even more Resistance. Otherwise this run really shouldn’t be the moment to stop you.
After completing the Pyramid of Prophecy the second time you will have some skill points, some minor amount of ressources as well as 8215 Prestige Points. This is not enough for General Rank yet, so for the first time you will not reach a new rank after a dungeon run. Well, you still have upgrade to purchase from before.
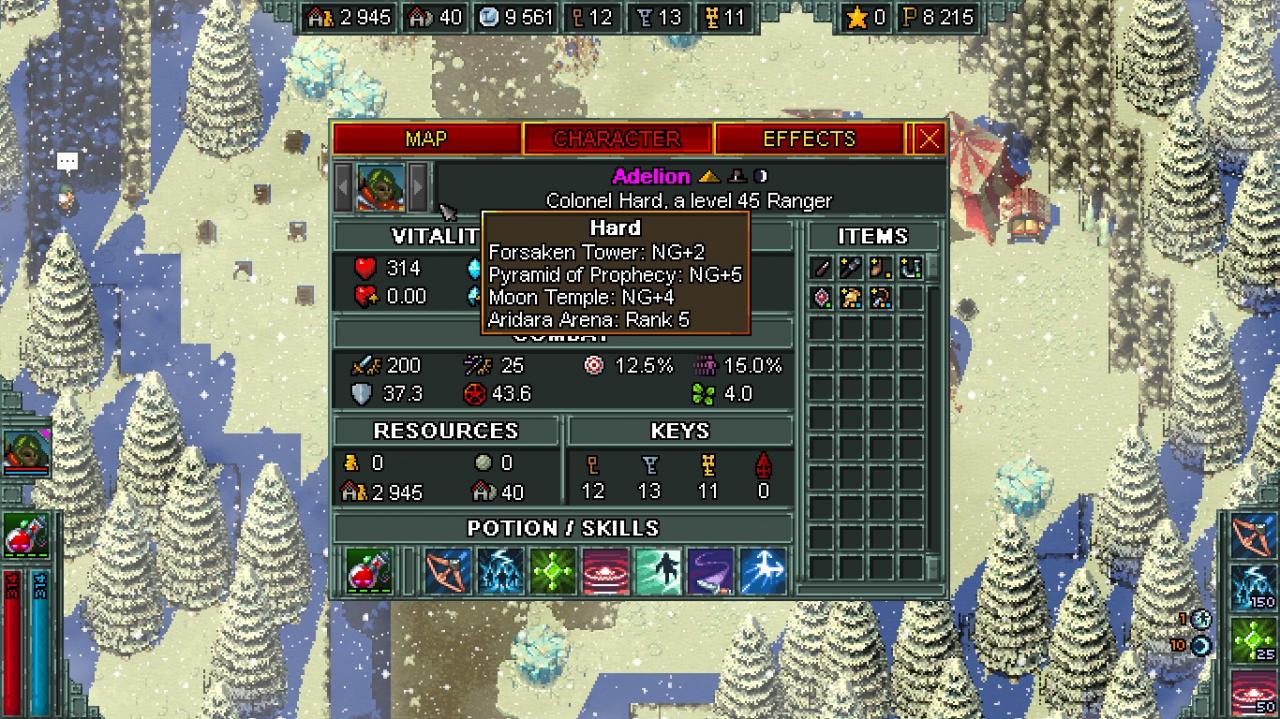
Act VI – The Forsaken Tower (the Return)
In the item shop you get either the Amulet or the Armor of Kings. The other item you get at the Magic Anvil and remaining skill points should be invested into item atunement.
The drink list from the Tavern stays the same:
- Miner’s Delight: + 100 % Ore Gain, – 75 % Gold Gain
- A Fool’s Errand: + 100% Gold Gain, HP regen set to 0.
- On the Run:+0.4 Movement Speed, -25 % Gold Gain.
- Markham’s Moonshine: +5 % damage per item in your inventory. Spheres count twice,
Combo is disabled. - Incendiary Demise: + 40 magical damage on primary attack, set on fire when hitting enemies with primary attacks.
as well as the Fountain setting:
- Lousy Consumables: – 1; all health and mana pickups are 50% less effective
- Enemy Overseers: – 5; Mini bosses spawn on every floor, excluding Act 4
- Gentle Traps: + 2; Traps do 50% less damage
- Toppled Towers: + 2; All towers are destroyed
- Expeditious Expedition: + 2; + 0.4 Movement Speed
Spend remaining gold into Mercenary Upgrades and you are fine to go.
While you will have less Armor and Resistance than in your previous run and you also are in a higher New Game+, you will still have an easier time. The first floors of the Tower are faaaaar easier than the desert. And by the time that enemies get dangerous you will have about 15-20 items already. Additional bonus, most traps in the first three acts are super easy. Overall you will find a lot more items before it gets dangerous. And with all the attunement done, you will have received significant buffes.
While this makes your life easier it is not an excuse to get impatient or doing dumb things like running into traps at higher floors (around Act V specifically). Once again, play it safe and there isn’t that much which can endanger you unless you insist on standing in the Vampires Blood Storm or the Dragon’s Ice Breath. And remember if a status effects makes problems (most notably slowing you down or confusion) you can still use your First Aid Kit.
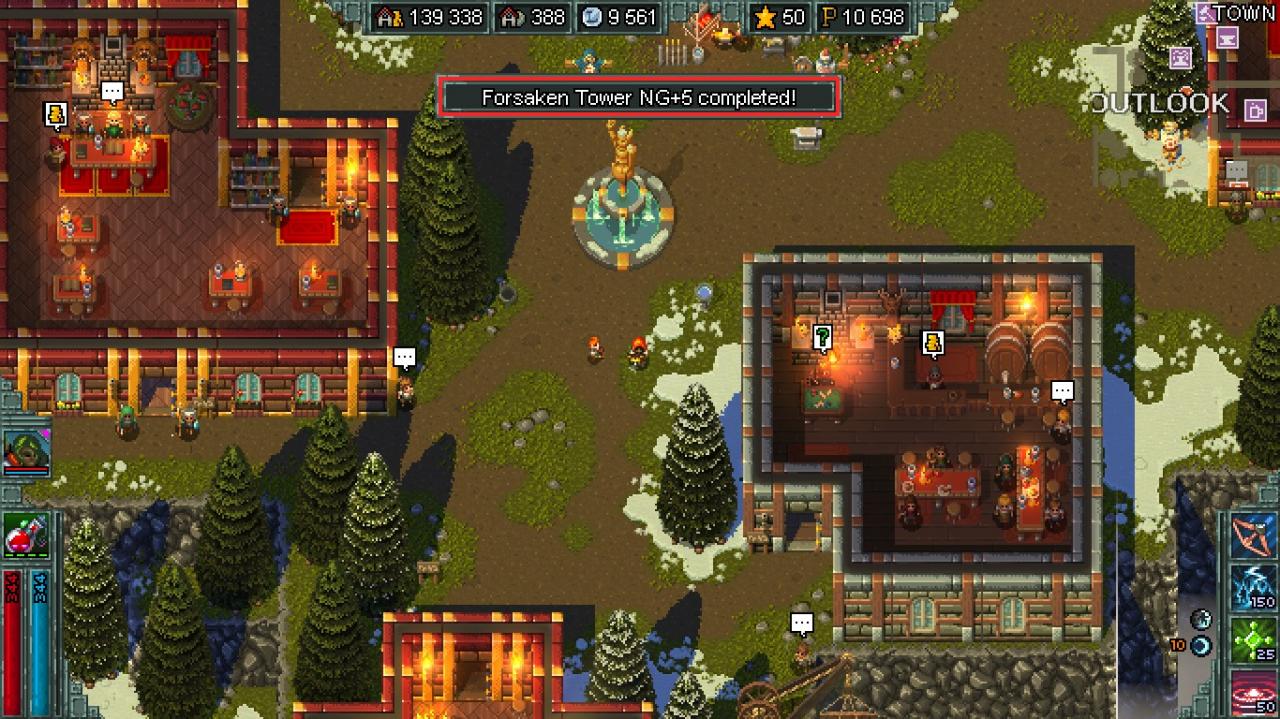
After you are completing the Forsaken Tower for the third time you will end up with 10698 Prestige Points. You finally have reached General Rank. Congratulations! From here on out you are free to chose your own route for example never touching Mercenary Mode again 😛 I think the set-up is strong enough to have at least another safe run in whatever dungeon you chose. Afterwards you might have to adjust to a more dangerous but also more effective set-up.
