This guide is to teach you how to unlock everything (in classic mode), and how to make it through each level. Buffs and how to complete levels will be in different categories.
Training – Sea Monster
U.B.H. (Unlock a Buff Here) means there is a buff that can be unlocked here. You can check the buff section and level to see how to unlock the buff and what it does.
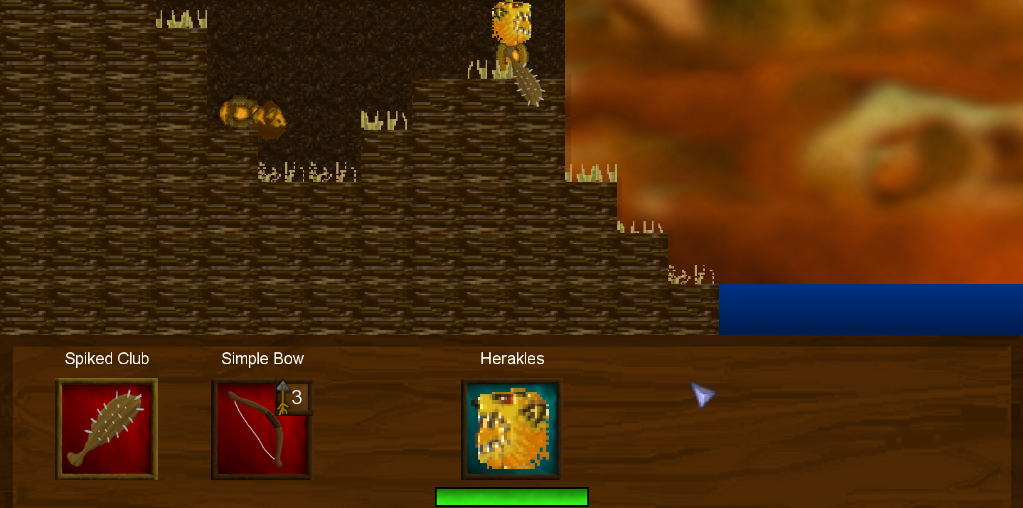
Training – The part of the training level that may be difficult is the 2 red block high obstacle. To get past this, simply stand next to the red pillar, and time your jumps by holding down the key you use to jump. Once you know how long it takes to get a full jump, hold the key down for however long you counted, or look at the jump height, and use the key you bound moving right to.
Make sure to pick up the club, as it is one of the very good early game weapons. Use the club to start smashing all the pumpkins.
In the diagonal area where the bow is, be sure to pick up the bow, and either use the bow to shoot them all with one arrow, or just poke the club through the ground like this. 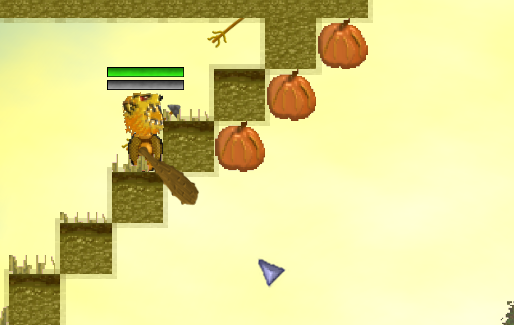
For the pumpkins on the top in the air, just use the bow to try and get them. Aim for them one at a time, as you have infinite arrows here. For the rest of the level, it’s the same strategy, either kamikaze the pumpkins with your club, or slowly but surely shoot the pumpkins with arrows.
After beating training and coming back to it, you may also notice a rabbit running around. U.B.H., but unless you want to waste a bunch of time, it’s recommended you skip this one until later in the game, especially since you have no buffs.
Bandit Ambush – It’s your big day. You get to clash with actual people. Make sure you have the club and bow equipped. Cool thing about this game is that you can have your own play-style. For the first bandit, you can either fire arrows at their head (deals more damage), use melee, or combine the two. Melee damage is based on the weapon, the force it’s swinging at, and the force of you moving. I’d suggest weakening the bandit with arrows, then jumping over the bandit, just enough so your club reaches them to deal damage, while swinging the club. Make sure you pick up their spiked club, as this is a 100% run, and you’ll need it for later. As soon as you pick it up, you can pick up the large/normal club again. The game recognizes this as you unlocking the item, so you’ll want to do this for almost every weapon in the game.
You’ll want to use the same strategy of jumping and swinging for a lot of the game. If you’re having troubles doing it, practice on this level. Finish this level by using the strategy, and if they have the high ground, find the nearest block(s) and try to be more elevated than they are when you attack.
Bandit Camp – Use the strategy to get through the first part (before the enclosed area). In/after the enclosed area, try to lure the bandits out of the enclosed area and before it, so it’s easier to kill them.
The moment you get into this area with no blocks in it, the Strong Bandit mini-boss will appear.
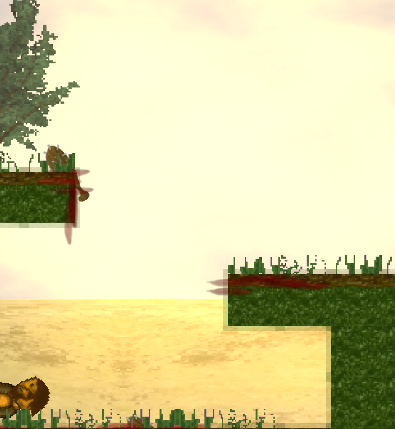
Try and go behind him, all the while dodging his spear and attacking him. Make sure you pick up his spear when he dies, as it clears a lot of boss health bars fast. The rest of the level will just use the strategy.
[b[Hydra[/b] – Hydra is one of the more difficult bosses to defeat. Bring the spiked club instead of the normal club for this level, you’ll see why later. Also be sure to have your bow on you. For the bandit part, use the strategy, but because there’s not too much room to move, make sure your elevation is the same as the bandits or higher.
Once you enter the room with the Hydra, climb the walls and ceiling to get to the middle of the ceiling. Wait until the base of their neck just about starts to grow (the Hydra will wobble a bit). Once it starts to grow, drop down and violently swing at it. If it gets severed and the Hydra falls, you’re doing it right. Use the same strategy of dropping down for the next two heads. After you’ve sliced off 3 necks, a torch will spawn, on either the left or right wall. Replace your bow with the torch. This next part can be a little tricky, so be ready to start levels over. Find the tallest growing Hydra. This is the one that you want to kill first, as the Hydras can’t hurt you until their head is fully grown. Once the tallest one’s head is gone, quickly hold the torch over it, and get back on the ceiling. You’ll then want to assess the one tallest, or at this point, furthest away from the others. This is based on RNG. Do this for all, and again for all, drop down, attack with spiked club, sear, then go on the ceiling. If two Hydras are close enough to each other, you can sear them both at the same time.
If in the demo, the hydras will attack while rising, you can counter this by dropping and moving back up to the ceiling, or moving around on the ceiling, but preferably dropping.
Sea Monster – This is technically a “new level” in the map, but it’s just a continuation of the Hydra level. 2 U.B.H.s.
Use the boat (or just swim) to get to the other side of the map. If you’re on low health, kill some of the fish. This can also be used for the fight. 3 sharks will appear. Shoot them with arrows, then try and go around and kill them with the spiked club. After they die, Ketos will appear. Lure Ketos to around the middle of the ocean area, and try and go into the middle of him.
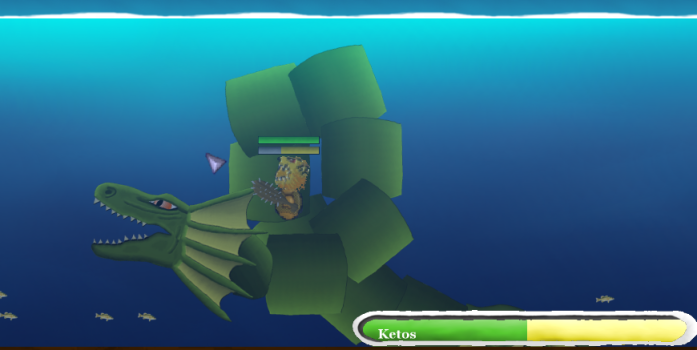
He shouldn’t be able to attack you. Start moving around (not too much, stay in the middle) and swinging the club. Sharks may start appearing, and to defeat them, just use the strategy that you used to defeat them earlier to defeat them now.
Thrace Woodlands – The Enemy of My Enemy
A lot of more items? Sweet!
Thrace Woodlands – Arguably difficult, depending on the strategy you use. You can switch back to the normal club. Make sure you bring any kind of bow. This level is best played with the Thrace Bow (pick it up from a fallen Thrace archer). Since we want 100%, make sure you pick up a Thrace Spear too. Be sure to get a quiver from the Sea Monster Level too. Always aim for the head and pick up arrows when it’s safe to do so. The Thrace Spearmen are quite slow, so aim for the archers first, unless you need to kill the spearmen. Always take cover when needed.
Thrace Camp – Make sure the Thrace Bow is equipped instead of the simple one. Try and quarantine the archers and spearmen in the little pockets with holes. Try and aim for the heads through the holes with the bows. After that, just use the same bow strategy. Near the end, I would not suggest to hide in the hidden area, as you can get cornered.
Thrace Chief – Make both of your weapon slots the Spartan Spear. Aim and throw both of the spears at the head. If done correctly, the chief will die. STAY IN THE LEVEL! You’ll want to pick up the Artemis Bow.
Ahoy! – U.B.H. If you’d like to, you can replace the Thrace Bow with the Artemis Bow. The Artemis Bow shoots 3 arrows at a time. You also don’t need double spears right now. Just a club and a bow. Just like in the Hydra level with the bandit part, use the strategy, but make sure the enemy doesn’t have the high ground. As soon as one Troy Soldier is dead and it’s safe, replace your club with the sword. Make sure to pick up and drop (if you want to) the Troy Spear and Troy Bow too.
Troy Captain – After this fight, you’ll be quite powerful. You can use the double spear strategy, but you have to be fast. Just circle and jump around him with your weapon while dodging the other enemy if you don’t want to do the double spear strategy. Remember, he heals over time. STAY IN THE LEVEL!Pick up his blade and U.B.H., then you can exit to the menu.
The Enemy of My Enemy – Have the Spartan Blade and whatever bow you’d like equipped. You don’t have to free these soldiers, but they’ll help you if you do so. You free them by standing where they are. When one dies, pick up their sword then drop it, because we’re going for 100%. Just use the strategy, and free the soldiers when needed. A single soldier can defeat a large group of enemies at a time.
Rescuing Telamon – The Battlefield
Rescuing Telamon – U.B.H. If you aren’t trying to complete the frenzy bar, then you can just use the strategy. Make sure to dodge and not corner yourself. I’d highly suggest to get the buff here for the next section.
The Bandit Lord – Highly suggested to not use the double spear strategy, as he moves around quite a bit. Try and keep him on the walls and ceiling. Once he throws his axe, go in for damage. If you see the axe coming back, stop attacking and run from him. Repeat this process until he is dead. STAY IN THE LEVEL! He will drop Bandit Lord’s Axe, which is very good. Pick it up and exit the level.
Mountain Battle – I would strongly recommend to replace your bow with the axe. Charge forward, but watch what you do. If Telamon dies, pick up his spear. Use the axe (or bow) to kill the enemies in front of you. U.B.H. Keep your distance from the Troy Defender and use the axe/bow to get him, or use the strategy we used for the Strong Bandit.
The Battlefield – Use the strategy while throwing the axe or shooting the bow at the enemies. Make sure to watch yourself again, though.
The Gates of Troy – Final Battle!
Last part of the game!
The Gates of Troy – You should let your troops battle in the beginning, but help them with the axe. No, not the bow this time, the axe. The bow is now pretty much useless at this point. U.B.H. Use the strategy and throw the axe in groups to finish the level.
Troy Palace – Always hide in the beginning or stay back? You might have difficulties with this level. For this level, you can either use Bandit Lord’s Axe or Telamon Spear. Both are useful here, but I think Telamon Spear is better for this level. Charge through the level while killing as little as you need to get through. 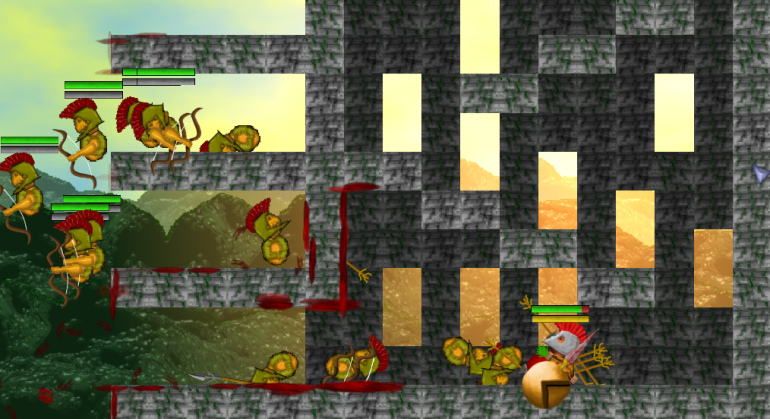
Try and make it to here. If you have the Telamon Spear, don’t throw it, as it isn’t that useful to thrust or throw. However, the soldiers come in handy.
The King’s Tower – Use the axe. Climb up the left wall and get up here.
Swing your sword while jumping over them to kill them, or aim your axe in a perfect position. The soldiers at the bottom will come to the top, and just finish them off with the axe or blade.
It’s a Trap! – This is a simple level. Just use the blade and either Telamon Spear or Bandit Lord’s Axe. The waves will spawn on the opposite side of the room. Take time to heal or reassess what’s happening, but make sure the waves don’t pile up, because they become really strong if you don’t kill them in time.
Lampus – I’d recommend to now go back and try and get the first buff . Use the strategy and circle him. STAY IN THE LEVEL! He drops his bow if you kill him with a ranged weapon (like a bow, but not like a spear), and he drops his sword. To get the bow, he must be holding it upon death.
Final Battle! – This is it. You’ve come this far. For this battle, have the Lampus Sword and Lampus Bow or Bandit Lord’s Axe.
1st Stage: Pretty easy. Just use the strategy and circle around him. He’ll summon undead soldiers every couple of seconds, but you can just ignore them for now.
2nd Stage: U.B.H. Pick up and drop the King’s Sceptre (it isn’t that good), and replace the second weapon slot with the King’s Bow. As you kill enemies, your energy bar rises. Right click with the King’s Bow in hand (or King’s Sceptre) to summon an undead ally. You can see how much you can spawn with the energy ball meter. Stay on the ground. Wait until he swoops down. Once he attacks you, keep on swinging your sword at him and moving with him up. Rince and repeat.
3rd and Final Stage: Make sure you have the buff from the last stage! just stay in the middle of him while moving and swinging your sword, summoning allies along the way. If he jumps high, he is most likely going to fly at the top and breathe fire, from left to right or vice versa. As he loses health, stronger allies will appear without you doing anything. Eventually, he will be defeated, and you will have beaten the full game!
U.B.H.
Training, Boots of Hermes
To get these, it is pretty difficult. You must catch the rabbit 7 times. The AI changes each time you catch them. The rabbit only appears in the training level after you’ve beat the level.
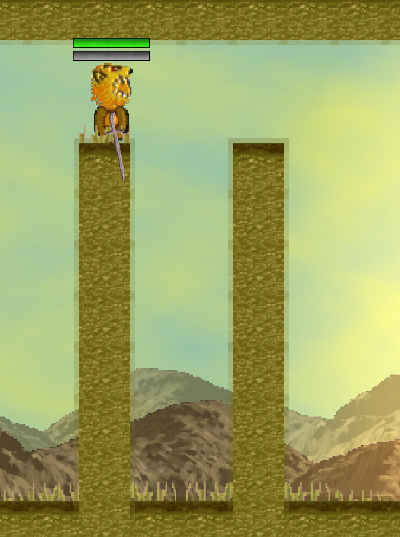
Try and get the rabbit caught in between these two pillars, but anywhere small with not much of an escape will do. This is arguably one of the most difficult or time-consuming challenges. The boots give you a speed boost. Once you caught the rabbit 7 times, it will lead you to the top of the ceiling, and all the way to the left, the Boots of Hermes will drop.
Hydra/Sea Monster, Poison
To get this, when the water is filled with poison in the Hydra cave, hold out your bow, and take a dip in the water. When shooting an enemy with an arrow, it will poison the enemy, having the enemy take damage over time. It also gives your arrows a cool green color.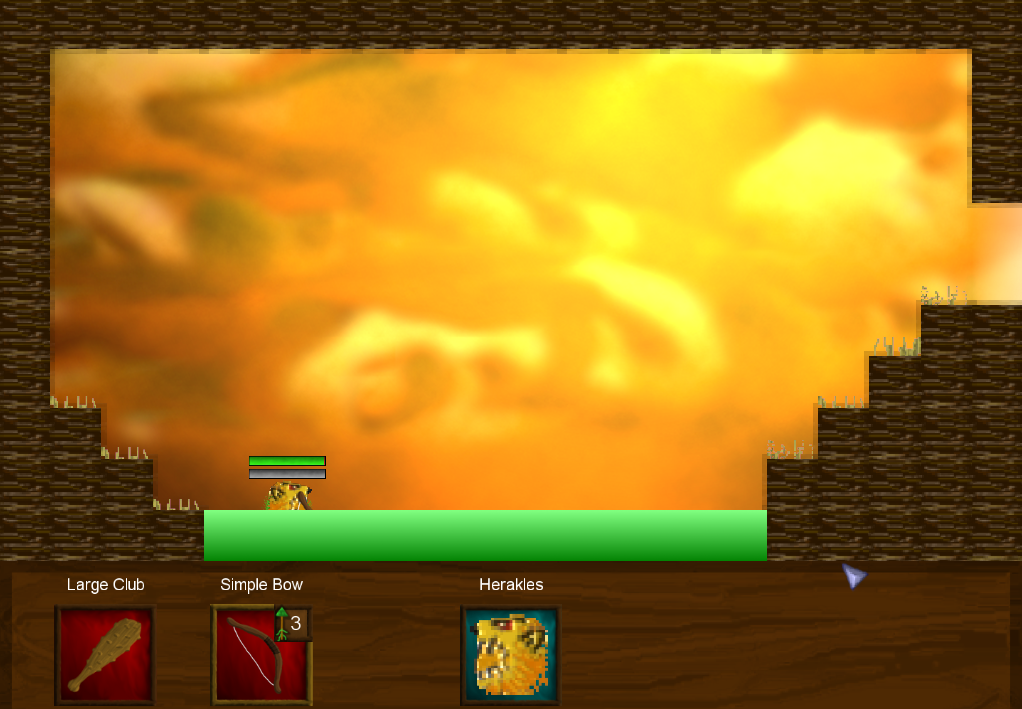
Hydra/Sea Monster, Quiver
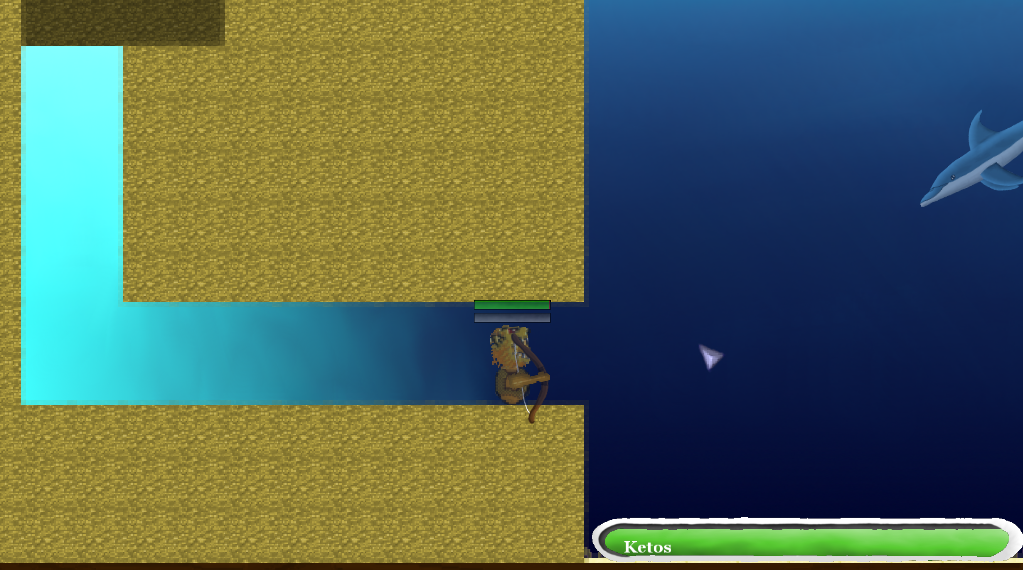
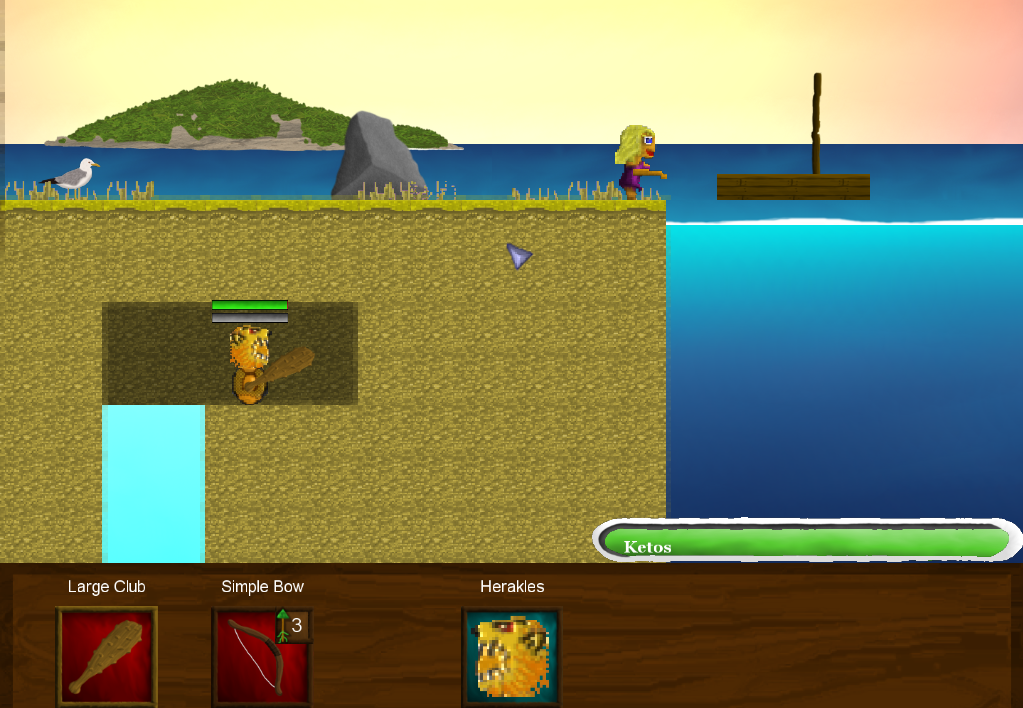
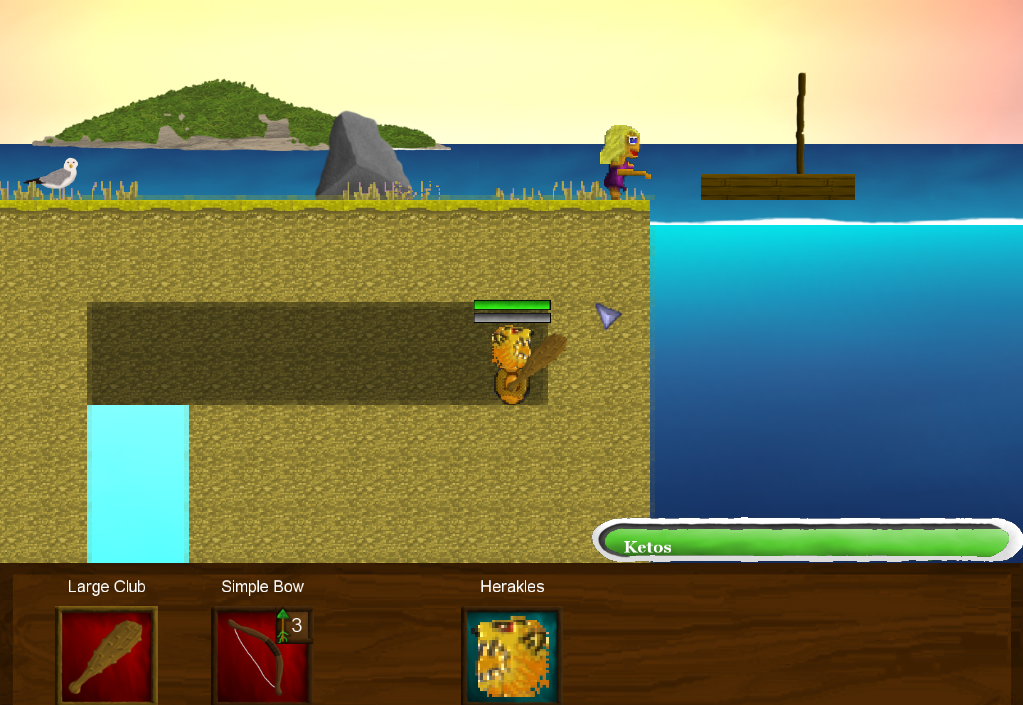
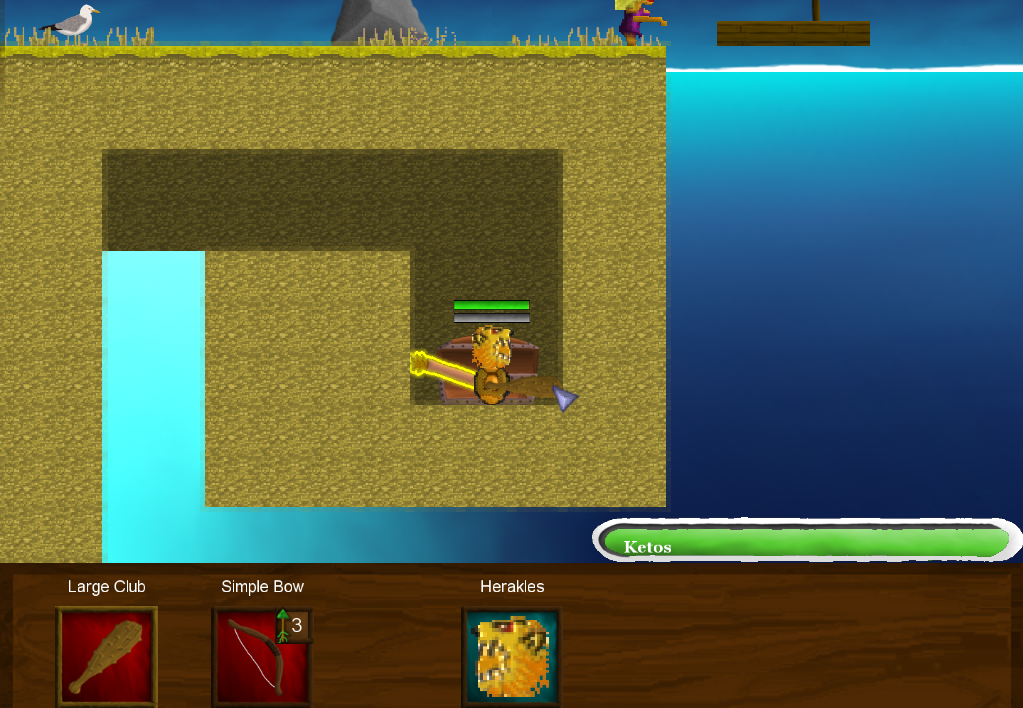
This will allow you to hold 6 arrows instead of 3. It is located in a hidden area, buried. See pictures for instructions. (You have to dig through the sand. Once you find the treasure chest, weapon pickup to open, and you have to pick up the quiver.)
Ahoy!, Spartan Agility
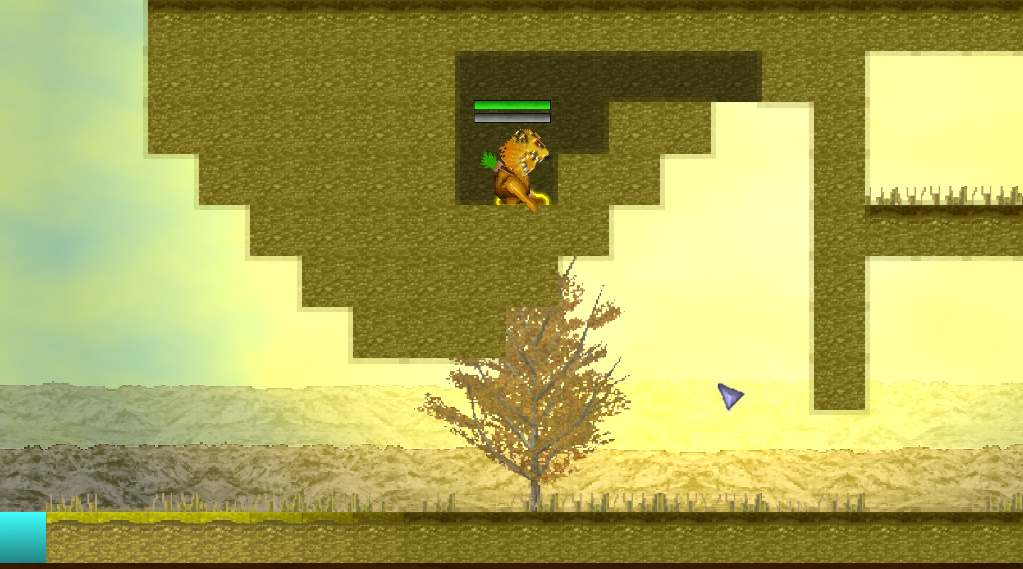
Increases your speed by a bit, and gives you a chance to dodge attacks to your torso. You must go into the hidden area by the ceiling.
Troy Captain, Red Cape
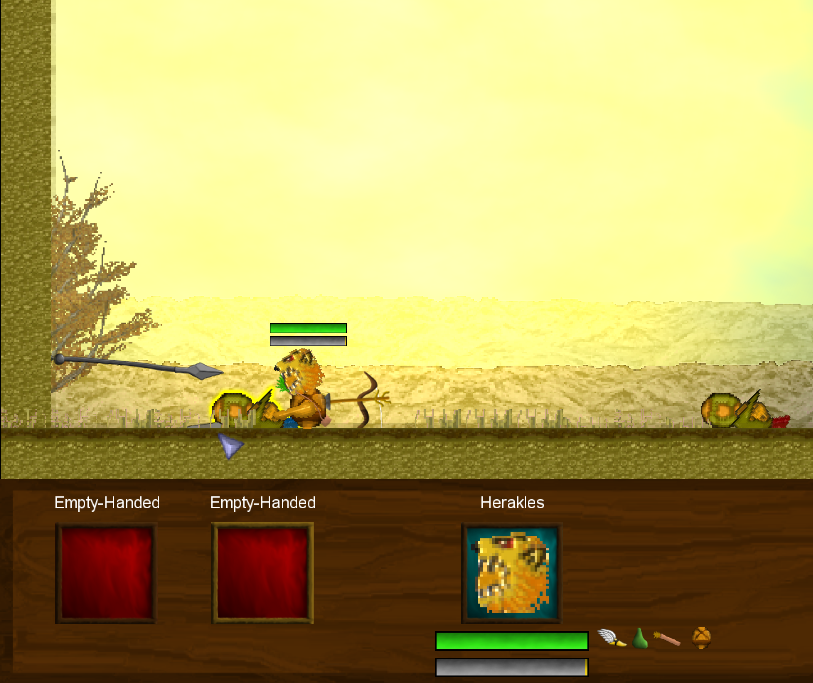
The cape slowly heals you over time. You’ll have to pick it up from the Troy Captain’s body.
Rescuing Telamon, Bloodthirst
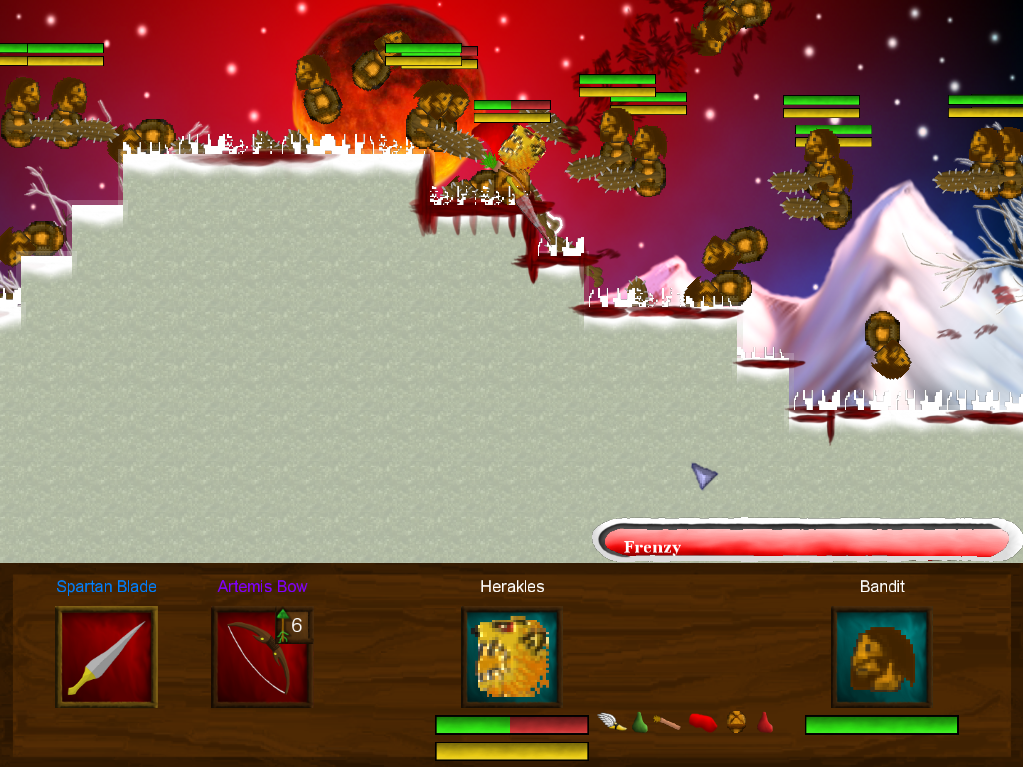
This buff quite literally gives you the thirst for blood. Melee damage heals you. Really good buff, but hard to get on the first try. You must complete the frenzy bar by killing a lot of bandits.
Mountain Battle, Spartan Shield
Blocks arrows, and can be used by itself, with a sword, or with a spear. You have to take it from the dead Troy Defender.
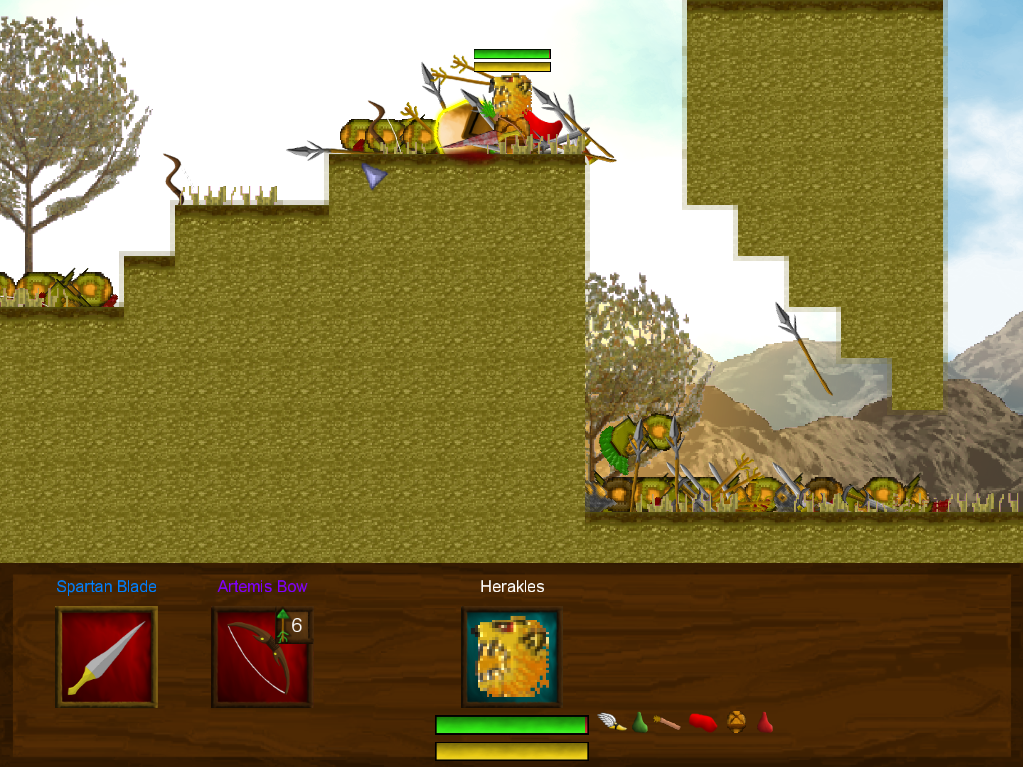
The Gates of Troy, Spartan Helmet
Reduces damage to your head, and makes you look cool. It is found in a small hidden area.
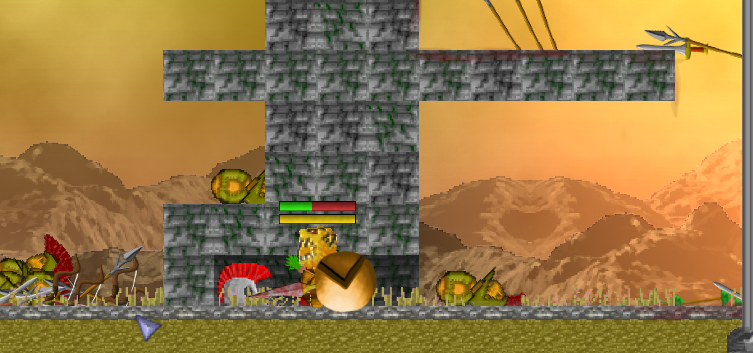
Final Battle!, Wings of Freedom
Grants flight. You must collect all of the feathers dropped by Laomedon’s bird form. A lot of feathers will drop when they die, but when you attack him, he drops feathers too. Upon collecting all the feathers you will get the wings.
