This is the guide for Dread X Collection: The Hunt. It’ll touch on major progression points for the launcher! Spoilers Ahead!
The Bunker
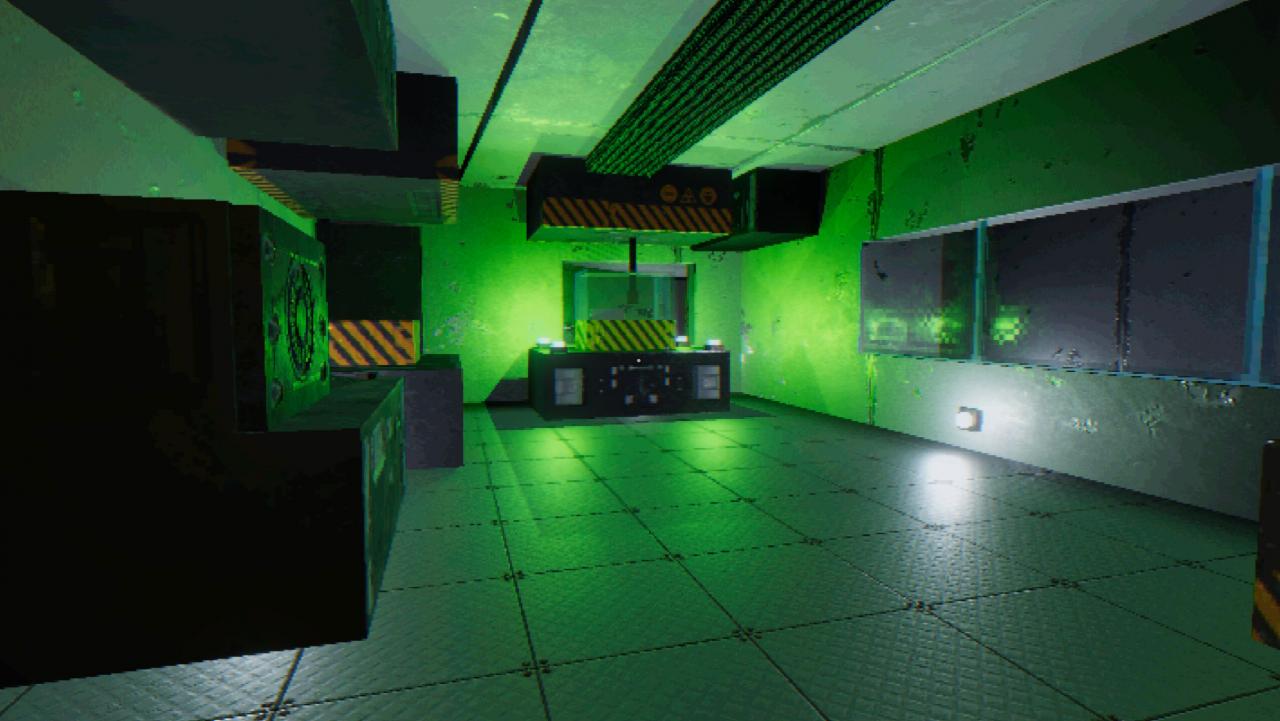
The bunker serves as a central launcher for all of the games in the Collection, while also being a game experience in itself! You’ll be traversing the cold interiors of the building as well as its surroundings, unlocking rooms & retrieving samples from the basement lab after gaining codes from case reports (games).
The First Key
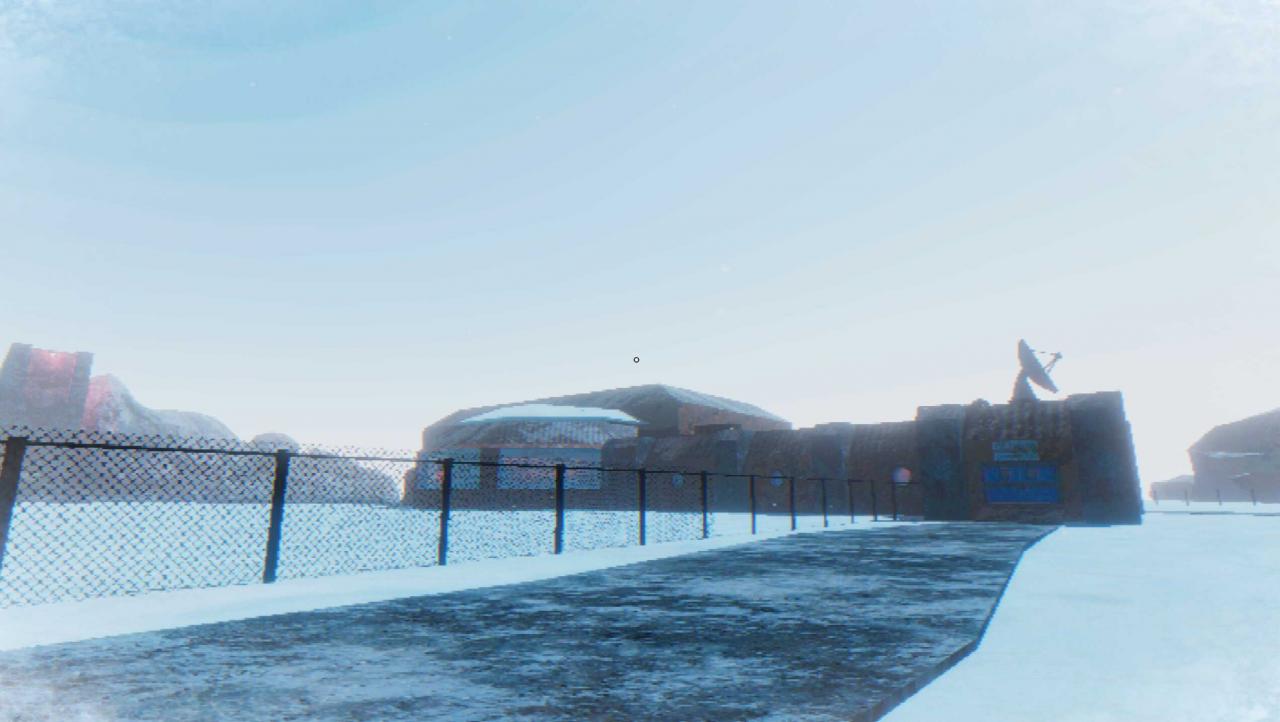
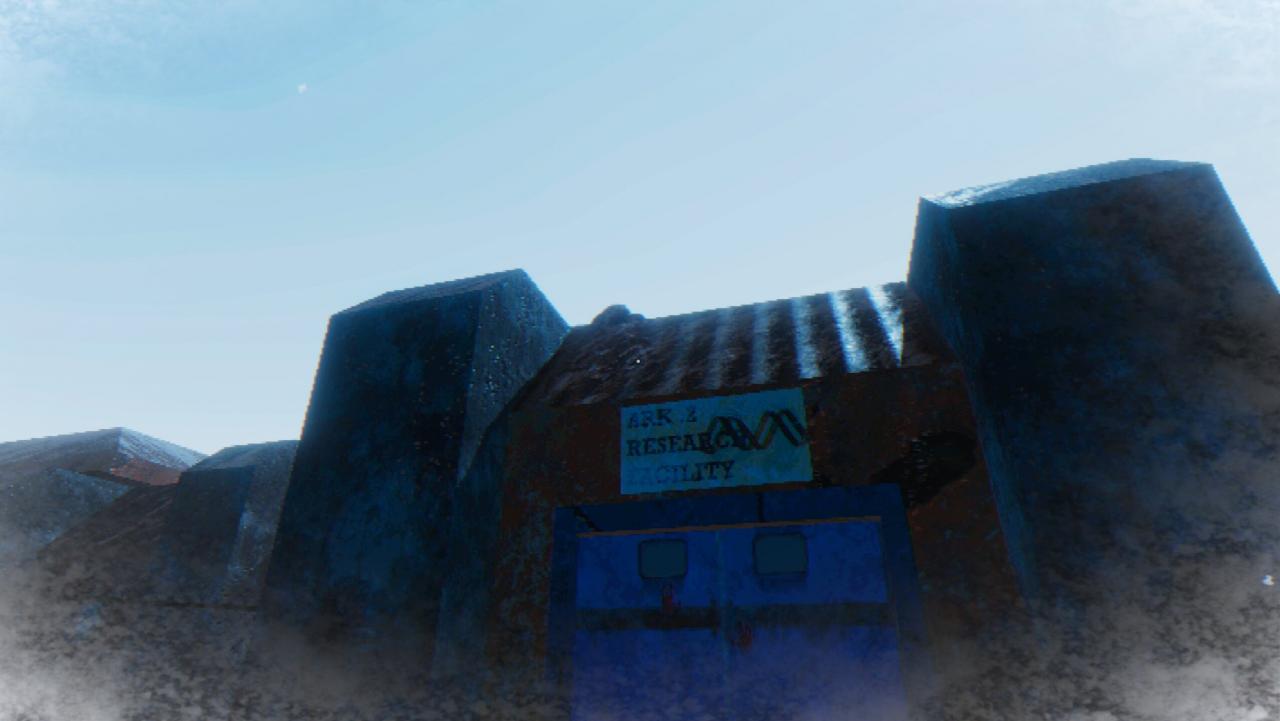
The first key is above the front door of the facility, accompanied by a blinking light. Equip your rifle (M2 by default) and shoot the light and the key will drop down onto the floor, allowing you to enter the bunker.
The Mess Hall Key
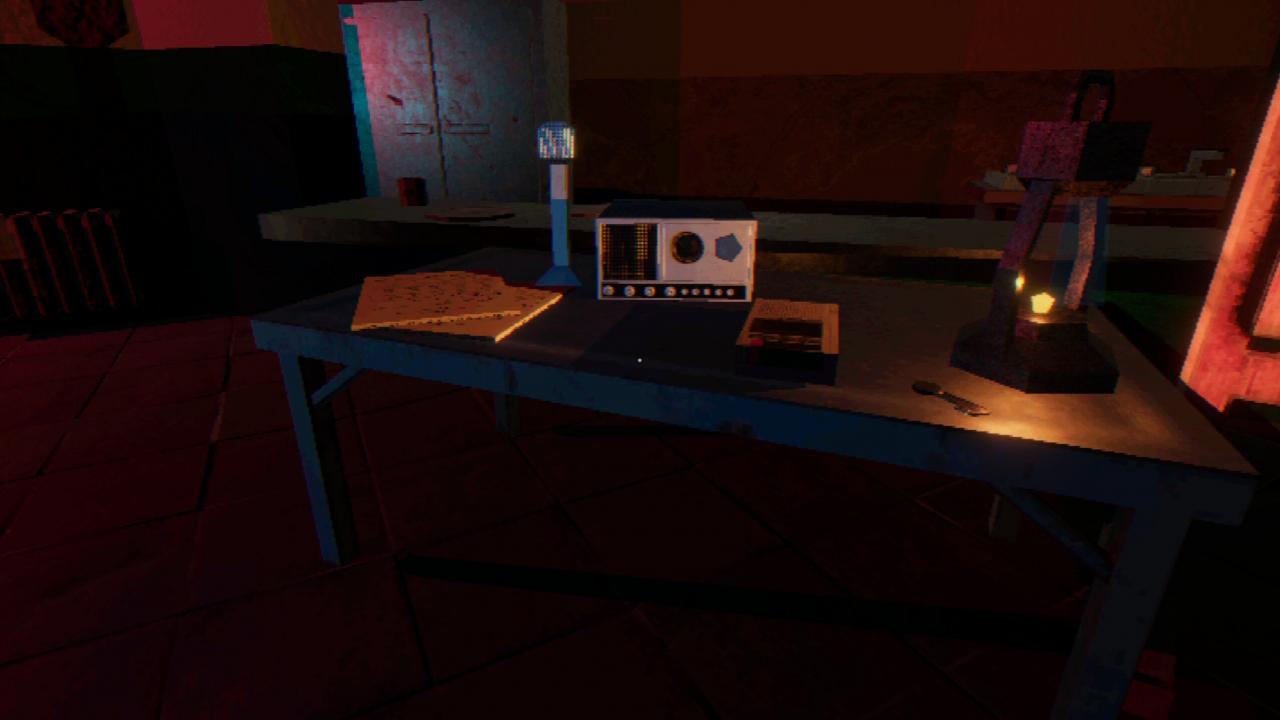
After entering the bunker you’ll need to activate the generator, located in the Utility Room. At this point all the doors are locked. Make your way towards the Mess Hall where a Recorder, the Mess Hall key, and a note of the Case Reports lie on a table inside. Use the key to unlock the door to the hallway, the generator room will be just down the hall…
The Lab Keycard
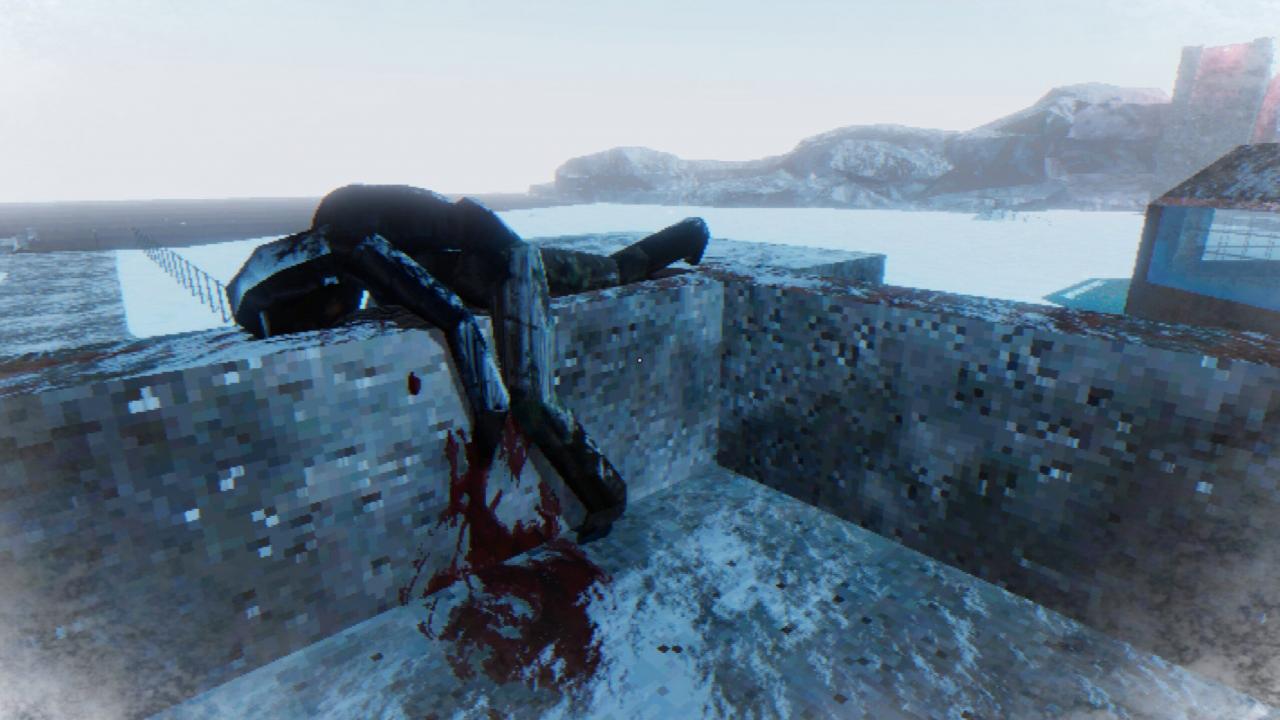
Once the generator is up and running a pleasant alarm will ring out, signaling you to check the basement of the compound. Go down the stairs you passed on the way to the Utility Room and read the note on the door. Head up to the second floor and find the door labeled Roof Access. Out on the roof you will find a body with the keycard on the ground nearby. With the keycard in tow, make your way back to the basement and use it on the card reader next to the door. Once inside the lab, deactivate the alarm on the wall and interact with the nearby computer.
Restarting the Pump
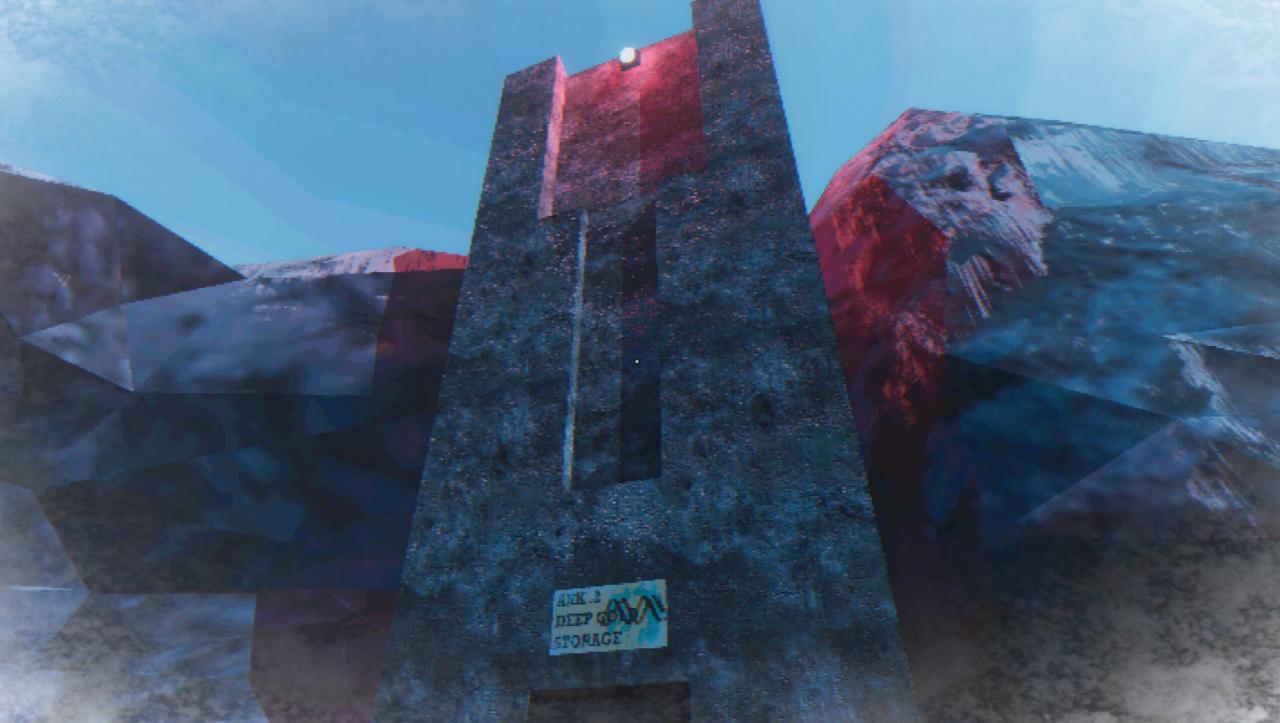
Your first interaction with the sample computer will be a brief one, prompting you to visit to restart a particular pump. Go back up the stairs to the first floor and take the nearby door to Cold Storage. Follow the trench outside until you reach the cold storage building. Once inside you’ll find the pump that needs restarting, as well a frozen friend.
The Case Files
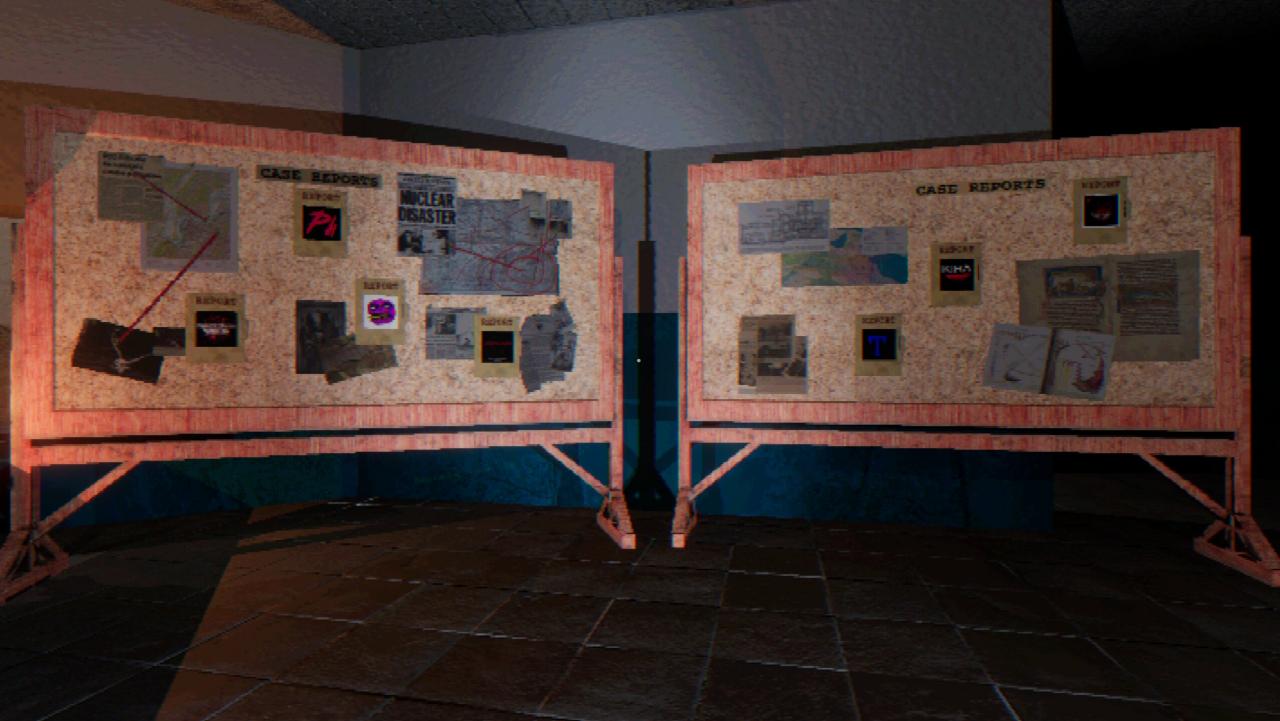
Head back the way you came to the laboratory for a cutscene. With all the lights and doo-dads activated, you’ll be presented with the Case Files. Each one contains a sample code that you will be given upon completion to enter into the computer in the basement lab.
The Sample Analyzer
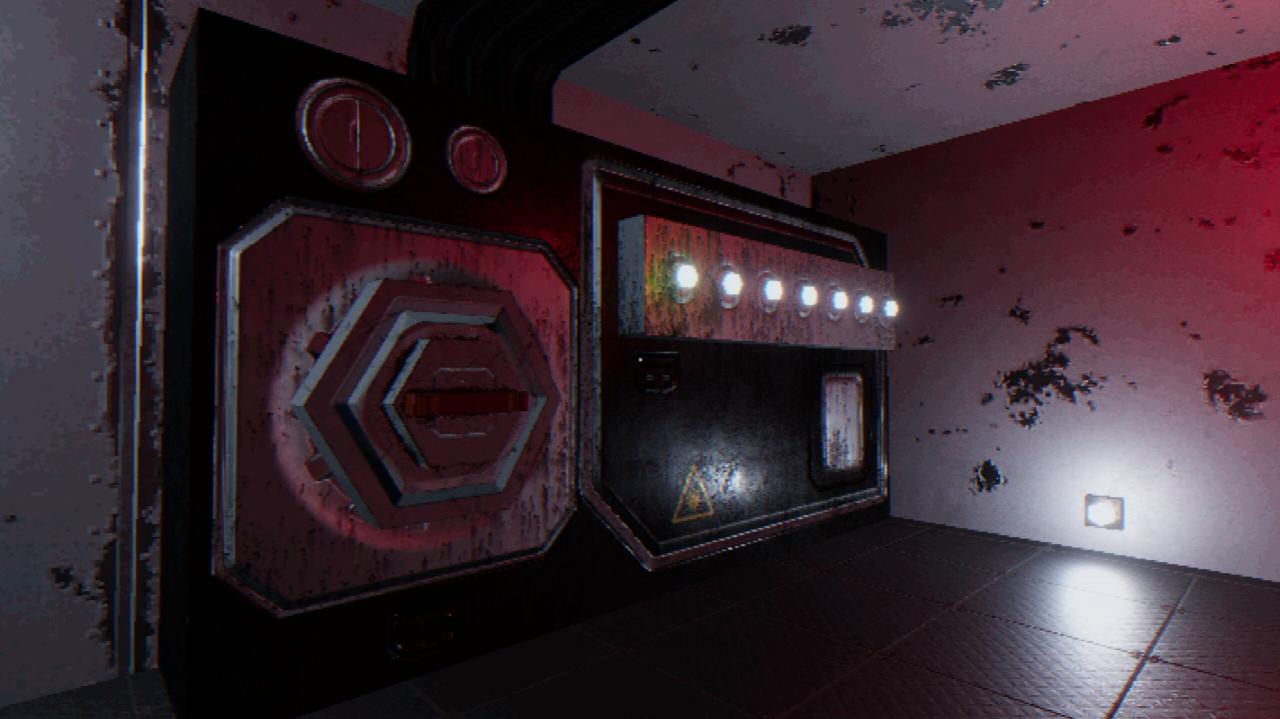
Mentioned in the last bit, each game will give you a sample code upon completion. After putting the code in the basement computer, you’ll be given a sample. If you hadn’t noticed already, there’s a large device next to the computer, where you’ll drop the sample in. On the machine are lights to mark your sample-snagging progress!
The Third Sample
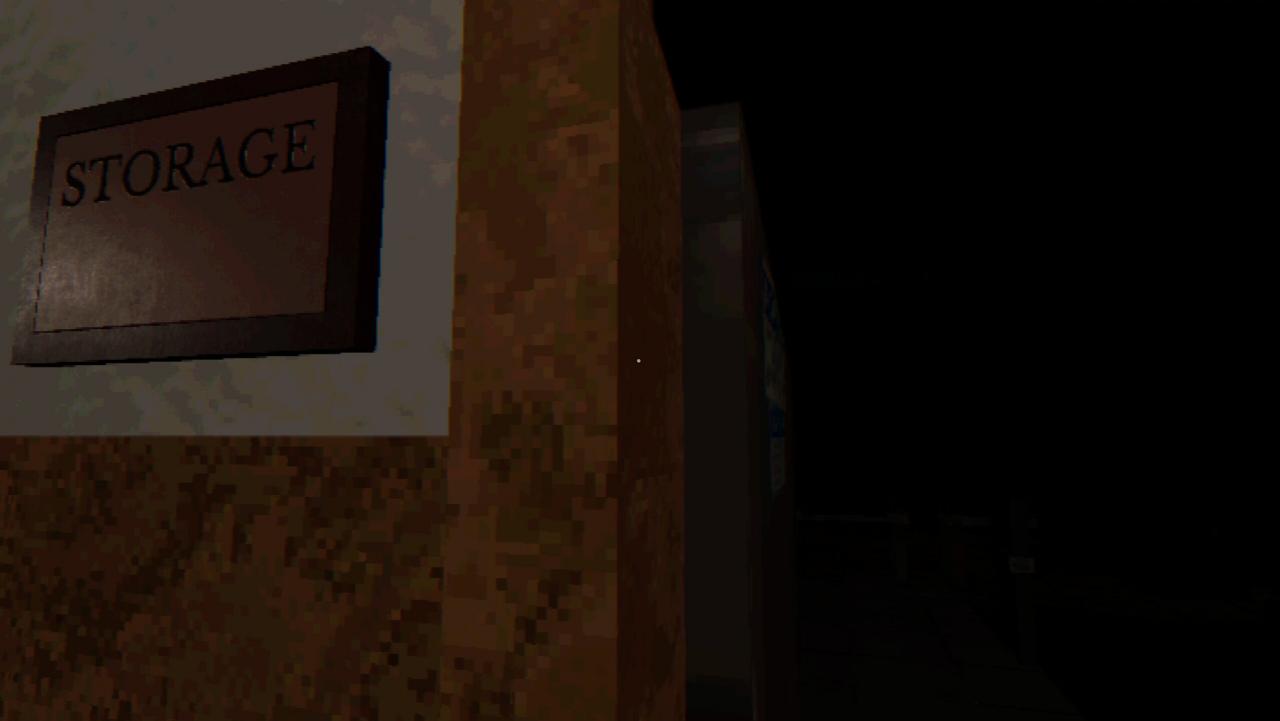
After putting in the code for your third sample, the case for it will drop except it’ll be short one sample. Instead, there’ll be a note and a Storage Key inside of it. The storage room is located on the second floor so head up there next. Search the room for a tape deck recorder on one of the shelves. You’ll find the third sample next to it behind a blood-stained box.
The Fourth Sample
The fourth sample, much like the third, will require extra finesse to acquire. After entering the code you’ll be given a proximity tracker and a note from the holder of the fourth sample. Go out the door leading to the trench, make a sharp left, and follow your tracker into the snowstorm until you come across a chilly fellow.

The Fifth Sample
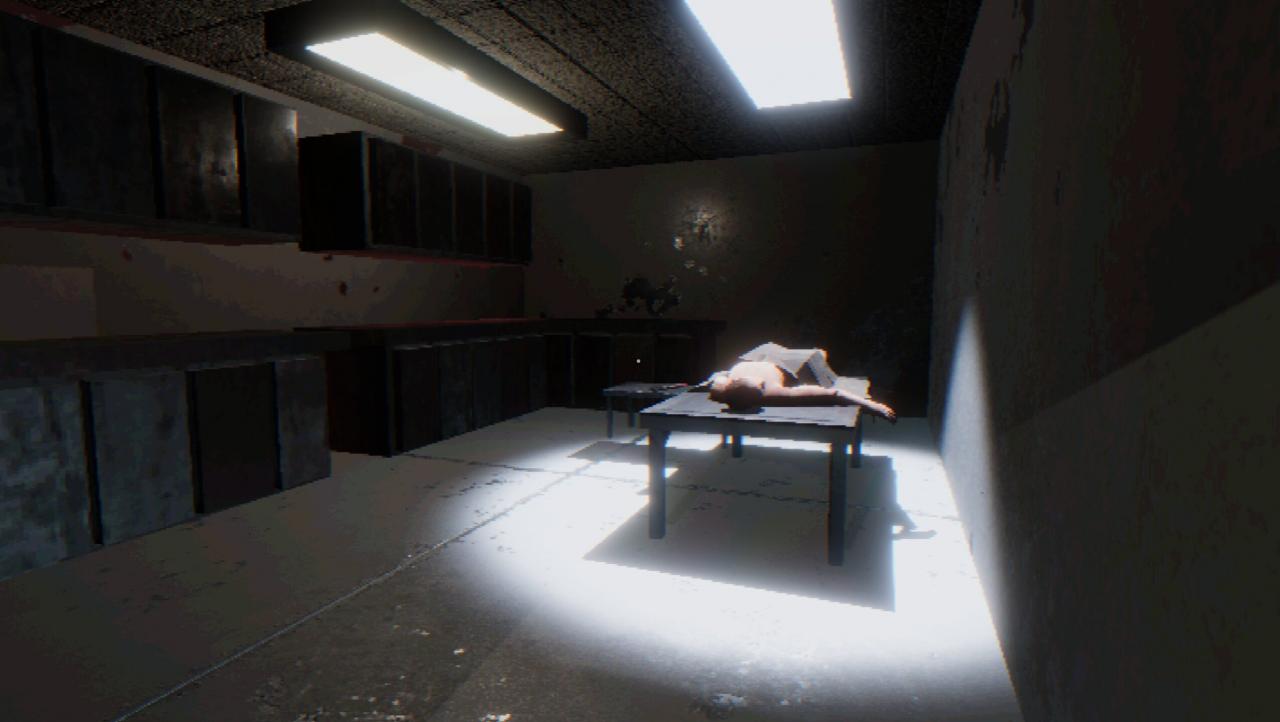
Like it’s predecessors, the fifth sample’s container will be empty, except for the key to the Bunk Room located upstairs. Inside the bunkroom you’ll find a knife on one of the tables that you can make use of. Go downstairs and use the knife on the rope holding the Medical Room door shut. Utilizing the tools available (Scalpel, Bonesaw, Scalpel, Tweezers in that order), you’ll obtain the fifth sample.
The Sixth Sample
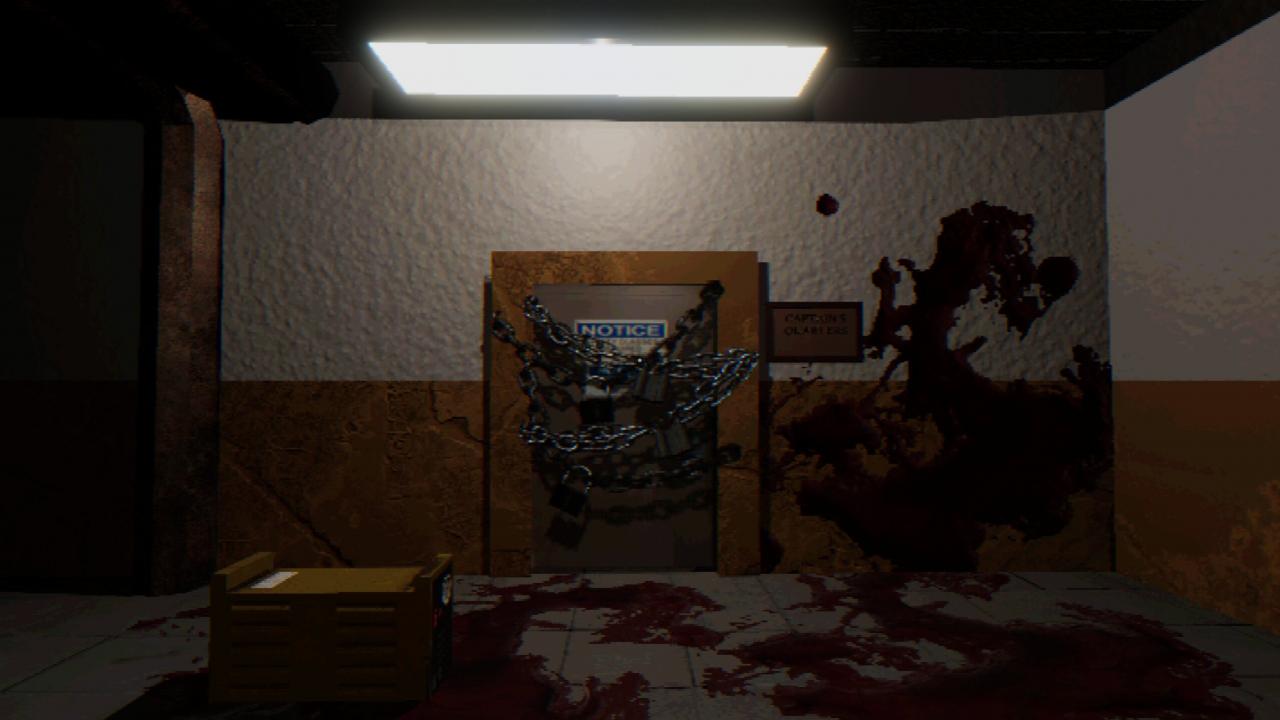
Almost a running gag at this point, the container for the sixth sample will only contain a note and key to a footlocker in the Bunk Room. Inside the footlocker lies a space heater and plasma cutter base. Take the space heater down to the garage to melt the ice off the frozen door. Grab the plasma cutter torch and go back upstairs to the Captain’s Room. After two passes on the chains with the cutter the power will shut back off, prompting you to return to the utility room and restart the generator again. After the power is restored, head back up to find out that someone finished the job for you. Inside the Captain’s Quarters is the sixth sample, as well as a tape and note.
The Seventh Sample
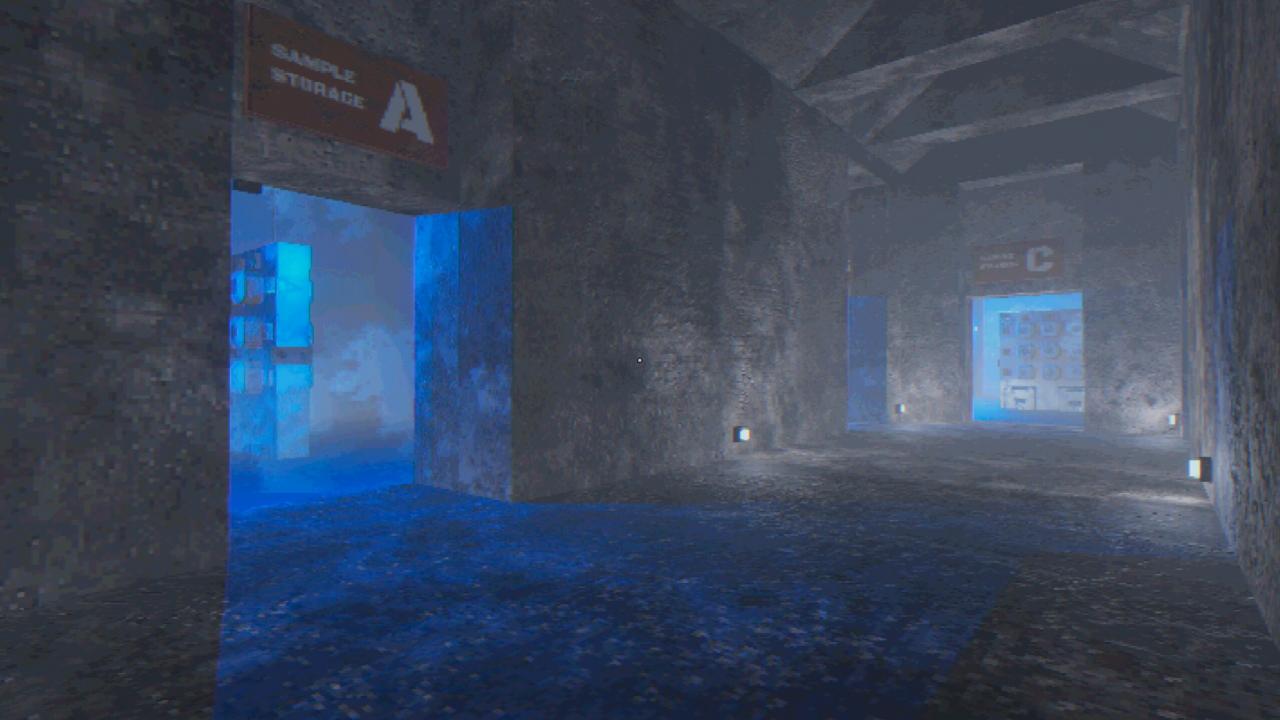
With the computer unavailable to give out any more samples, you’ll have to go to Cold Storage and find it yourself. Make sure to pick up the Cold Storage Key from the broken box on the floor before you leave the computer room. While crossing the icy trench the creature will give chase, leaving you no choice but to close the first door of Cold Storage behind you to stop it. Behind the second door lie shelves of samples that you’ll need to use the final sample code to navigate. (D6C3) Go into the Sample Storage D section, and locate the shelf side adorned with the number 6. From there, look through the samples until you come across the seventh sample.
The Experimental Weapon
After placing the seventh sample into the Sample Analyzer, you’ll be able to enter the lab itself. Once you interact with the experimental weapon, the creature will break in, forcing you to shoot it. Upon its death, you’ll find a tape recording that’ll activate once you leave the lab area.
