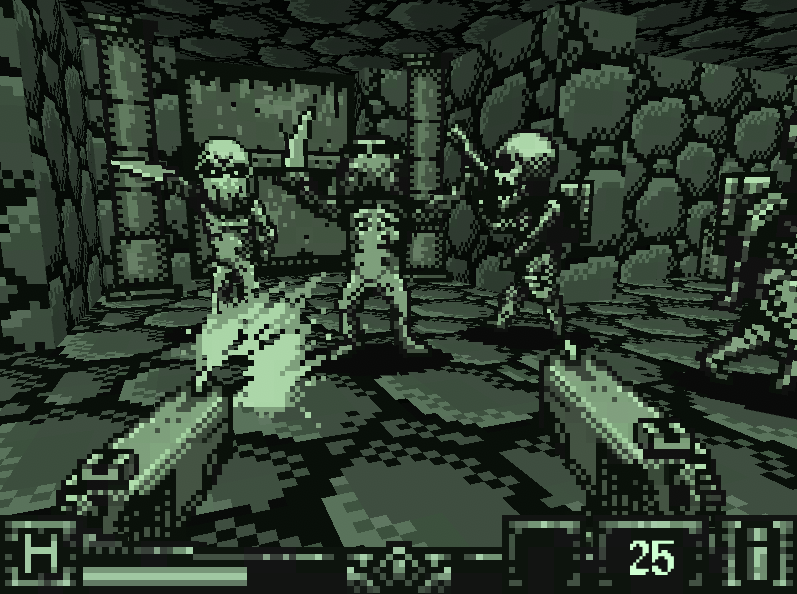
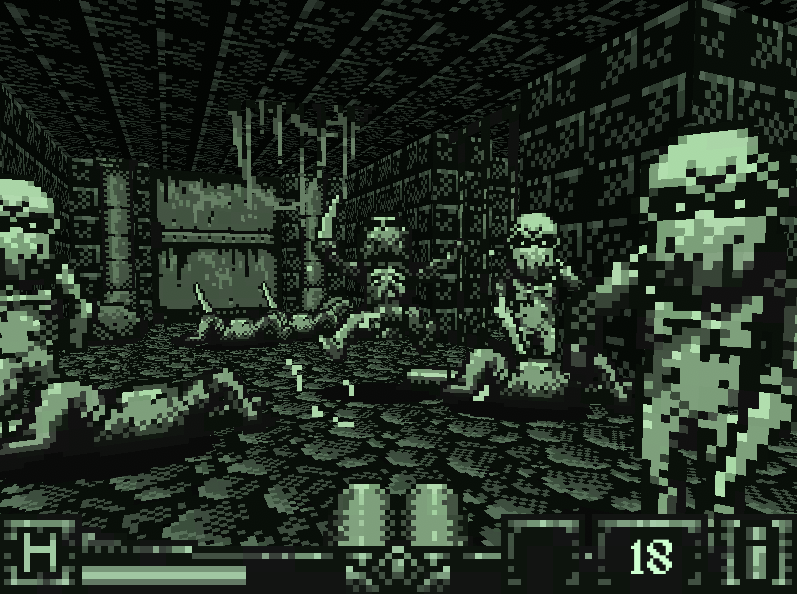
E2M1: Dark Tomb
IMPORTANT: Your emblems and character setup are kept separately from your game progression for the difficulty level you are playing on. This means that you can return to completed levels via level selection, grab the emblems and the blood gems you missed on your first run and return to your saved game to have an expanded selection for that matter. Throughout the guide, emblems and blood gems are mentioned in brackets in the descriptions of the secrets they are found in.
—
This level contains 9 secrets and a super secret.
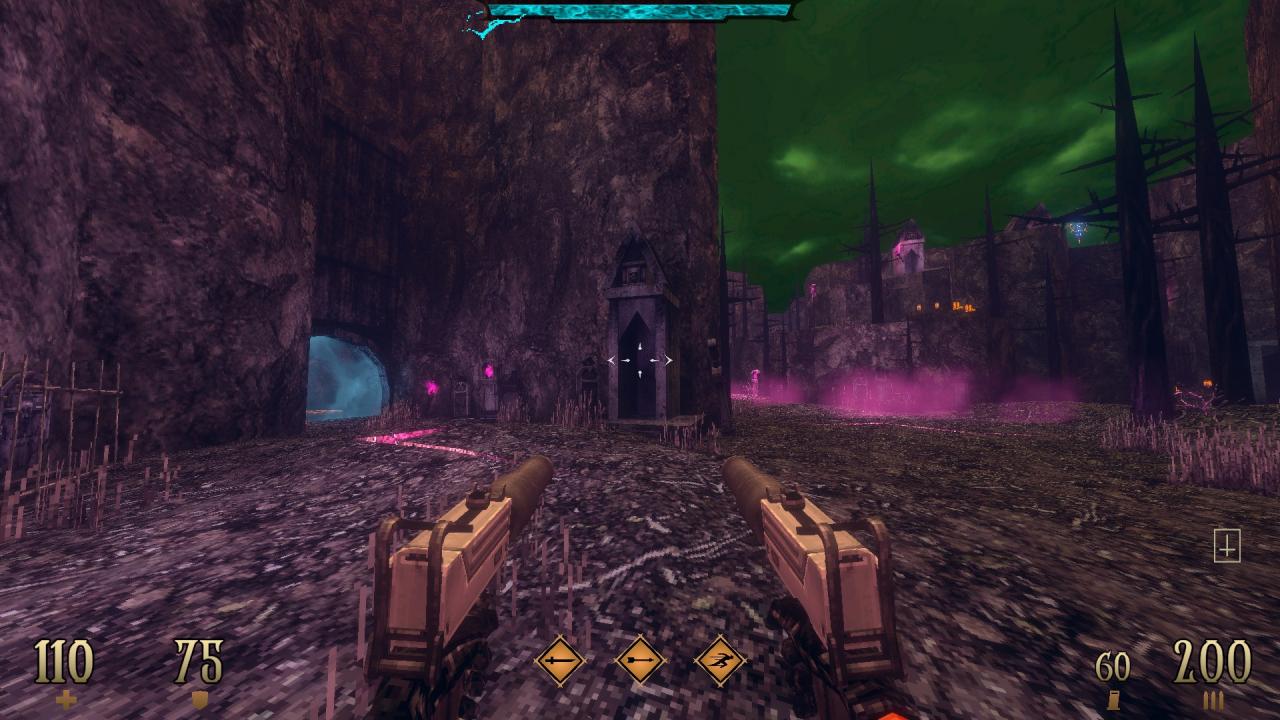
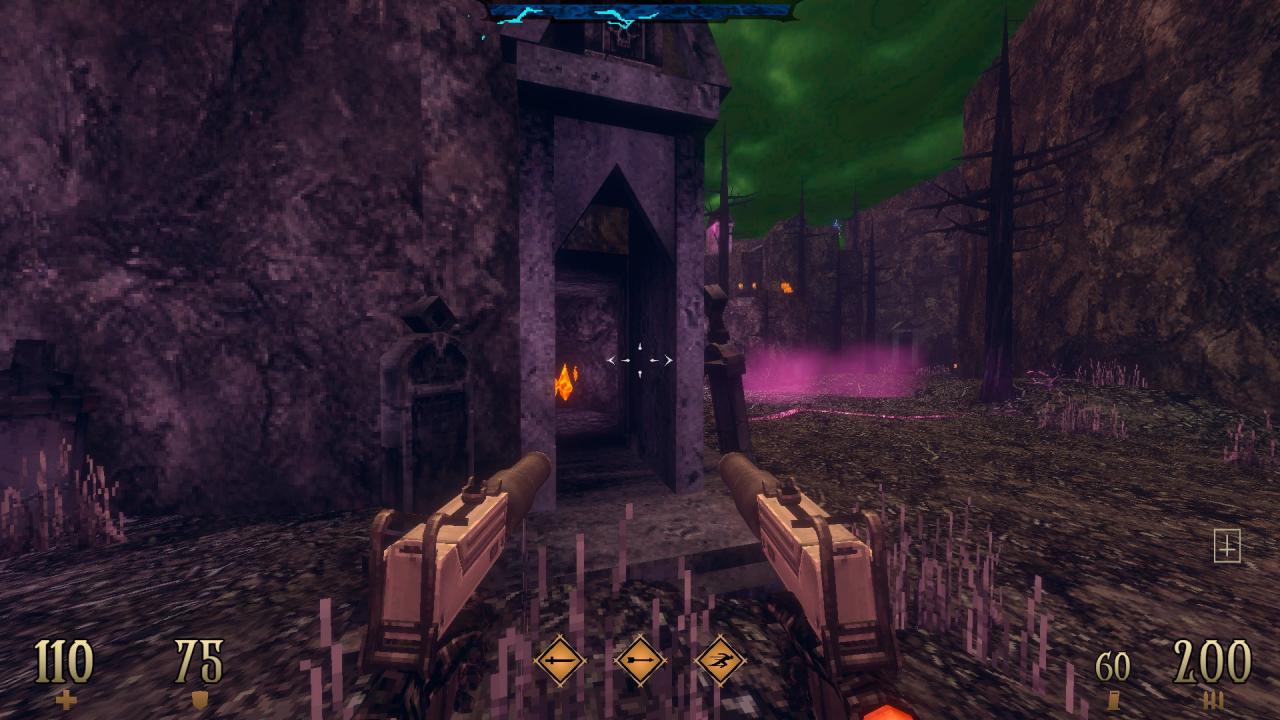
1/9 – Use the backside of the tomb near the upgrade altar at the beginning to reveal a hidden compartment.
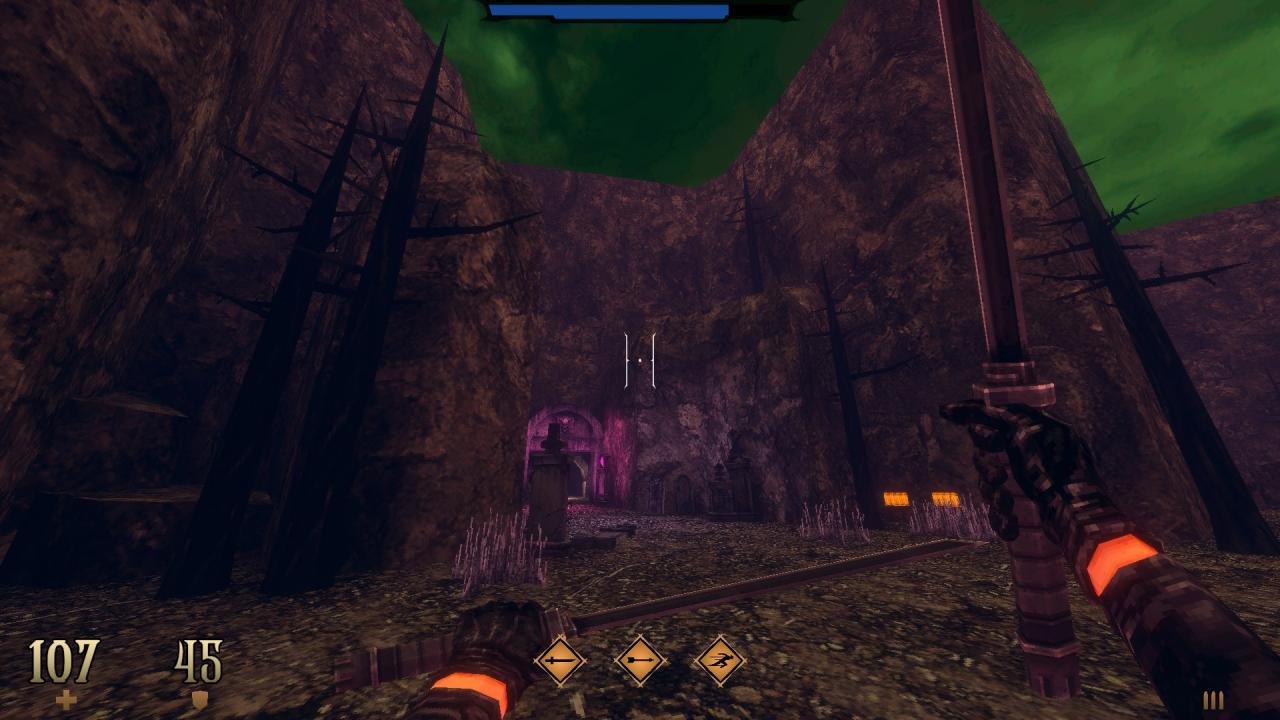
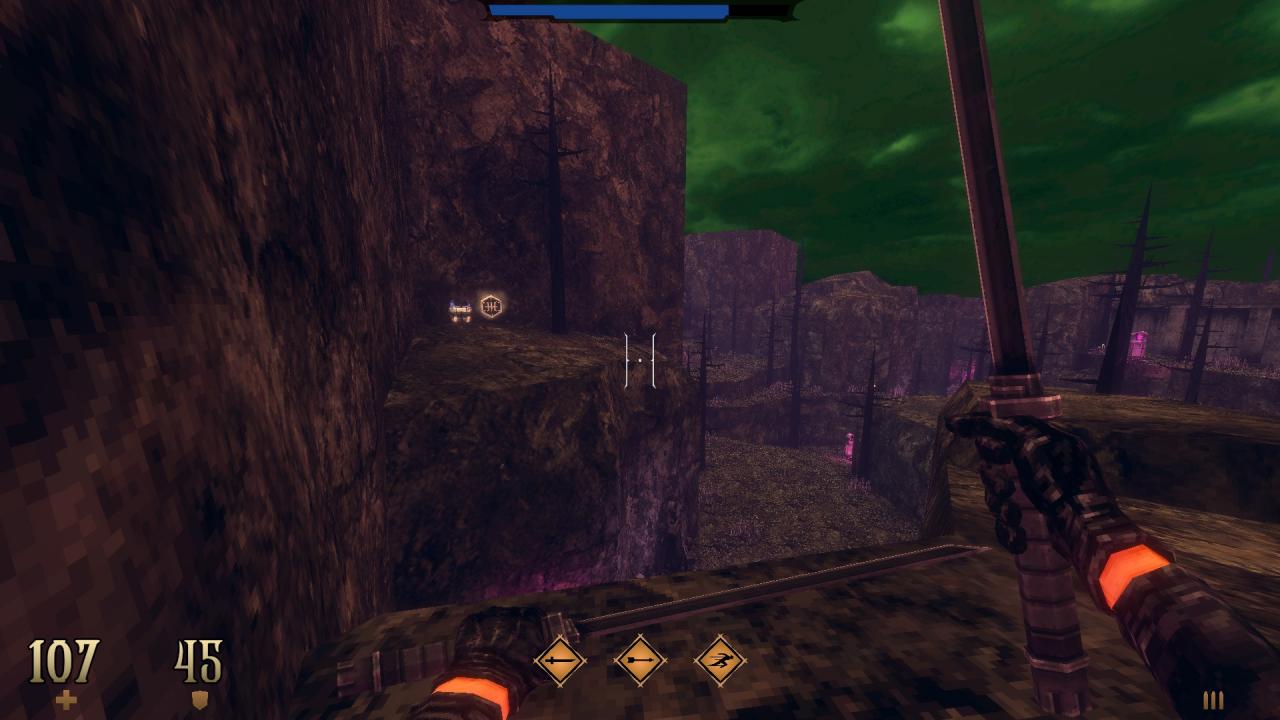
2/9 – Make your way up by using the rocky steps to the left and dash across to find a hidden armor and an emblem. (Pistol Rush II)
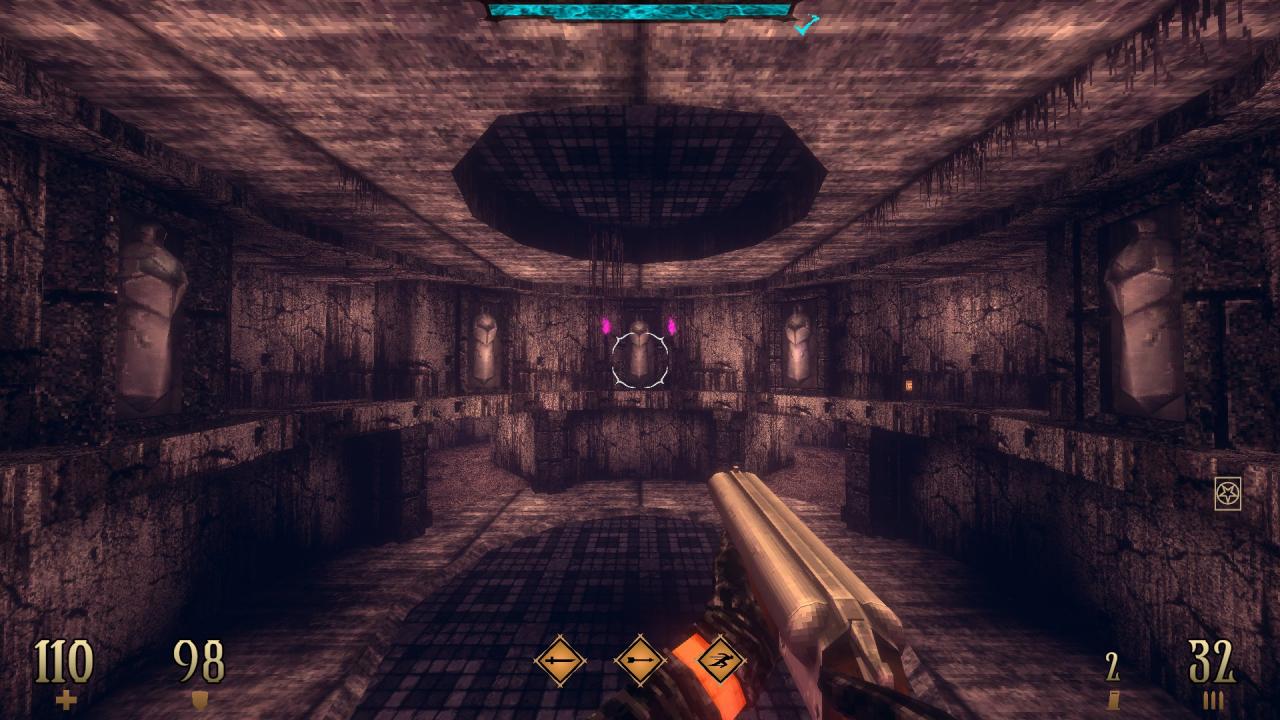
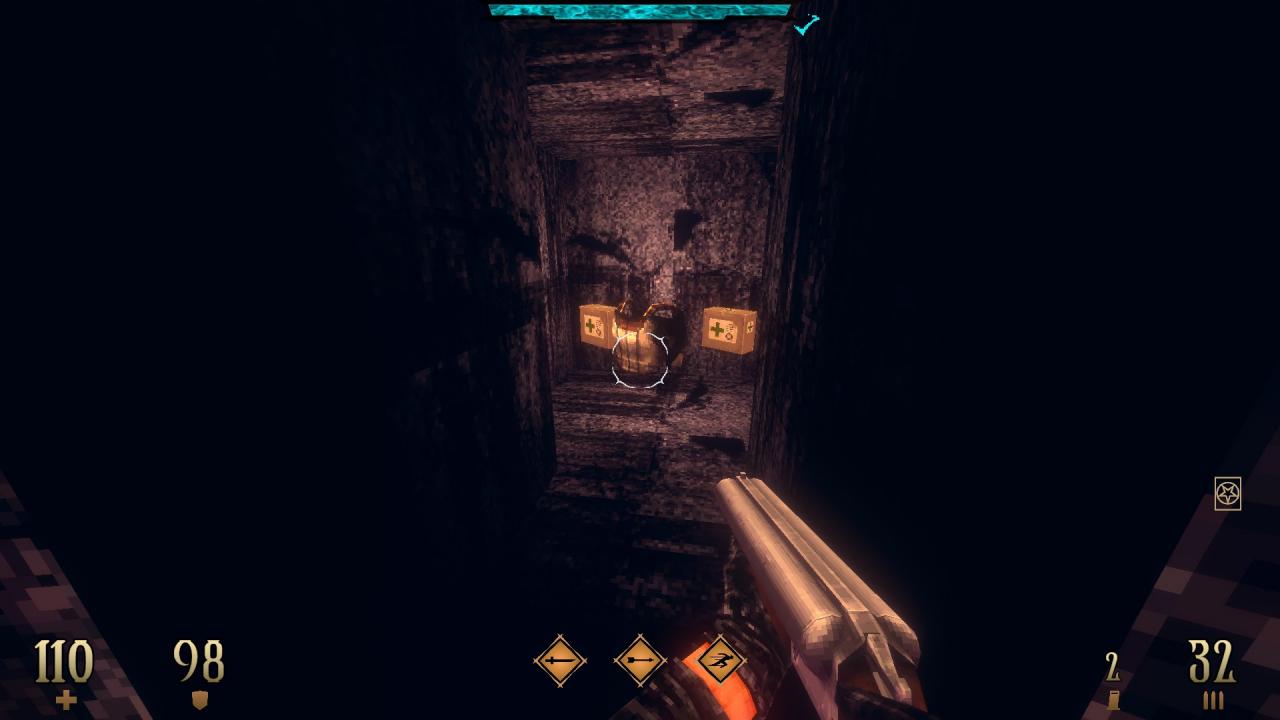
3/9 – Use the statue in the middle to reveal a hidden compartment.
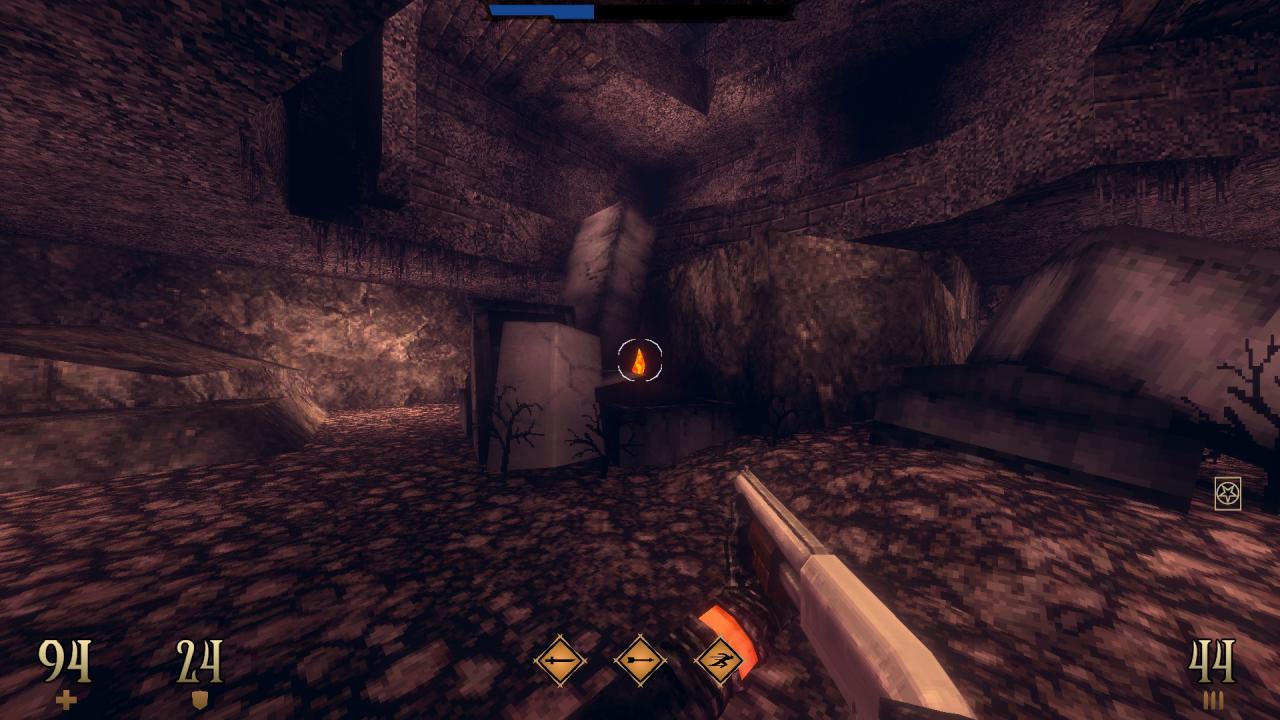
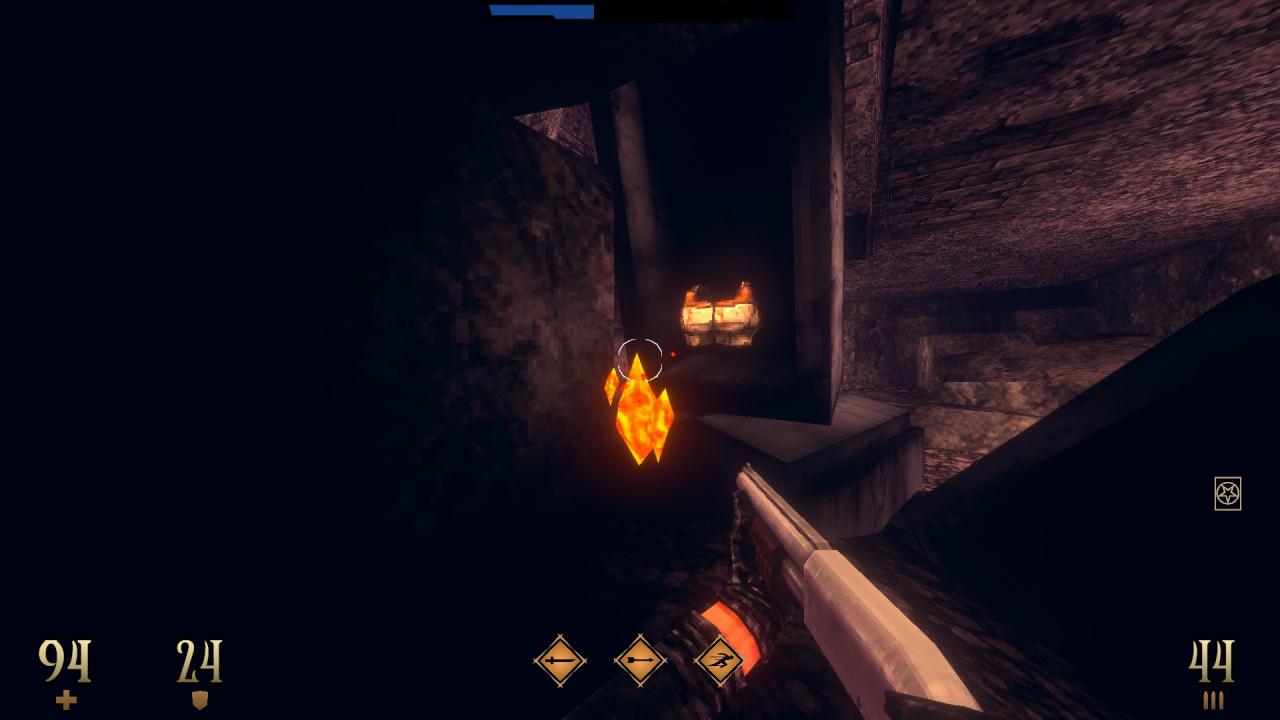
4/9 – In the side area, look behind the coffins to find hidden items.
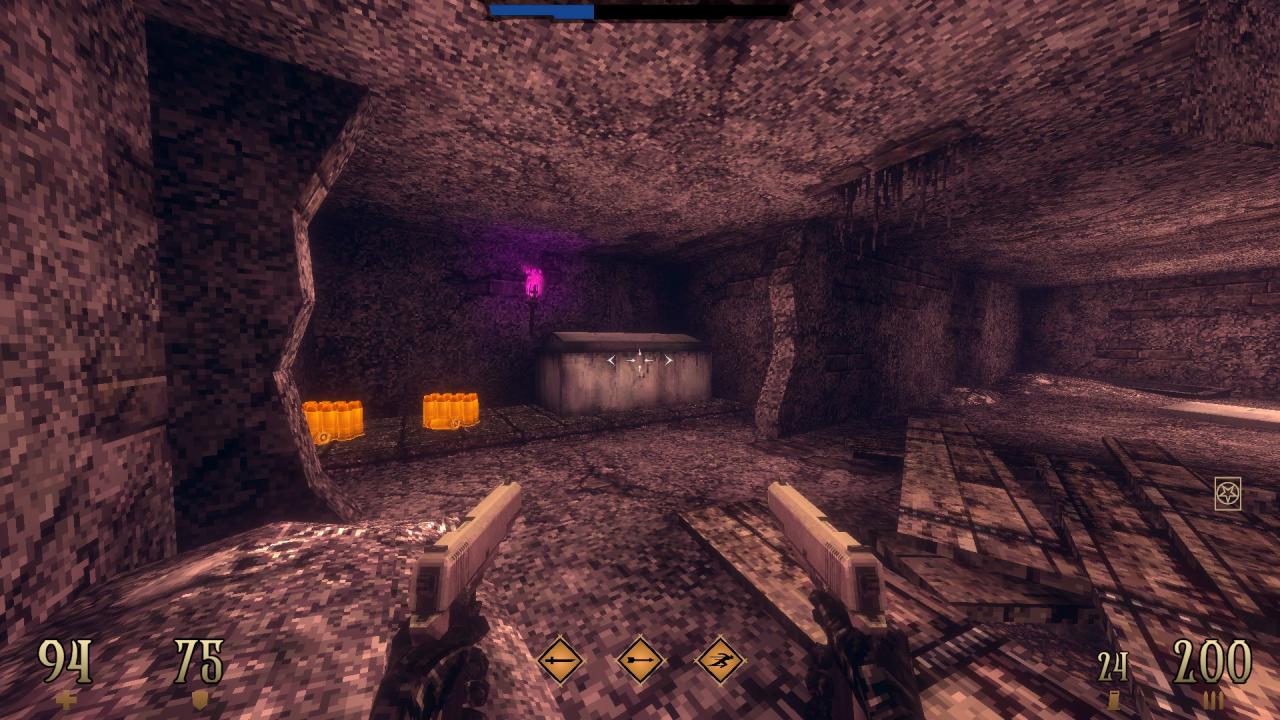
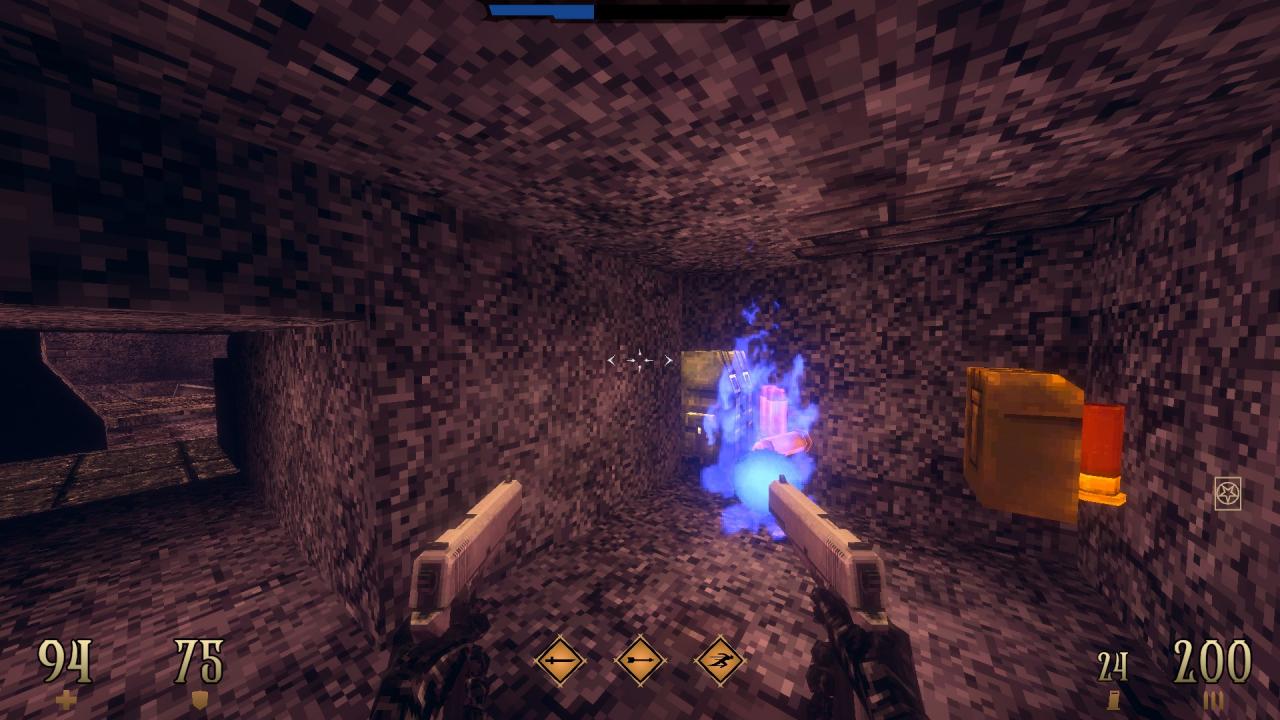
5/9 – Following from the previous secret, use the tomb on the second floor to reveal a hidden compartment.
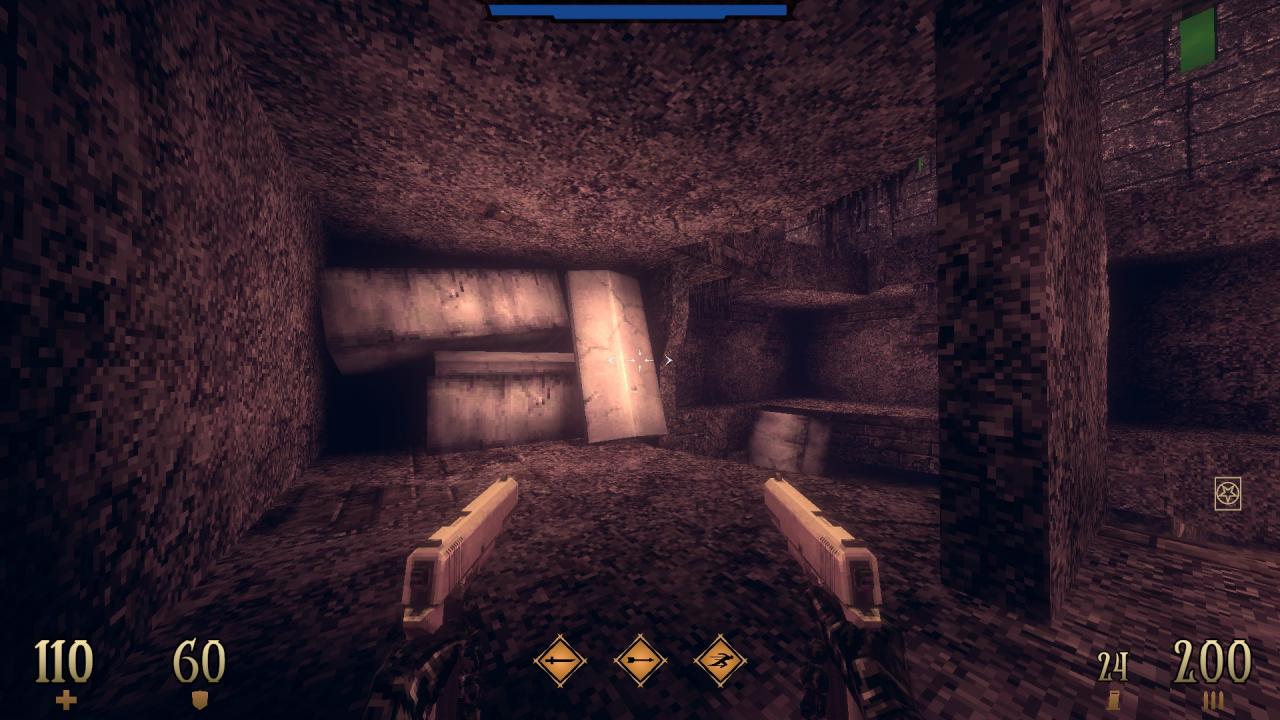
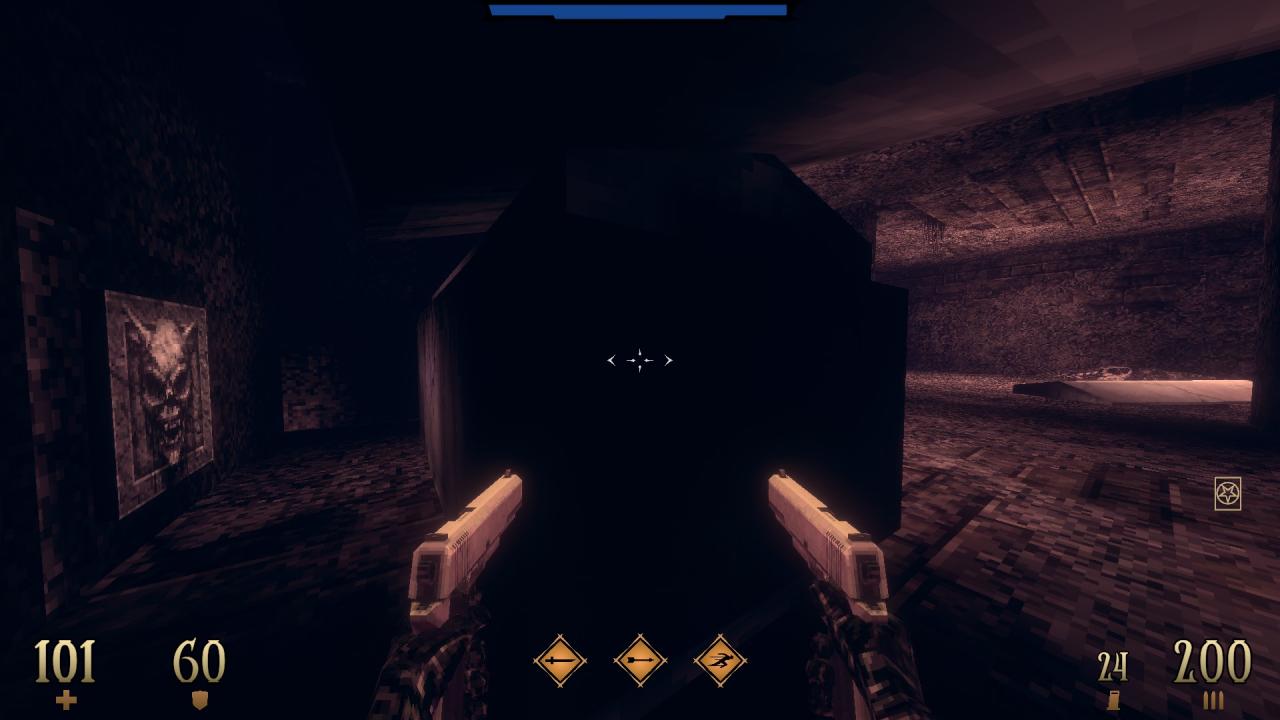
6/9 – Following from the previous secret, crawl behind the coffins at the corner of the same floor to find a hidden demon plate. Use it to reveal a hidden compartment (Inferno Rocket Reach). The items on the other side of the fence can be reached via the opening on the ceiling of the first floor.
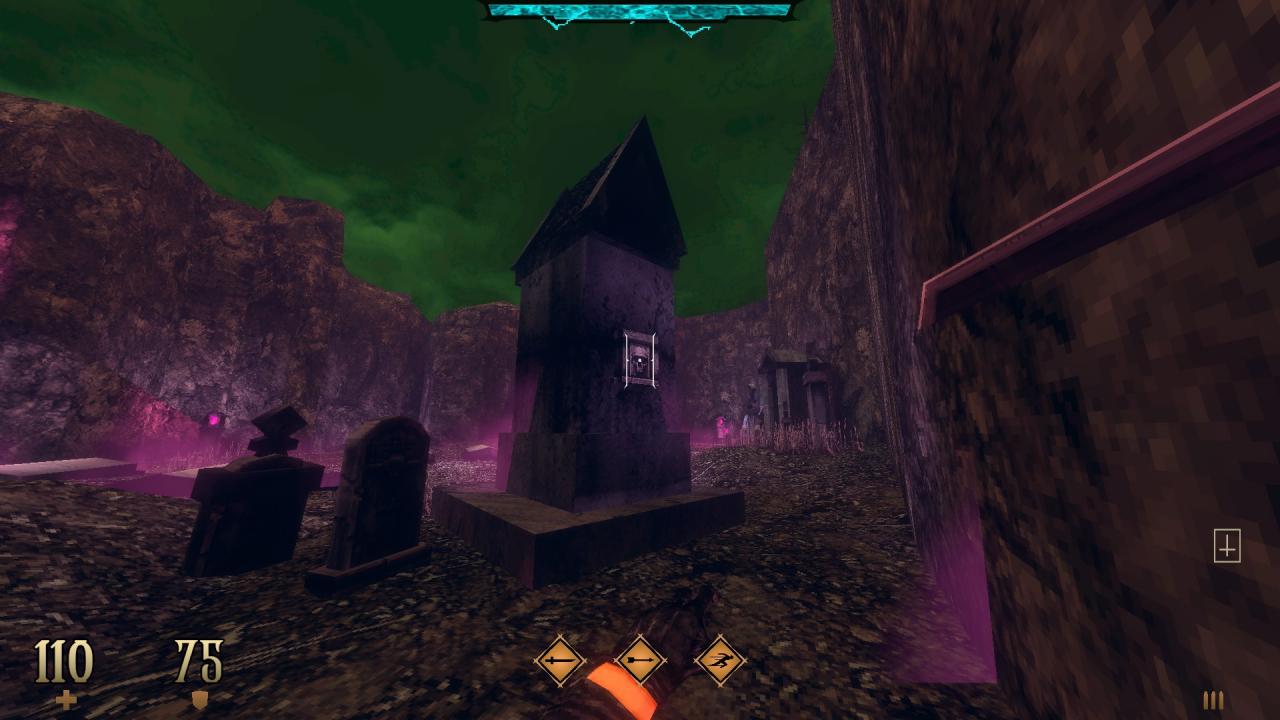
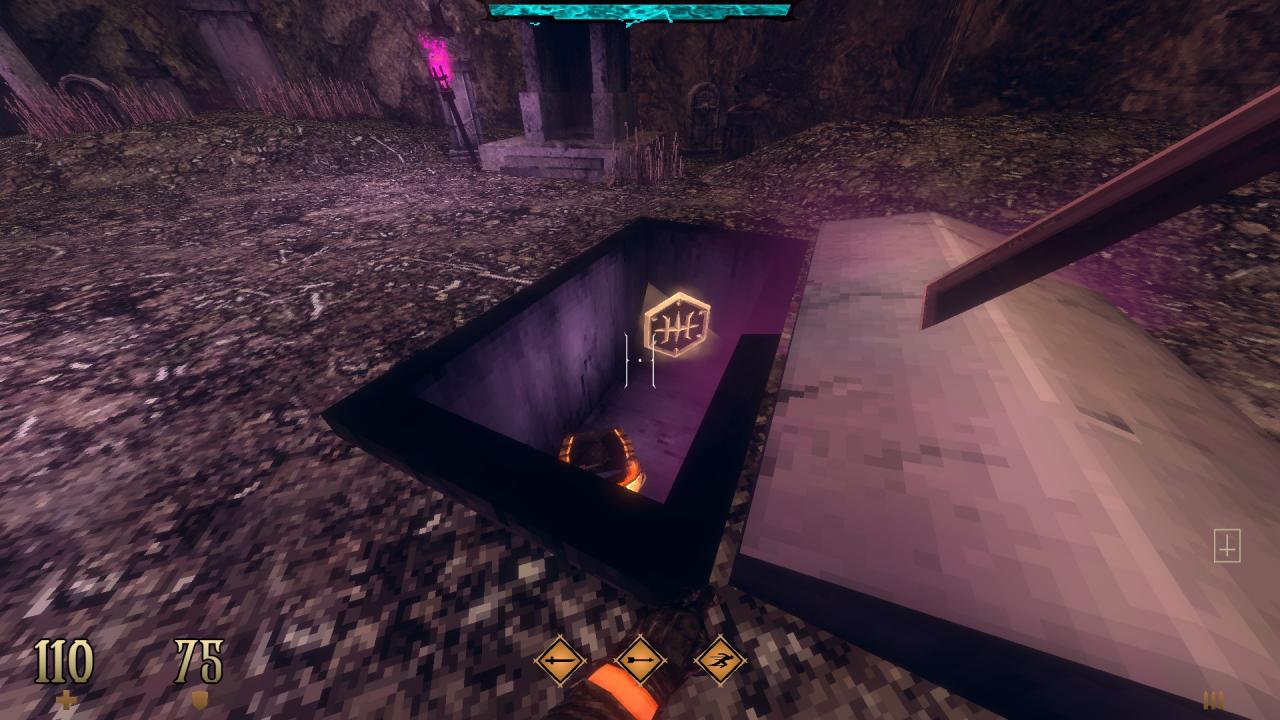
7/9 – Use the skull plate behind the tomb to open up the grave right in front of it. (Shotgun Slaughter II)
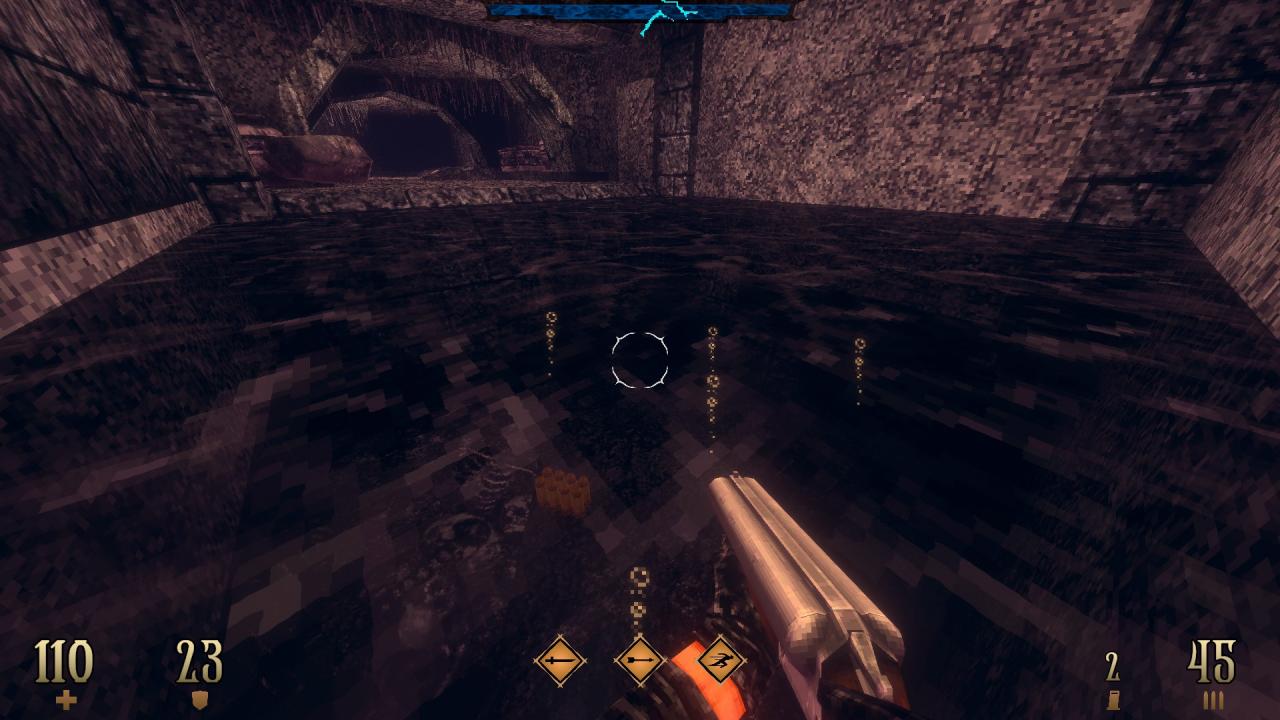
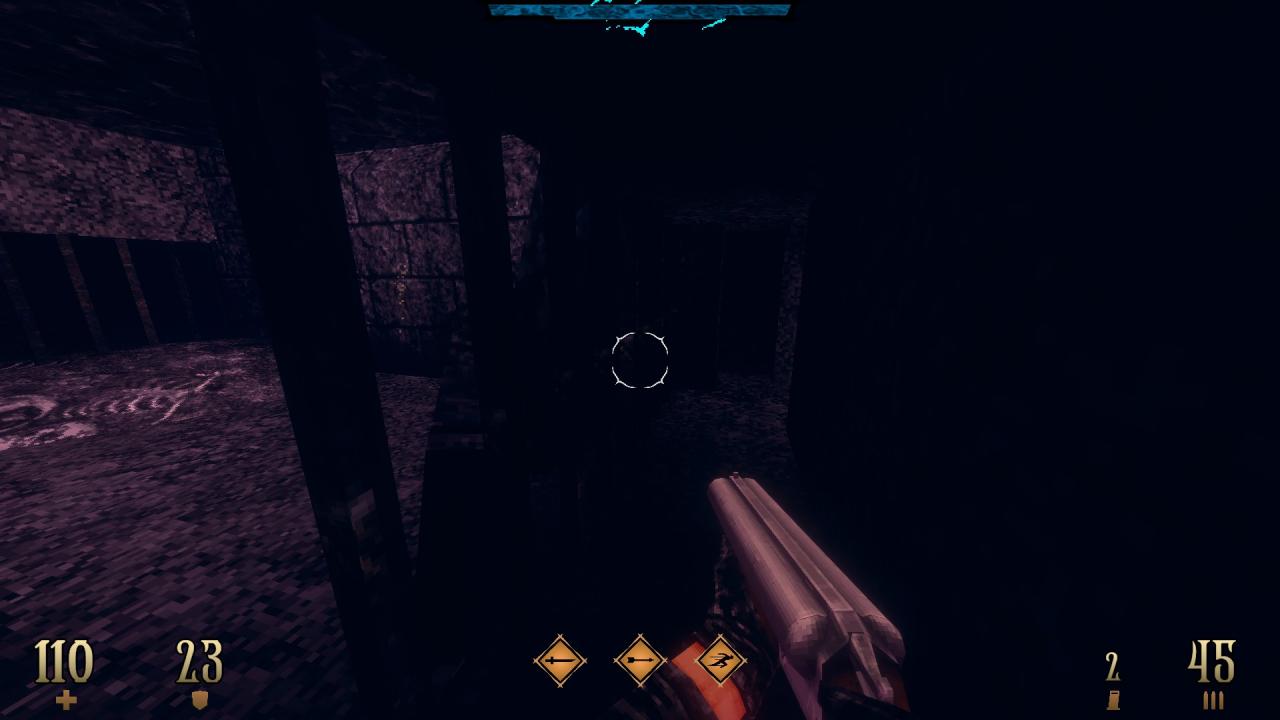
8/9 – Right after falling down through the open tomb, look for an underwater opening to reach a hidden compartment.
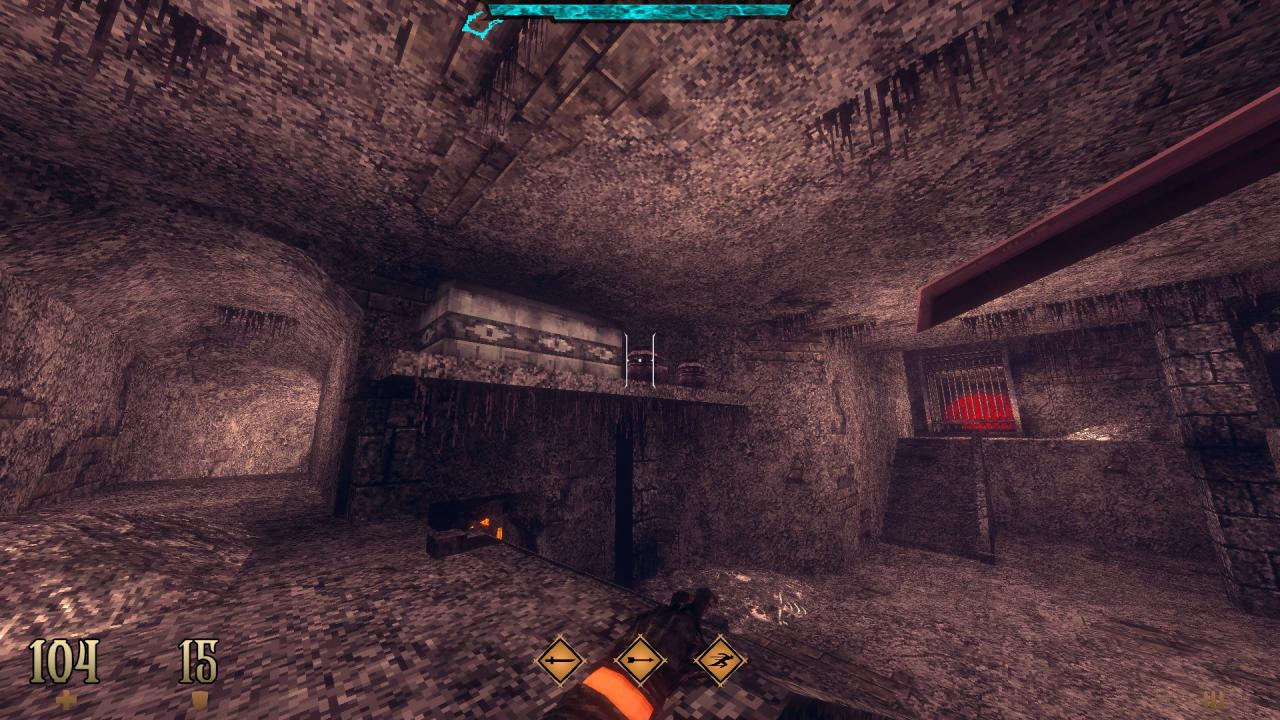
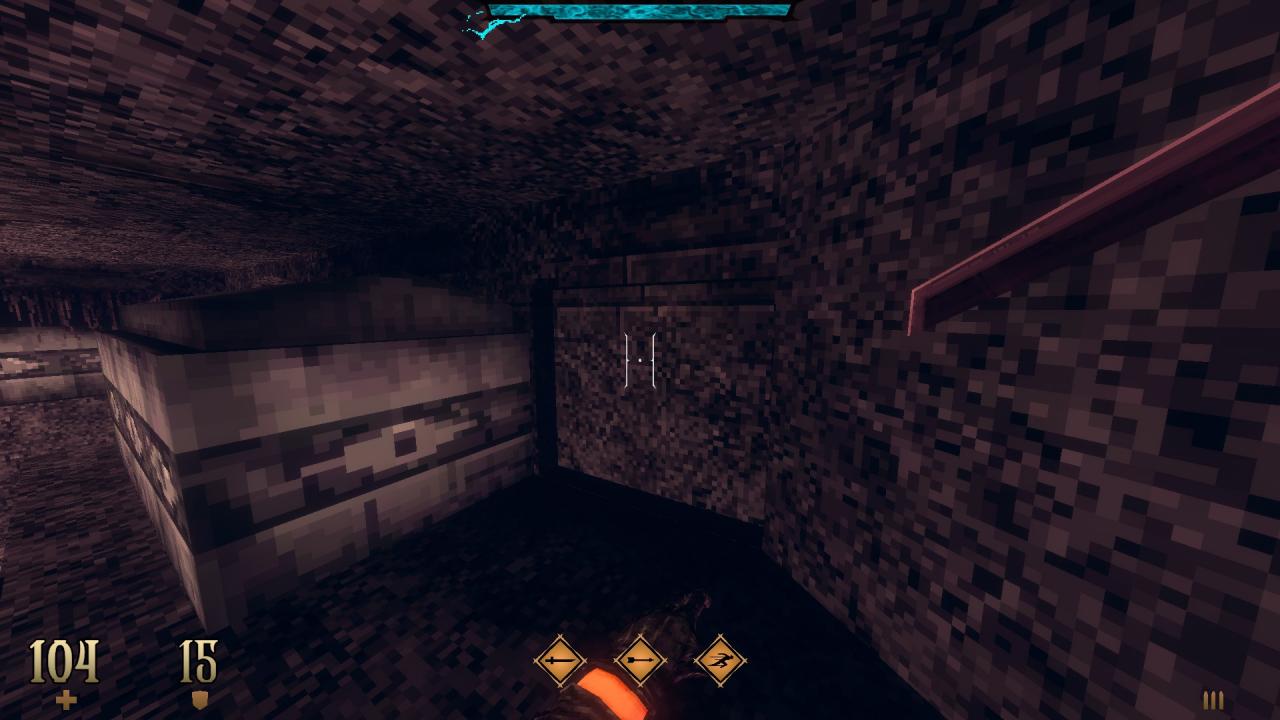
9/9 – Make your way around the coffin on the ledge, break the pottery and use the slightly indented part of the wall behind them to reveal another hidden compartment.
—
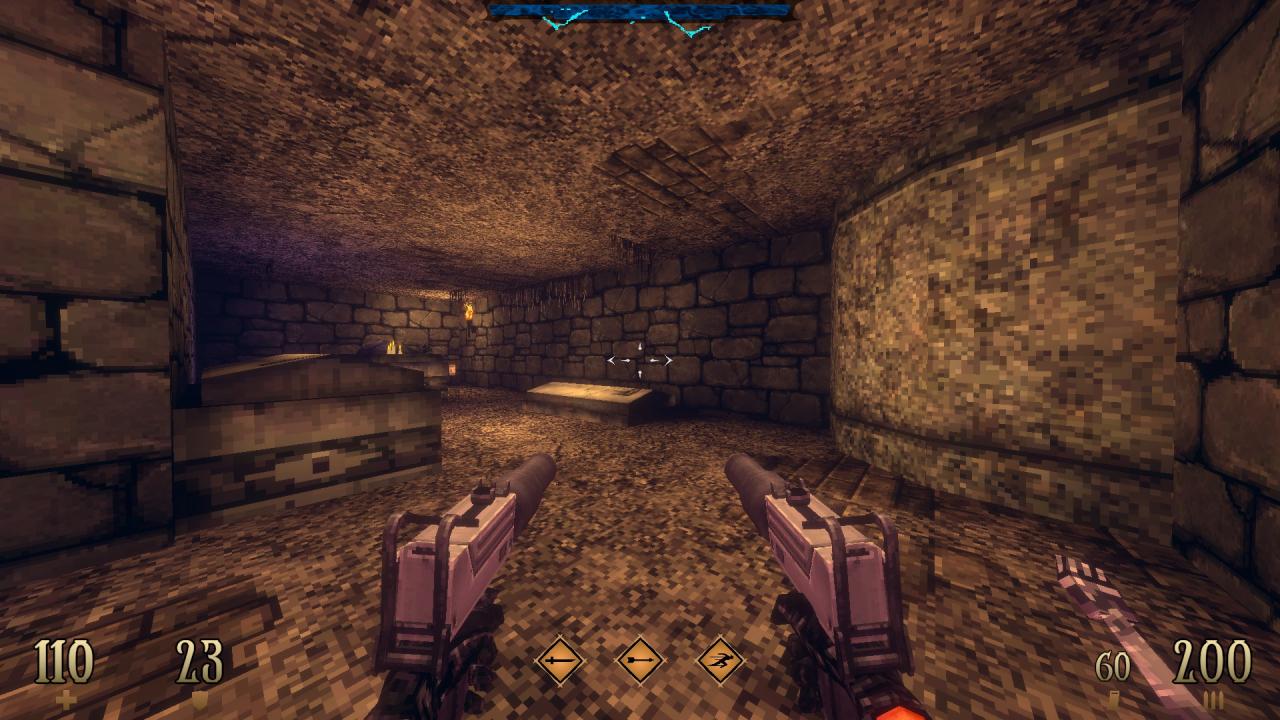
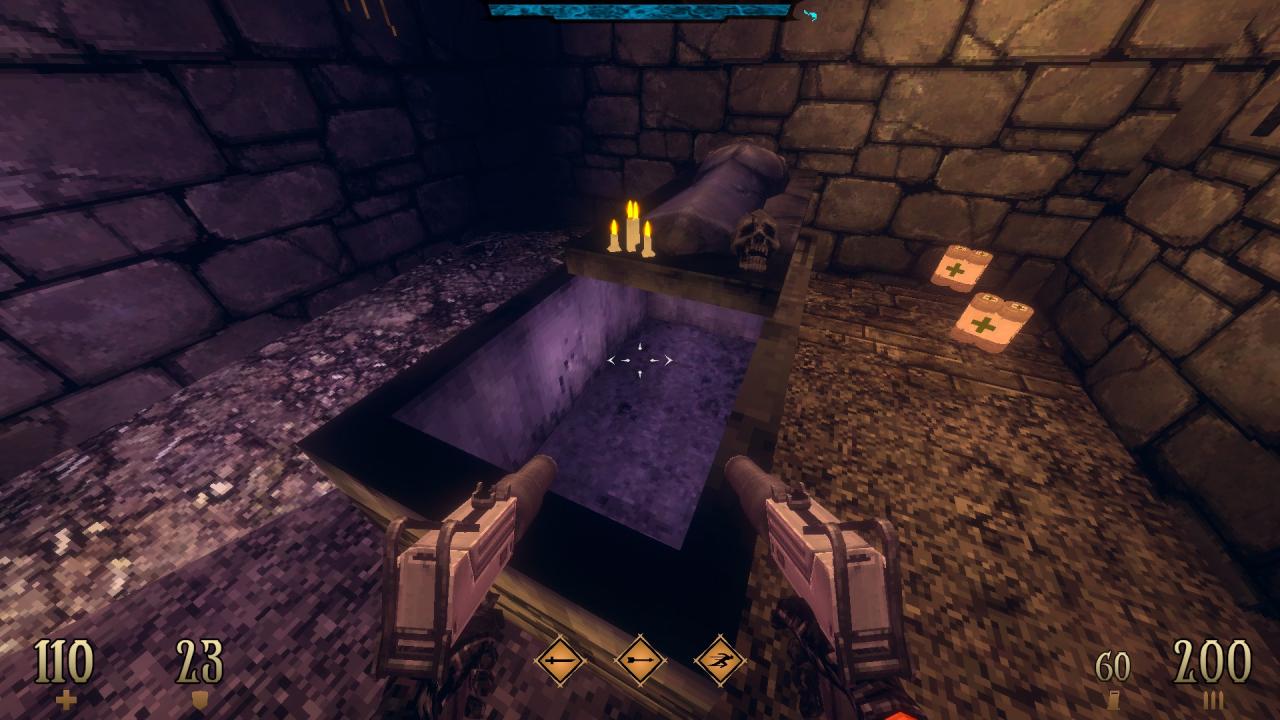
SUPER SECRET – When you come upon this familiar looking maouseleum[blood-wiki.org], open the tomb with candles on top, get inside and close the lid on yourself to drop down into a hidden room. (I Live… AGAIN! -G- and a Blood Gem). Also check the usual suspects to see if everyone’s favourite undead[blood-wiki.org]left anything behind for you to use.
E2M2: The Bad Feeling
This level contains 10 secrets and a super secret.
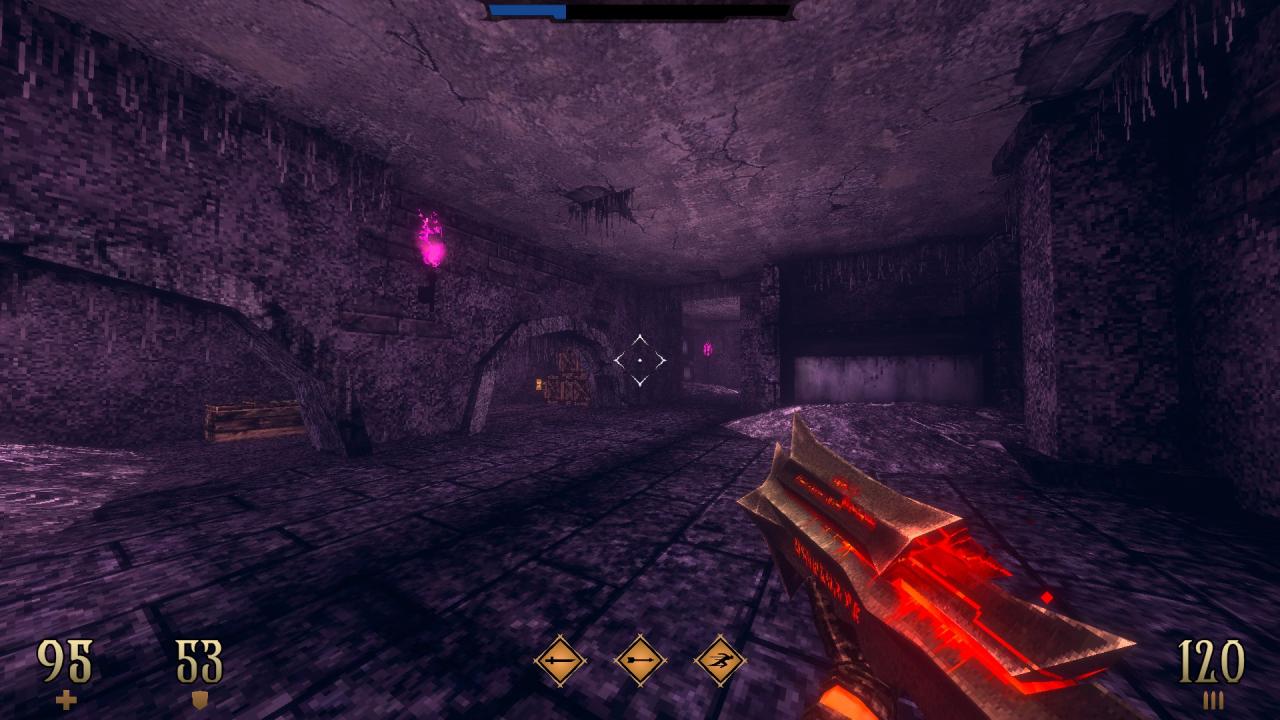
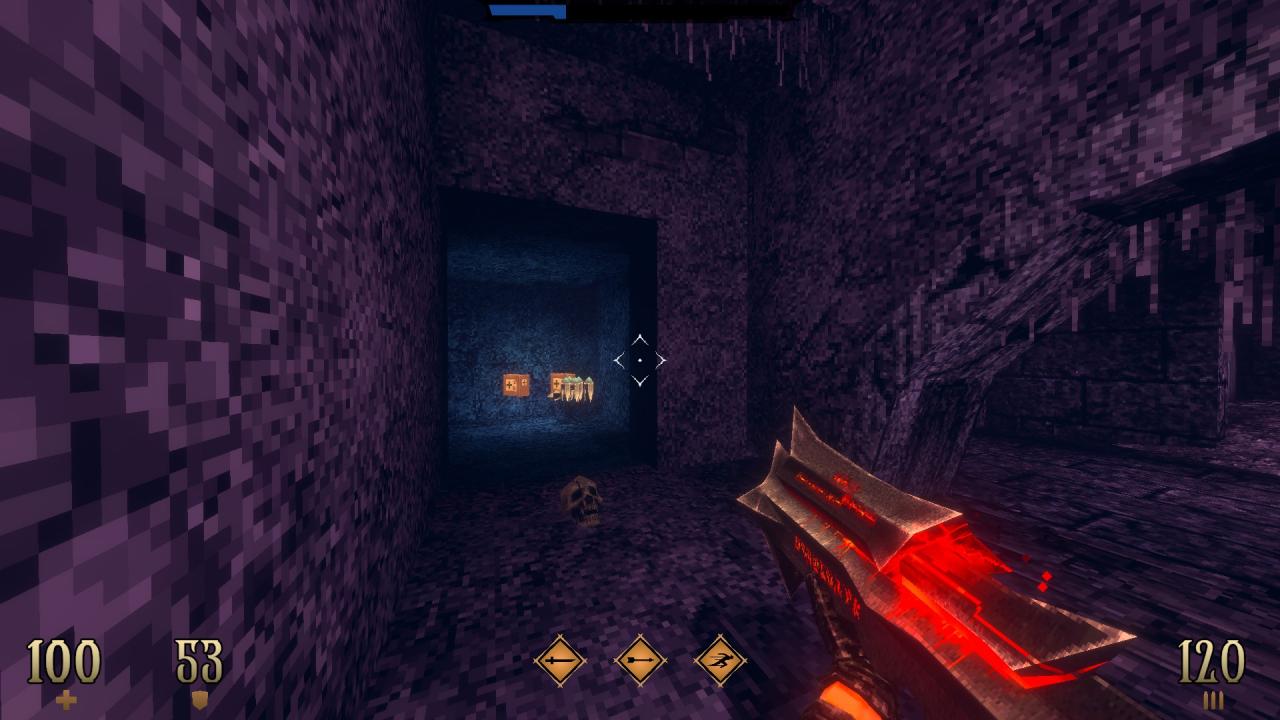
1/10 – After the initial drop, break the crates on the left and use the wall behind them to reveal a hidden compartment.
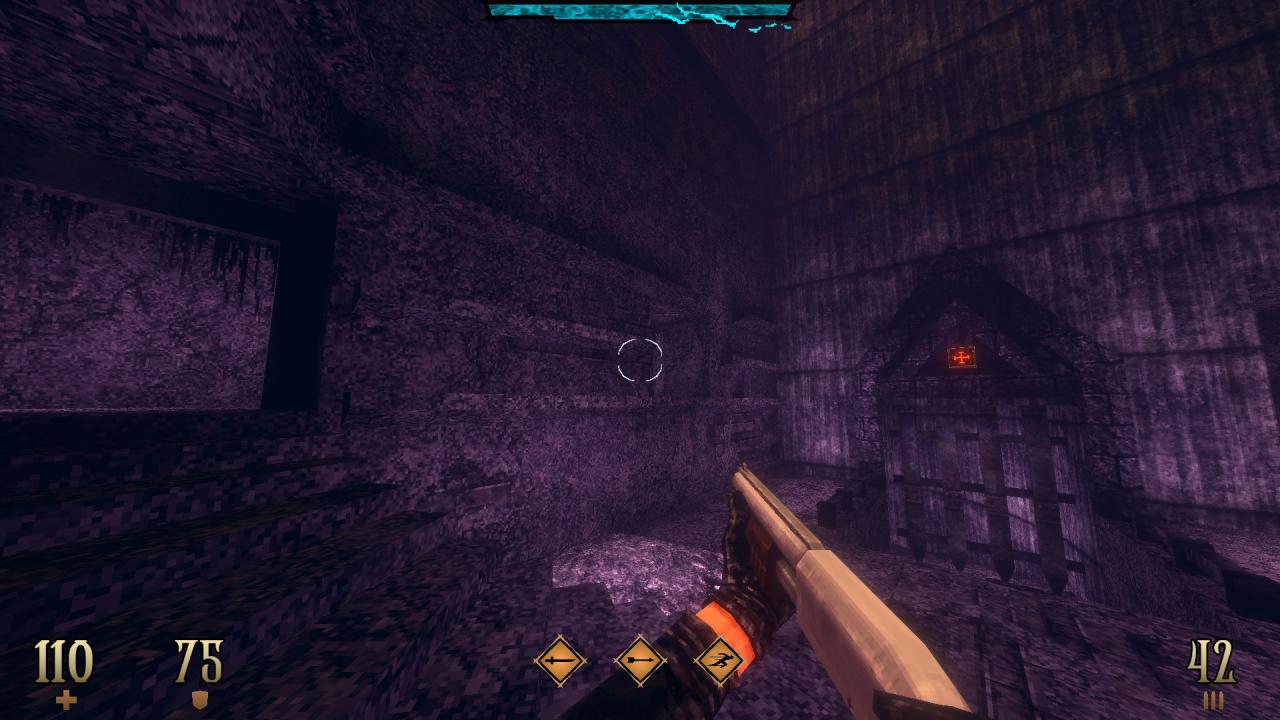
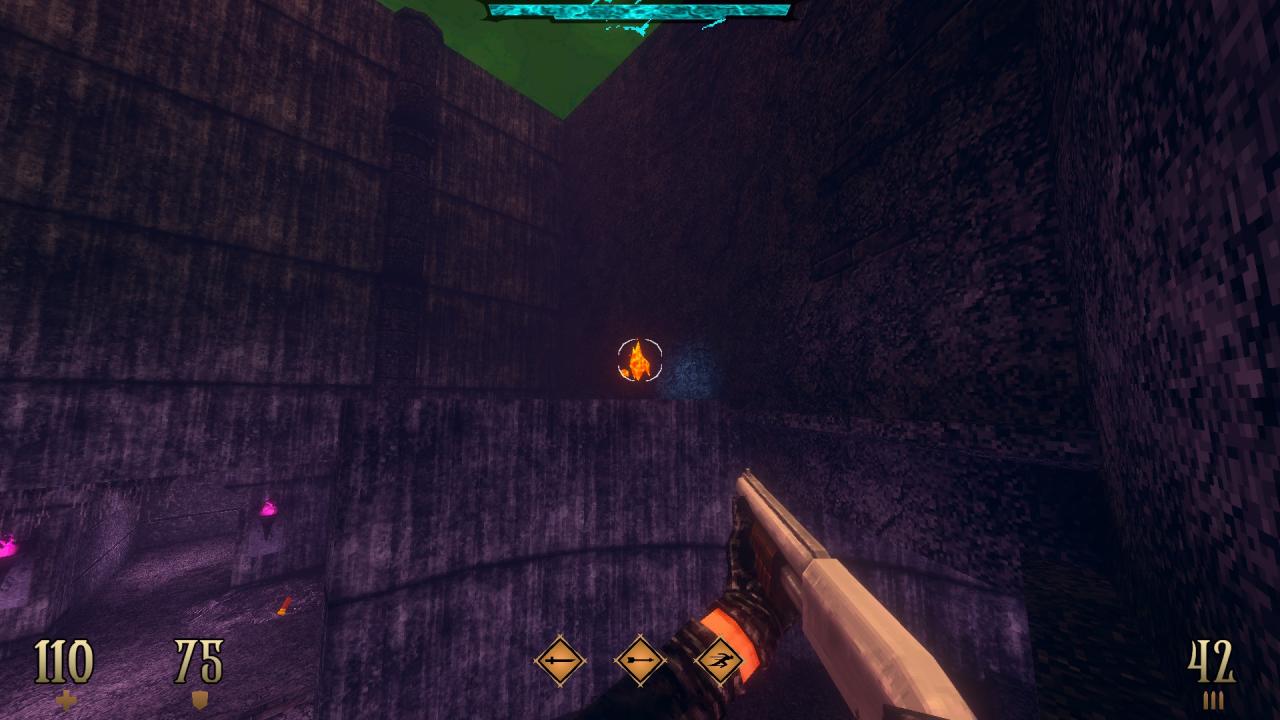
2/10 – Utilize the parts that jut out of the wall to make your way to the ammo above.
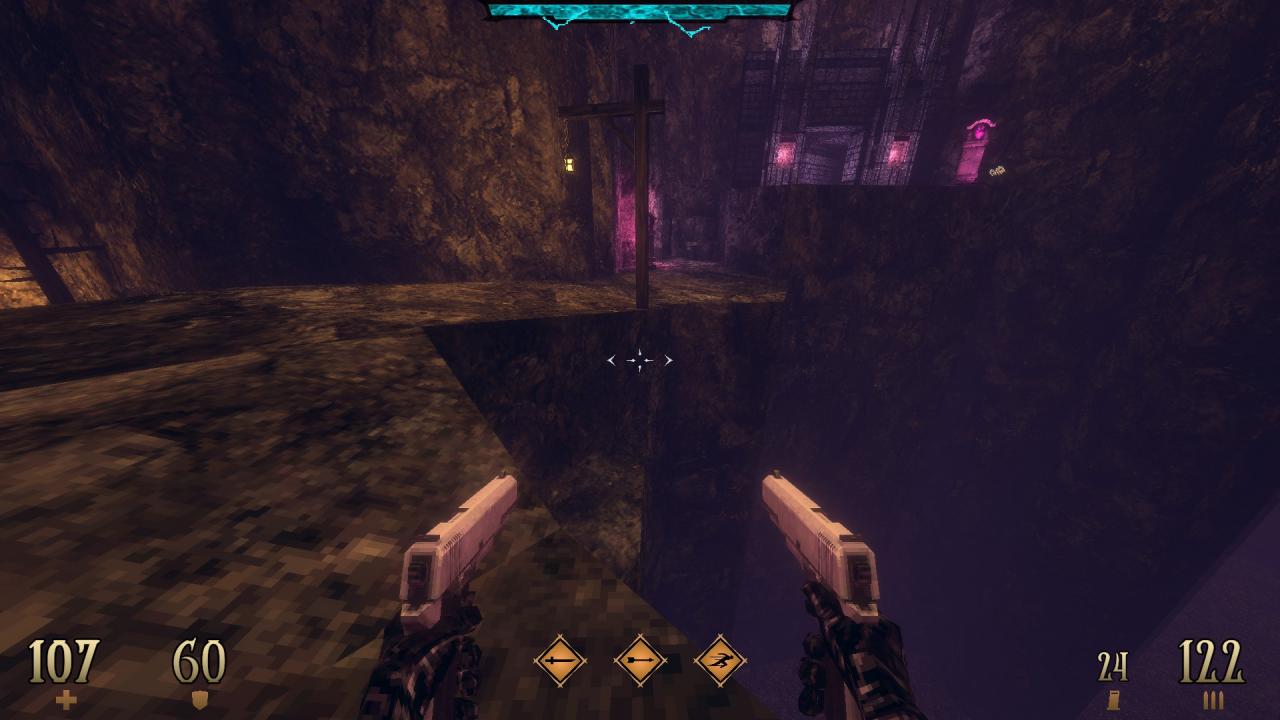
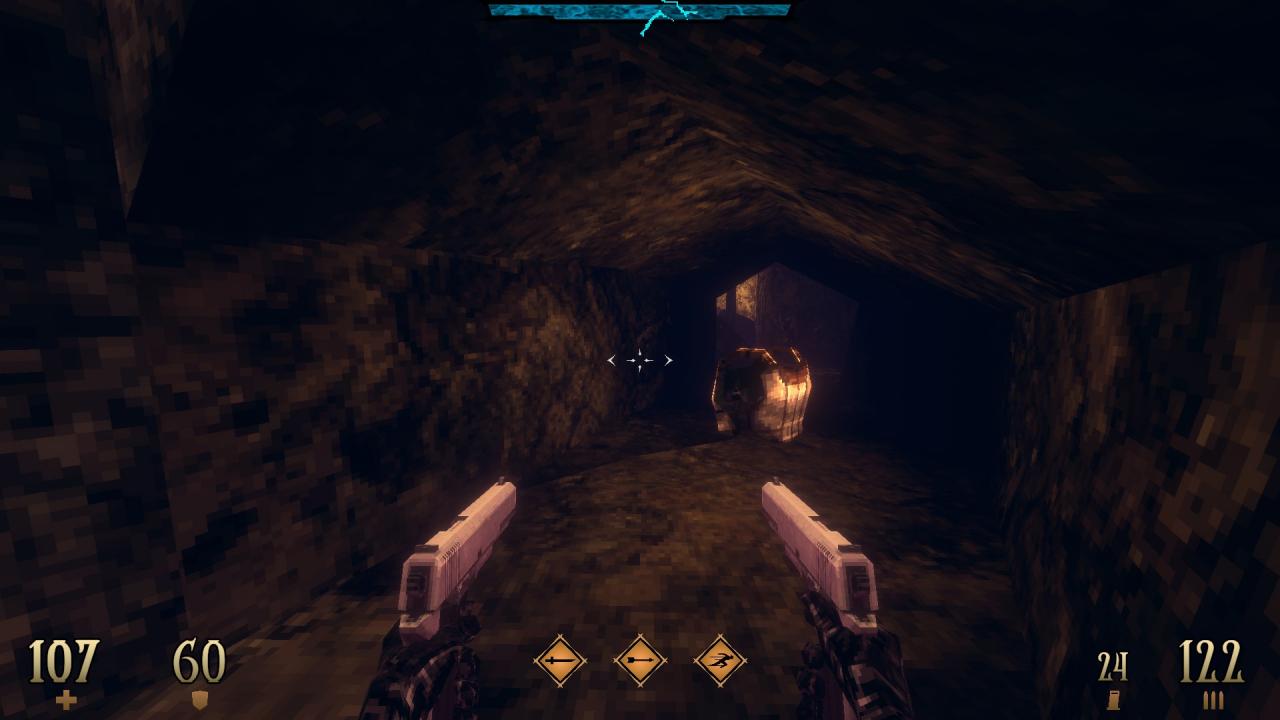
3/10 – Drop down to the ledge below to reach a hidden armor.
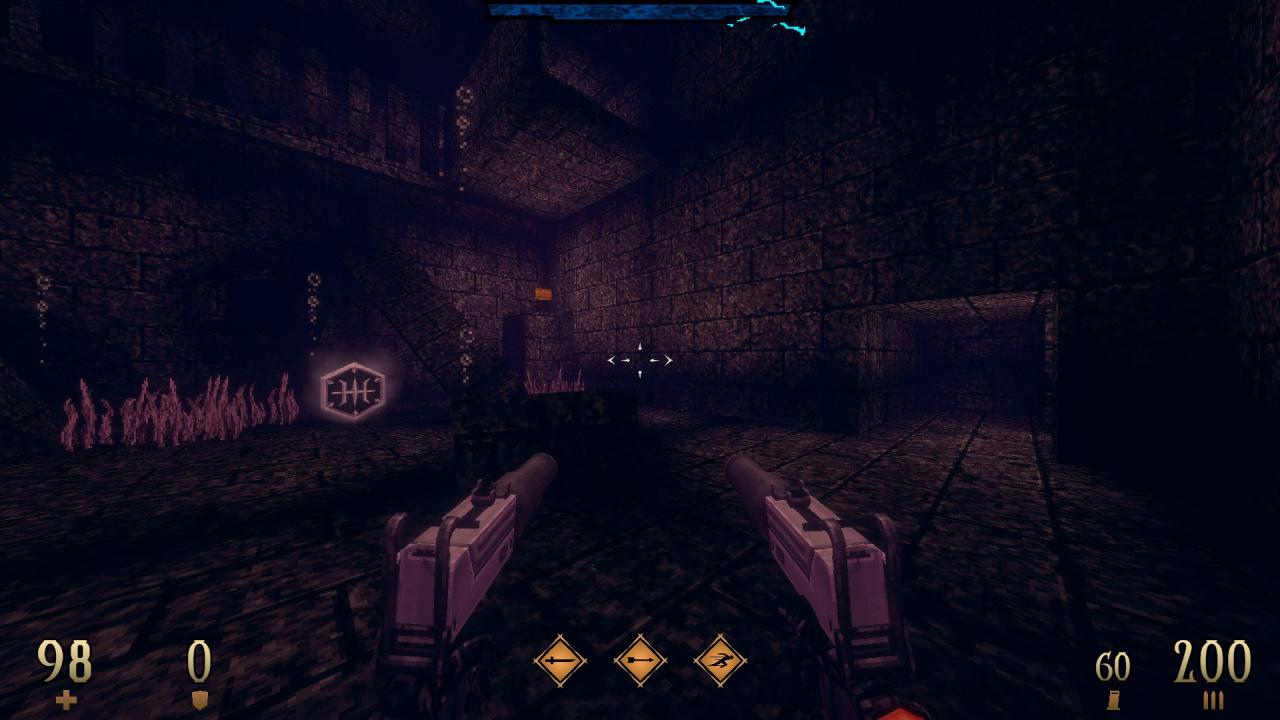
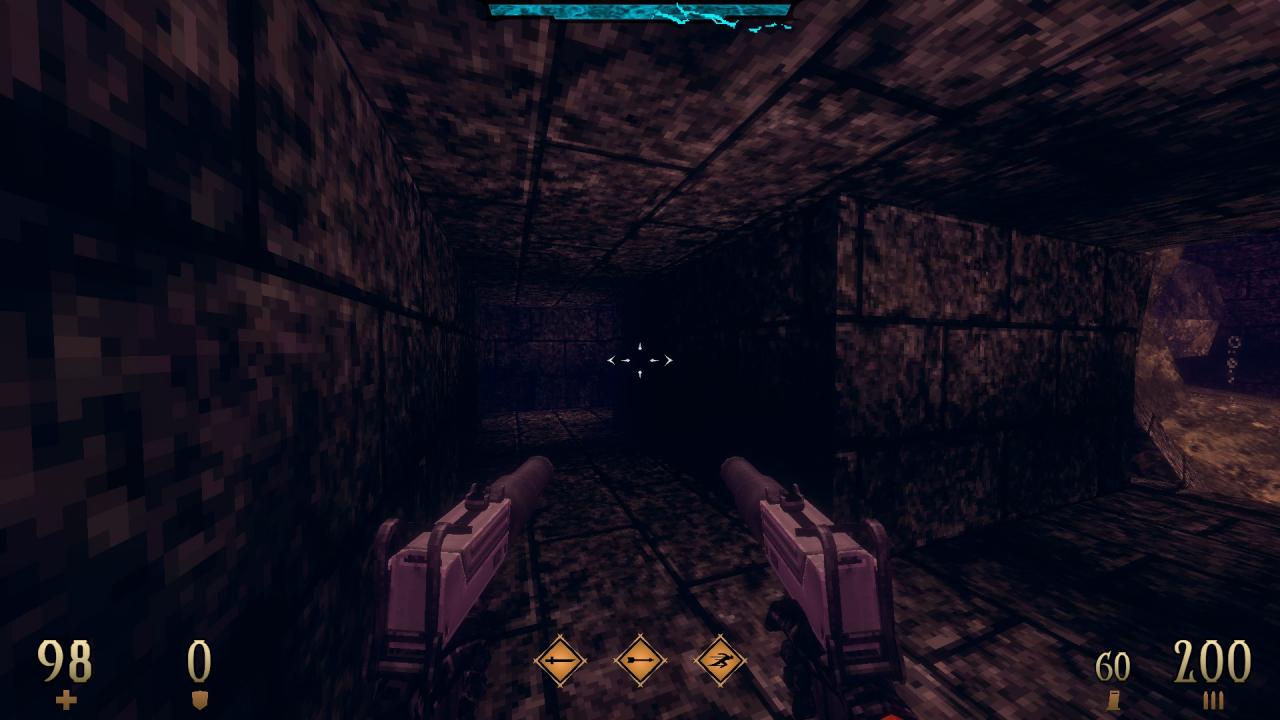
4/10 – In the side area, use the wall at the end of the short tunnel to reveal a hidden section.
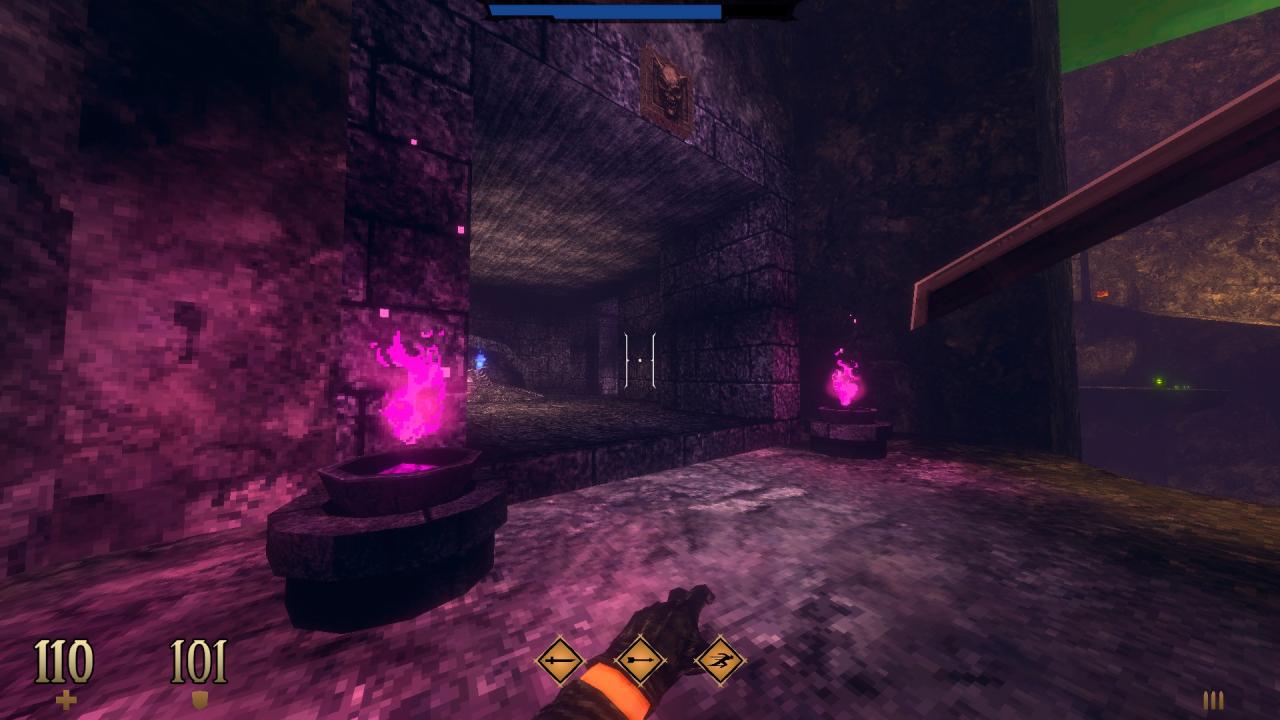
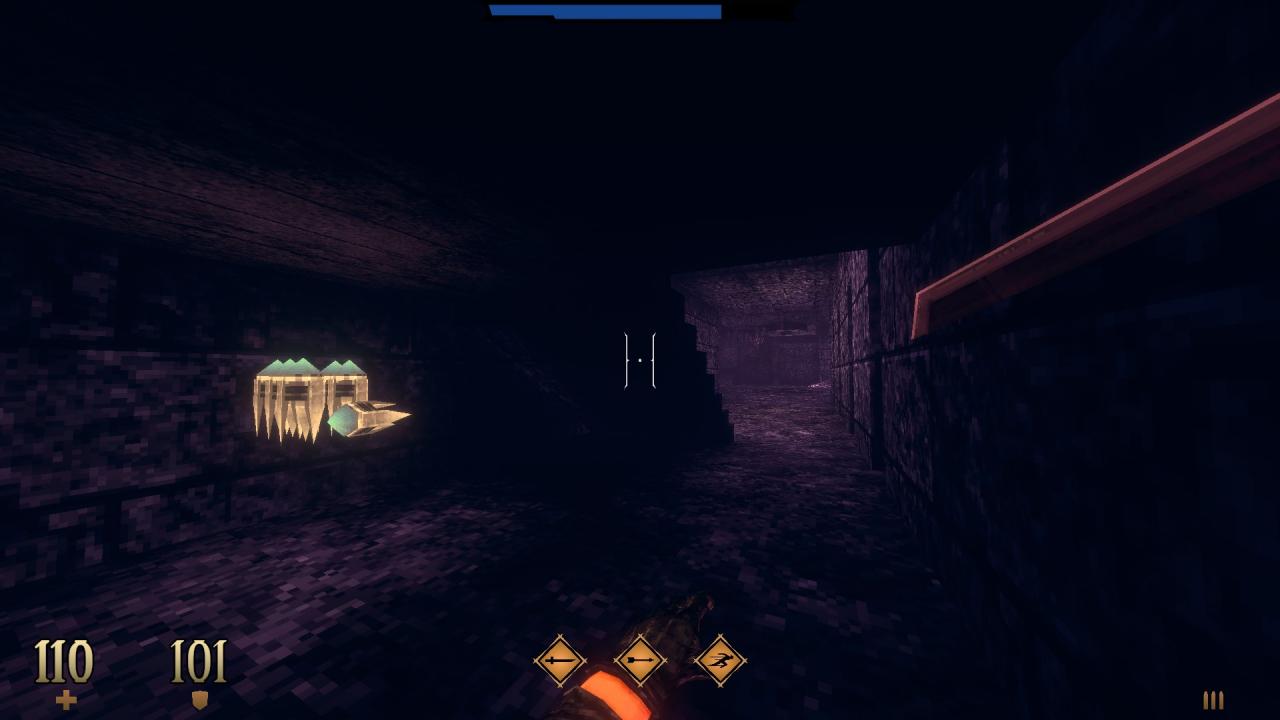
5/10 – After the first trip above the lake, check under the stairs to find hidden ammo.
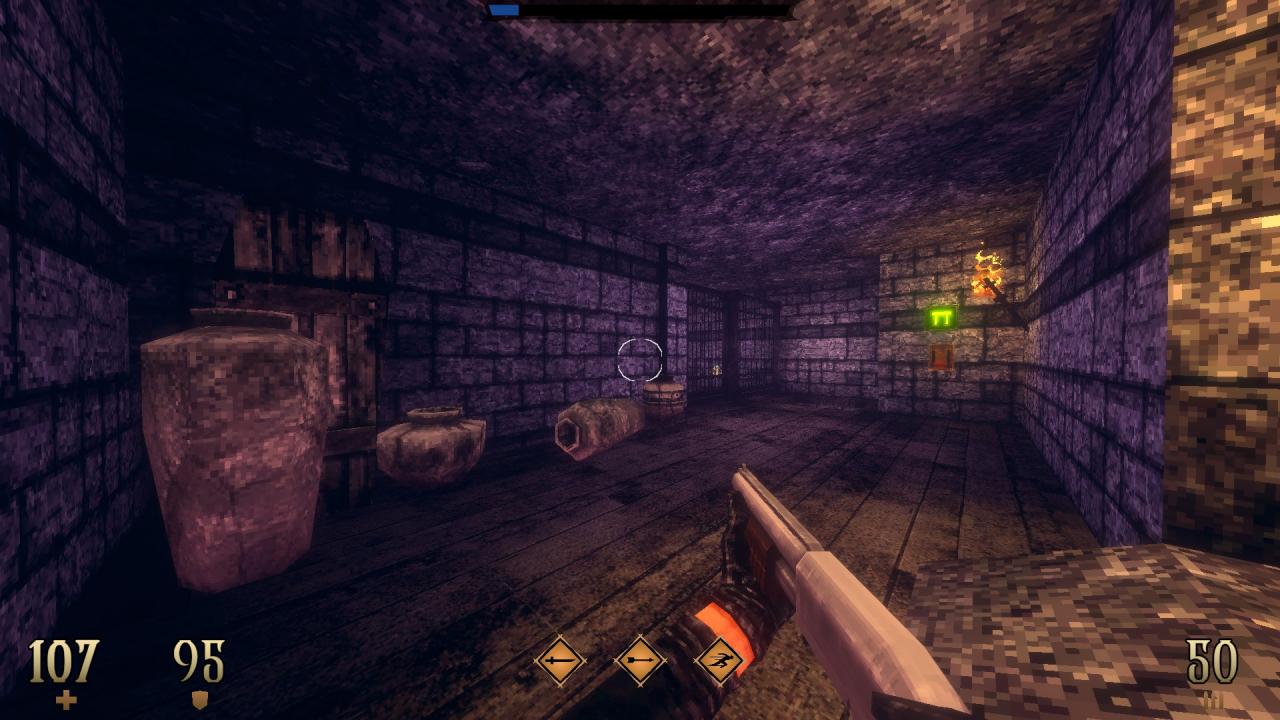
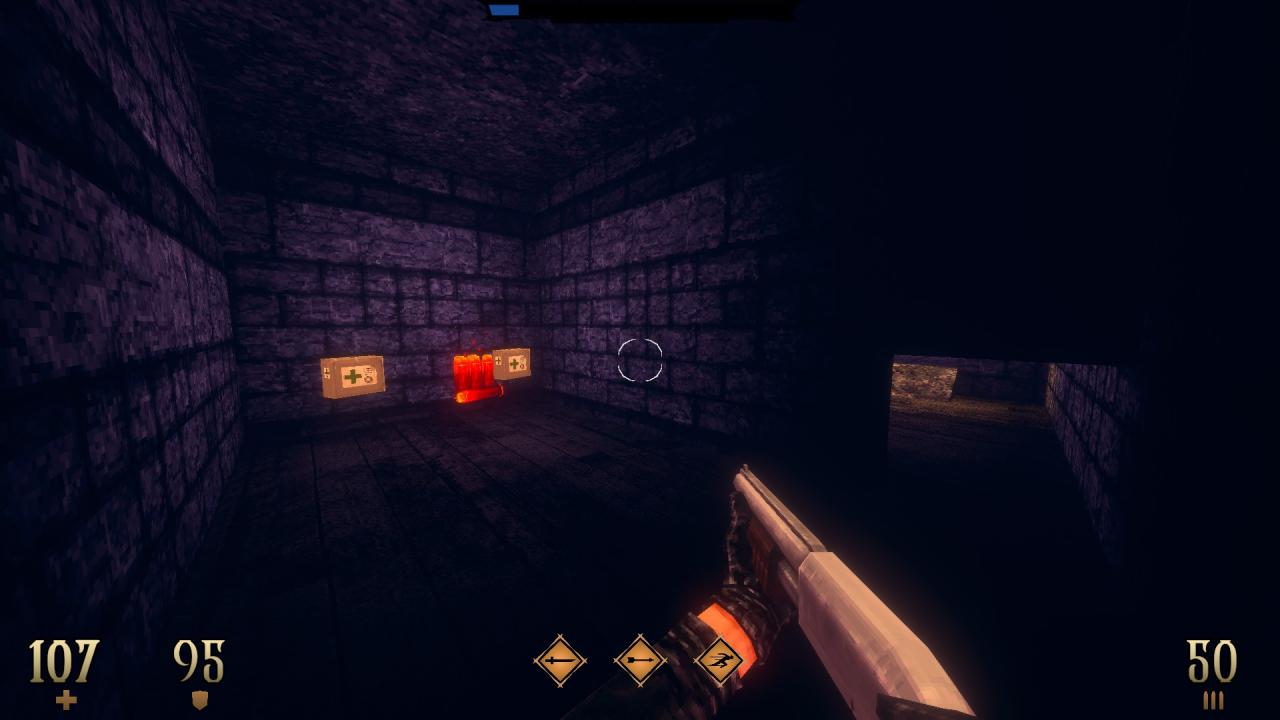
6/10 – In the room with the lever that activates another hover plate for traversing above the lake, break the pottery and the coffin and crawl into the opening behind them to find a hidden compartment.
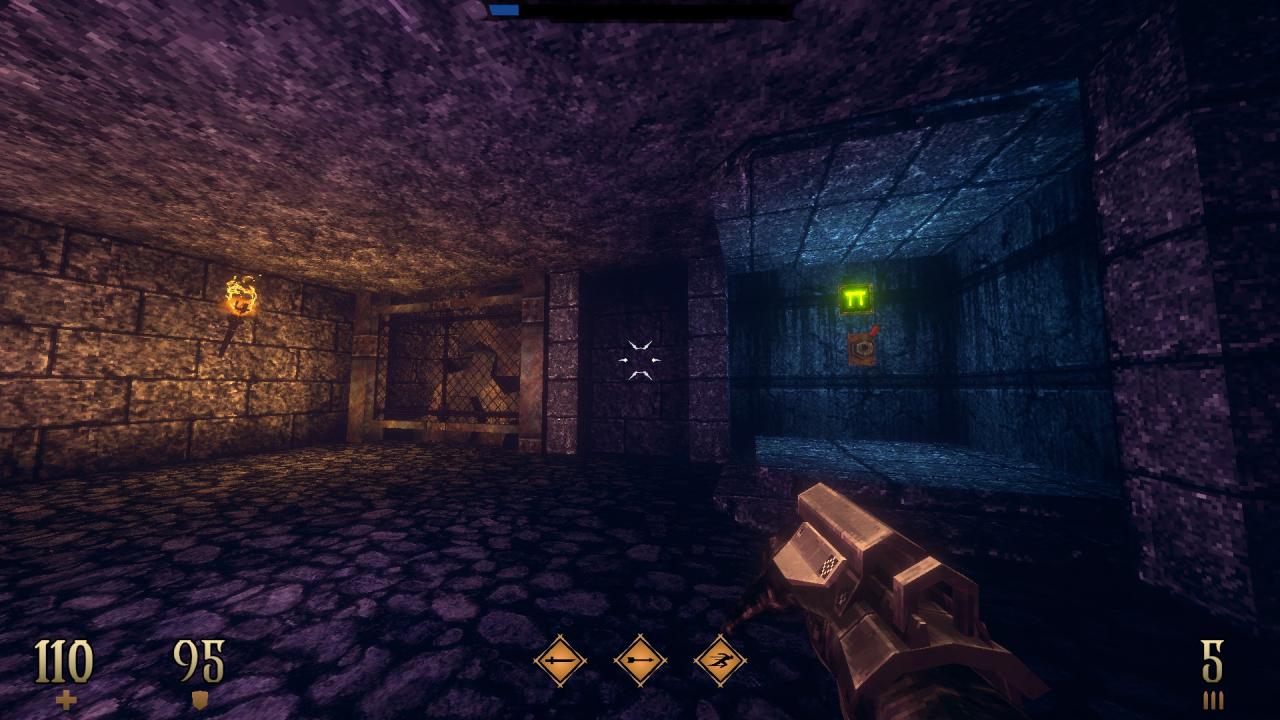
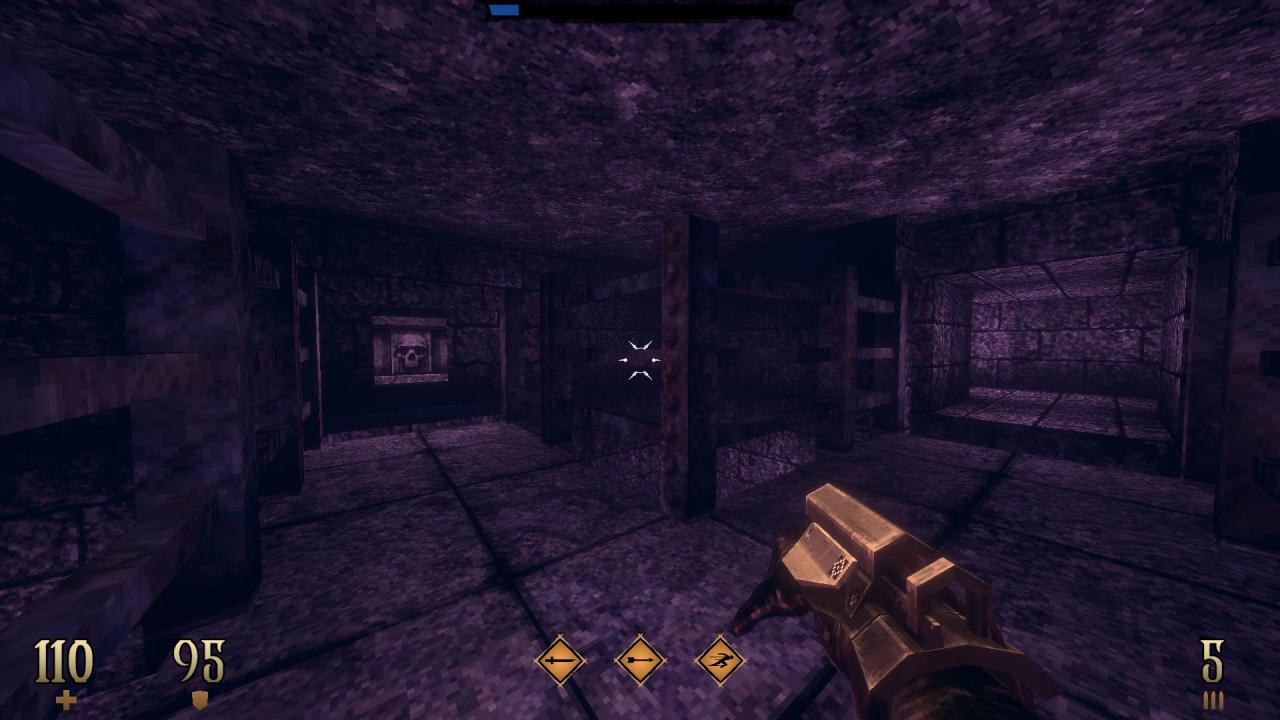
7/10 – After activating the hover plate and opening the fenced door next to it, return to the previous lever and pull it twice more to rotate the walkway in the center so that it connects to the wall panel with the skull plate on it. Use the said panel to reveal a hidden compartment. (Black Bow Slaughter II) — Seems a bit buggy: just keep trying with the use key from different angles.
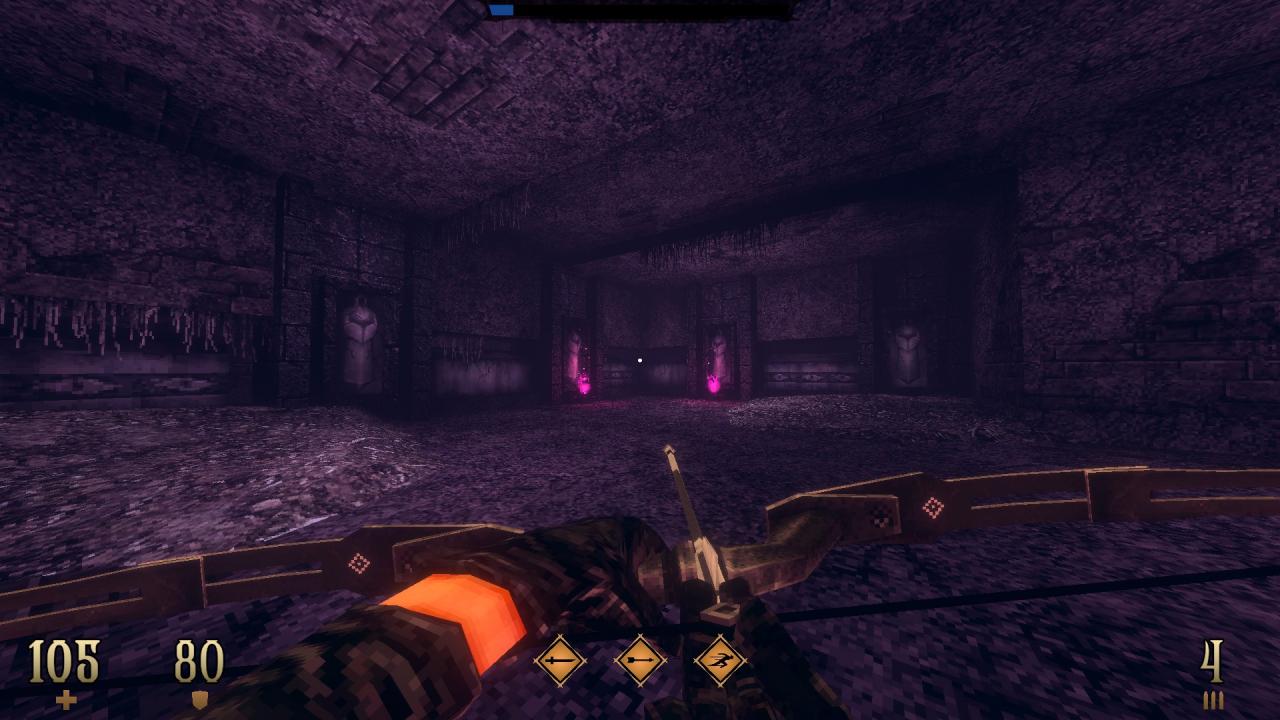
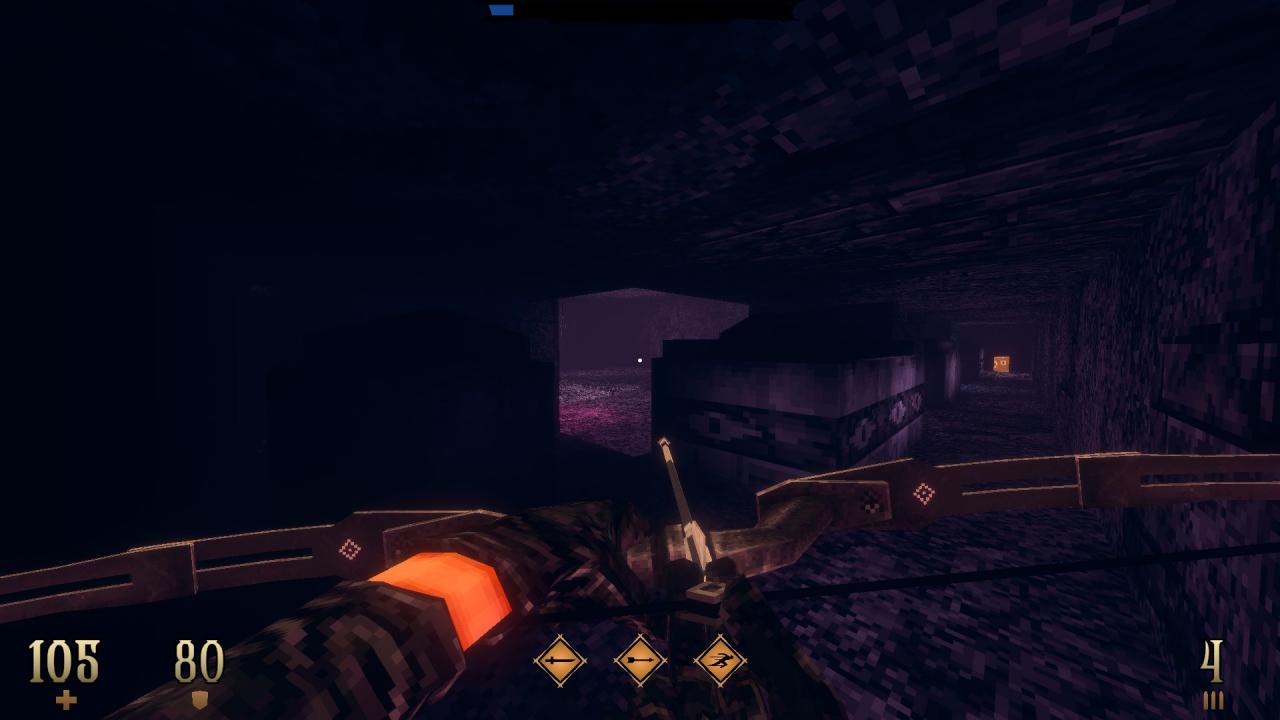
8/10 – Use the undecorated one of the two coffins in the corner to access a hidden area.
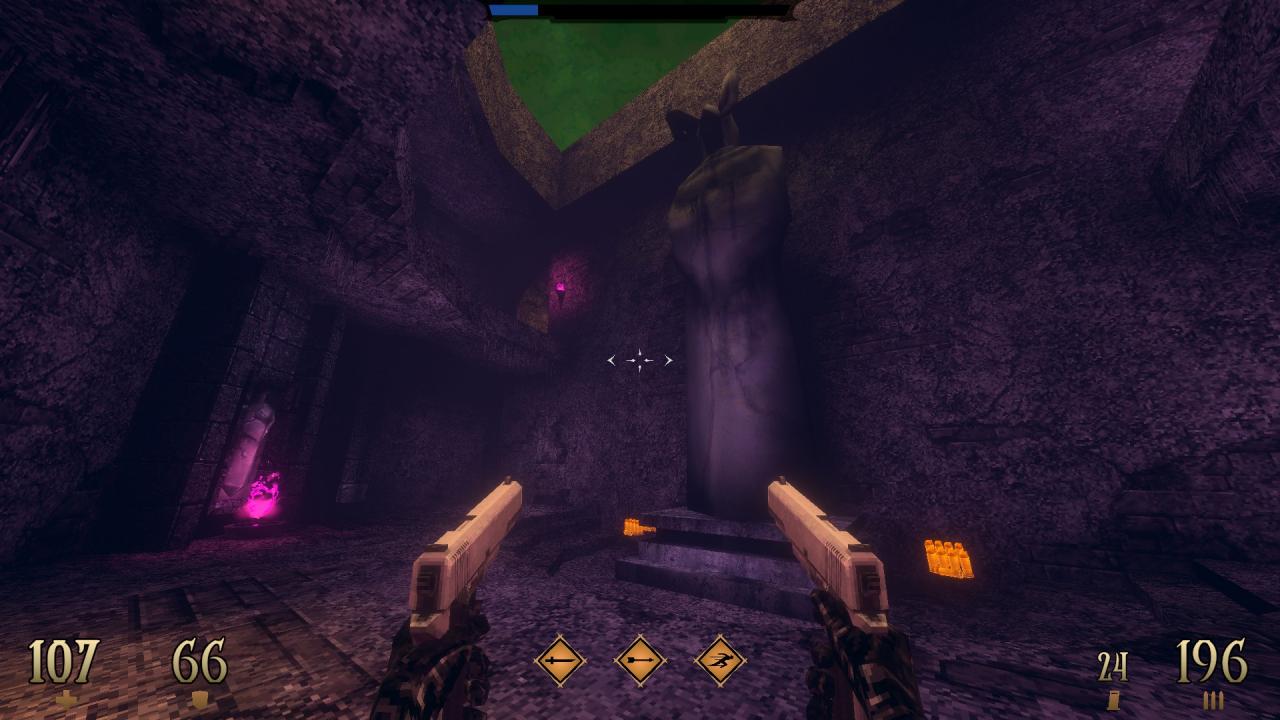
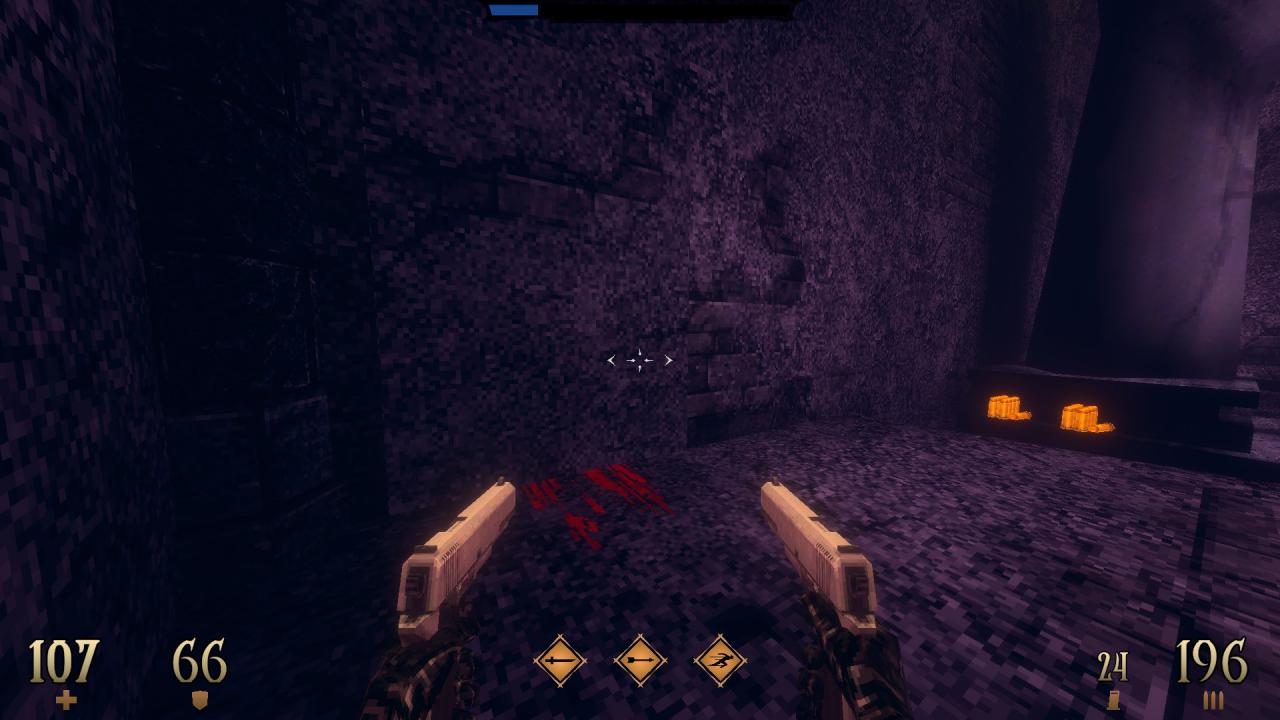
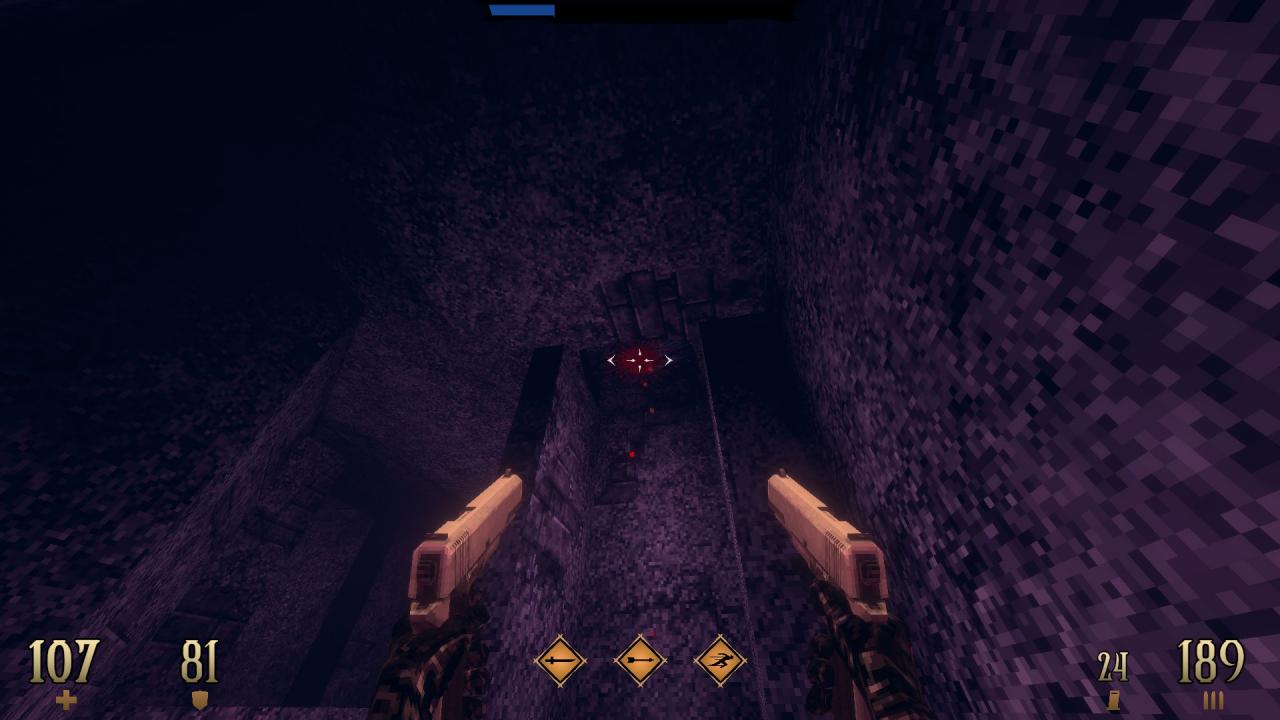
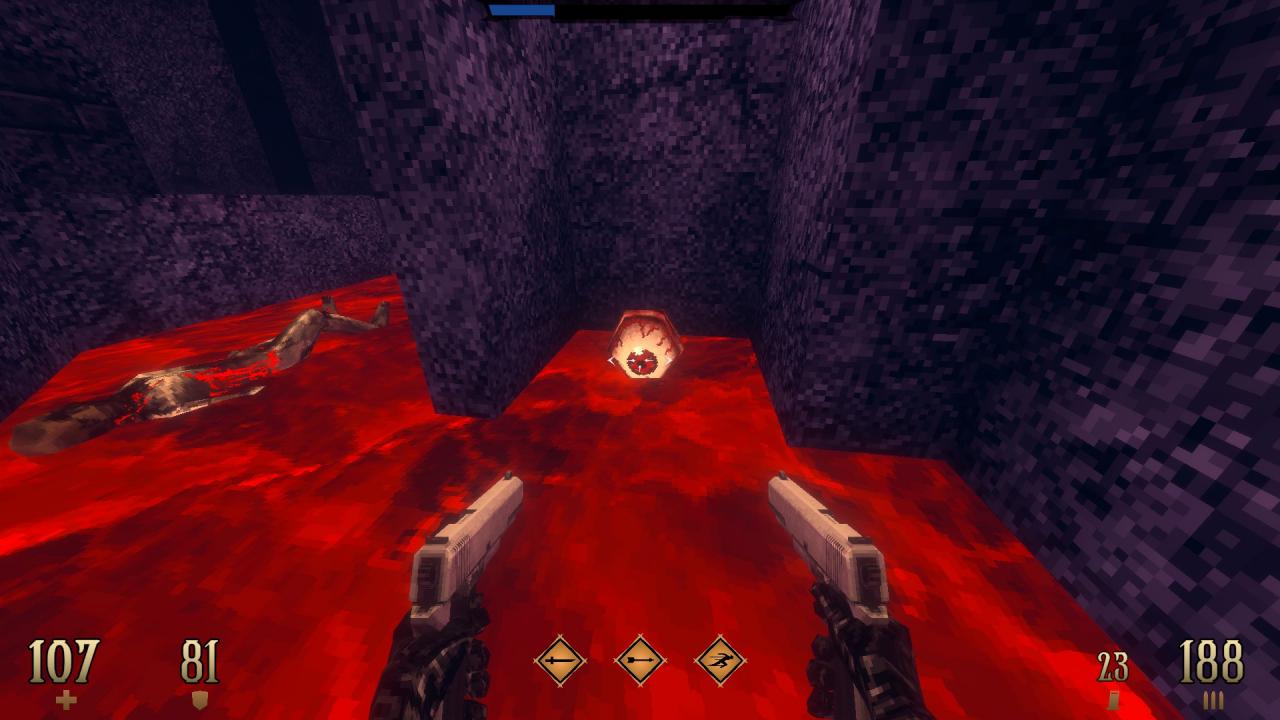
9/10 – Use the wall in the corner with a blood trail leading to it access another hidden area. Look for a panel on the ceiling that drips blood and shoot it to get a bloody eyeball.
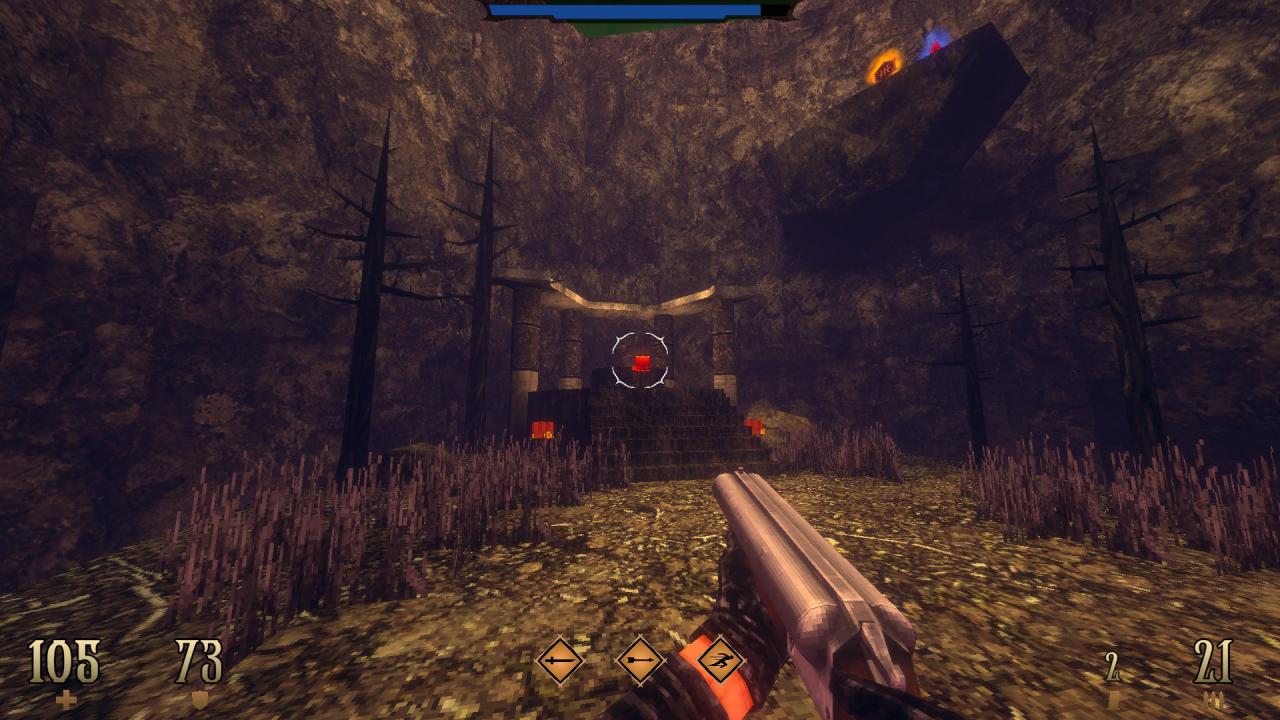
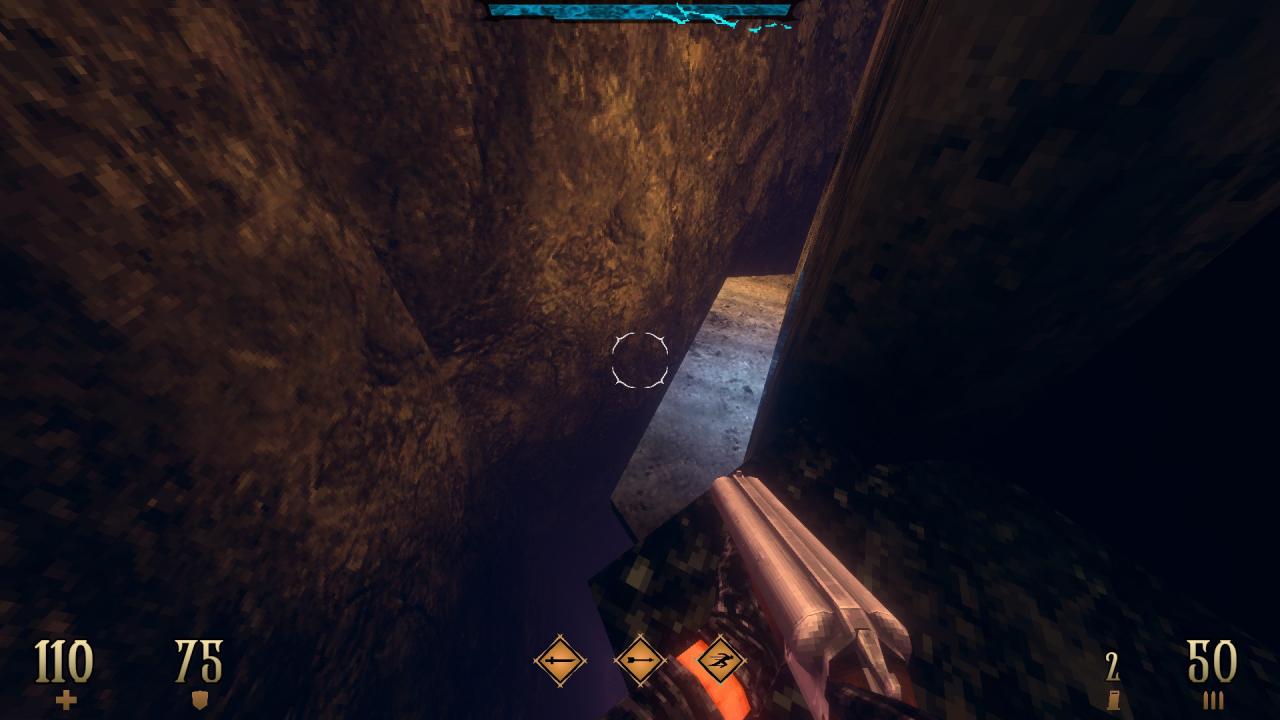
10/10 – After getting the bloody eyeball as described above in the previous secret, go back outside and look for an altar past the purple key door. Get behind it and drop down to the ledge to find hidden ammo.
—
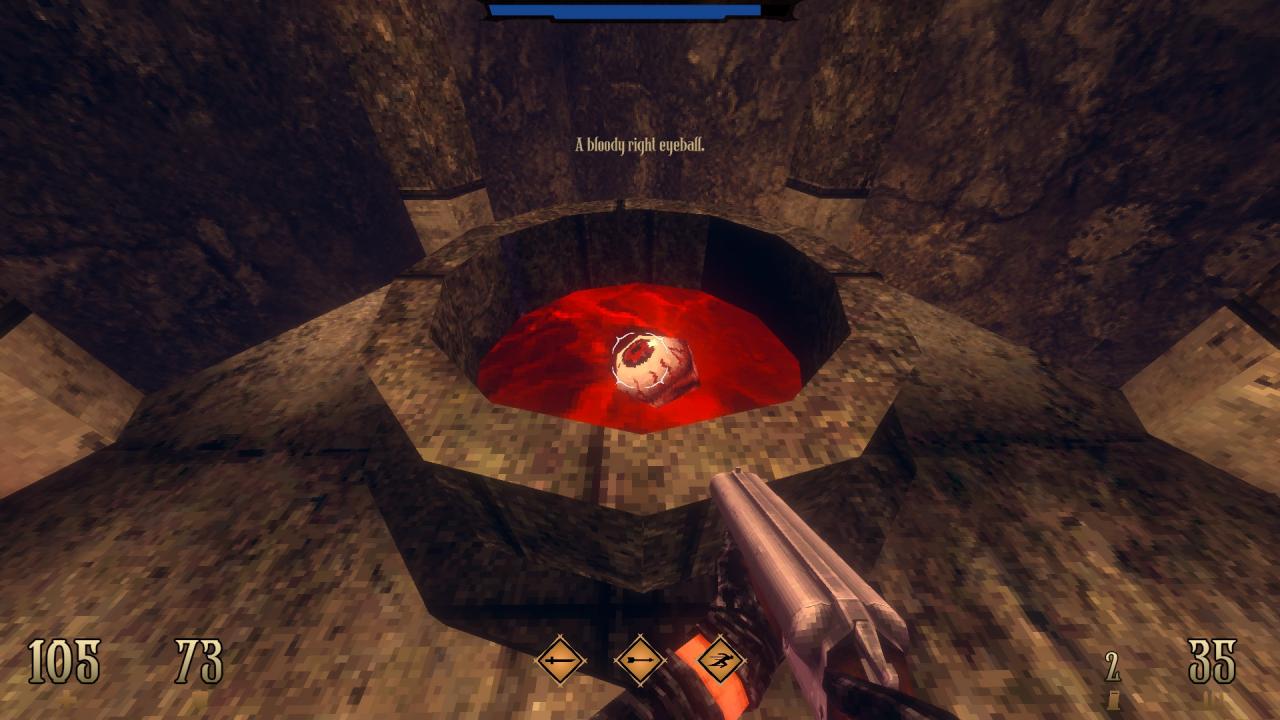
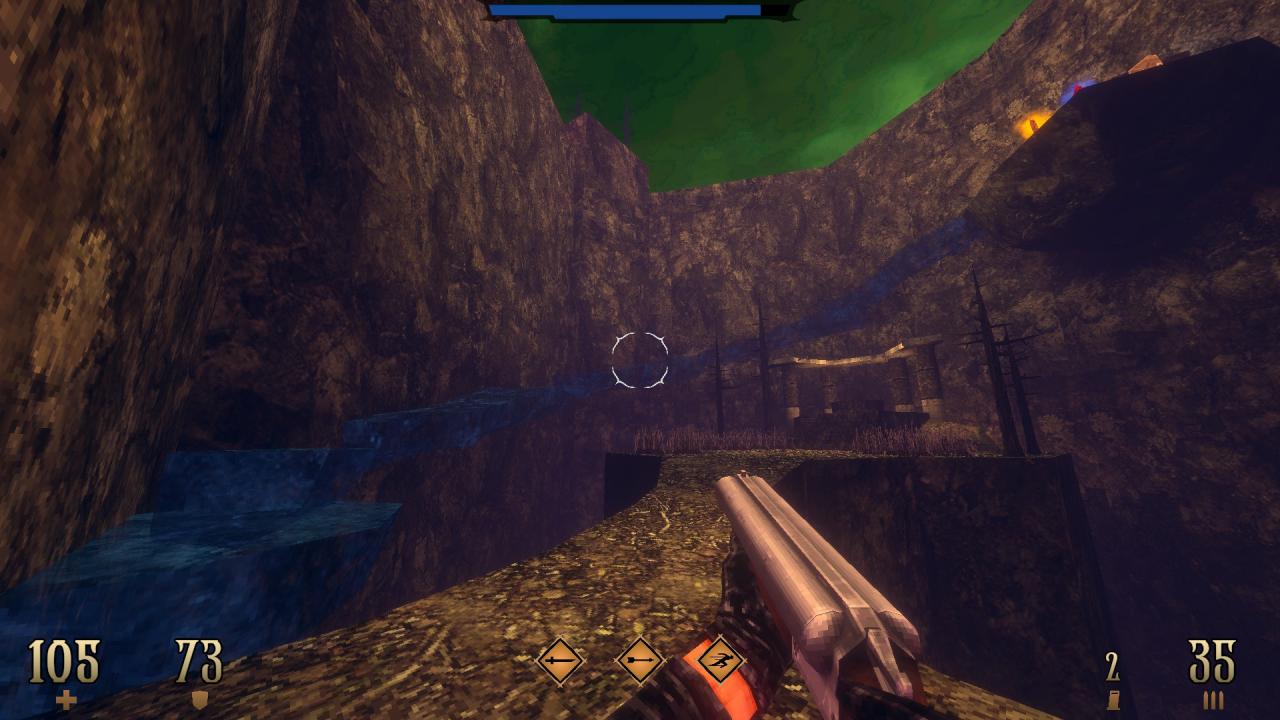
SUPER SECRET – Following from the previous secret, use the altar to reveal the other bloody eyeball. With the pair at hand, a path gets revealed that leads to the ledge above. Take it to reach the items laying in the open. (Powder Kegs Are Not Toys -G- and a Blood Gem) (Also unlocks the achievement ‘I See Something’.)
E2M3: The Entrance
This level contains 11 secrets and a super secret.
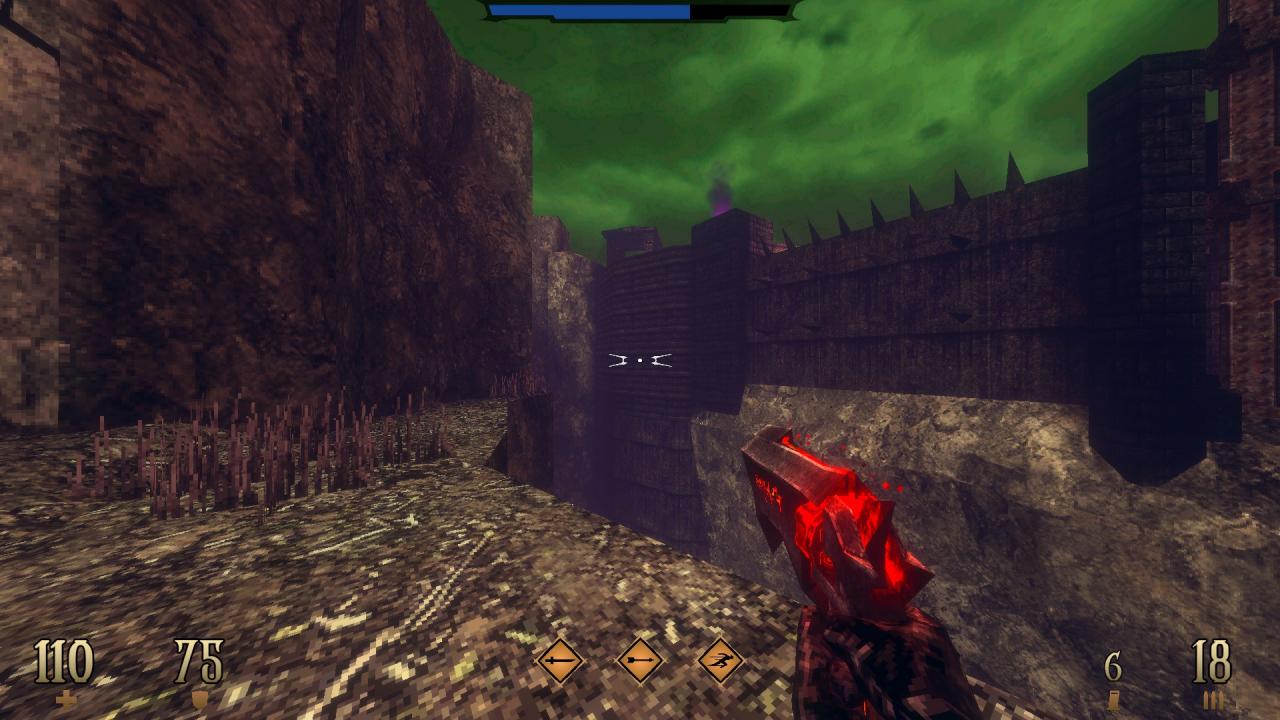
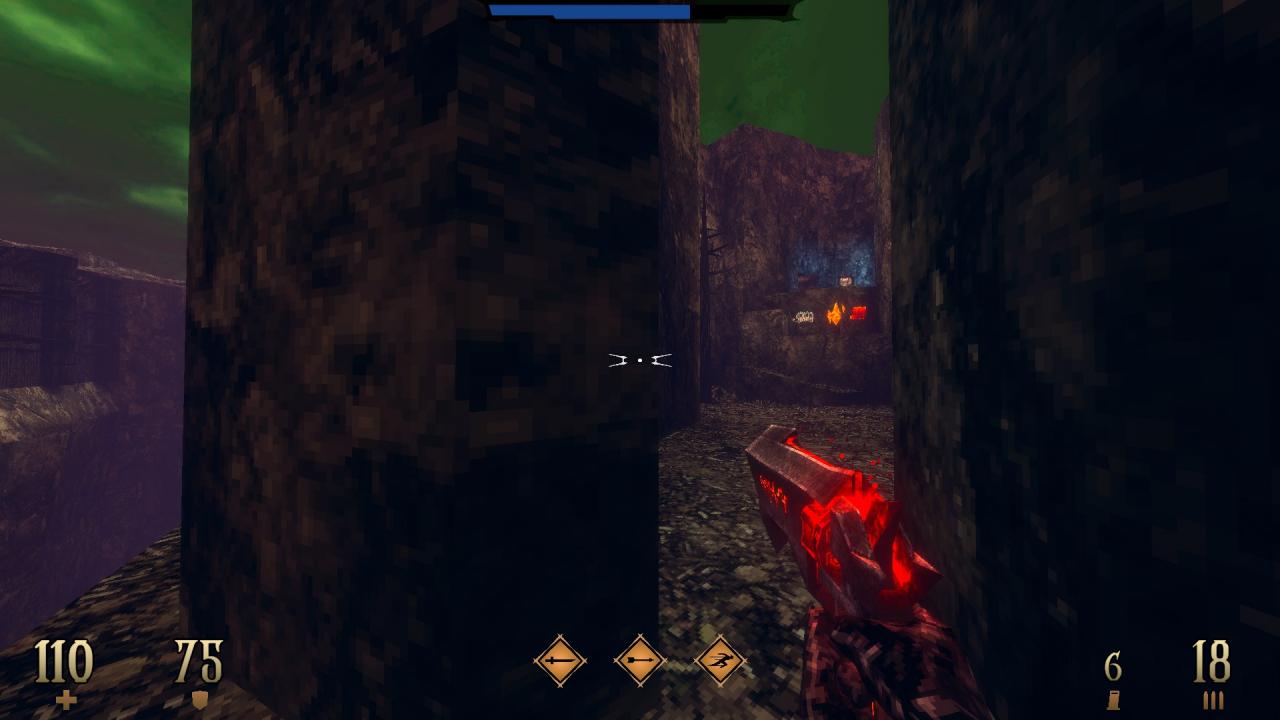
1/11 – After the initial drop, break the crates on the left and use the wall behind them to reveal a hidden compartment.
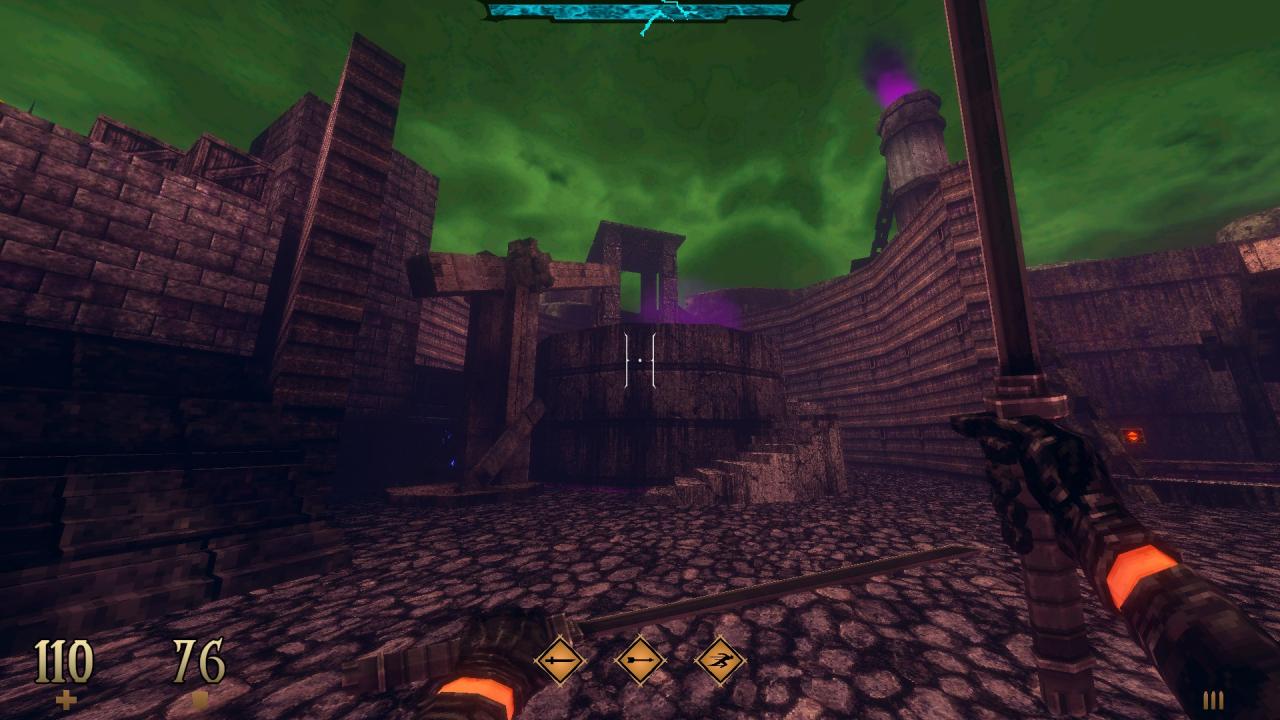
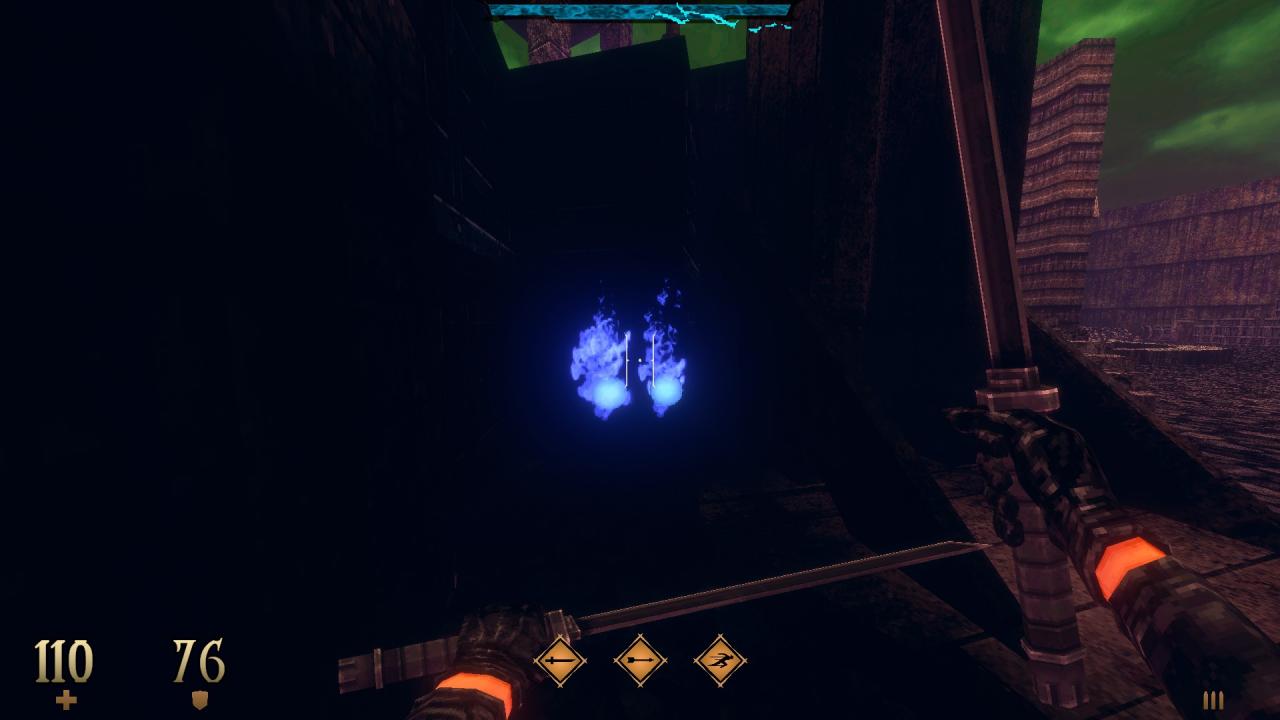
2/11 – Look behind the tank to the left of the entrance to find not-so-hidden items.
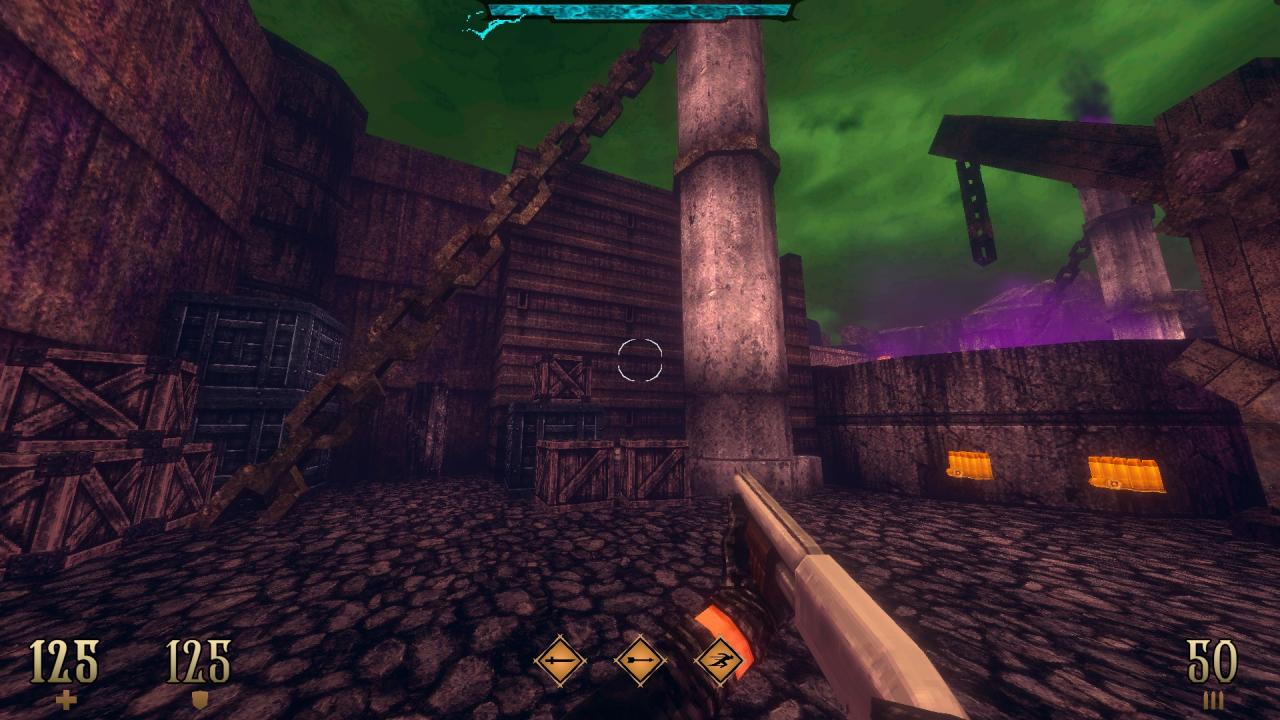
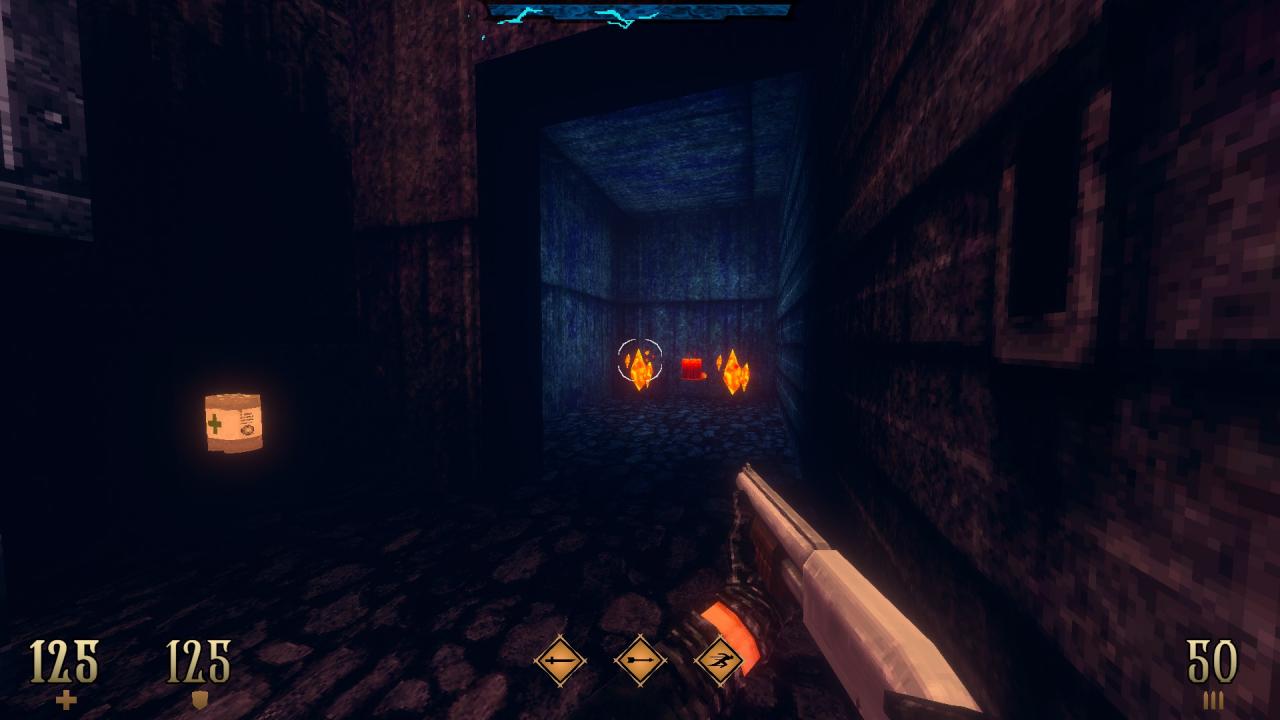
3/11 – Break the coffin near the tank to the right of the entrance and use the wall behind it to reveal a hidden compartment.
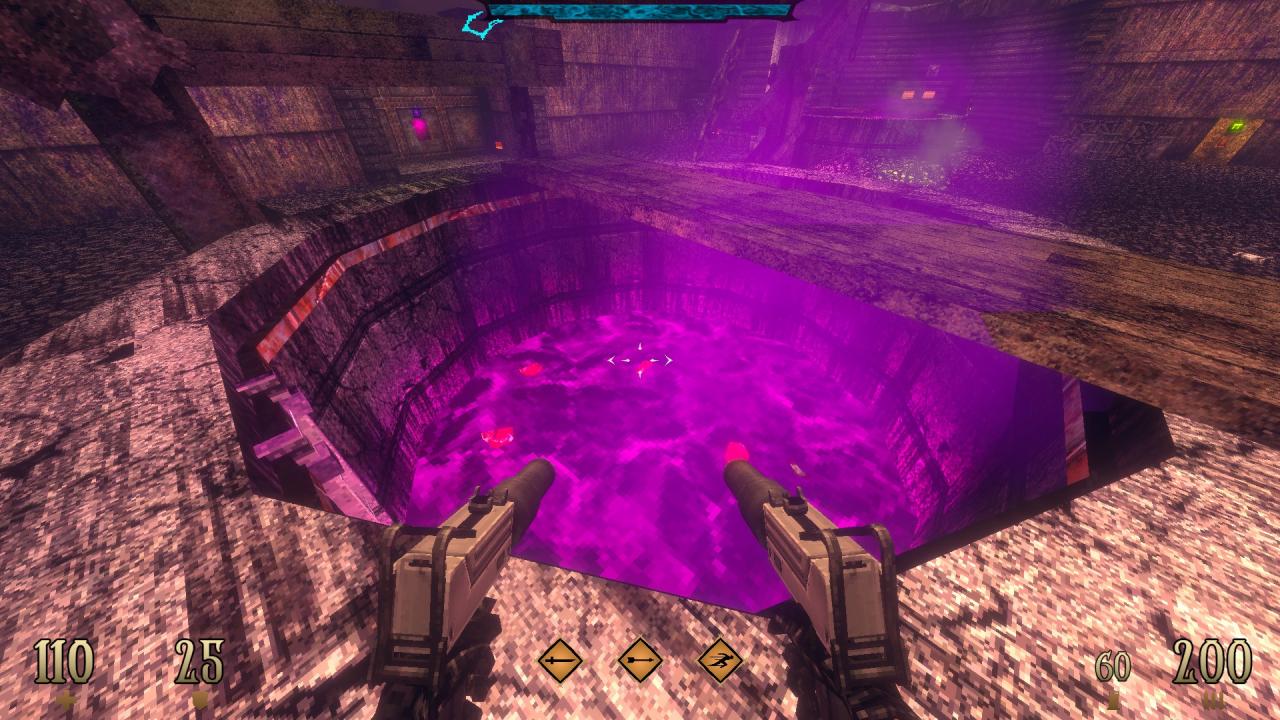
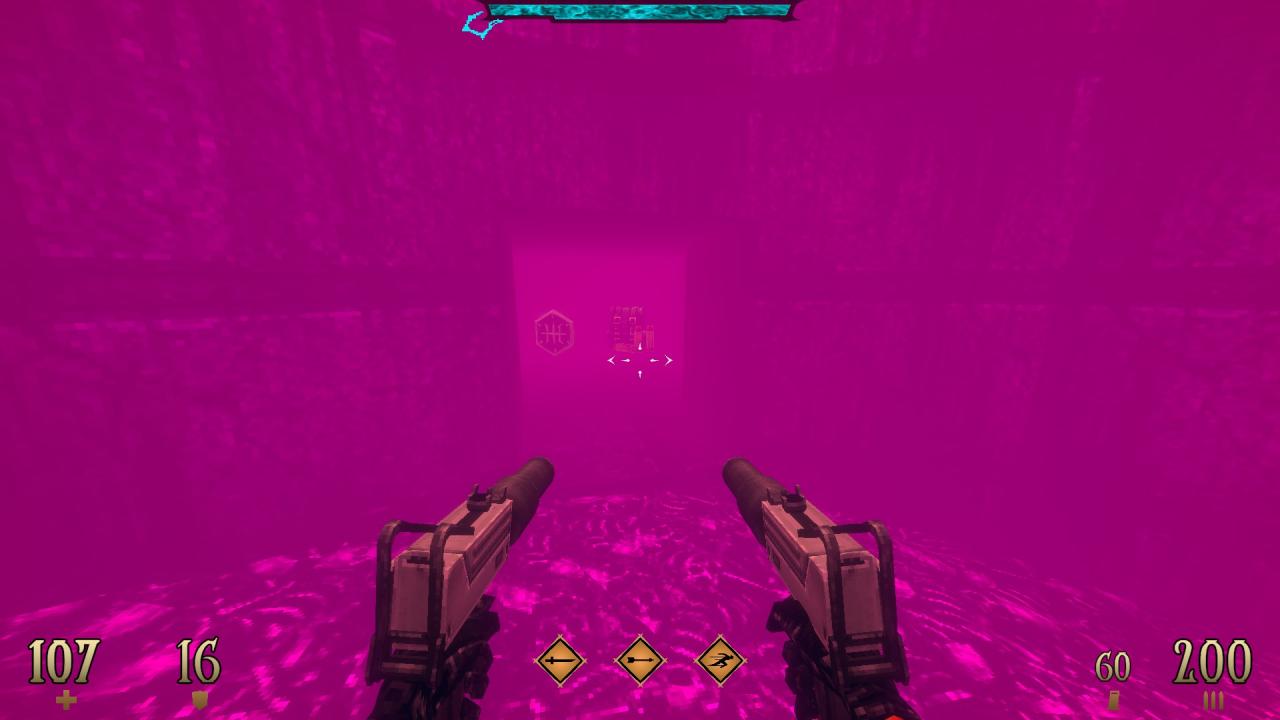
4/11 – Dive into the slime contained within the tank in the middle to find a hidden compartment. (Trap Launcher Mastery II)
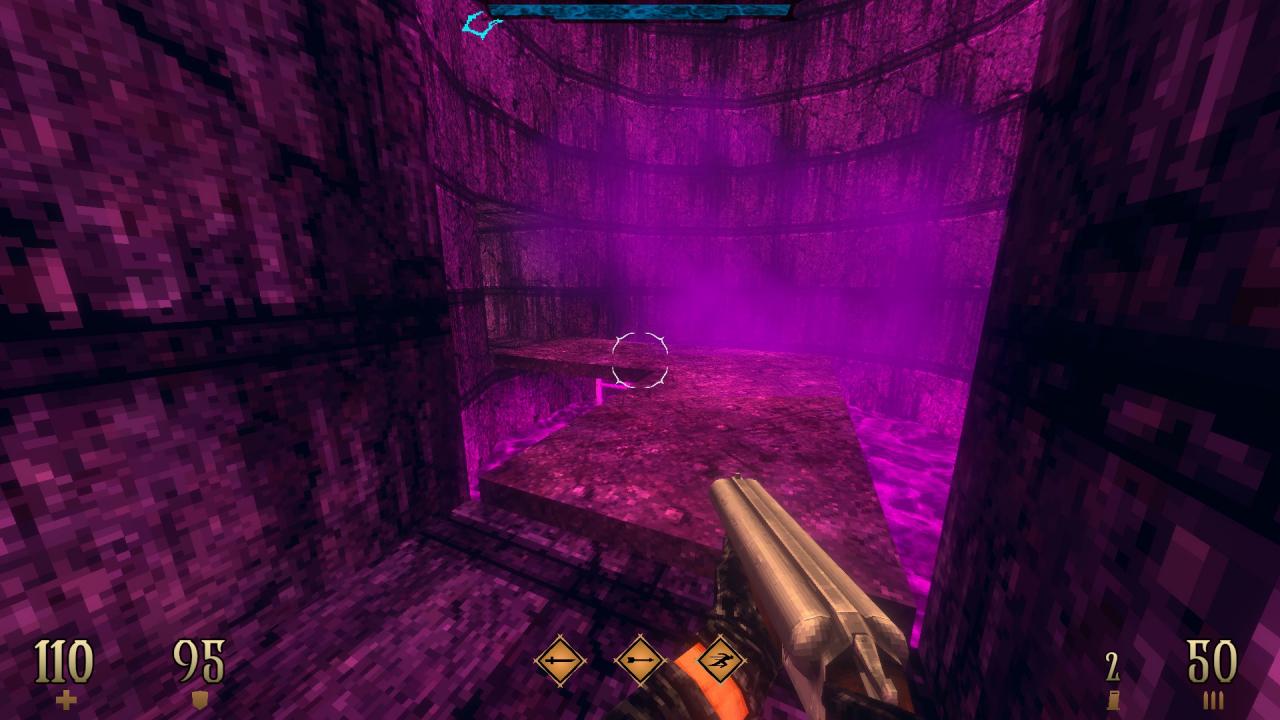
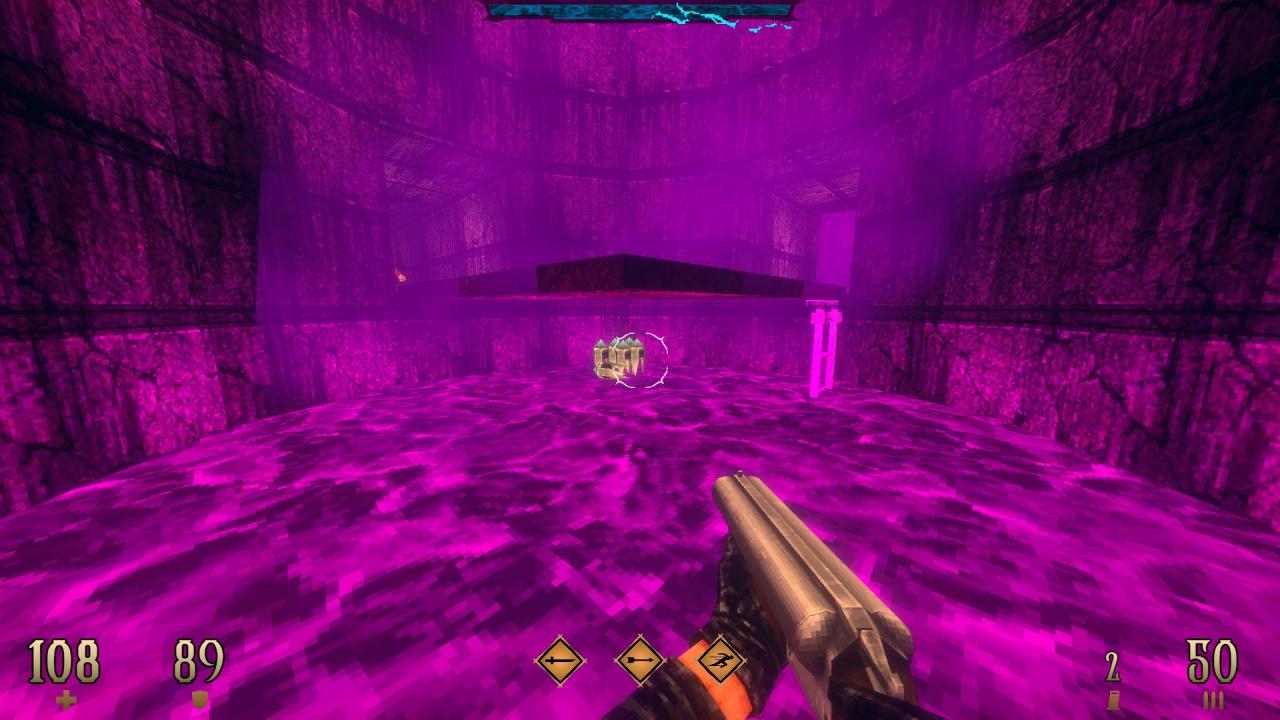
5/11 – Drop down to the slime while going through the underground tank to find hidden ammo.
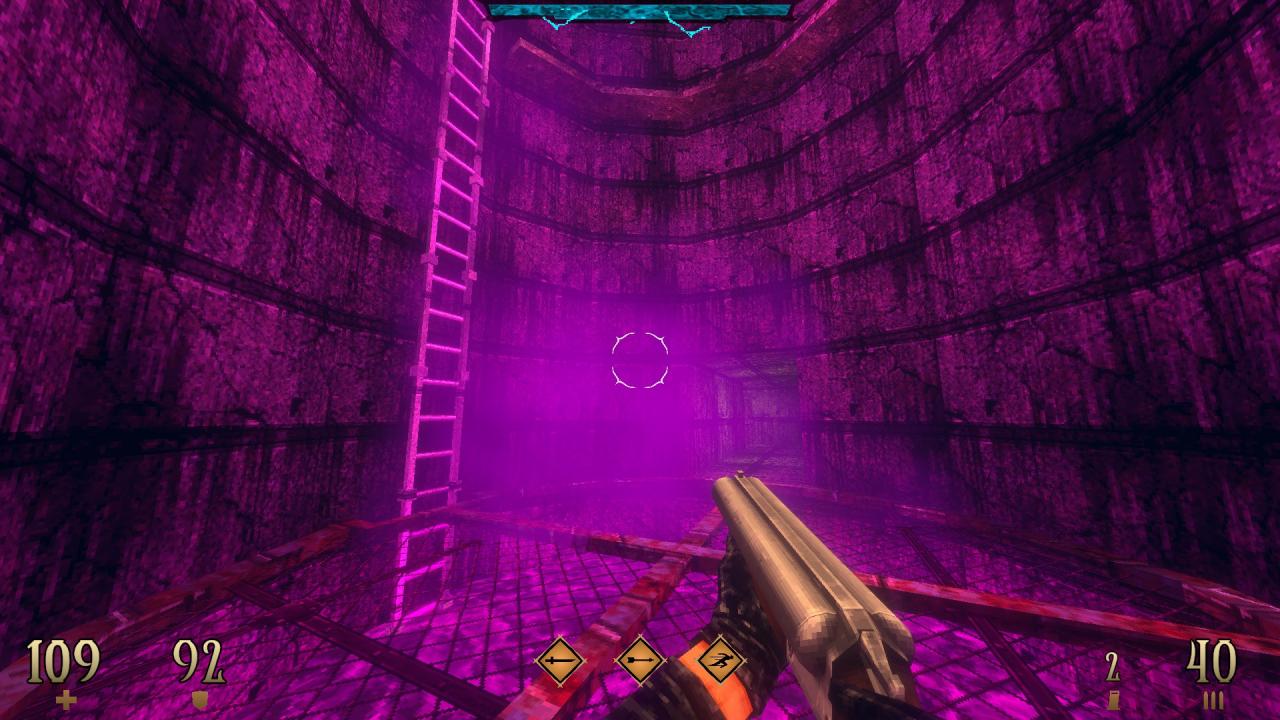
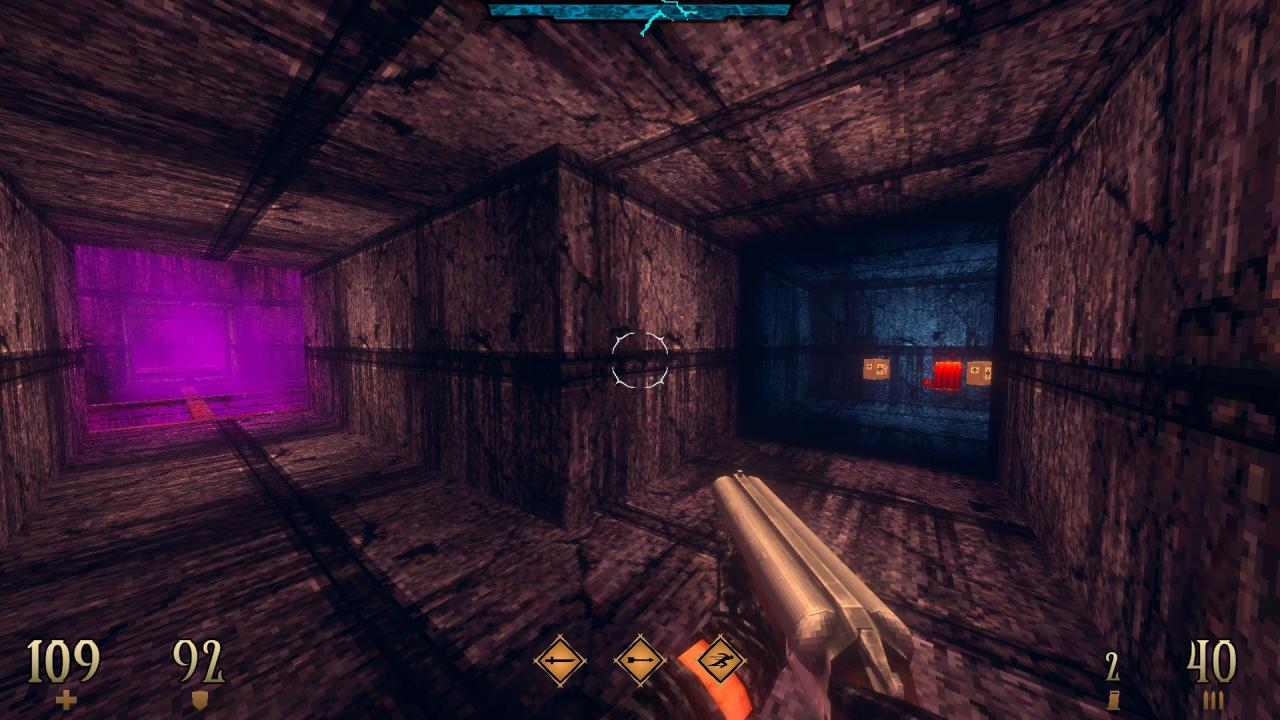
6/11 – Before taking the ladder up, break the crates at the end of the tunnel and use to wall behind them to reveal a hidden compartment.
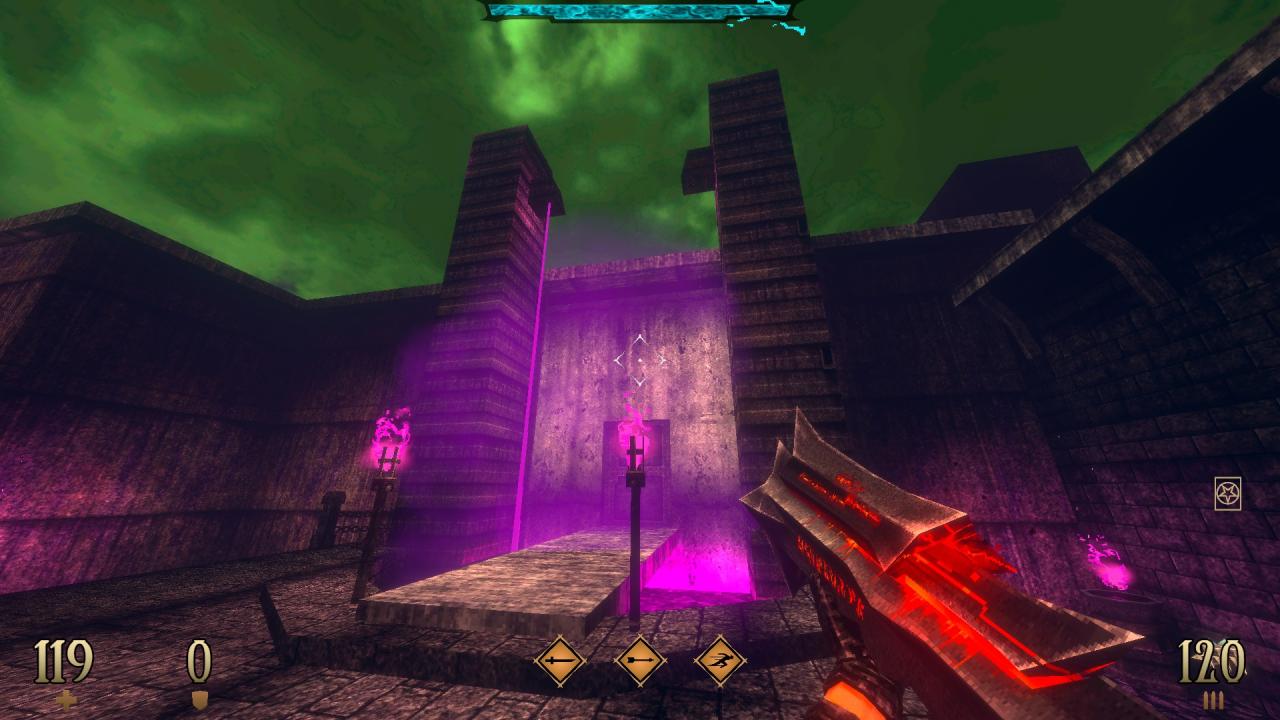
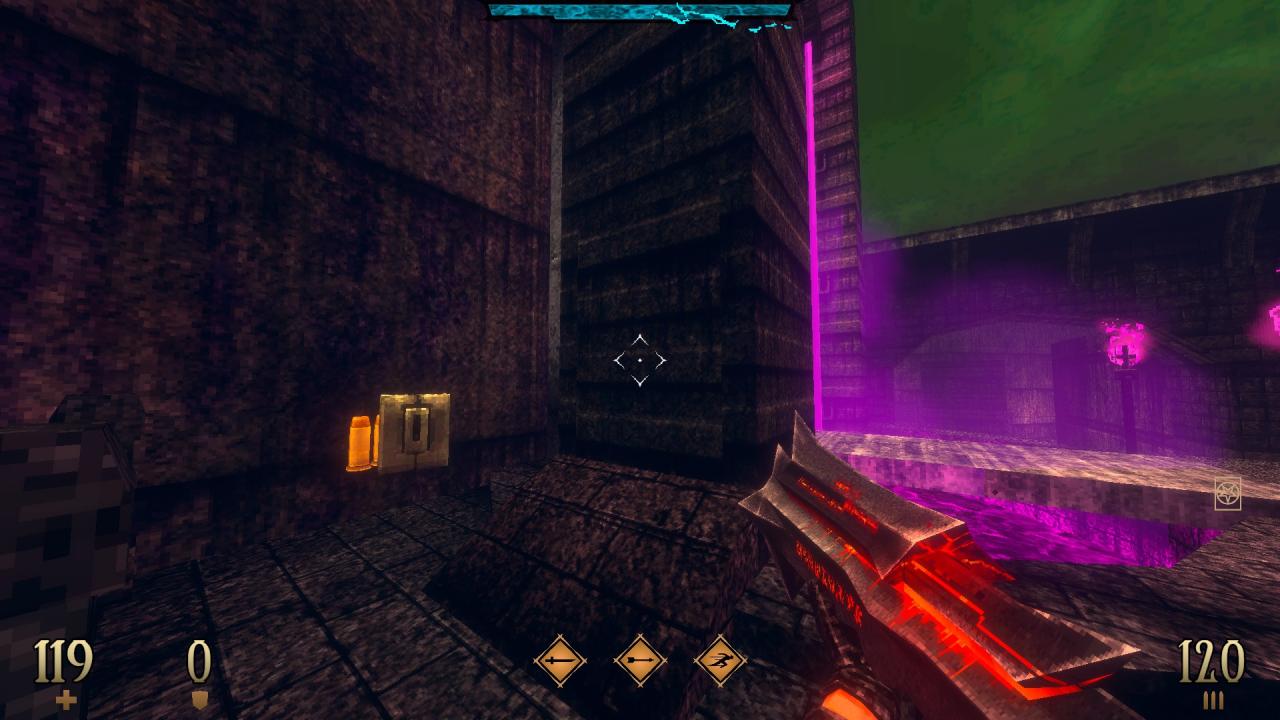
7/11 – Find the part with the misaligned texture on the outer side of the left pillar and use it to reveal hidden ammo.
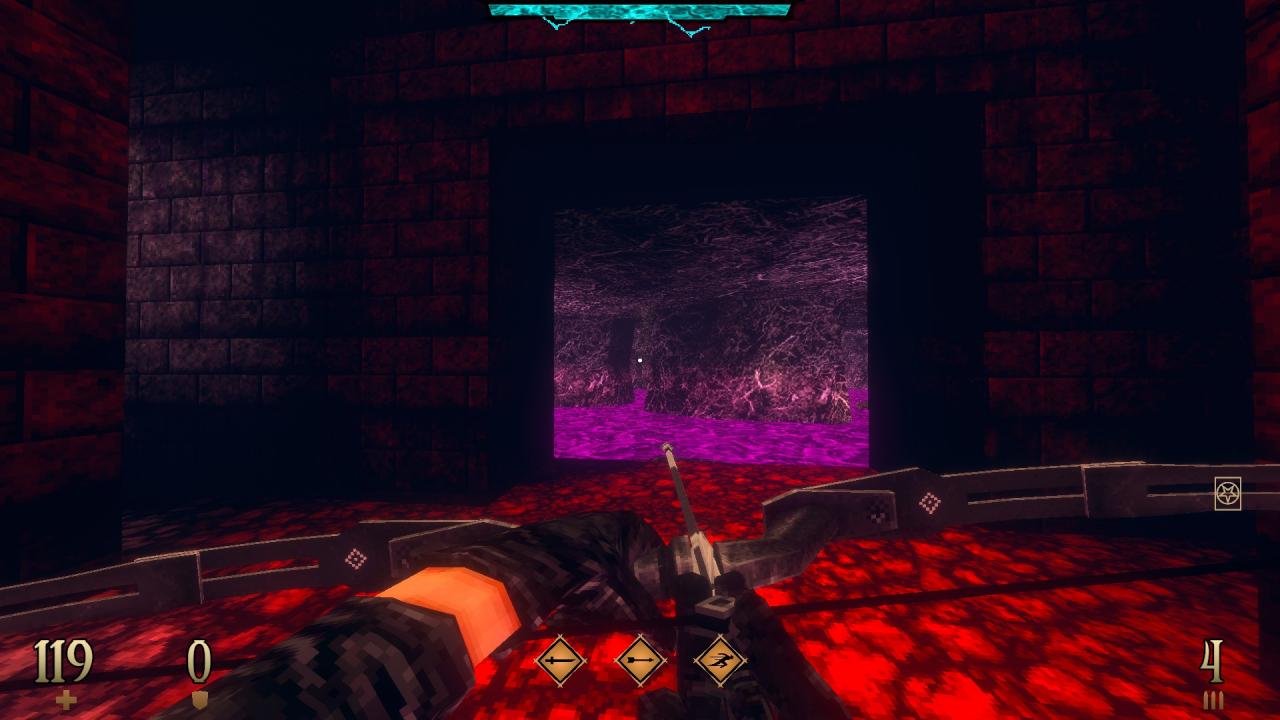
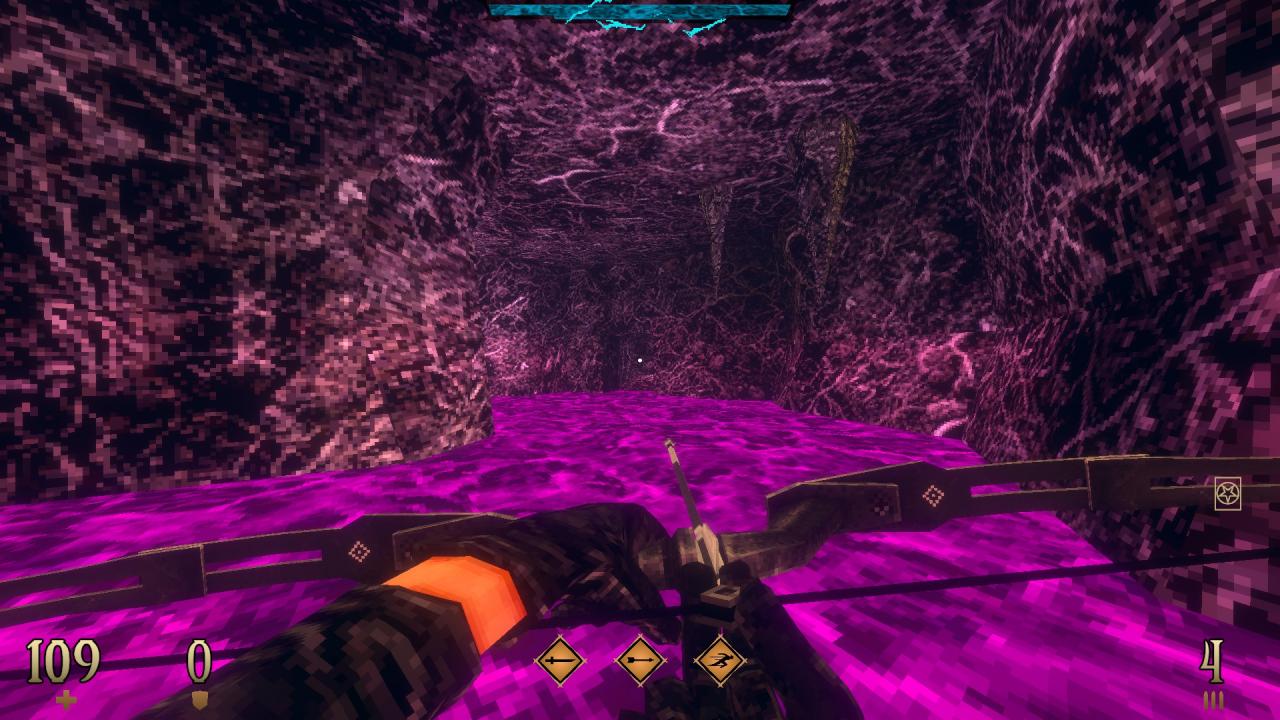
8/11 – In the side area, take the middle path and use the wall that looks slightly off-color near the center of the slime pit (shown open in the second shot above) to reveal a hidden compartment. (Inferno Revolver Rush II)

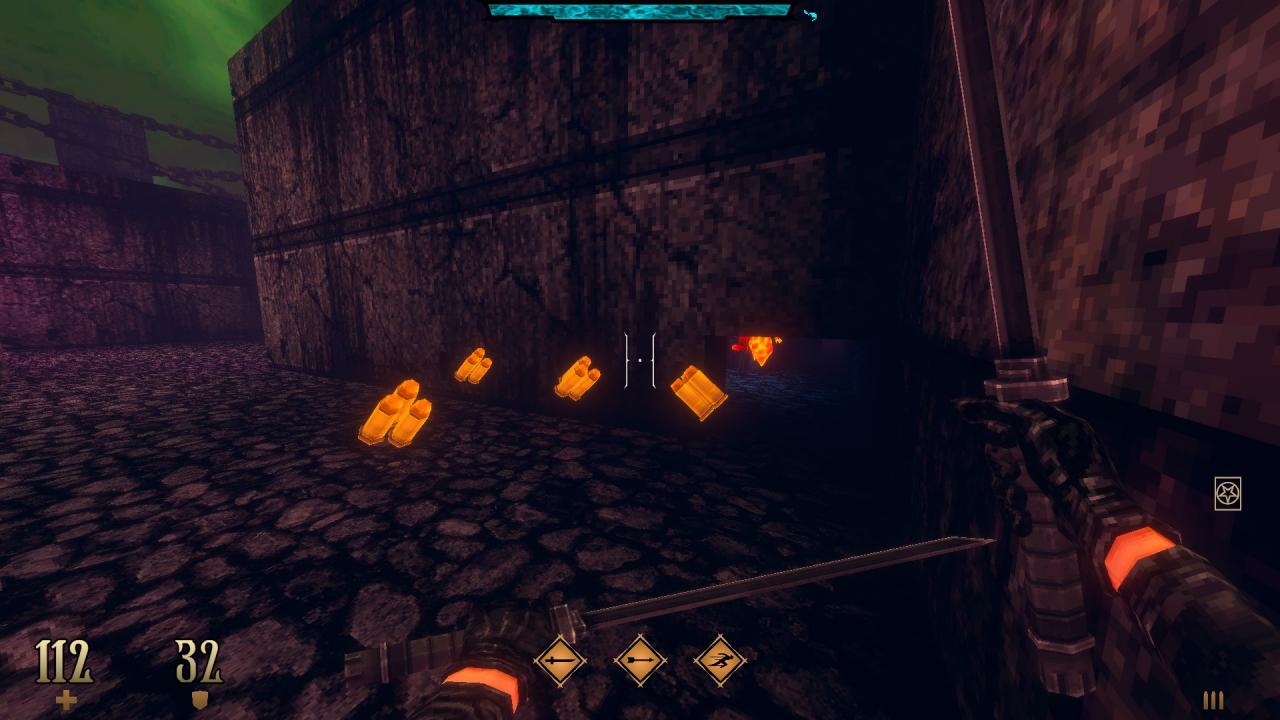
9/11 – Break the crates next to the stairs that lead to the yellow key courtyard to reveal a hidden compartment that can be reached by crawling.
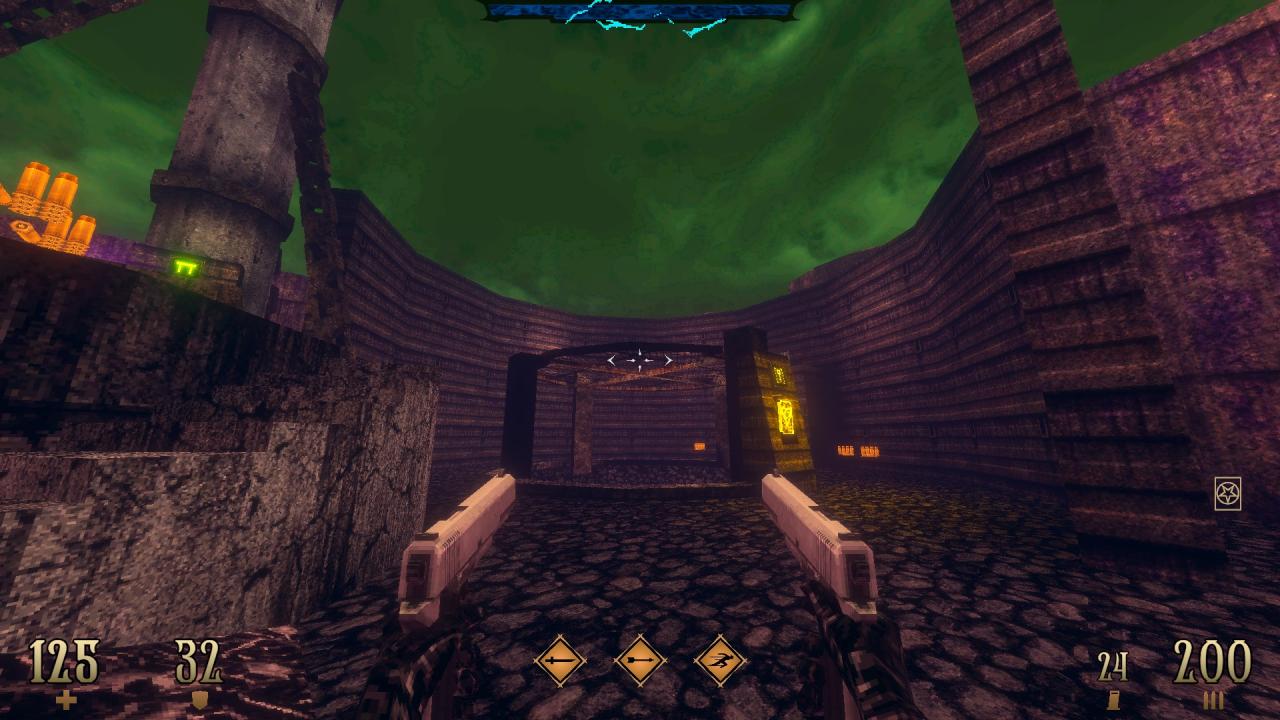
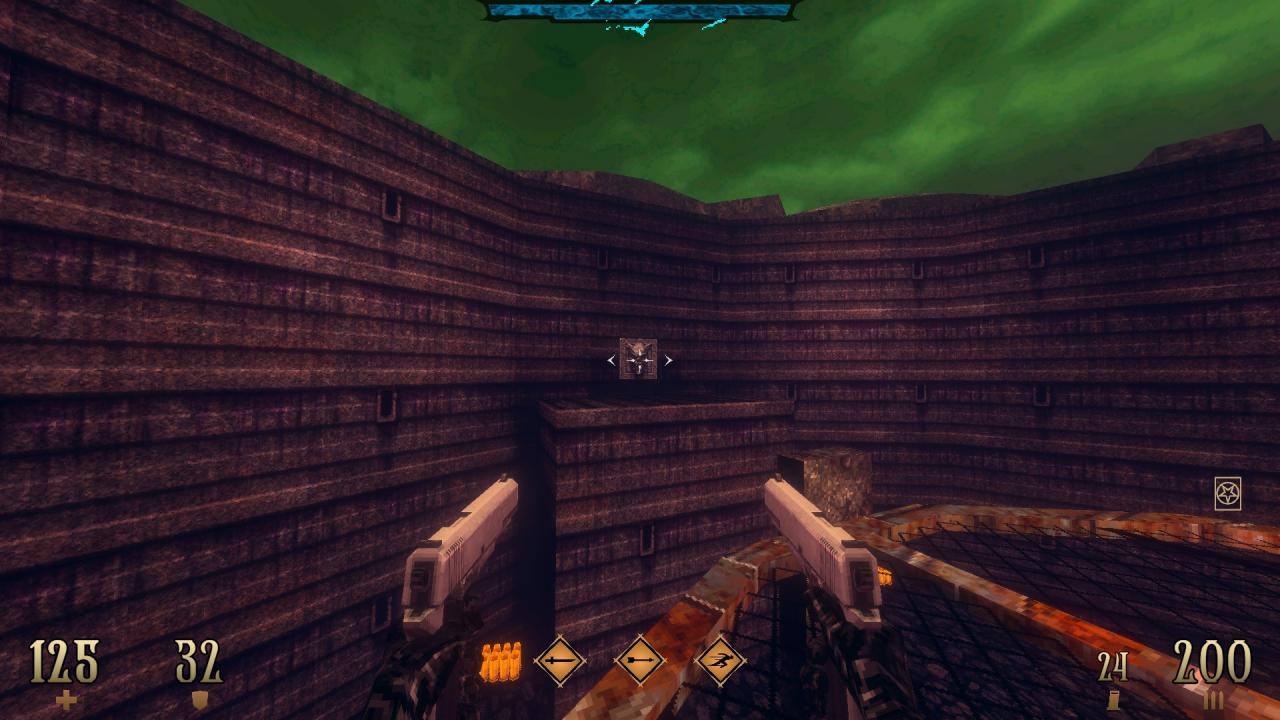
10/11 – After using the yellow key card, dash across with the help of the newly-raised grating and use the demon plate on the other side to reveal a hidden compartment.
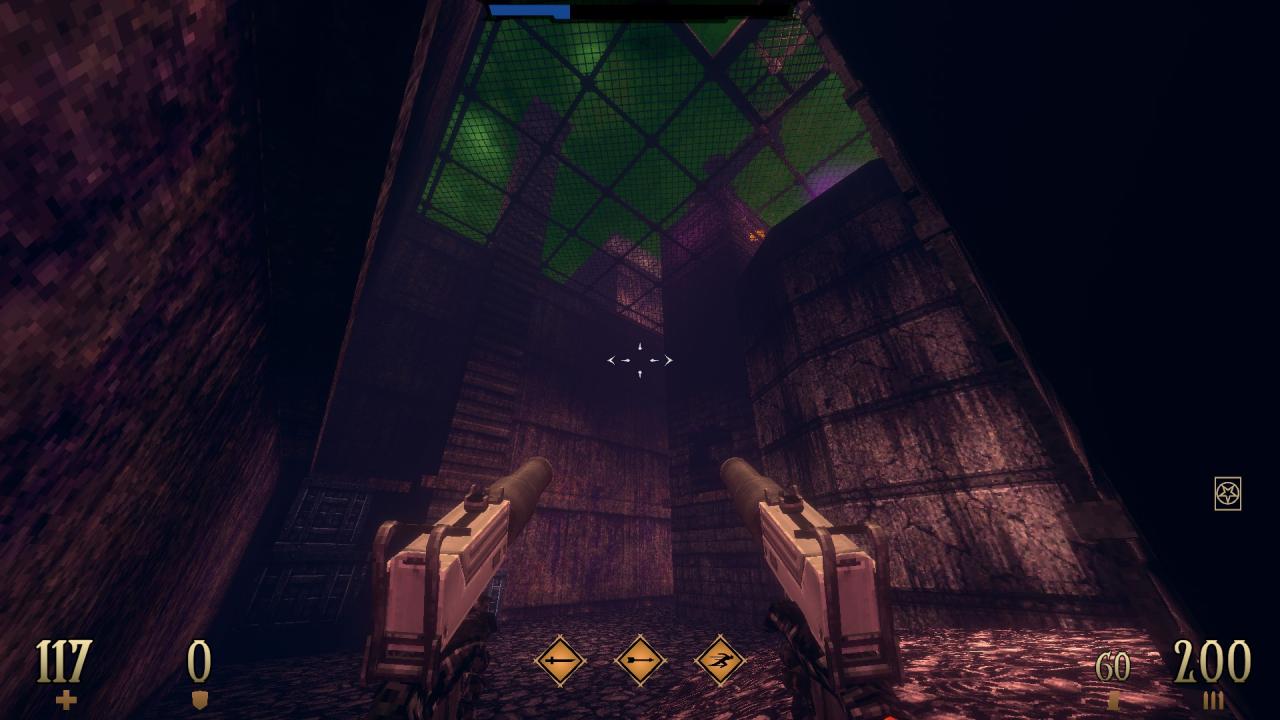
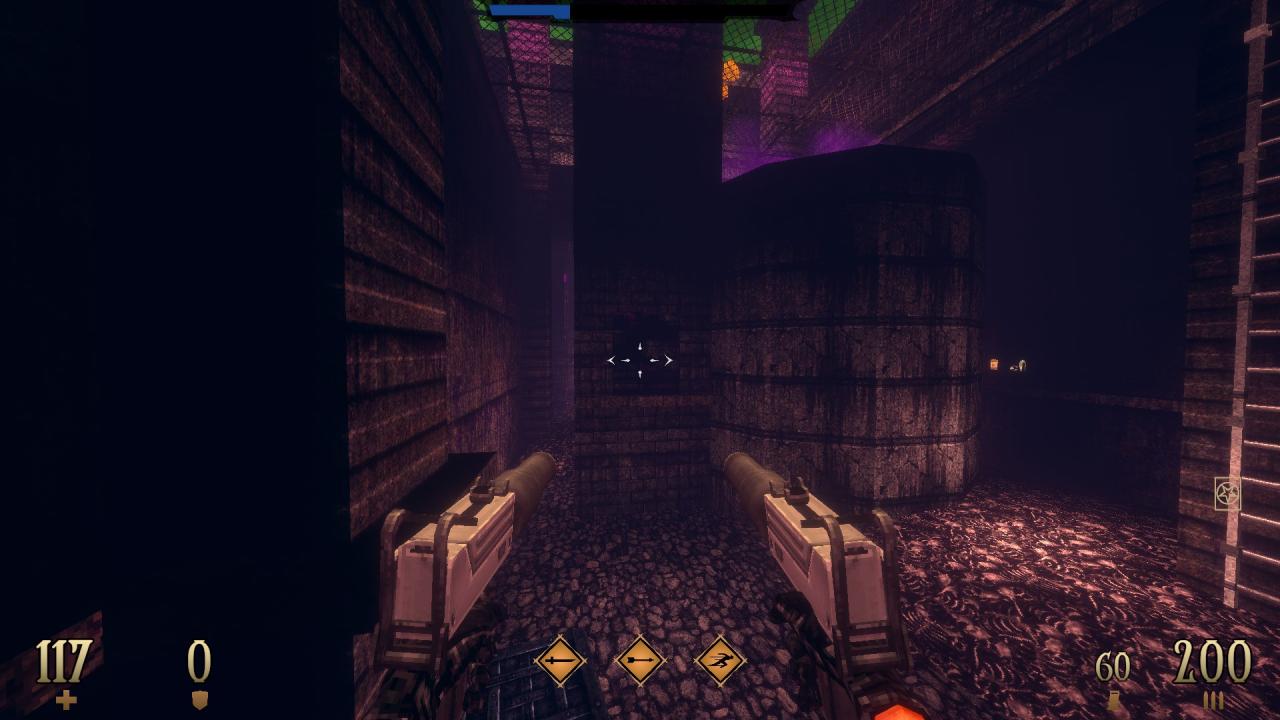
11/11 – Jump on top of the crates in the corner and dash across towards the part of the pillar with different texturing. Use the said part to reveal another hidden compartment.
—
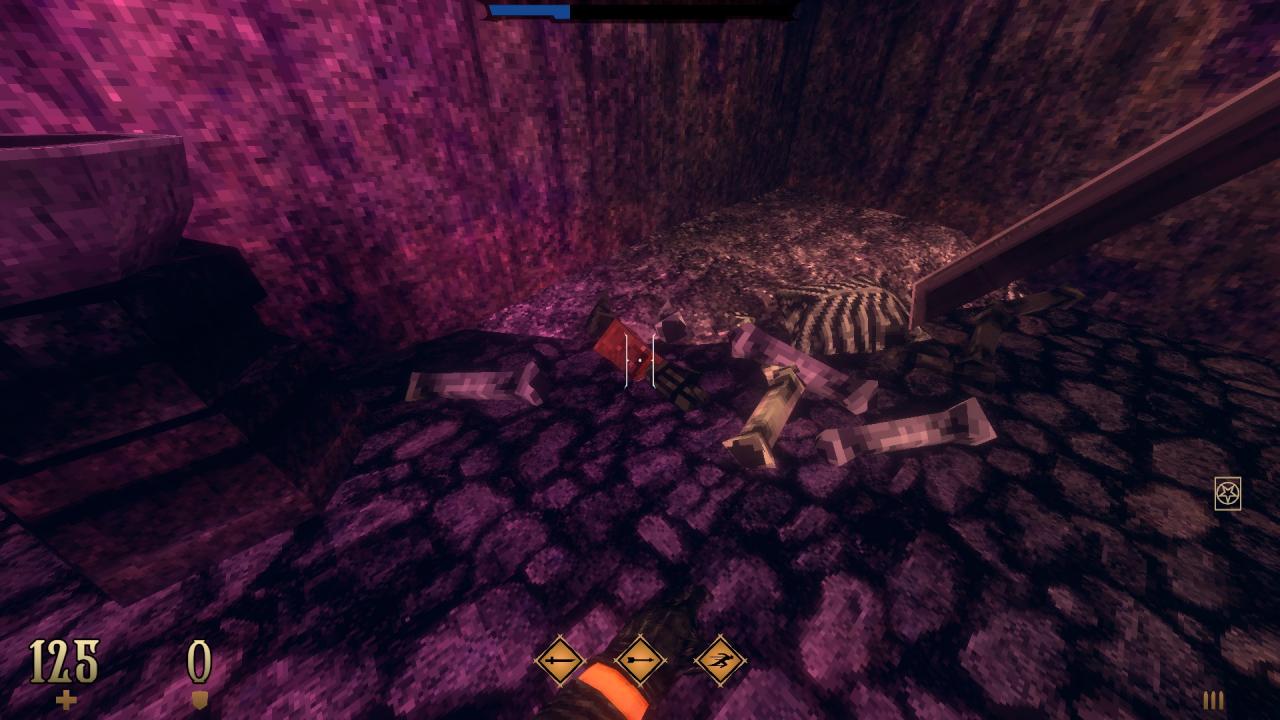

SUPER SECRET – There are a total of five skeletons to be found across the two courtyards. Look around until you find the metallic arm lying next to one of them, as shown in the first shot above (it changes places with every map load). Take it with the use key and go to the mass grave between the two courtyards. Find the armless skeleton in the said grave and press the use key once more to give the metallic arm to him. In turn, he opens up a previously hidden room nearby for you to check out. (Bingo! -G- and a Blood Gem)
E2M4: Soul Melting Factory
This level contains 10 secrets and a super secret.
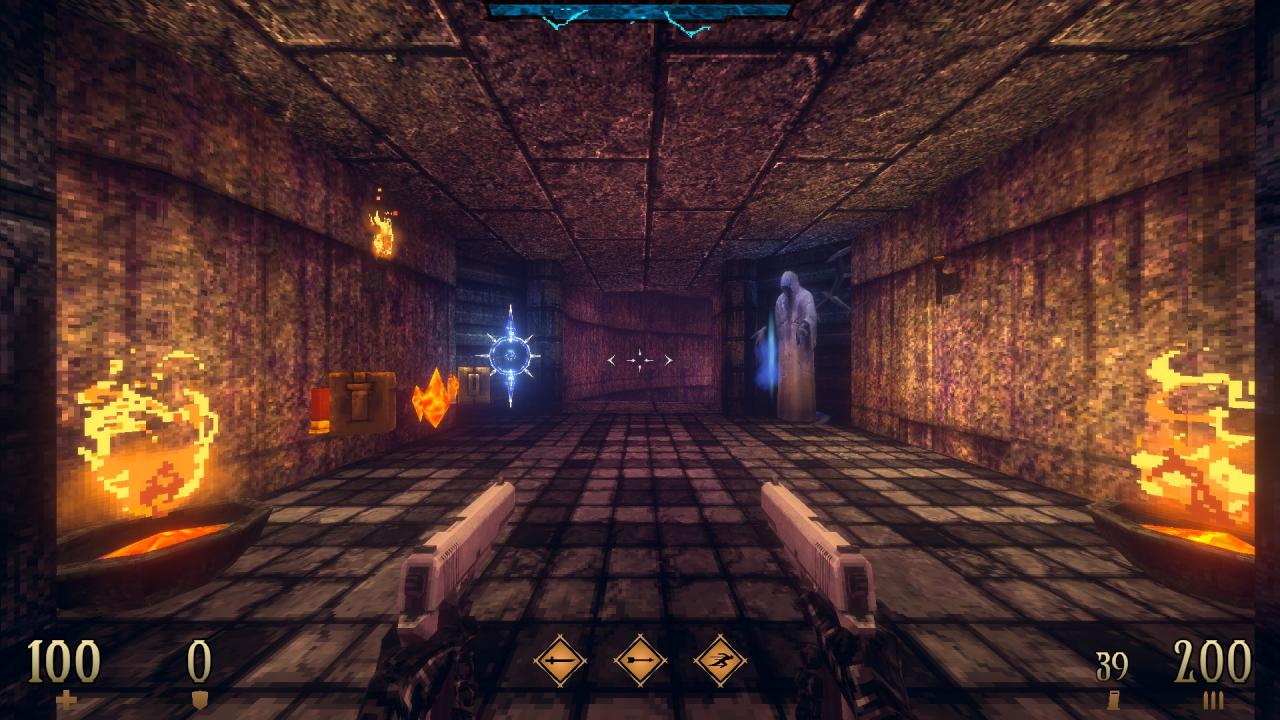
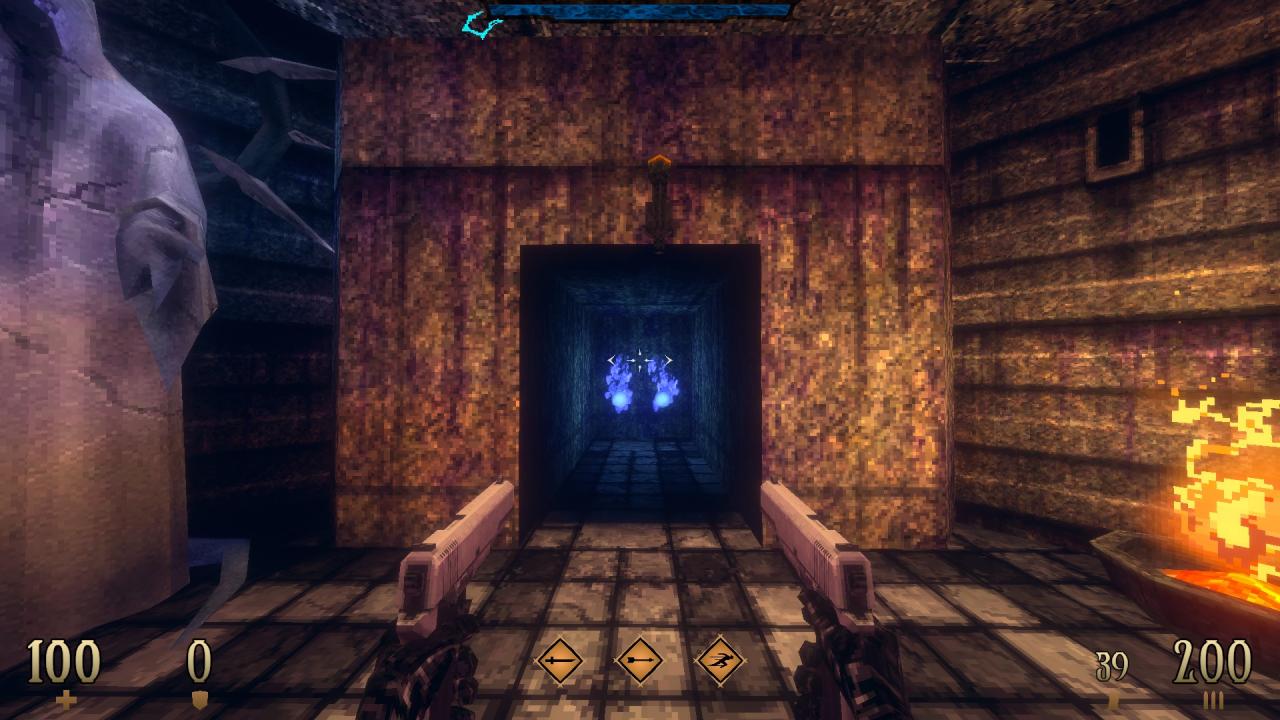
1/10 – Right at the beginning, use the wall below the unlit torch to your right to reveal a hidden compartment.
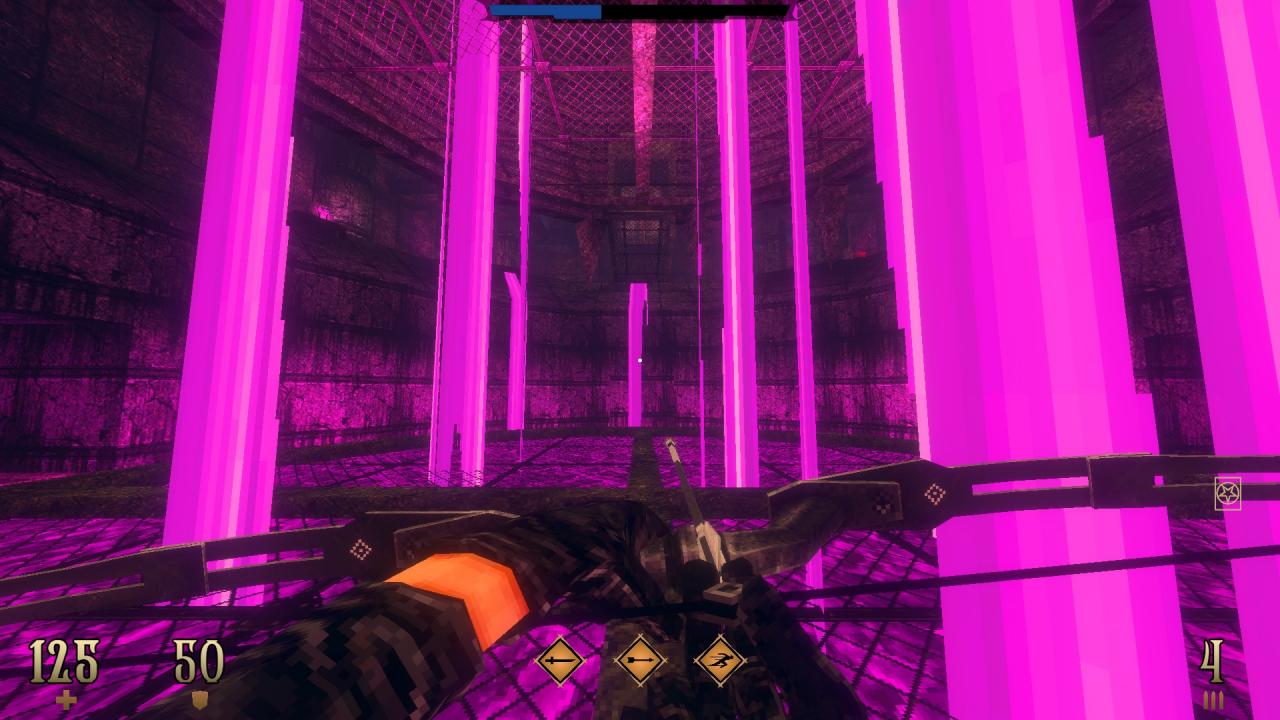
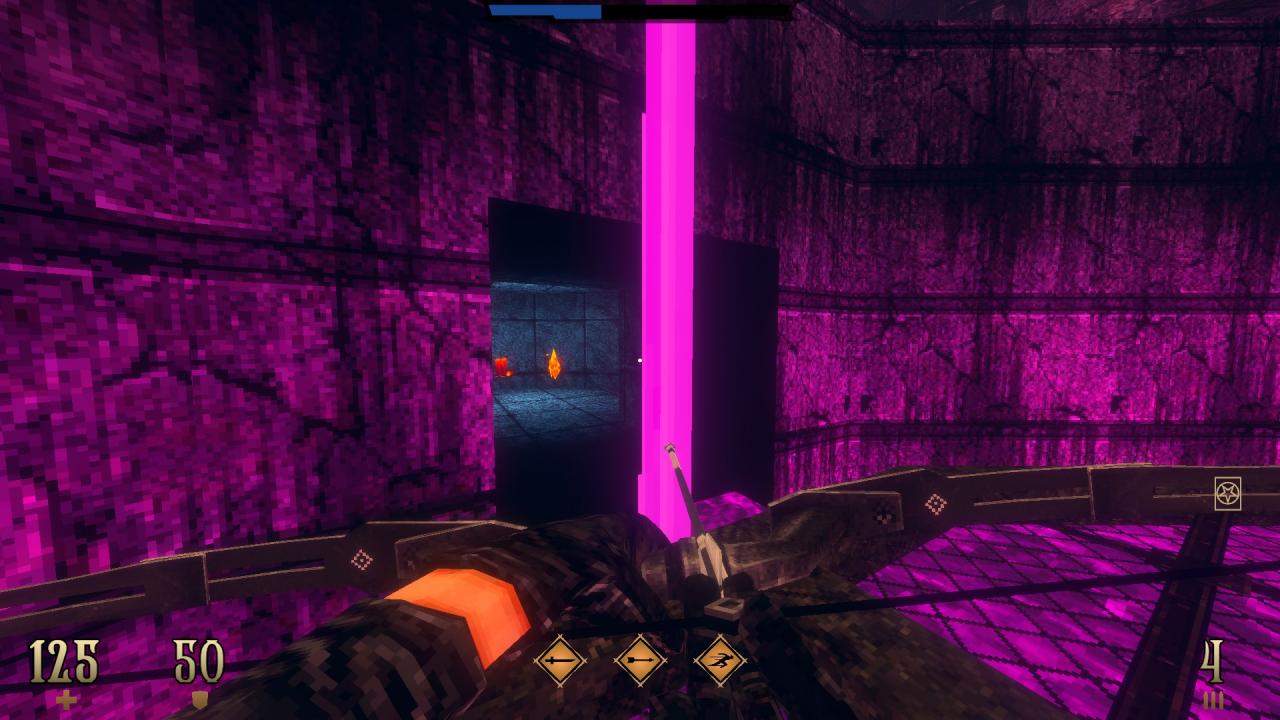
2/10 – In the central pit, use the part of the wall with the misaligned texture to reveal another hidden compartment.
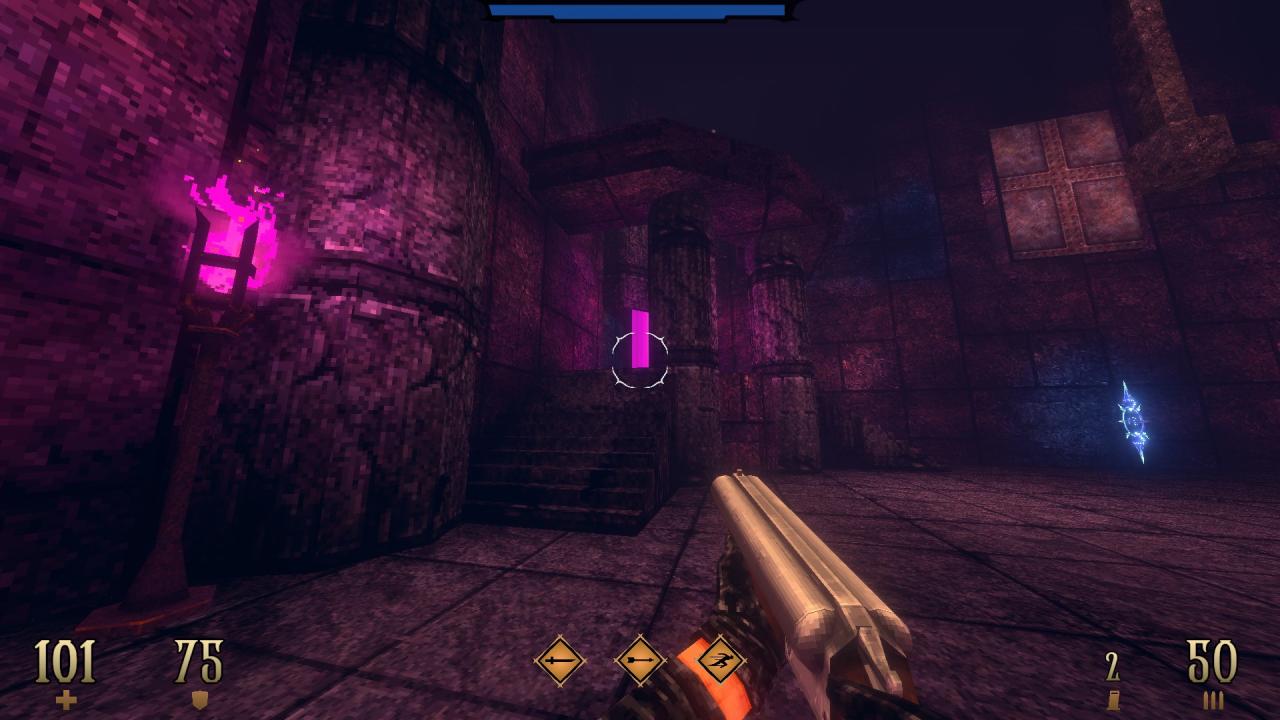
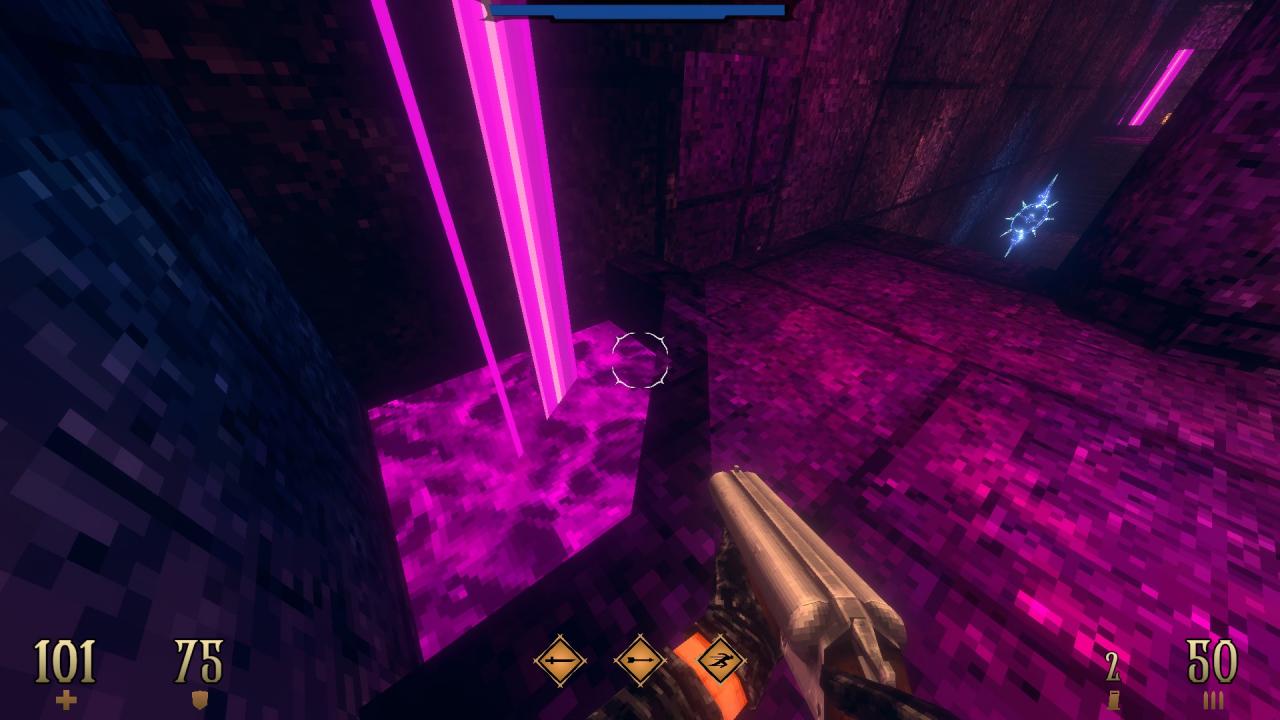
3/10 – Dive into the slime found to the left of central save point and swim through it to reach a hidden room.
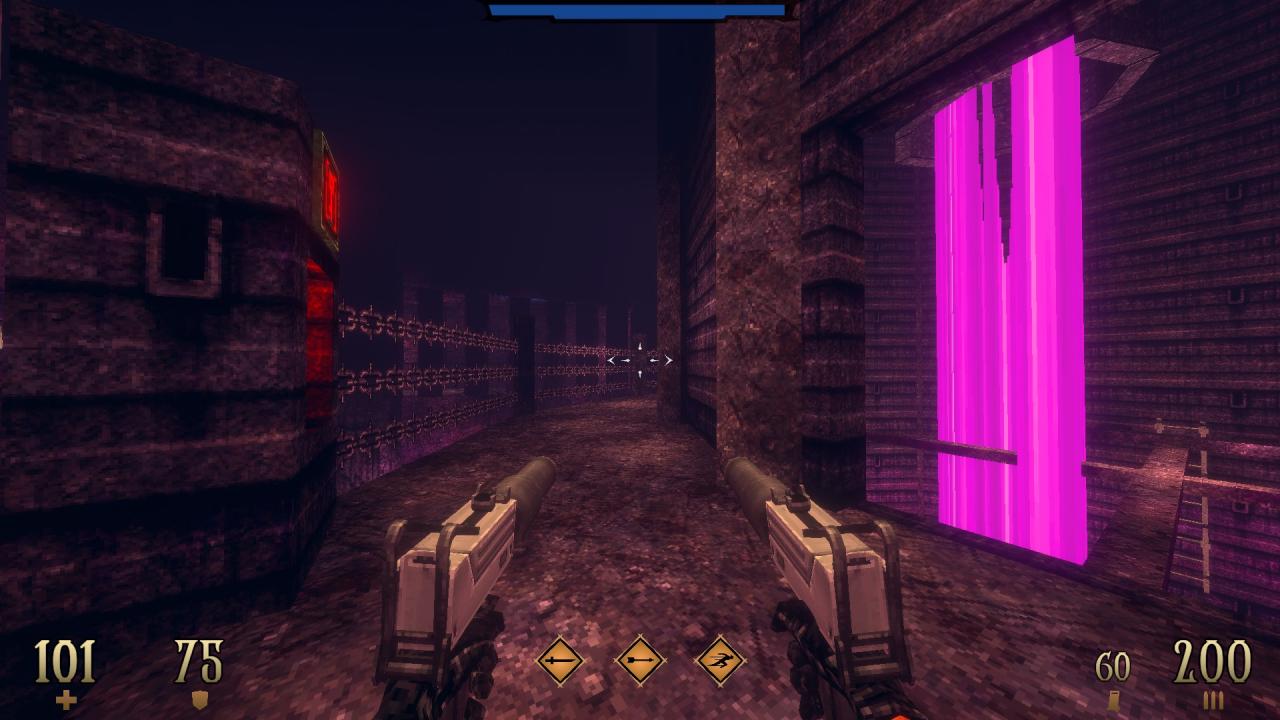
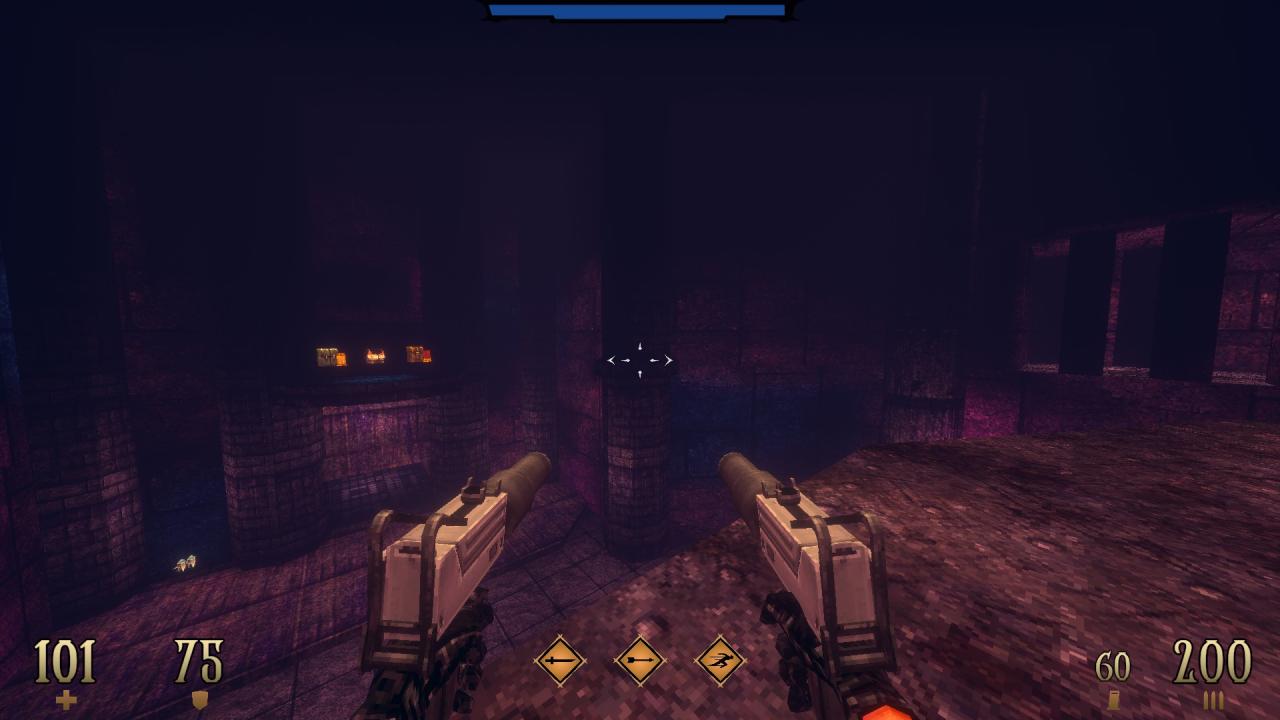
4/10 – From the second floor of the hub, dash your way to the items on the ledge above the entryway.
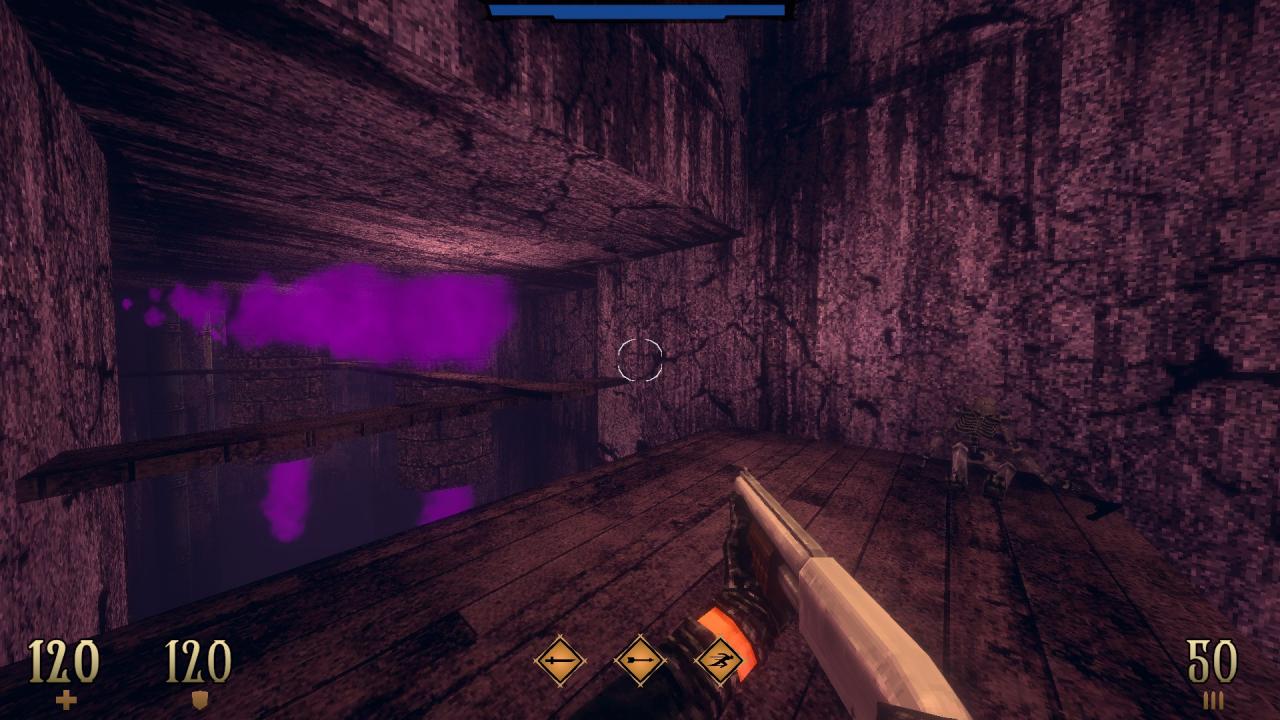
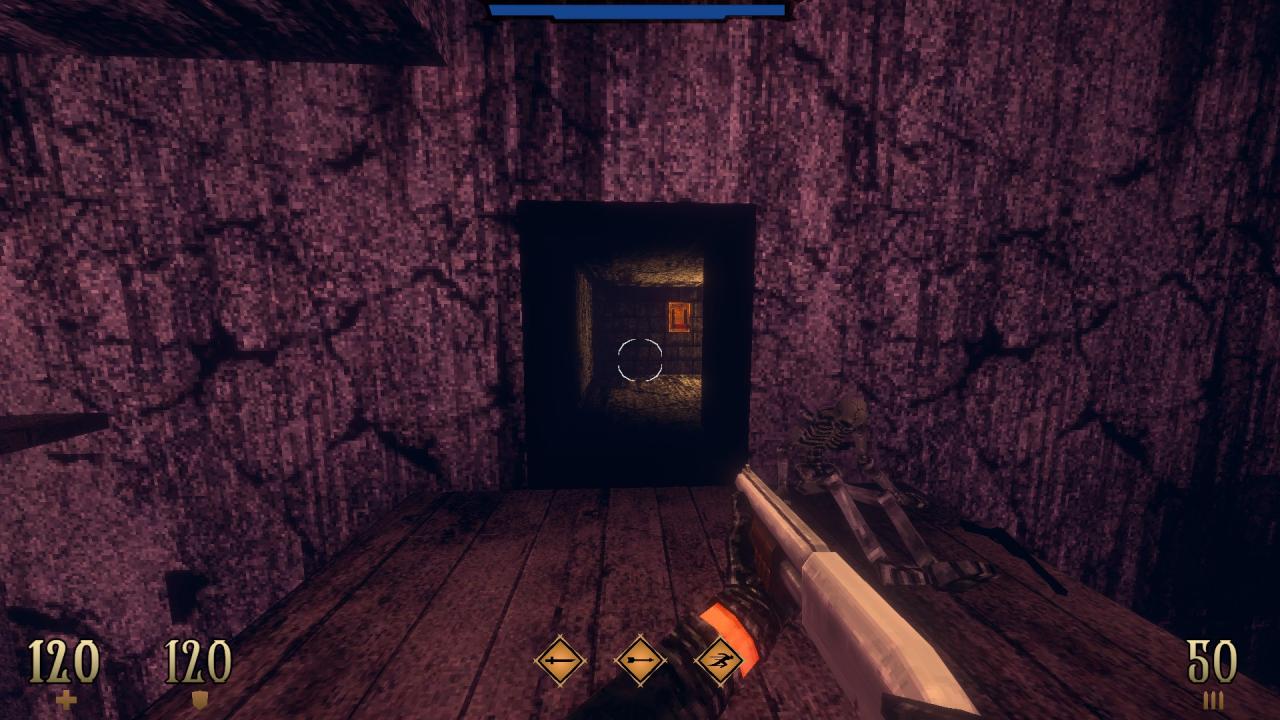
5/10 – In the side area, use the wall to the left of the skeleton to reveal a hidden room that contains two switches for disabling the traps in the vicinity.
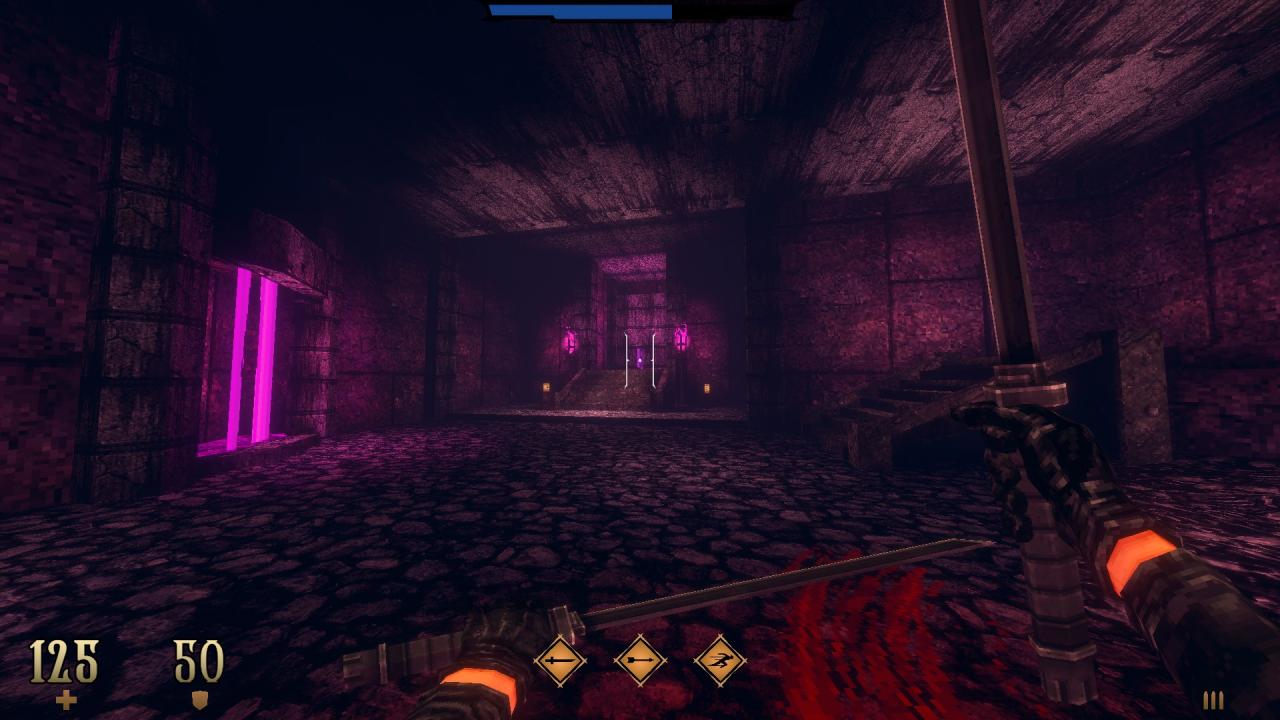
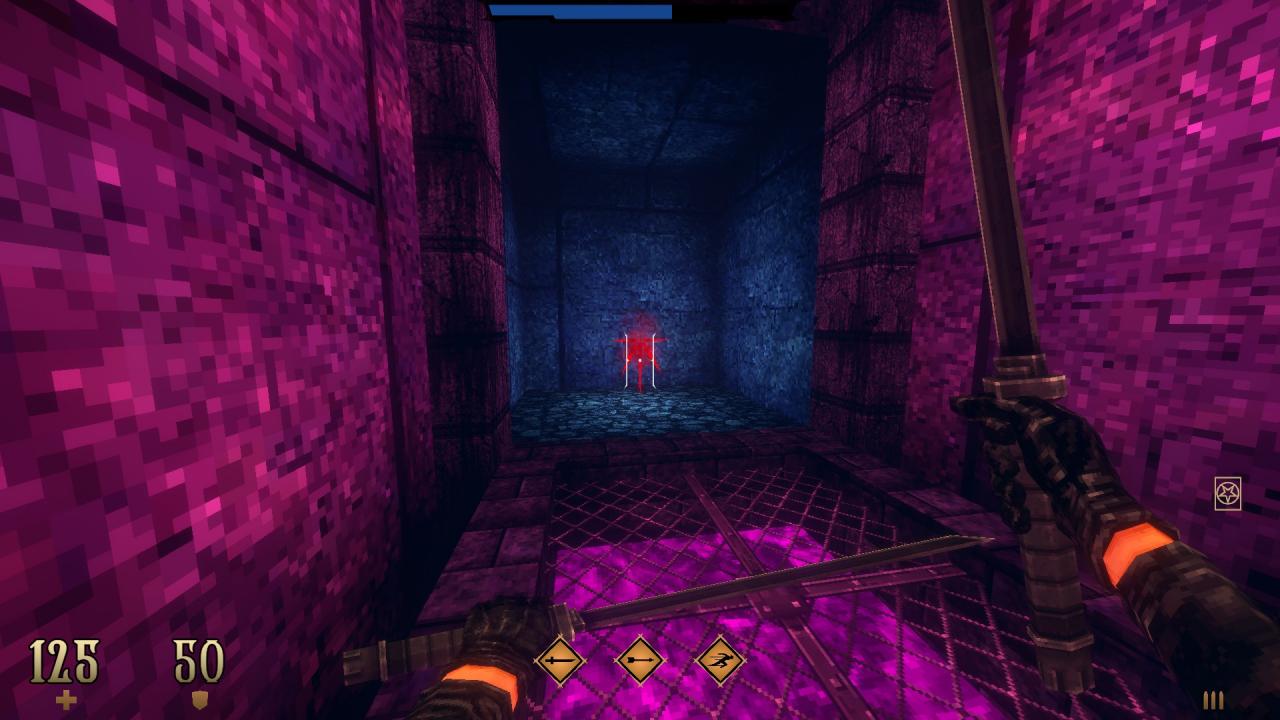
6/10 – Use the wall behind the purple key to reveal a hidden compartment.
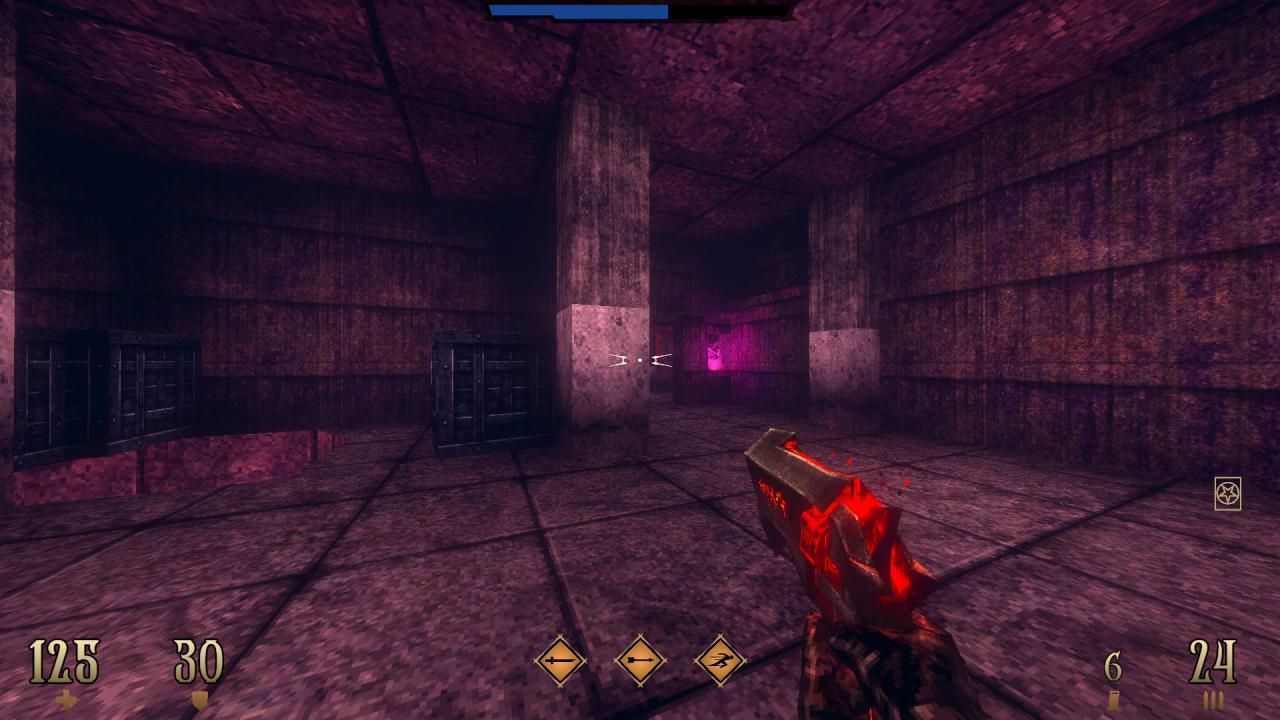
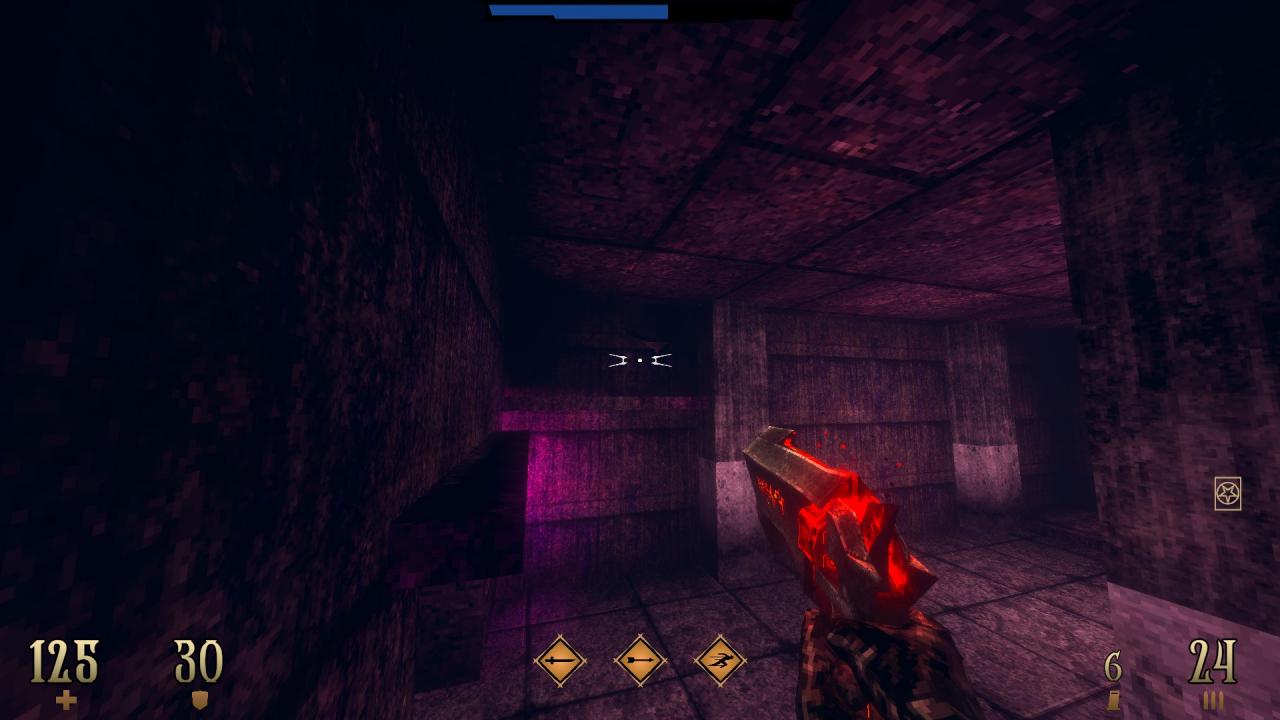
7/10 – In the same room with the red key, jump on top of the crates, shoot the cracked part of the wall and make your way across to find a hidden compartment.
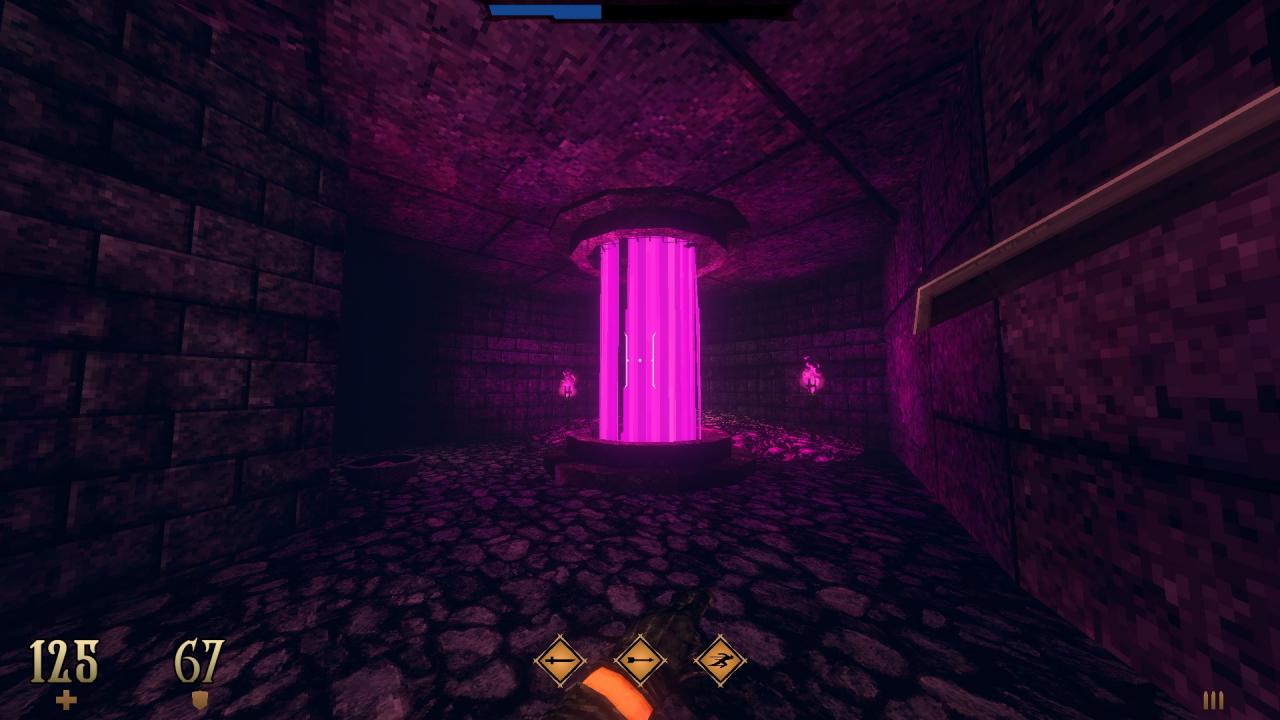
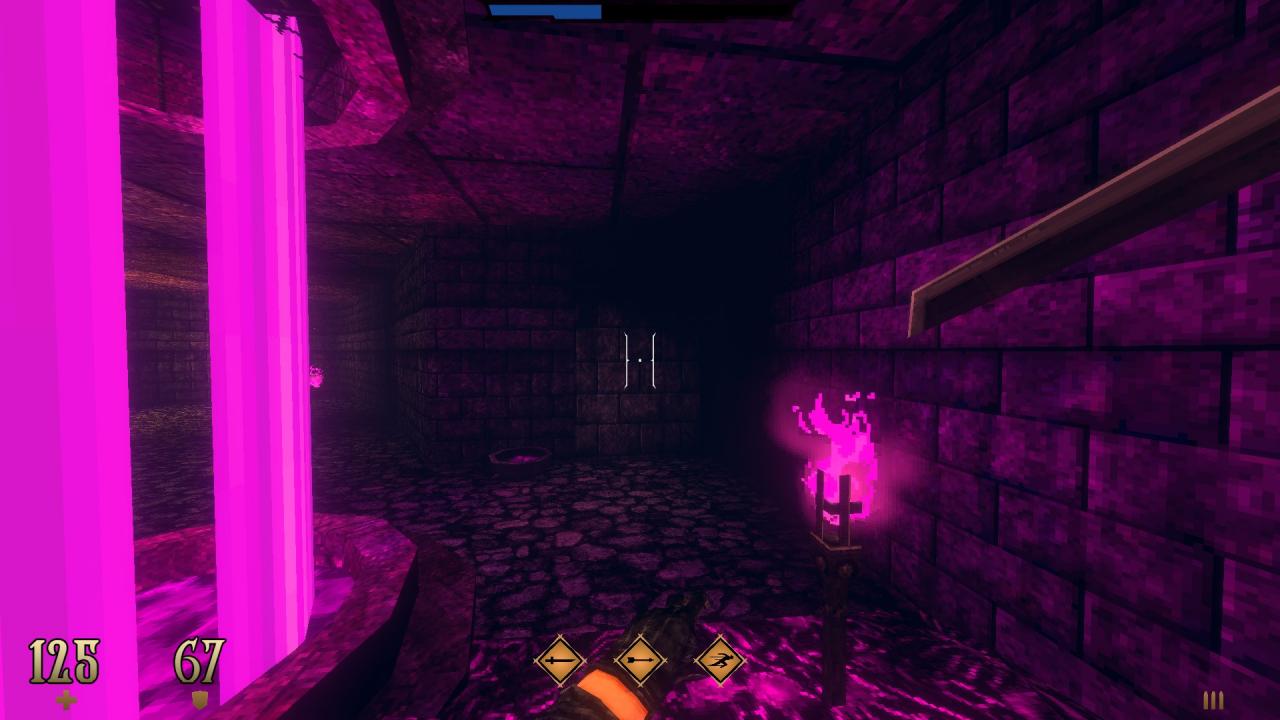
8/10 – In the first side room of the circular arena, use the part of the wall with different texturing to reveal a hidden section.
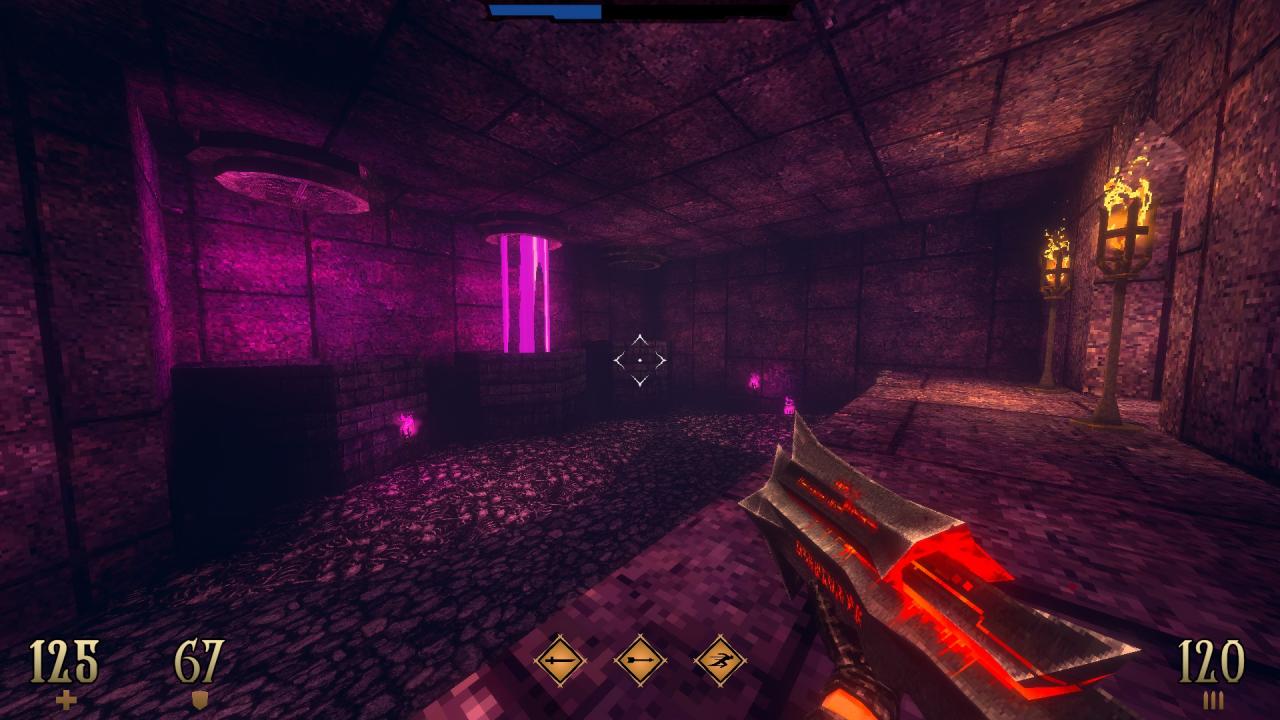
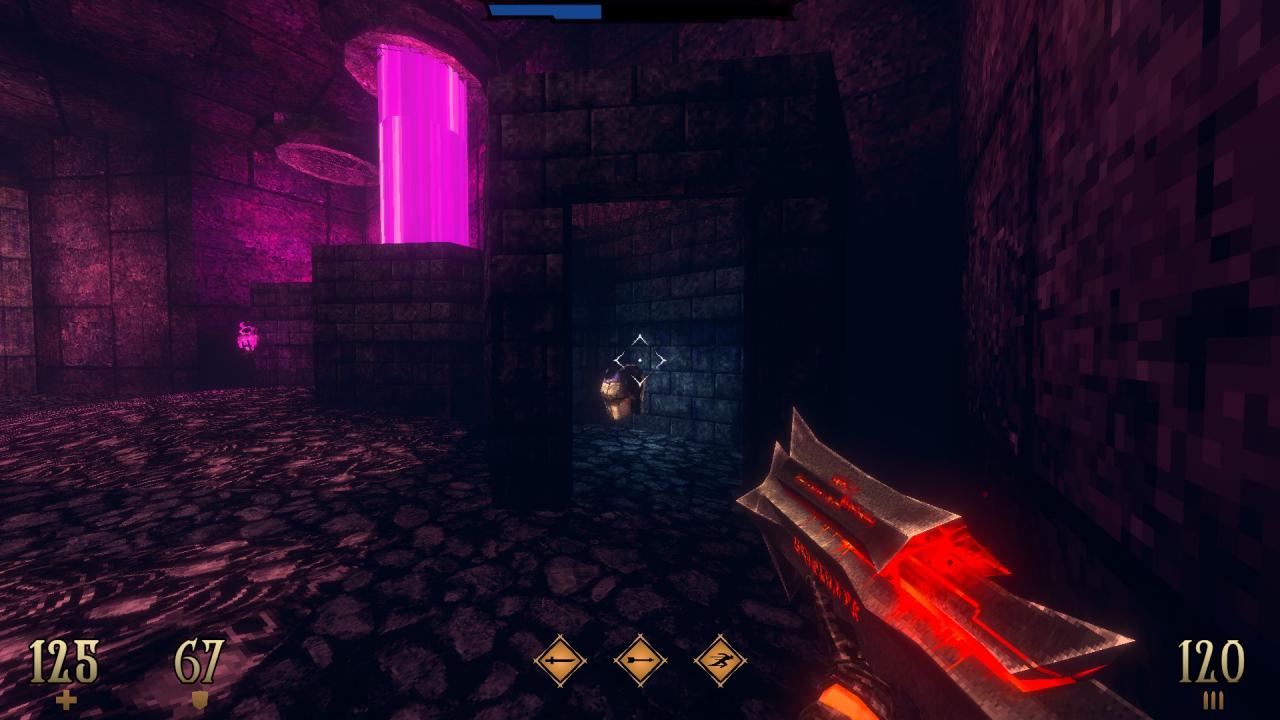
9/10 – In the second side room of the same arena, use the wall of the canal on the right to find a hidden armor.
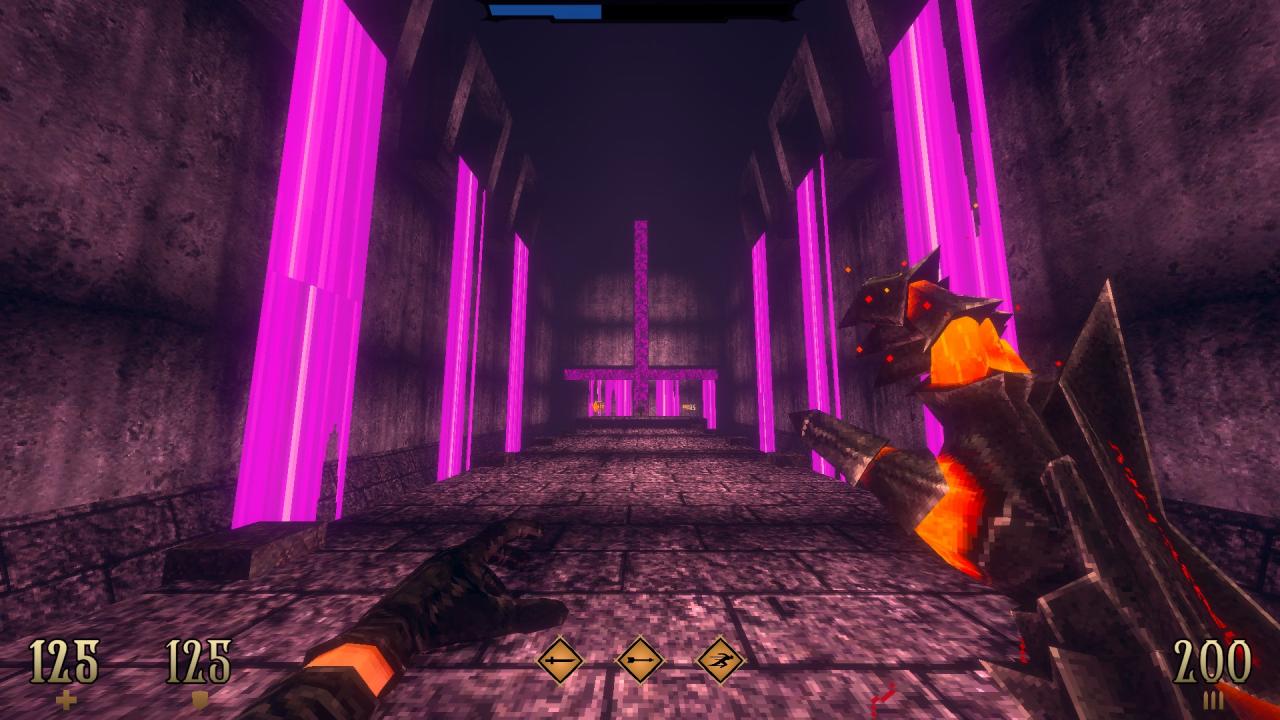
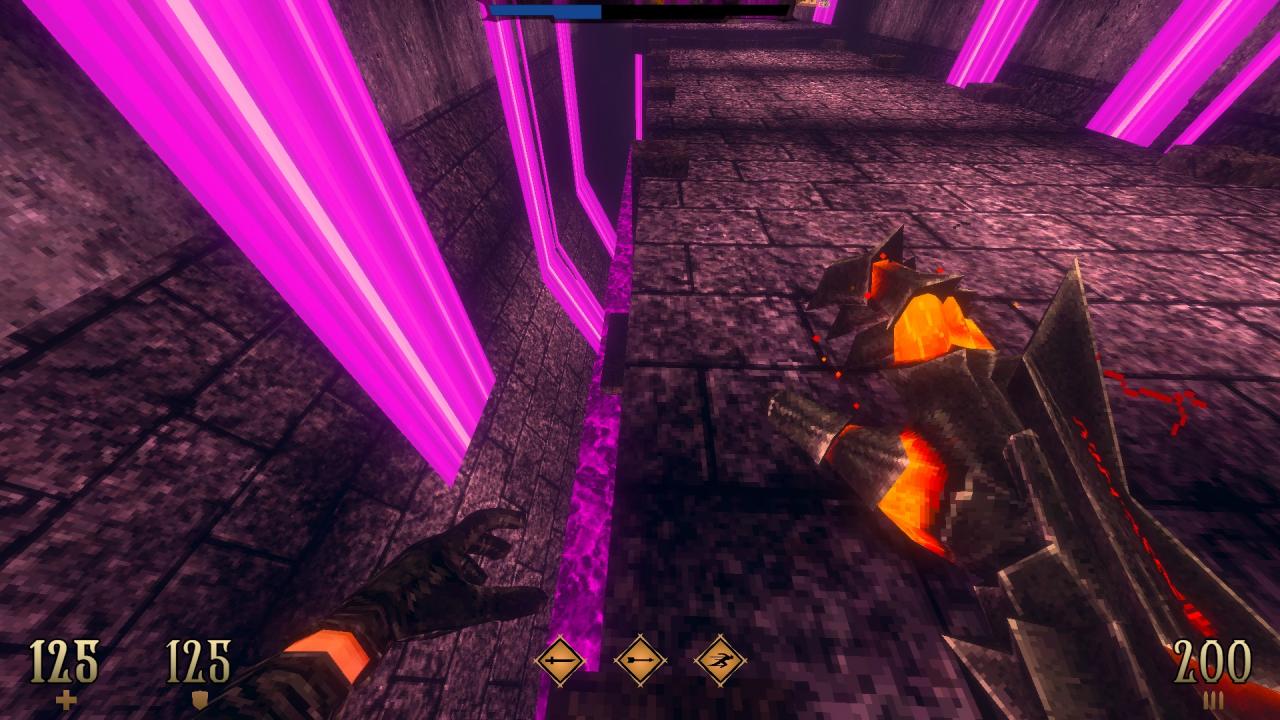
10/10 – Following from the previous secret, look for a ledge below the bridge, drop down on it and make your way to a hidden health pack.
—
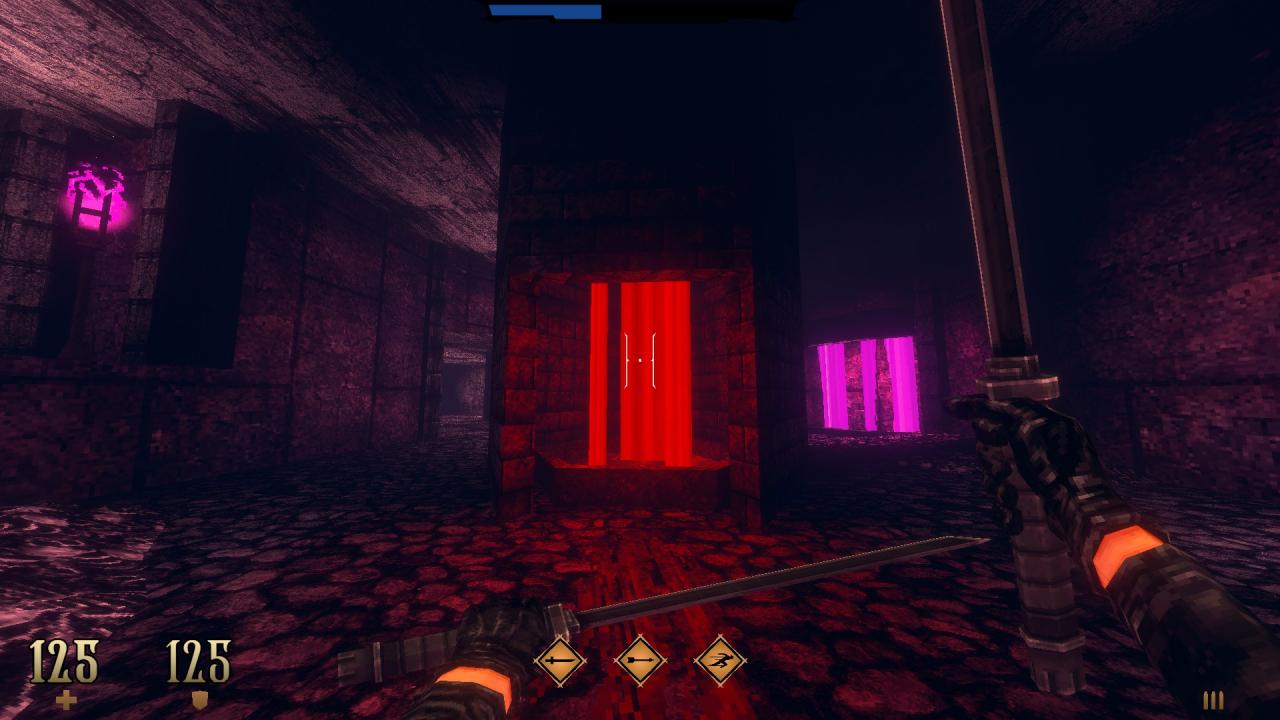
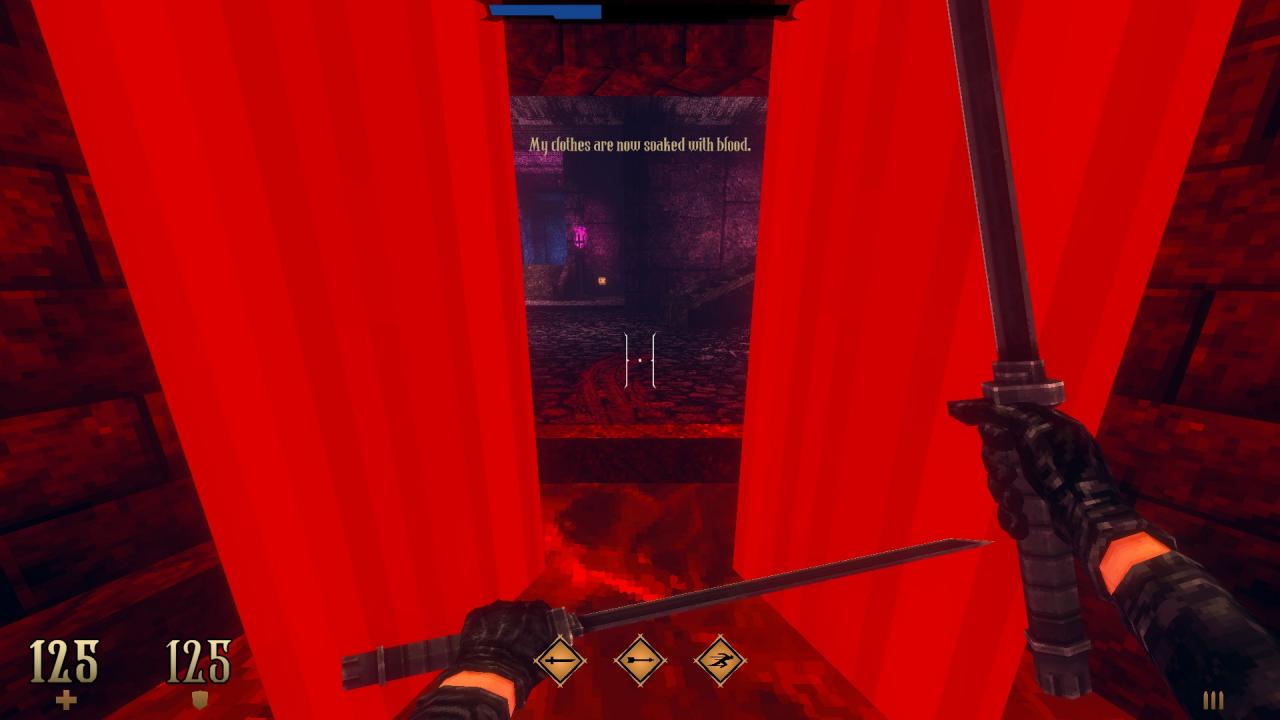
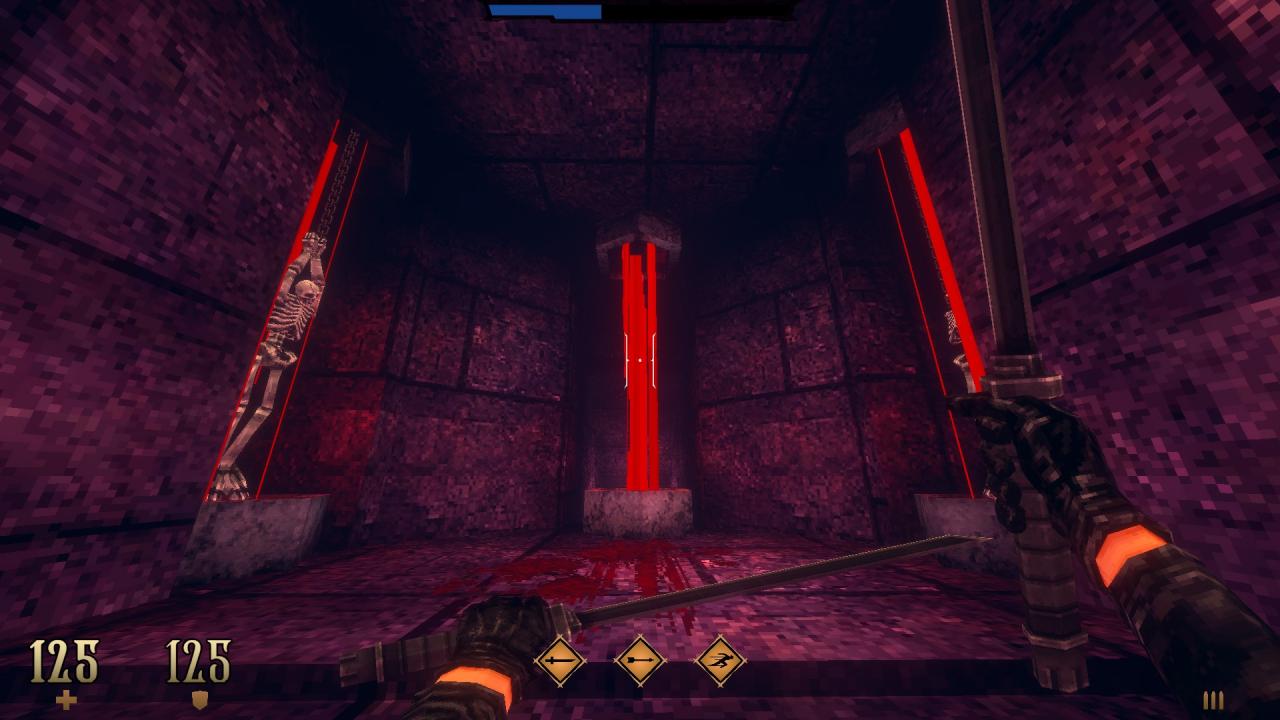
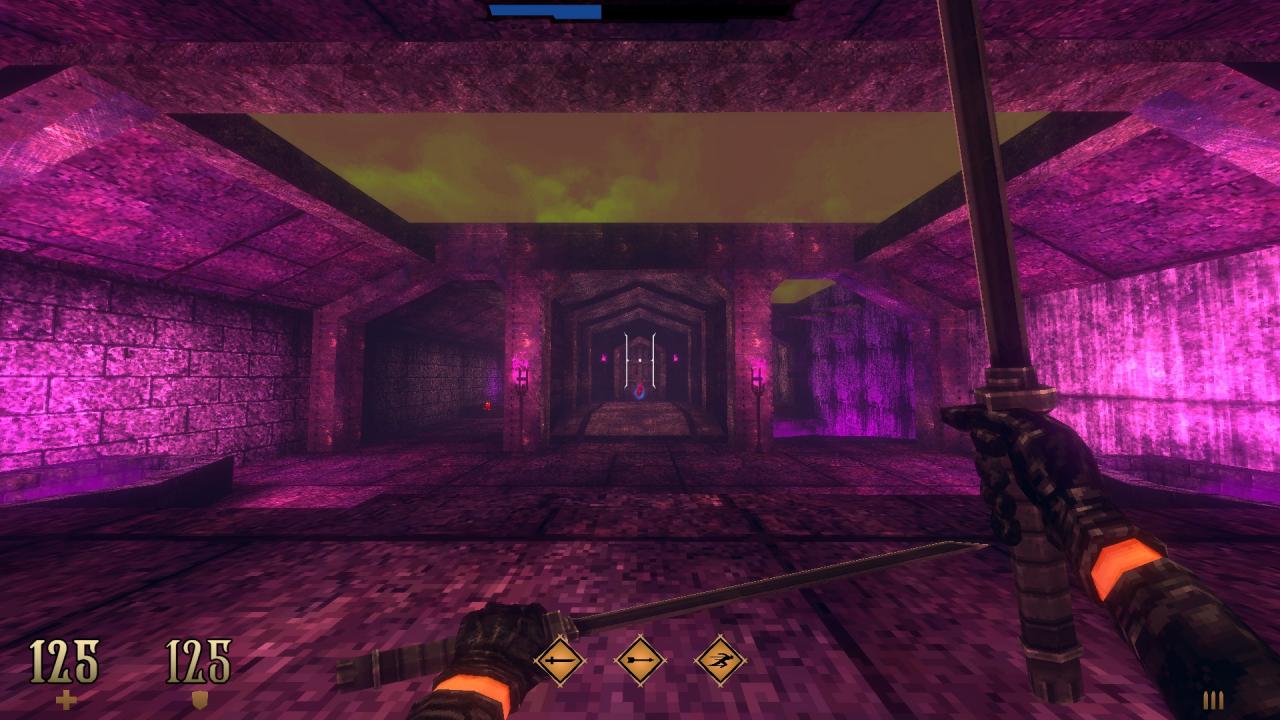
SUPER SECRET – There is a bloodfall in the same room with the purple key. Stand under it till Templar says ‘My clothes are now soaked with blood’. There is also a ritual place with skeletons hanging from both sides, in the same room with the red key. Approach it with your bloody attire on to make the wall in the centre slide down. (‘My clothes has now dried up.’) Go through the newly-revealed passage to find another familiar looking scene.[quakewiki.org]id Software salutes you. (Bloodthirsty -G- and a Blood Gem)
E2M5: You Again
This level contains 3 secrets.
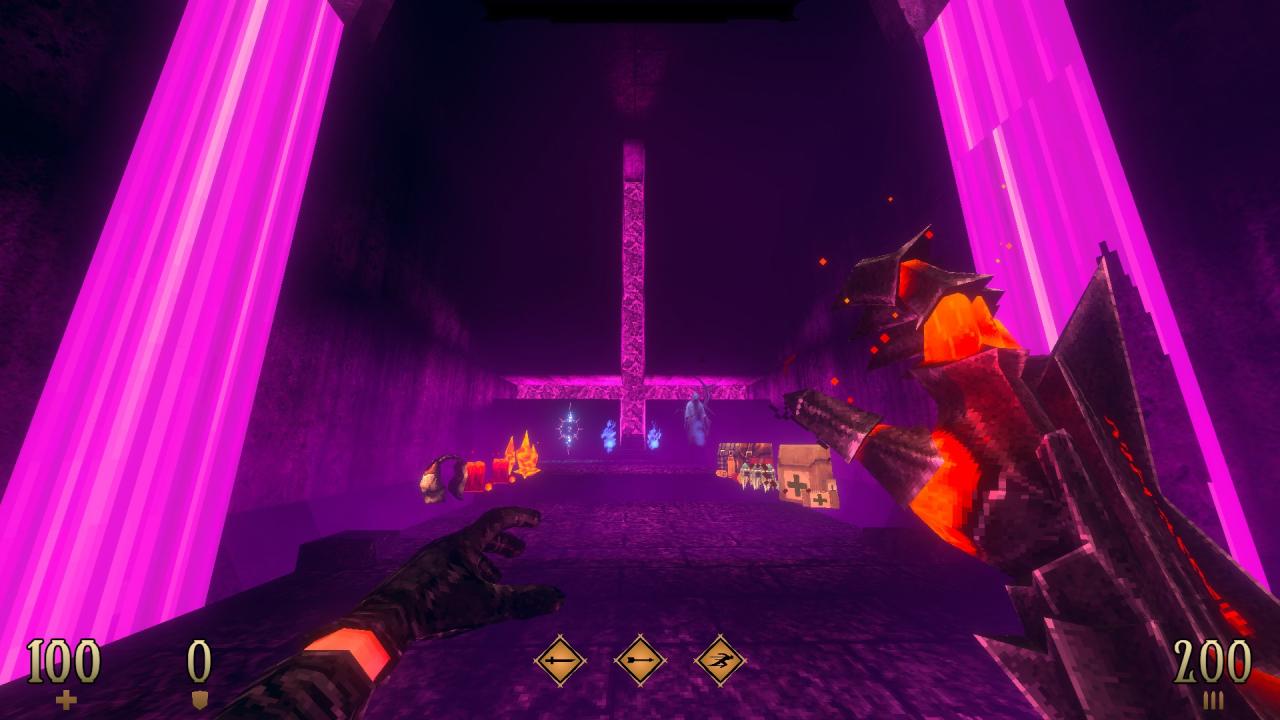
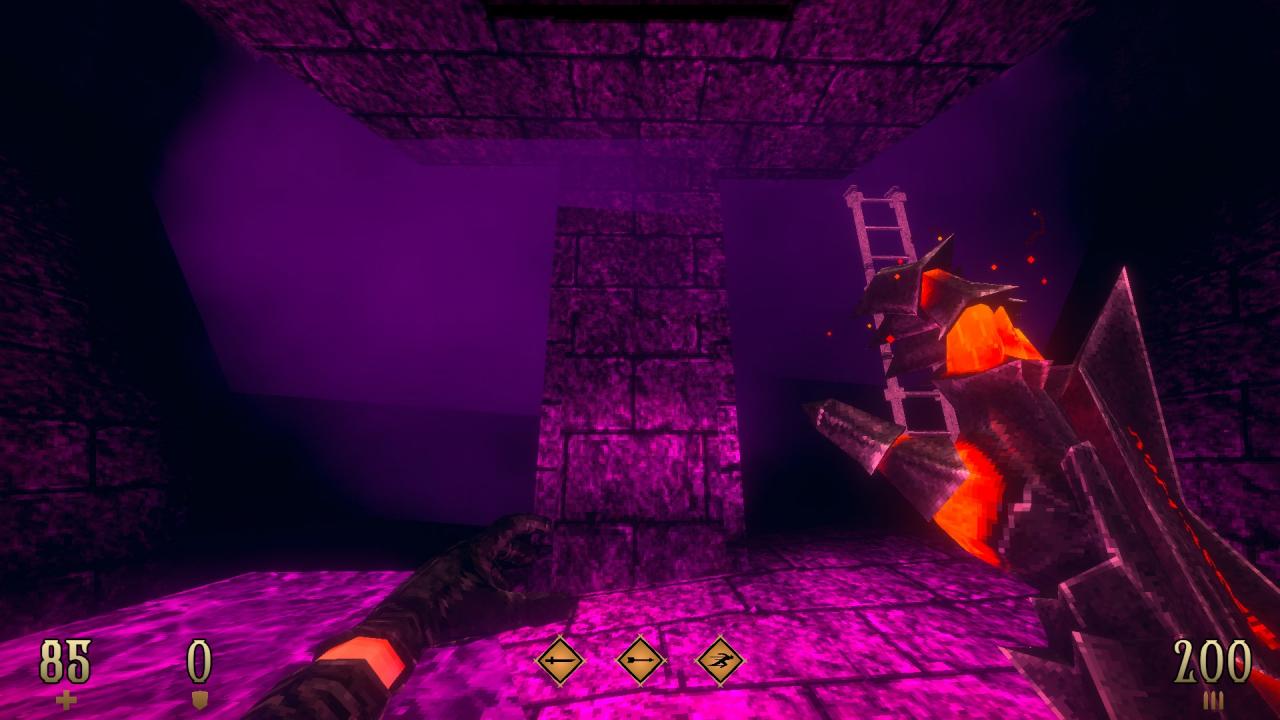
1/3 – Before stepping into the one-way portal at the beginning, drop down to the lower floor and use the pillar next to the ladder to reveal a hidden compartment. (Pistol Expansion II)
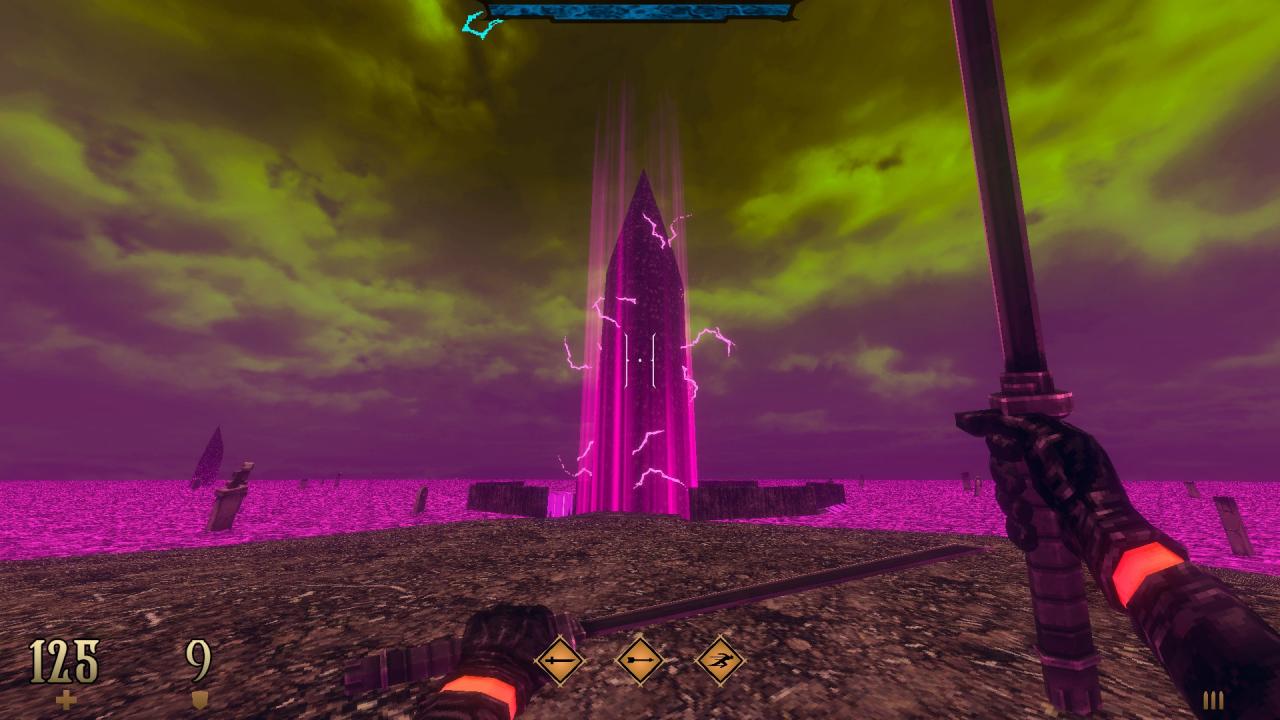
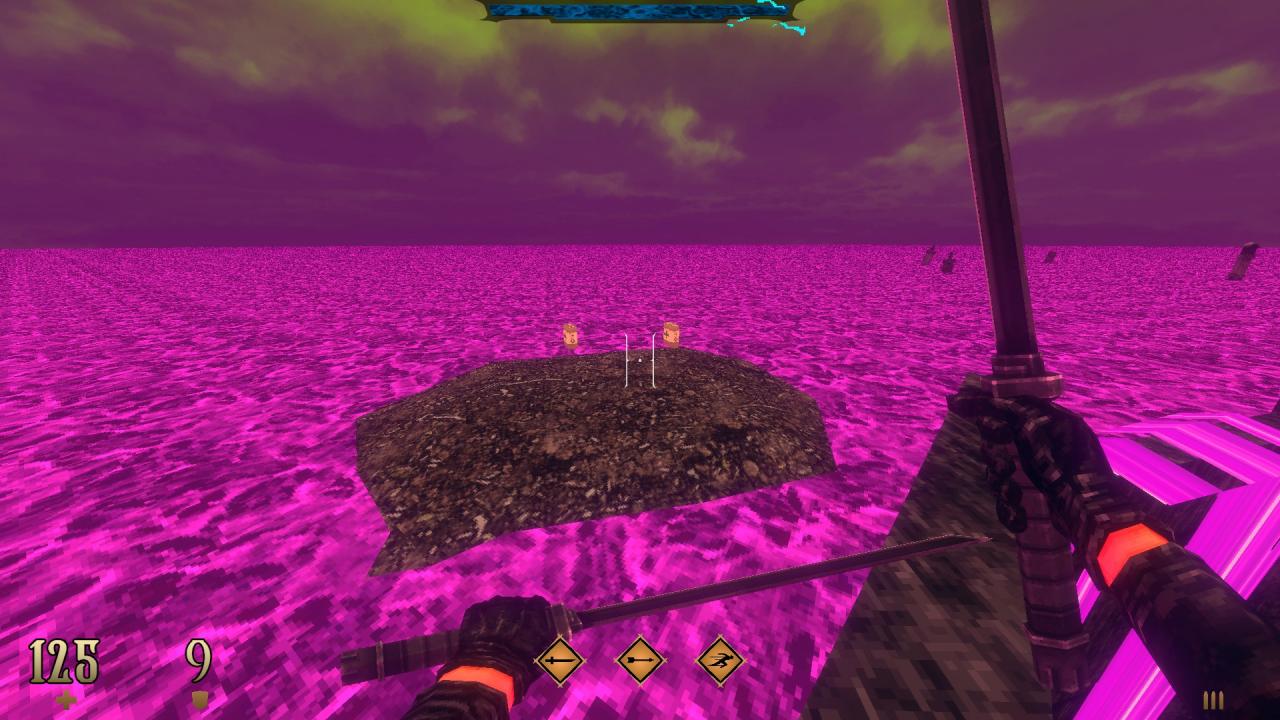
2/3 – Make your way to the back of the magenta-coloured obelisk to find hidden health packs.
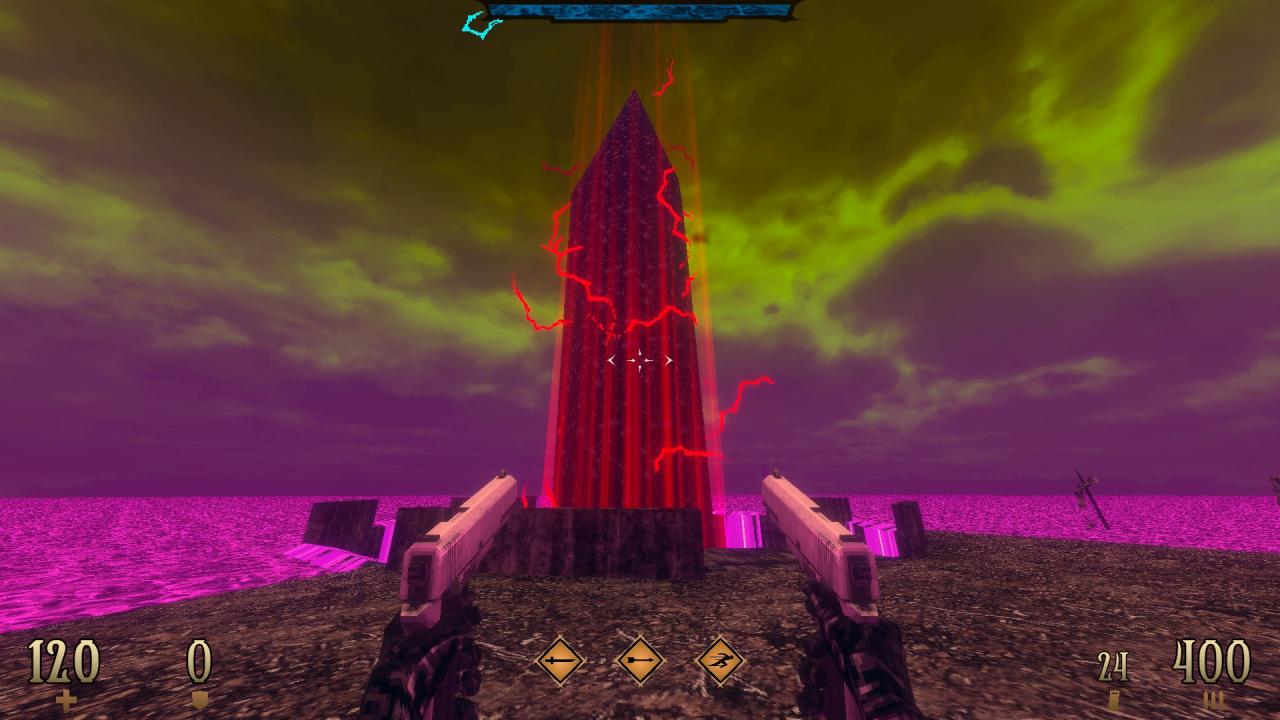
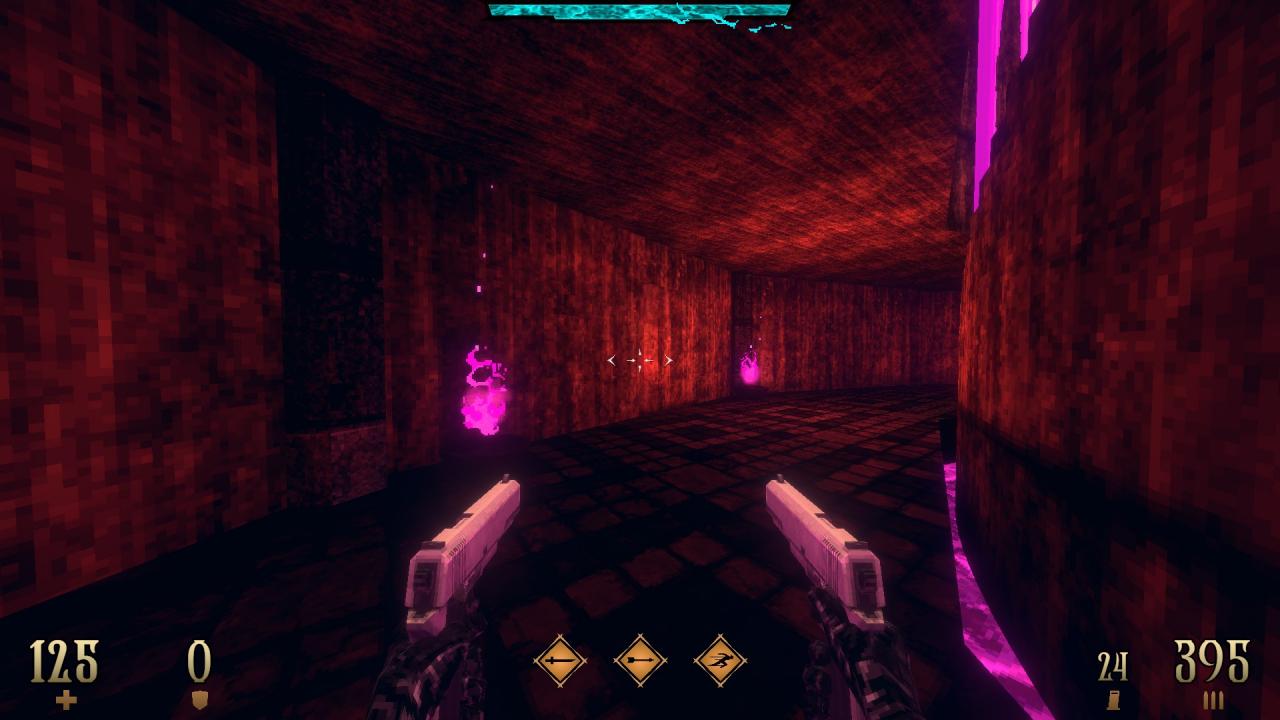
3/3 – Use the wall between the two torches at the lower floor of the red-coloured obelisk to reveal another hidden compartment.
Early Access campaign ends here. Separate guides for the promised third, fourth and fifth episodes will be published as soon as the game gets updated in the future.
In the meantime, you can continue the hunt in glorious 2-bit:
Hellhunt GB -1991-[t19games.itch.io]
