This guide will introduce you to the fundamentals of Fantasy Blacksmith, please note that this guide will be frequently updated accordingly.
Introduction
Fantasy Blacksmith requires that you have your wits about you at all times as you need to pay attention to details as you are making your first weapon, more will be said in the next section.
In the meantime i would like you to pull down the ‘Do not disturb’ sign at your shop door by pressing ‘E’ on it so that nobody comes knocking while you are going through the vital steps of putting your first sword together.
And without further ado let us begin!
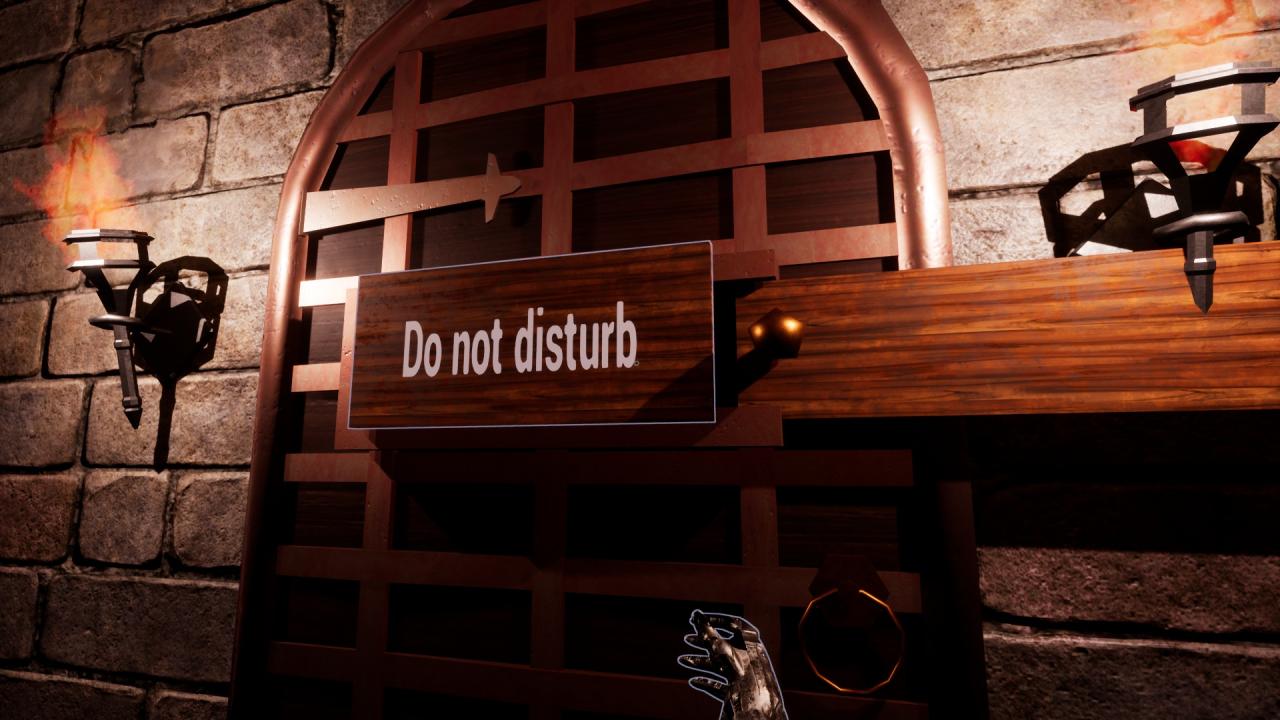
Preparation
Note: As you gain more reputation, more areas of the map will be unlocked.
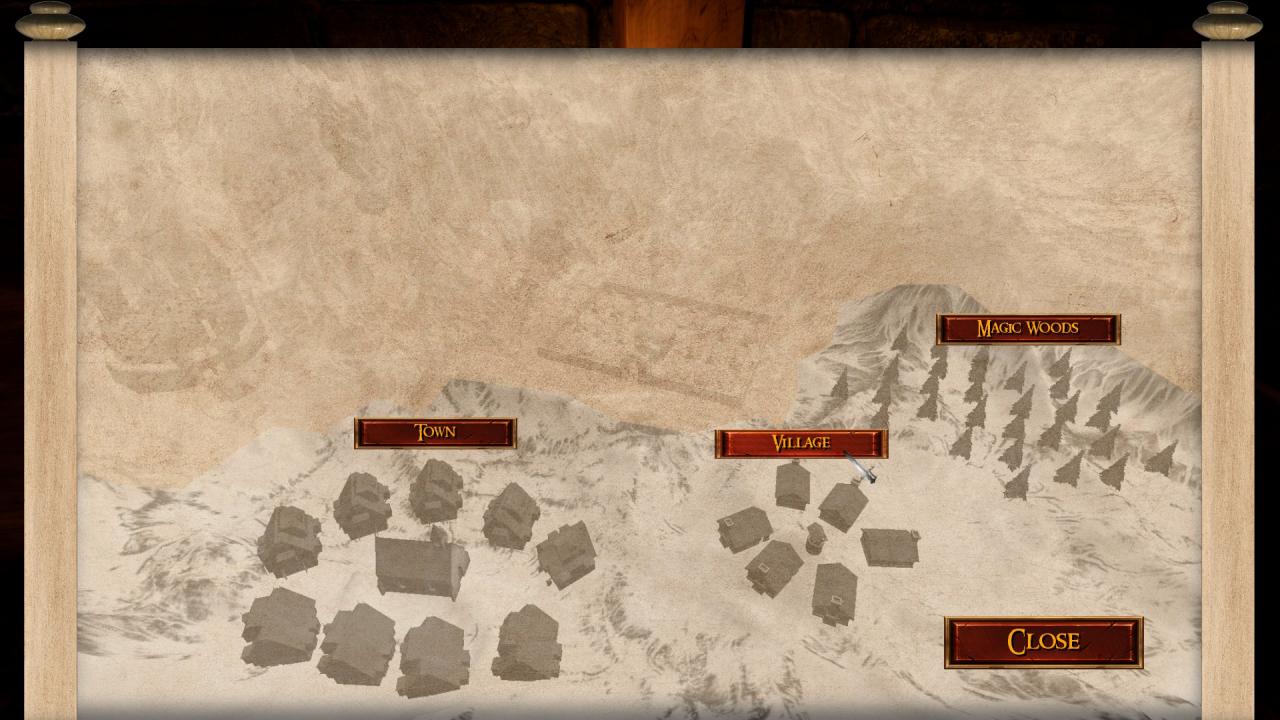
Select the village by clicking on button on top of it to bring up another selection menu, this time having 3 options but only 1 is available for now.
Note: As you gain more reputation, and you unlock more parts of the map the other 2 options will be available.
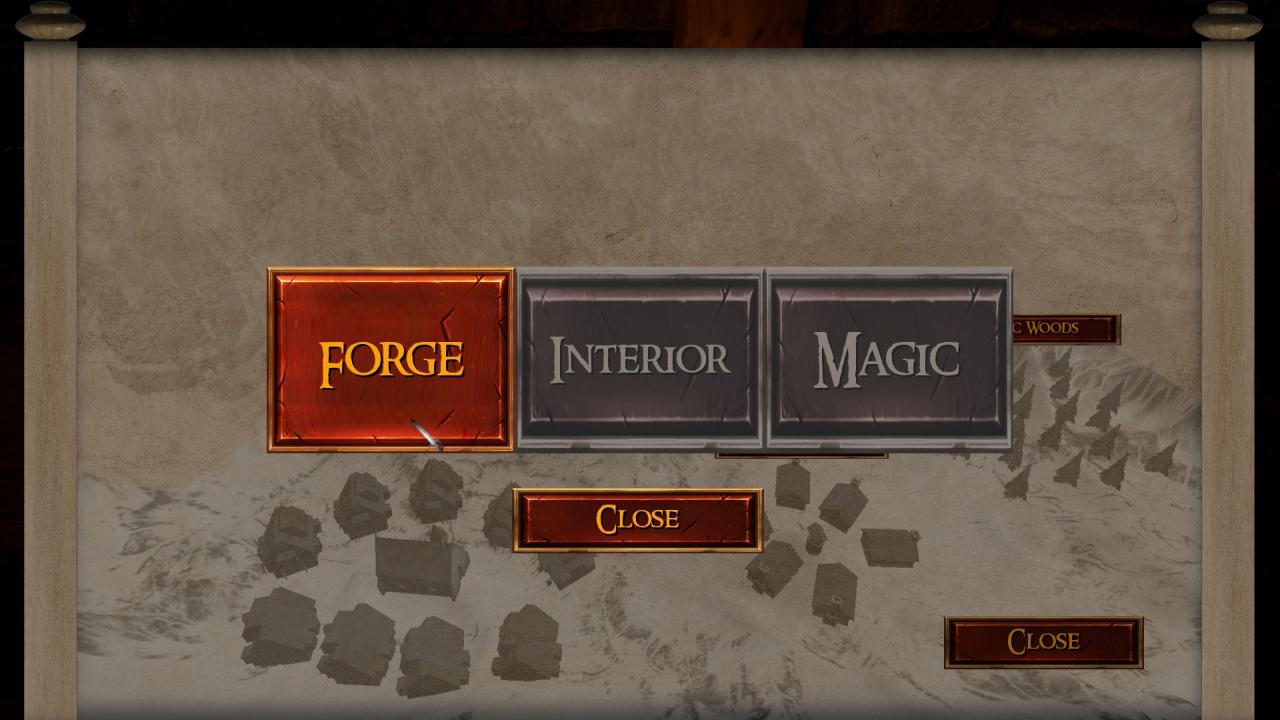
Once you click on ‘Forge’ you will be brought to the page where you can finally buy all the parts that you require to put your first sword together, and the best way to start off is by selecting the ingot (price is 100 per bronze ingot).
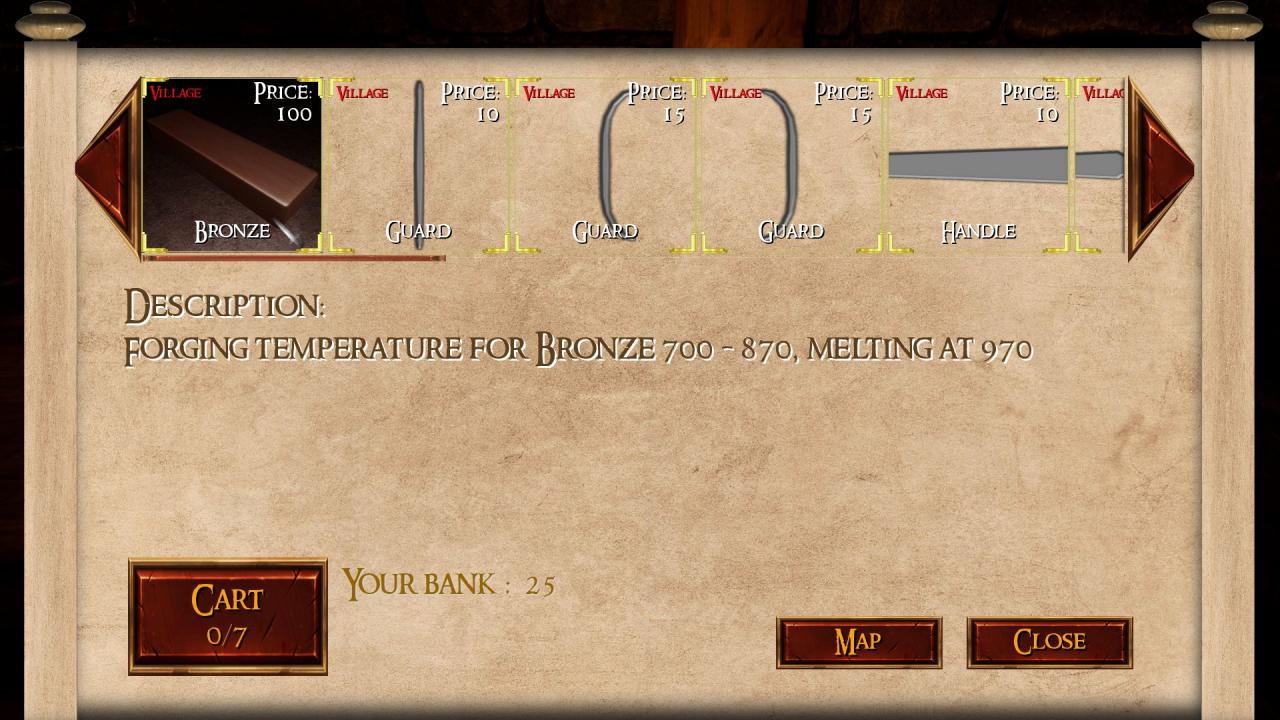
Which will then in turn take you to the screen where you can start building your sword on paper, make sure to start from left to right (or right to left, whatever suits you), and select each separate outline of the sword to place a part (make sure to click the part to place it withing the outline) with a unique design/shape into that outline.
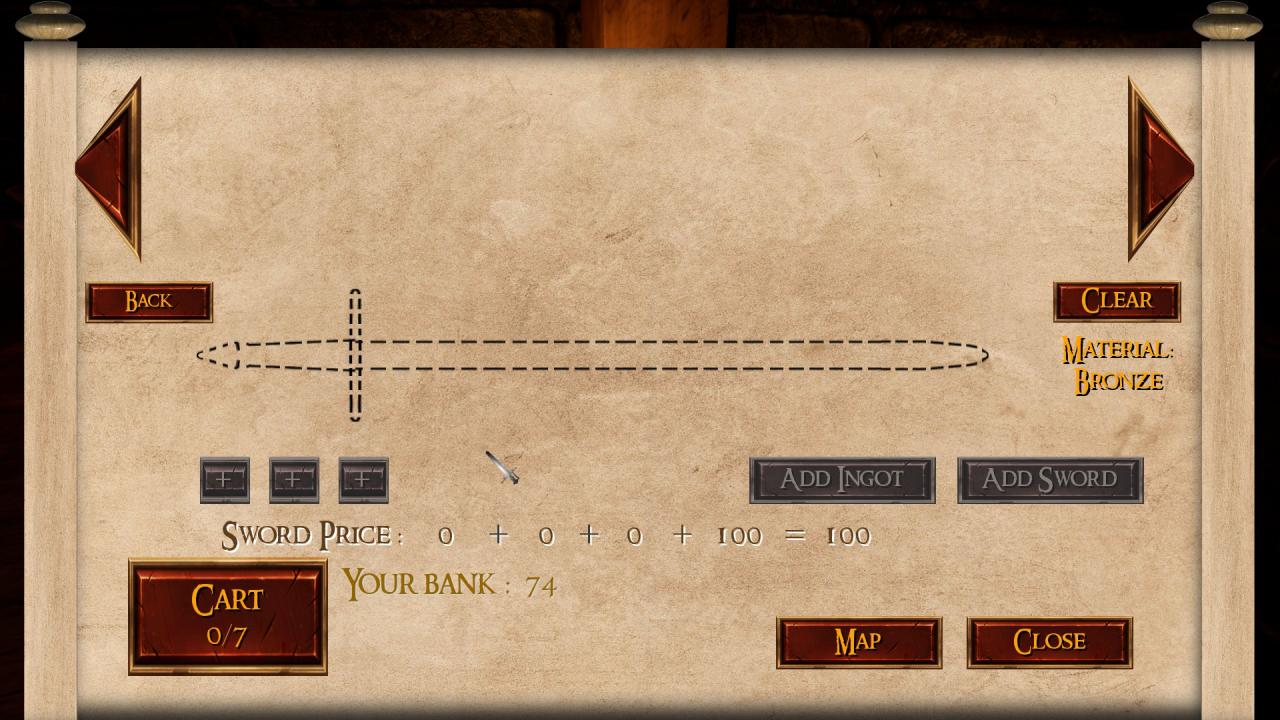
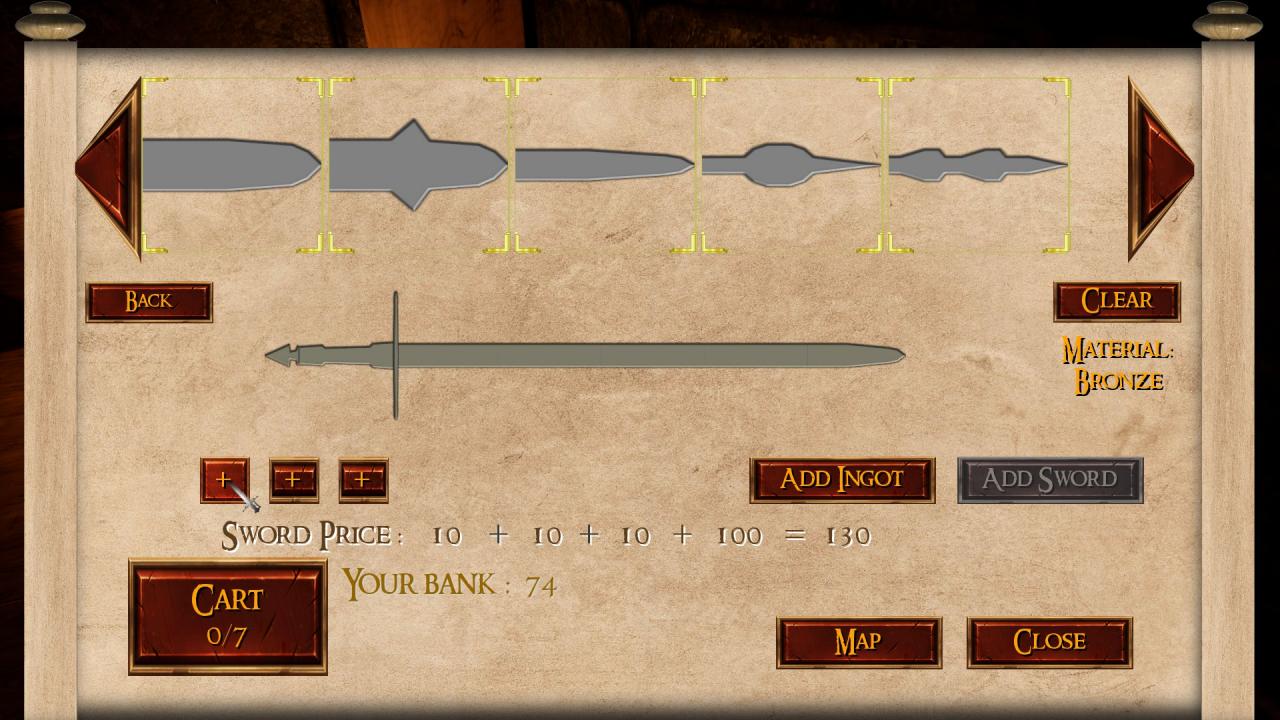
Once you have created your sword, you will see that you cannot select the ‘Add sword’ button yet, this is because you need to decide what materials your Hilt (which consists of the Pommel, Grip and cross-guard) will have.
The 3 ‘+’ buttons represent the Pommel, grip and cross-guard and by selecting the materials for them you will see that the ‘+’ buttons will change to a ‘-‘ sign meaning that you have correctly added your desired material for the pommel, grip and cross-guard
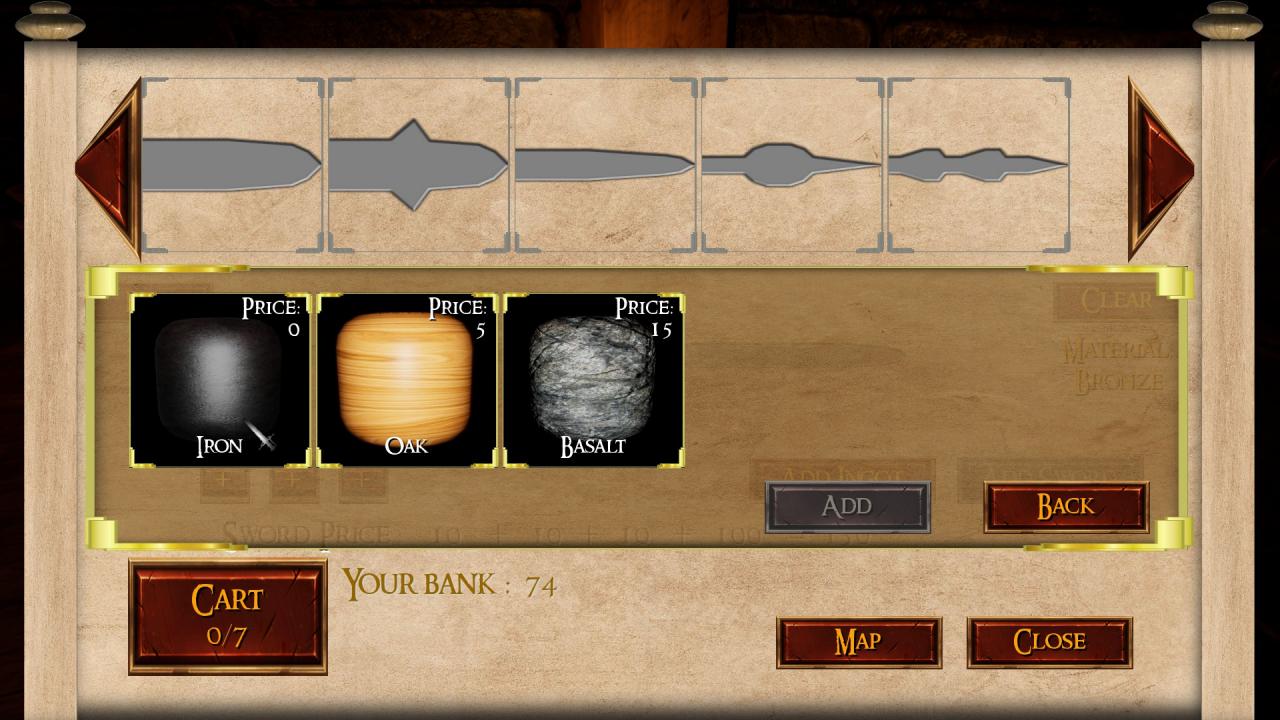
Once you have selected all 3 materials, you can then select the ‘Add sword’ button and then you will see that you cart will have filled with everything that you had selected for your sword (your cart should contain 4/7 items), go to your cart by pressing the button labelled ‘Cart’ and then proceed by paying for your items.
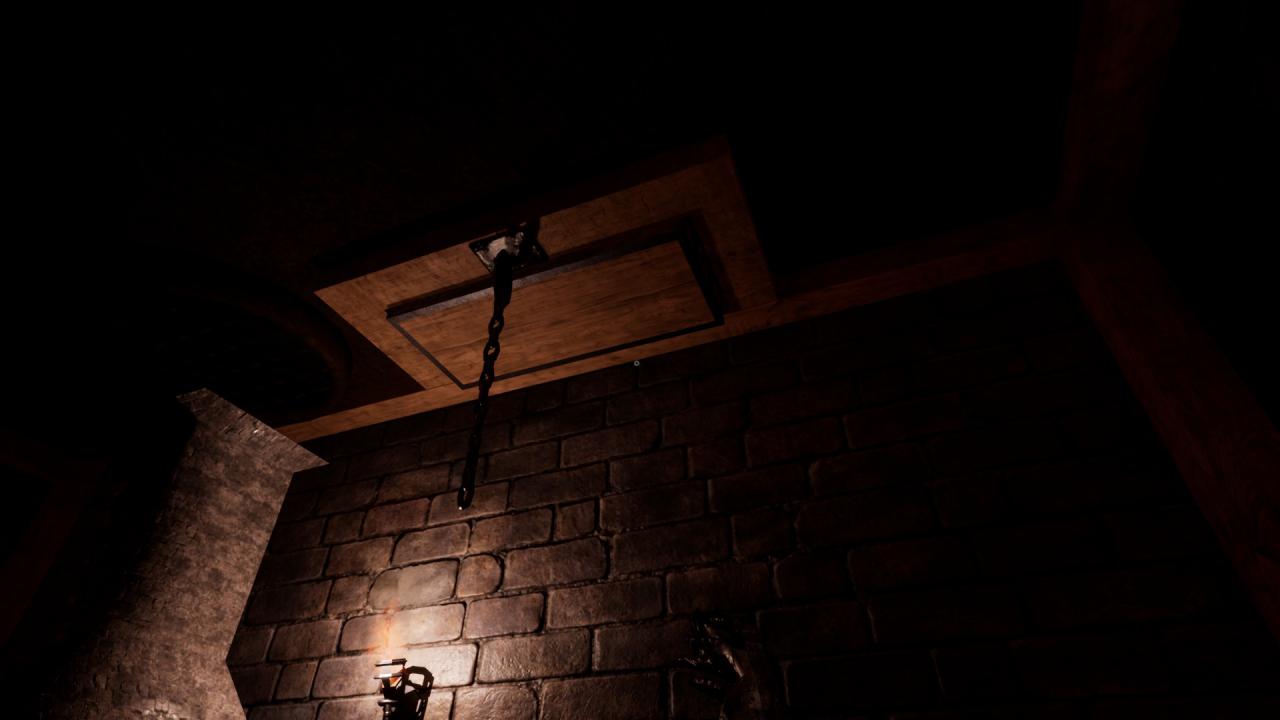
You will hear your delivery box rising up towards the ceiling, during this time there will be a countdown which you can access on the piece of paper you first visited which will tell you the exact time as to when your items will be delivered, once your items are delivered your delivery box will descend from the ceiling with the contents inside.
Crafting
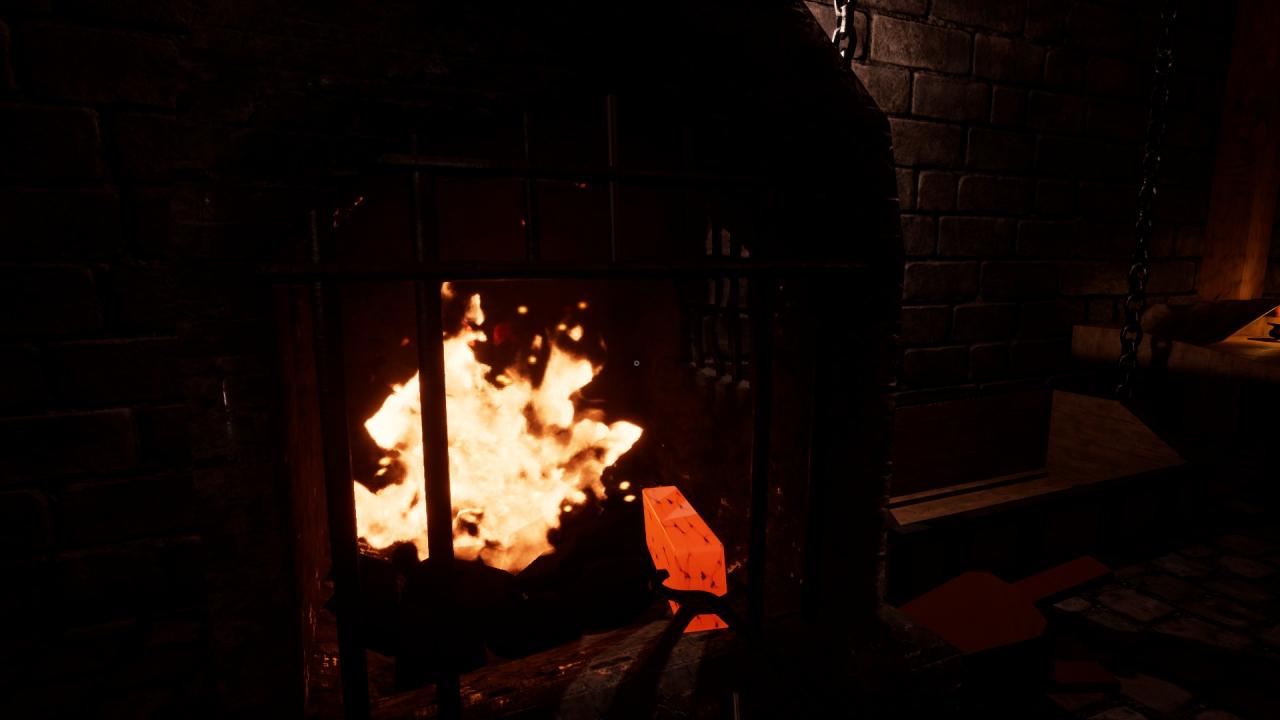
You will already have small crates filled with coal inside next to your furnace which will help heat up your furnace very quickly, so before you do anything else pick up the crate by pressing ‘E’, move in front of the furnace and chuck in the crate by pressing ‘E’ again.
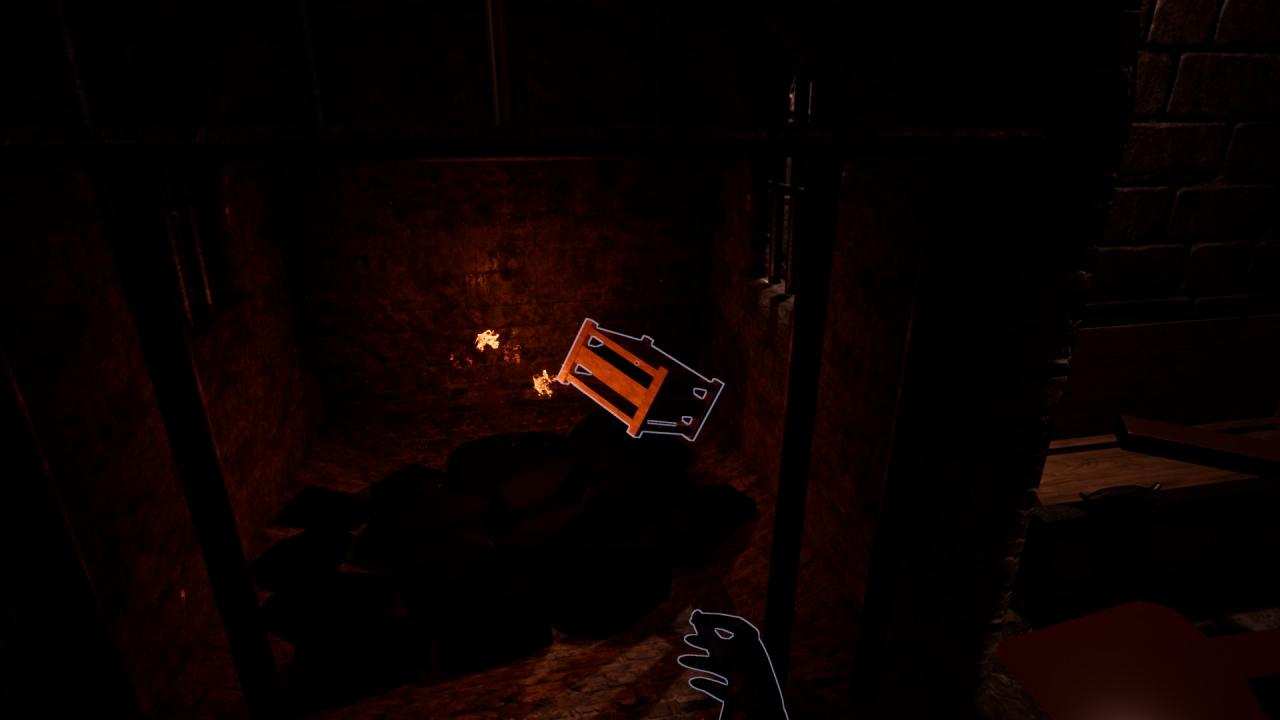
Make sure to use the air pump to the right of the furnace to dramatically increase the heat inside the furnace.
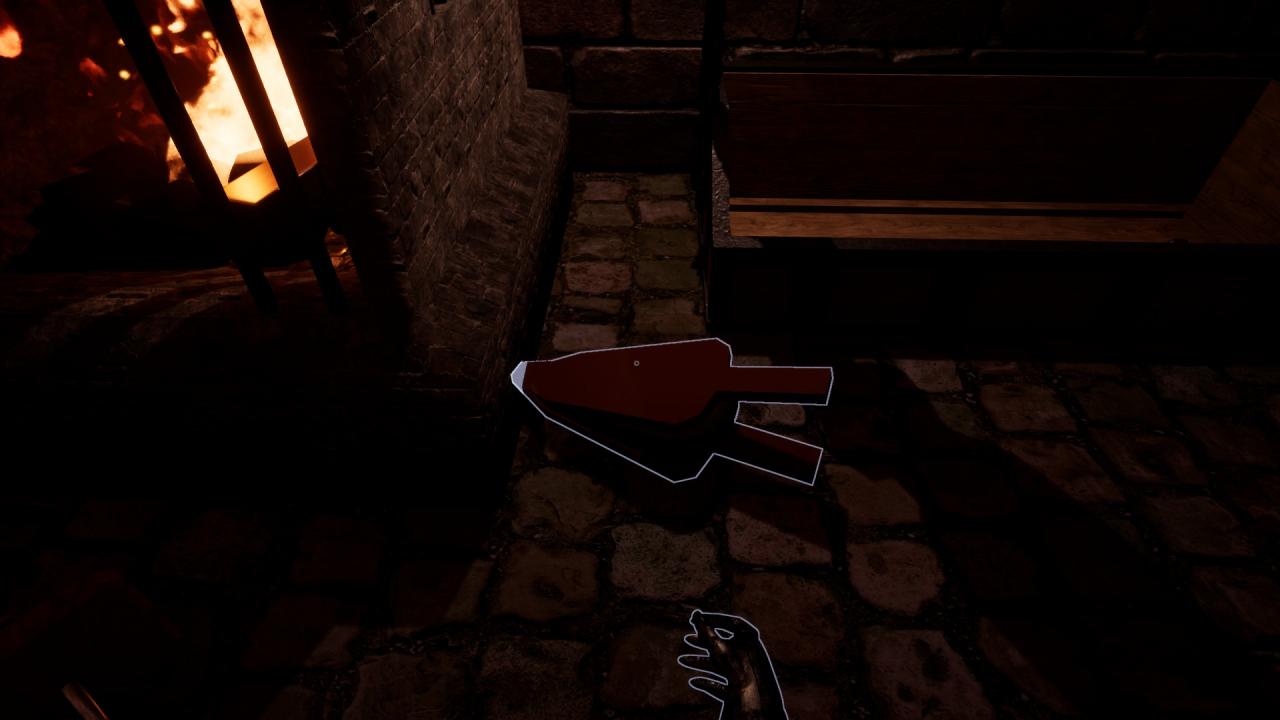
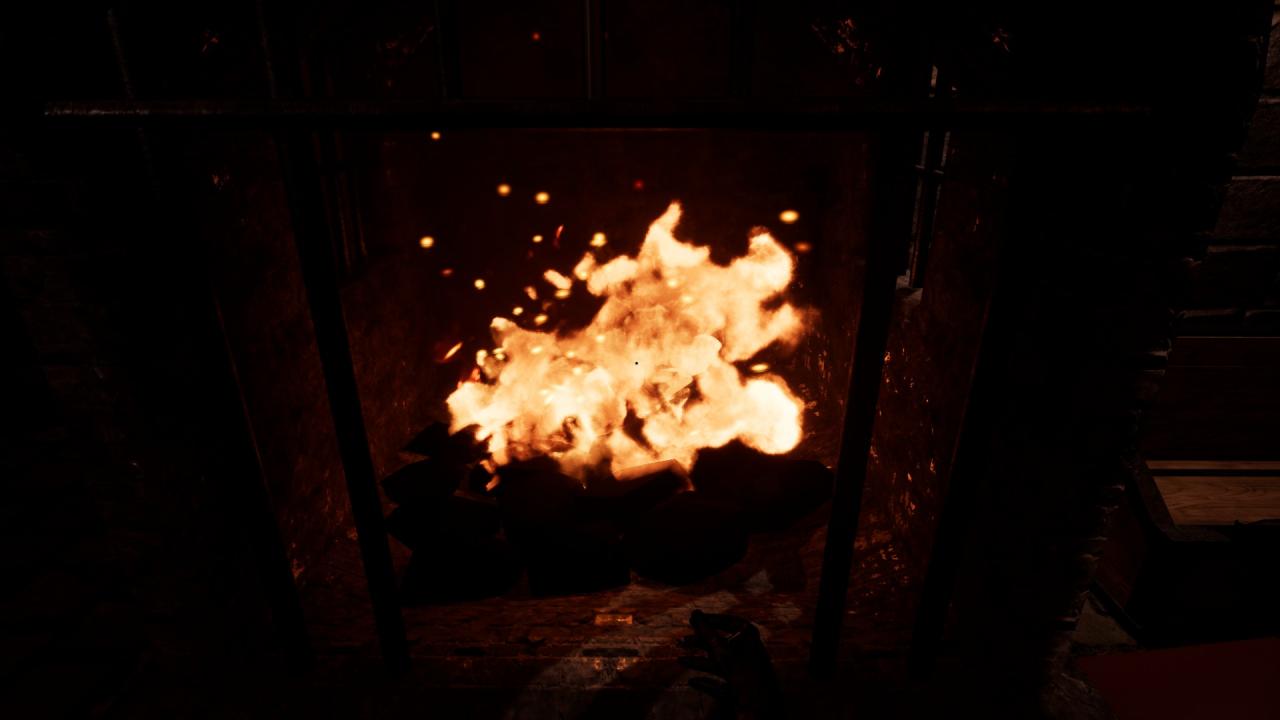
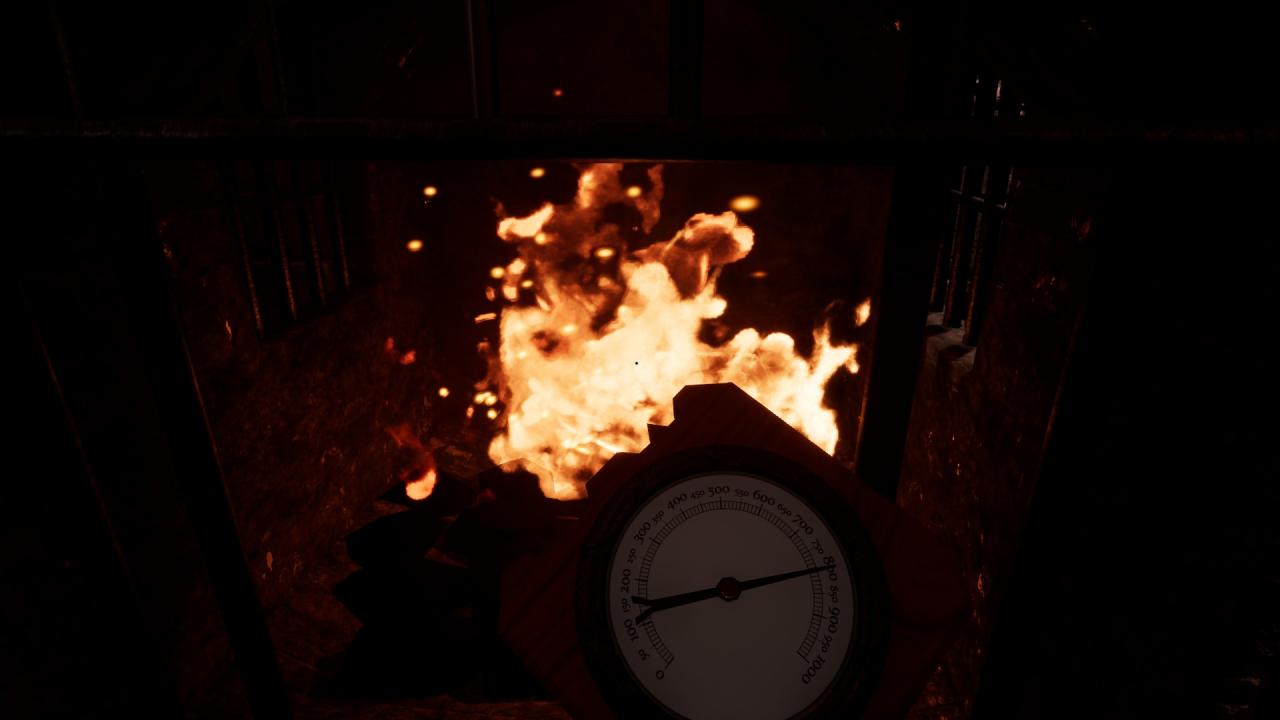
Now before we put the bronze ingot in it is extremely important to remember the moulding temperature and melting point of bronze. The moulding temperature of bronze is between 750-880 degrees Celsius, and the melting point is 890 degrees Celsius. you can pick up the ingot with your hand or by using the blacksmiths’ pliers (press no. 2 on your keyboards, and no.1 to go back to your hand) , once you have picked up the ingot, you can now go over to your furnace and drop the ingot into the fire by pressing ‘E’, make sure that you have the temperature gauge in your hand and make sure you are as close as you possible can be to the furnace and hover the temperature gauge over the fire, you will see the temperature gauge tick up and increasing, it is vital not to let the metal sit in the furnace for too long as that will make it reach its melting point.
once the temperature gauge is anywhere between 750-880, take it out with your pliers and sit it on the anvil by hovering the ingot over the anvil and dropping it with ‘E’ .
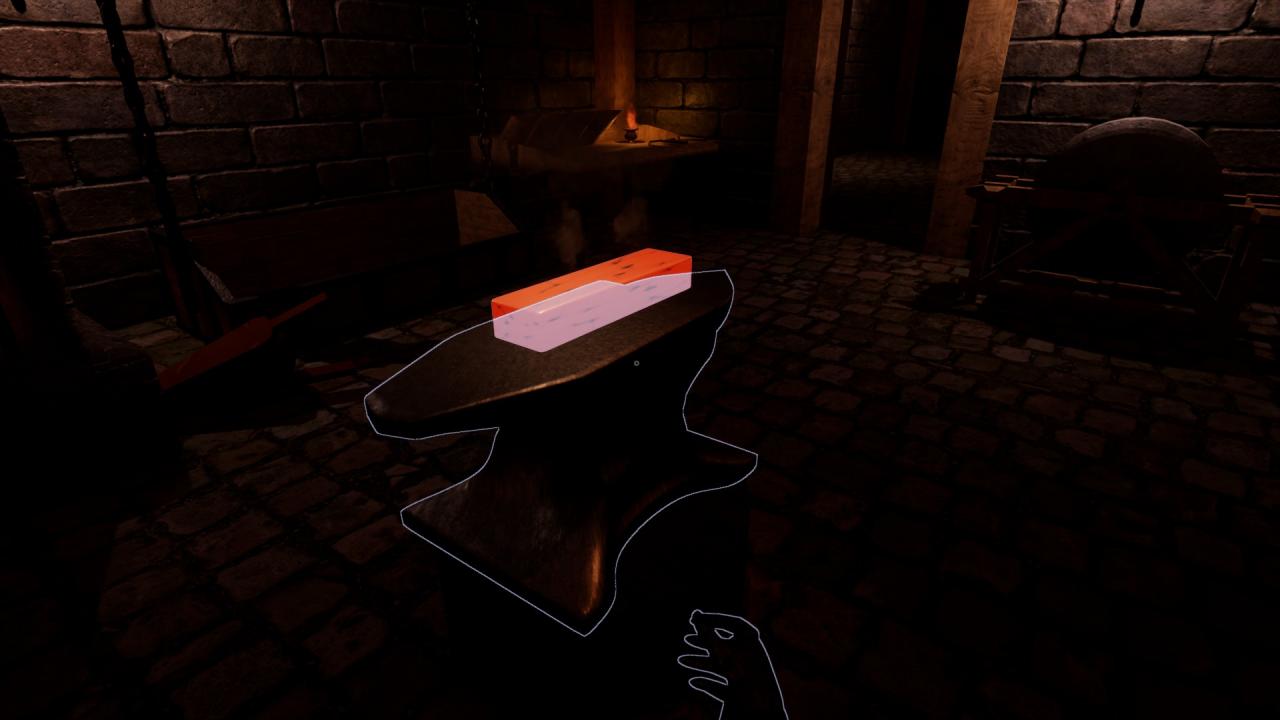
Once you have laid down the ingot onto the anvil, switch back to your hand and select the anvil, you will see a gauge to the top left of your screen, it is important to keep an eye on that gauge as you hammer away as the gauge will tell you when one part of the ingot is properly hammered (I usually start hammering from left to right top first and then bottom).
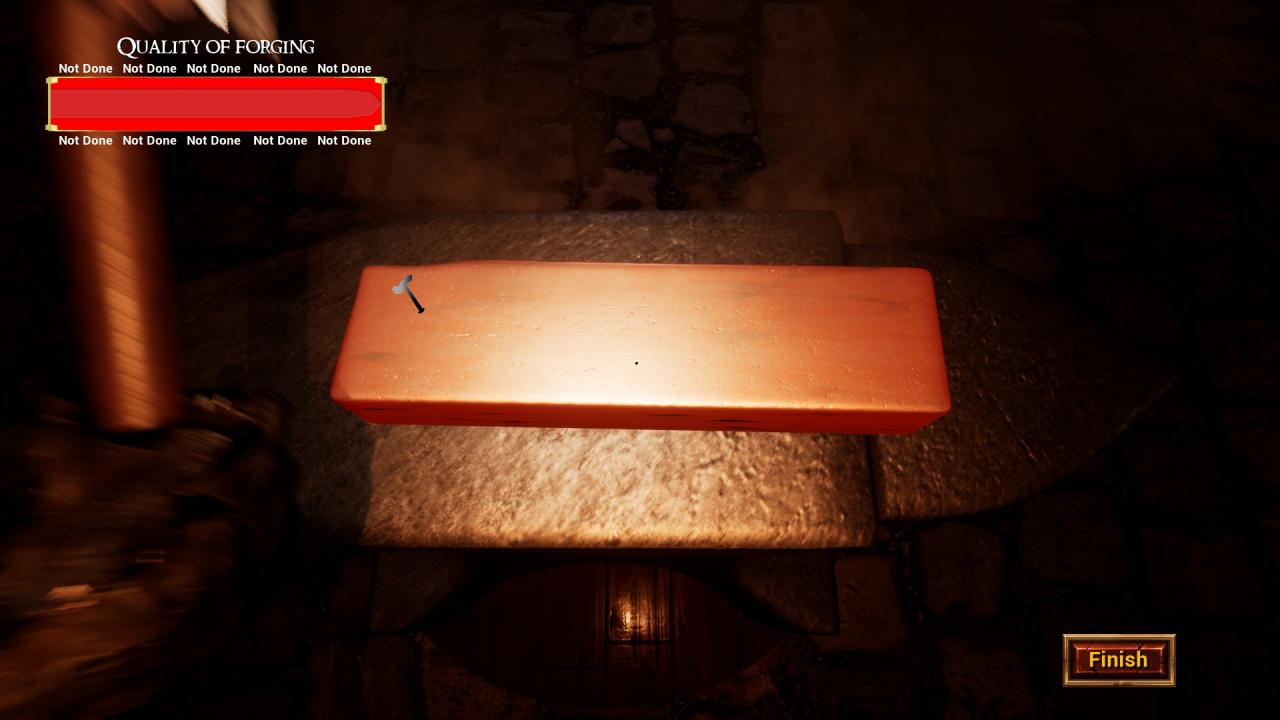
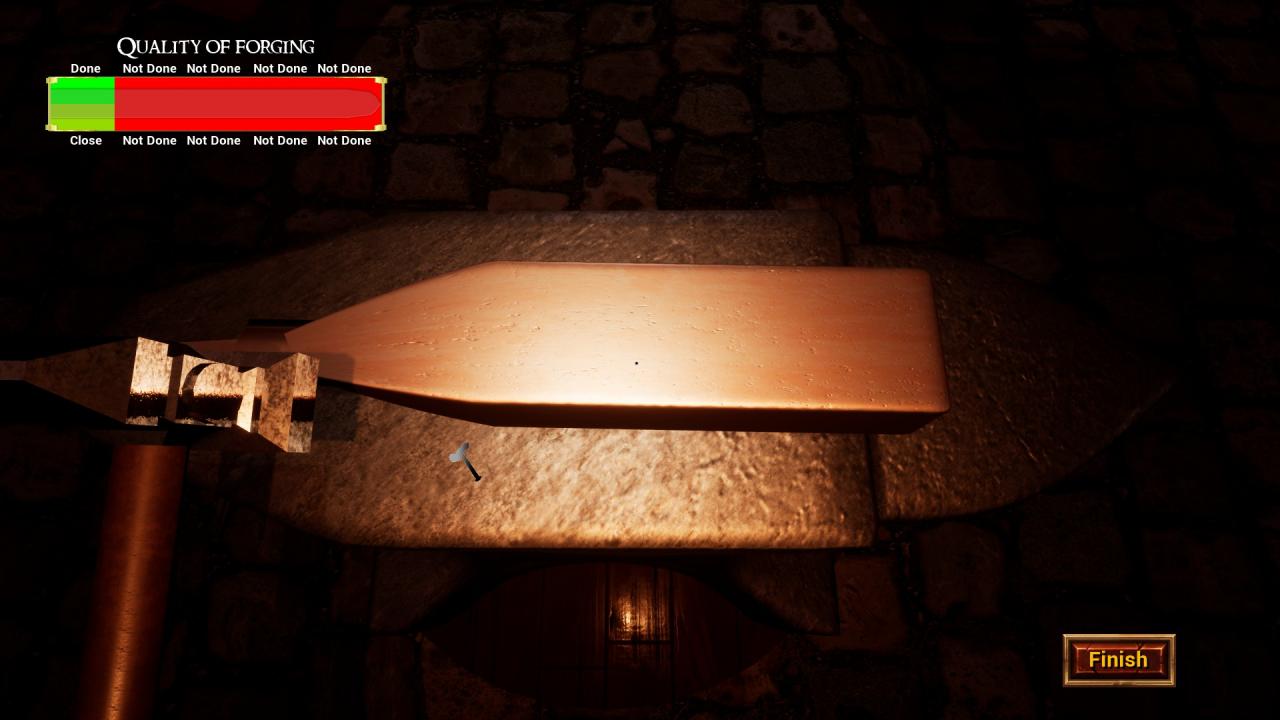
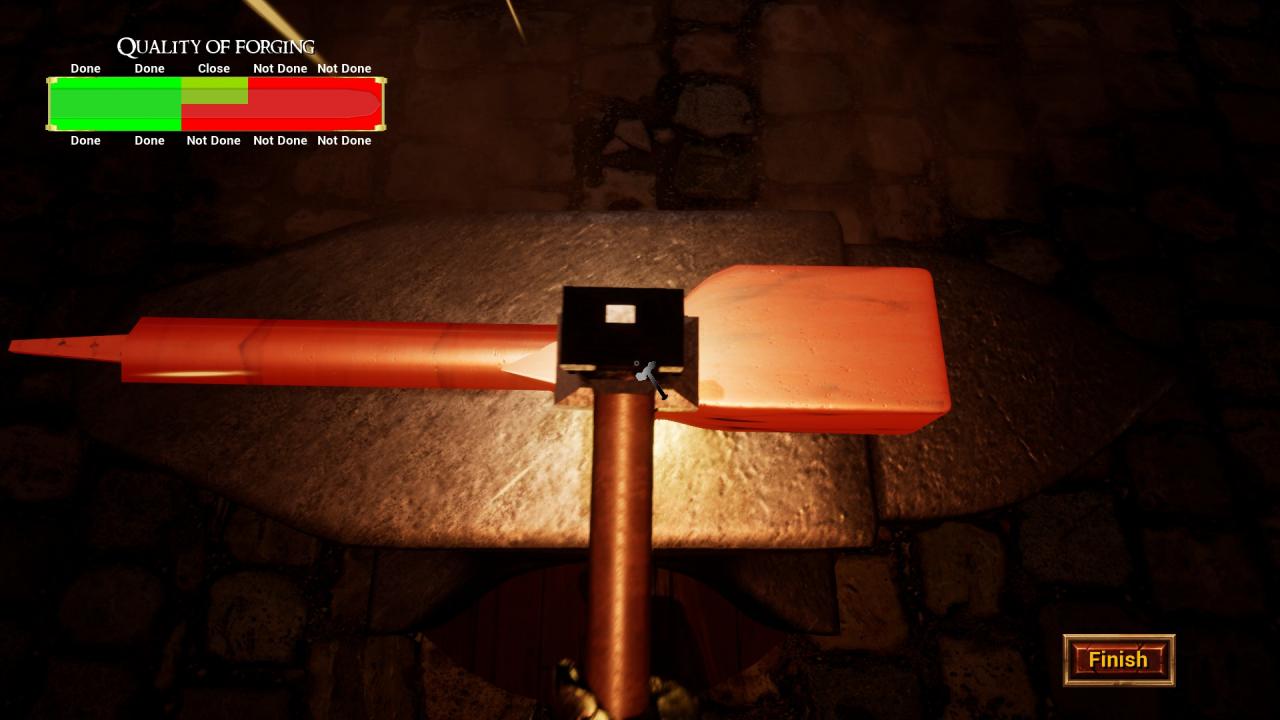
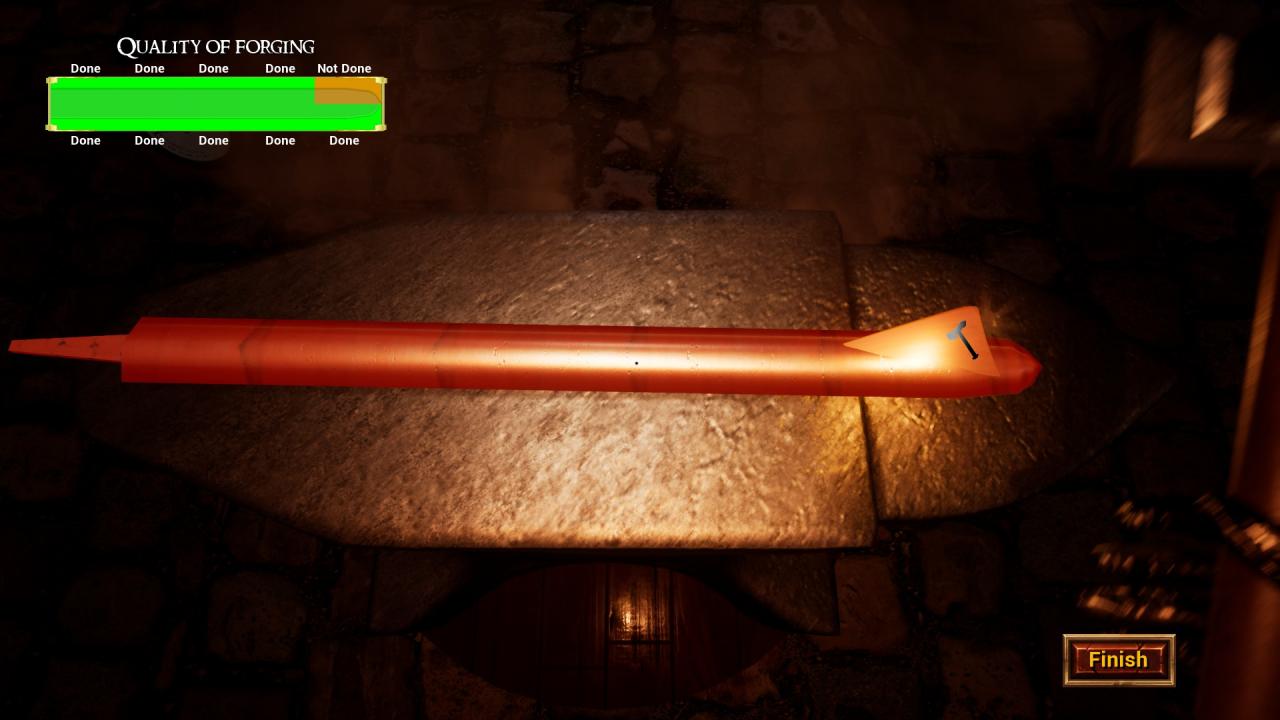
As you can see in these pictures that as you hammer the colour of the sectors in the gauge go from red, yell, light green and then green, depending which part you’re hitting and how many times you have hammered it.
Once you have finished, your blade and top left gauge should look like this
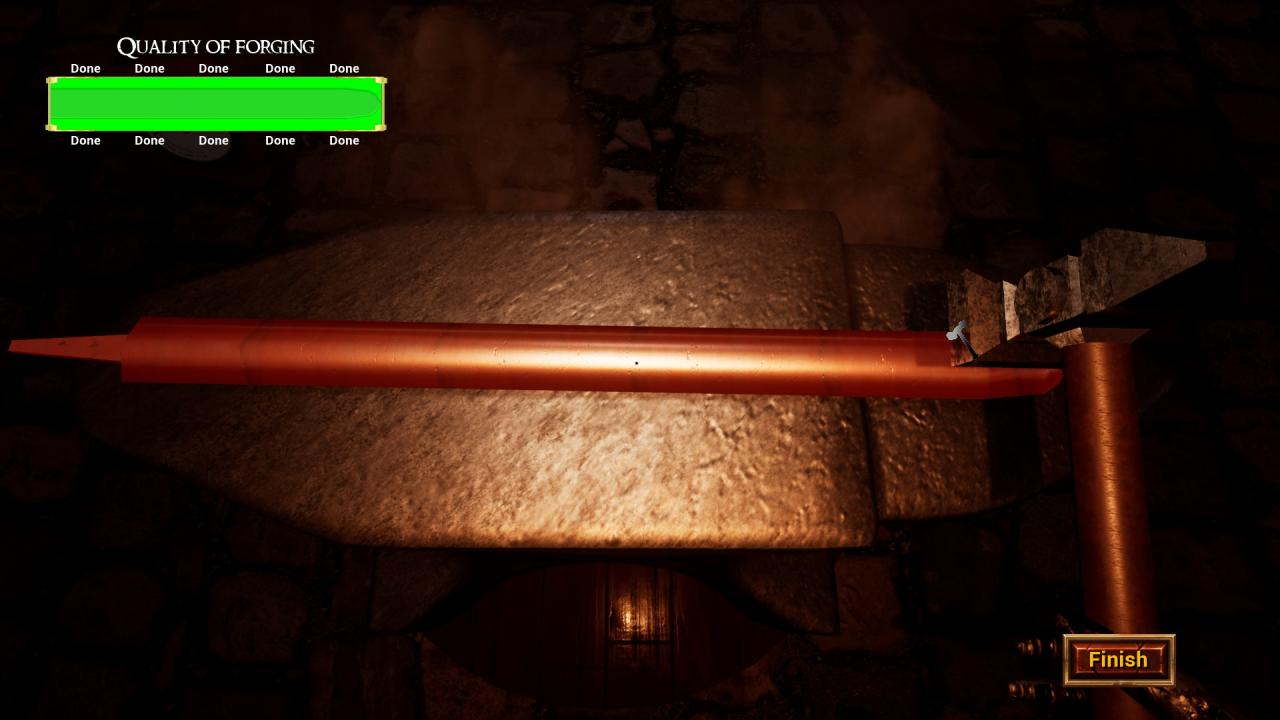
After you have finished moulding your bronze ingot into a blade, you will not be able to touch it with your hand as it is extremely hot, you need your blacksmiths’ pliers to carry it over to the barrel of water to cool it off quickly so that the blade can maintain its shape and harden.
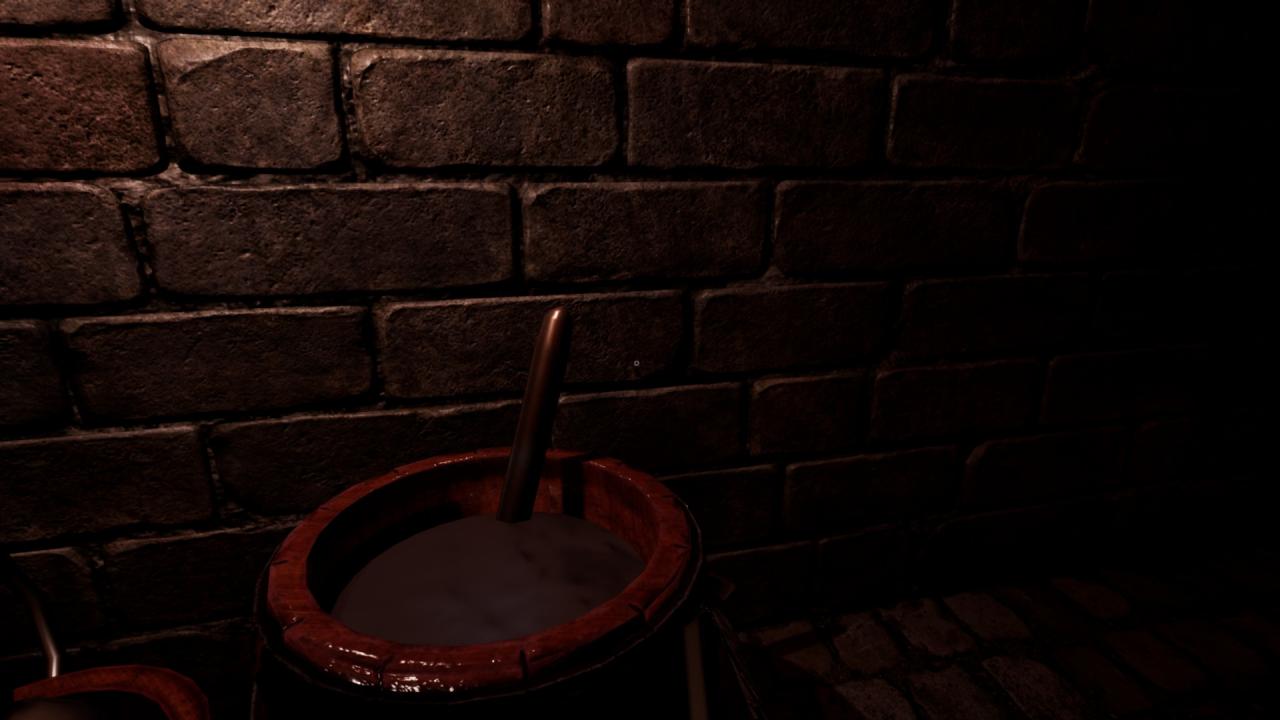
After you have cooled off your blade you need to go and sharpen it on the grind stone which is located close to the staircase which leads up to your sword display and shop front.
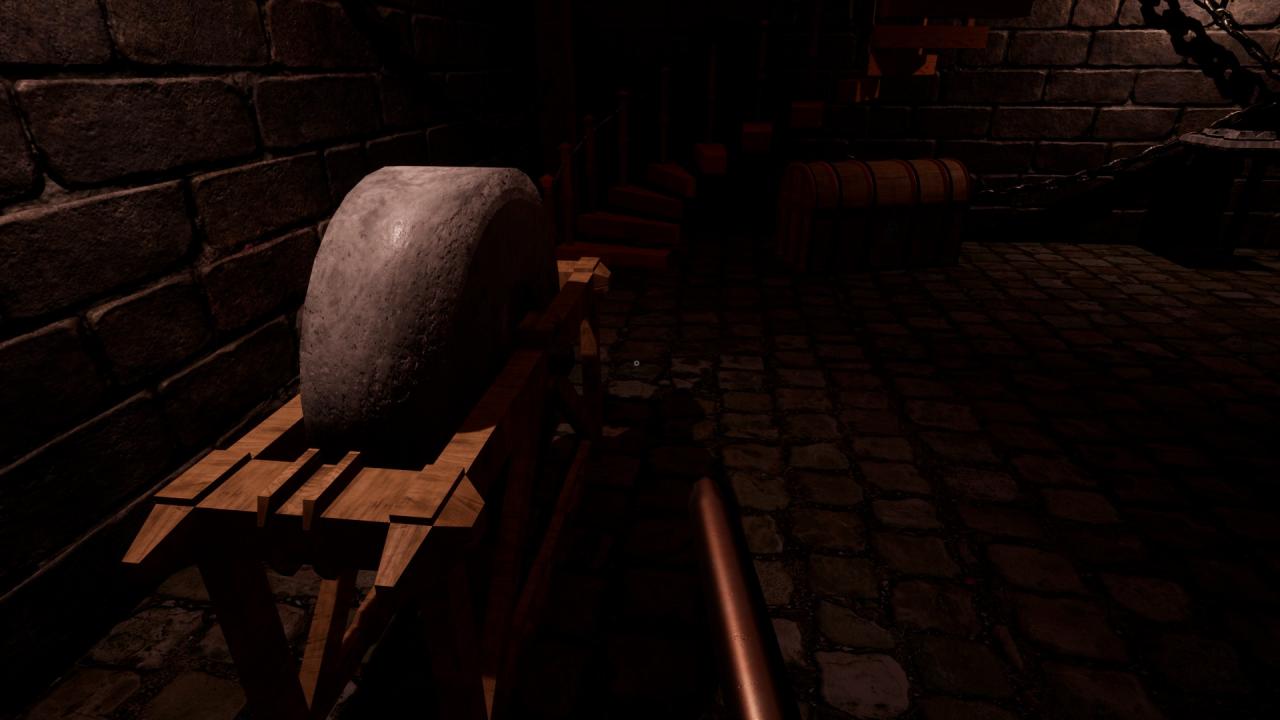
When you enter the grinder by selecting it with ‘E’, you will see that there is grinding accuracy to the bottom right of your screen and by pressing ‘C’ you will able to crank the grinder, once you have the grinder up and running you will have to keep holding ‘C’ while you hold down your left mouse button on top of the ‘Grind’ button, and as you’re doing that you will notice that the grinding accuracy will be going from 50% up to 100% try to aim for 100% and then when you feel that you are at or as close as you could possibly be to 100% then let go of the ‘Grind’ button, make sure to repeat the grind stage for the rest of the parts for the blade.
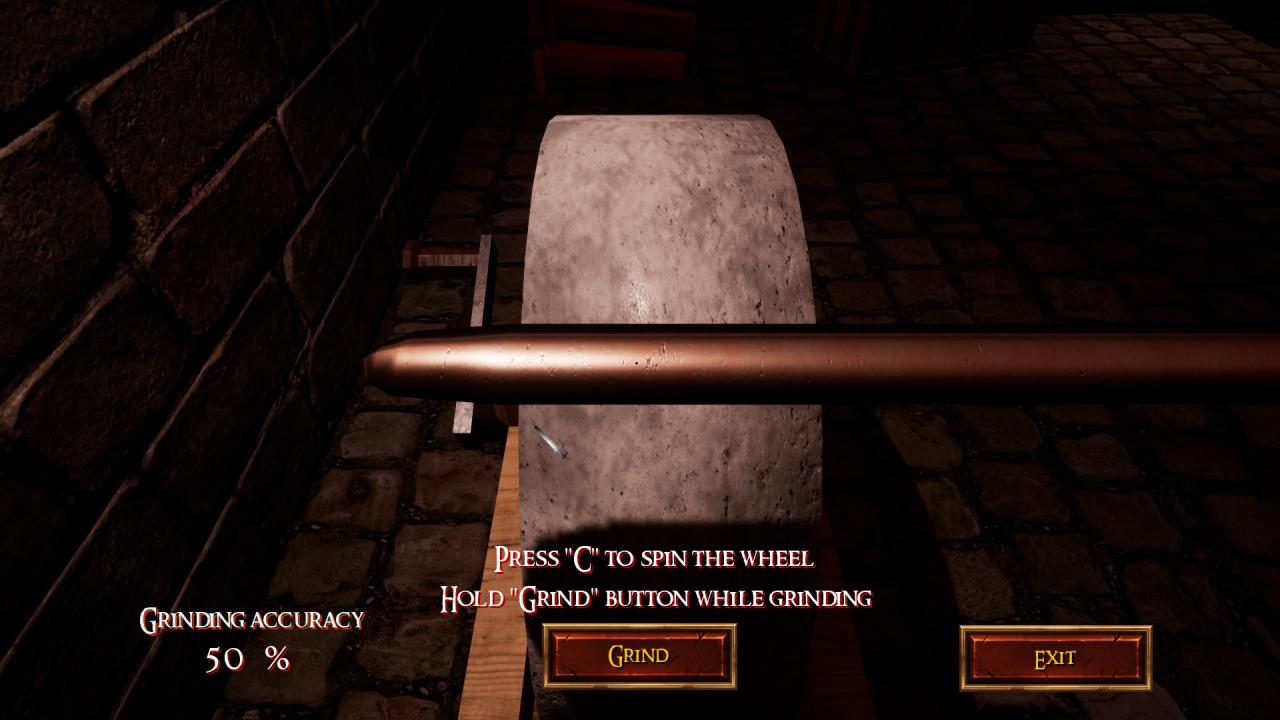
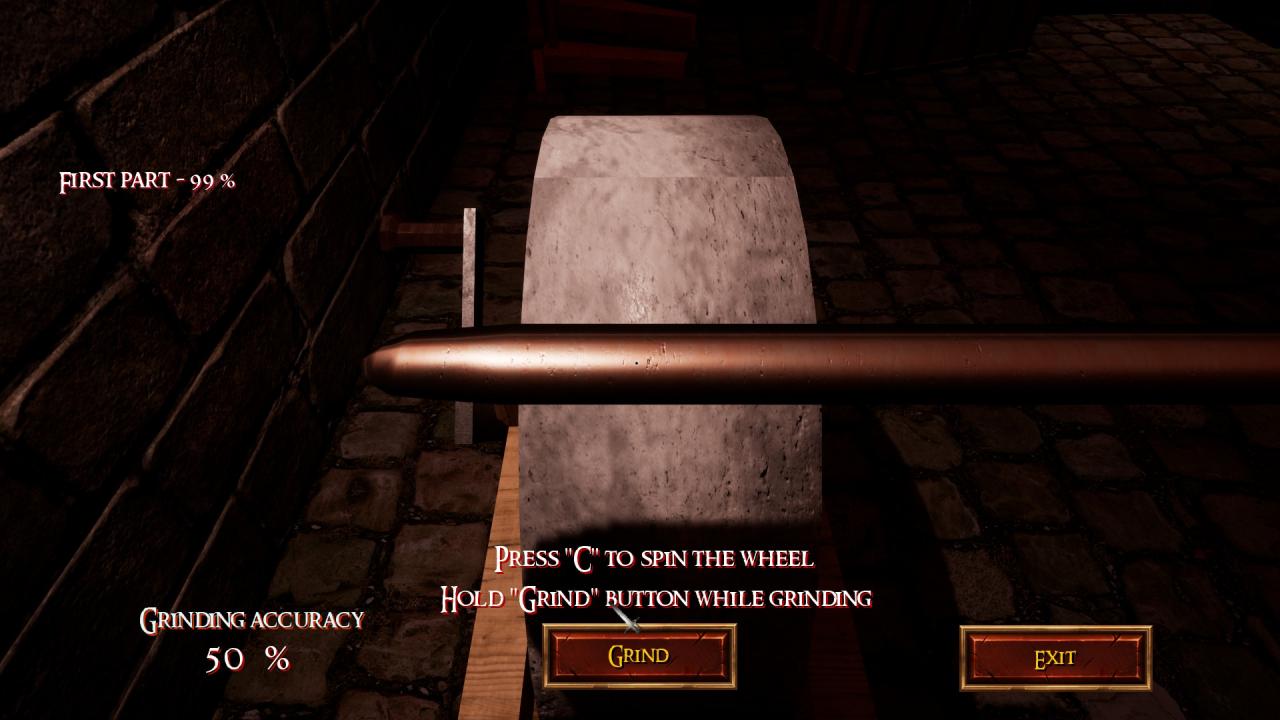
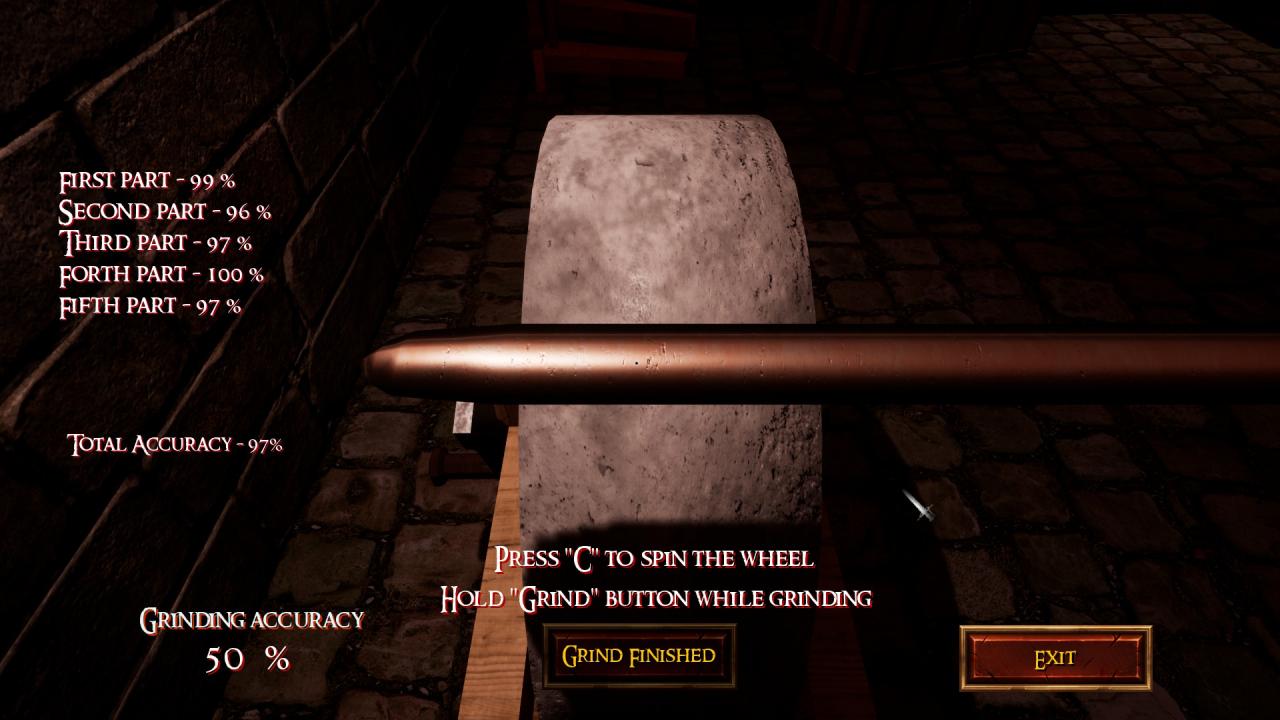
Once you are finished grinding your blade it is then time to move onto the next section! The assembly of all the parts of your sword!
Assembly
To put together all of the parts of your sword you need to have the pommel, grip and cross-guard prepared and ready to go.
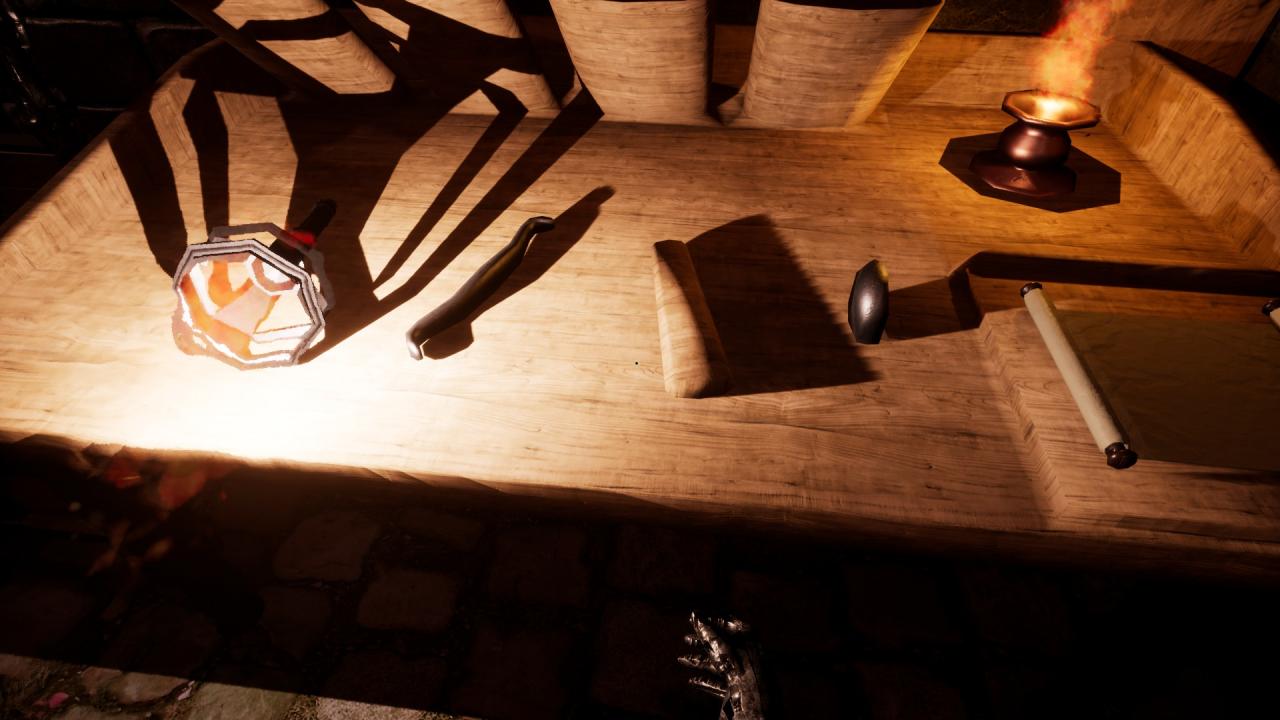
You will need to take each part of the hilt one-by-one to the assembly stand which is located at the centre-rear of the the room across from the furnace.
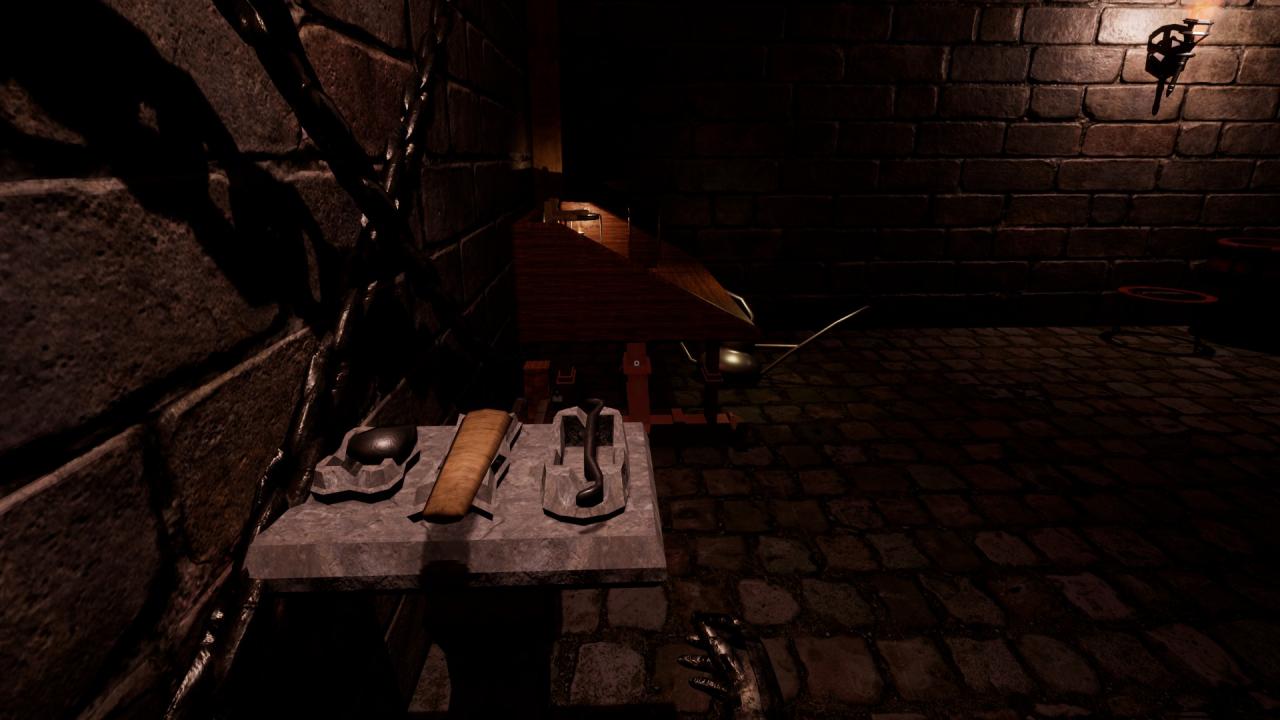
Once you have all of the parts of the hilt in the stand it is then time to add the blade.
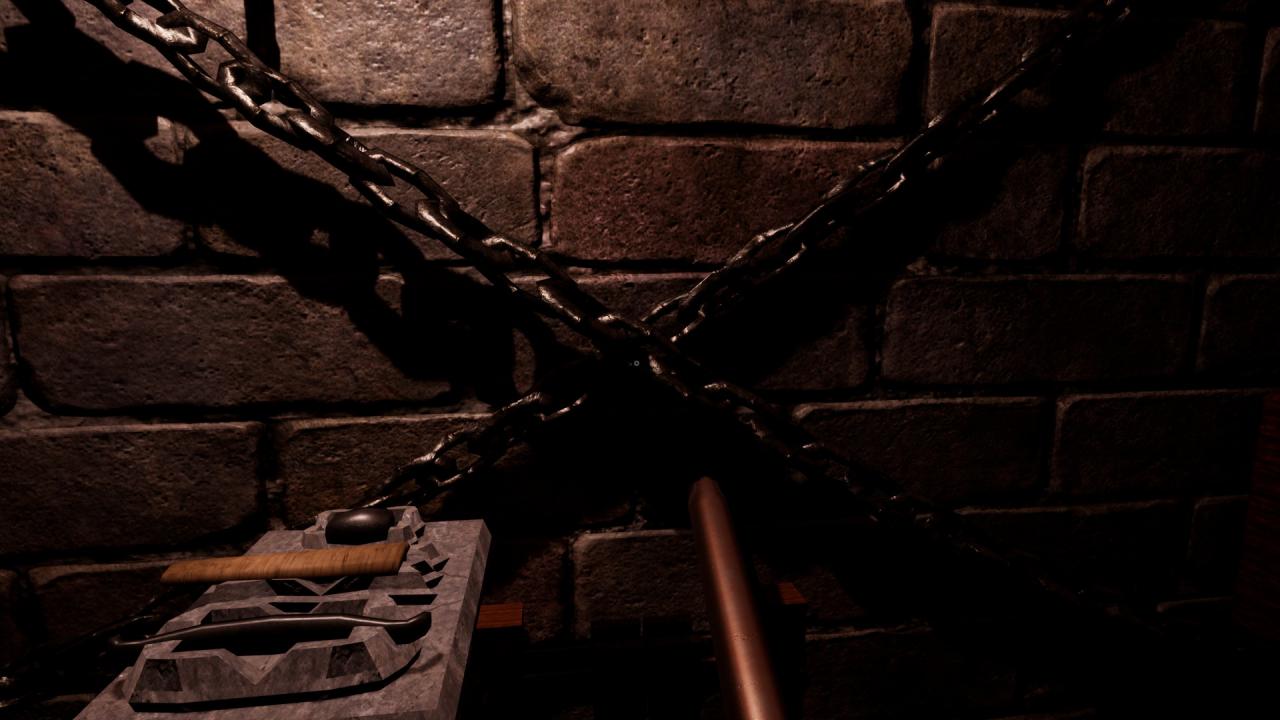
Once you put in the blade you will immediately see that there is a bar to the right of your screen with a dotted line at the 90-ish% mark it is your goal to make the red part of the bar reach past the 90% mark and press the action button to the bottom right of your screen, the following pictures will give you an idea of how to do this.
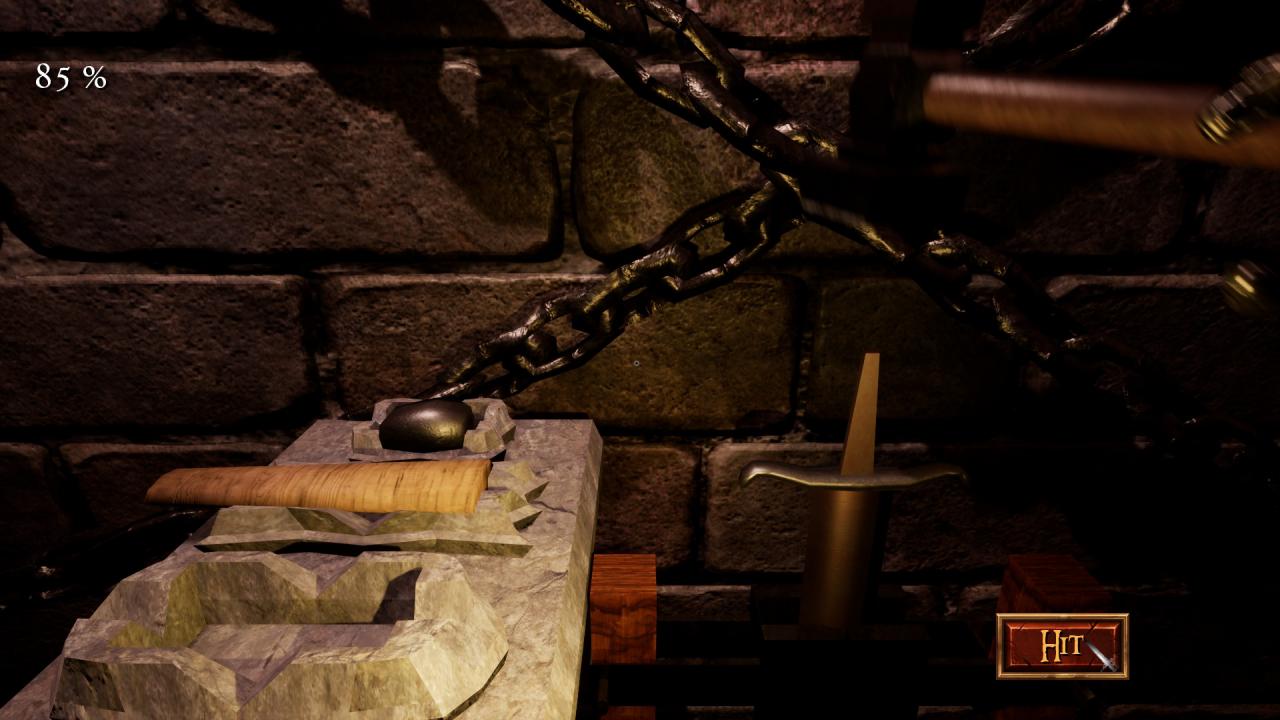
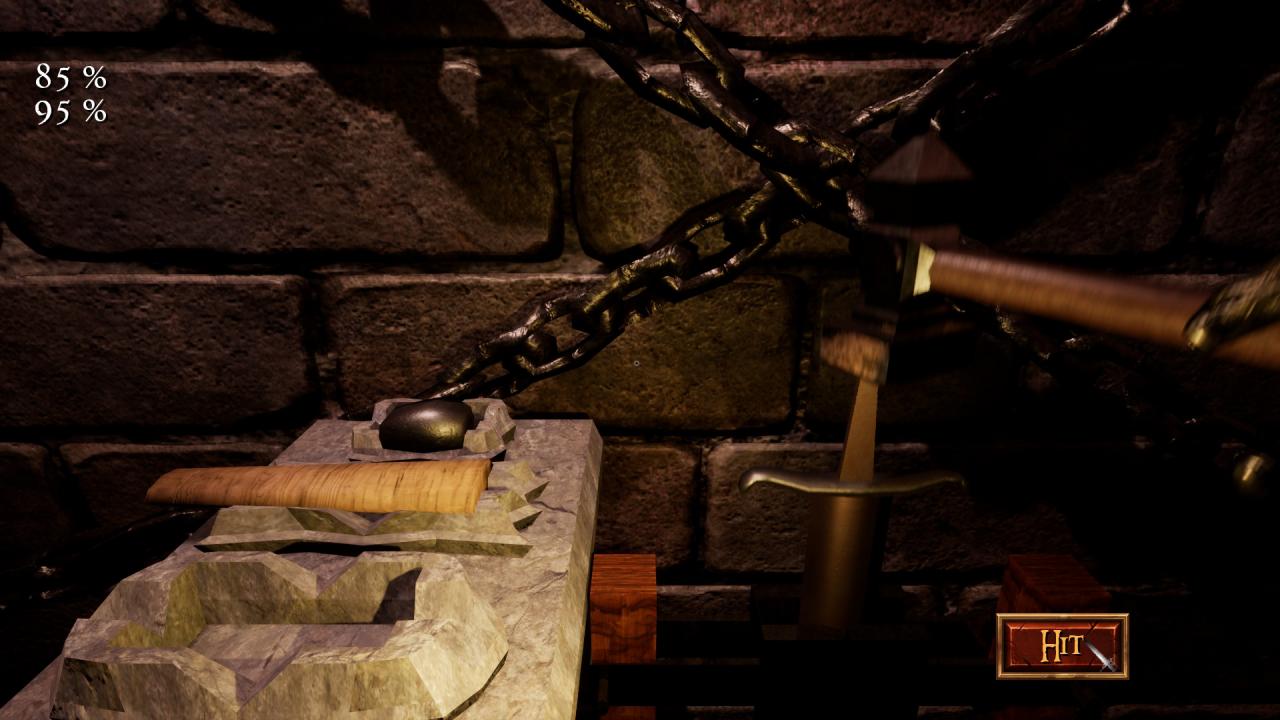
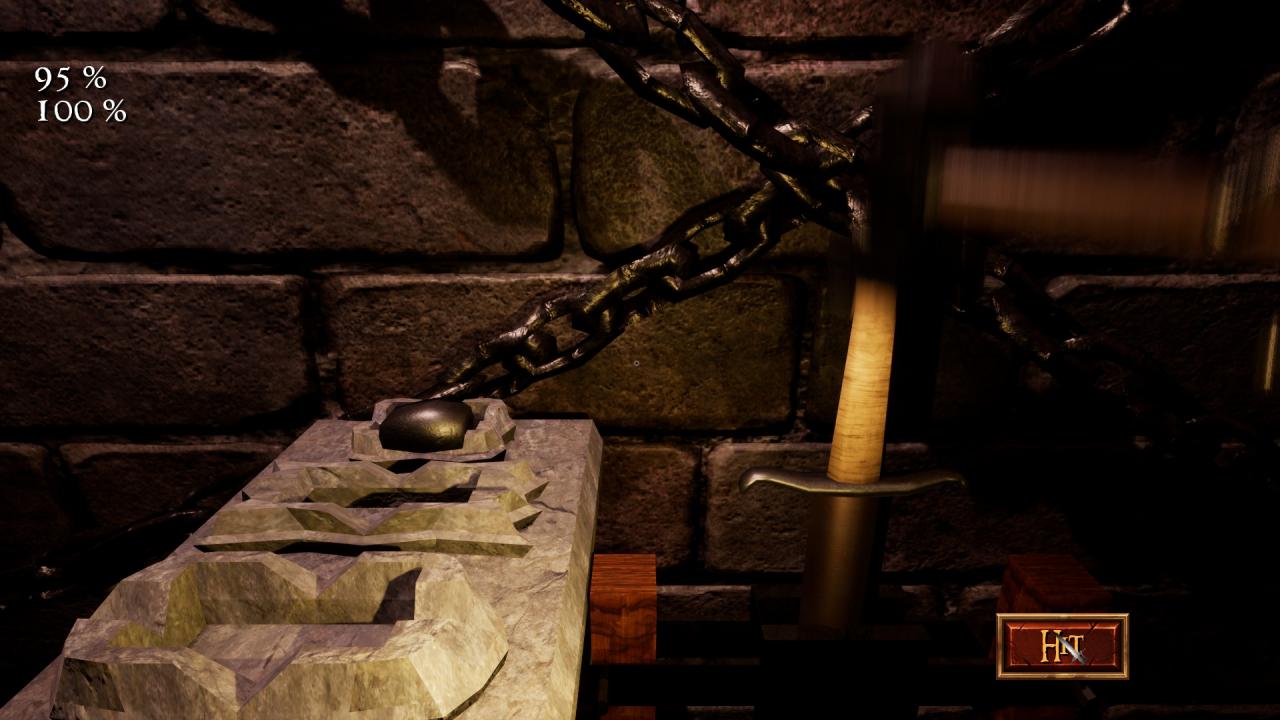
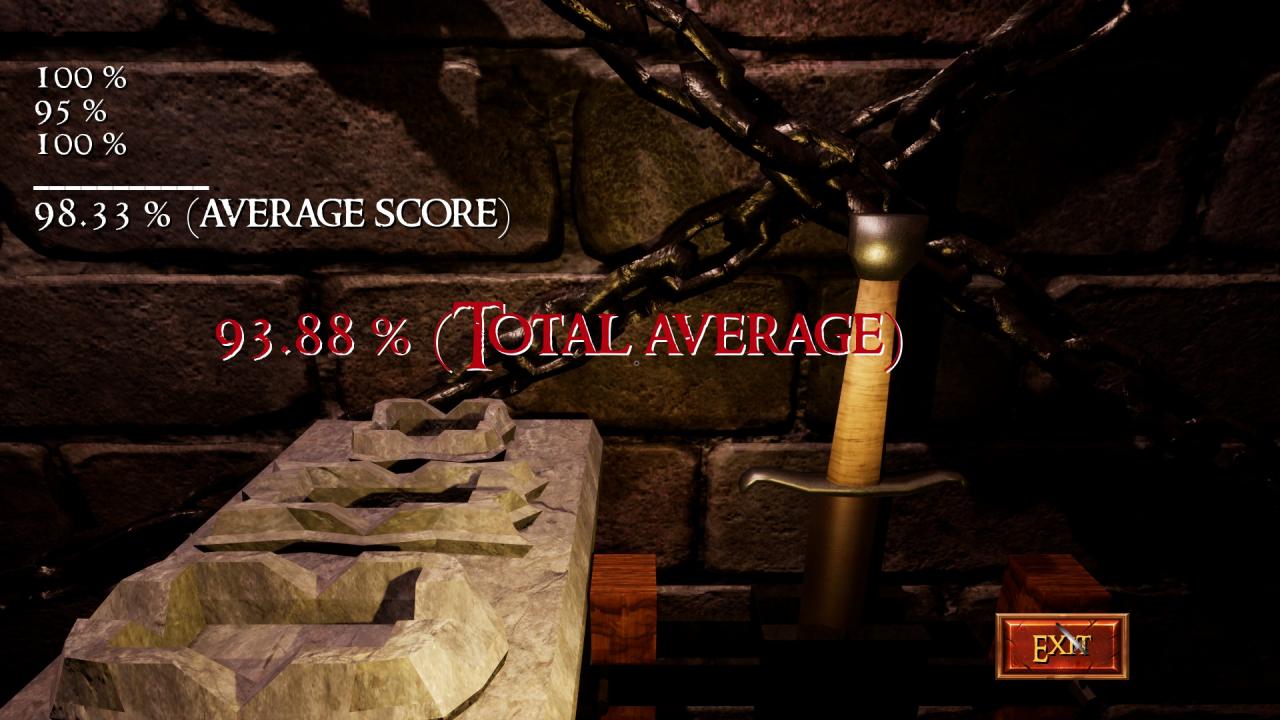
Once you have completed the assembly of your brand new sword it is time to sell it.
Selling
Go up the stairs with your sword in had to the shop front.
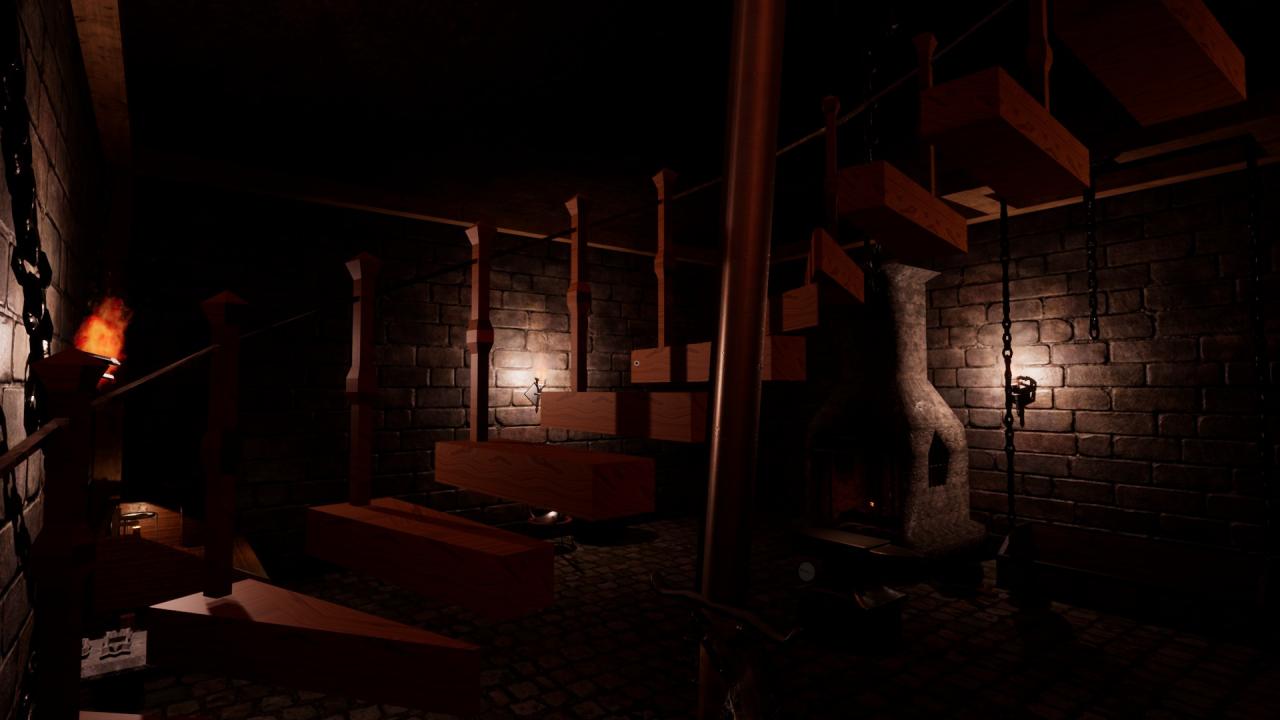
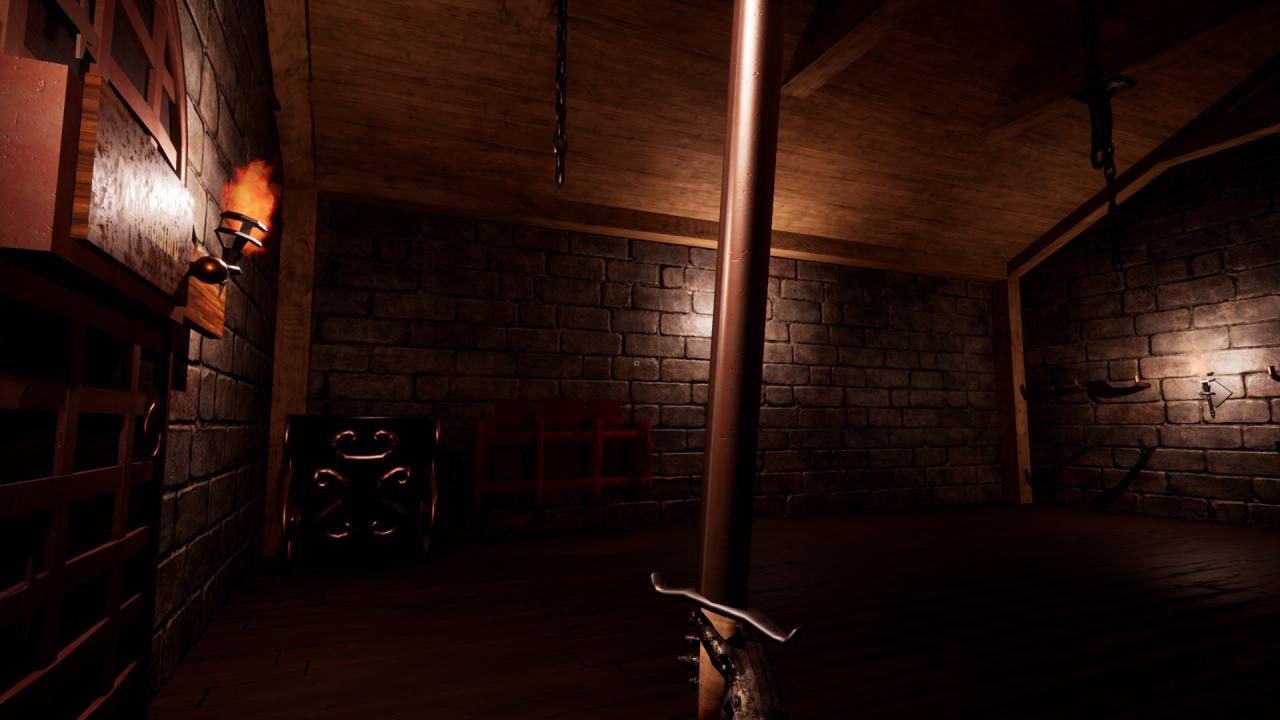
And then once you get up to the room where your shop front is, you need to go over to the display racks to your right at the end of the room, and place your sword in any of the display racks to attract customer attention.
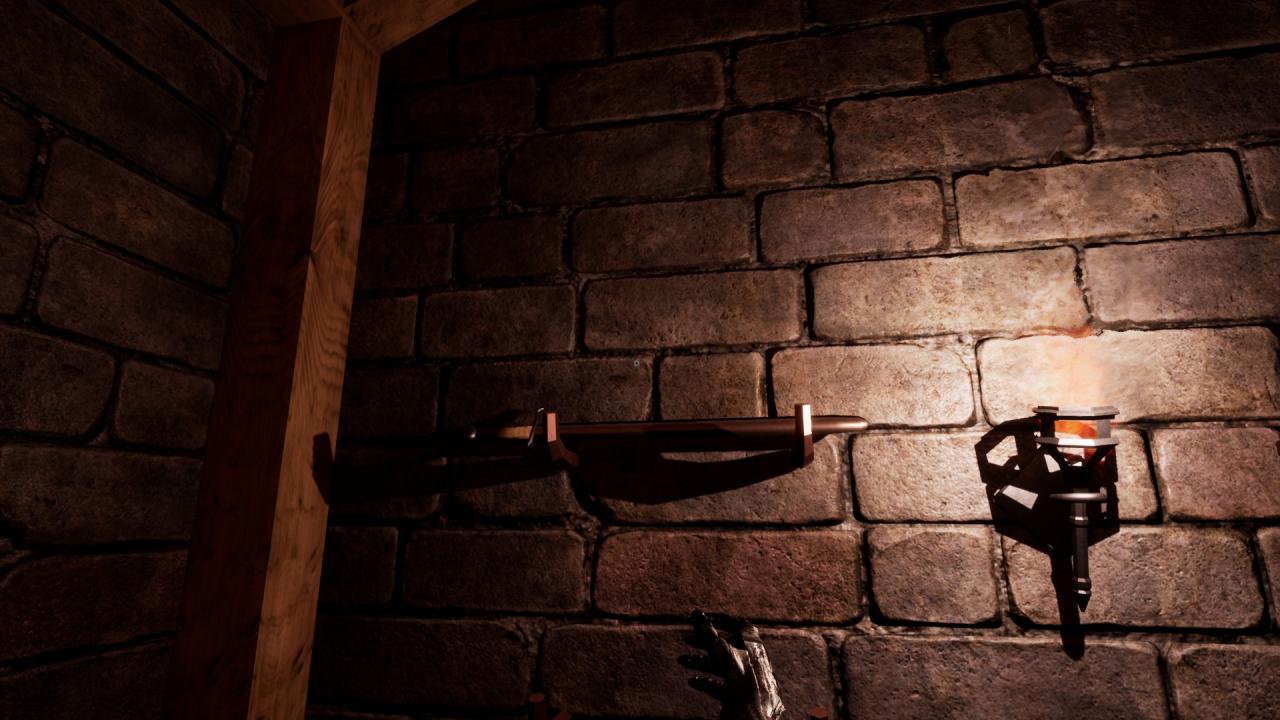
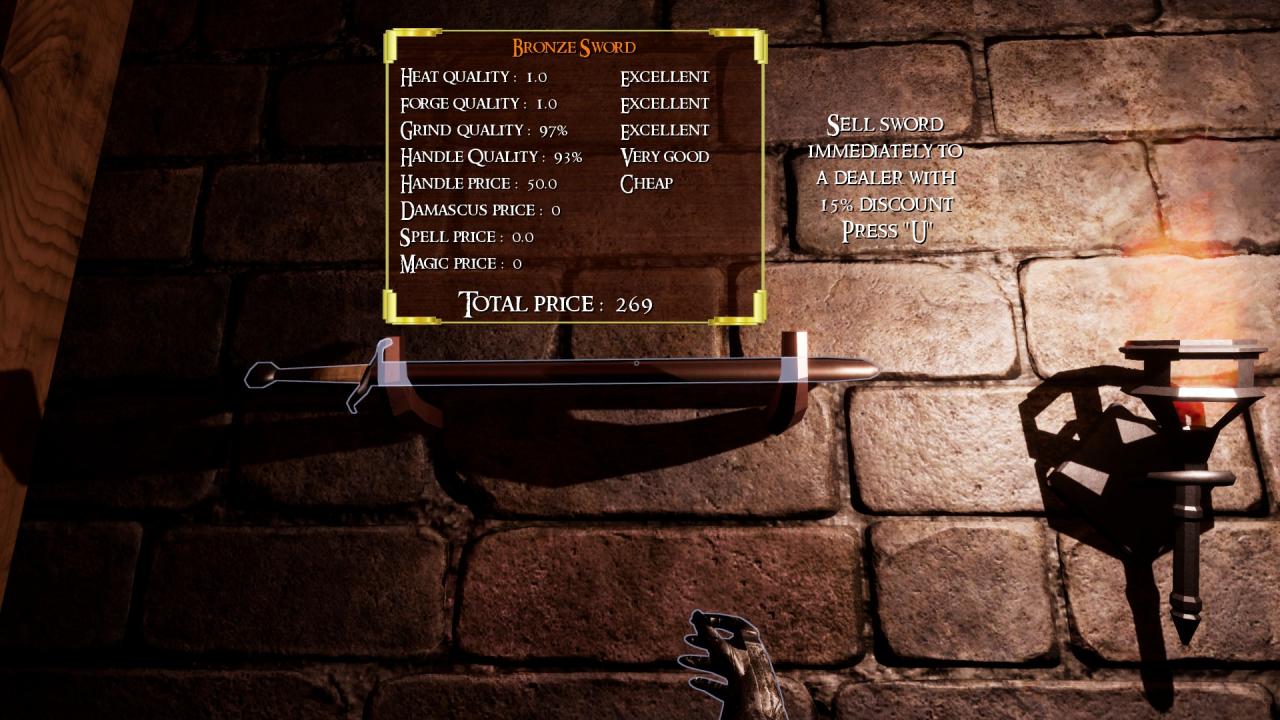
If you wish to sell your sword instantly, you can but i would advise against it as you would be selling it with a 15% discount, unless you are in a dire need to earn some gold.
Make sure to lift up the ‘Do not disturb’ sign in order to bring in potential customers. Once the customers show up at your shop front, you will hear 3 knocks at your door (The knocks are loud so you will definitely hear it) and there will be the 3 words ‘knock!!!’, ‘knock!!!’, ‘knock!!!’ which will show up to the right of your screen.
To answer a customer, simply go up the stairs to your shop front and slide the lookout slide to the right by pressing ‘E’, there you can sell them swords, gamble with dice or tell them to go away.
Extra Information
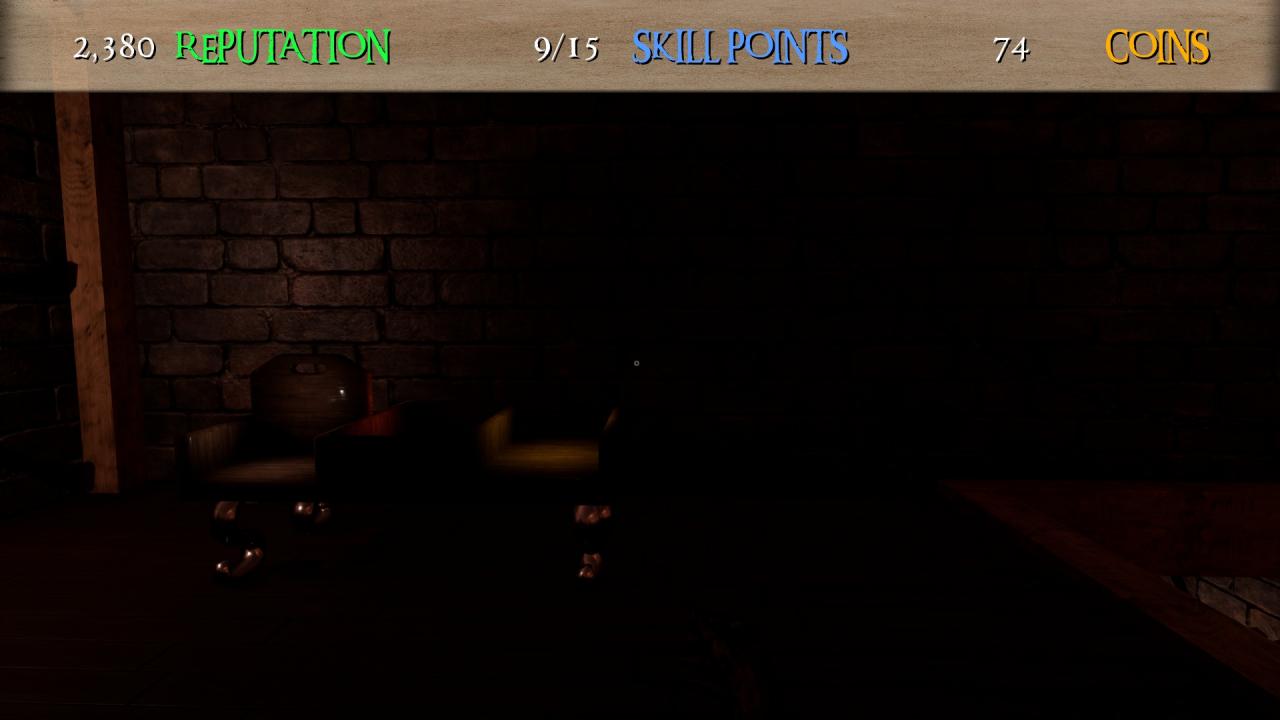
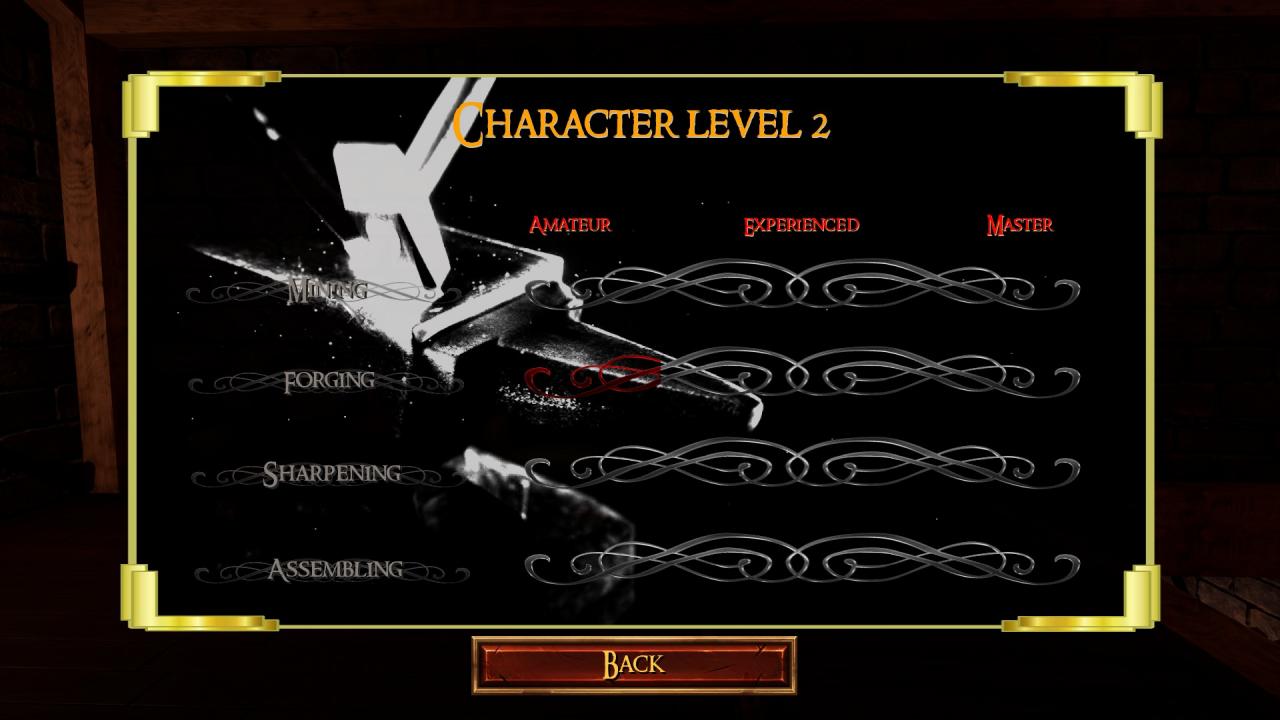
Experience points (skill points) are earned every time you successfully sell your sword, you must have 15/15 to gain one experience point, to spend your experience point you need to press ‘Y’ to enter the skill window where you can pick to level up Mining, Forging, Sharpening and Assembling.
Will i be able to upgrade and add new things to my workshop as i gain more reputation?
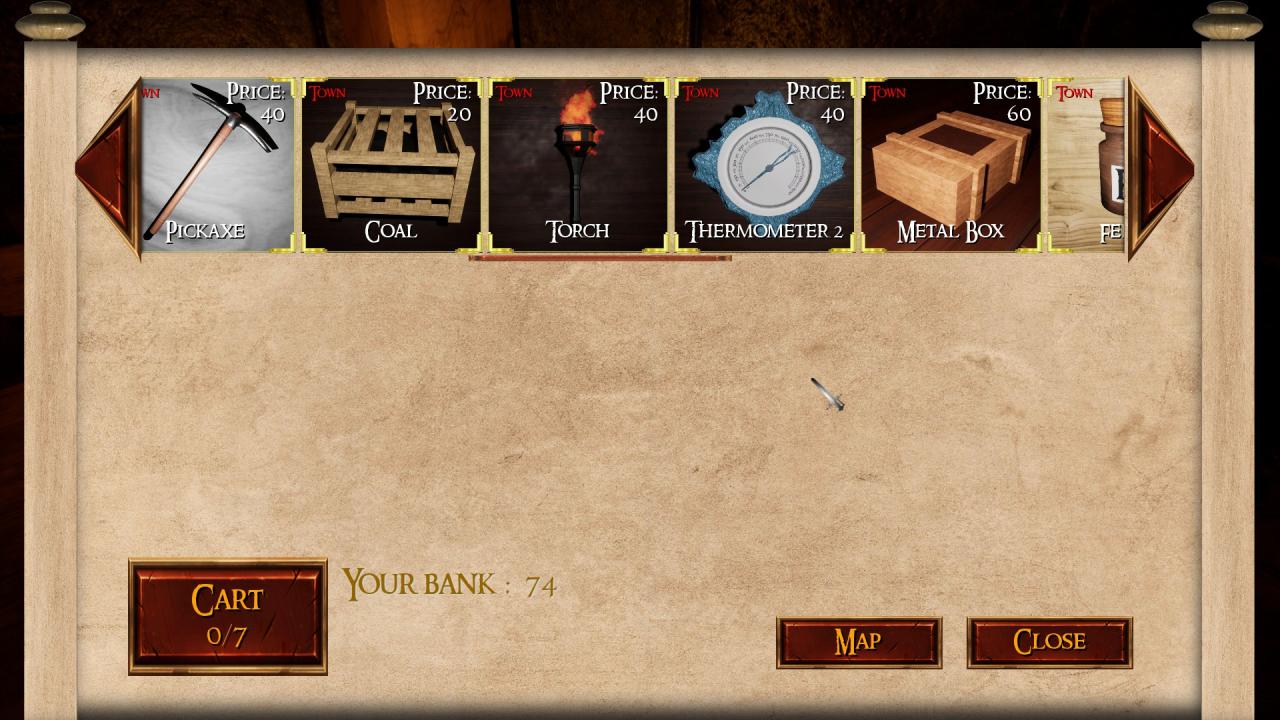
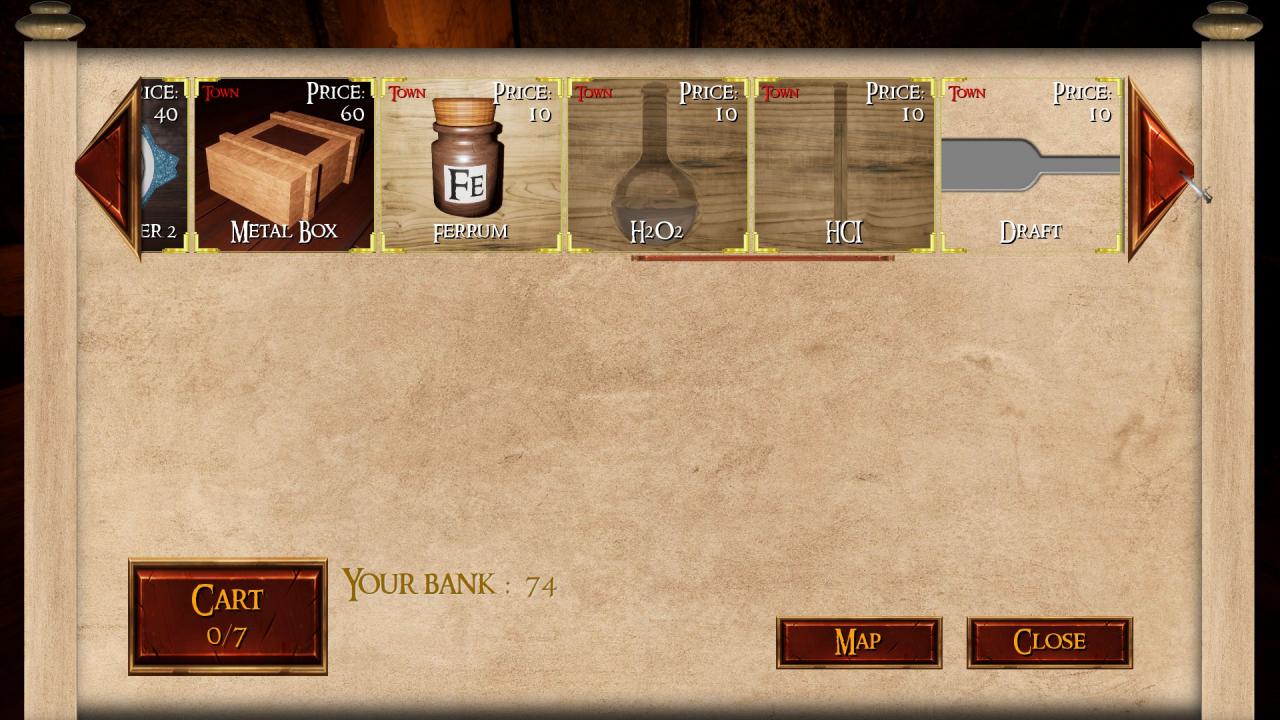
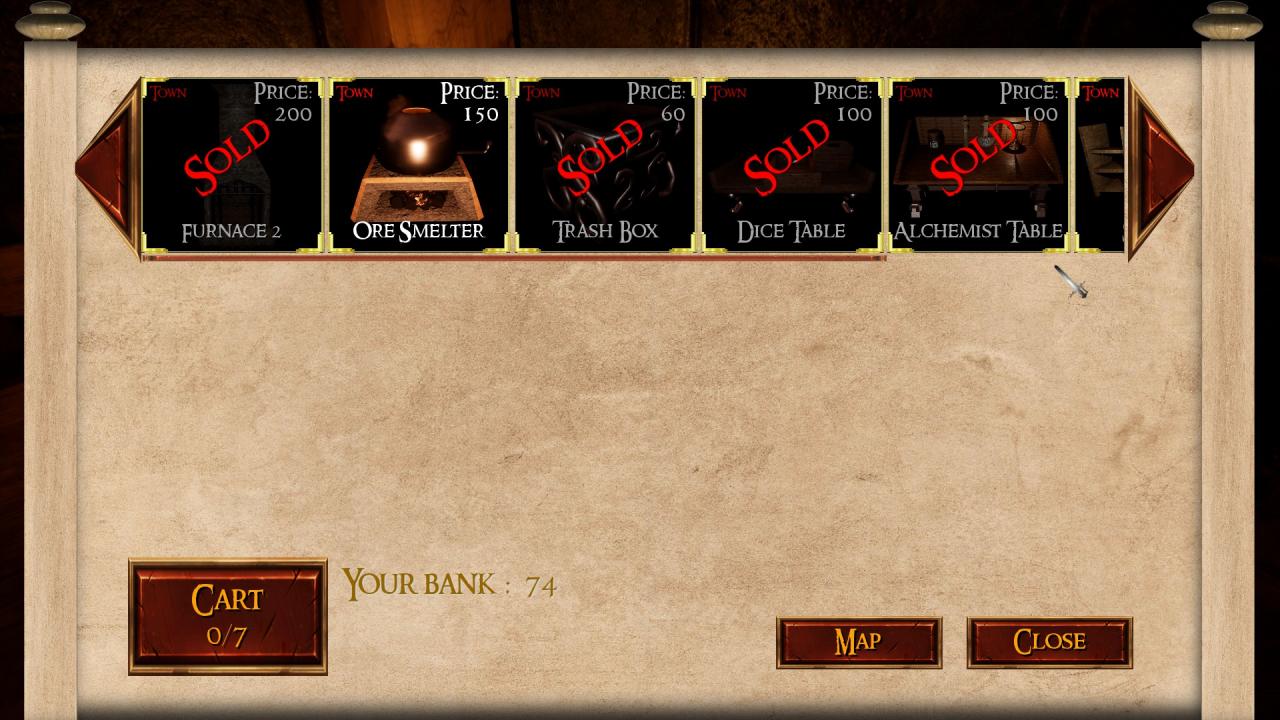
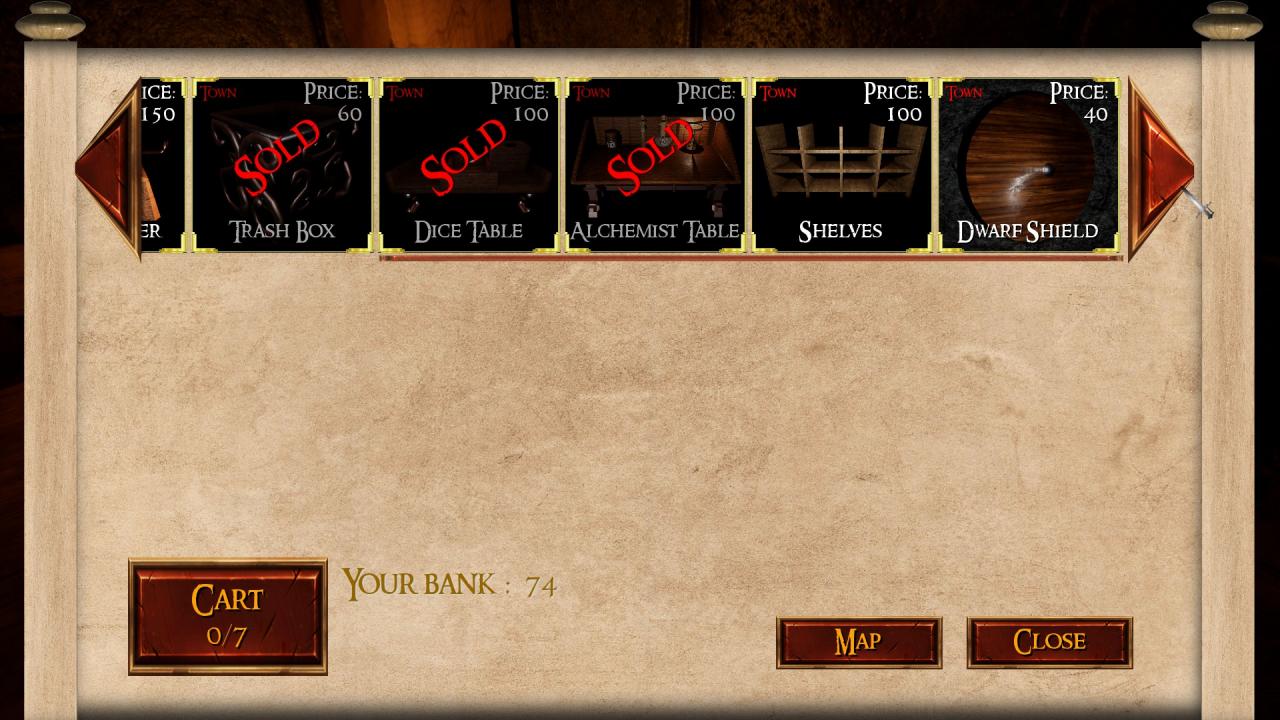
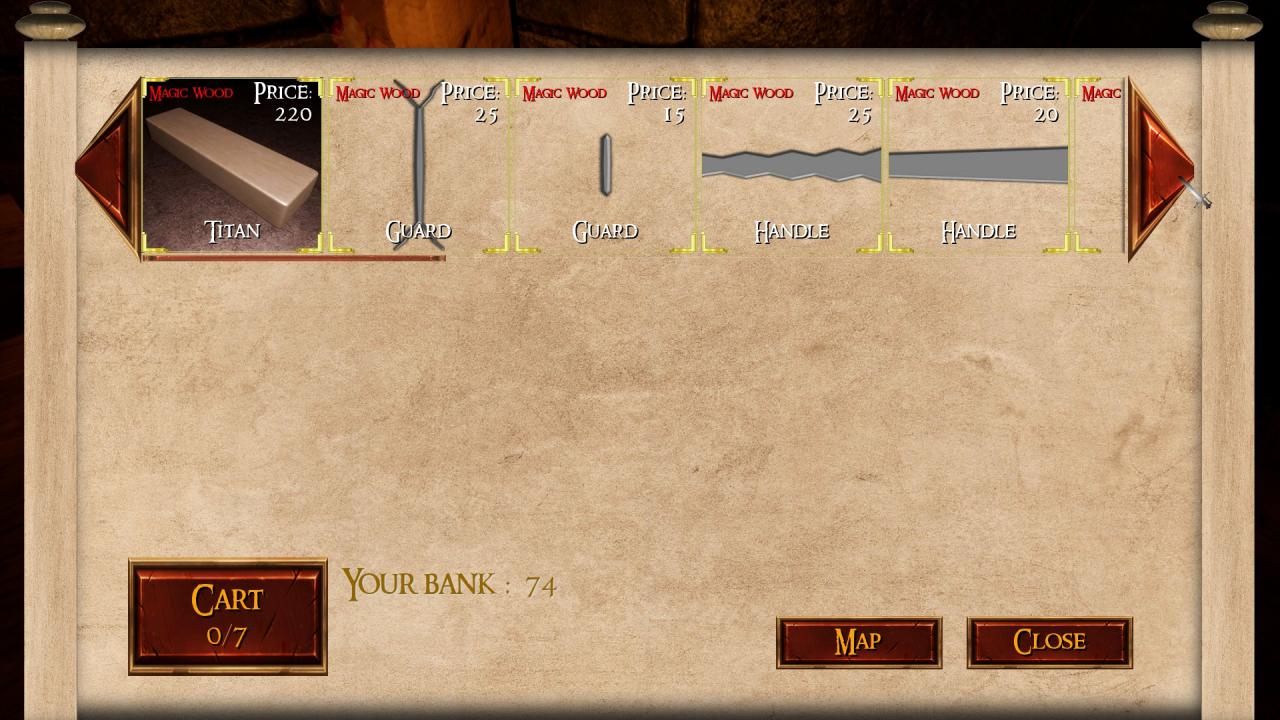
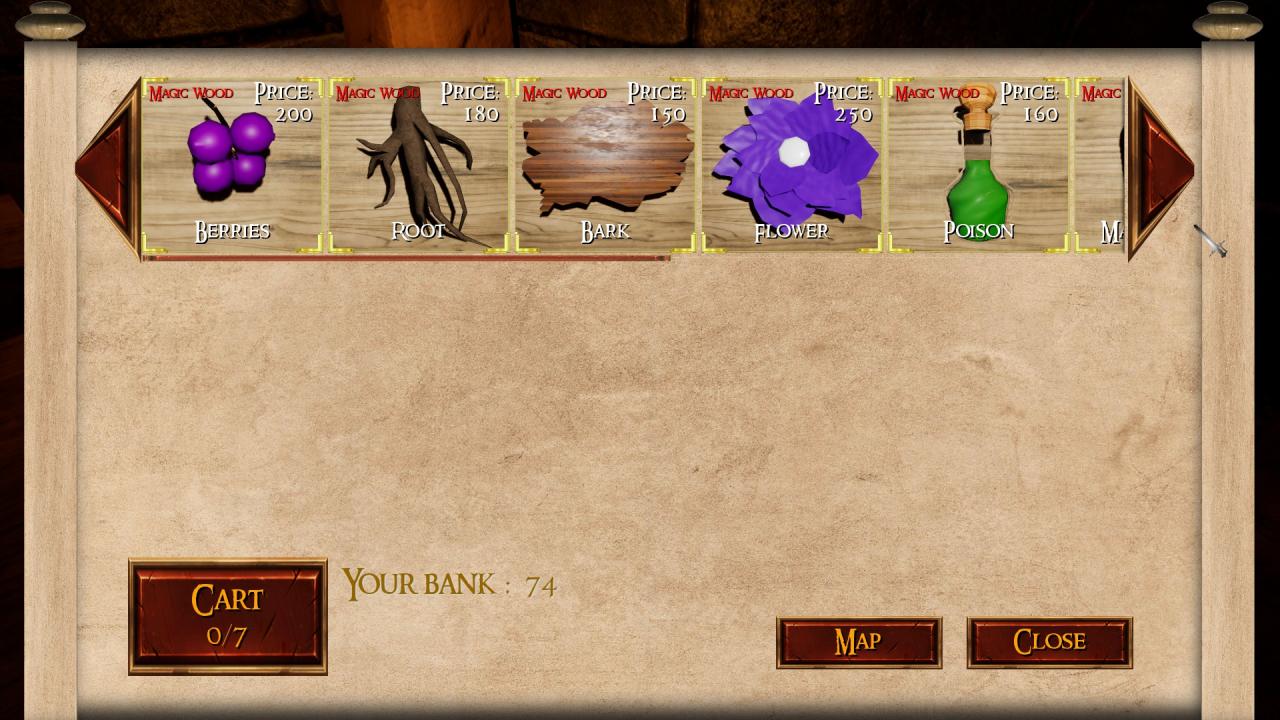
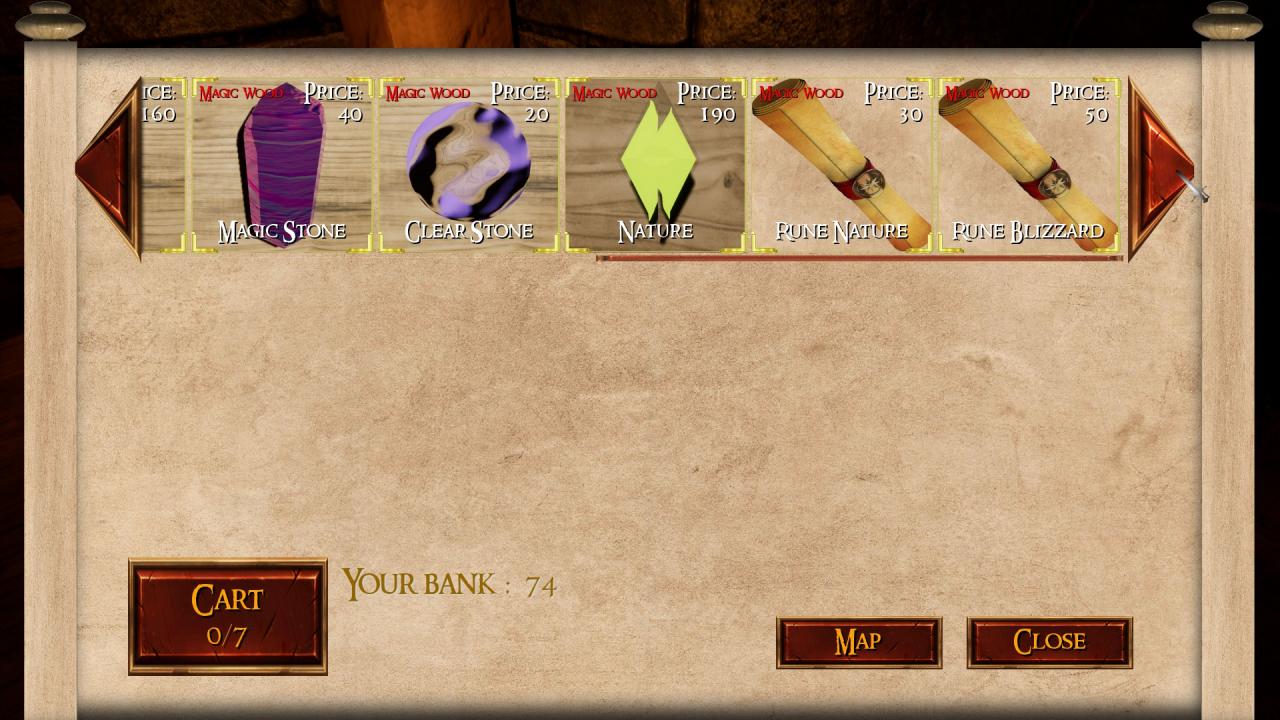
Absolutely! That is one of the best parts of the game, you can spend your hard earned gold to get upgrades and new items for your workshop as you gain more reputation and unlock more areas on the map.
Here are just a few examples
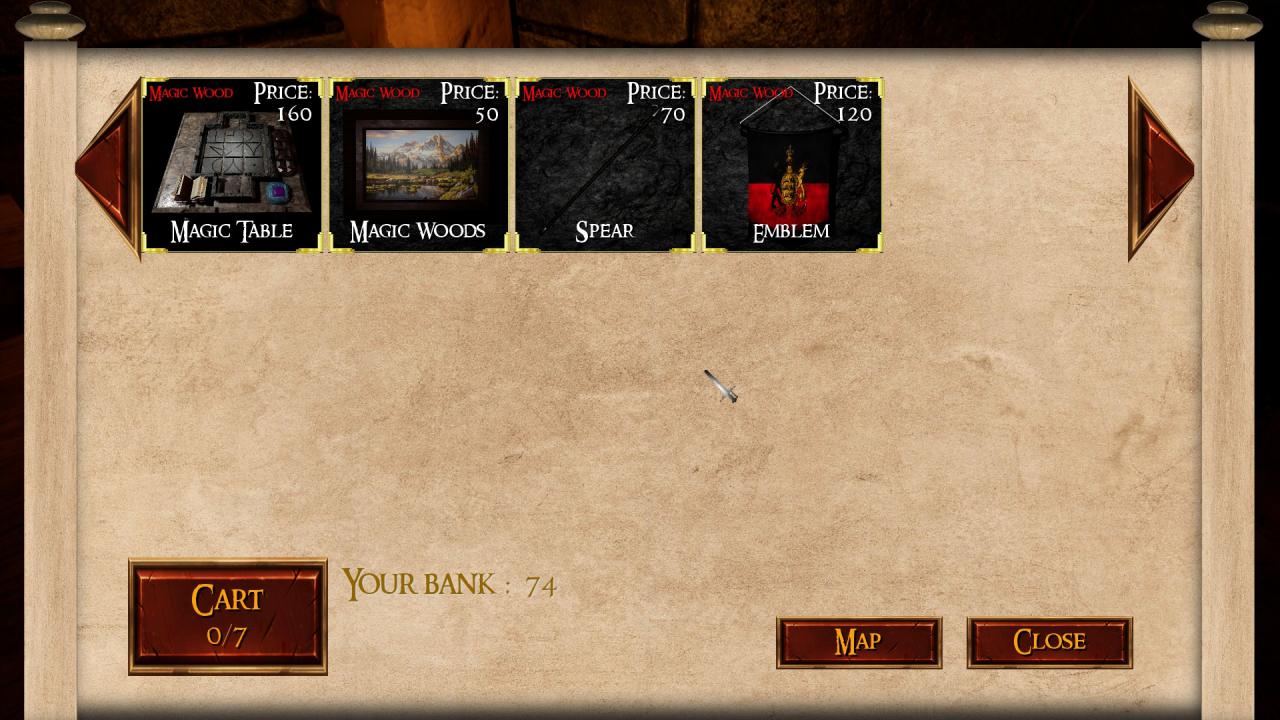
I have run out of gold, what should i do to get more money?
That’s an excellent question! In order to get more money your shop front will always attract customers even when you don’t have any swords available, they will ask you for different services such as sword assembly, sword sharpening etc, that way you can get yourself 44-45 gold per service, however i’m not sure if reputation is linked to customer frequency as of yet
Is it worth it to buy the game in its current state?
Yes and no, a lot of people have been experiencing glitch and bug problems as well as the occasional blue screen, but as long as you have a 1050GTX nvidia graphics or later you should be fine, at least by my experience.
