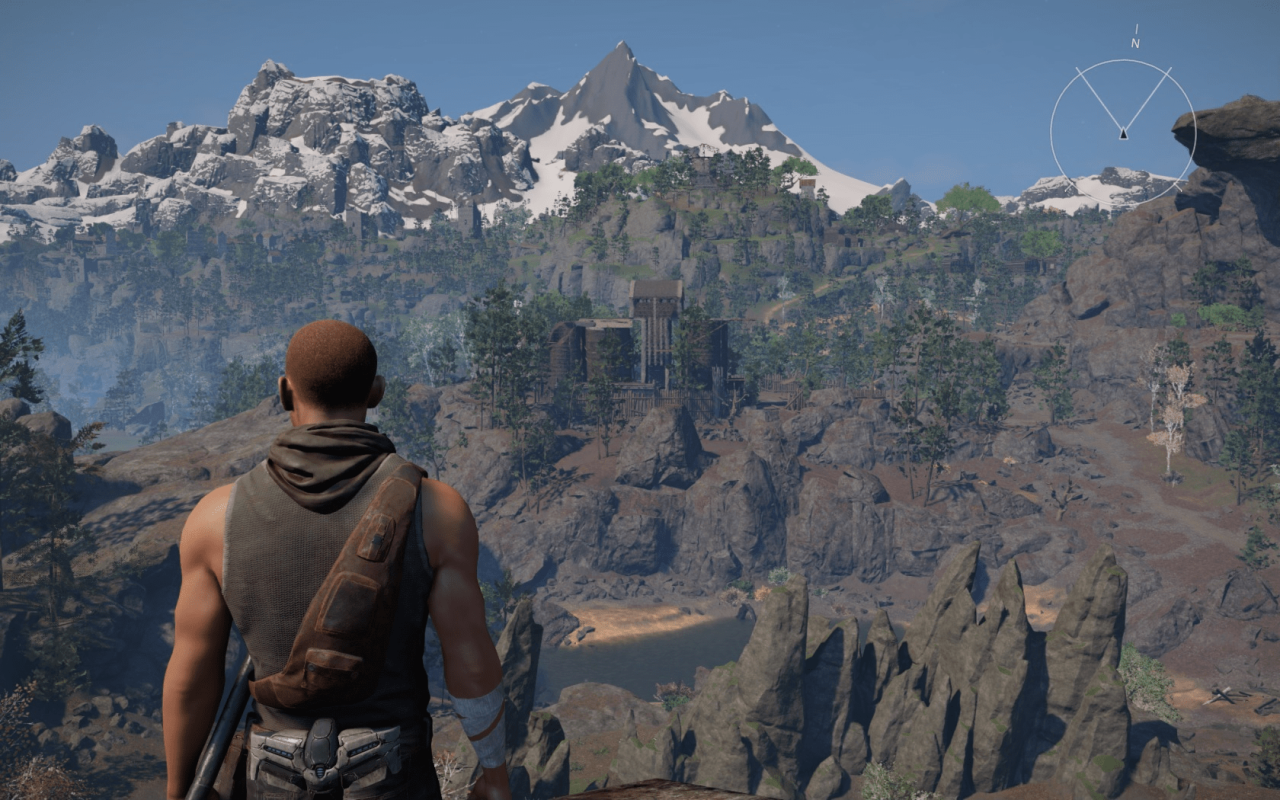
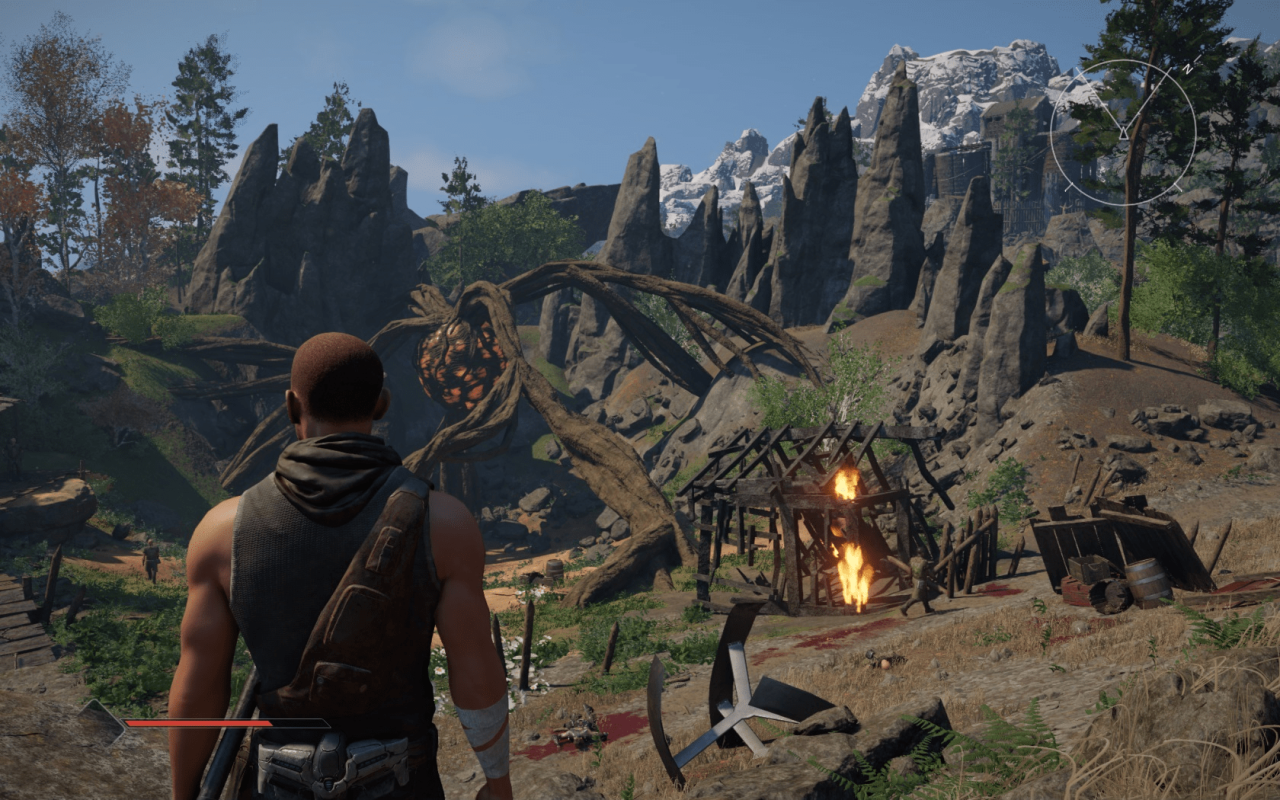
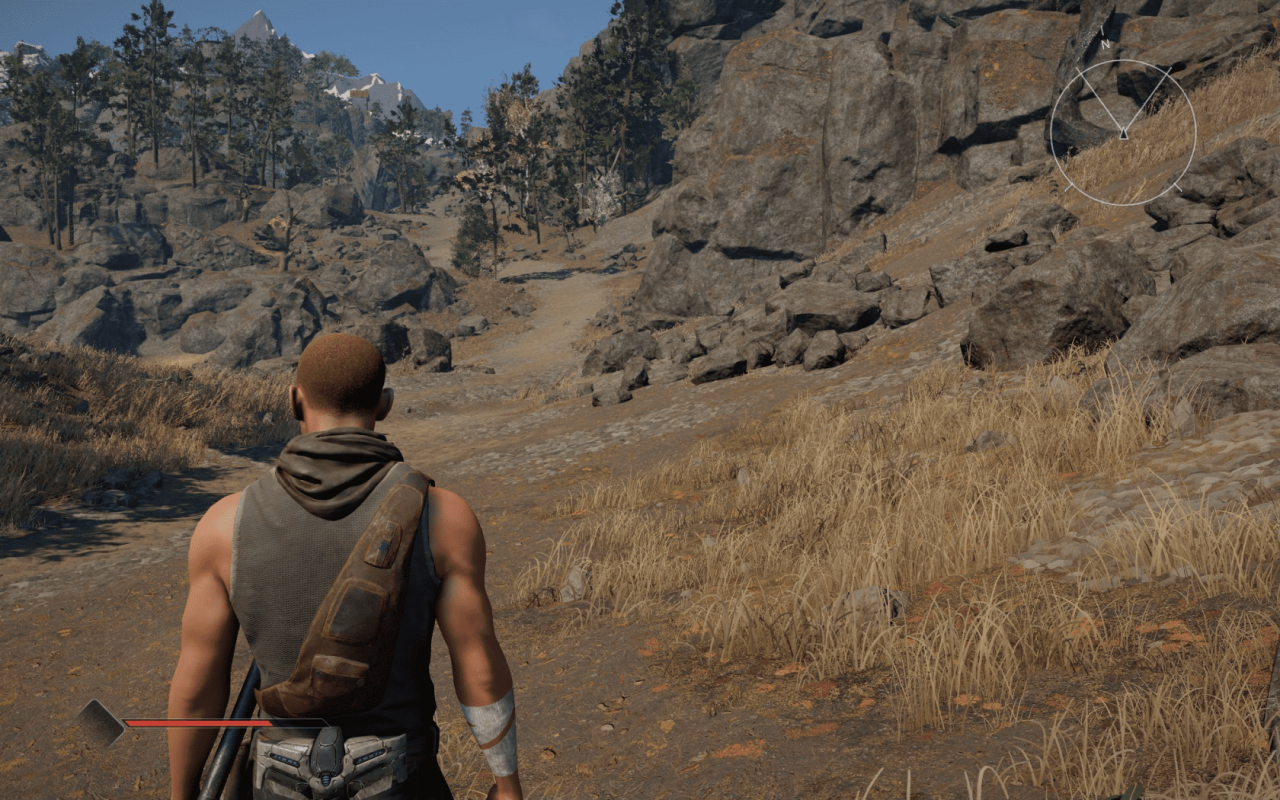
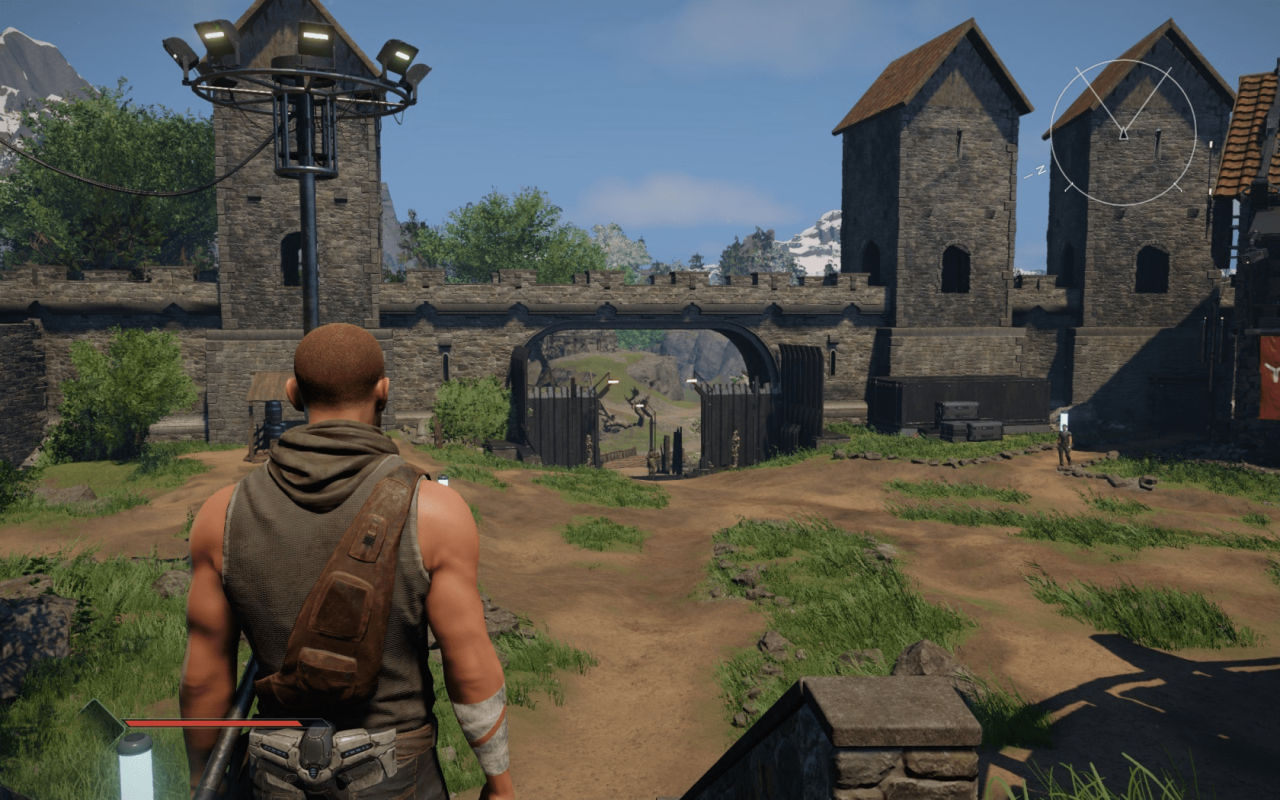
For ELEX II players, this guide will show how to increase graphics beyond the maximum settings by modify some files, let’s check out how.
Introduction
Here I don’t mean the art design or the quality of the individual objects/characters in the game, which have made some progress.
But the general technical presentation has hardly improved noticeably.
However, players who played the predecessor with the identical system will nonetheless find that the performance has roughly halved in some areas. AMD users are currently at an additional disadvantage, as the GPUs seem to be artificially slowed down by a mixture of driver deficits and poor programming/optimization on the part of PB.
Unfortunately, this is the state of affairs and shows that the developers more and more lagging behind the competition with their own technology, which can conjure up optically more sophisticated worlds with less power requirements.
Since the low frame rates in high-end GPUs, especially AMDs, are often due to insufficient load, the graphics quality with such GPUs can be increased through these adjustments without an aditional major loss in performance in the limiting areas.
Usage
“…\Steam\steamapps\common\ELEX2\data\ini”. First you should take a security copy of the file. Now open the original file with a text editor like “Notepad++”.
source of error: Don’t take the “ConfigDefaultNew.xml” file. It is better structured but it will be overridden every start of the game by the “ConfigDefault.xml” file.
Since this is about expanding the graphics beyond the maximum settings in the menu, it is assumed that the highest settings are selected in the game’s options menu.
-
First, the shadows are improved.
The resolution as well as the visibility of the shadows is greatly increased. Near and far as well.
The flat lit distant hills should now look much better and more detailed as the buildings and vegetation farther away will now cast shadows as well.
The cascade levels and their distribution will be adjusted according to the resolution and view range. The transition from the most detailed to the next lower cascade should now be less obvious.To do this, some values are adjusted under the entry “<Shadows” and there under the sub-item “<Ultra”. (Found from line 140.)
After that it should look like this (underlined = has been changed):<Ultra TerrainShadowMapSize=”1024″ TerrainShadowMapCount=”4″ TerrainShadowMapMaxDistance=”800000.0″ EnableShadows=”true” DetailShadowMapSize=”6144” DetailShadowMapCount=”4″ DetailShadowMapViewRange=”40000.0” DetailShadowMapSplitFactor=”0.04” DetailShadowMapNearSplitFactorOverwrite=”300.0f” DetailShadowMapFilterQuality=”2″ DetailShadowMapFixedFoV=”60″ CachedShadowMapWidth=”16384” CachedShadowMapHeight=”8192″ CachedShadowMapNodeWidth=”8″ CachedShadowMapNodeHeight=”4” CachedShadowMapLevelDistanceRatio=”1.0f” CachedShadowMapLevelSizeRatio=”1000.0f” CachedShadowMapLevelCount=”5″ CachedShadowMapQuality=”2″ SSAOQuality=”3″ SmallObjectThreshold=”0.005” SmallObjectFadeRange=”0.005” ShadowDepthBias=”4.0” />Unfortunately, the terrain shadows don’t seem to work in general at the moment, which is why I haven’t changed anything about them. They are probably calculated in the background, the memory consumption increases when the resolution is increased, but they are not displayed. With Elex 1 they were still there.
Most players won’t notice a difference, since most of the mountains are formed by rock objects anyway and therefore also cast shadows. It’s a shame, though, and it’s questionable whether this is intentional. -
Increase grass visibility
The “ViewRange” is increased to 16000 under the item “<Vegetation” and there the sub-item “<High”. (Line 536) It should look like this:
<High ViewRange=”16000.0″ Enabled=”True” Density=”1.0″ />The default value is 9600. At 32000, the view range is even greater. However, the grass is then loaded in large blocks at once, which looks very bad.
I recommend a value between 9600 and 16000.
With a lower value, the loading transitions are smoother and the view range is shorter.
With a higher value, the view range is longer, but the grass loading is more abrupt. -
Increase LOD
Increase the “LoDFactor” under “<SceneQuality”. (Line 543) Default is 1.0.
I recommend 5.0 as a good compromise.<SceneQuality ViewRangeQuality=”Medium” LoDFactor=”5.0″ >


–
There are still some promising looking entries in the INI. E.g. under “Scene” or “Vegetation”.
However, most of them simply don’t work, have a hard limit or even do the opposite of what you expect. Increasing the value for “SpeedTree” can even cause some trees to disappear completely instead of showing several or improving their LOD.
Since I’m still hoping for patches that at least get the AMD problem under control, I’m not uploading a finished file either. This would probably be overwritten again during patching or its structure would be changed.
That’s why there are only instructions here on how to set up everything yourself.
