If you want to make mod of SYNTHETIK 2 , this guide will show you how to make one step by step, and this guide is will show you an example about how to make weapon mod
Intro
This tutorial will show you how to make, test and upload a basic weapon mod.
It’s a good idea to look through the Synthetik discord https://discord.com/invite/55BXUy5 and look through the s2-mod-tutorials channel, or ask for help in the s2-modding channel.
Step 1 – Create a mod profile
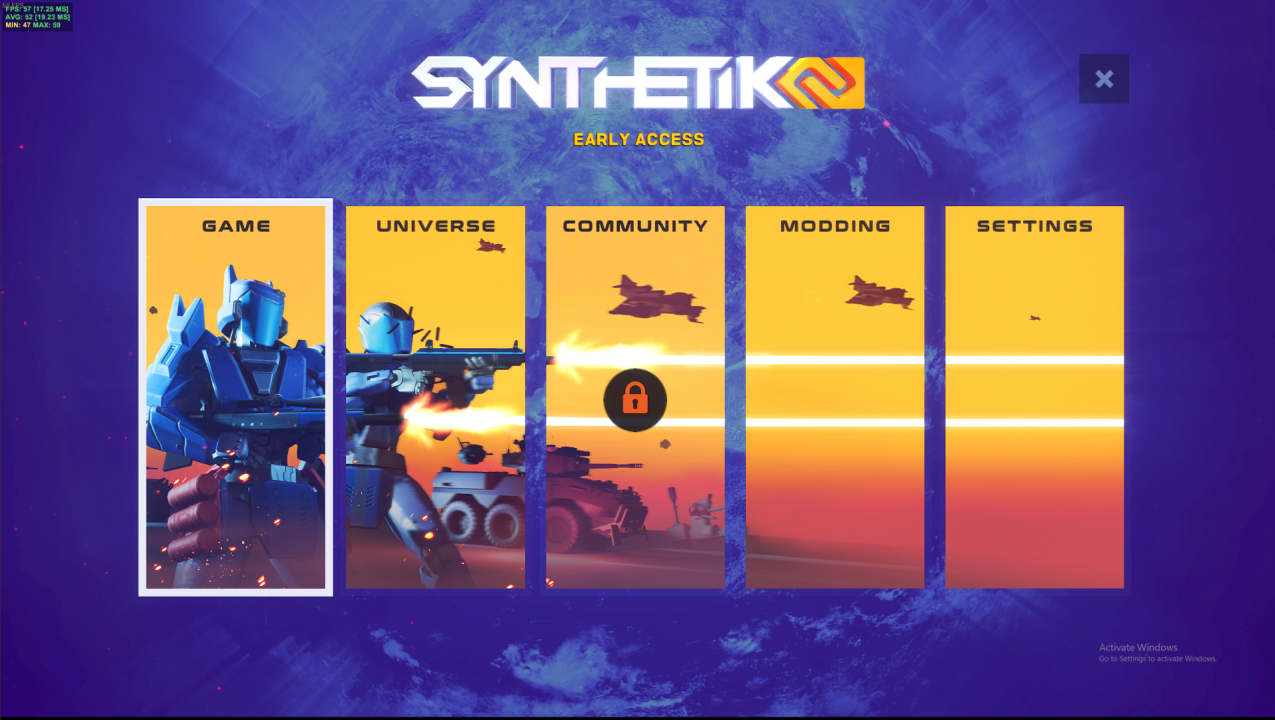
At the bottom, click on universedit. This is what we’ll use to create everything. At the moment, you can’t upload any of your own assets, you can only use what is already in Synthetik 2’s files (which also include some assets from synthetik 1).
First of all, we’ll have to make a new Depot profile. This is like a save slot for your content, and the name and description is just for your convenience.
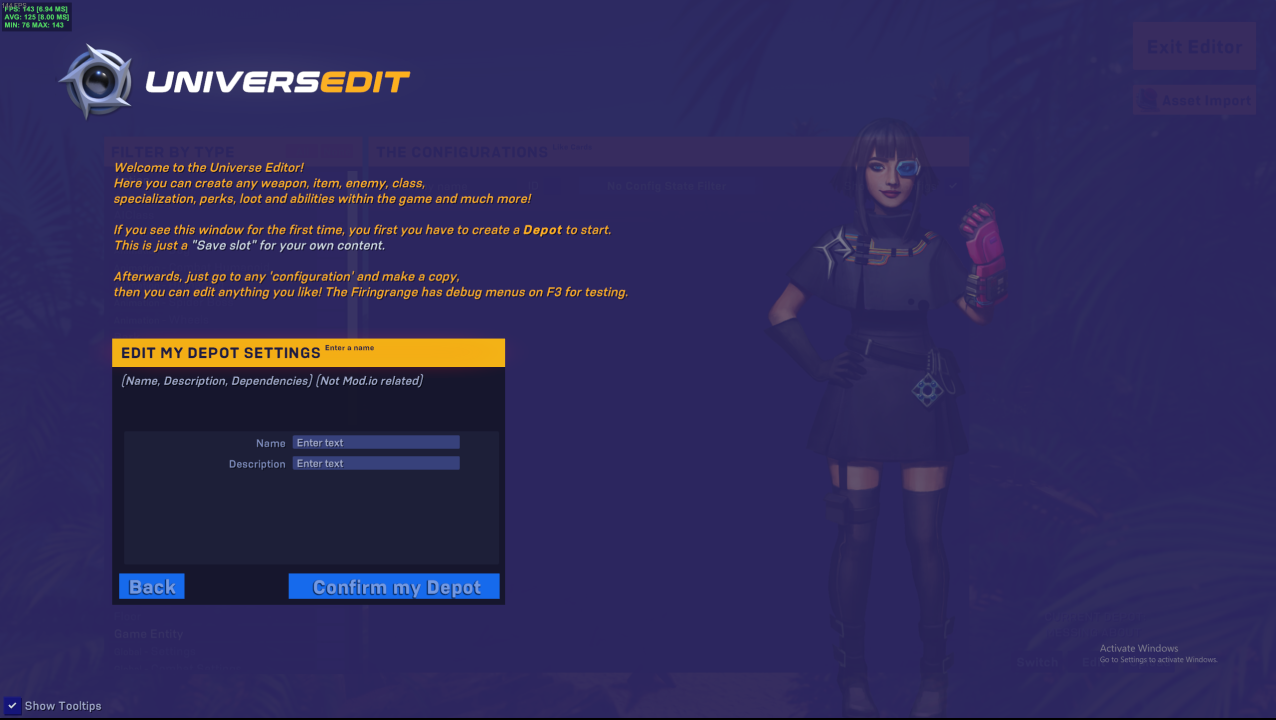
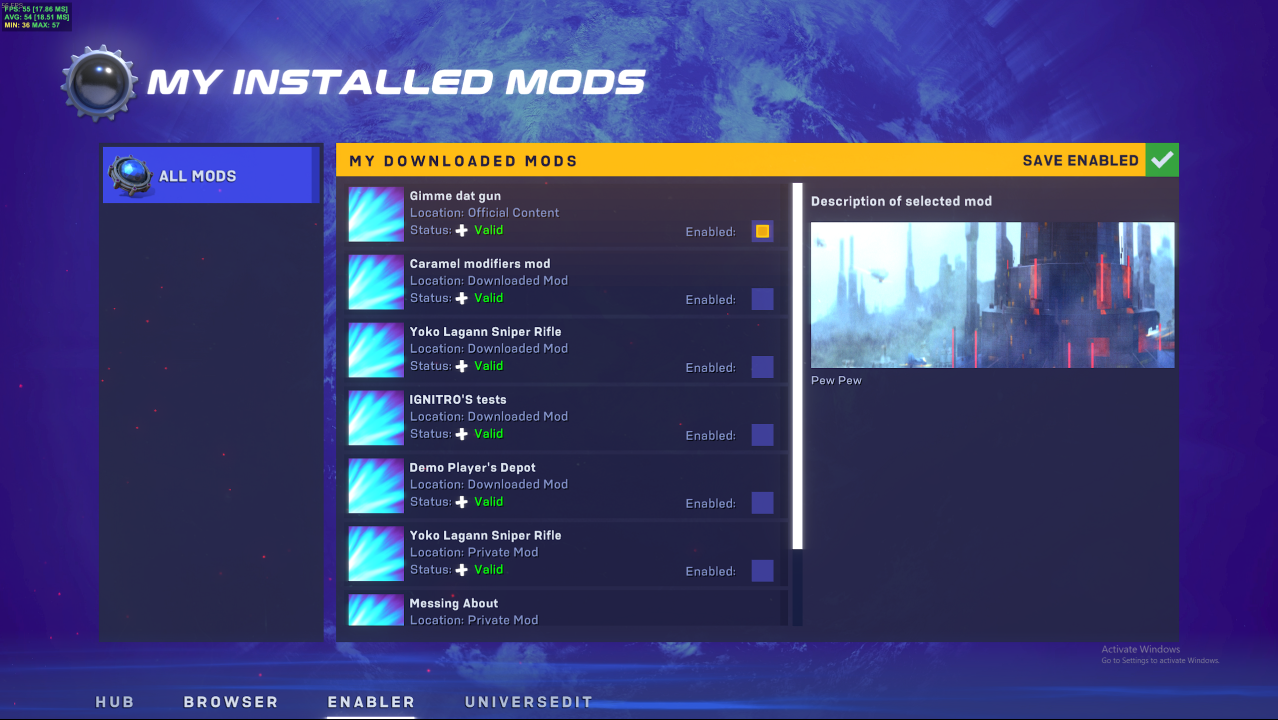
Before we start changing anything, first return to the main menu, head back to Modding, and go to the Enabler.
Here you can choose which mods are active. Make sure the Depot Profile you have made (and only that!) are enabled, then press the Save Enabled button and exit.
Step 2 – Weapon Config
Here you can see all the options, settings and more that you can change while modding. Different categories are on the left, for this we’ll only be interested in the ‘Weapon’, ‘Player Class’ and ‘Player Class Specialization’ categories.
You can filter which categories are shown on the right (only choose All if you are not showing S2 Configs, or else your computer may struggle to load everything).
You can use the searchbar to find specific configurations within the selected category(s), filter them by completion state, or disable showing S2 configs to more easily find your own configs.
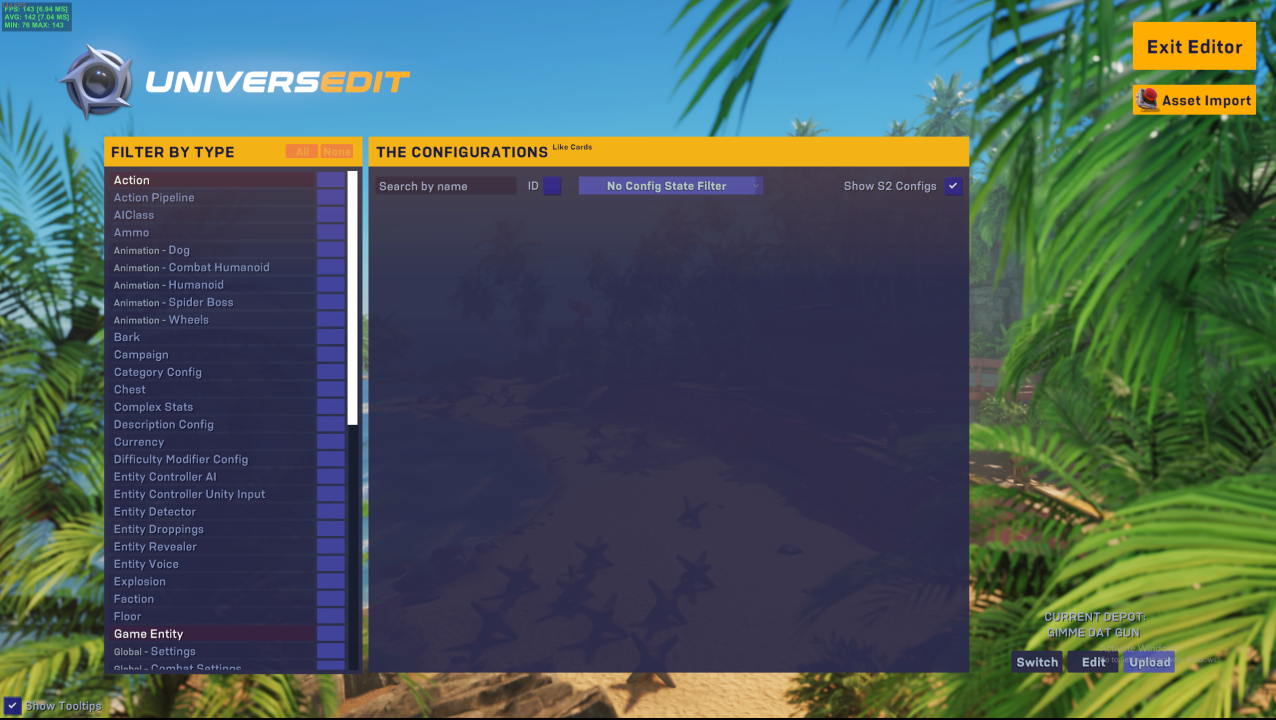
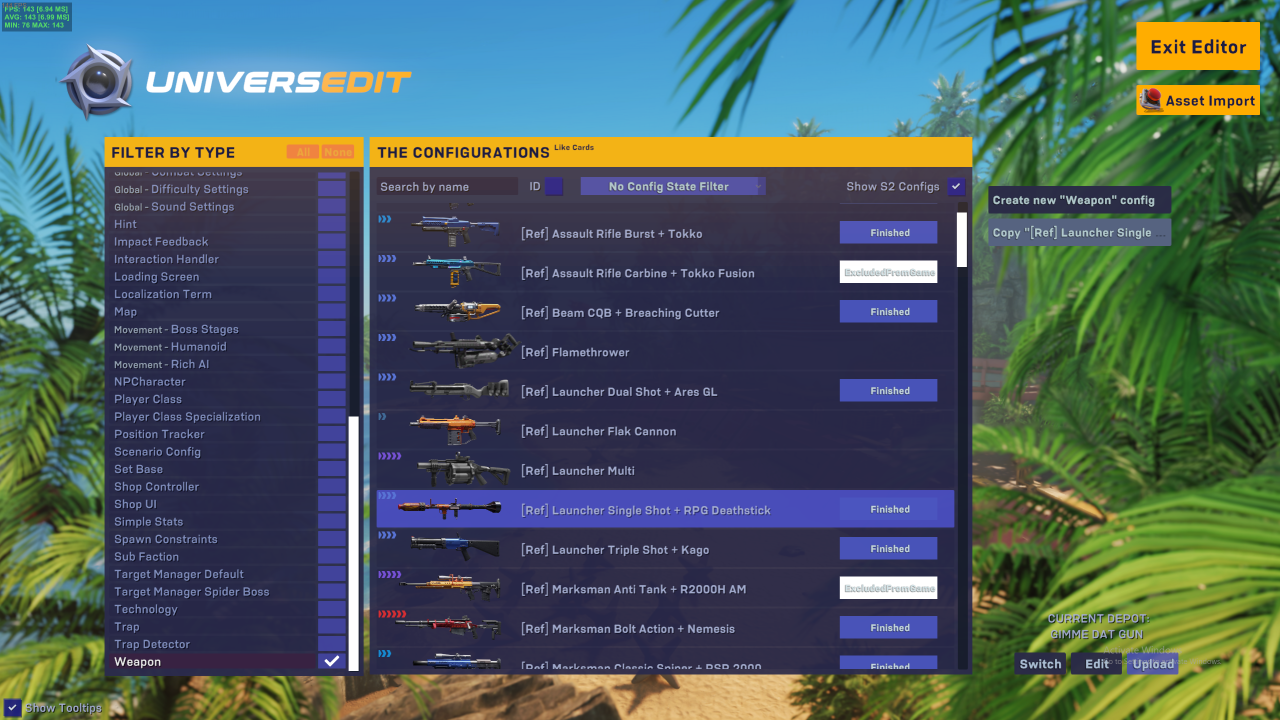
Scroll down to weapons and select it. Generally, you want to copy existing configs and alter them as needed, rather than creating one from scratch. There are many reference weapons that you can base yours on, indicated by [Ref] in their name.
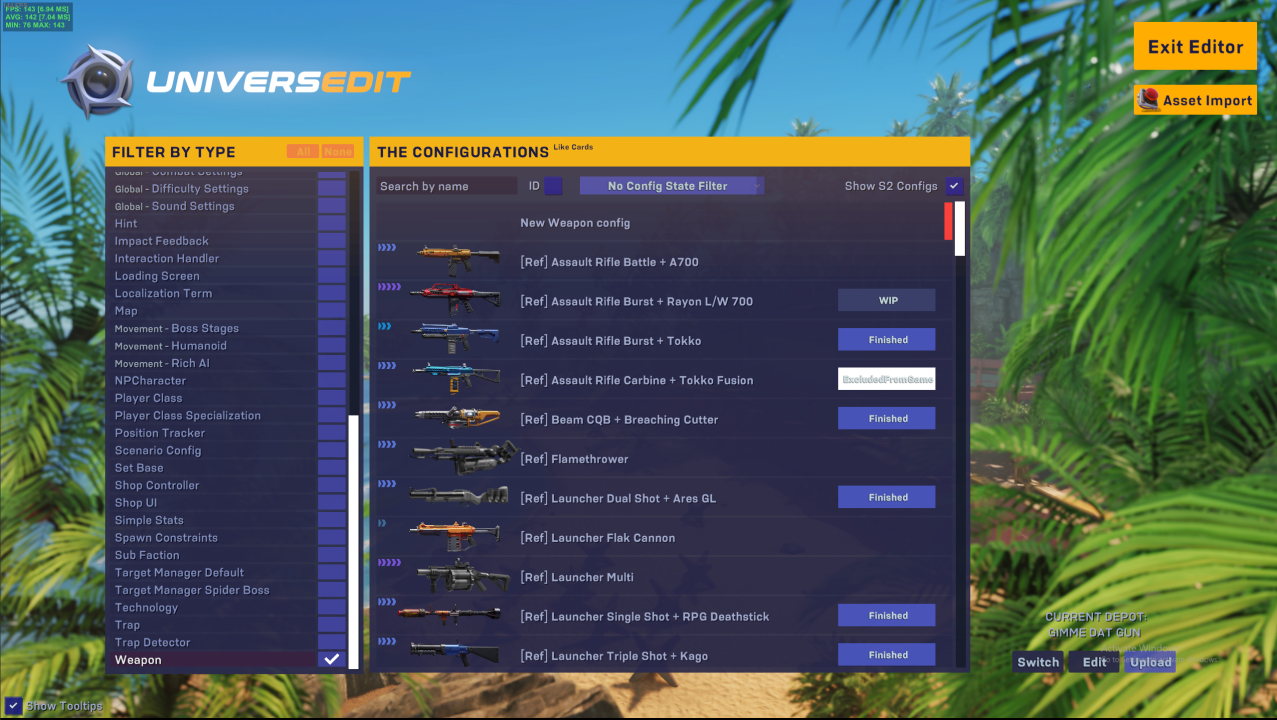
I want a burst rocket launcher, so we’ll copy this reference launcher by clicking on it then ‘Copy “[Ref] Launcher Single’ on the right.
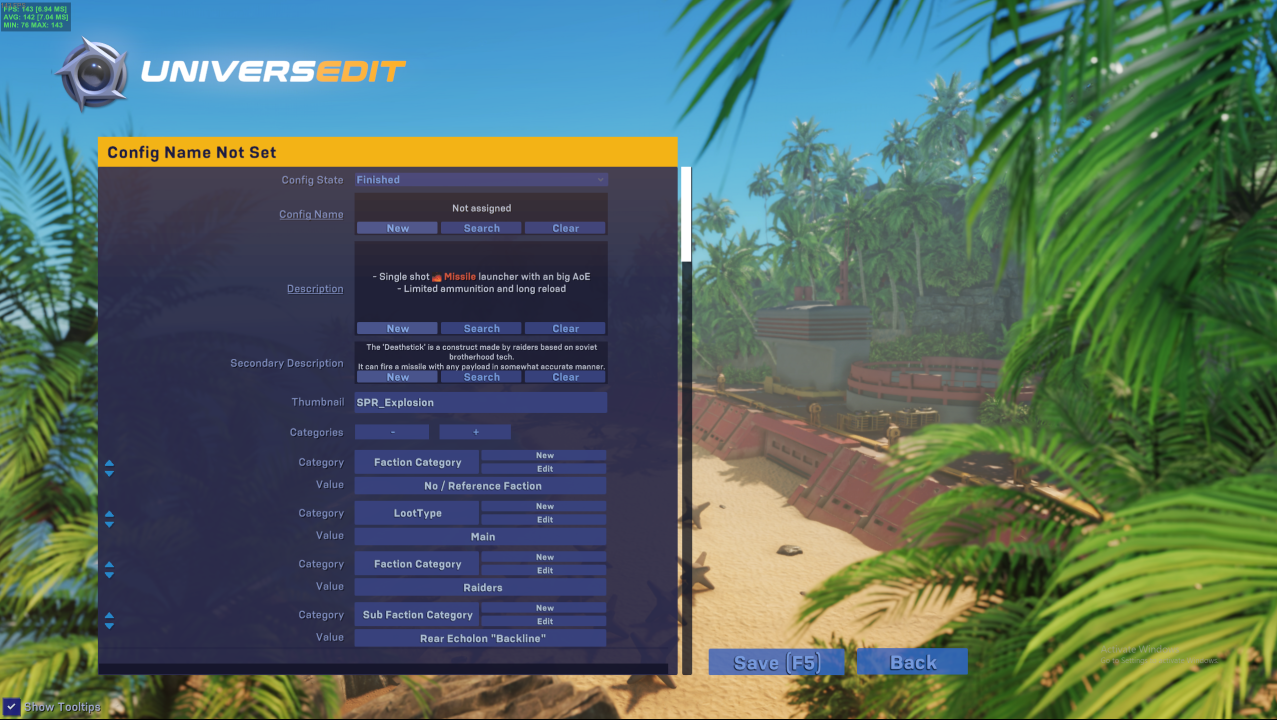
Here we can see all the different options available to us when modding a weapon.
Pressing back and not saving now will remove the copied config, so you can look through existing configs by copying then not saving them.
The very first thing we want to do is give it a name.
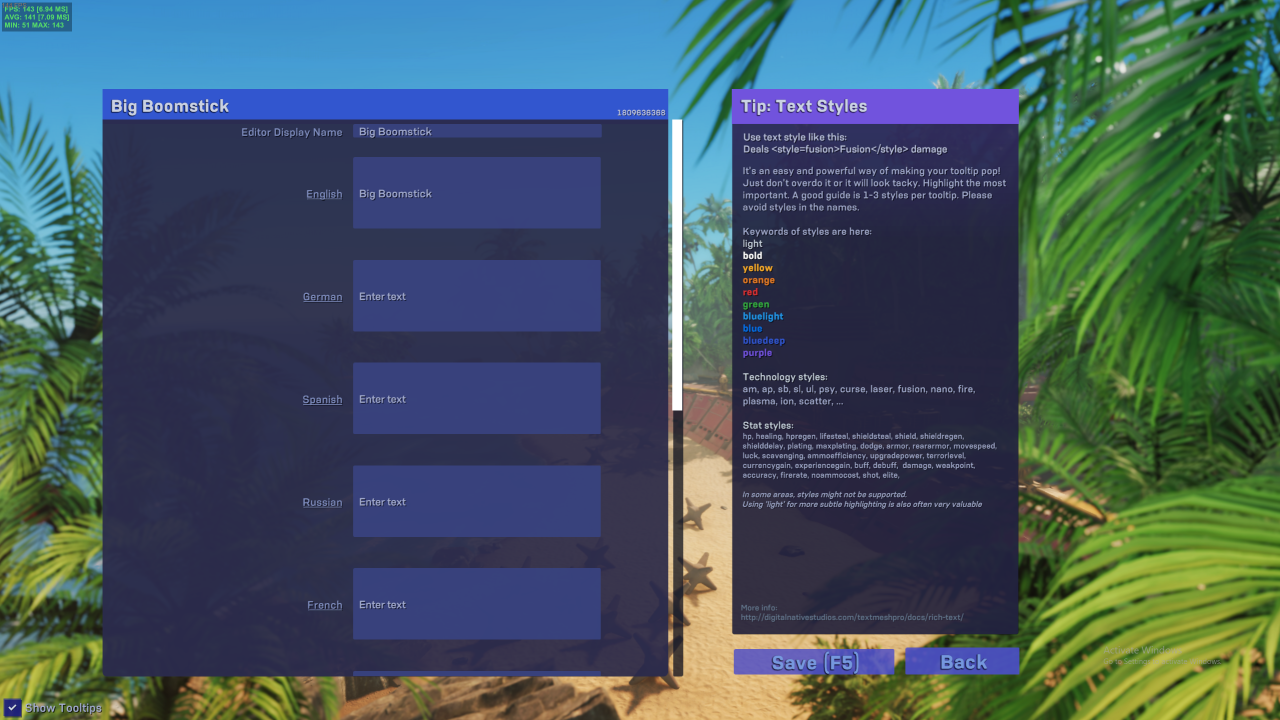
The editor display name should always be included. The specific language options will be what is displayed to the player (or the editor display name if no regional name is set)
Step 2.1 – what stuff does
Please Note: any sections marked with ? I am unsure about, please message me if you have more details on how they work, or if I get any of the following sections wrong.
Weapon Config Options
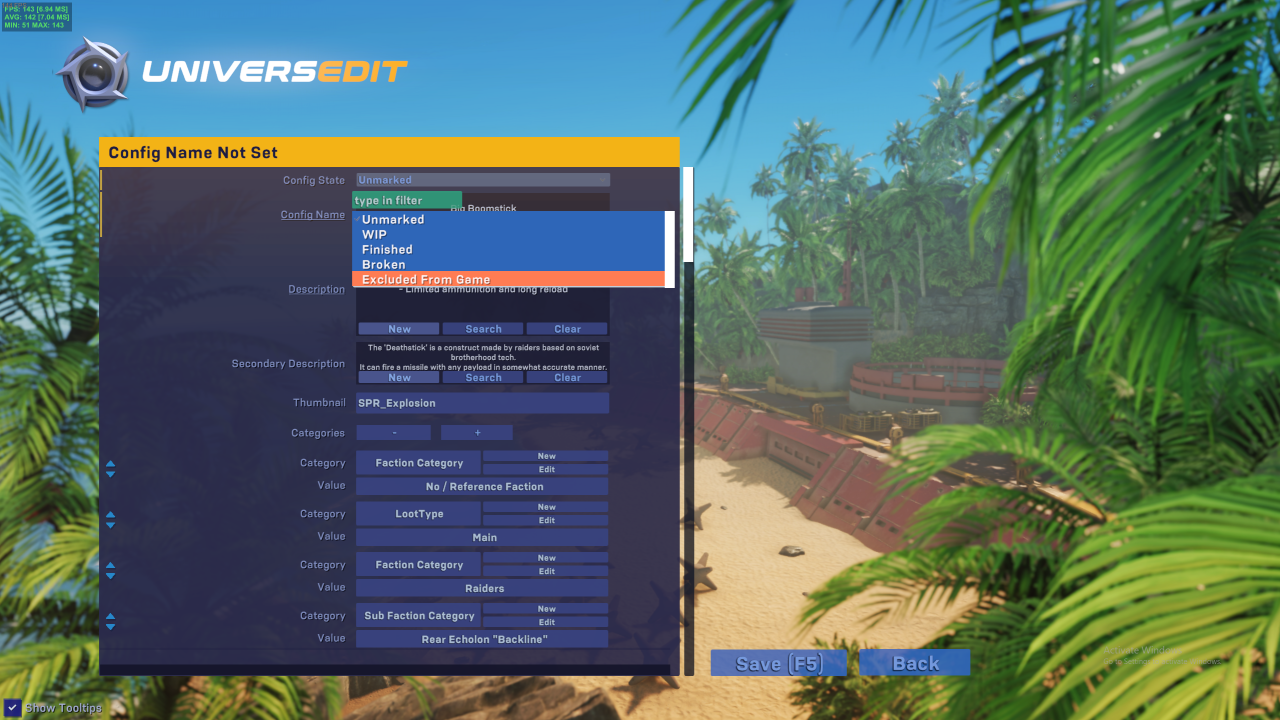
Config State: used to keep track of progress while developing the mod. The only option that matters is “Excluded From Game”, the rest will be included as normal.
Leave this as “Unmarked”
Config Name: the name of this config
Description: What shows to players when they look at the weapon. Include useful information and what damage type the weapon deals.
Secondary Description: Lore and flavour text.
Thumbnail: sprite for the weapon (not the 2D picture of the weapon) choose a sprite that fits the damage dealt by the weapon.
Categories: Which factions use this weapon, the loot type (rarity), and more are set here.
Use the + icon to add a new blank category, or – to delete the last category.
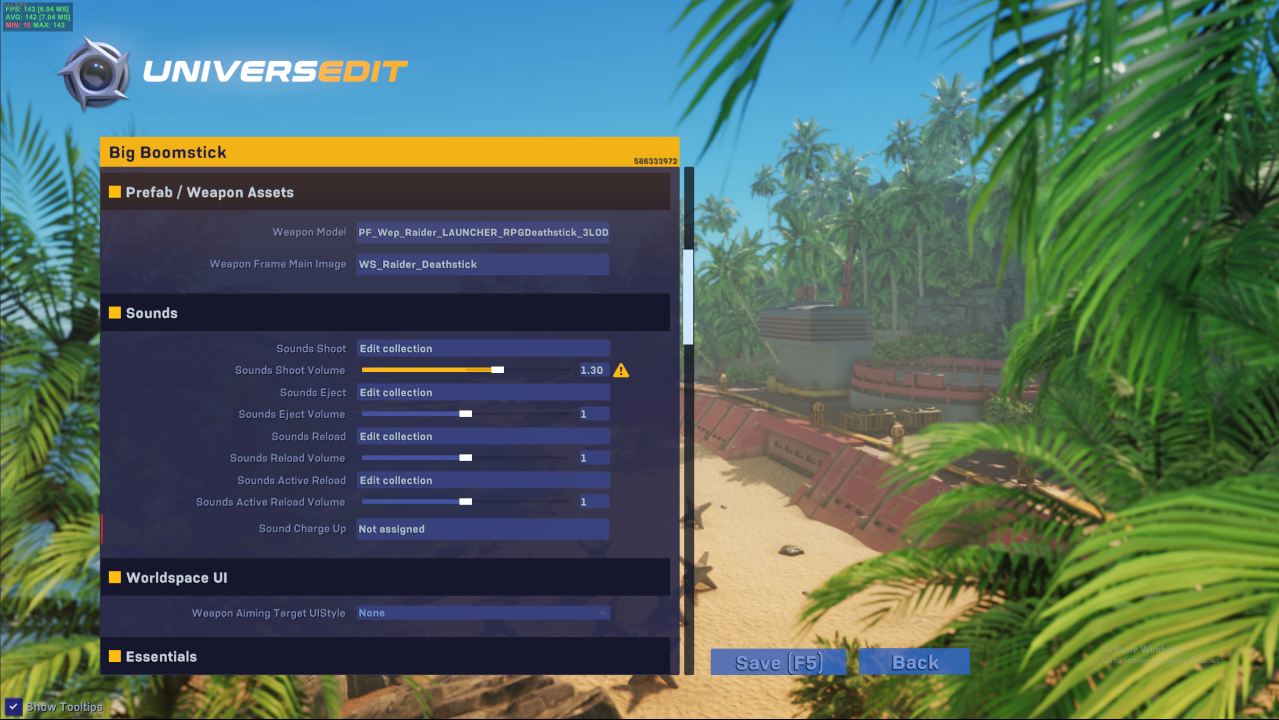
Weapon Model: the 3D model used
Weapon Frame Main Image: the 2D image of the weapon that shows everywhere
Sounds: Here you can select the sounds made when shooting, ejecting, reloading, active reloading and charging up the weapon. You don’t need to assign a charge up sound unless you use that mechanic.
Weapon Aiming Target UIStyle: changes the UI according to the type of weapon used.
Rarity: How likely this weapon is to drop from chests
Socket type: what types of unit can use this weapon. Leave it as infantry
Socket Limit: I honestly have no idea what this does
Is Droppable: untick to keep the weapon forever on pickup. Generally used for Starter pistols.
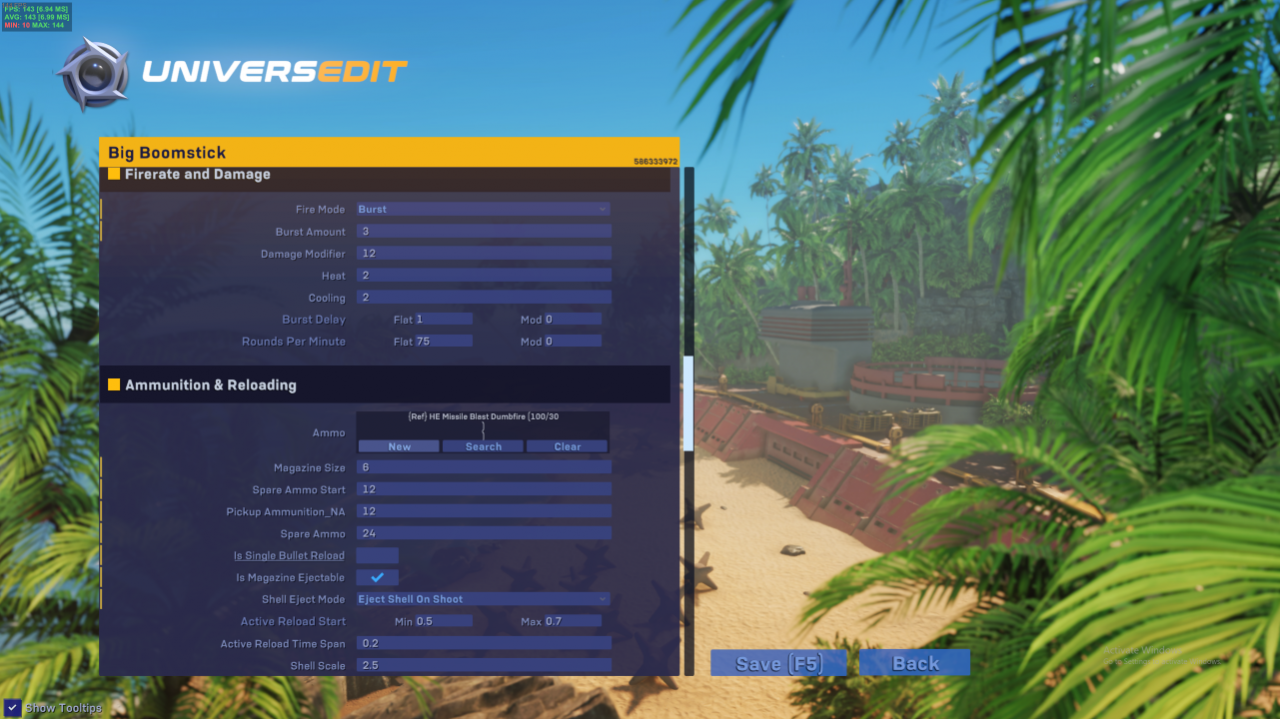
Fire Mode: Single / Auto / Burst. Burst will fire continuously (in bursts) if the fire button is held down.
Burst Amount: How many rounds per burst
Damage Modifier: Multiplies the base amount of damage dealt by the damage type used in this weapon’s ammo. This is so that an entire ammo type (eg Armor Piercing) can be rebalanced without needing to go through each weapon individually.
Heat: Multiplies the base amount of heat produced per shot
Cooling: Multiplies the base cooling rate of the weapon
Burst Delay: Flat: the time between bursts (in seconds? rounds? between end of 1 start of 2 or start to start?) Mod: multiplies burst delay (but why?)
Rounds Per Minute: Flat: the fire rate of the gun. Divide by 60 to get rounds per second. Mod: multiplies rpm (but why?)
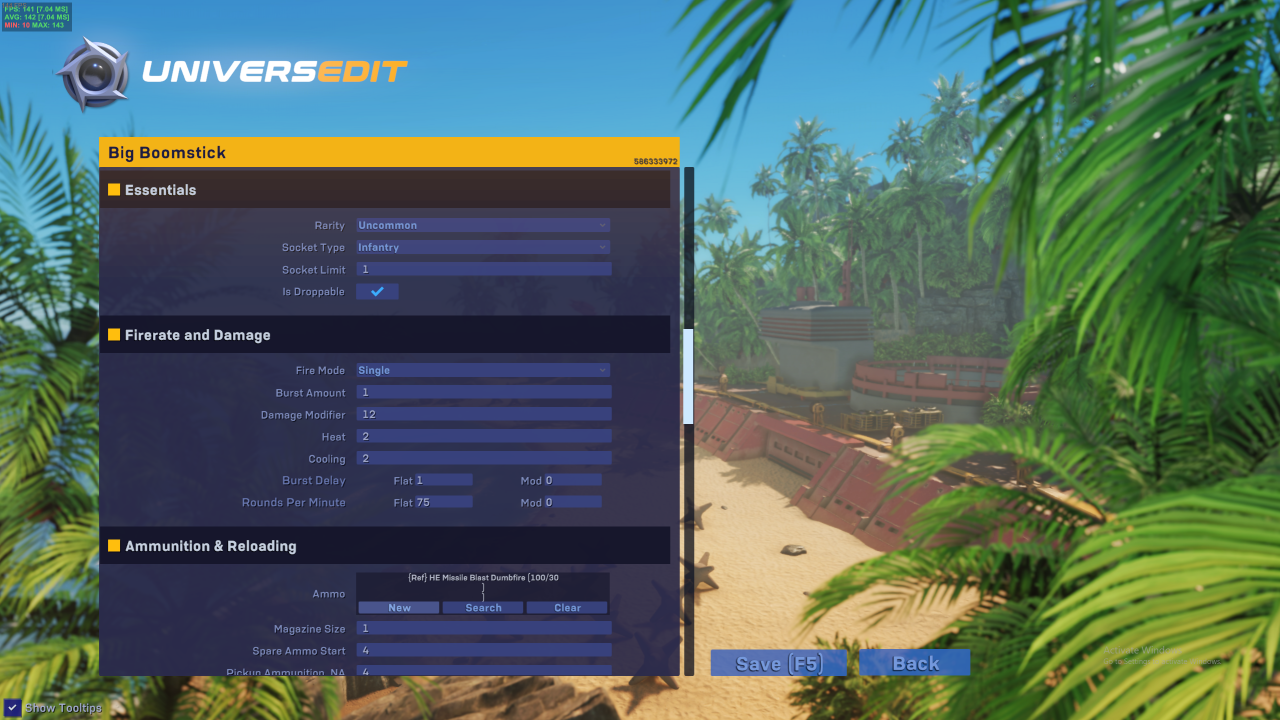
Ammo: the ammo type used by this weapon, which affects range, damage, bouncing, ricochets, aoe, multishot, heat produced, cooling, appearance, sound, etc etc.
Magazine Size: how many time gun goes bang bang before reload
Spare Ammo Start: how much ammo this weapon spawns with
Pickup Ammunition_NA: how much ammo an ammo pickup gives you (?)
Spare Ammo: total spare ammo. The ammo counter shown ingame is the ammo in the gun plus spare ammo
Is Single Bullet Reload: whether you load each bullet individually, like a shotgun
Is Magazine Ejectable: whether you can eject the whole magazine
Shell Eject Mode: how empty shells are ejected from the weapon. ‘Eject Shell On Shoot’ to eject them like a normal automatic gun, ‘Eject Shell on Reload’ to drop them all on reload like a grenade launcher, None to not have shells ejected.
Active Reload Start: the minimum / maximum time as a ratio of overall reload that active reload begins. Keep minimum and maximum the same for consistent reloads, or different for less consistency.
Active Reload Time Span: how long (in seconds?) between the start and end of active reload
Shell Scale: how big the shells are?
Shell Sound Delay: time between shooting and shell sound?
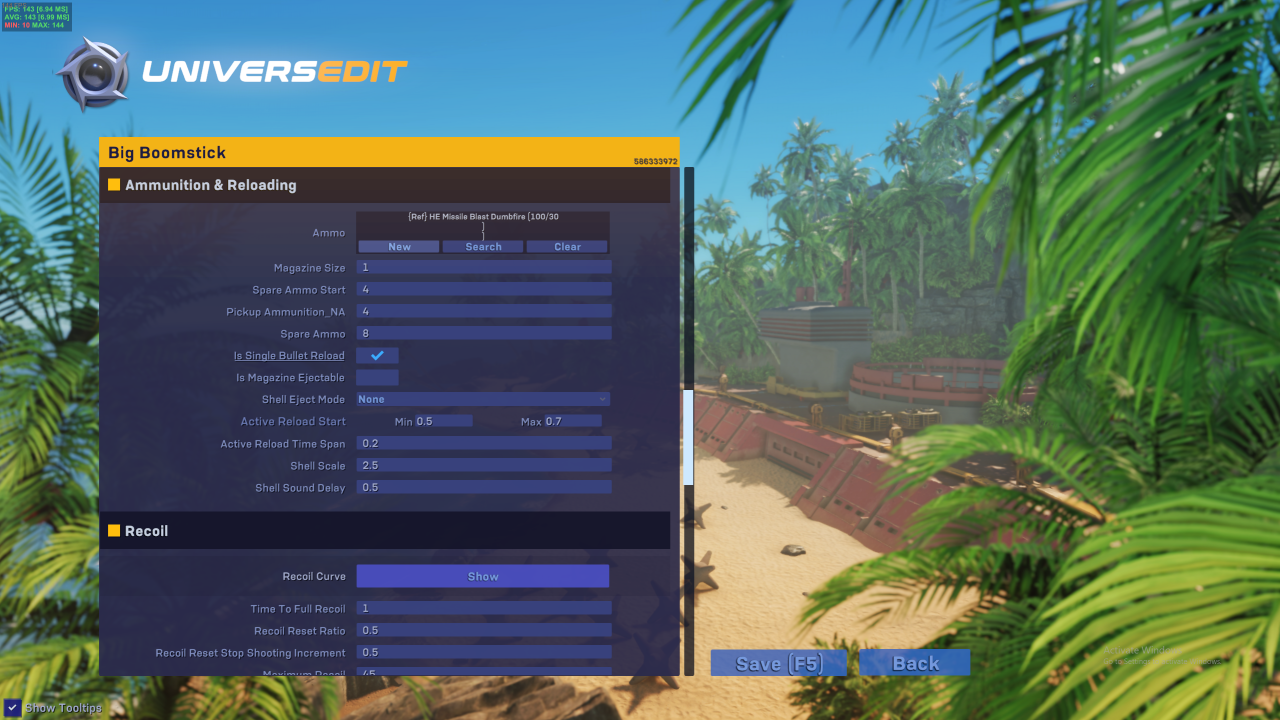
Recoil Curve: shows a graph which indicates how you will regain accuracy from maximum to minimum
You can also add keyframes to more accurately adjust how your weapon regains accuracy due to recoil
Time To Full Recoil: How long it takes in seconds to get to maximum recoil (inaccuracy)?
Recoil Reset Ratio: How quickly the weapon recovers from recoil?
Recoil Reset Stop Shooting Increment: Delay between stopping shooting and recoil reducing
Maximum Recoil: The maximum recoil possible.
Deviation: set inaccuracy that applies all the time
Movement Inaccuracy: how much accuracy is reduced by moving
Firstshot Accuracy Offset: how much more/less accurate the first shot is?
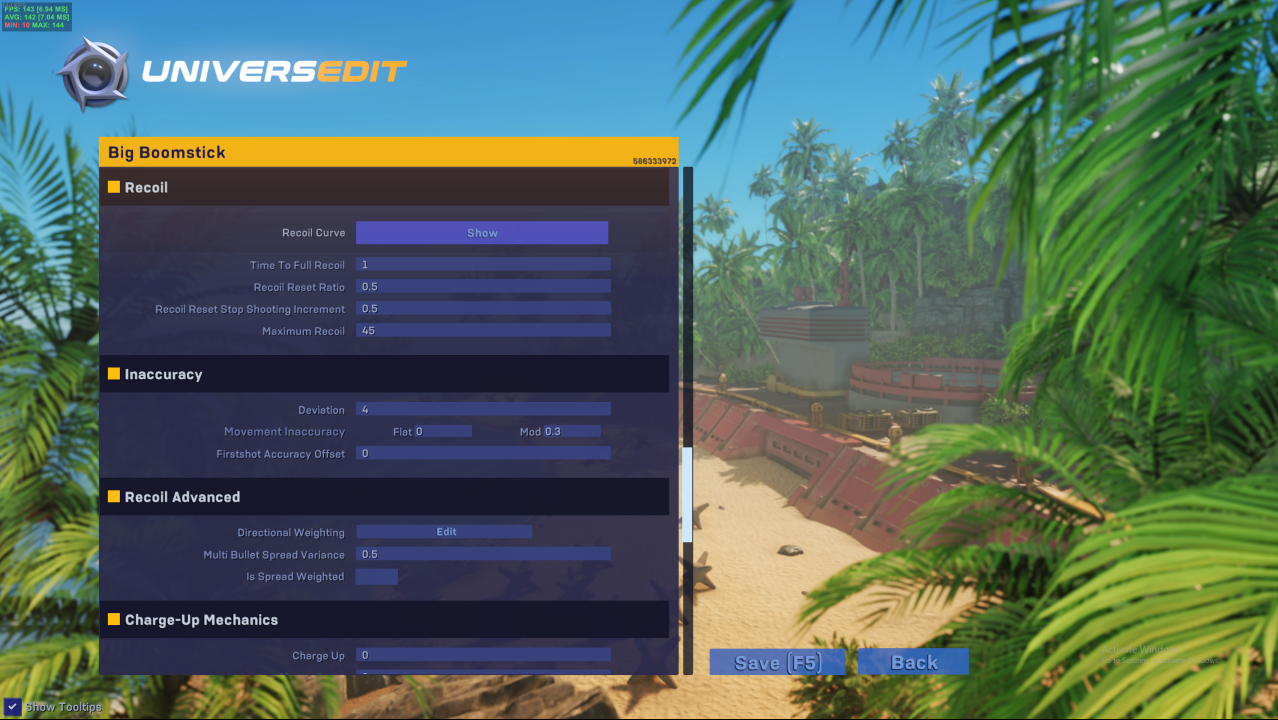
Charge Up: time in seconds between pressing the fire button and pew pew
Charge Down: time since the last round until you can begin firing again?
Animation Type: Reload animation used
Force Left Hand IK: I have no idea
Eject Speed Modifier: multiplies how quickly the weapon ejects, higher number = shorter eject
Reload Speed Modifier: multiplies how quickly the weapon reloads, higher number = shorter reload (reload comes after eject)
Equip / unequip speed modifier: multiplies how quickly you can switch to / from this weapon
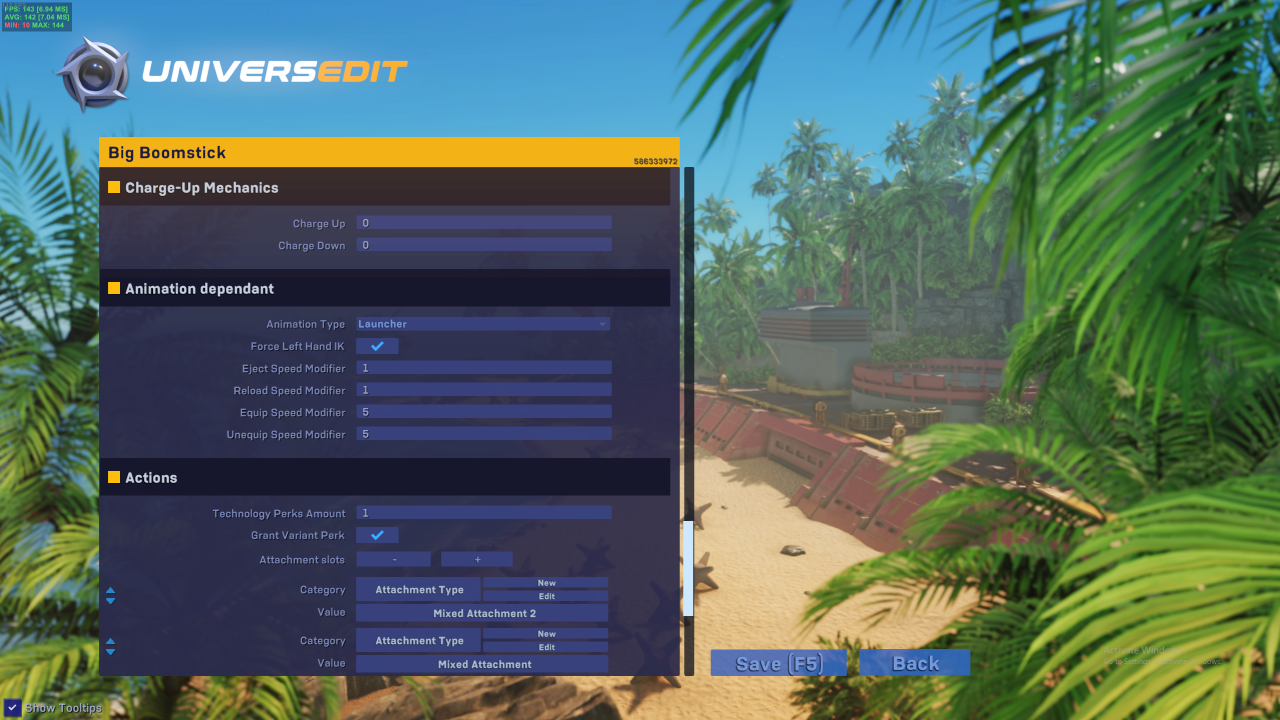
Technology Perks Amount: Perks based on ammo used?
Grant Variant Perk: whether or not this weapon uses variant perks (heavy, scavenging, etc)
Attachment Slots: Attachments used for upgrades. Add new blank Attachments with + or delete the last Attachment with –
Perks At Level: Weapon Perks that are unlocked by using and levelling up the weapon. Press + to add a new blank perk, or – to delete the last perk.
Value to Activate is the level at which the perk unlocks. Set to 0 to have it always active.
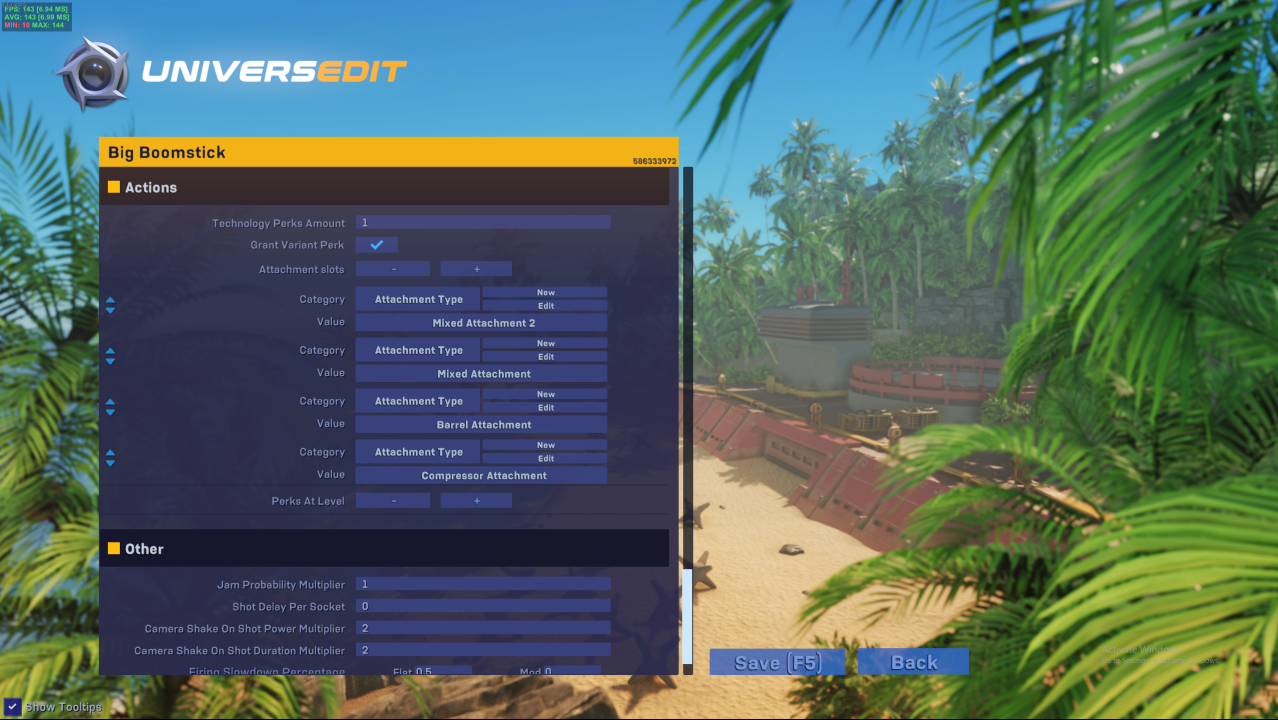
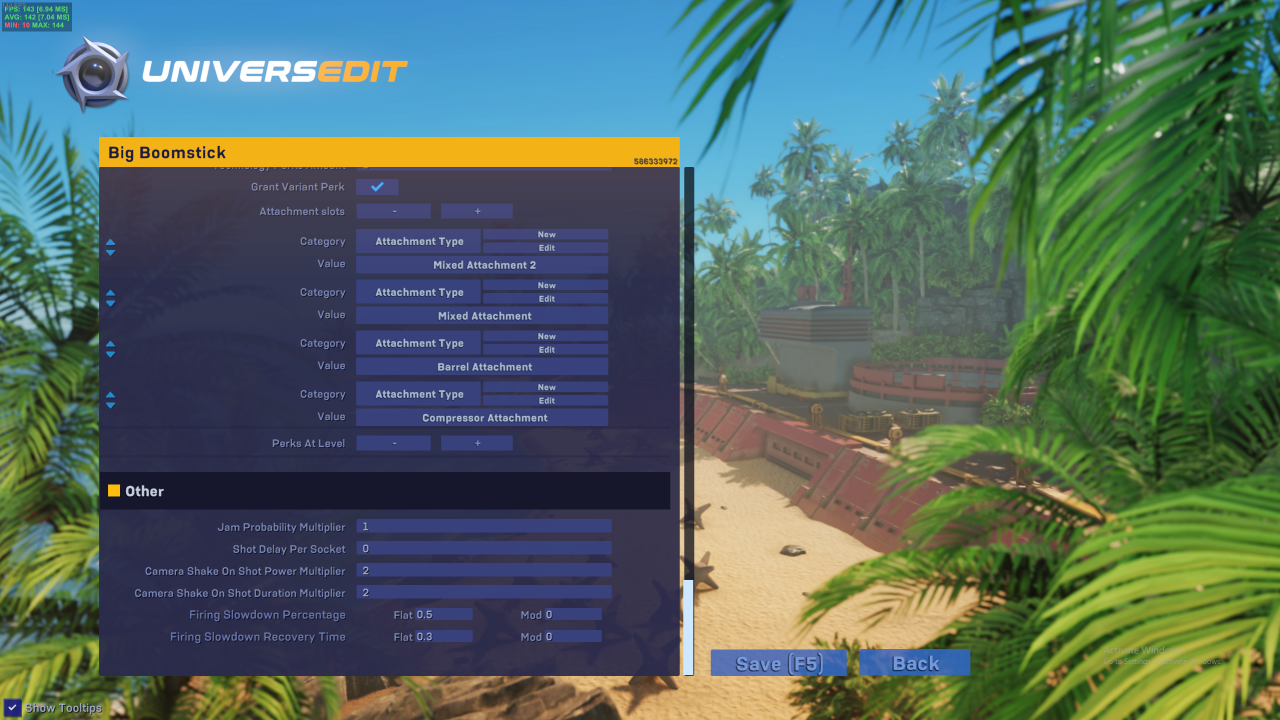
Jam Probability Multiplier: how likely the weapon is to jam while firing. Higher number = more jams.
Shot Delay Per Socket: No idea
Camera Shake On Shot Power Multiplier: How much the camera shakes on every shot. More shake for heavier impact weapons.
Camera Shake On Shot Duration Multiplier: How long the camera shake takes
Firing Slowdown Percentage: How much speed is reduced while firing. (not actually a percentage?)
Flat reduces speed by a flat amount (0.9 will reduce a player moving at 1x speed to 10% of normal, while a player moving at 1.15x speed due to modifiers will only be reduced to 25% speed)
Mod multiples current speed (0.8 will reduce a player moving at 1x speed to 20%, while a player moving at 1.2x speed will be reduced to 24% speed)
Firing Slowdown Recovery Time: how long this firing slow down lasts
Step 3 – Change some stats
We’ll also need a magazine large enough to shoot multiple bursts, so we change the Magazine Size to 6. We also need more ammo to keep firing it, so we increase Spare Ammo Start and Pickup Ammunition_NA to 12, and Spare Ammo to 24.
We also need to make sure we reload the entire magazine in one go, so we untick Is Single Bullet Reload and tick Is Magazine Ejectable.
We also want to see shells fire, so we change Shell Eject Mode to Eject Shell on Shoot
The original eject / reload time will probably be too fast for a weapon that can fire 6 rockets between reloads, so we increase the Eject Speed Modifier and Reload Speed Modifier to 2.
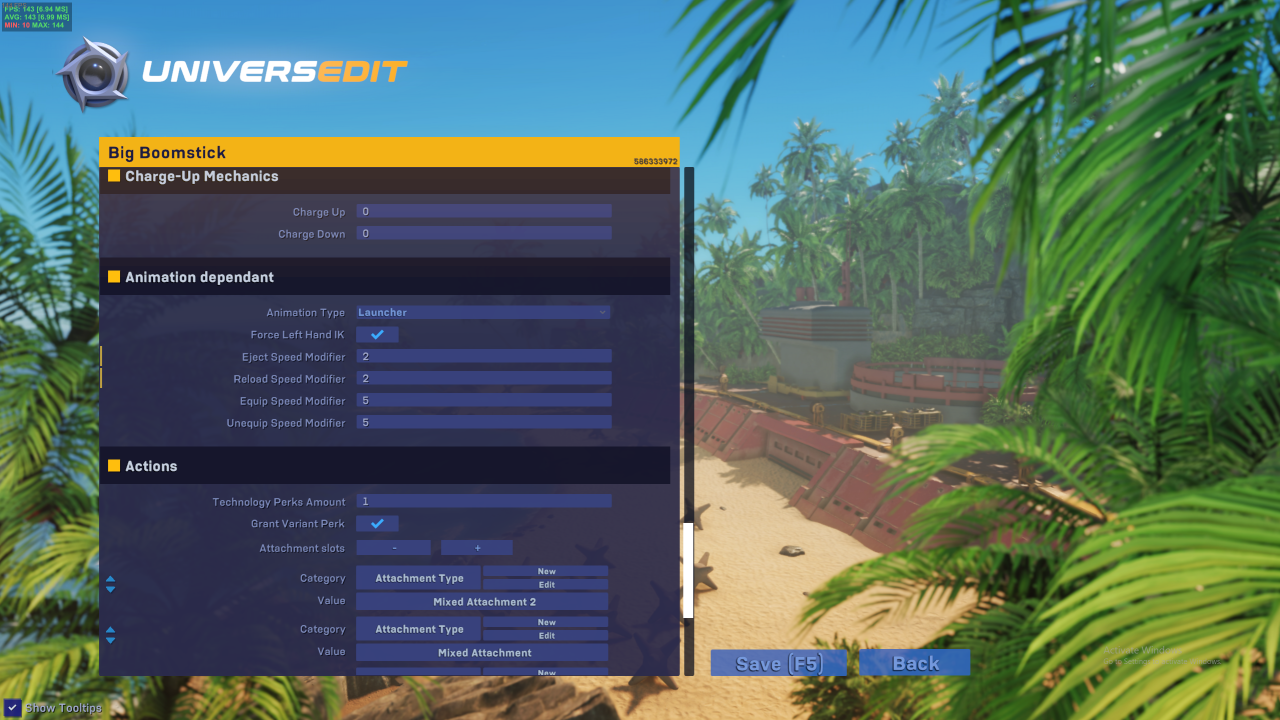
We also want to add a perk, so we press + to add a blank perk
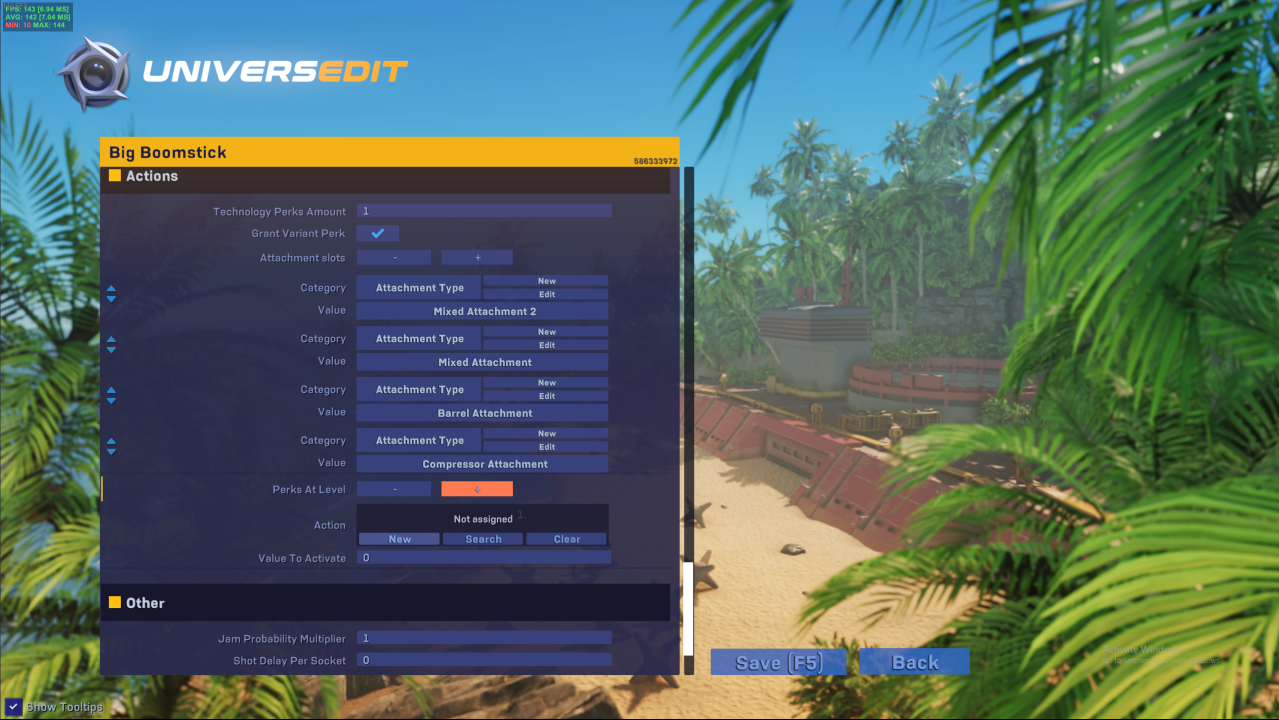
Then click on search. We’re not going to make a new perk to go with this weapon, instead we’re going to use an existing one.
We can find perks that are meant to go on weapons by searching for ‘wperk’
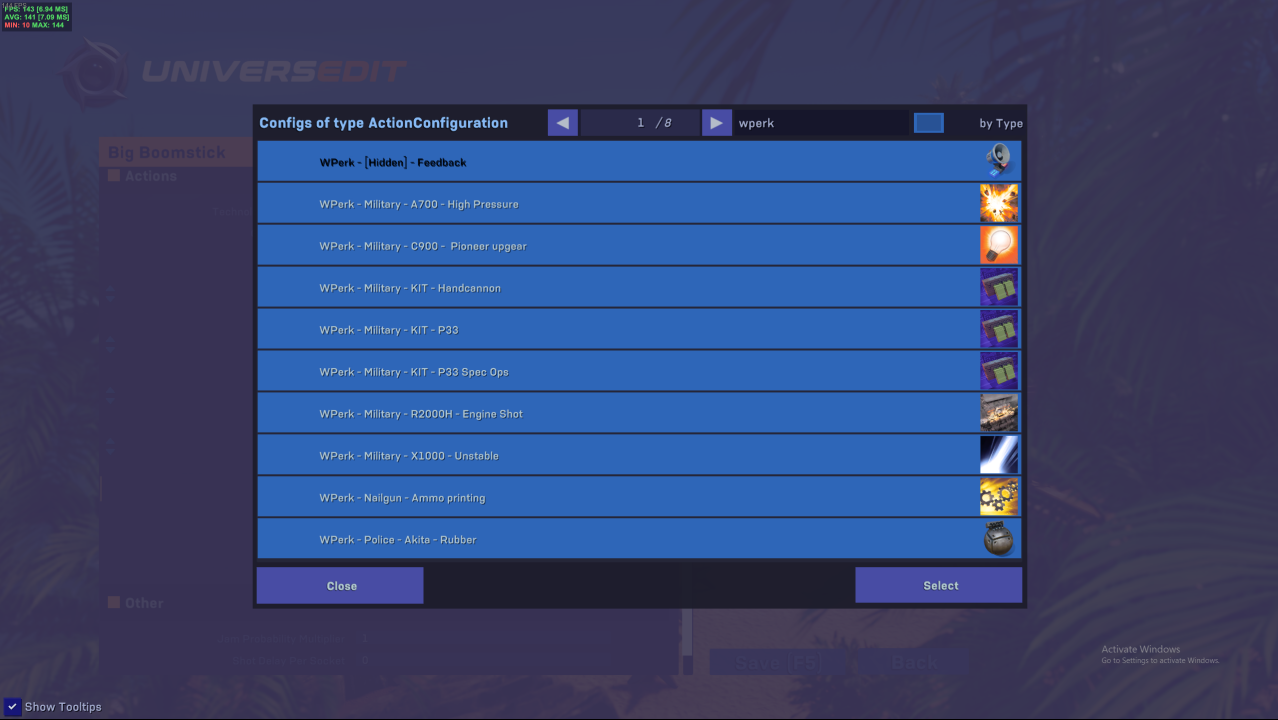
Once we’ve found a perk that looks like it’ll be good to add, click on it then press select.
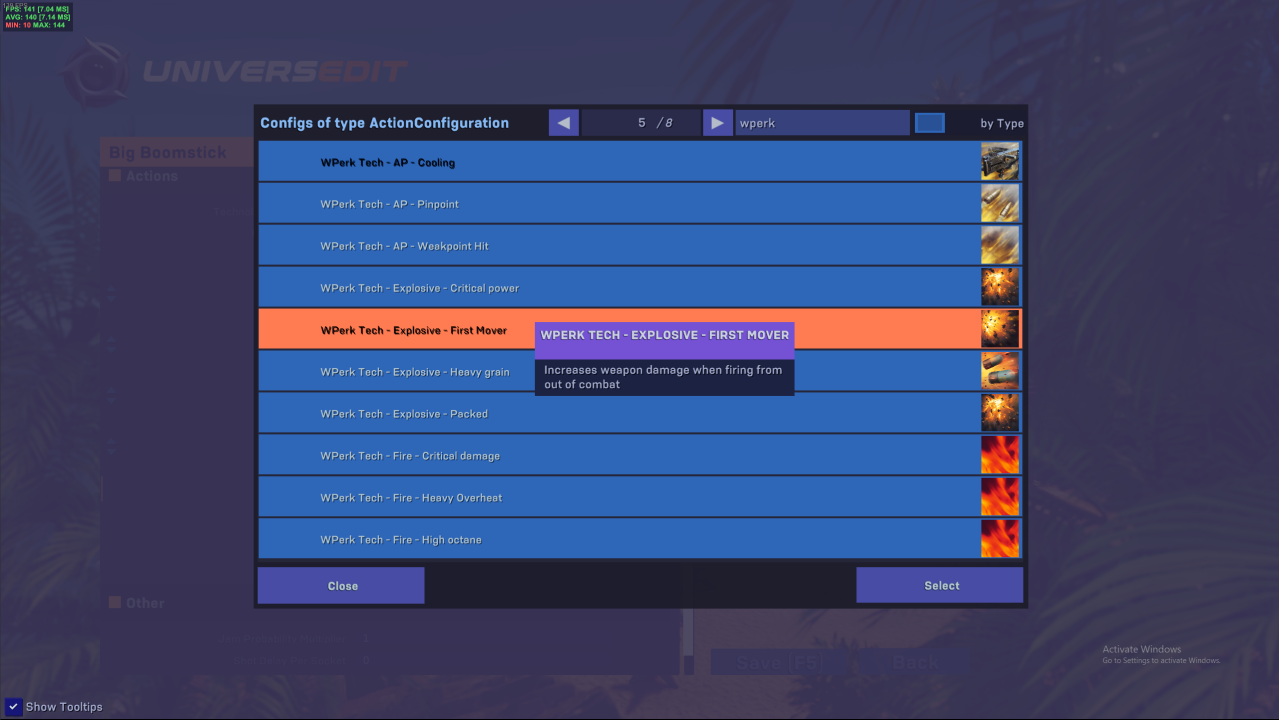
We also want the perk to be obtained once the player reaches level 3 with that perk, so we increase Value To Activate to 3.
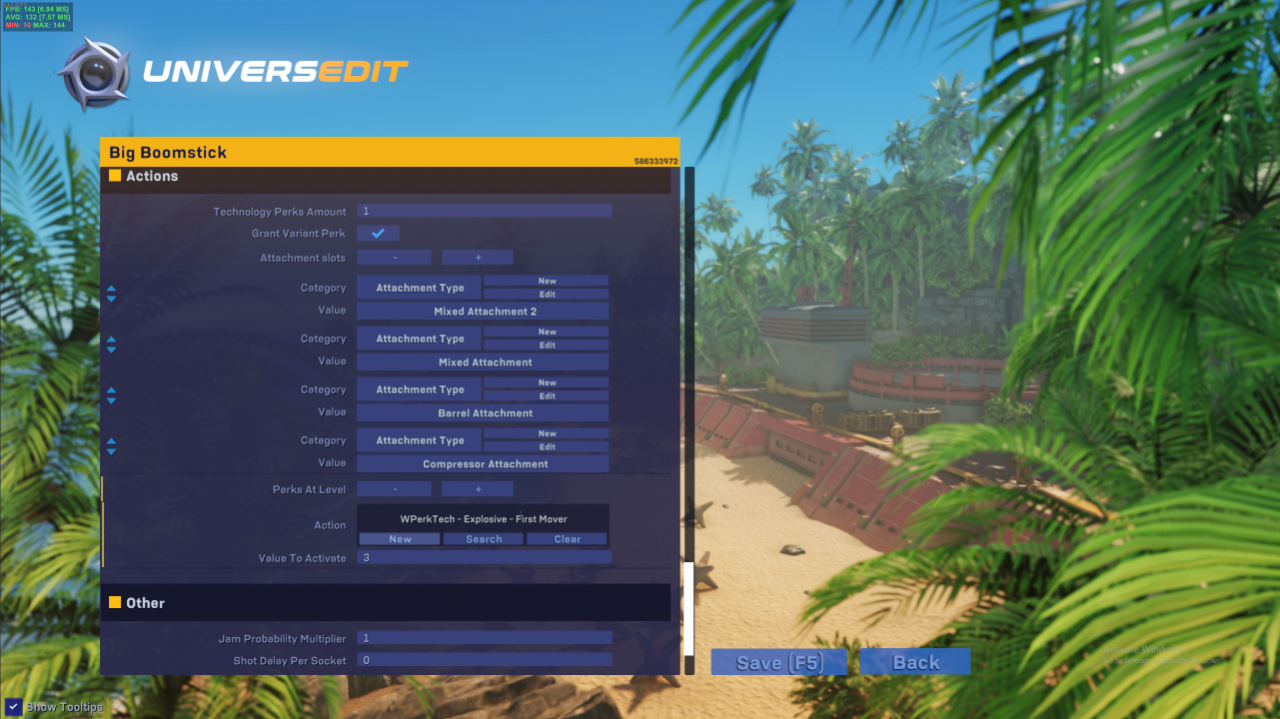
Now you can press the save button to save progress, and it’ll appear in weapon categories.
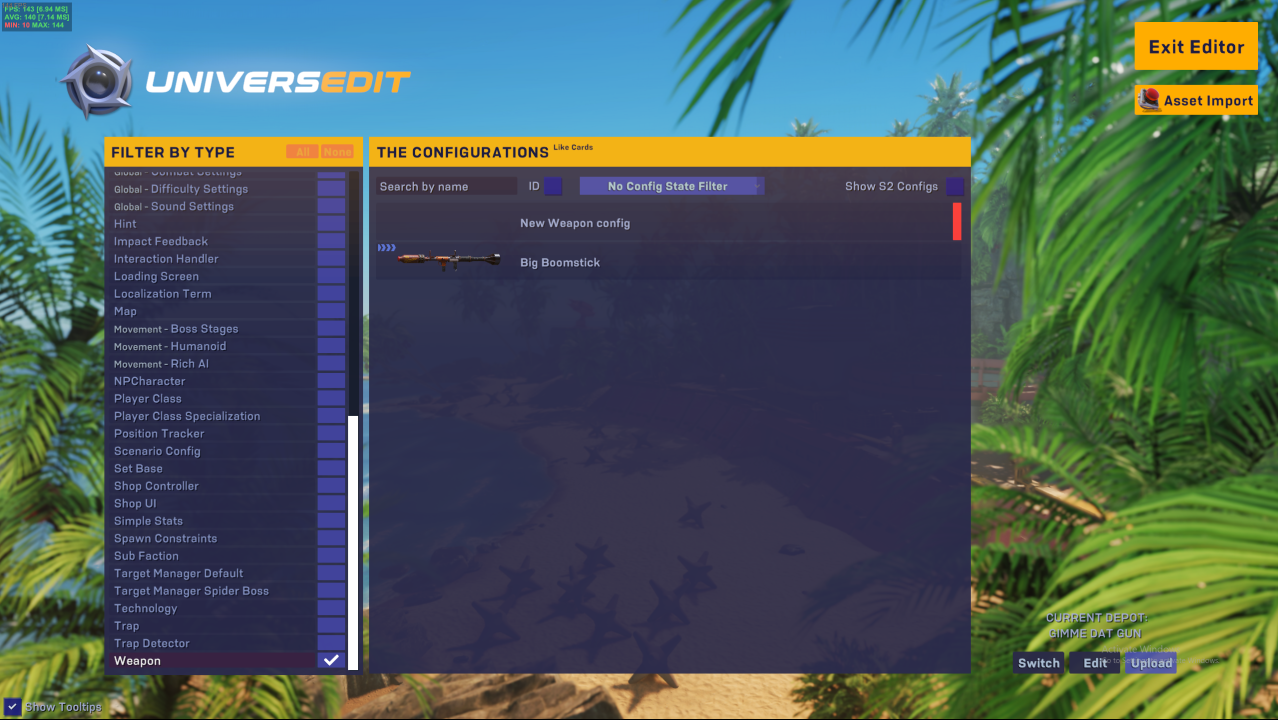
Step 4 – Testing
Head to the Player Class category in Universedit, select one of the normal (not excluded) classes, and copy it.
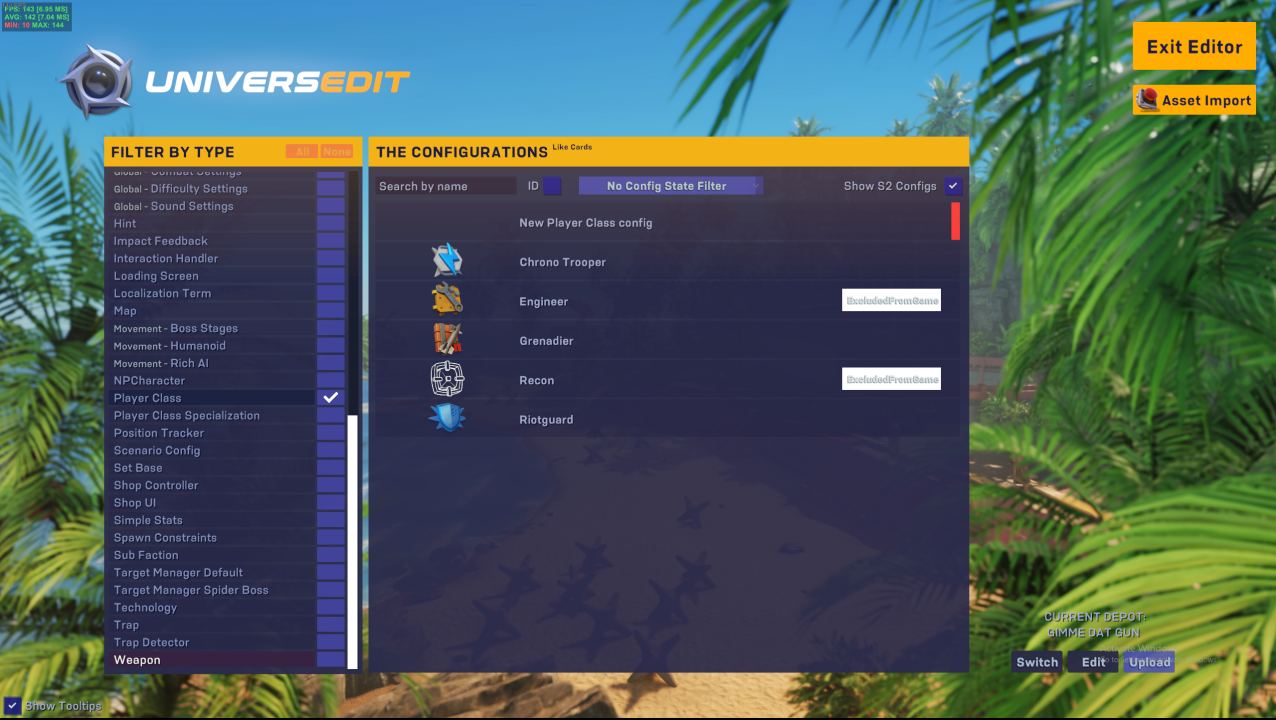
First, we’re going to give it a Config Name by pressing New
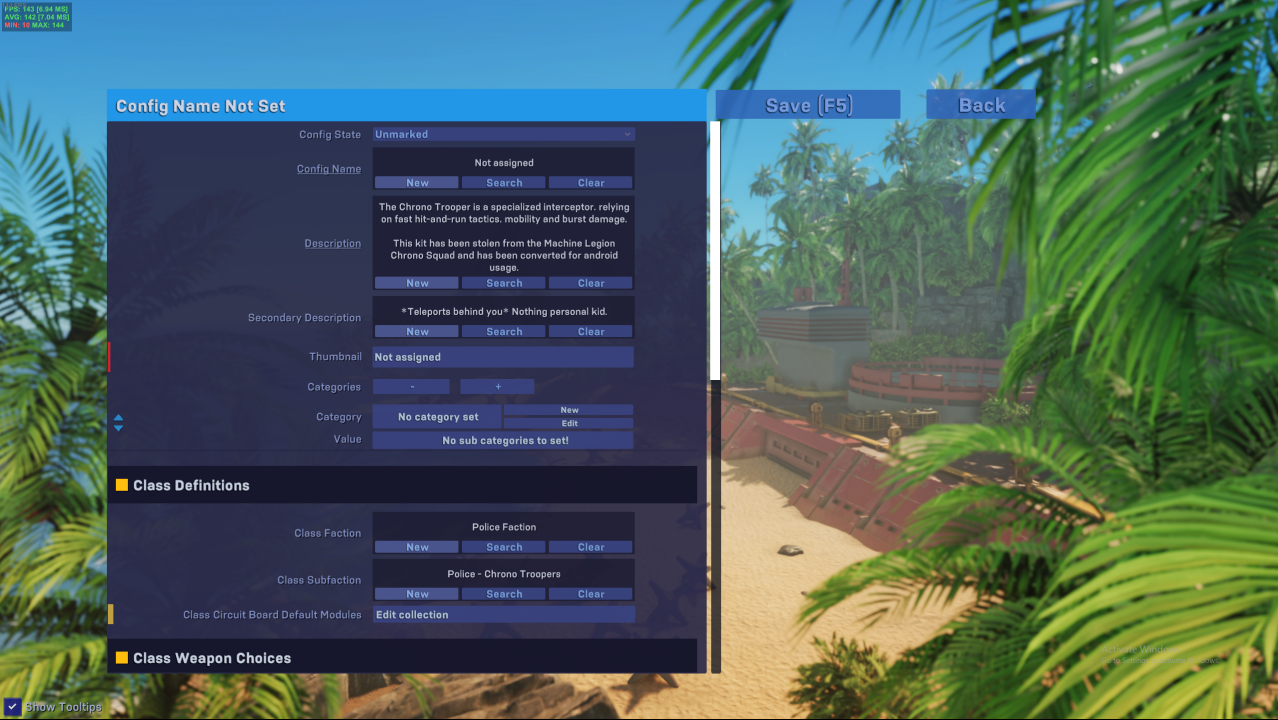
And give it a name that will make it obvious that it’s just for testing.
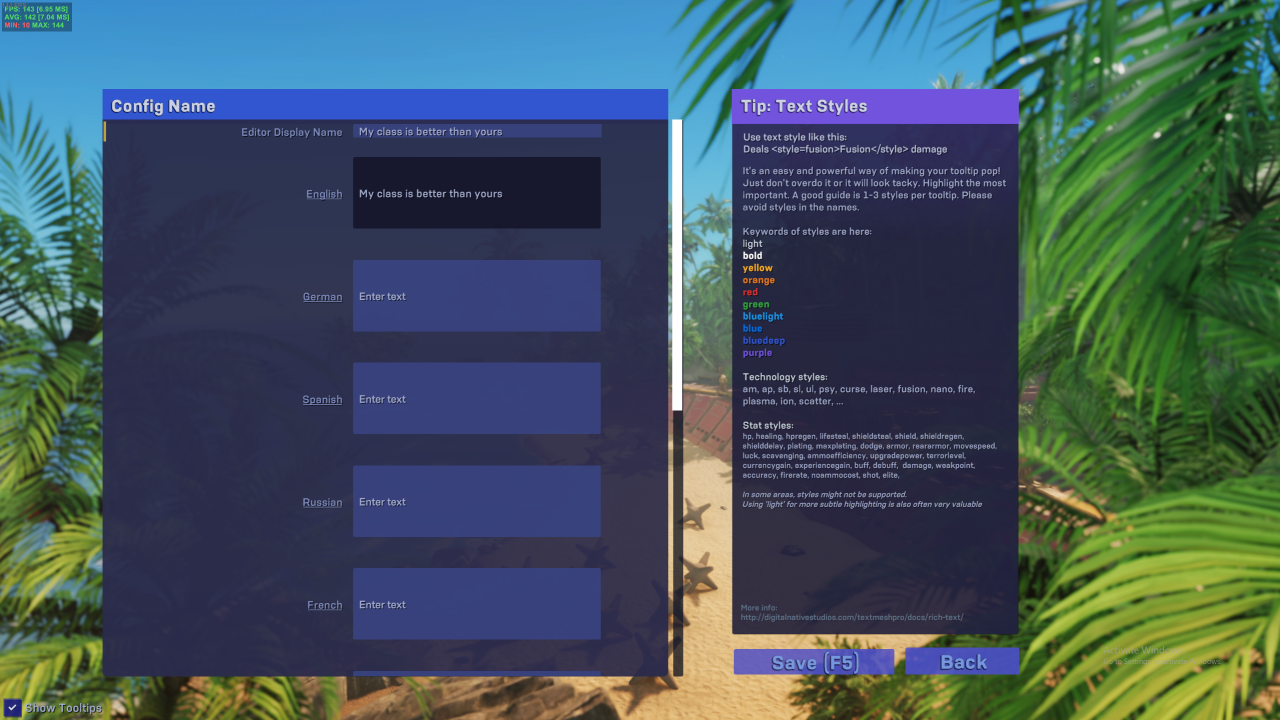
Now we need to head to Player Class Specialization and copy the DEFAULT SUBCLASS for that class (Chrono Trooper for Chrono Trooper, Grenadier for Grenadier, Riotguard for Riotguard).
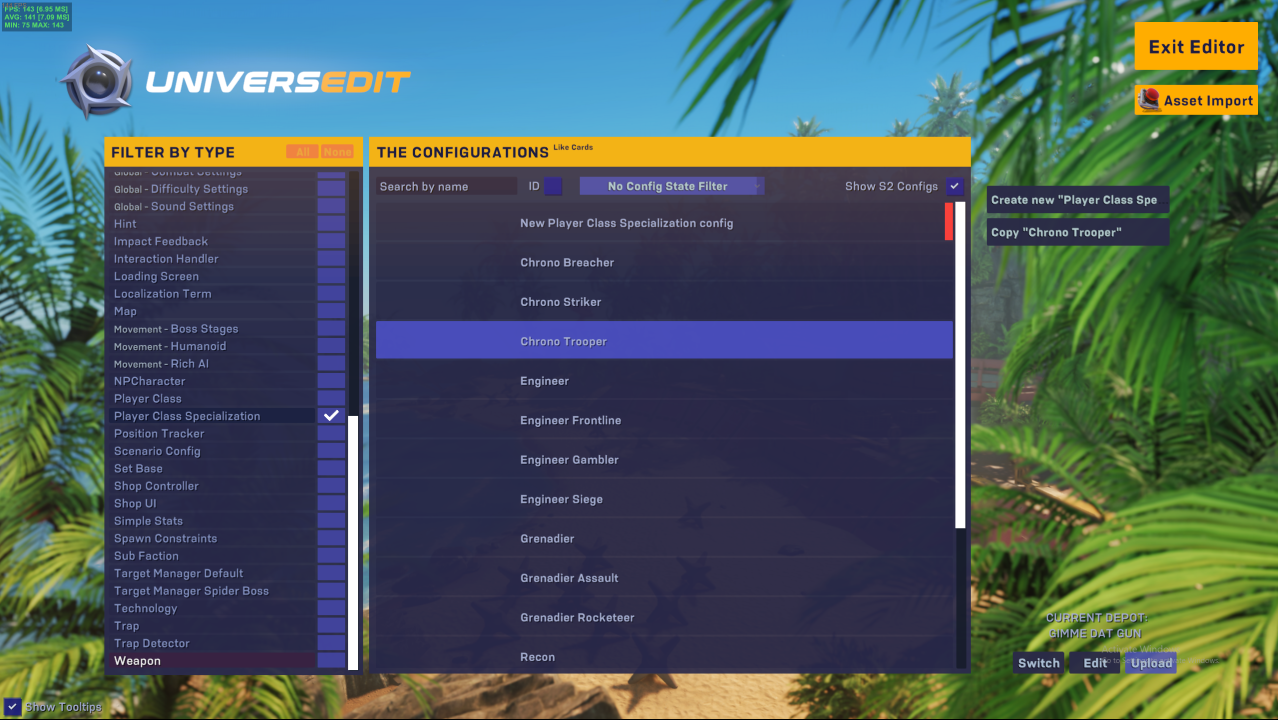
Give the Specialization a new Config Name
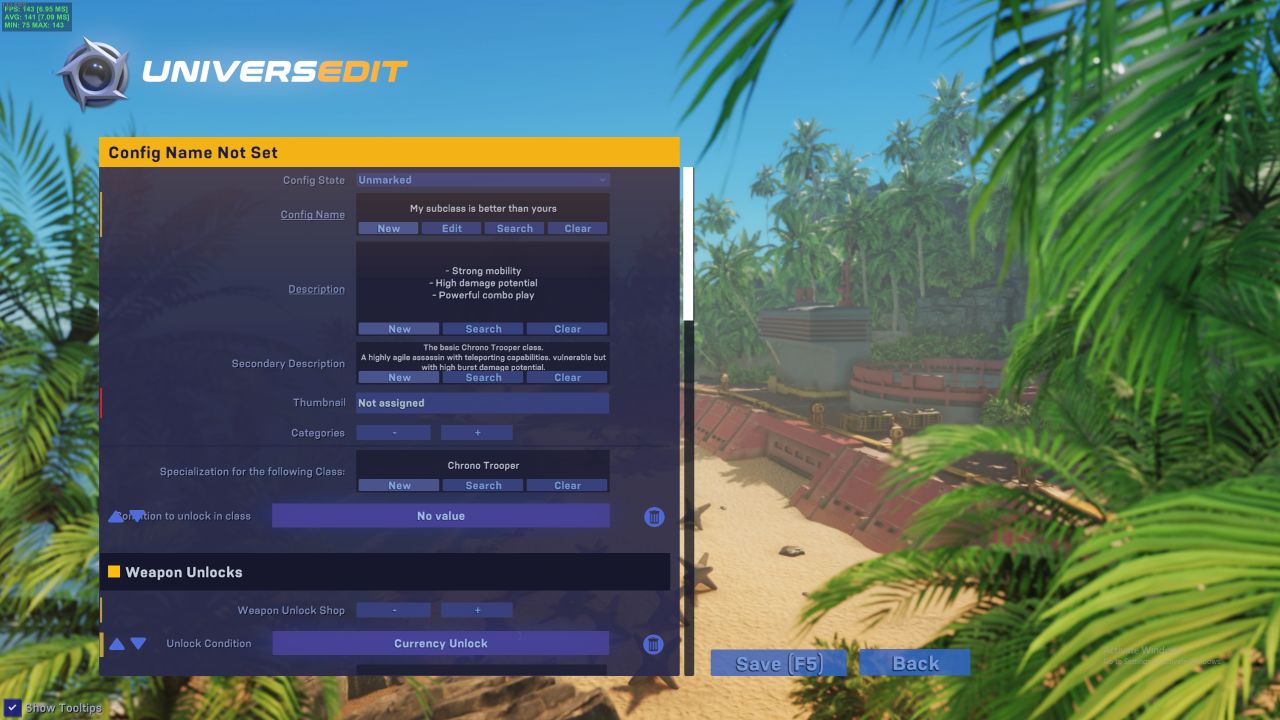
And select ‘Search’ under Specialization for the following Class.
Now select the custom class you created earlier.
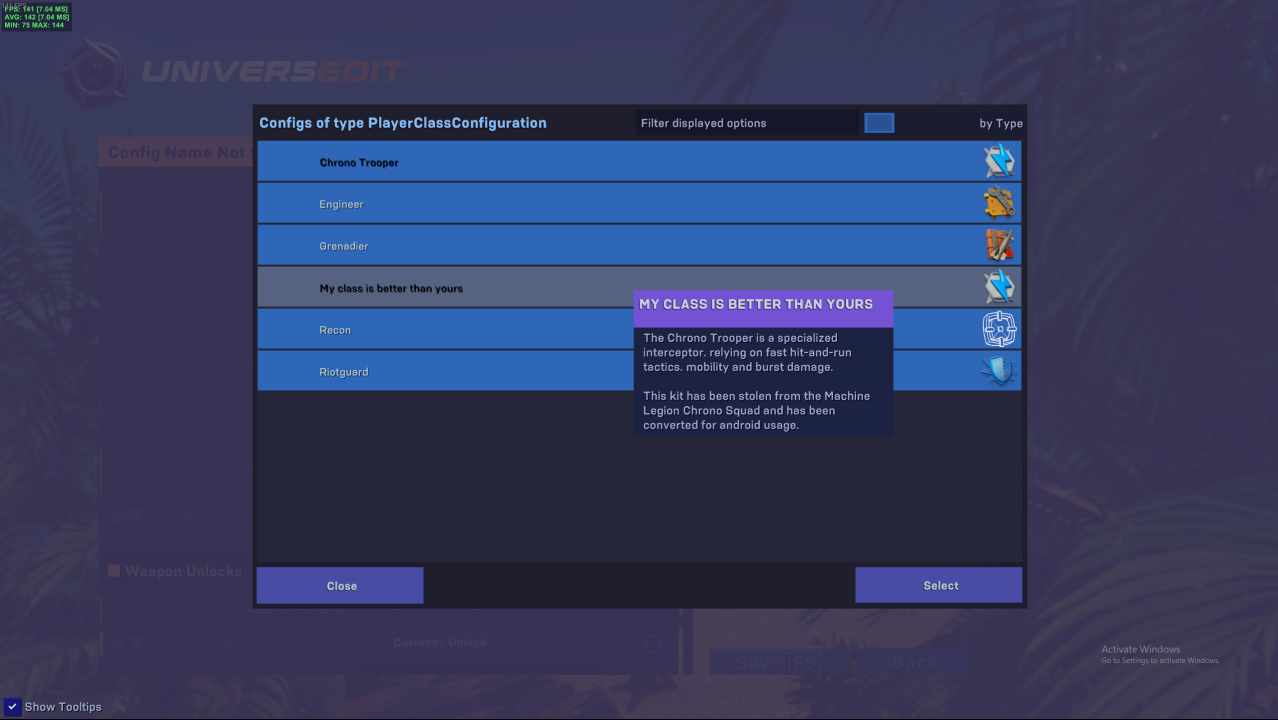
Then scroll down to weapon unlocks. Find the default weapon (the one that costs 0 to unlock) and press search on the weapon.
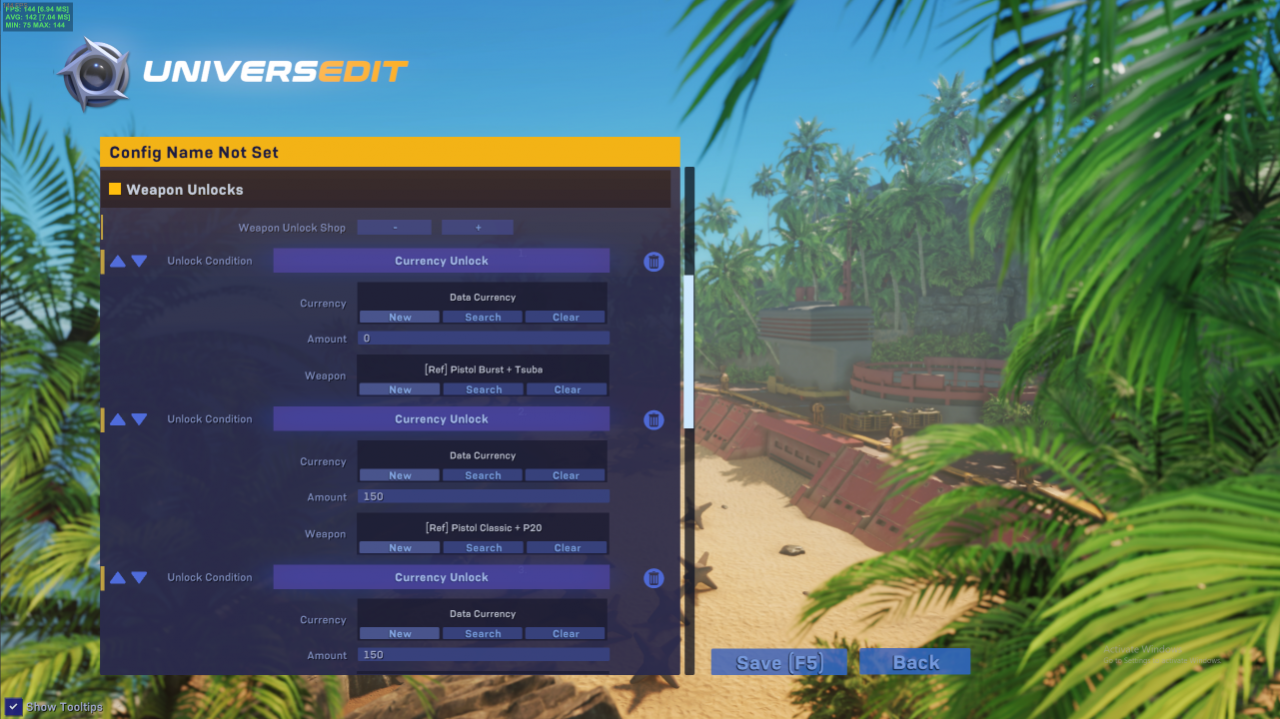
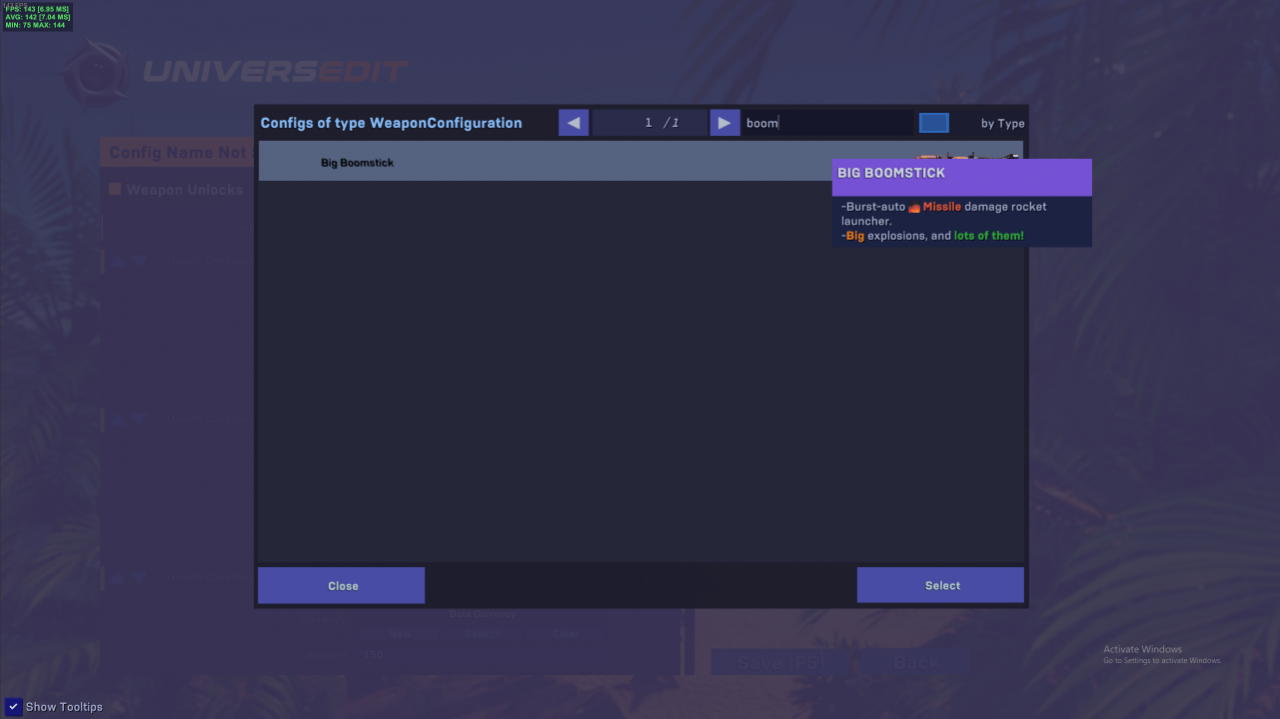
Find your weapon and select it
Now save the config, exit the editor, head to the main menu and start a game.
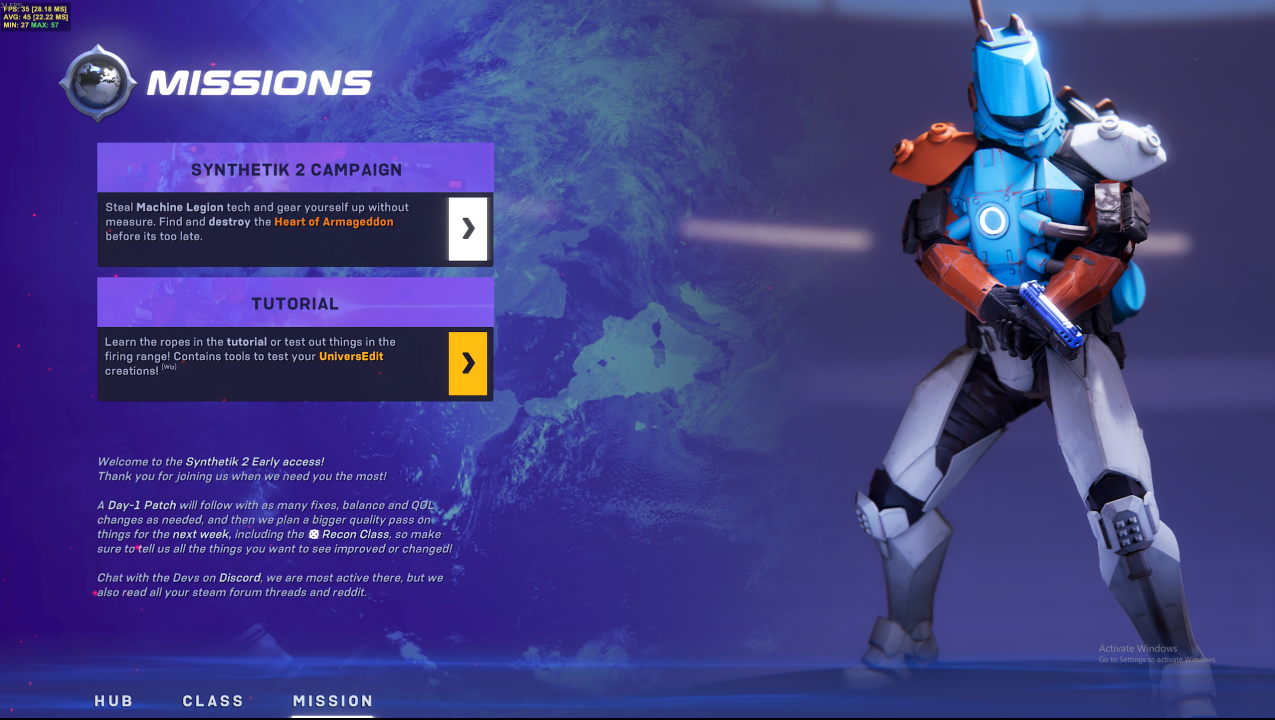
Go back to class selection.
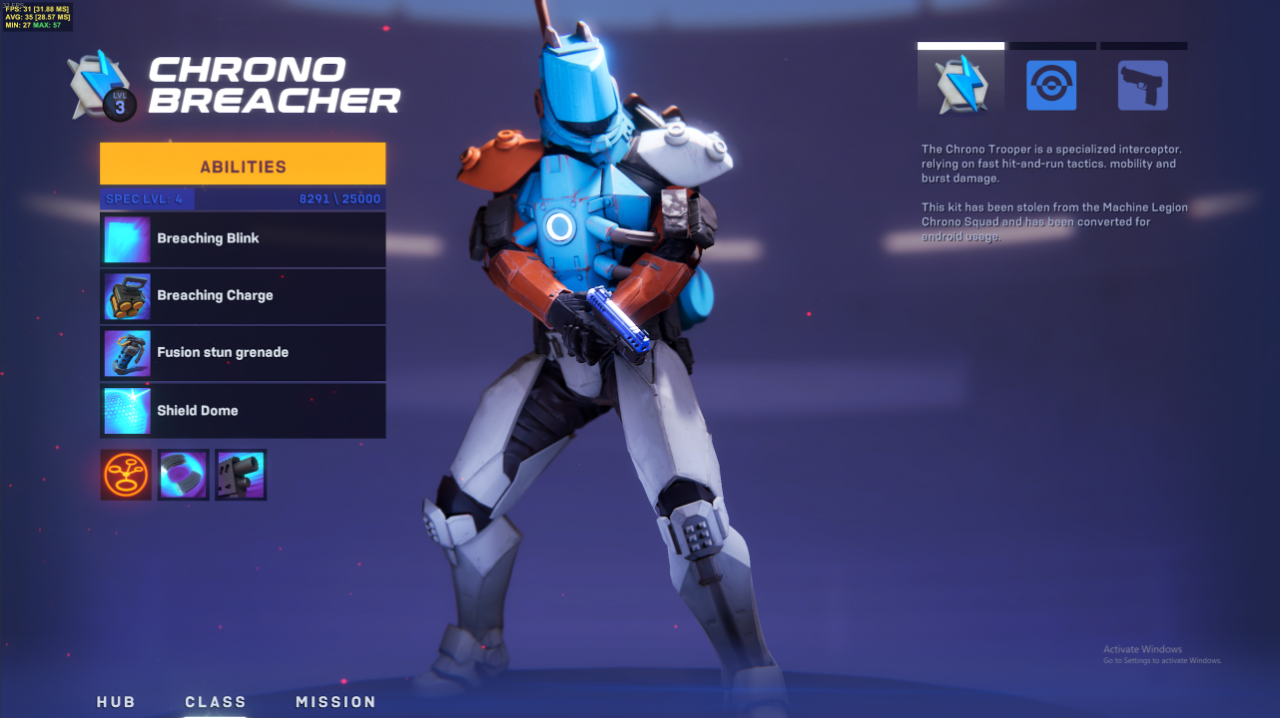
and choose a class in top right. Then, press new class…
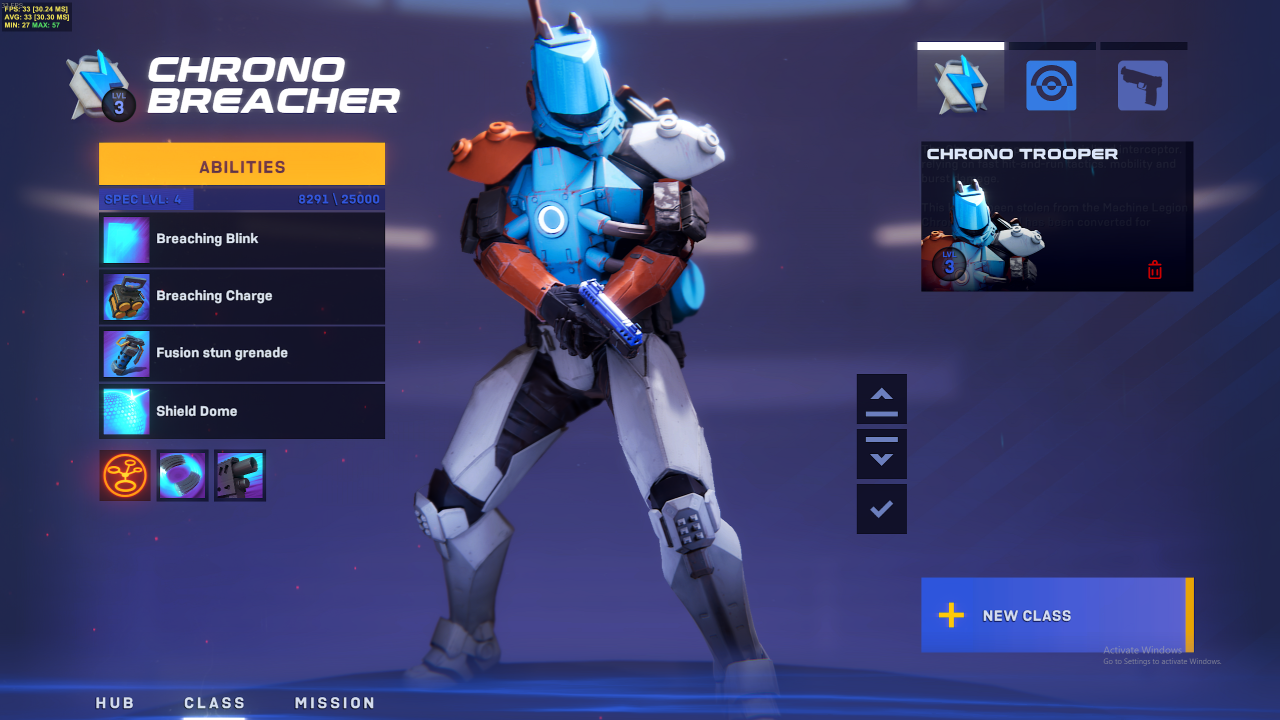
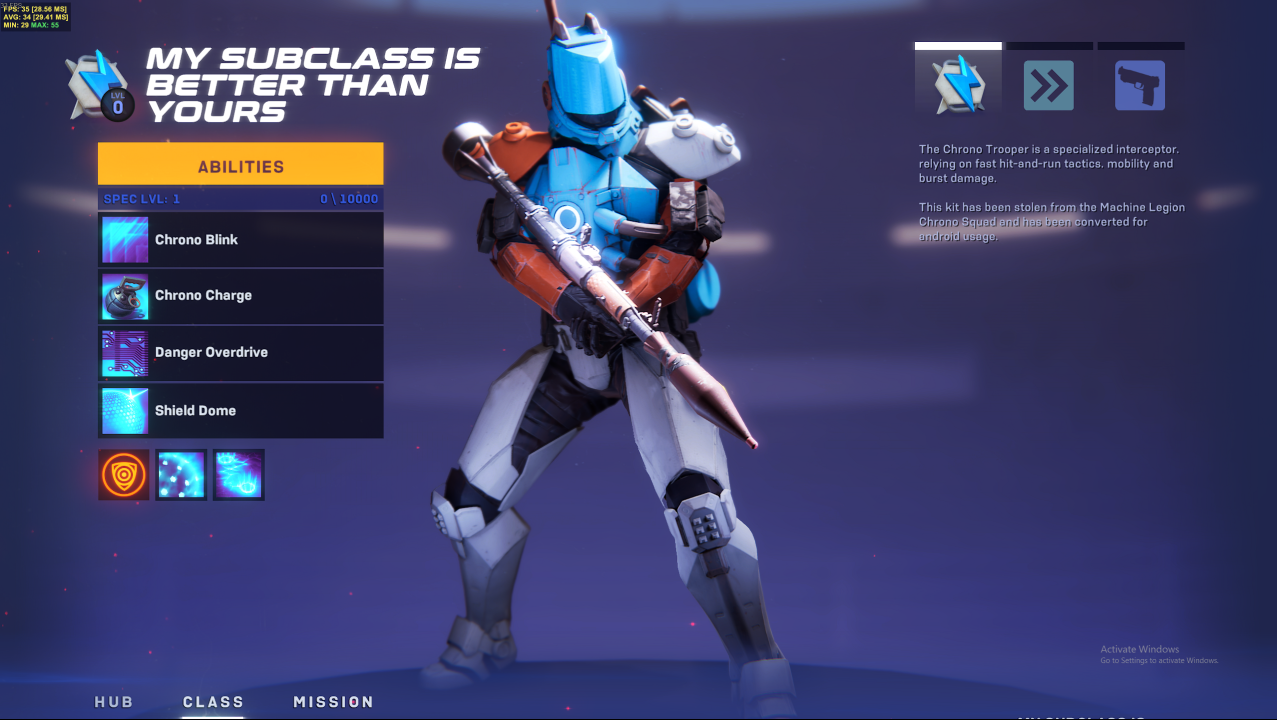
…and voila! Your custom class is available to use!
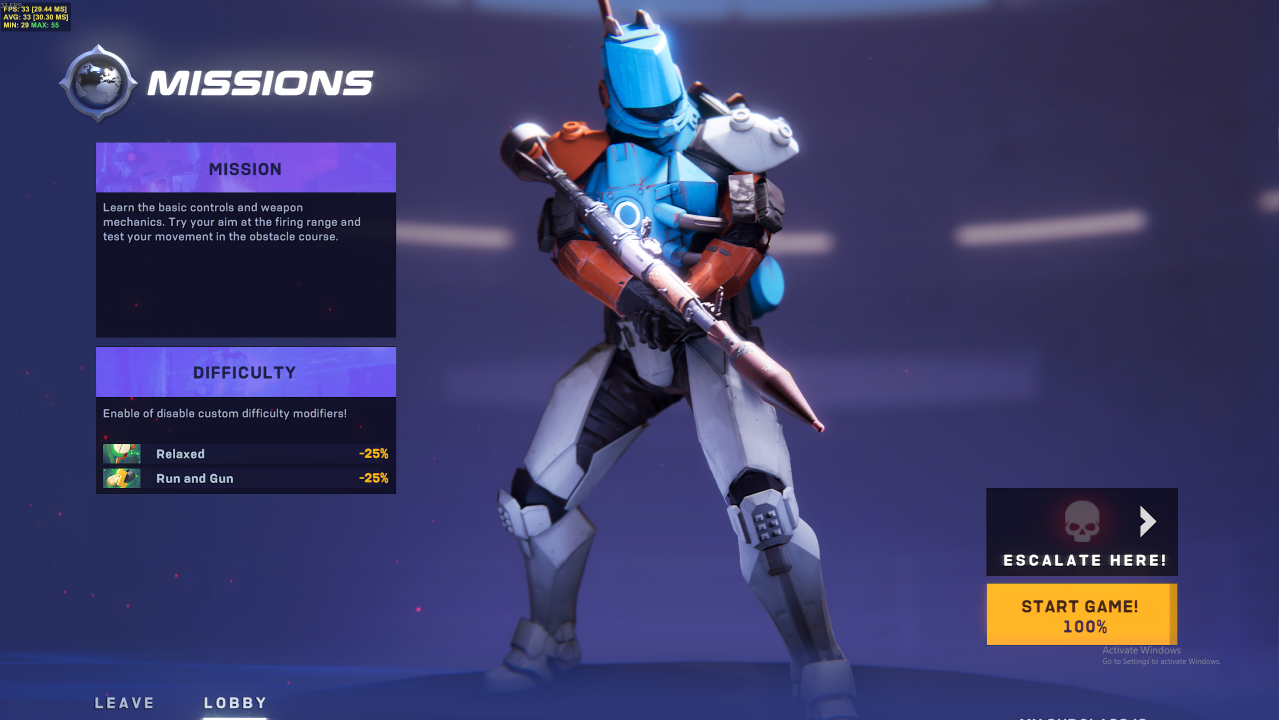
You can then start a mission and choose the tutorial.
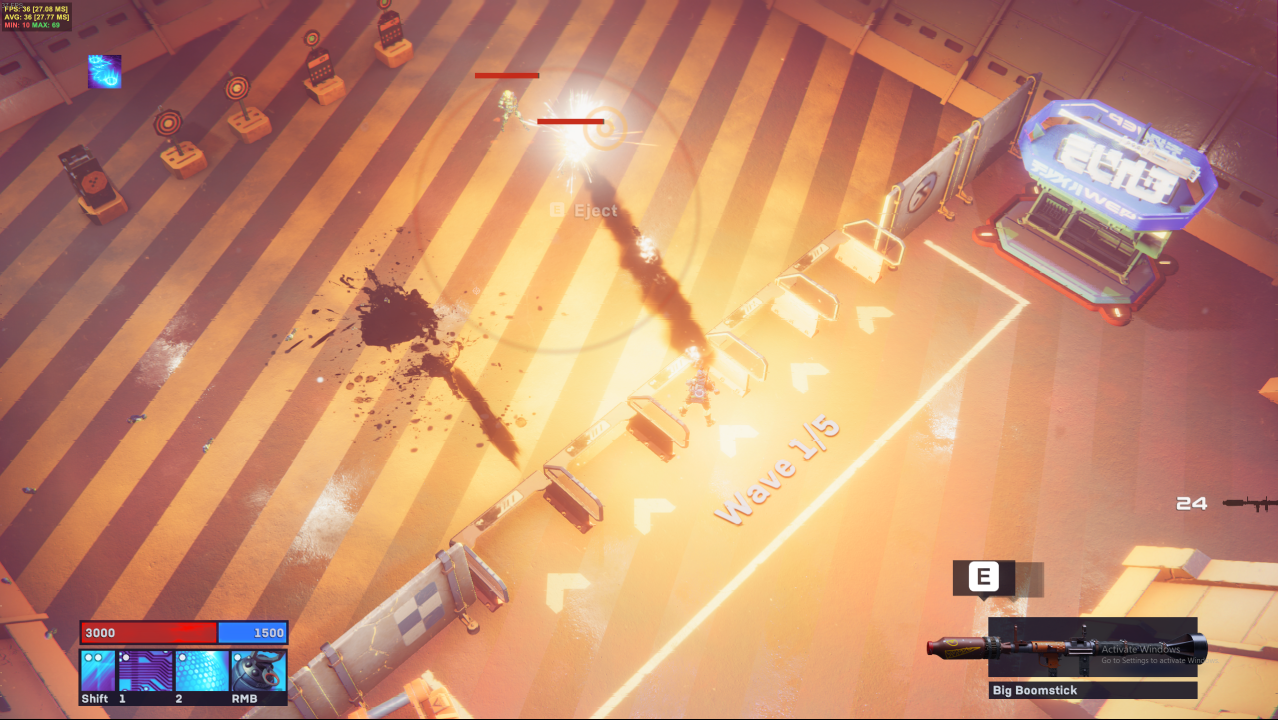
Nice, the rocket launcher fires 3 shot bursts…
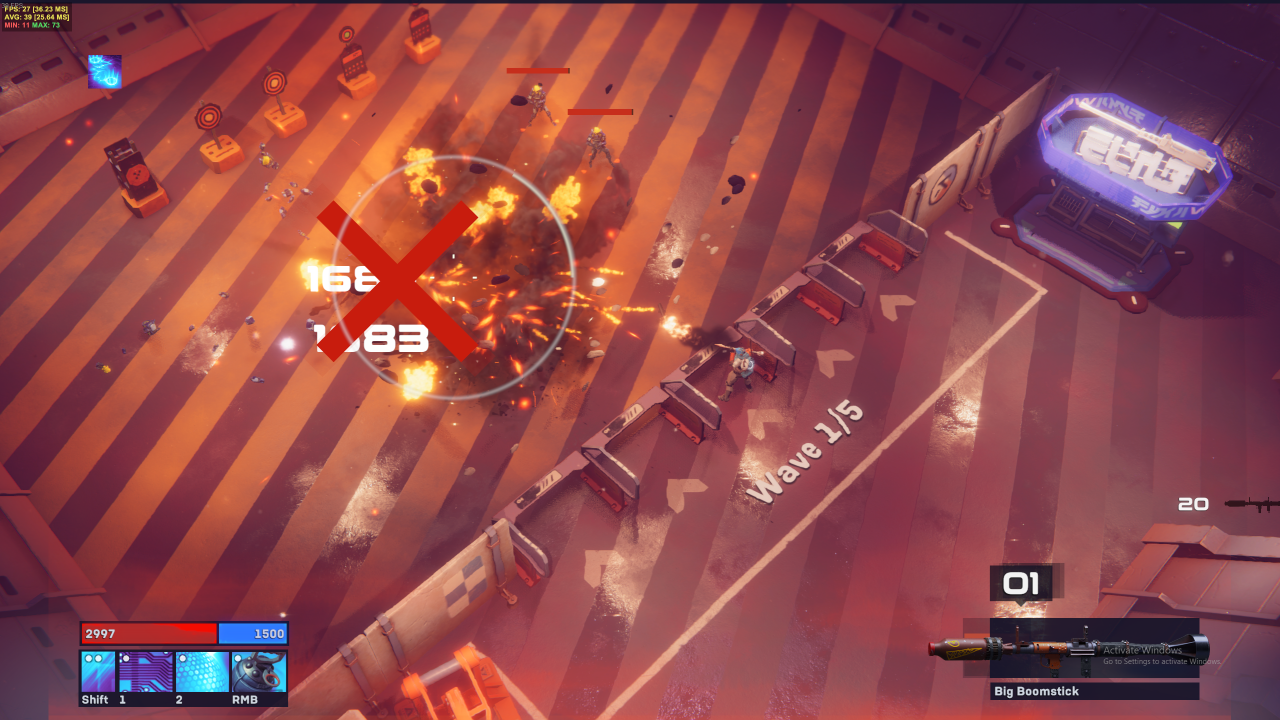
And reloads correctly…
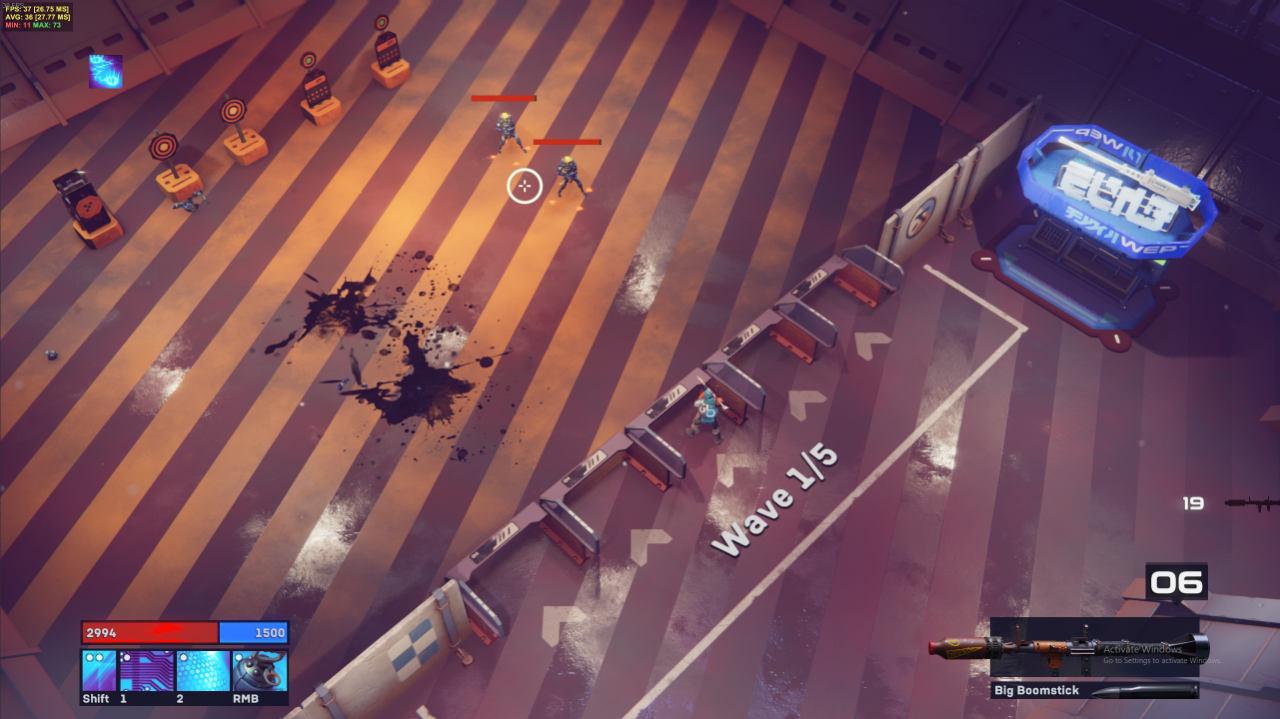
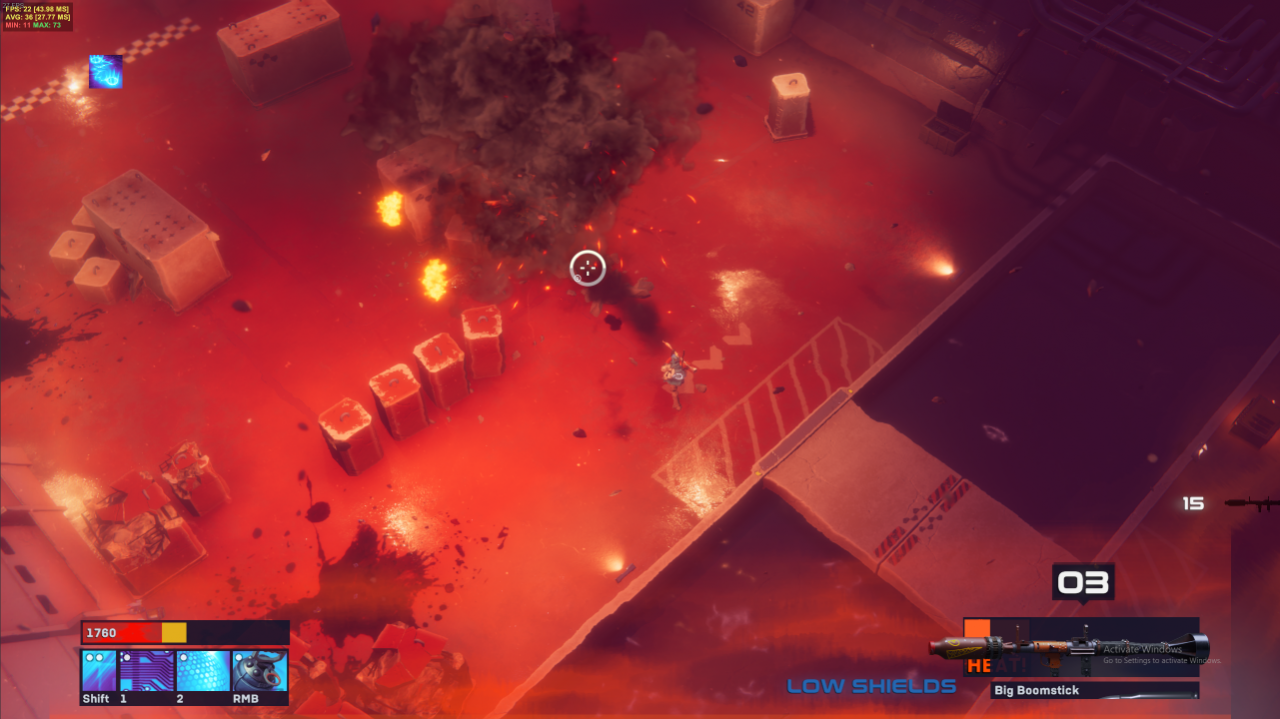
But it produces way too much heat and fires much too slowly.
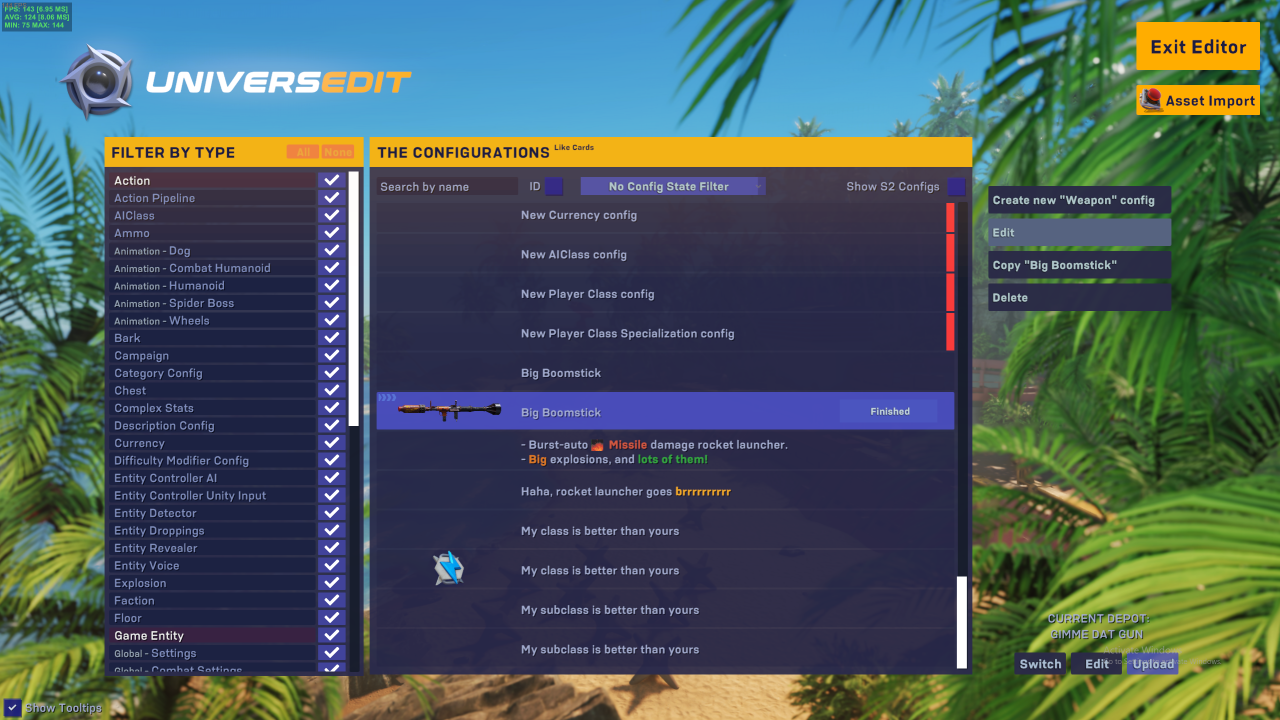
So we quit out of the mission, head back to Universedit and find our weapon to make more changes.
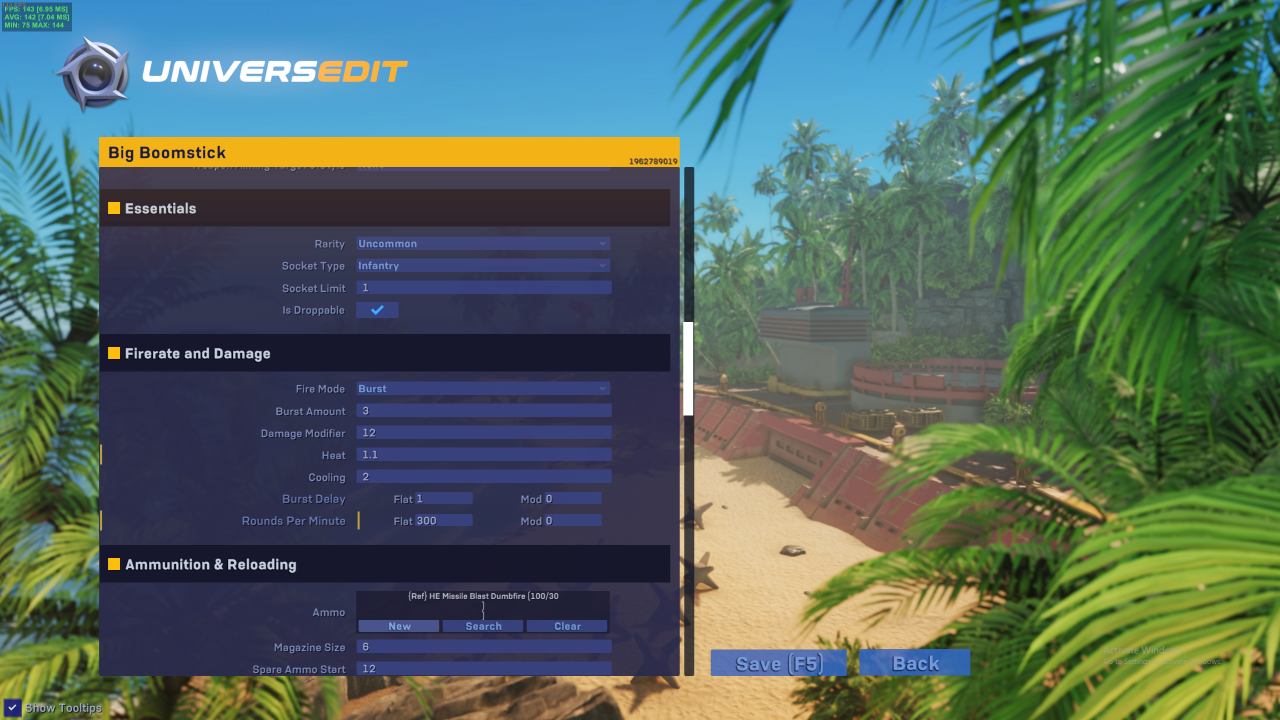
Let’s reduce the Heat to 1.2 and increase Rounds Per Minute to 300.
And head back to the tutorial again. Excellent, it’s working much better now!
Step 5 – Uploading
We don’t want other players to see the custom class we made to test the weapon, so head back to Universedit, Untick ‘Show S2 Configs’ and then set filter type by all.
Delete or set to ‘Excluded from game’ all the class specific stuff.
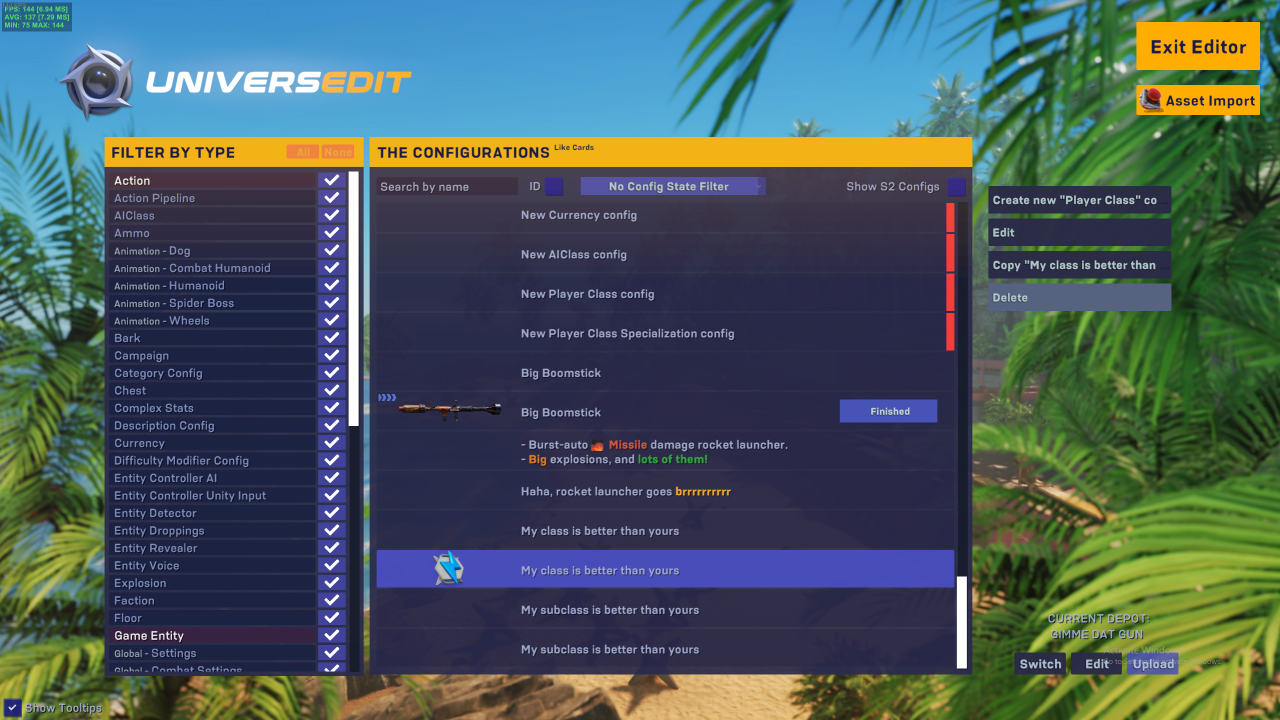
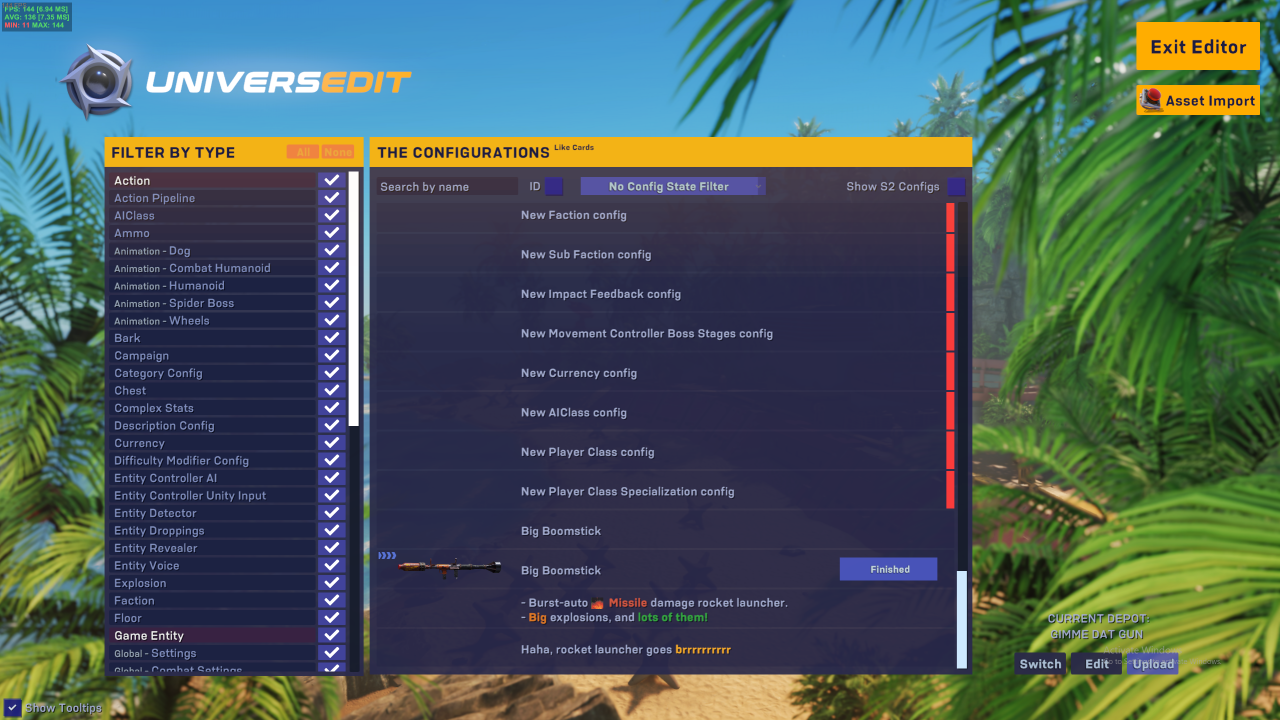
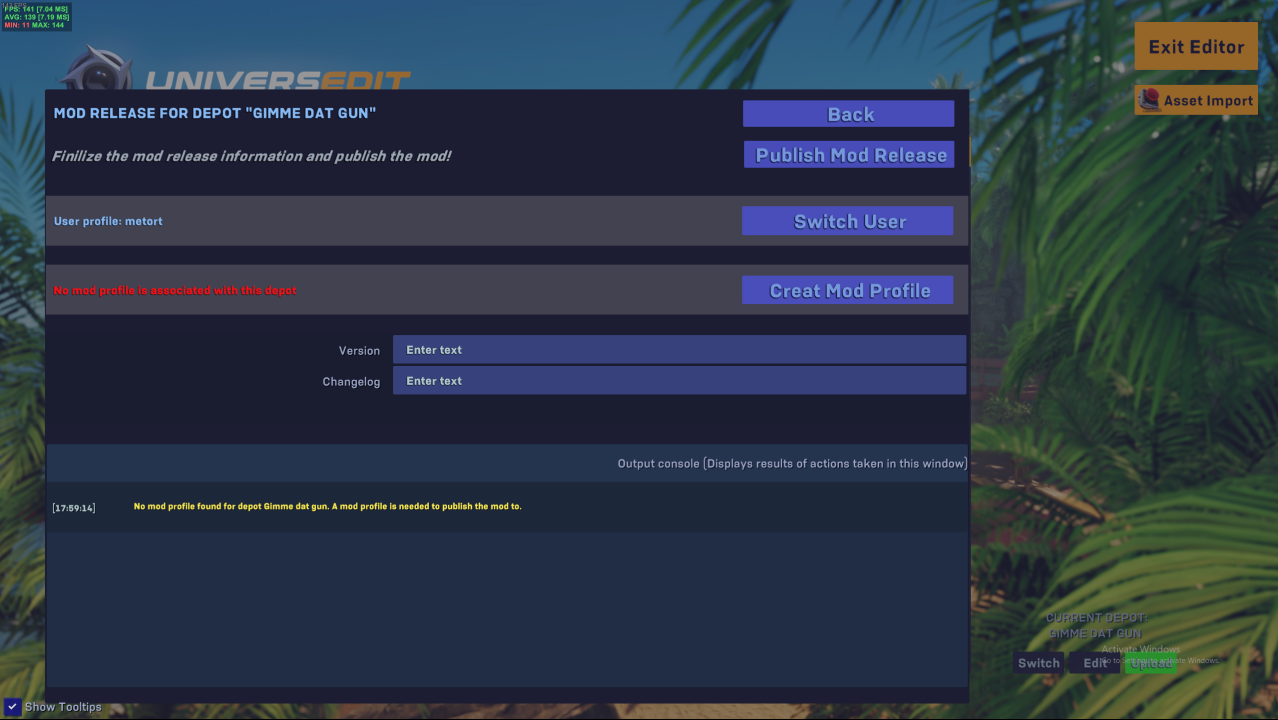
Now press upload. You’ll be prompted to create a new mod profile, which is what you upload to if you want to update your mod.
Make sure that you’re uploading from the right user, and ‘Creat’ a new mod profile.
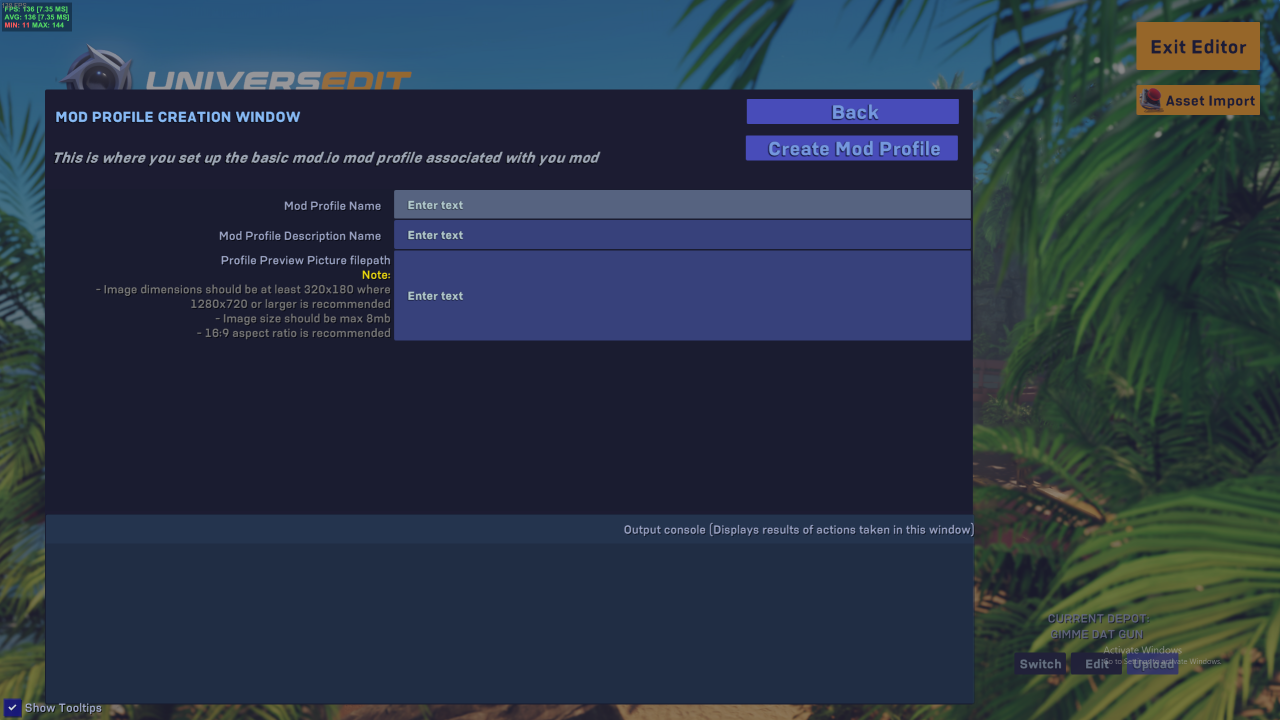
Here you can name the mod, give it a brief description and upload a picture from your computer. Images MUST be 16:9 aspect ratio, preferably 1280×720.
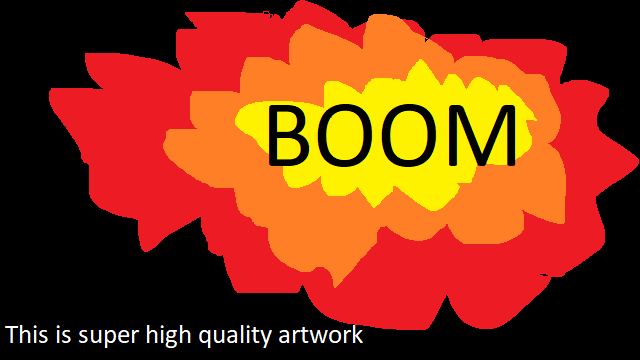
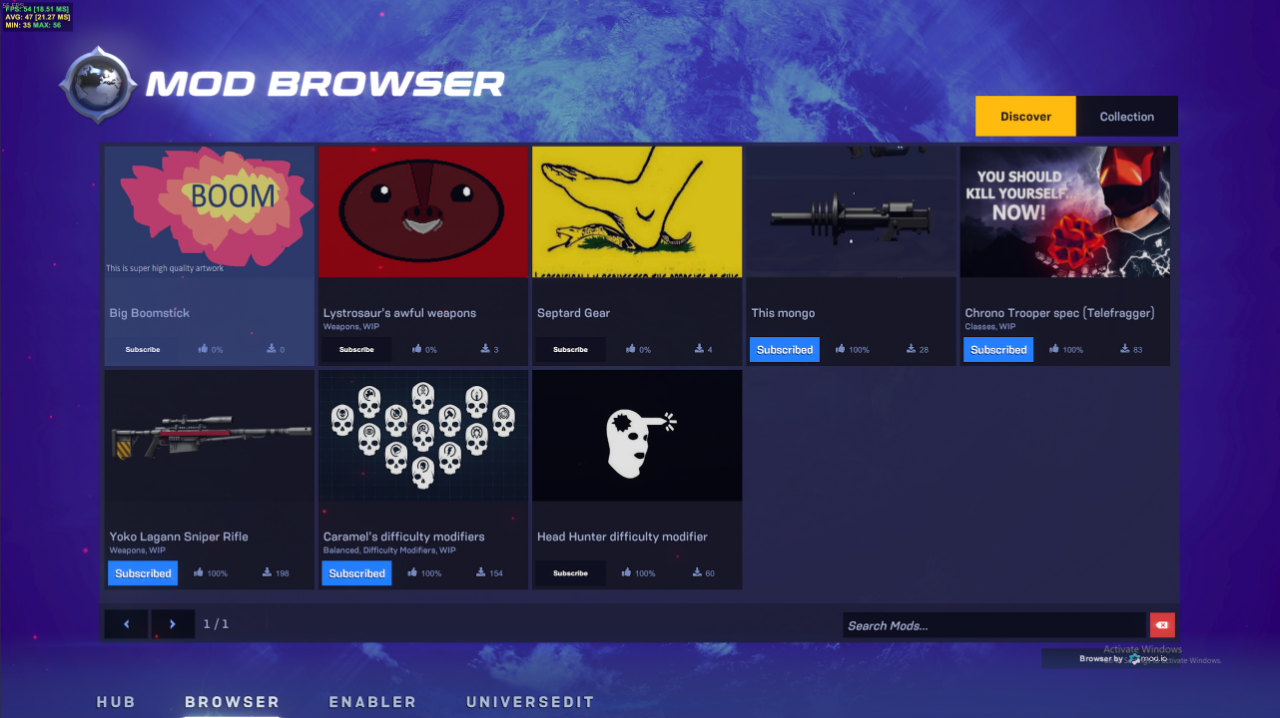
Here’s the artwork I painstakingly made and iterated on over many, many seconds in microsoft paint.
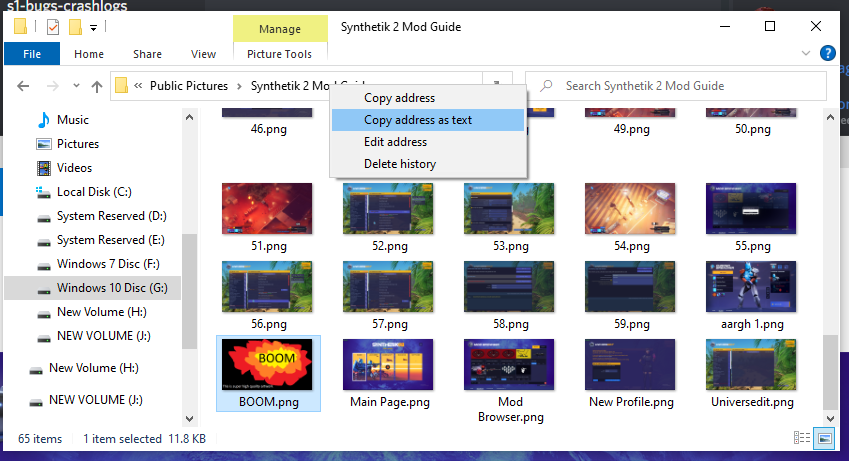
Now that we have our gorgeous piece de la resistance, make sure you copy the right address of the folder the picture is in by right clicking at the top in windows file explorer, and copy address as text.
Paste the address into the picture filepath, and add the name of the picture and file extension. It should look something like this.
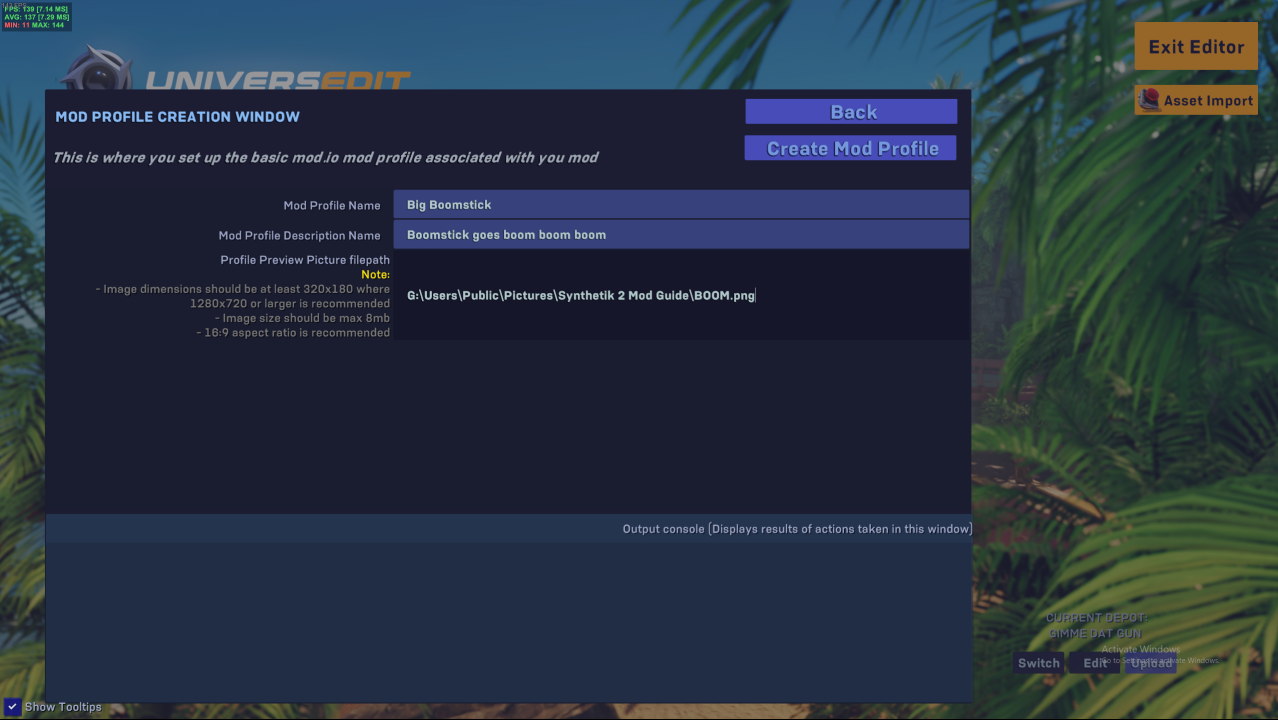
Now press the Create Mod Profile button. If there are any errors (especially with the picture), they will appear on the console at the bottom of the screen.
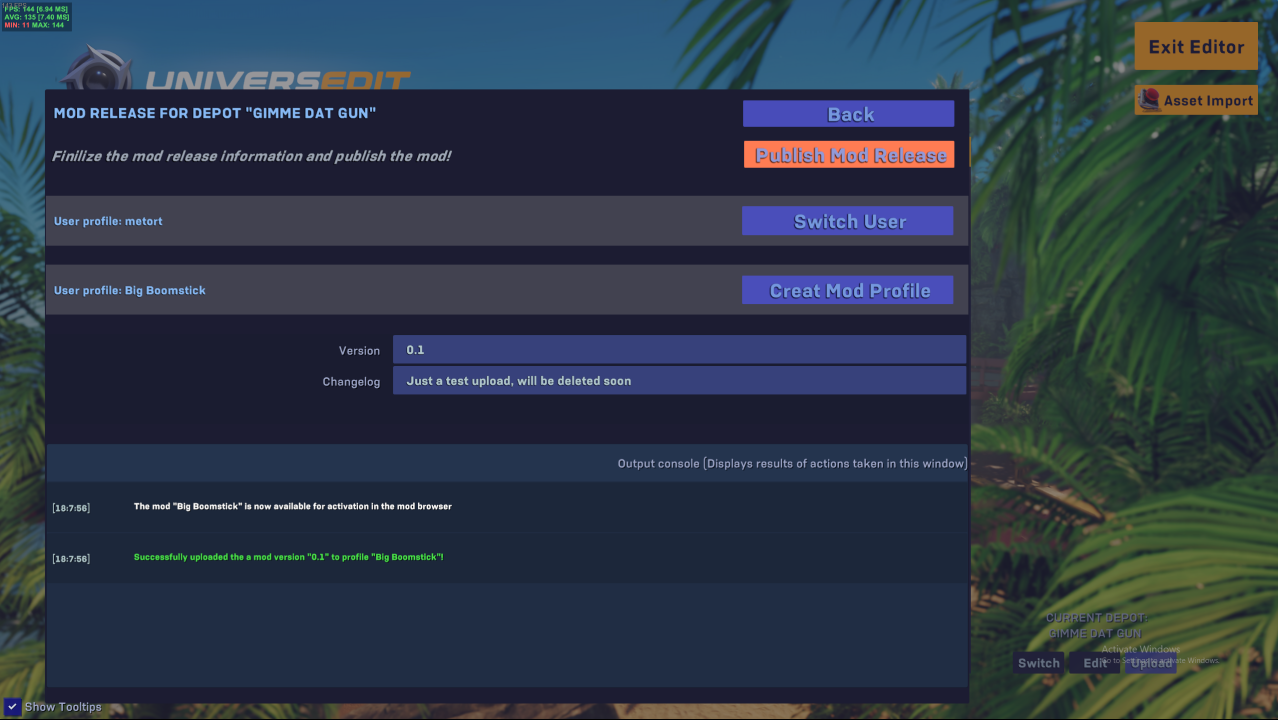
If all goes well, we can add a version number, a brief changelog, and press the publish mod release button.
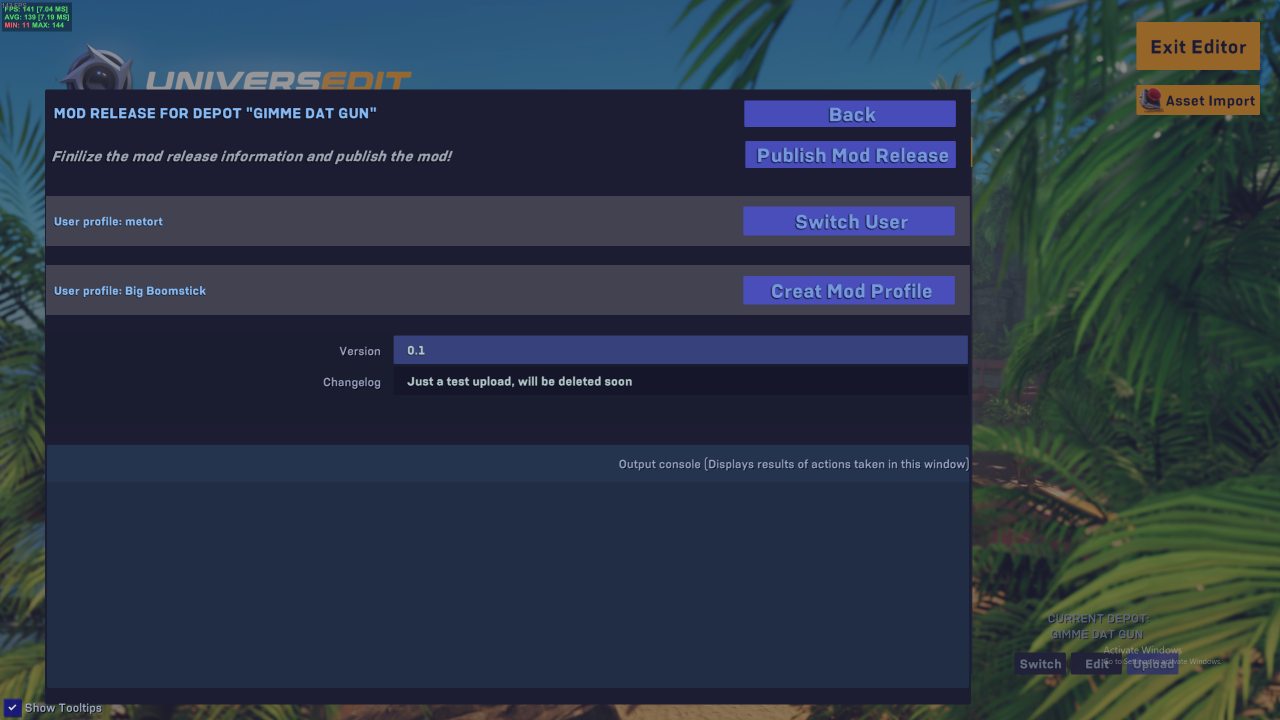
Success!
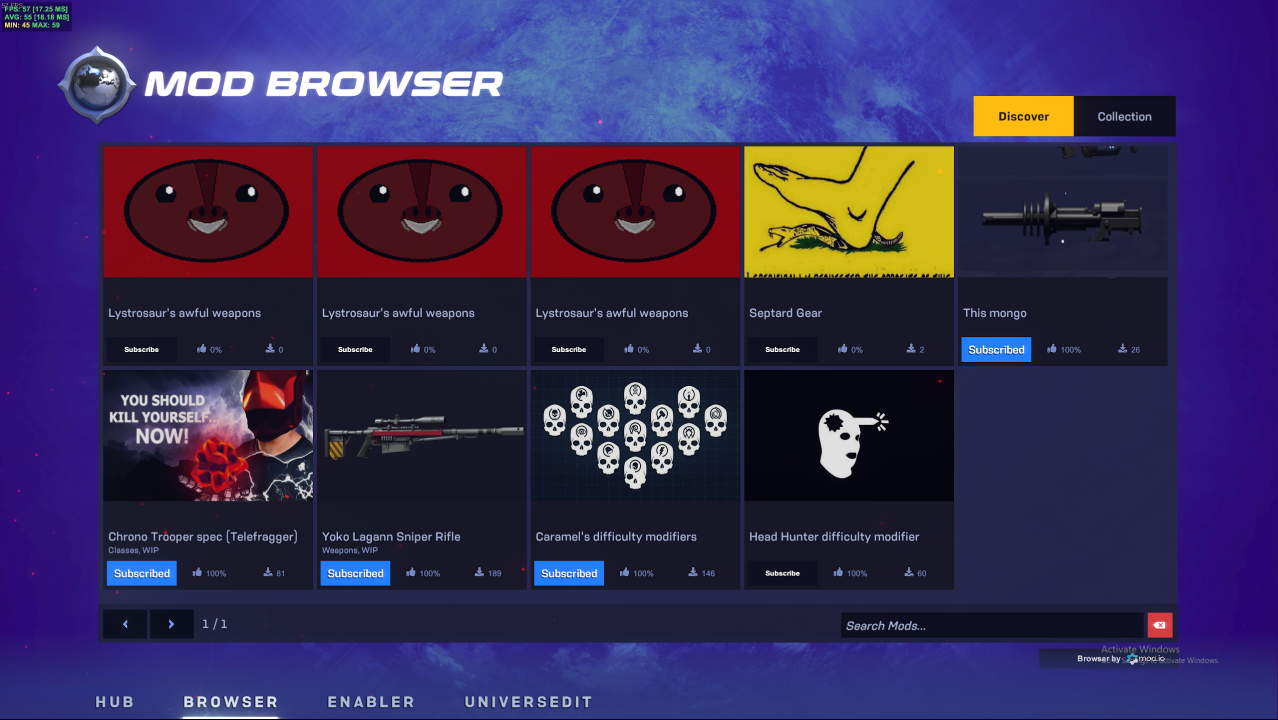
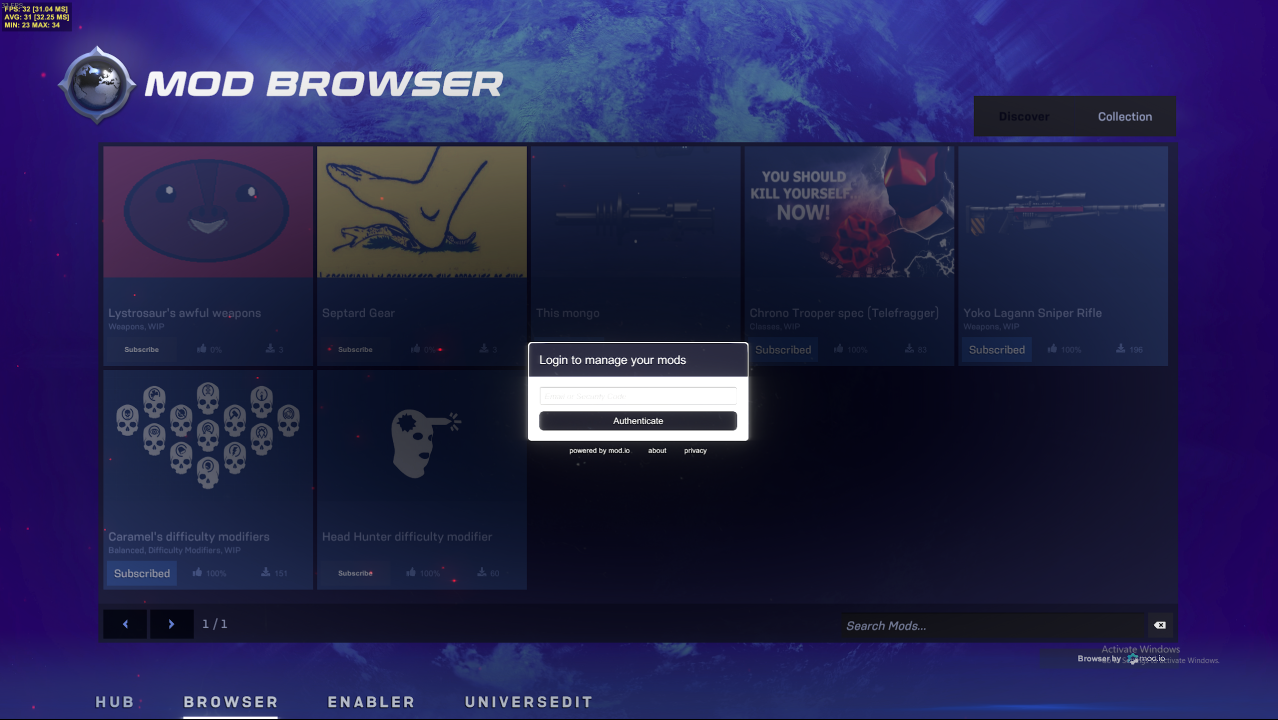
You should be able to see the mod appear in the mod browser before long.
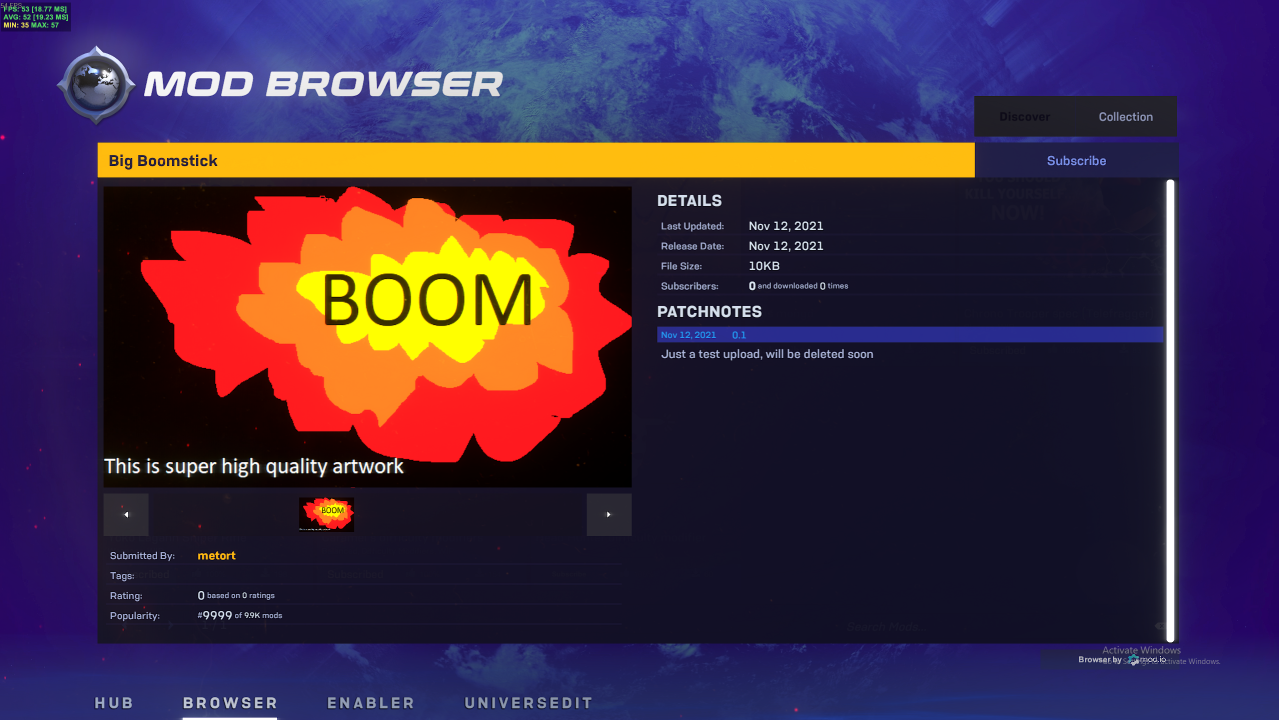
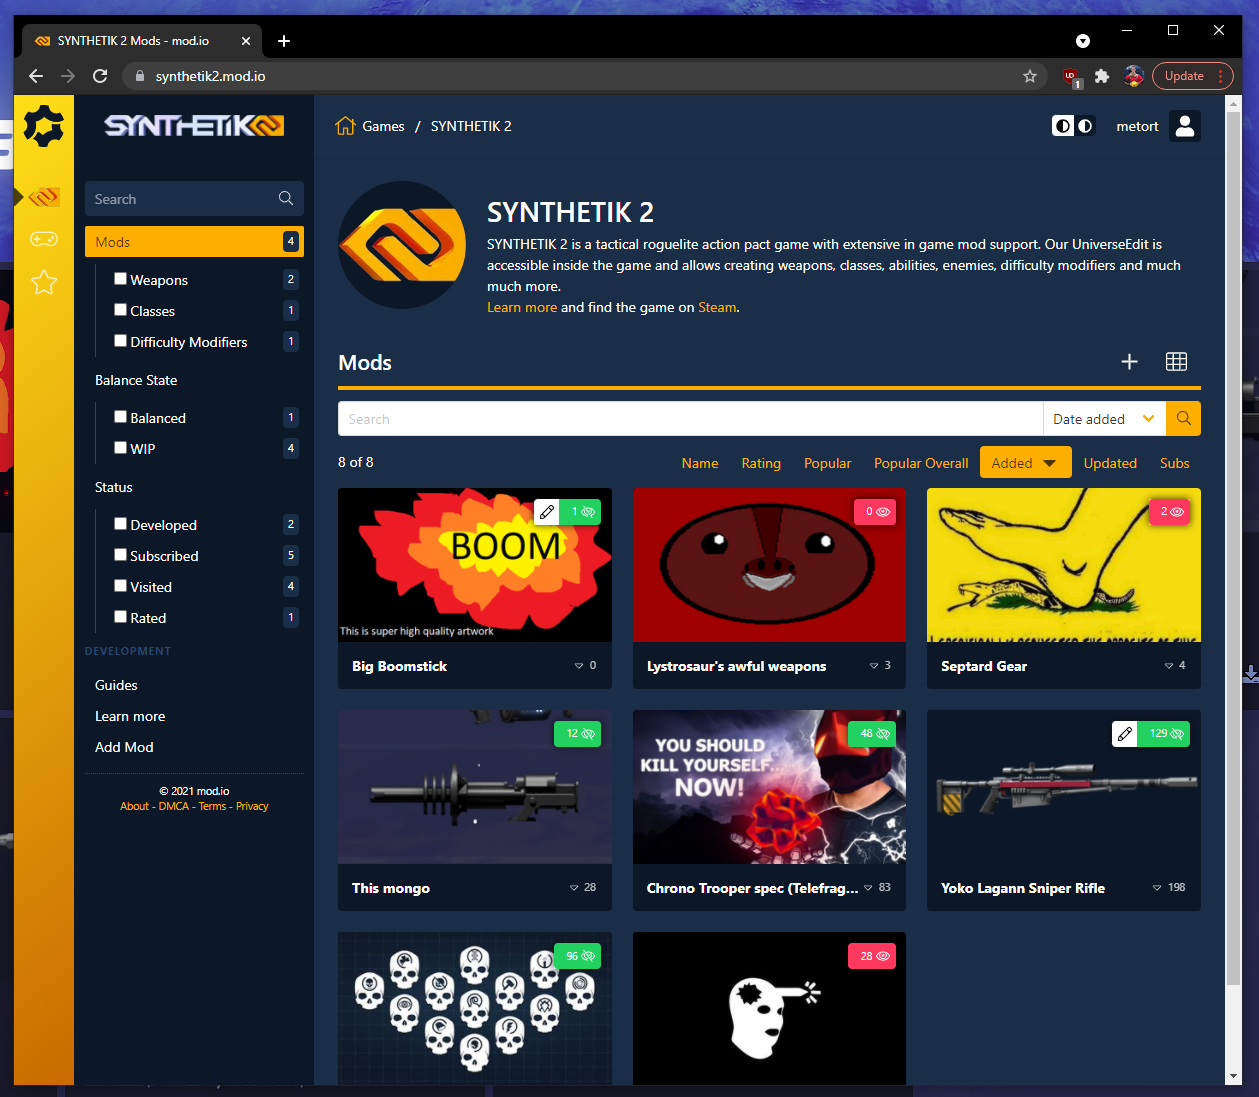
If you want to make proper description notes, add tags, and so on, you’ll need to log into synthetik2.mod.io using your web browser of choice.
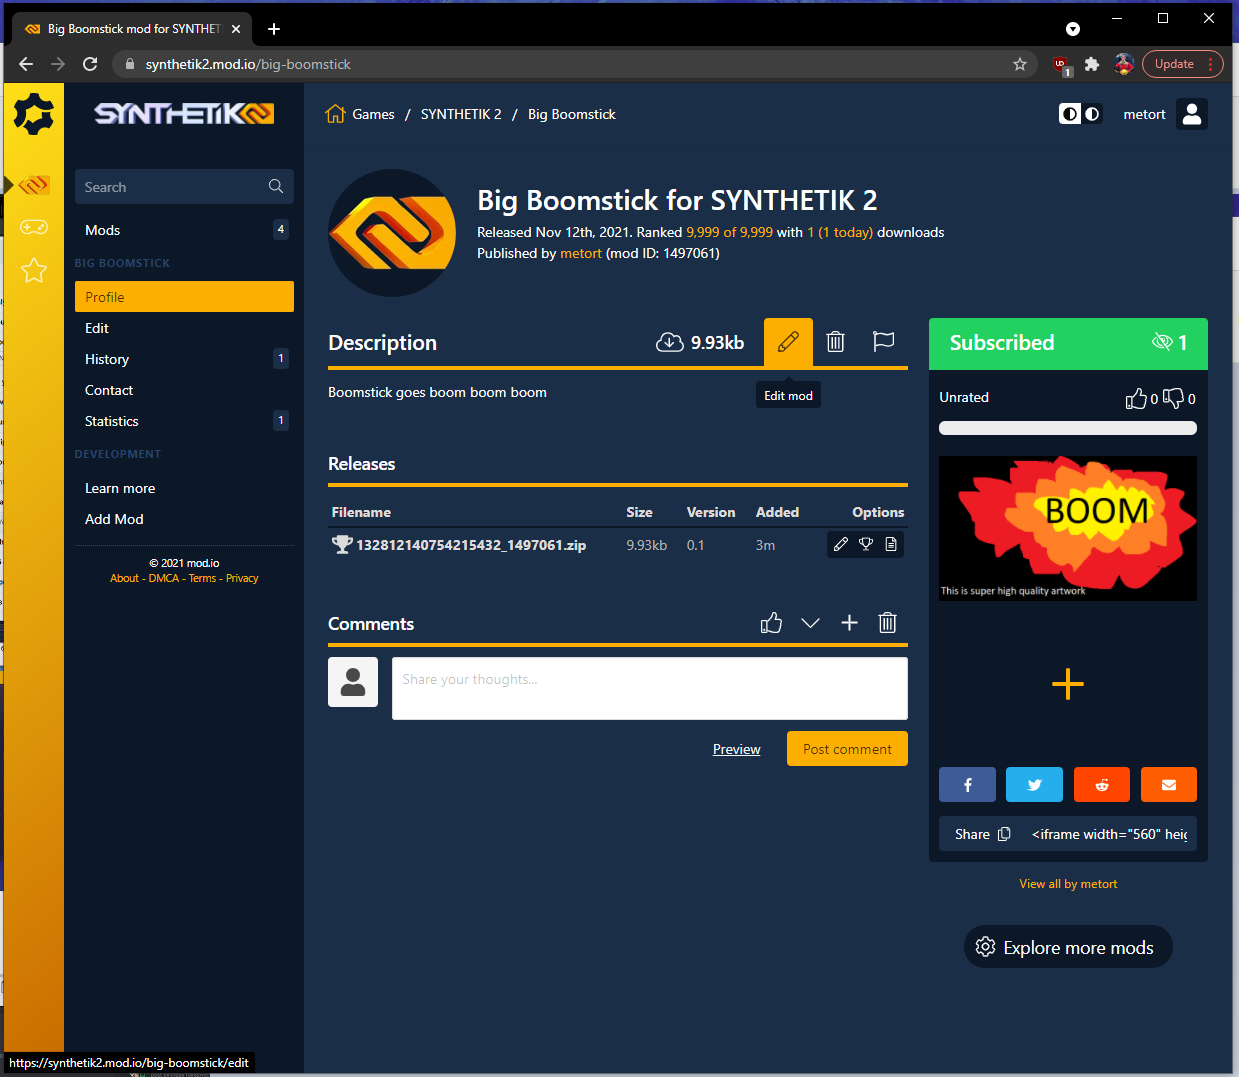
Press the Edit mod button to make changes to it.
And here you can change the description
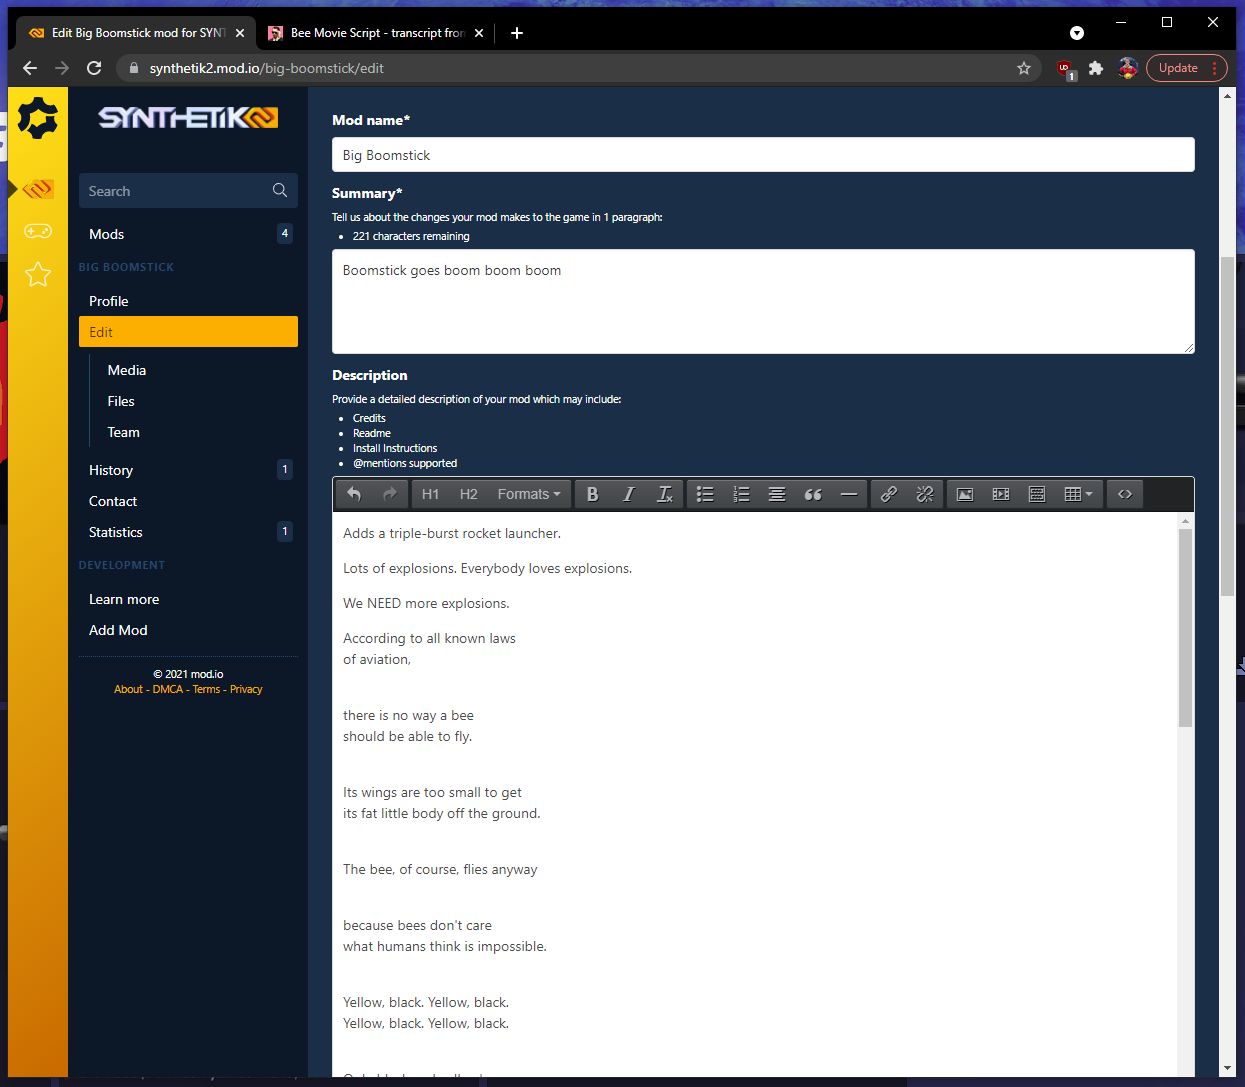
And add tags as necessary.
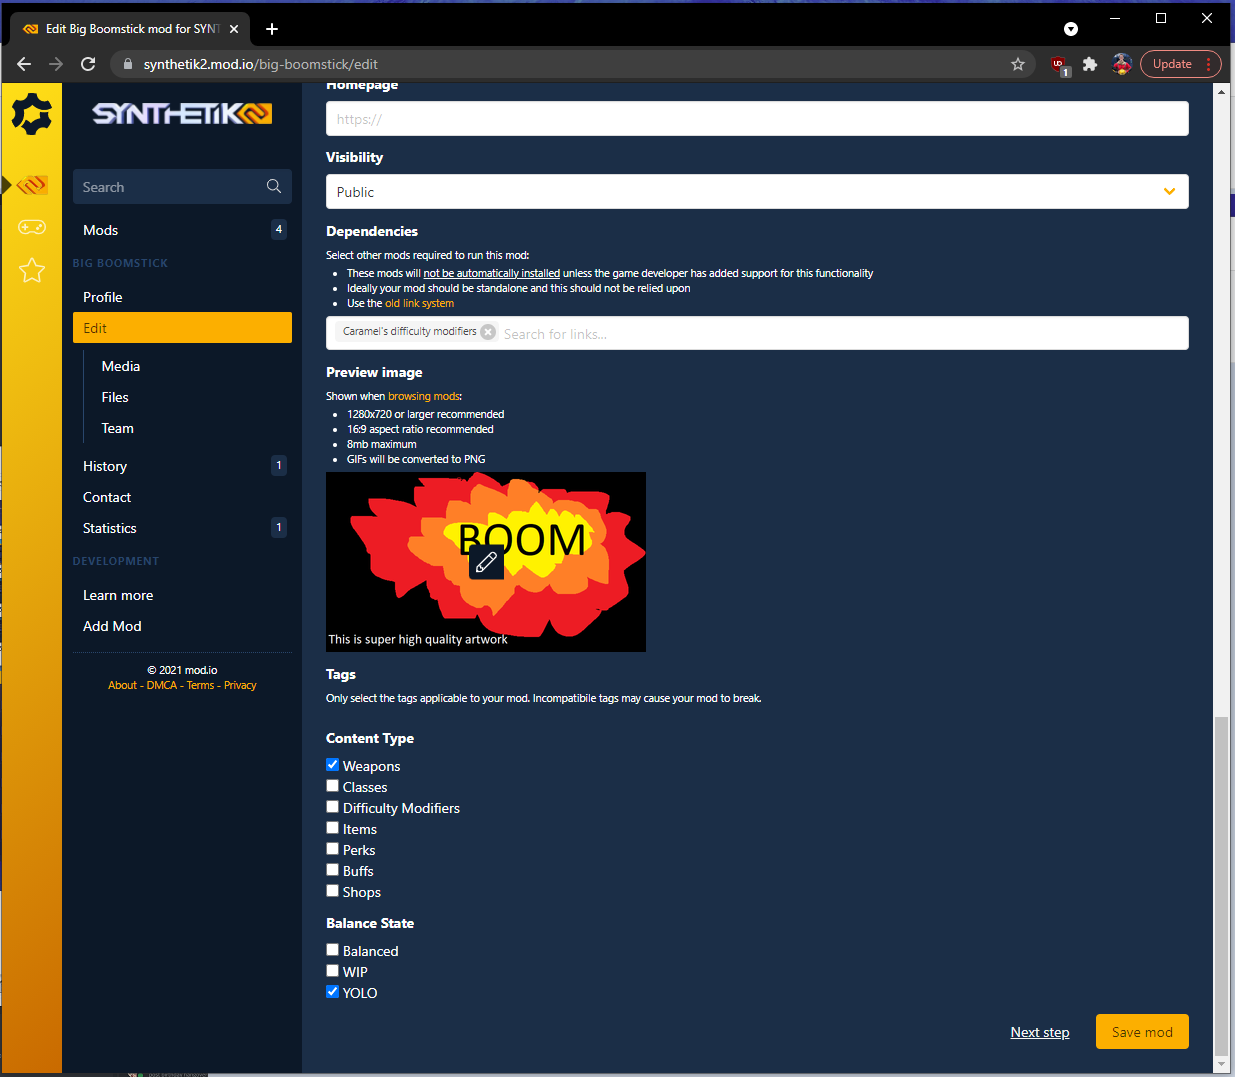
Save the mod, and before long your changes will be reflected in the mod browser.
