For Mech Mechanic Simulator players, this is a step by step guide on how to work with the Electronics Station. Let’s check it out.
The Basics
The Electronics Station is one of the workshop upgrades you purchase early on in the game and it’s purpose is to allow the fixing of parts marked as “Broken Cables”.
While the station itself is purchased just ones it comes with three separate modules, each for fixing different types of parts. We have:
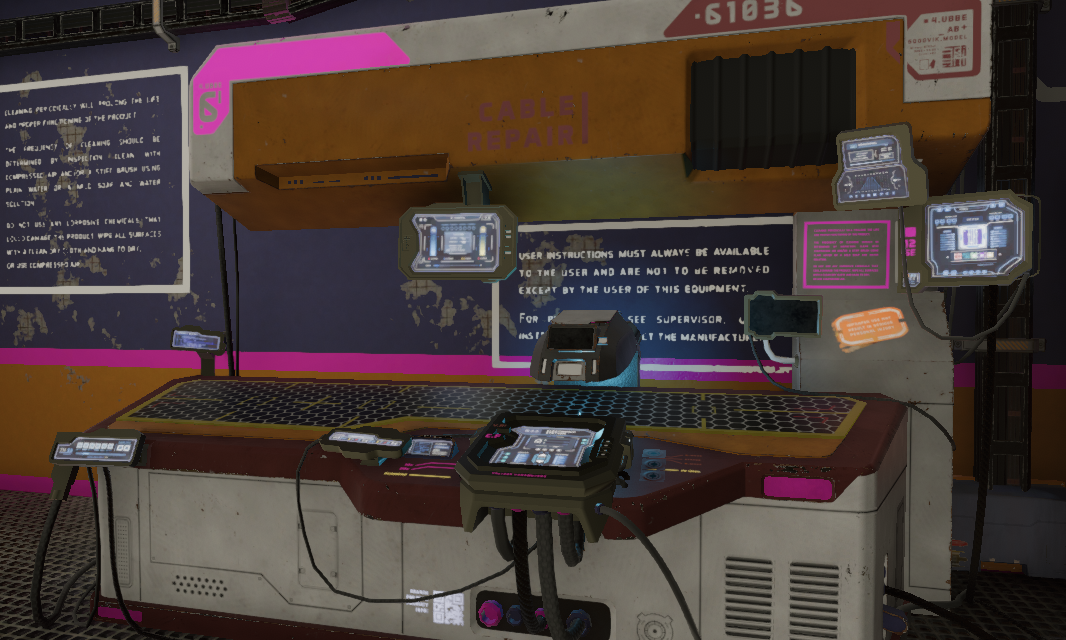
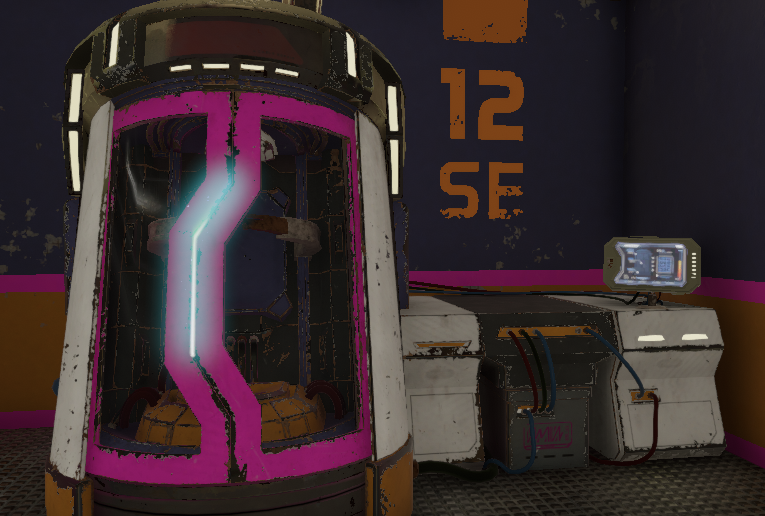
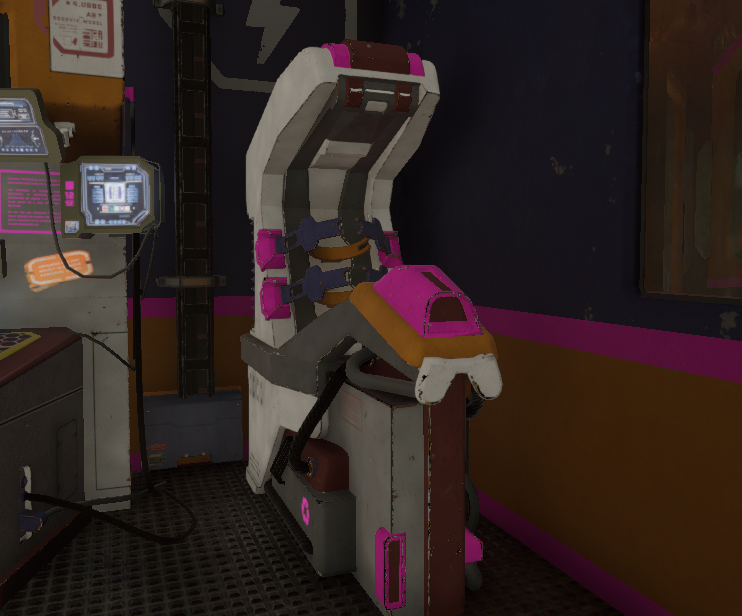
This guide will cover each of these stations separately but you should remember that all of them feature very similar mini-games be it with small twists.
How to start
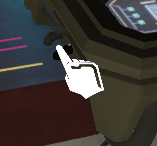
To start the process of using this station simply approach one of it’s modules until there is an interaction icon and press the left mouse button.
Each of the three modules have their own interaction area and they are quite easy to locate.
The station feature the same starting screen. By the time you get to this station you will most likely already know how to interact with it.
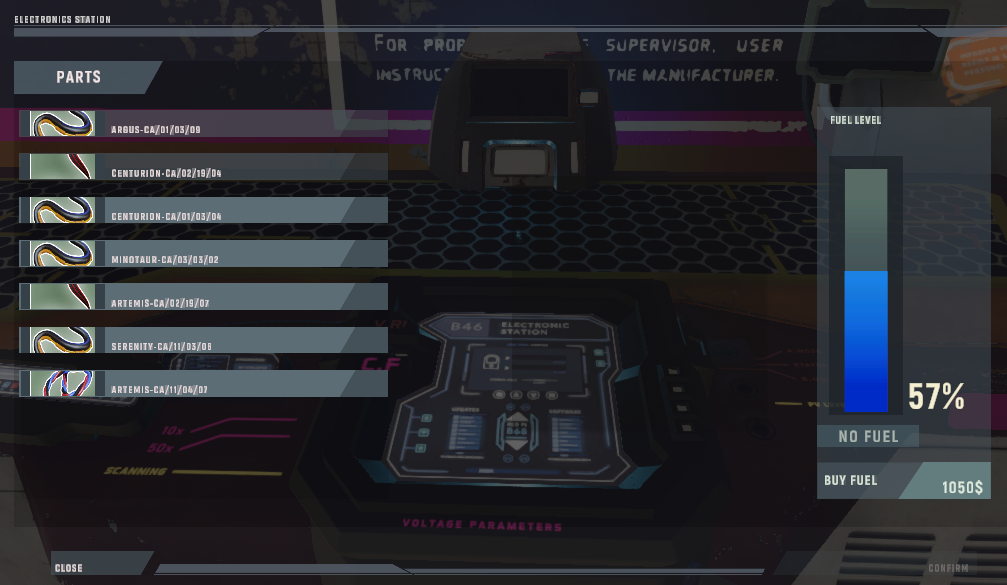
The starting screen consists of three parts:
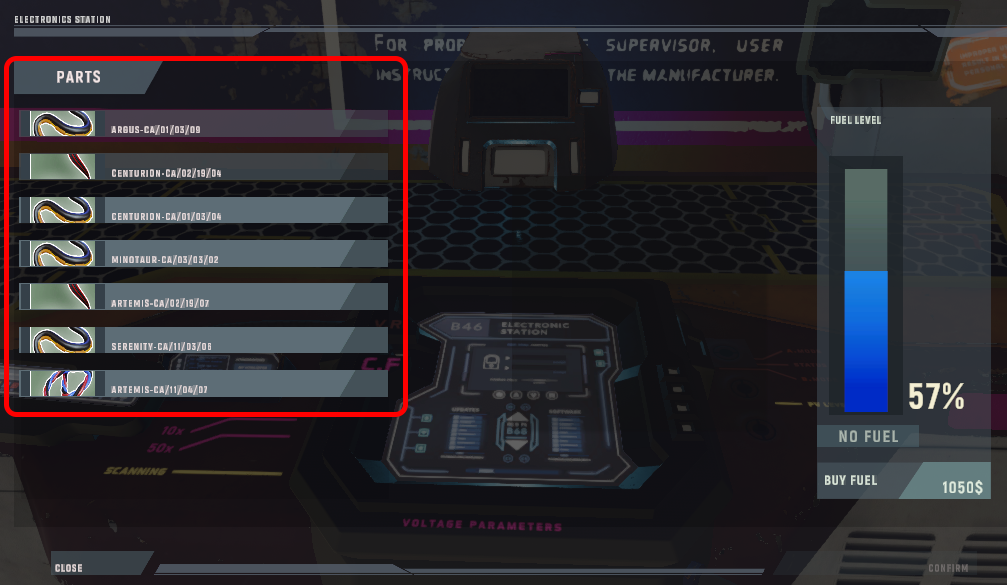
The left side of the starting panel is a list of all the parts the station can fix. If you can’t see anything in this list then that means you do not have any parts that can be repaired here.
To select a part you want to work on simply click on it with your cursor.
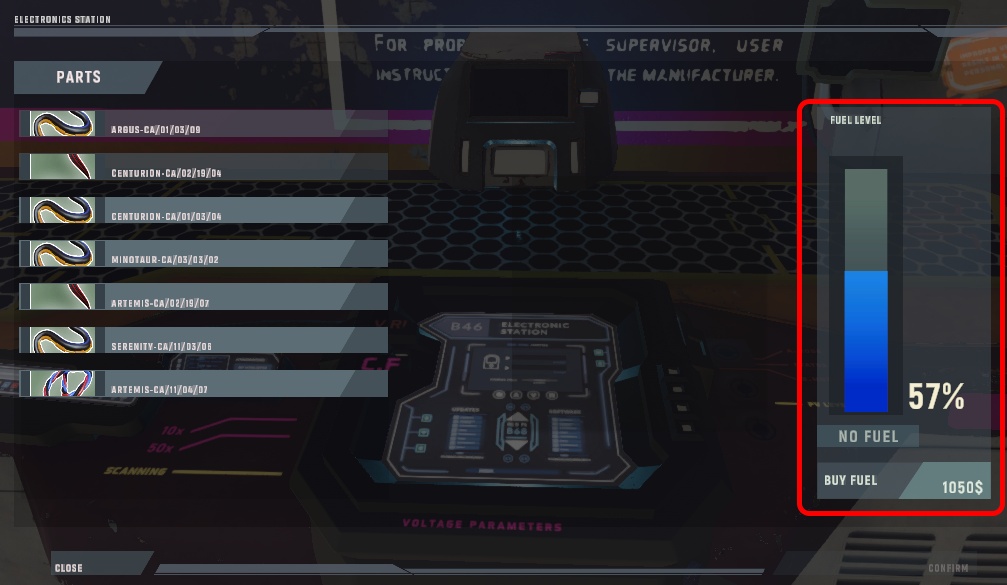 The right side of the starting panel shows the fuel available in the station. If you do not have fuel then you won’t be able to fix any parts.
Keep in mind that the fuel for the Electronics Station is used by all three of the modules. This means that when you are fixing a cable you are also using up fuel for the power core repair module and so on.
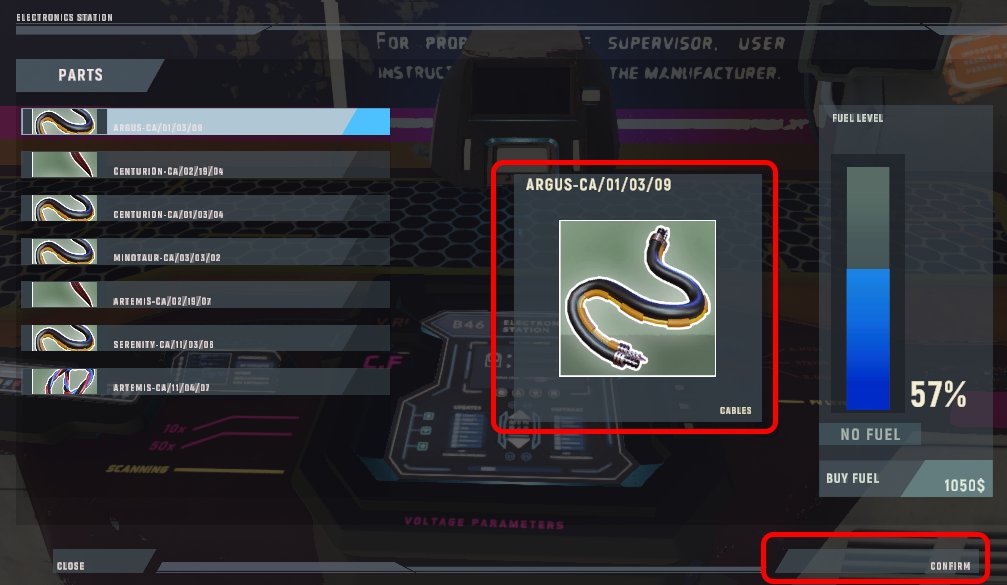 Once you select a part from the list it will show up in the middle of the station starting screen. This is here to show you which part you are going to work with.
Selecting a part also enabled the “Confirm” button in the bottom right part of the screen.
The Mini-Game
All of the Electronic Stations modules feature the same mini-game but with a small twist to them.
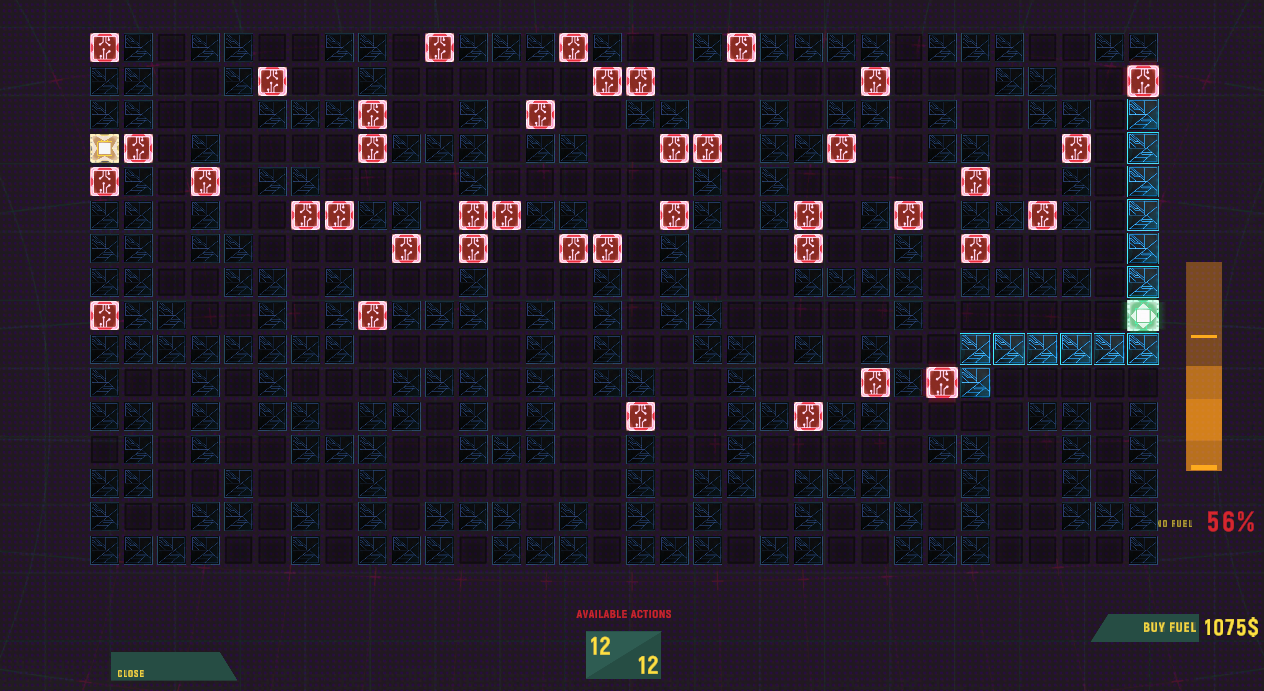
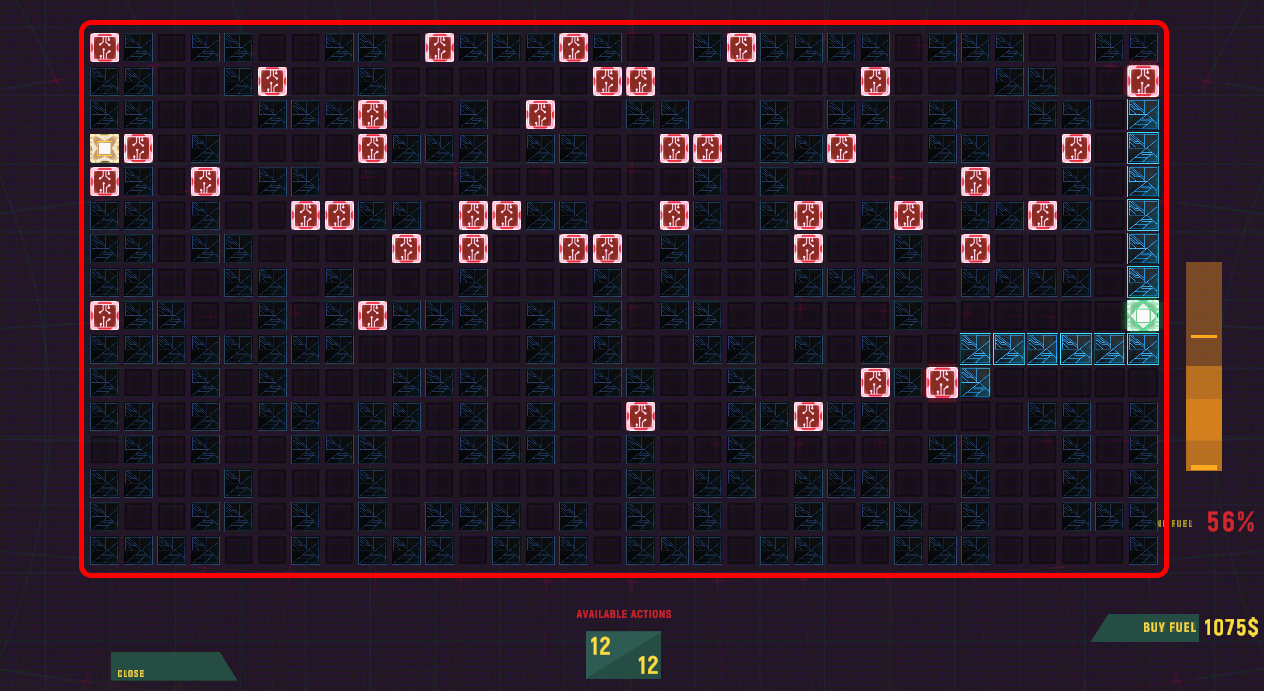
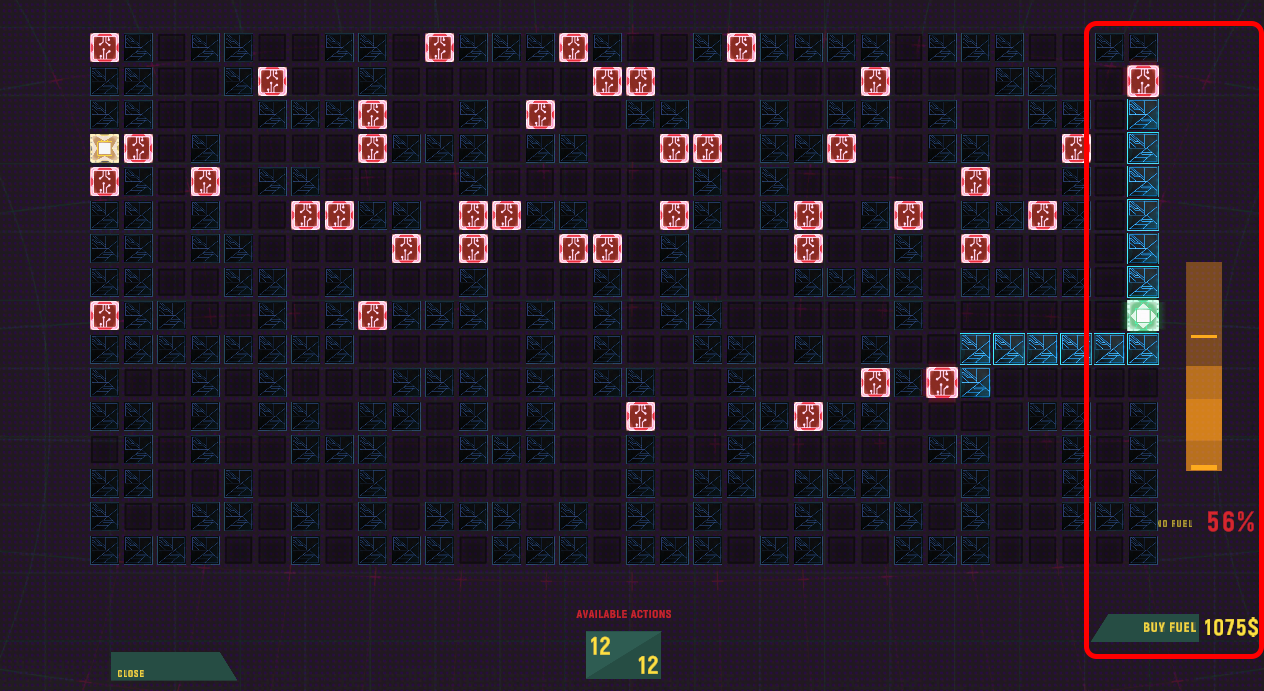 Just like with the Welding Station this one also features a mechanic that slowly drains your fuel the longer you remain in the mini-game.
The goal is to complete the task as fast as possible to lower the cost of repair. In simple – the faster you do it the less it will cost.
Luckily if you run out of fuel completely the station will ask you to either buy more fuel or cancel the entire process (cancelling will return you to the previous screen and remove all of the work you’ve done).
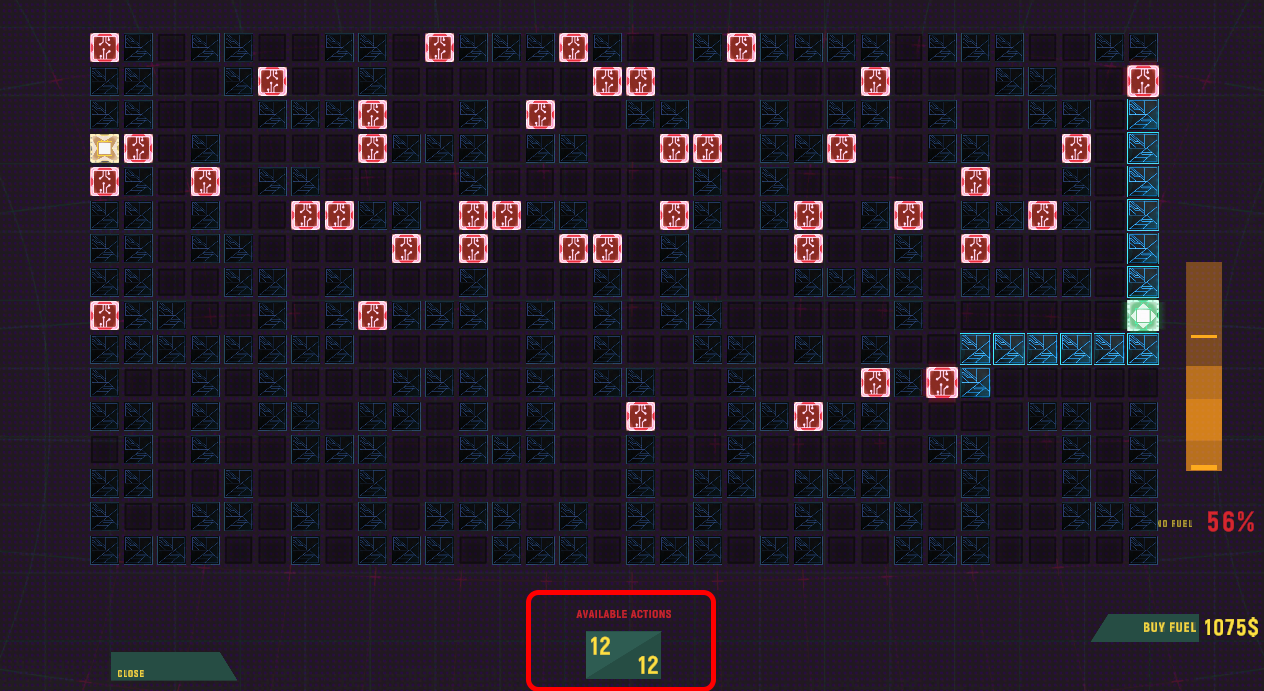 At the bottom of your screen you will see the number of actions you can still make in order to finish the mini-game.
These actions are not “one use”. If you do anything (i.e. remove a blocker) in the main area and re-add it later then the move will return to the pool.
All The Pieces
The Electronics Station mini-game features a set of “squares” that you will need to understand and use correctly in order to complete the minigame. These squares are:
- Start (green)
- End (end)
- Grid (dark blue/light blue)
- Blocker (red/blue)
- Step (purple)
![]() The start cannot be interacted with in any way. It’s on the grid to show you where the power is coming from.
The start cannot be interacted with in any way. It’s on the grid to show you where the power is coming from.
![]() The end cannot be interacted with in any way. It’s on the grid to show you where the power from the “Start” needs to reach.
The end cannot be interacted with in any way. It’s on the grid to show you where the power from the “Start” needs to reach.
 The grid cannot be interacted with in any way. It can be either powered or lacking power. When the path leading from the start to the grid is unlocked it will light up showing you that power has reached the area.
![]() The blocker can be interacted with using your cursor. When interacted with it will change it’s state from closed to open and the other way around (cables and modules) or disappear completely (power cores).
The blocker can be interacted with using your cursor. When interacted with it will change it’s state from closed to open and the other way around (cables and modules) or disappear completely (power cores).
When the blocker is open or removed the power can pass through it and move further down the grid.
![]() The step cannot be interacted with in any way and it does not exist in the cable repair module. This part of the grid is here to show you “mid-points” that the power must (modules) or cannot (power core) reach.
The step cannot be interacted with in any way and it does not exist in the cable repair module. This part of the grid is here to show you “mid-points” that the power must (modules) or cannot (power core) reach.
Cable Mini-Game
The cable repair mini-game is the easiest of them all and it also introduces you to the basics of how all three mini-games work.
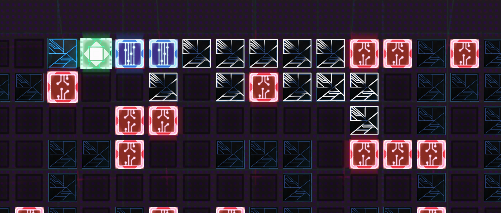
This version of the mini-game will ask you to interact with the “Blockers” (thus changing their color from red to blue) to allow the flow of energy from the “Start” to reach the “End”
Just like with all of the mini-games in this station this one will have a set amount of actions you can use. Unblocking a “Blocker” consumes one of them. Keep in mind that blocking a “Blocker” again will return that action to you.
The mini-game looks lke this:
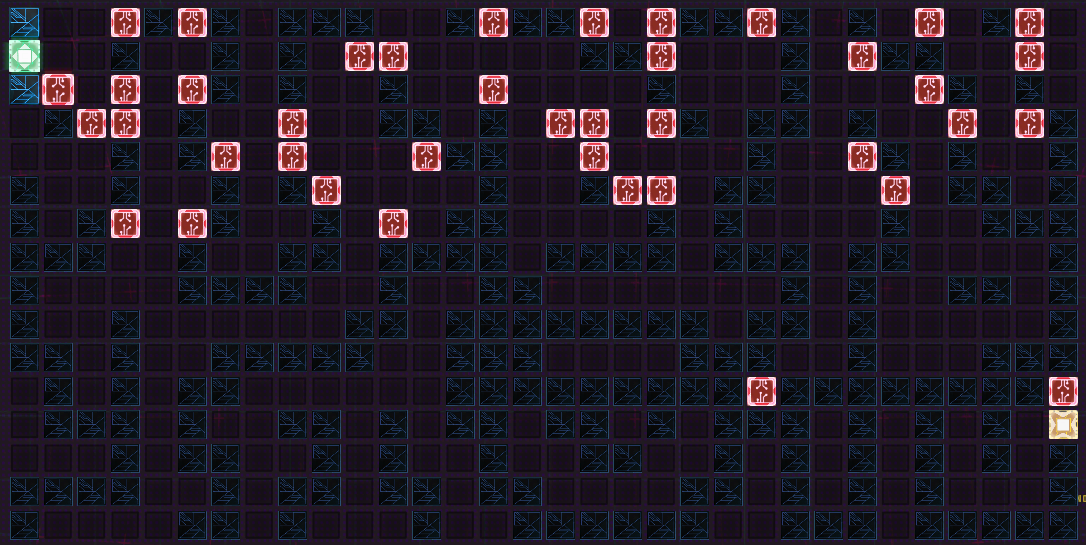
By following the “Grid” I quickly find a path from the “Start” to the “End”:
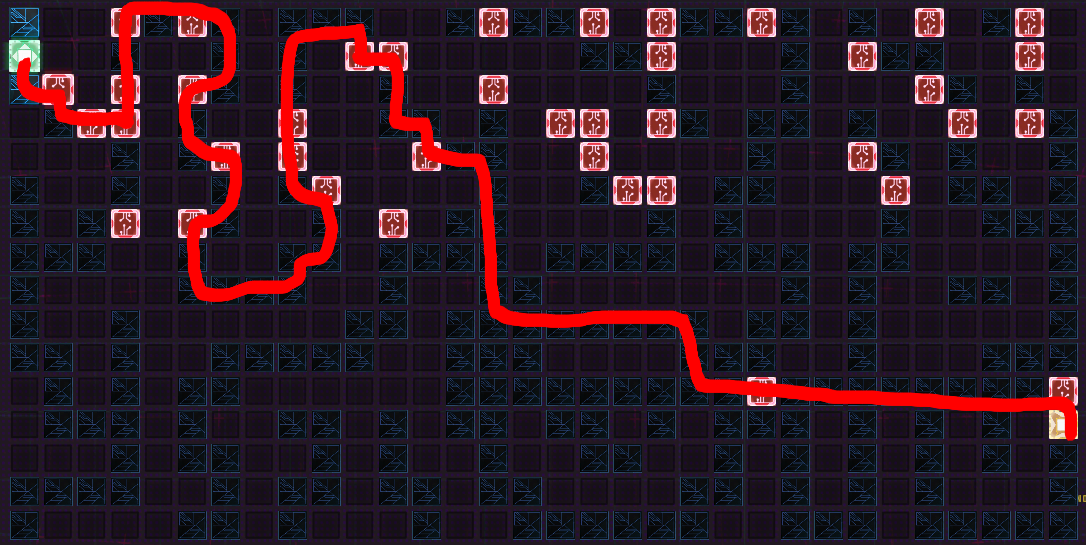
So I click on every “Blocker” that’s blocking the flow of energy in the path I found.
Module Mini-Game
The module repair mini-game follows the same rules as the cables one but it also adds the “Steps”.
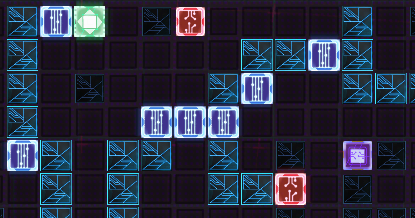
Your initial goal in this mini-game is just like with the cable one – have the energy reach the “End” from the “Start”. You do this exactly in the same way as before (by unblocking “Blockers”).
However, there is a small twist here. The energy flowing from the “Start” also needs to reach all of the “Steps” on the grid. This is done exactly in the same way as with the “Start” -> “End” part of the minigame.
The mini-game looks lke this:
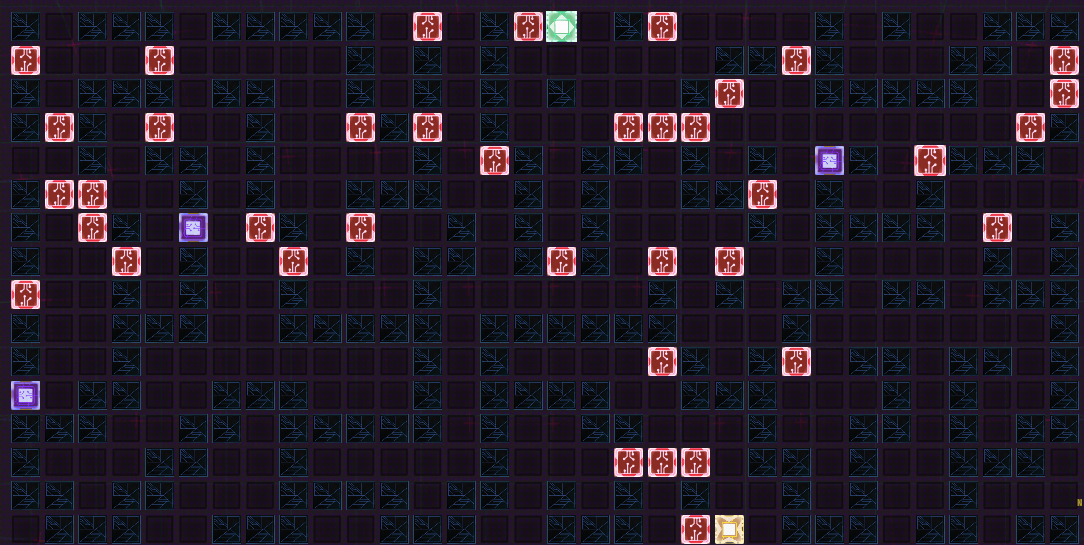
By following the “Grid” I quickly find a path from the “Start” to the “End”:
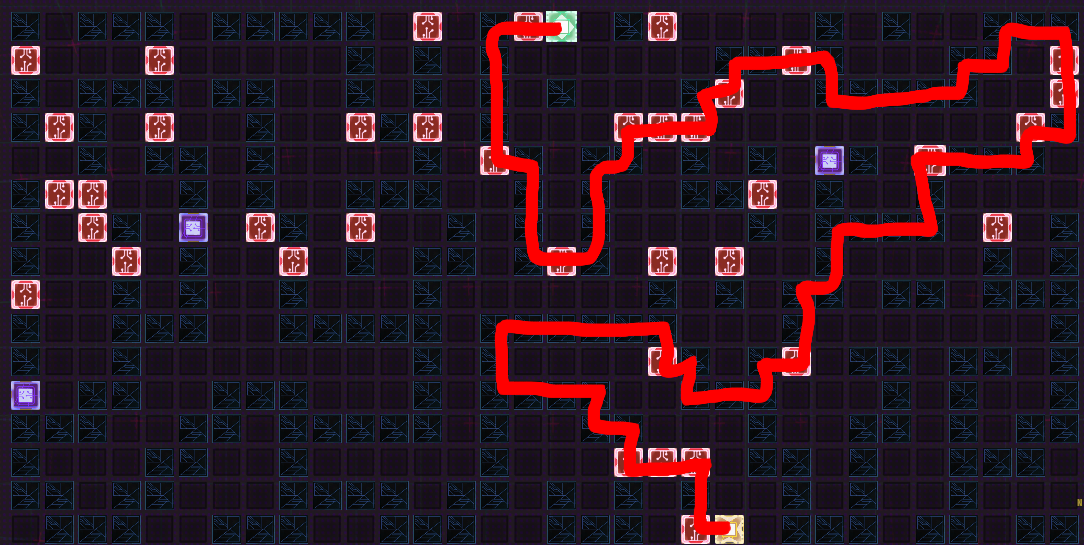
So I click on every “Blocker” that’s blocking the flow of energy in the path I found.
After the flow from “Start” to “End” is created I look at all of the “Steps” that I didn’t manage to get power to just yet.
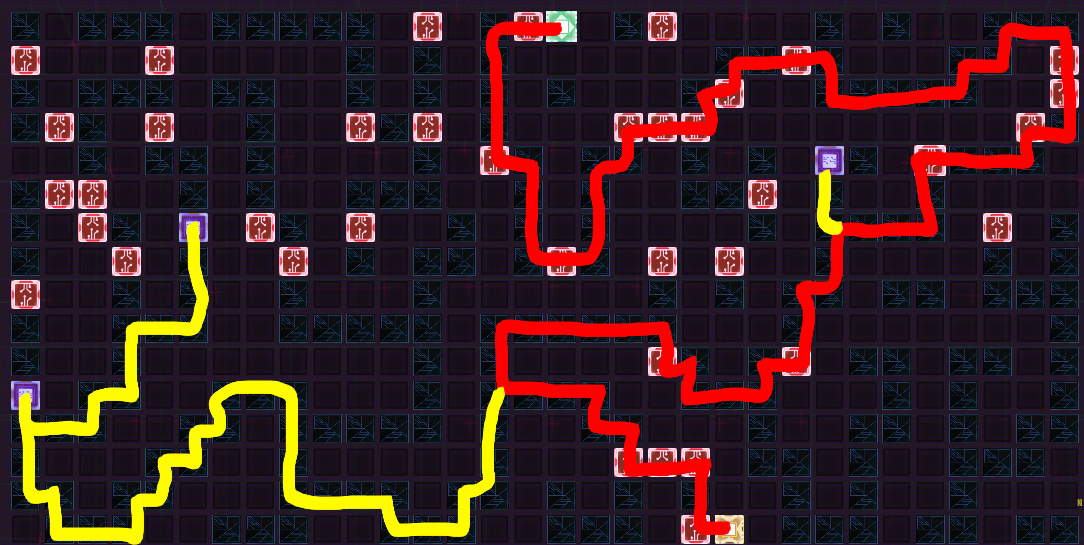 Luckily in this example they weren’t blocked. If they were you would click on the “Blockers” that don’t allow the power to reach them until all of them are connected.
Power Core Mini-Game
The power core mini-game is the hardest to understand mini-game in the station but it’s not in reality not much more difficult than the module one.
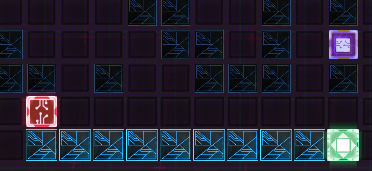
Just like with the previous two mini-games, this version will ask you to interact with the “Blockers” to allow the flow of energy from the “Start” to reach the “End”.
However, unlike the other two mini-games, in this one clicking a blocker doesn’t change it’s state but instead removes it completely from the grid. This costs one action (readding it back gives you the action back).
The unique part of this mini-game is the fact that you can add your own “Blockers” to the grid. This is done by clicking anywhere on the grid (where the power flows). Adding “Blockers” is a crucial part of this mini-game version.
The goal remains the same – connect the “Start” to the “End”. However, you will also need to avoid any “Steps” along the way.
The mini-game is completed only if the “Start” and “End” are connected but no “Step” is powered at the same time.
To do this, you need to add “Blockers”!
The mini-game looks lke this:
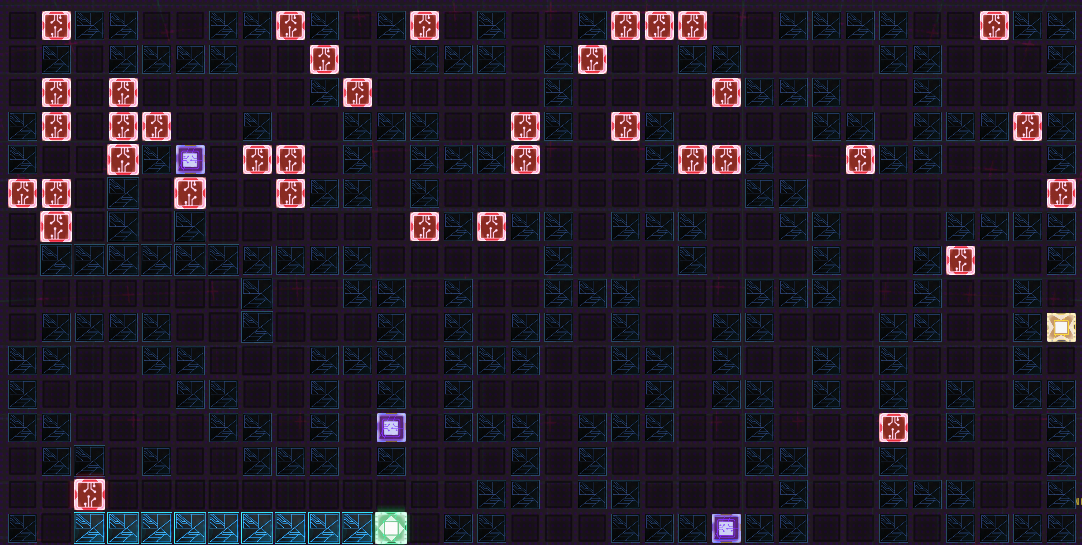
By following the “Grid” I quickly find a path from the “Start” to the “End”:
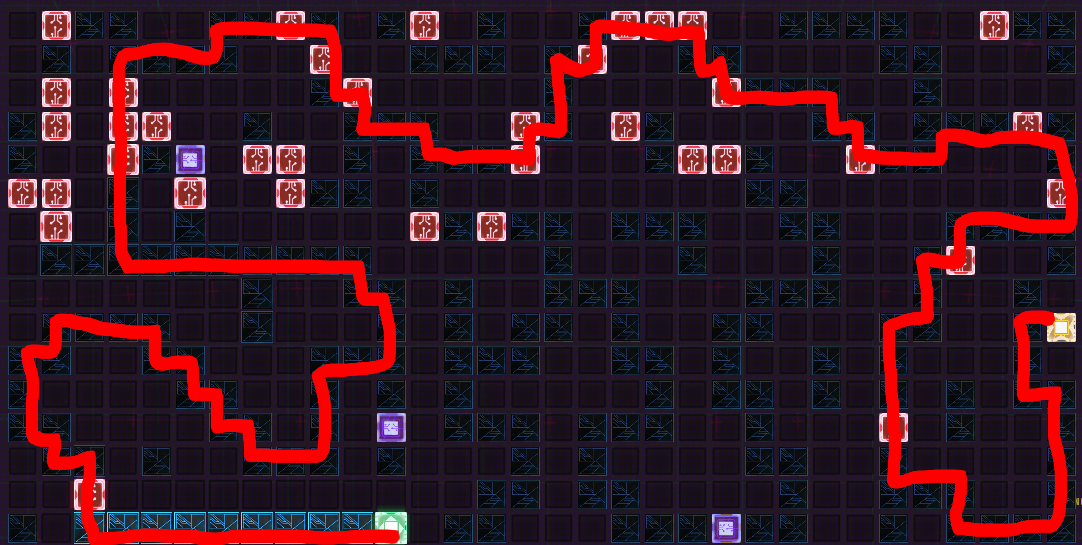
So I click on every “Blocker” that’s blocking the flow of energy in the path I found.
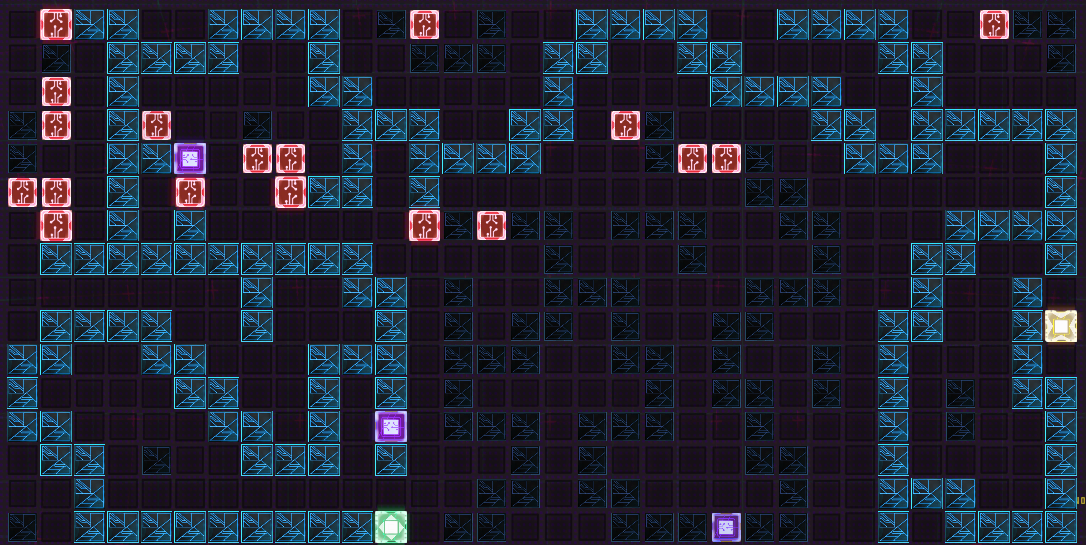
Now that they path is secured I find all of the “Steps” that also got powered in the process. Once I find them I place my own blockers around them to stop the flow of power from reaching them.
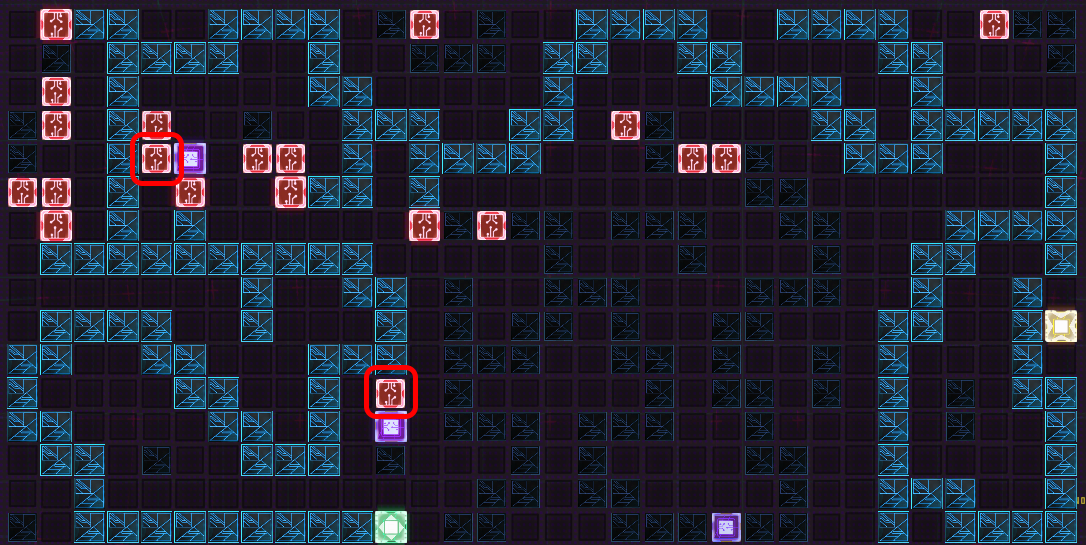
Note: Sometimes if you place a “Blocker” right next to one of the “Steps” it will still not block the flow of power from reaching it. The safest way of completing this mini-game is placing “Blockers” as far away from the “Step” as possible without breaking the flow from “Start” to “End”
Related Posts:
- Mech Mechanic Simulator Calibration Logic Guide
- Mech Mechanic Simulator Tips And Trick For Beginners
I have been beating my head against the wall trying to figure out what the power core mini game instructions meant. This really helped. THANK YOU!