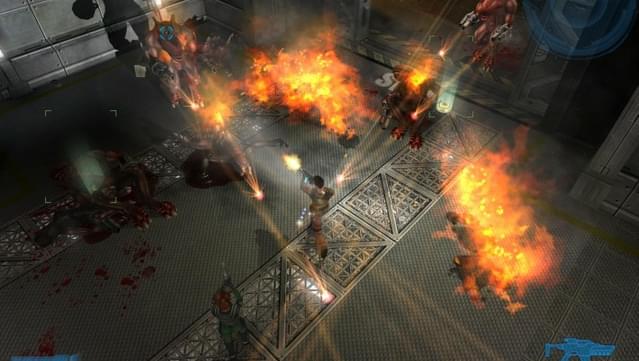
Shadowgrounds players, this is a Manual Hot fixes for those who are having trouble to get the game running or can’t continue the game and stuck during cut-scenes.
“Failed to find Steam” Fix
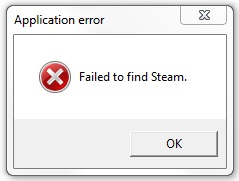
This problem usually happen when you have steam installed on a different drive or having beta steam installed. The game will run for the first time then start giving you trouble saying: “Failed to find Steam” and won’t start after that, pretty random but annoying.There’s multiple ways to fix this:Fast and Easy Solution:
[1] Go to your Steam folder, copy steam.dll file (ctrl+c)
[2] Go to the game installed folder and paste steam.dll in there (ctrl+v)
That’s it, you should be able to play the game without problem from there.
Note: This fix works for most of old steam games who has this problem.
Once and for all Solution:
This one is a bit tricky and might have unexpected consequences in the future. Use at your own risk.
The solution is to add your Steam location to your system path.
Here’s how to modify the ‘Path’ environmental variable:
[1] Open up “Environmental Variable” setting in your window:
– Right-click on “Computer” (in XP it was called “My Computer”) and click on Properties. In the Advanced tab, you’ll see a button for “Environment Variables”. Click it.
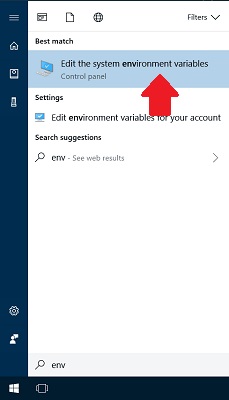
– Win7~10, go to search and type in “environmental variable” and there should be a pop up showing “Edit environmental variable” click that.
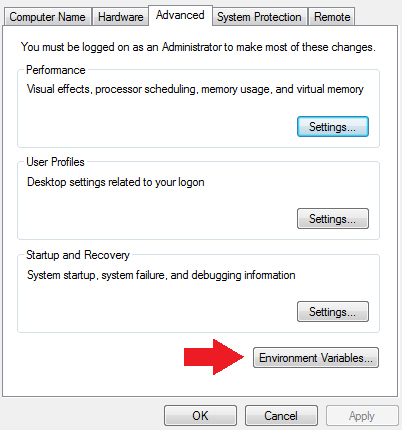
[2] In the lower section of that new window, you should see something like “System Variables”. Scroll through to find the one called “PATH”. You could probably create a user variable for this instead if you wanted
Highlight the entry for “PATH” and click “Edit…”.
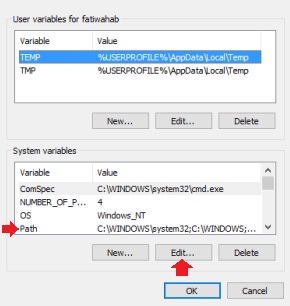
[3] You’ll get a text box that has a field on the top for “Variable Name” and a field under it for “Variable Value” with some existing paths in it. Put your cursor into the “Variable Value” field and hit the [End] key so you know you’re not inserting text in the middle of another entry. If you push the right arrow key it should not scroll.
[4] Add a semicolon “;” to separate your new entry from the others.
[5] Paste in the path to Steam. (The path where you installed it, eg, “;D:\Steam”)
[6] Press OK and restart your PC.
All games with this problem should be automatically fixed by this method.
Cut Scene failed to load Fix
When playing the game, and during a cut scene, suddenly the screen freezes but and the sound and music eventually stops and you can’t proceed further.
If you can still press F8 to open the console during that glitch, type in “quit” in and press enter and that should end and exit the game.
There is a few possibilities that causes this problem.
Corrupted Files:
Try verity your install from your steam library by right clicking the game and click property.
Or uninstall the game, delete the installed folders and reinstall.
This should fix most corrupted files problem. If the problem persists…
Skip the problematic cut-scene:
This actually makes you miss part of the cut-scene but it will enable you to continue playing the game.
Quickly press the “Esc” button on your keyboard before the problematic cut-scene starts playing (before the music and sound stops completely) and you should be able to skip it and continue to the next part of the game.
Stuck in Object Fix
This is a common glitch that may happen to all types of 3D games.
Normally, a game with this problem will provide a sort of warp solution for the players. In this game, the devs suggested us to use the cheat that enables warping.
To enable warping:
[1] Press F8 in game to open the console window.
[2] type in “externInclude developer:main” (case sensitive) and press Enter.
[3] Press F8 to exit the console window.
[4] Use the following hotkeys for “Cheats”
– F6 : Immortal on/off (god mode)
– F7 : Give you everything
– G : Throws a grenade (like Shadowground: Survivor)
– F5 : Warp player forward in map (This is the cheat you need to get you out of the stuck)
– Numpad +/- : Zoom in and out
There’s actually another solution, that is, if the object is destructible, just destroy it and you should be able to move again.
High Resolution Fix
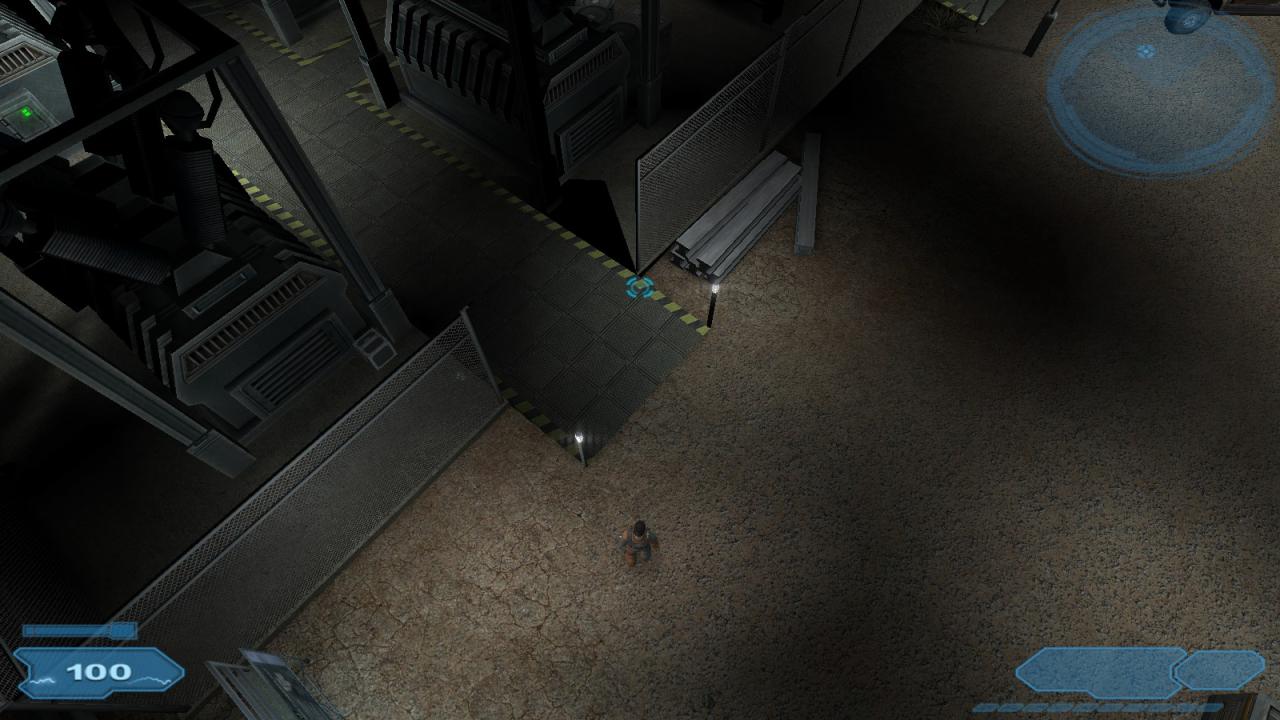 This fix is fairly simple:
[1] Go to the game installed folder, then look up the “Config” folder, you should be able to see a file called “options.txt”.
[2] Double click and open it using notepad.
[3] Press ctrl+f and type in “screen_width” and hit the “Find” button. It should automatically jumps to the resolution part.
[4] Change the resolution to fit your needs.
[5] Save and exit.
[6] Run the game normally from steam.
The game should be running in your desired resolution now.
Note: Do not open the game’s external setting after this or it might reset the resolution.
Taking pretty Screen Shots
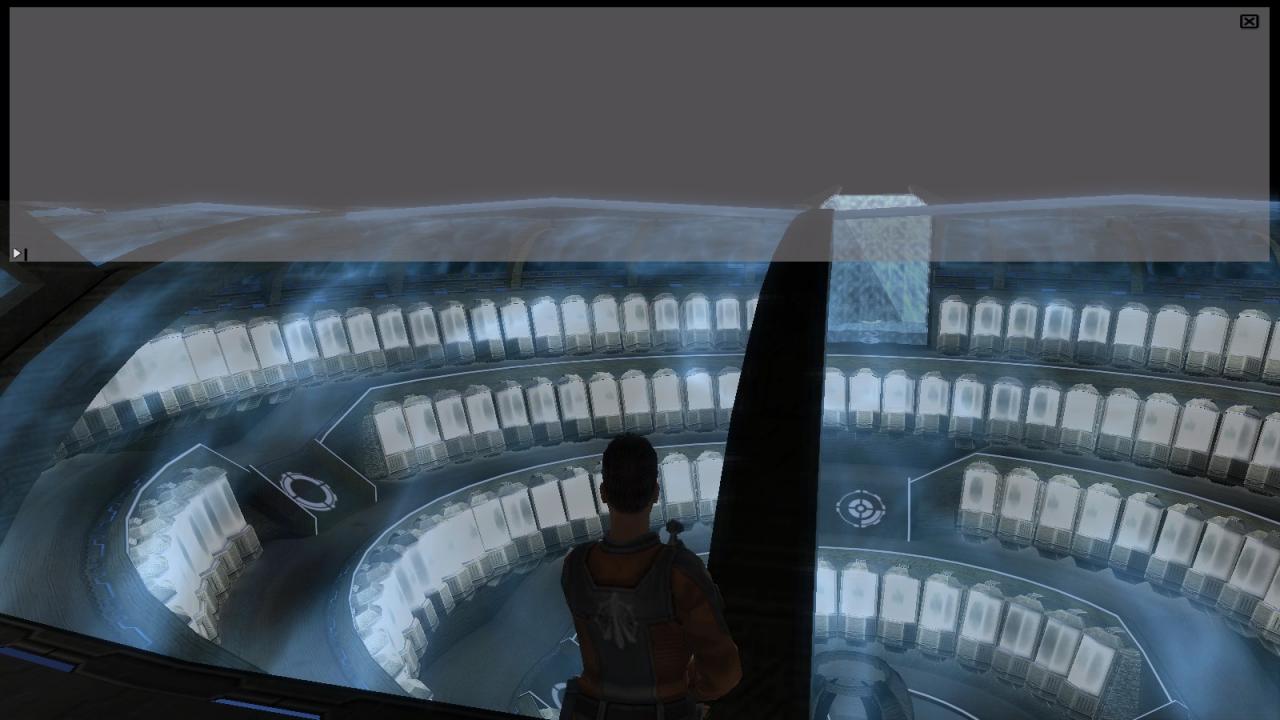
If you wish to take screen shots without the GUI, here’s how:[1] Press F8 to open the console window.[2] Type hideGUI and press Enter.
[3] Press F8 to close the window. And do your snapshot.
[4] Open the console and type showGUI to get the GUI back after you are done.
Enjoy taking pretty pictures!
Tweaking the Game Files
Requirement:
You need 7z to open the game files for editing.
You can find the free copy of 7z here (https://www.7-zip.org/7z.html)
You should be able to extract the files from the game’s .fbz file using 7z for editing and putting it back into the .fbz this way.
A lot of the game files can be open up with notepad for simple text editing. And the devs have left fairy clear instructions on what does what in the files themselves so it’s not hard to understand.
Note: Remember to make a back up before you start tweaking the files!
3rd Person Shooting Mod
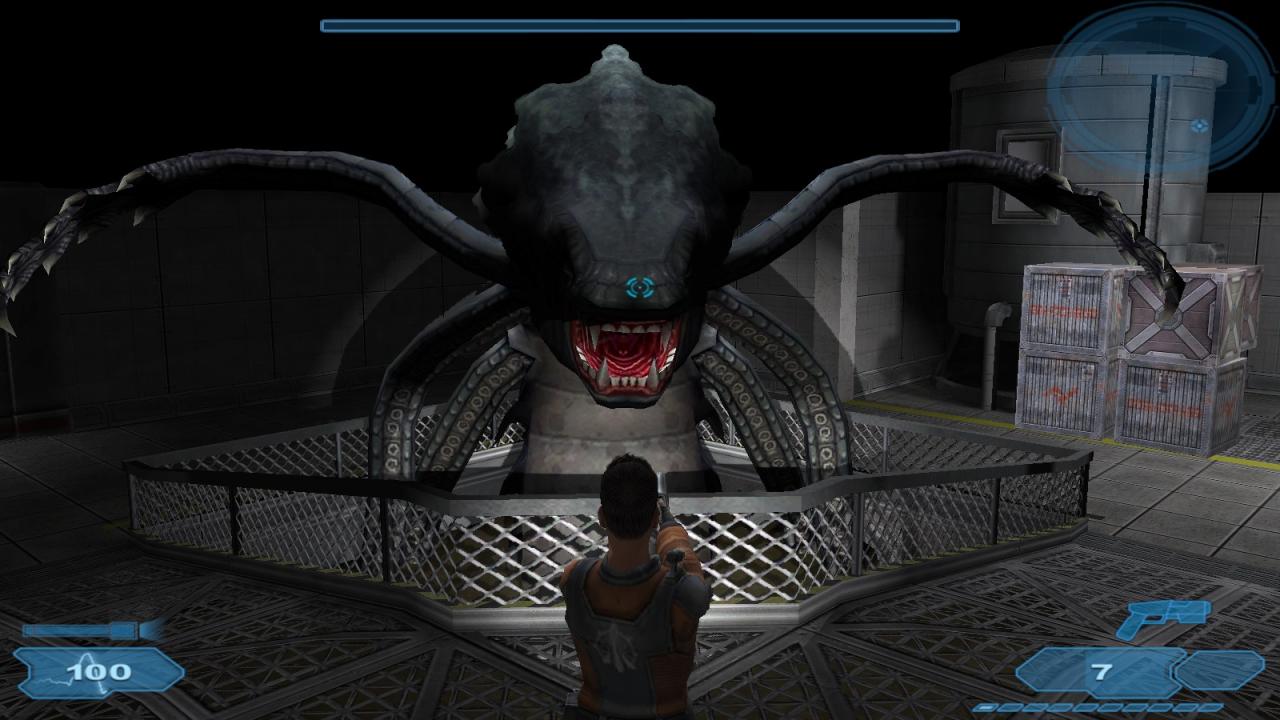 Known Problem:[1] You will not be able to look up/down using the camera, but that’s not a huge problem at all and will not hinder the game play if you set this up right.[2] No roof. Well, this is a top down game… what do you expect? lol!
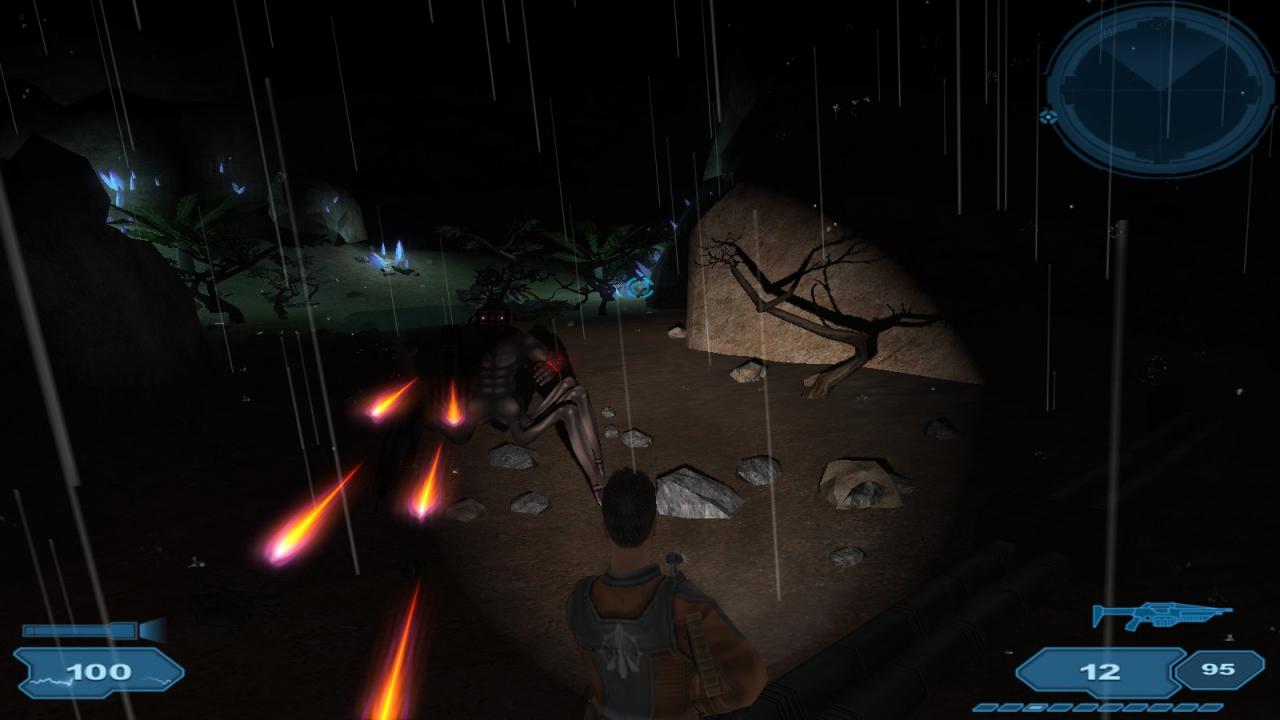
[3] Can’t see enemies coming from the back. You’ve chosen to play the game in a 1st/3rd person view point, of course you won’t be able to see what’s coming from your back anymore.
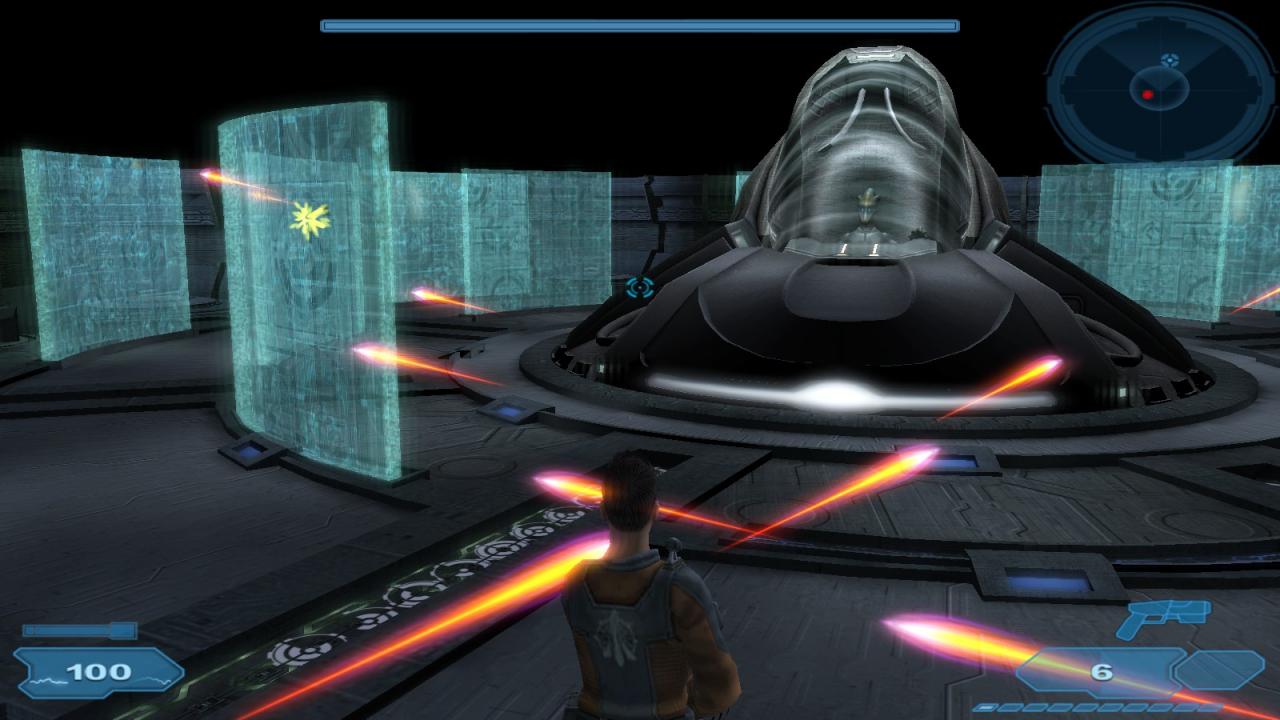 What to do:
[1] Open “Data1.fbz” using 7z by right clicking and choosing 7z > Open Archive
[2] You will see a “Data” folder in there, enter and look for “Misc” folder
[3] Enter “Misc” folder and extract the file “default_game_options.txt”
[4] Open the extracted “default_game_options.txt” using Notepad.
[5] Press Ctrl+F and type in “camera_min_beta_angle” then click the “Find” button.
[6] Change the following numbers to these:
– camera_range = 800
– camera_min_beta_angle = 10
– camera_max_beta_angle = 8
– camera_default_zoom = 10
– camera_default_zoom_player_inc = 10
– camera_default_fov = 80
– camera_autozoom_enabled = 0
– camera_autozoom_indoor = 0.0f
– camera_autozoom_outdoor = 0.0f
[7] Next Ctrl+F and look for ” autoaim”.
[8] Change the following numbers to these:
– autoaim_horizontal = 1
– autoaim_vertical = 1
[9] Save the file and zip it back in to the “Misc” folder of “Data1.fbz” (drag and drop the file onto 7z)
Run the game and now you should be able to play the game in 3rd person view mode. Enjoy!
1st Person Shooting
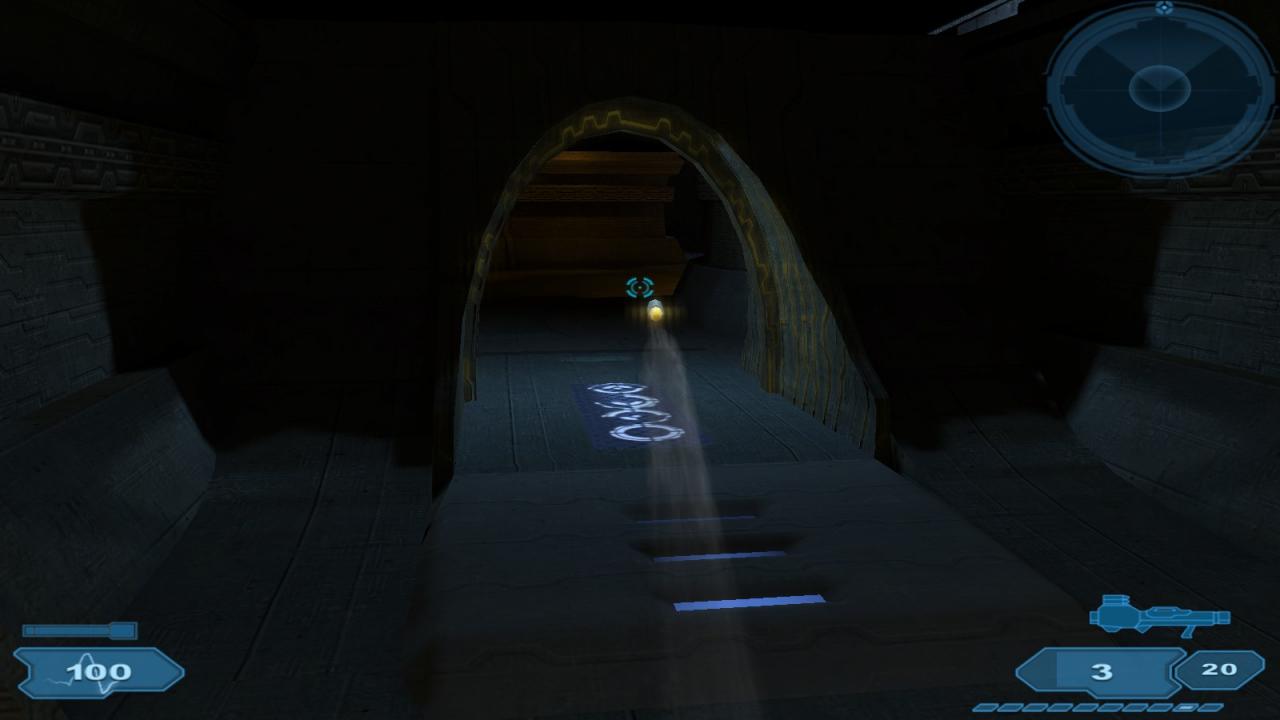
What to do:
[1] Do all the settings in the 3rd Person Shooting Mod
[2] Press F8 in Game to bring up the console window.
[3] Type in “externInclude developer:main” and press enter.
[4] Press F8 to exit the console window.
[5] Use Numpad + and – to adjust the camera and zoom in to max until you no longer see the character.Enjoy your first person view!Known Problem:
[1] This is just an extension of the 3rd Person Mod so it has all the same problems the 3rd Person Mod has.
[2] The Camera zoom will reset each time you finished a conversation/cut-scene. So you have to adjust it again using Numpad +/-
[3] Dev Mode will be reset on the start of each mission so you will need to enable it again before you can adjust the camera.
