Little Nightmares II players, this is my guide to help you find all of the remains throughout the game! Hopefully this can help you, because some of them really took me a long time to find.
There are 18 glitching remains…
So here it is you guys, I hope you enjoy it! This is my guide to finding the 18 glitching remains, and unlocking the secret ending!
Chapter 1: The Wilderness
There are four glitching remains in the first chapter of the game. Here are the locations:
1.The first glitching remain is located pretty early in the chapter. You’ll come up to the first broken bridge, and instead of trying to jump across it, you need to jump down. I haven’t exactly watched any gameplays, so I’m not sure if this is the proper way to be going anyway, I just know that I died A LOT when I tried jumping to the other side instead of jumping to the bottom to climb the bridge that way. Either way, don’t go up. Keep walking towards the right, and you will find a sort of secret tunnel. Follow that, and you will find your first glitching remain!
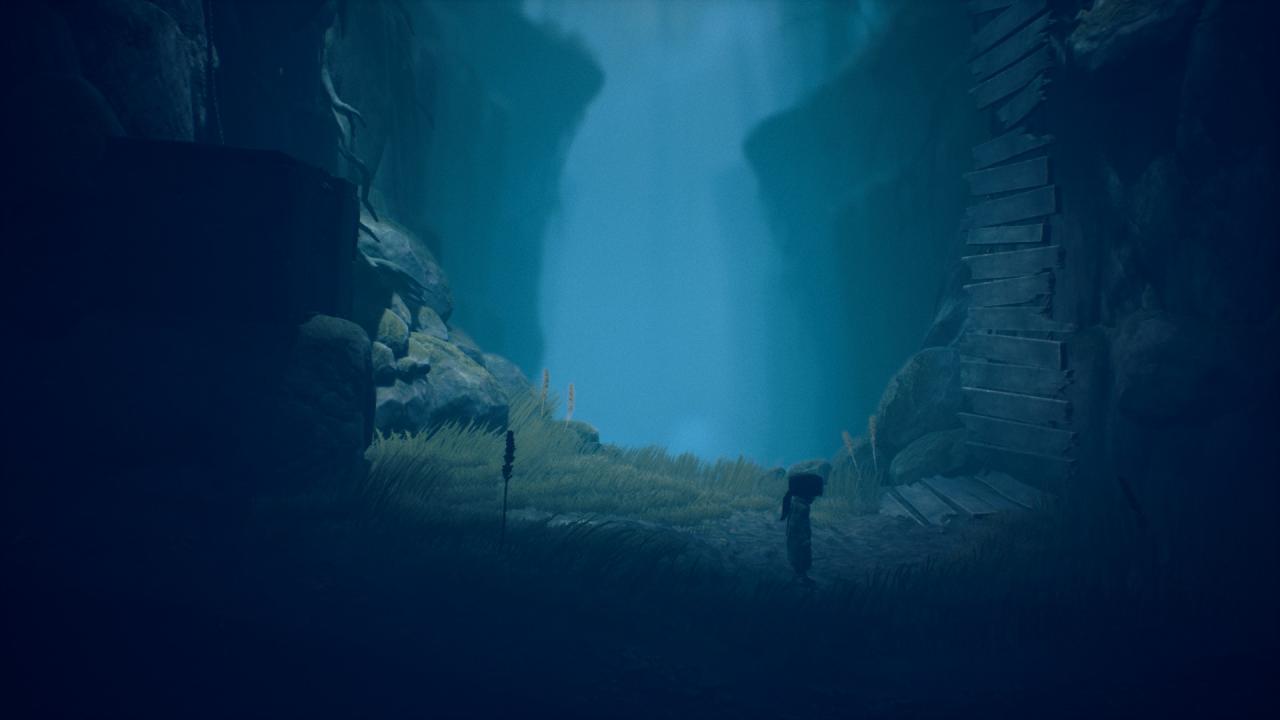
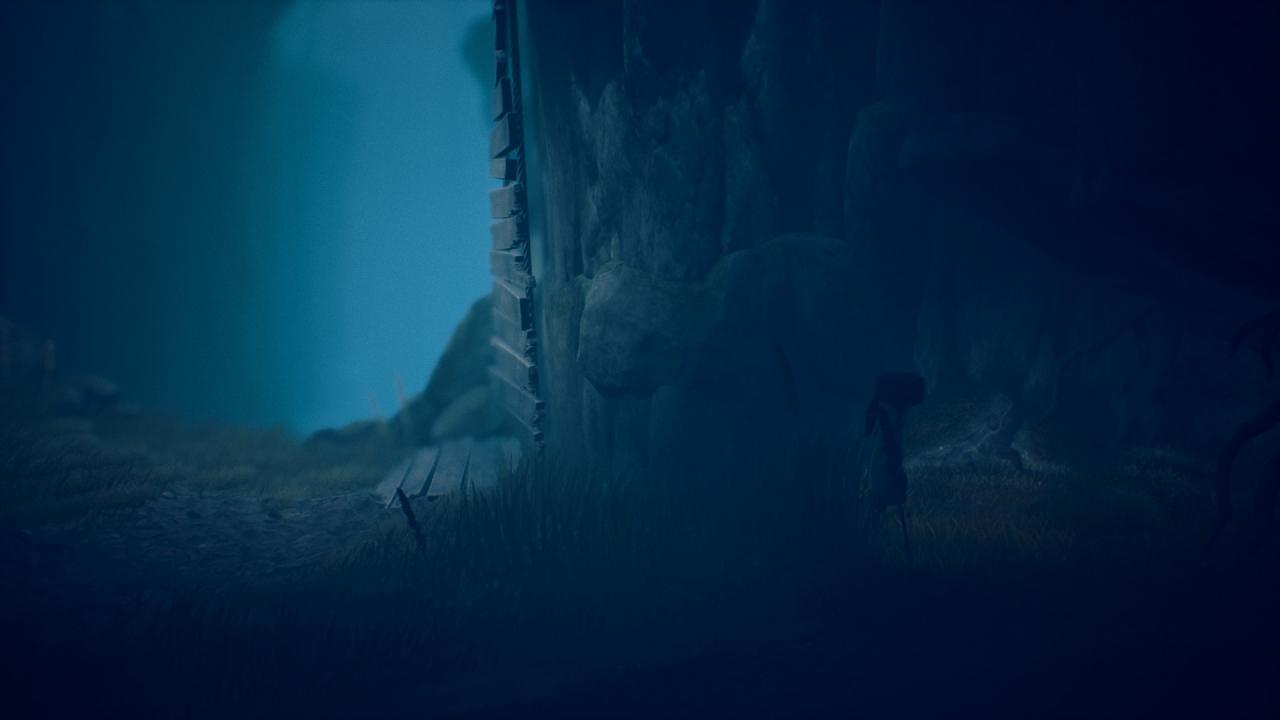

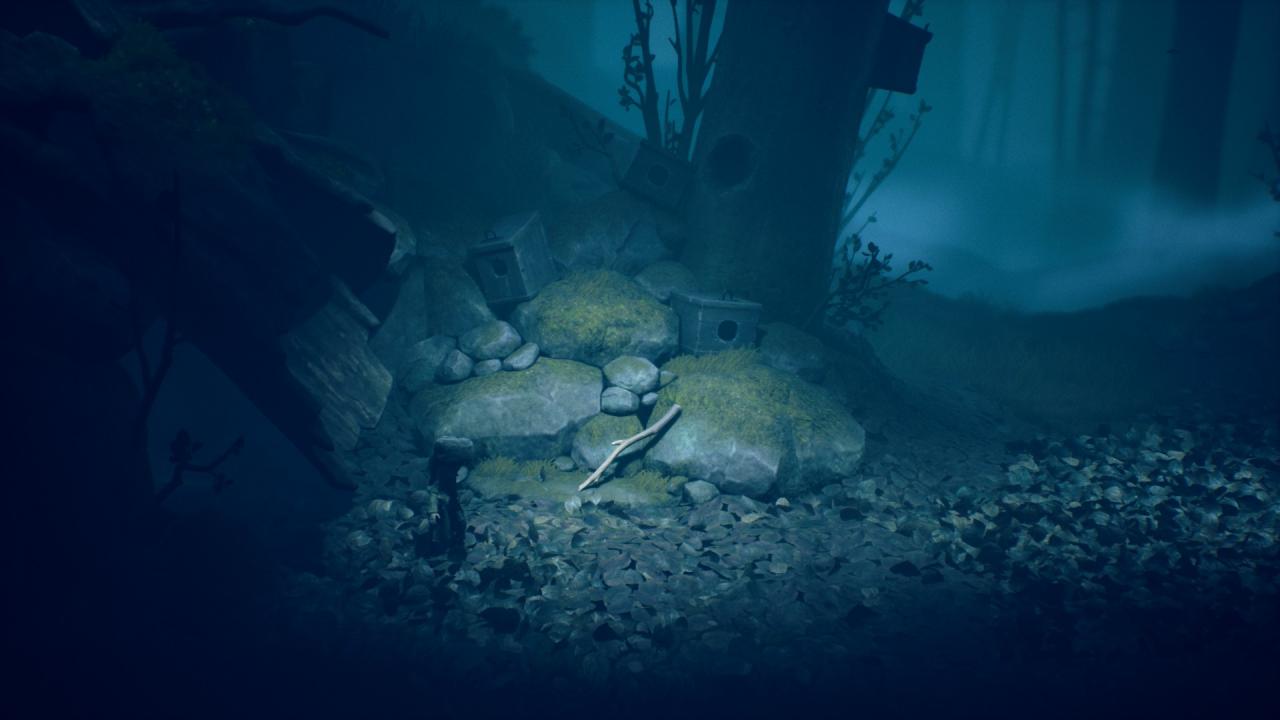
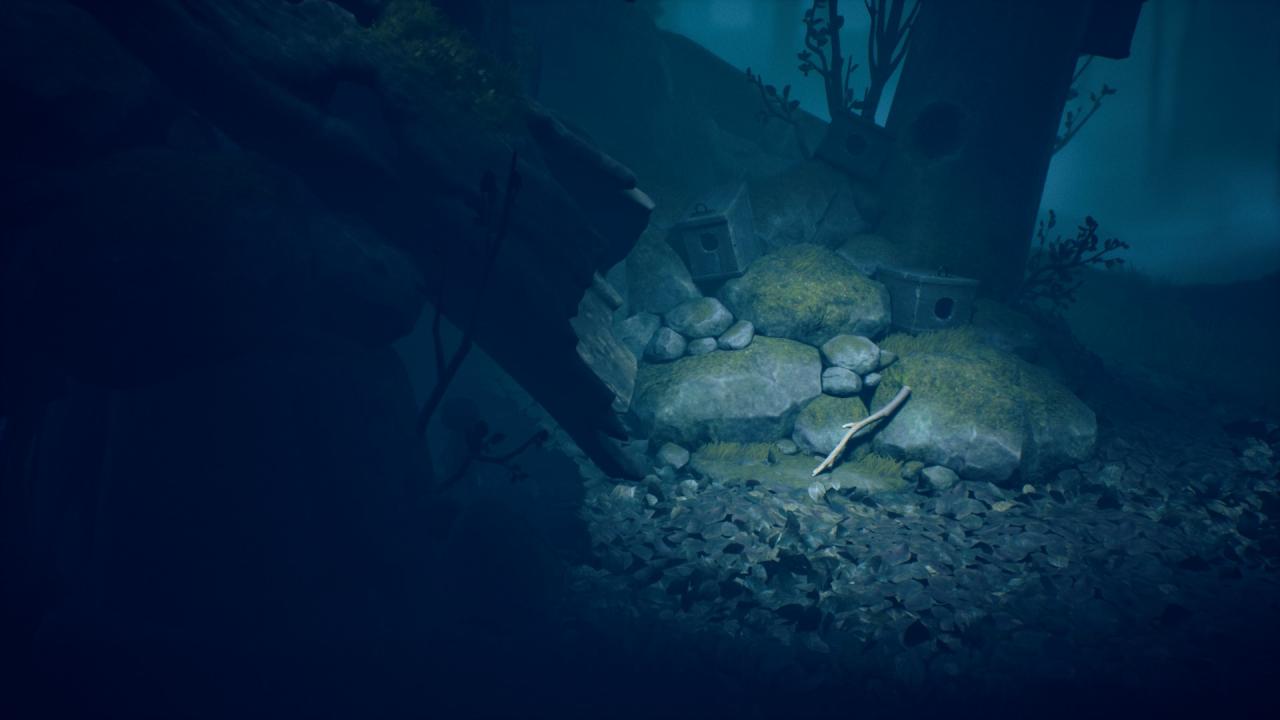
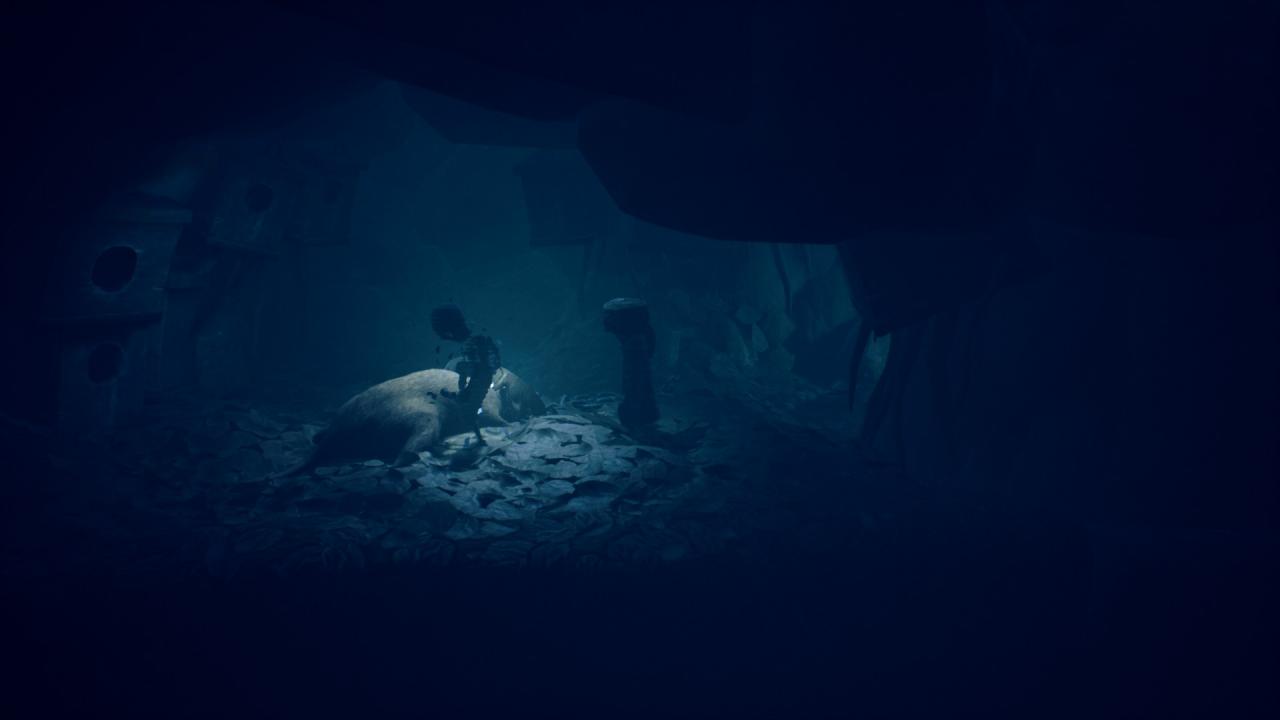
2. Once you slide down the log and land to find a stick just lying on the ground (it should be the second stick you’ve found,) leave it alone. You need to turn around and go under the log you just came out of, and there will be a secret tunnel leading you to the second glitching remains.
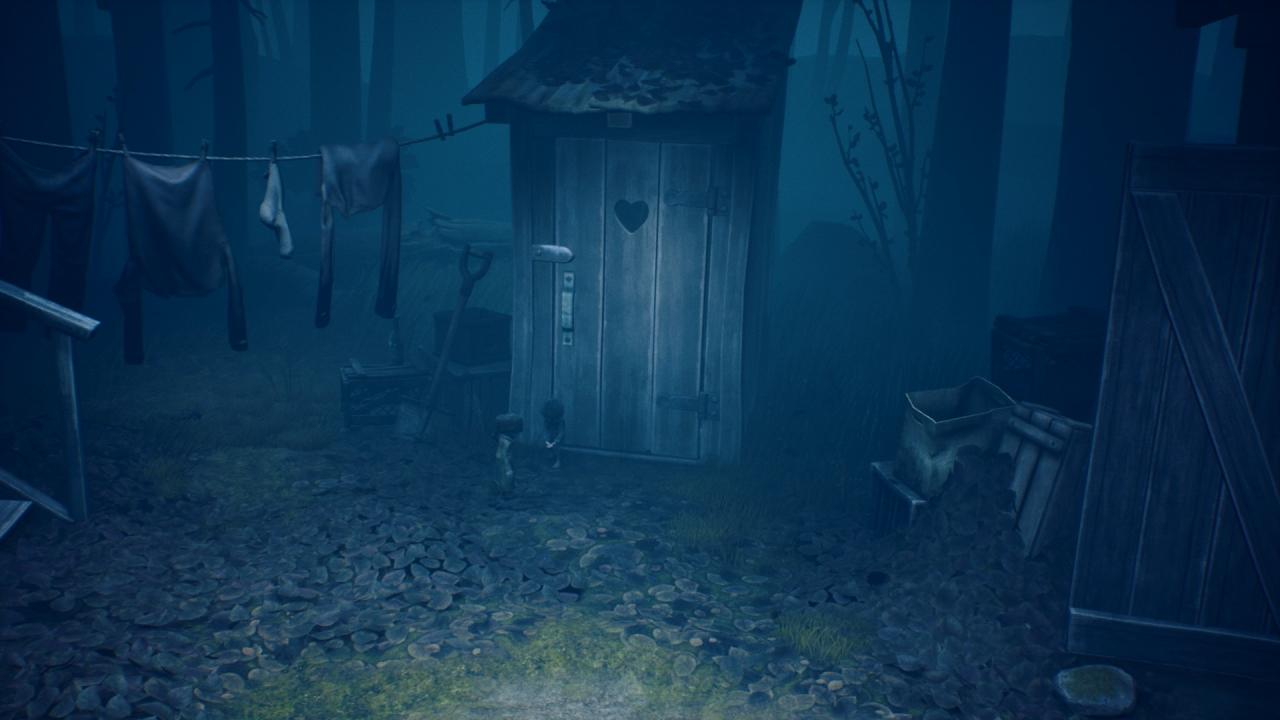
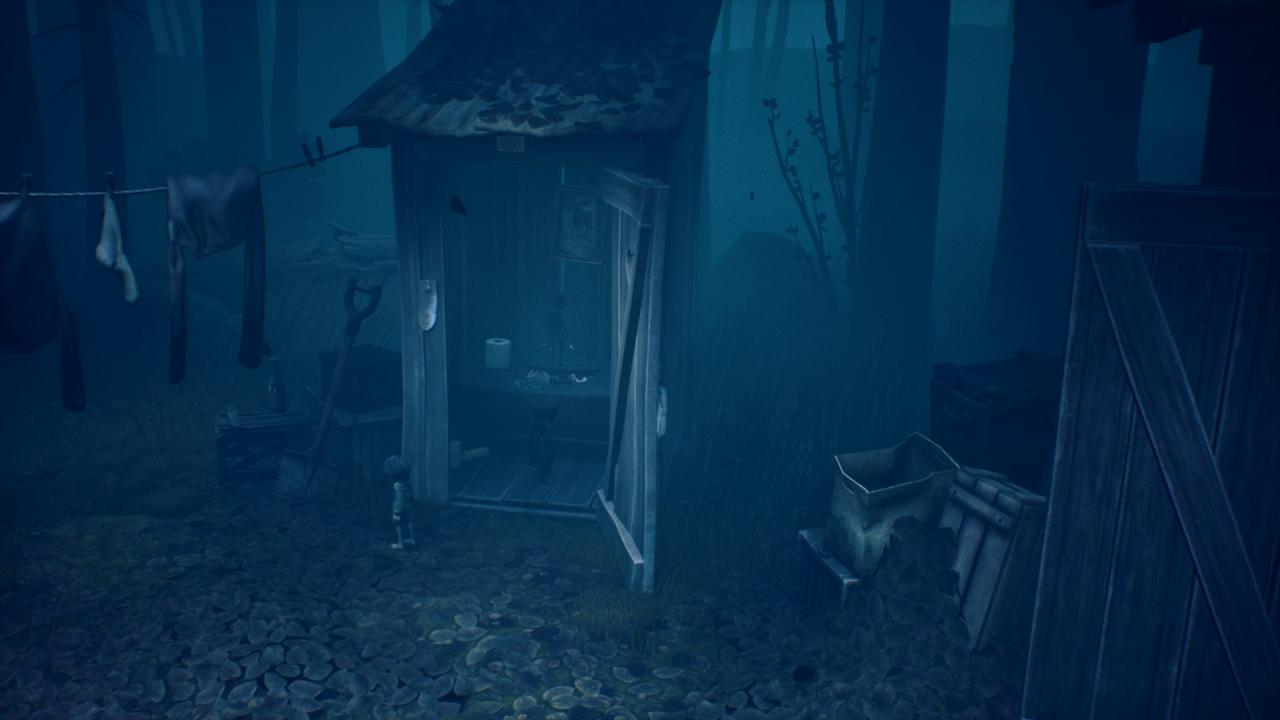
3. After you’ve escaped the hunter’s cabin, before you enter the shed, you should see an outhouse. If you go up to it, Six will run up and let you interact with her to open the door. That is where you will find the third glitching remain.
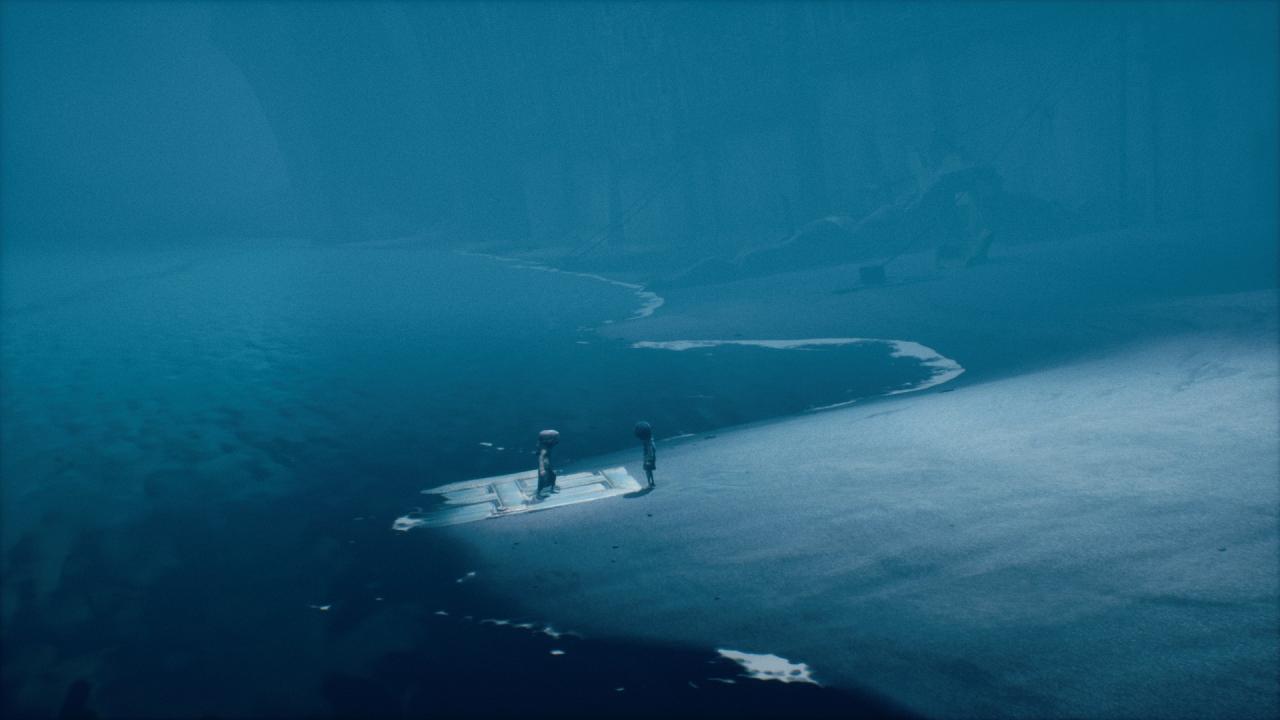
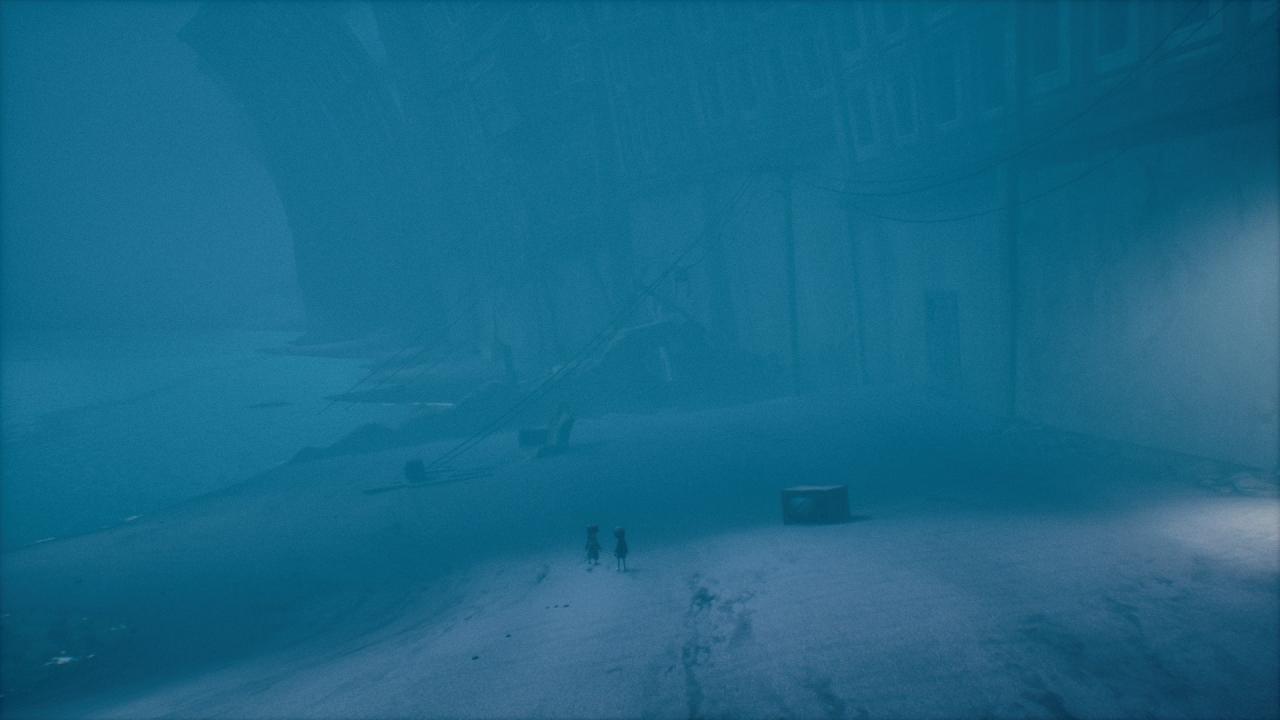
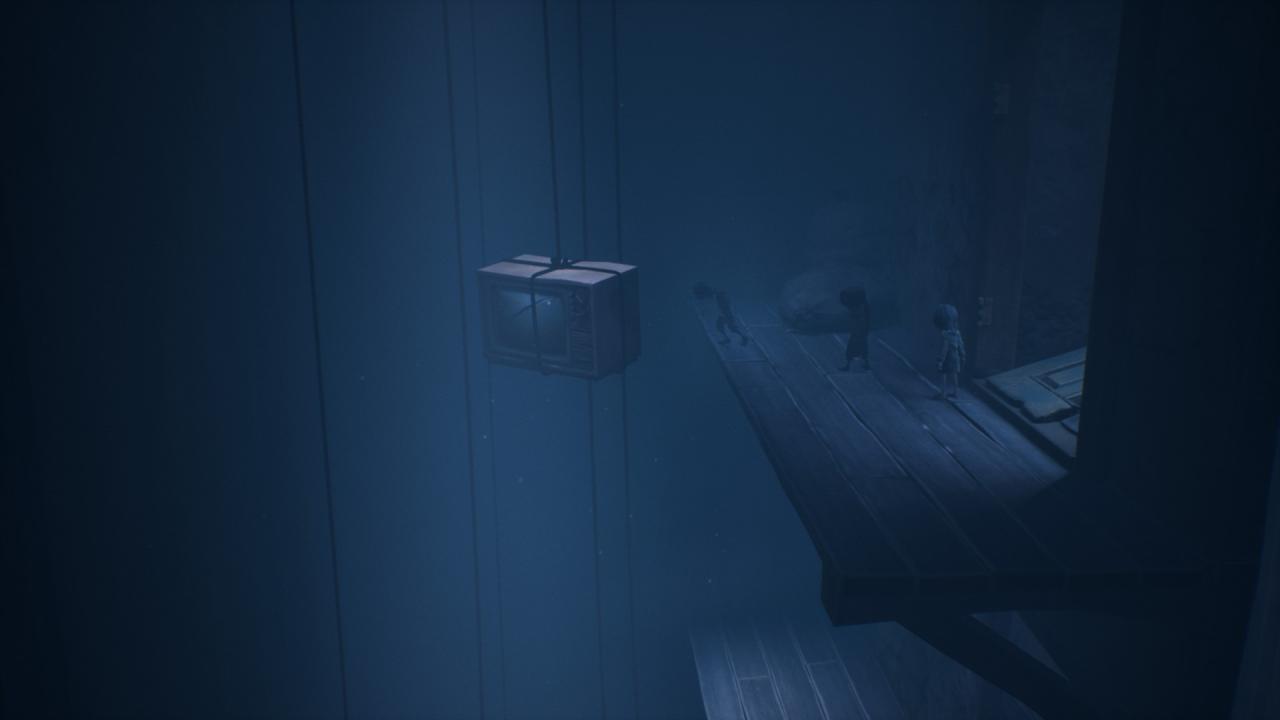
4. The final glitching remain in this chapter is located right at the end of the chapter. Once you’ve finally pulled up to shore, before entering the building, run into the background and you’ll see it looking at the TV. You’ll probably even look back there and think, “huh?? Is that a kid??” At least, I did, anyway, and that’s how this was the first glitching remain I found! I’d also like to mention that I had already found this remain, and the pictures are only provided to give you the specific idea of where the exact location is.
Chapter 2: The School
There are six glitching remains located in this chapter.
1. After you’ve helped Six onto the third floor, you need to find a way up there yourself. You will run up the stairs to find a gap where you must jump, and Six has to catch you. Go up the rest of the way, and turn left instead of crossing across the bridge-thingy. This will take you to where Six was previously, and revealing the first glitching remain in this chapter. 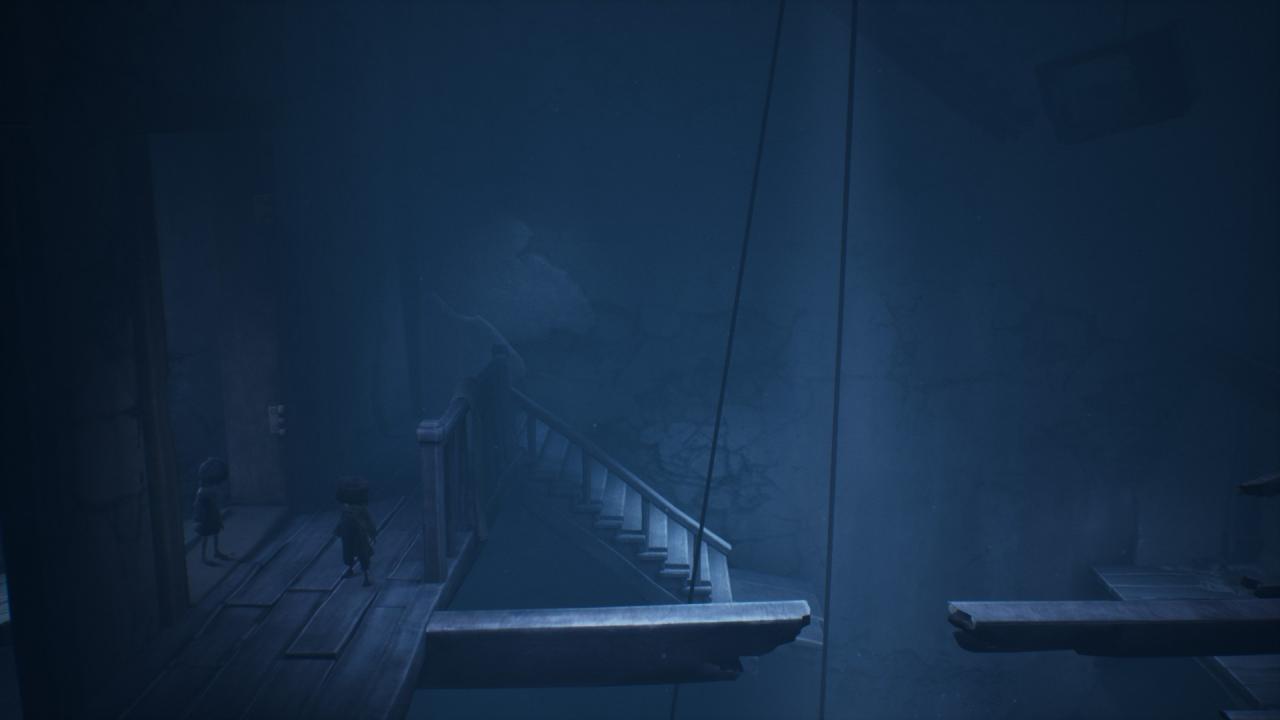
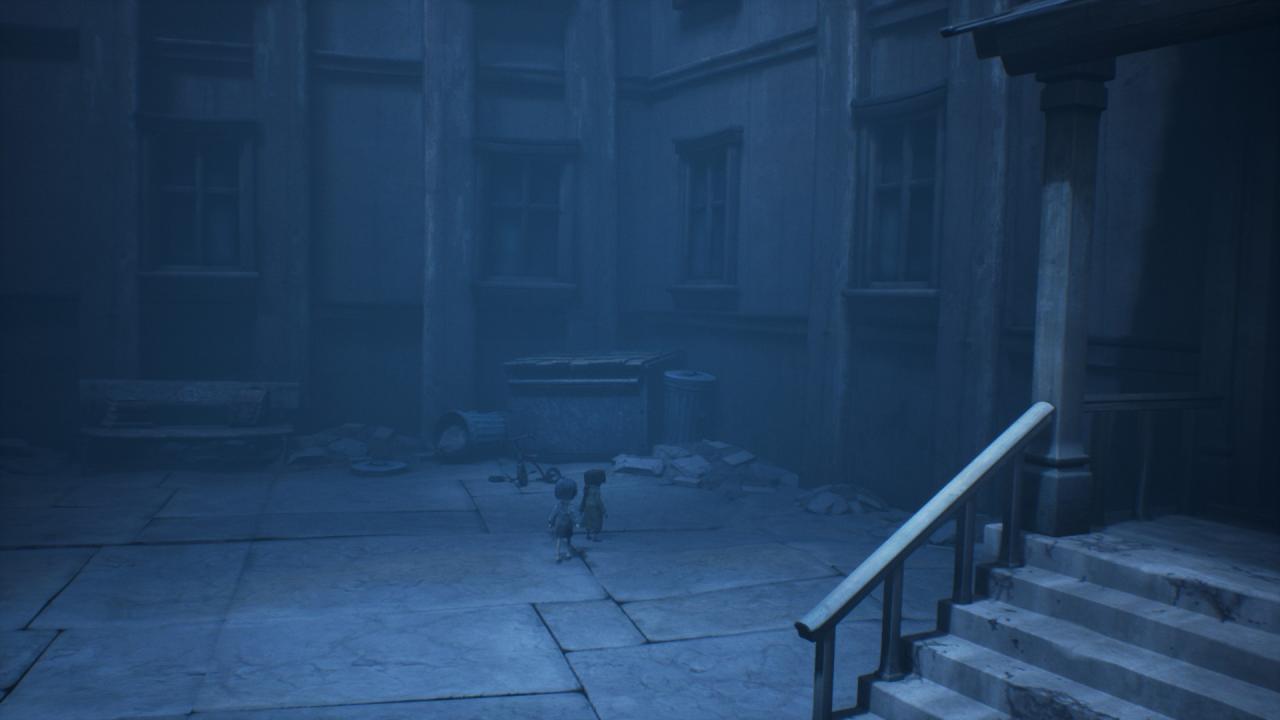
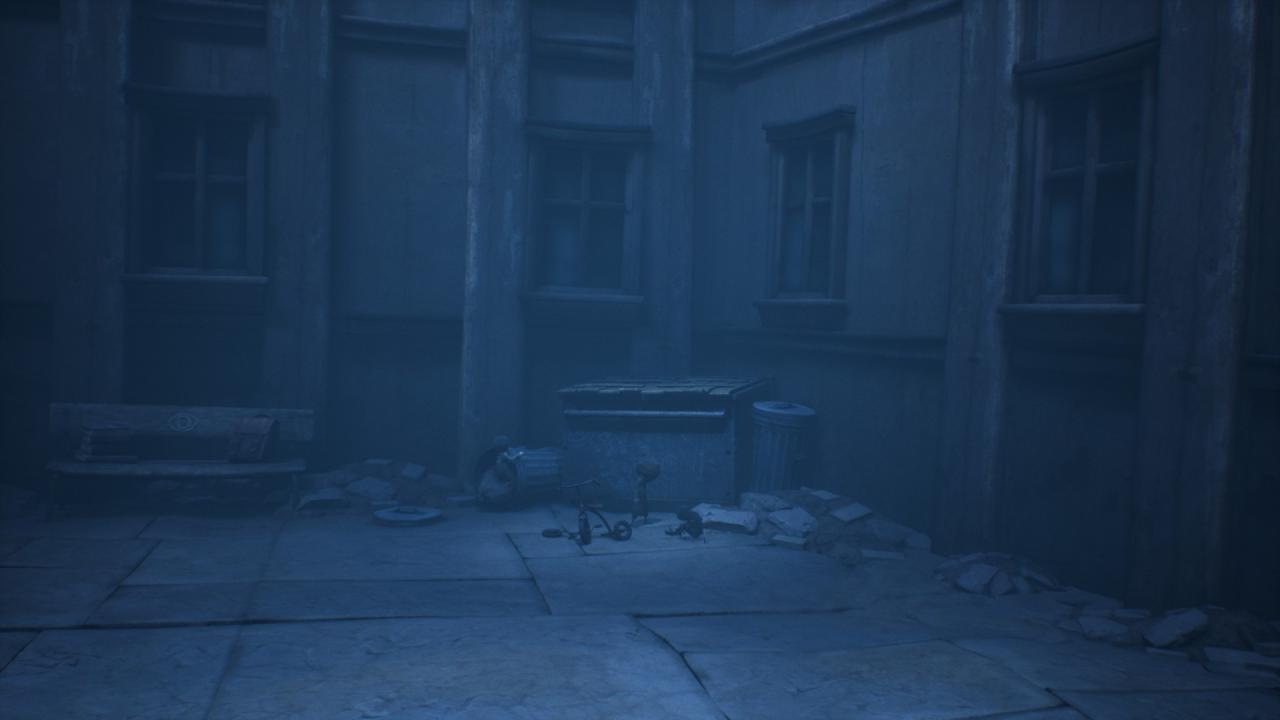
2. Once you’ve entered the school yard, walk to the dumpster that is all the way in the back right corner. You’ll see the entrance doors, and you literally just walk behind those. You’ll find the second glitching remain chilling out right in front of it.
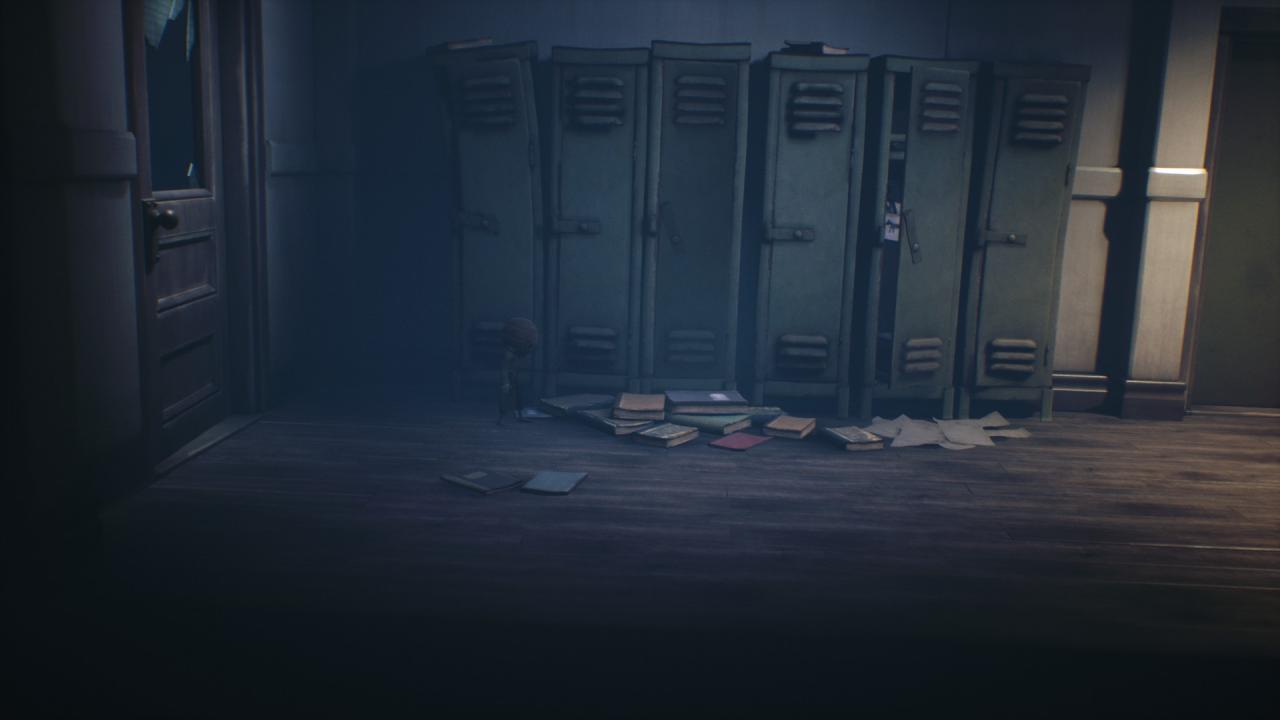
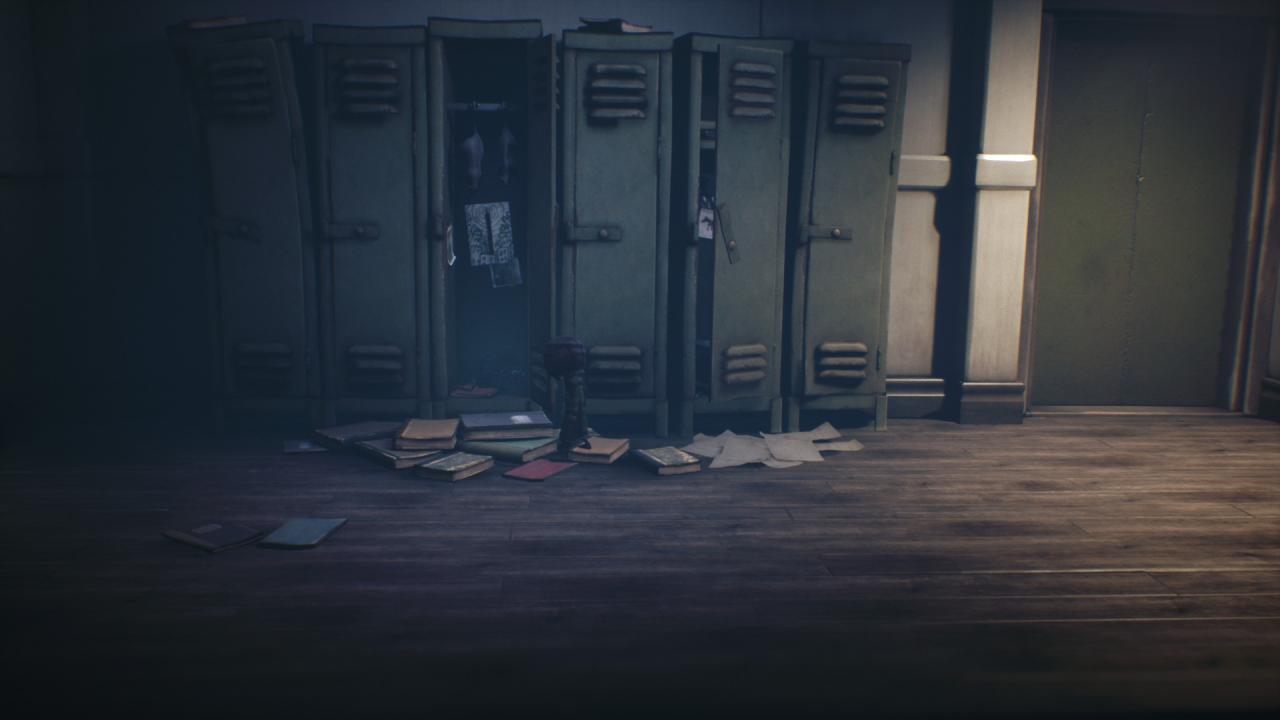
3. After you’ve gone through the room with all of the stacked, destroyed desks, you will climb out of a broken window to find a hallway full of lockers. Open the third locker, as you can see it isn’t latched, and inside will be the glitching remain.
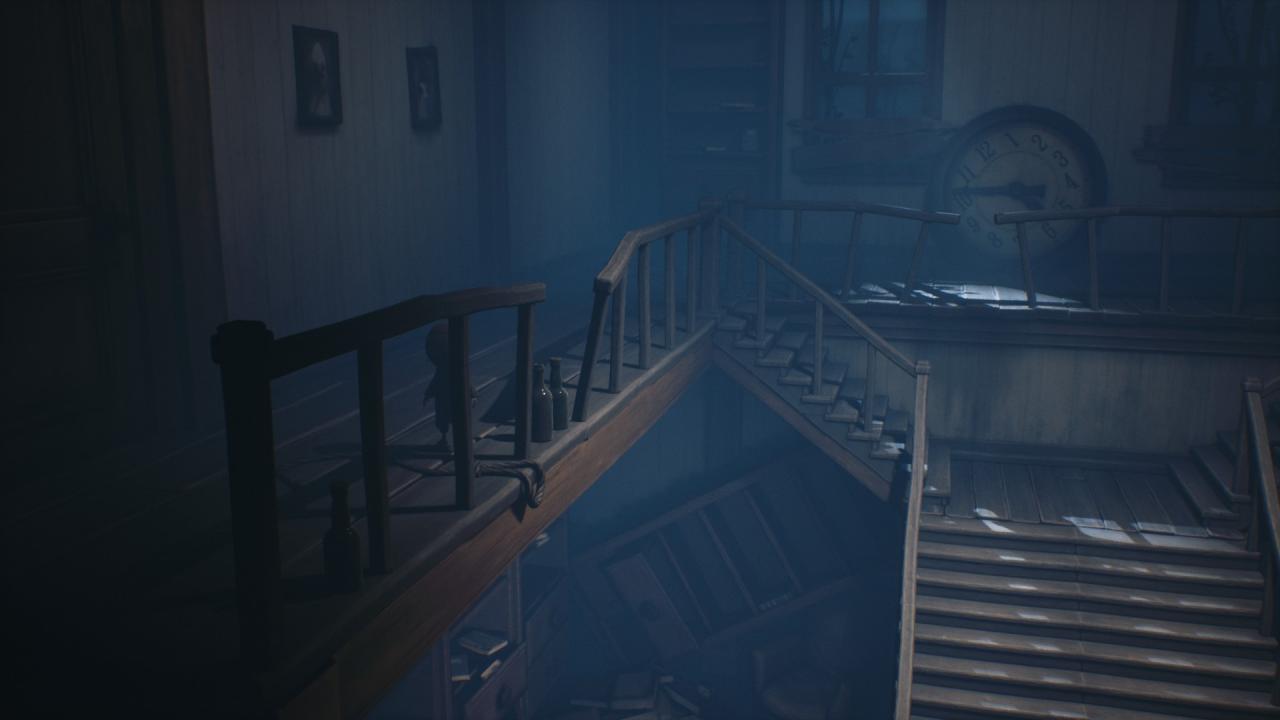
4. You can find this one when you get to the chess puzzle. Instead of going right up the stairs, go up the left side of the stairs. Right outside a door, you’ll see the glitching remain sitting by two bottles and a noose.
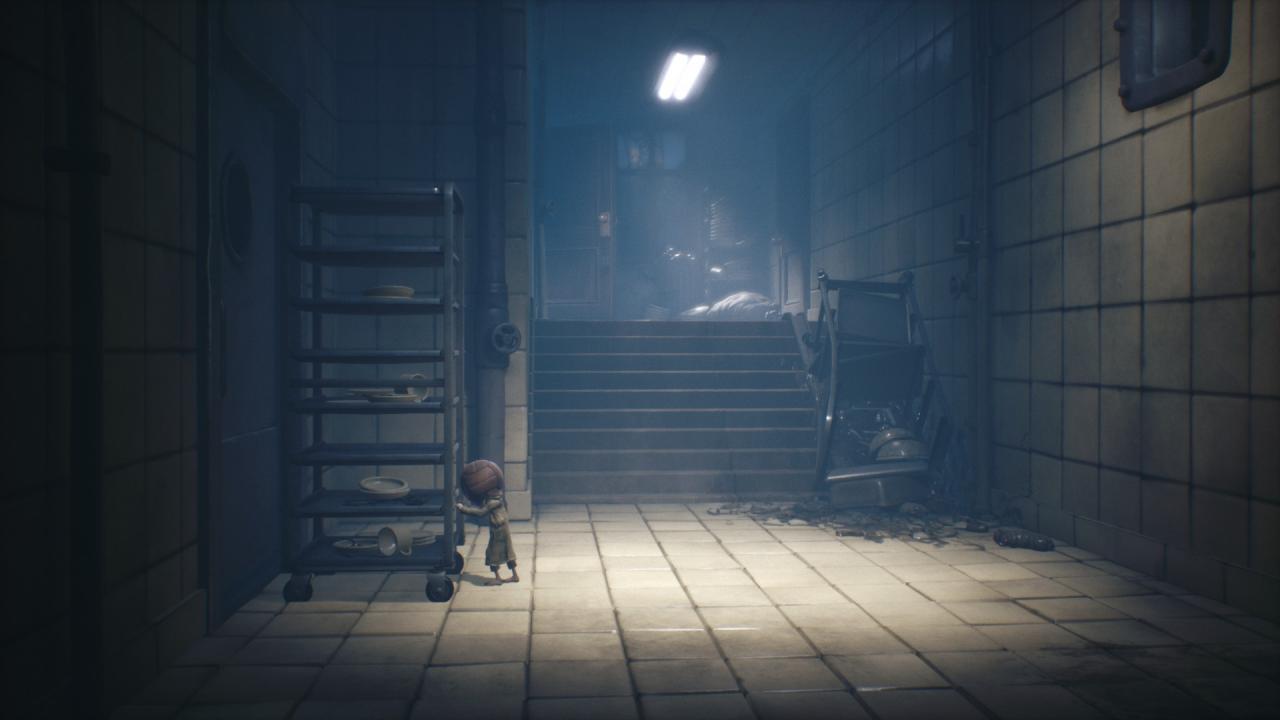
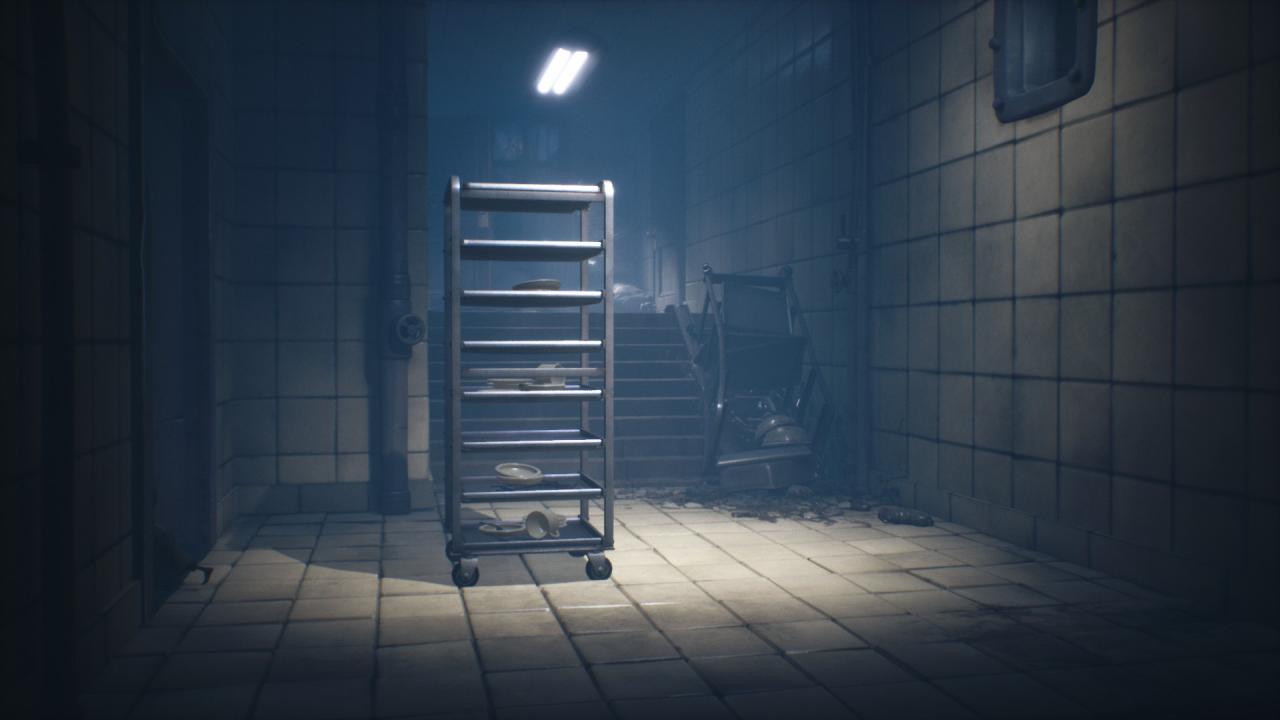
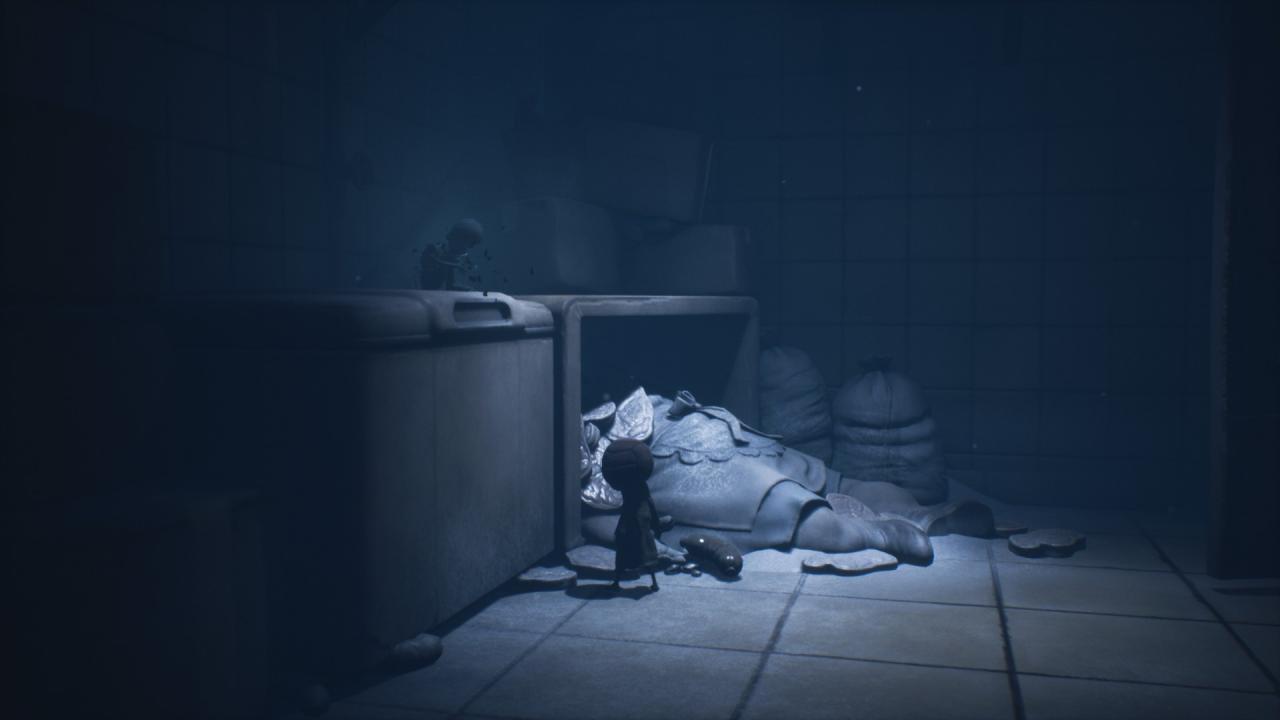
5. After you’ve completed the chess people and opened the door with the key you’ve found, you’ll find a rolling cart. Move it from the left of the room over to the right side, but don’t climb up it just yet! You can actually go open the door it was blocking, and inside you will find a nice, dead lunch lady, with a glitching remain sitting above her, of course.
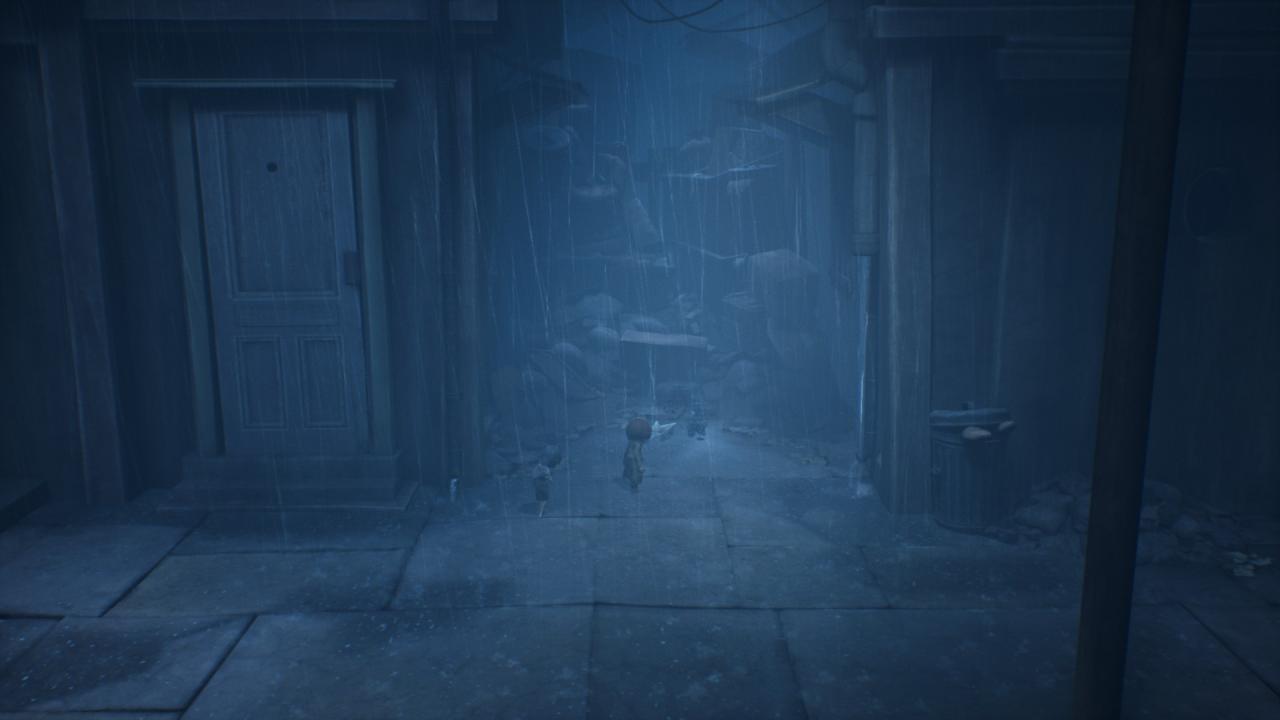
6. In the raining alleyway, where you find the white paper boat, you’ll find the final glitching remain in this chapter.
Chapter 3: The Hospital
This chapter has four glitching remains!
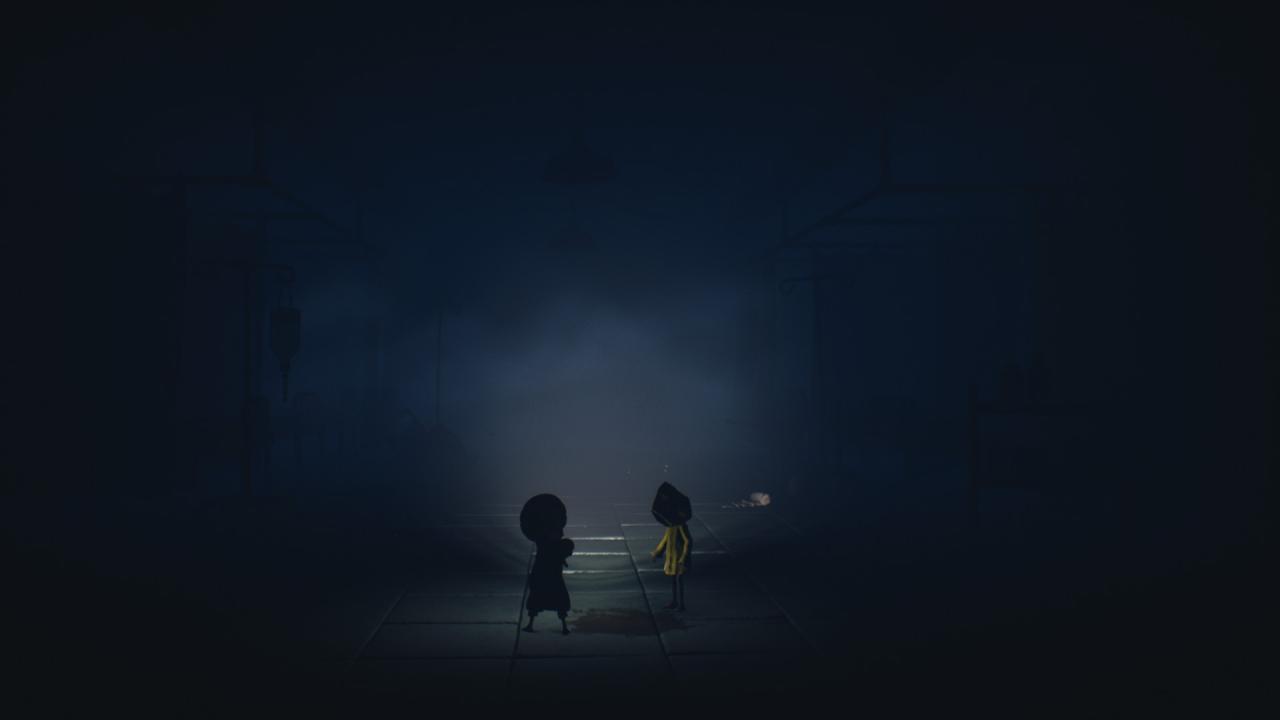
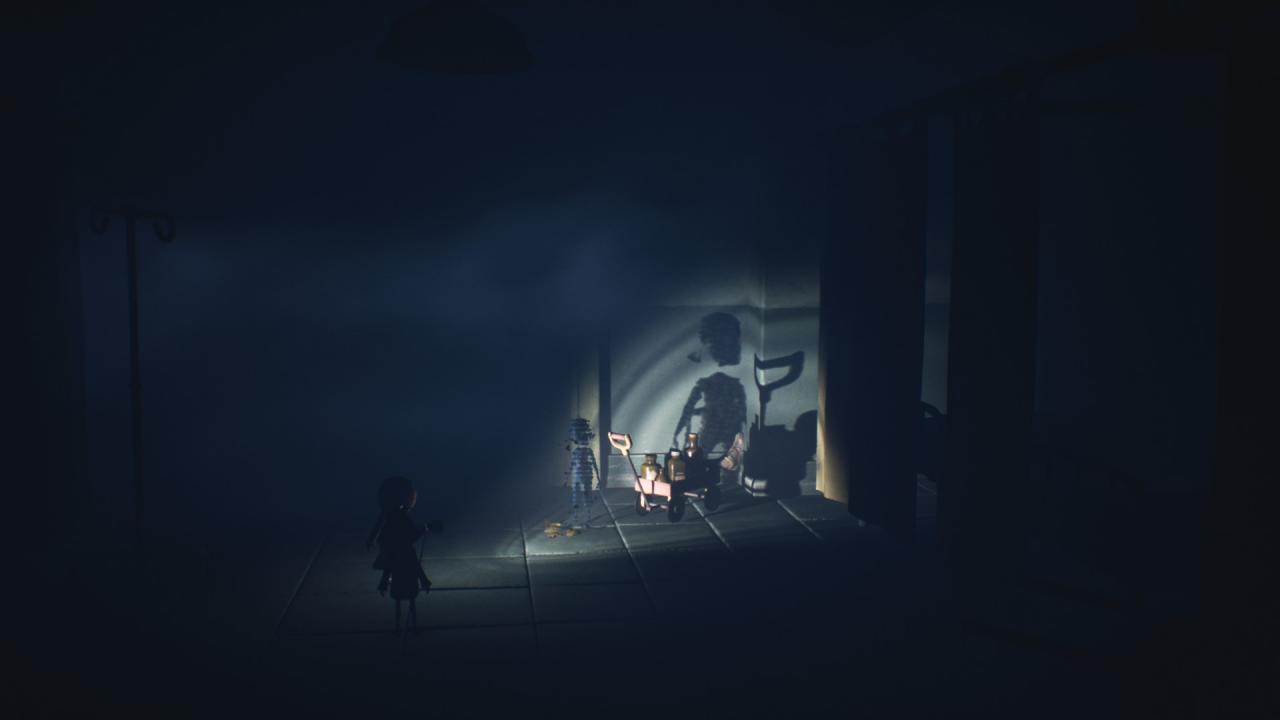
1. After you’ve found the flashlight, you’ll come across a sort of T-shaped hallway, with beds on either side of you. Go straight down this all the way to the wagon in the back right, and you’ll find the first glitching remain.
2. You’ll find this one after you’ve had to use the x-ray room to find the key. Unlock the door, run through the operating room, and you’ll find yourself in a hallway that is FULL of mannequin parts. Go towards the back, where you’ll only find a dead end, and a glitching remain.
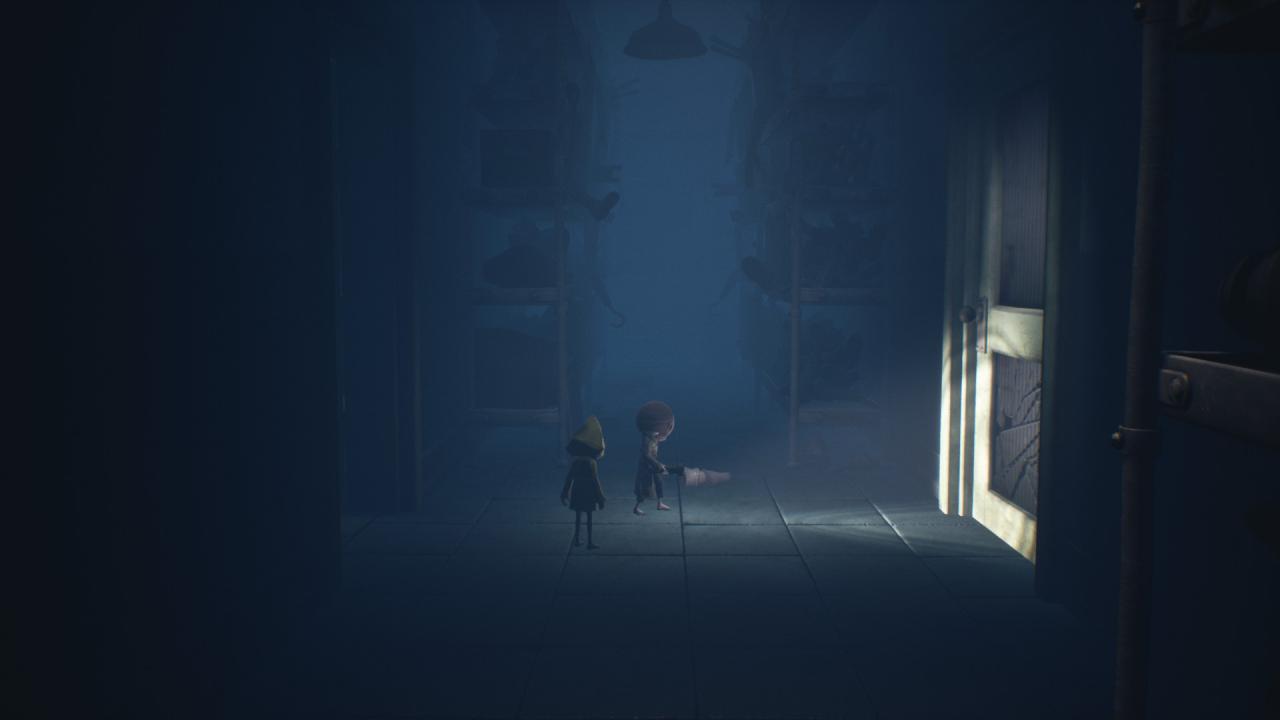
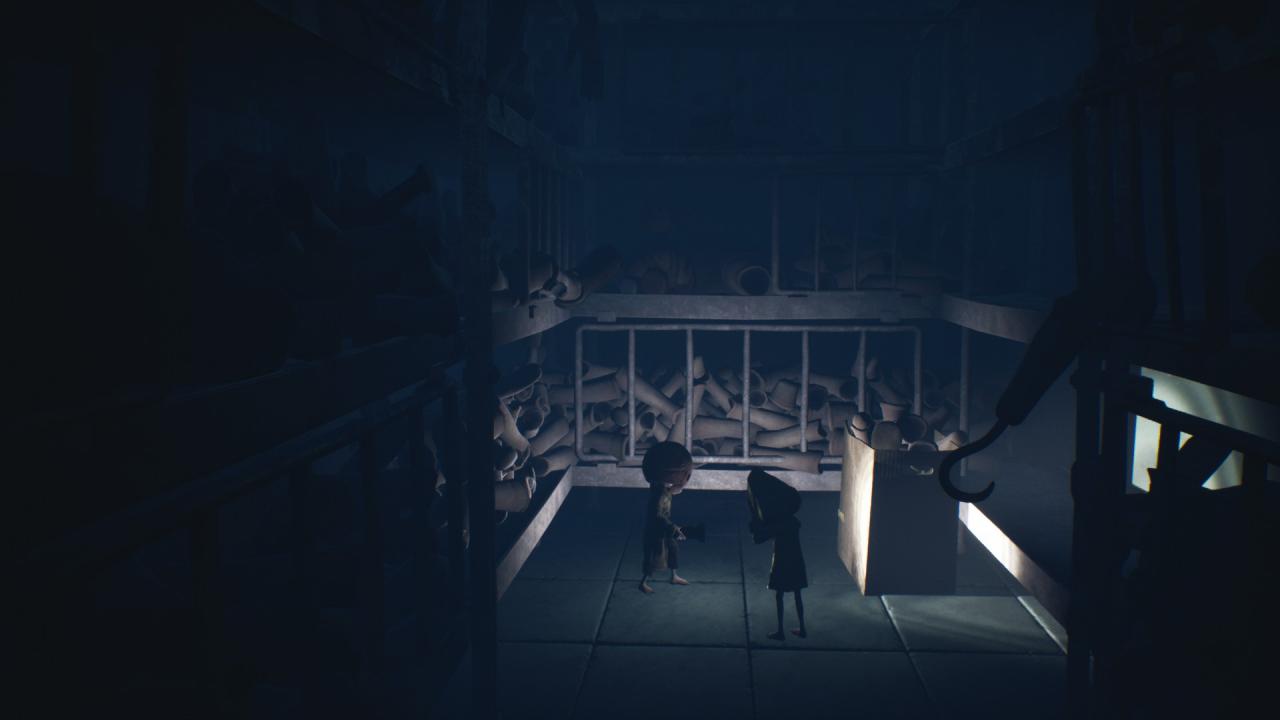
3. When you find the hallway where the mannequin arms are reaching out from both sides of the hallway to grab you, turn around instead of running straight. If you close the door you originally came out of, you’ll see a hole in the bars. You can go through this to find the next glitching remain.
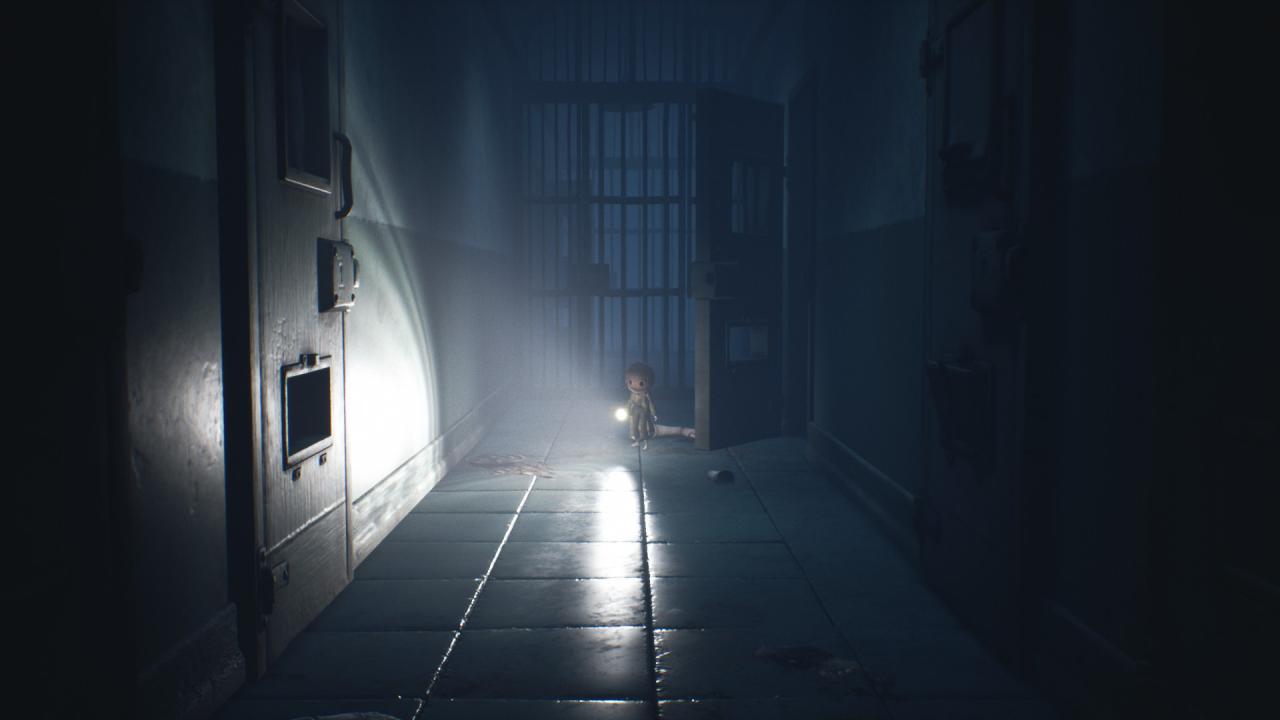
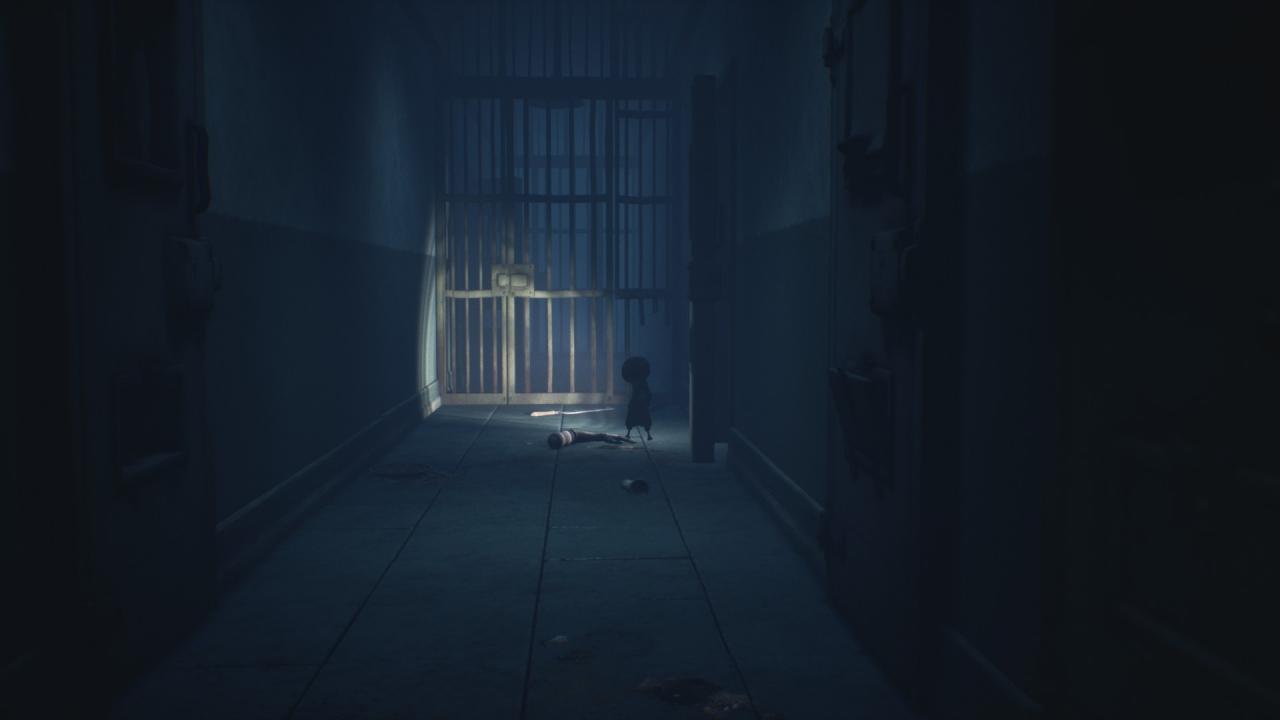
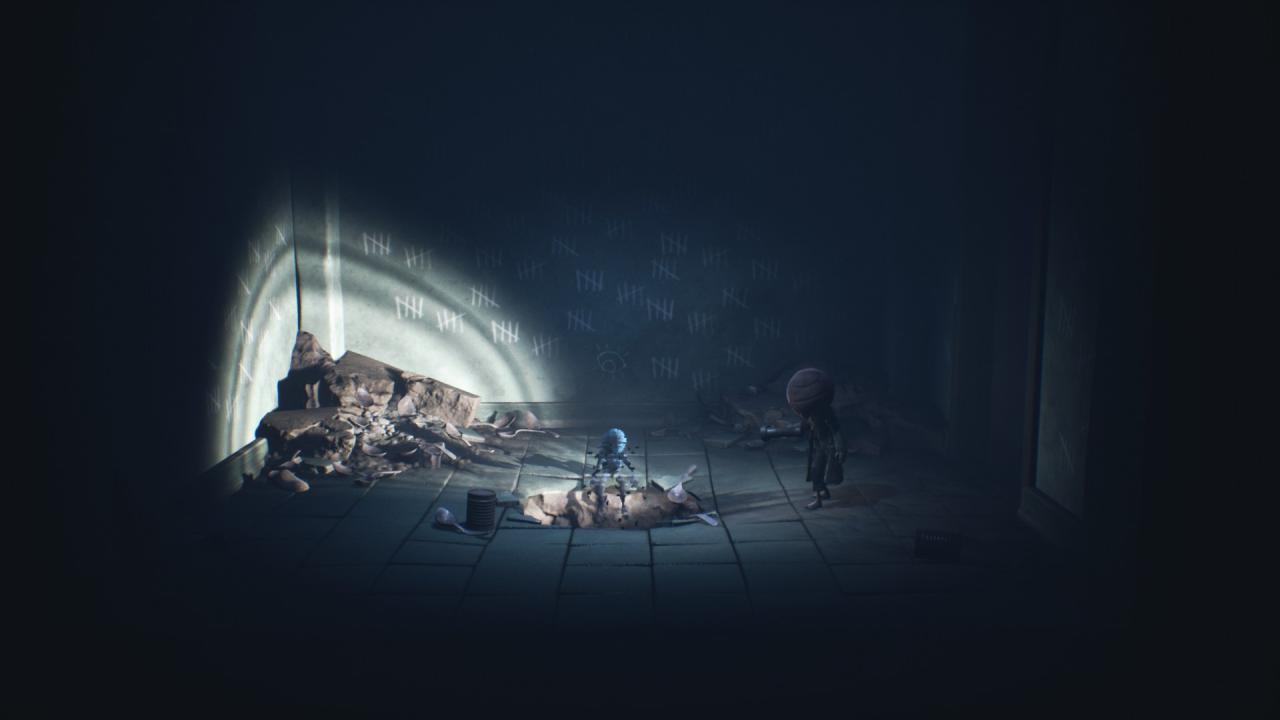
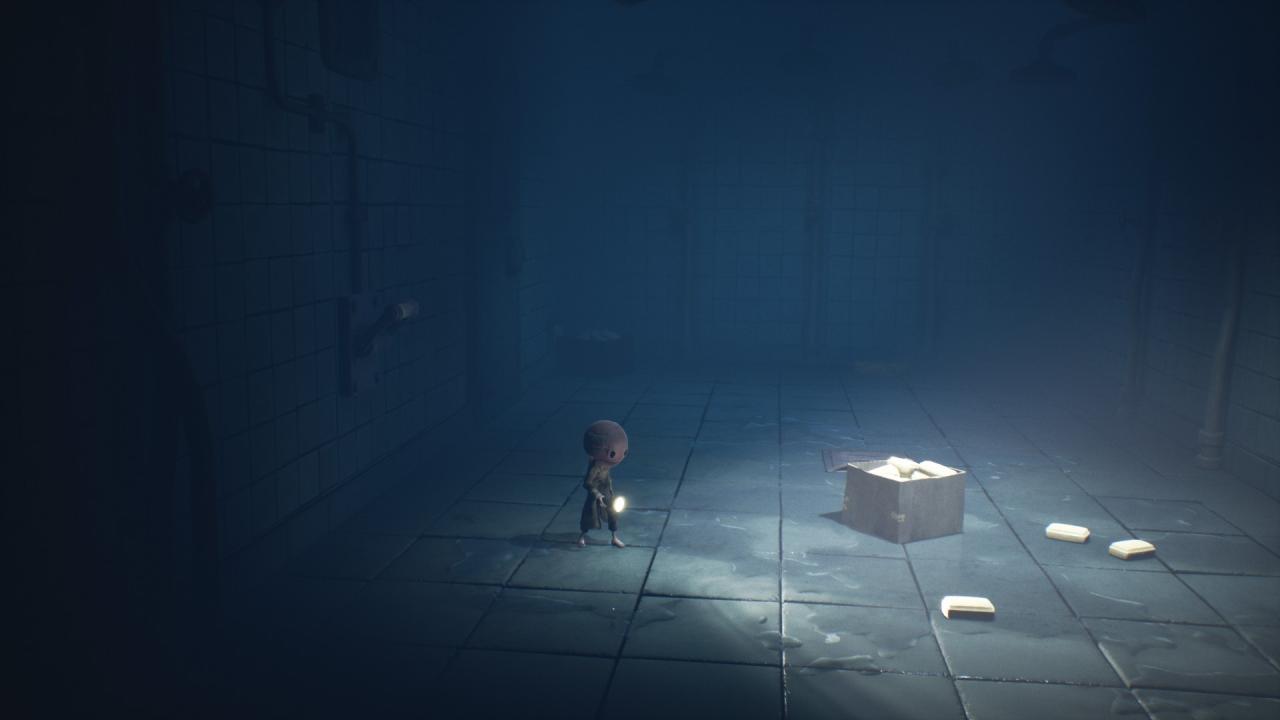
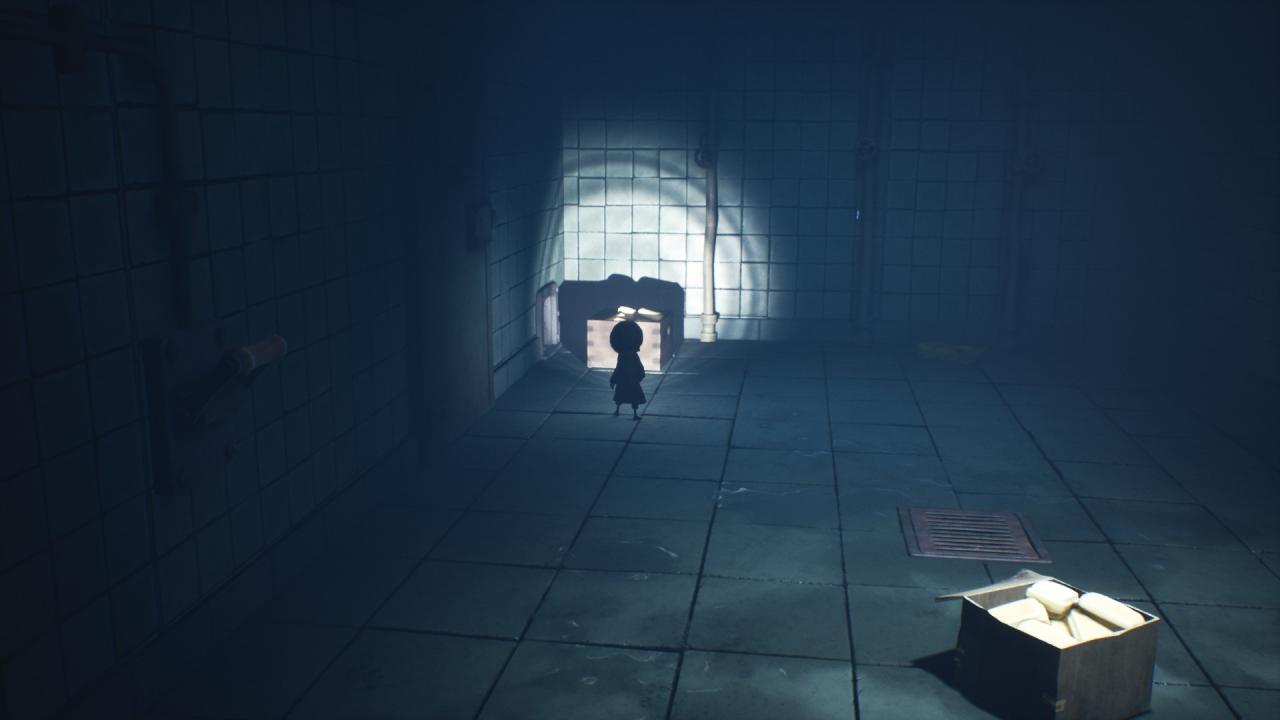
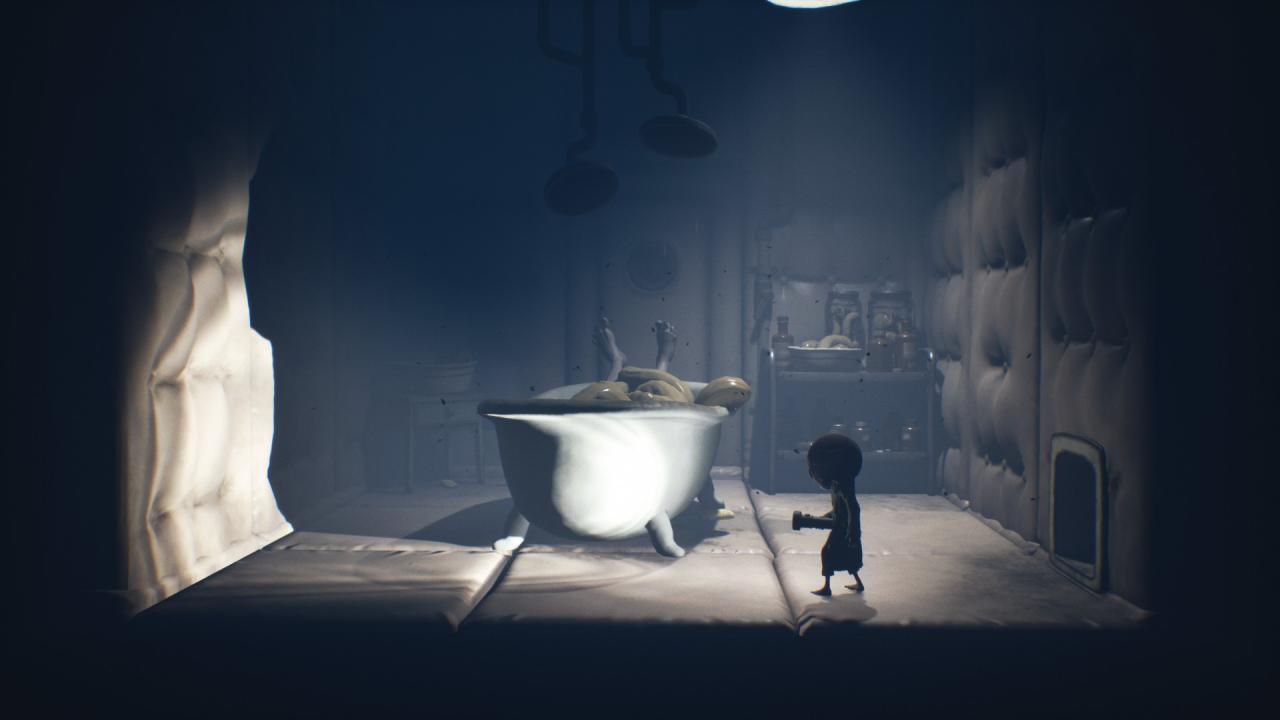
4. The final glitching remain in this chapter is located in the shower room. If you go to the back left corner, you’ll find a movable crate, which reveals a hidden vent. Go through there, and you’ll find that little dude.
Chapter 4: Pale City
There’s only four glitching remains in this chapter of the game, and they’re the last four in the entire game!
1. Right after you’ve exited the hospital, you need to run up and towards the manhole in the street. And be careful, you need to make sure to grab onto the ladder, otherwise you fall PRETTY darn far and die.
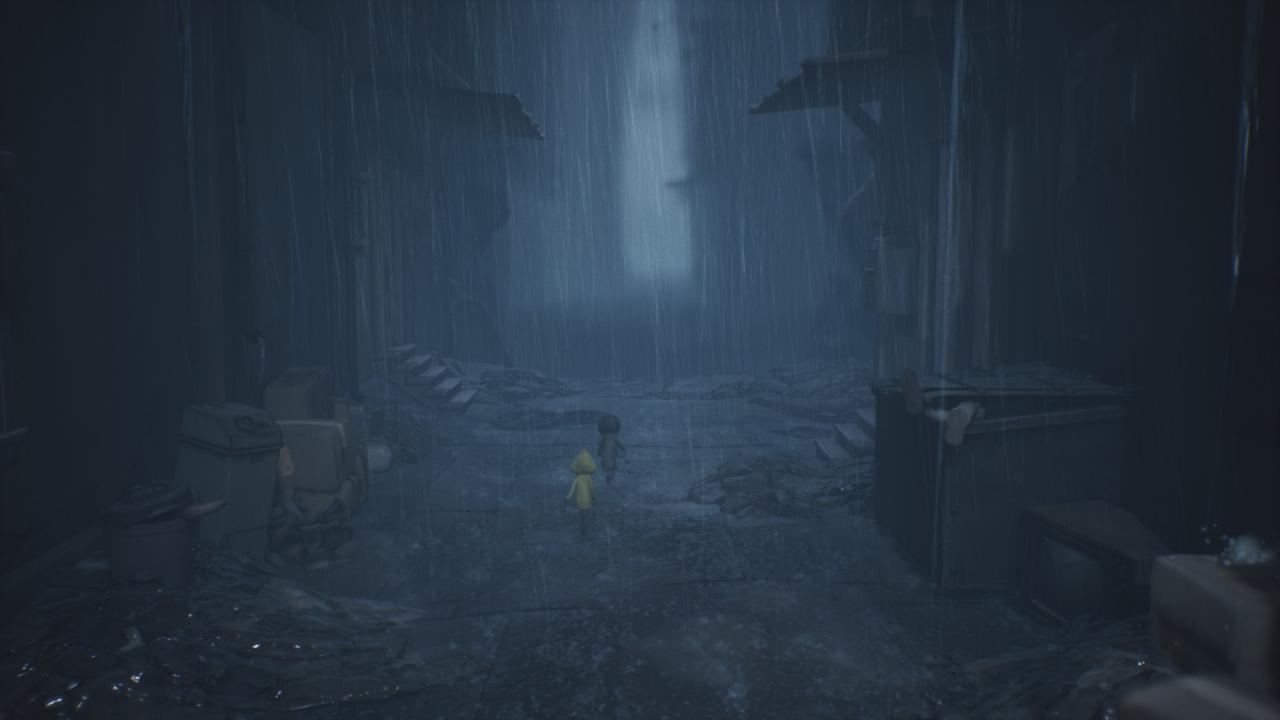
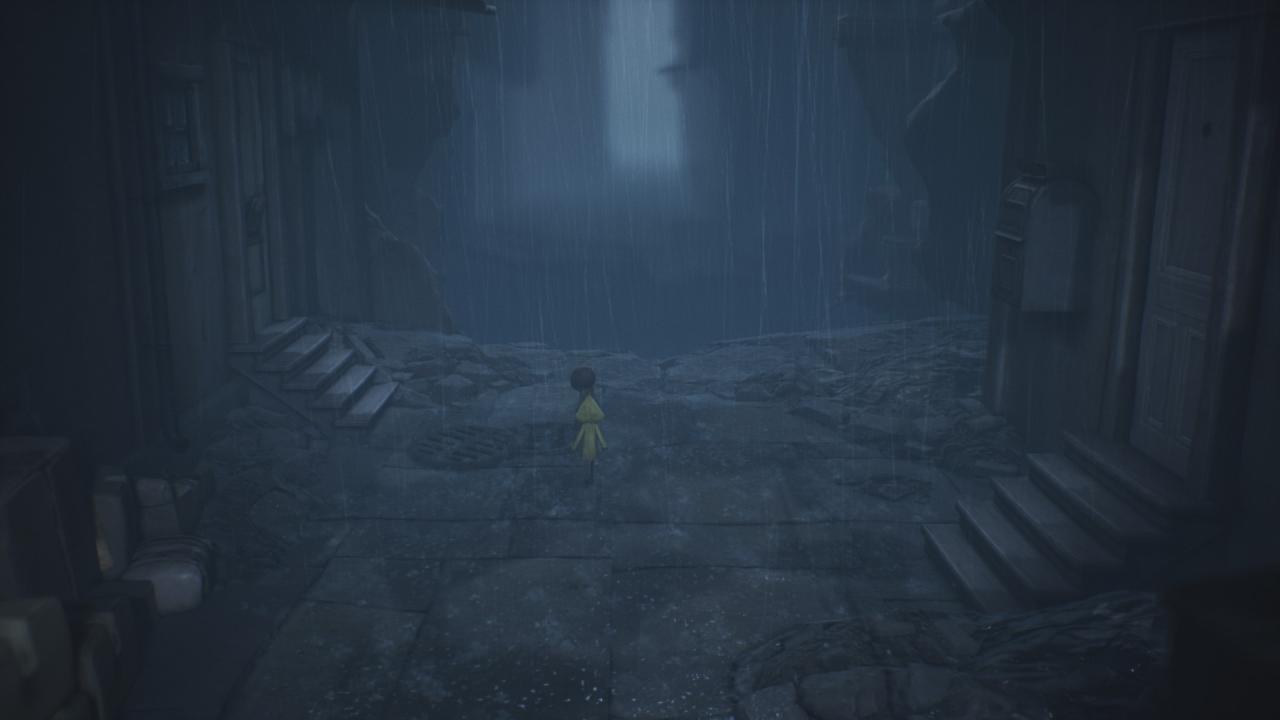
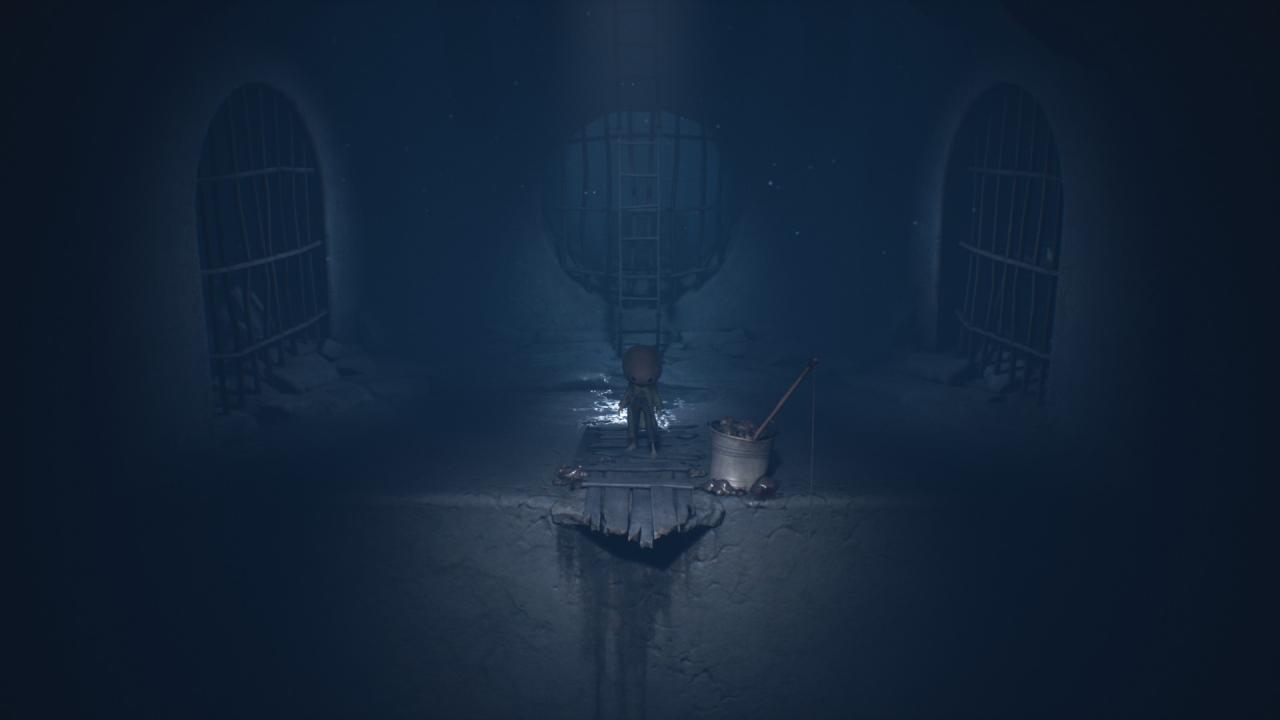
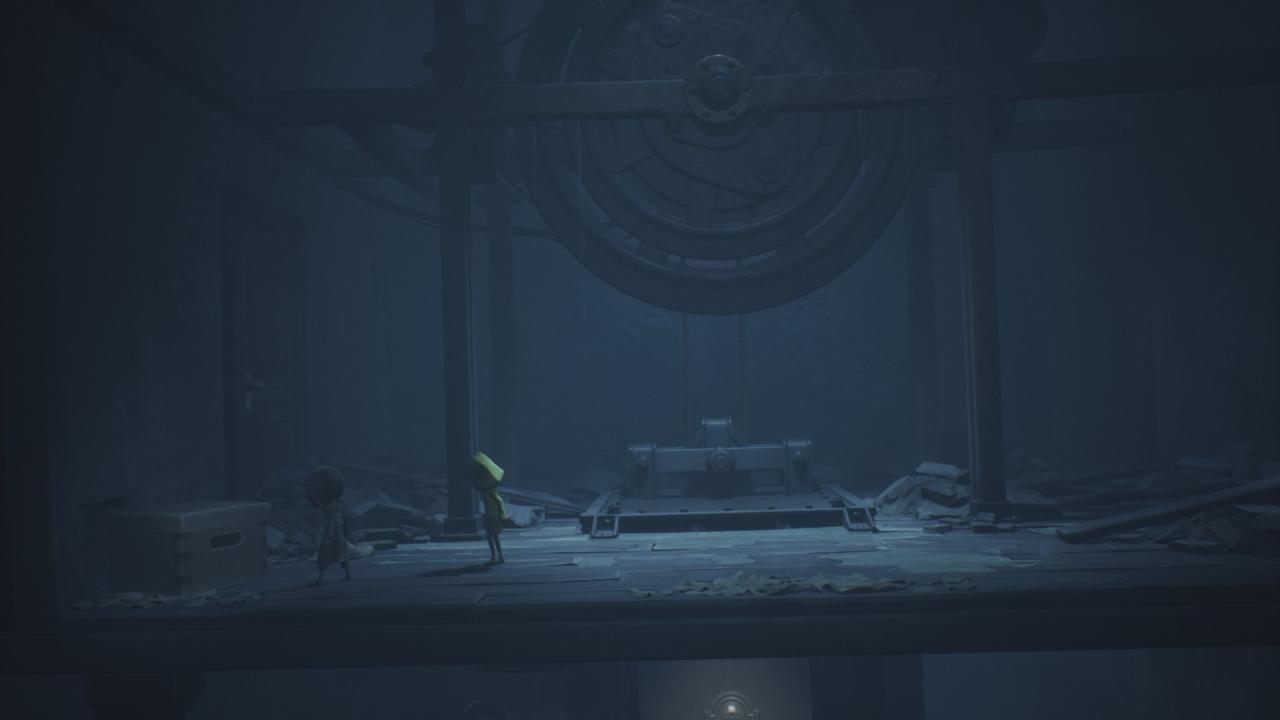
2. After you’ve used the first elevator and you’ve found your way to the top floor, you should find a movable box at the front right corner of the room. Go through the hidden vent, and it should lead you right to the glitching remain.
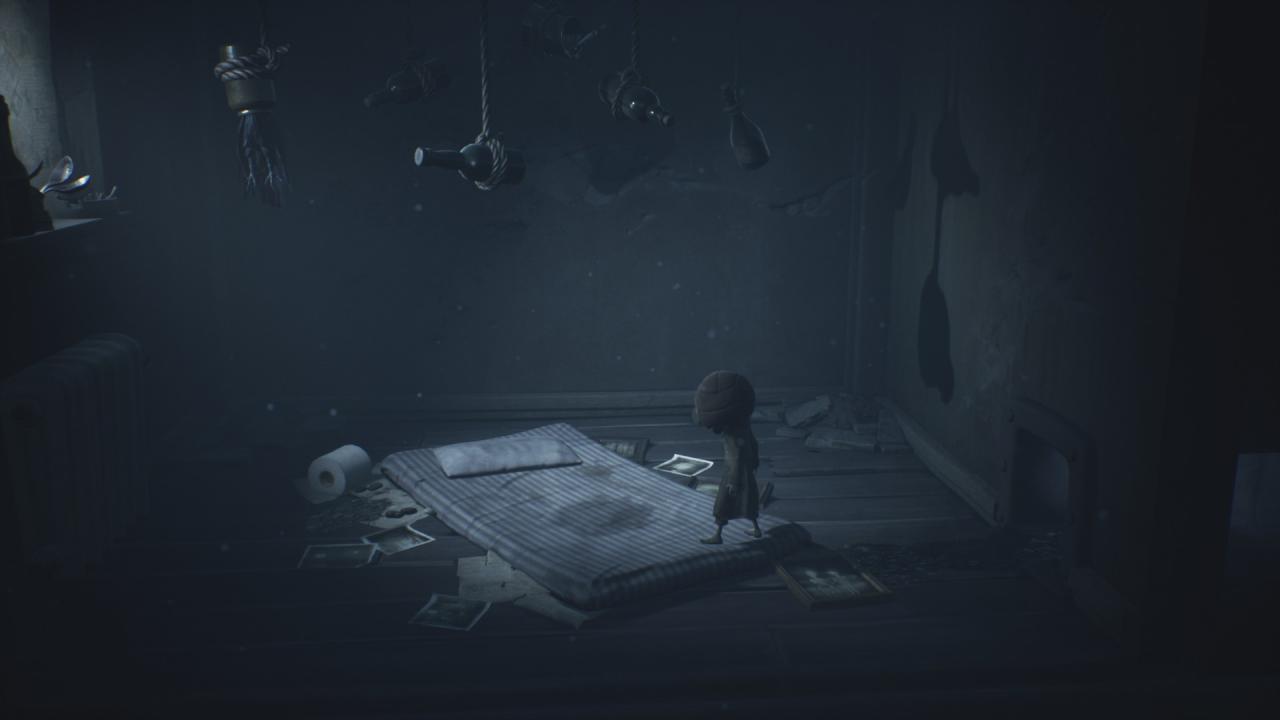
3. This guy isn’t located that far behind the second one. After you see the tower and everything, you’ll come up to a sort of awning-type thing. You do climb it to progress in the story, but don’t. Go through the window that is located just behind it, where you’ll see boxes to even climb into it. It’s something you can probably see and think, “that definitely looks too conveniently set up to NOT go to something.”
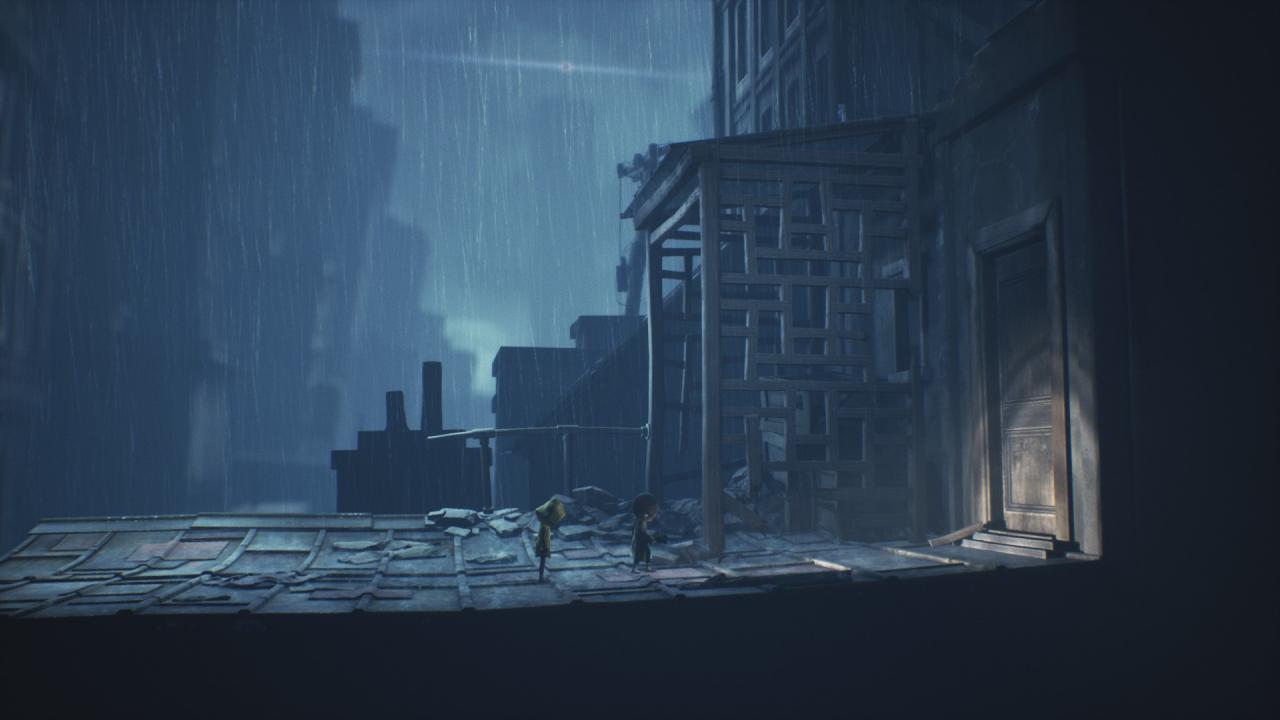
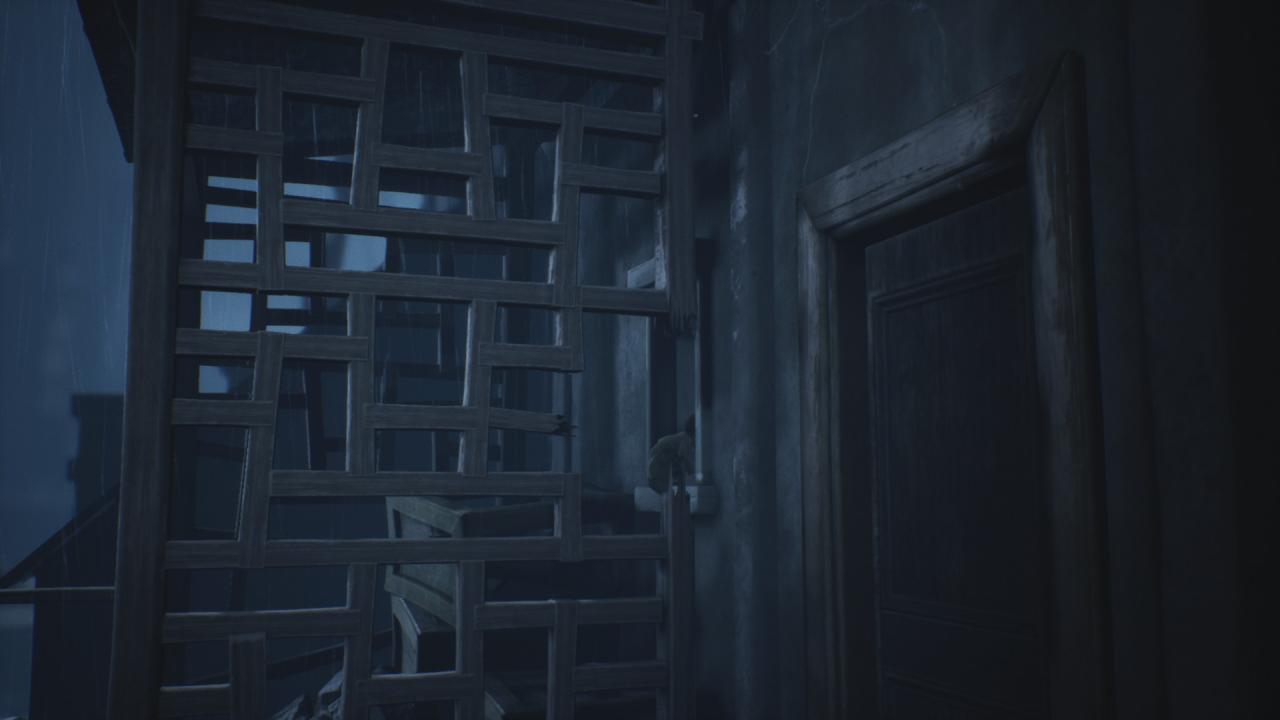
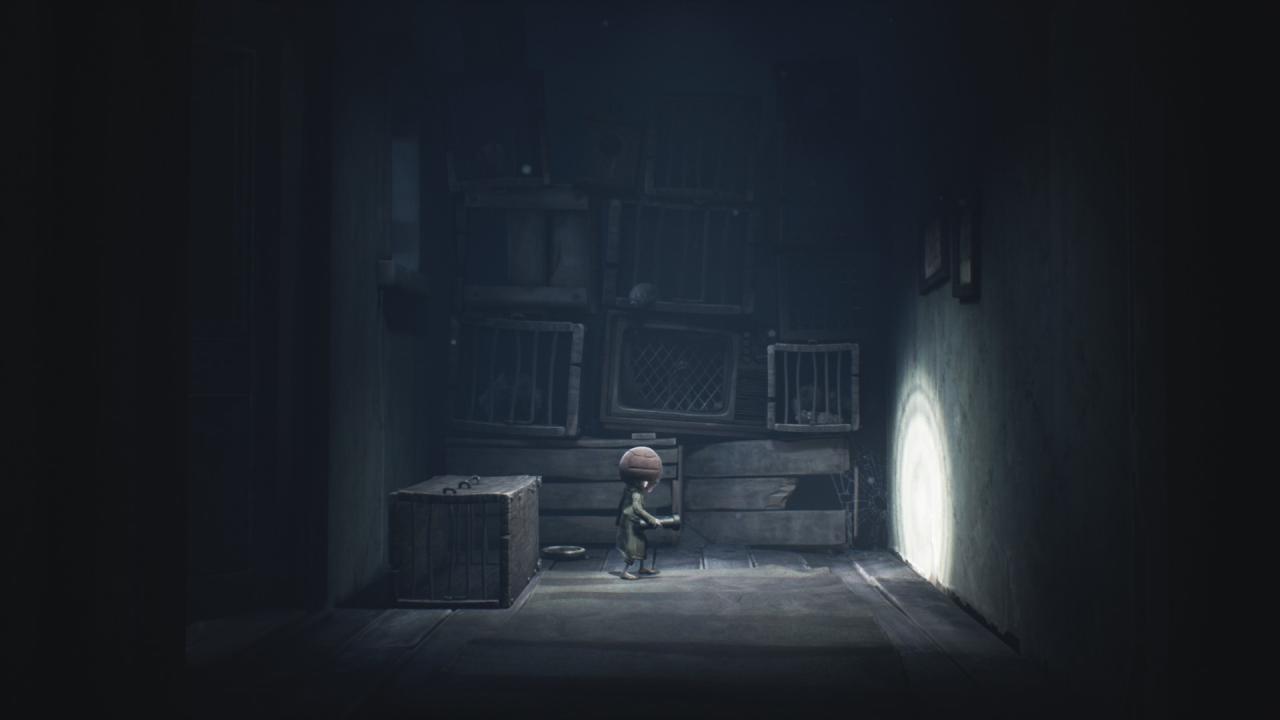
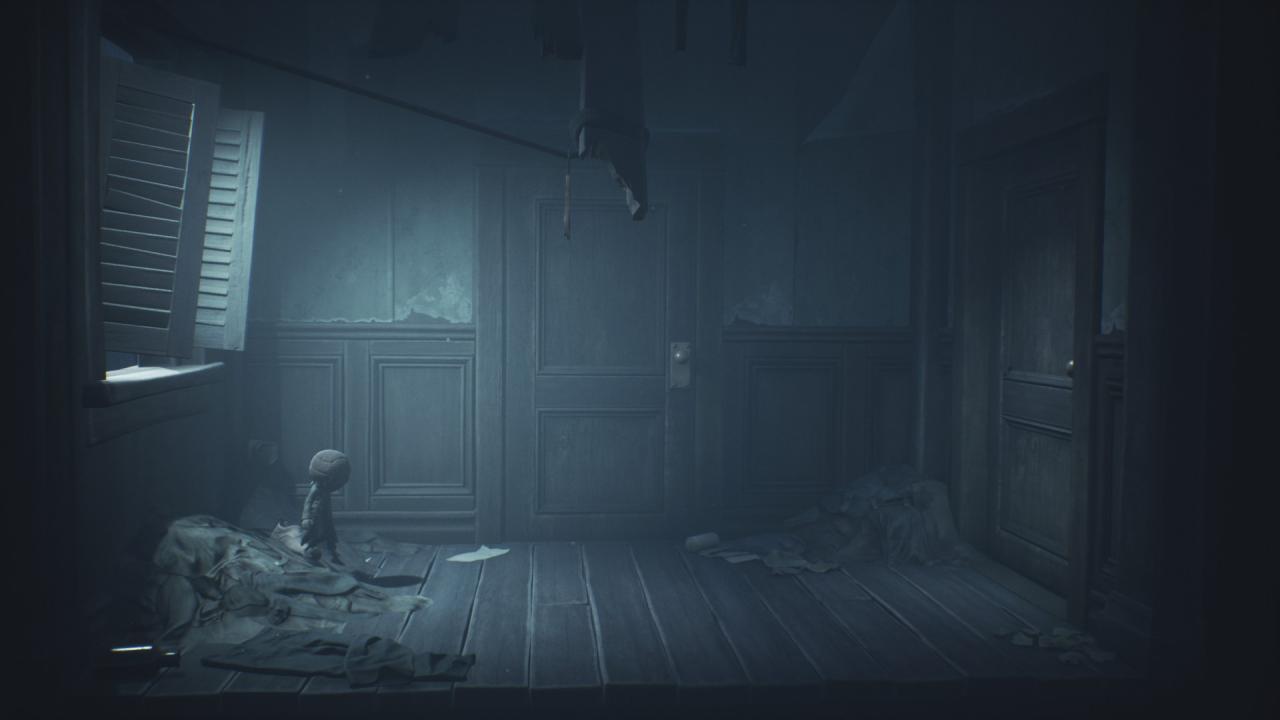
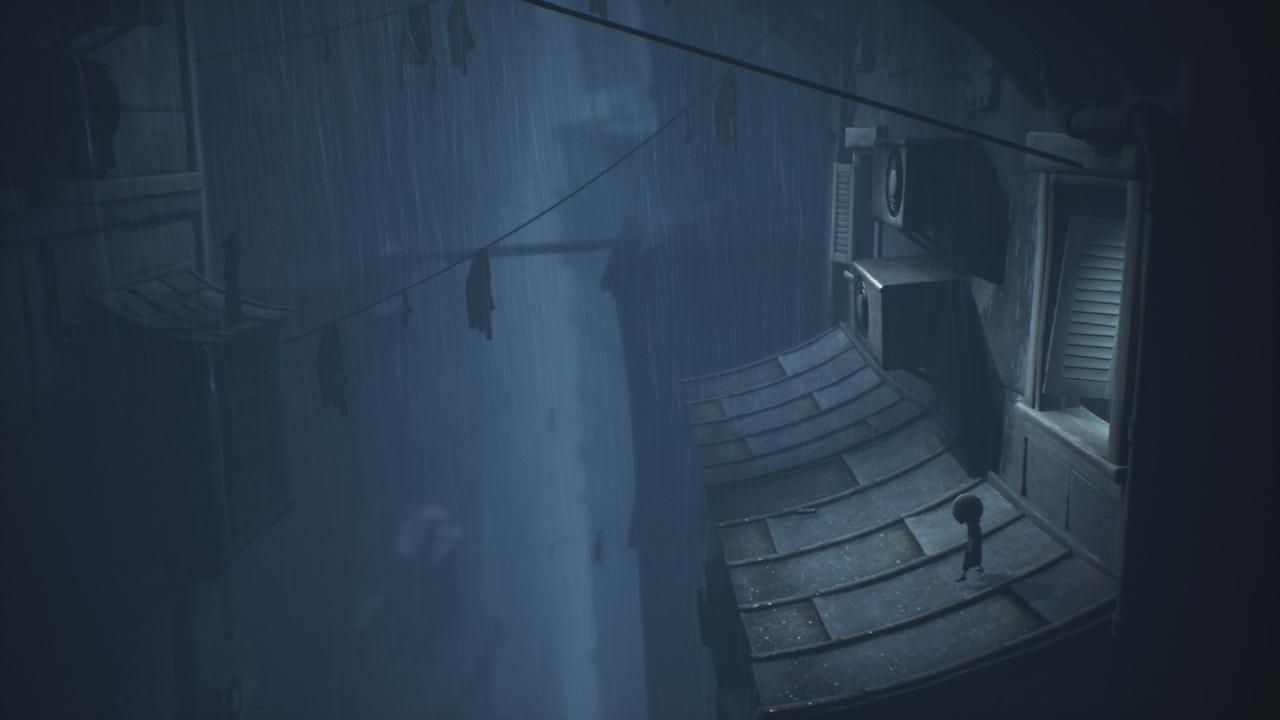
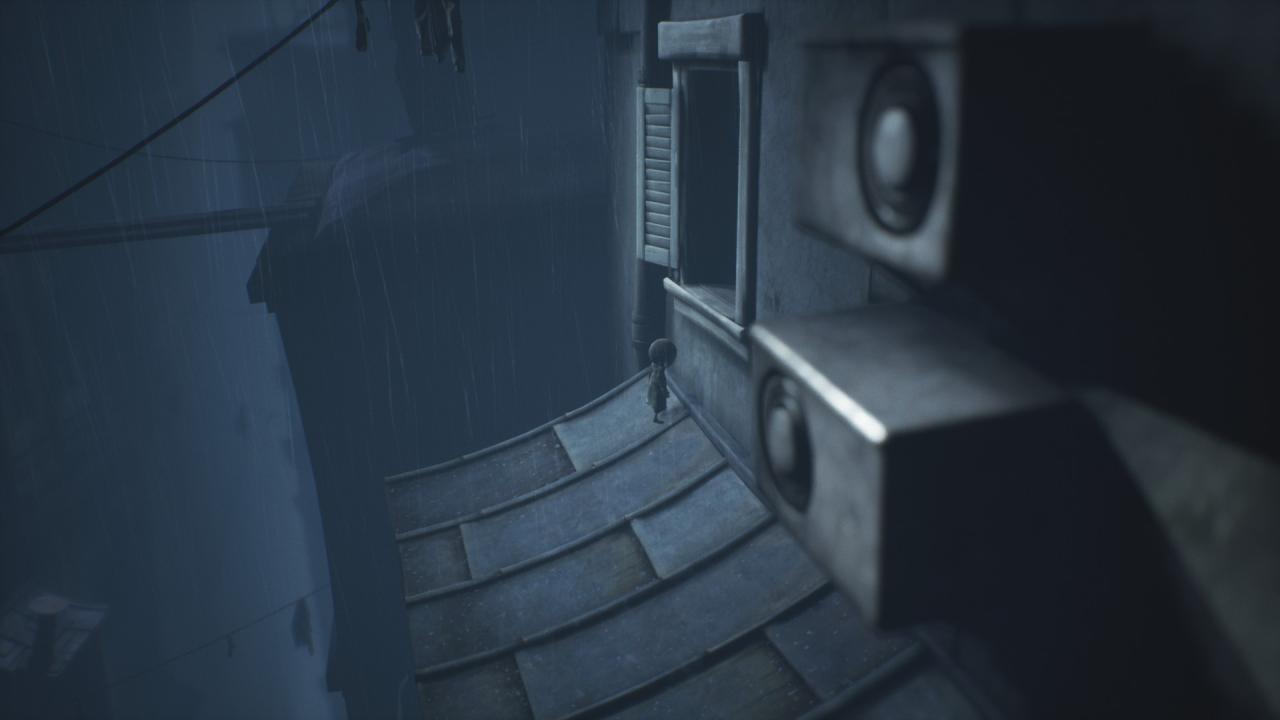
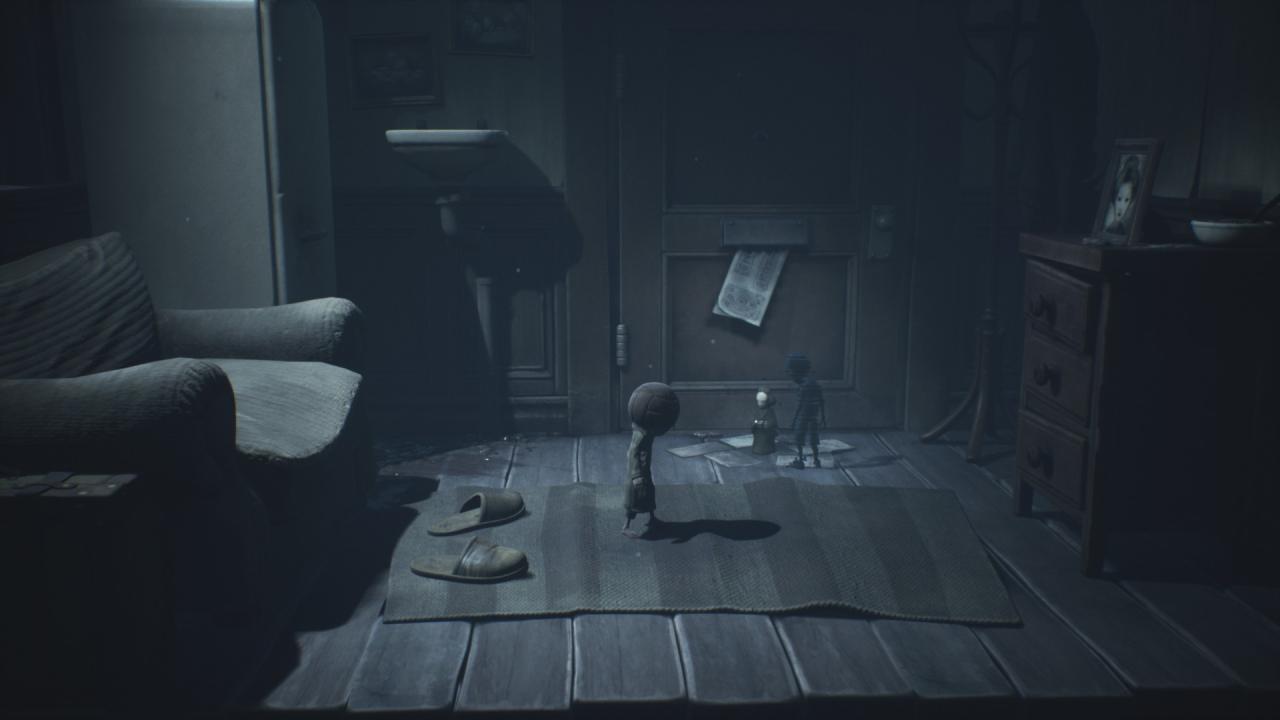
4. This one was so hard for me to find, and I was very upset because it was something I ran past literally so many times thinking it WAS where the final one was, but it seemed like Mono just couldn’t reach it! After you leave the mail room on the clothesline, you’ll have no choice but to bust through this window. However, you can just turn around and climb right back out of it. Once you’re on the roof, go back to the other window and jump up into it. It may seem like it won’t work, but like, eventually it will, or maybe I just don’t know how to make my dude jump lol, but either way. Also, there’s a statue of the lady from the first game in it. Smash it, and you’ll receive an achievement as well.
Conclusion
I hope I didn’t explain things too roughly, I tried to provide all of the pictures to make sure the exact locations were pretty obvious, but I know sometimes I’m very bad at properly explaining things. This was such a fun game to play, and I hope you all have enjoyed it, too!
Related Posts:
- Little Nightmares II All Achievements and Collectibles in Chronological Order
- Little Nightmares II All Hats Locations Guide
- Little Nightmares II Hospital Mannequin Rooms Solution
- Little Nightmares II How to Sneak out of Class
- Little Nightmares II How to Access Digital Content from the Deluxe Bundle
